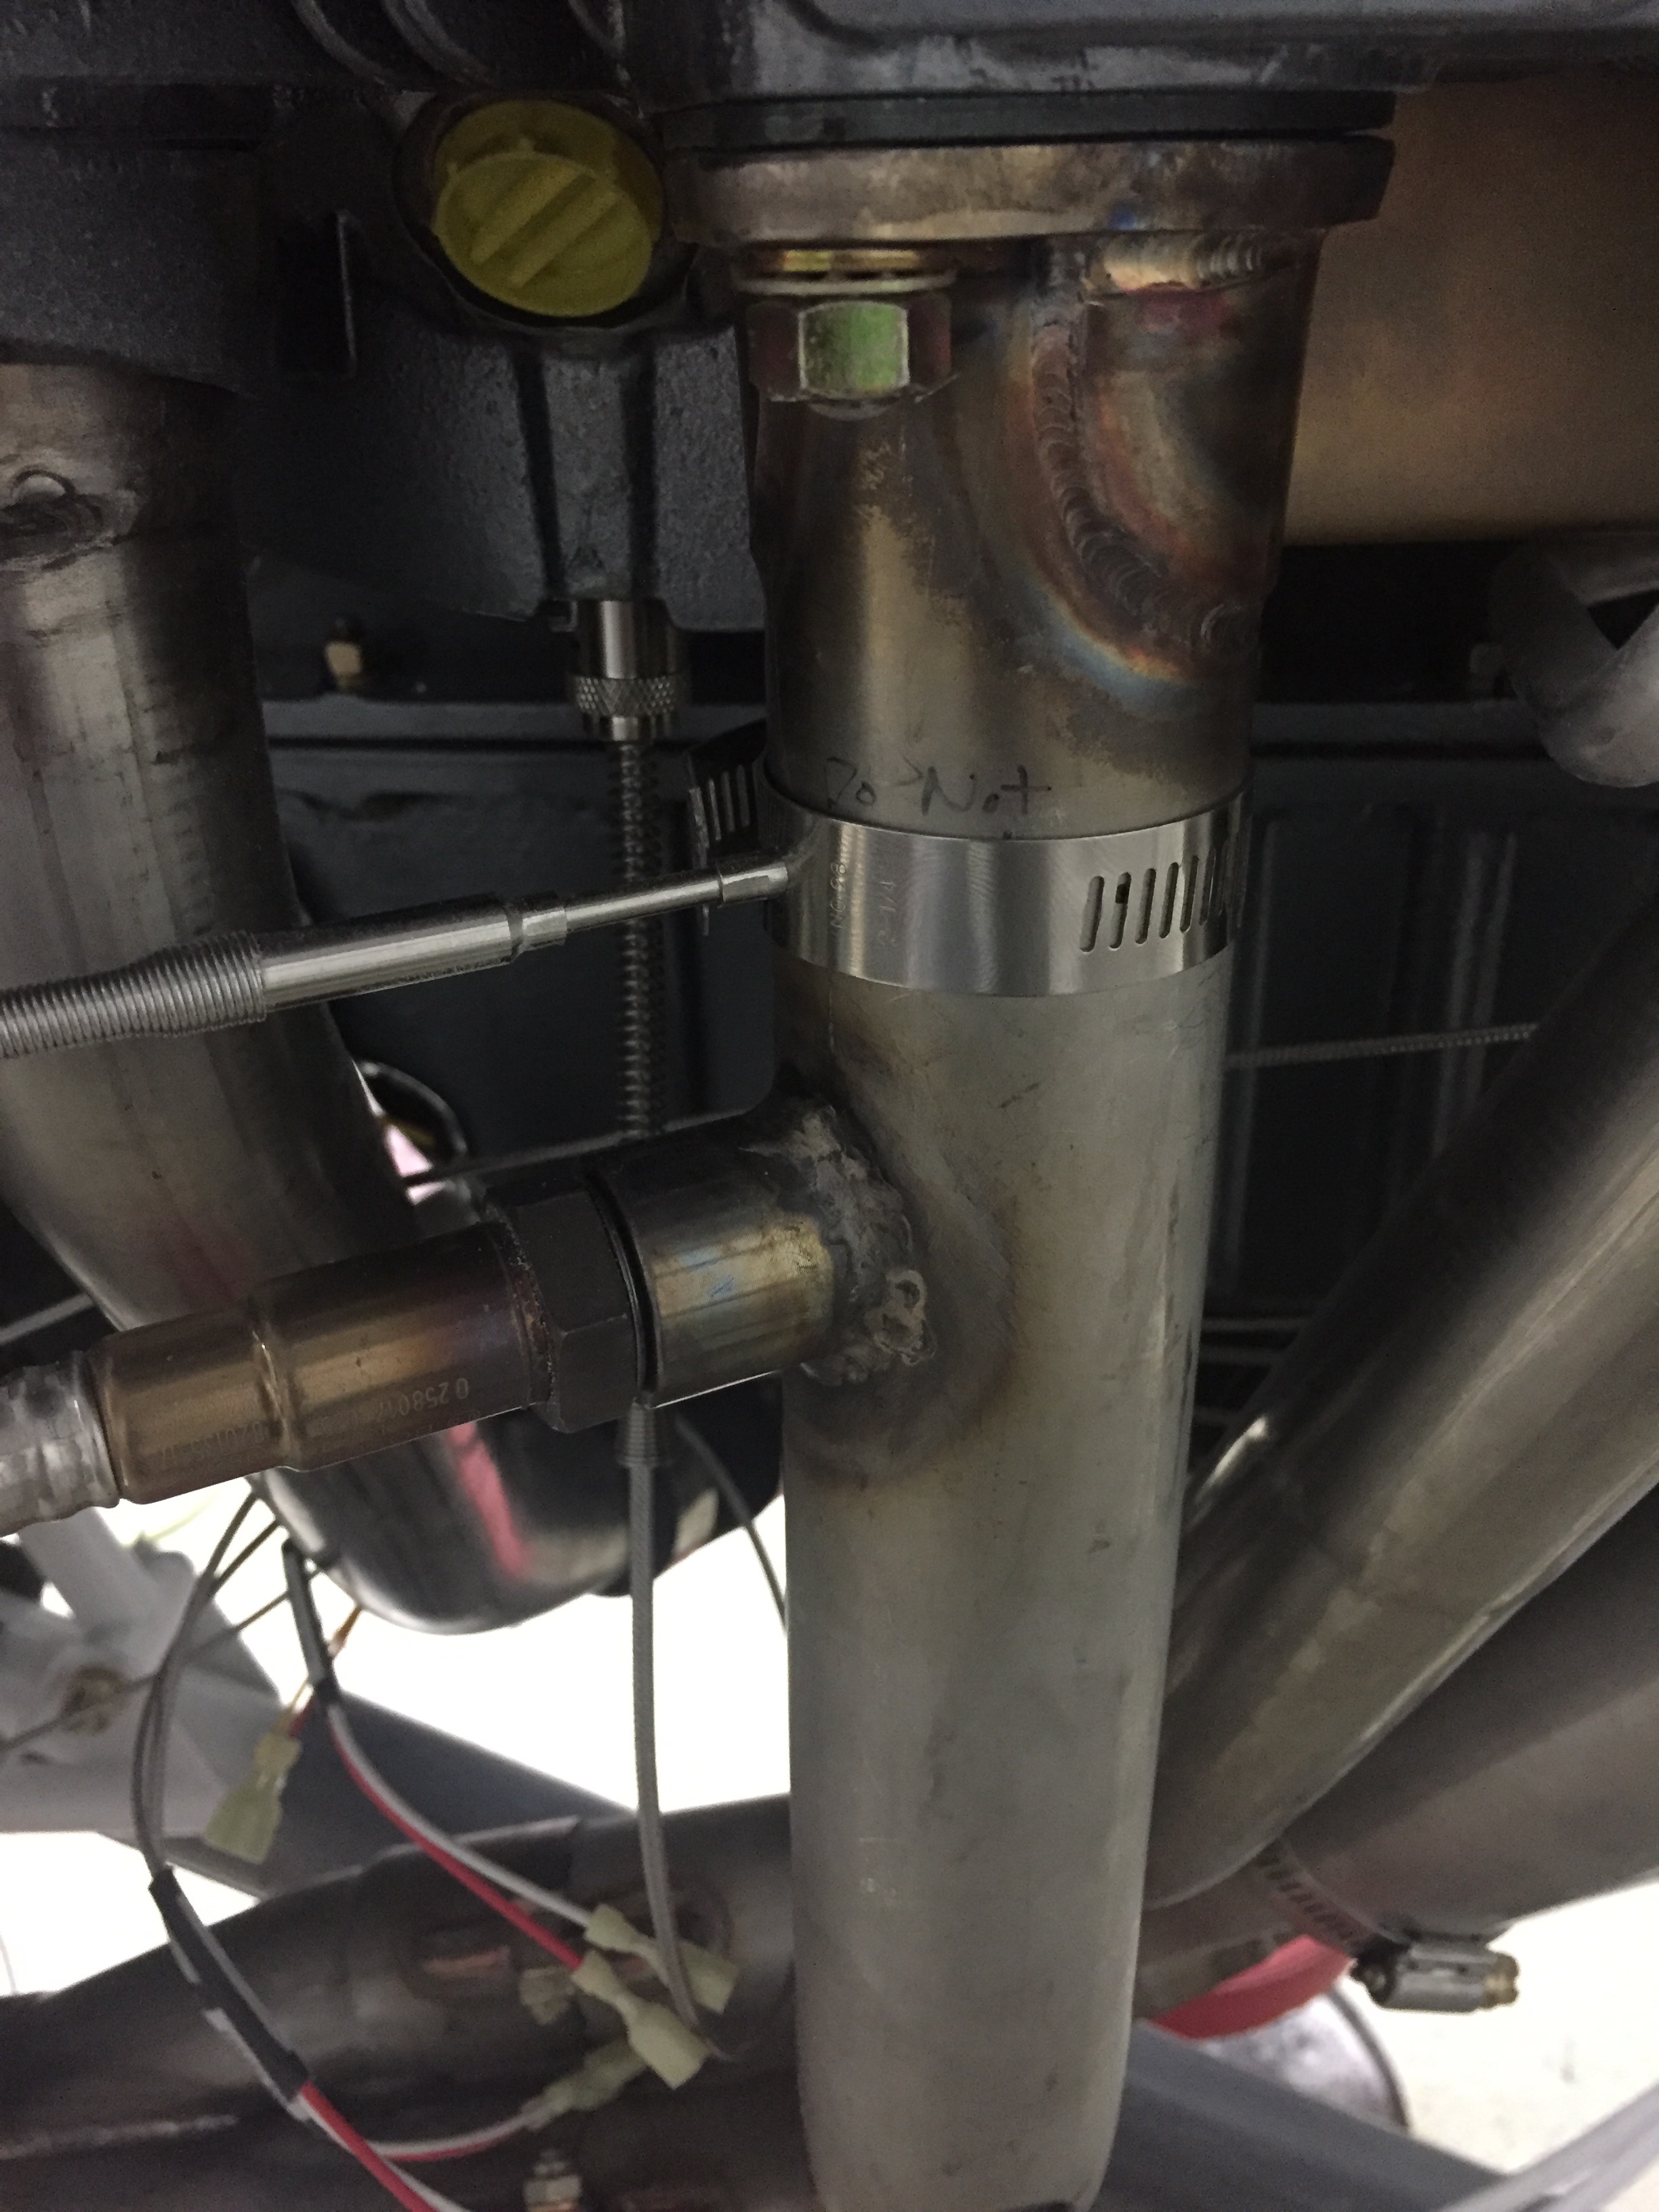
Thanks to a great guy on base that has a side business of welding, I had my AFR (O2) sensor bung welded on the exhaust per Ross’s recommendation on location. I chose the #6 cylinder, but he said it doesn’t really matter. I chose that one since it fit well there. The sensor has a controller that I attached to the engine mount just above the battery box.
I never have been able to wrap my head around the nose gear fairing made by Show Planes until I physically put it all together. The idea is to not only support the lower cowl around the exhaust openings (and air exit) but also smooth the exiting air flow around a turbulent area. I started by attaching the front and rear fairing together and then positioning it roughly on the lower cowl.
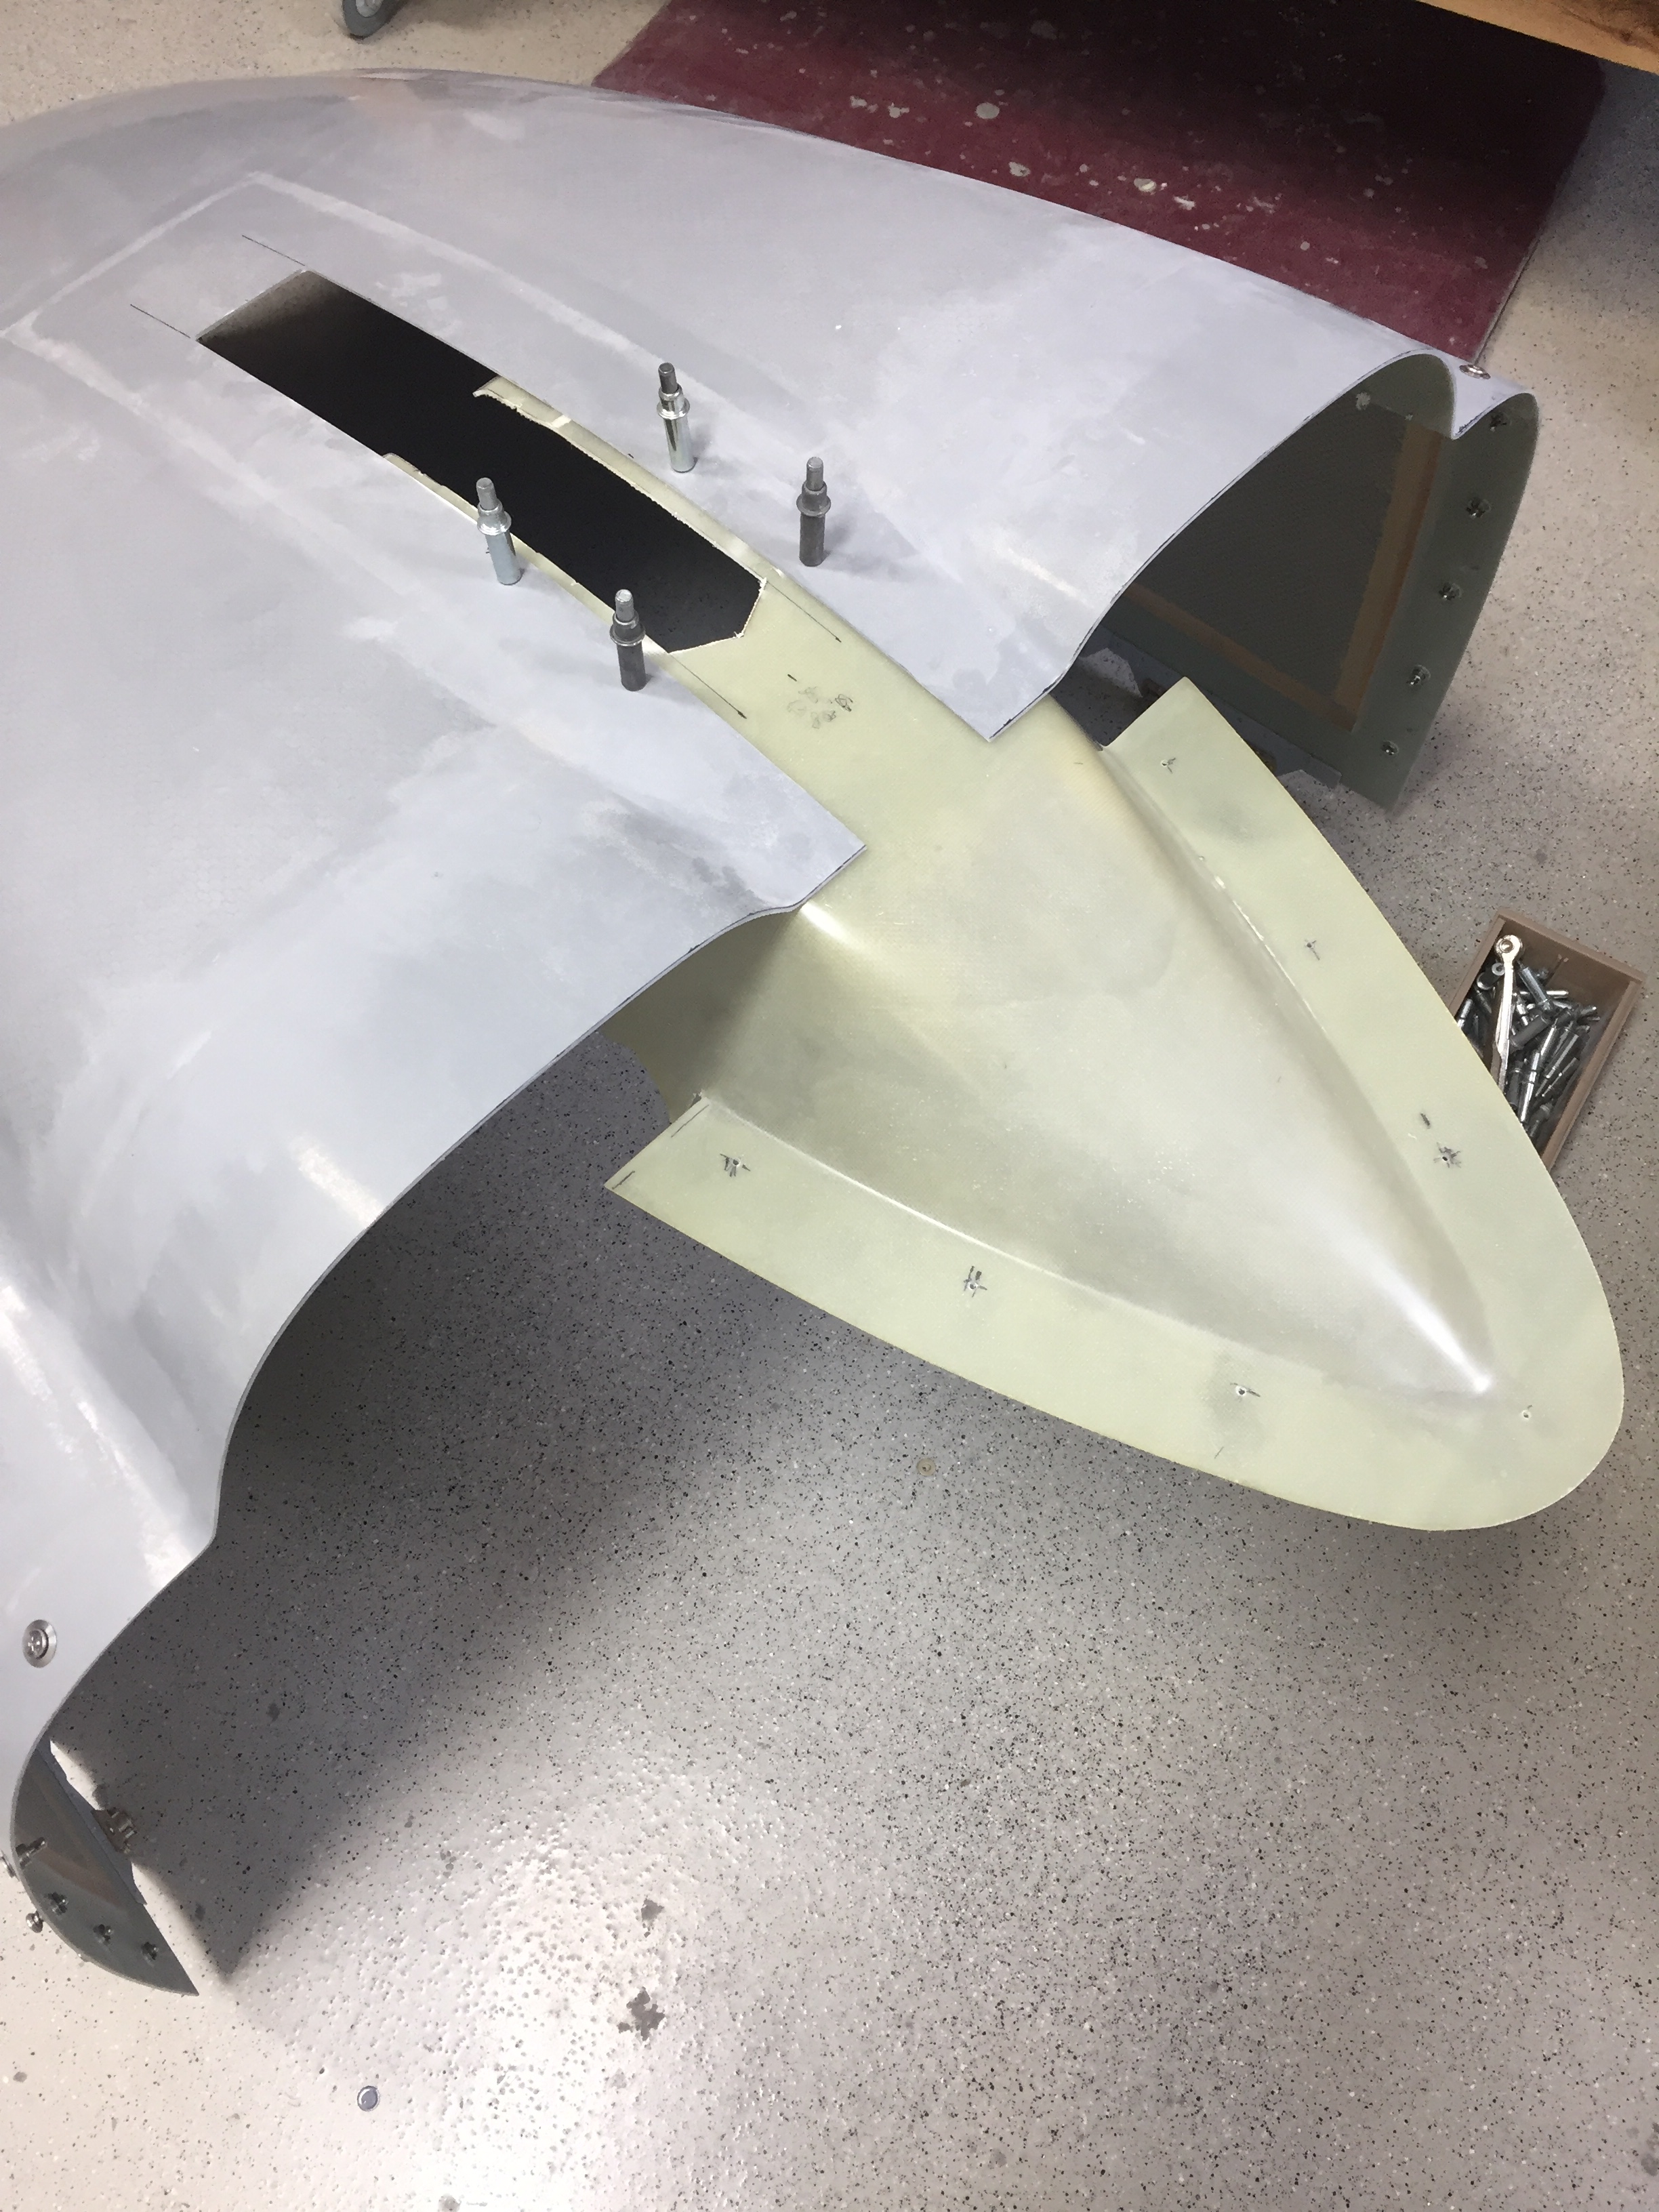
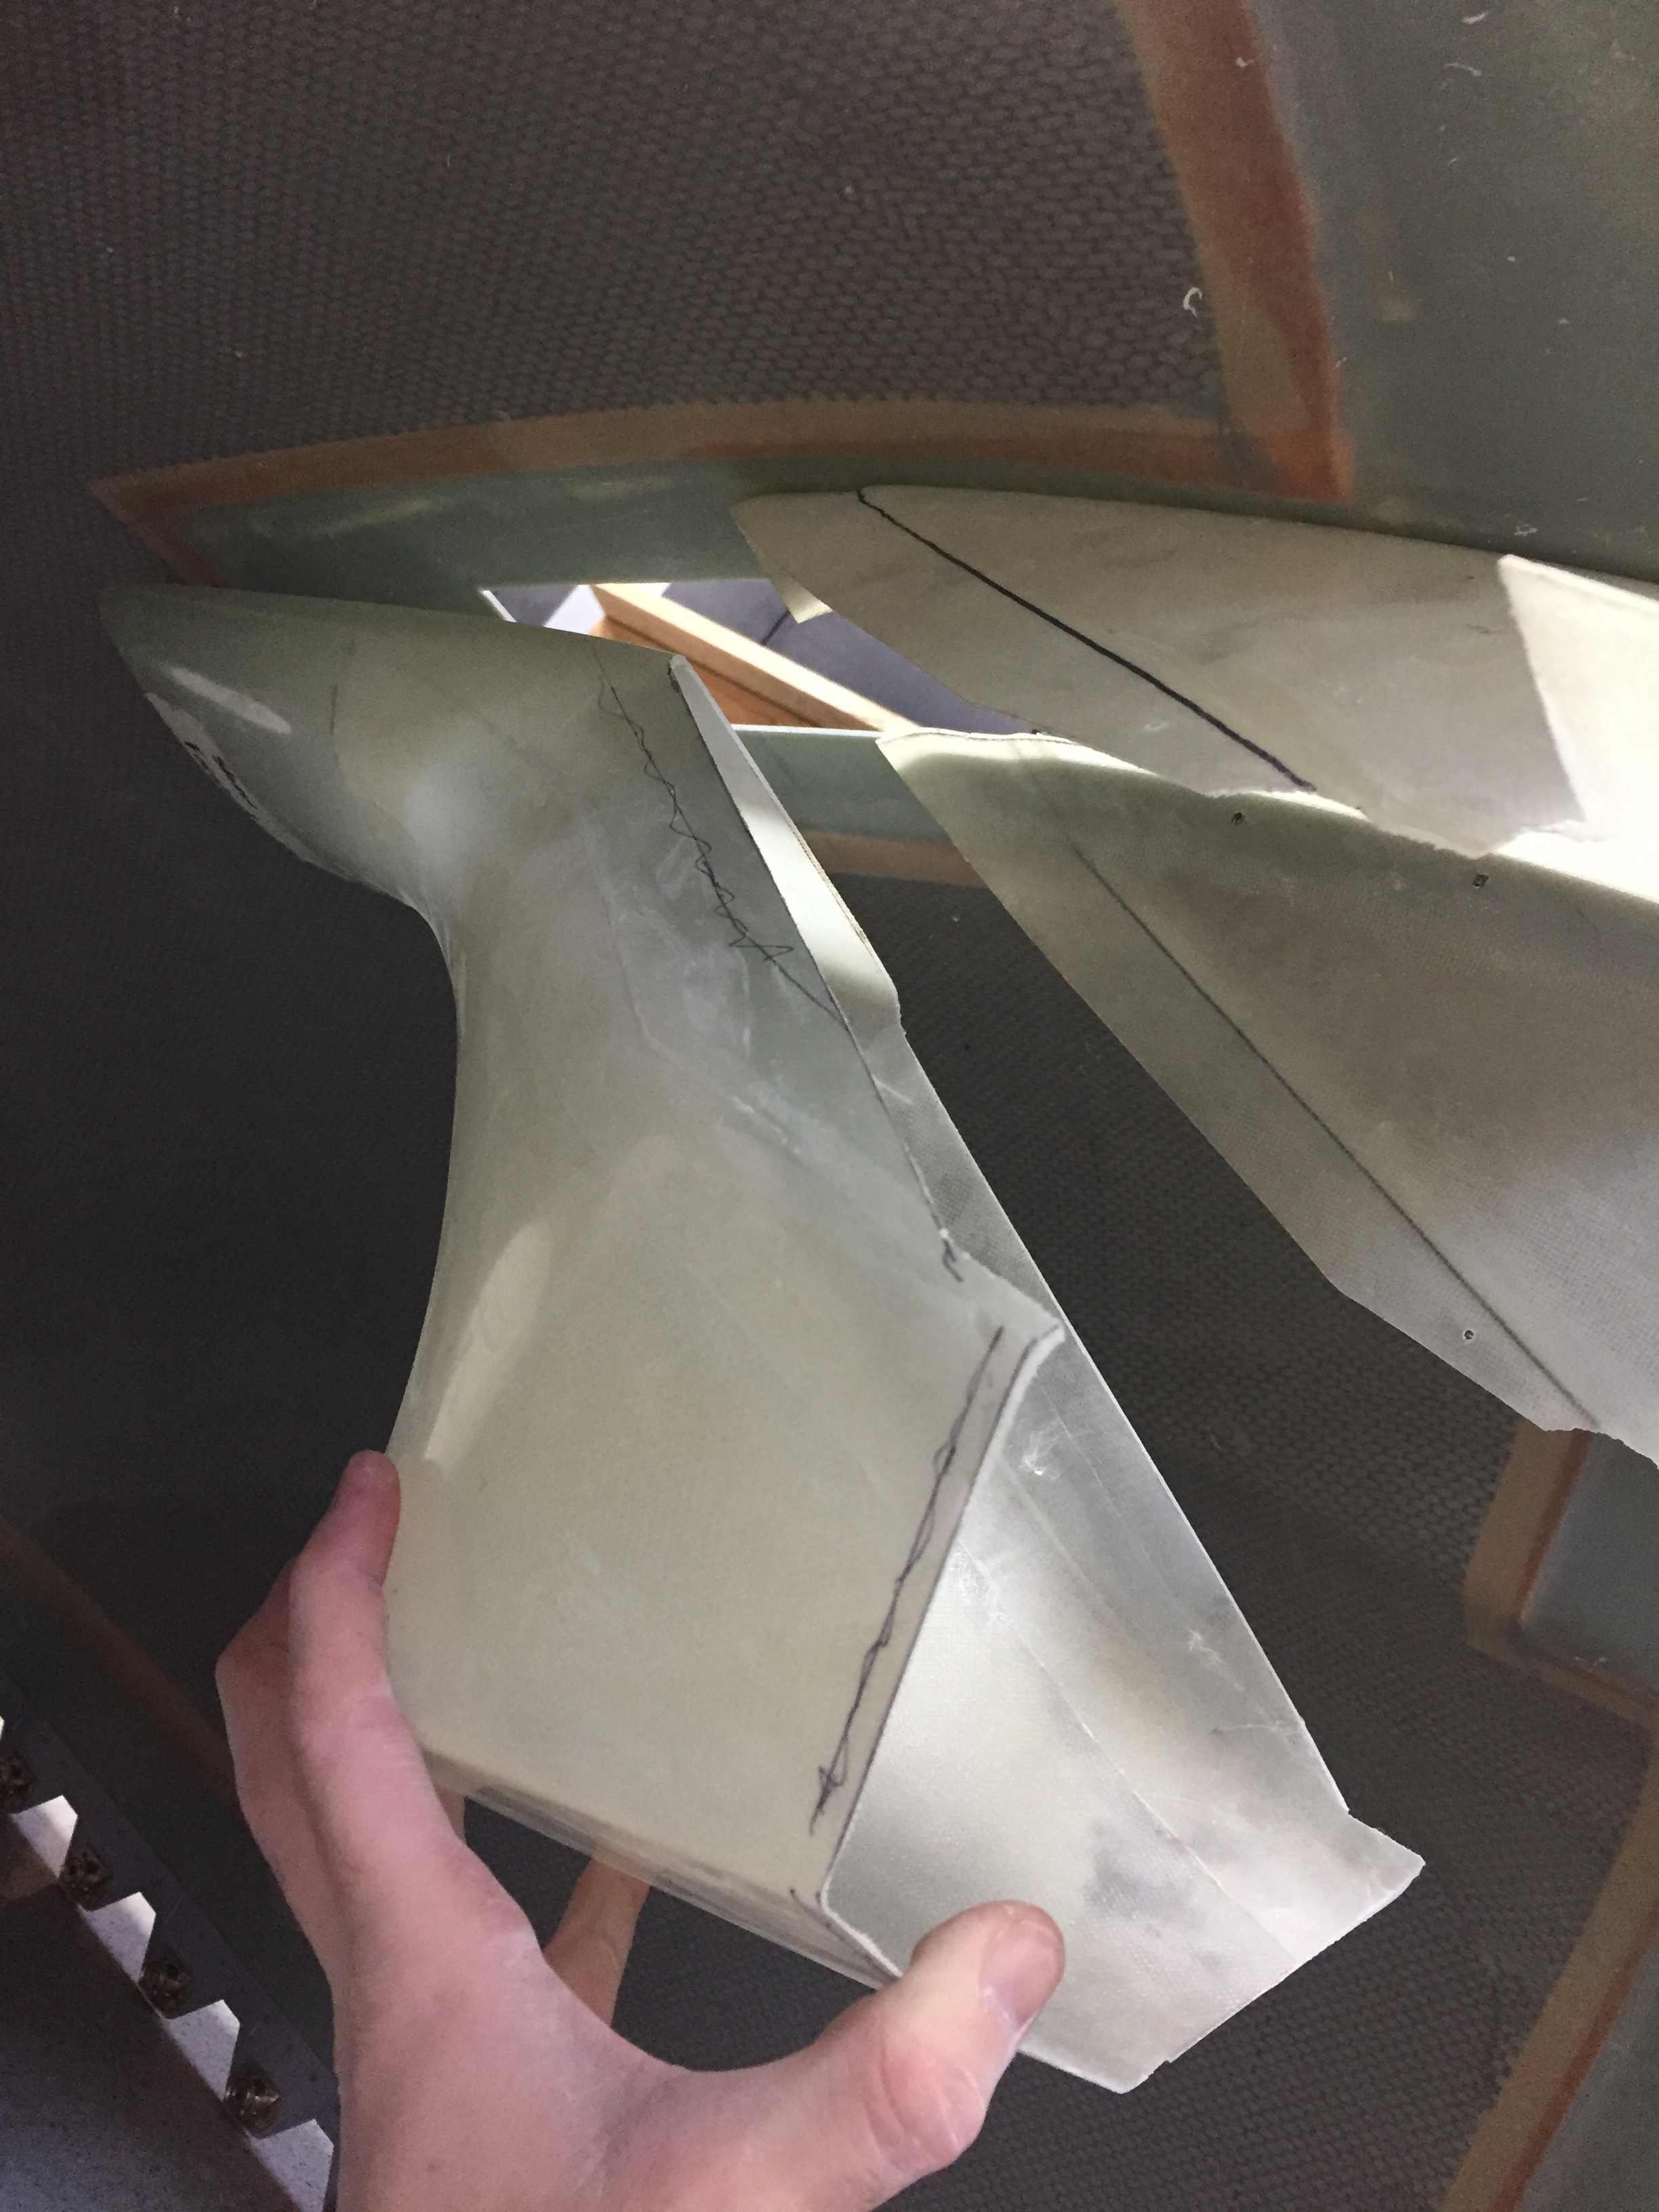
The rear piece has a few lips that fit over the bottom skin to help locate it correctly, so I did an initial fit before starting to trim the nose gear slot. Bryan shows a very tight opening for the gear leg, but I’m not sure how much it actually moves, especially on a grass or dirt strip, so I’ll leave a bit more room.
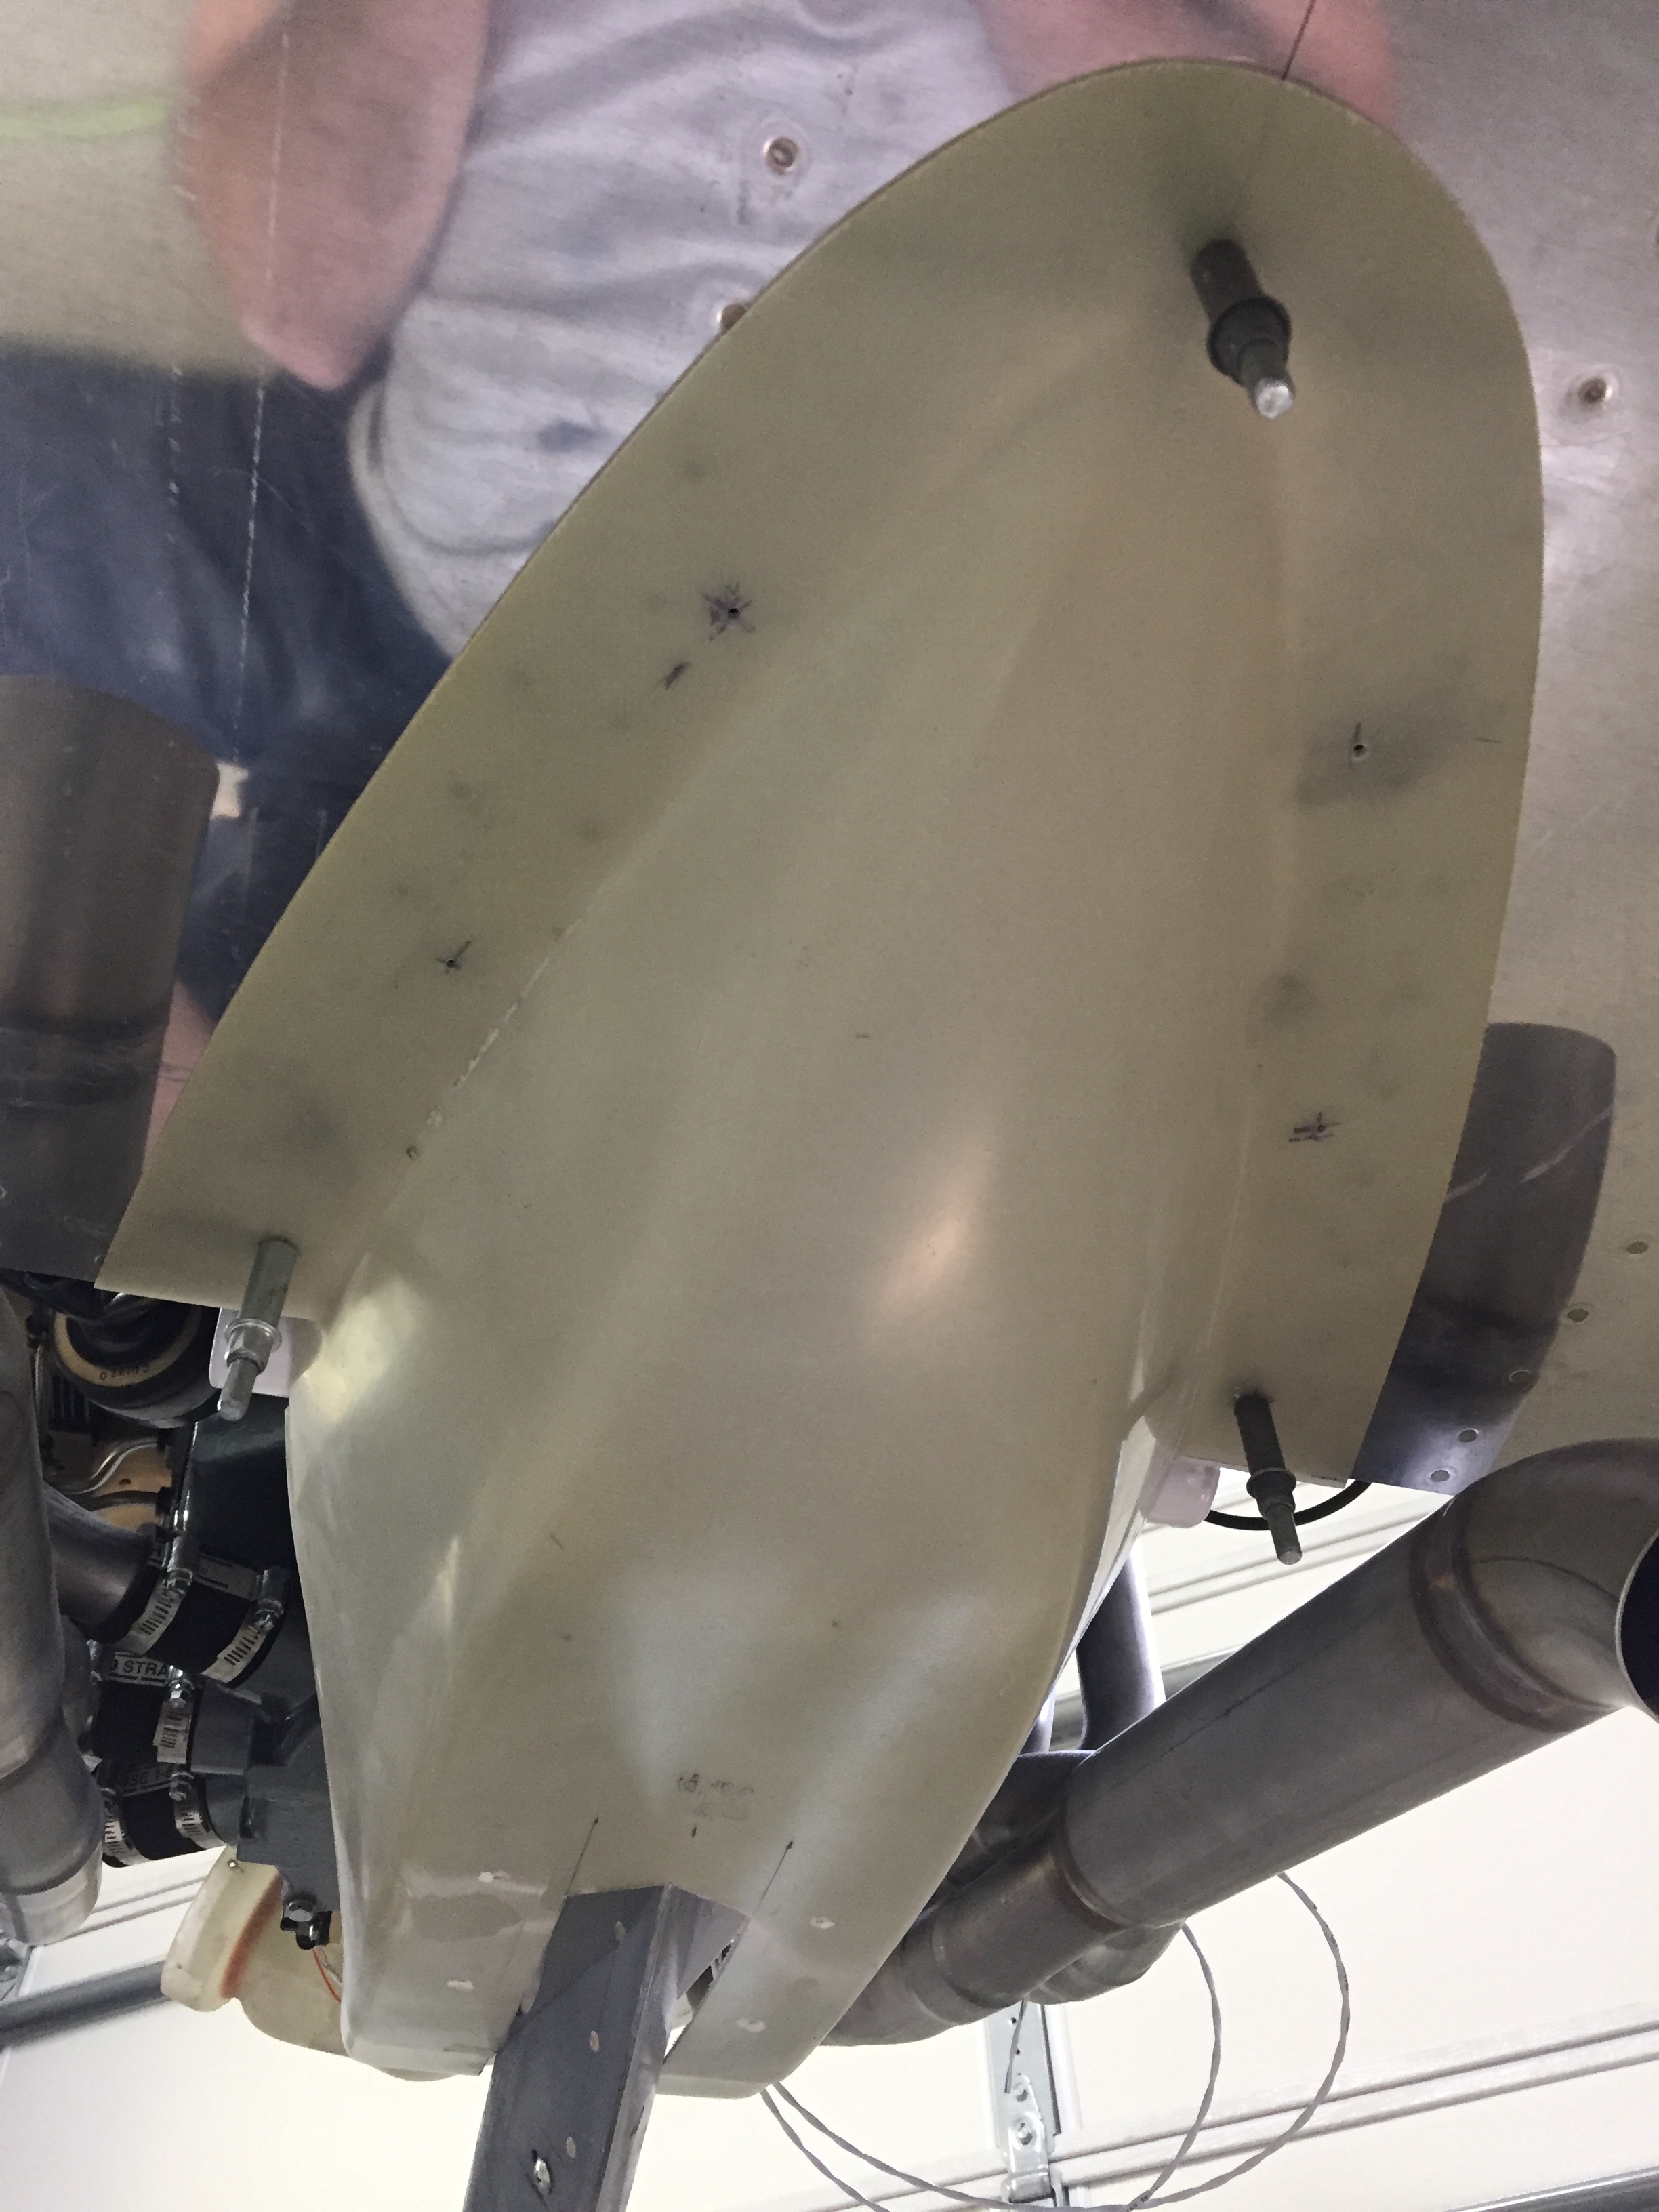
Once initially trimmed, I drilled into the bottom fuse and used nut inserts vs. sheet metal screws. I figured it’d give a better grip long term and less chance of stripping holes. Once the fairing is on, it reminds me of a duck billed platypus. Ha!
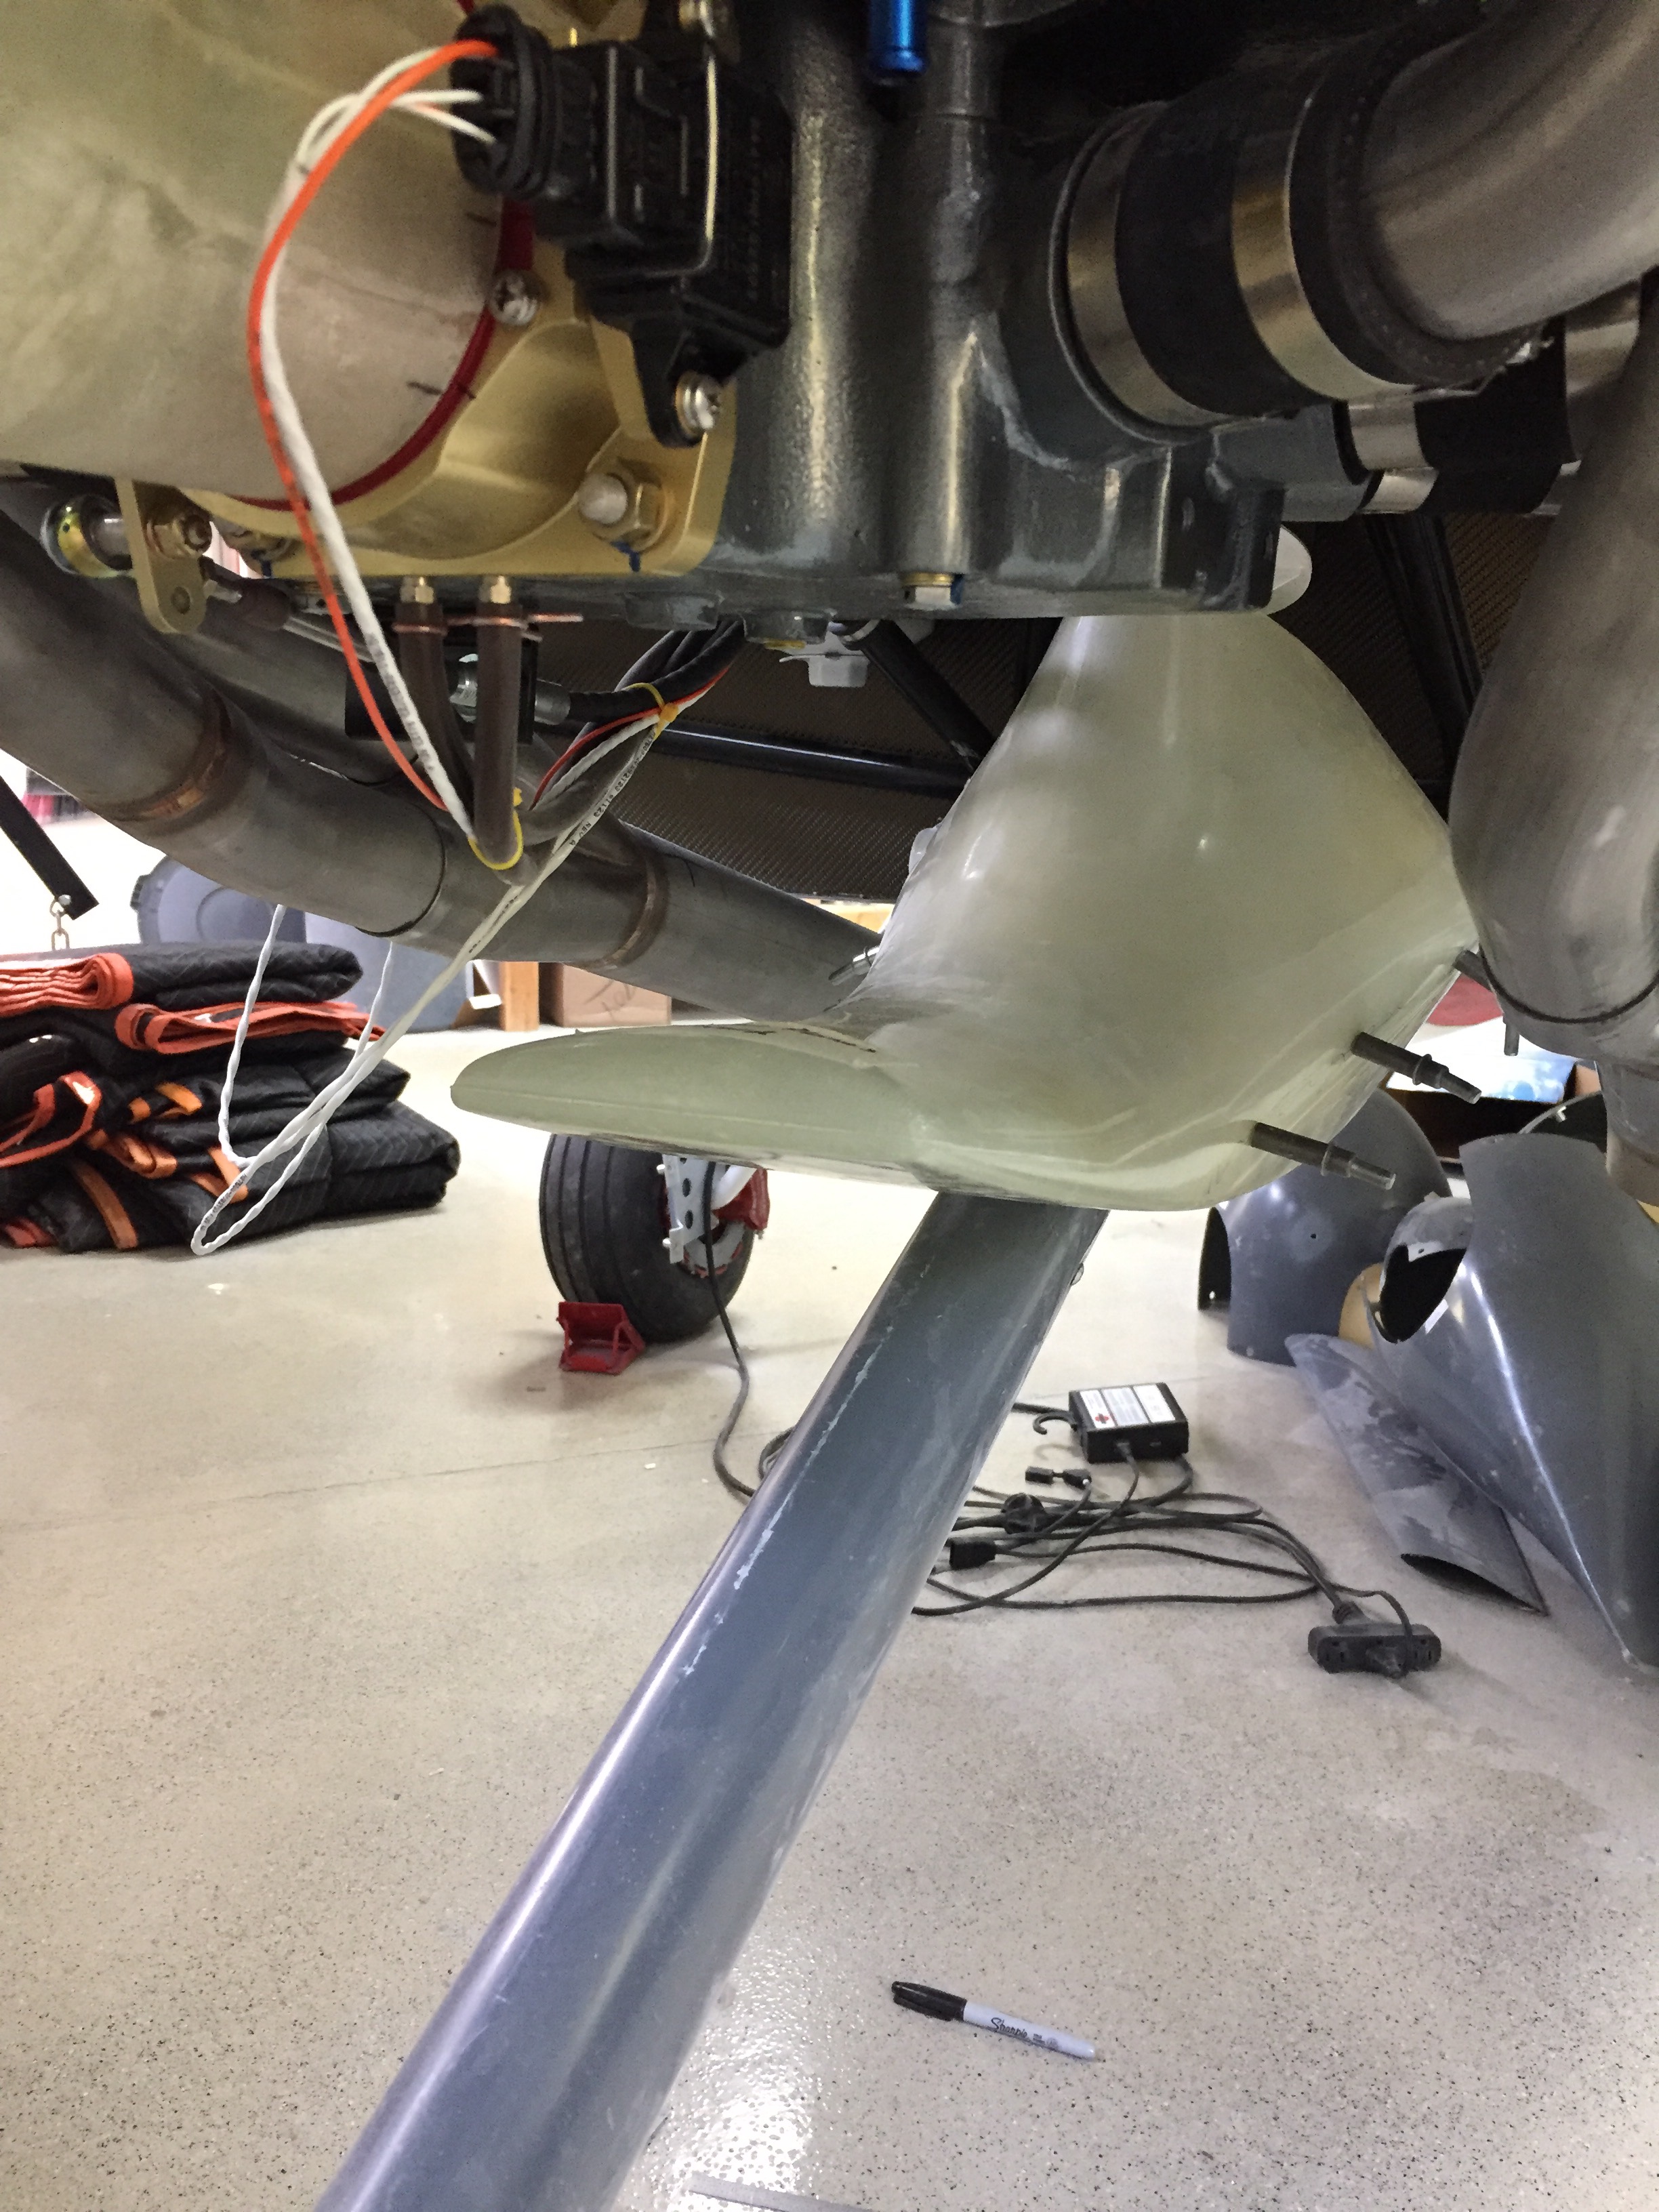
I chose to use more SkyBolts to secure the fairings to the cowl. I am also following Joe Keys’s lead on making a cover plate to cover an extended nose gear leg slot. This will allow the cowl to fit a bit better going on and coming off since I have the dreaded three blade propeller.
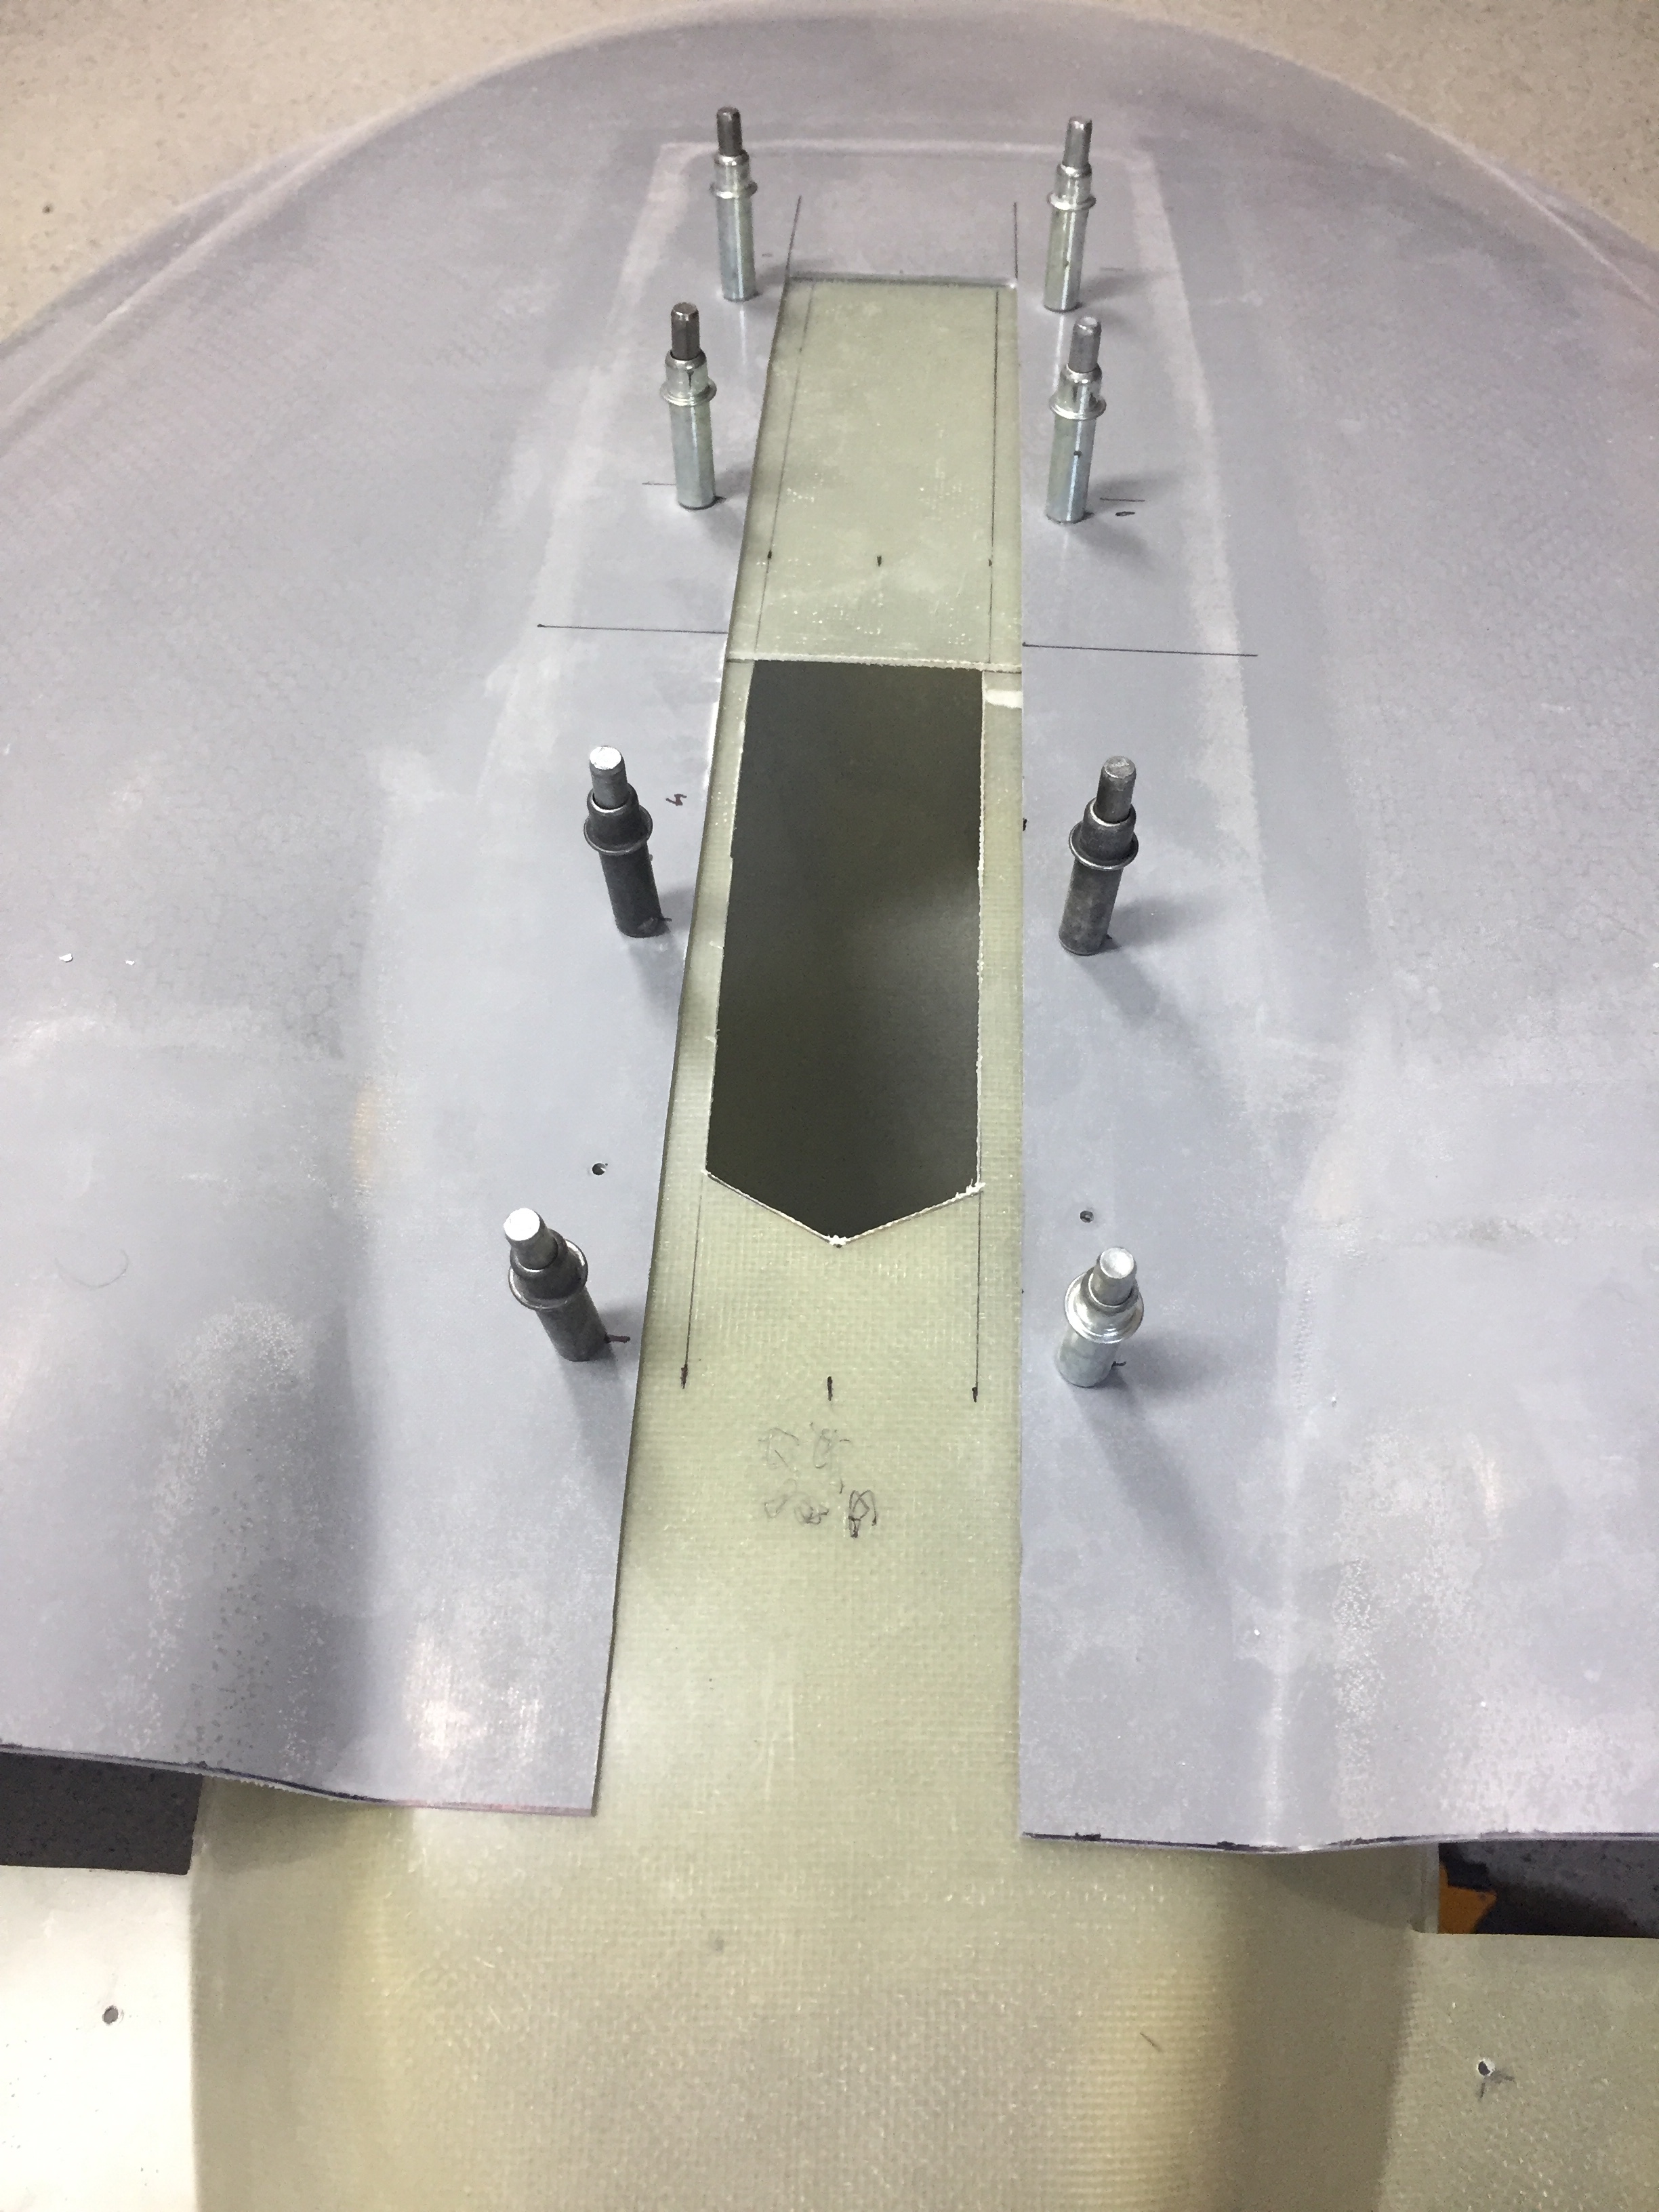
I finished up by extending the cowl slot as far as possible while still covered by the fairing and epoxied the front fairing onto the bottom of the lower cowl. Getting the lower cowl on and off is a bit of a challenge, but it does just fit and the blade sox I have really pay off here to avoid nasty scratches on the prop blades.
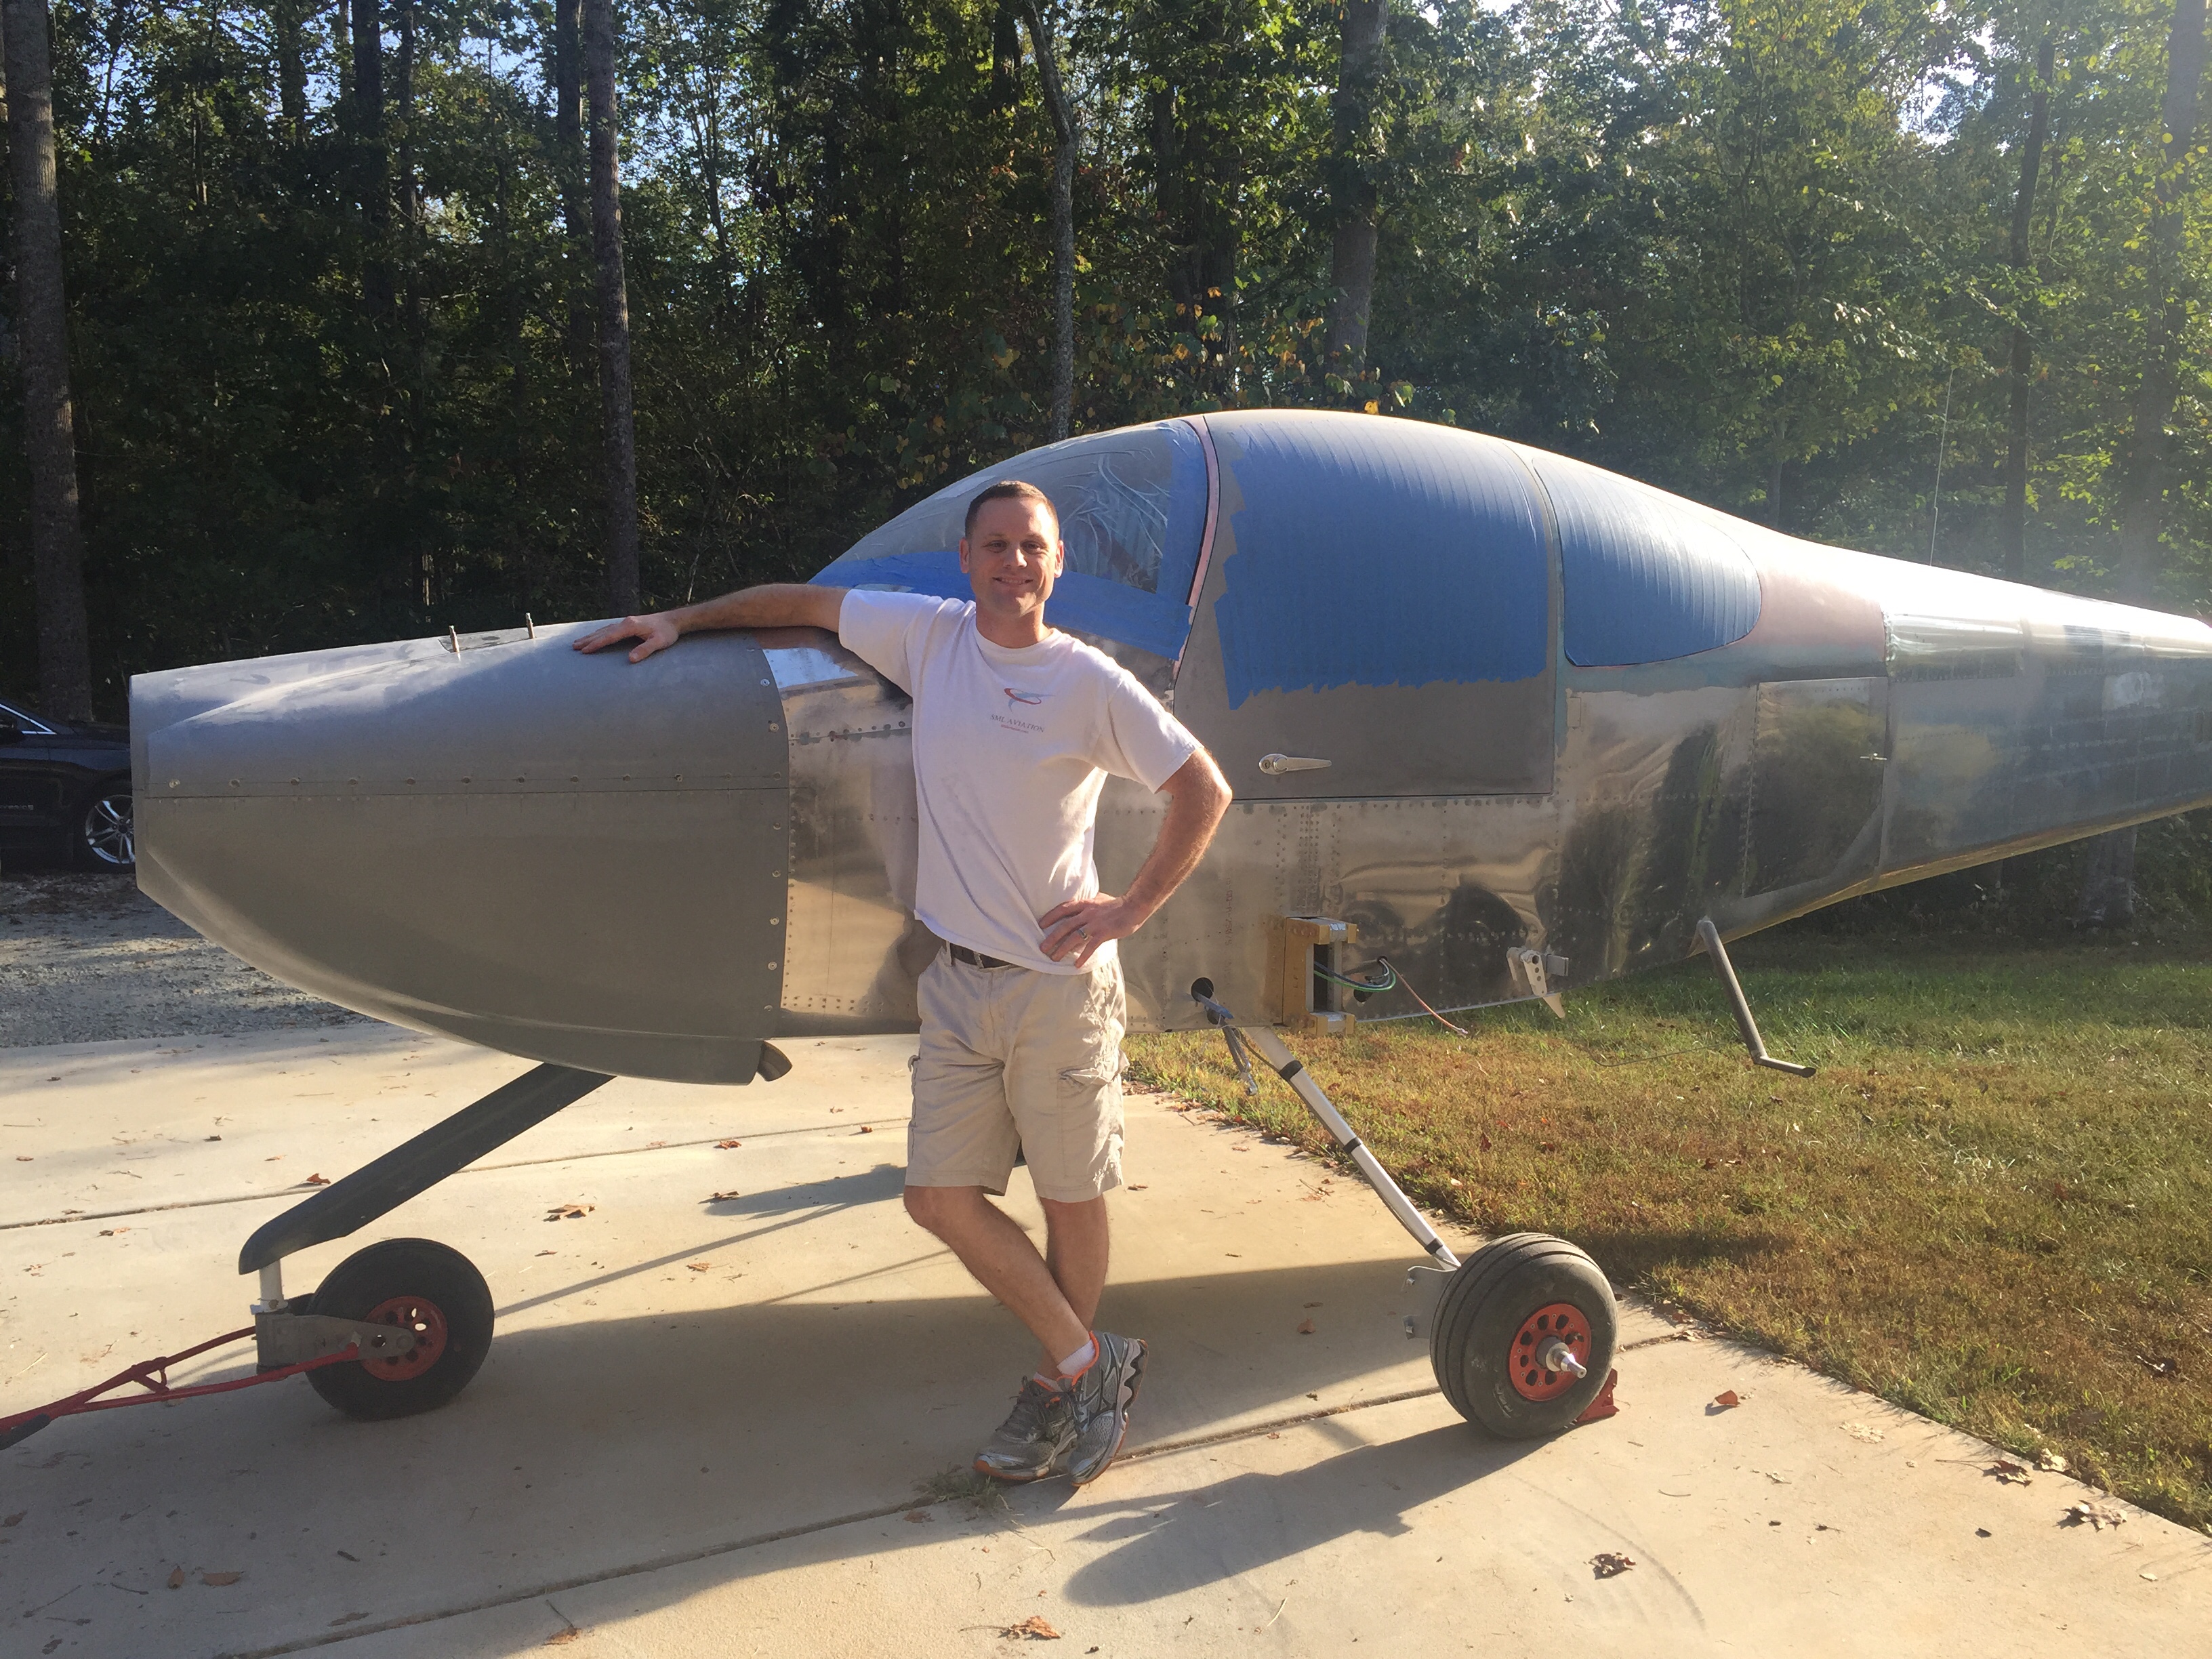
Since the cowling was the last big project left to complete at home, the fuselage is ready to join the wings at the airport! I was able to complete all of the interior, electrical, avionics, and engine including cowling at home which saved a lot of time and money in the long run. Now I need to fit the wings and tail surfaces to finish up the build and need the hangar space to do so.
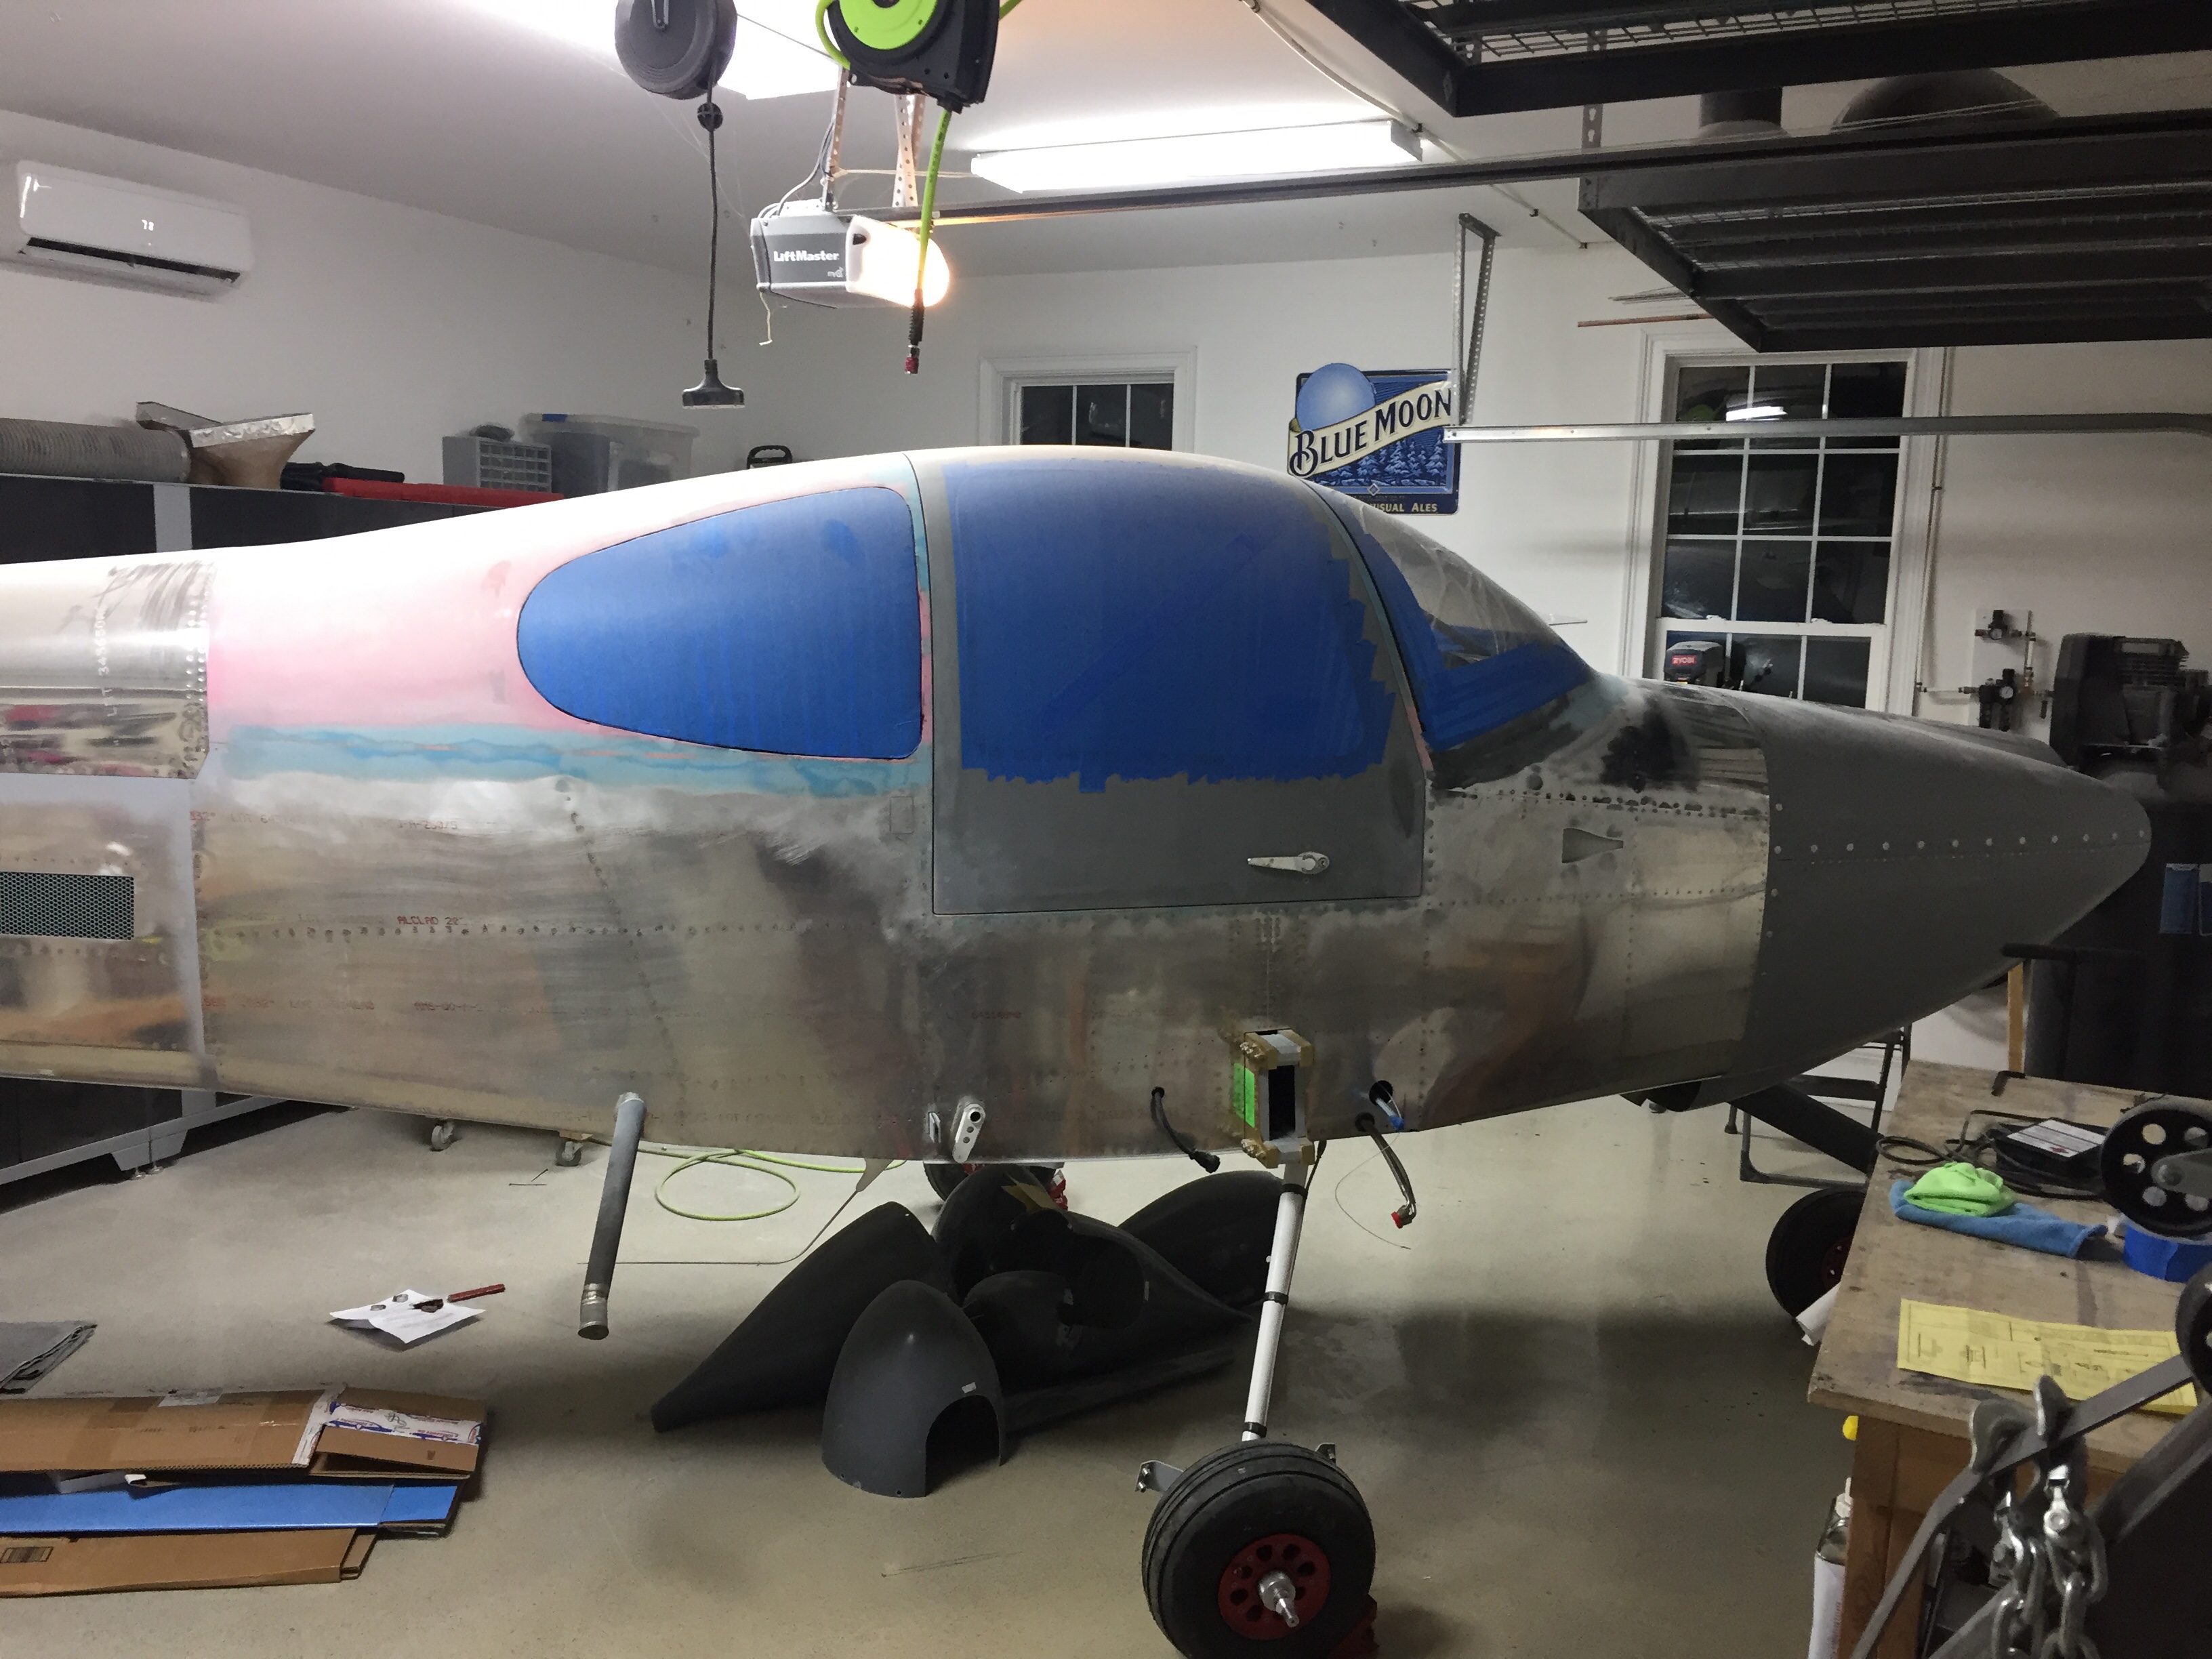
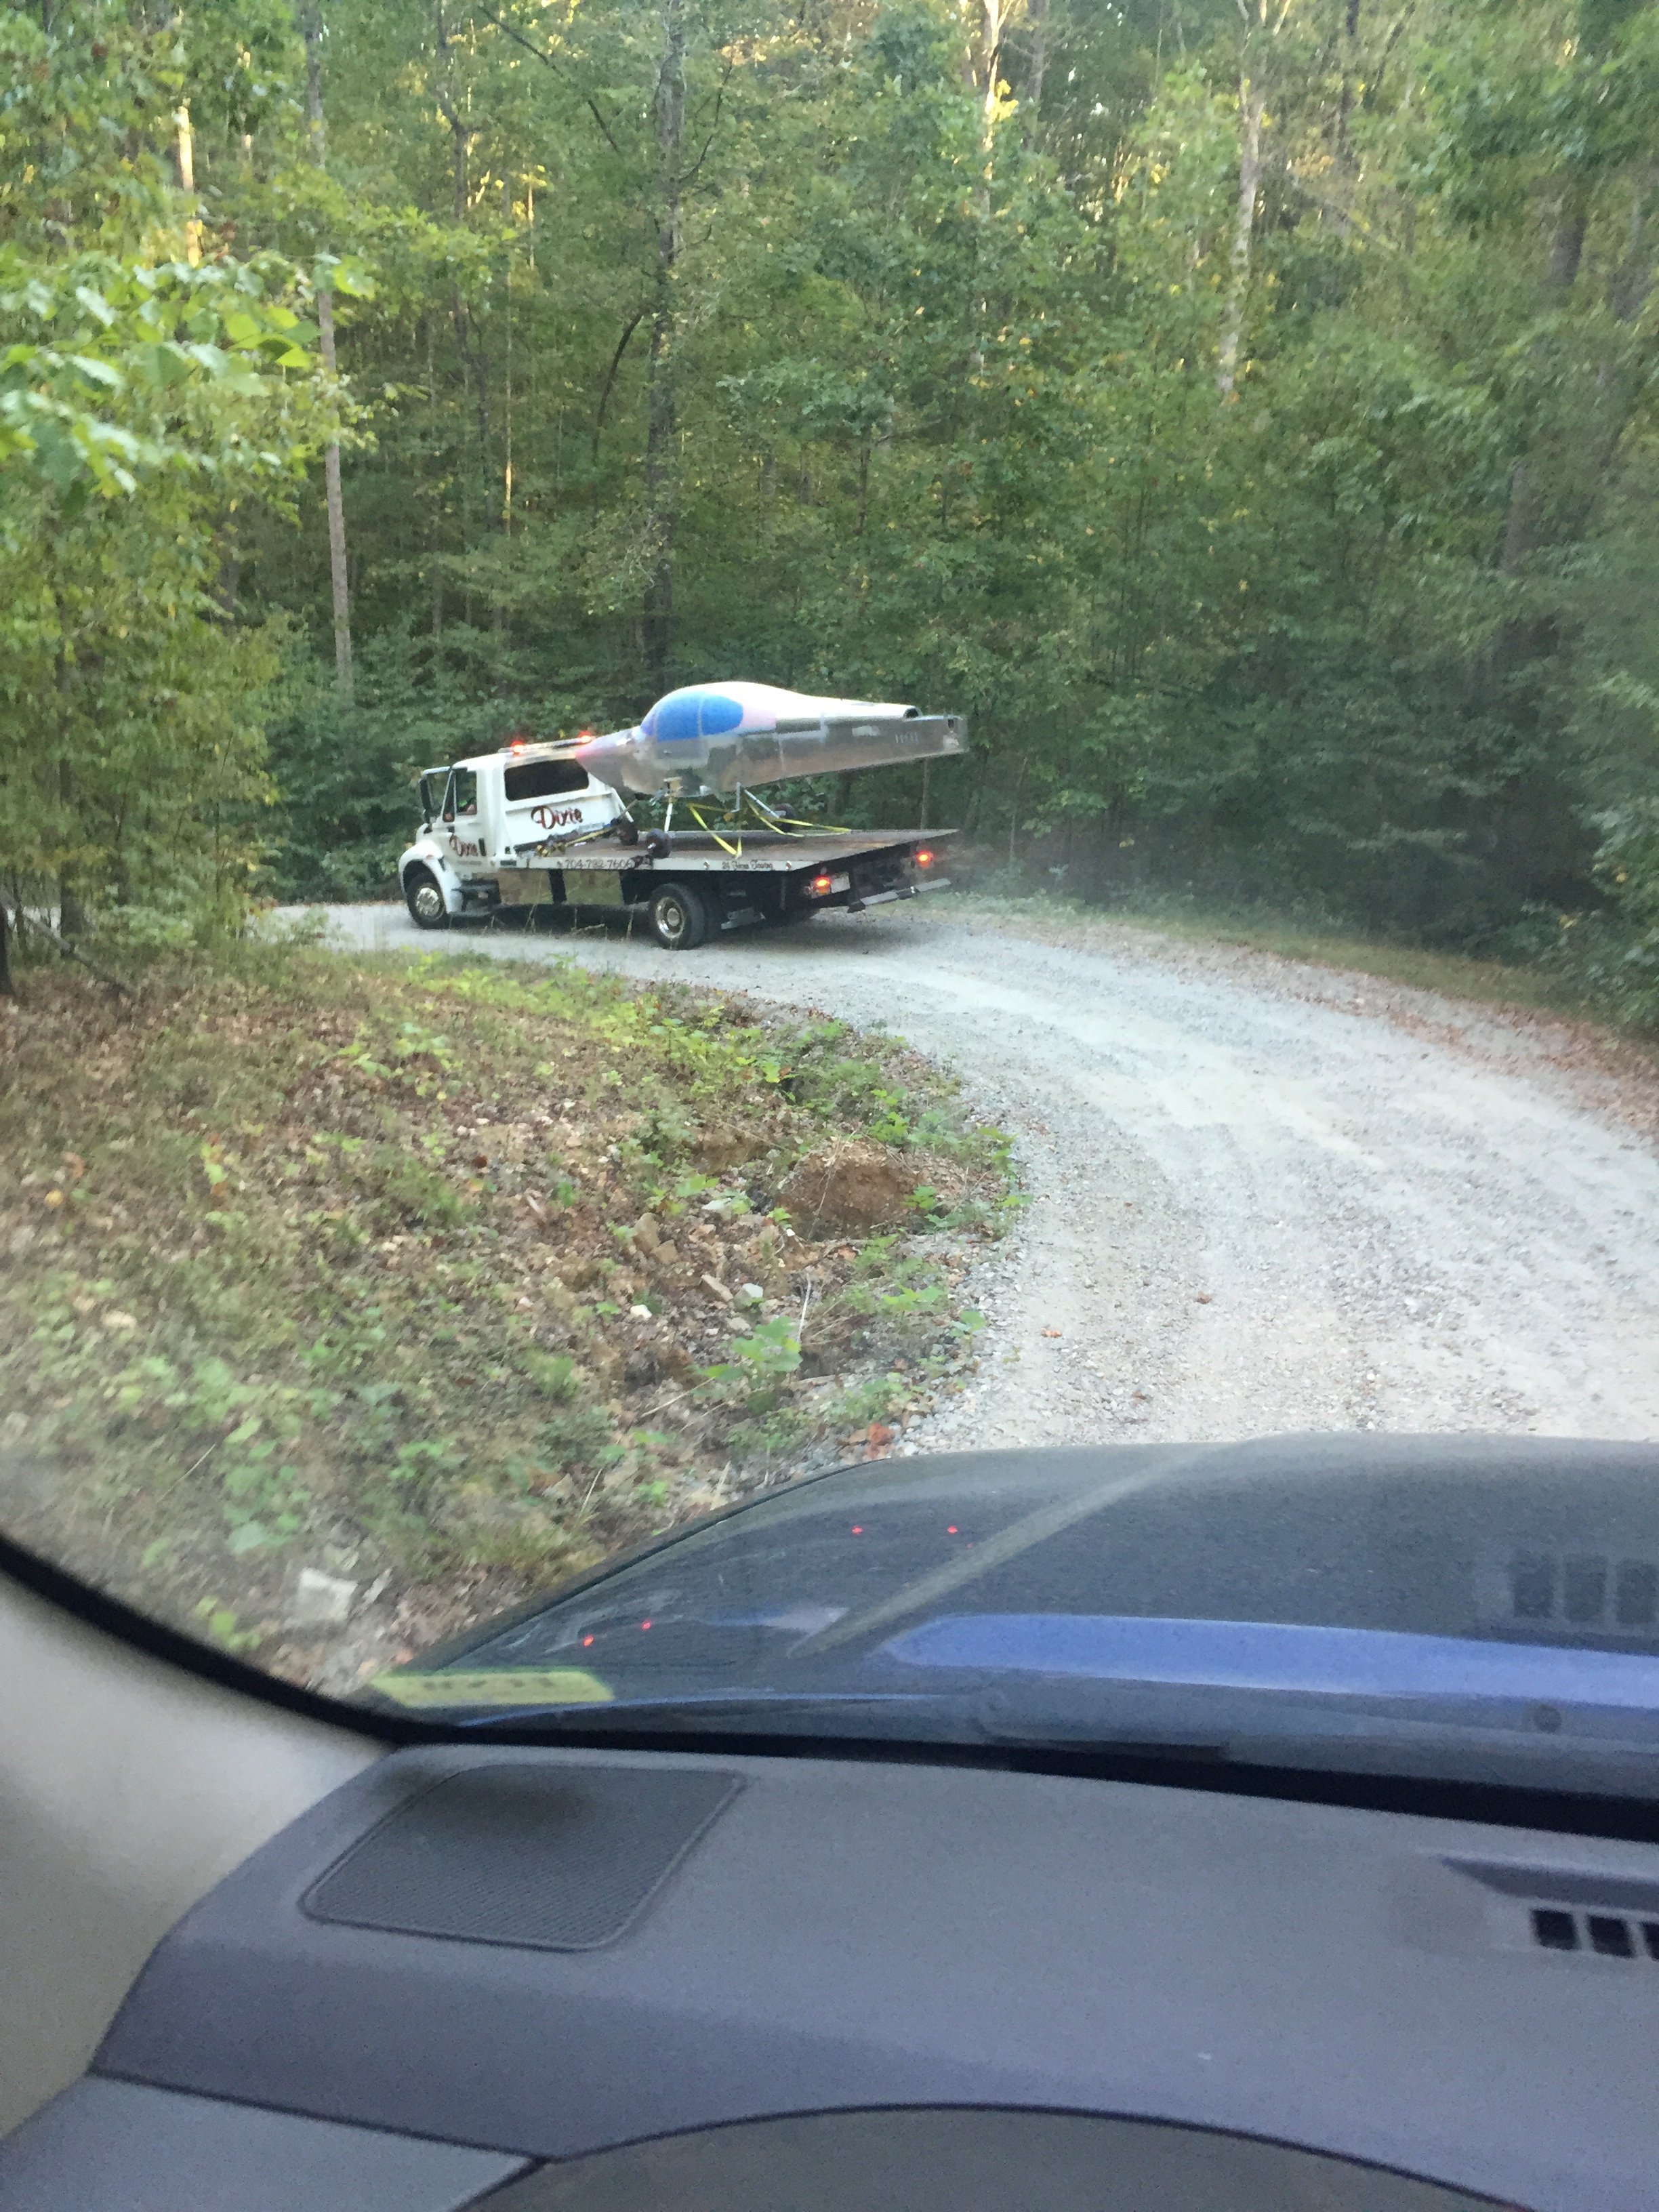
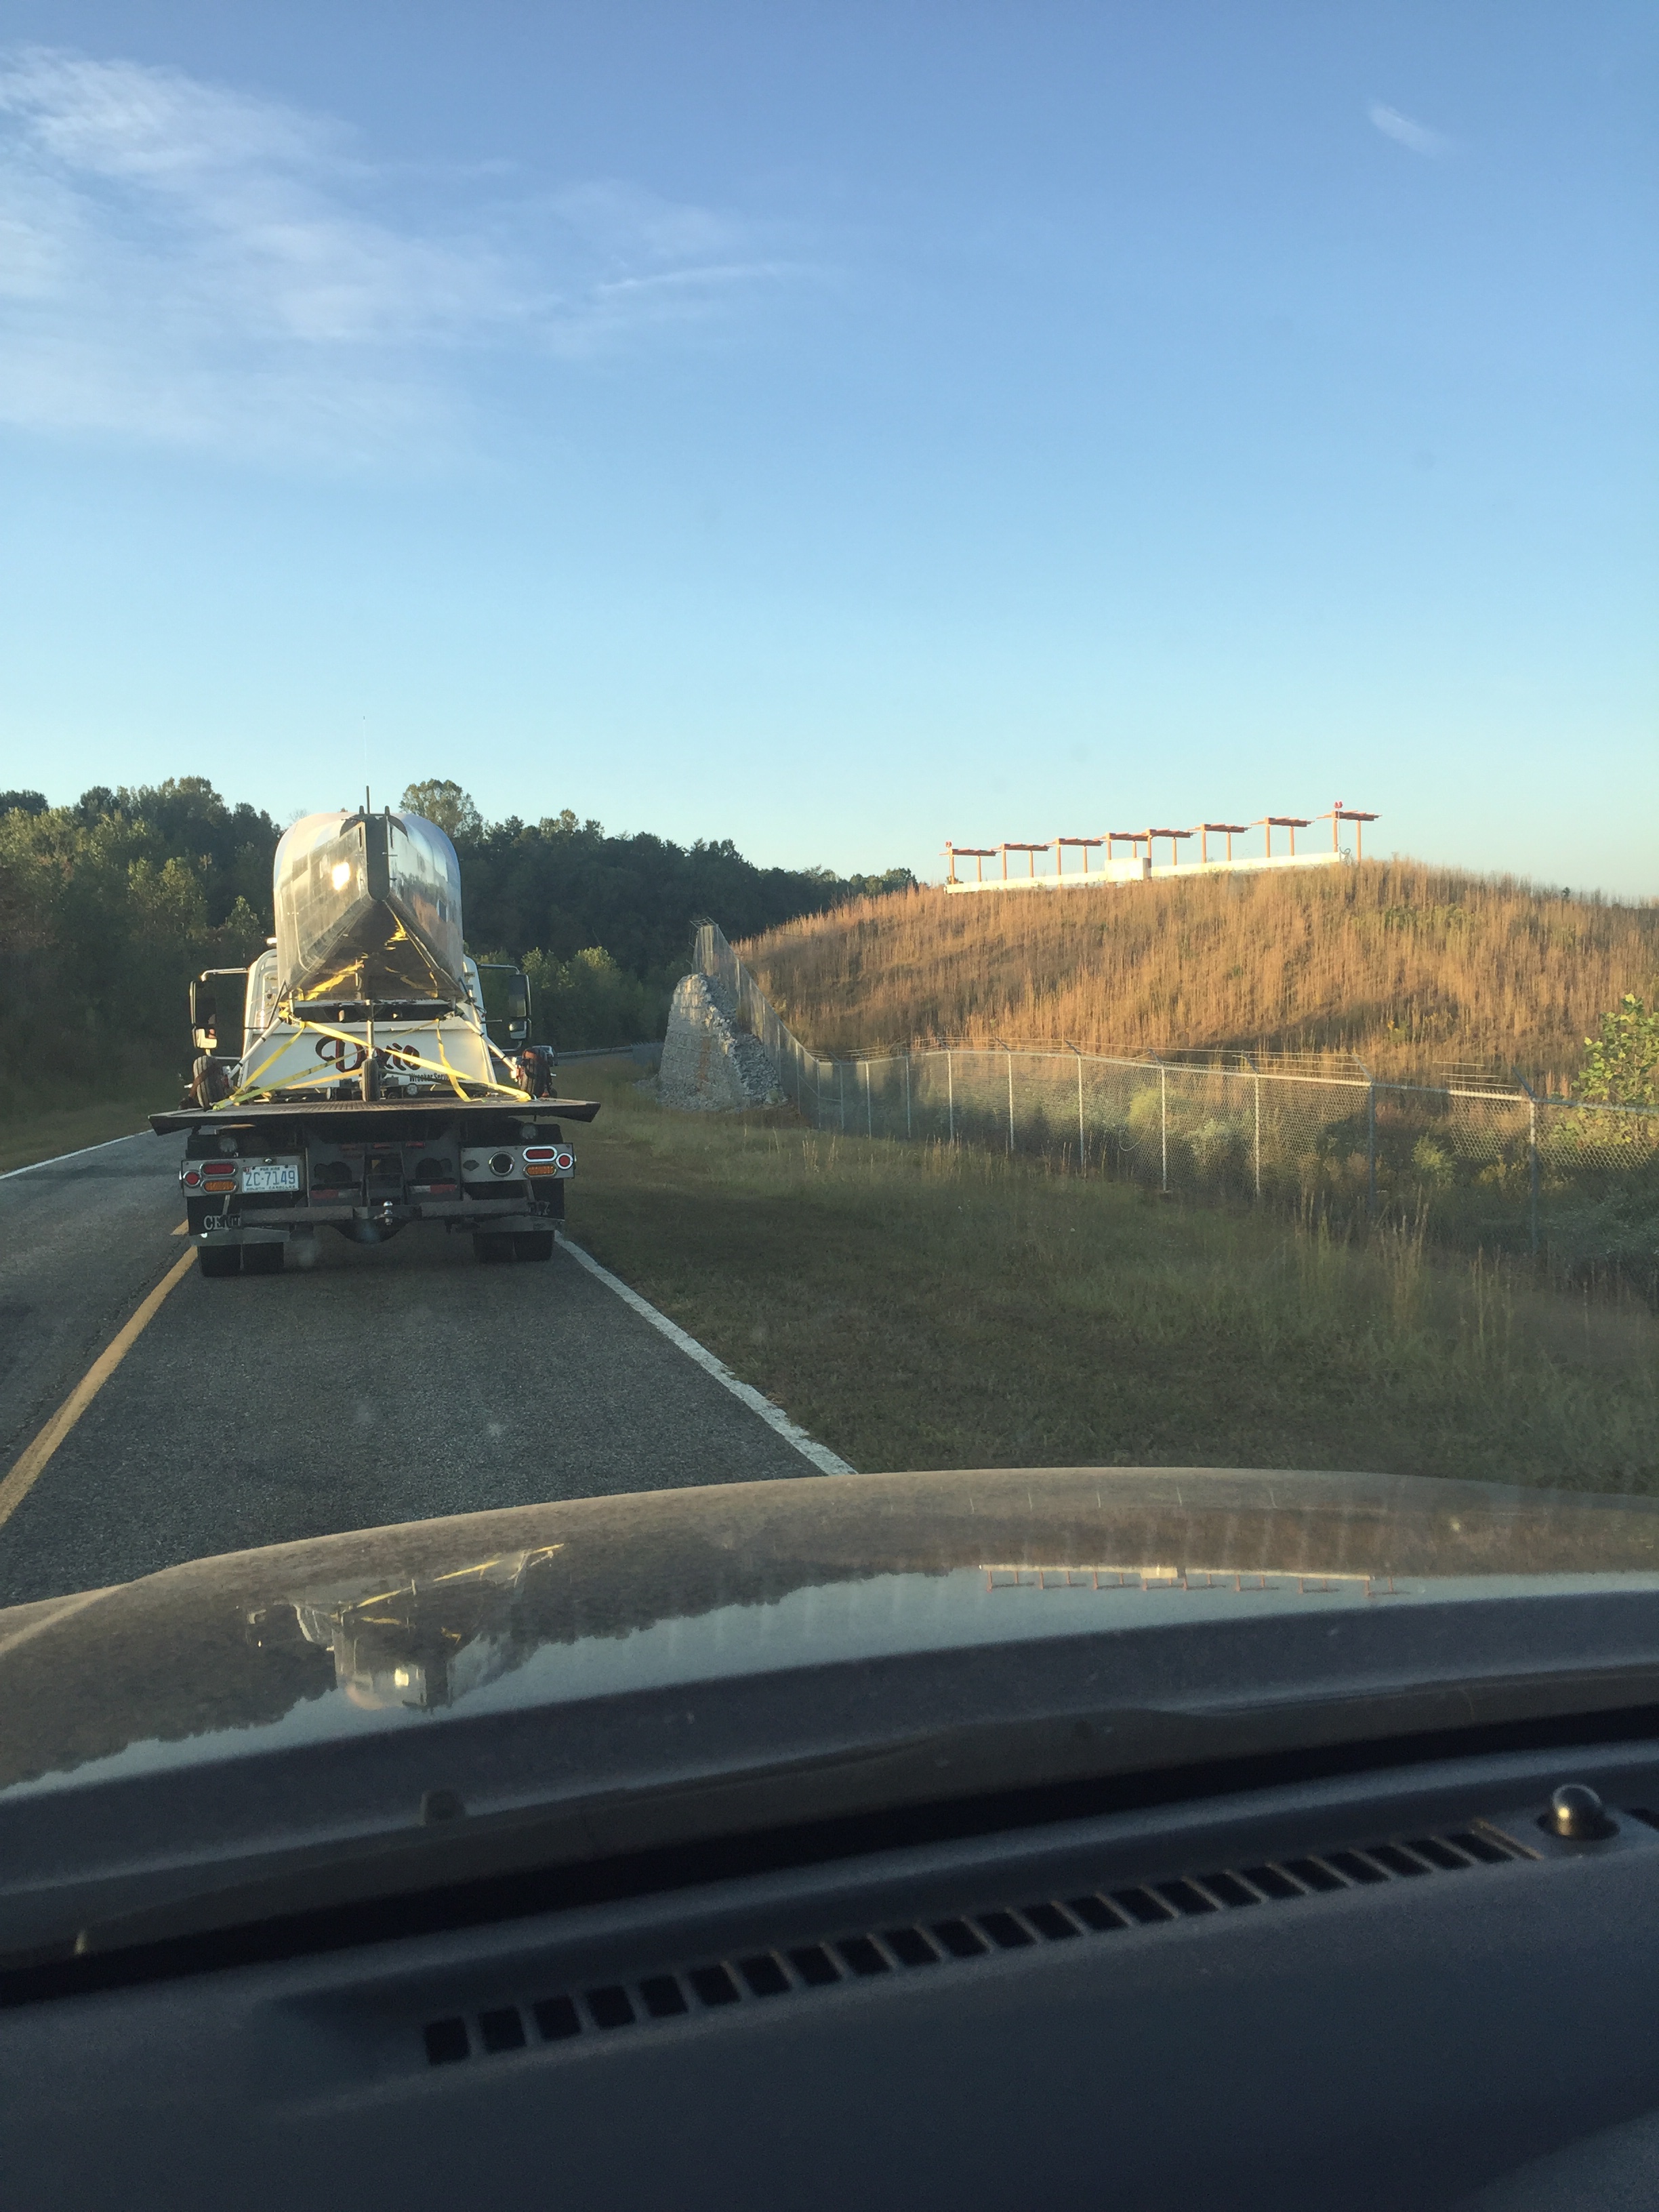
On a sunny afternoon, we rolled the fuselage out and did a good blow job (hahahaha, grow up) to get most of the dust off of everything. I found a roll back wrecker driver that made me feel comfortable and who wasn’t in a hurry to move it the few miles to the airport. He did a fantastic job, talking through each step and making sure I was happy with how we winched it and tied it down. He took his time on the curvy bumpy back roads after managing down our driveway of doom and destruction with ease. I think I breathed twice during the 45 minutes it took to move it and I only panicked once when I thought tree limbs were going to scratch the windscreen but were actually three feet clear.
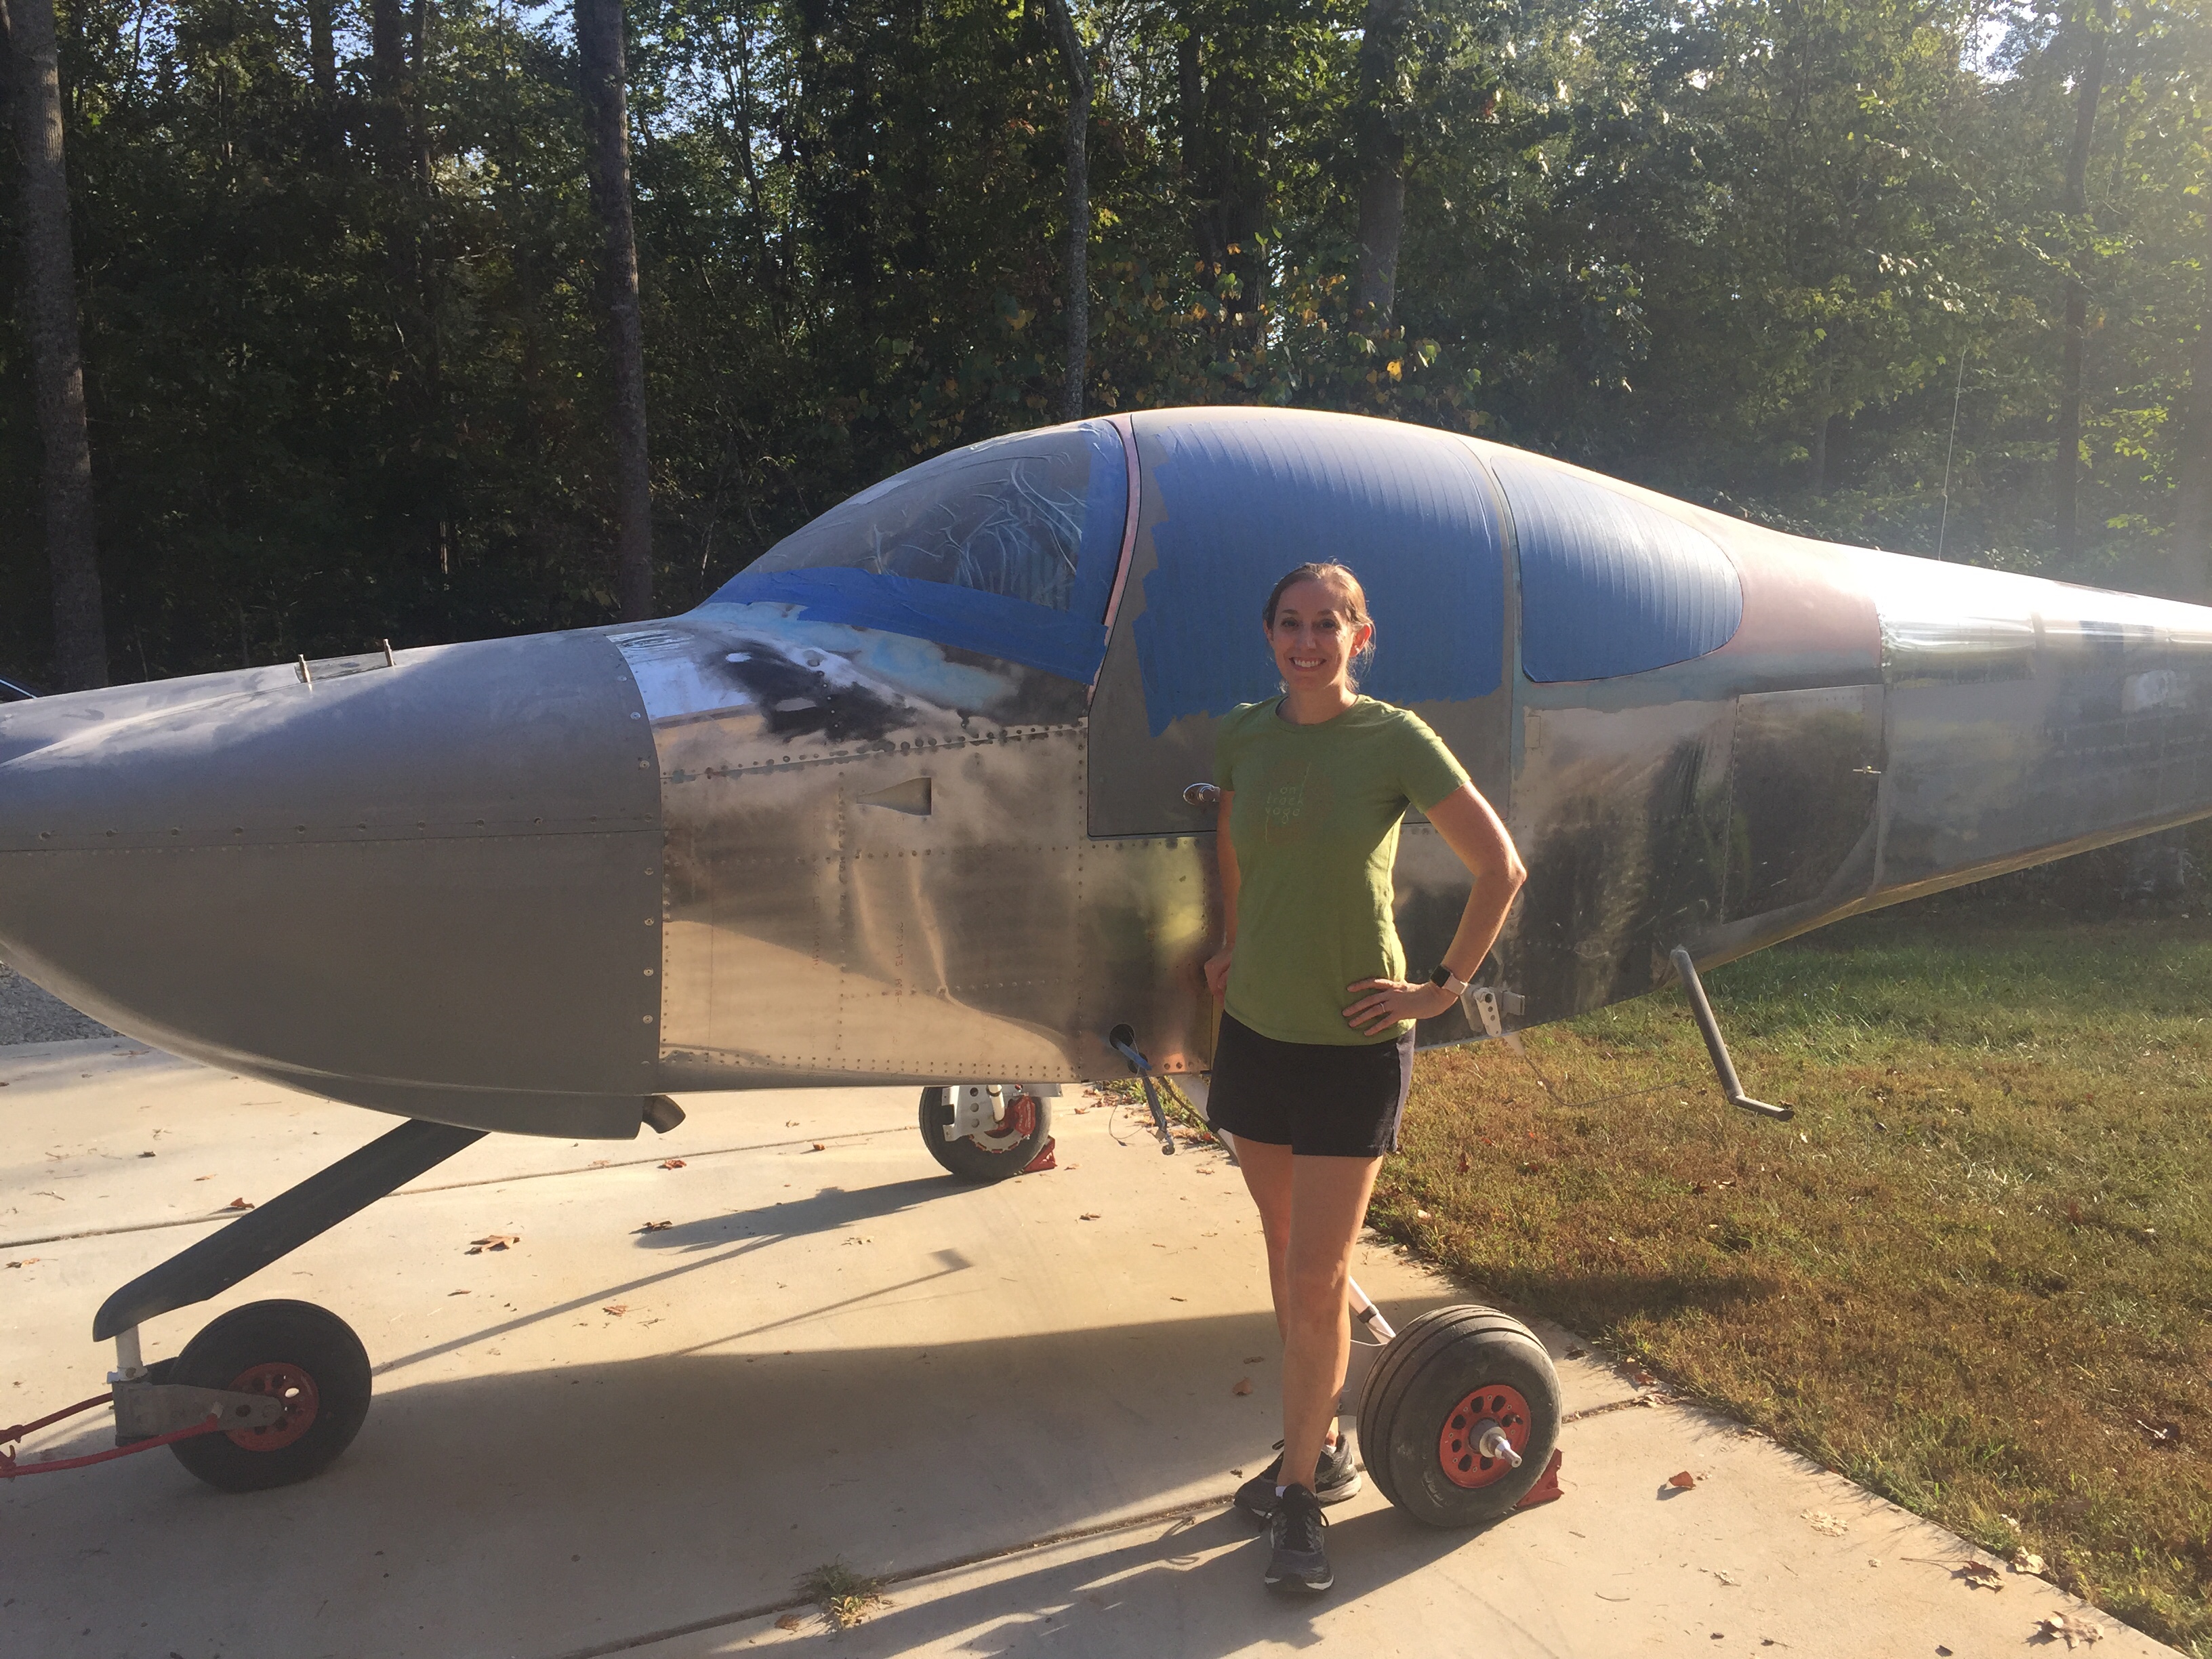
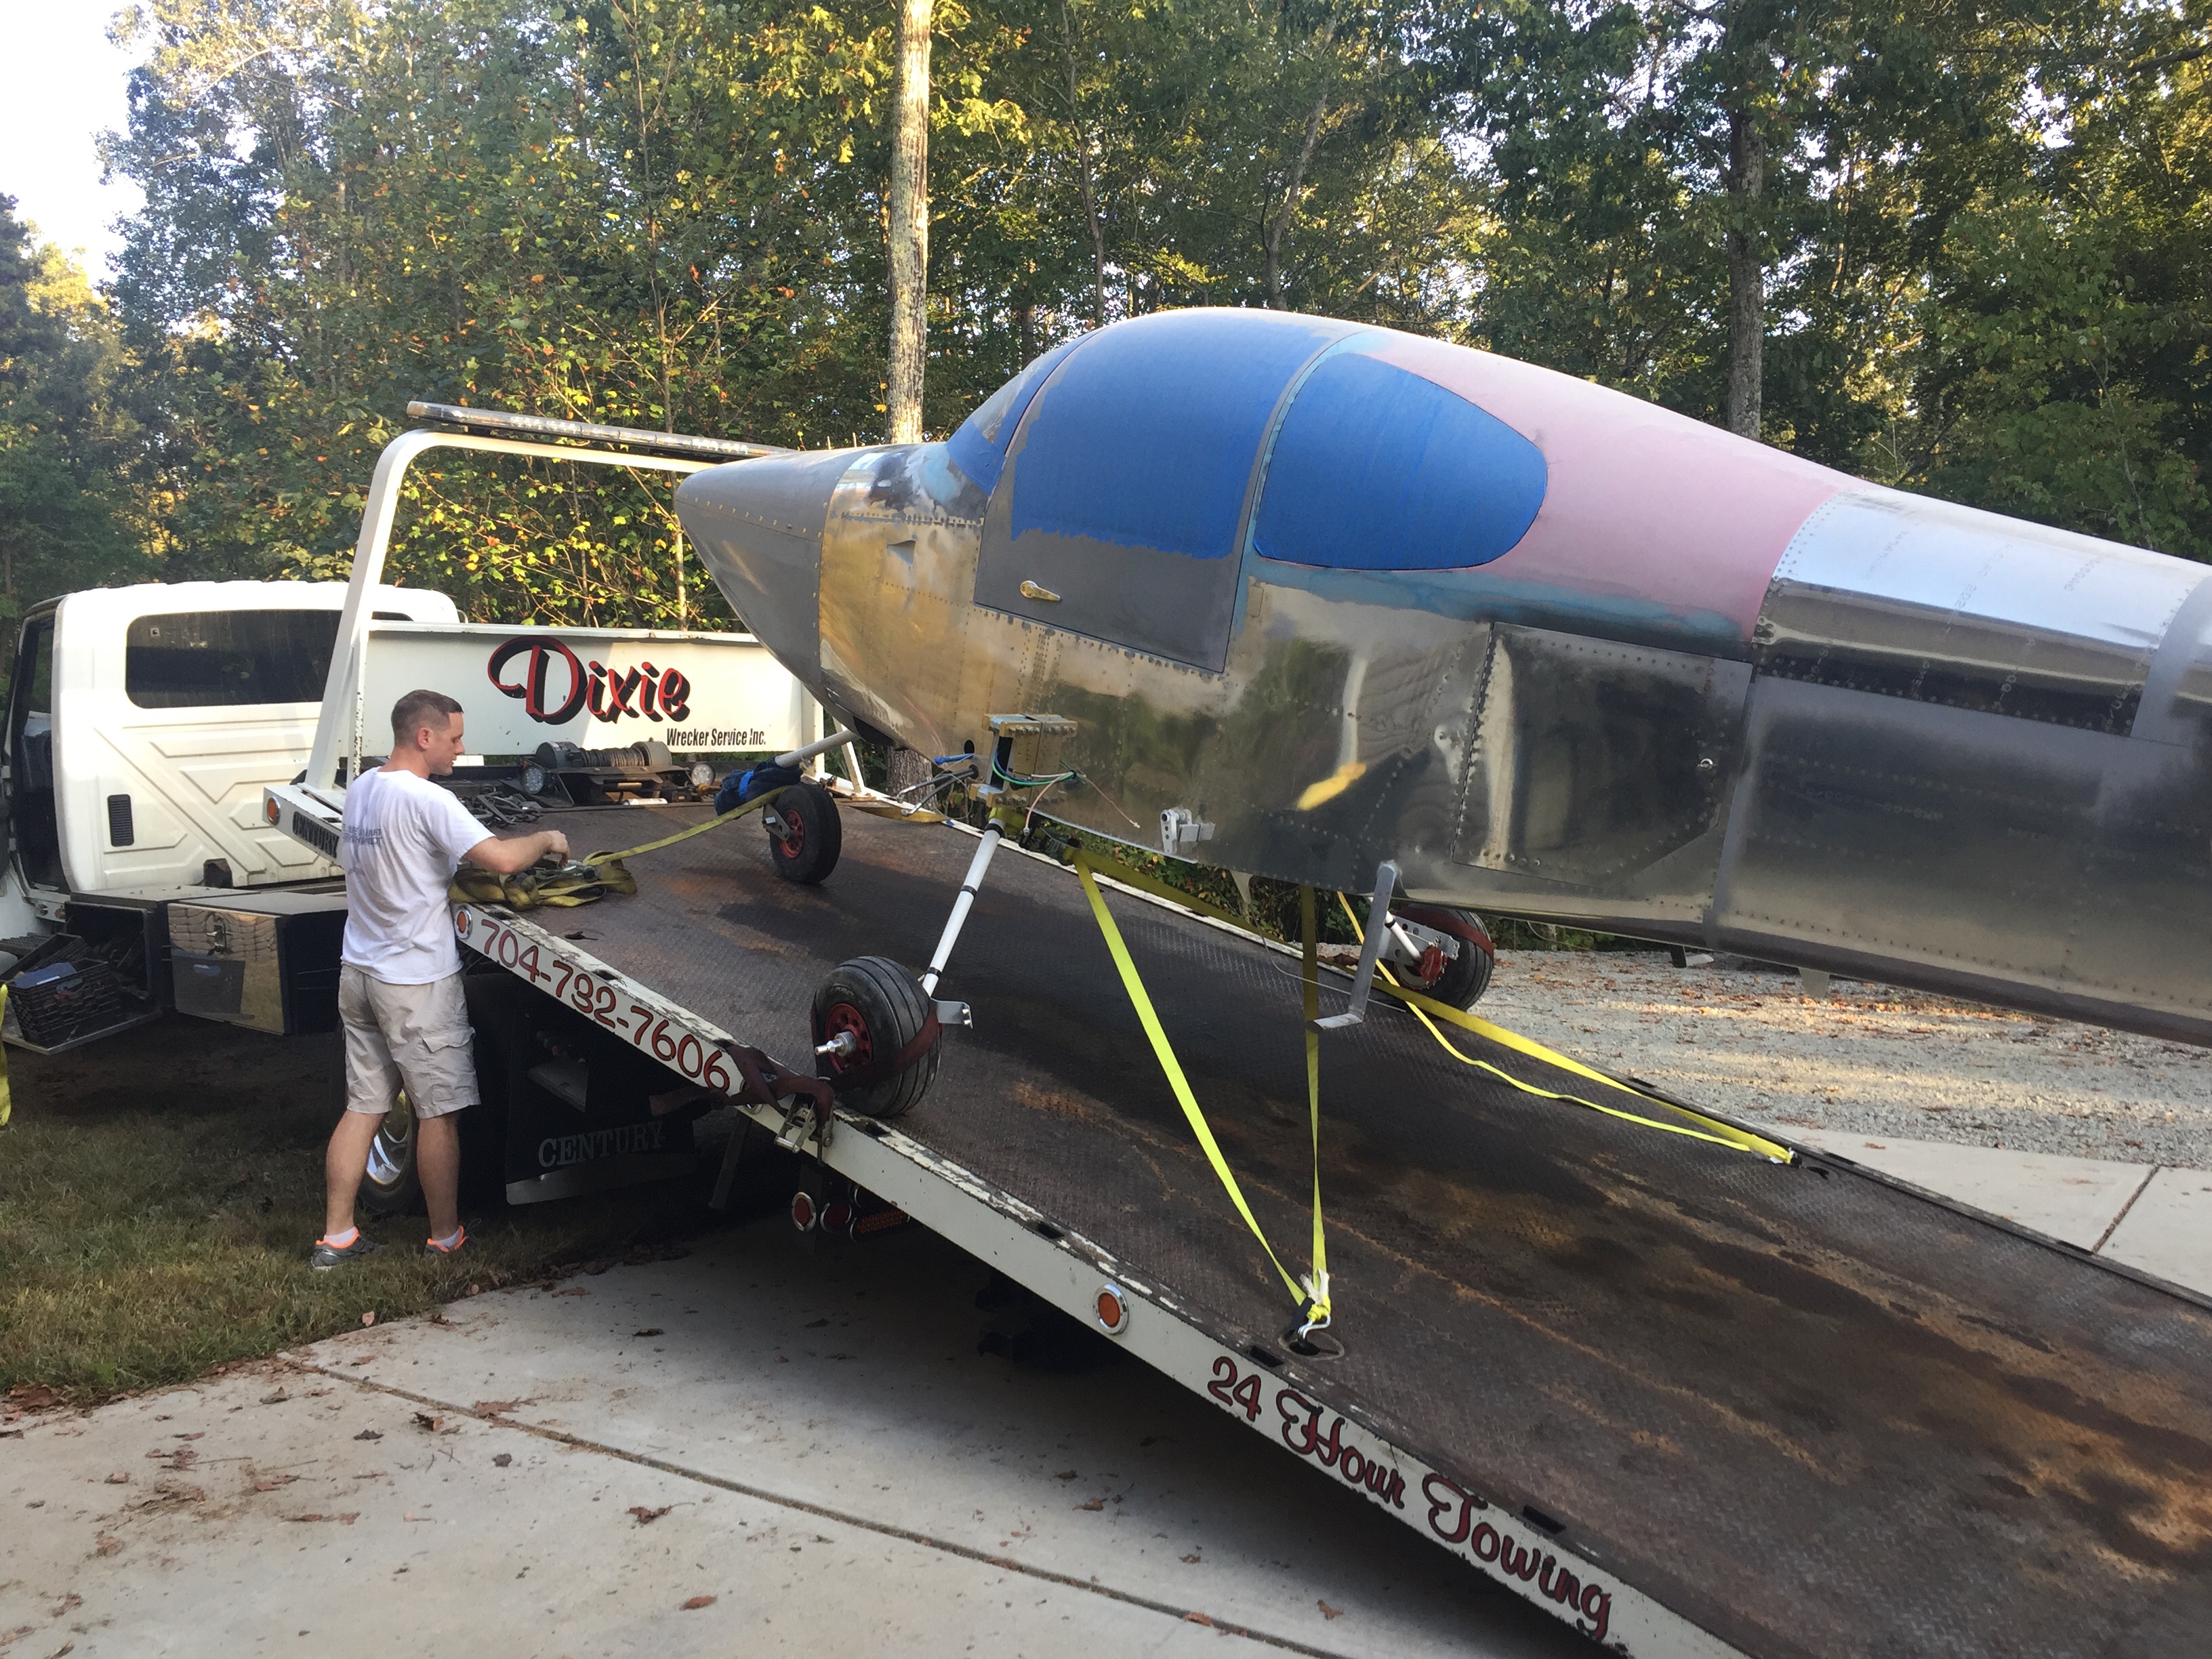
We rolled it off the wrecker onto the ramp and quickly had it tucked away in her forever home at IPJ. Laura helped me roll the wings still in the wing rack down from the other end of the field (a 20 minute walk with those puppies). Two guys who I know flying the Diamond were kind enough to let me store the wings for almost a year in their hangar free of charge. Truly great people makes things like this happen, can’t say enough.

About five trips later, we had all of the tools, parts, pieces, dust, and components all in the hangar. For the first time, everything is together in one space that will be a flying airplane very shortly!
