
It’s finally time to pull another beautiful piece of art work off the wall and turn it into an airplane. The rudder pedals were next up in the plans and since I have the Control Approach set, it was a pretty quick fit in the fuselage. I had to spend some time sanding down the tubes to fit into the mounting blocks to allow free but slop-free movement. I also cleaned up the installation of the Beringer master cylinders on the pedals using some AN bolts and nuts instead of cotter pins. This took some play out of the pedals while still allowing for free movement of all the components.
 Before I put the pedal assembly in place for good, I wanted to paint the interior where the Aerosport panels may not cover the structure. Per the plans, now is the time to paint the interior of the cabin. With the Aerosport kit covering most areas, I won’t be painting all of the aluminum. I also chose not to paint the stainless steel or put any insulation on the cabin side of the firewall but did mask off and paint the aluminum components on the firewall and the very forward area of the side panels. 90% of the work for painting is prep and it took a solid hour to mask off all of the firewall just for a few spots of color. I’ll have a separate post about color and paint coming up.
 It’s also time to start running brake and fuel lines. Since I have the complete Beringer kit, I started fabricating the stainless braided lines. The Beringer kit includes some really nice components and saves a lot of weight while providing a more effective braking action. Sadly, it lacks a lot of detail in the instructions and was missing quite a few pieces. The kit doesn’t include an inventory, so I wasn’t really sure what I had or didn’t have until I started putting it all together. Another 10 builder reported the same issue and I believe they are working to improve the kit contents. I will say that the customer service has been extremely swift and really pleasant. All the missing items were shipped the same day I called along with a few extras that I ordered. One disappointment is the use of the rigid tubing retained per plans between the firewall bracket and gear legs (the tube runs through the tunnel and under the seats). I wanted all SS braided line so ordered extra hose and a few fittings that I needed.
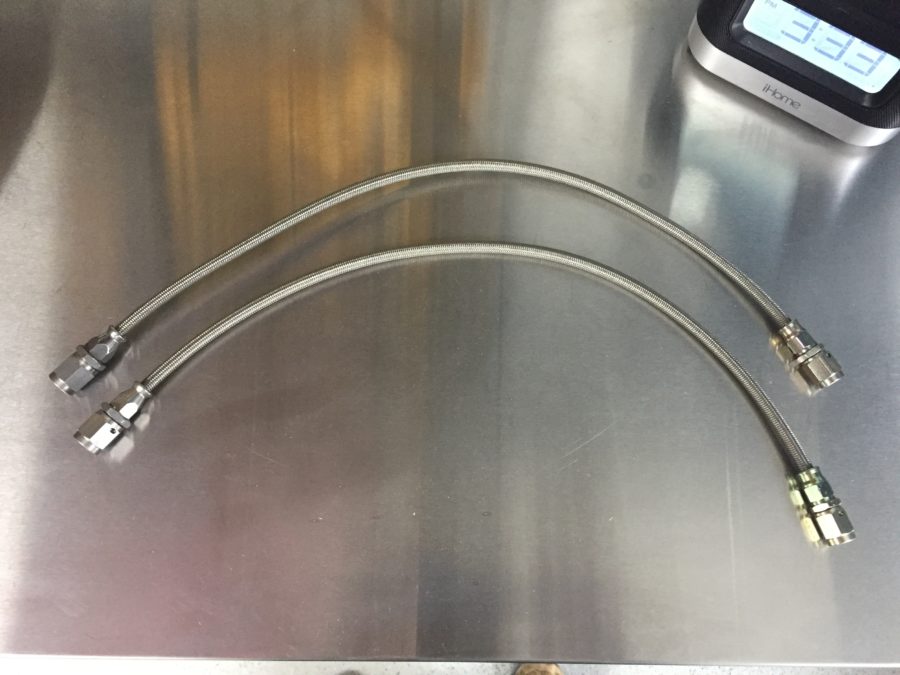 The process is pretty simple to assemble the lines and the quality of the fittings instills confidence of a leak free system if I’m doing it correctly! Time and tests will tell later in the build. I am shortening most of the lines, as the Beringer plans have them conservatively long which actually create some routing / securing issues. For now, I am holding off mounting the reservoir since I’ll be putting insulation on the forward side of the firewall.