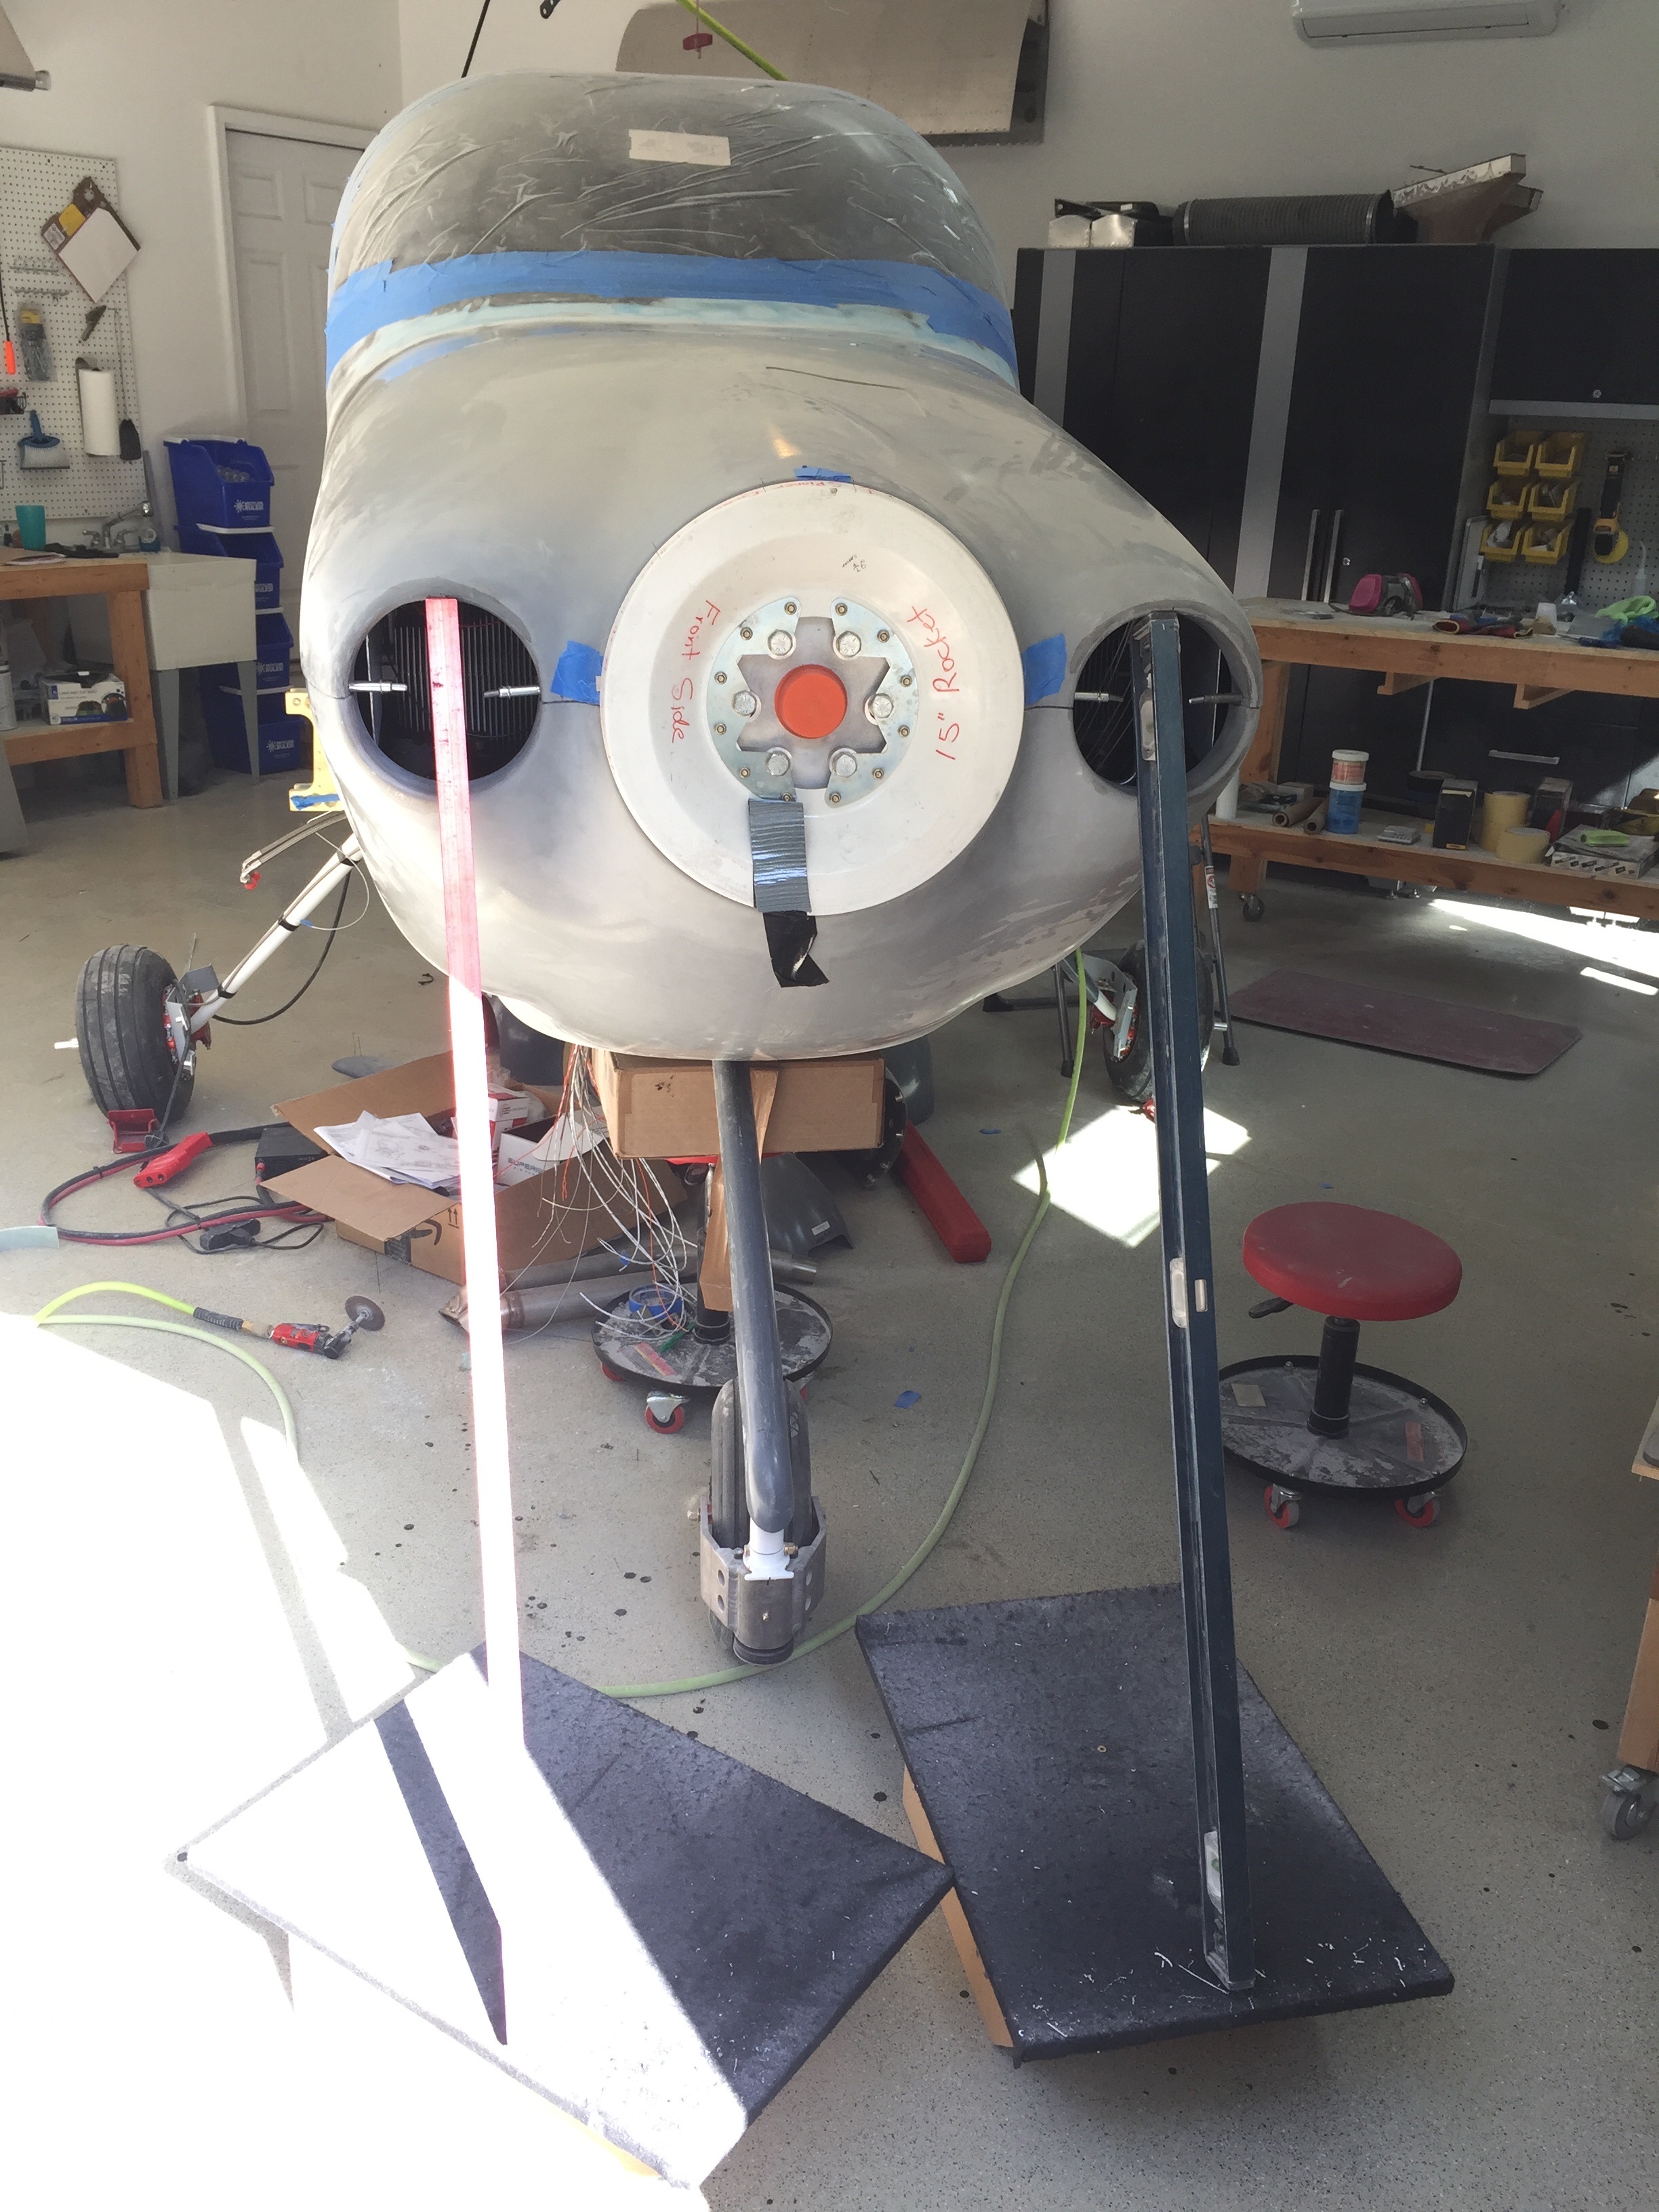
While I worked on the wiring, I made progress with mounting the engine cowling as I’m really starting the countdown to moving to the hangar. The cowl had been at the airport for months, so I retrieved it to start measuring and trimming. With the baffles and plenum initially fit, I started with the mock up prop spinner plate from Whirl Wind. This mock up has spacers that position the backplate as if the propeller was on, which is then used as the template for positioning the cowl.
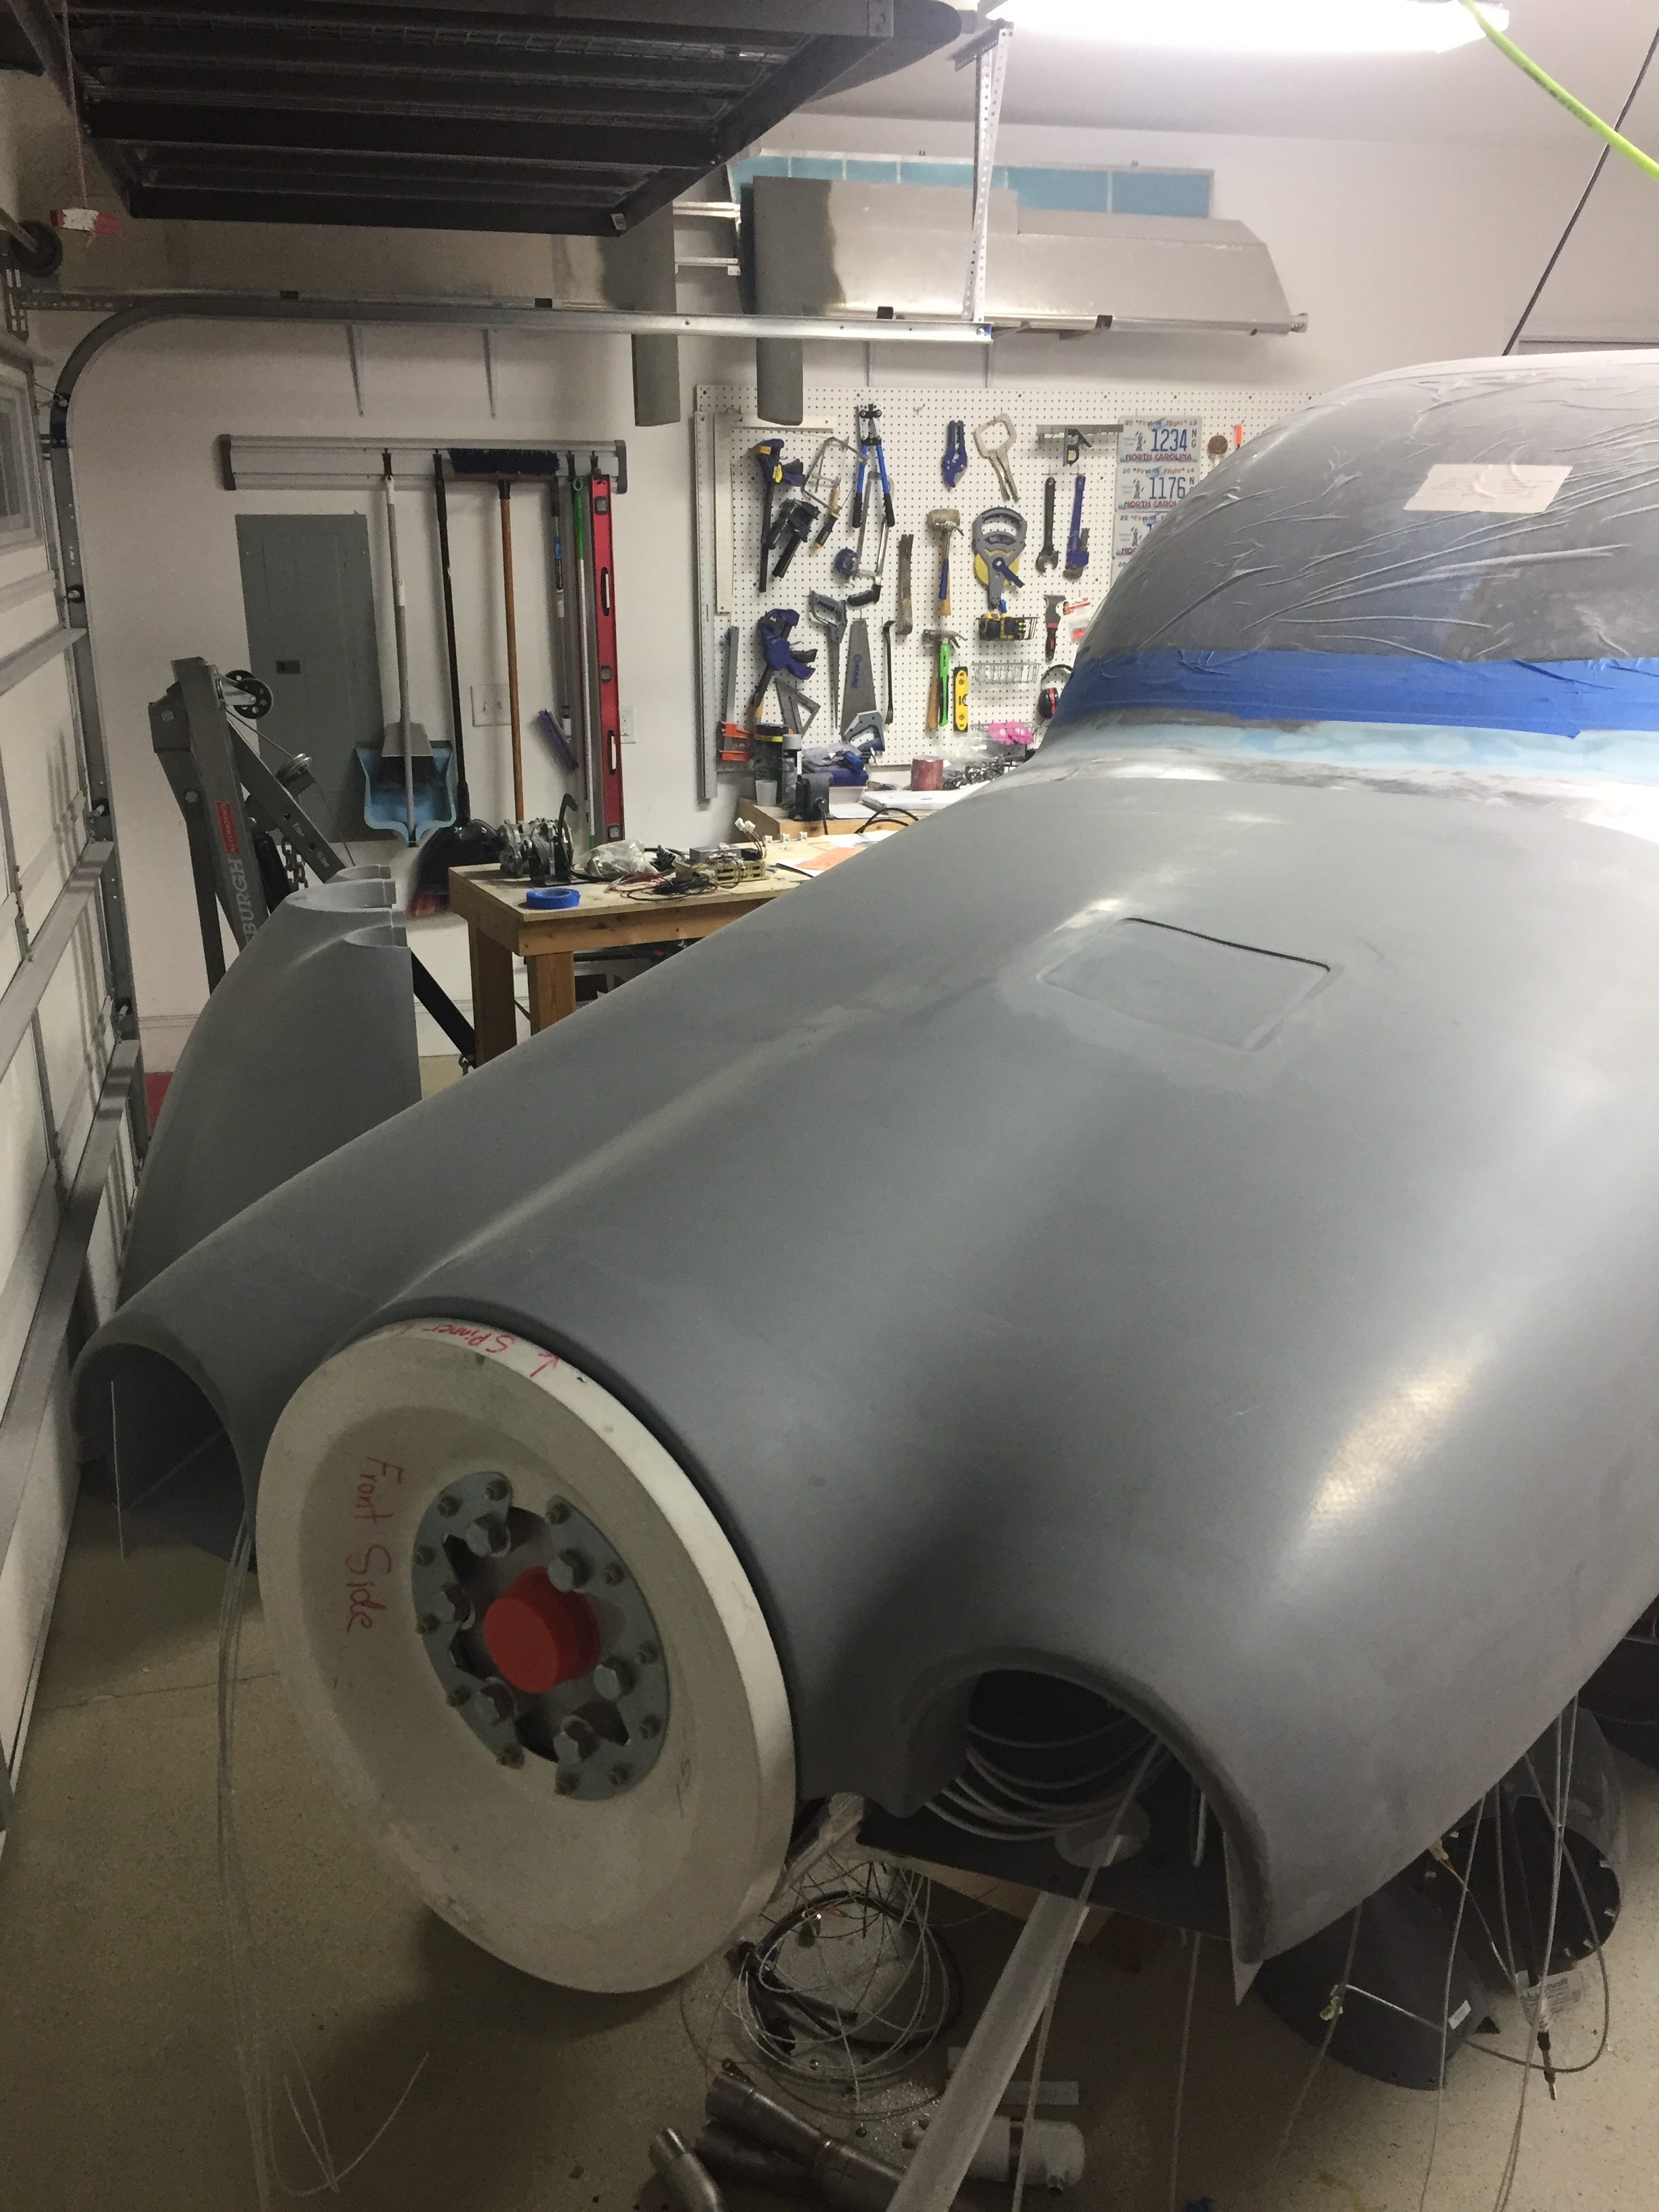
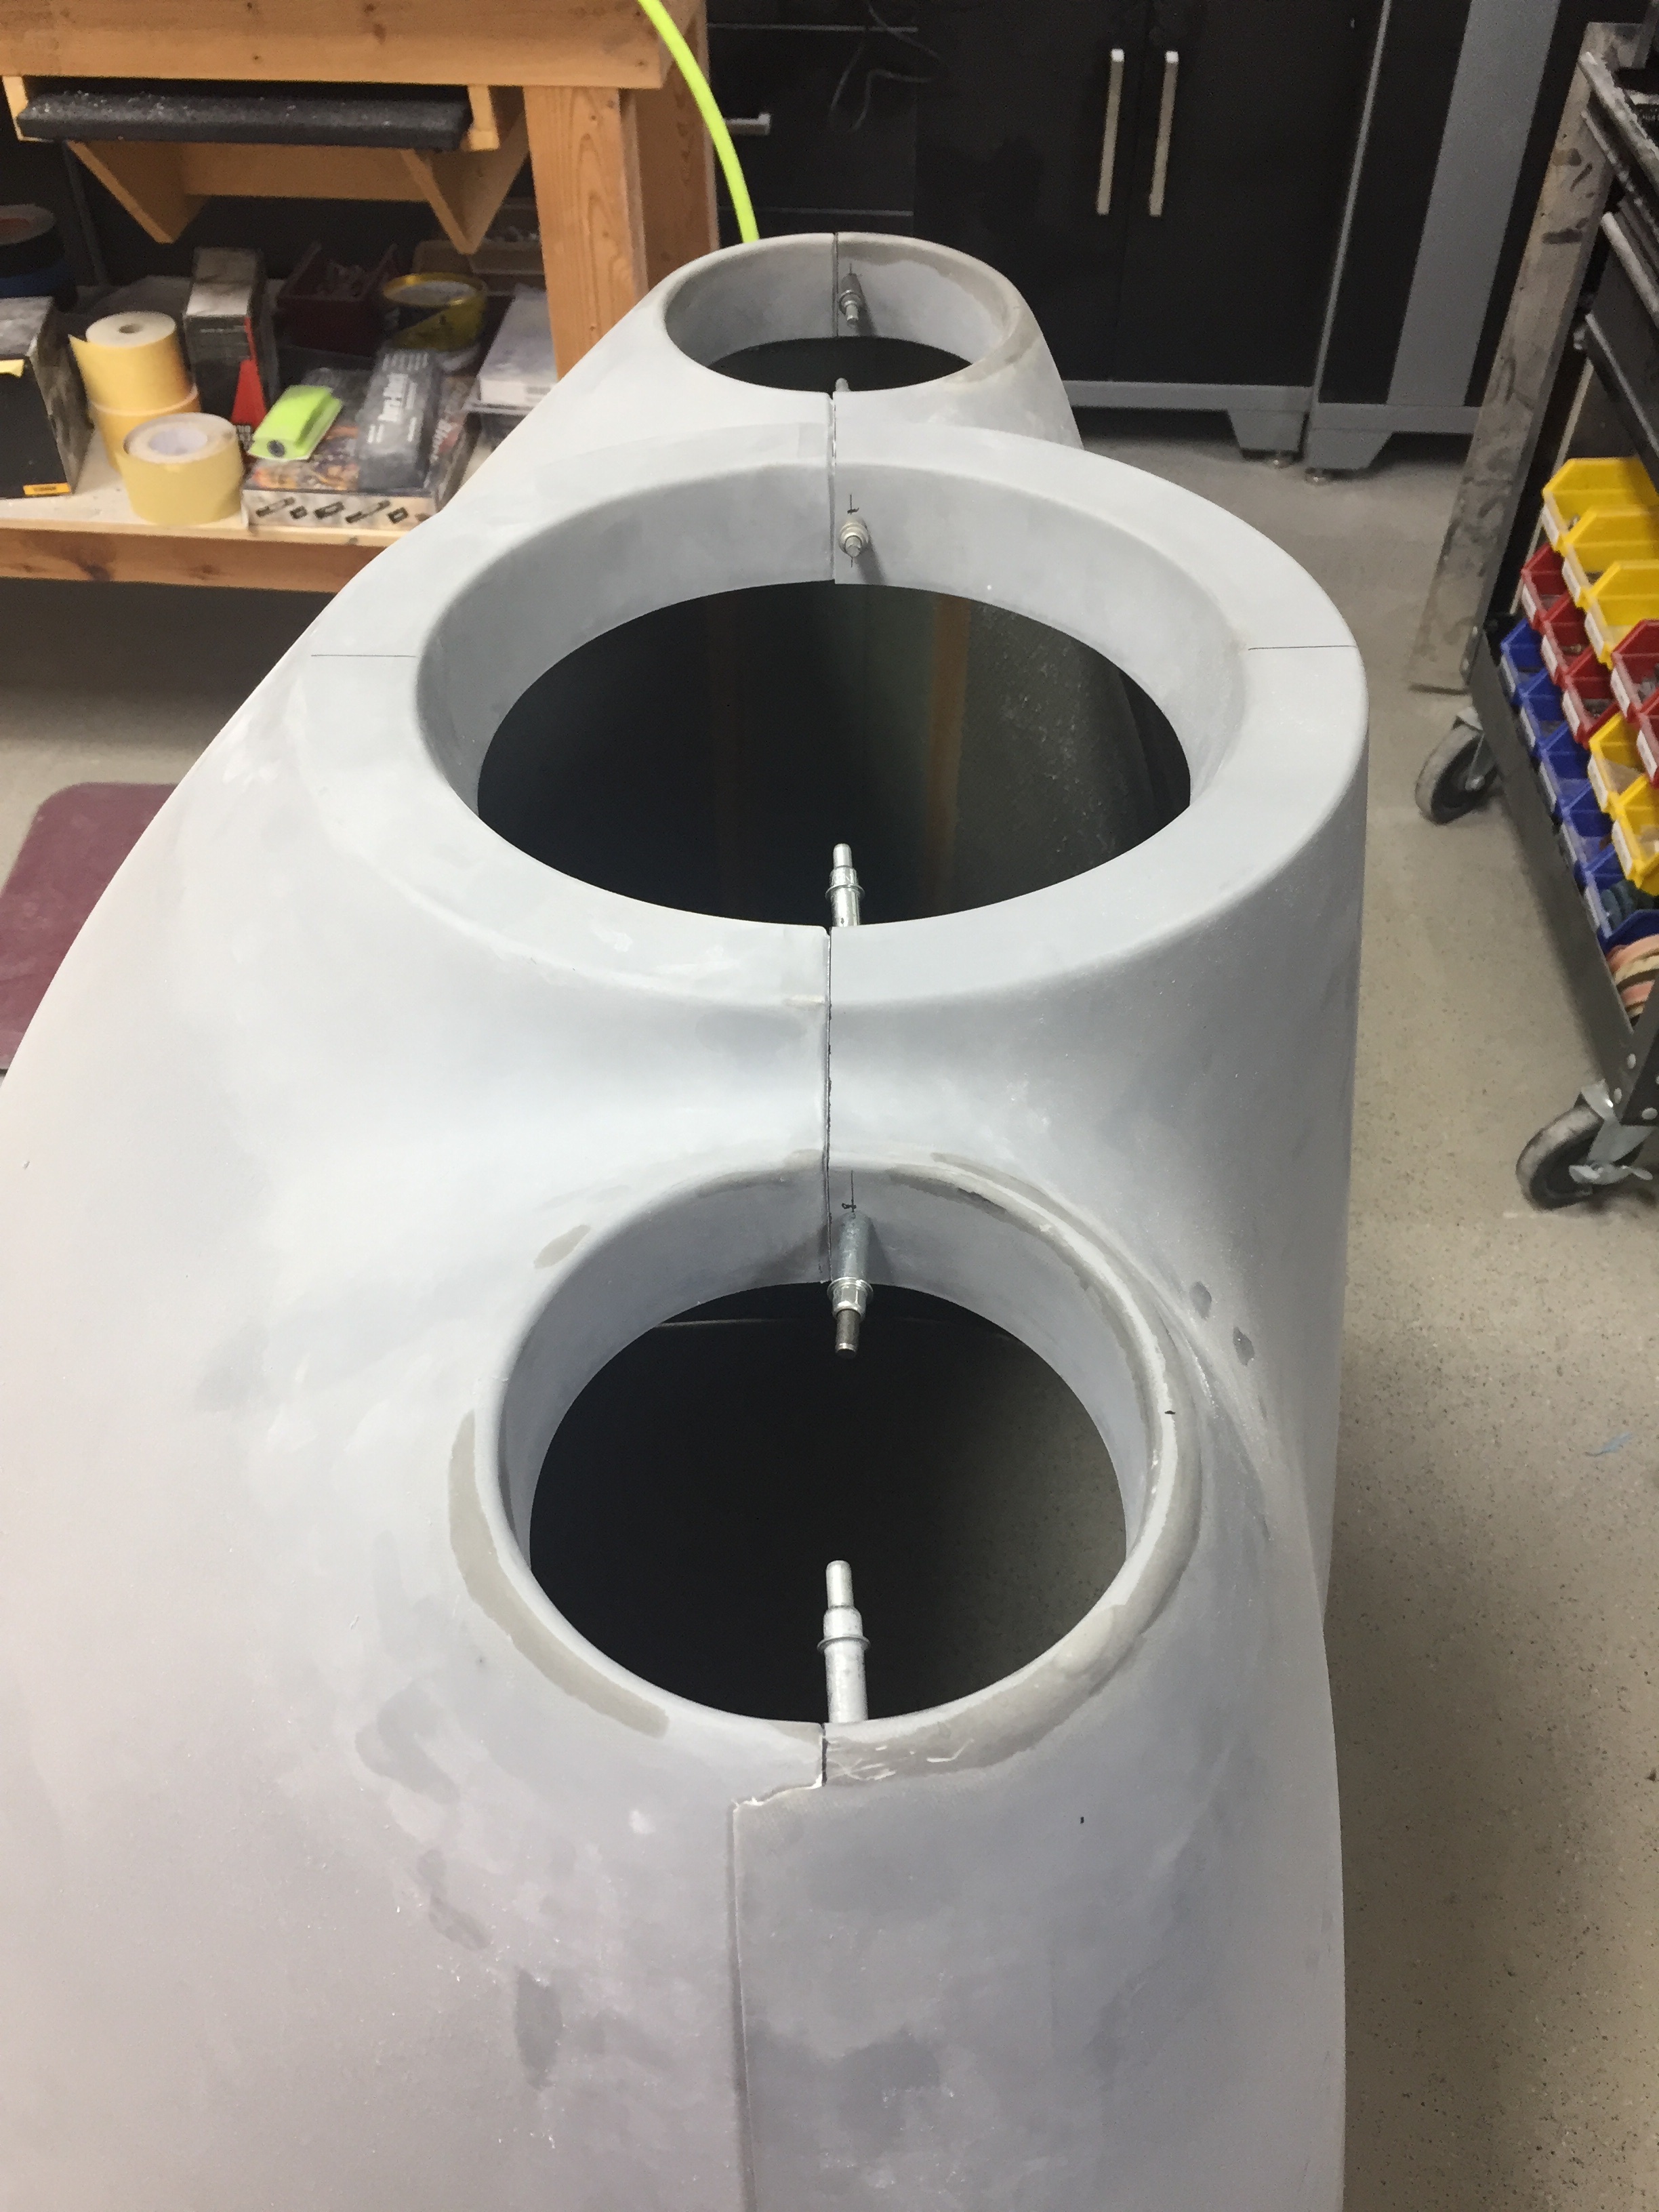
I also used the spinner backplate to tac the cowl halves together and do an initial trim on the front joint. Clecos worked well holding it in place as I trimmed and ensured a good fit resulting in even circular openings for the intakes and prop.
I started with the top cowl, laying it over the fuselage skin and clamping it to the spinner backplate with spacers for a nice clearance gap. I used the reference line method to mark the edge of the firewall on the cowl overlap and measured twice before cutting it long so I could sand it to fit.
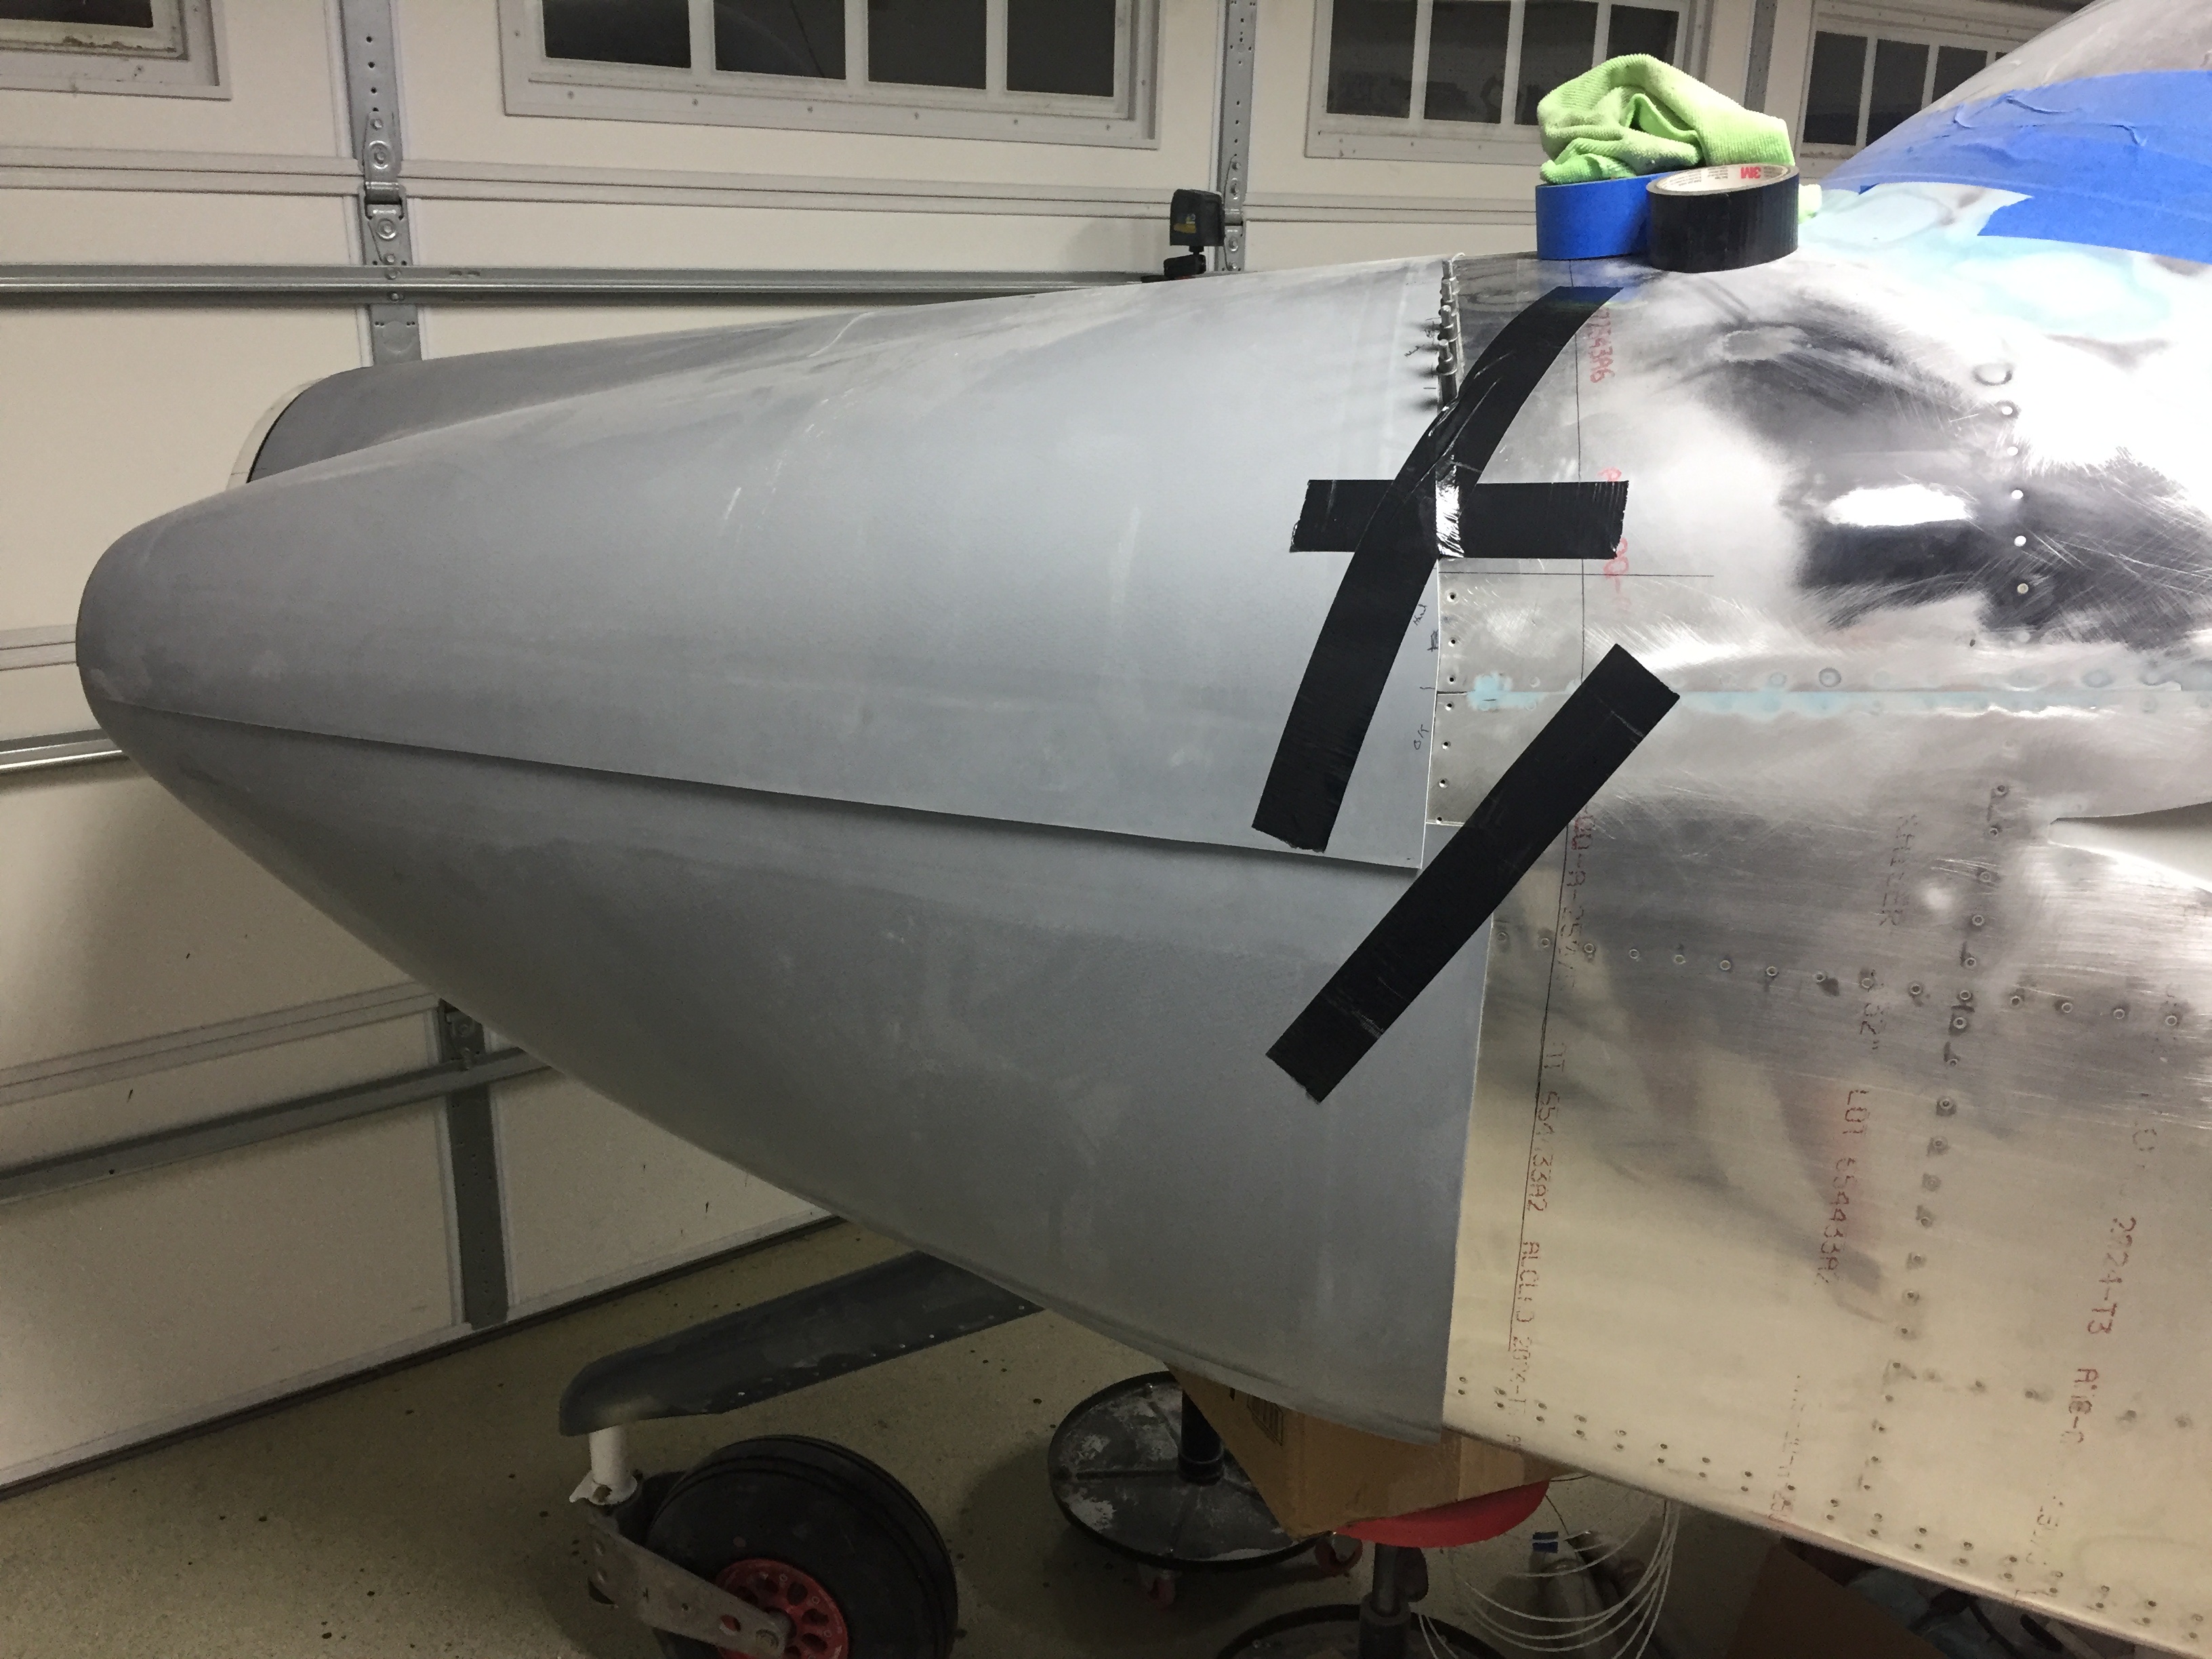
The cut came out well and a few minutes blocking it with sandpaper resulted in a nice fit. The bottom cowl was next and needed a clearing slot cut for the nose gear leg before even rough fitting. The Show Planes cowl has a unique fairing that I still didn’t understand quite yet but did know that I need not worry about a finished product at this stage. I cut the opening as small as I could while giving room to put the cowl in place.
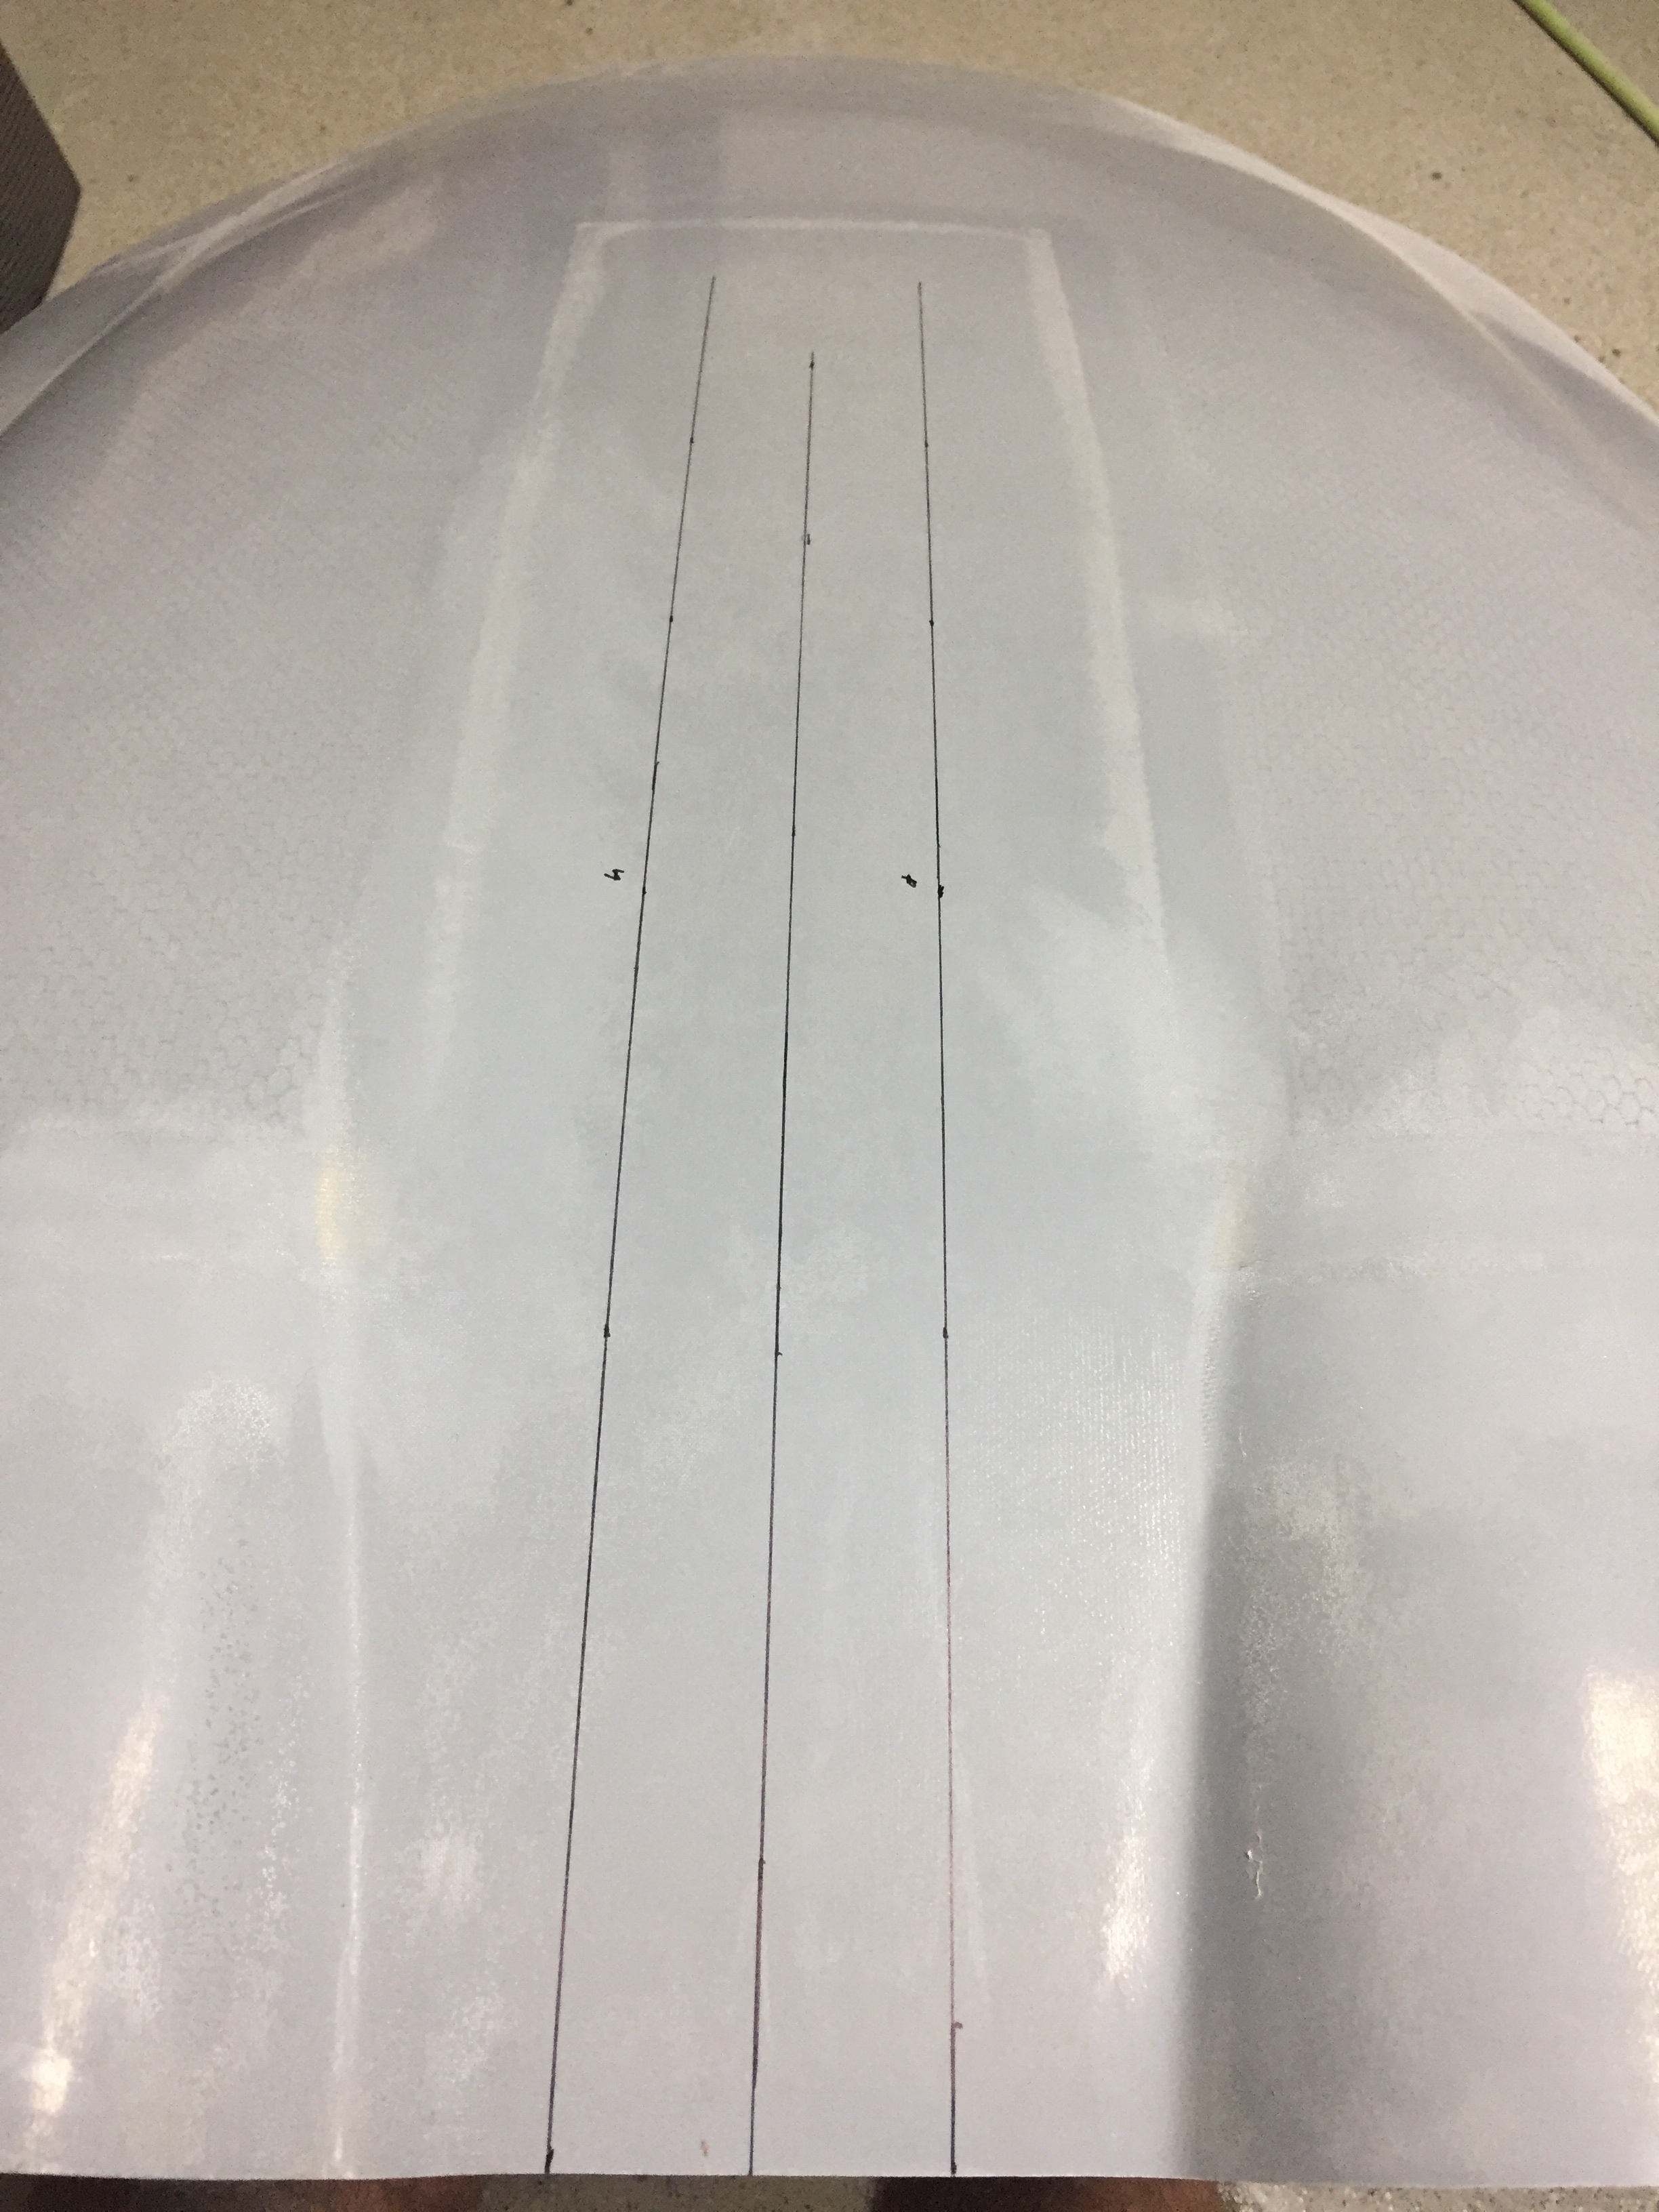
With the two halves fitted and tapped in place, I established the horizontal split line and the Sky Bolt line. It’s key to establish where the skybolts will go on the horizontal line so that the firewall line can be even creating a nice symetric appearance. Once the split line was figured out and marked, the bottom was similar to the top for the aft cut and soon the overlap was gone and sanded to fit with an adequate paint gap.
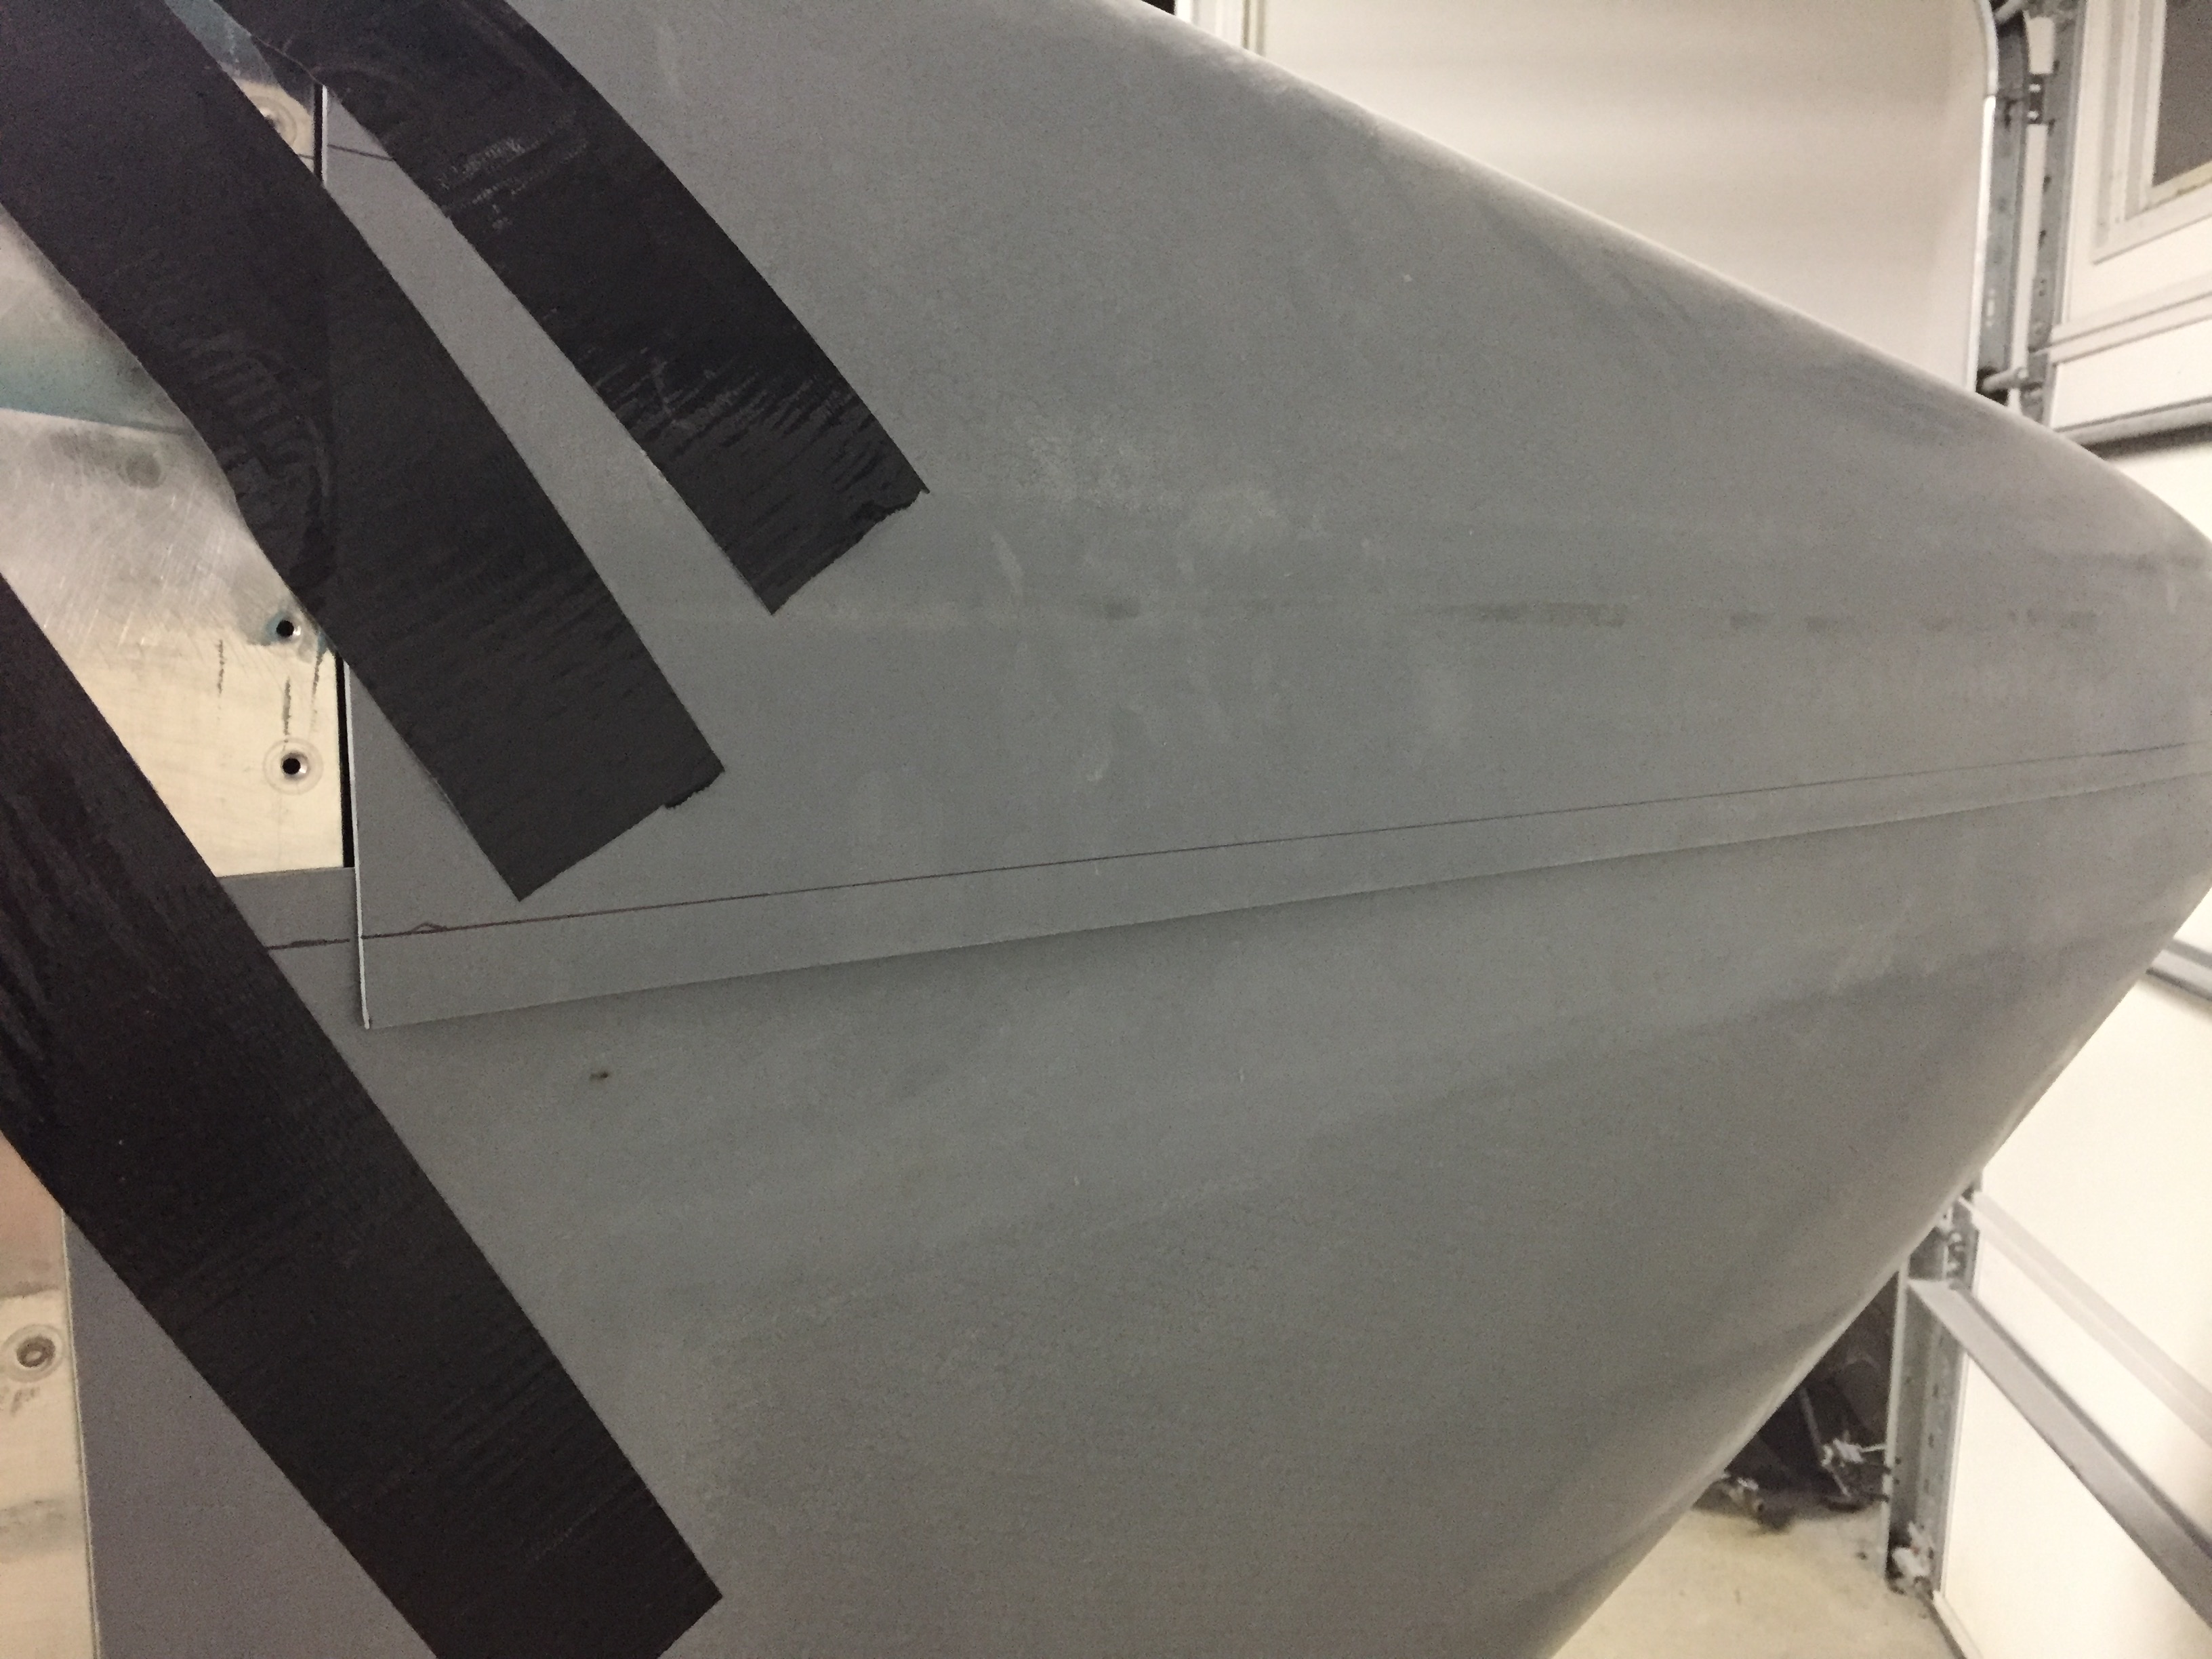
Finally, I trimmed the horizontal split line on each cowl half and used the top as the line to match with the bottom. A bit of sanding and fitting the bottom cowl 5-6 times, and I was happy with the result. Next up was to lay out the skybolt holes and install the brackets for the receivers. The manual gives a target spacing that I was able to hold to pretty closely. I started from each side’s horizonal split line placement and did a bit of math to evenly space the upper firewall bolts. I think used the same spacing on the lower cowl each side to confirm no interference with the engine mount bolts. It’s tight, but it works. Lastly, the horizontal spacing was calculated and marked. In the end, the fasteners will be in line and evenly spaced and will look great.
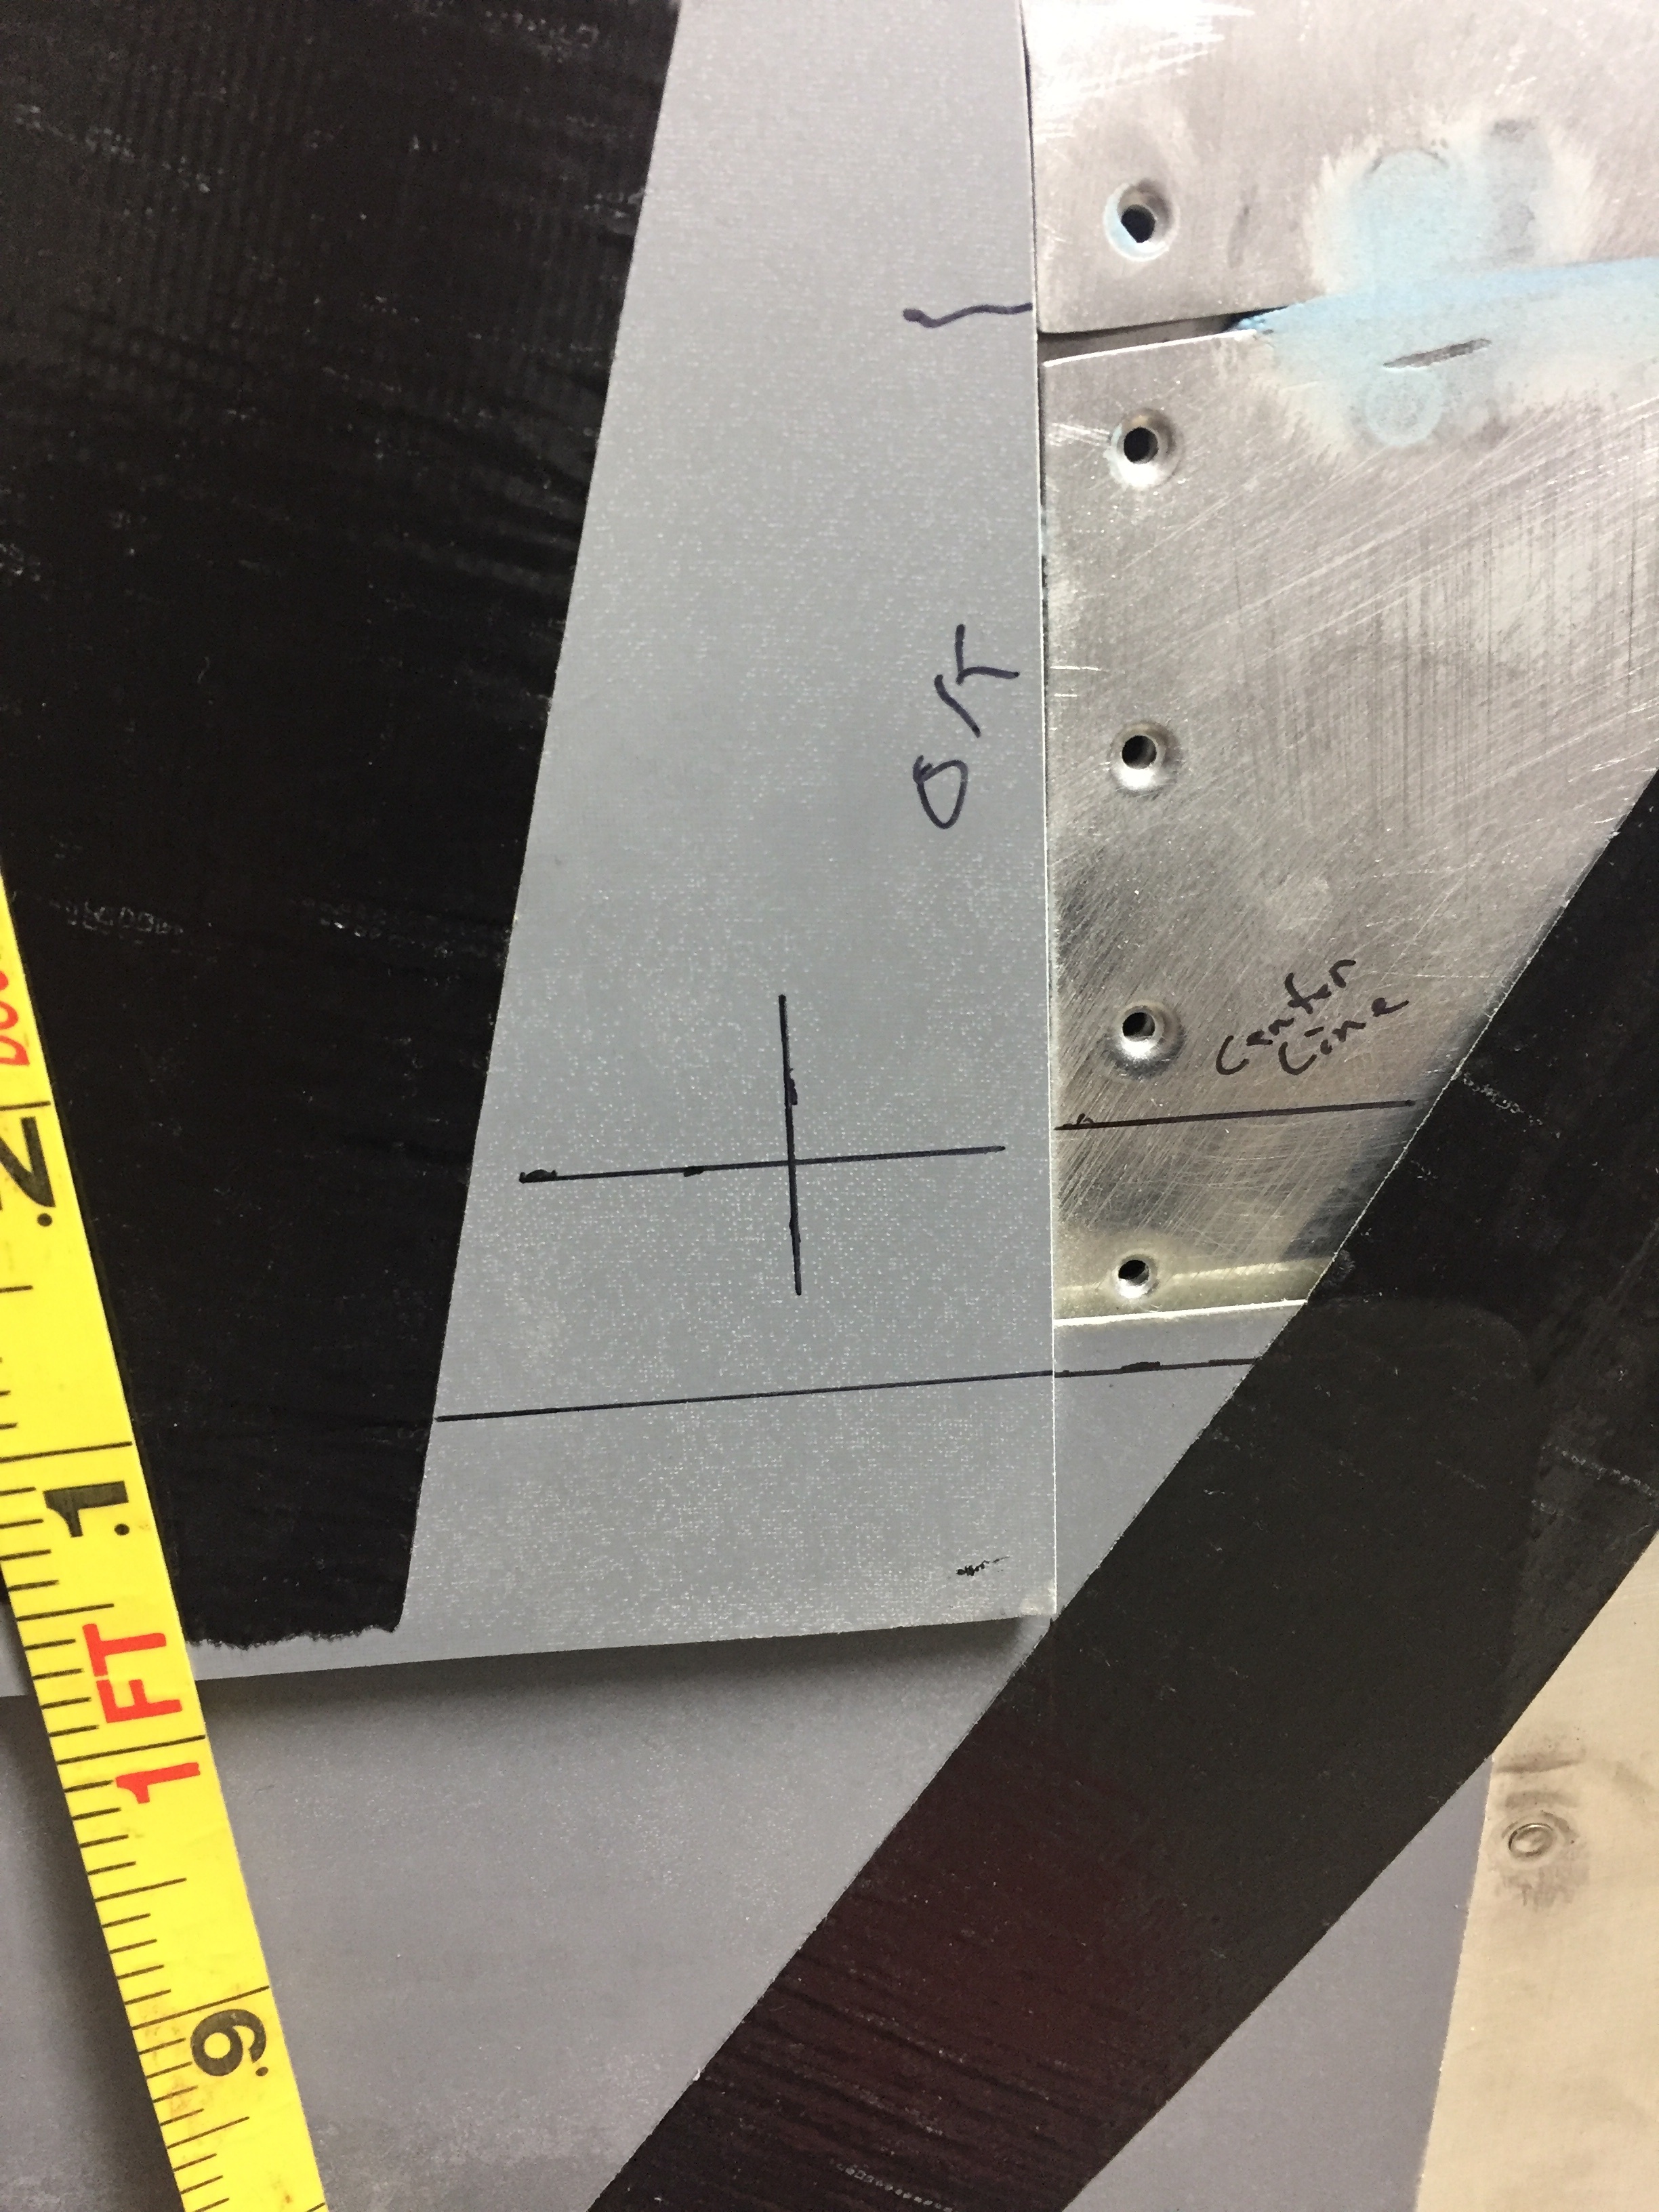
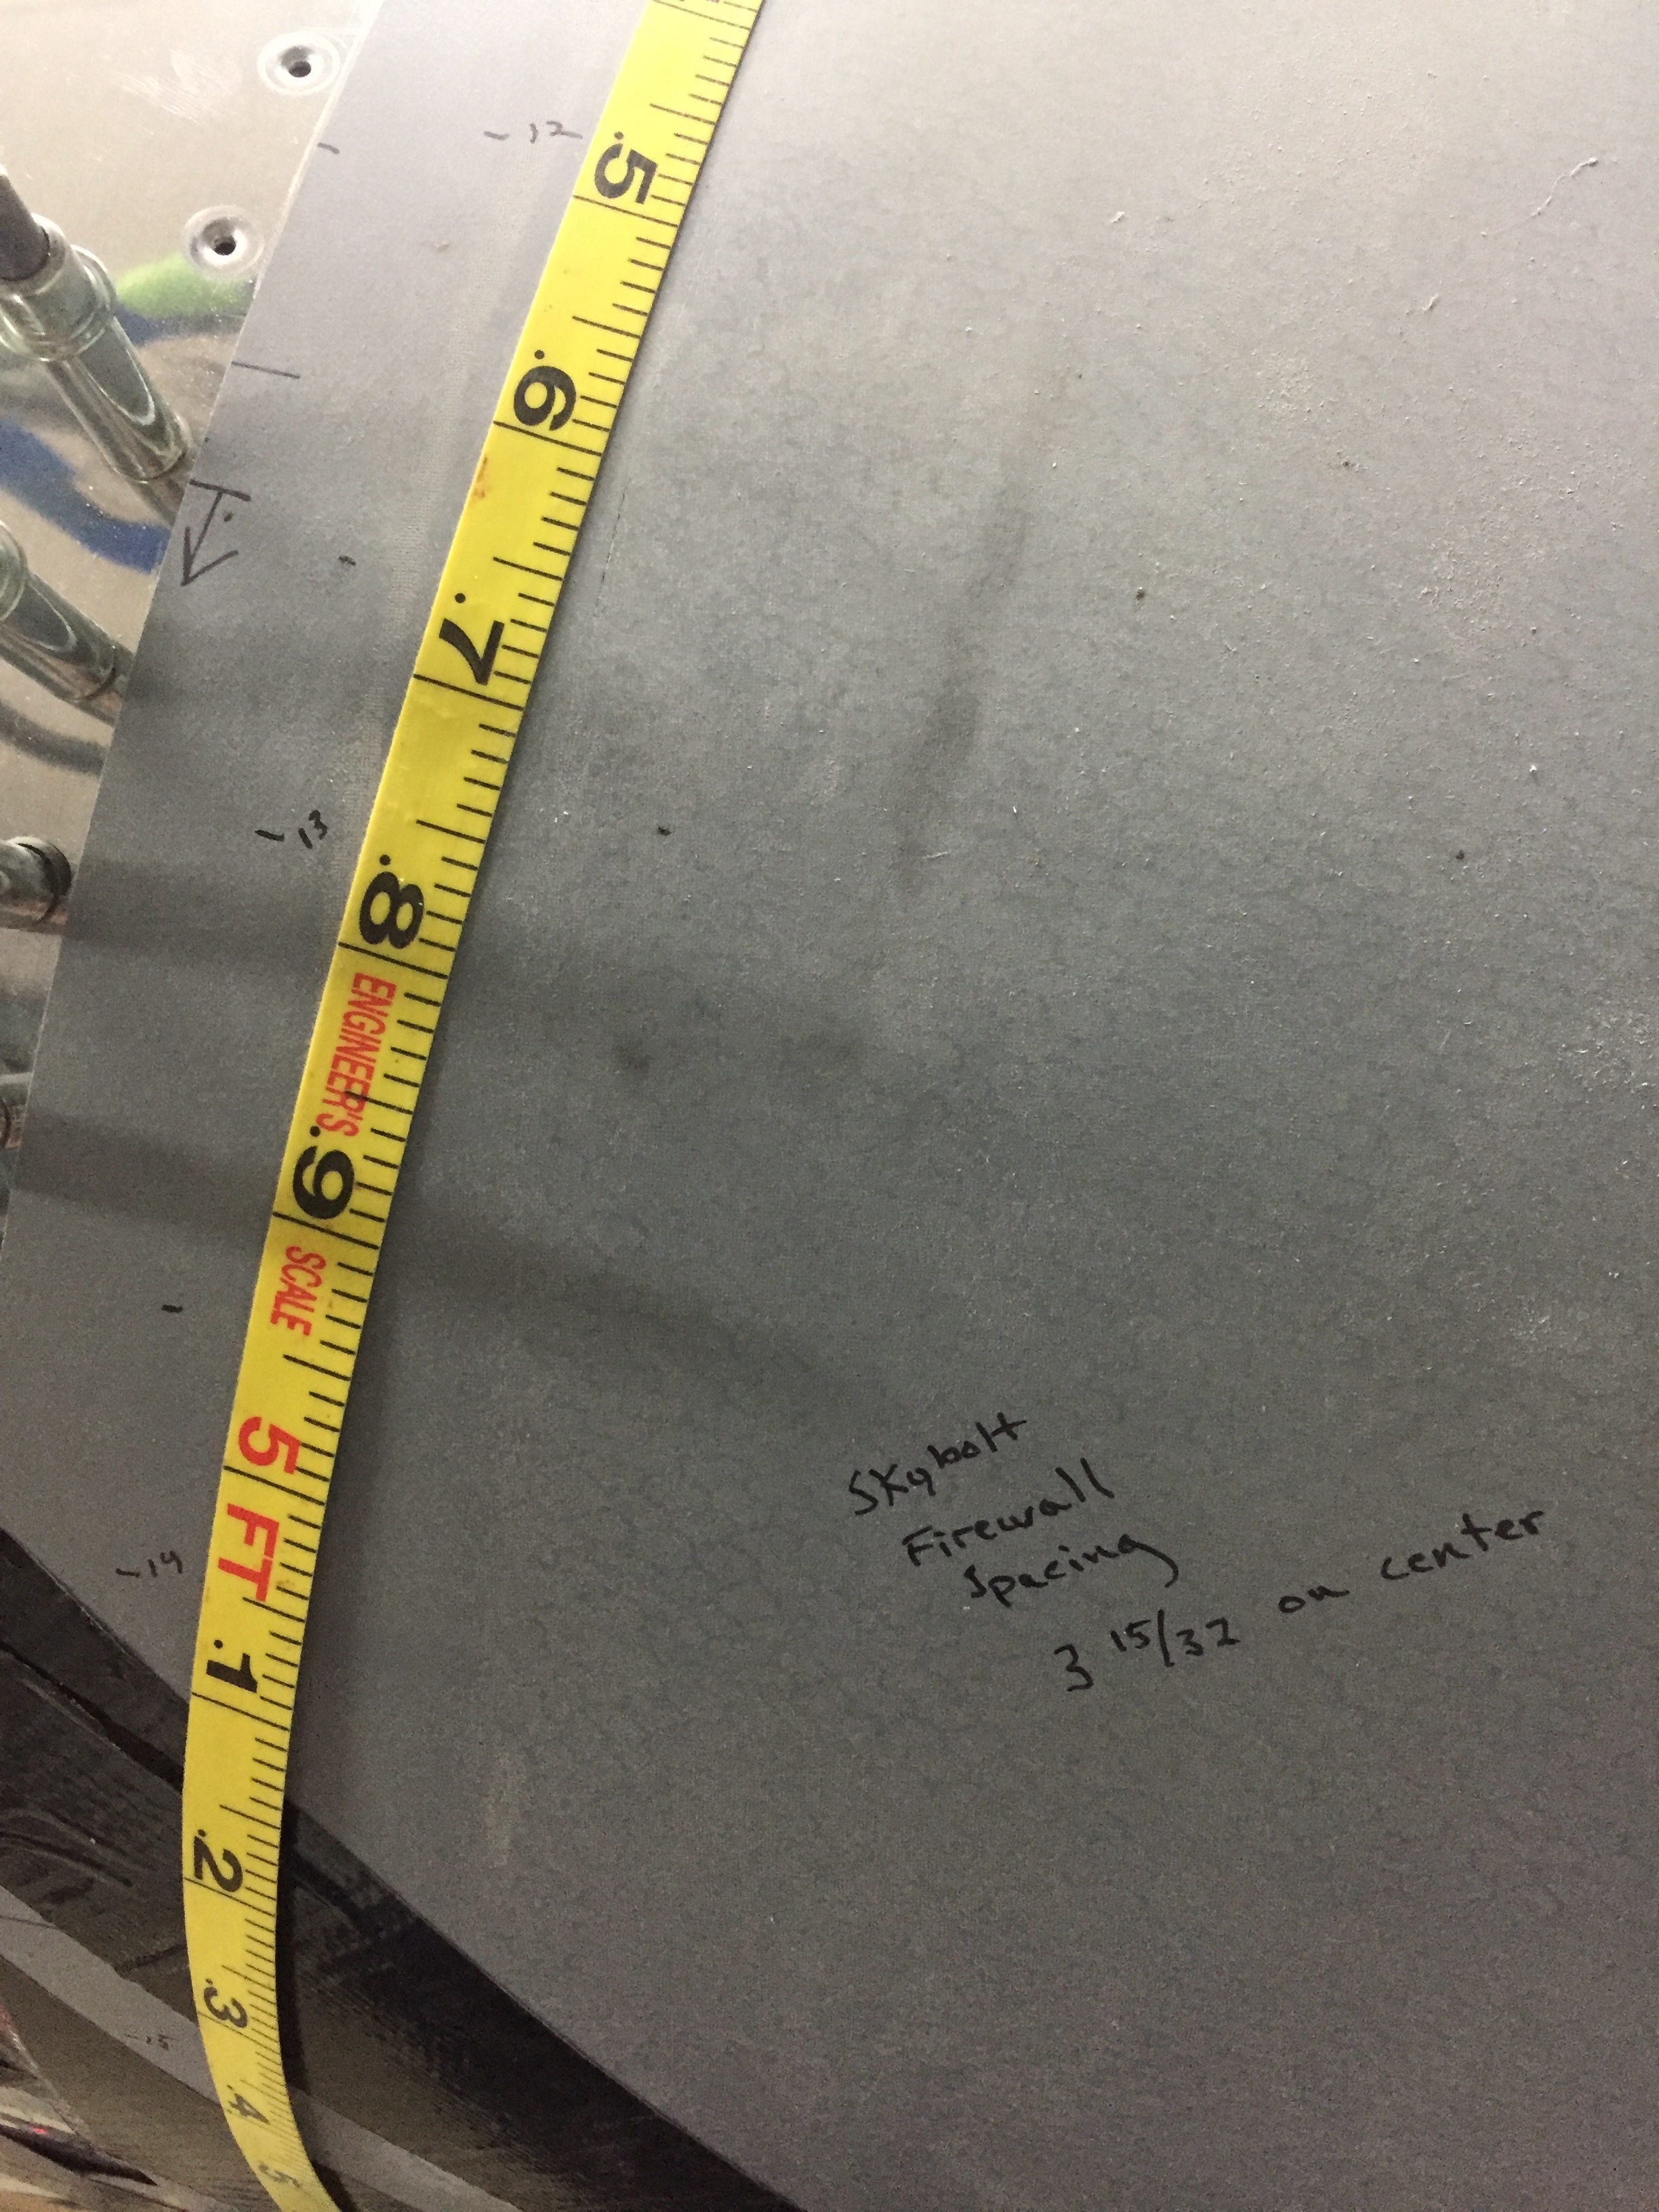
I transfered the locations onto the fuselage skin around the firewall then positioned the tabs for drilling and riveting. Pretty soon, those were primed, shaped to match the curve, and installed. Next step is to use drill guides to drill the initial hole through the cowl. I thought I’d be able to use the light method from inside but with the new grey fiberglass gel coated parts from Van’s, that option doesn’t work. I couldn’t drill from the inside using the cleco adapters, so I wound up carefully measruing and marking the centerpoint of each tab and making a #40 sized hole to get started.
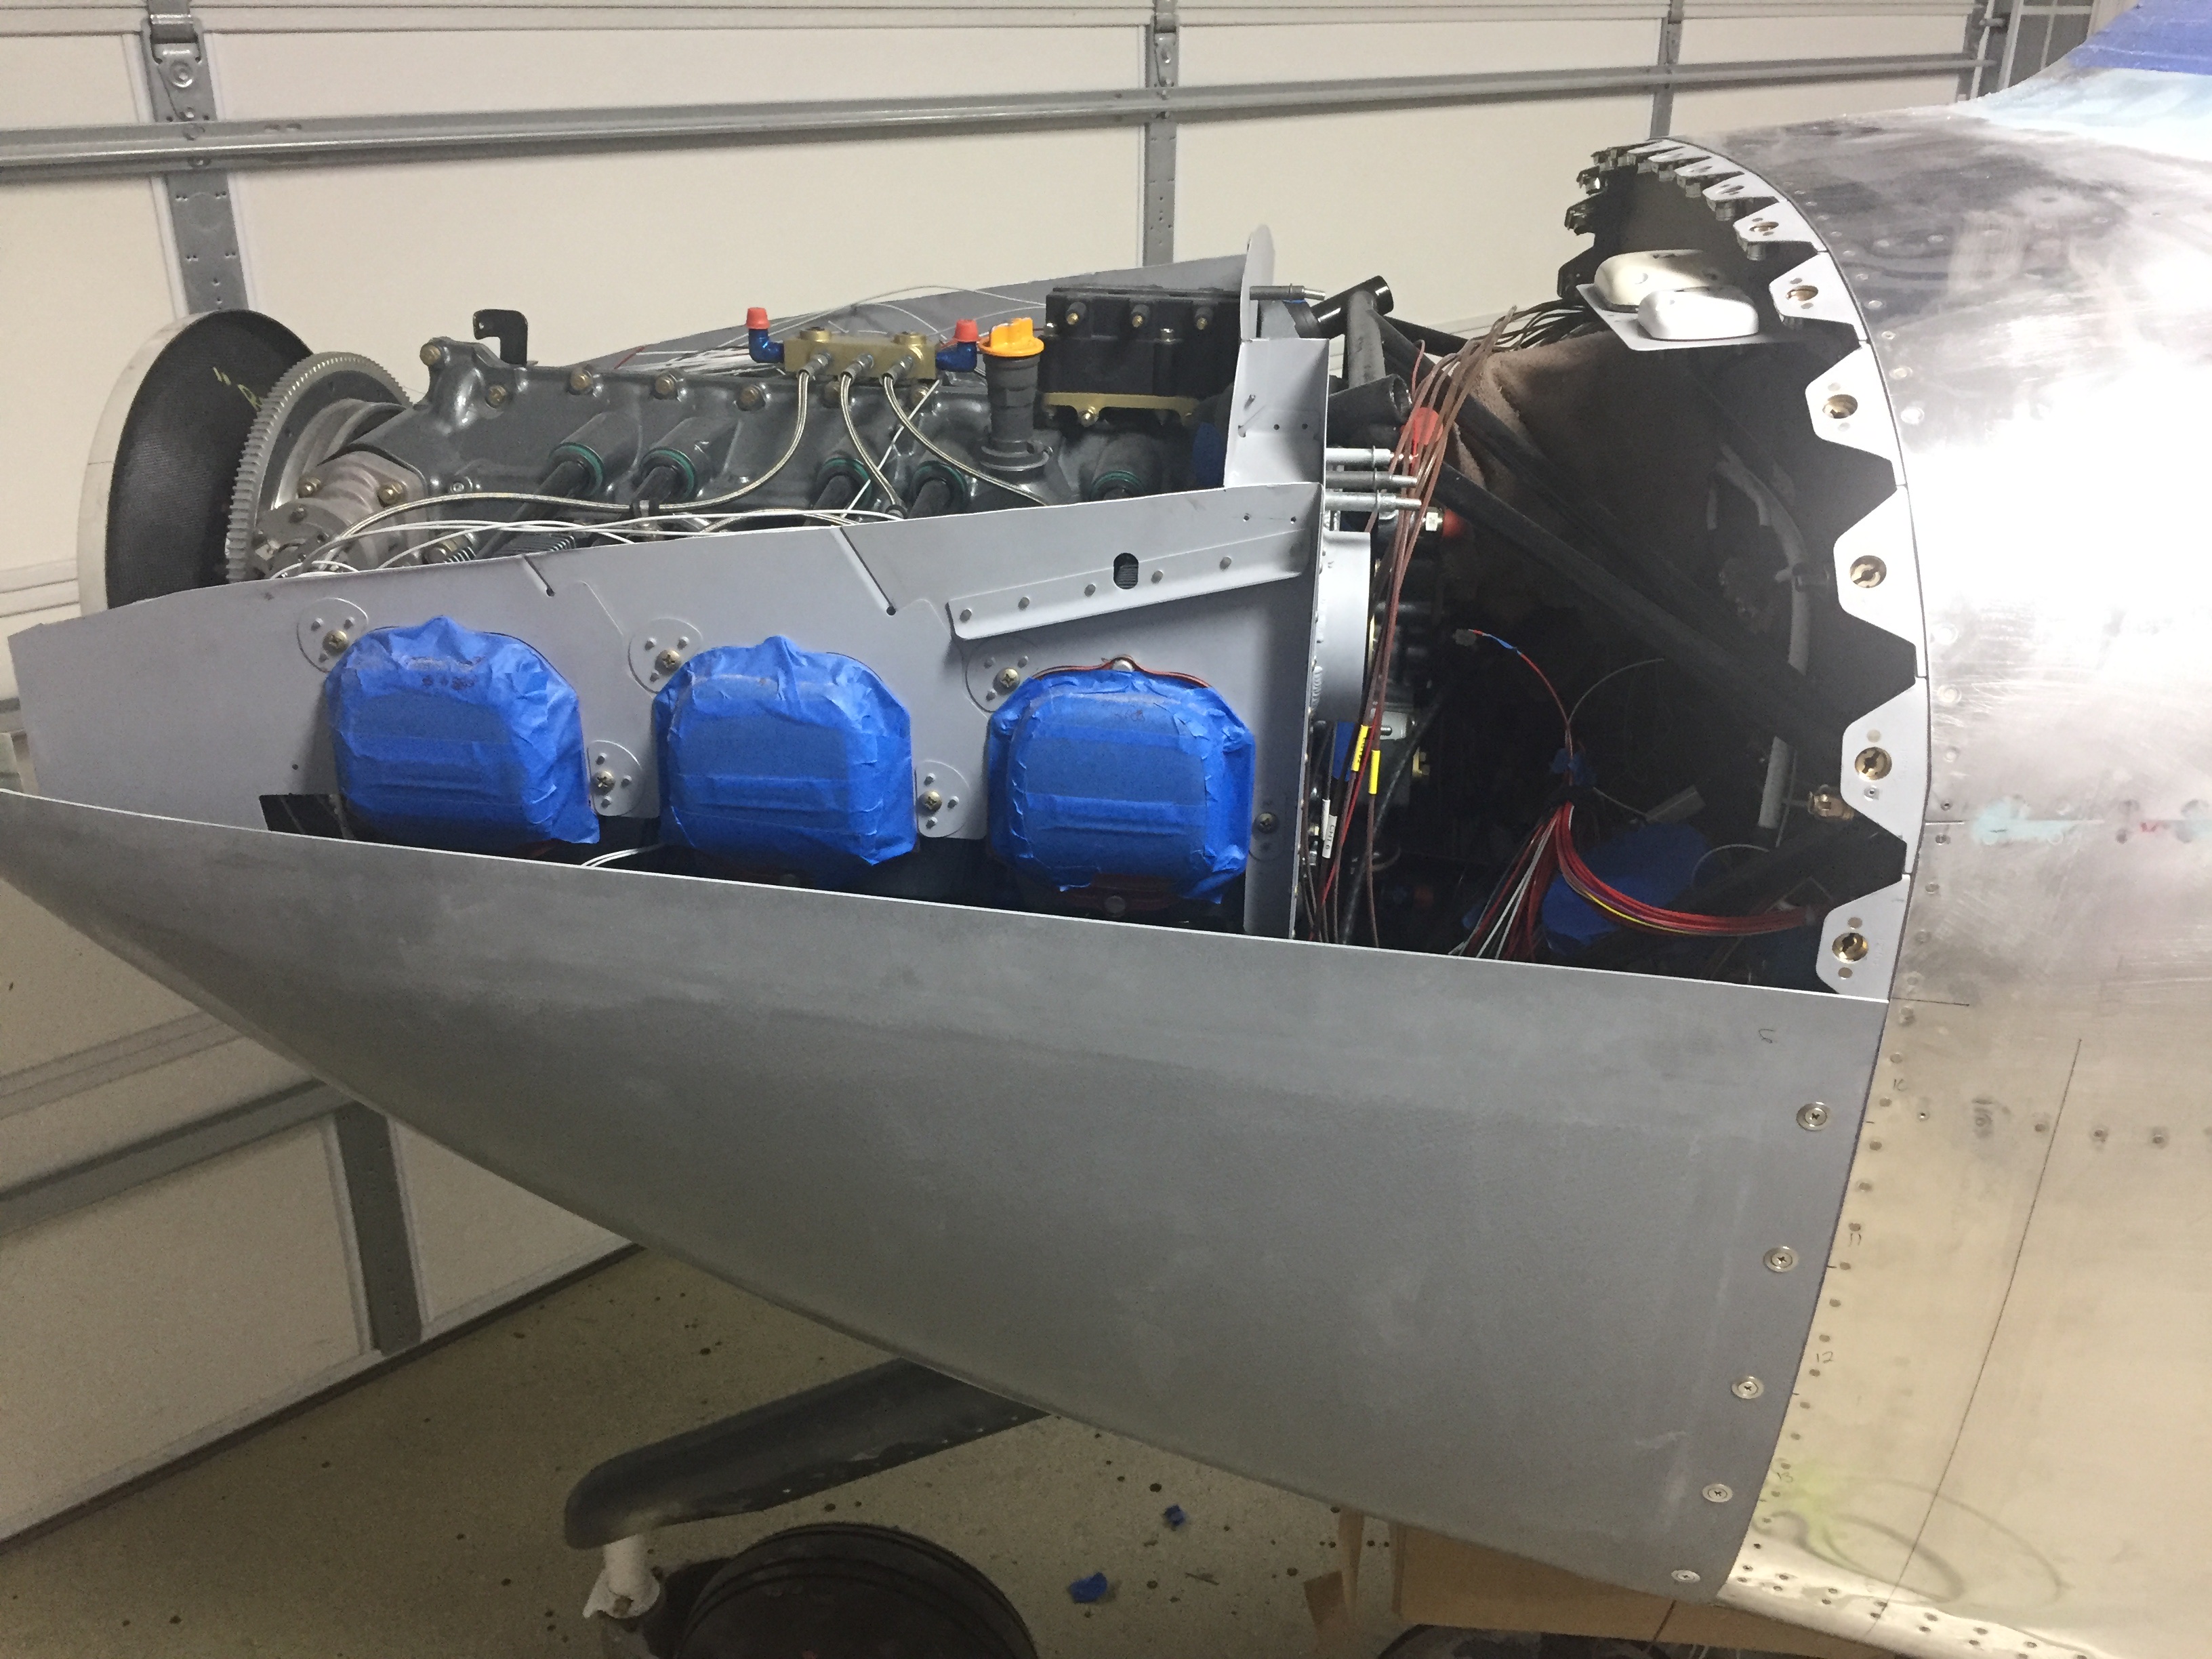
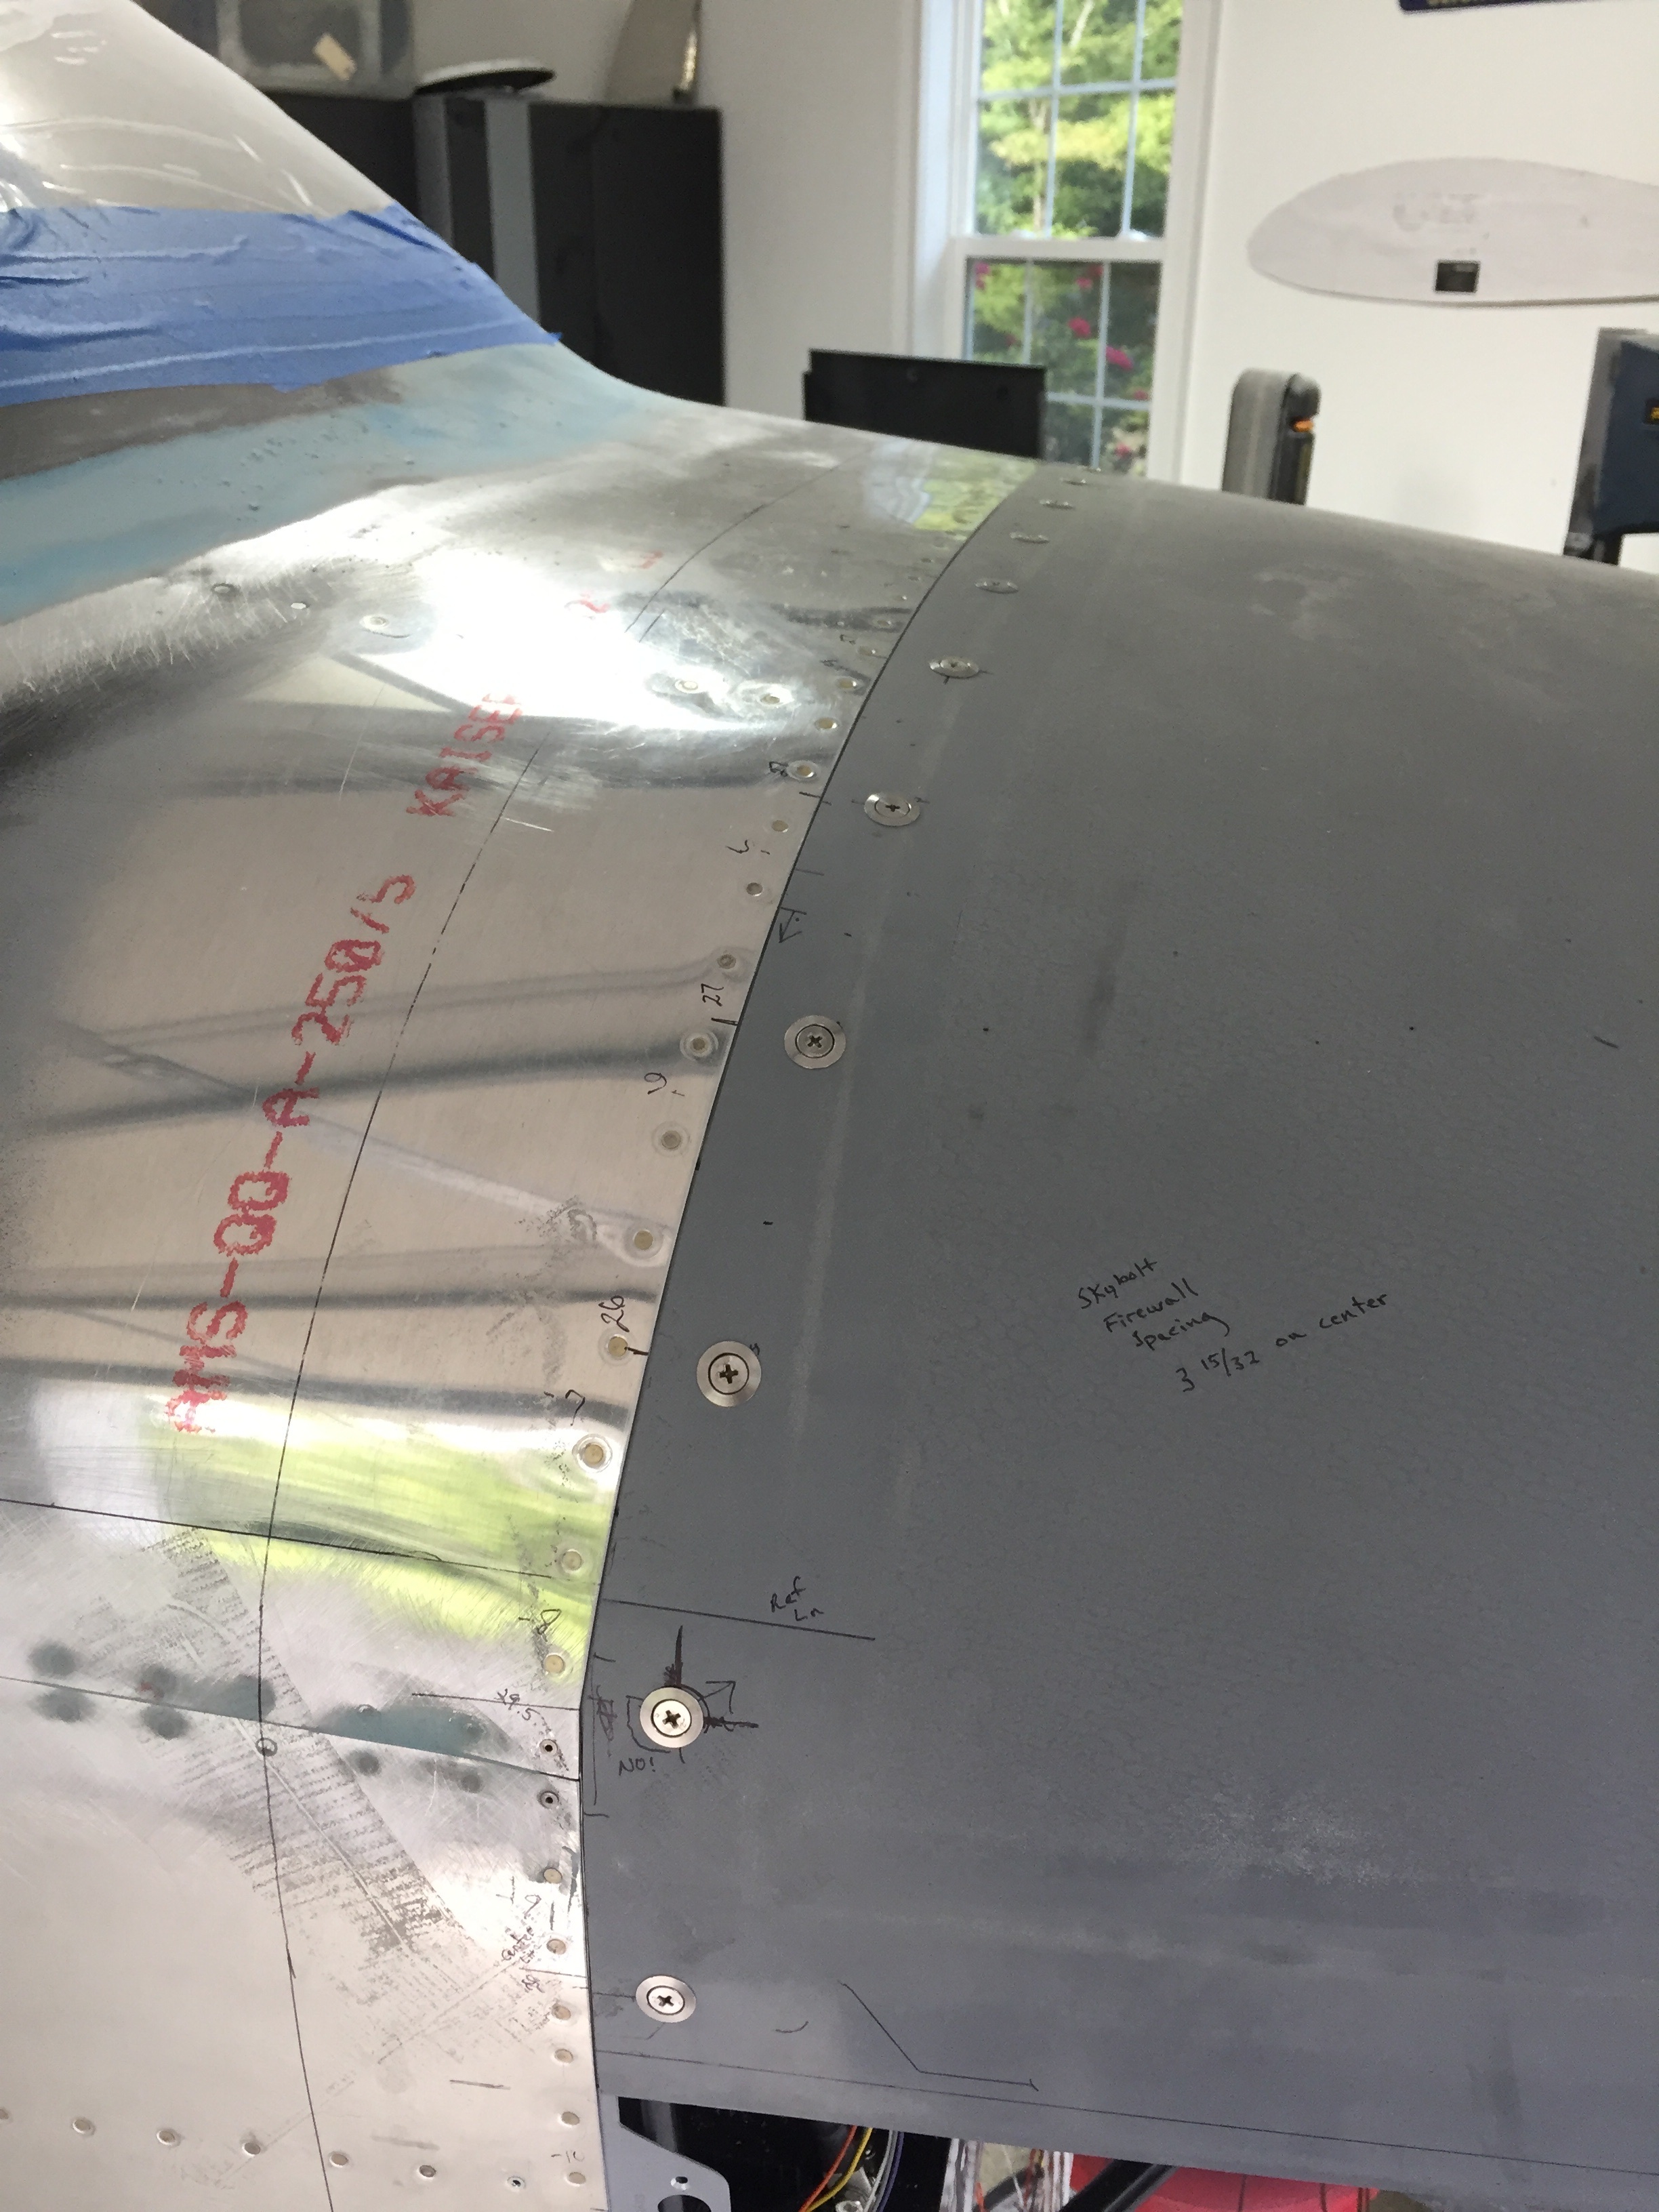
Once a few holes were in, the adapters allowed the cowl to stay in place and I then used the adapters as sight gauges while progressing drilling the holes big enough to accept the skybolts. I stopped every few increments on the step bit to check alignment with the adapters in the tabs. It was a bit time consuming, but the process worked well and I had no issues with all of the holes.
The split line fasteners were the last ones to be installed, as I used some walrus teeth (2×4) to prop the cowl in place and firewall fasteners to secure it. Laying out the drill holes and then confirming with a #40 hole was the first step. Unfortunately, you can’t drill progressively since you don’t have a way to hold the clecos adapters in place as sight gauges. So I installed the tabs and then marked the centerpoint of the hole before taking time to step drill while the cowl was off the plane. The skybolts have enough leeway to allow a small margin of error, so it worked out fine.
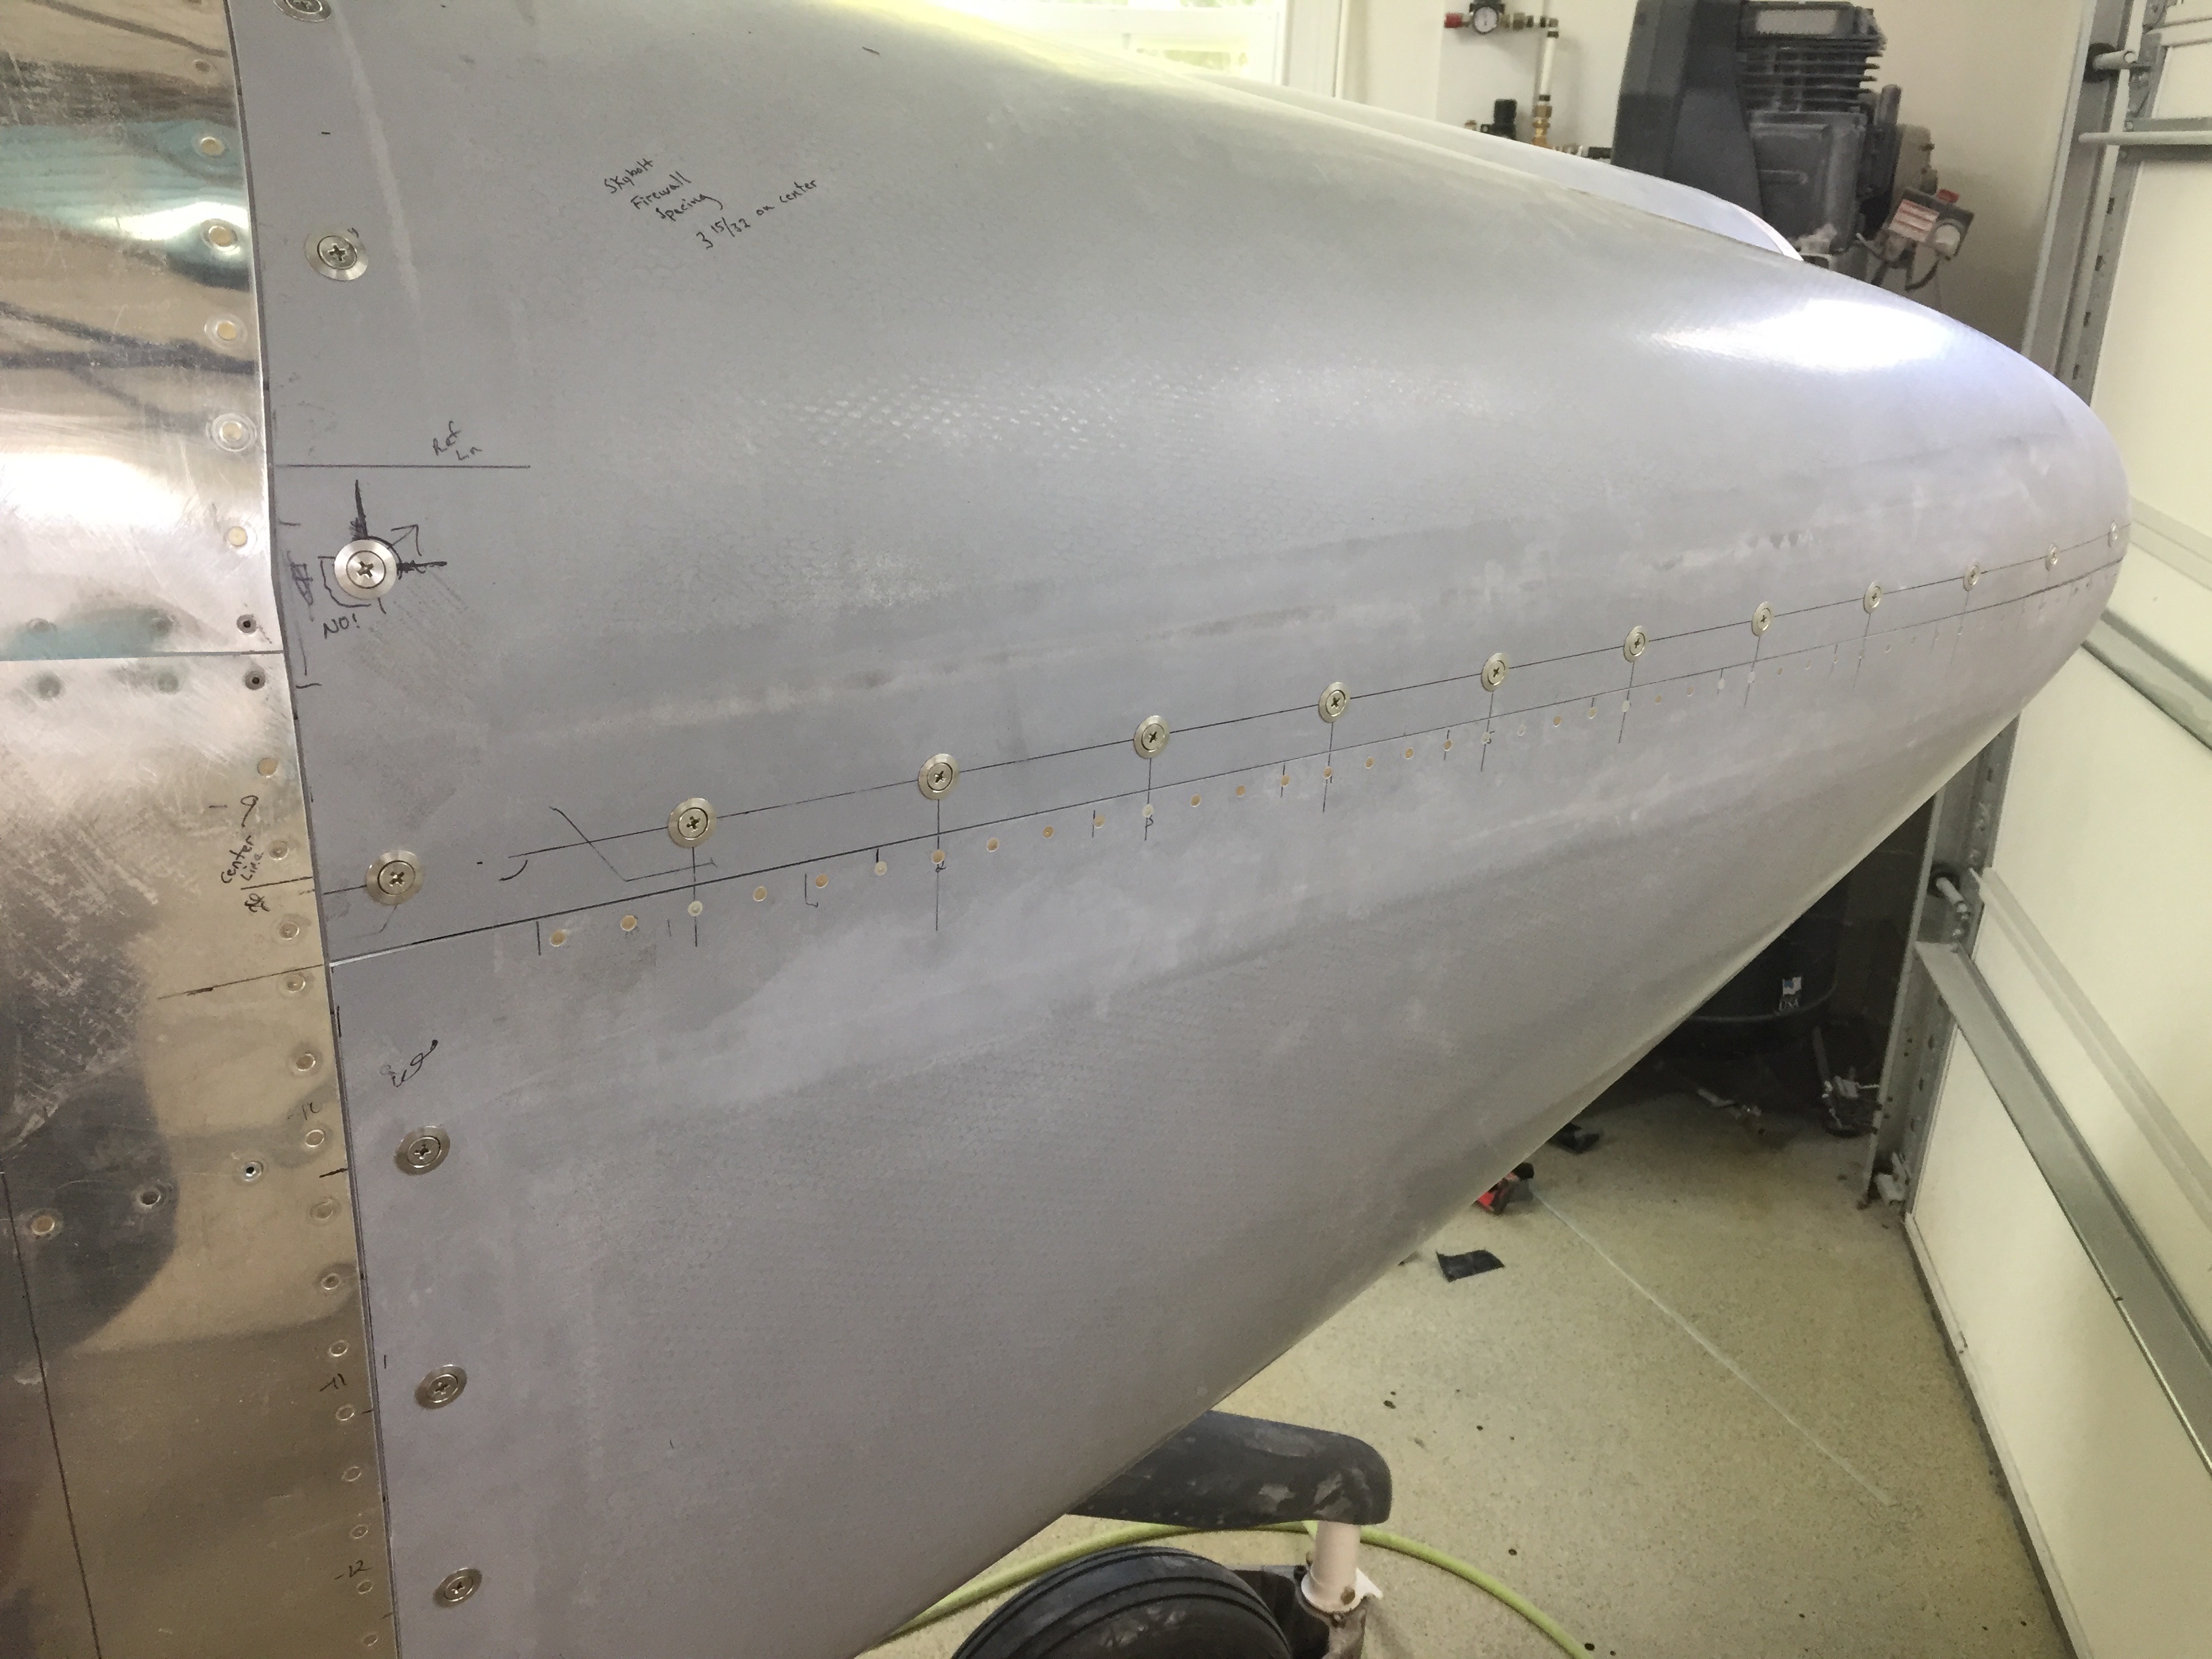
I’m not sure it was really that much more work than the stock method using the piano hinge, but I’m happy with the result. It’s dirt simple to remove the cowl and I personally really like the looks of the fasteners. They aren’t for everyone, but they are for me!
