The tunnel has been somewhat neglected for quite a while, so it is time to tackle it and put the cover on. The first main task was to finish the fuel lines and install the fuel filter and pump assembly. I got Ross from SDS to send me the dual pump assembly as well as the filters so I could go ahead and install them prior to getting the engine. Tom at TS Flightlines has a great setup that puts the filters on top of the pumps with adel clamps using hard lines. Flex lines are used in the rest of the fuel line system. Tom was super to work with and we soon had all the details worked out to get the lines ordered. I set about building brackets to mount the pumps on and it will ease removal and installation (somewhat, it will still be a pain) in the future once it is all covered with the interior.
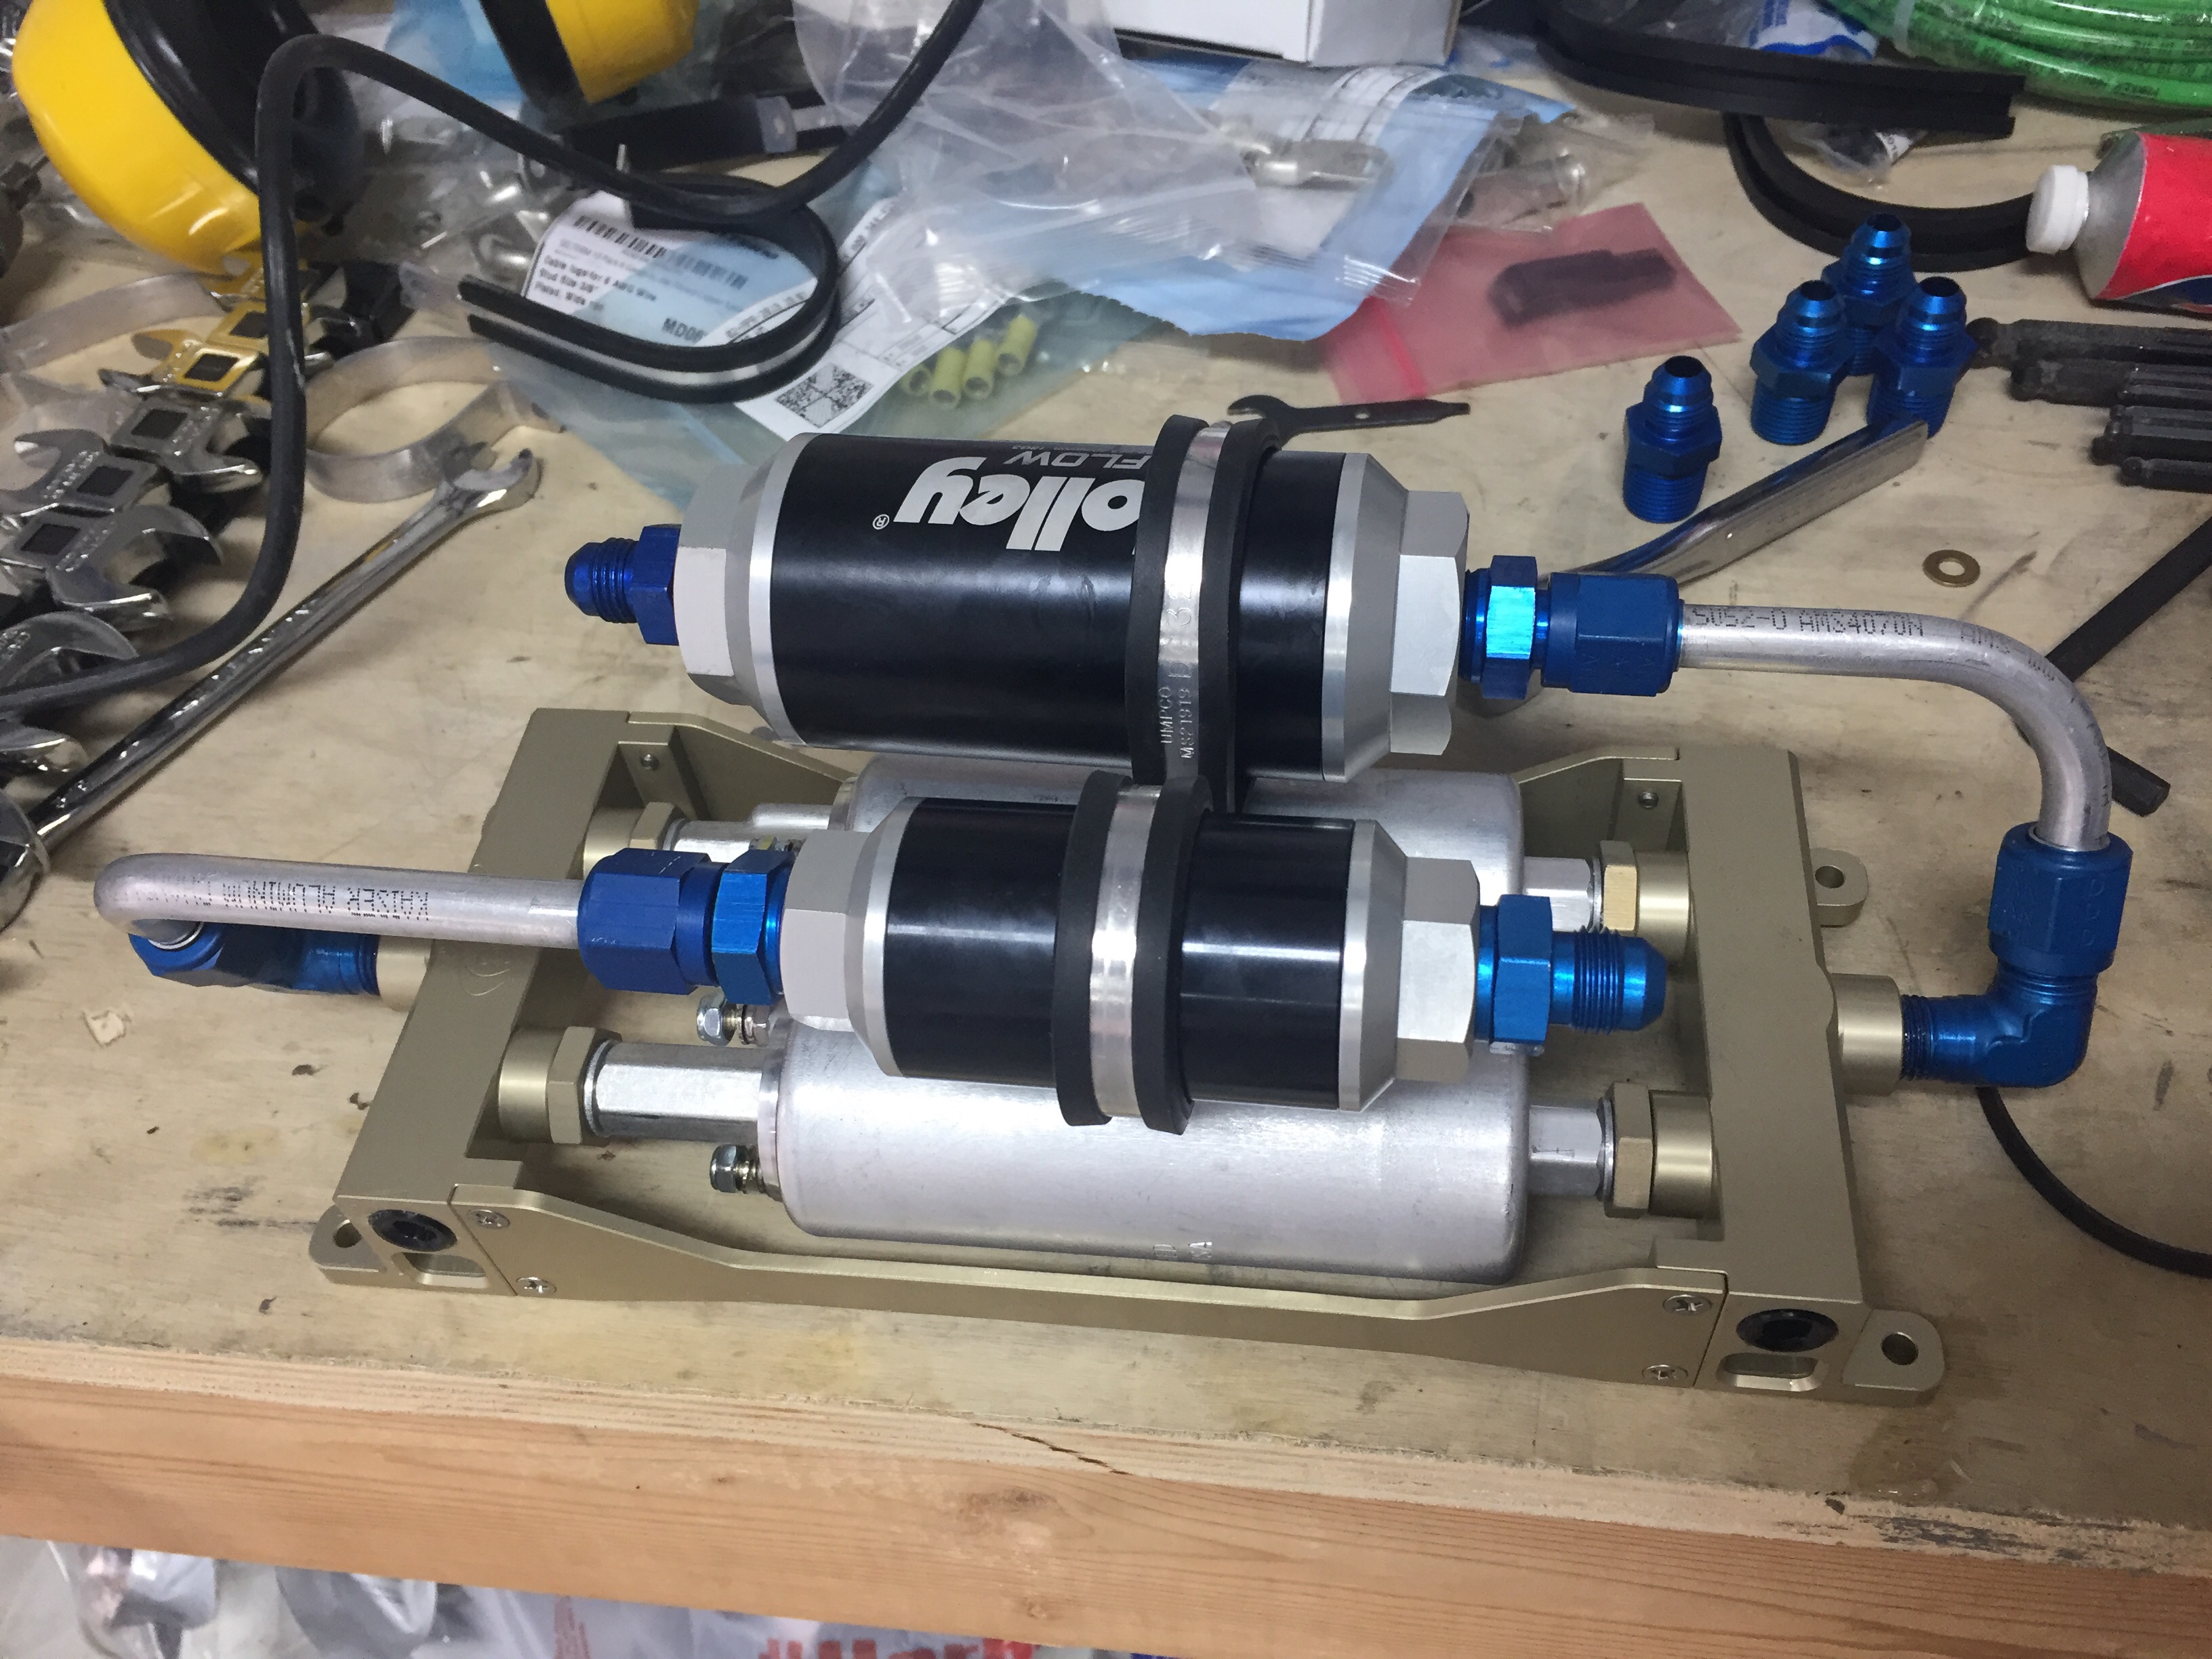
I also got a plate made for the fuel pump to mount on since the Andair bolt holes don’t line up with the stock bracket quite right. I turned the face plate such that the left and right wording is on their respective side of the aircraft which should help in muscle memory and recognition during my scan. An easy fix which lead to a lot of sweating and cursing fitting the lines and torquing them in that tight space. Unfortunately, two lines didn’t work from Tom on the initial fitting. He really goes above and beyond, however, and will re-make the lines until everything fits for free. These aren’t the cheapest option, but they sure are nice and pressure tested as an added benefit. Something I couldn’t do until putting fuel in the system and creating a big mess with a little leak.
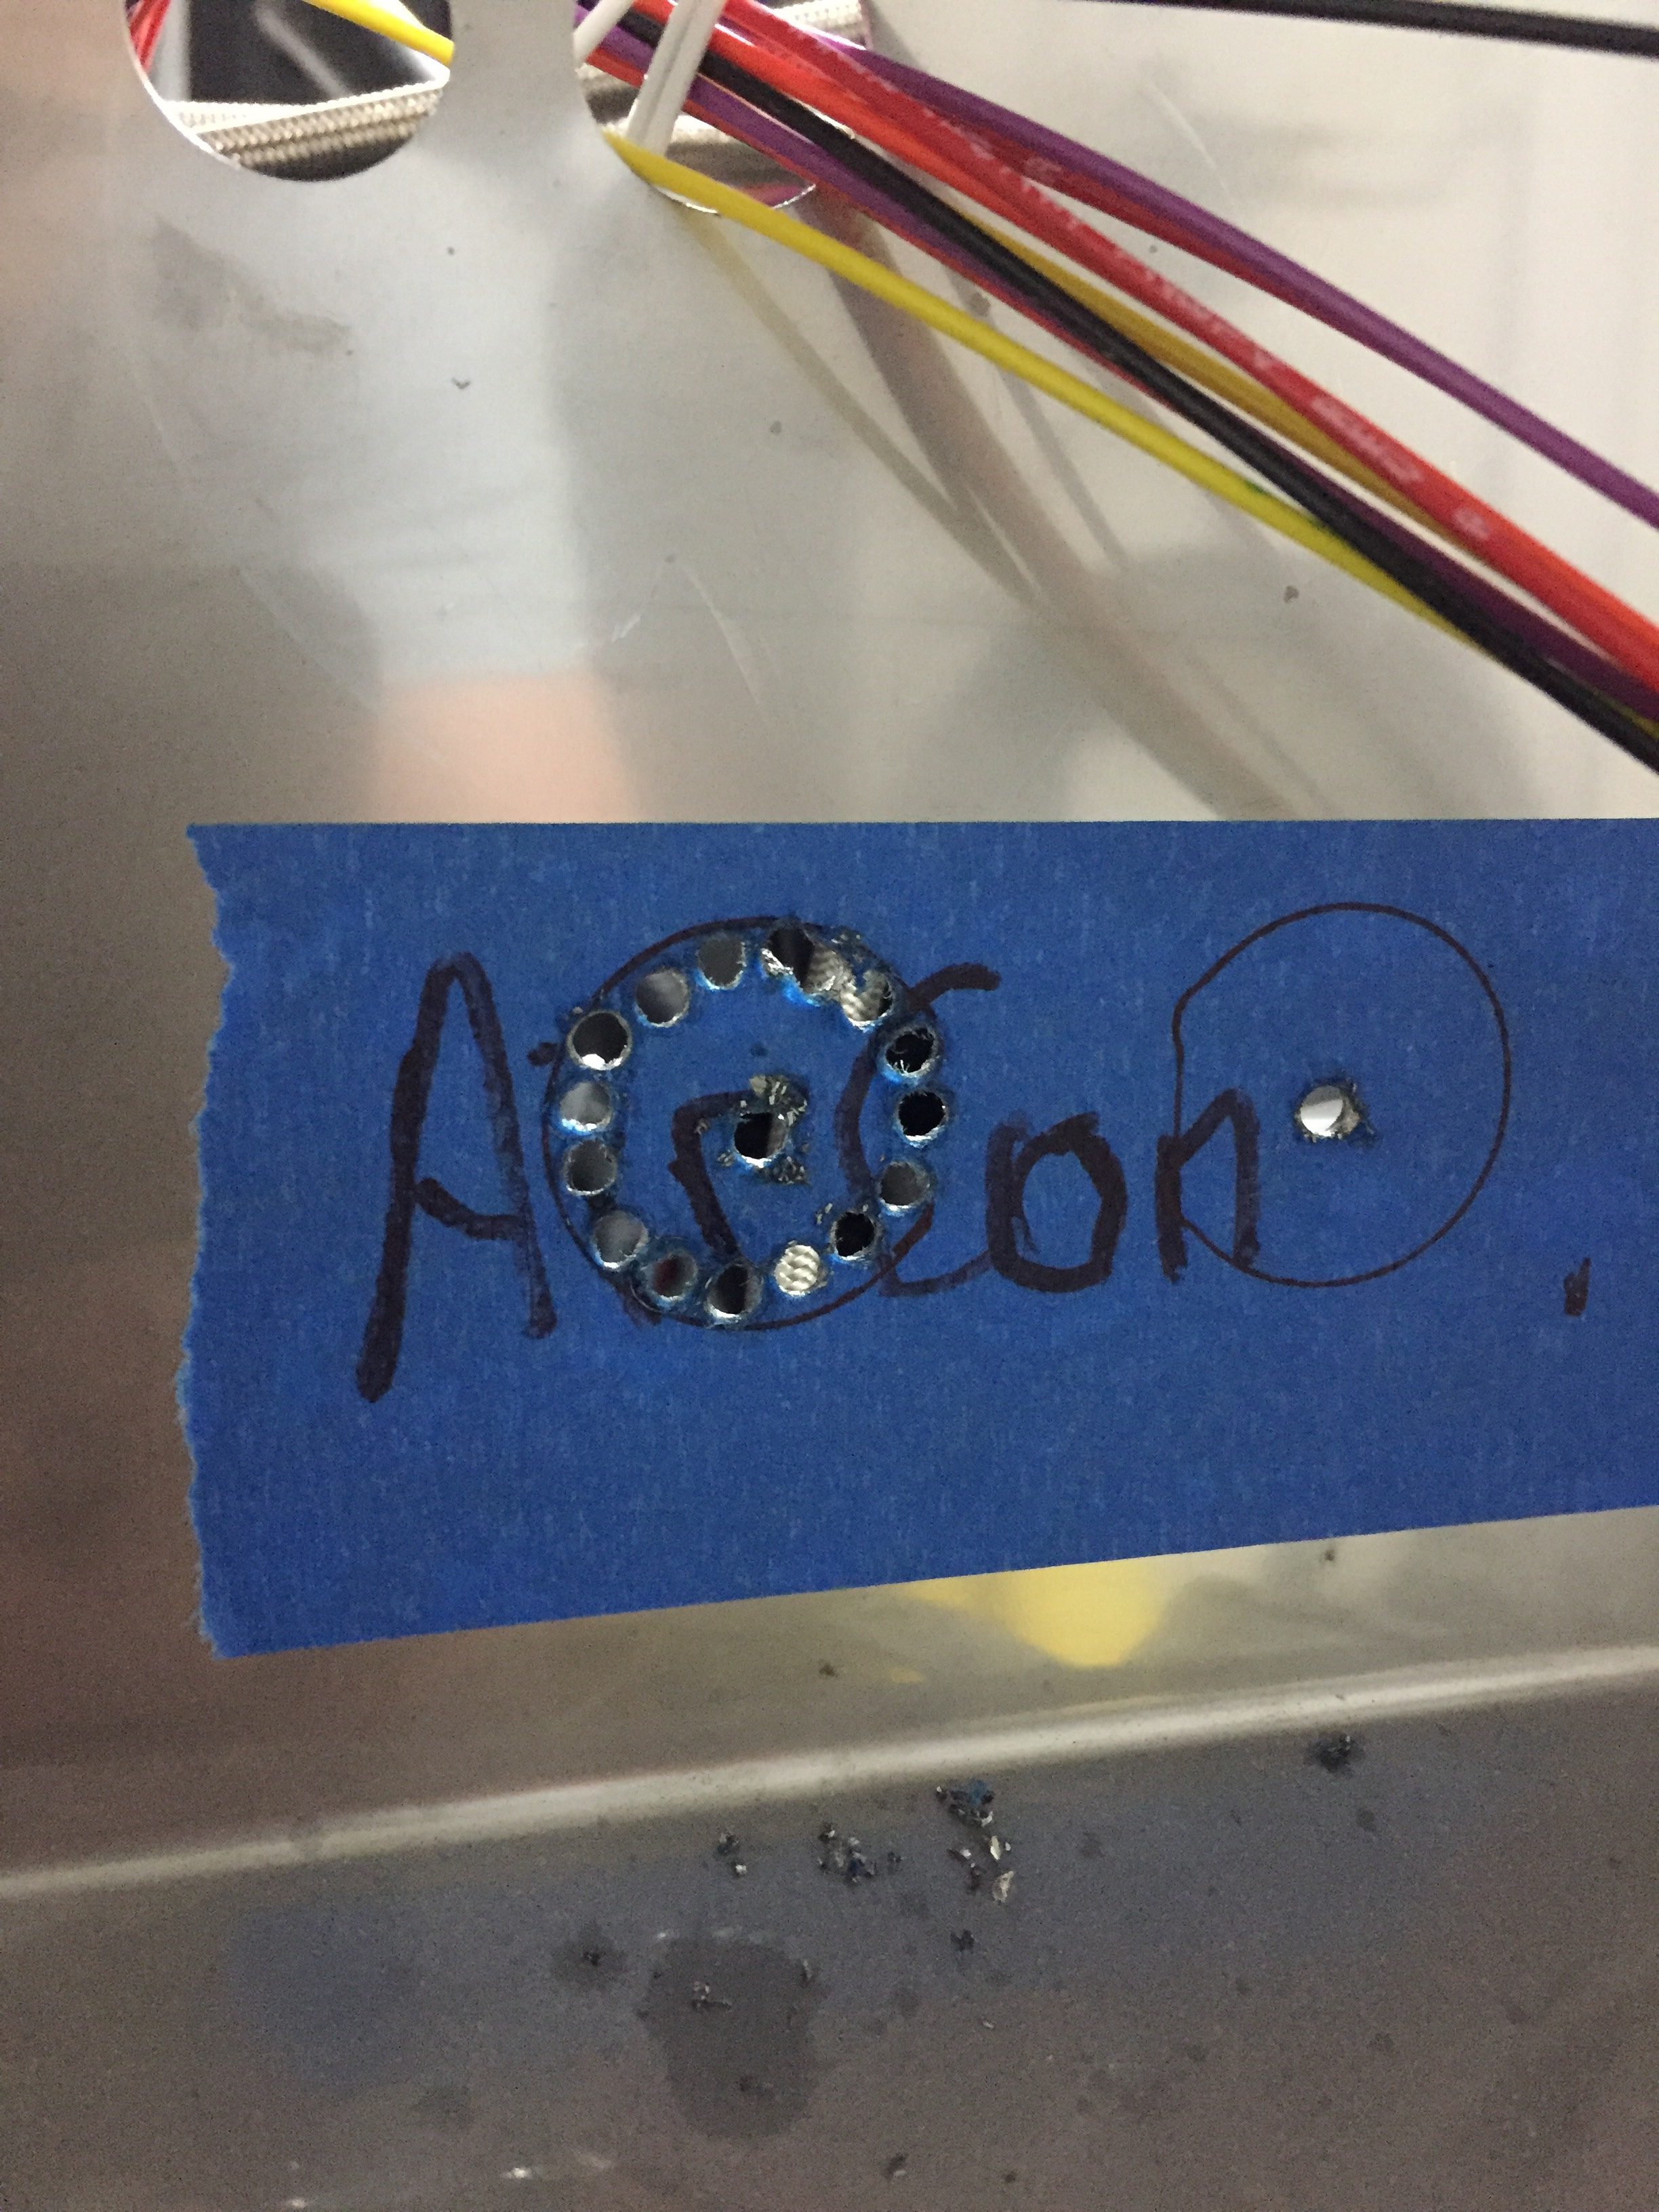
The second main task was to finish the aircon hoses that I chose to route down the tunnel instead of the sidewall to make more room for wire runs. It also eliminates some bulging on the interior panel up front near the rudder pedals. I measured out the hole size needed including the grommets that will allow for the hose to pass through with minimal clearance. Then I cut out some templates to help position them on the bulkheads that needed to be drilled. This allowed me to play with edge distance and place them where edge distance is maximized as much as possible. I got a cool new 90 drill adapter tool for this task and used it with my cordless drill to get the holes made.
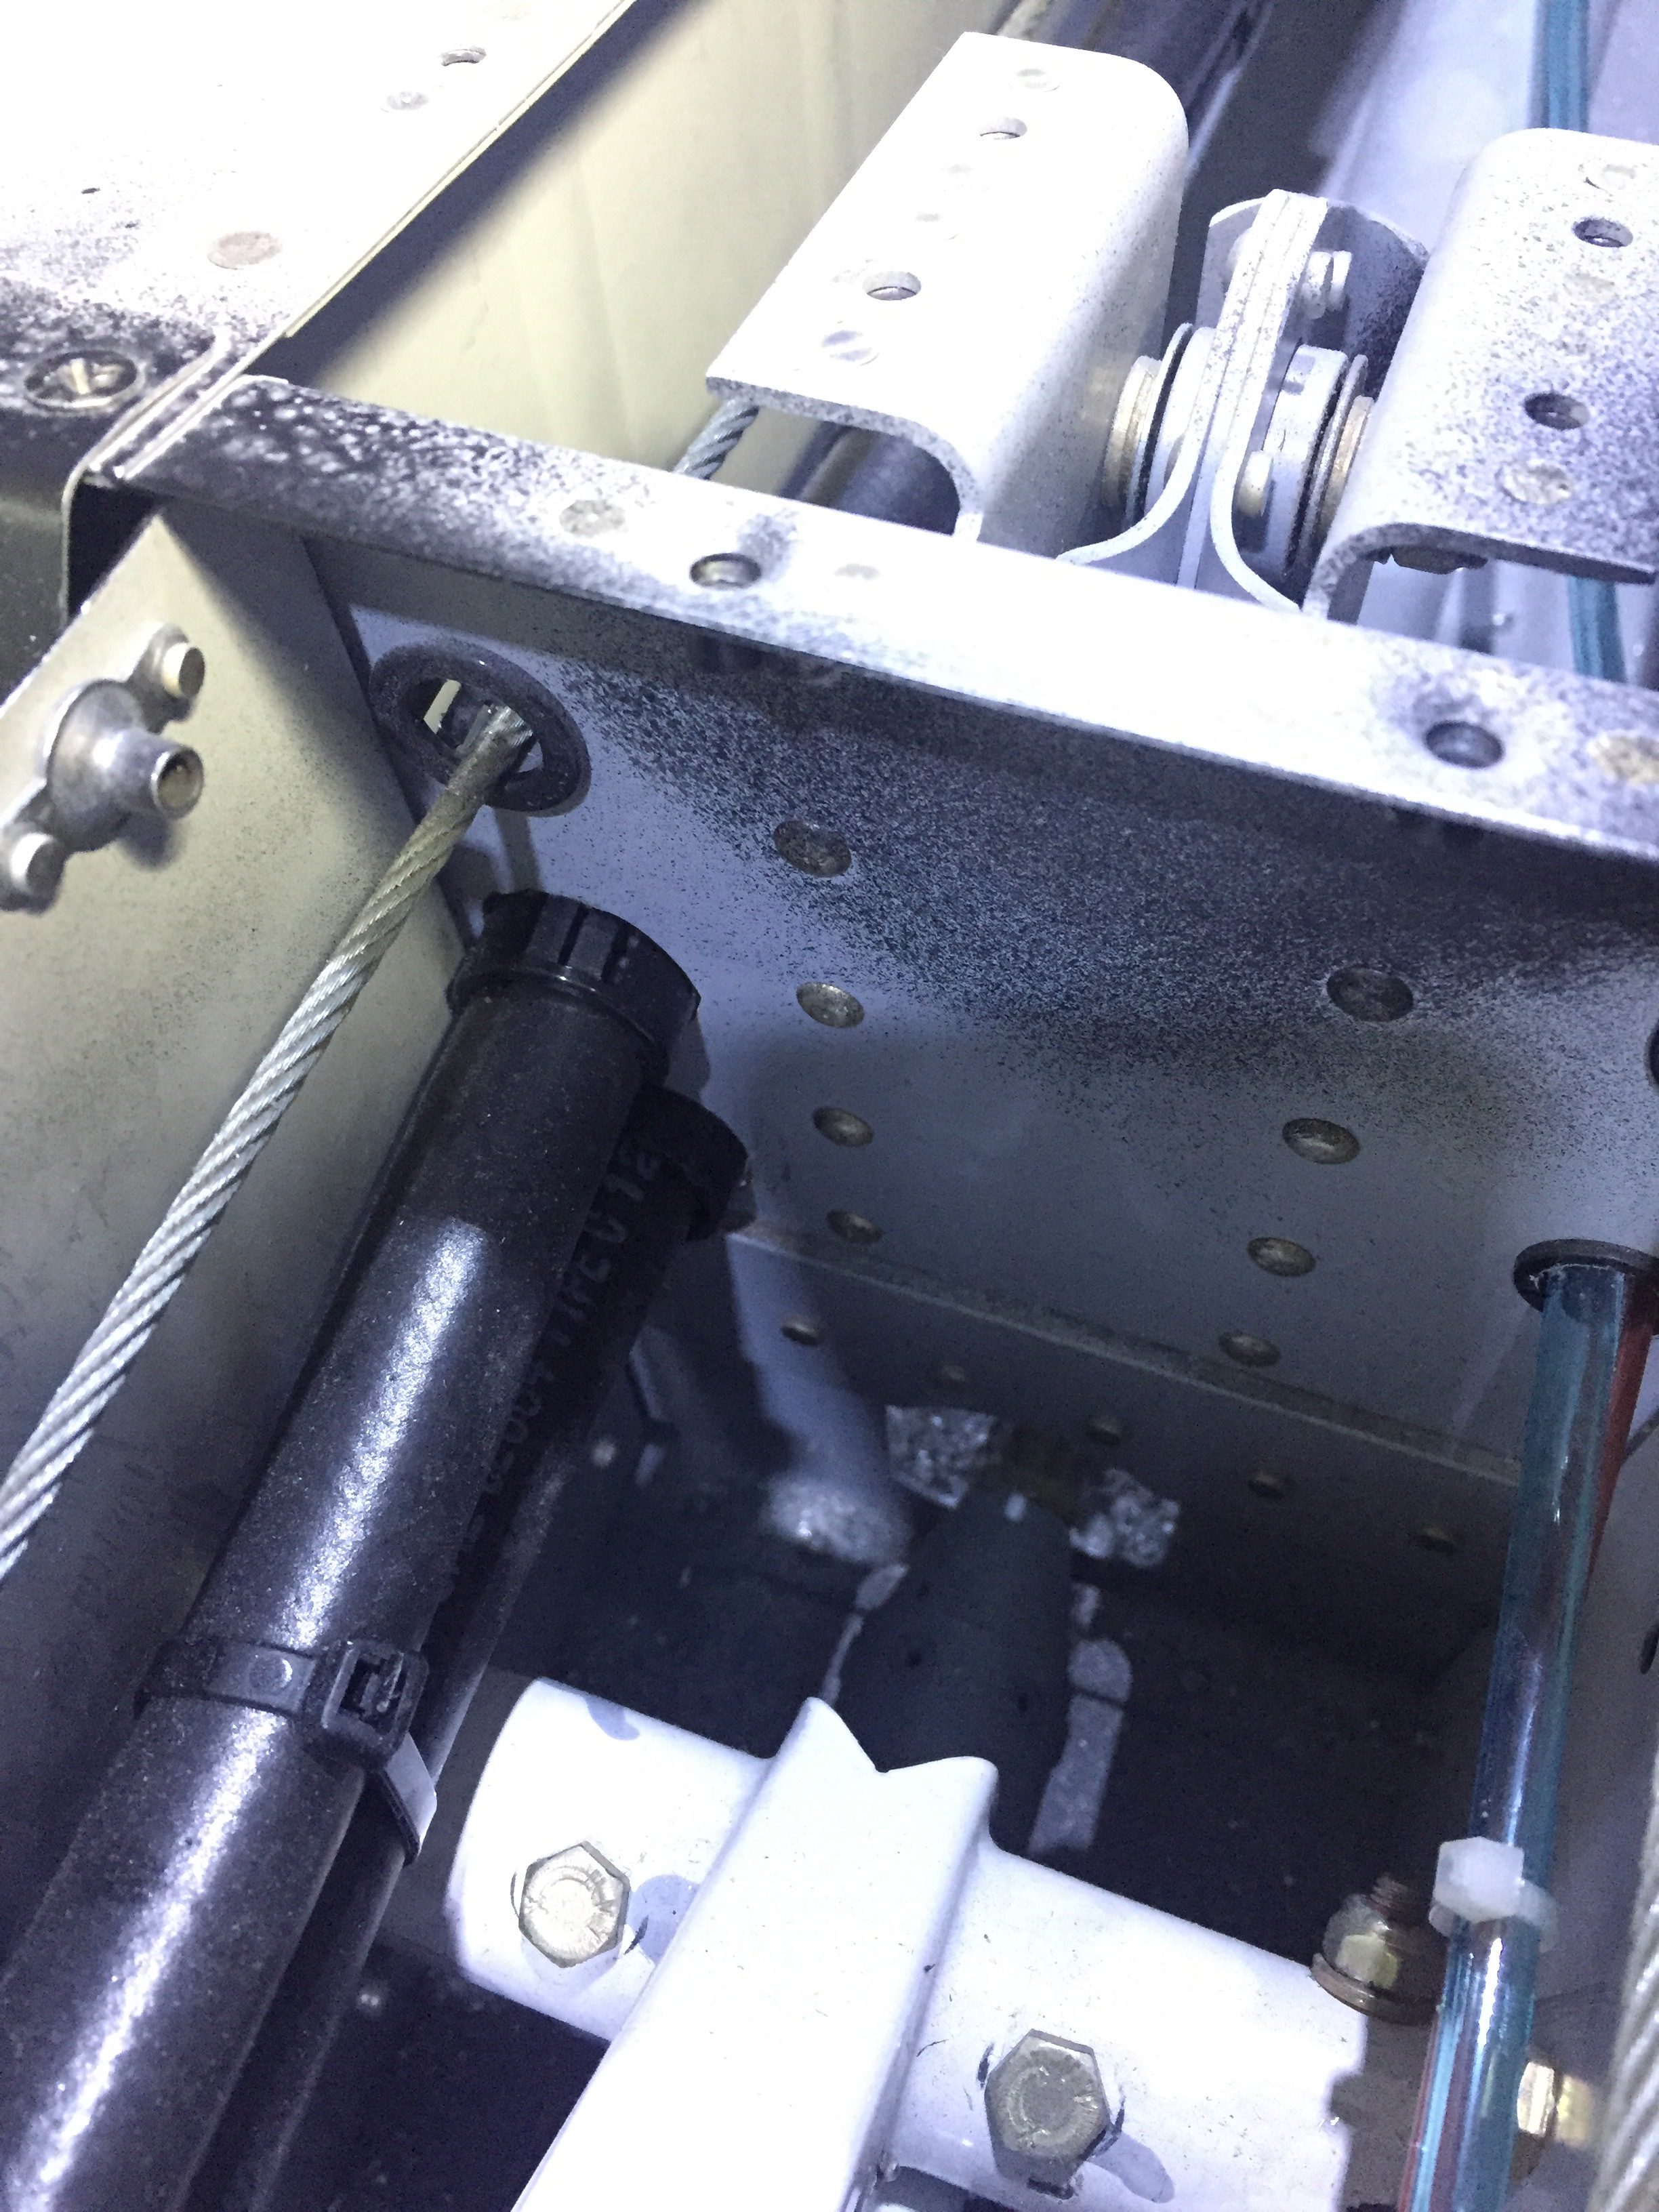
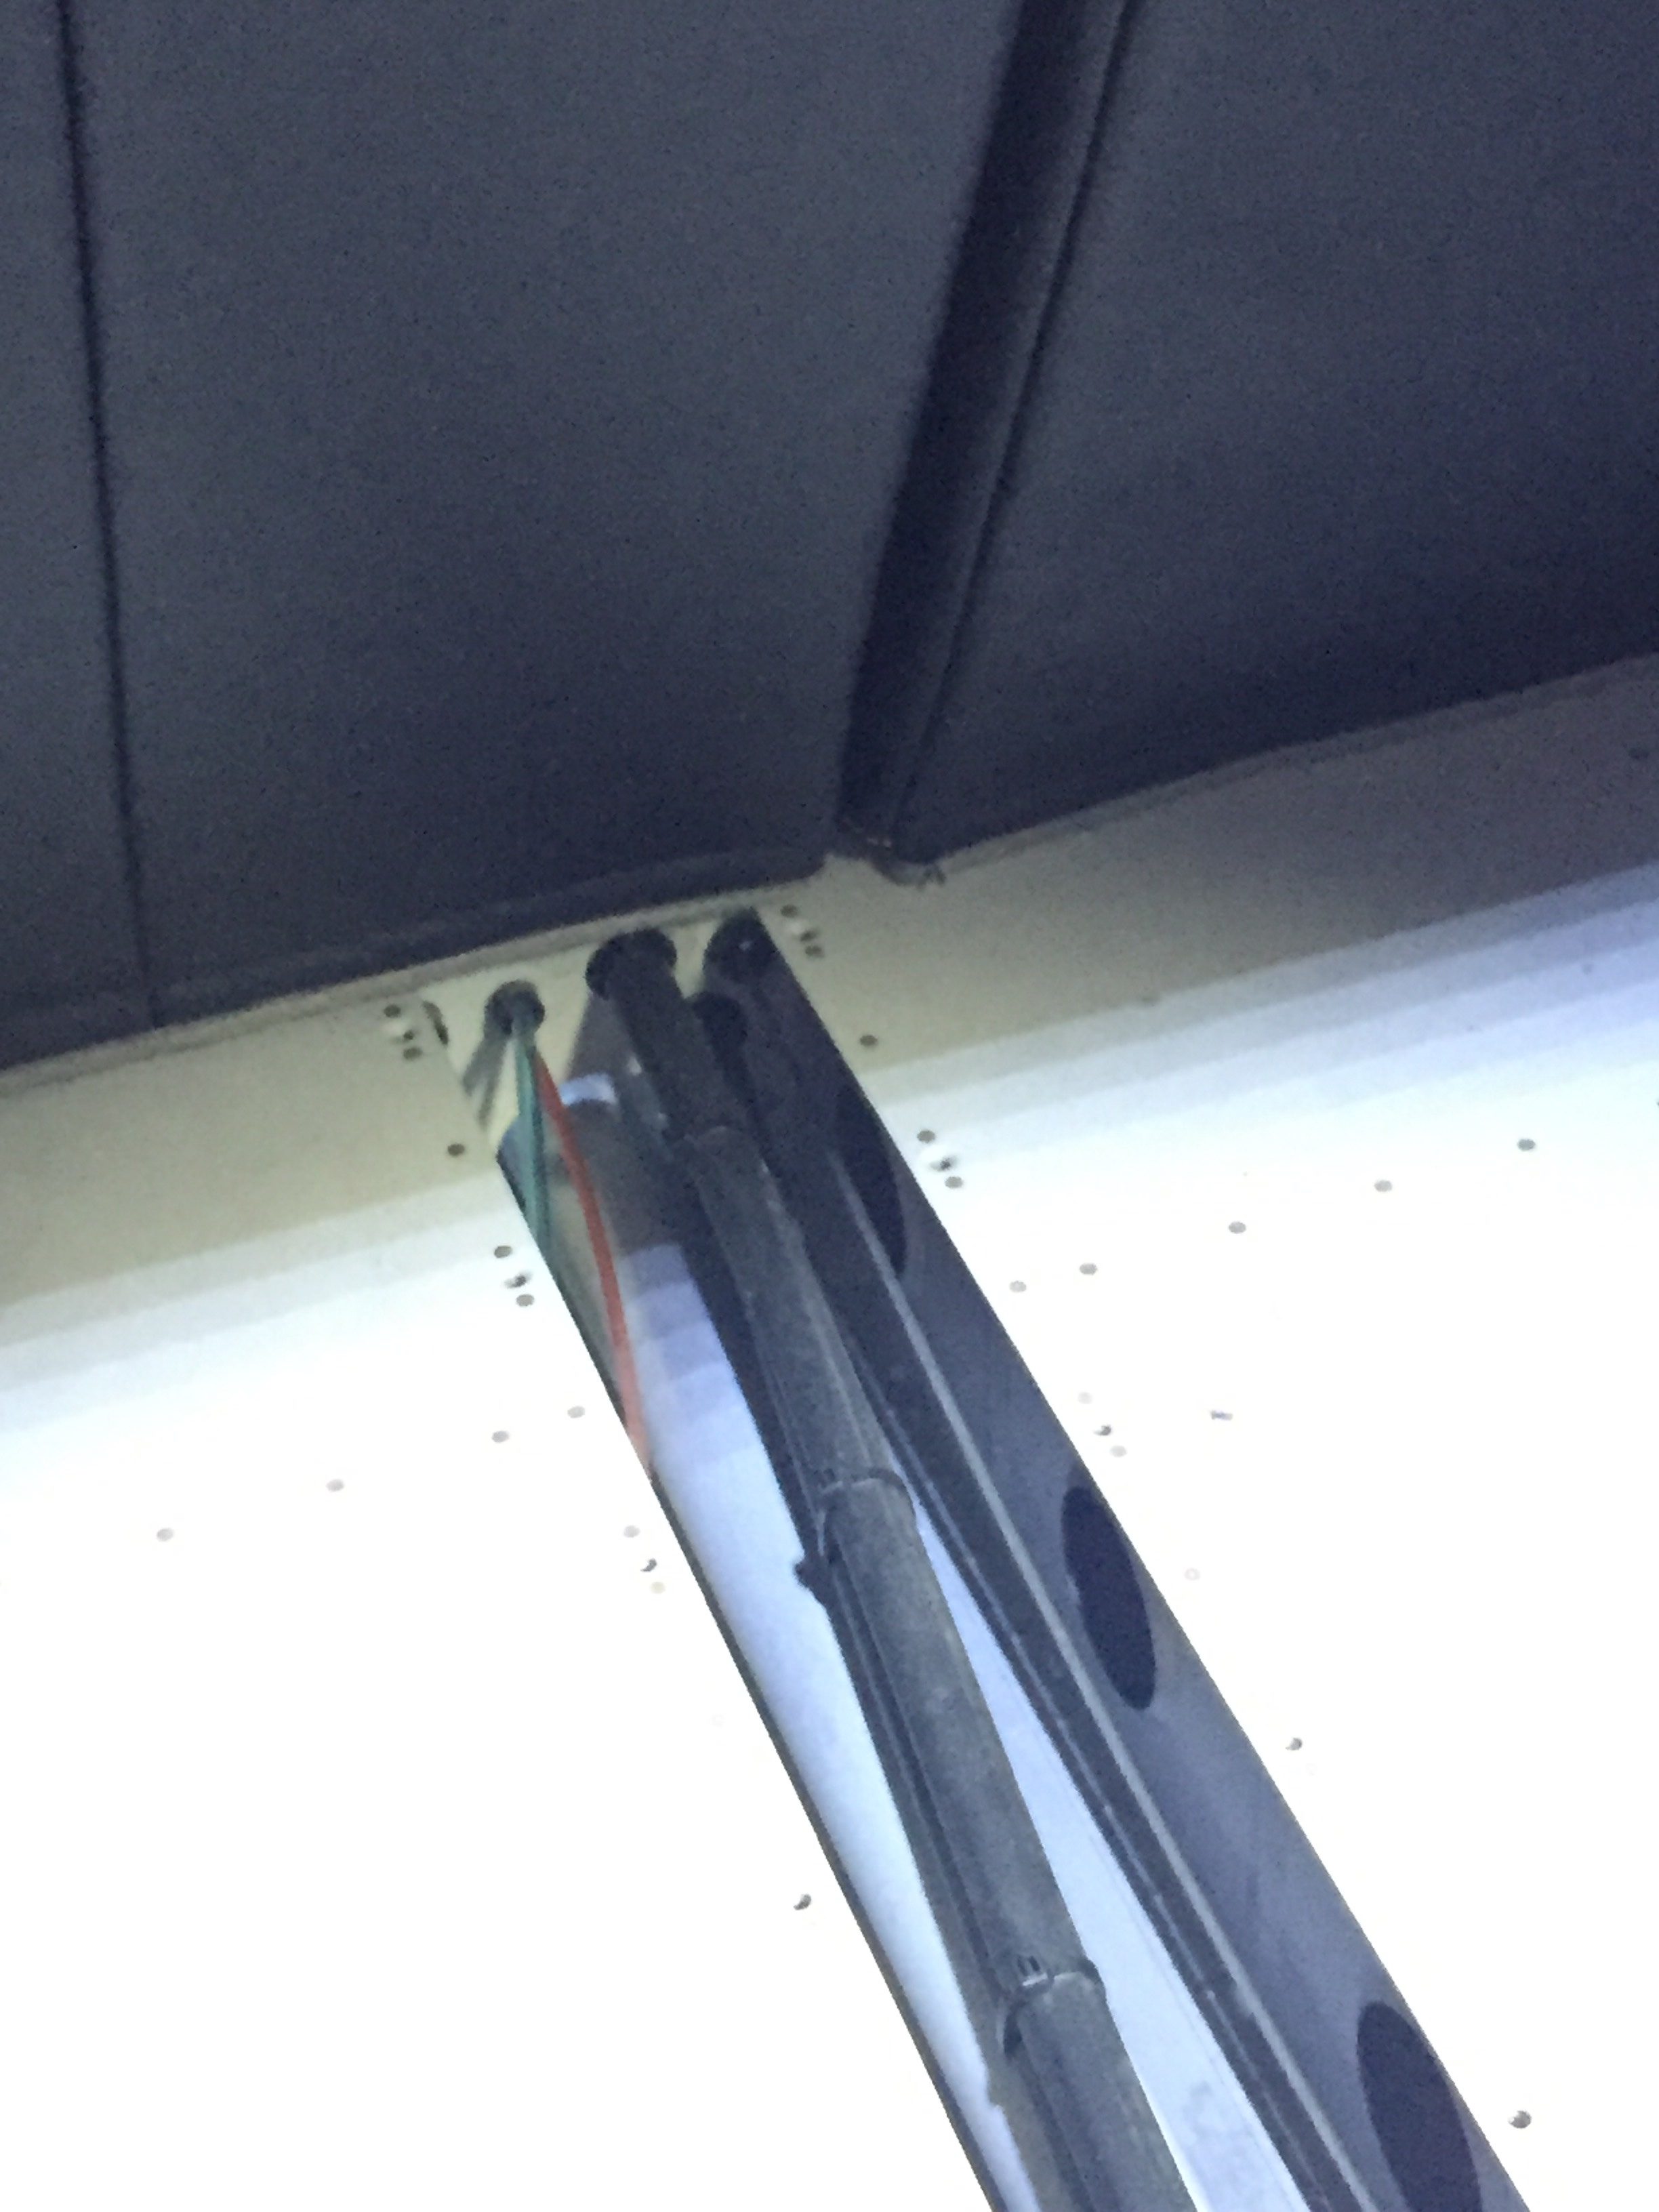
Up on the firewall, I chose to chain drill the large holes for two aircon hose bulkhead pass-throughs which worked really well and saved a lot of work with a big bit in the stainless steel. The lines fit very nicely between the rudder cable arms once secured vertically. The hoses route on the right side of the tunnel over the spar and clear the rudder cable just forward of the flap motor by being secured to the rudder cable guide bracket. I’ll clean up the rear tunnel area later with a few more secure points and edge grommets to protect the hoses.
I also routed the heating ducts and actually fit everything where it needed to be! I mashed the rear duct a bit to mold it around the fuel valve stem. I also put a piece of vinyl tubing around the stem to avoid any interference against the duct.
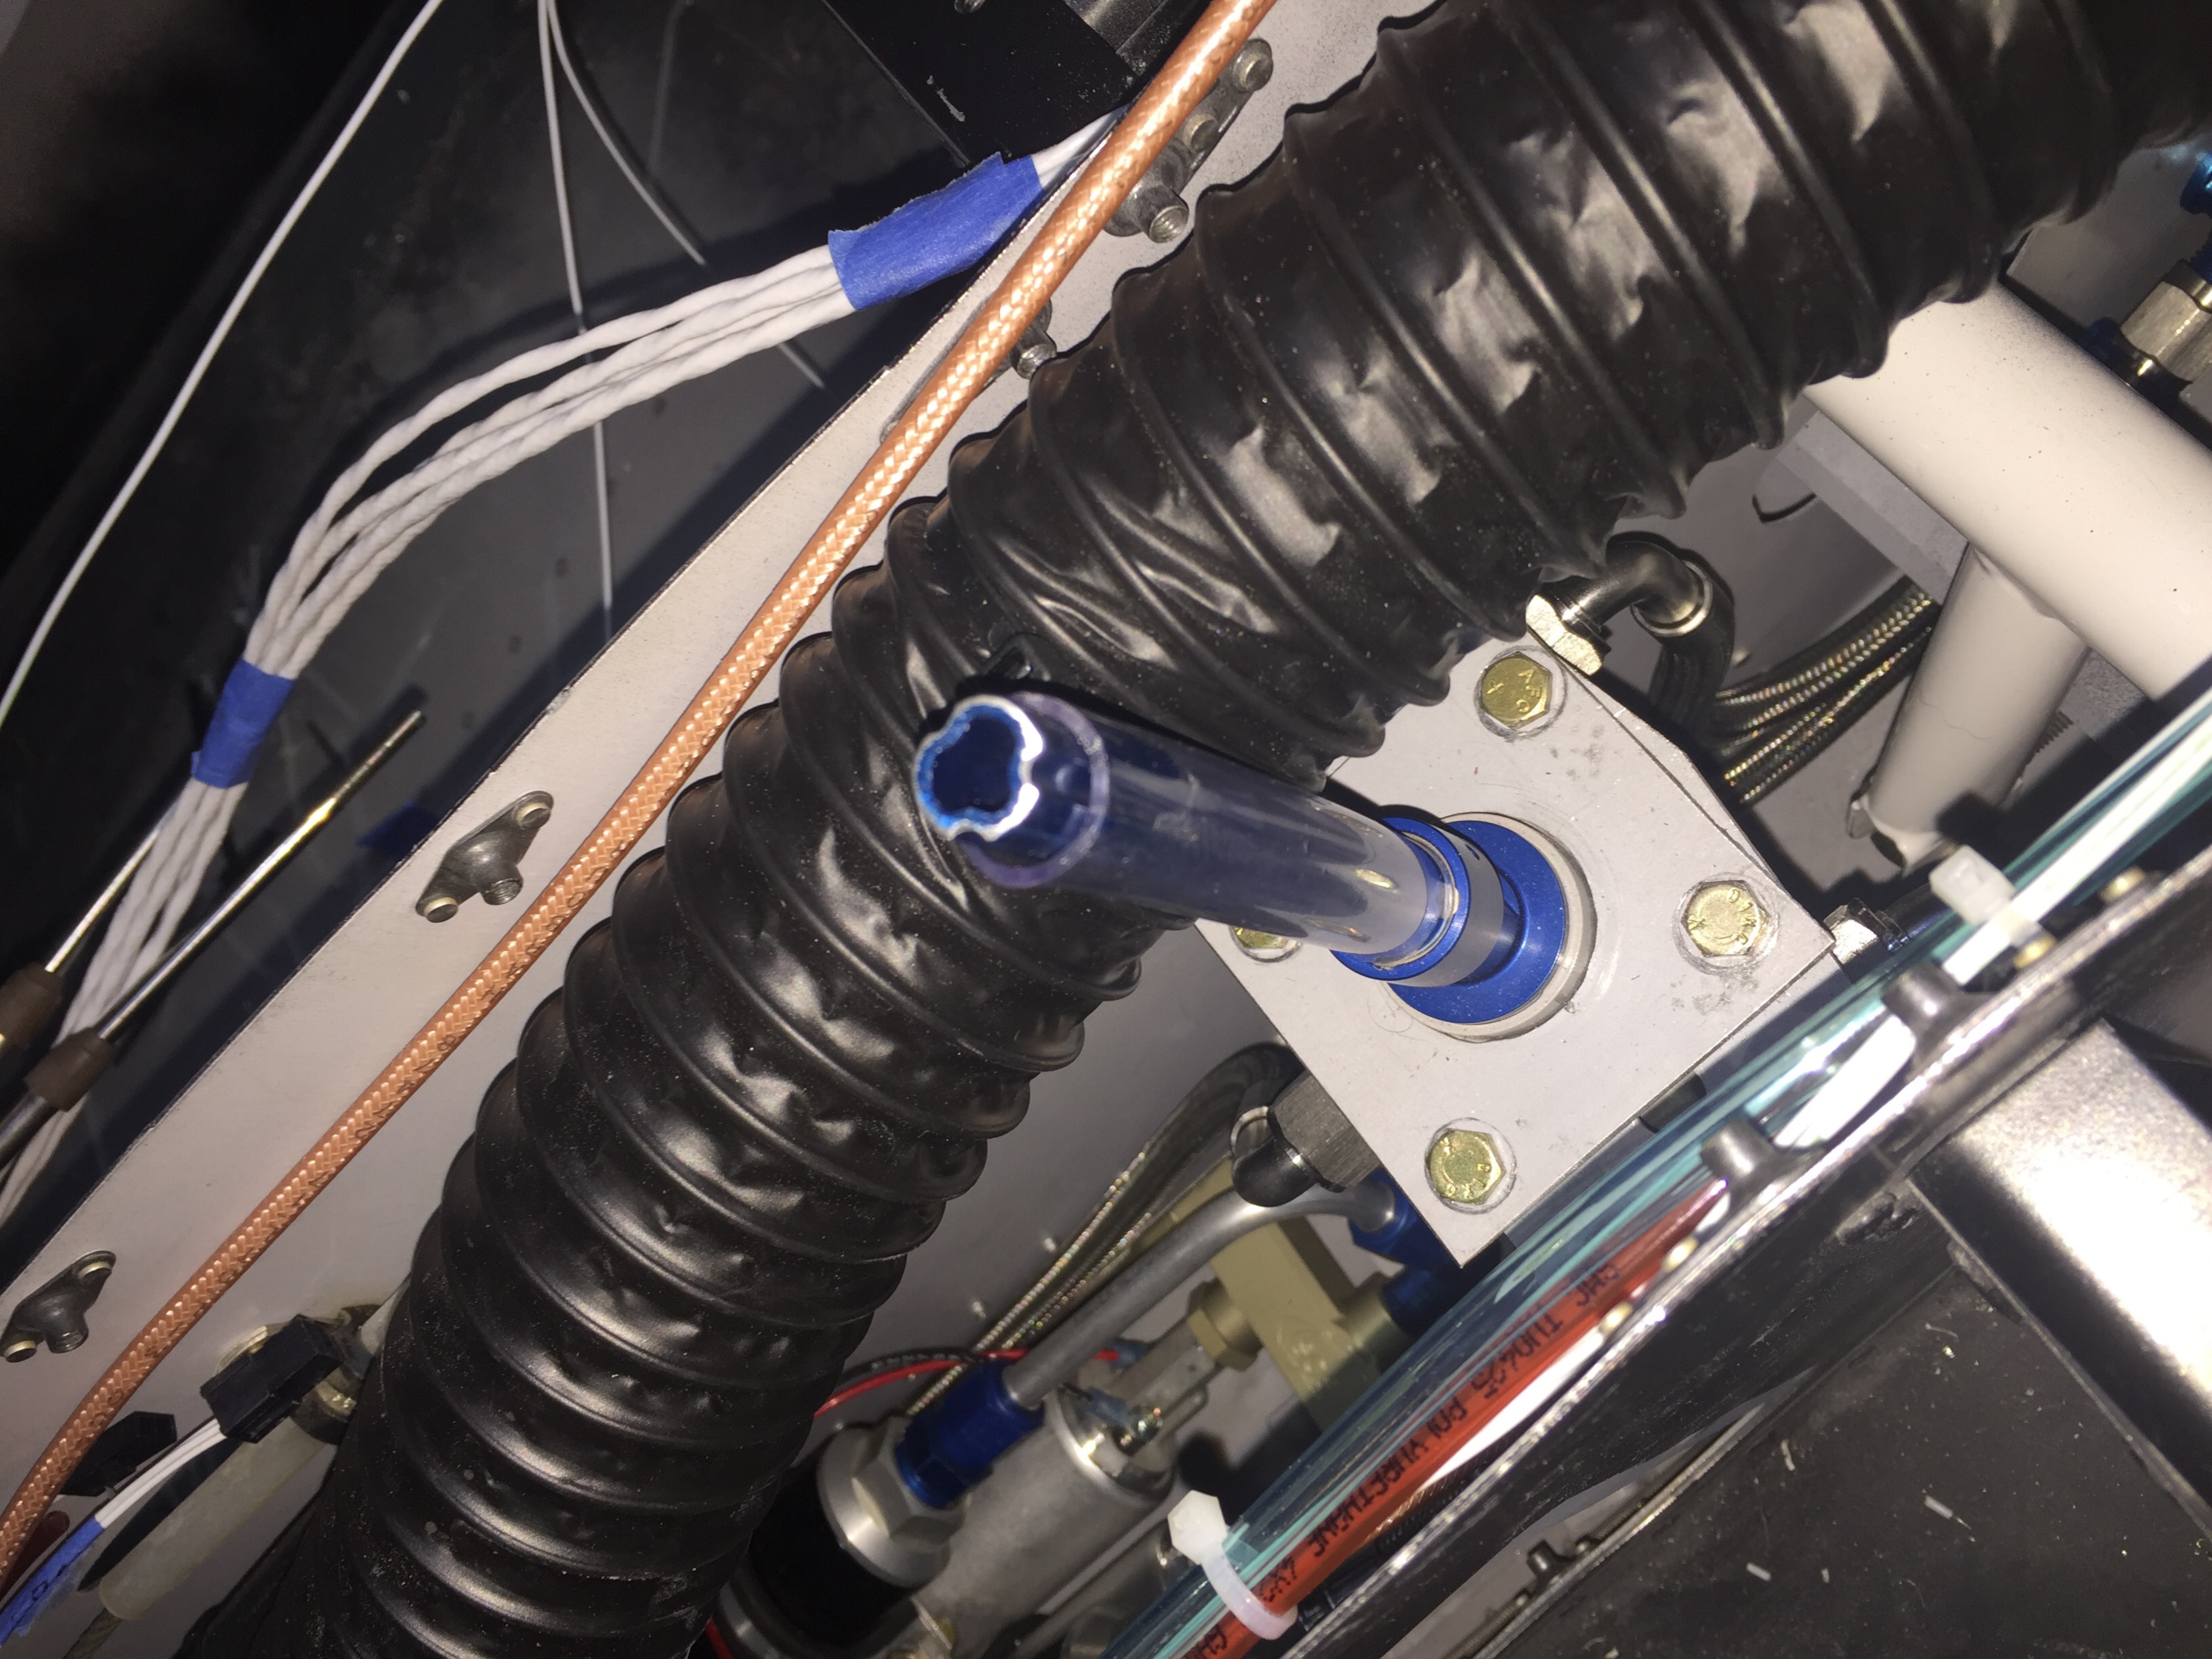
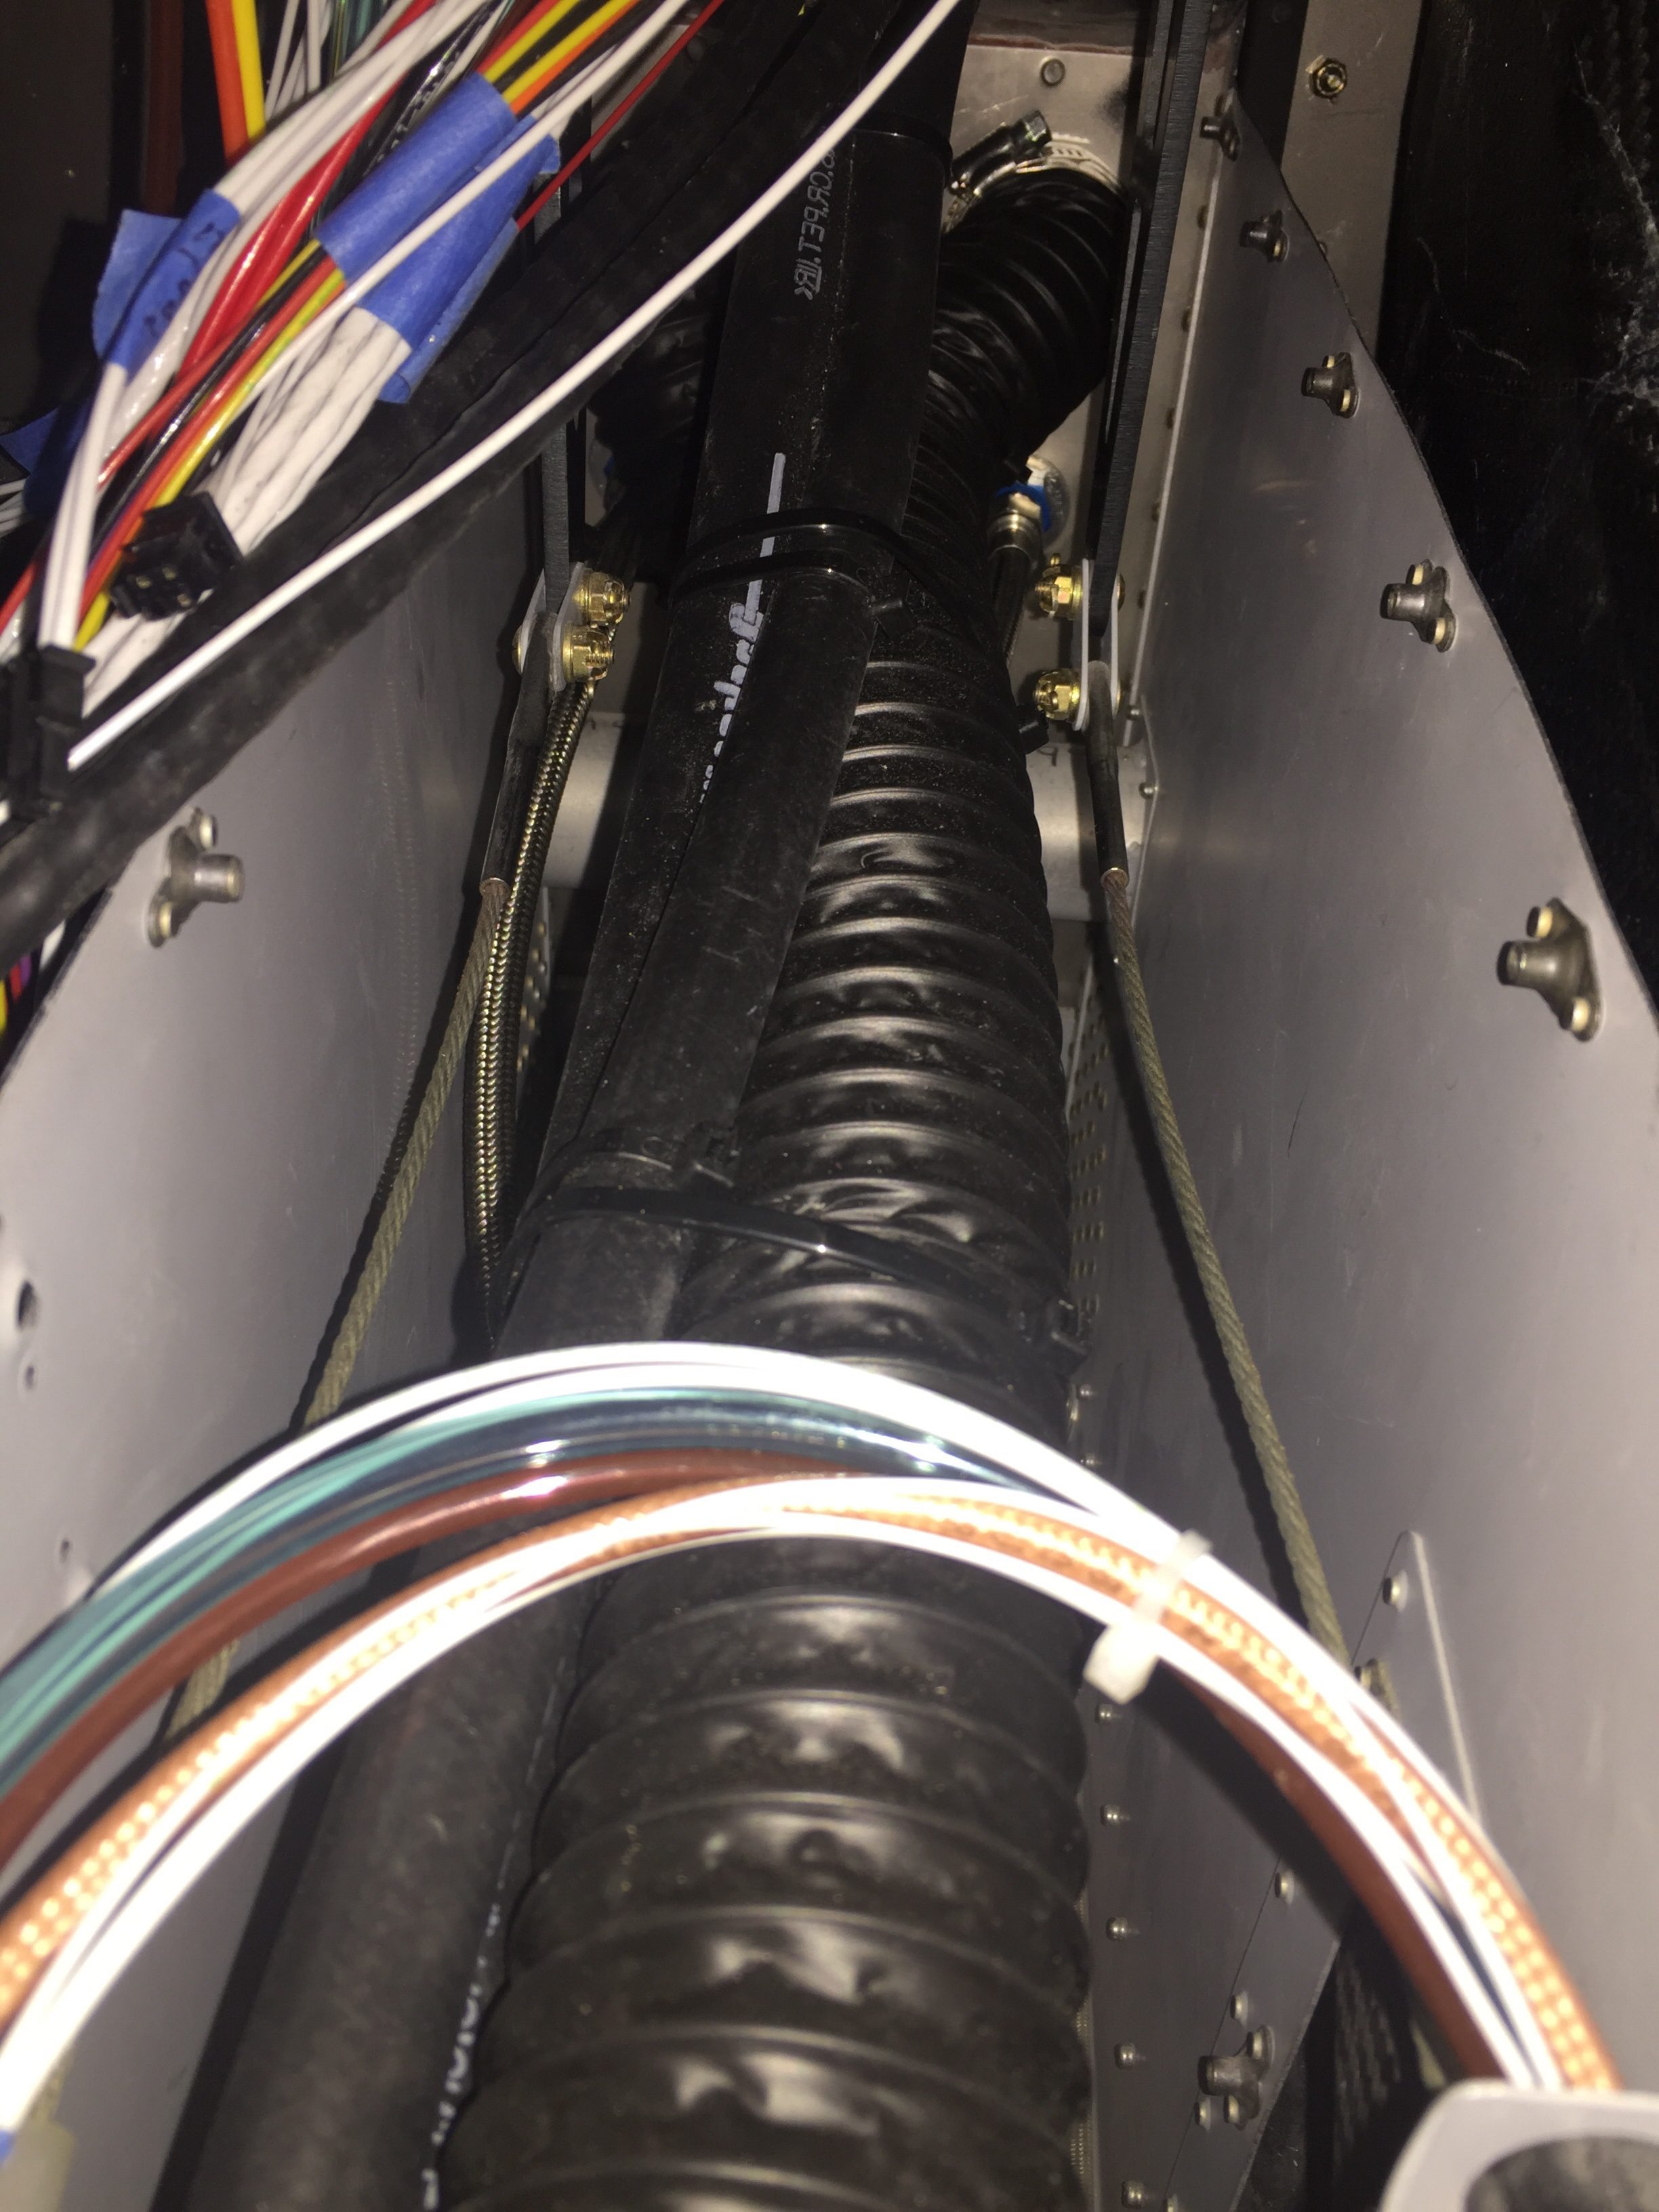
With the newly made lines from TS Flightlines installed, the tunnel is all ready for the cover and to be buttoned up. I reached out to Vic Syracuse, who I plan to use as my DAR, to ask what all he needs open for the inspection. He advised the rear tunnel cover needs to be off but the front can be on so that fuel valve, throttle quadrant, and center console can be installed. So, the front cover went on after a good cleaning and ideally won’t come off again for a long long time!
