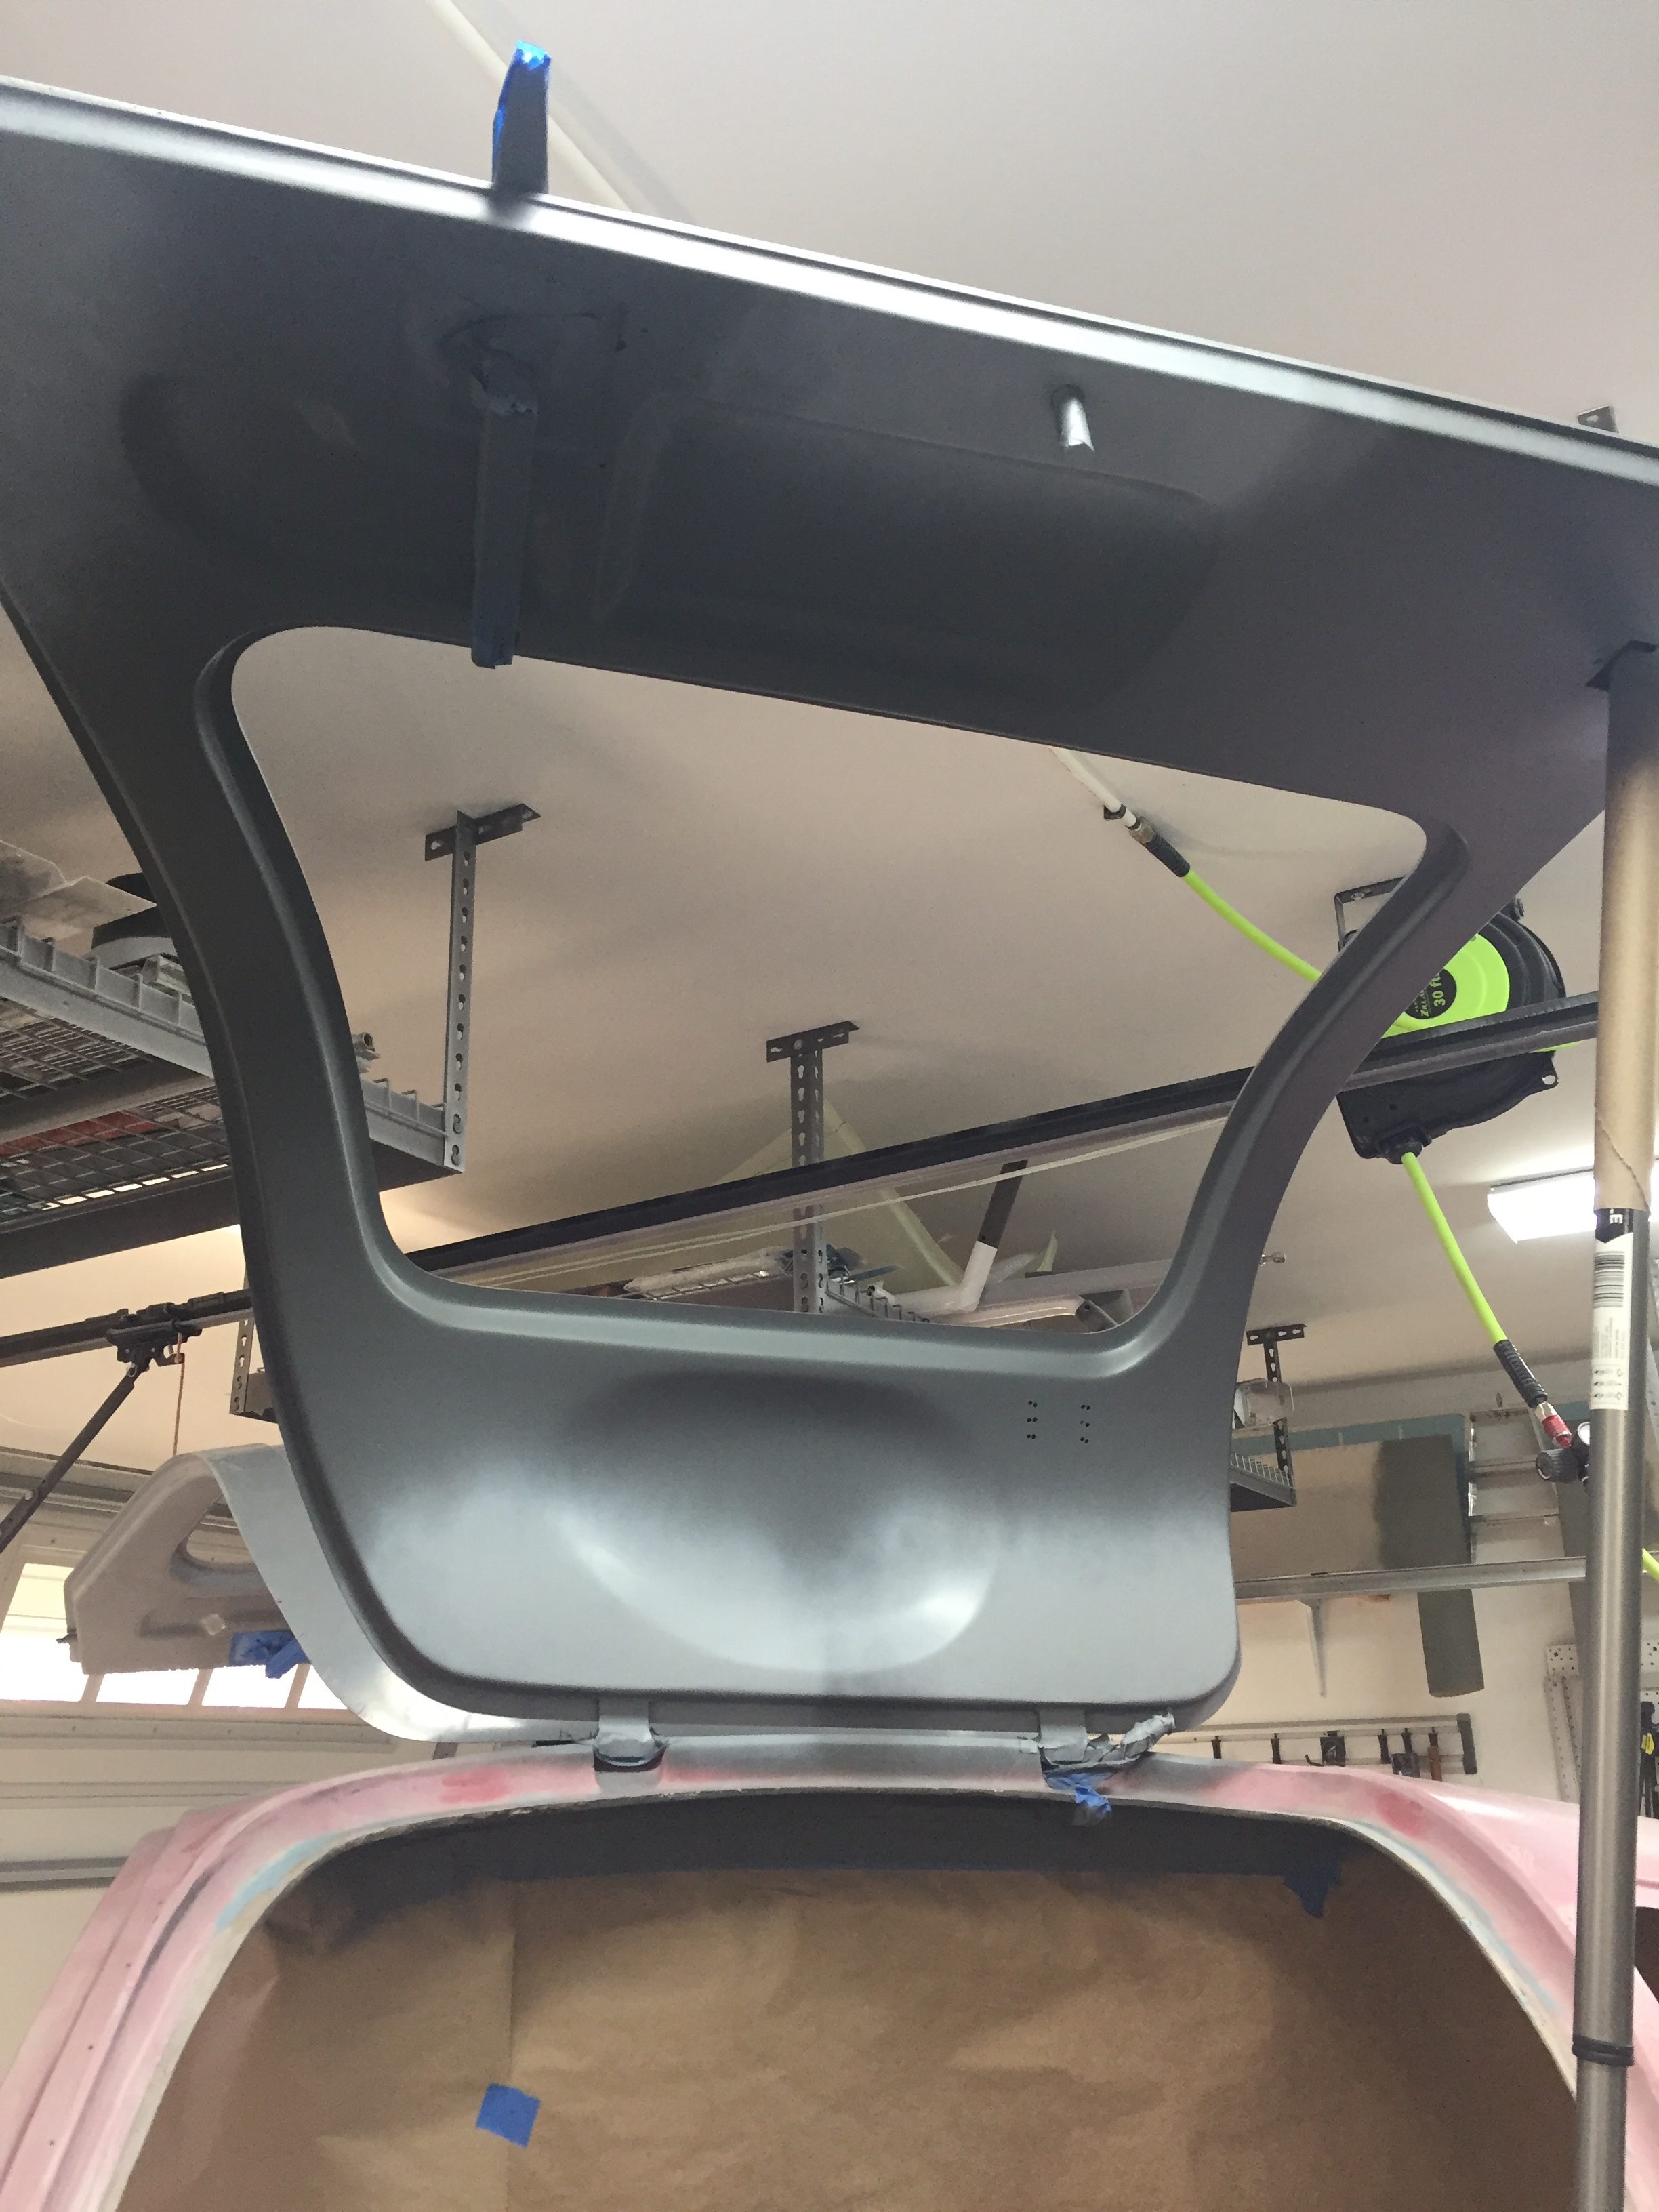
Finishing the interior now consists of painting the remaining surfaces not covered by the Aerosport panels and painting the panels themselves. The doors, door frames, and a few other areas needed the Presido gray applied and I wanted to get that complete so I could turn full focus onto the outside. I took my time to prep the areas needing painting with paper and tape and then set to work ruining my index finger with four cans of spray paint. I used the SEM sand free to wipe all the surfaces down after a good cleaning with a wet rag to get rid of dust. I then primed a few spots that had the bare filler / metal exposed. I then put three coats of color on it, letting it flash in between coats. Finally it was two coats of clear on the doors and door sills.
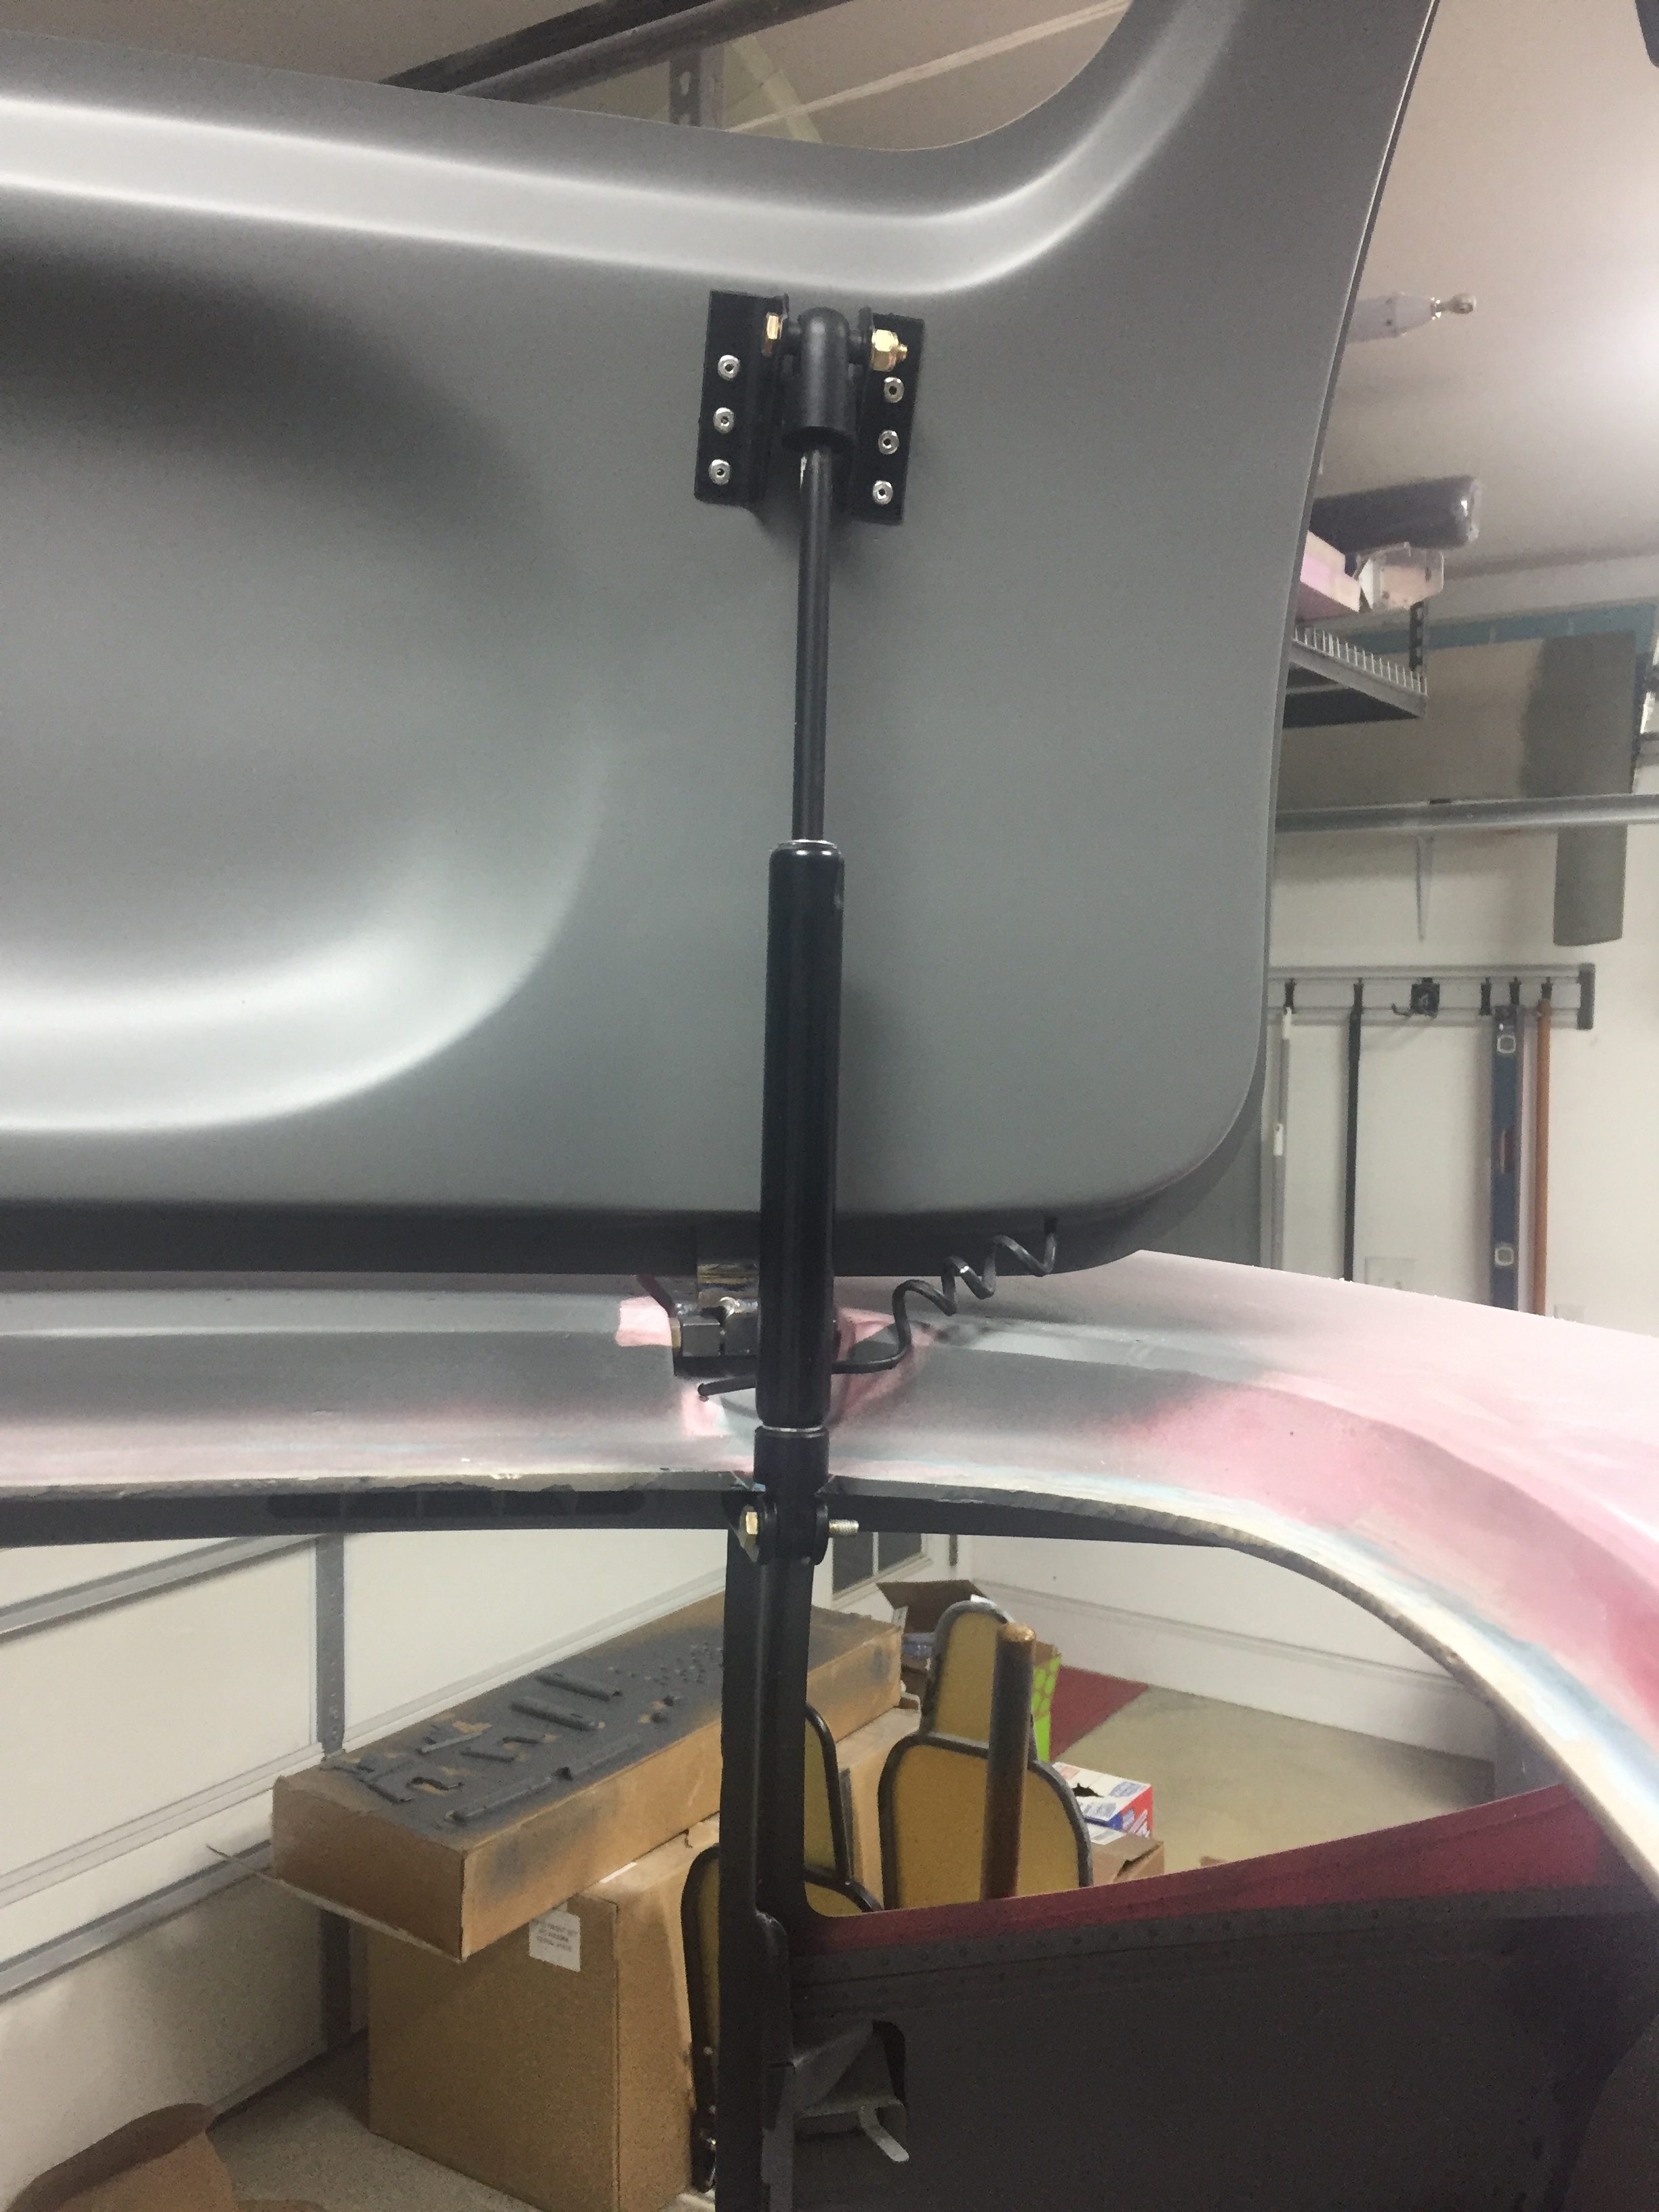
I was excited to put the recently anodized hardware back on the doors to get the struts mounted for good. The anodizing came out really nicely. I had a few “trinkets and trash” done but the main parts were the seat belt brackets that I needed complete so the seats can be sent off for covering. While installing the bolt holding the strut to the brackets, I managed to scrape off some of the newly applied paint. I then proceeded to scream at the top of my lungs, collapse on the floor in a heap of fiberglass dust, and cried like a little school boy.
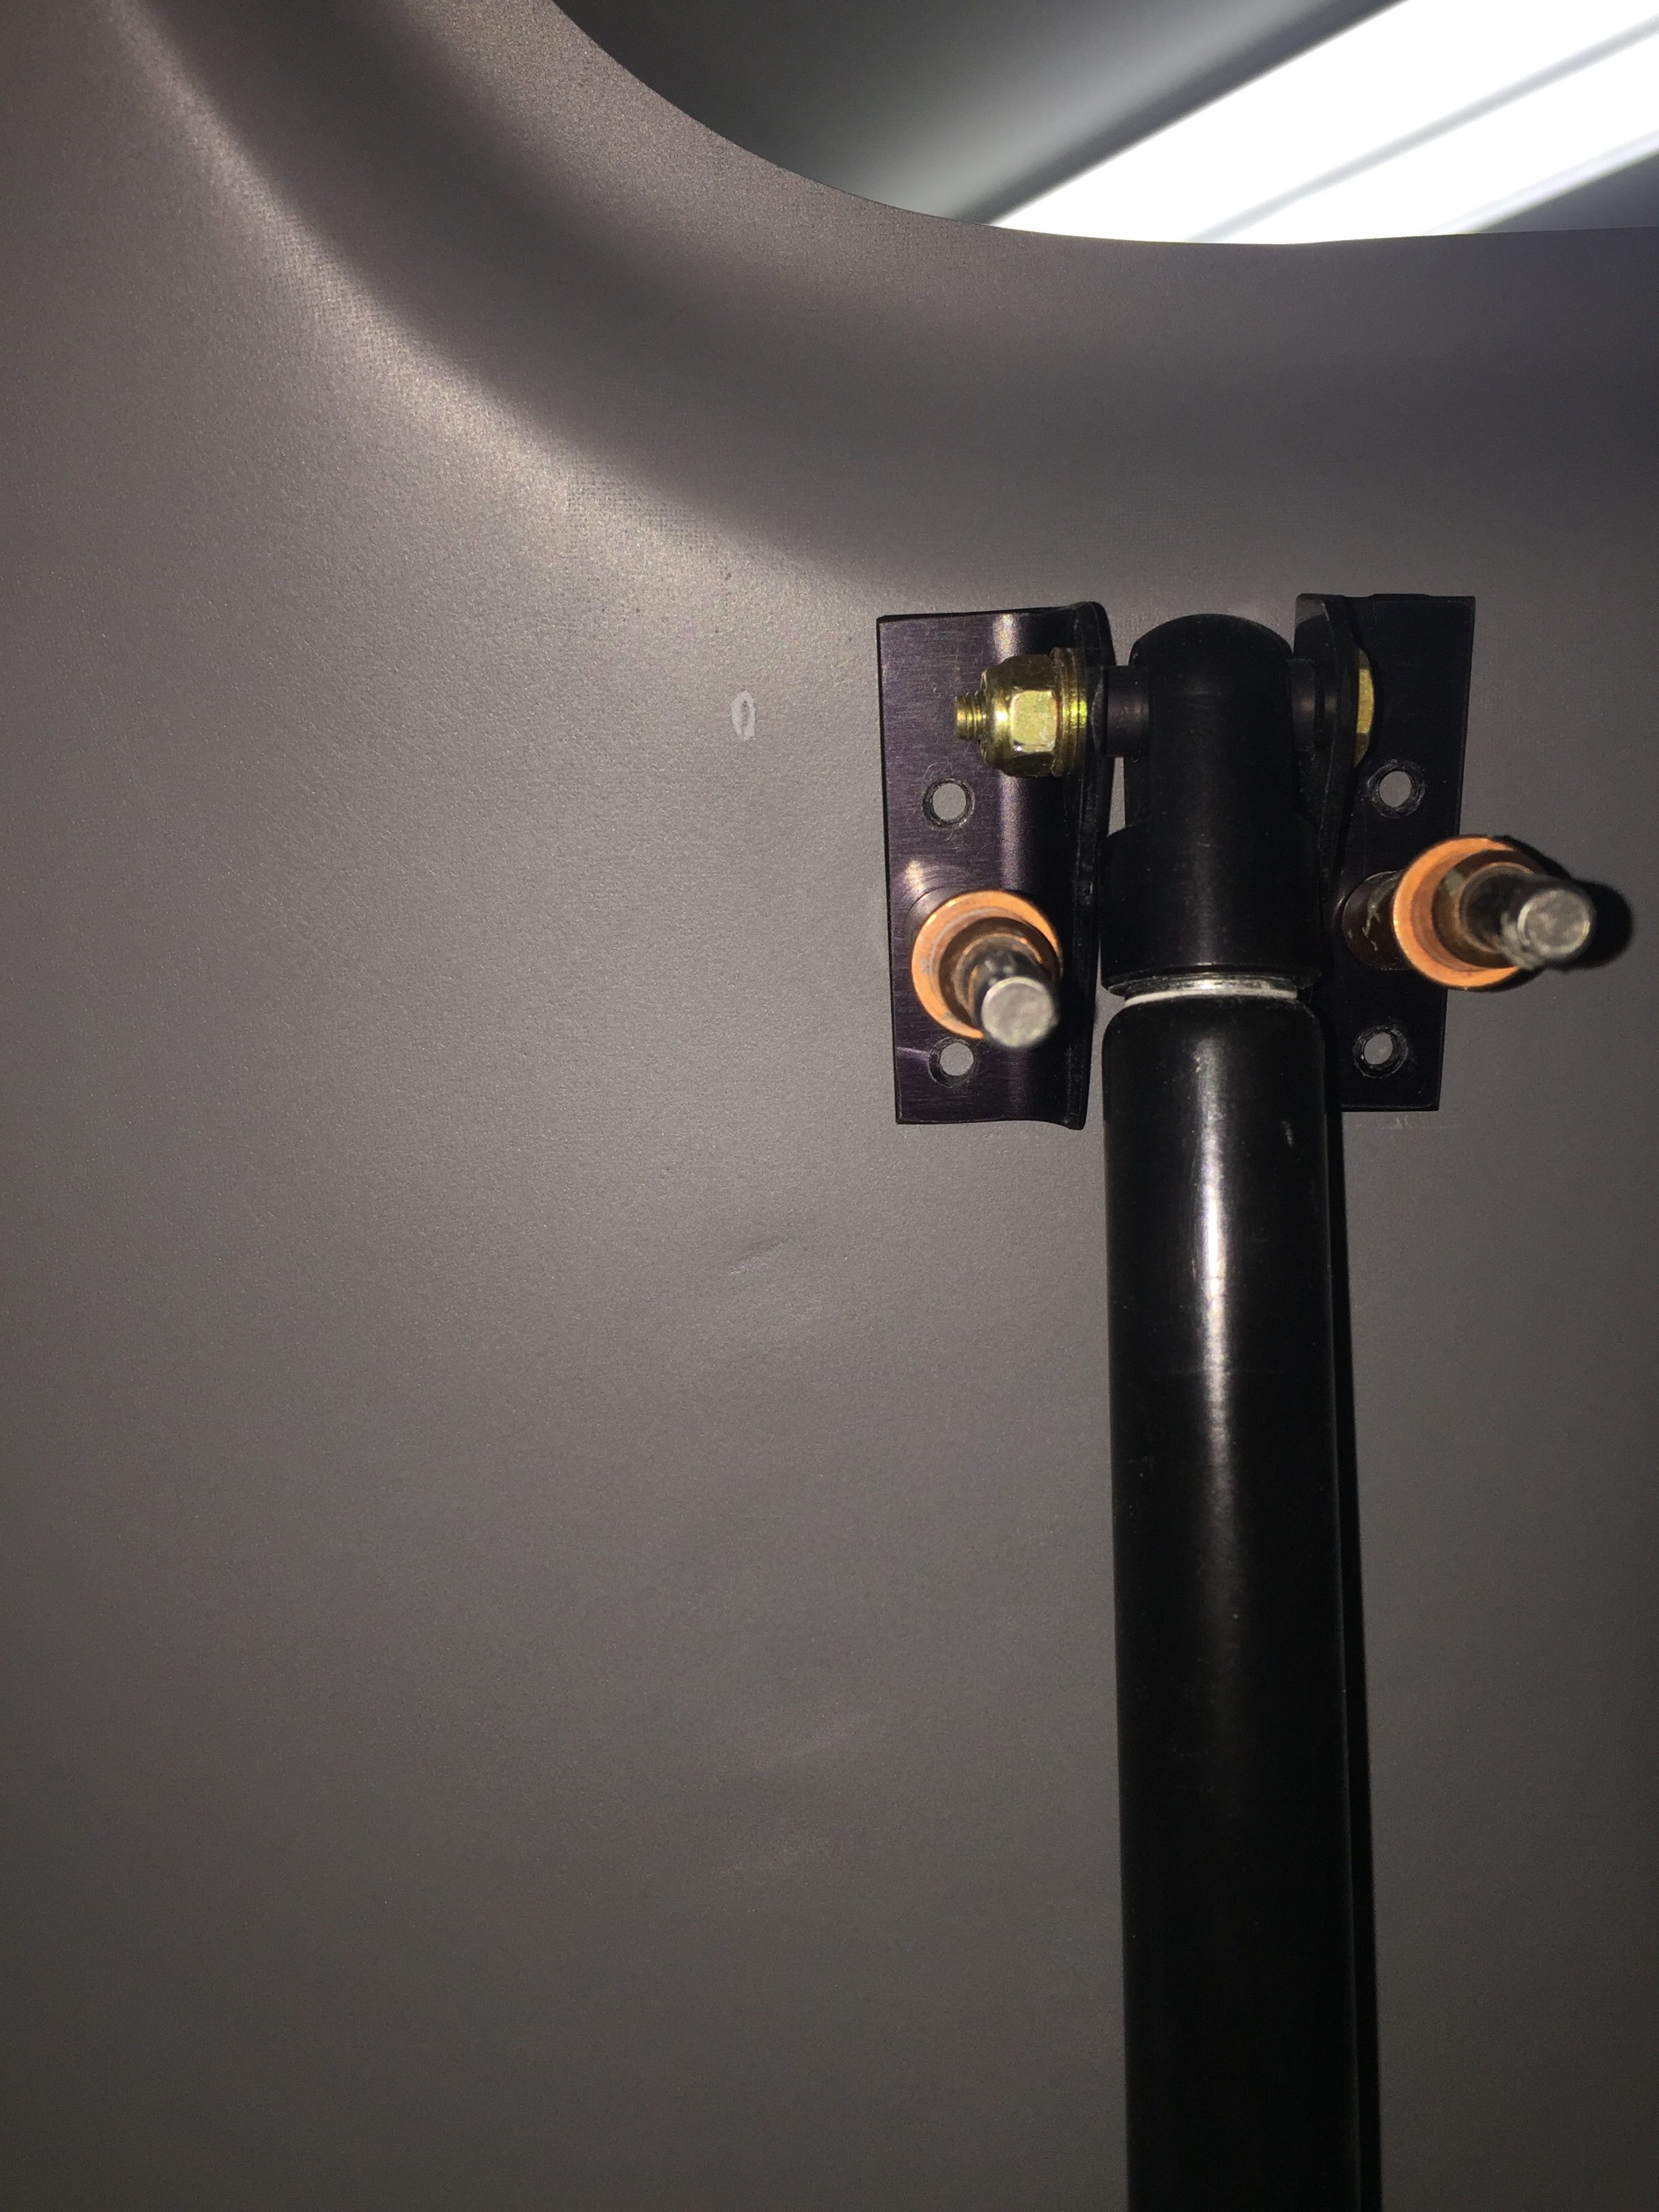
After that, I picked myself up and started asking questions. SEM is advertised as a flexible dye, not a spray paint, for plastics, vinyl, and leather. I know others had used it on their interior with good results so I was pretty confused. I do have some spots on my carbon fiber overhead that have flaked off, but I attributed those to poor prep on my part, mainly not enough scuffing for it to properly adhere. After a few dire nights thinking the entire interior may need to be stripped, I called their tech support and got reassured that the Color Coat is adequate for all substrates. They did say it’s not going to be as durable as a two state professional coating, but it should be just fine and touch ups will be easy. Sure enough, the areas I saw flaking was poor application on my part. I tried pretty hard to scuff and scrape over an area I know I applied it correctly and the finish help up very well.
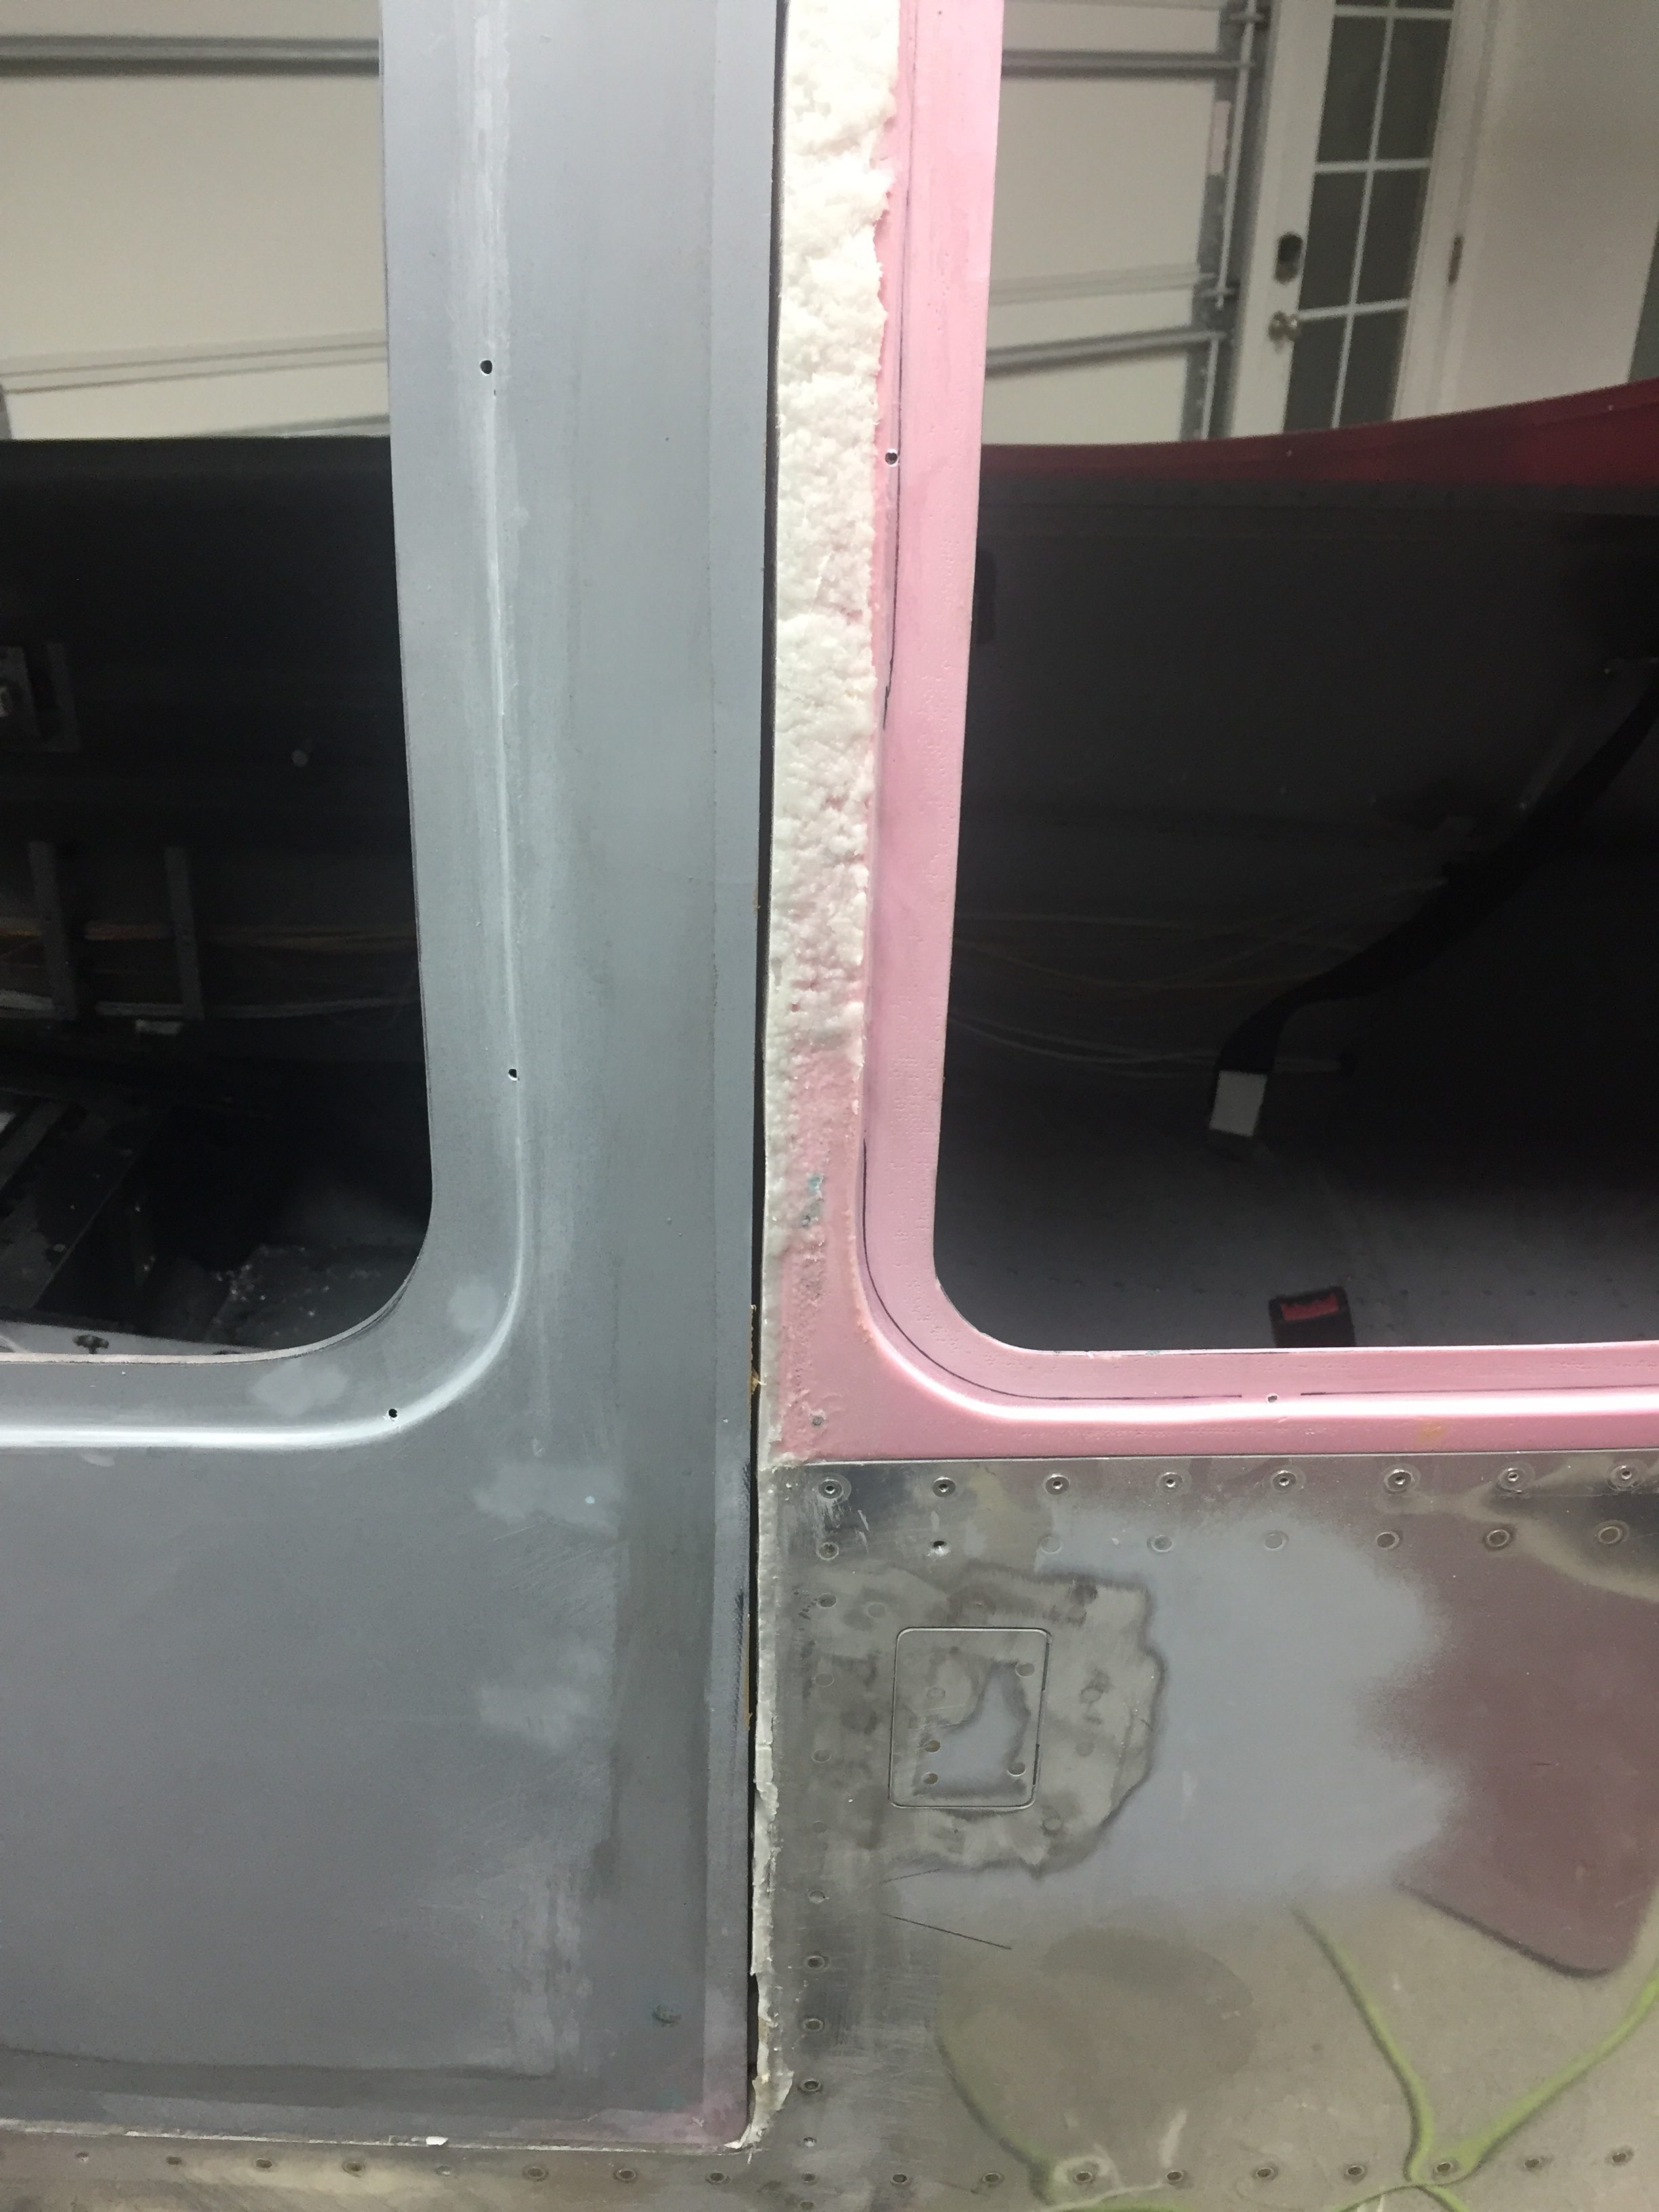
The need for a few touch ups is just as well, because I but the cart before the horse on painting and still needing to sand. The external door gap was the next hurdle to tackle and I knew I really made a mess of it when fitting the doors originally. While I used the cleco to cabin top method, I originally started with the plans directed 45 degree bevel before turning to square the door edges off so paint will stick better. That left me with a large and unsightly gap between the cabin top and door edge seen from the outside.
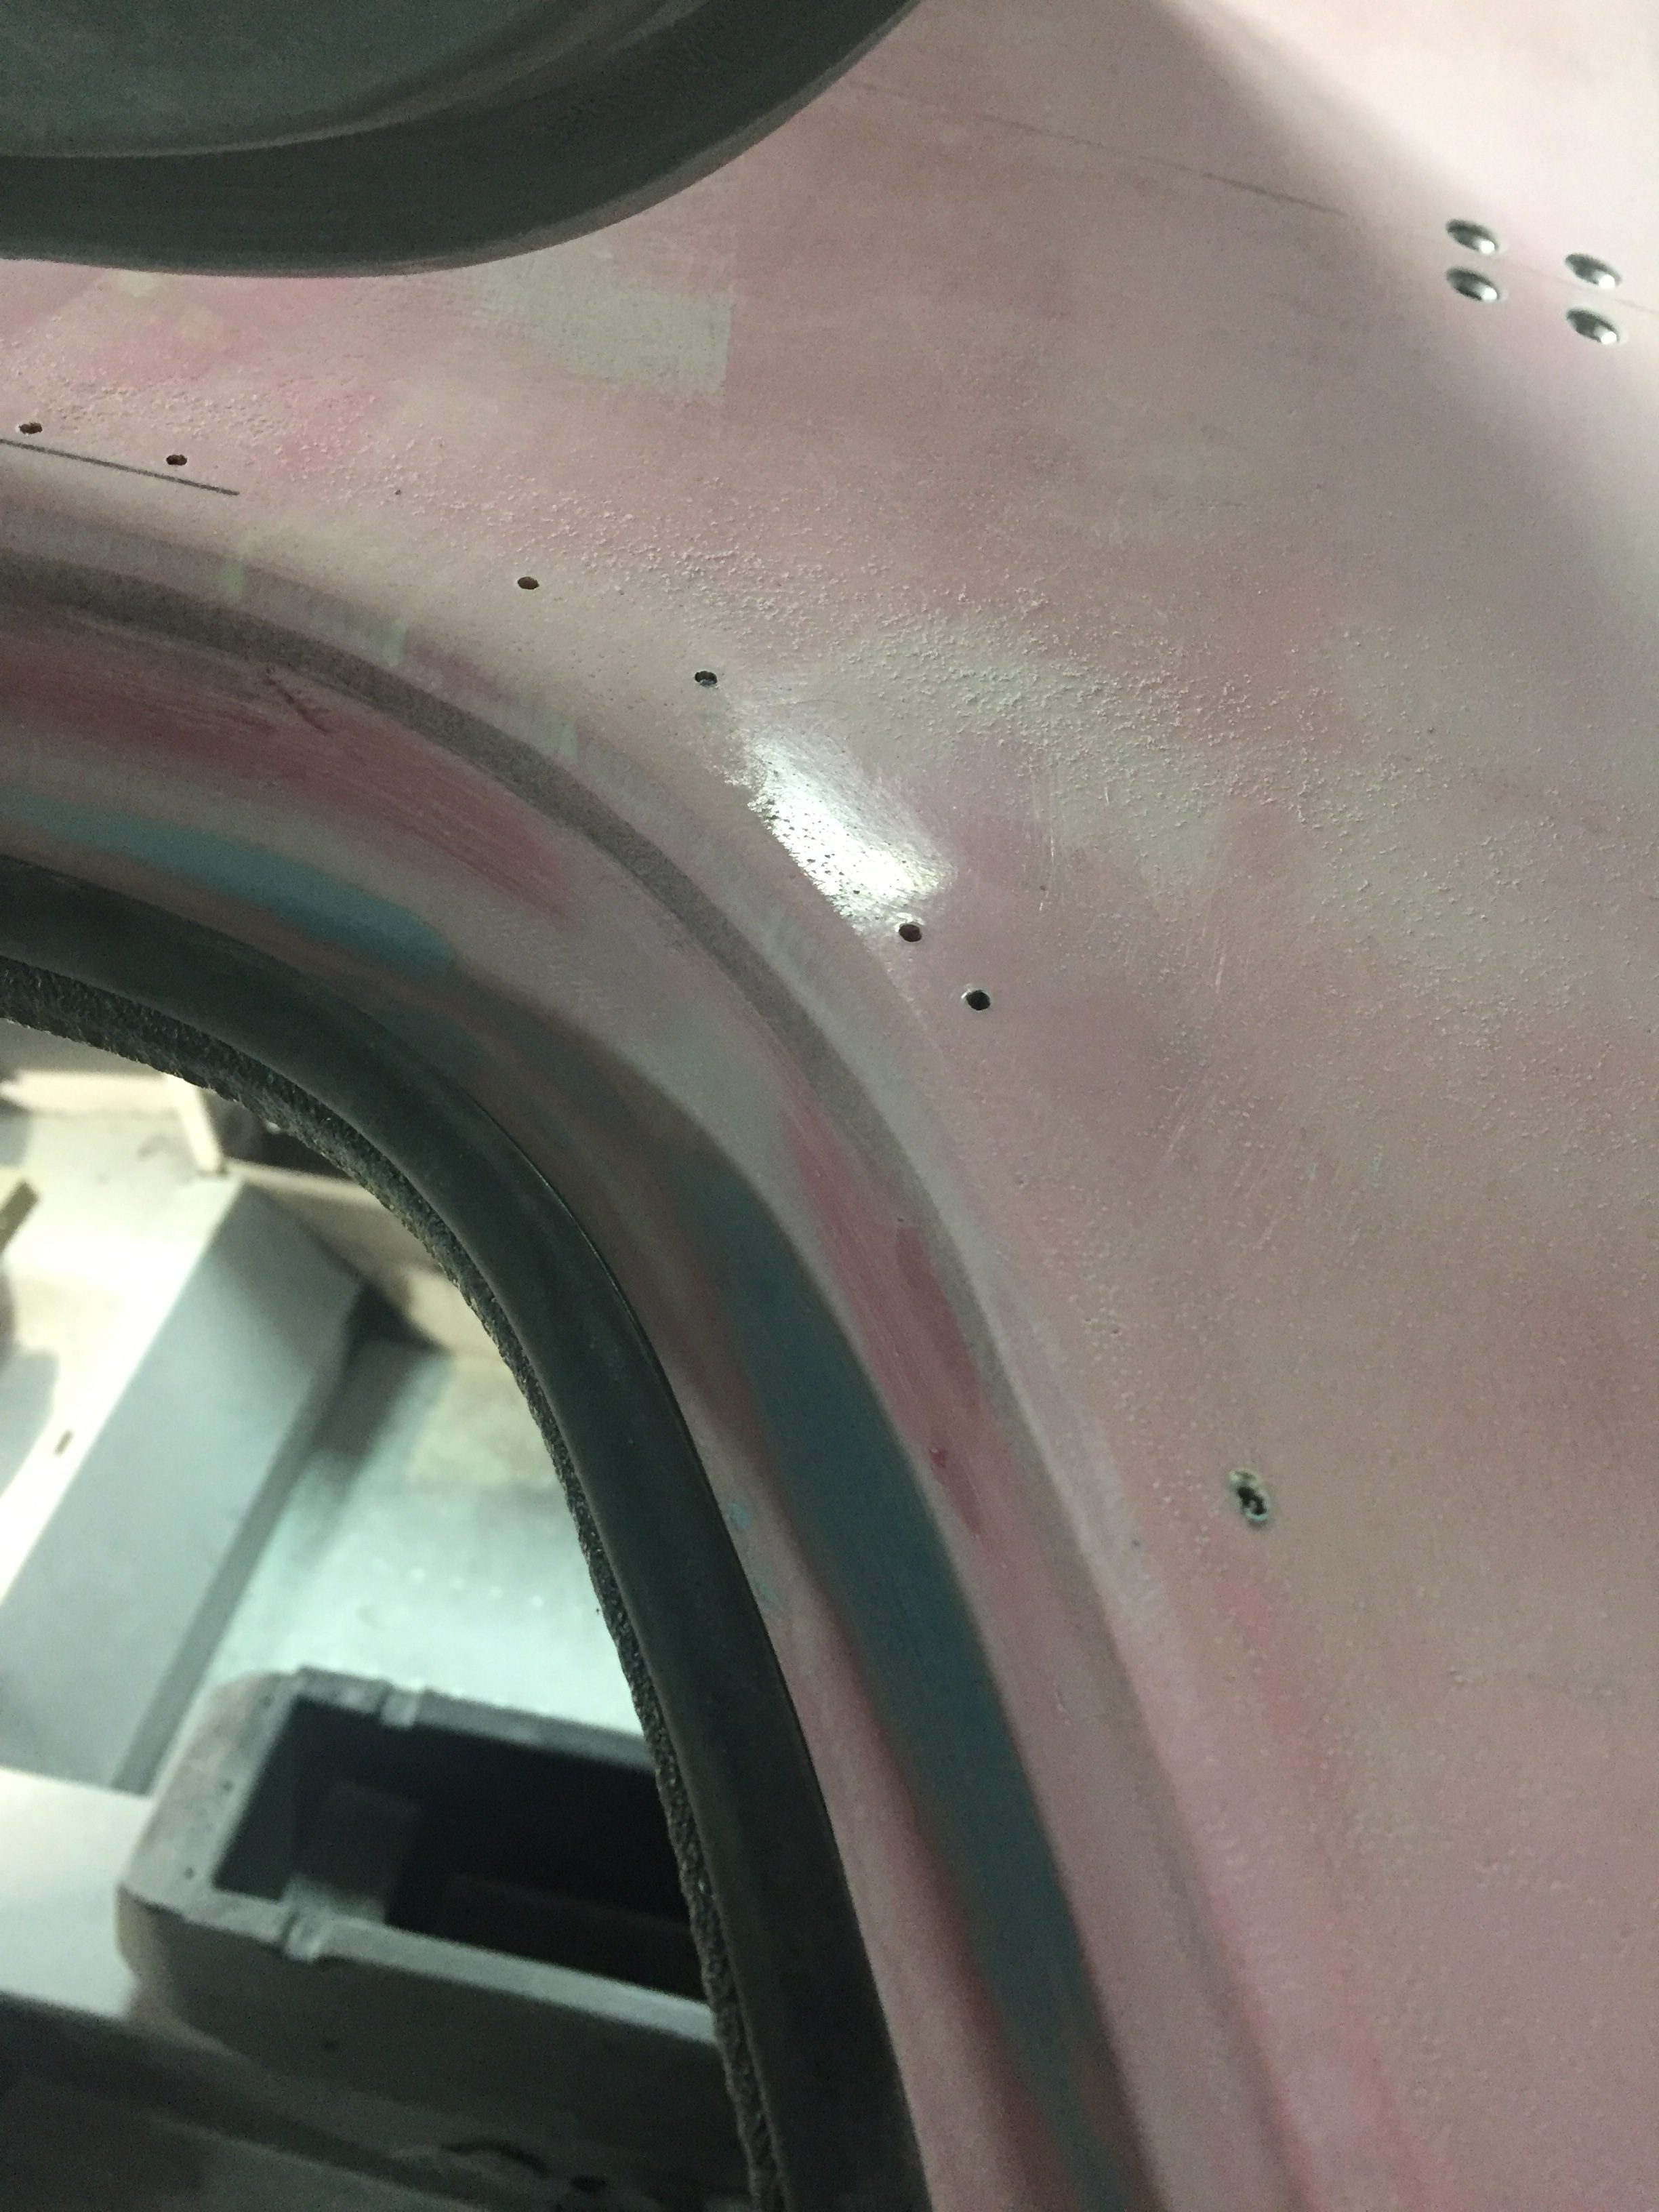
Thinking smarter but not harder, I decided to put globs of filler on the top and then prep the doors to simply close and latch, creating a nice even gap all around. I had seen others do this with layers of tape. Now where they got that mystery tape, I don’t know. I can’t find any tape thicker than about 20 mils and it’d take 200 feet and 10 layers to create a nice 2mm gap around the door edges. So, I compromised and kept the globbing plan but simply wrapped the door with brown packing tape and shut it. I then monitored the epoxy flox mix during curing to start working it as it hardened. I just used razor blades to go back and cut by hand an even gap in the curing epoxy. It was really easy and very clean. The trick is to catch it at the right time.
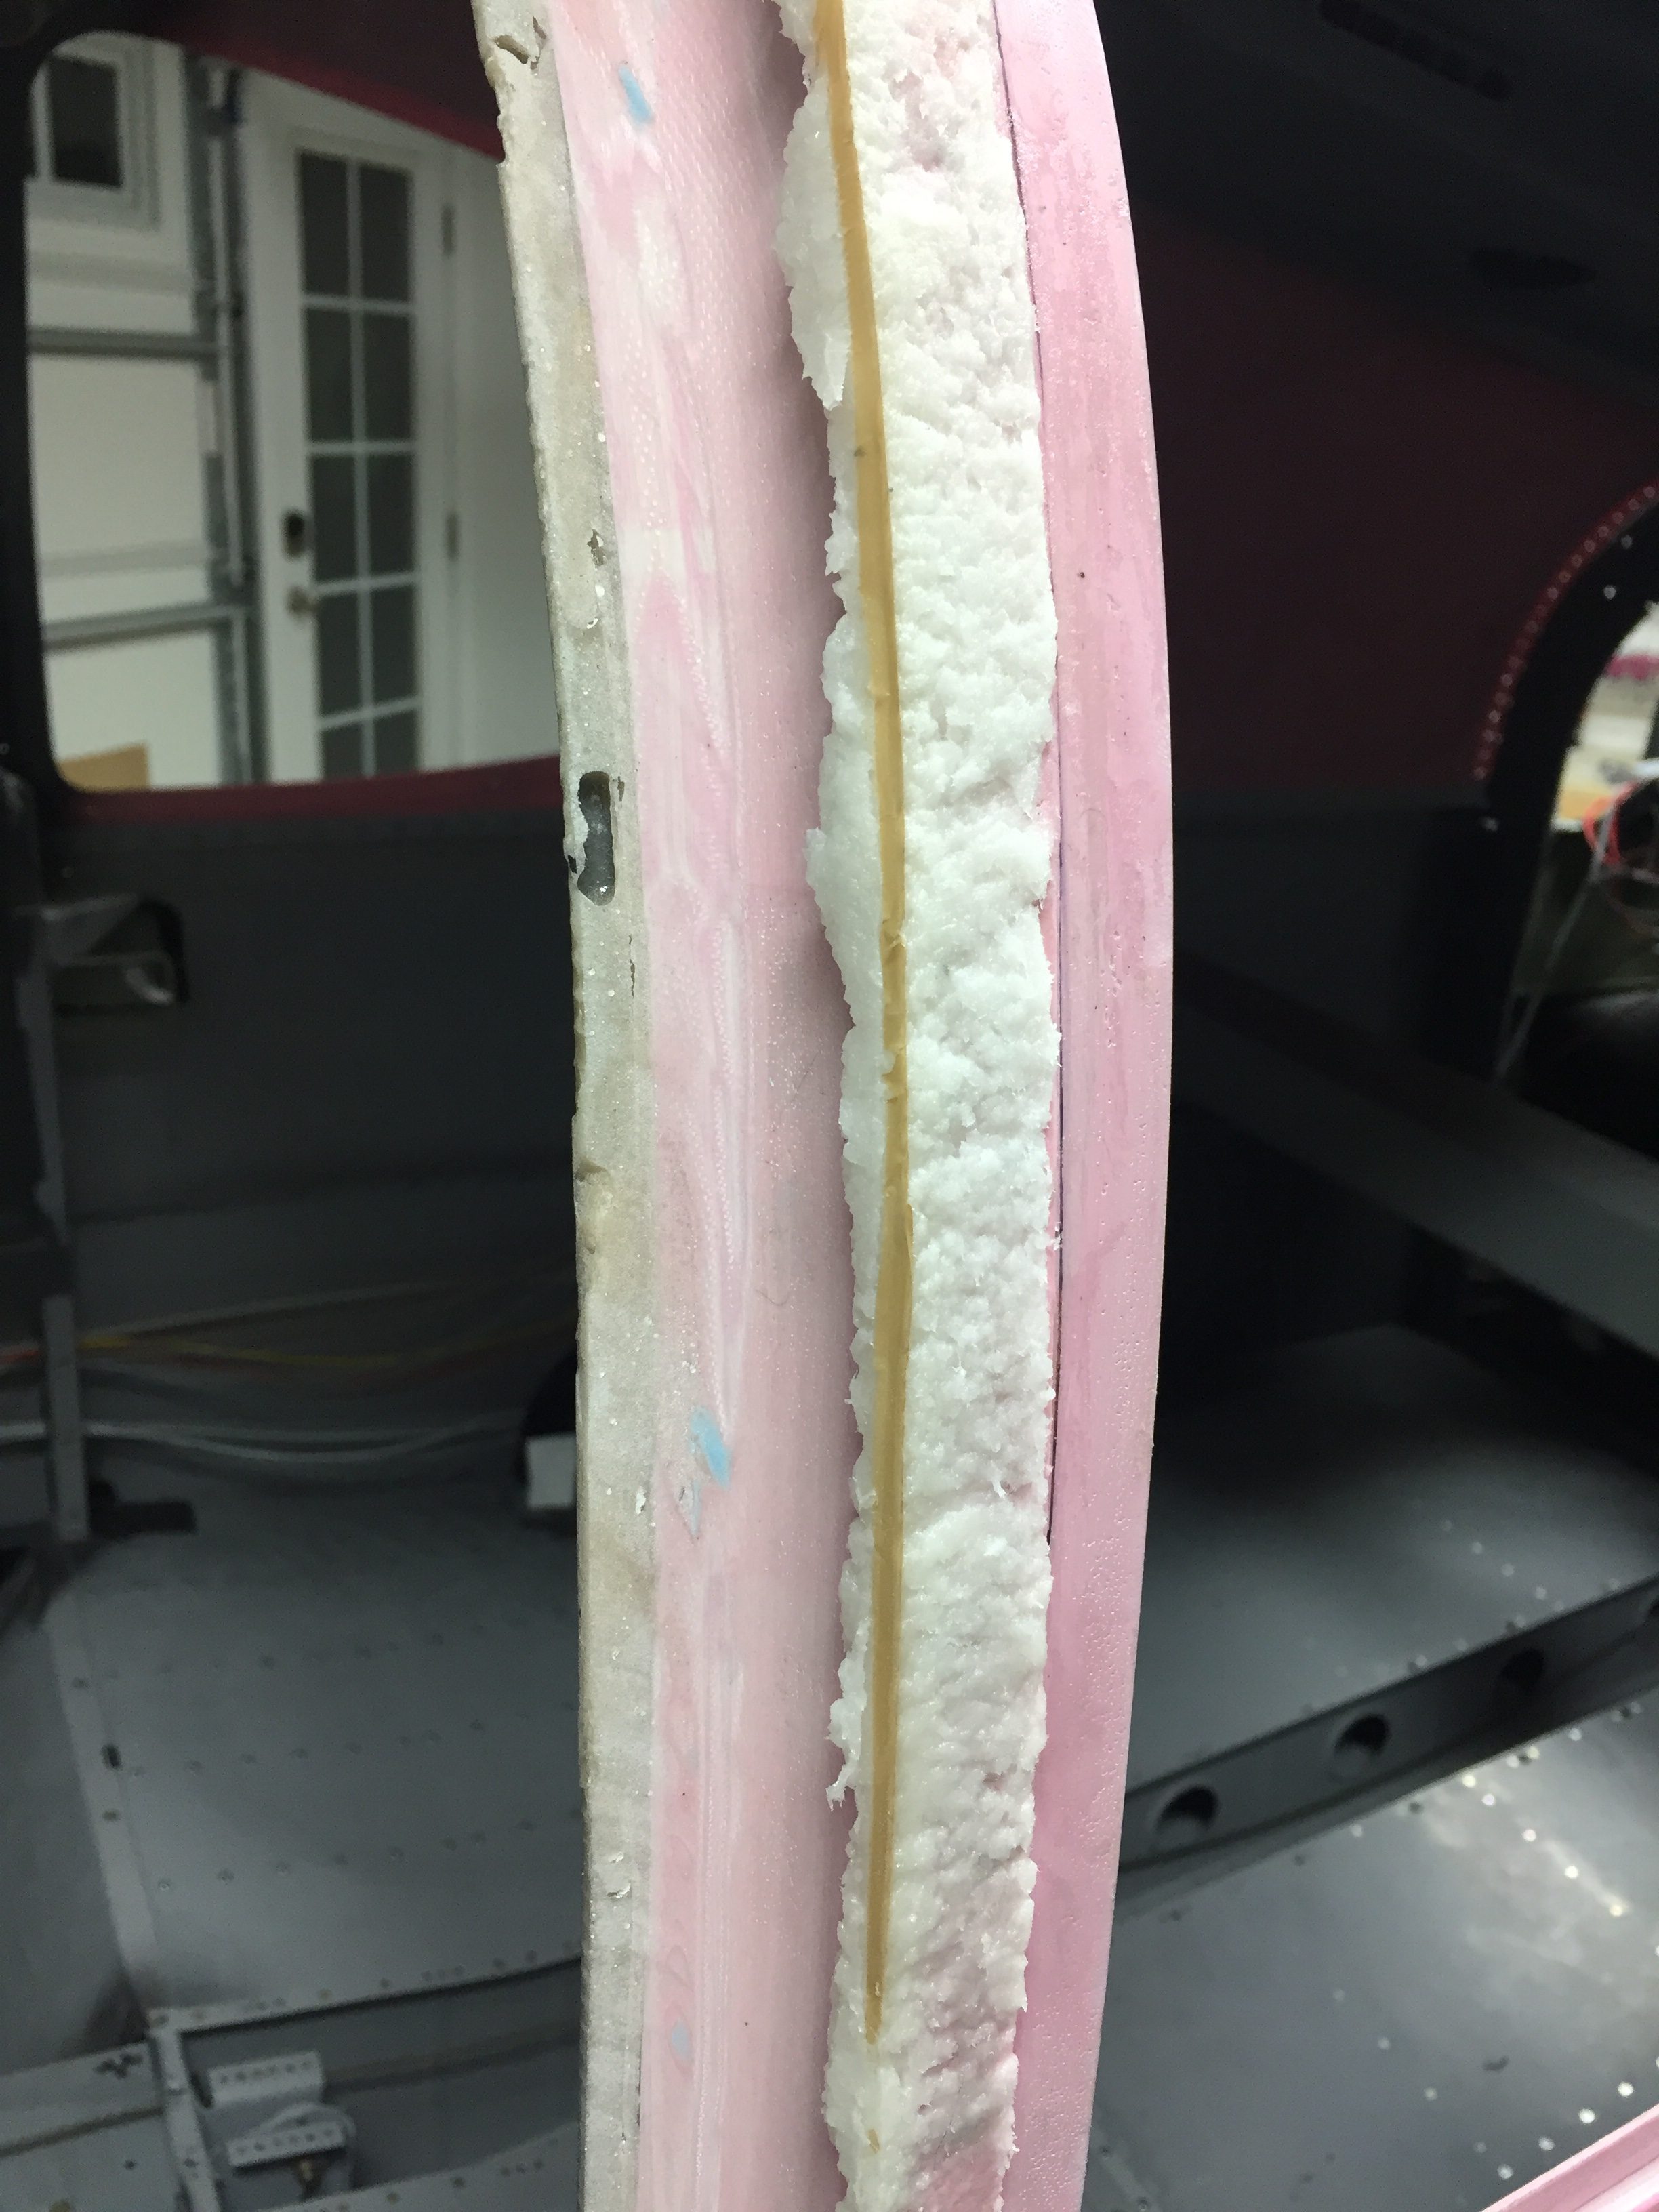
I cleaned up the tape residue and a few areas of the flox and was really happy with the results. It was a good base for poly fill to smooth everything out nicely. It’s also a lot stronger than just the poly fill. I rough sanded the epoxy to get an even more consistent gap and then put the first coat of poly fill on to dress it up. Another sanding, this time with a lot of fine tuning pretty much finished it up. A few spots have some pinholes or voids that will be filled in after an initial prime coat is applied to highlight any last defects. It wasn’t nearly as much work as I thought it’d be and I’m happy with the outcome. Now, on to the co-pilot’s door!

