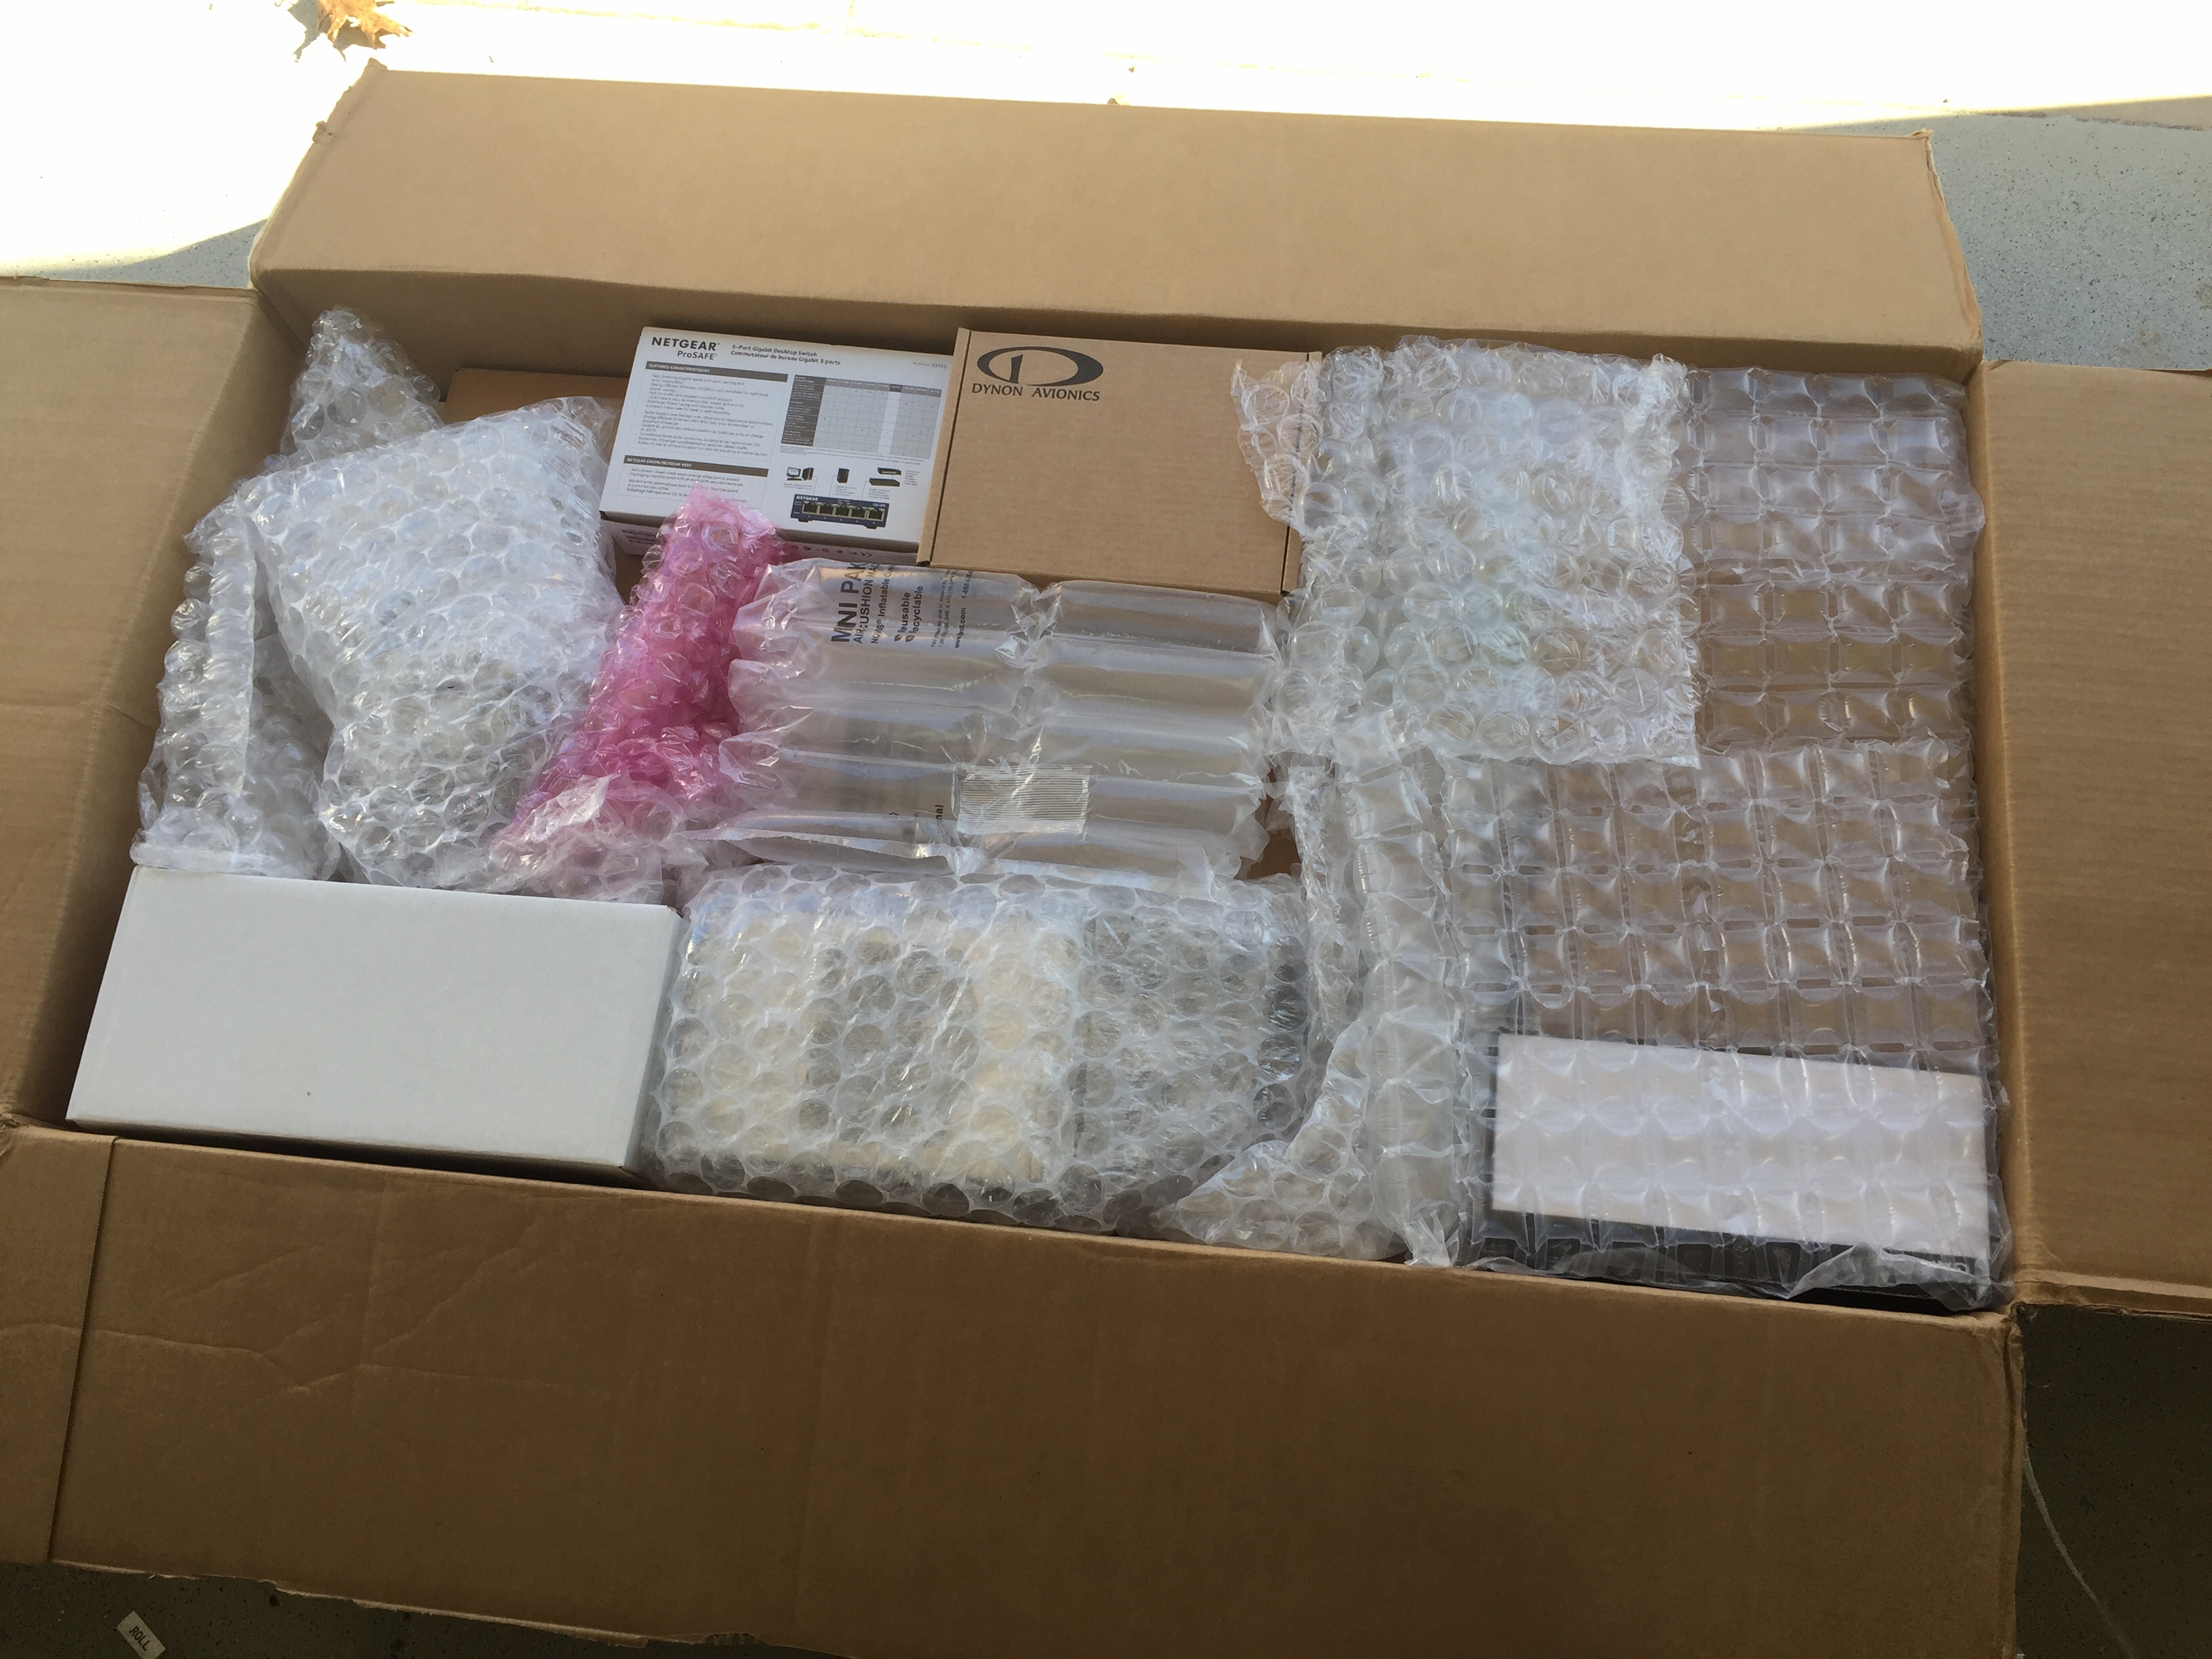
Exciting times have arrived in the workshop with the arrival of a big, very valuable, cardboard box from Advanced Flight Systems. At long last, the brains of the avionics came in which means it is time for me to get down and dirty with wiring. It took most of an afternoon to unpack and inventory all of the contents but everything I ordered was in the box.
Let me side bar here by saying I am extremely happy with AFS and everything they provided along with all of the questions they answered. I still found myself questioning a few things and forgetting a few things, however. The Avidyne does not come with an antenna that costs an additional $325. Didn’t know that. I thought I was getting XM as I talked about it many times but it wasn’t on the quote or the order. Didn’t know that. Some of the quick panel wiring was different than what I had expected and planned. Didn’t know that. The autopilot does not have a go around function. Didn’t know that. I’m just saying be cautious, open, and aware that it’s never a one stop shop on avionics. As much research as I did, I still missed a few things and had to ask a lot more questions and dig in manuals a lot more after I thought I had it all figured out.
I laid everything out to get a good look at it and tried my best to keep the drool off of the expensive electronics. The panel inserts are absolutely jaw dropping, especially with the screens dropped in place. The paint and silk screening was perfect and very well done. All of the cut outs were just as my panel design had laid out and the components all fit perfectly. Unfortunately, I’ll be covering up the nice paint and finish with the acrylic overlays to create the back lighting. Had I known the acrylic would not be easily removable, as I do now, I wouldn’t have put Rob and AFS through the hassle of painting and labeling the inserts. My apologies, guys.
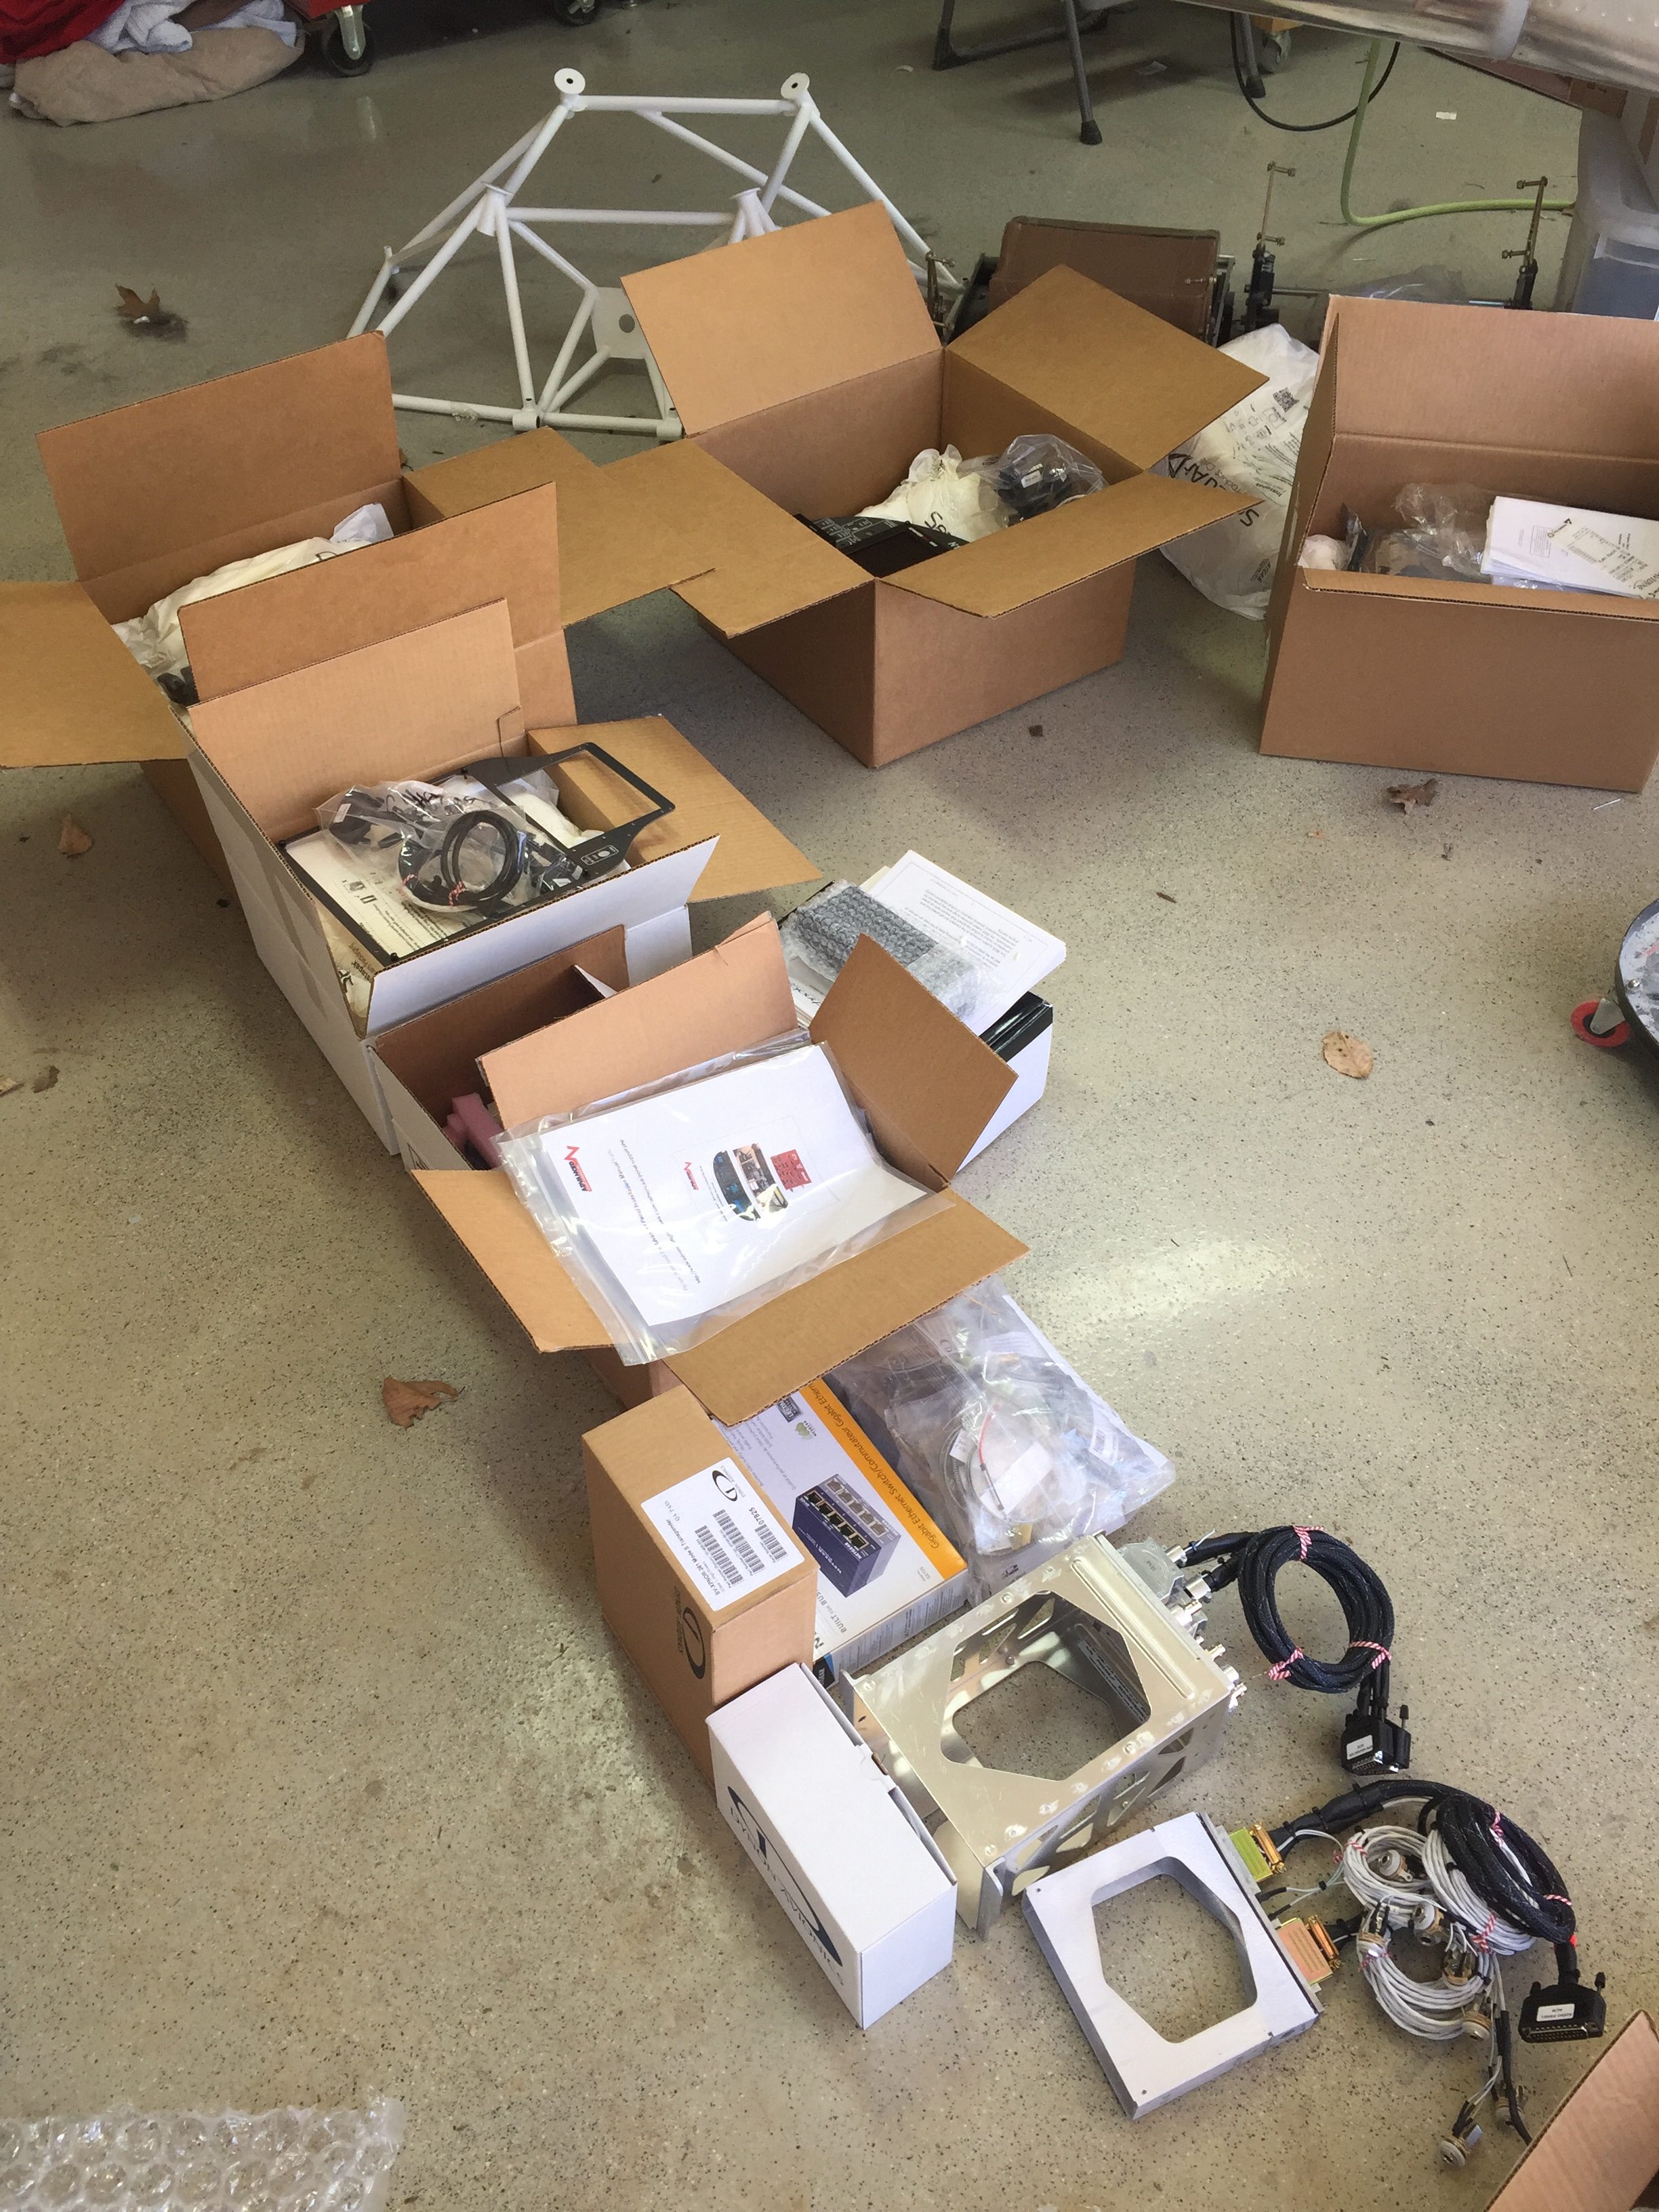
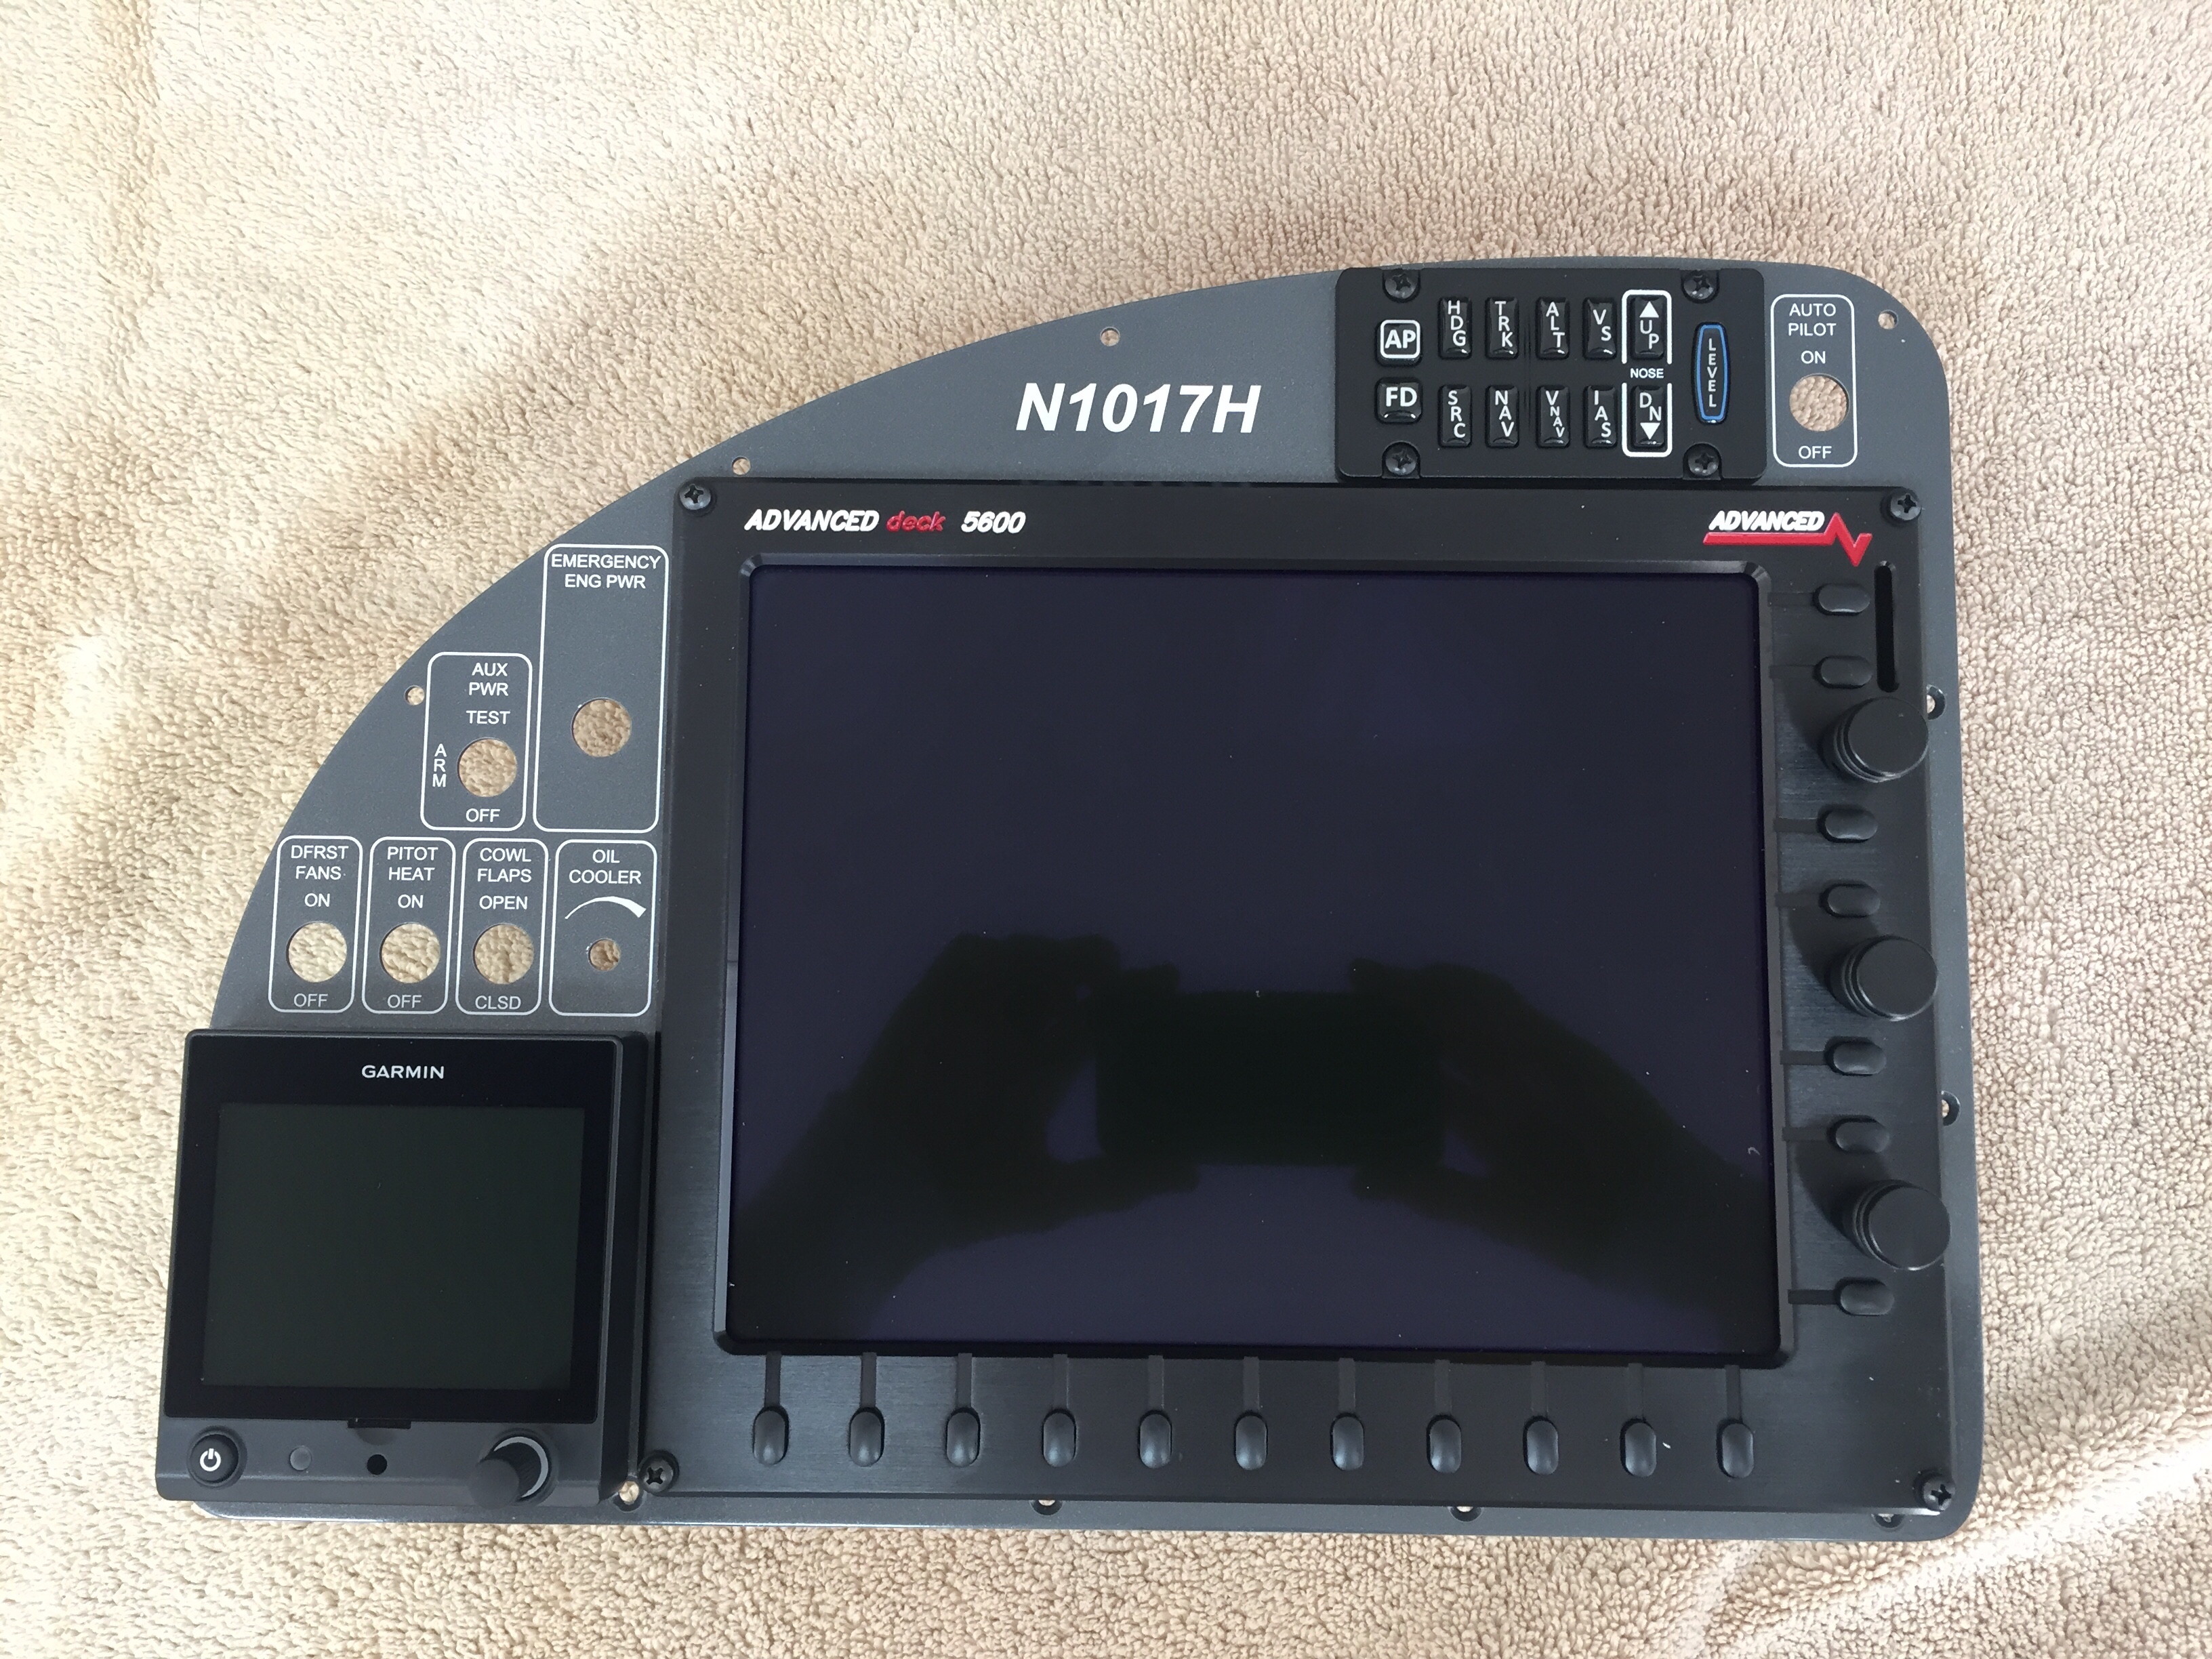
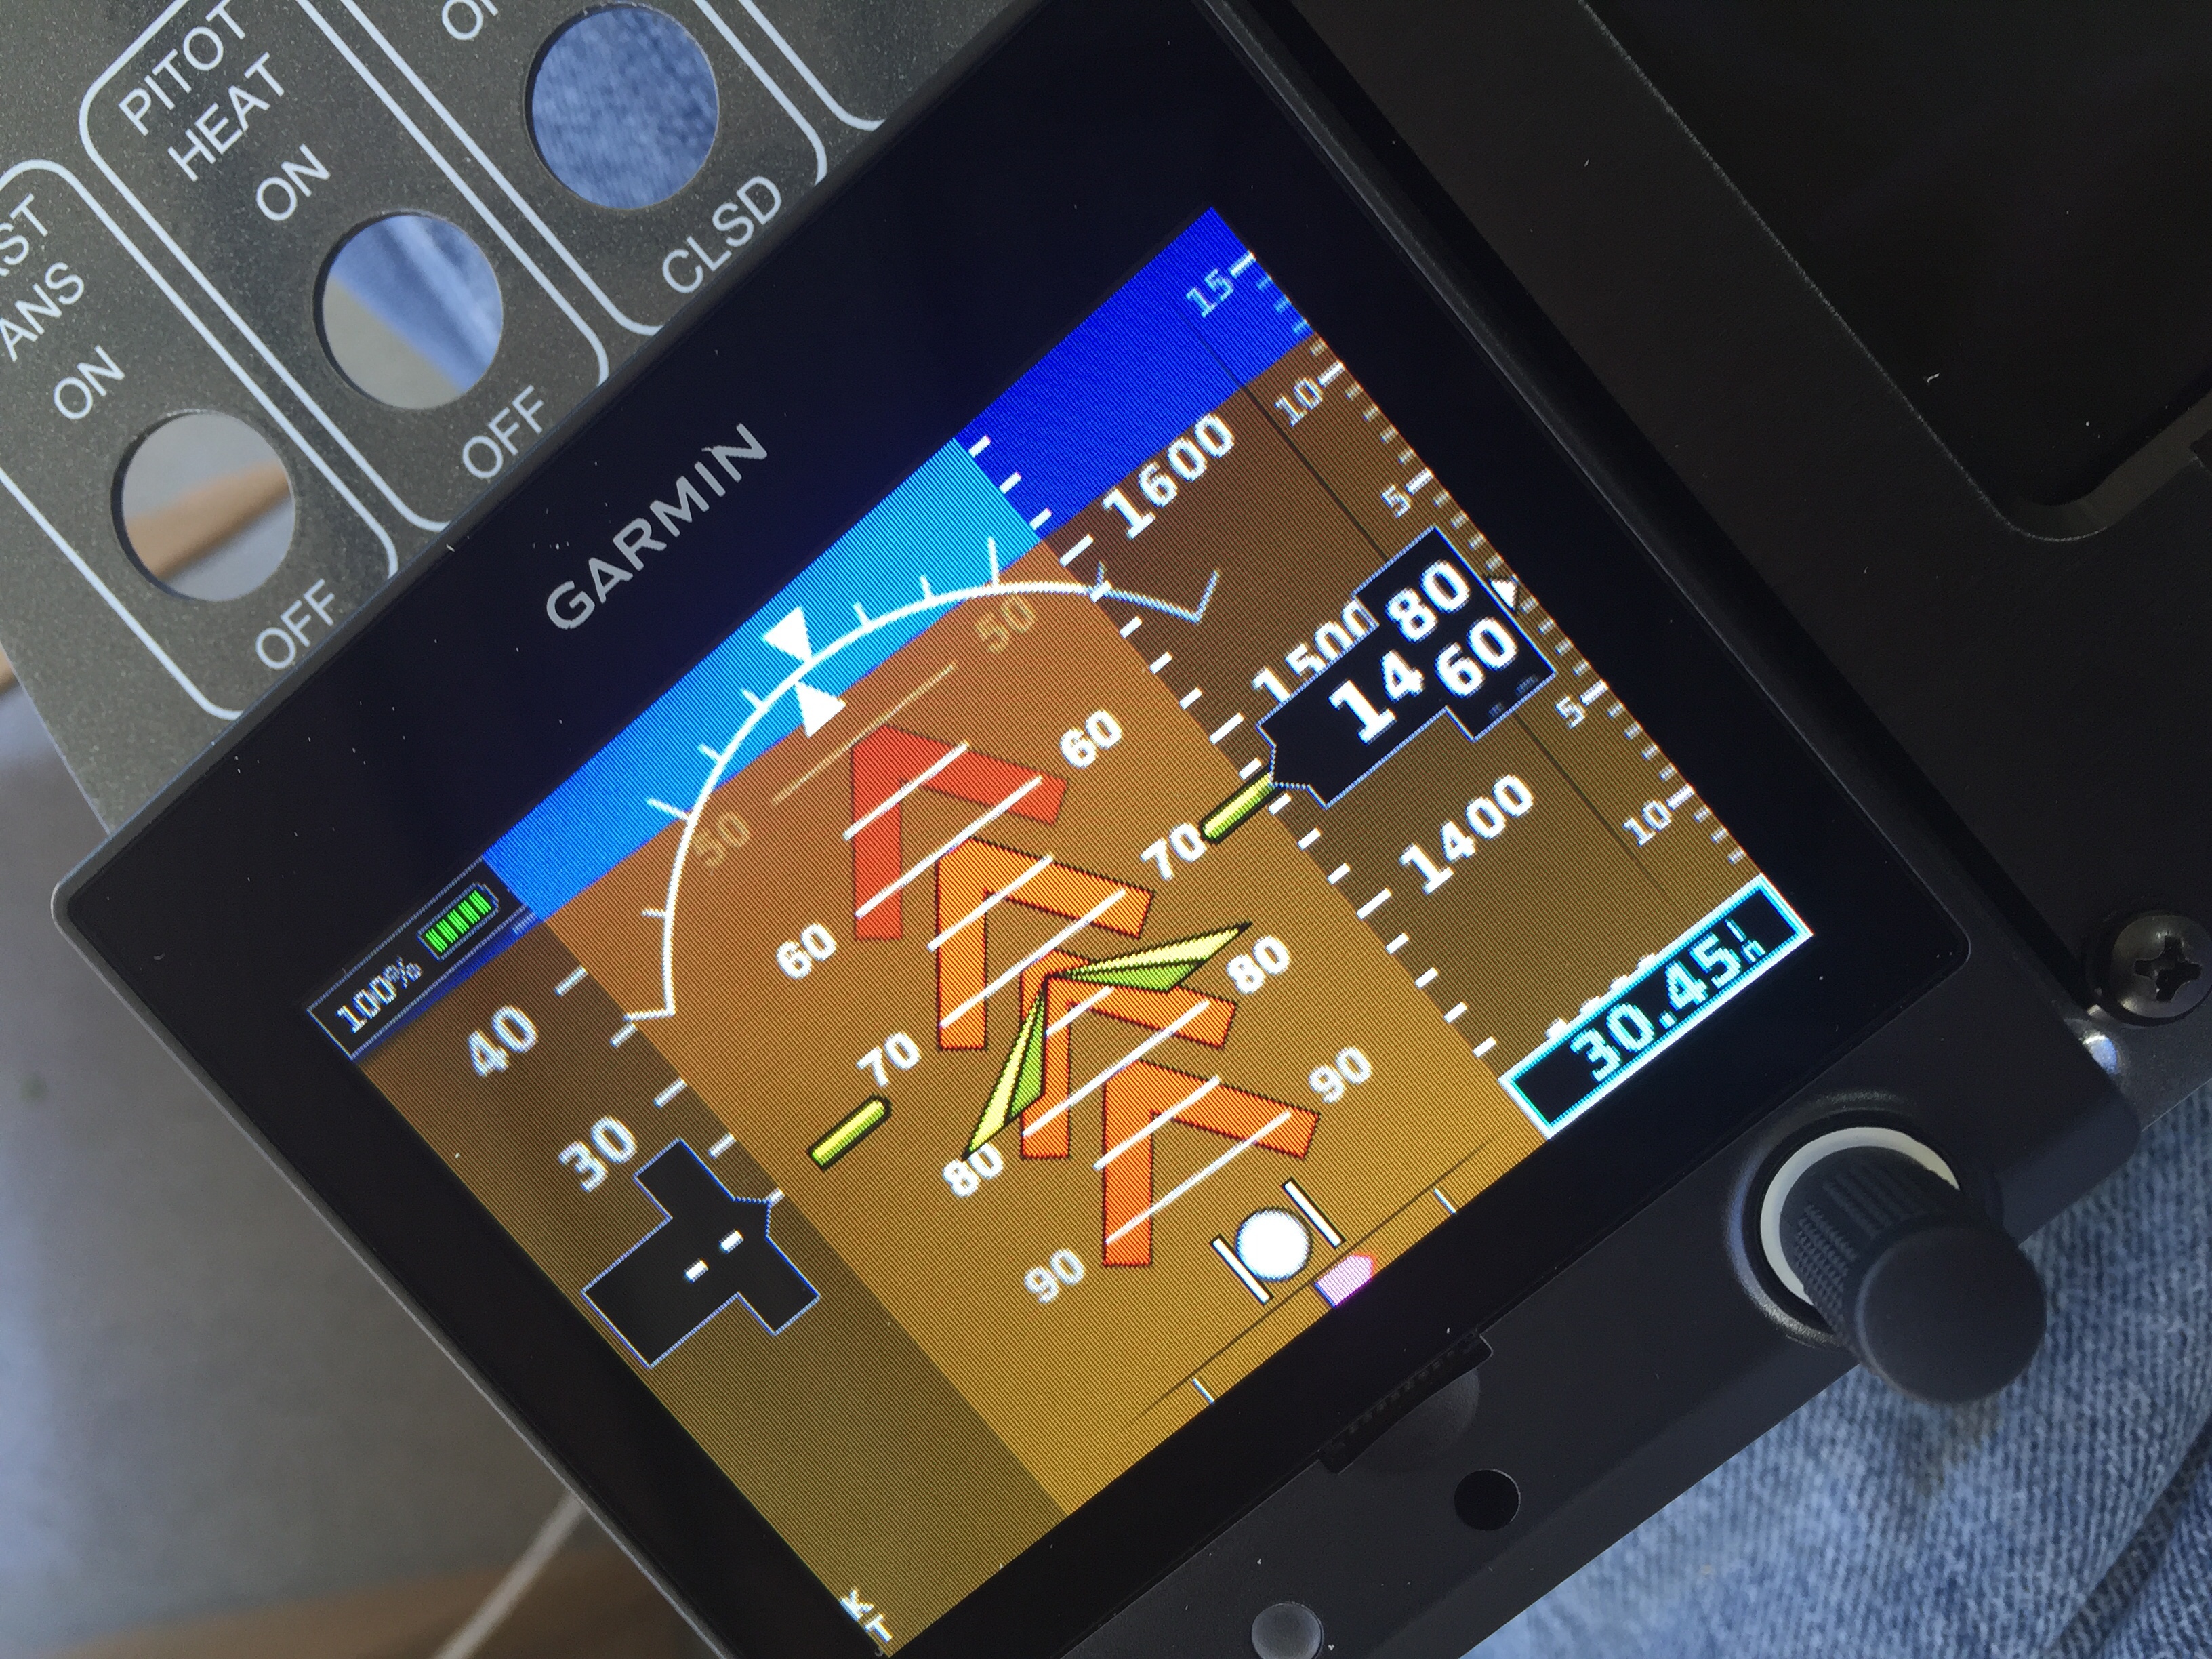
It’s hard not to dive right in, plug it all up and flip the master switch on to start playing. But I practiced self control and waited until I opened all of the boxes before I started pressing buttons and making airplane noises. I nearly dropped the unit when I pushed the power button on the G5 and it turned on! I wasn’t expecting it but the backup battery is installed and she came to life.
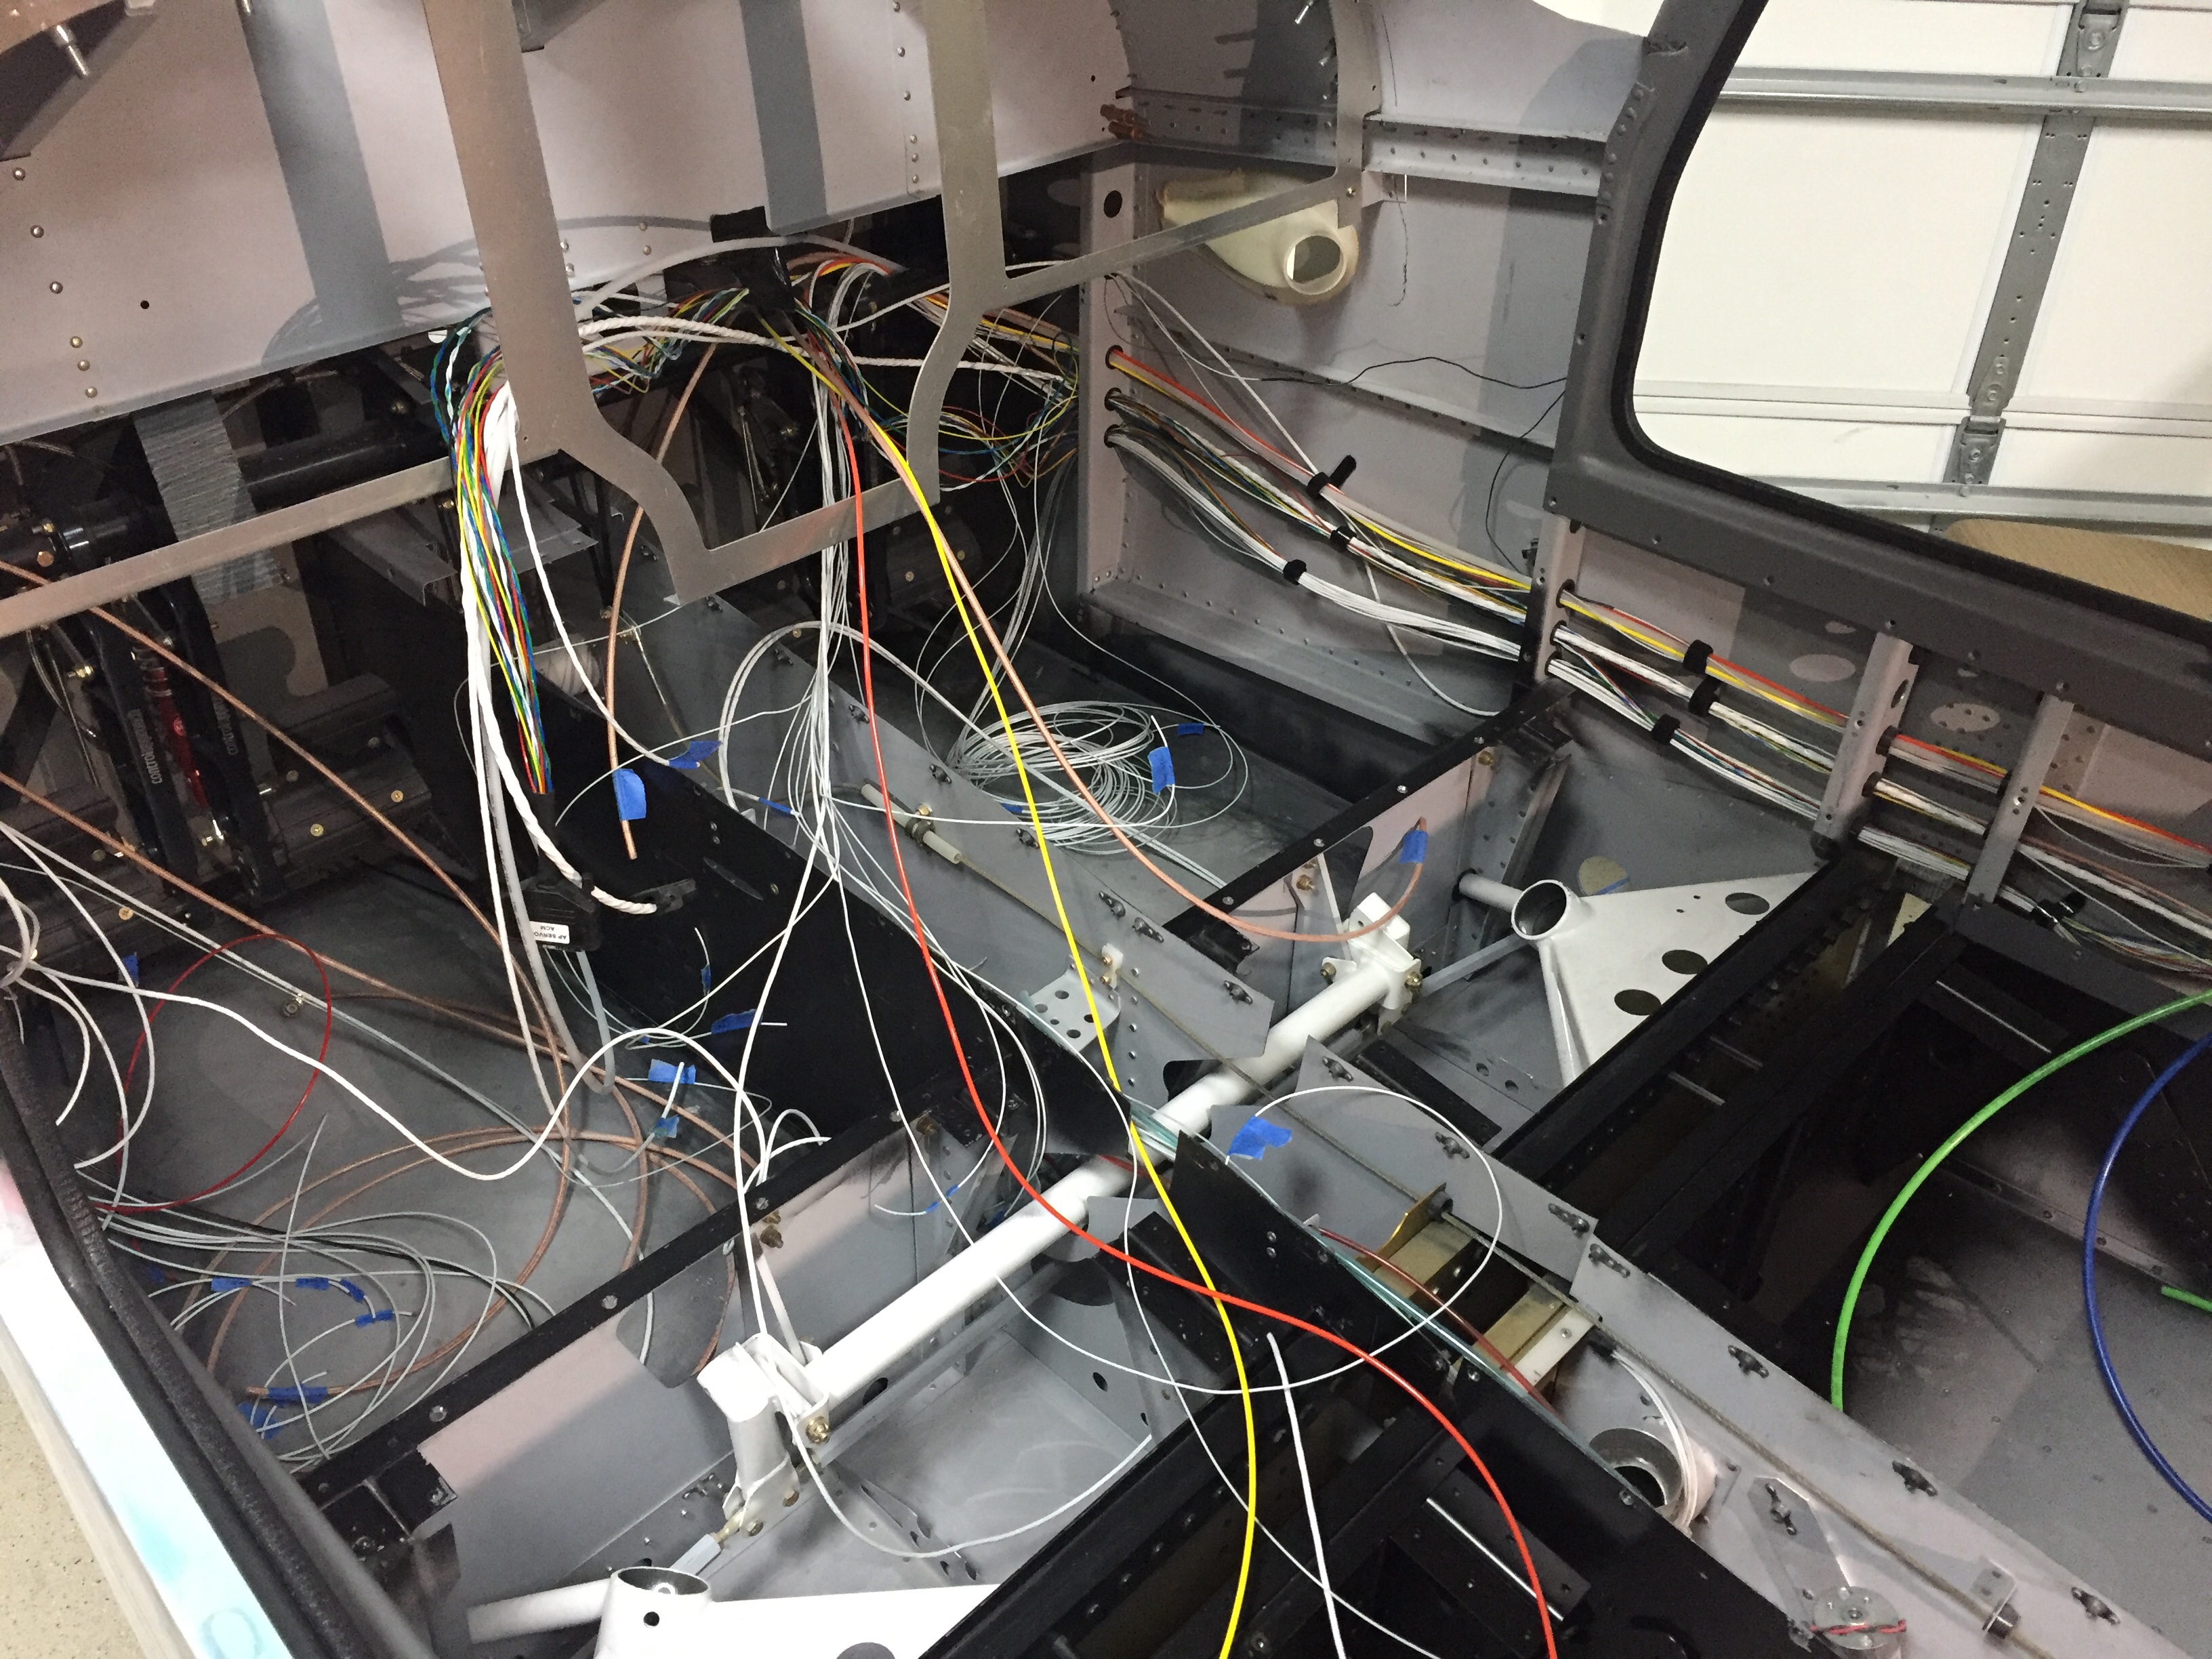
AFS did an amazing job of creating wiring harnesses for most of the components behind the panel. This includes everything from the ACM (their version of the VPX) to the screens, radios, GPS, ADSB, TX, and a few other remote boxes. It leaves several connections that have to be finished by the builder such as switch inputs (since I’m using custom toggle switches, not the AFS quick panel switches), aircraft front and rear which encompasses lights, pitot heat, etc., trim/flap, and AP servos. Fortunately, I had the AP servo harness made and installed from the first shipment so that was an easy kill. I have spent quite a bit of time pulling wires from the needed locations towards the front of the fuselage in preparation of the avionics arriving. I finished up the wing root harnesses and a few other odds and ends to get the below starting point.
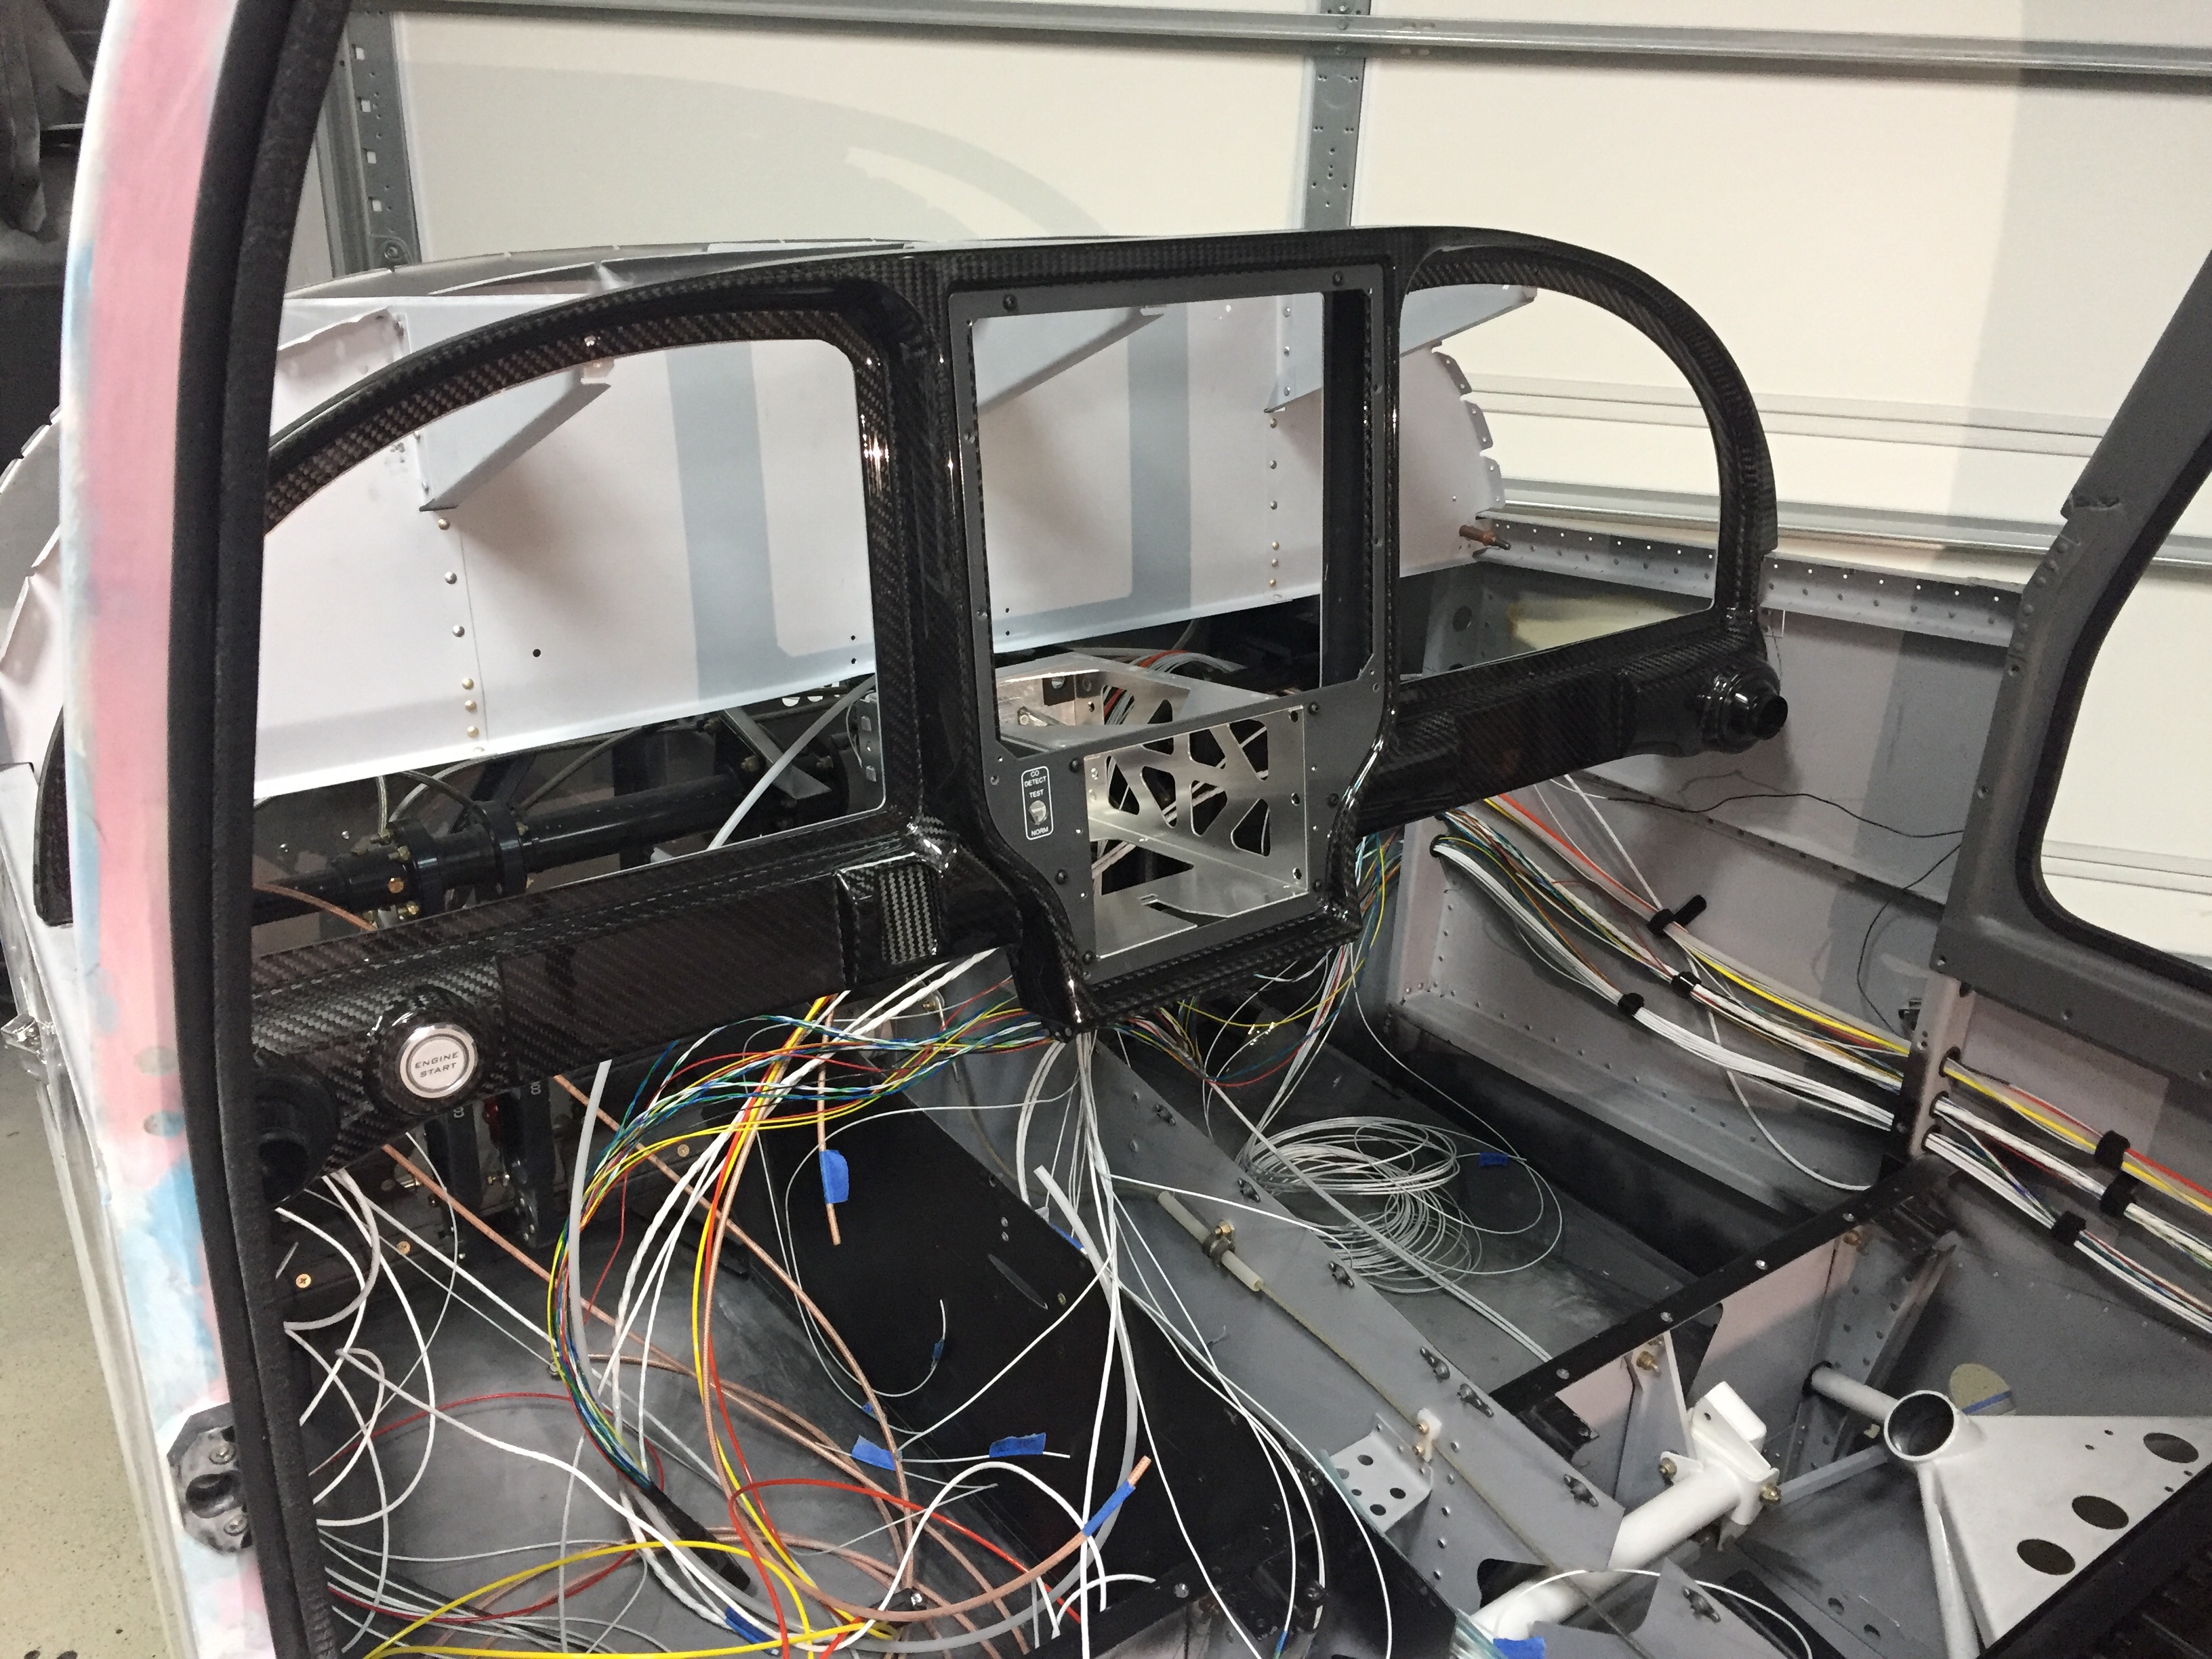
My first task was to fit the Aerosport metal frame behind the carbon panel into the forward fuselage. I took extra time to make sure everything was positioned properly and drilled a few reference holes to keep it all lined up correctly. Both the frame and the carbon will need to be trimmed for the screens and inserts. I set out on the middle insert first since I was concerned about the IFD 540 tray interfering with the subpanel. As luck would have it, the 540 cleared the subpanel by about 1/2″ so no need to modify the subpanel at all which was a relief.
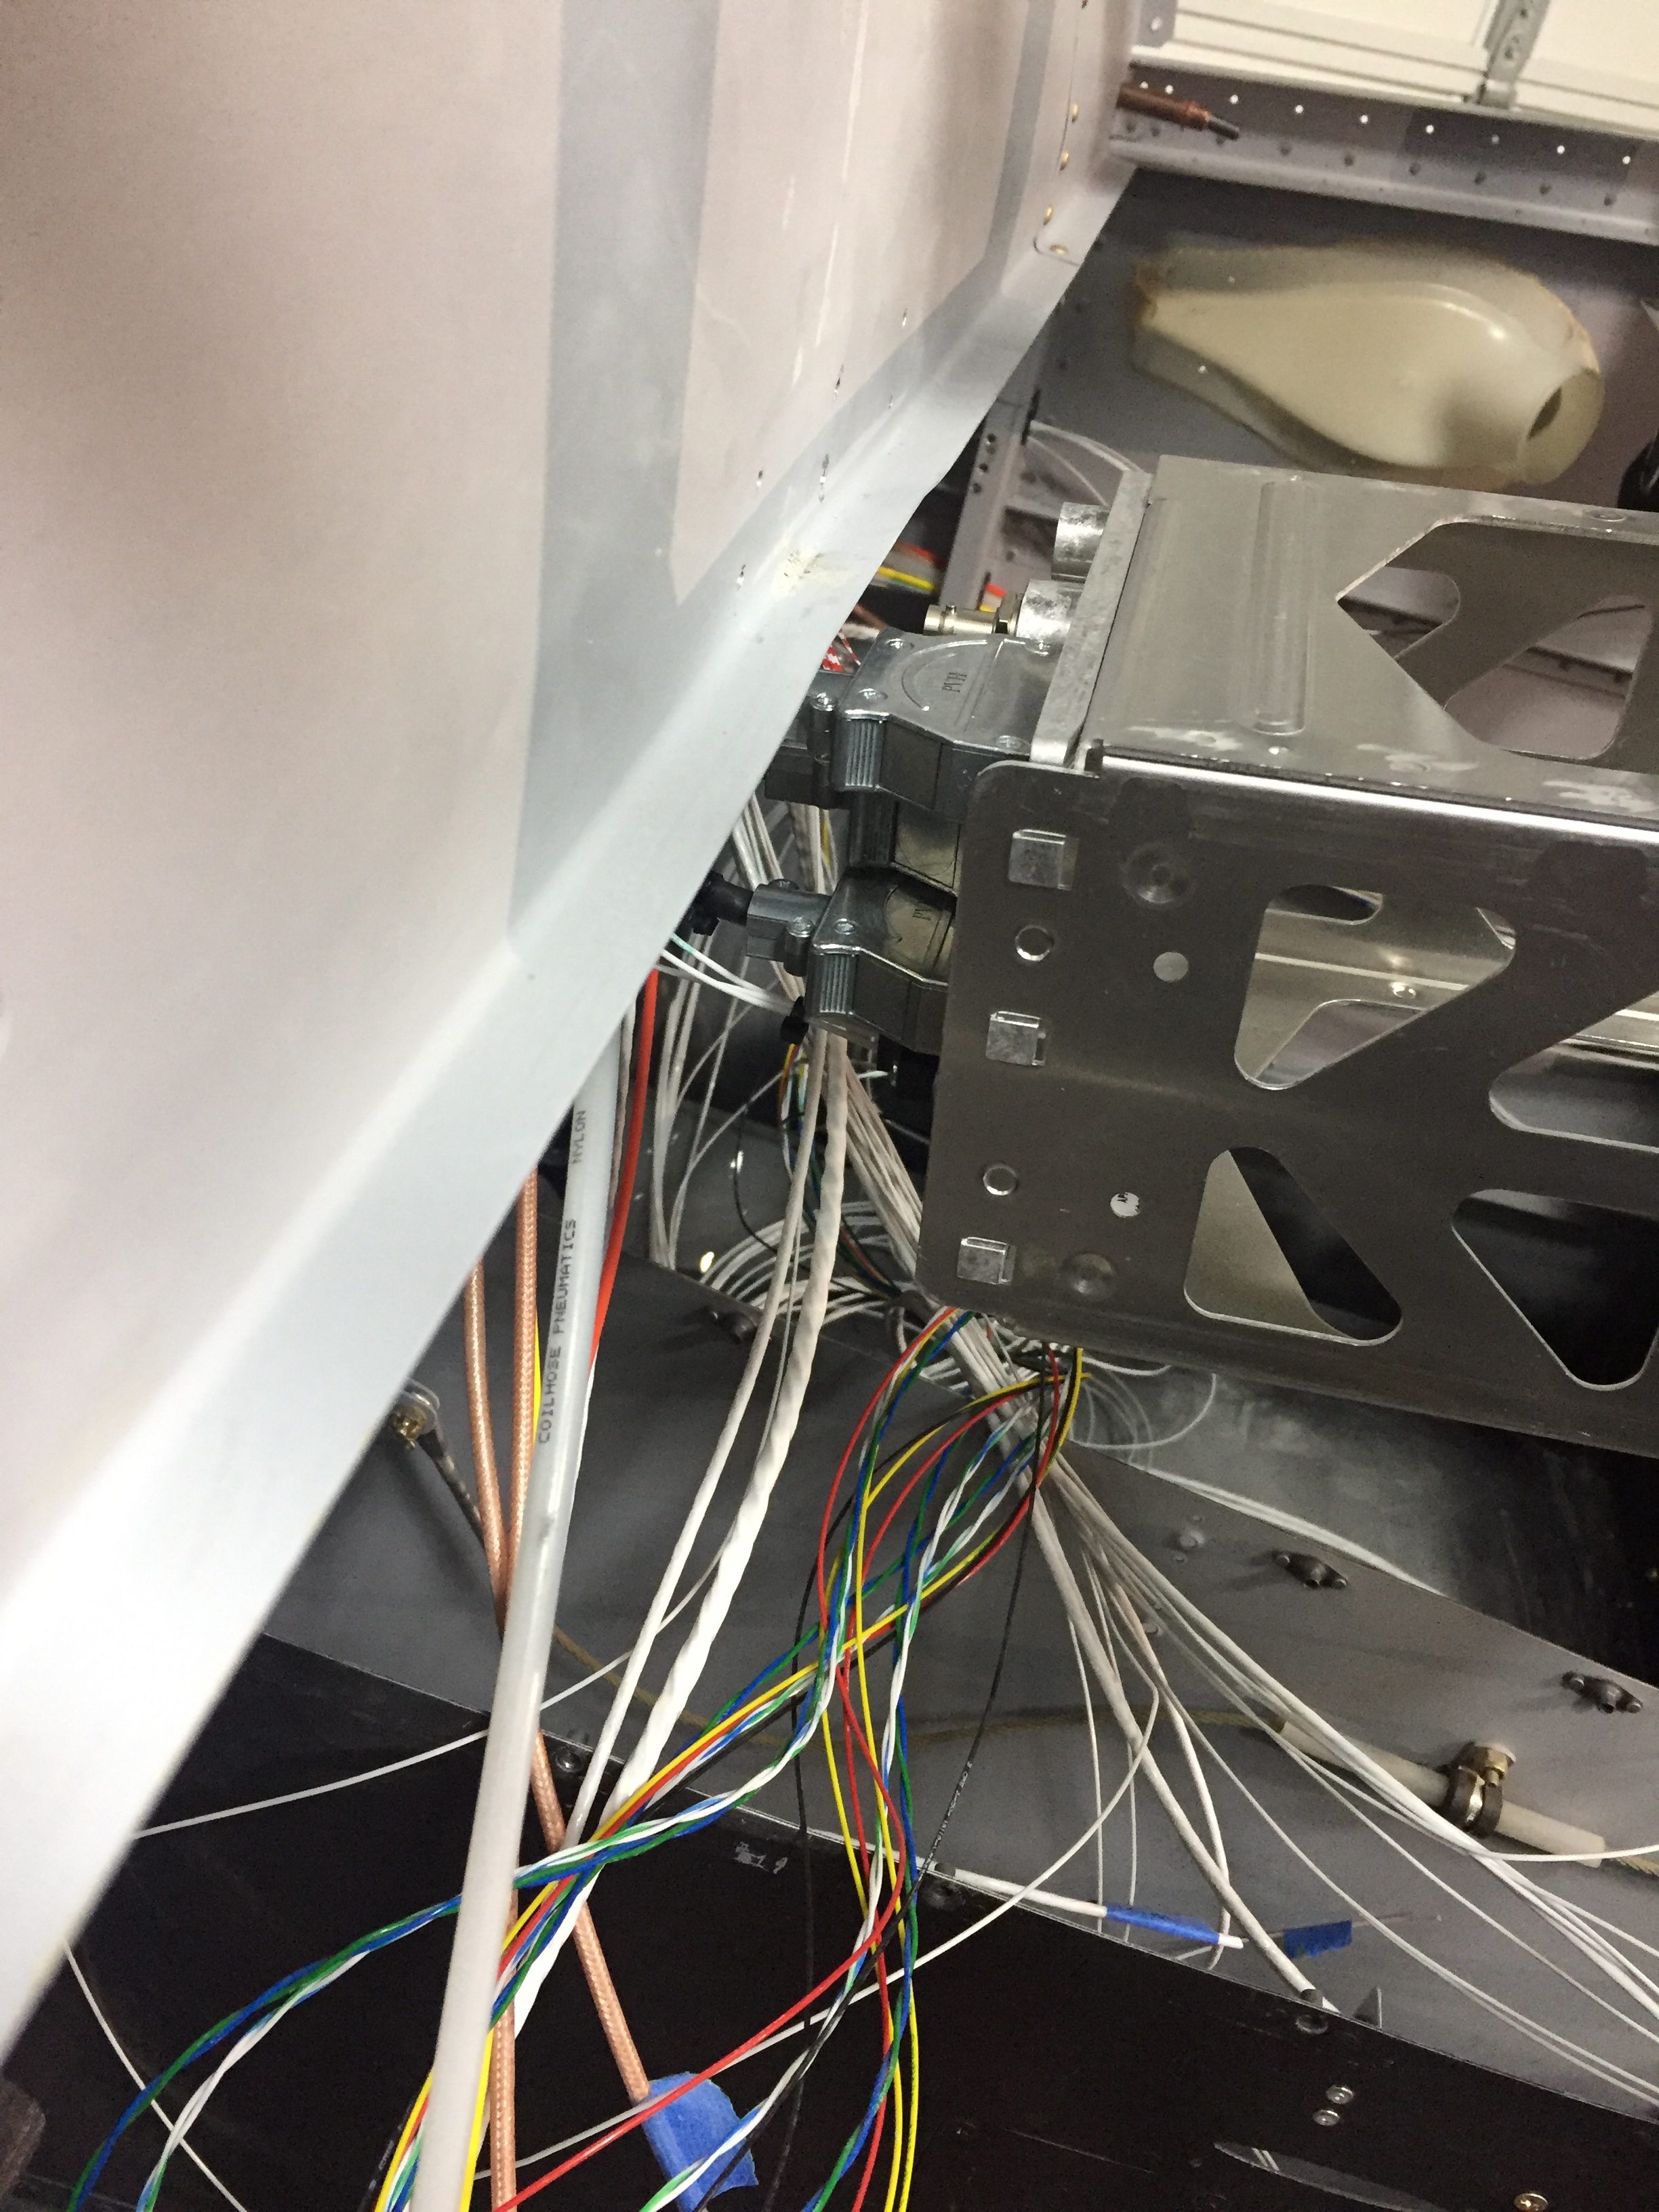
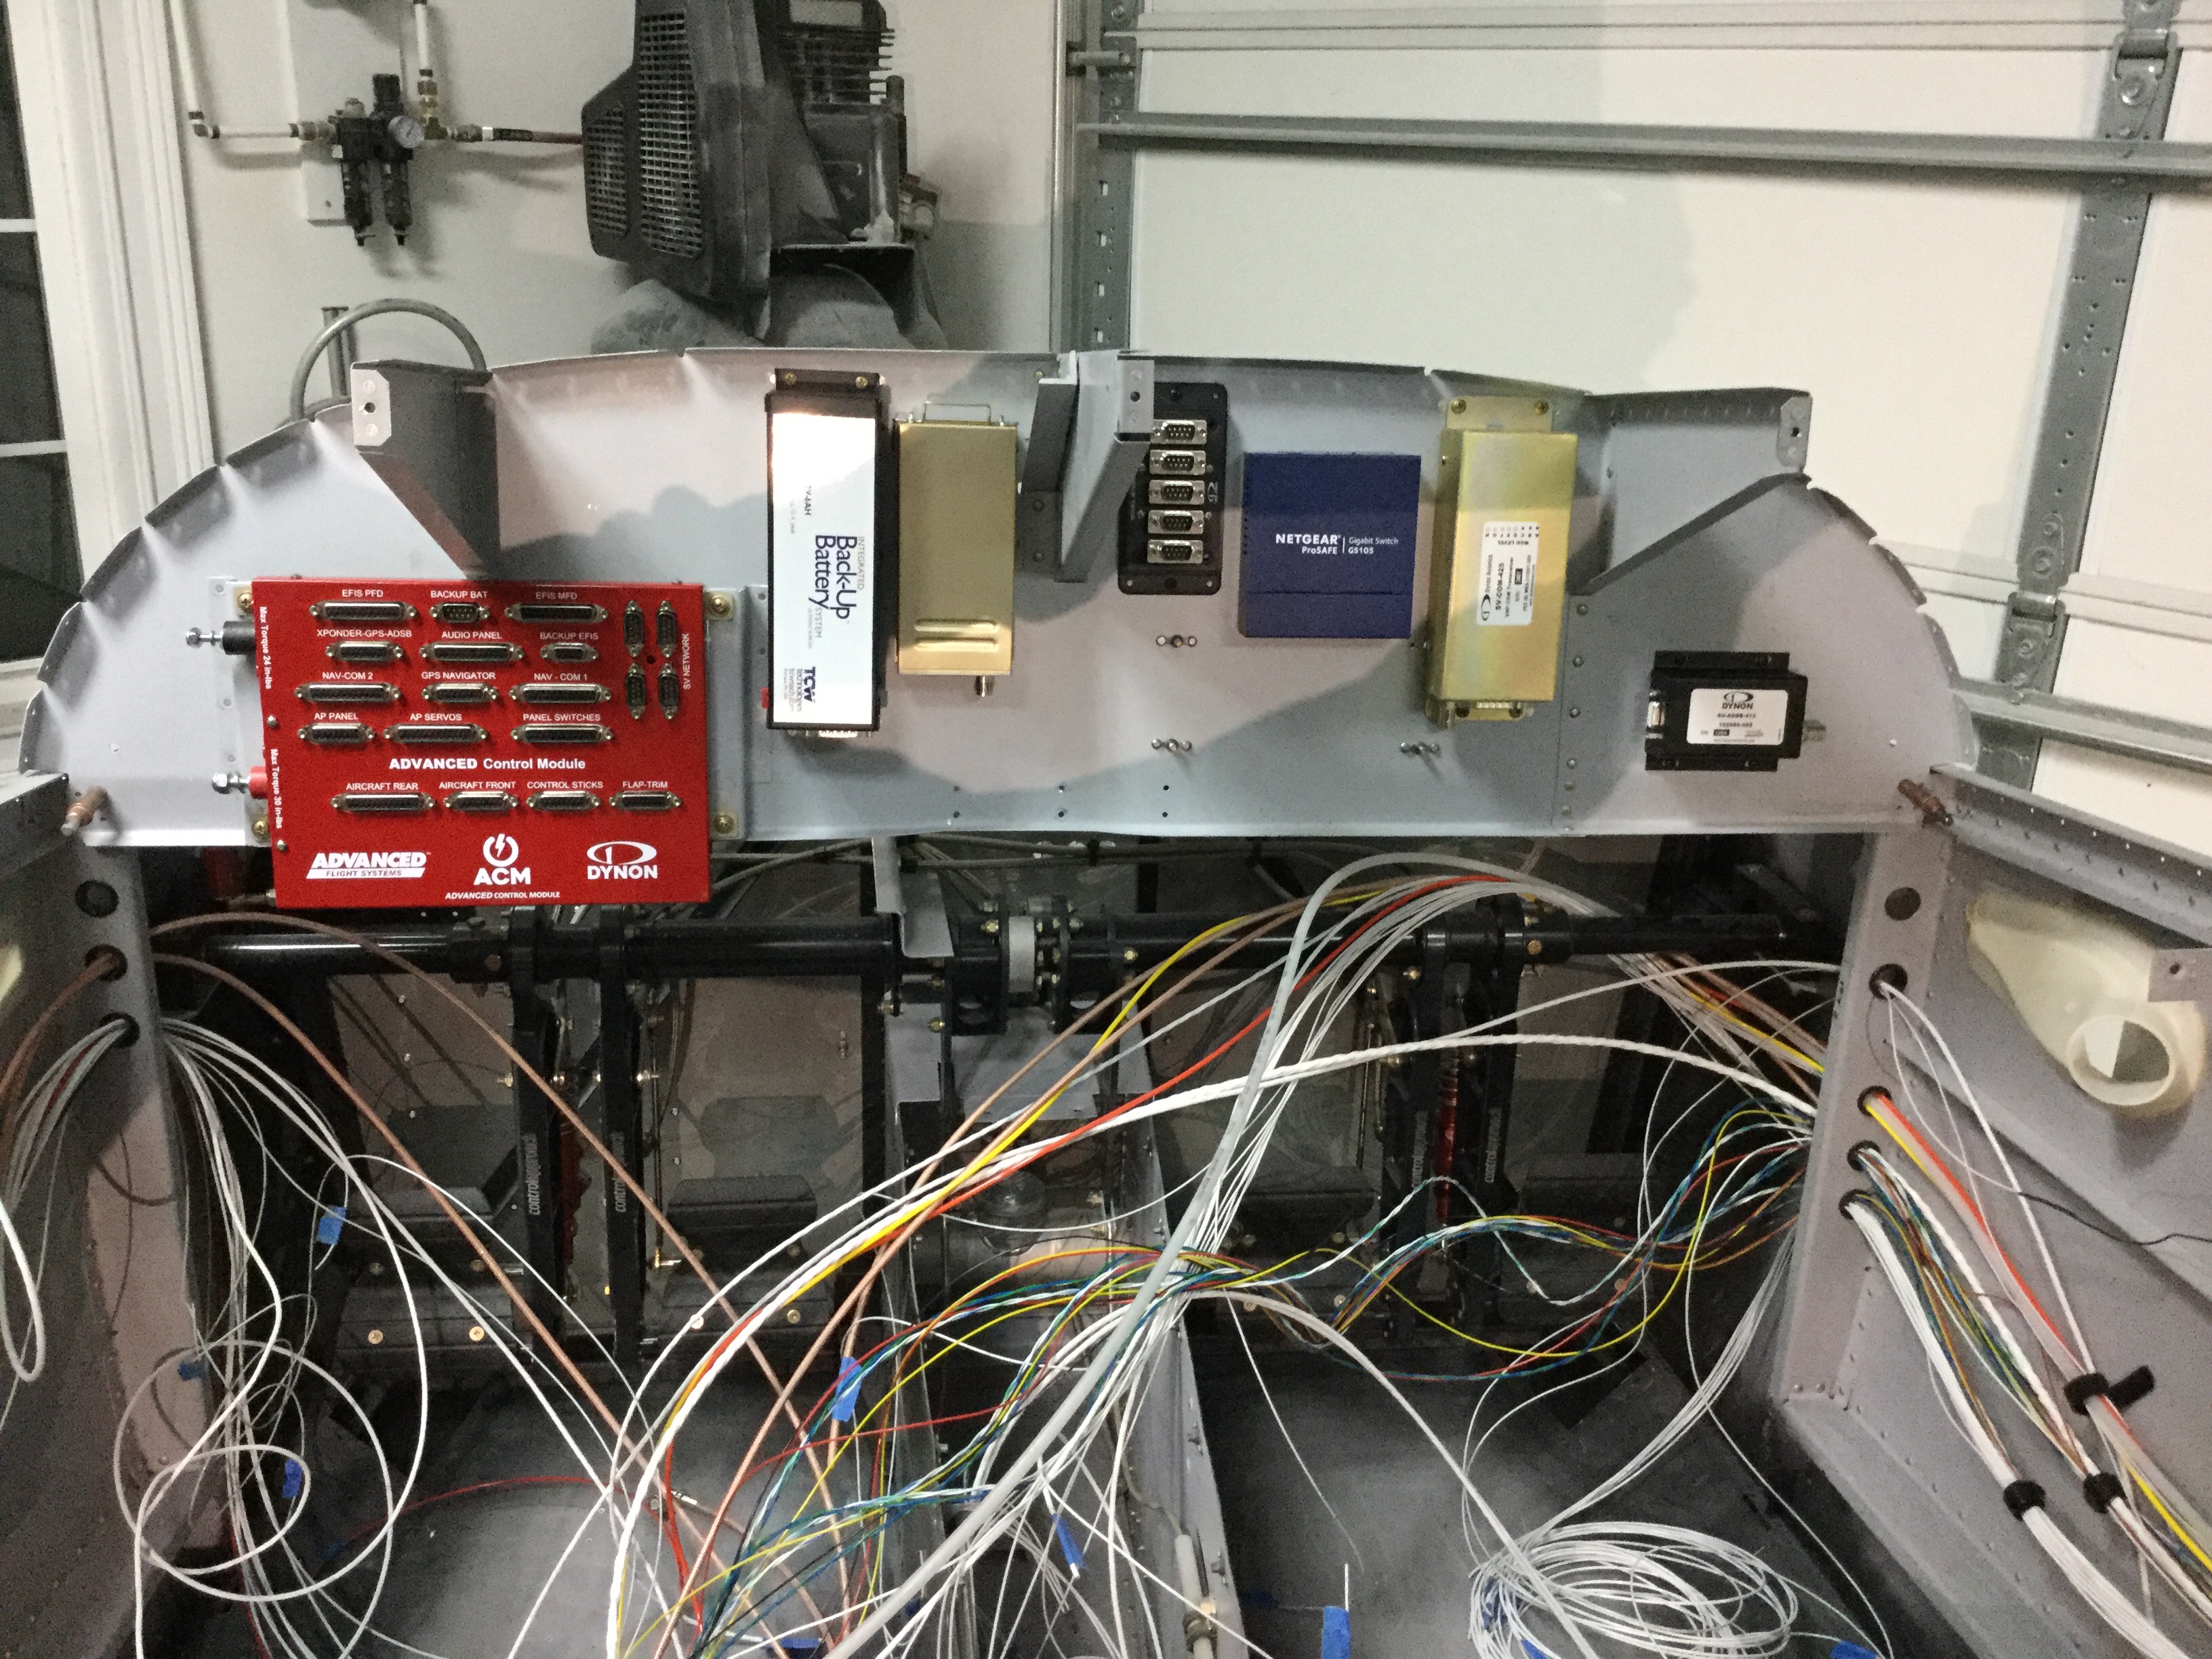
Then I started laying all of the remote components out on the subpanel which was like putting together a puzzle with missing pieces. There are fewer boxes with AFS than with Garmin, and they are typically smaller, but it’s still a lot to fit back there. I wanted to facilitate future maintenance and access to each one, so thought carefully about how I’d get to each box once the plane is finished. I also tried to keep in mind wiring runs and guidance on how/where to mount each box compared to others. I am using nutplates on everything I can to make it easy to remove later, so need to keep that in mind on the back of the subpanel.
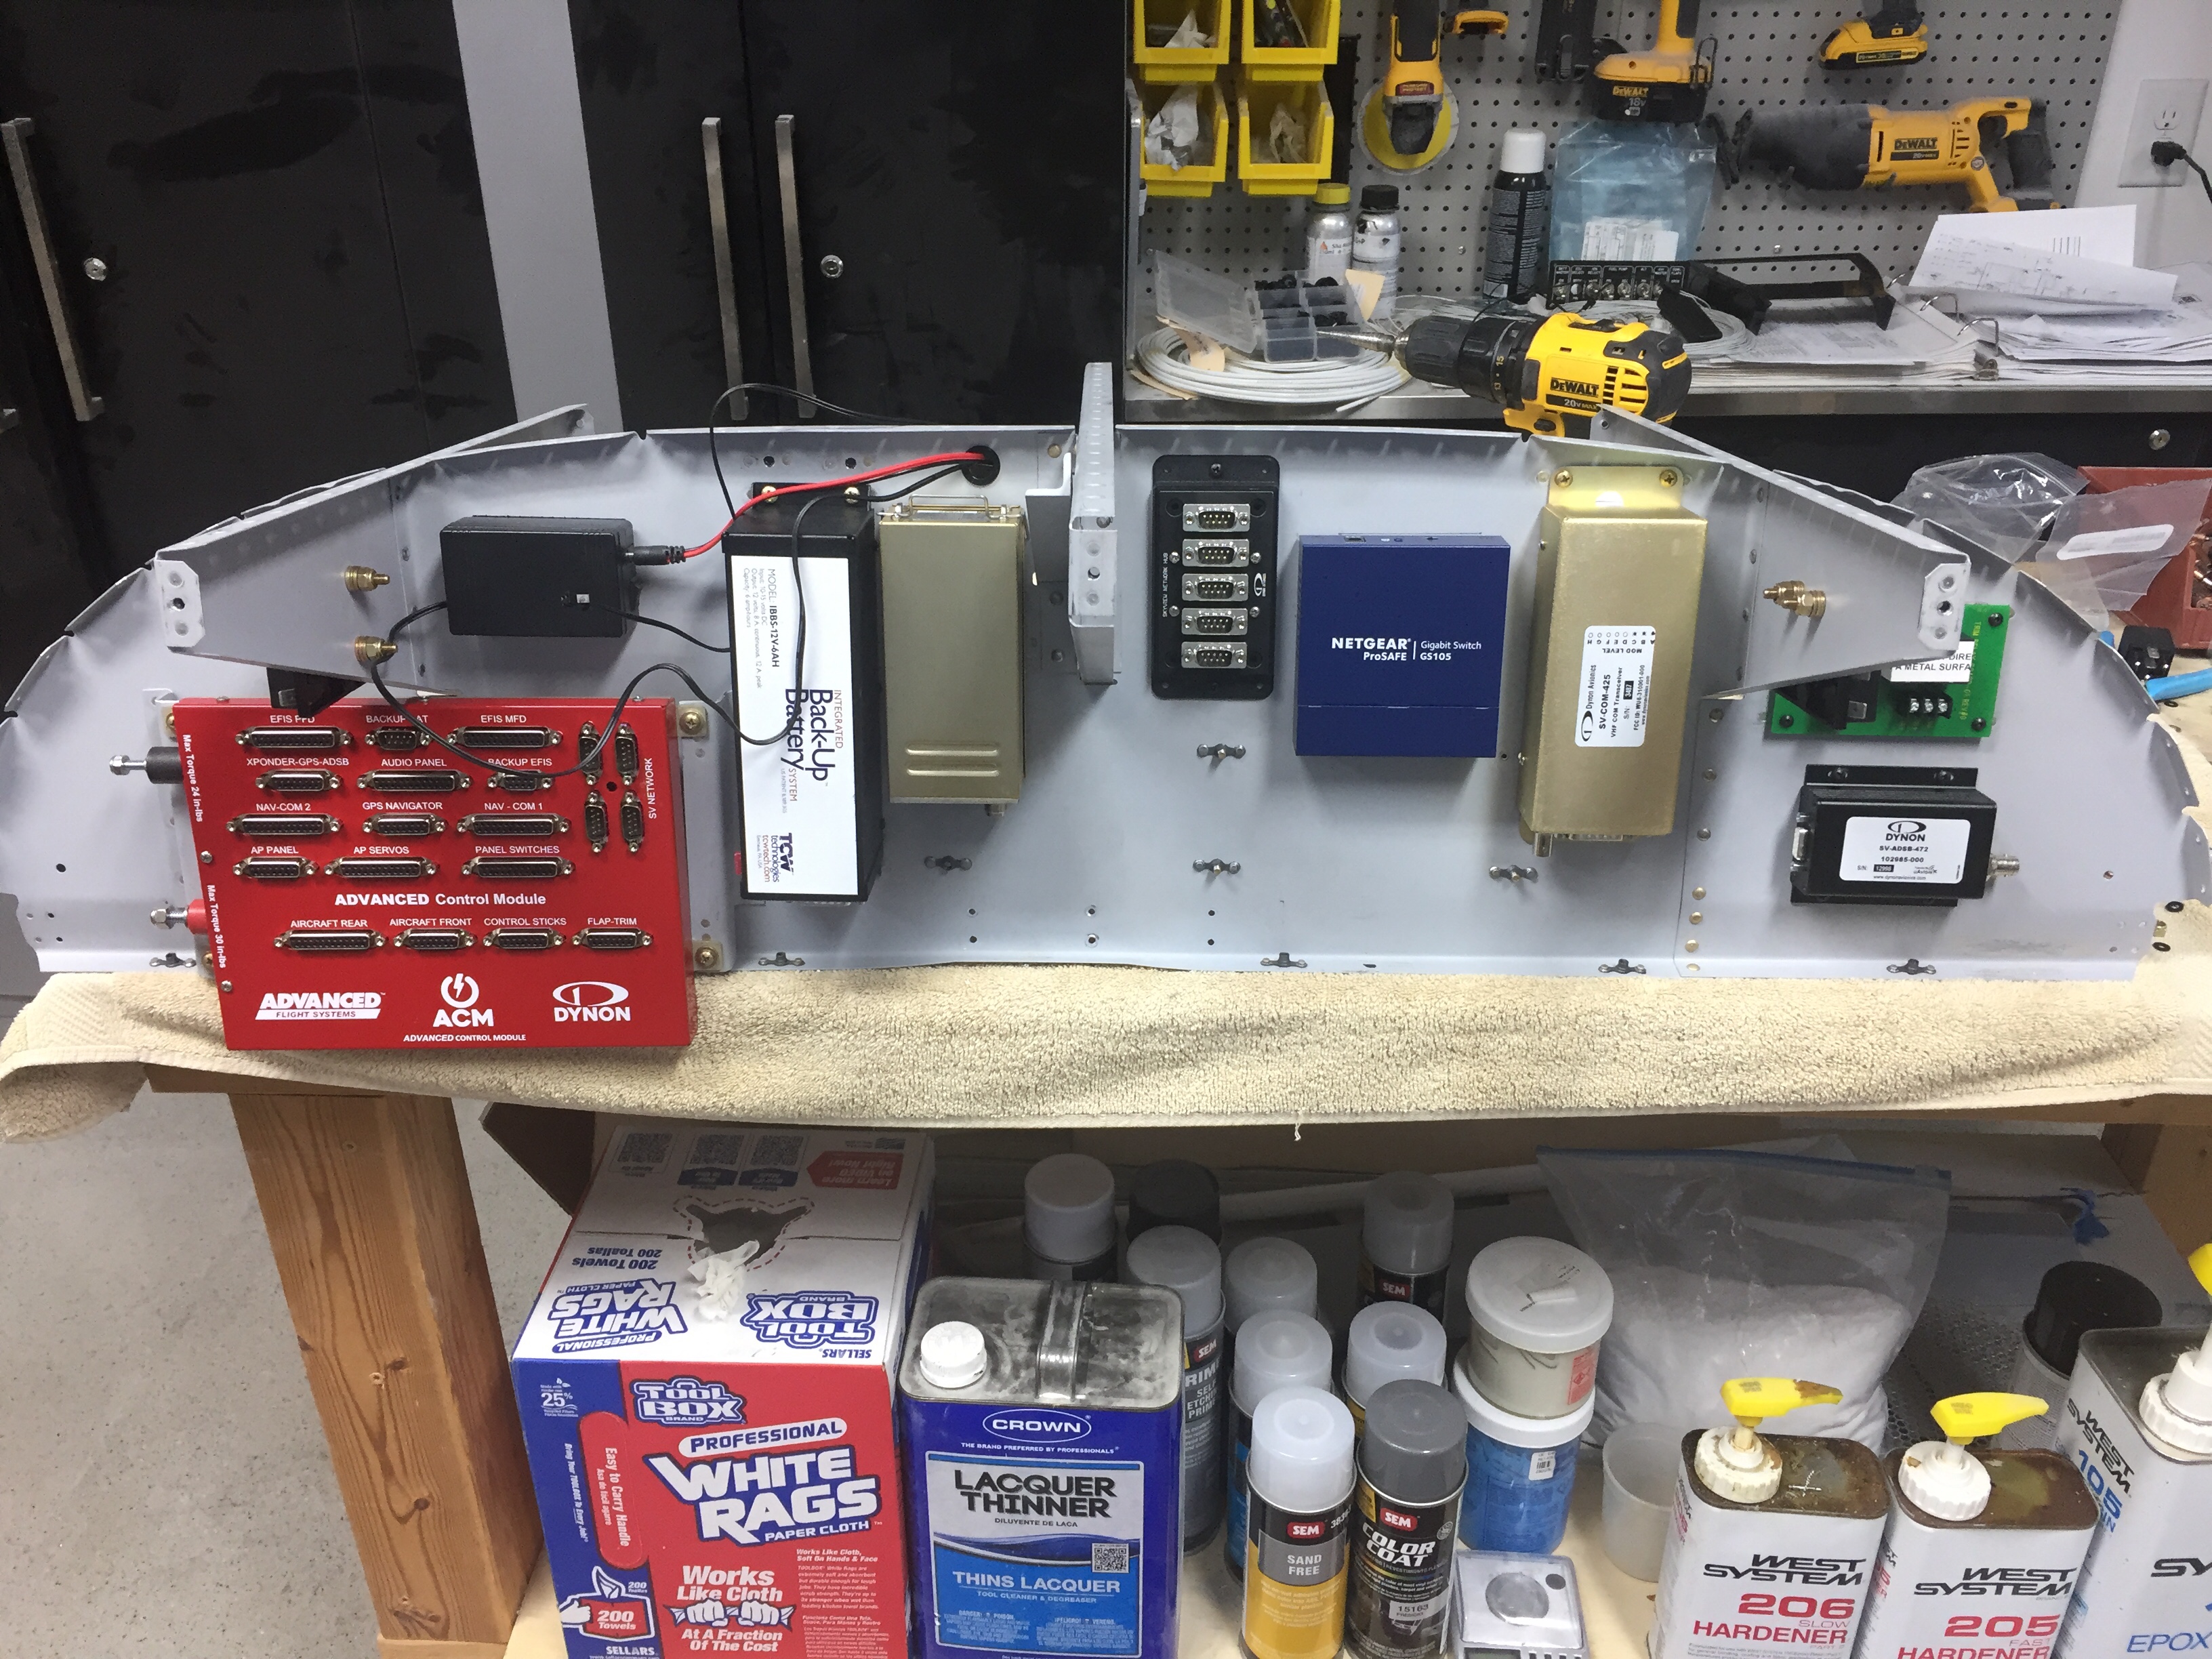
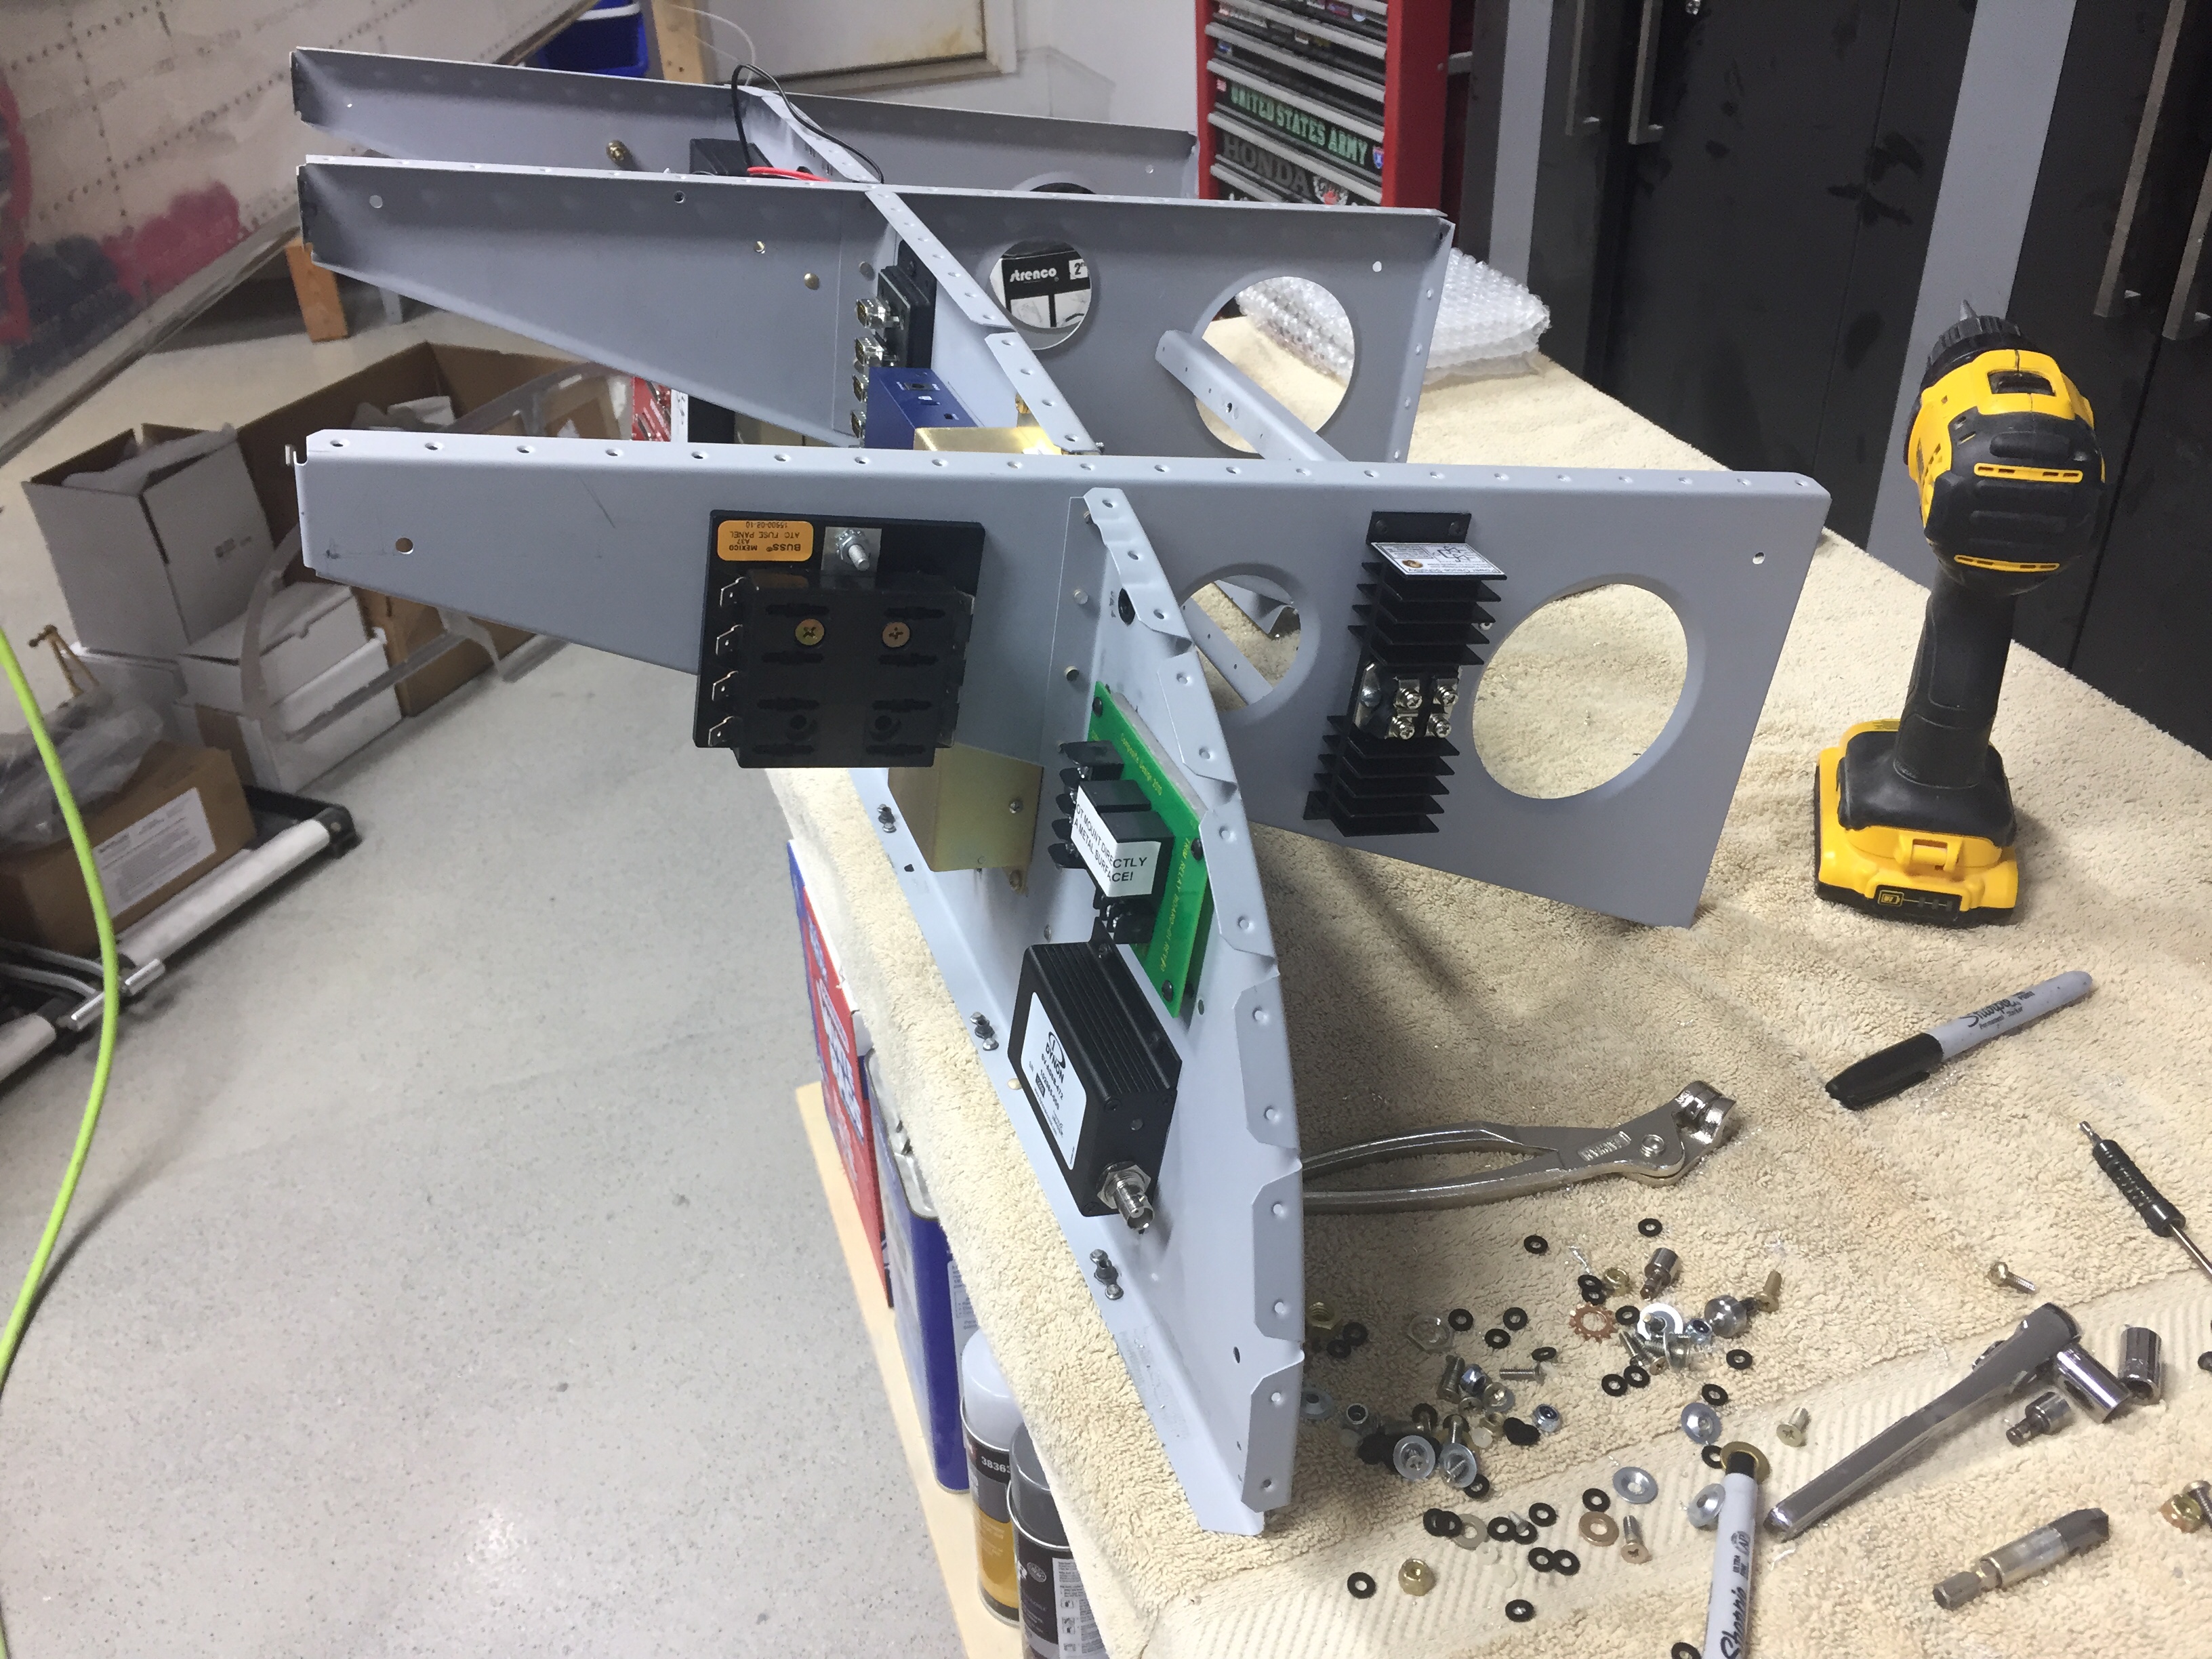
I found that some things just don’t fit and the audio panel was a great example. With the tray and connectors on the back plus the suggestion of keeping it away from high current devices and wire runs, I decided to create a rail system and mount it behind the subpanel. The ECUs for the SDS system will also mount behind the subpanel. I ensured enough space was between the two for the audio panel to slide out of the tray and for connectors to have room when wiring is complete.
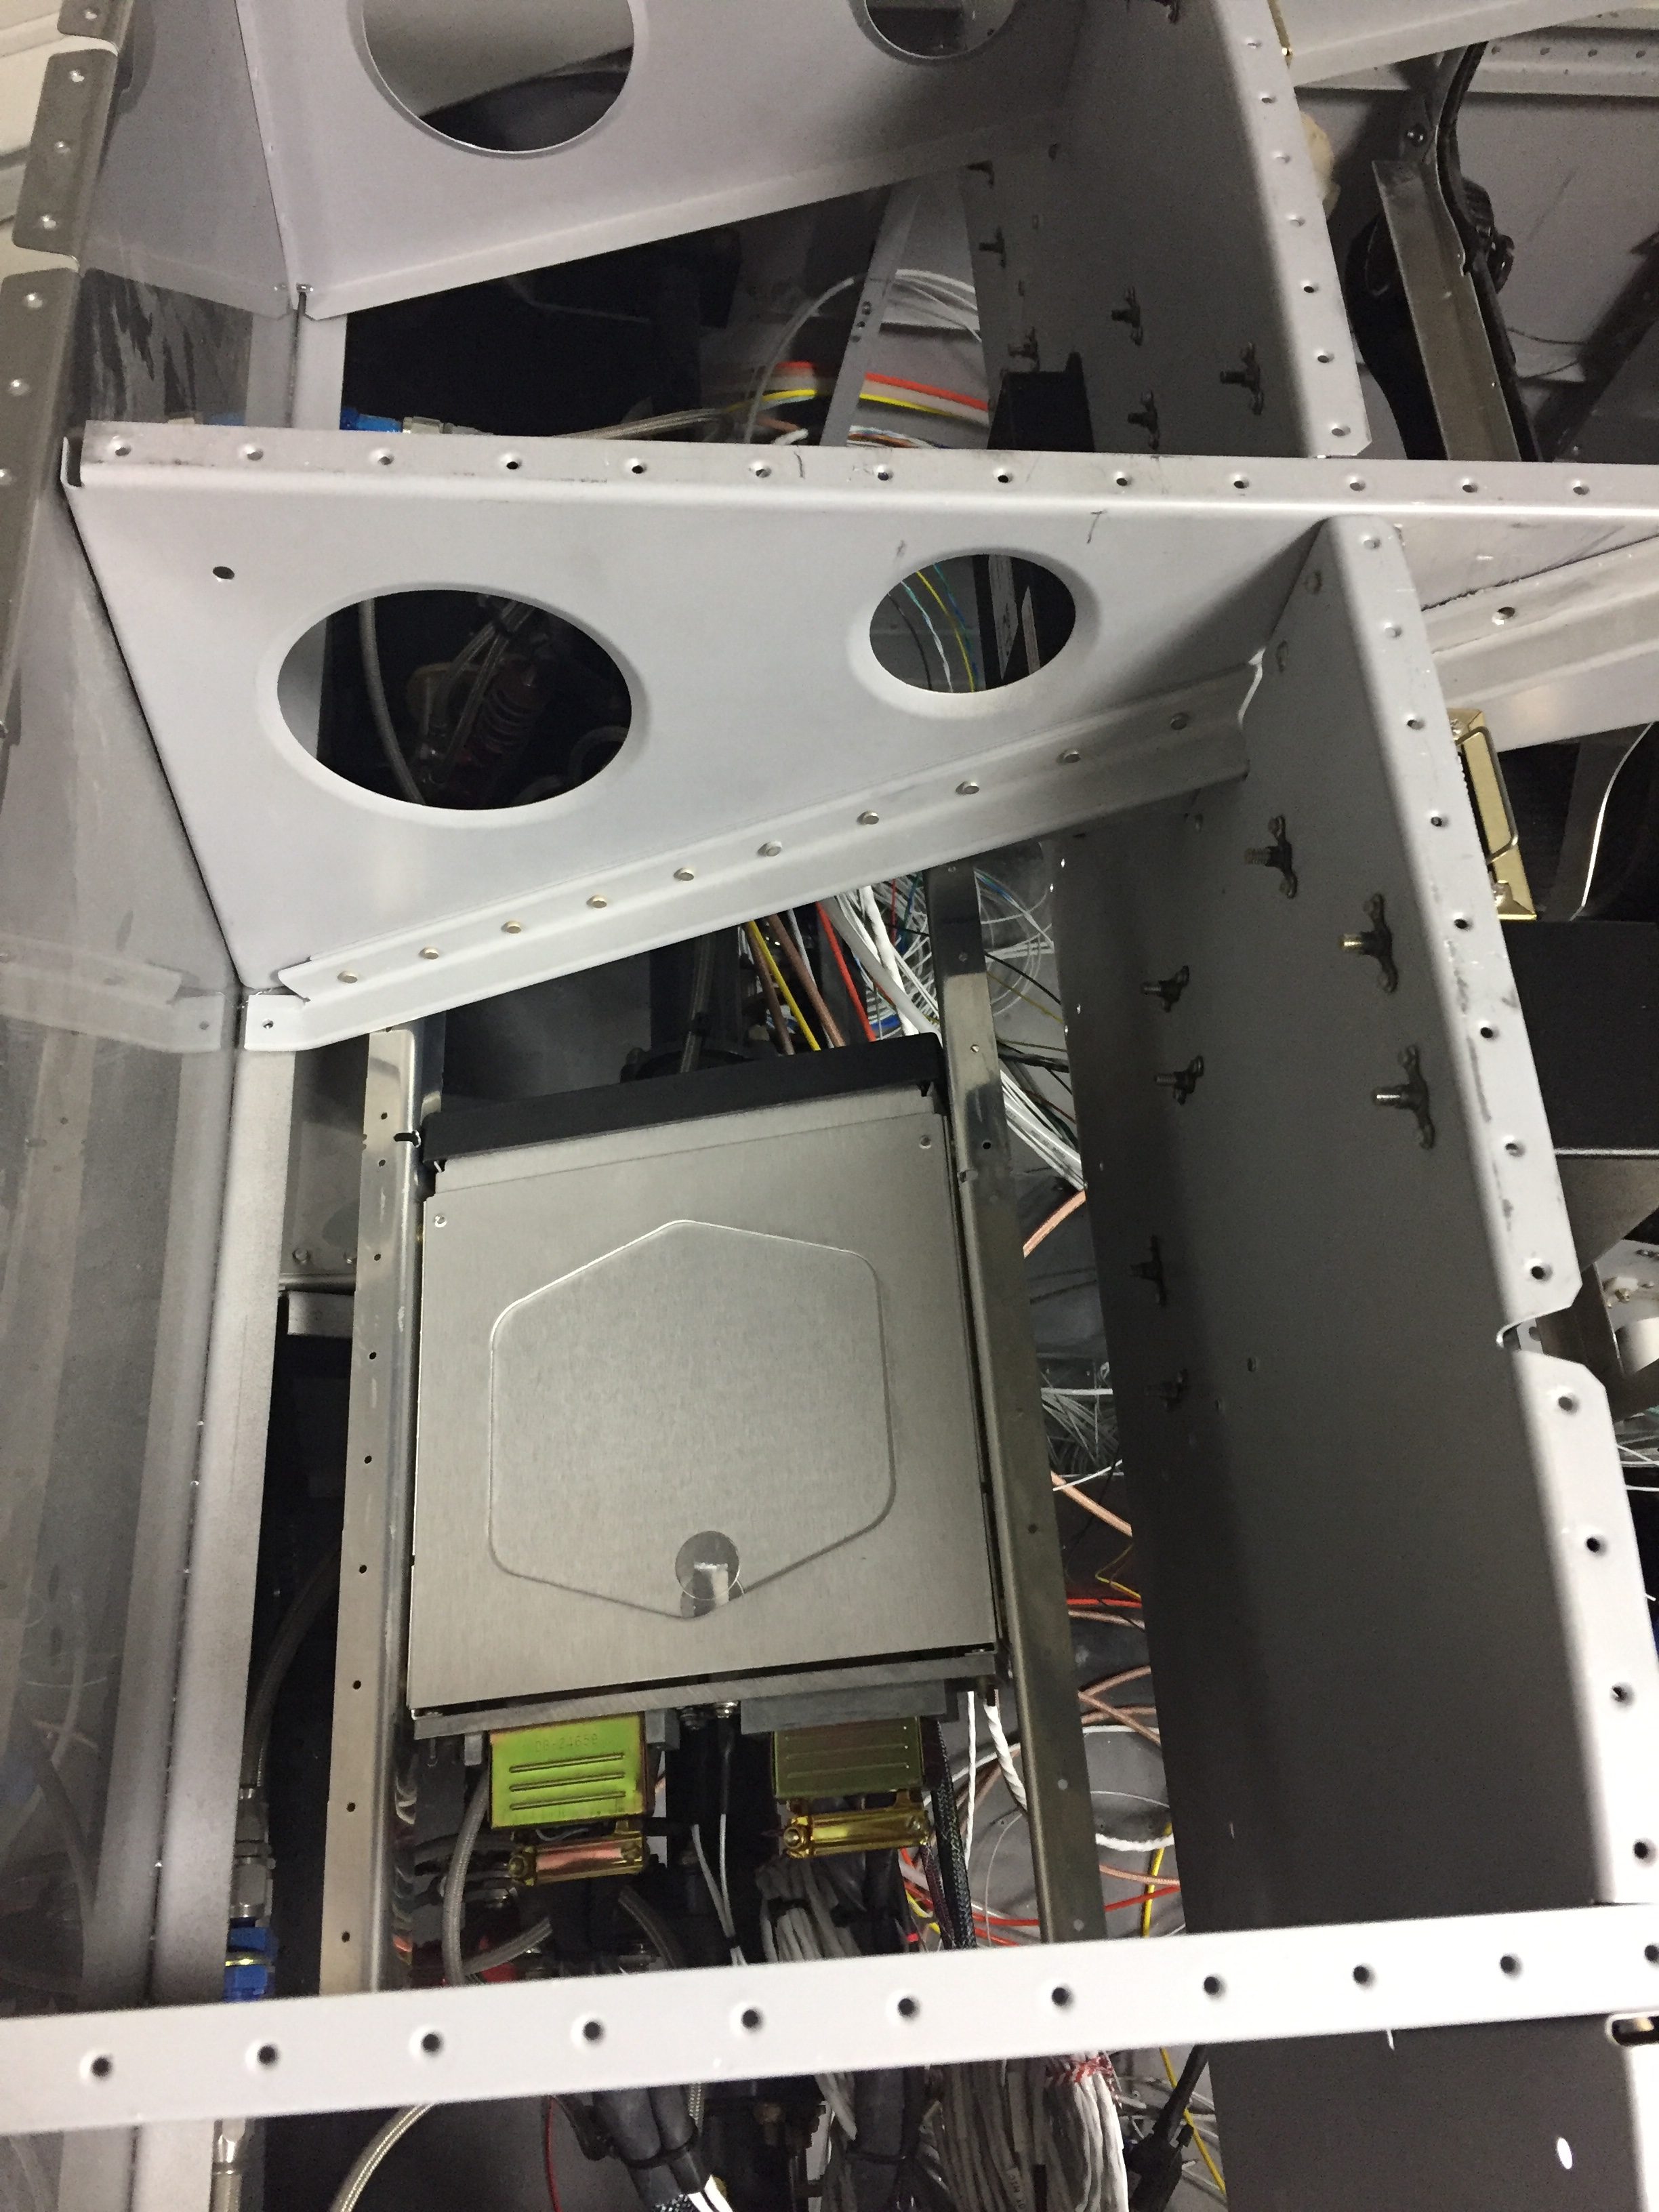
It took two evenings to get everything laid out and nutplates installed so the subpanel could go back into the airplane. I’m pretty proud of shoving all of these boxes back there and can still easily get to pretty much everything. I won’t say I’ll never be upside down ing the floor getting to anything, but it will be minimized. I put all of the premade harnesses in place to get an idea of wire runs that will be needed. There are a lot of wires in this airplane! I can’t imagine how much time it would have taken me to build up the harnesses that AFS made up, let alone the assurance they were bench tested with no smoke!
Next up will be pining the wires from the airframe and fitting the inserts to the panel. Stay tuned!
