The project sat idle for some weeks I am sad to say. However, I’m not in a huge hurry and refuse to stress about this fun project so we press on.
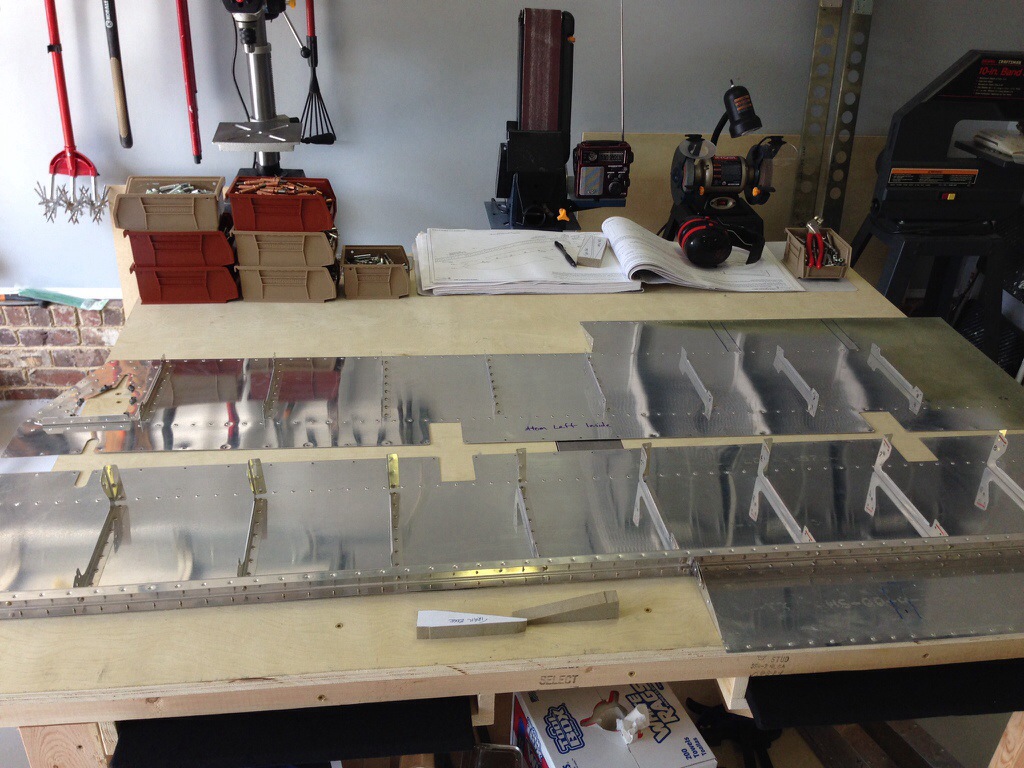
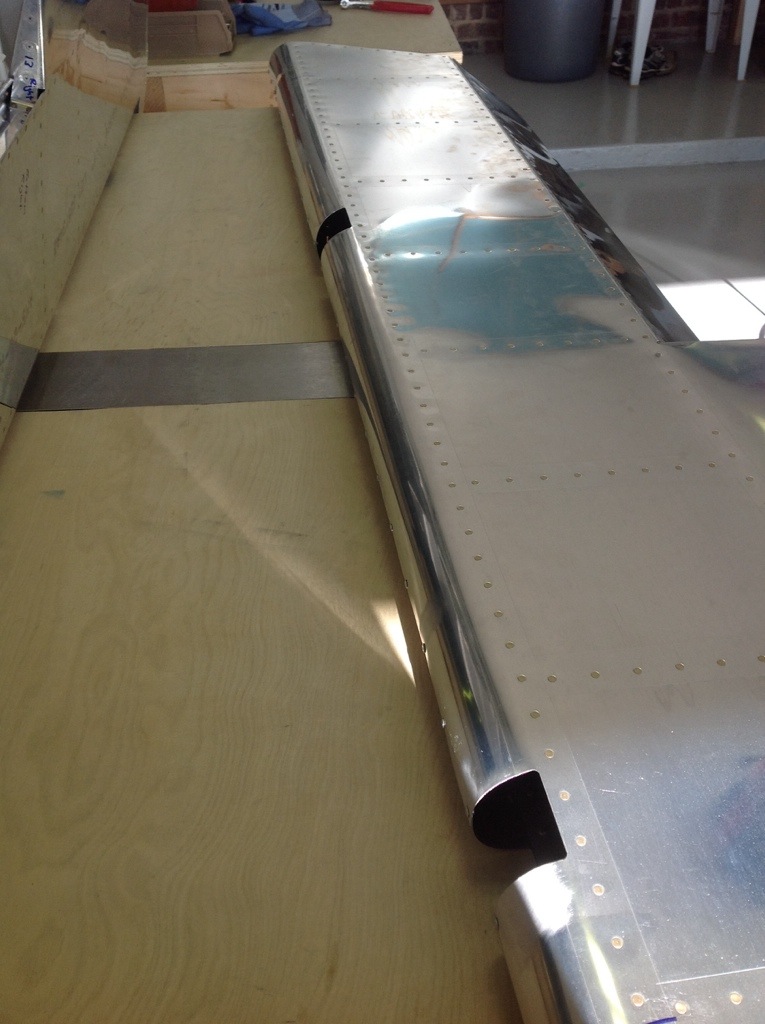
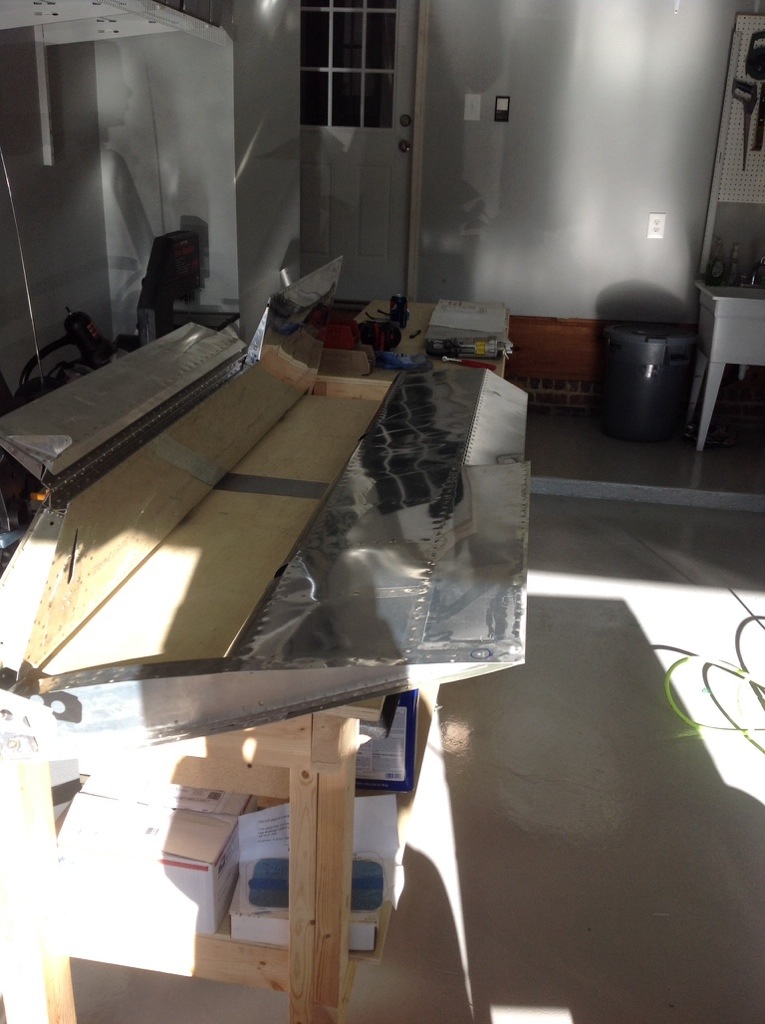
I got back to work on the elevators and made some fast progress. With back riveting now in my “can do” bucket of skills, these smoothly went together with a lot of pop rivets on the ribs to form the internal structure. I even got my wife out in the garage to help assemble the skins and squeeze some rivets on the spar. It’s true when they say you spend weeks prepping and only minutes riveting. It was somewhat of a non-event to actually rivet!
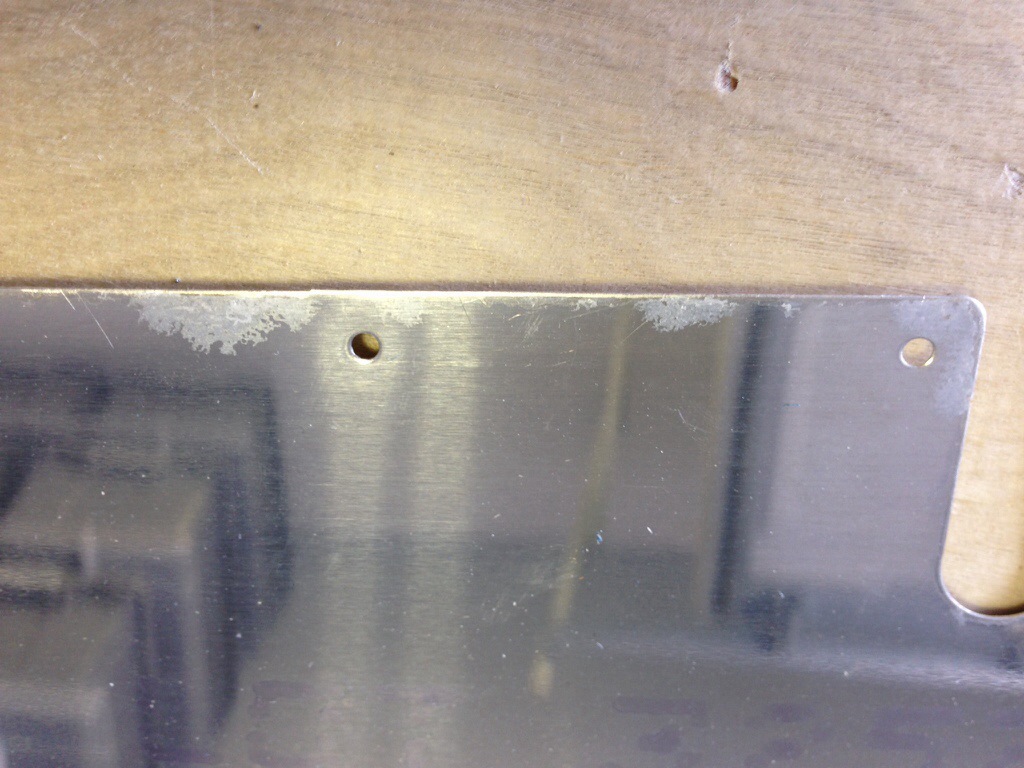
Along the way I’ve been cleaning up what I am pretty sure is surface corrosion. It’s only on the edges and mainly where the blue film had been pulled away or bubbled up. This kit is about 7 years old and sat in a basement, so not overly surprised. I’ve been sanding it out with a 3M disc and then spot priming those areas. I also discovered a 1/8″ tear in the skin between the edge and a punched hole. After getting some advice from VAF, I decided to cut and grind it away and will fill in the void with epoxy when installing the tips.
Rolling the leading edges wasn’t terrible, but I’ll be sure to pre roll the skins next time before assembly, as others have suggested and I forgot to do.
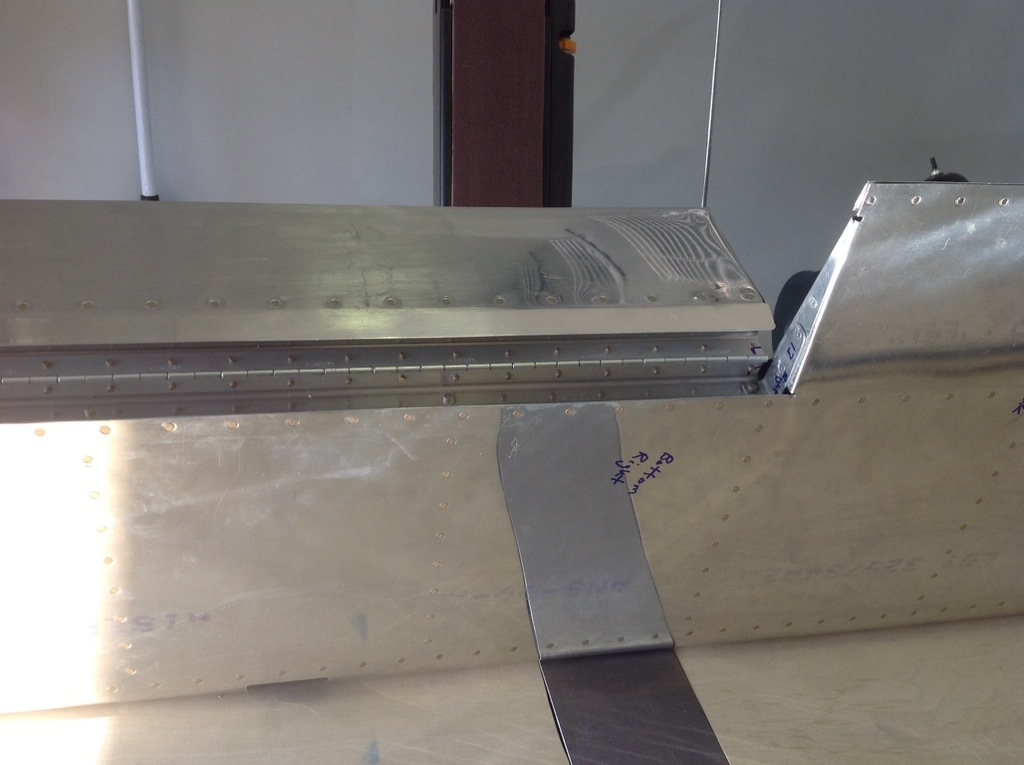
Finally, I pulled the already made trim tabs out of the bubble wrap and fabricated the hinges for them. It was pretty straight forward and the end result was very nice. Something to be proud of.
My lessons learned thus far are: leave the blue film on for protecting from surface scratches, pre roll the leading edges, and not let as much time go by without working on it!

