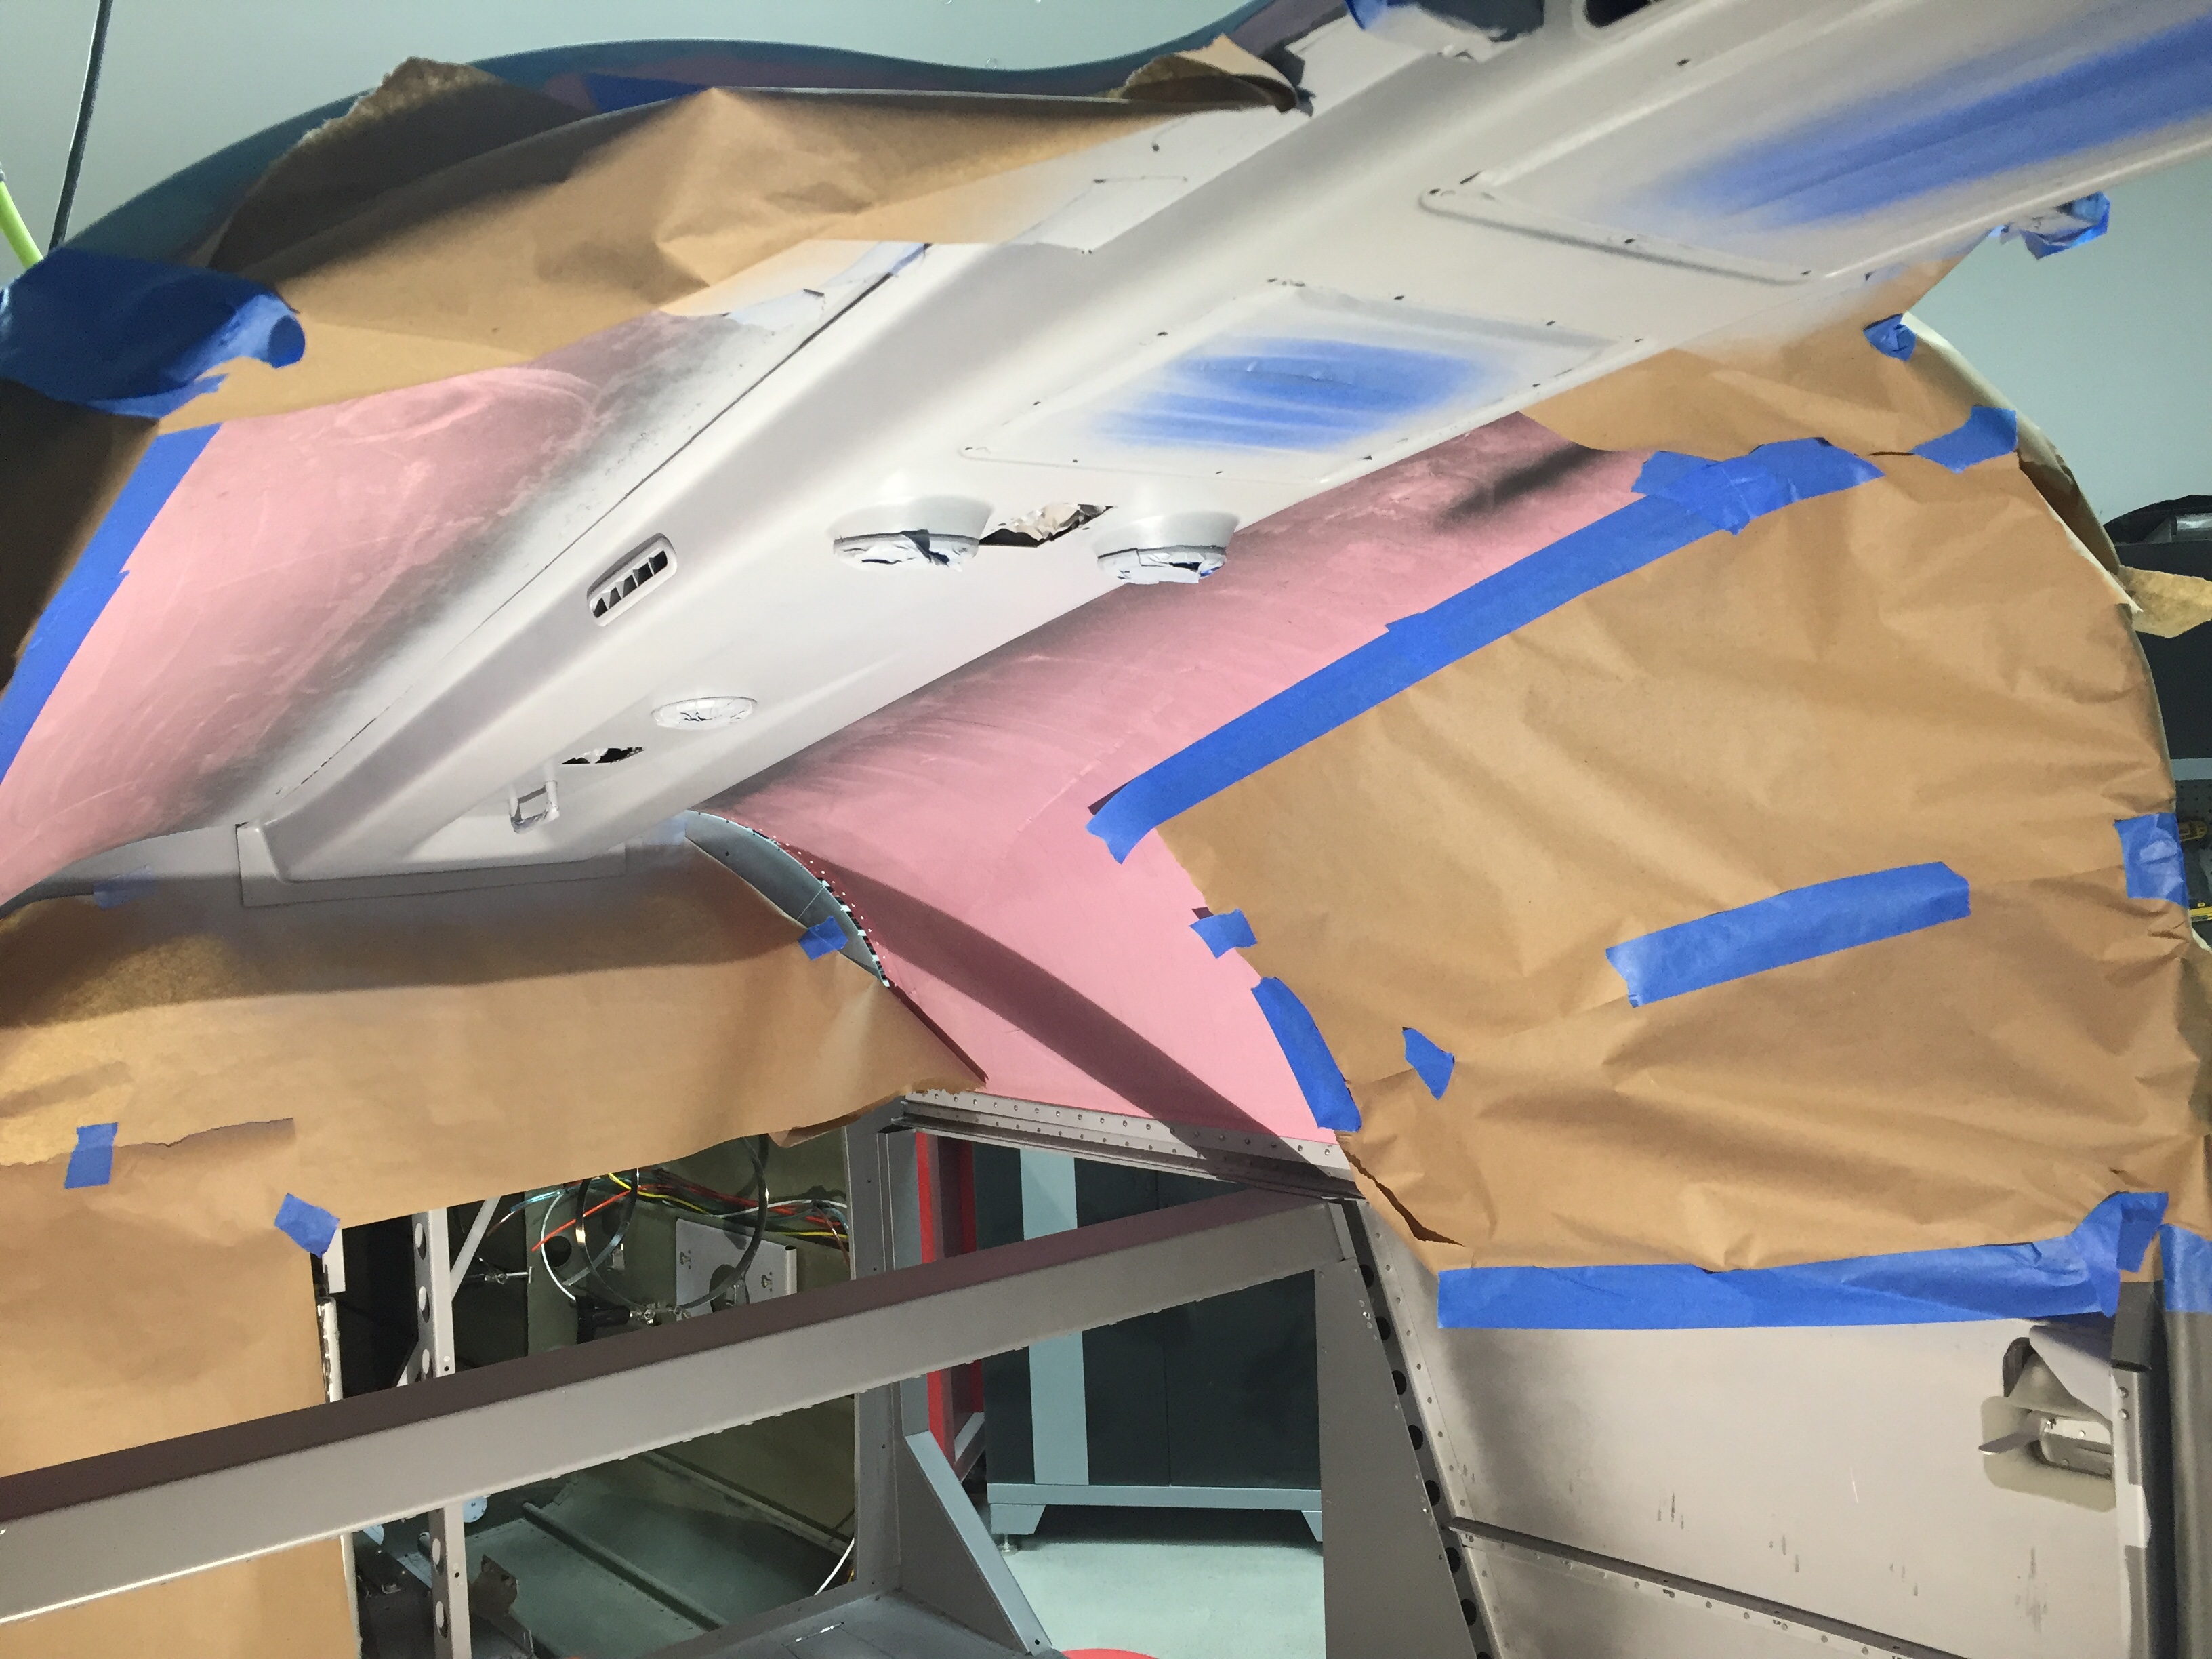
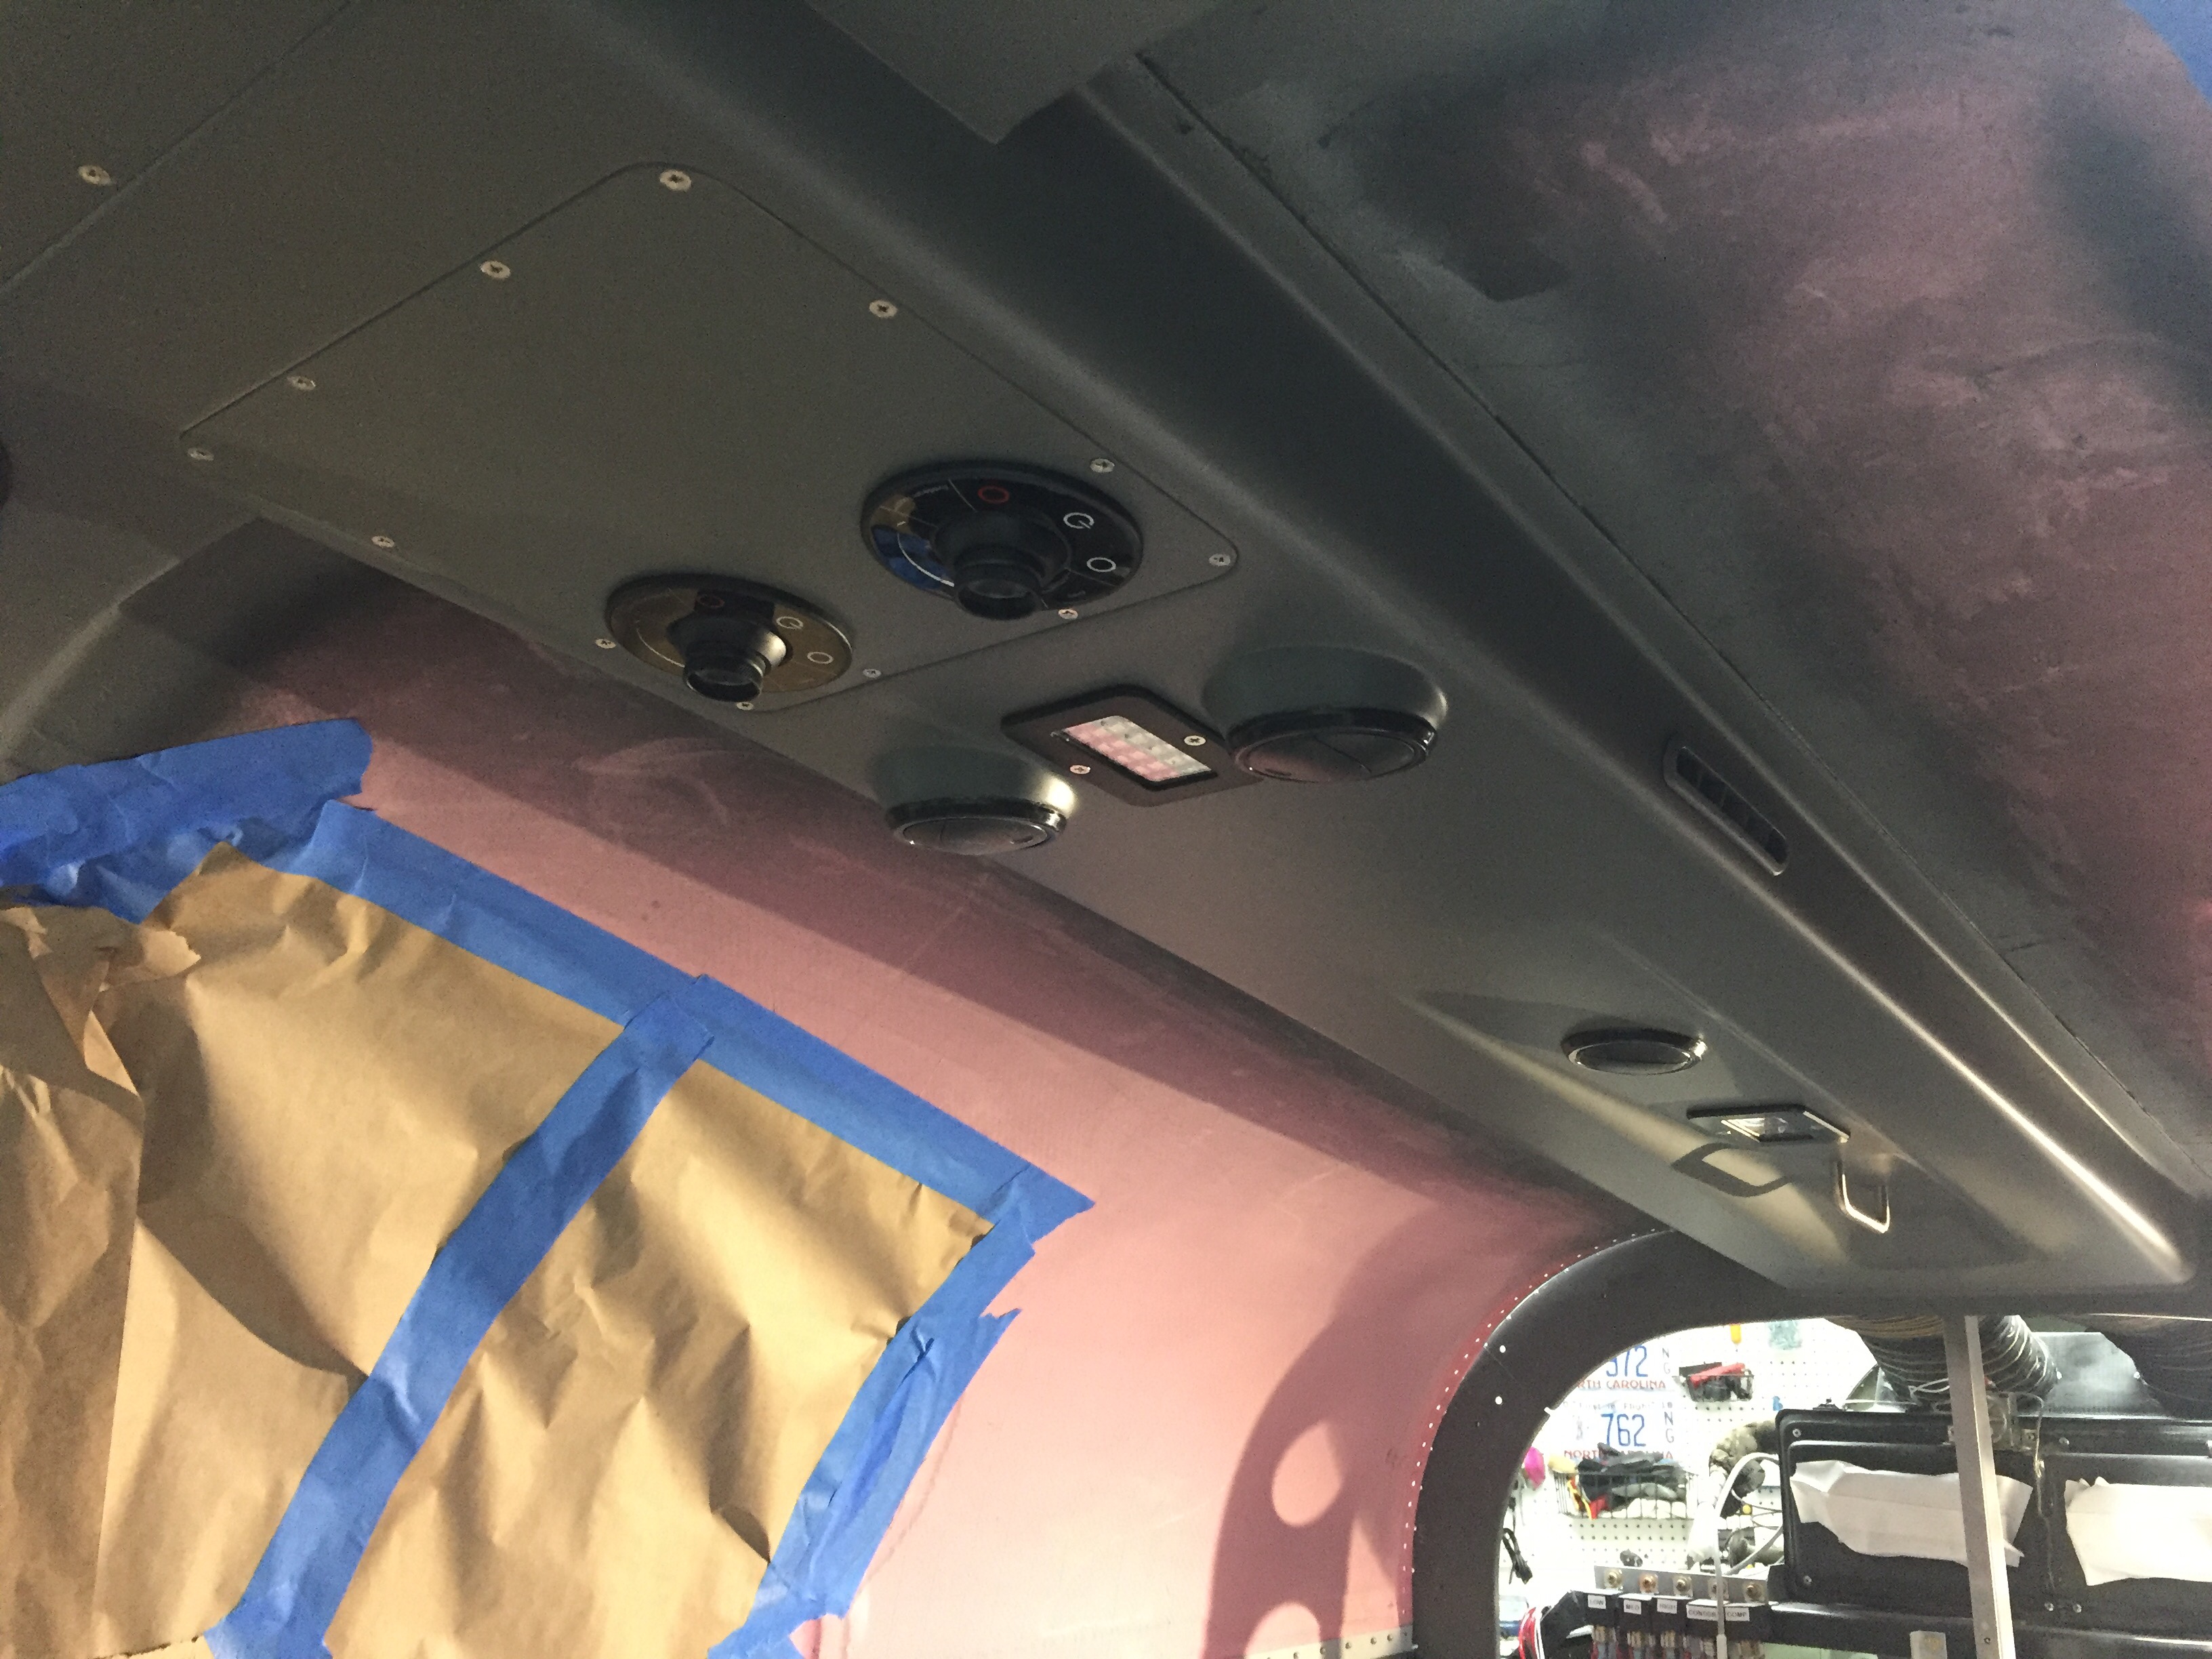
Doing things better the second time seems to be a driving motto for my project. The paint on the overhead console is a great example. With it properly prepped, I sprayed primer on it using the adhesion promoter and instantly saw improvement. Once the primer cured, I did some test scrapes and the stuff stuck like epoxy! After that, the color was easy, again using adhesion promoter after a good wipe down with tac free. I followed all of that up with two coats of the satin clear on the entire painted interior. It’s about time I replace the cartridges on my respirator.
I also fixed the rear foot well spar paint after cleaning the old stuff off and re-scuffing and priming the surface. I wound up test fitting a few pieces of the carpet just to get an idea of how much metal is exposed and what actually needs to be painted. The Aerosport carpet is nice, I couldn’t have done a better job myself, but they aren’t an exact fit which is a bit irritating especially for how much it costs. Not sure if all of the patterns are like that, but the floor carpet for the rear foot well is about 1/2″ too big on length and width, so one side or both will need to curl up a bit. Never noticeable once it’s flying, just being picky I guess.

The doors are finally done!!!! The last coat of color and clear went on smoothly and I’m calling them fully baked. What a royal pain in the ass they were. I am very happy with how they turned out, though. I put the Aerosport handle covers on and got the Plane Around center cam final installed with the roll pin. The door lights went in for good as well. I took my time putting the final door seal on from McMaster Carr and made the seam hidden by the strut and strut bracket. I used a bit of E6000 glue to ensure no gap in the seal lets water in up there. Holding my breath, I closed the door and much to my surprise, both closed with the seal on smoothly! The right side door is a bit more firm on the handle motion, but the wife is happy with it which is all that matters.
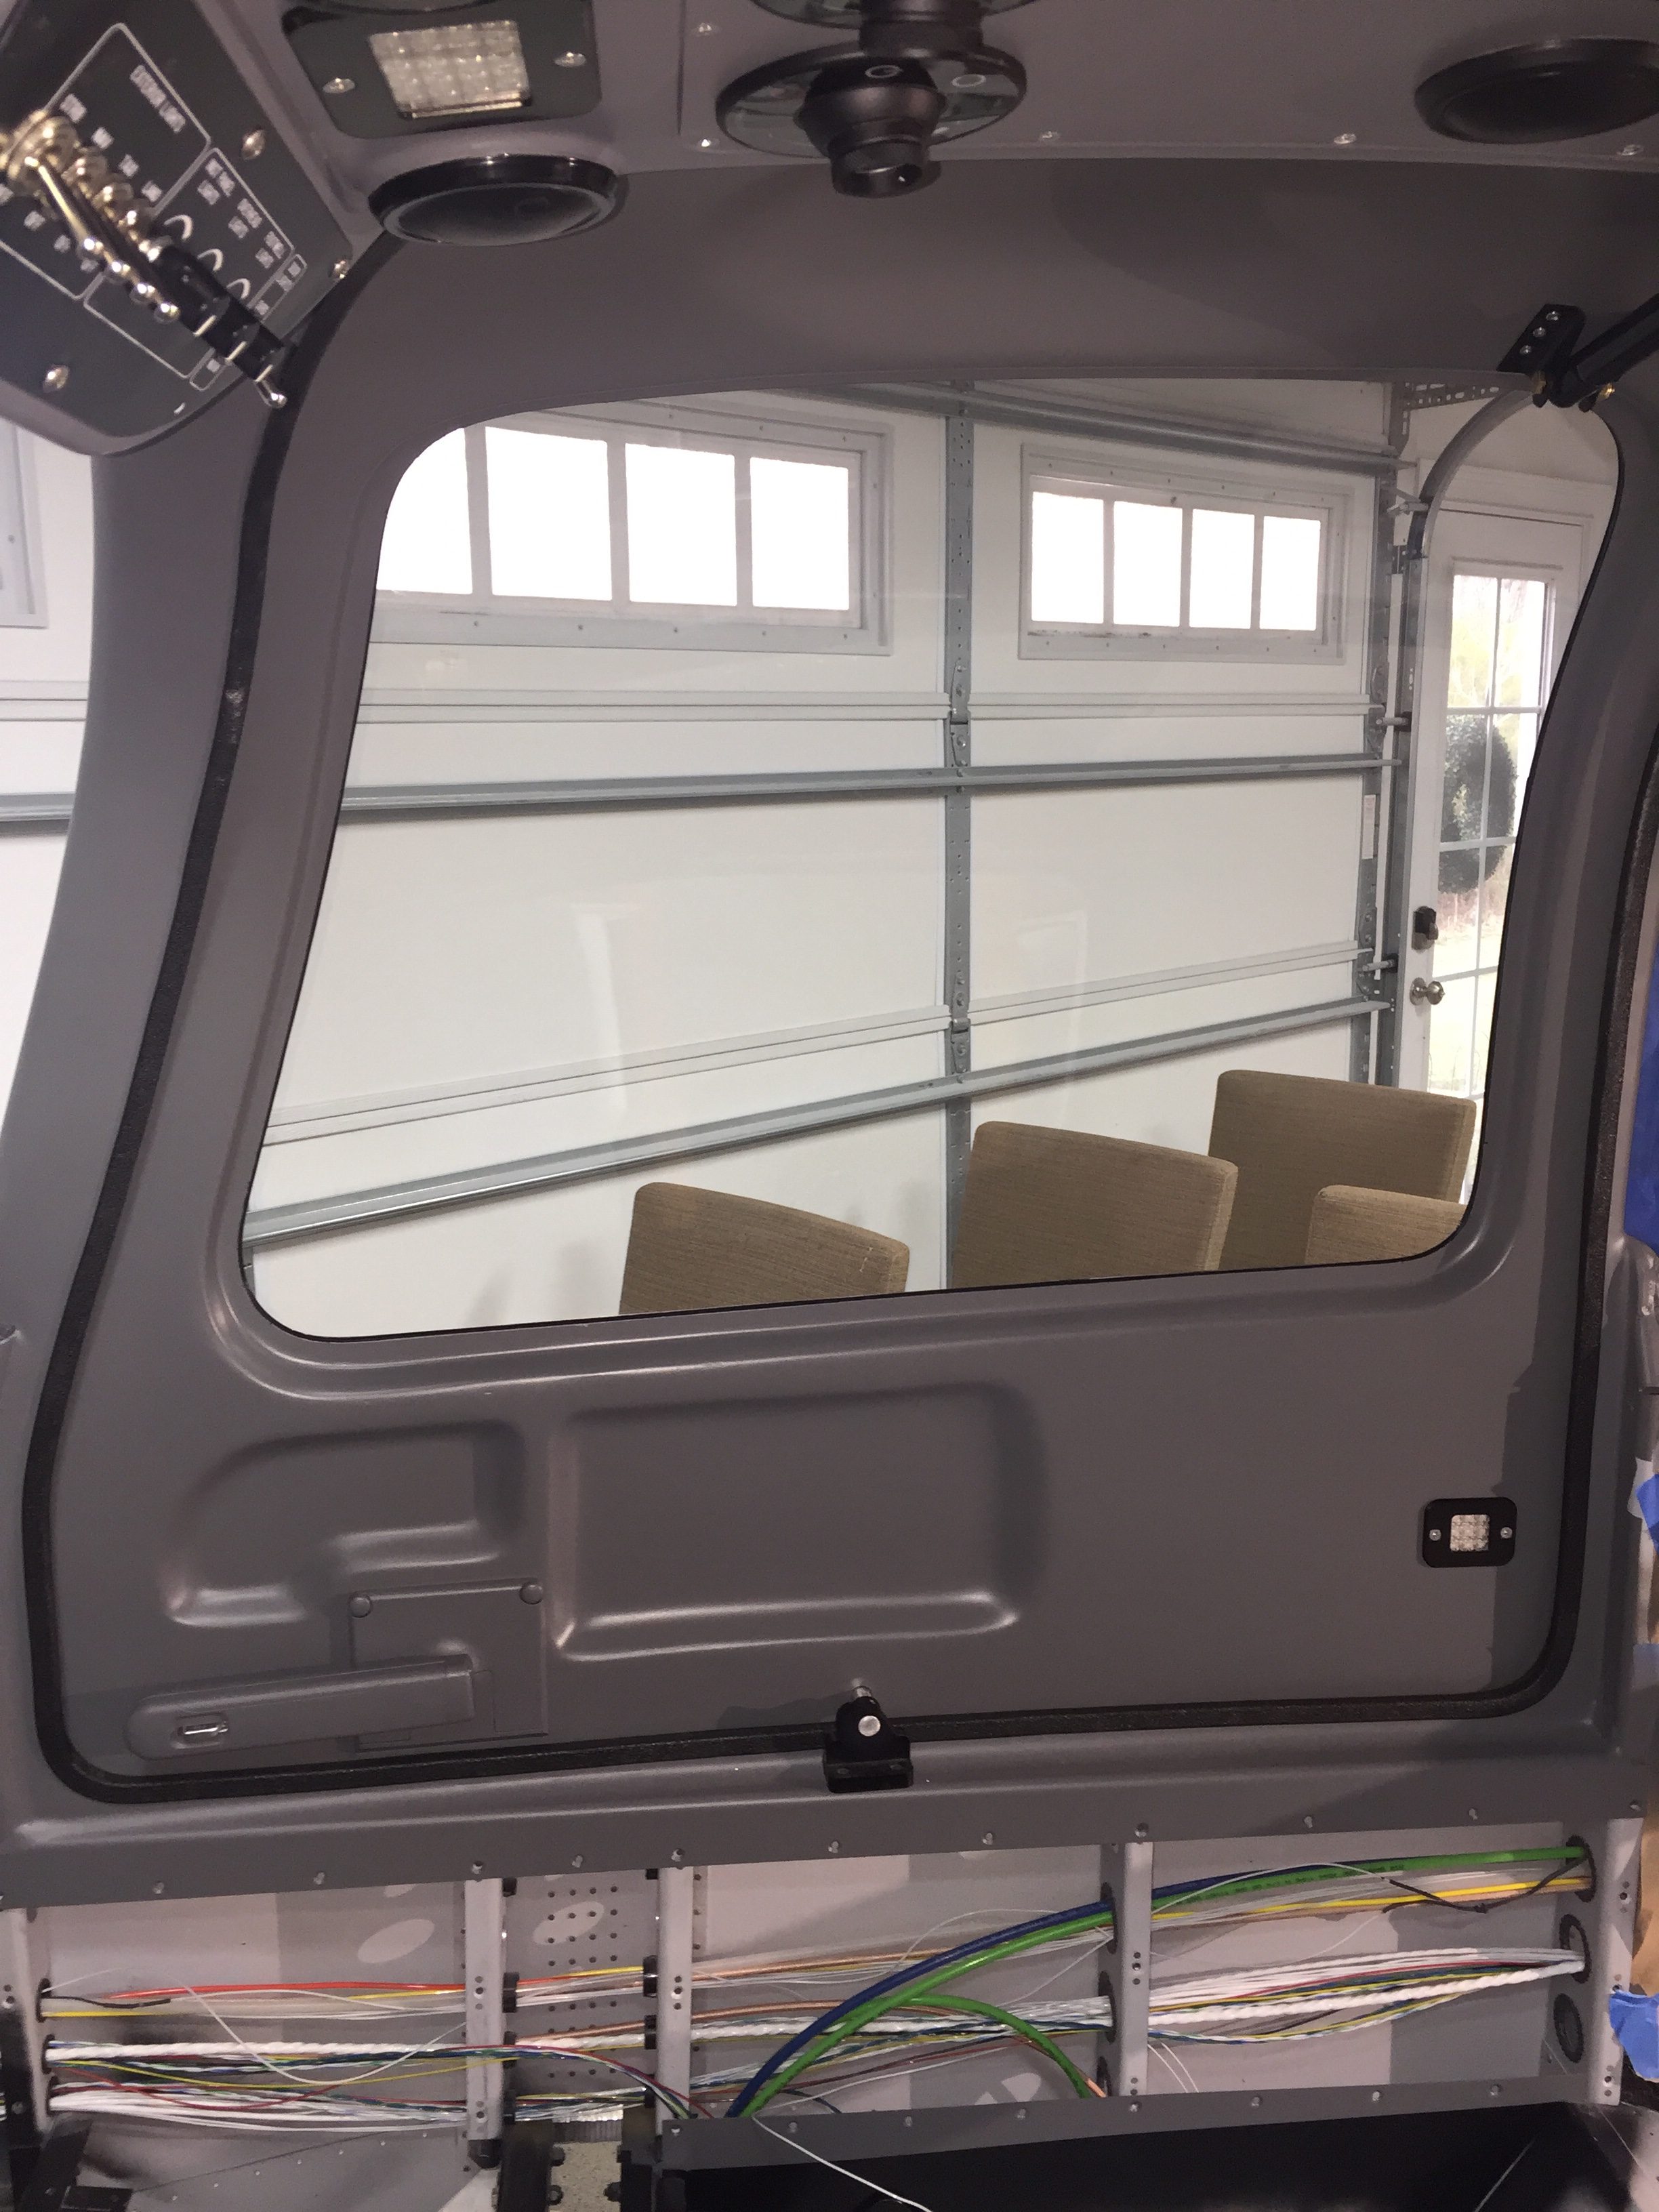
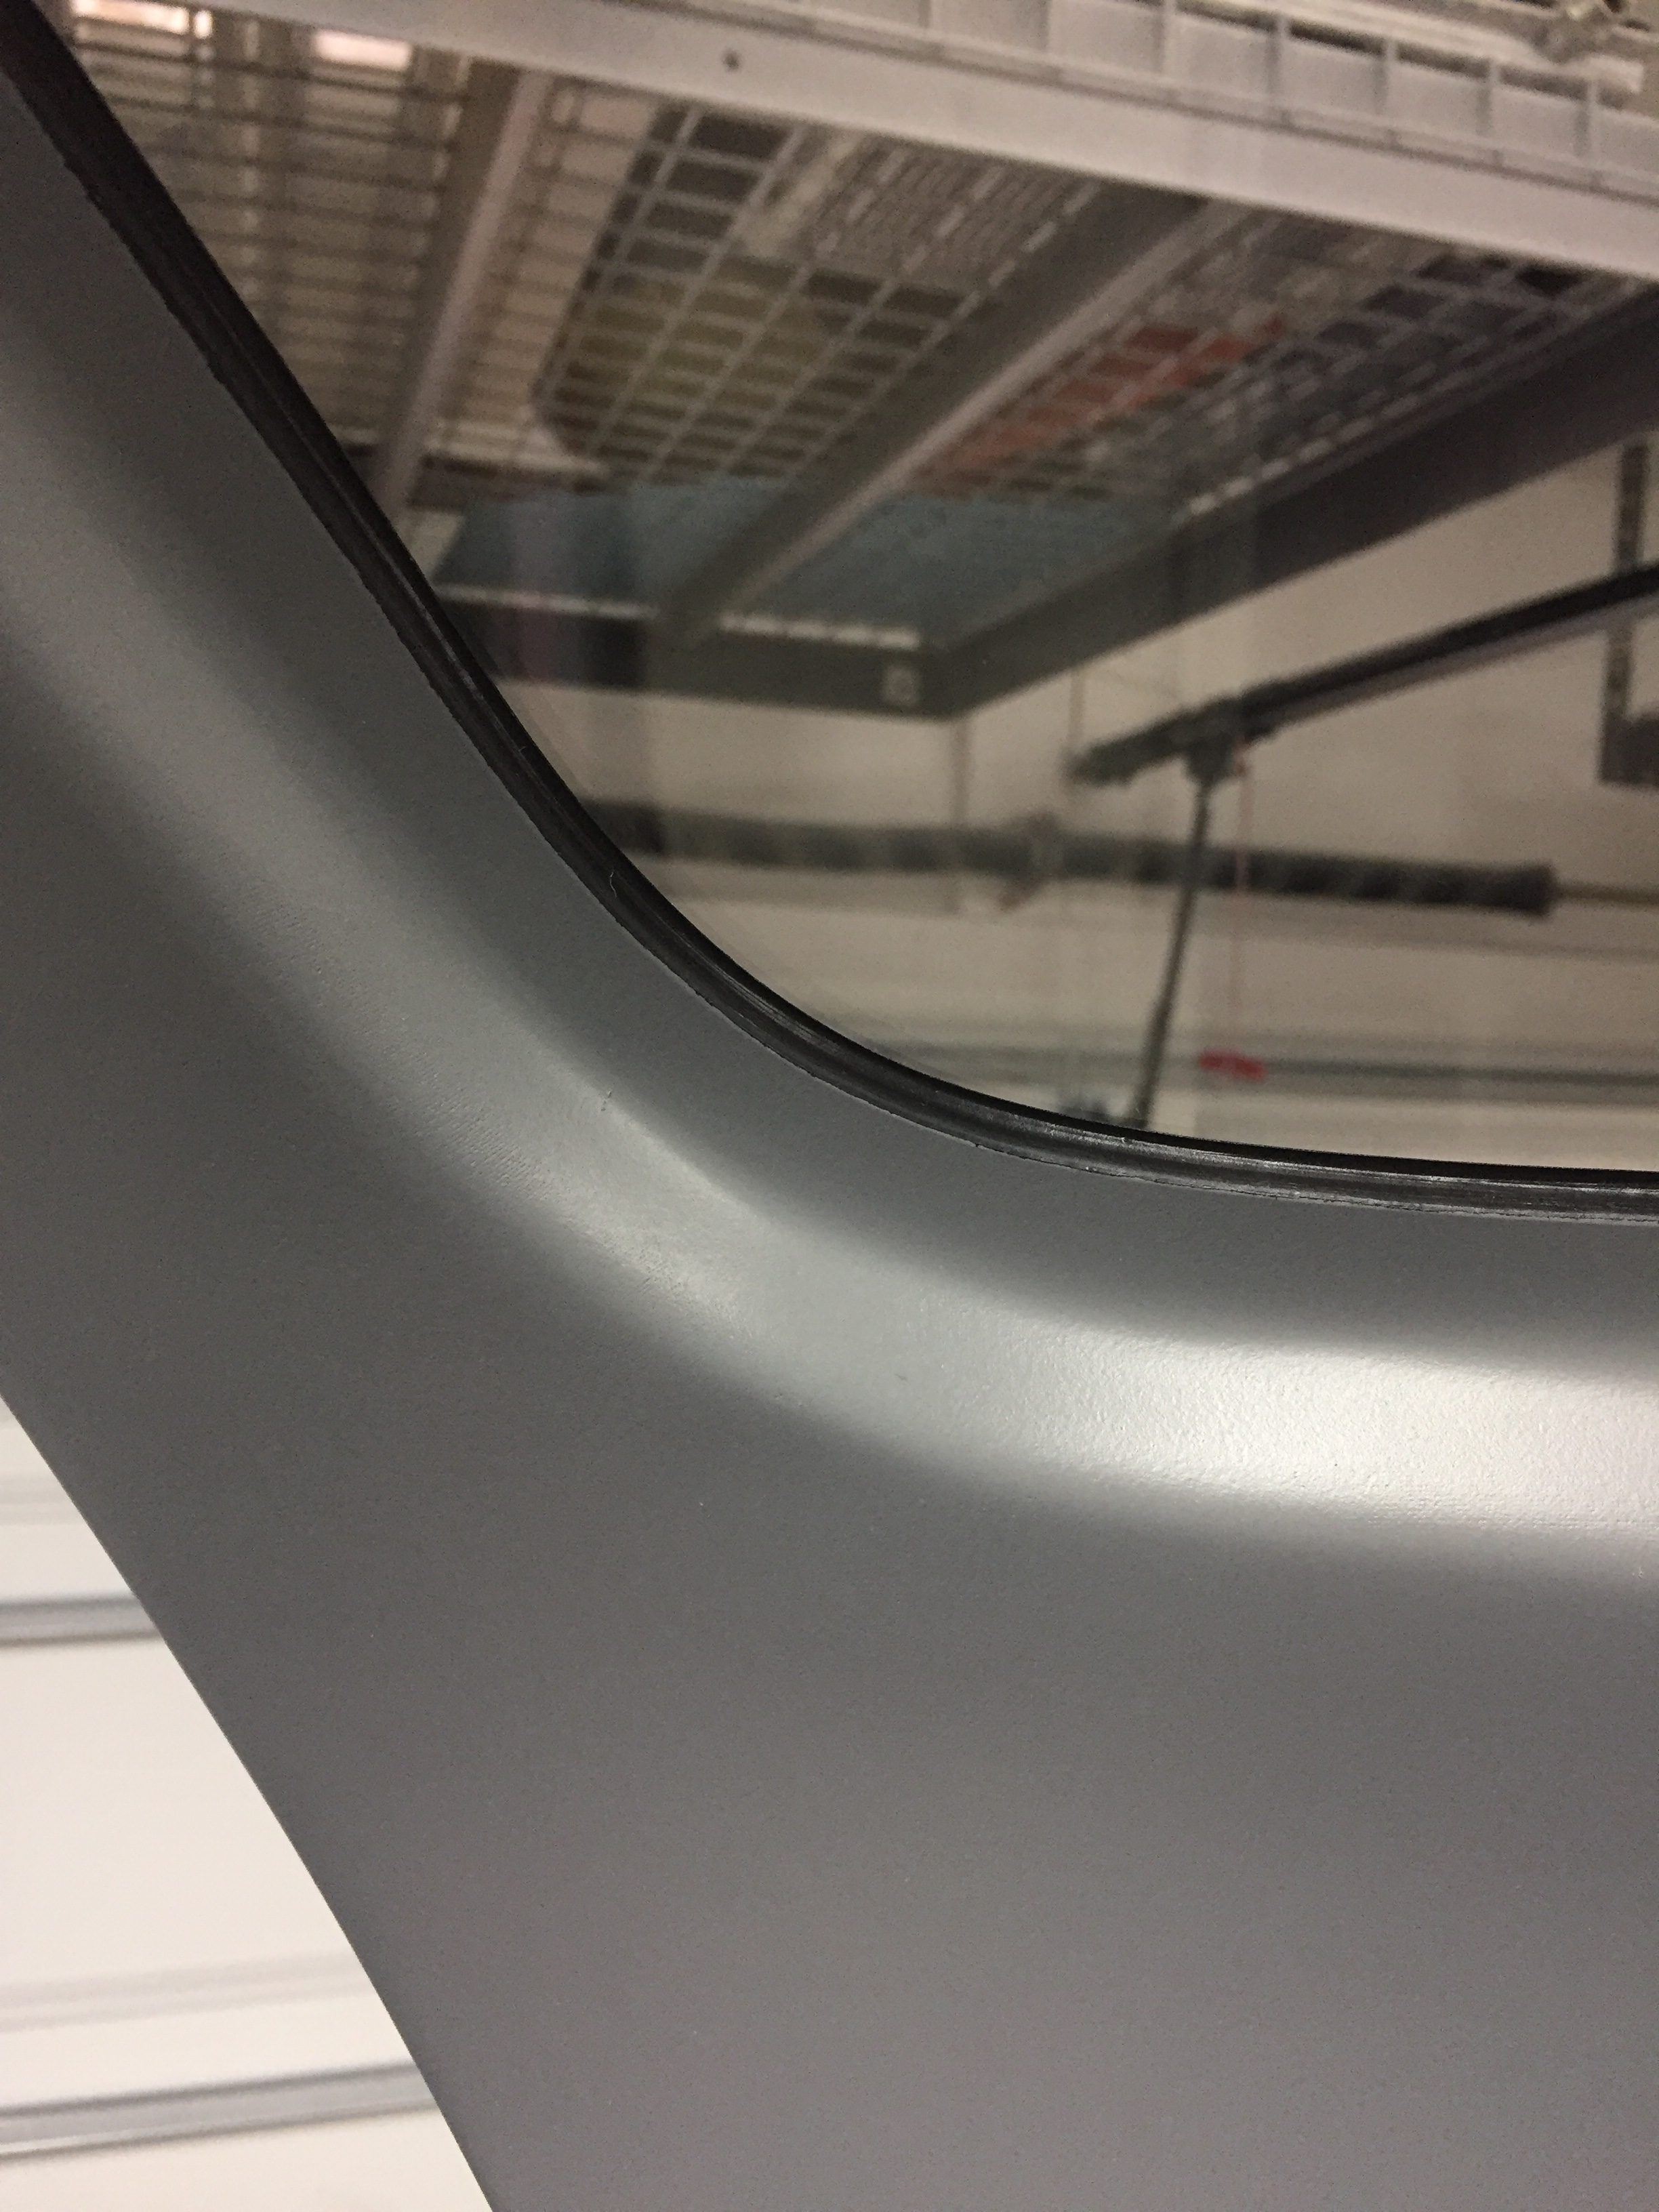
Now that the paint is all complete on the inside, I was ready to install the front windows. Repeating the process from the rears, the right window went in very smoothly and thanks to good prep work and patience, the inside finish is nearly perfect. I wound up with a very nice fillet of adhesive creating a nice finish around the perimeter of the door cutout transitioning to the window. I did notice that the strut now feels much better with the extra weight and doesn’t cause the door to fly open violently. If anything, it needs a bit of encouragement to go all the way up but has no problem keeping the door open once it’s there.
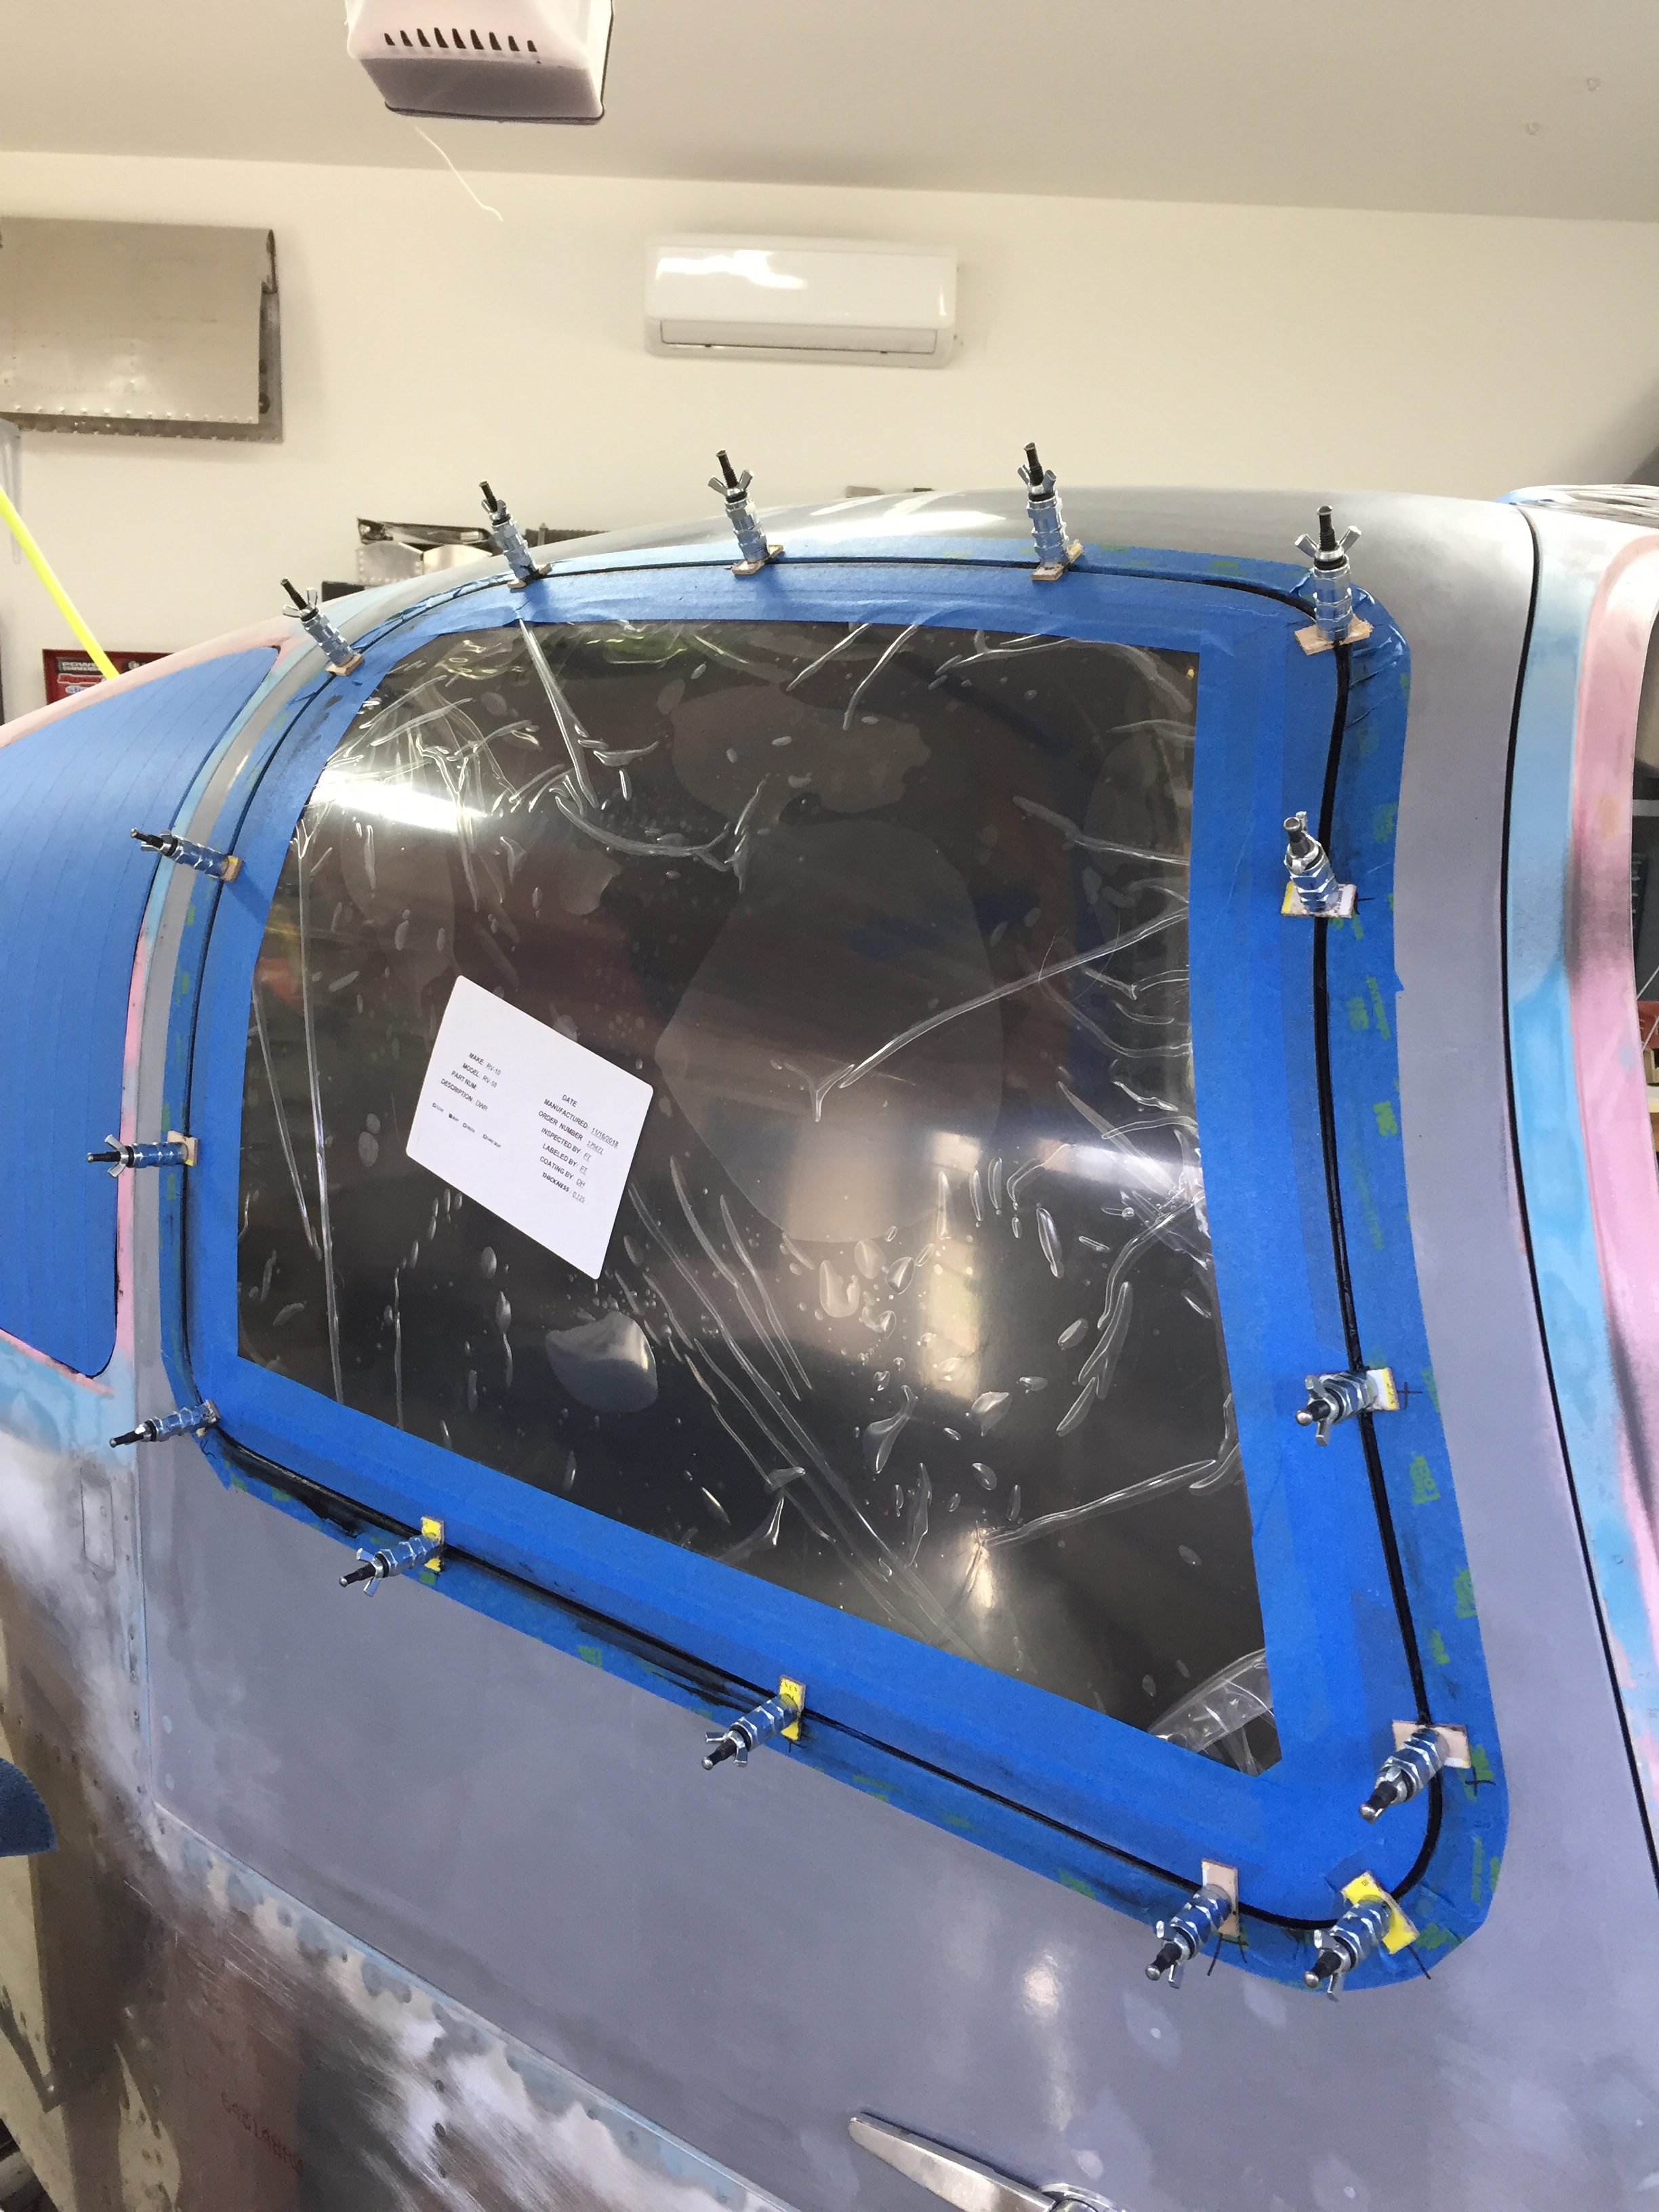
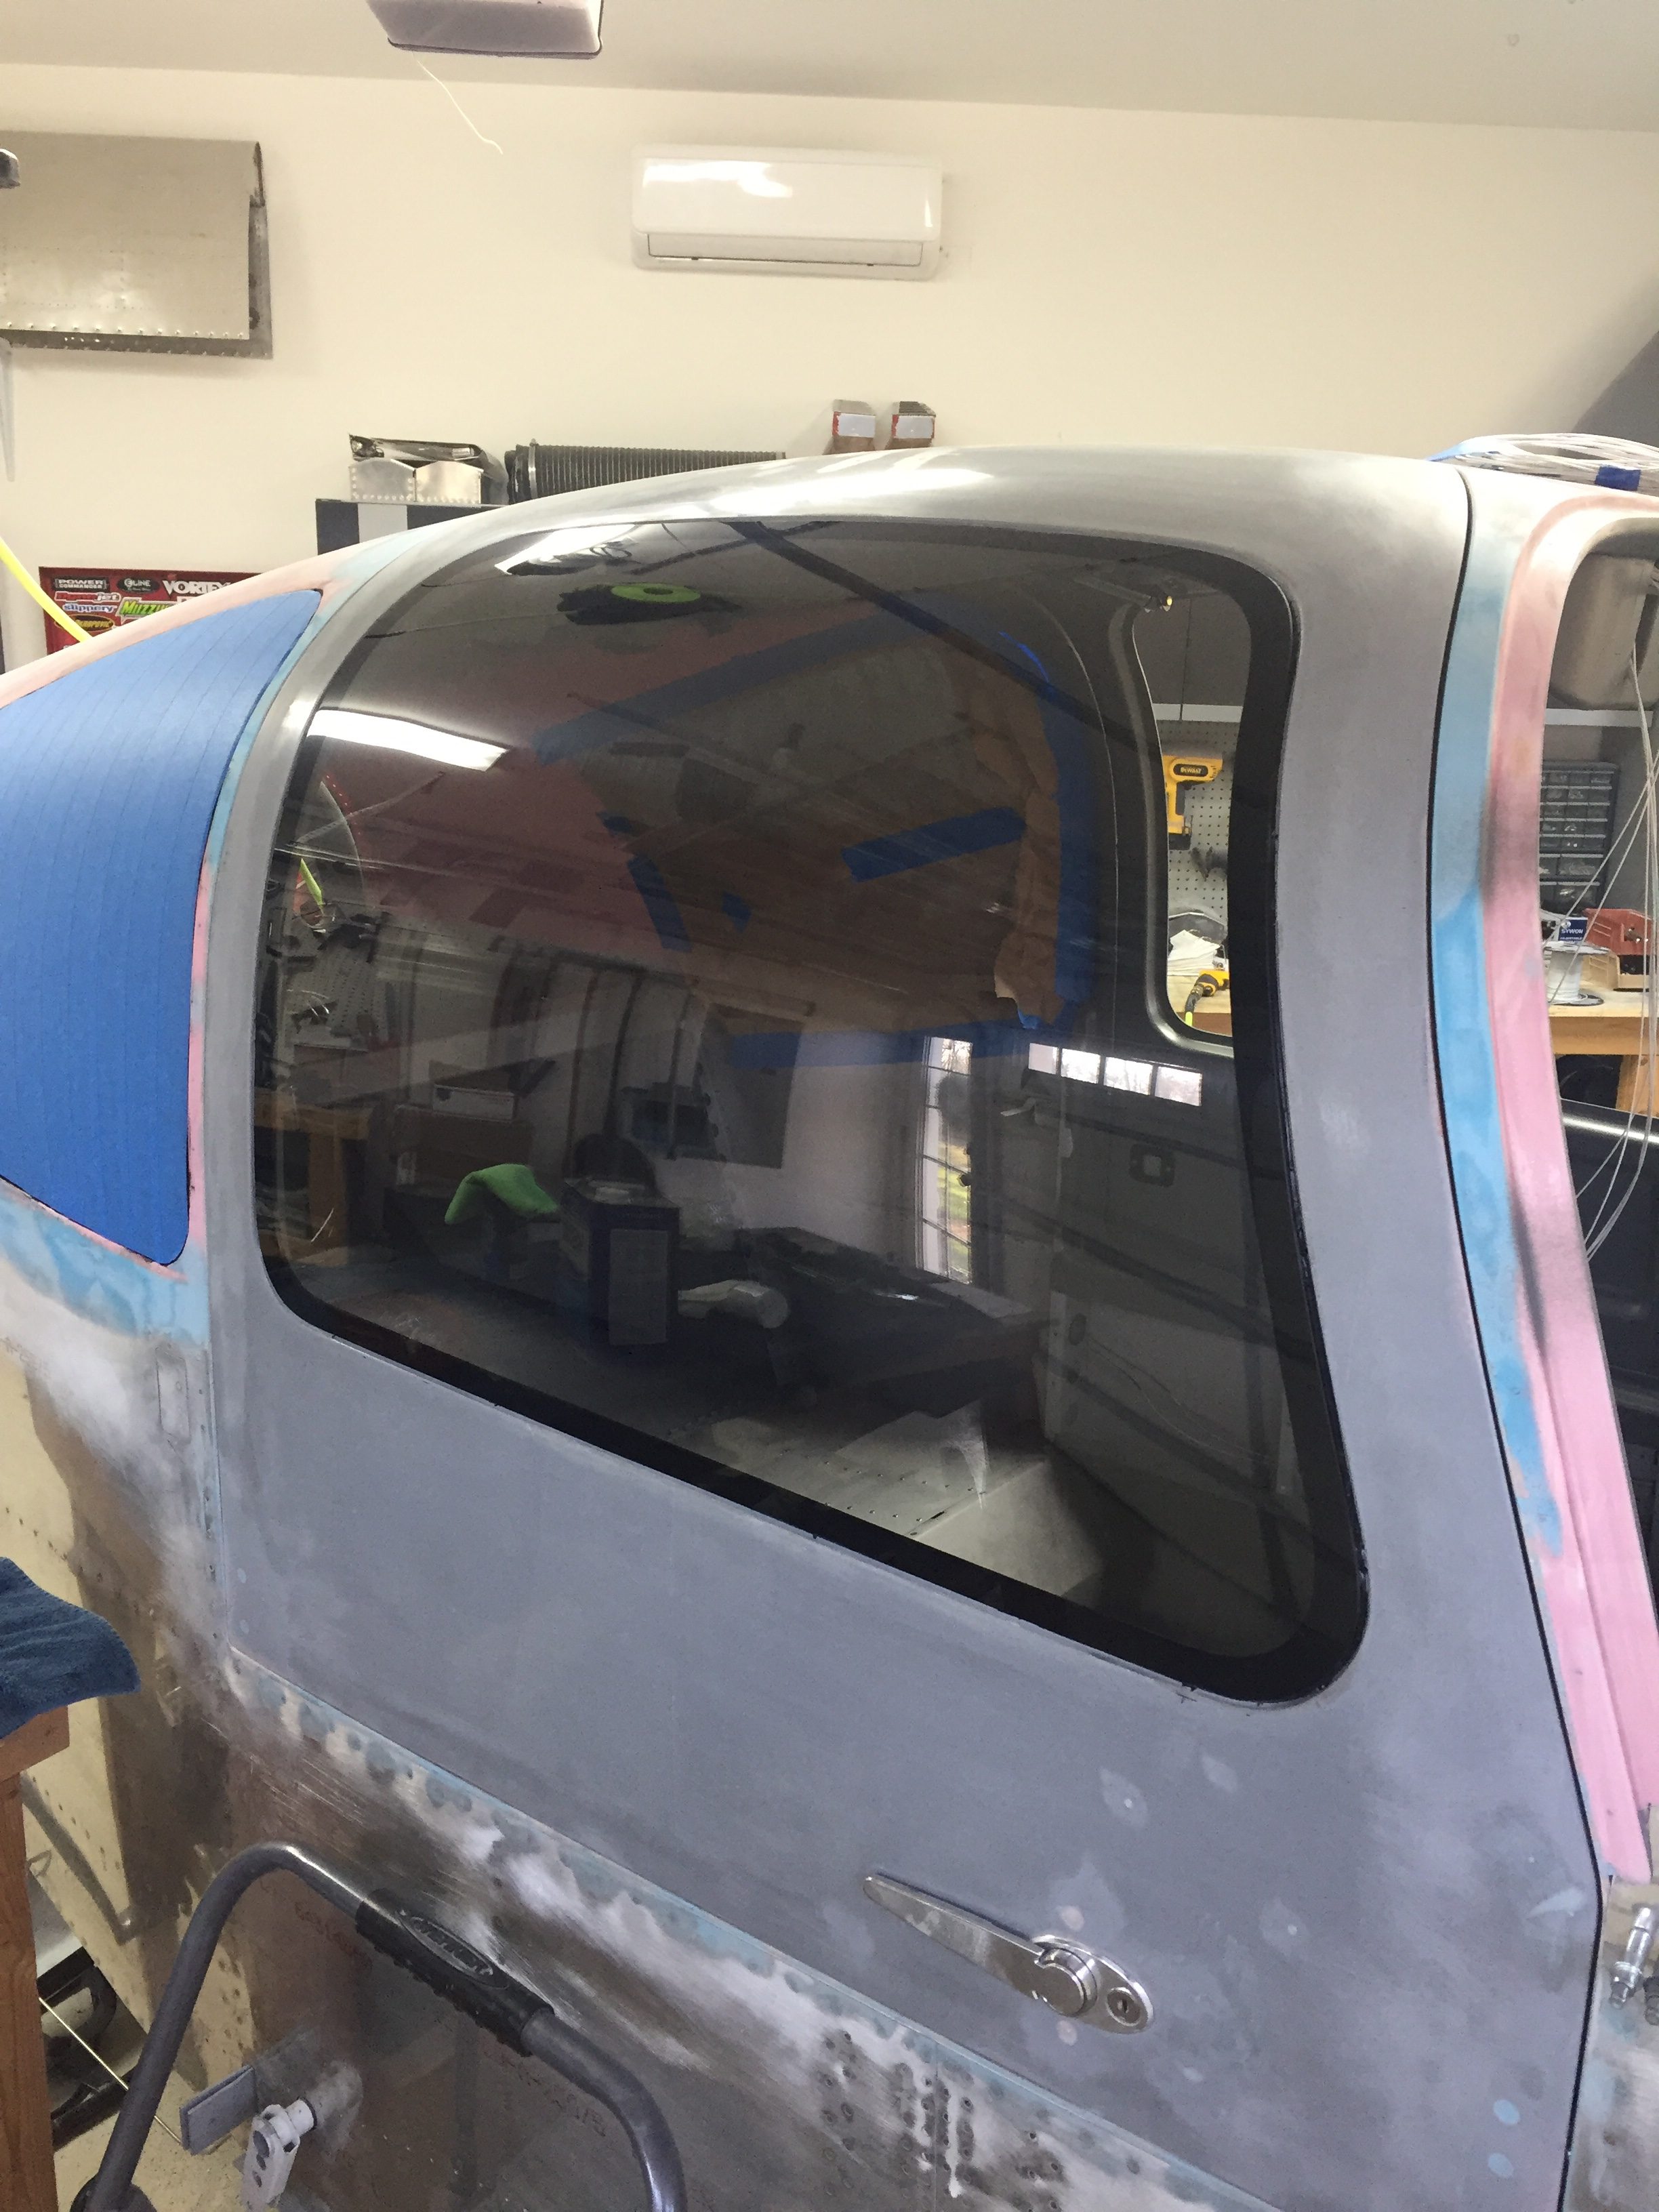
It took one more evening of work to get the left window in which again went very smoothly. One additional piece of prep was to put masking tape on the outside of both front windows to help clean excess adhesive from the gap. It will just make paint prep a bit easier and quicker. Again, that gap gets filled in with more adhesive after paint for a flush clean look and finish.
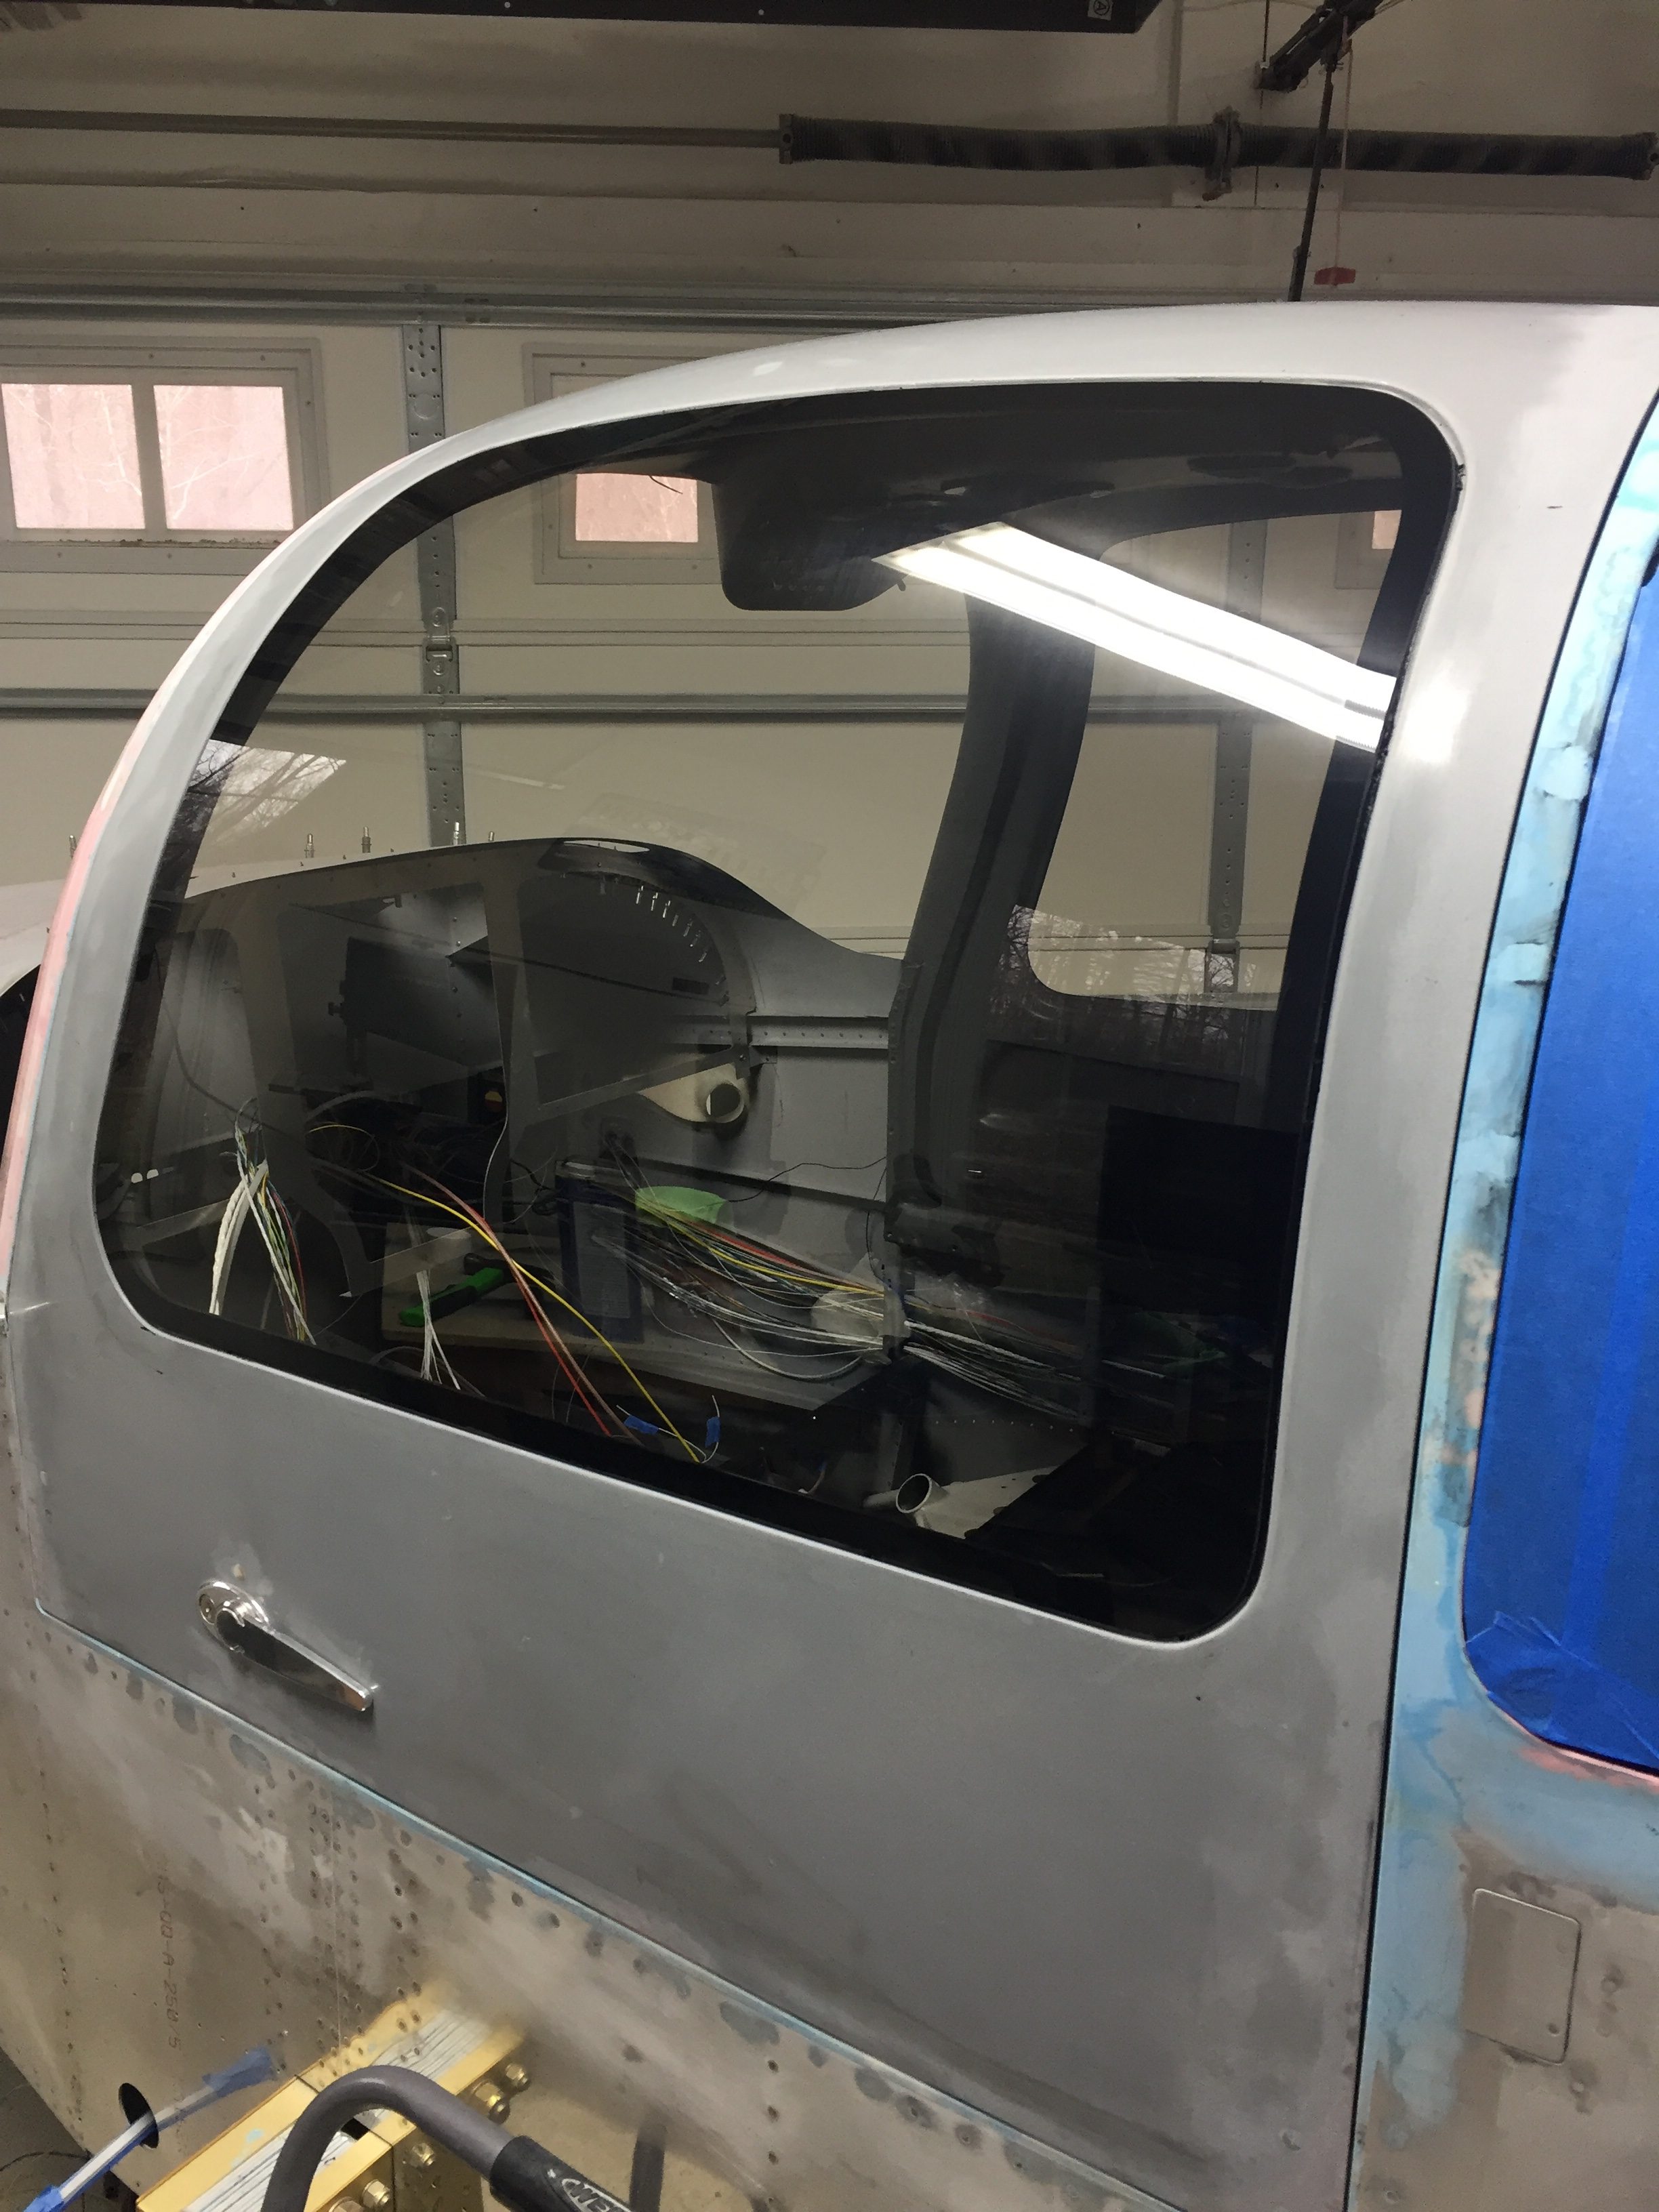
I’m back to cleaning up the inside, yet again, of dust and debris since the windows are now in and I can control what goes into the cabin. The seat belts and receptacles were bolted back in and I riveted on the baggage door panel and gas strut (which I keep forgetting is on when the damn door hits me in the stomach). Avionics are shipping soon so I need to get the wing root wiring harness complete to be ready to put the expensive boxes in next.
