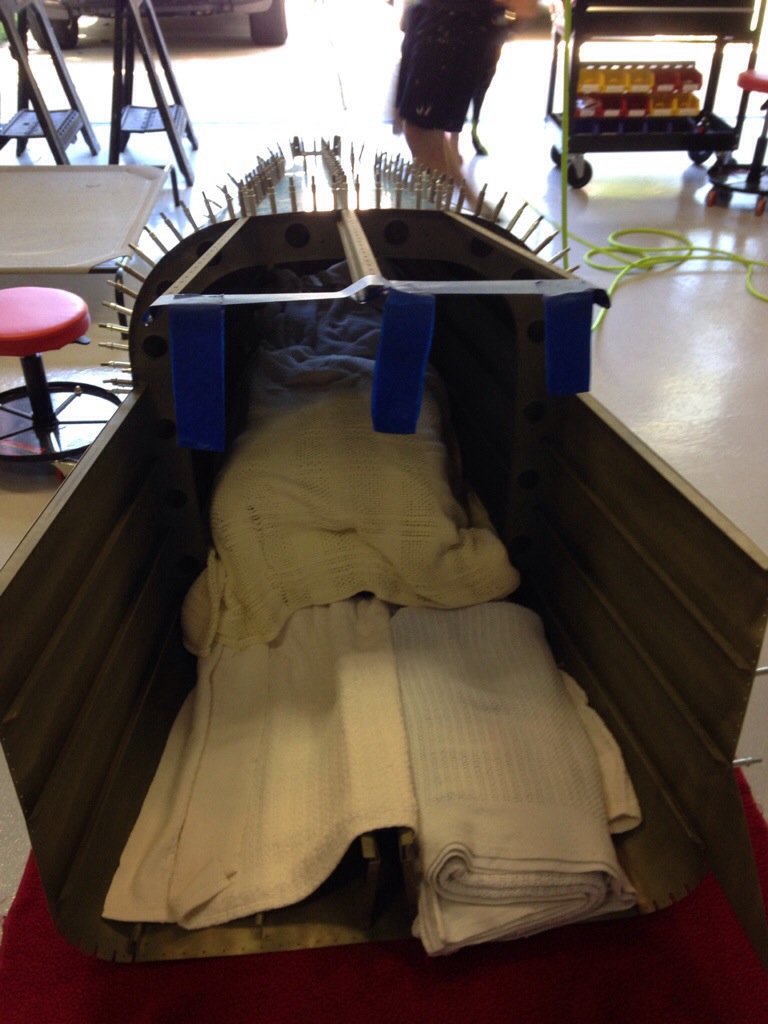
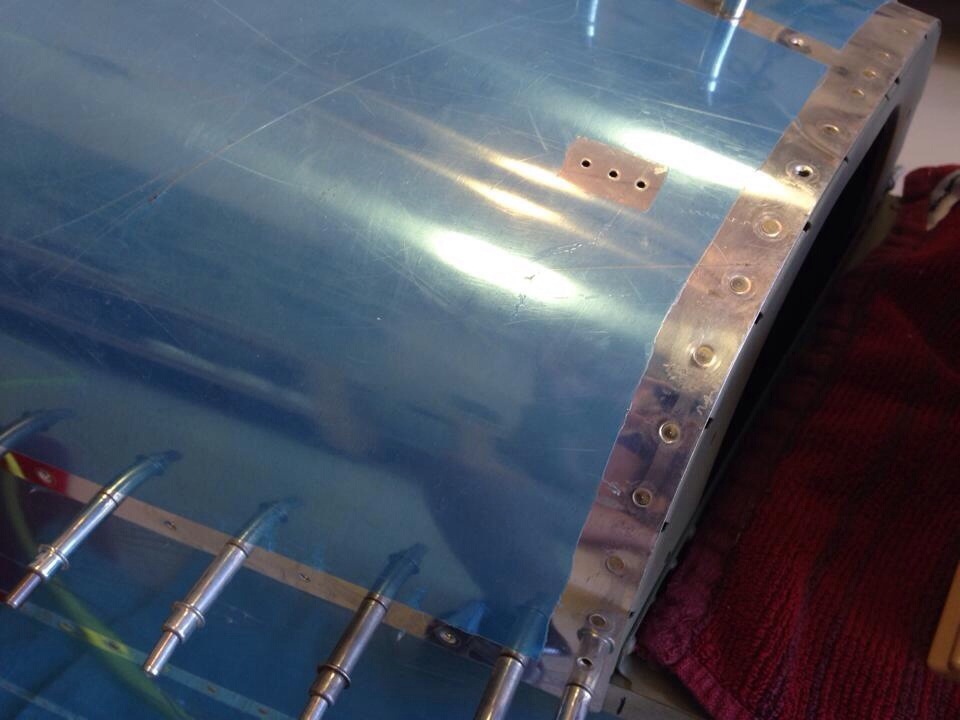
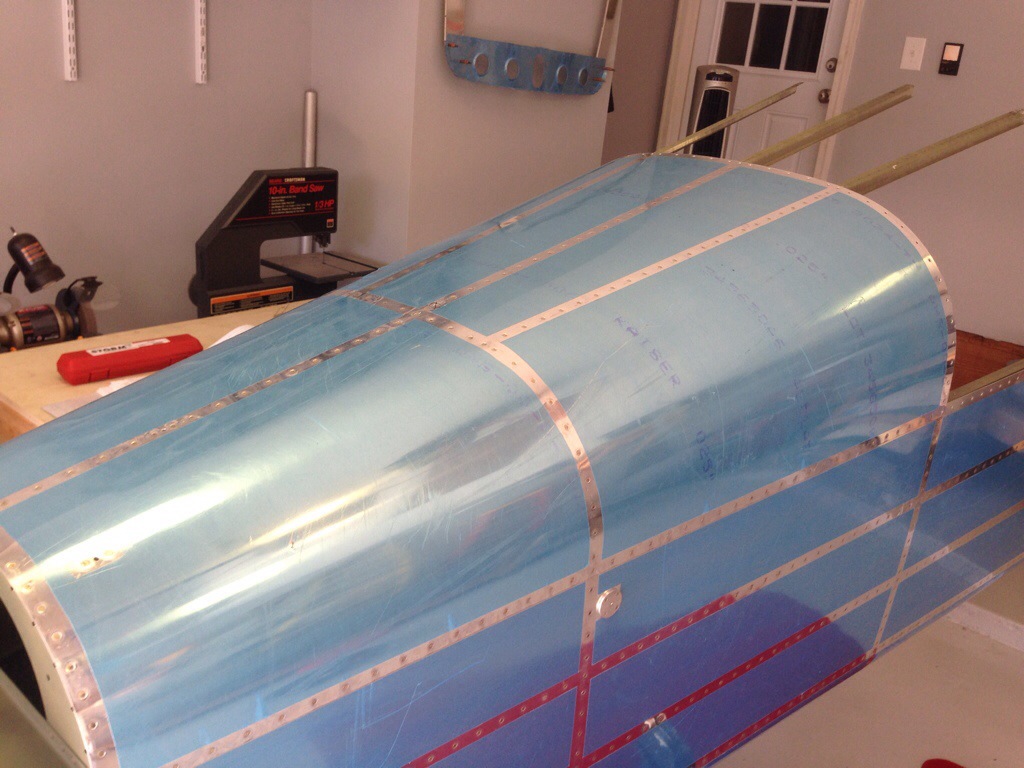
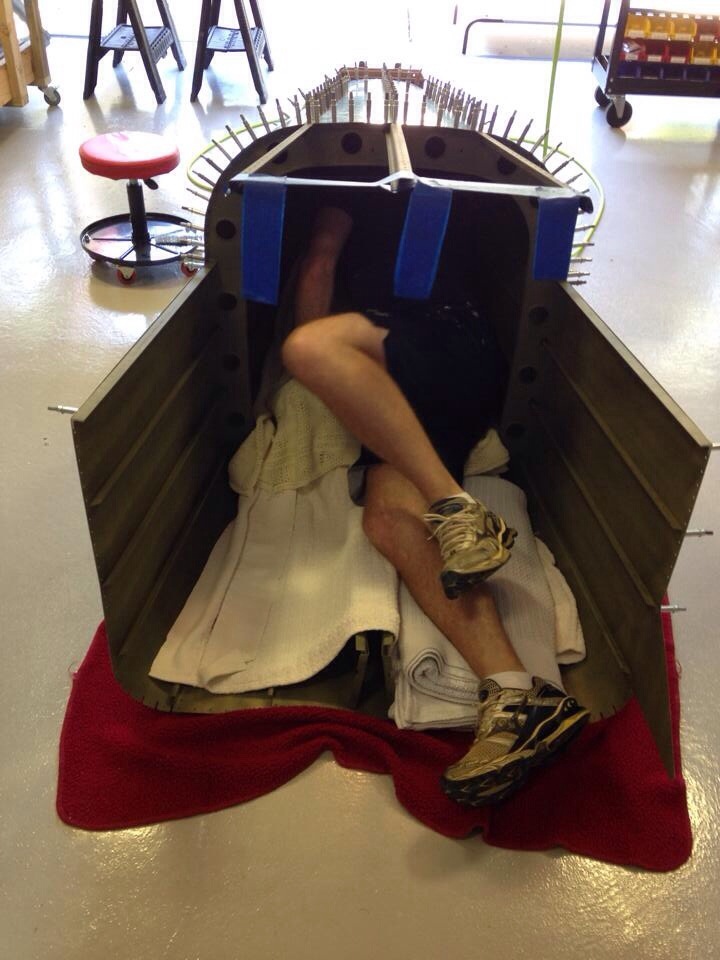
We had a date this morning in the garage to rivet the top skin on the tail cone. Lucky that it was only in the seventies not the nineties so very good working conditions! I emptied our linen closet and all the guest beds of pillows and blankets to build a fort inside the airplane. This was needed to protect the bulkheads that are about three inches tall as well as the rudder cable bracket which sticks about six inches right in the middle of your back! All things considered, it was quite comfortable and worked very well.

I crawled inside and got the headlight, ear muffs, and bucking bar ready while Laura did the majority of the work from outside. I wrapped the bucking bar with duct tape which did a great job of protecting the new primer and preventing scratches. Laura has a great touch with the rivet gun and has very consistent trigger pulls which makes bucking rivets go very quickly. We breezed through the project in about two hours without having to drill out a single rivet. I did have one hole that had to have an oops rivet installed since it was drilled out too big.

I installed the nut plates for the fairing and bolted on the seat belt brackets and temporarily installed the completed battery tray. I plan to go back and mark all the bolts with paint that I’ve torqued with the new torque wrench, as a few bolts are not final set since they will have to come out in later steps.

This is as far as we go with the tail cone now, as I won’t be attaching the stabilizers until much later in the build for storage reasons. The tail cone will get tapped up to help keep bugs out and then hung from the ceiling in the garage to keep it safe and out of the way. Next project will be some fiberglass work on all the stabilizer and control surface tips.

