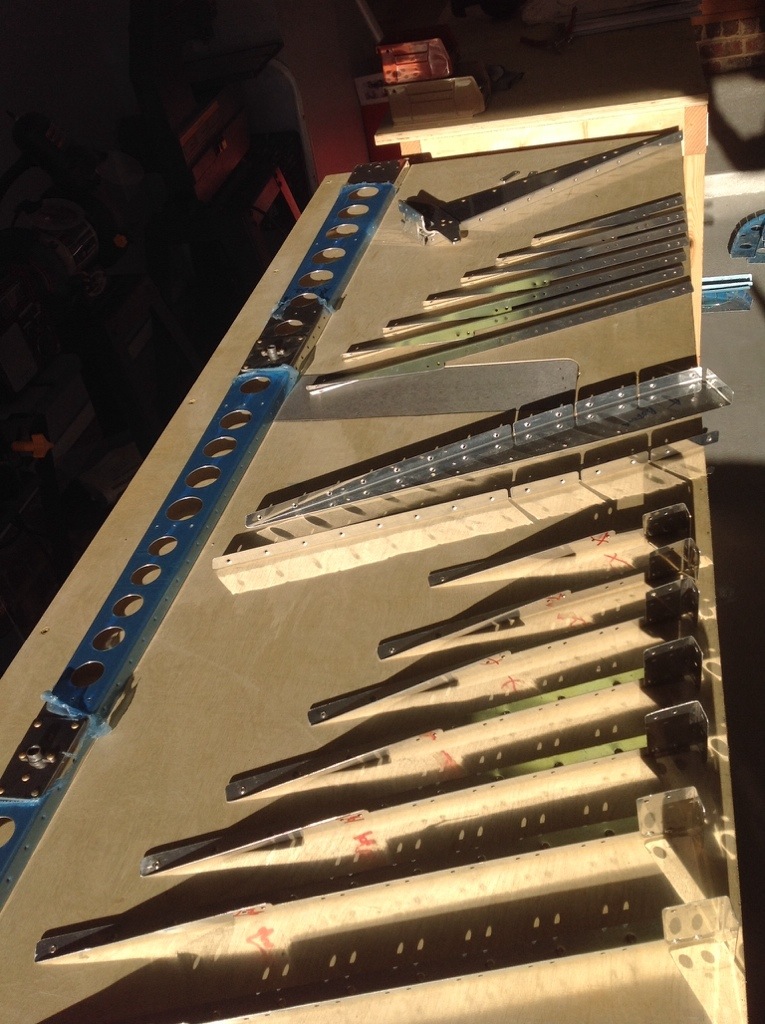
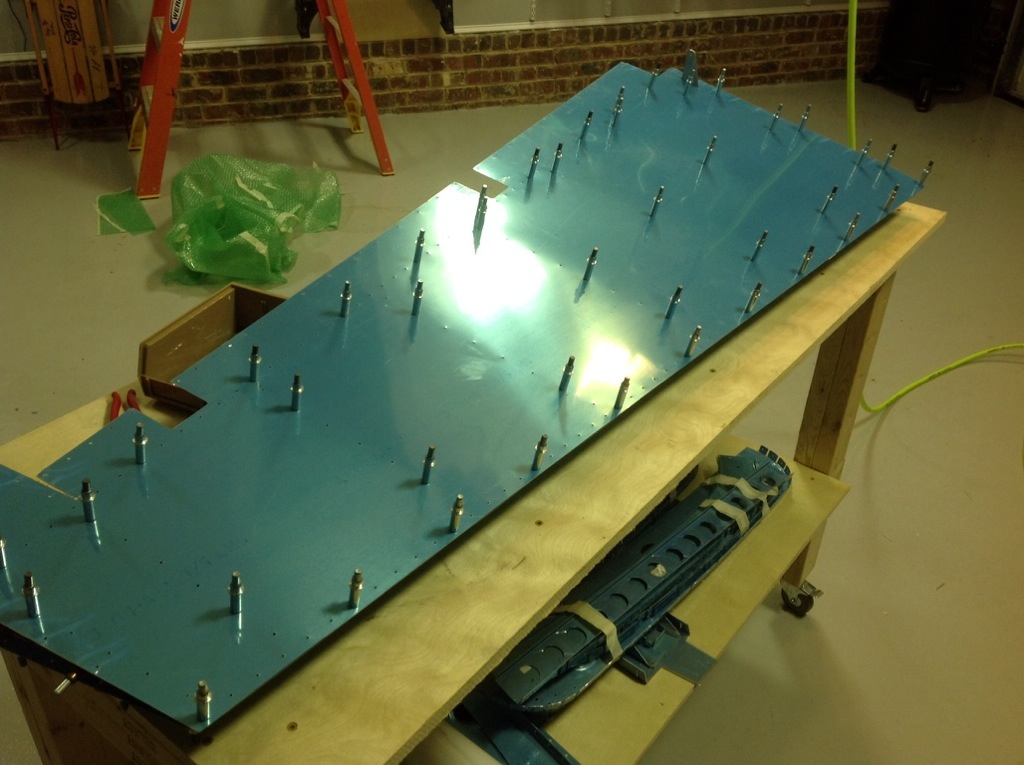
Well, almost. The holiday allowed me to really make headway. Most importantly, I had a blast working in it. I pulled the parts out of bubble wrap and got to work cleaning, organizing and labeling the components of the rudder. Again, all of the ribs were drilled and dimpled, saving me time. The skin, however wasn’t. So I set about match drilling and dimpling. Deburring is my least favorite part, but at least it goes quick. I also used a soldering iron and word burning tip to cut away only the blue film over the rivet holes. This will not only help with working in the pieces, but also storage and preventing scratches like on the elevators.
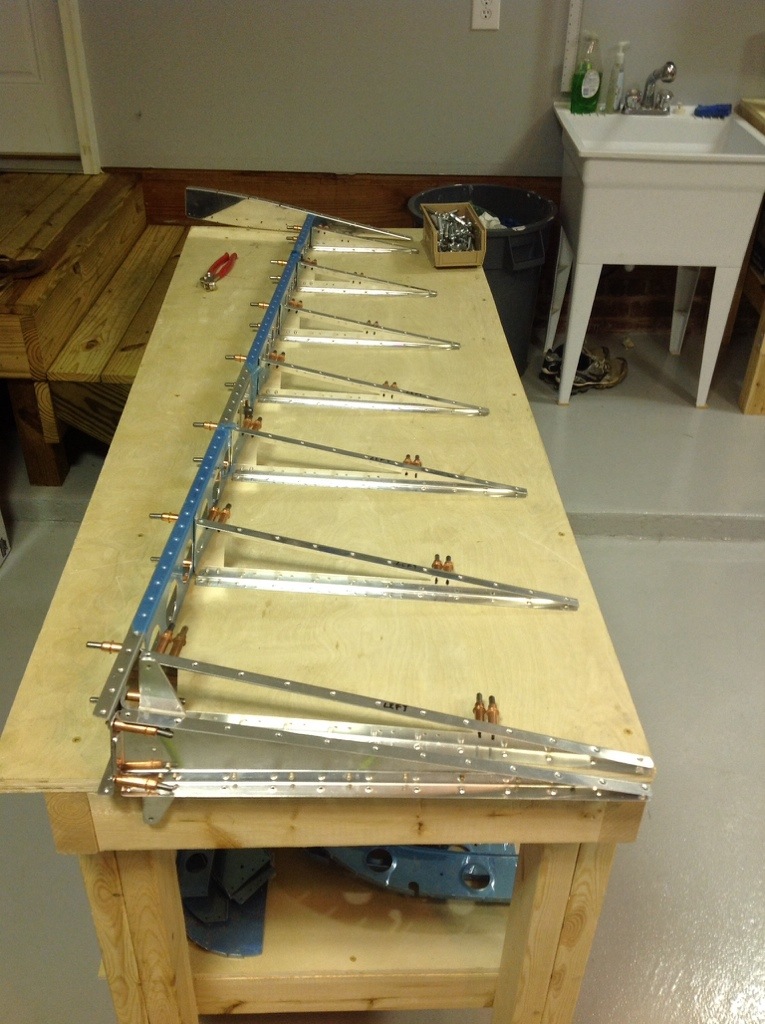
Back riveting is very easy now, I lowered the pressure on the gun and feel more comfortable. I had a few spots on the spar that I cleaned up and decided to prime the entire thing since it was going to disappear from sight for good. The rudder is fun because it has a variety of rivets and techniques used to make it. The control horn and rib especially have some beefy parts.
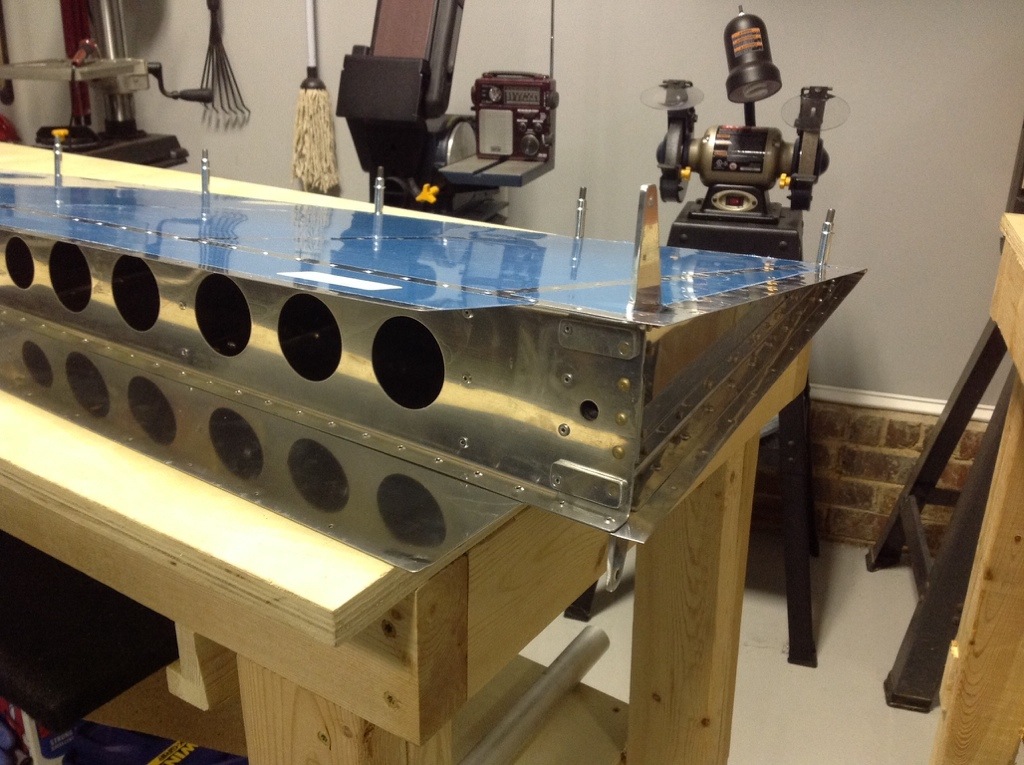
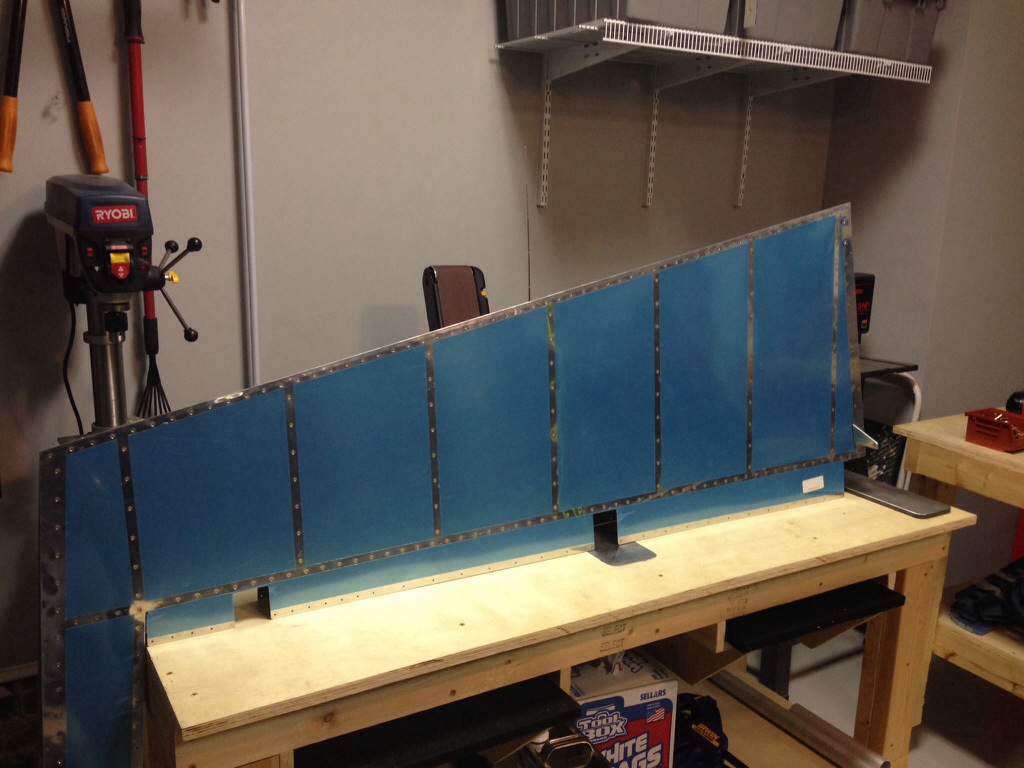
Tonight, I focused on the trailing edge. Now I’ve read a lot of horror stories about this. I was somewhat nervous, as I decided to use the 3M double sided tape method in lieu of the pro seal on the TE. I also did not have the angle iron that others have used. Well, the tape was worthless. It is so thin and doesn’t stick well that when you try to peel off the backing, the tape just stretches and comes off the part. I the. Researched it more and saw others who didn’t use any of the above methods and just carefully, slowly, riveted it all together.
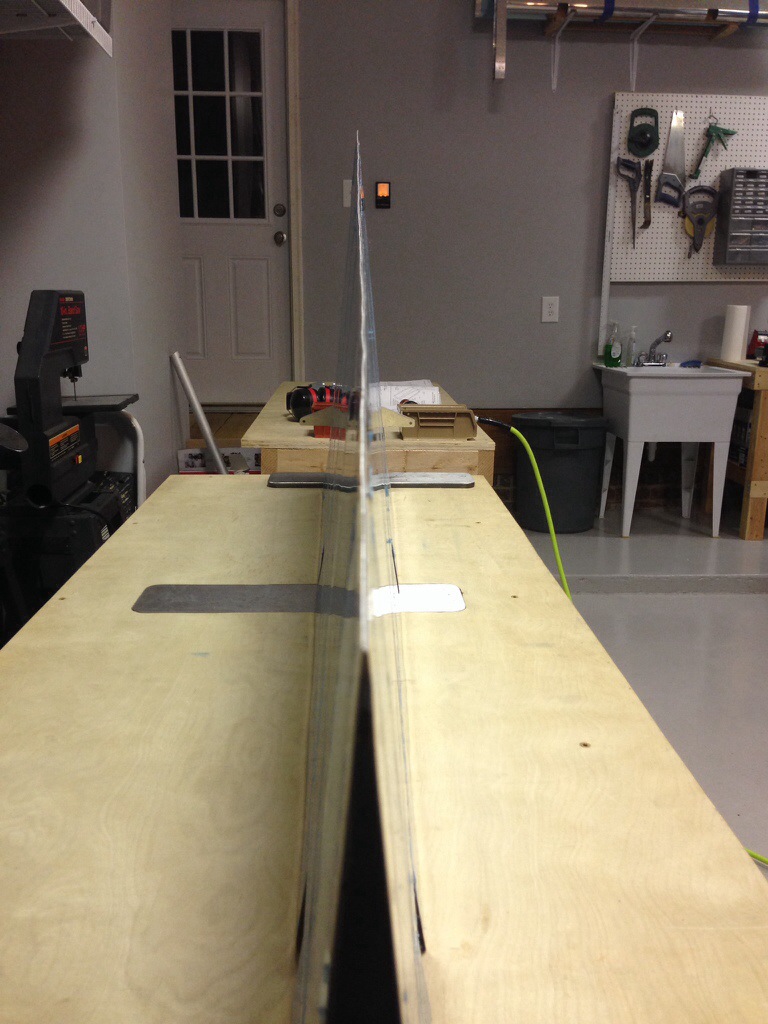
What the hell, right? It’s a learning process. Well, worked good enough for me. I placed every other rivet in one side and did a step approach to full setting the rivets, monitoring the straightness of the edge throughout. I did wind up with jus a bit of waviness, it’s not perfect, but compared to others and the Pipers that I fly, it’s above par.
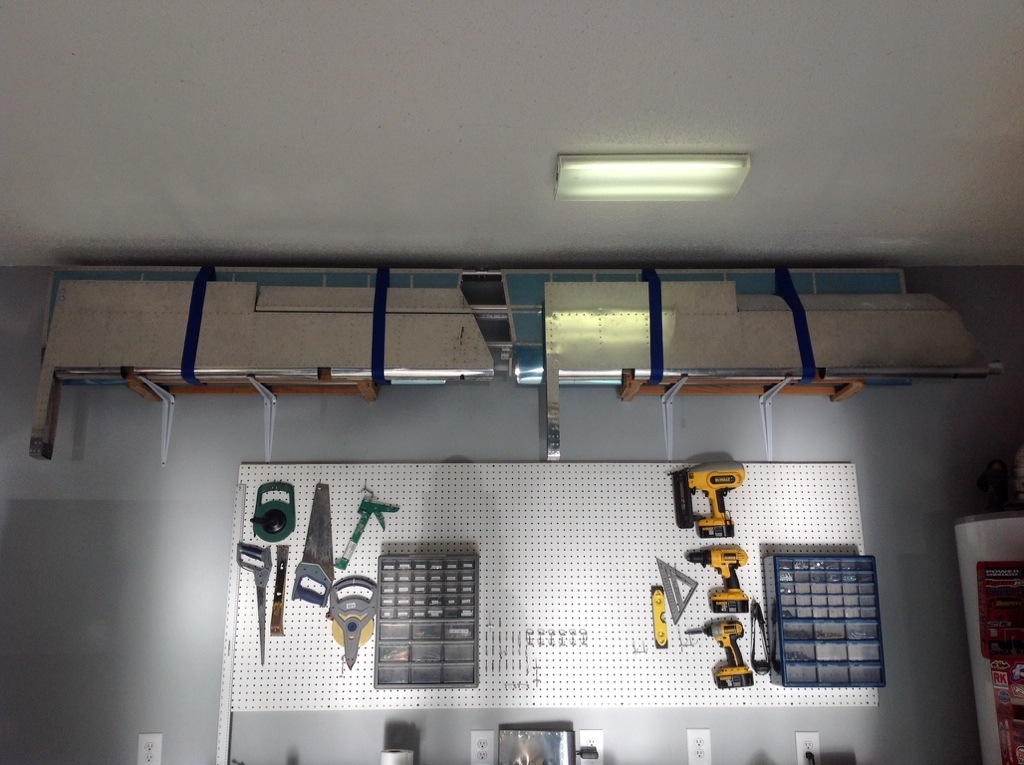
I also put the elevators up with their parents, the HS on the wall for short term storage.

