No updates in a while, so this will be a big one. I finished up the left side skin following the usual procedure of removing the film, scuffing and priming as needed, deburring, and dimpling.
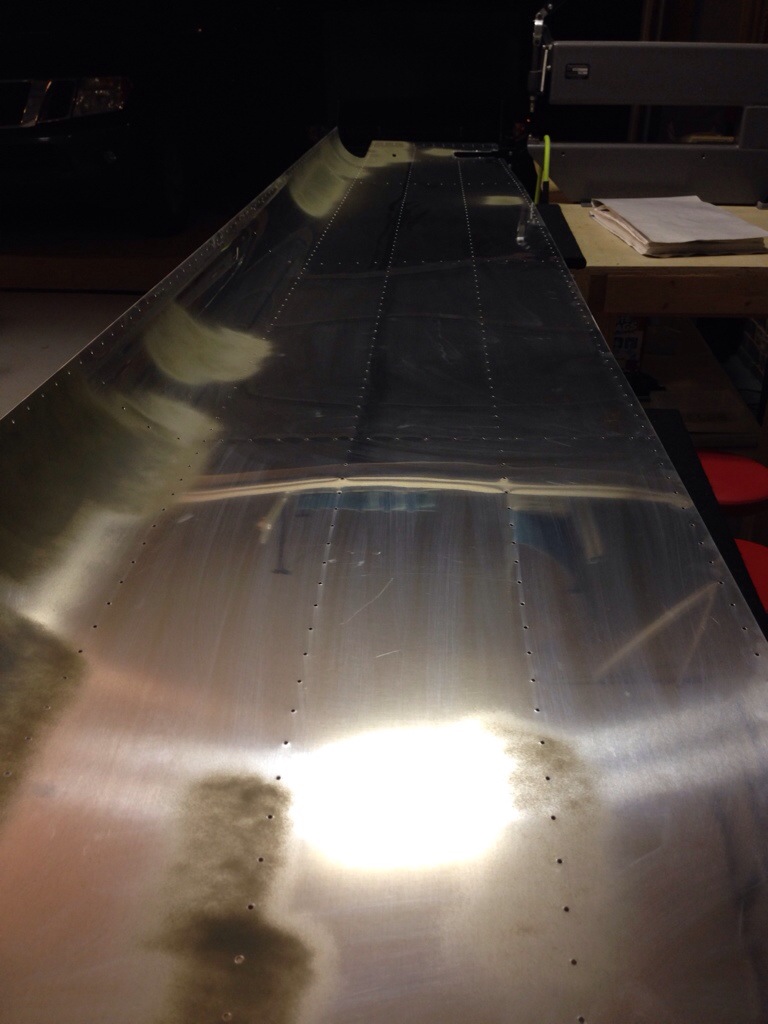
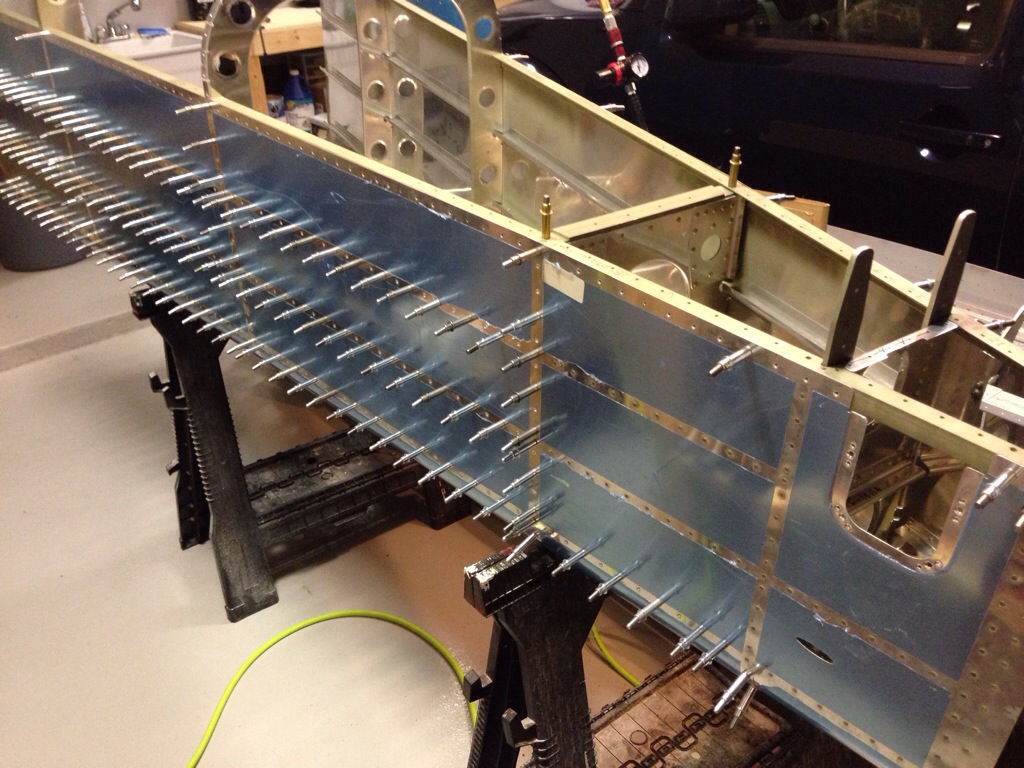
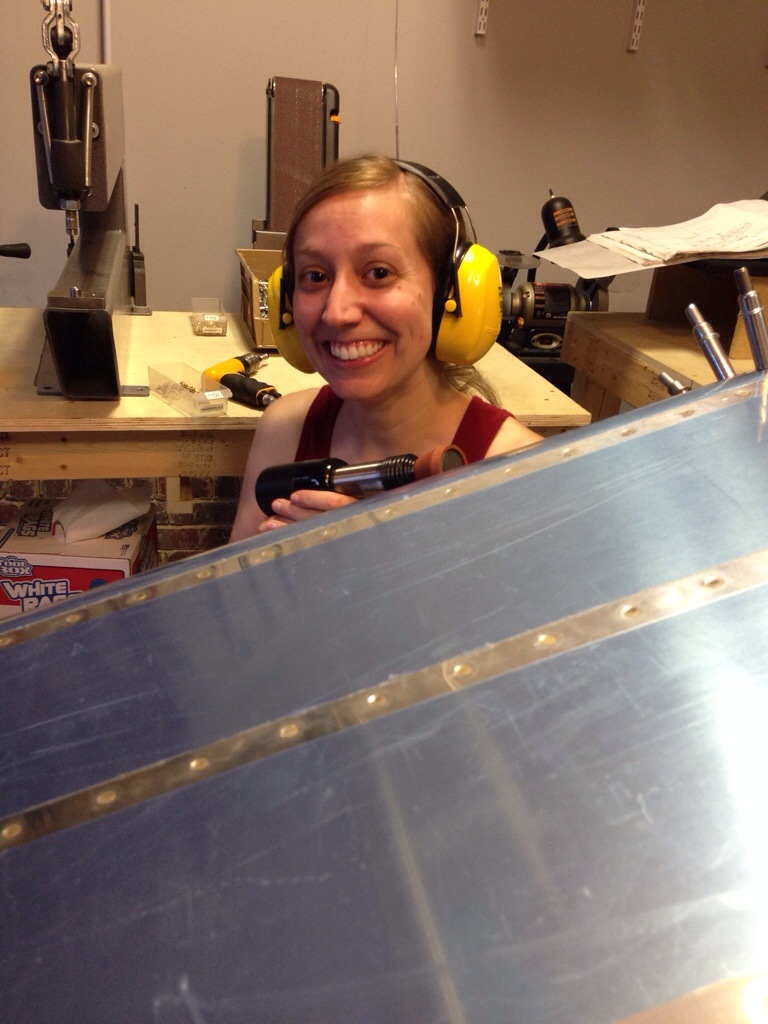
My wife came out to help on this skin with her first attempts at riveting on the actual project. I’m happy to say that women are just as good at building as they are at flying the first time! She was a natural and after some practice, we got a good rhythm going. She’s much more comfortable behind the gun, which works well as I can control the bucking bar and shop head of the rivets.
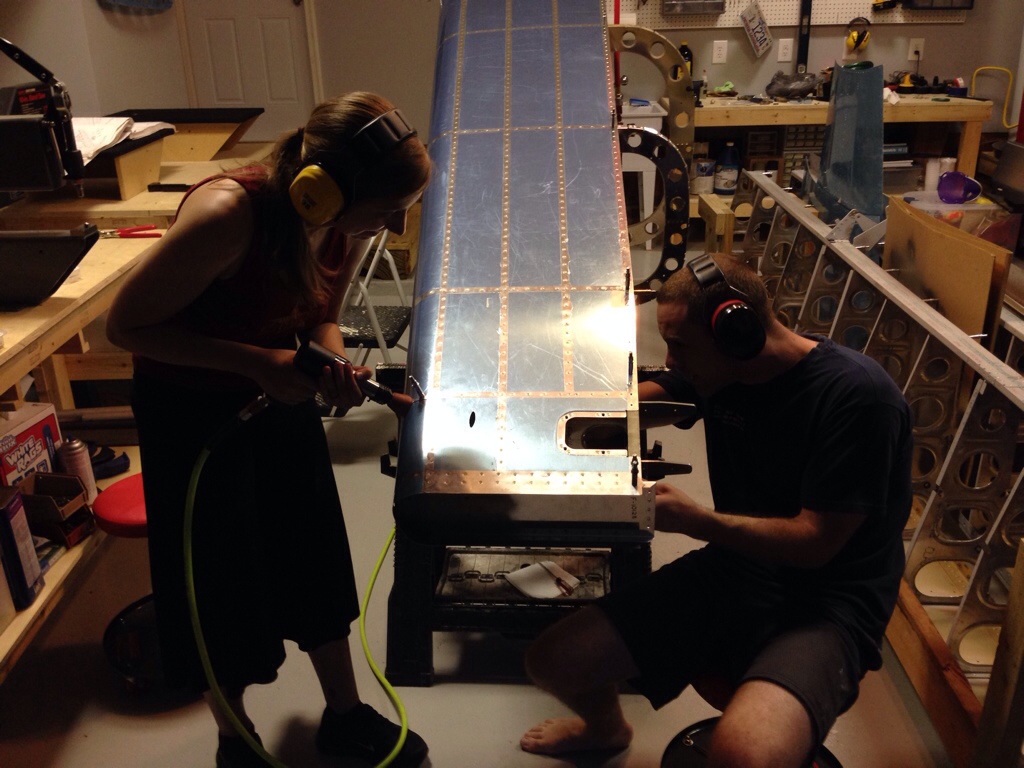
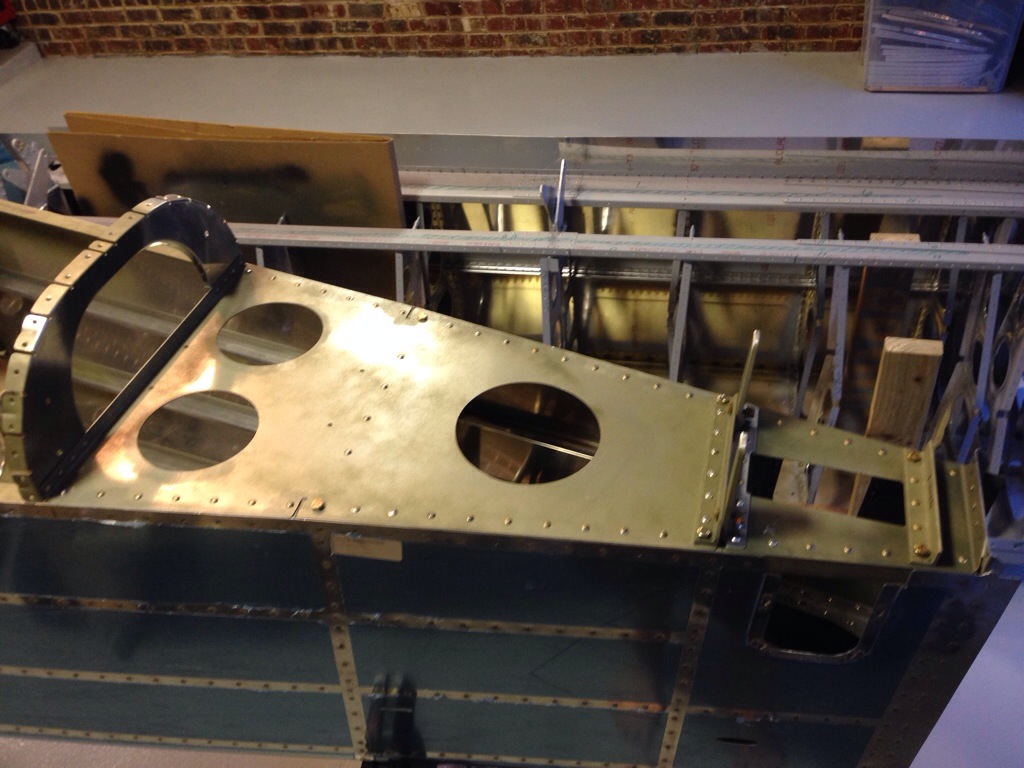
I moved on to the aft tail deck and got the structure all put together. This really stiffened up the cone and I’m happy that I only had to drill out one rivet despite some really interesting poses to get the bucking bar inside the frame!
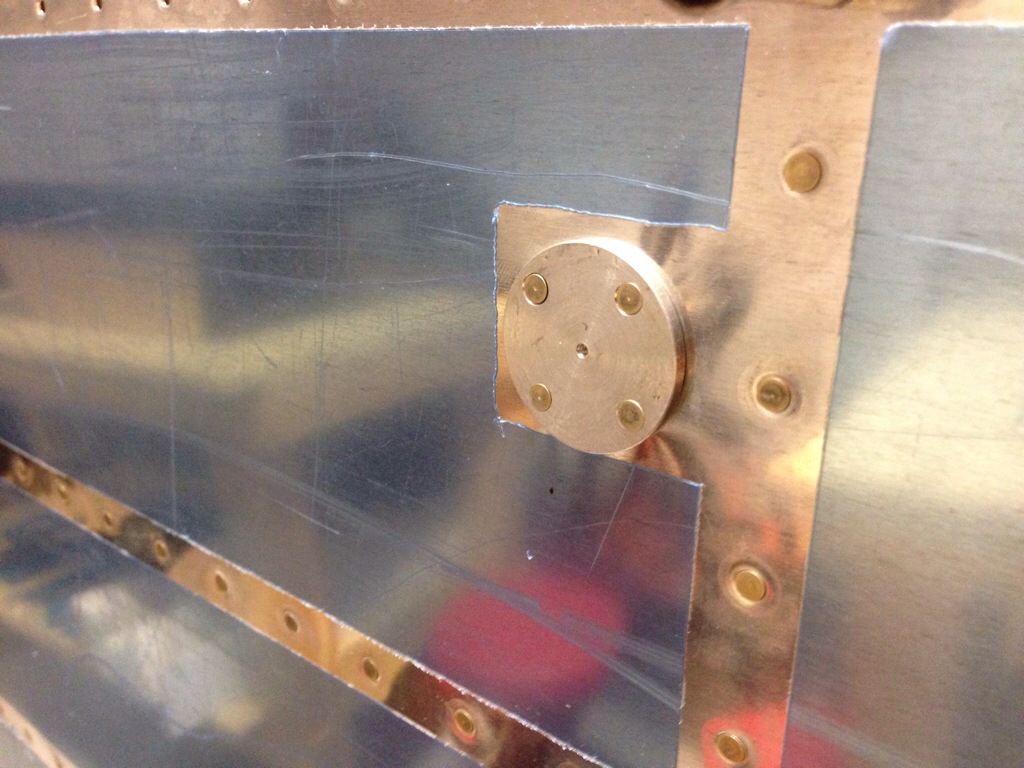
The systems side of me kicked in and I couldn’t resist holding out on putting my static ports in which had been sitting on the “accessory” shelf for a while now. I drilled out the prepunched hole to accept the ports and marked for flush rivets. What I didn’t do in my excitement was to create a doubler plate for the interior of the skin. So, the end result will not be the final result. I’m unhappy with the look and the lack of contact between the skin and back side of the port. I plan on picking up a Safe Air static kit at Osh Kosh and will replace these later on.
The top skin interior proved to be a test of my patience with removing blue film. I think it was too thinly applied and would not come off in pieces any bigger than a sliver. I’ve heard of others having this issue but was fortunate up to this point in not coming across this incredible frustrating set back. So a ten minute job turned into an hour and some sore fingernails.
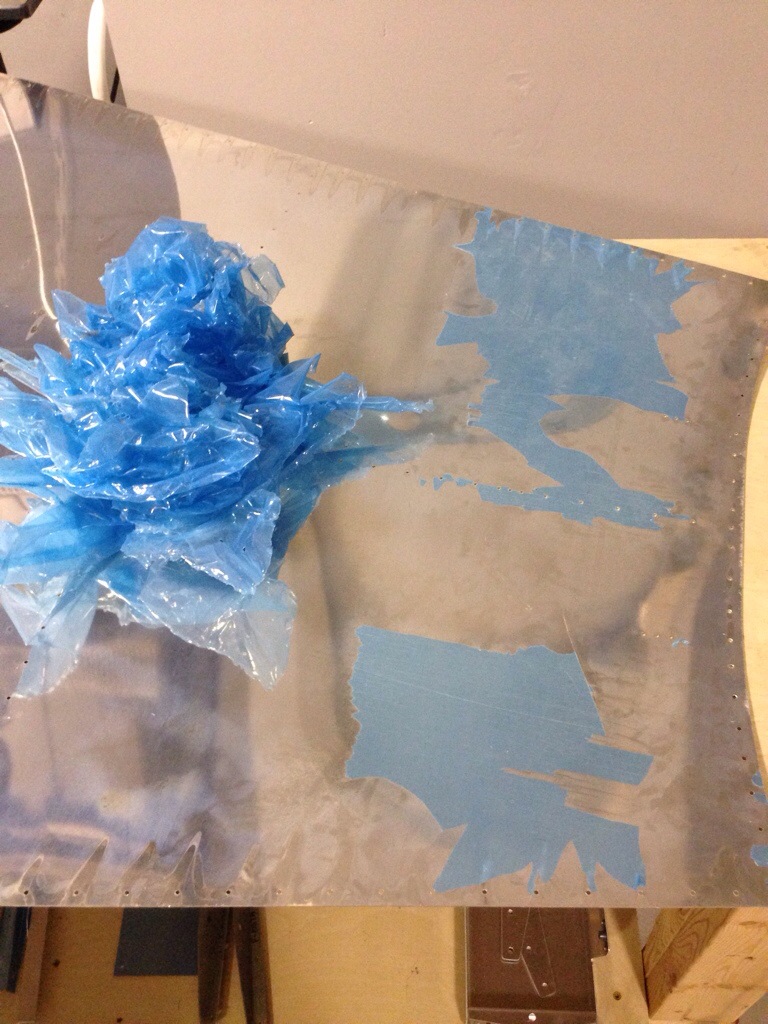
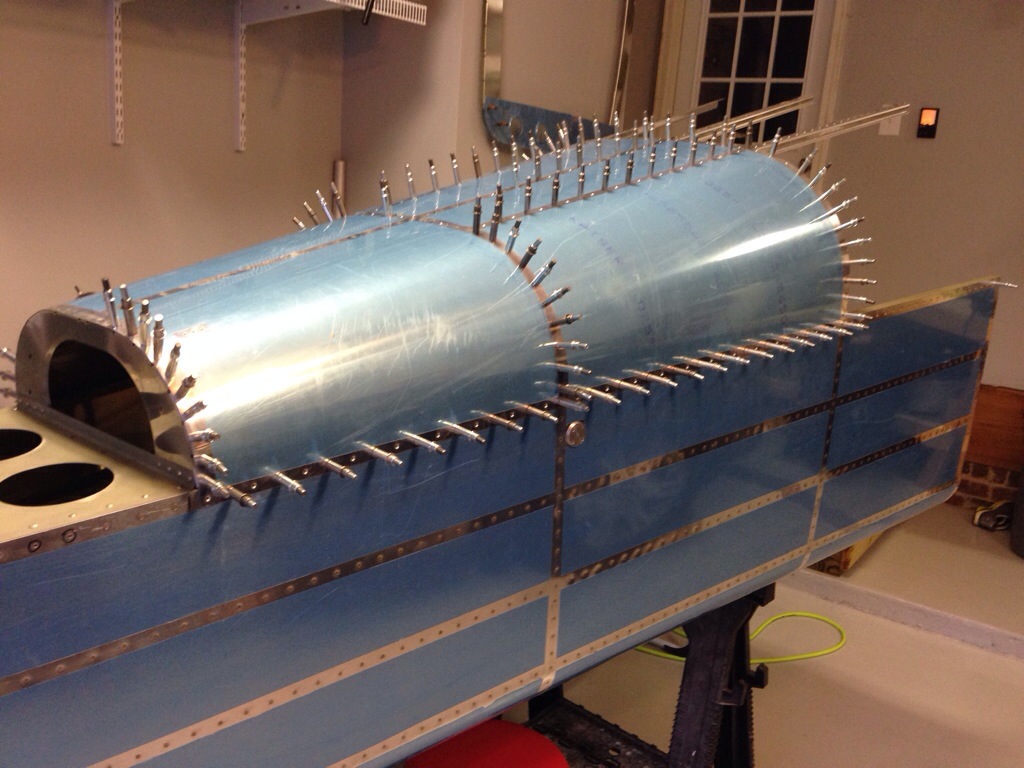
Alas, it did come clean and I scuffed, primed, deburred, and dimpled as normal. I set about riveting as much as I could solo and quickly found it’s not worth trying much without my beautiful assistant. So, we are planning a riveting party (get it?) over the July 4th weekend. I’ll be piling a bunch of blankets inside the frame and see how contorted I can get my body as she sits outside with the gun.
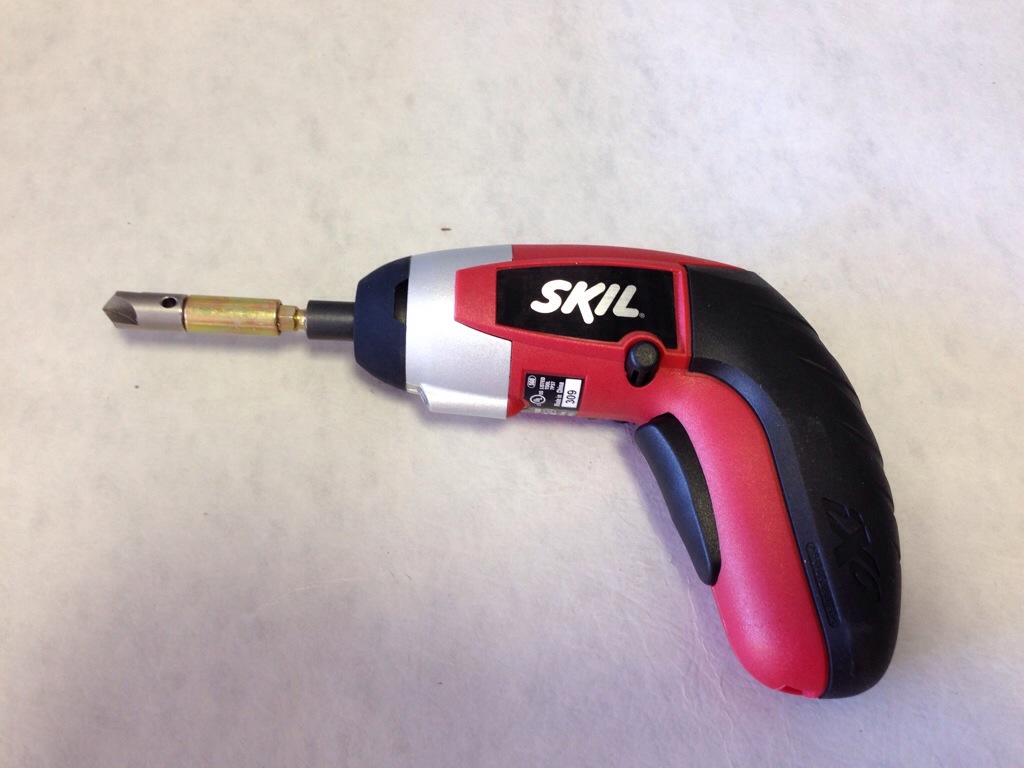
A couple of follow up notes, I fixed the buggered rivet in the right side skin/bulkhead/j channel with a larger rivet after the 1/8″ die came from ACS. Worked like a charm and makes me feel better to sleep at night. I also have a torque wrench coming for the AN hardware that is currently installed finger tight on the frame. Finally, here is a picture of the greatest thing to save my wrist since sliced bread: an electric deburr tool. I ordered an extra deburring bit from Avery Tool and cut the hex side down a bit. This spins slowly, which is perfect for hitting the holes without taking too much material off.

