I quickly grew tired of snide comments on social media about my inventory of aircraft parts on the approved aircraft parts storage location, aka guest bed, so set about installing the rear windows. The missing piece was flexible 1/4″ masking tape which arrived from Amazon. This tape is used to go right up to the tape line, earlier traced from the cabin top openings. The first and most critical layer of tape is used to create the finished line of Sikaflex on the inside of the plexi. Another layer is applied over the exposed edge of the first layer so the perimeter of the plexi can be scuffed without damaging the first layer of tape.
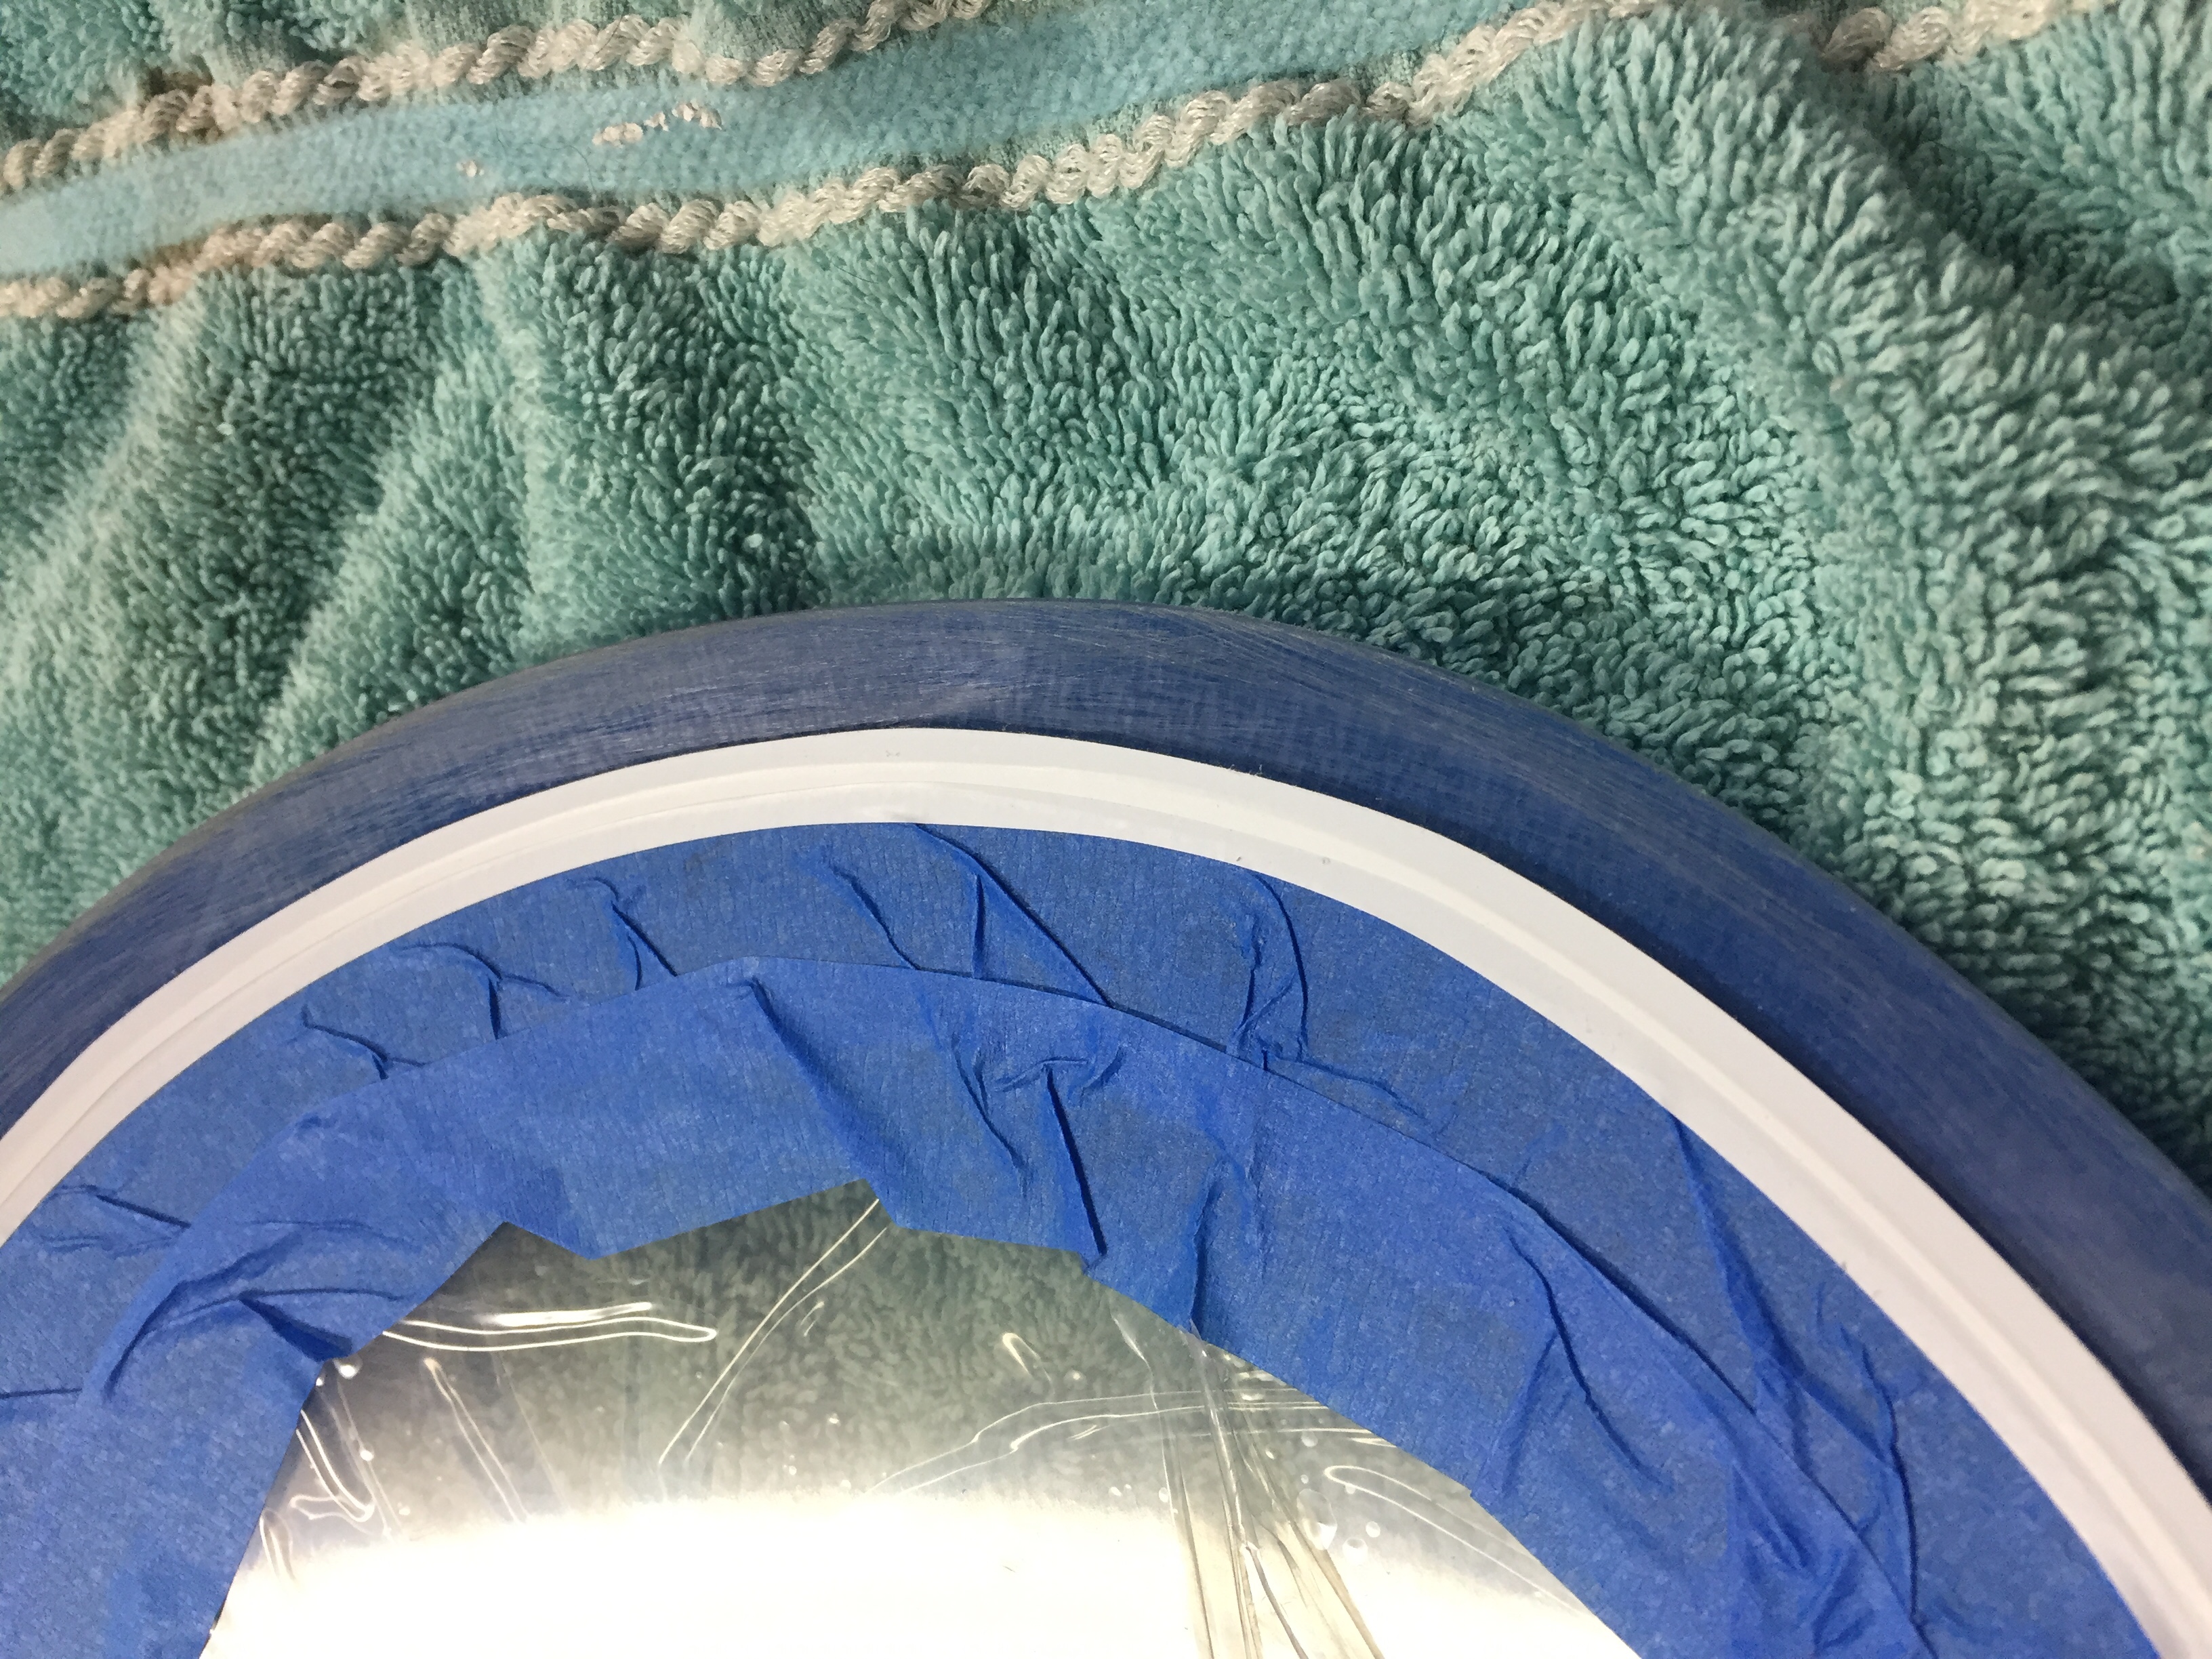
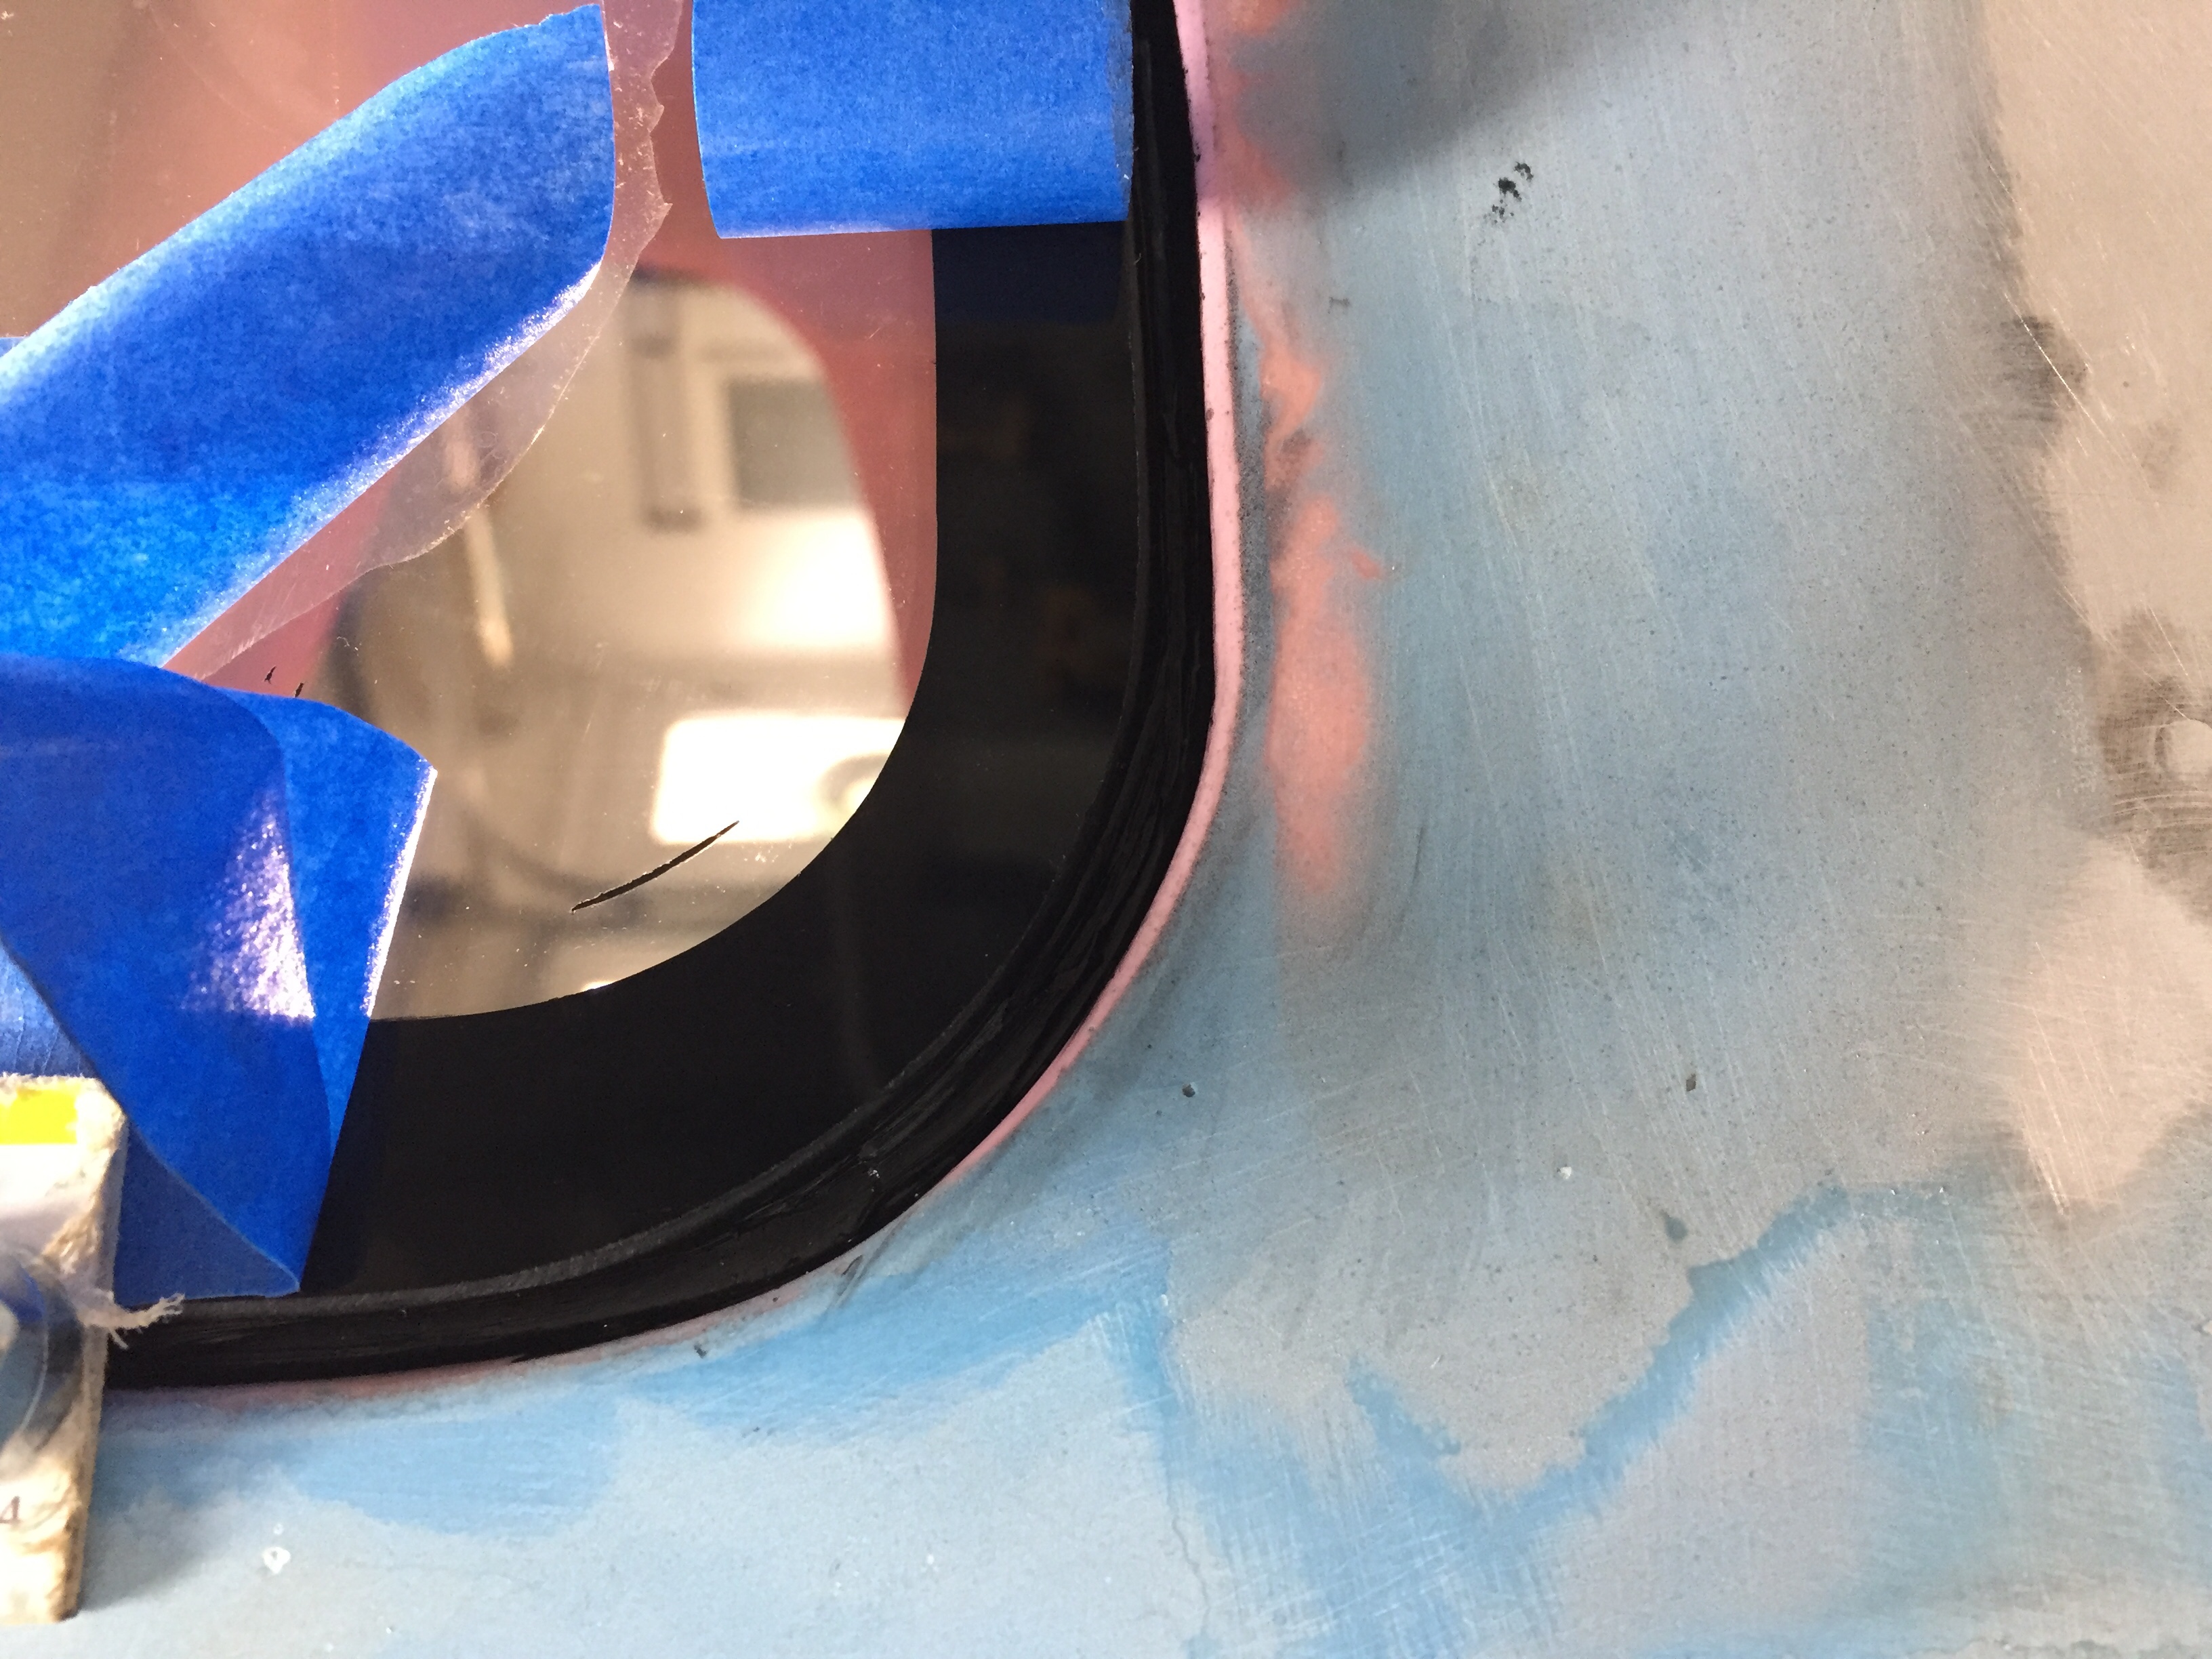
The method I’m using will result in a black band around each window that is visible from the exterior of the plane. The majority of builders will use a rigid epoxy here and then apply fiberglass to bridge the seam between the fiberglass cabin top and plexi. This will be painted after numerous hours of sanding, filling, cussing, repeating, and still not being done. I honestly don’t mind the black band and rather like the definition it gives to the windows. The one downside is needing to buy an entire can of the primer which is ridiculously expensive compared to the actual adhesive. Oh well, it’s only money right?

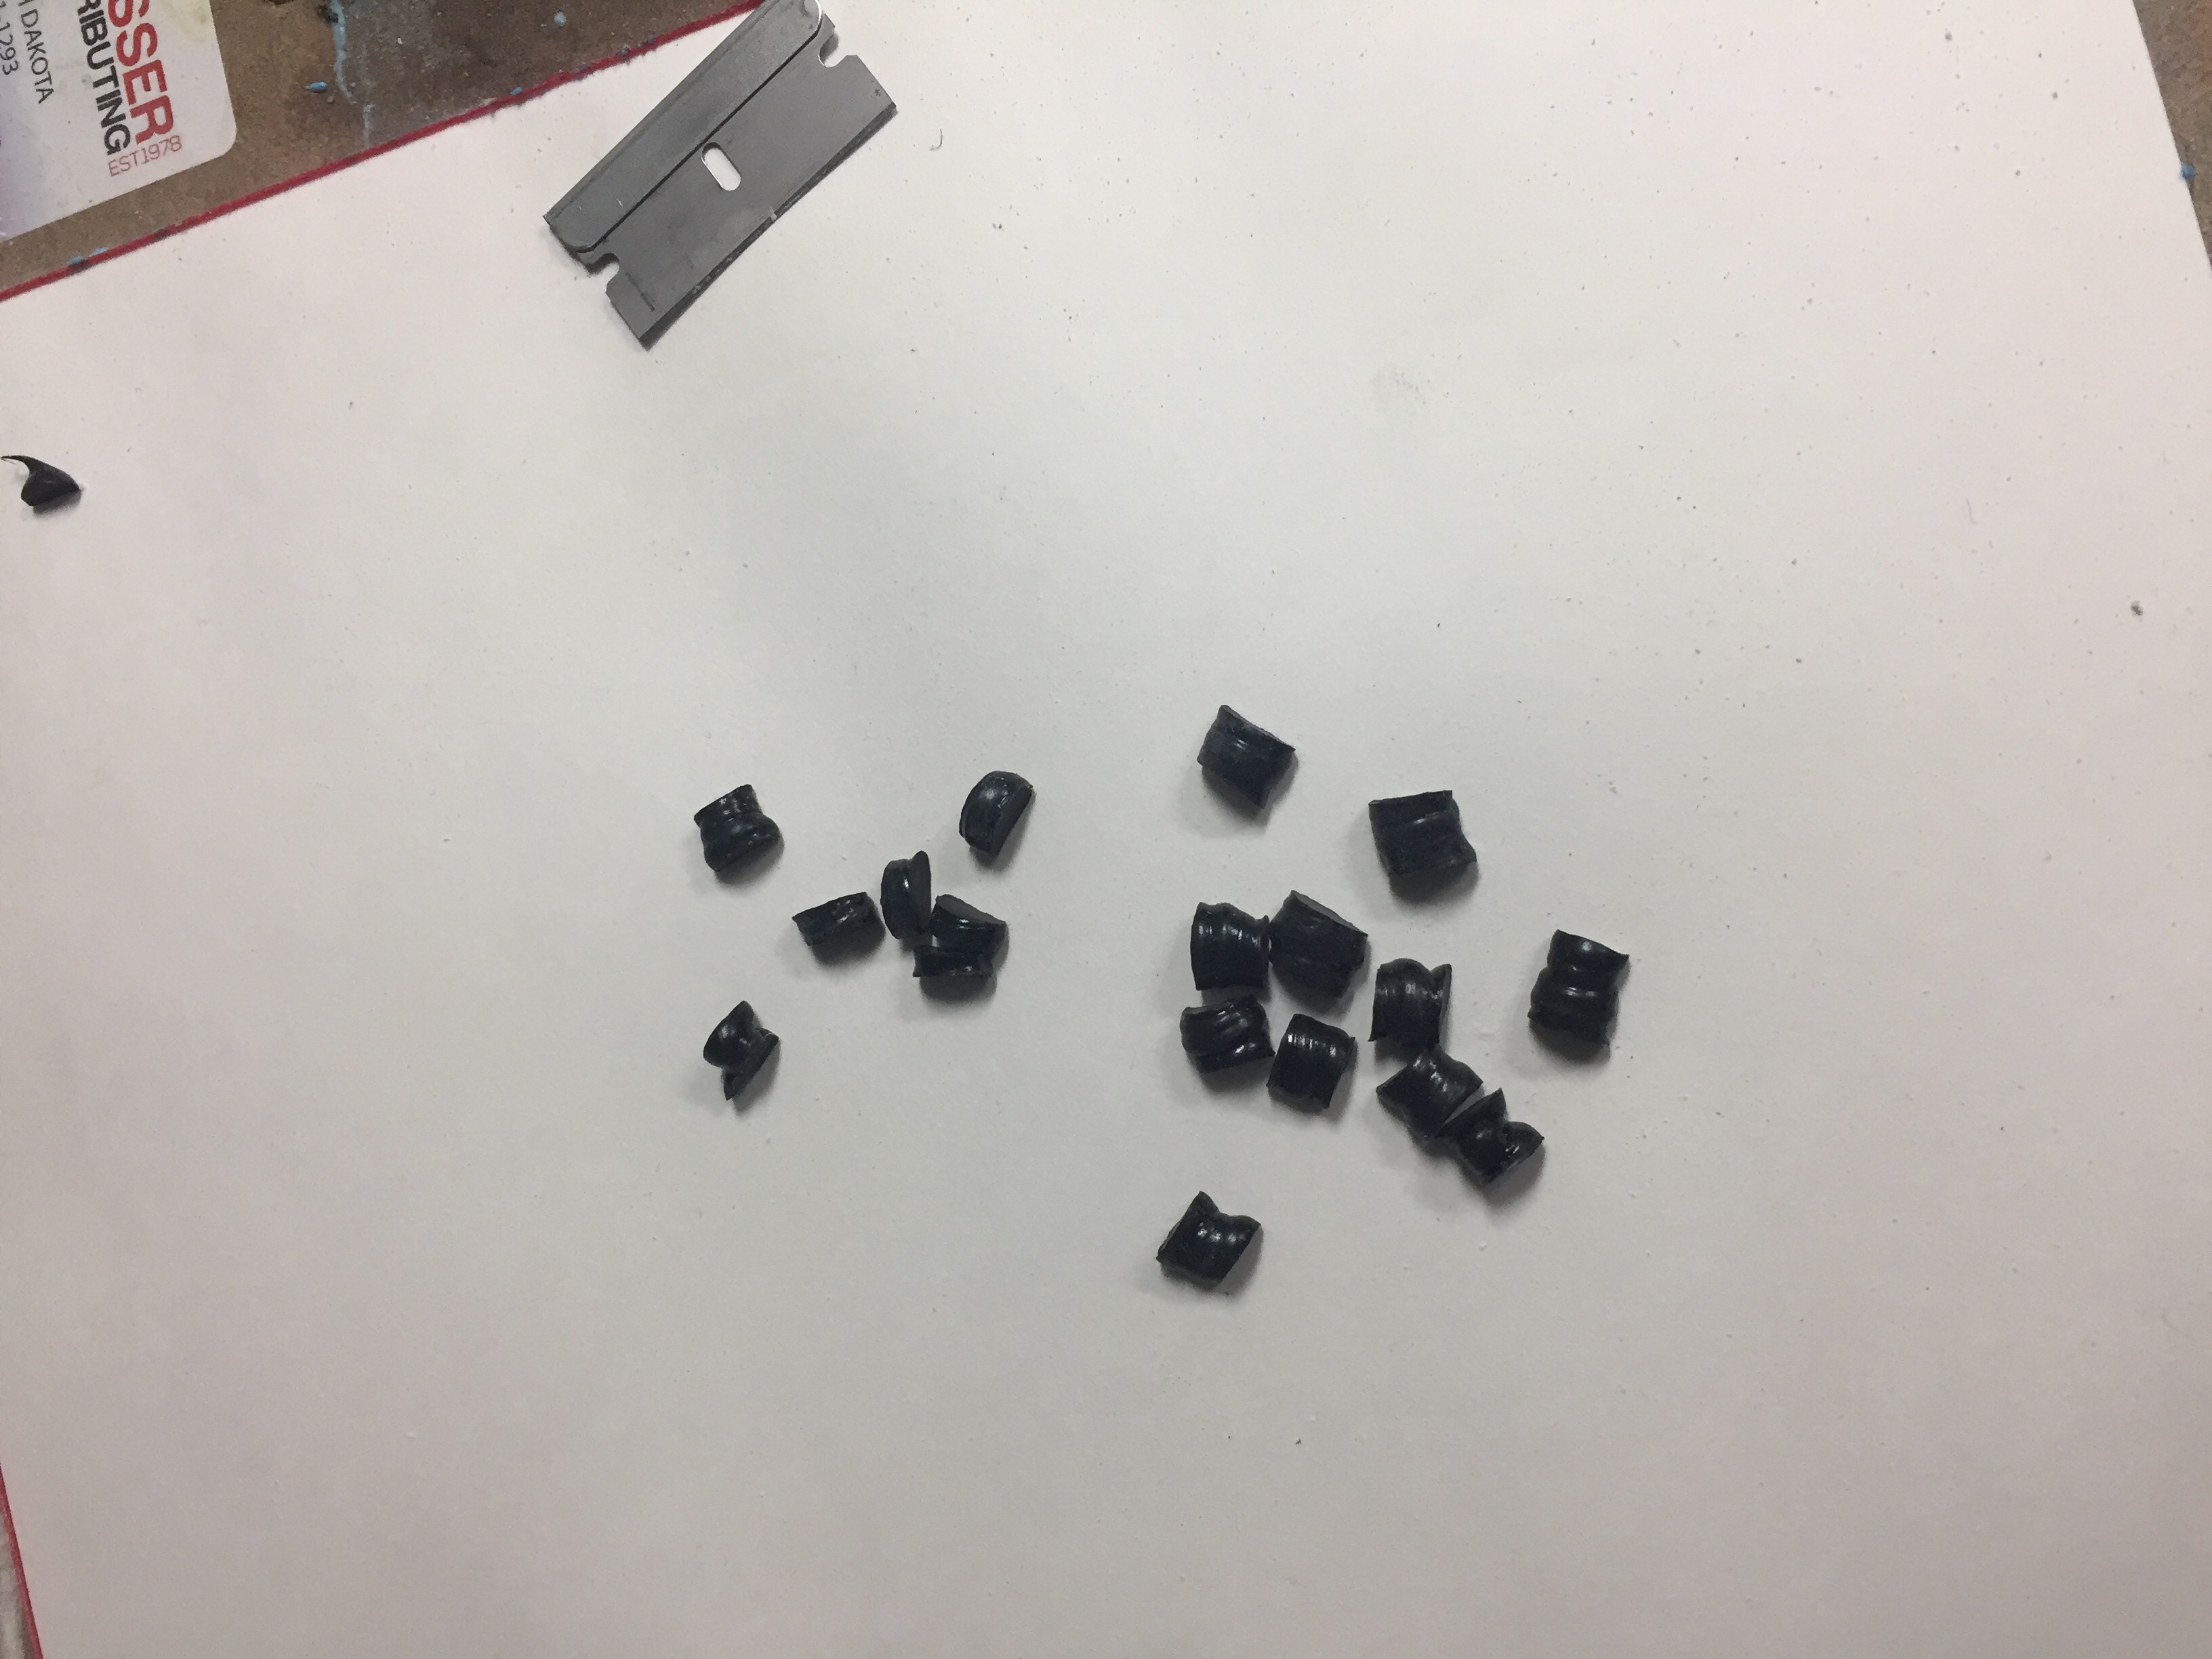
I scuffed the plexi perimeter and the cabin top then cleaned with the Sika activator (cleaner). The primer is a very thin black liquid that has a very high surface tension so creates a thick layer on whatever it touches. It dries pretty quickly and forms the visible black band from the outside of the window. I had already laid out a few beads of the Sikaflex to cure and use as spacers. I used superglue to adhere the spacers to the frames and set out fitting the window, trimming the spacers a few at a time to get a nice flush fit with the plexi to cabin top. This takes lots of patience but in the end resulted in a perfectly flush window.
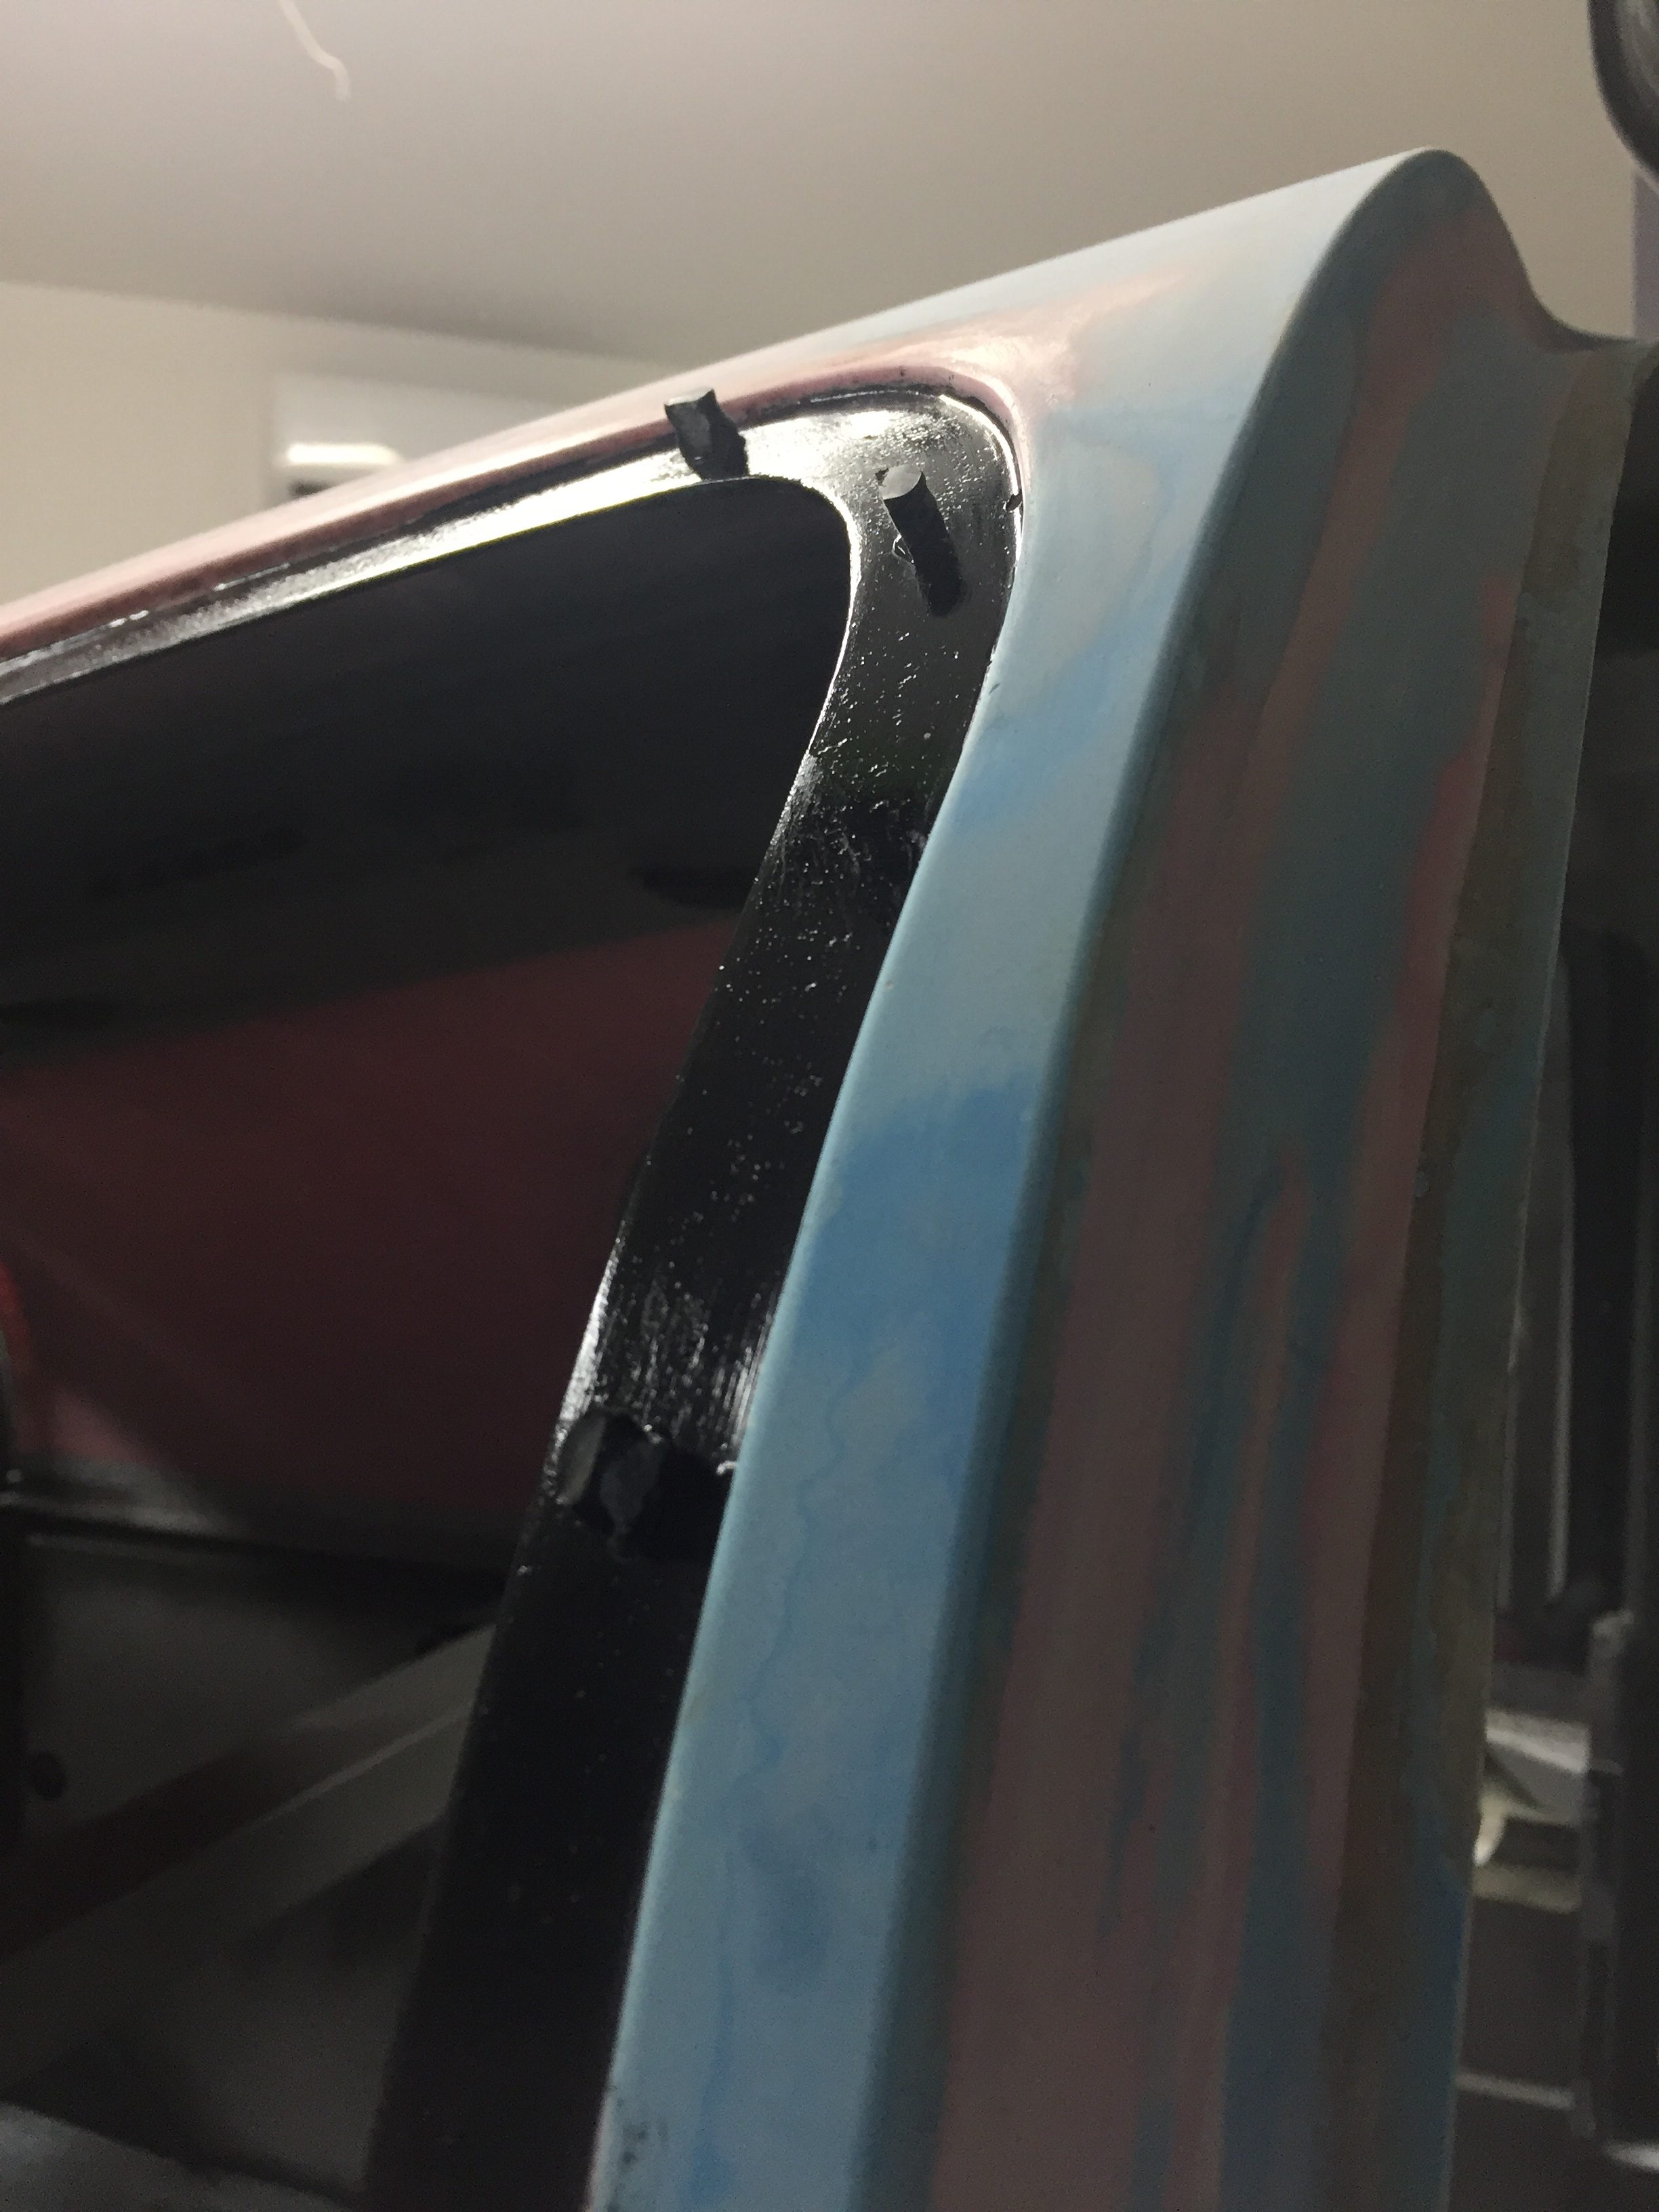
I did a final fit test with the clecos in place and found that more clecos were needed than I had originally drilled for due to the curvature of the cabin top and plexi. So I drilled a few more holes around the joggle and got a good result. I’ll only be able to do one window at a time, but that’s probably a good thing to focus and not rush as this is not a process that is easily undone and corrected.
It’s recommended a smear of the Sikaflex is put on the plexi which I did, but I think it would work fine just laying a thick bead on either surface. I was sure to use a bit of excess to ensure I didn’t wind up with bubbles or gaps in the mating. After setting the plexi in place and pressing gently, I made several circuits around the perimeter locking in the clecos to get a good flush fit. A great trick is to use the back of a razor blade as a guide. You want it to just barely catch the edge of the plexi or be a hair over the window. All in all, not a bad process and quite rewarding in the end to finally see a window instead of a big cut out.
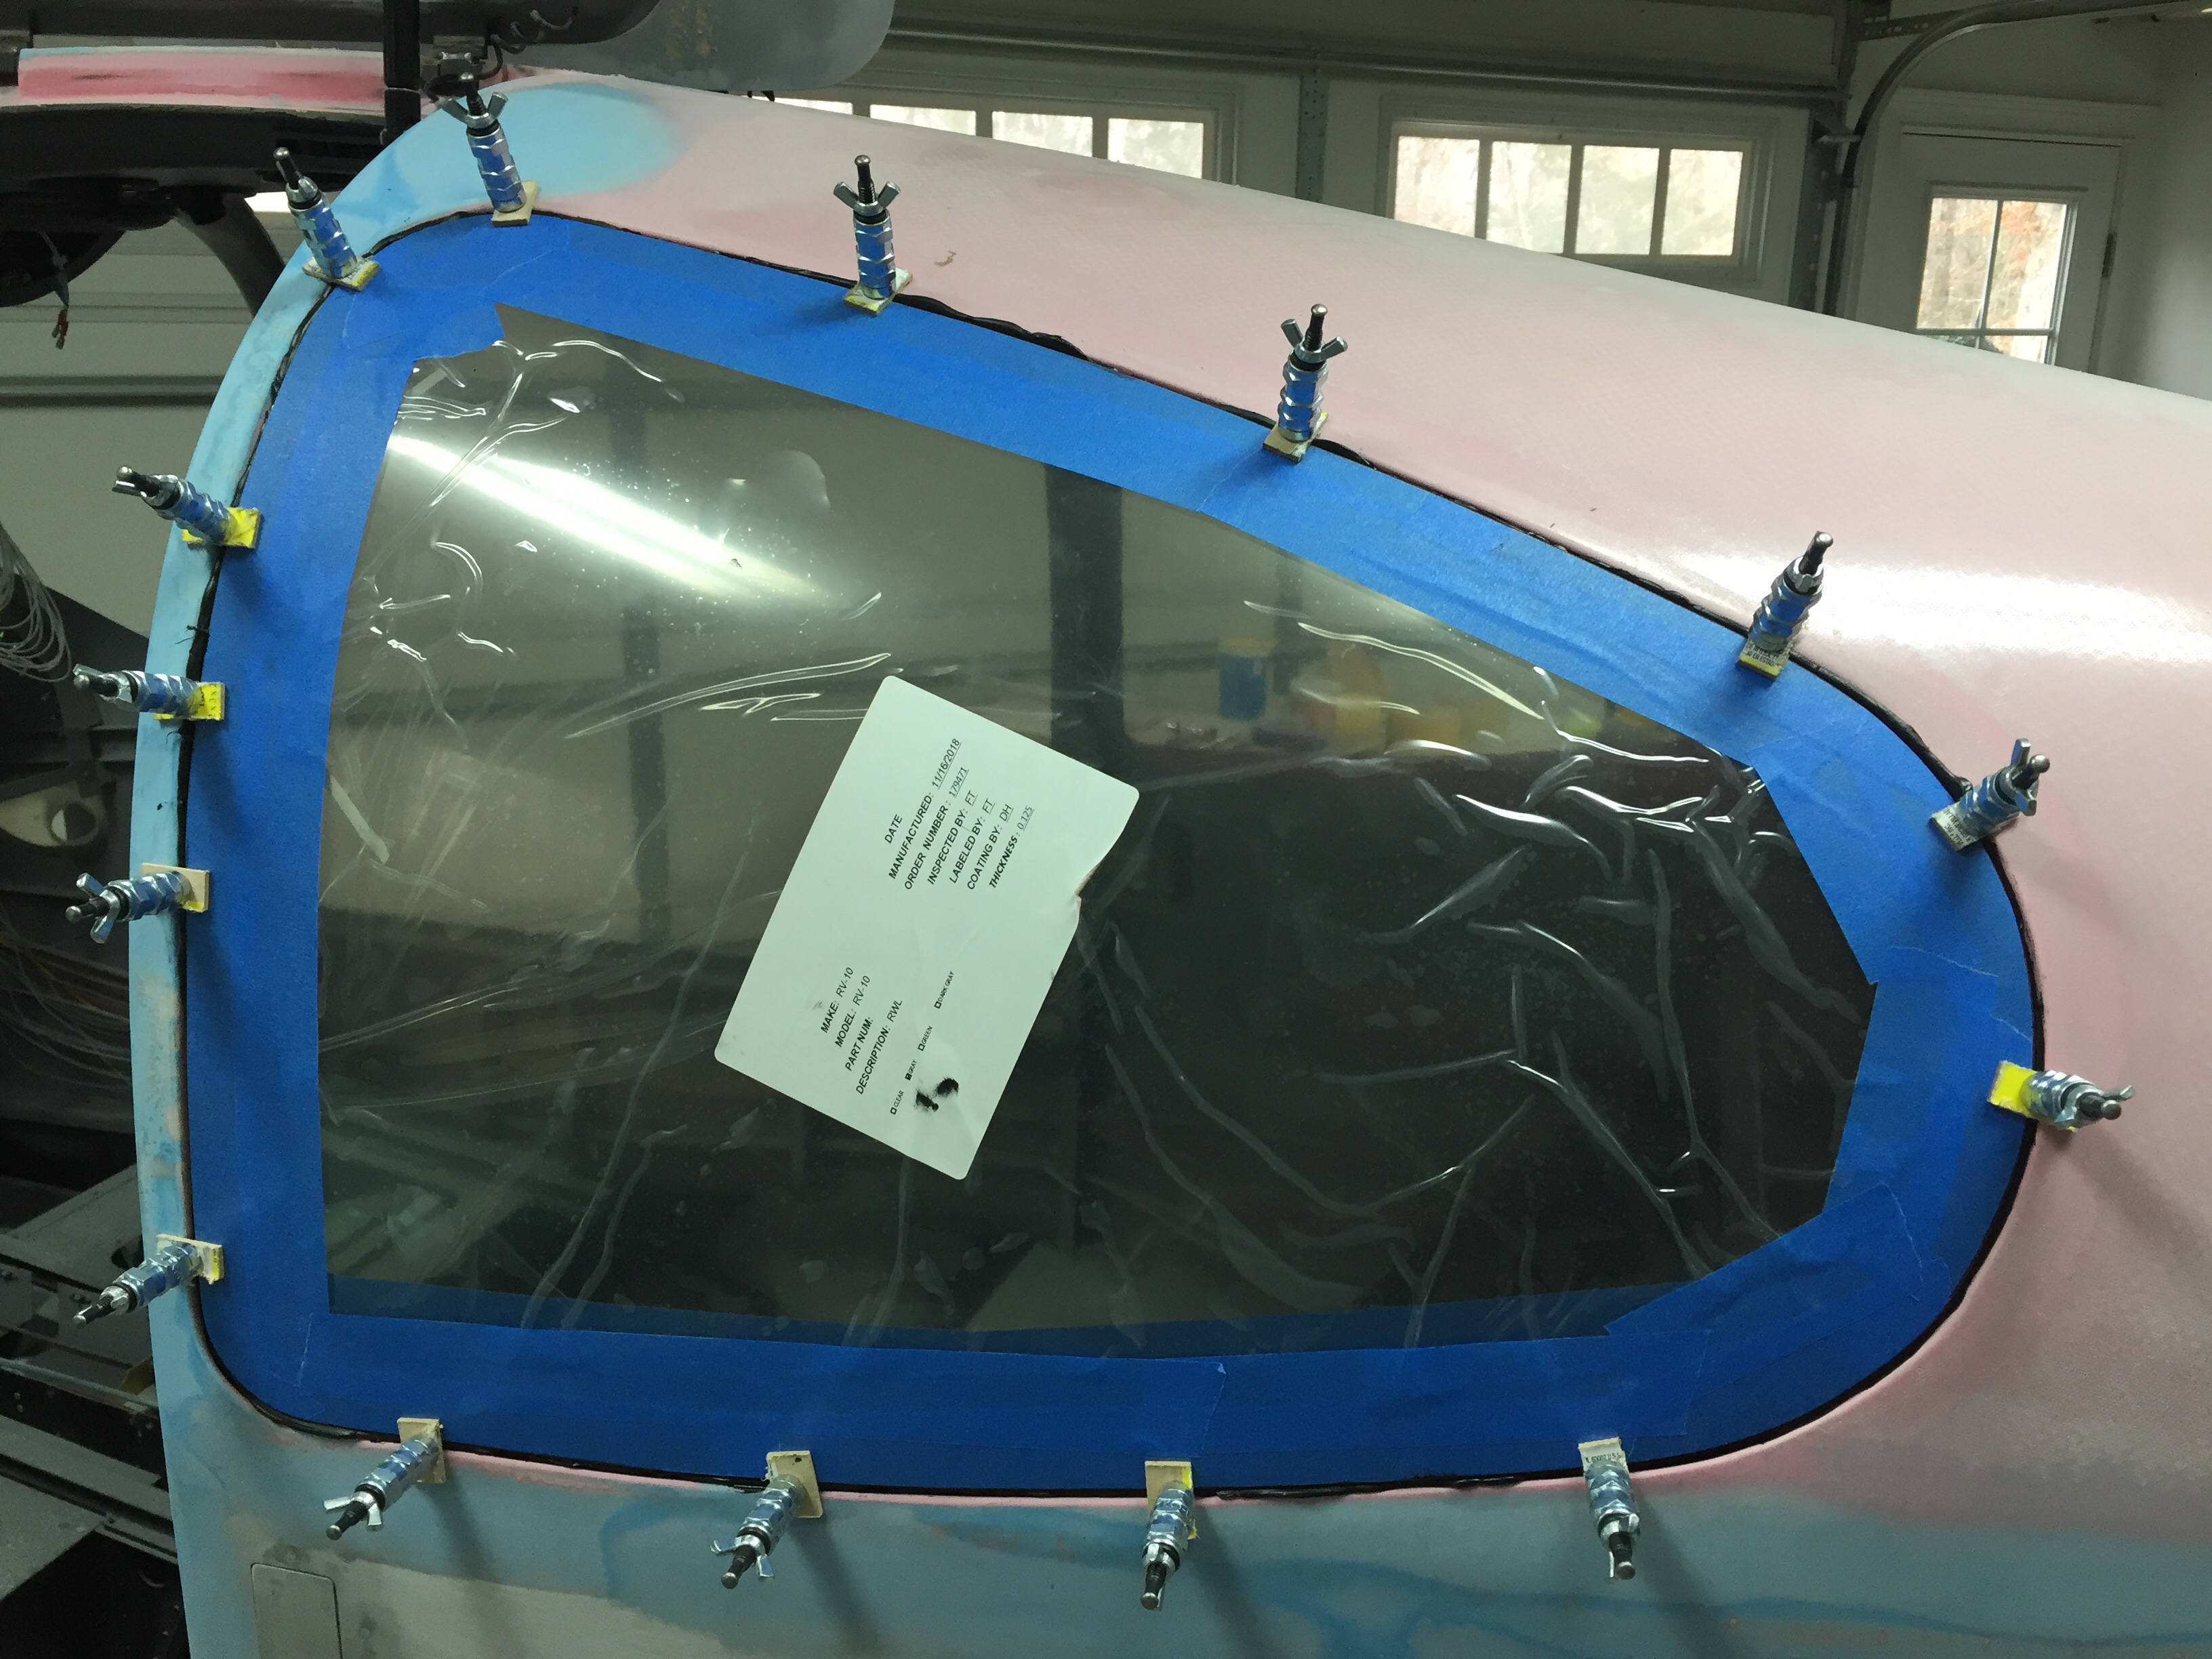
Once fitted from the outside, I climbed in and worked the excess adhesive from the joint. I just used a popcicle stick and created a little fillet with it then peeled the 1/4″ tape back to reveal the inside of the window. Two tiny spots of the primer wound up on the plexi which I carefully cleaned up with a hint of lacquer thinner and soft cloth. I couldn’t help but peel back the tape on the outside after the excess was cleaned out of the perimeter gap. It looks great!!! After the plane is painted, I’ll go back and fill in the gap with another bead to finish the cosmetics and tool it to have a nice flush surface on the entire cabin top.
The right rear window went in much the same so I now have two out of four windows in. I’ll put the door windows in after touching up the paint to finish those off. I got the windshield on to trim it as well which was a bit bigger job than the window trimming but used the same method. I won’t be installing it until after all of the avionics are installed to ease the install of the subpanel components.
