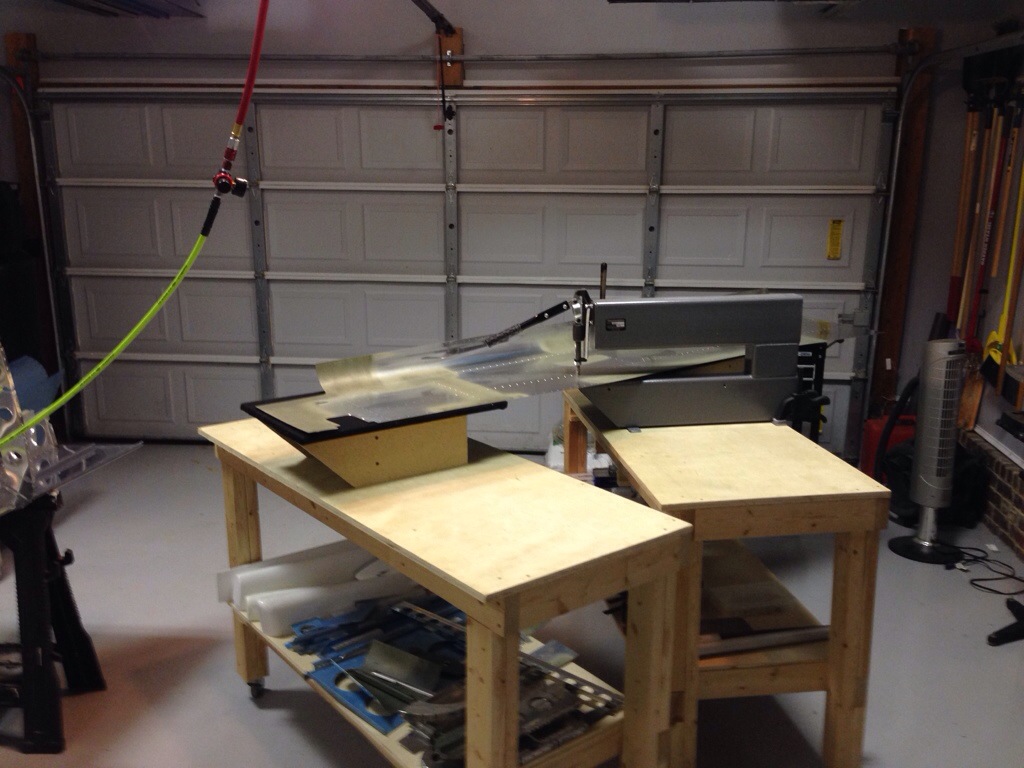
The right side skin was all prepped minus dimpling, so I put the mobile work
benches to good use. I really can’t stress how amazing these things are being able to roll them around and configure them however I need to get the piece in the dimpler. The challenge with the side skins are the rolls at the bottom which necessitated putting them at an odd angle to clear the handle on the dimpler. Other than having to move tables around a couple of times, the job was easy and quick.
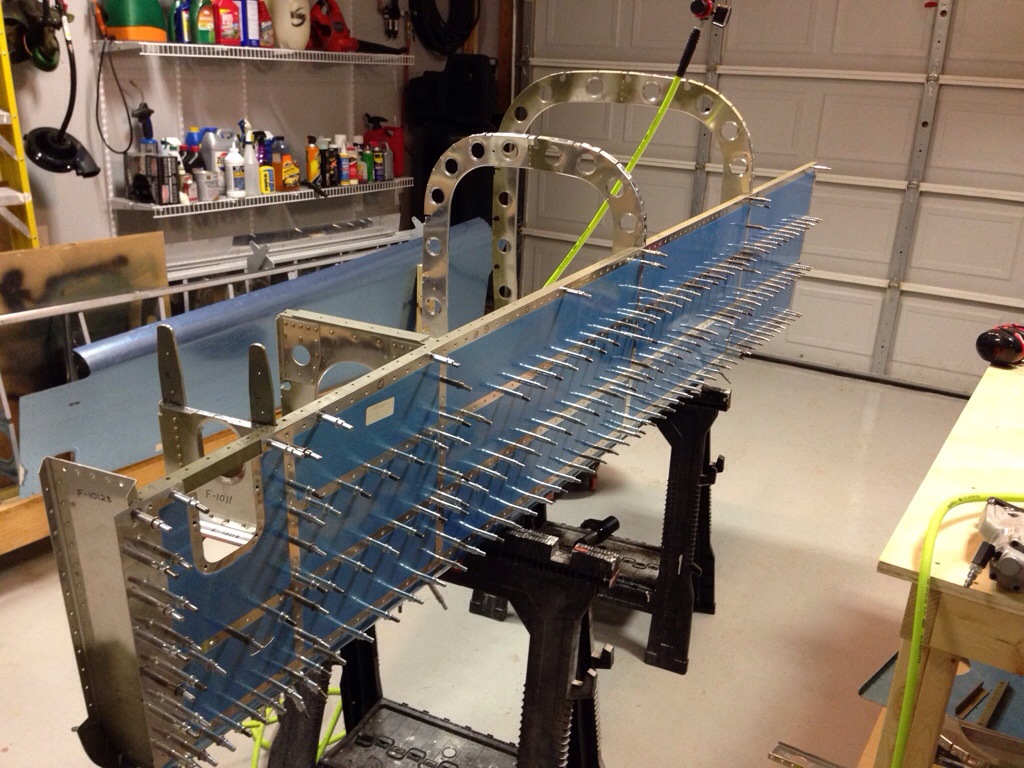
Next was putting it on the frame for the last time. Except it wasn’t the last
time. It was the next to last time. Because I somehow got the stiffeners in
the wrong order and the holes weren’t lining up. Fortunately only a handful
of clecos were in, so it was a quick fix. Good thing the kits are designed to
be fool proof, right?
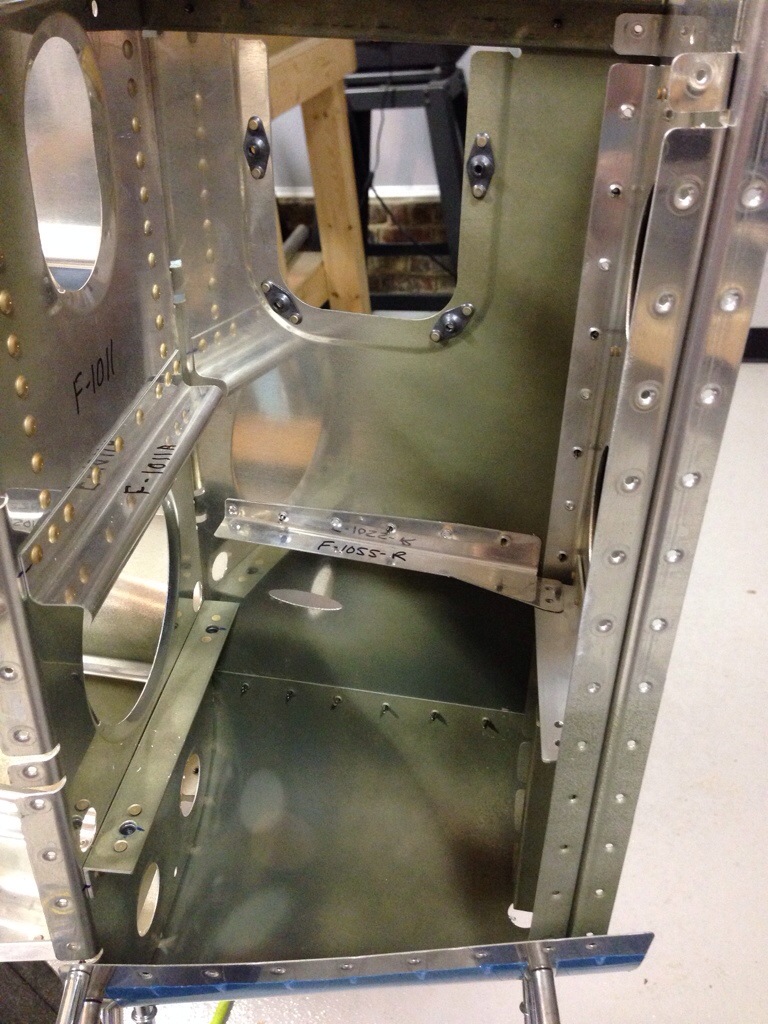
I decided to start with the rear VS structure frame since there were a lot of
pieces sitting around. That was a three attempt assembly as well. The rear
bottom skin needs to go on first, which I knew, but tried to slip it in
between the side skin and frames. That didn’t work. So I took the frames all
back off and put that “sub-assembly” together then put it back on the main
structure.
I also fixed an earlier error on the rudder stops, drilling them out with a
#40 drill to accept the rivet instead of the #30 that I originally did. I had
enough energy to squeeze the easily accessible rivets at the rear end before calling it a night.


