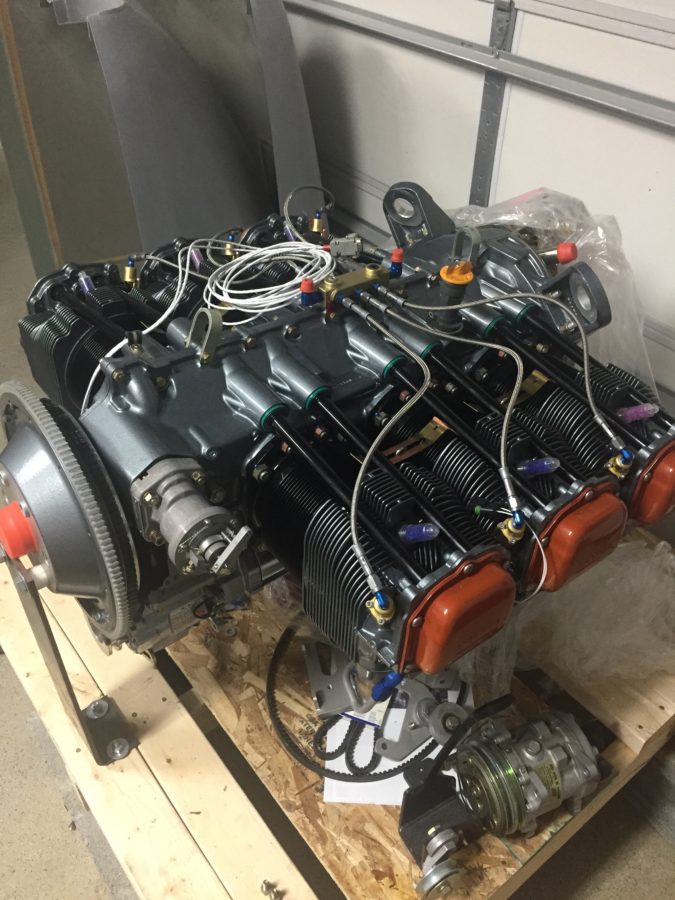
The last big delivery of the project arrived containing our engine in a pickled state from Aero Sport Power. A huge thanks to the guys on base who have helped me get the deliveries and saved so much headache by avoiding home deliveries! I loaded it on the trailer with a forklift and then got it off at home by disassembling the crate and using my engine hoist to lift it. It worked out quite nicely and I used a few cinder blocks to rest the pallet on so I could put the hoist away.
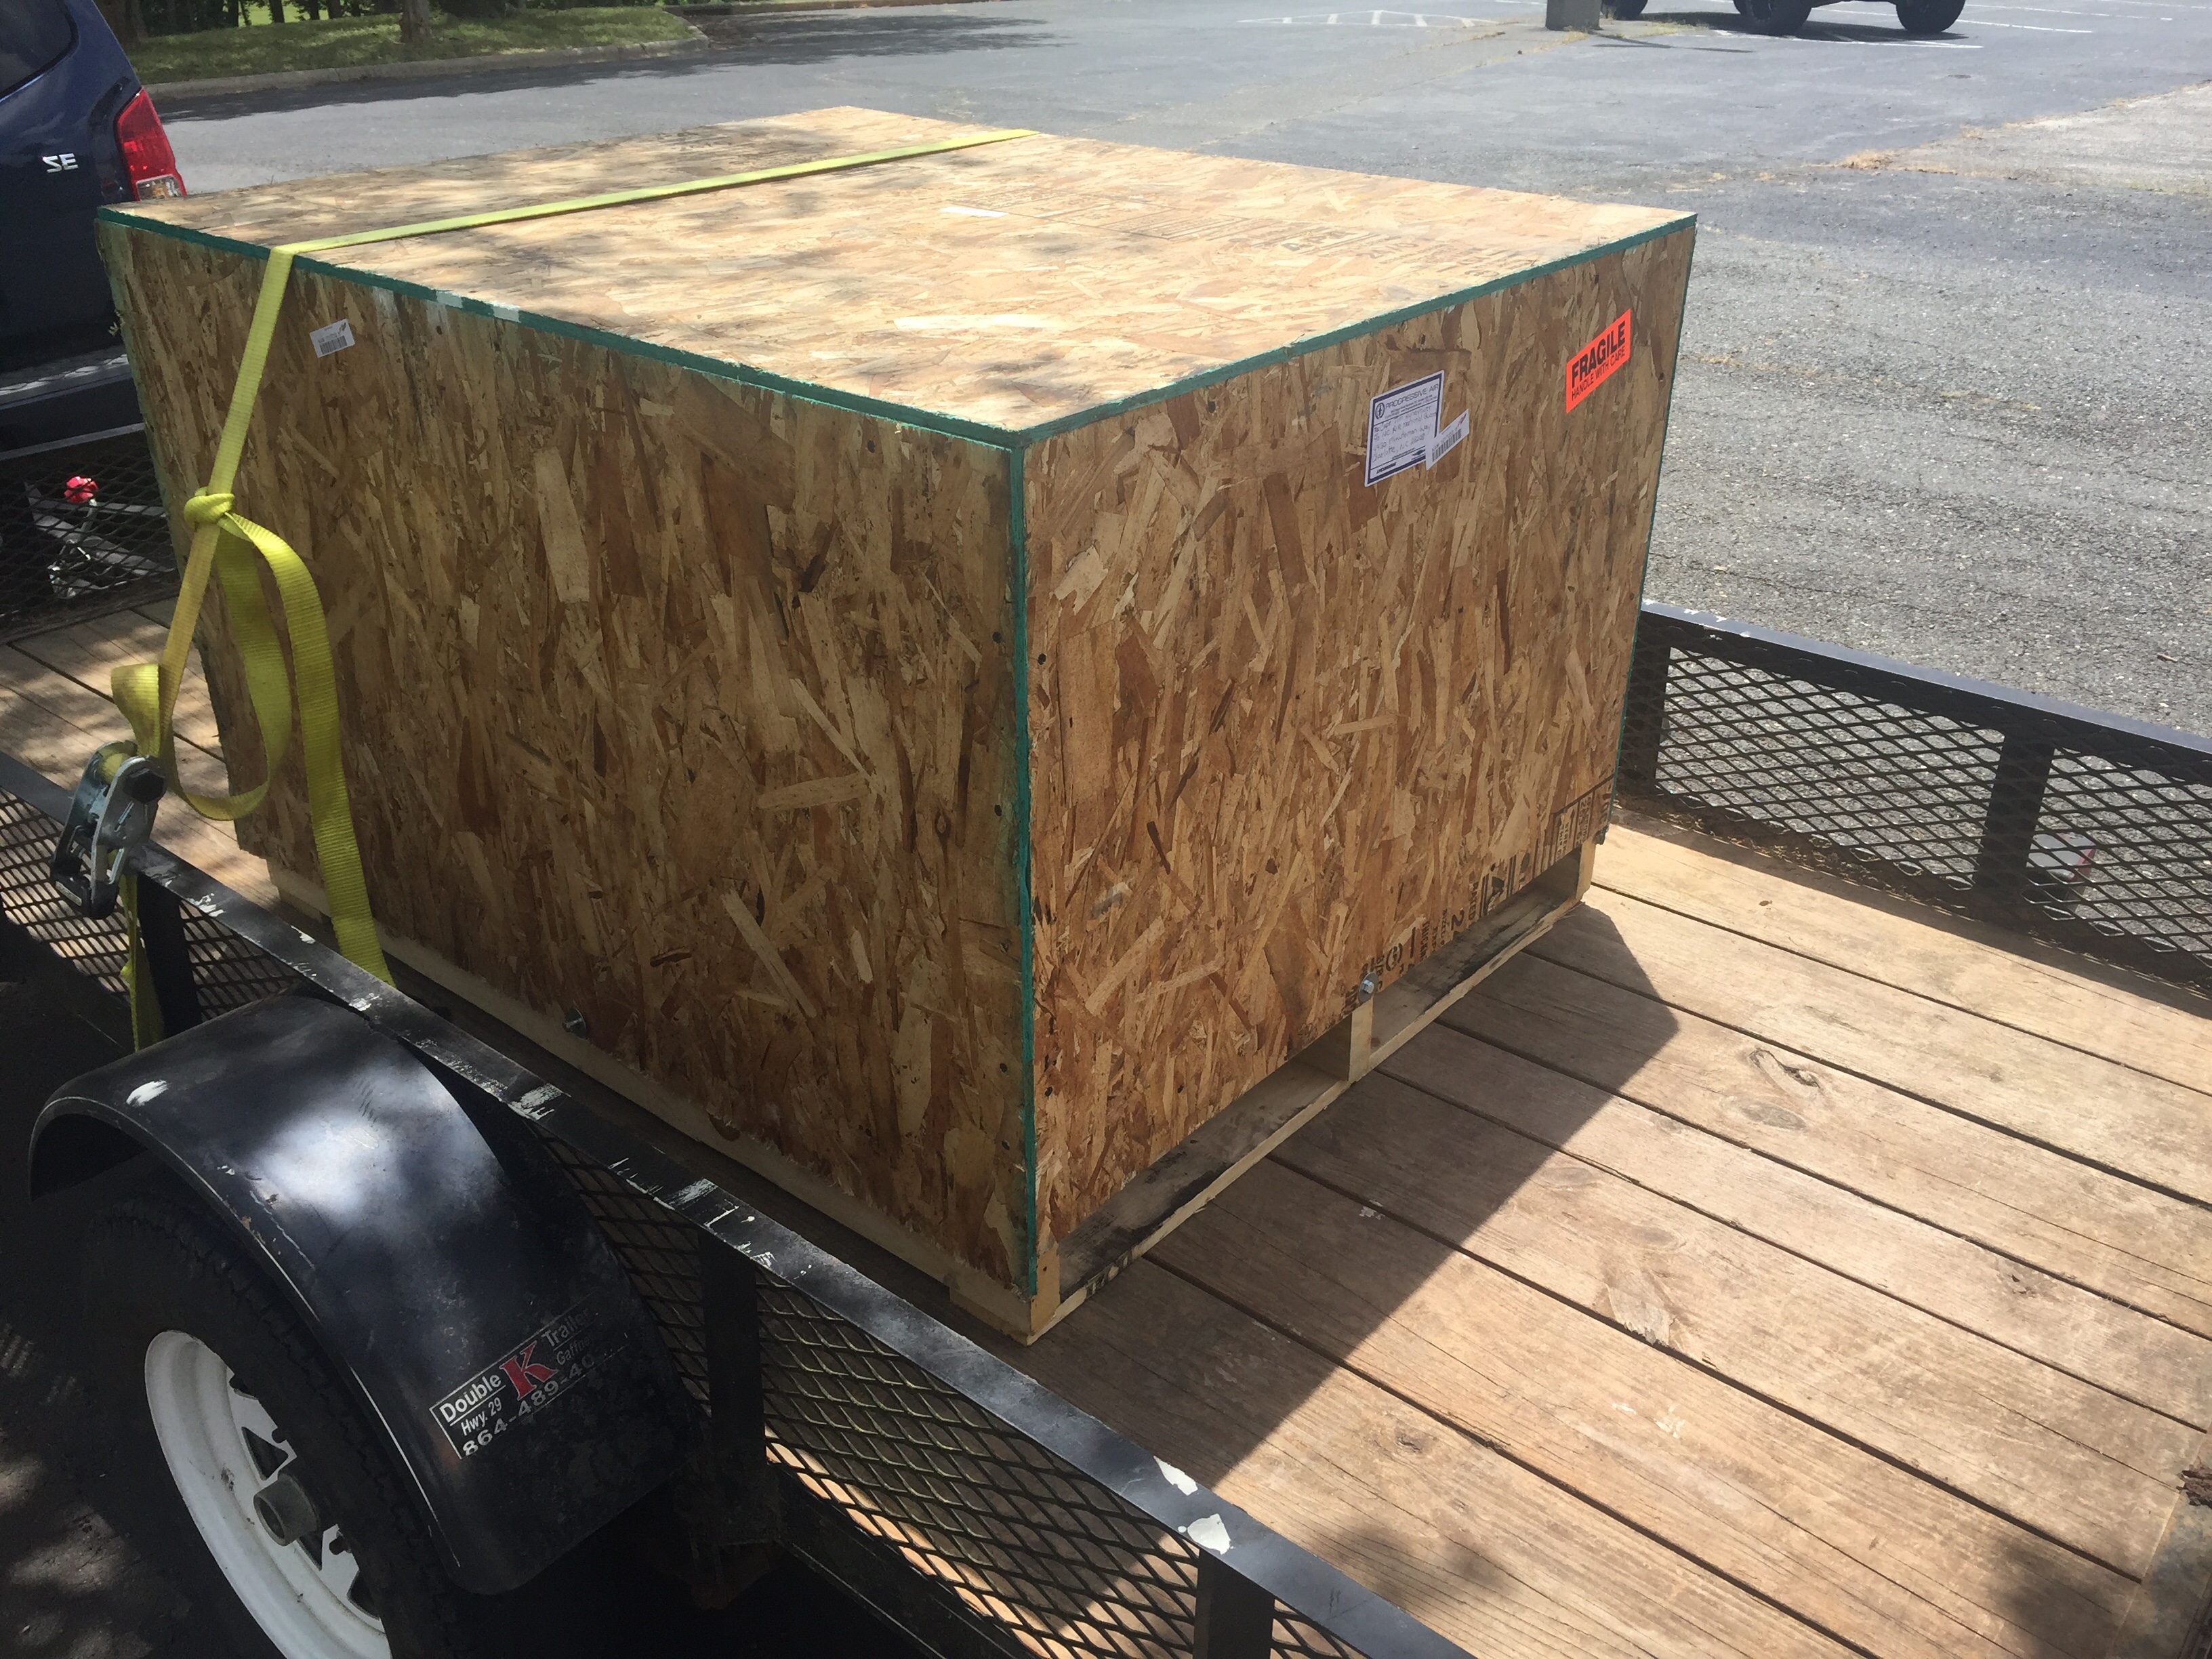
The engine was preserved (pickled) by Aero Sport since it will be a few months before first flight. This prevents rust and corrosion from setting in and keeps everything coated with a special rust inhibiting oil until I’m ready to fire it up. I couldn’t help but bolt the prop governor on and start working on the aircon compressor install, as I’ve been concerned with that for some time. We’re off to a lack luster start. The studs for the prop governor were about 1/2″ short and had to be replaced. My steep learning curve with threaded studs in a Lycoming equaled a four day project to remove them, but thanks to Amazon aircraft tool supply, a little heat, and a smack with a hammer (great tip Darren at Aero Sport, thanks) the studs finally backed right out. I replaced them with longer studs which are ludicrously expensive for what they are and a week after I started, torqued the nuts on the prop governor.
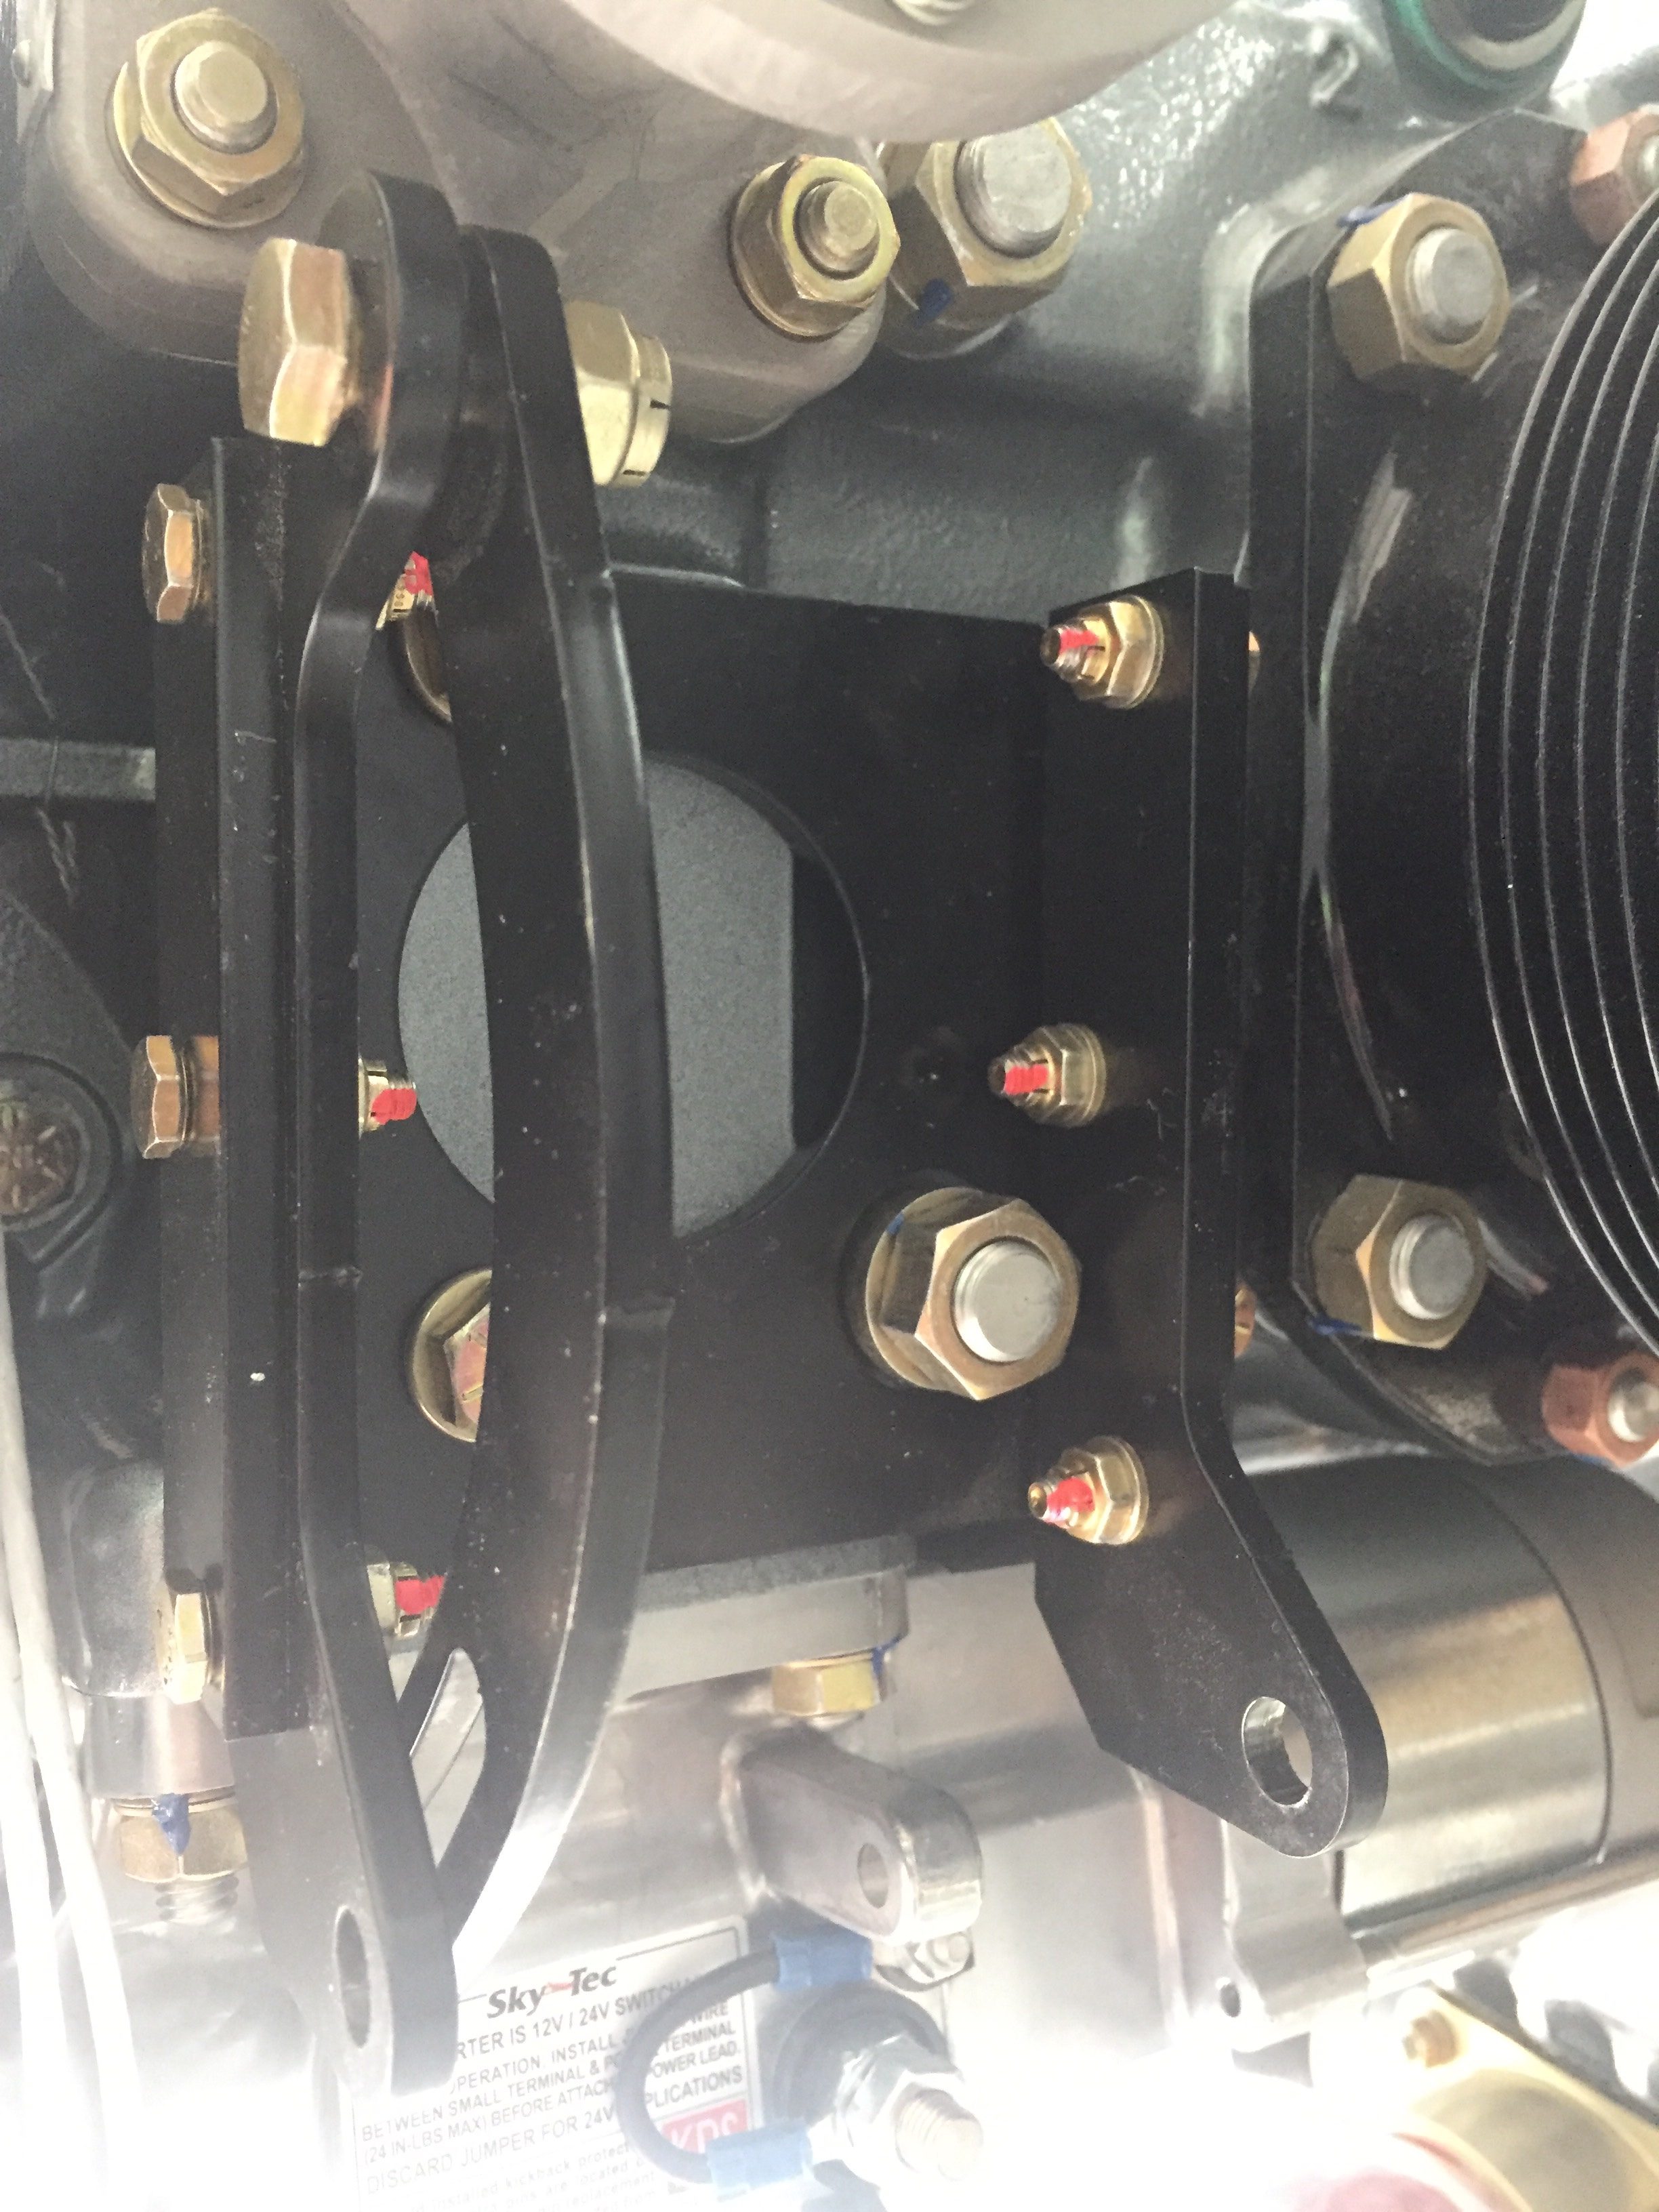
The aircon compressor was another swing and miss, not surprisingly I must admit. I knew I had an original design bracket from Flightline and wasn’t sure if everything was going to work out. My setup moves the alternator to the port side and puts the compressor on the starboard side. Well, the brackets don’t allow the current compressor model to line up with the flywheel grooves. The alternator also didn’t fit at all since the Plane Power alternators have a slightly smaller case than the antient models this was designed around. Basically, nothing worked.
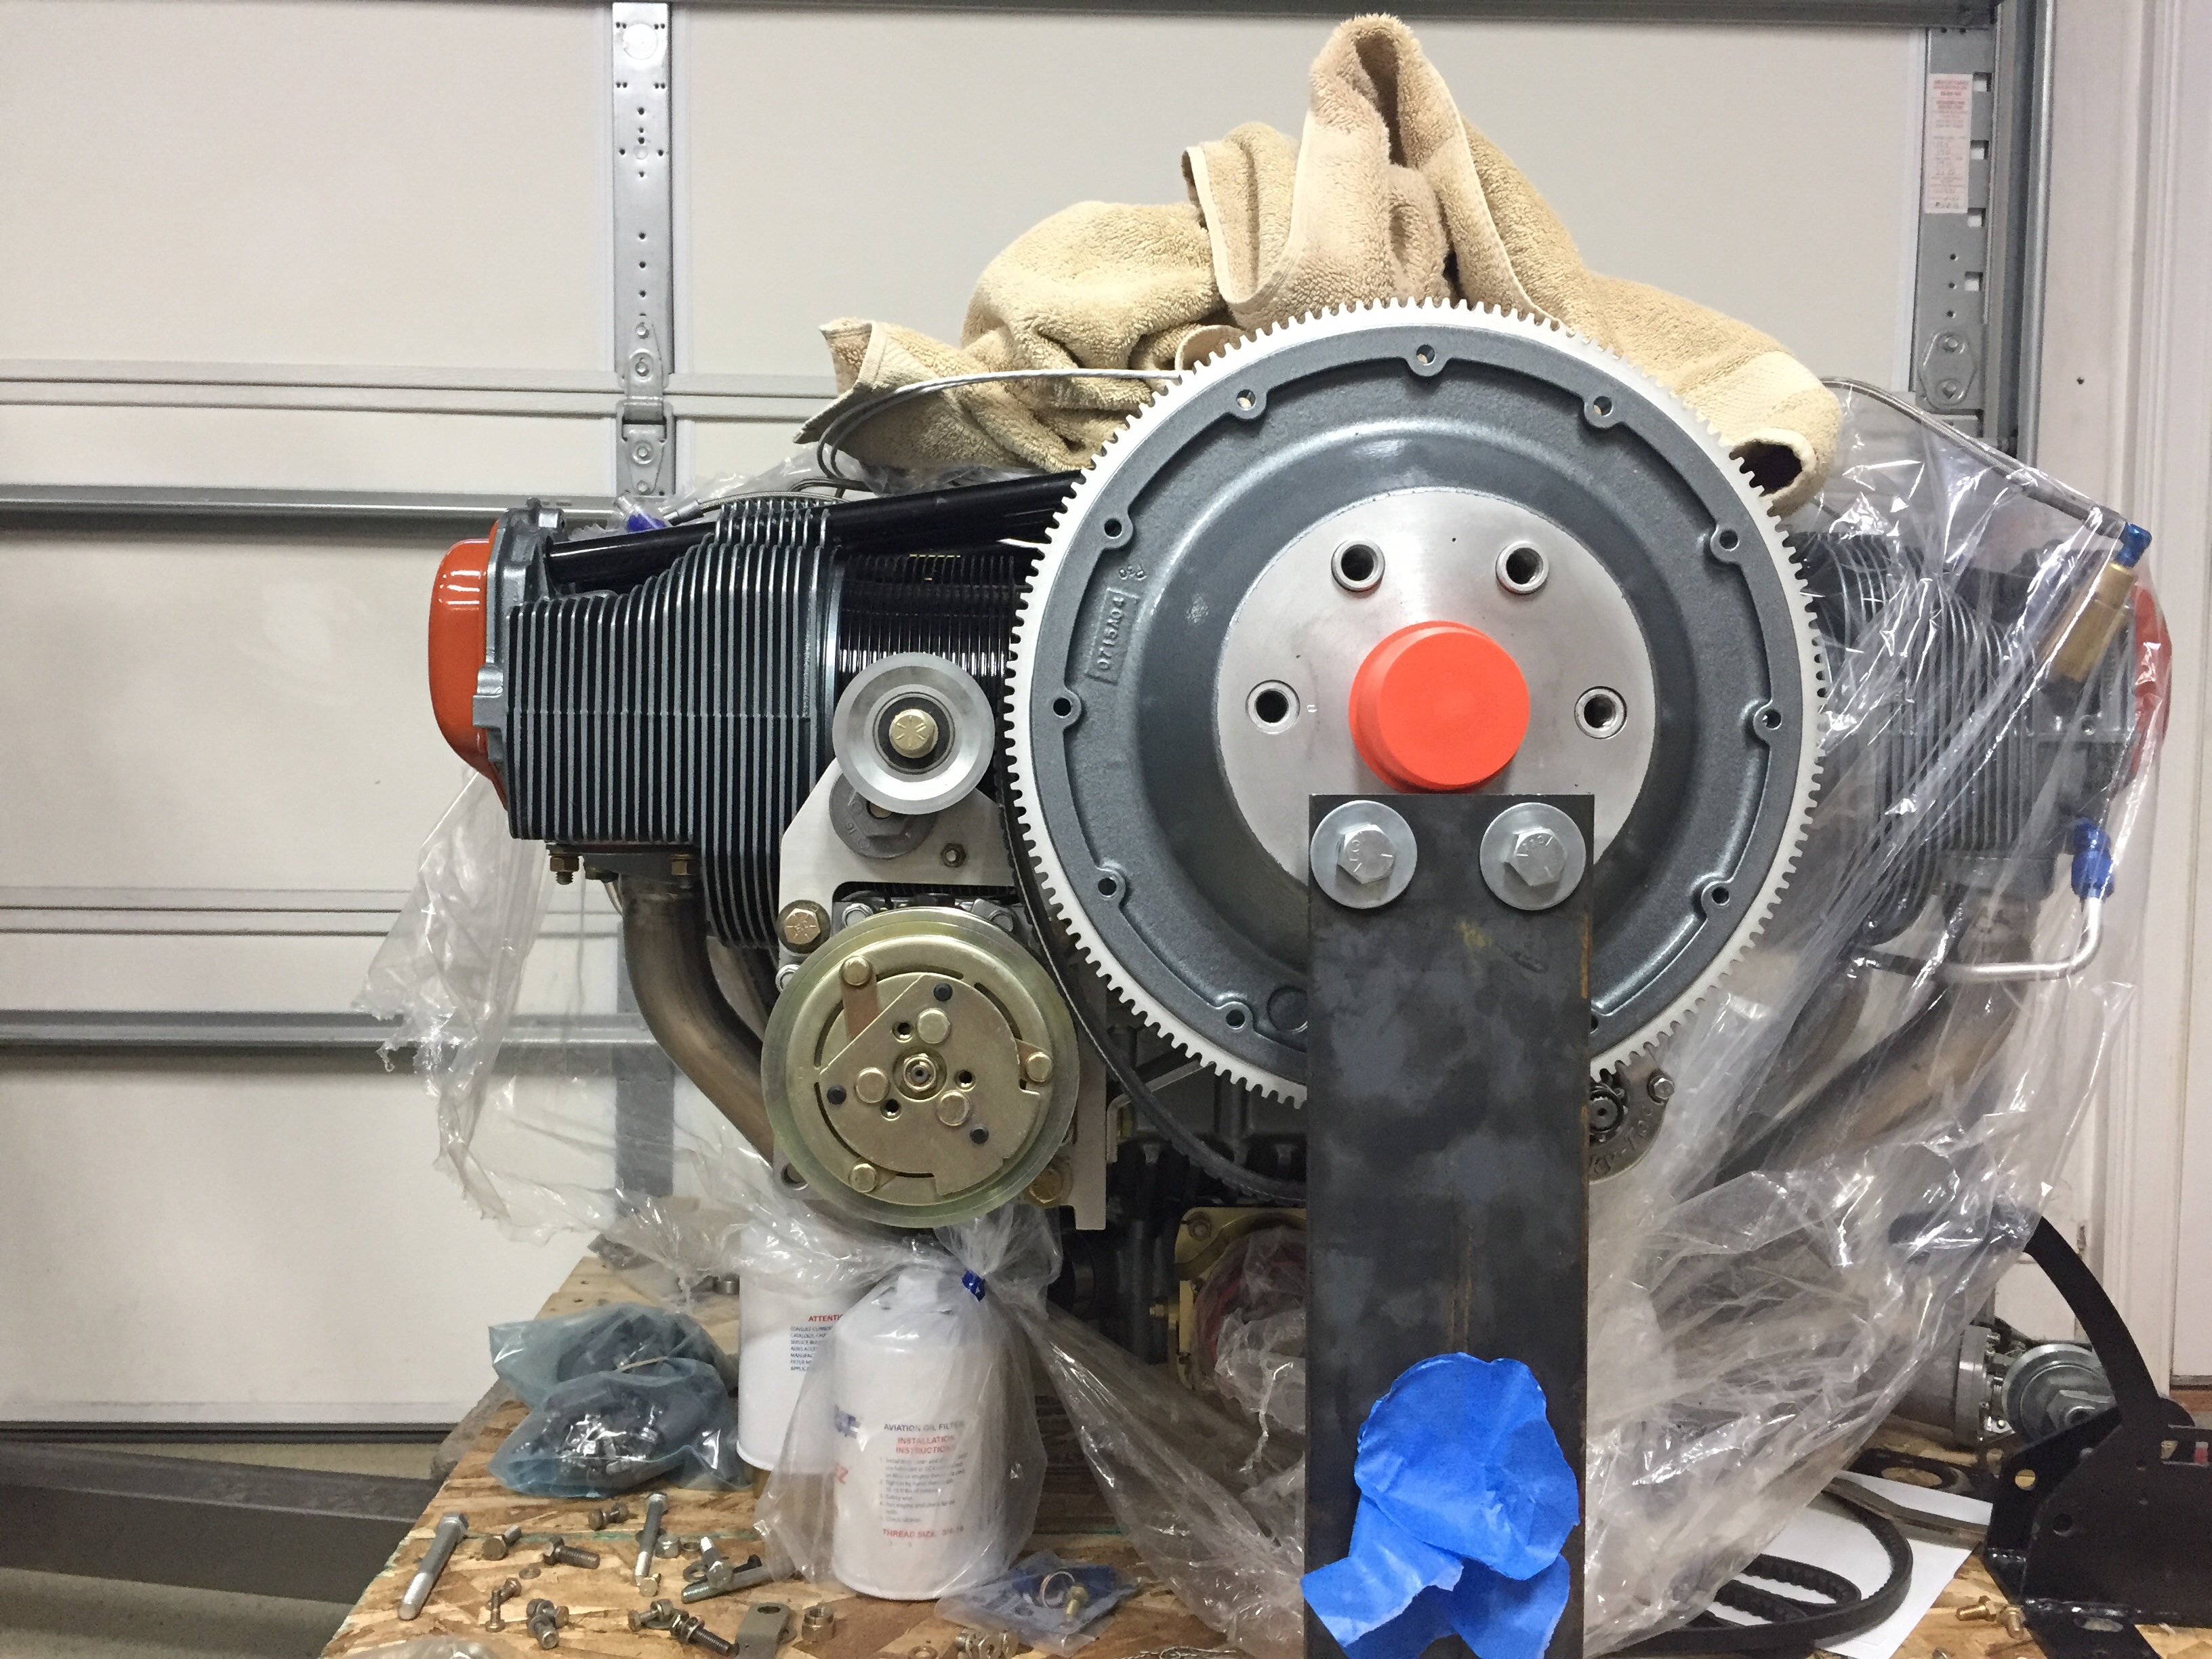
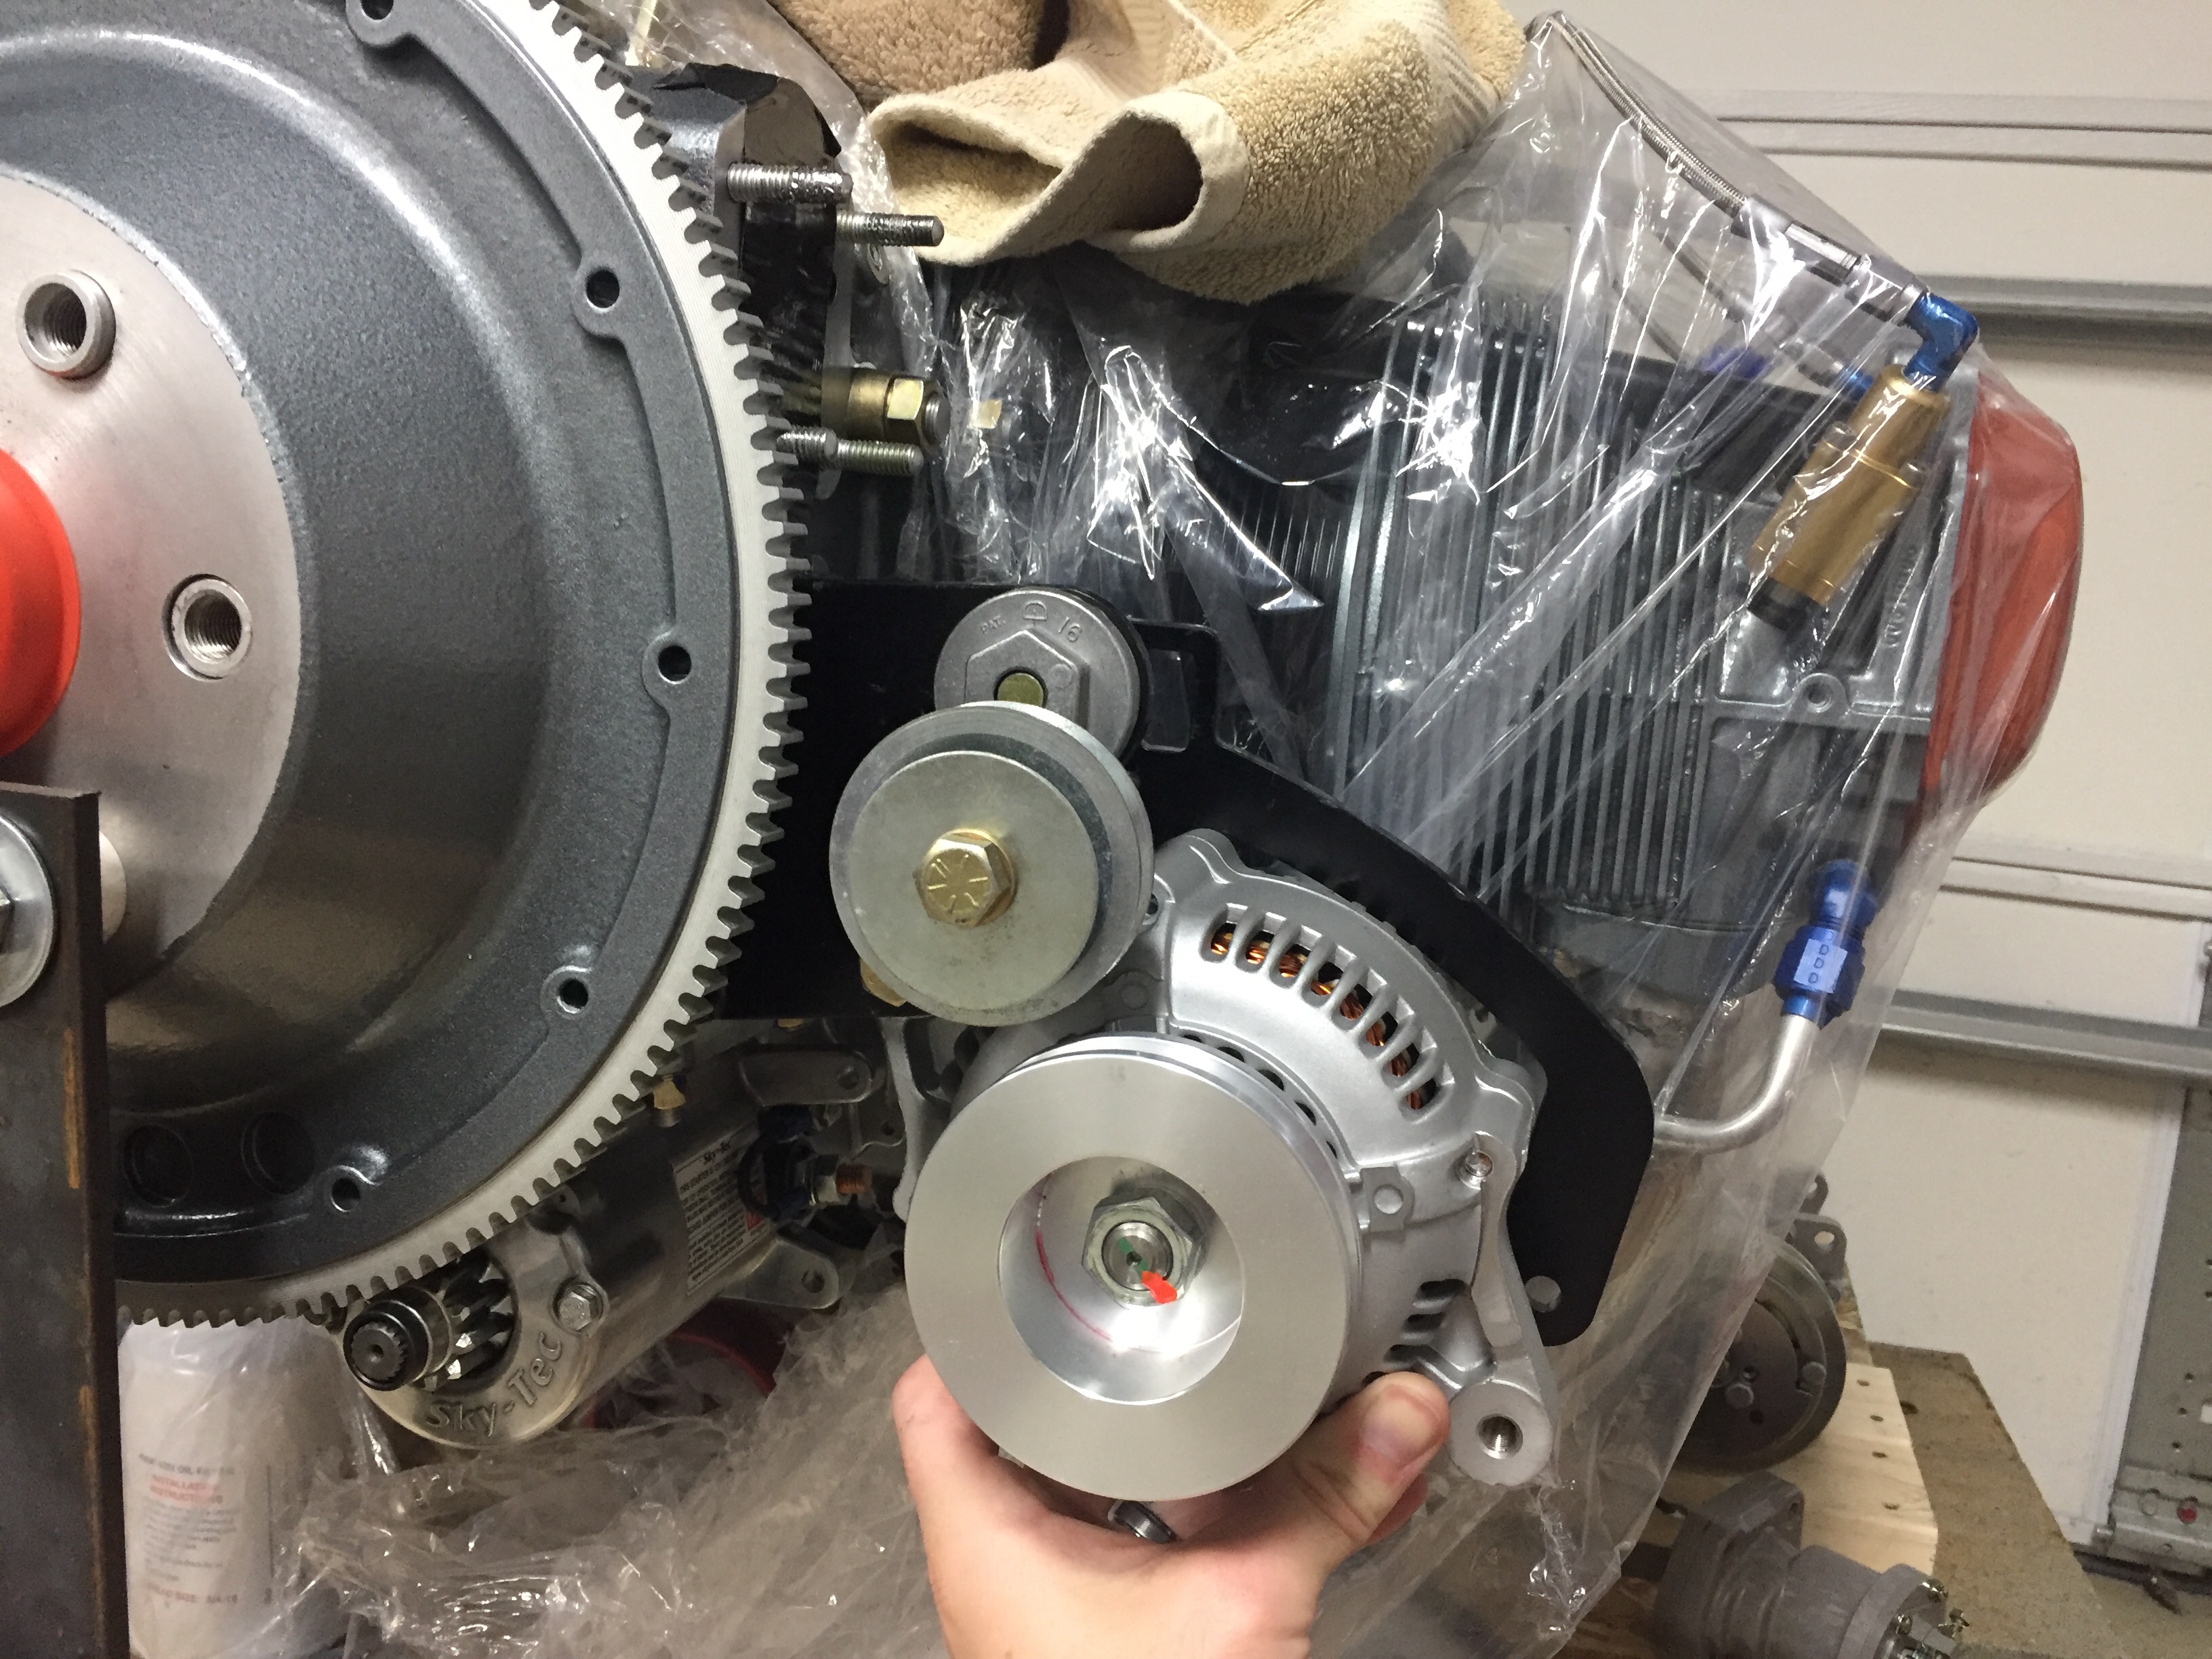
Of course, I had already taken everything apart and mixed hardware which was a huge mistake. It took me an hour to sort things out and figure out where crap went back on the engine to be in original configuration. Another call to John and Robert Skinner to brainstorm, I decided to push the easy button and buy the newest compressor and mount from Flightline. That cost a lot, but I just don’t have the time, resources, or skills to engineer a new bracket and have it manufactured one off. I know his newest setup works, so I sucked it up and paid the bill.
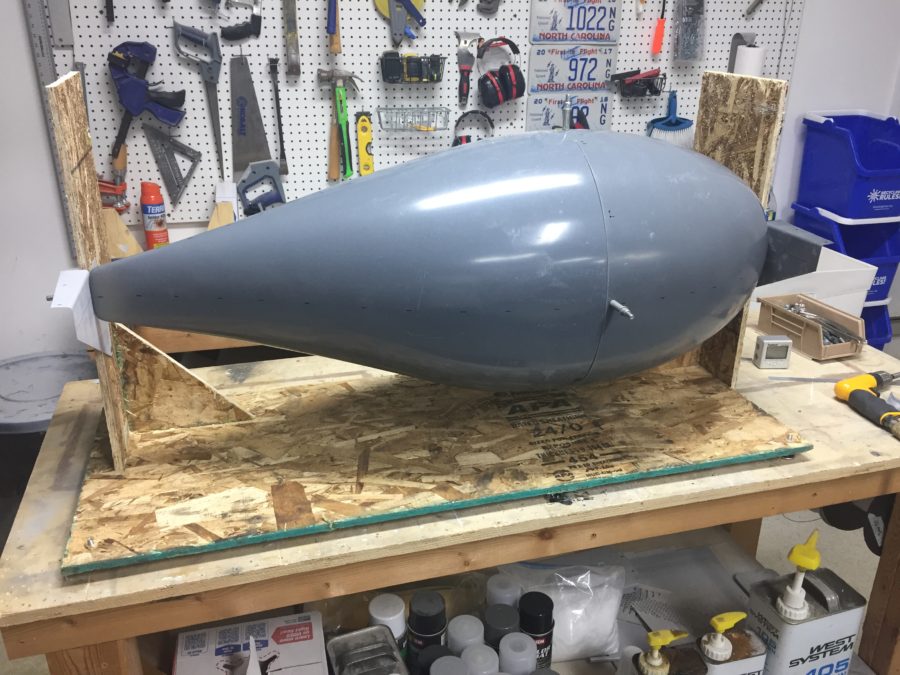
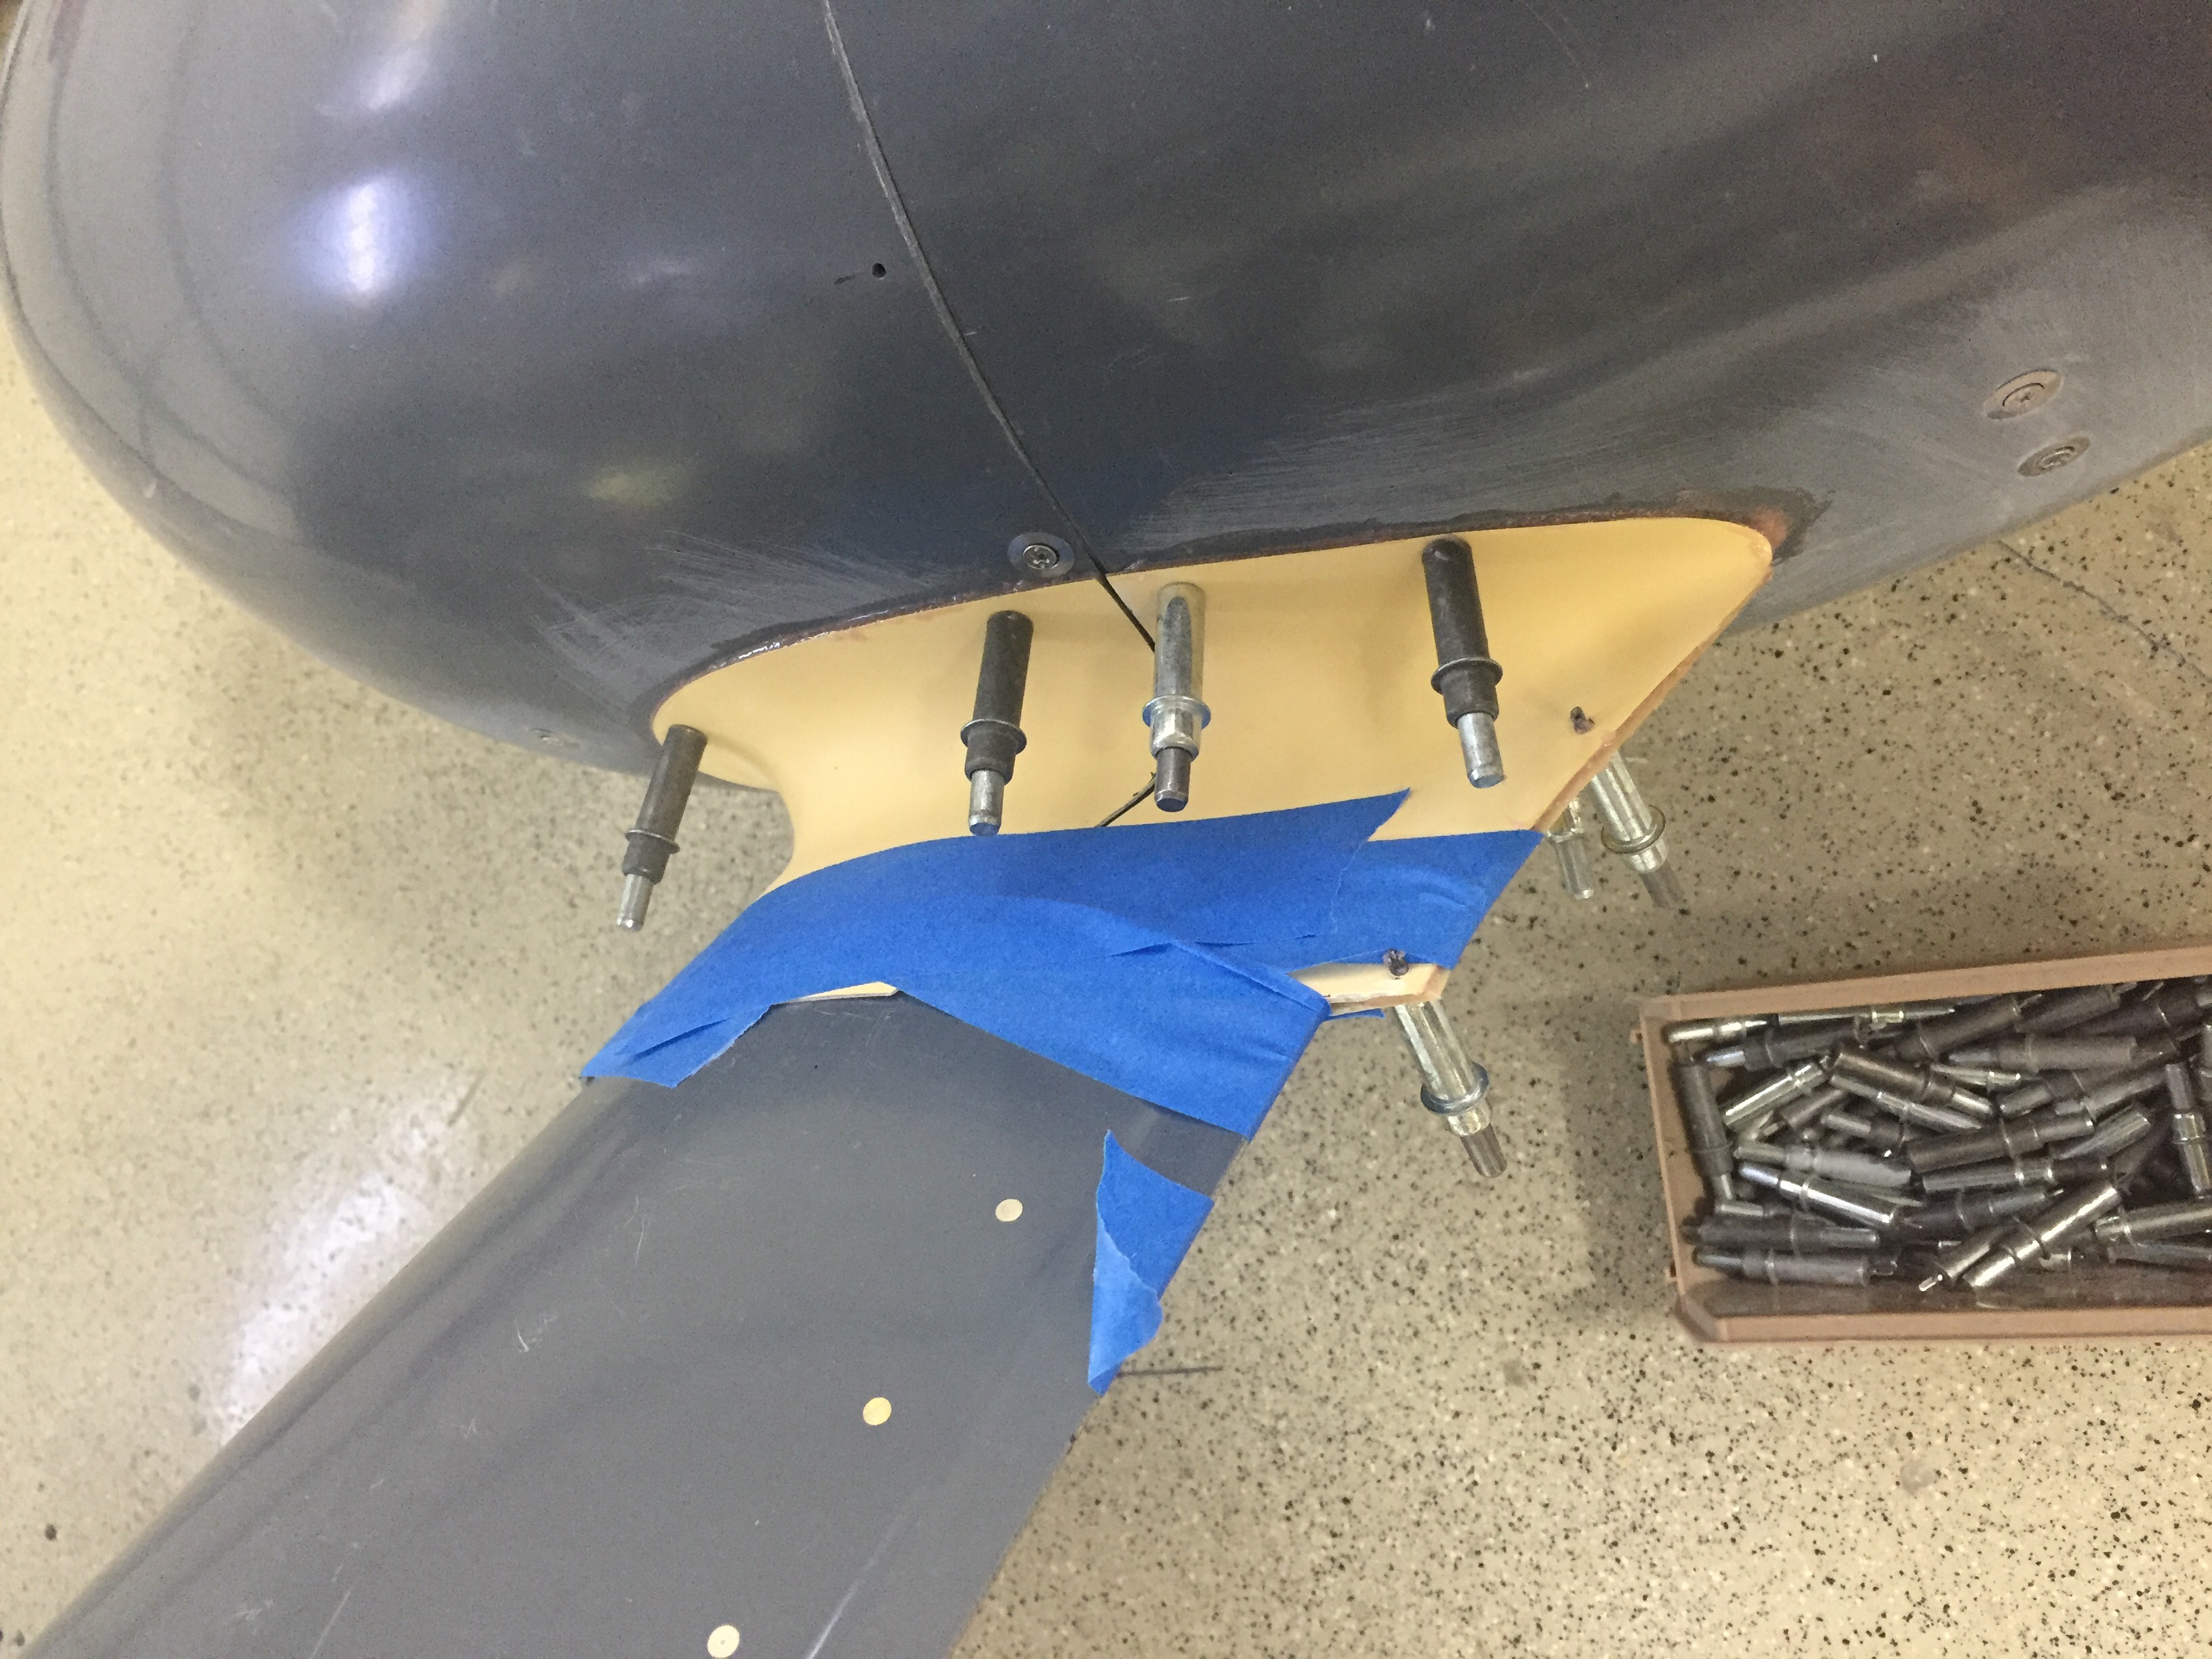
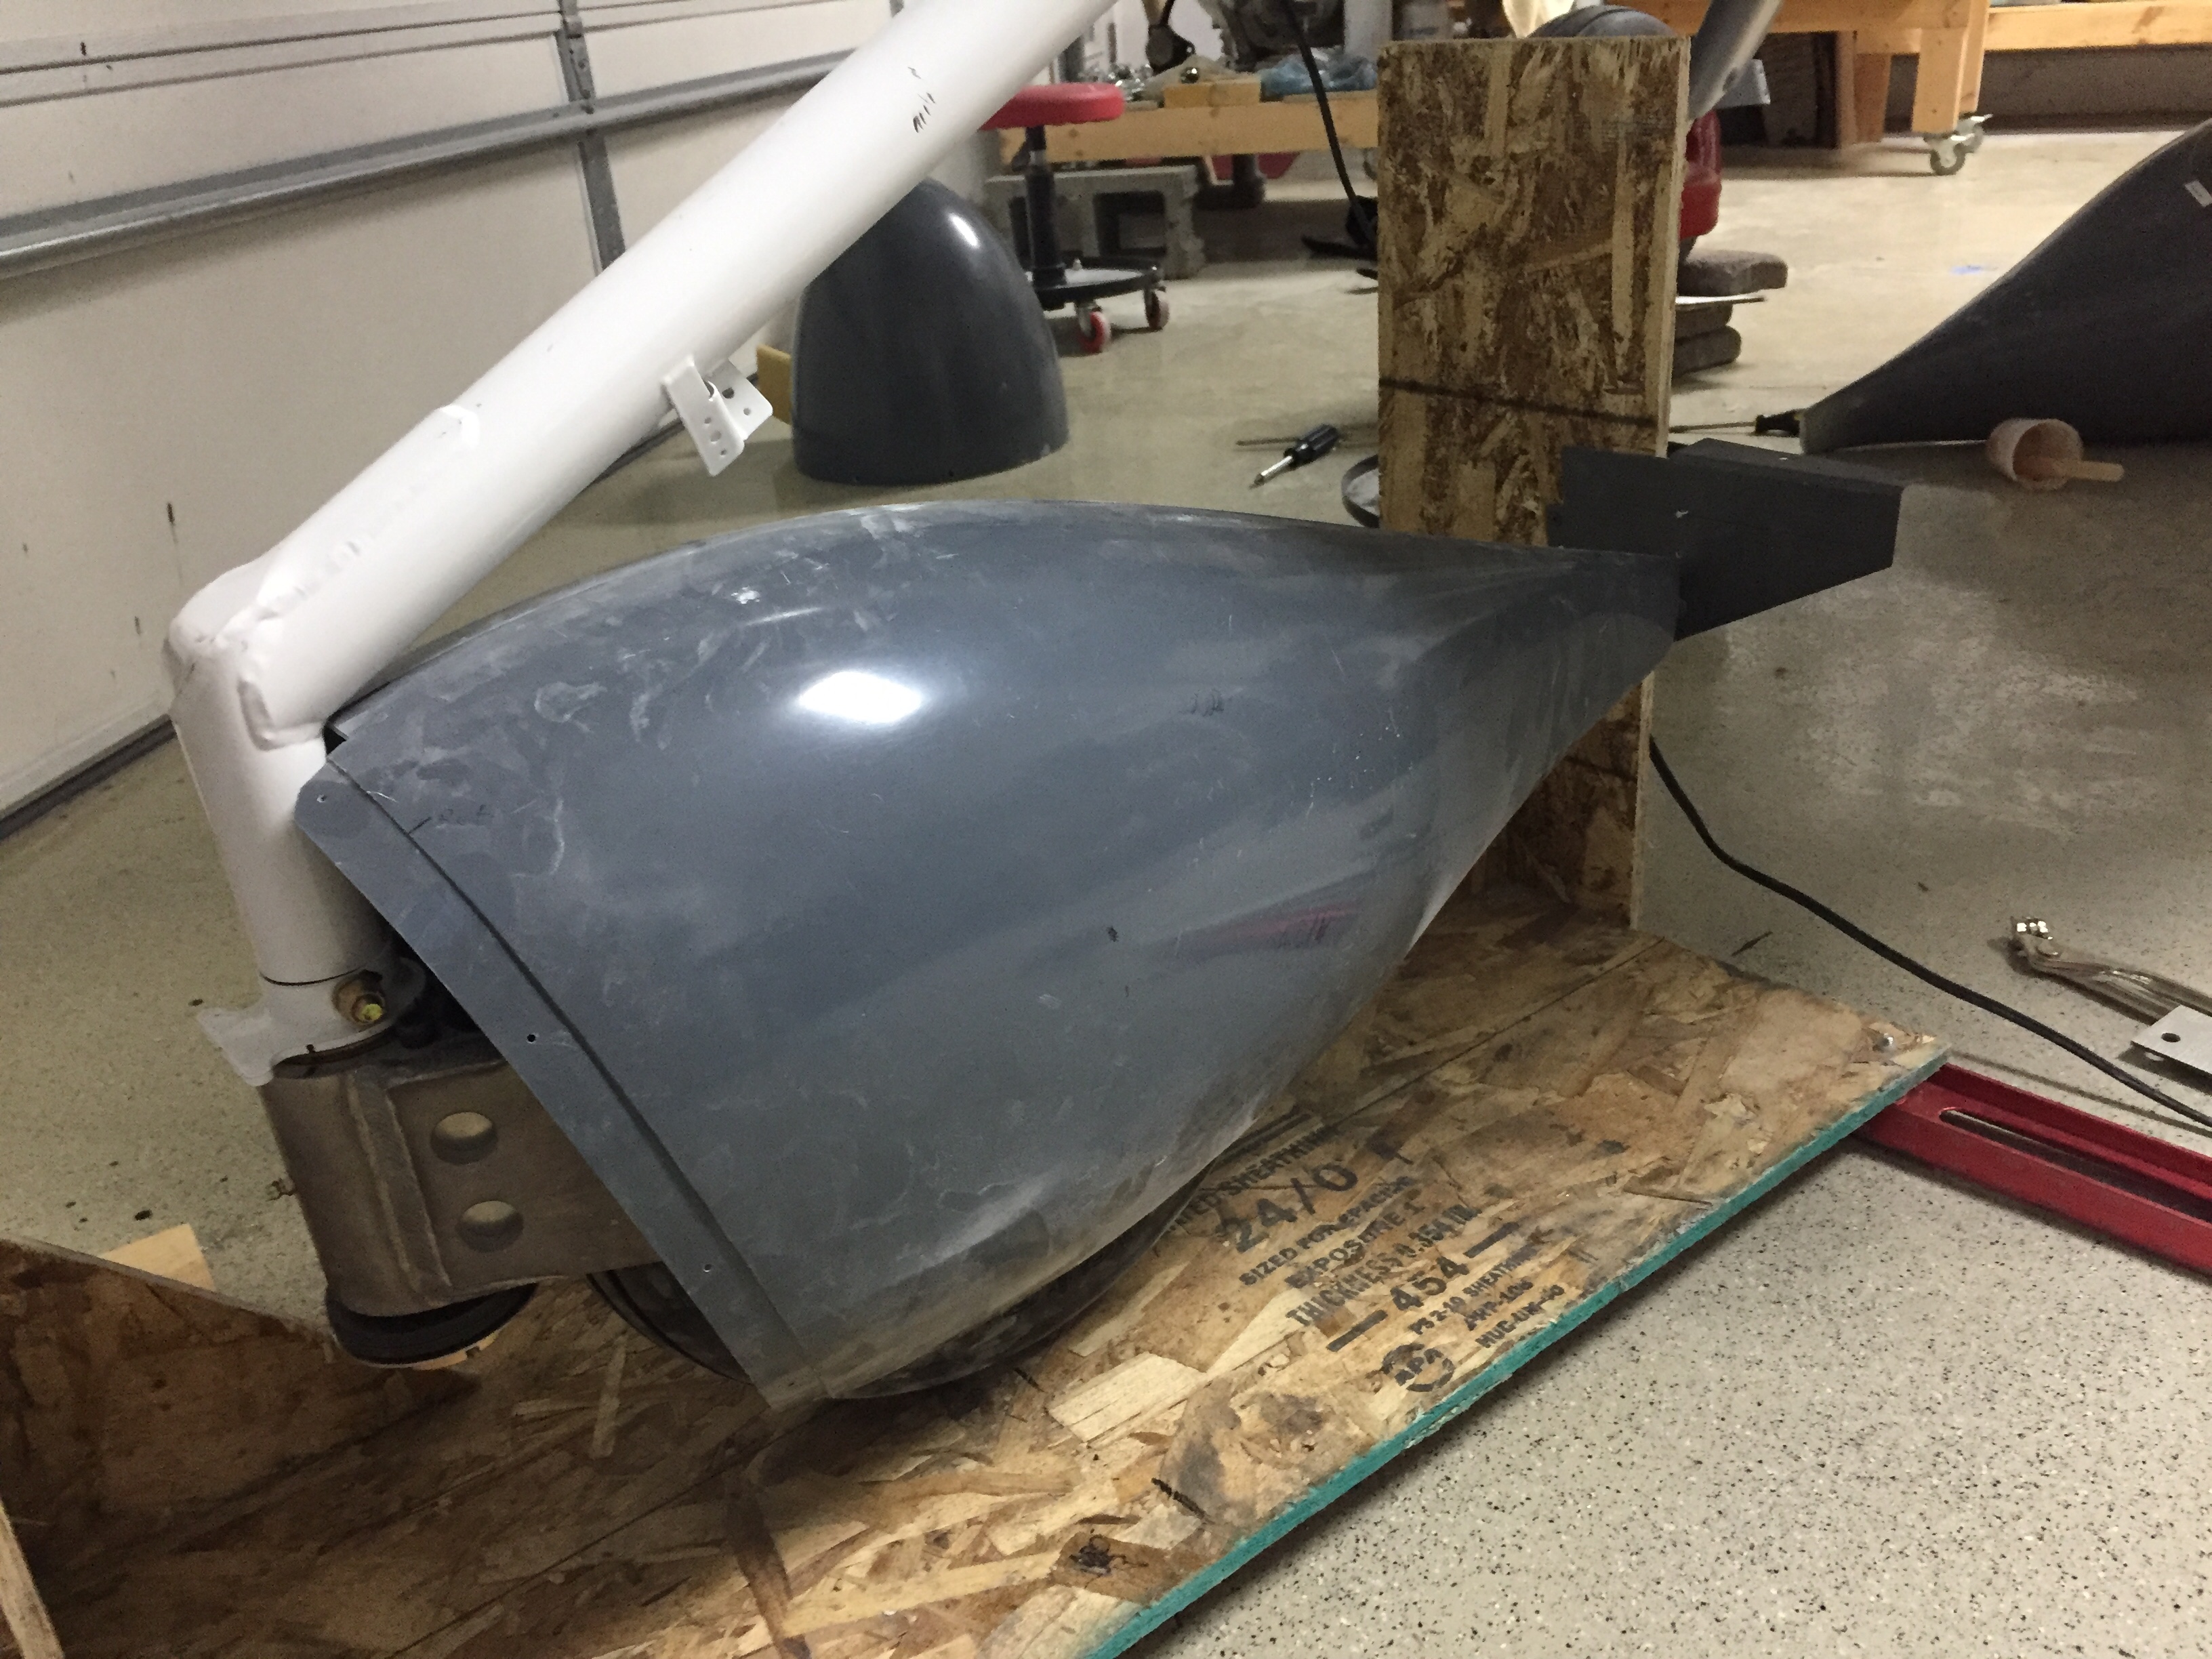
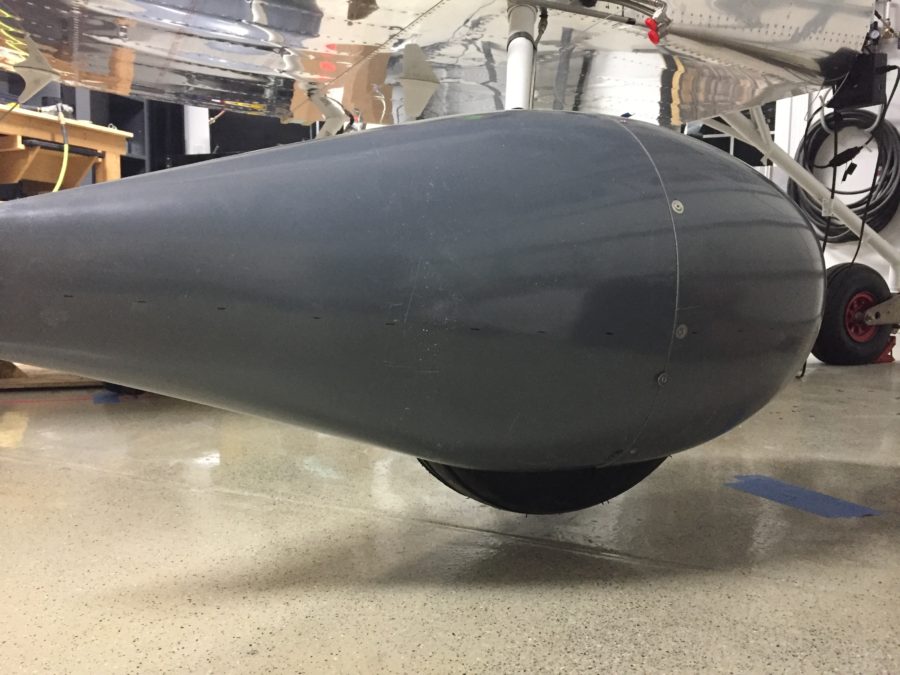
Meanwhile, the last project to do before hanging the engine is putting some pants over the beautiful red Beringer wheels. The wheel pants and gear leg fairings add considerable efficiency to the airframe so it’s important to get these right and rigged properly. I’ve dreaded them and was right in doing so. For some reason, these were just a royal pain in the ass for me. I started by building a jig to hold the main paints. I used a laser to get all of the level and plumb lines which sucked. Then I cleaned the two havles up enough to joing them together which also sucked. What really sucked was trying to get the alignment perfect and the holes drilled in the right spots.
It sucked getting up and down off the floor about 50 times an hour too. How was aligning the pants in the jig with the airframe? It sucked. I dropped a centerline for the fuse and then measured from that to set the alignment. What sucks, is the new pants from Vans are grey fiberglass gel coat so you can’t see through them. Which is why the directions suck because they assume you can just shine a light through the pants marking the proper holes to drill. I finally sucked it up and used a combination of careful measurements and the laser to pinpoint the locations to drill into the pants and mounting brackets.
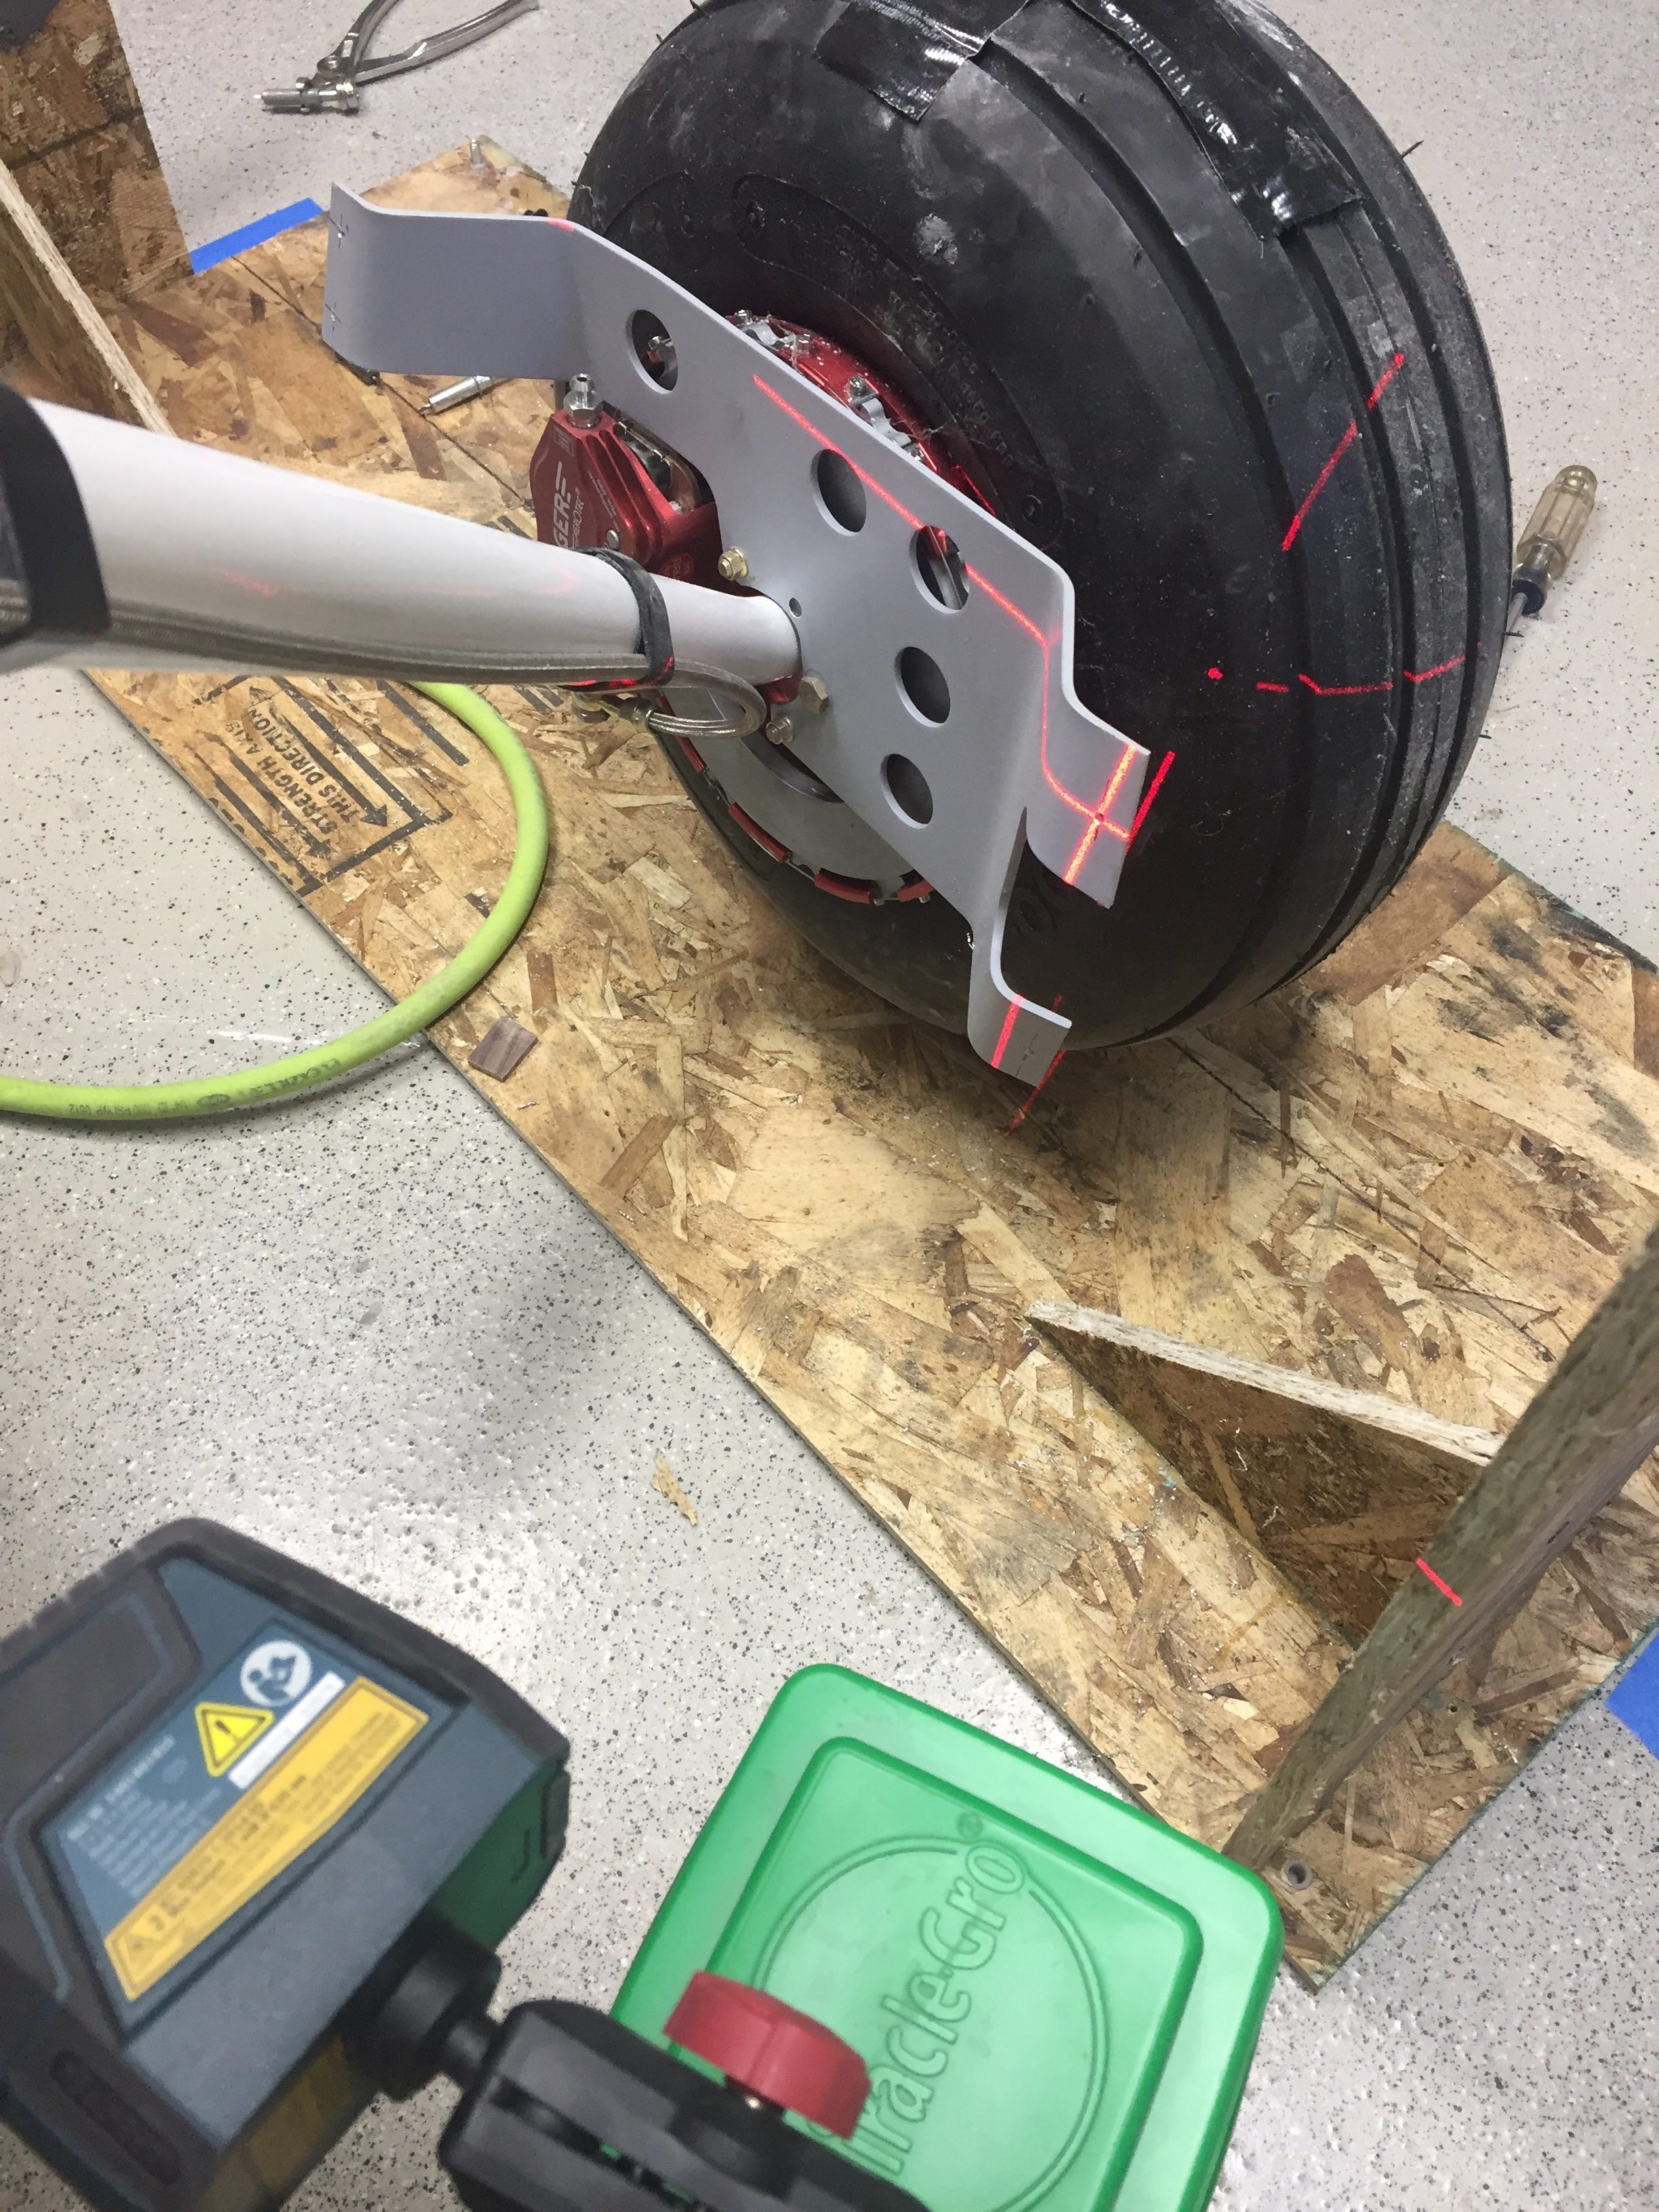
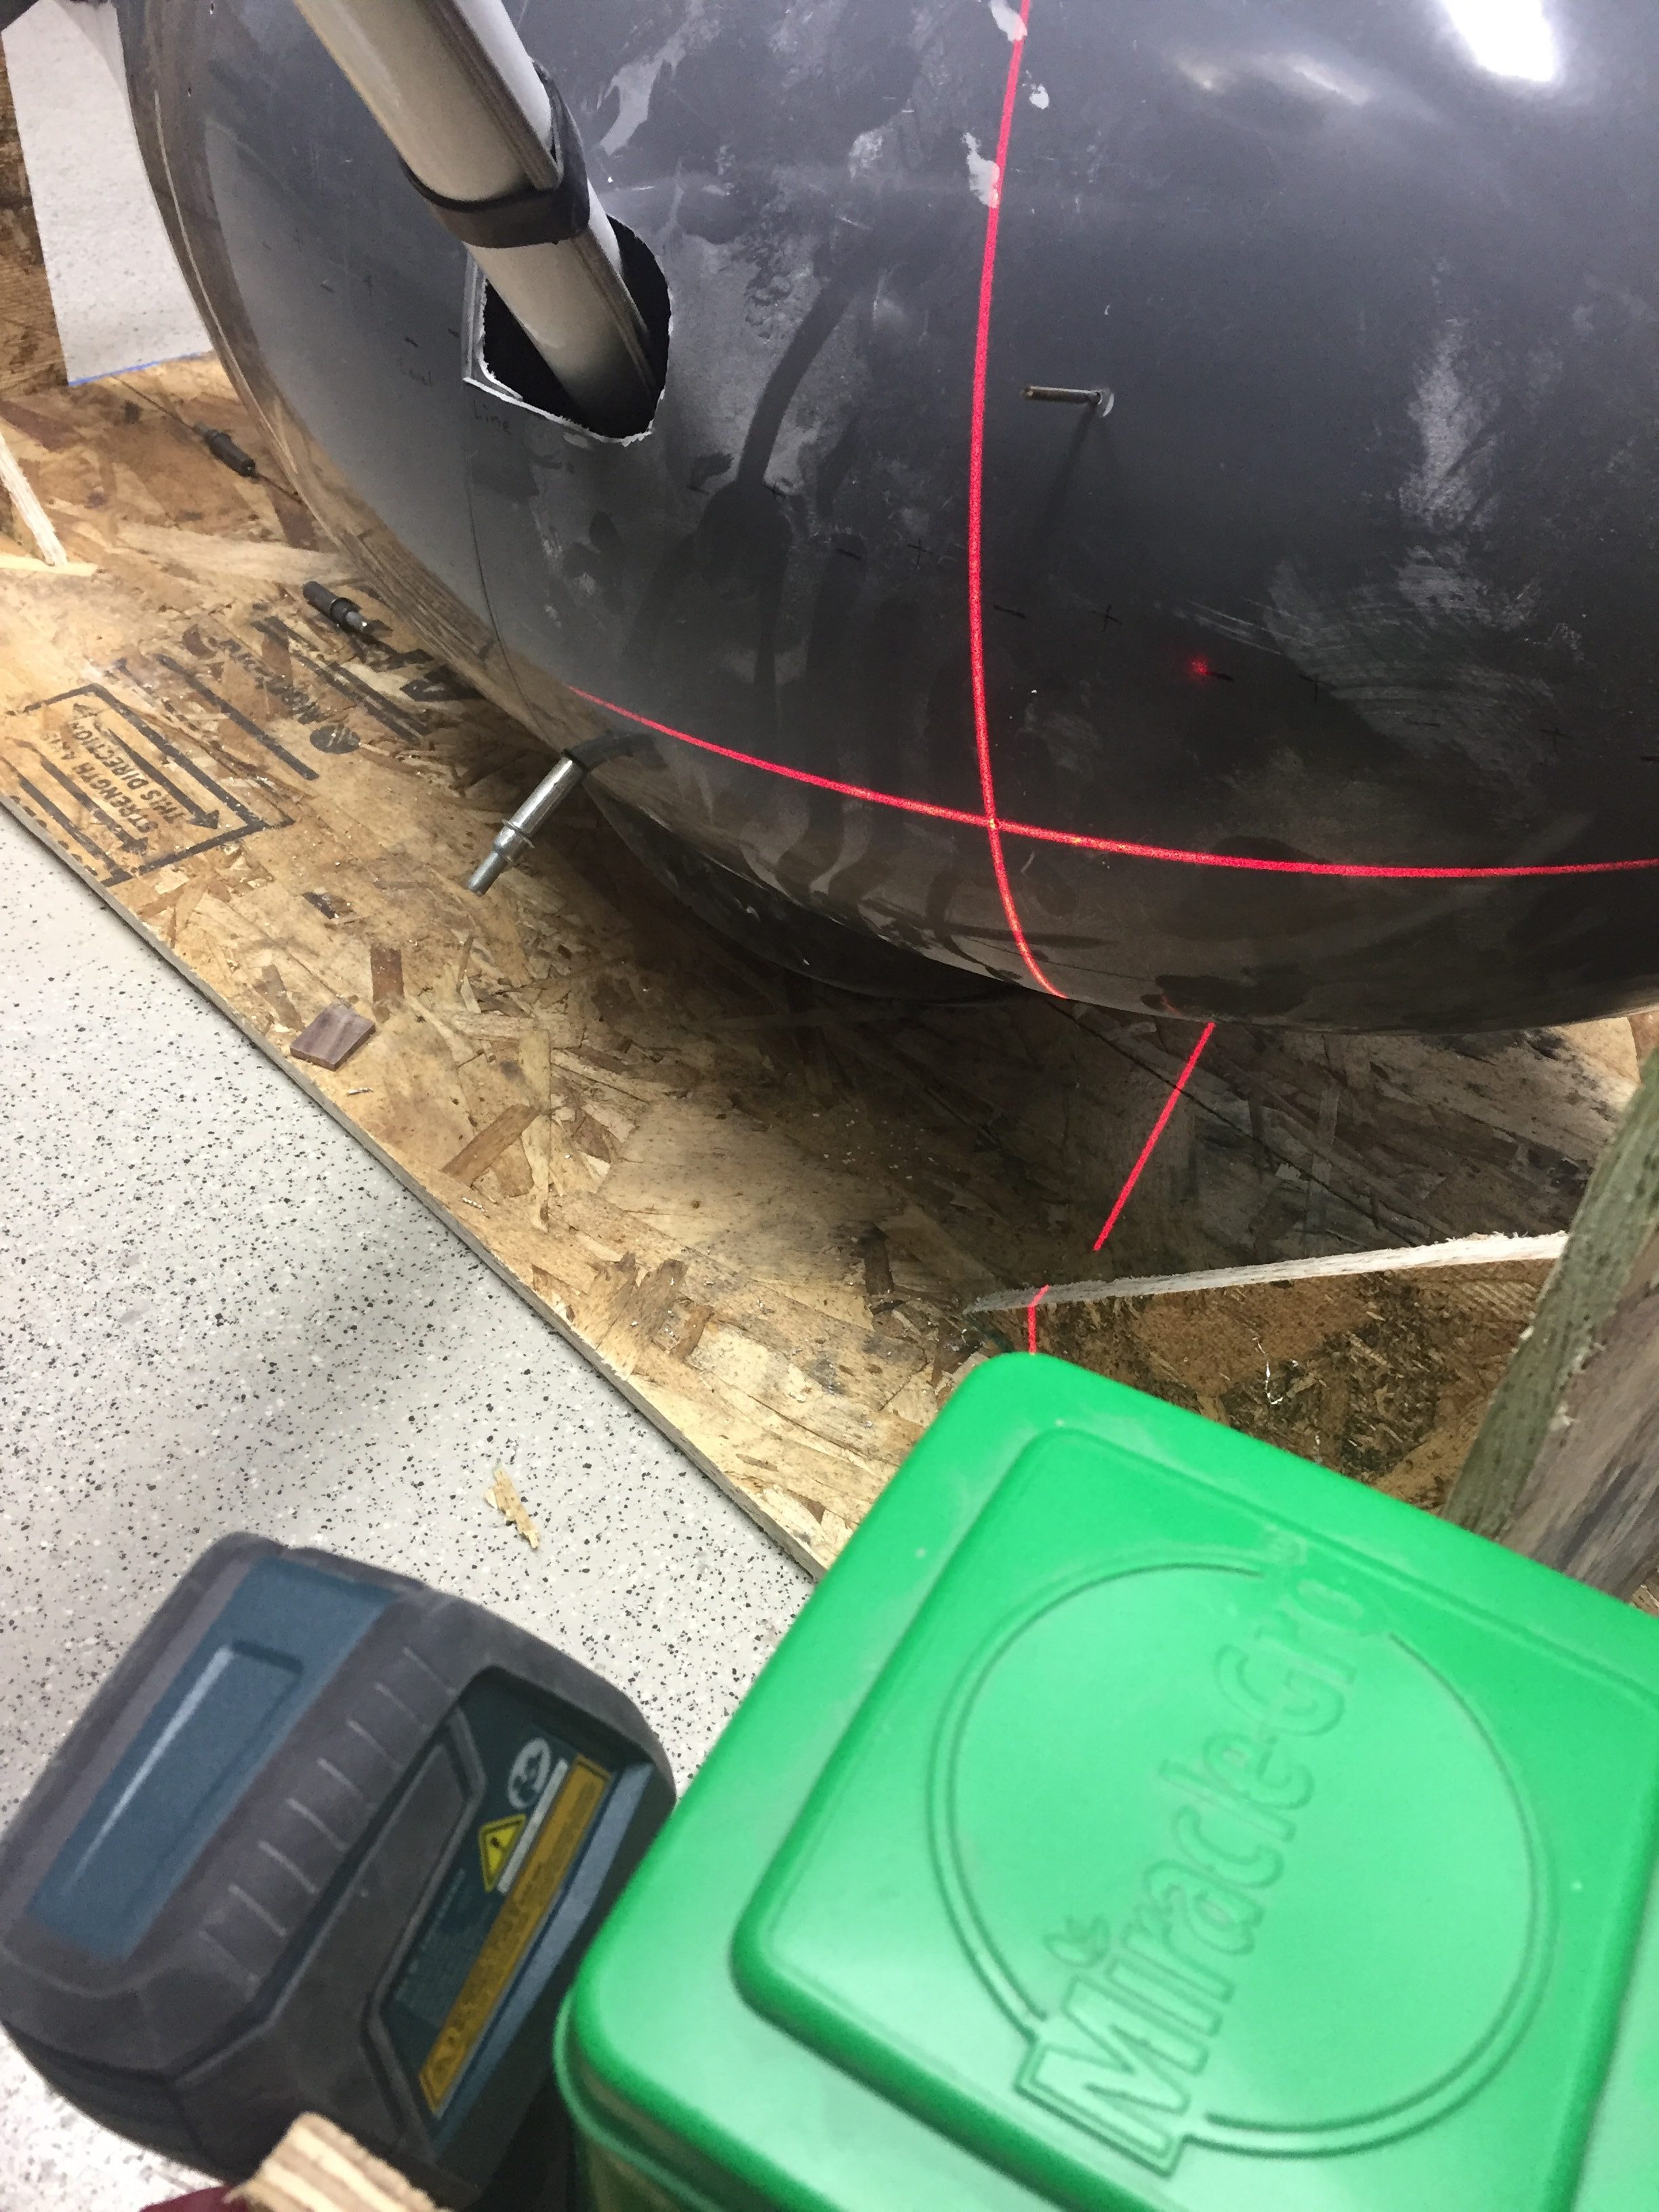
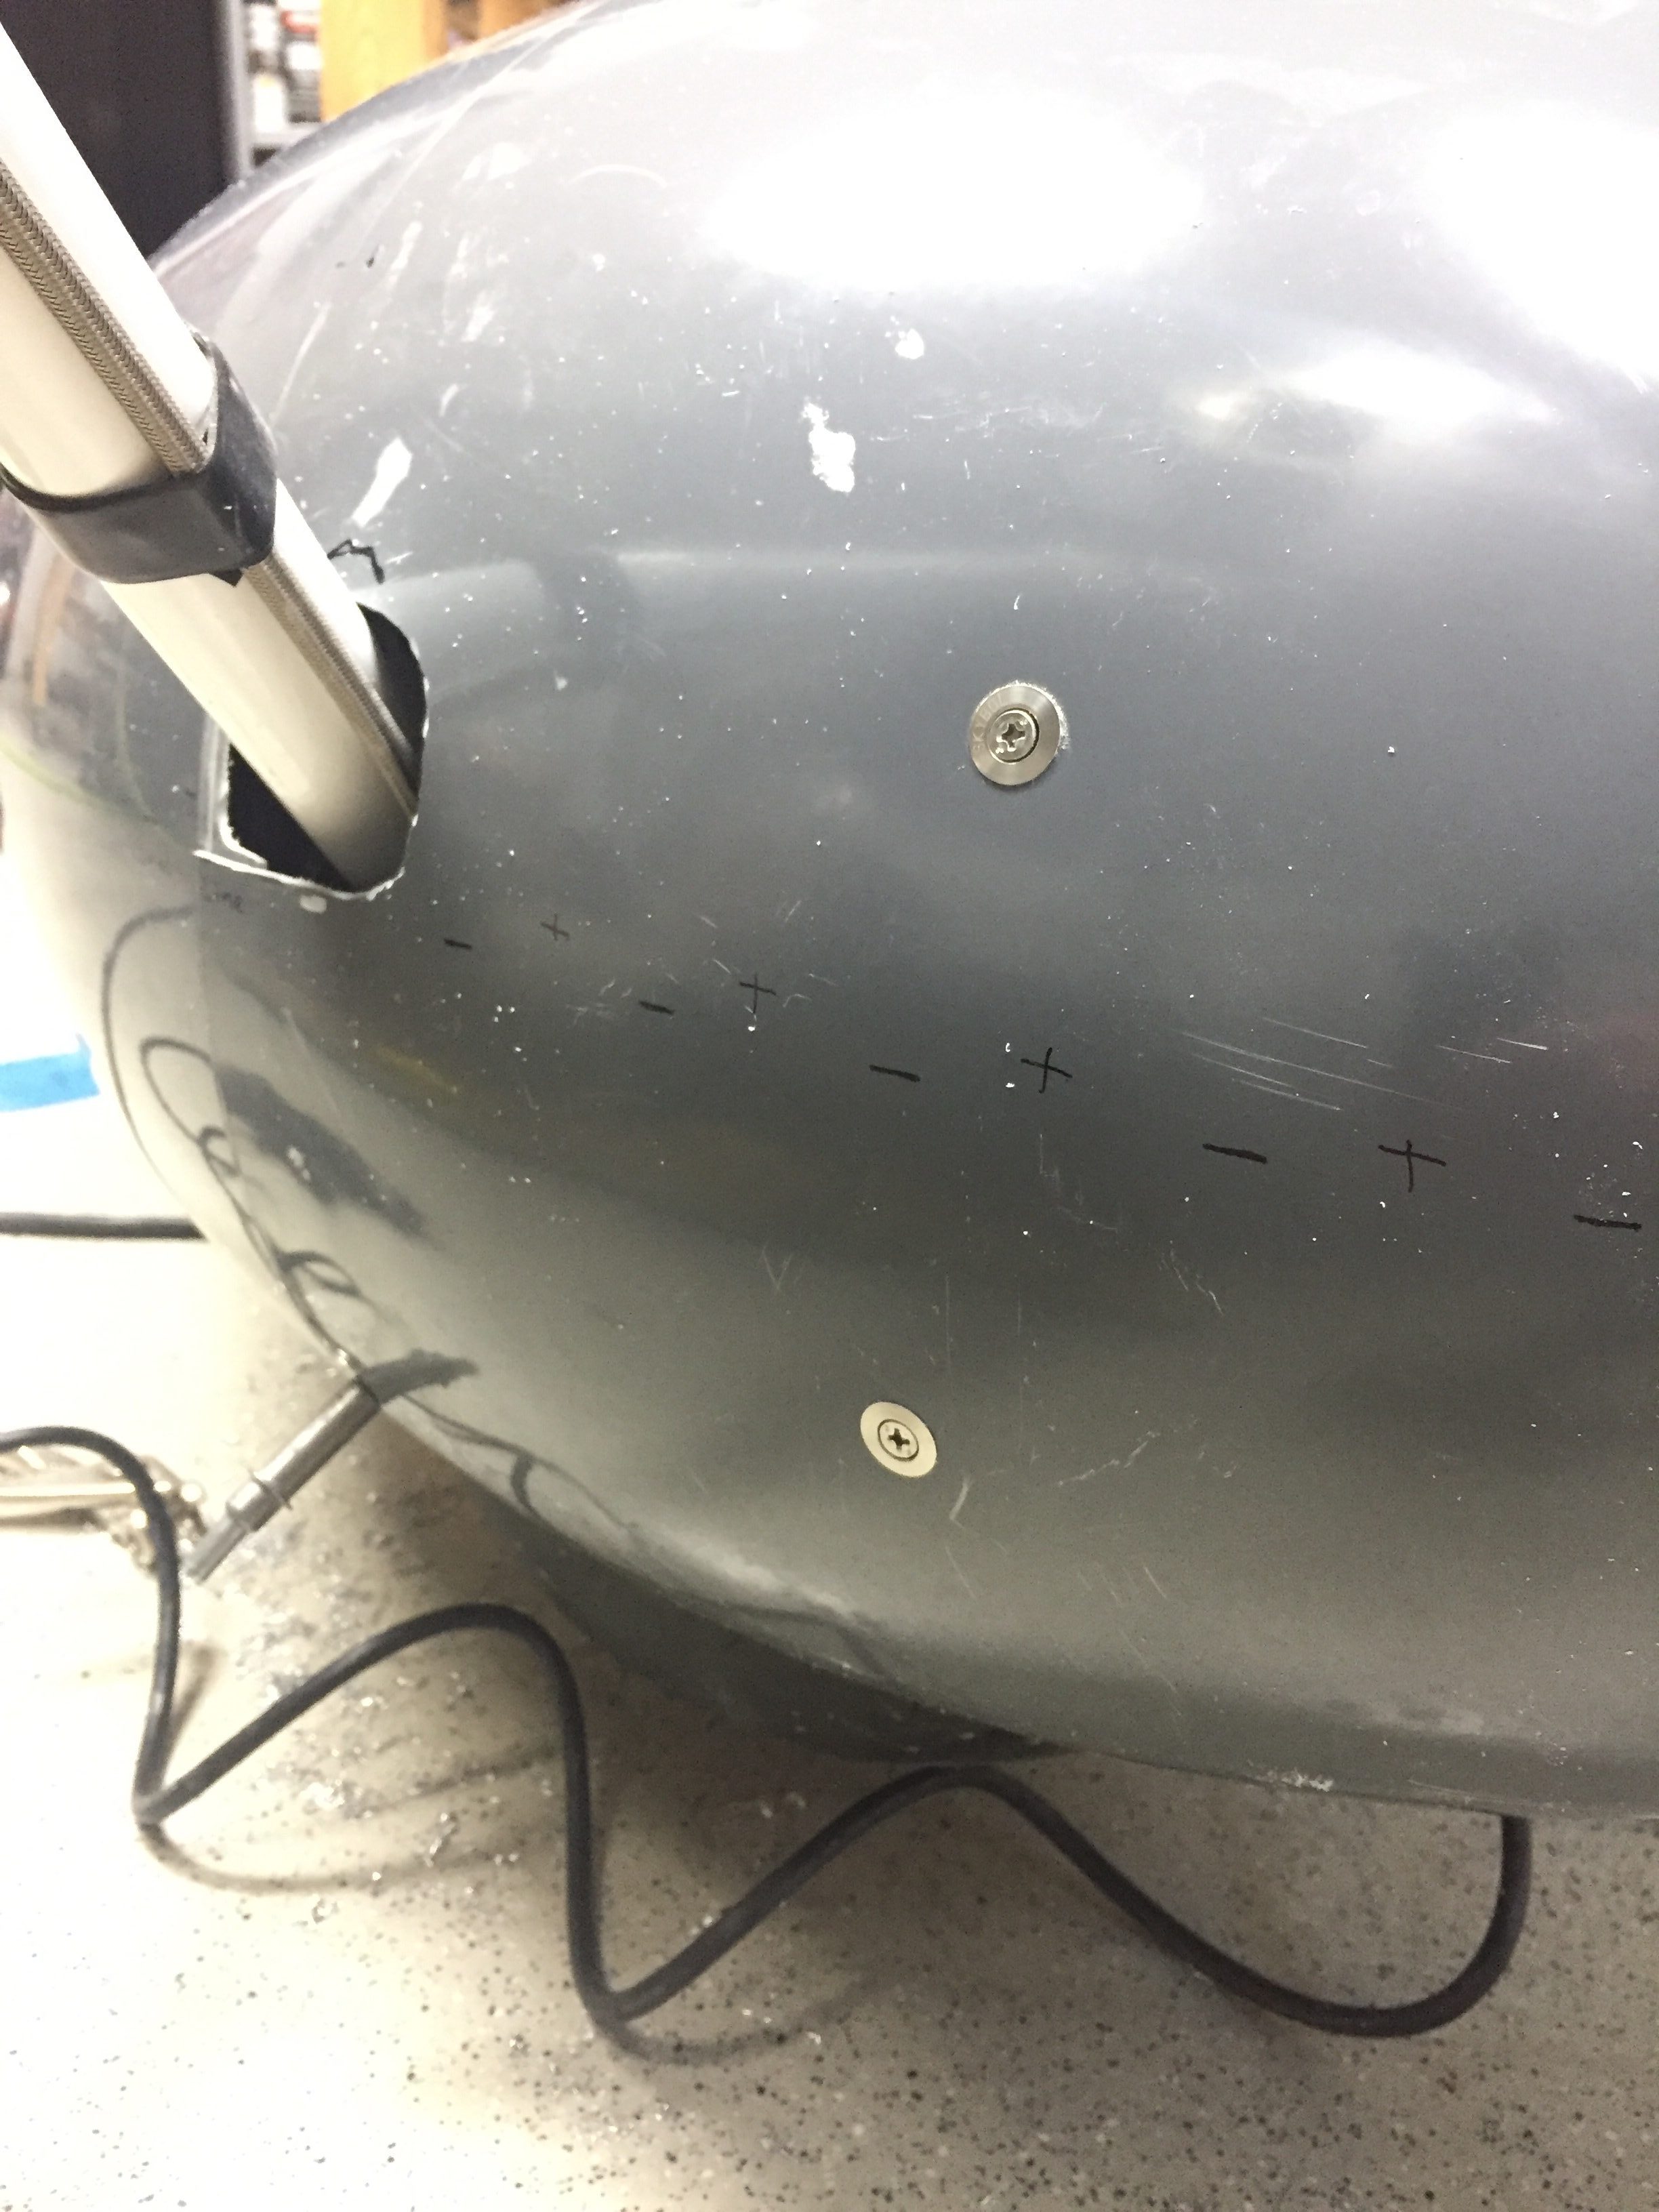
It also sucks trying to mark the wheel area to be cut out because you essentially have to mold yourself into the concrete floor to look underneath the pant that is three inches off the ground. I’m using SkyBolts on the wheel pants, which suck to install, but will make maintenance and access so much easier in the long run. I had to drill out the mounting holes slowly to ensure alignment stayed true, but they came out nicely in the end. It also sucked that I forgot my wheel pant axle stand off was an aftermarket purchase to replace the stock Vans part which – you guessed it, sucked. The stand off was way too long (by design) but I was afraid to trim it. Eventually, like Tess’s wheels, I put my big boy pants on and cut the damn things off to length, never looking back.
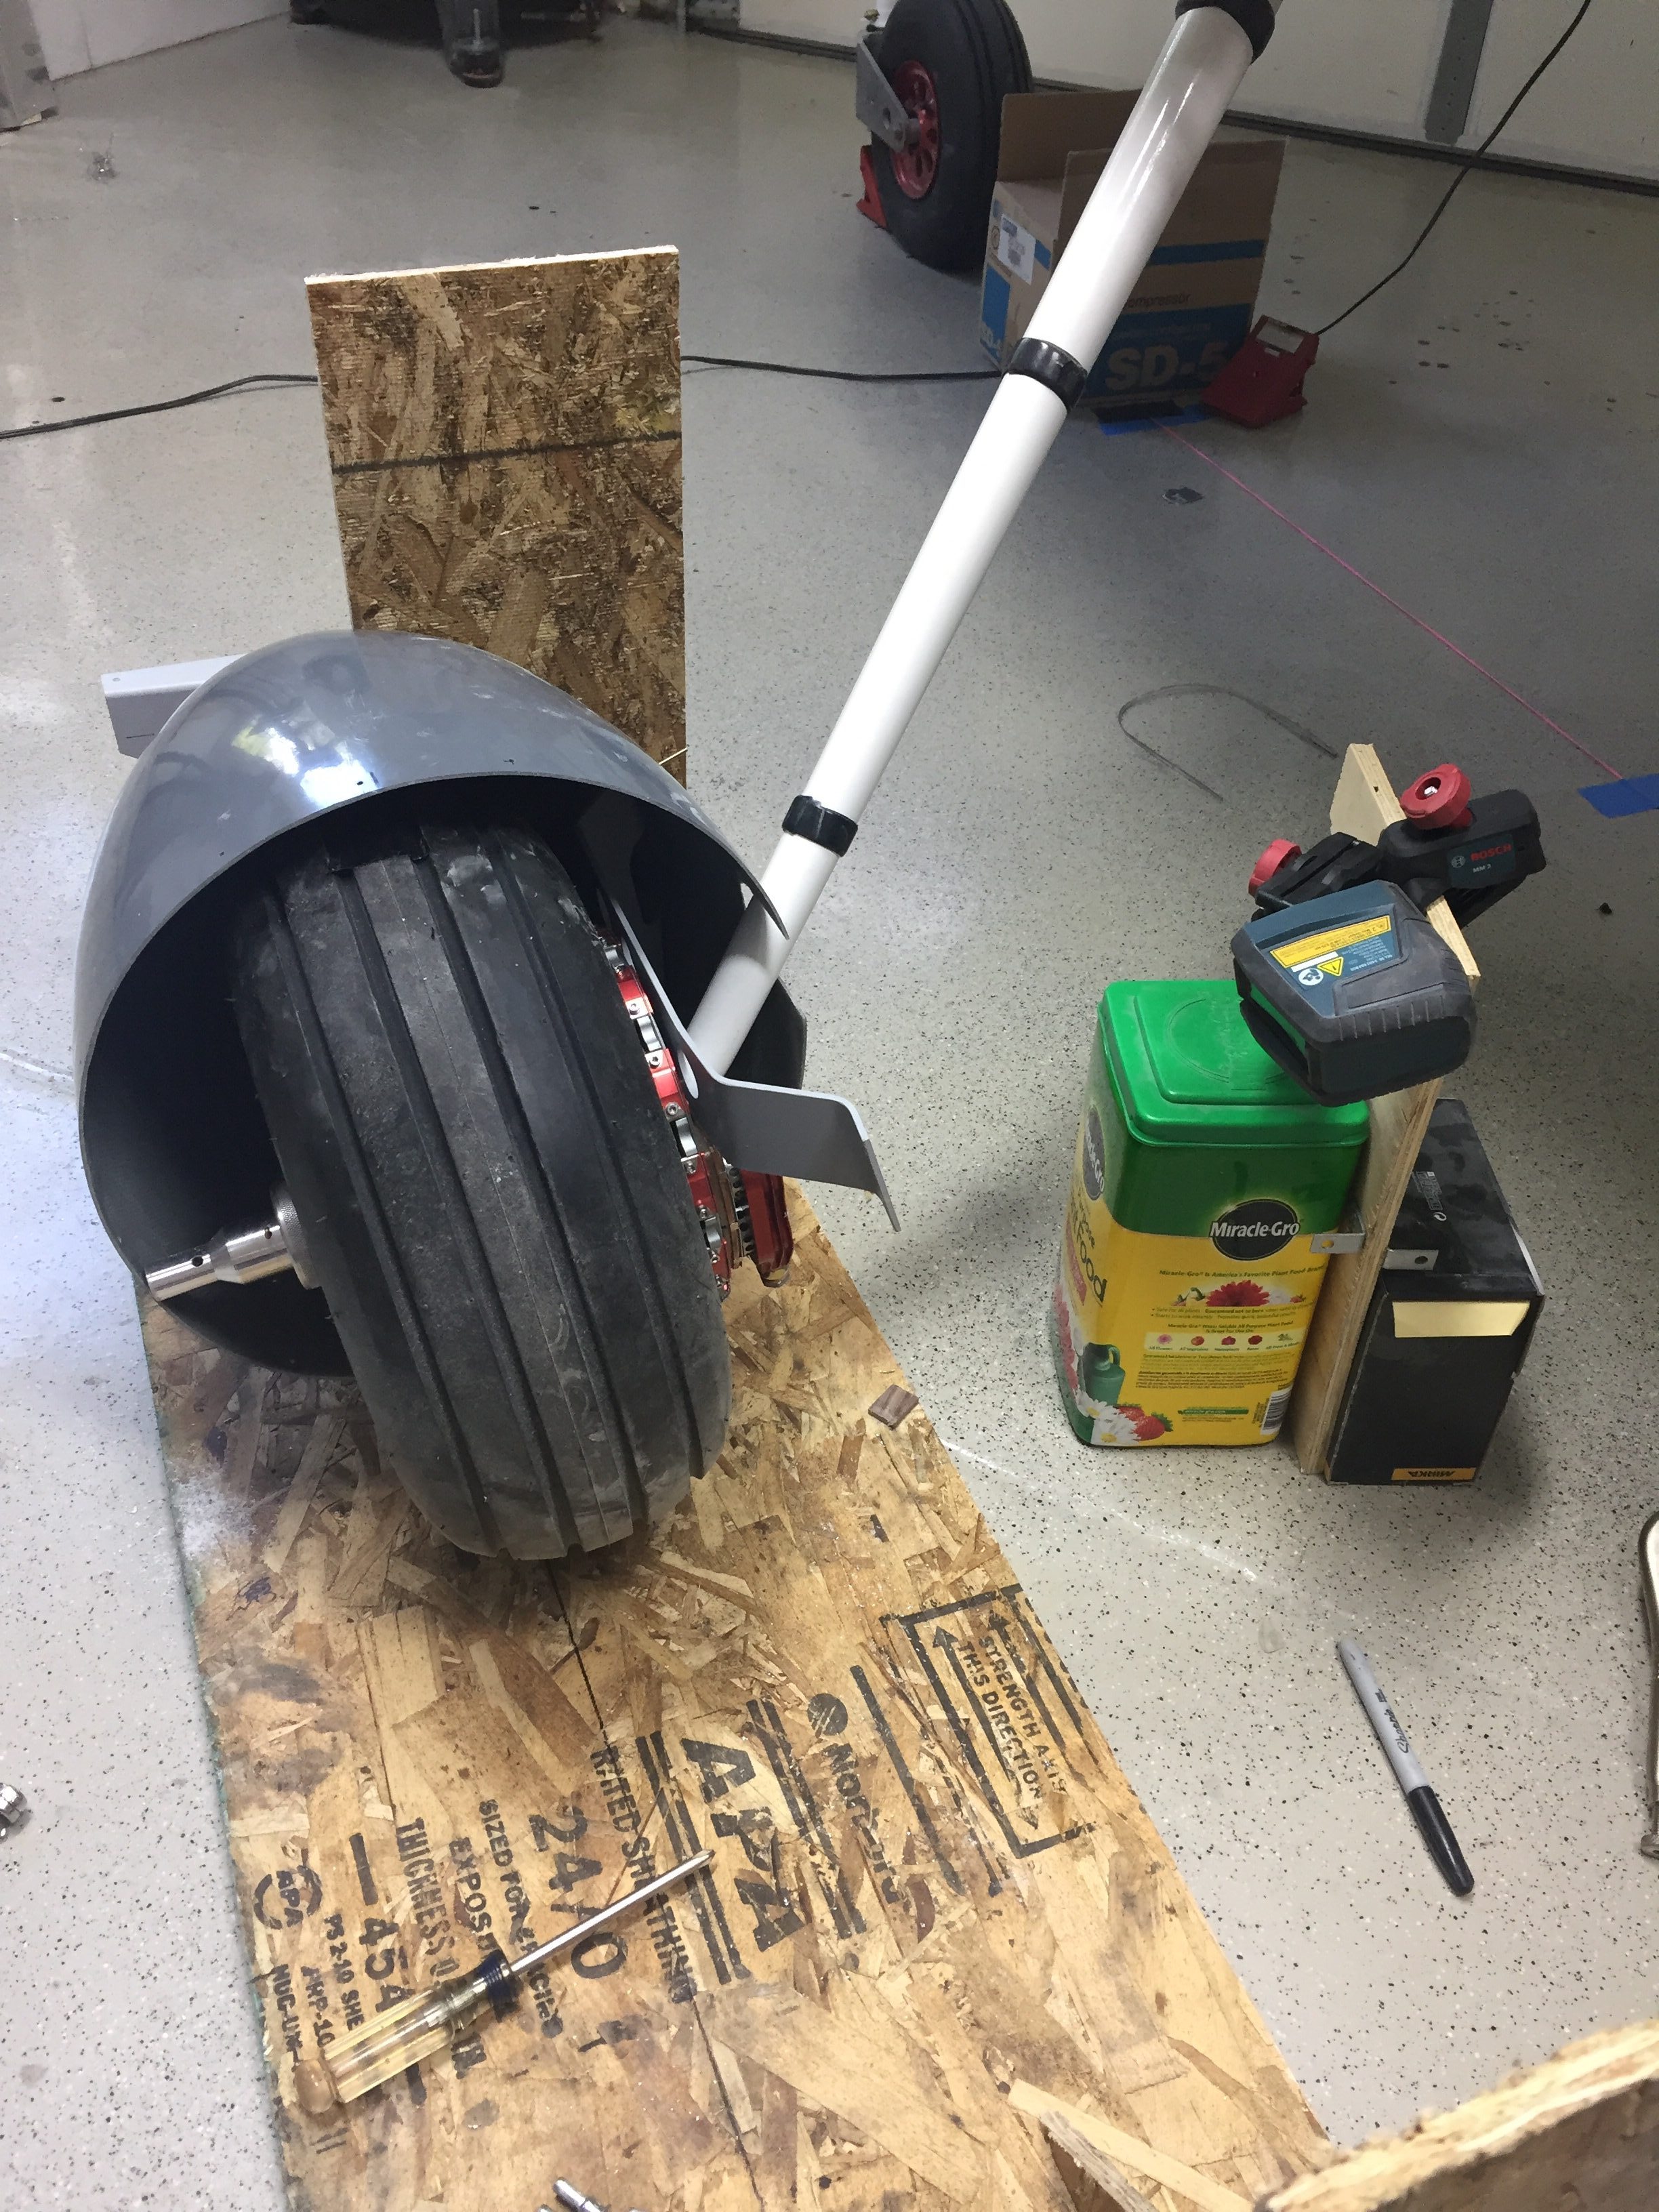
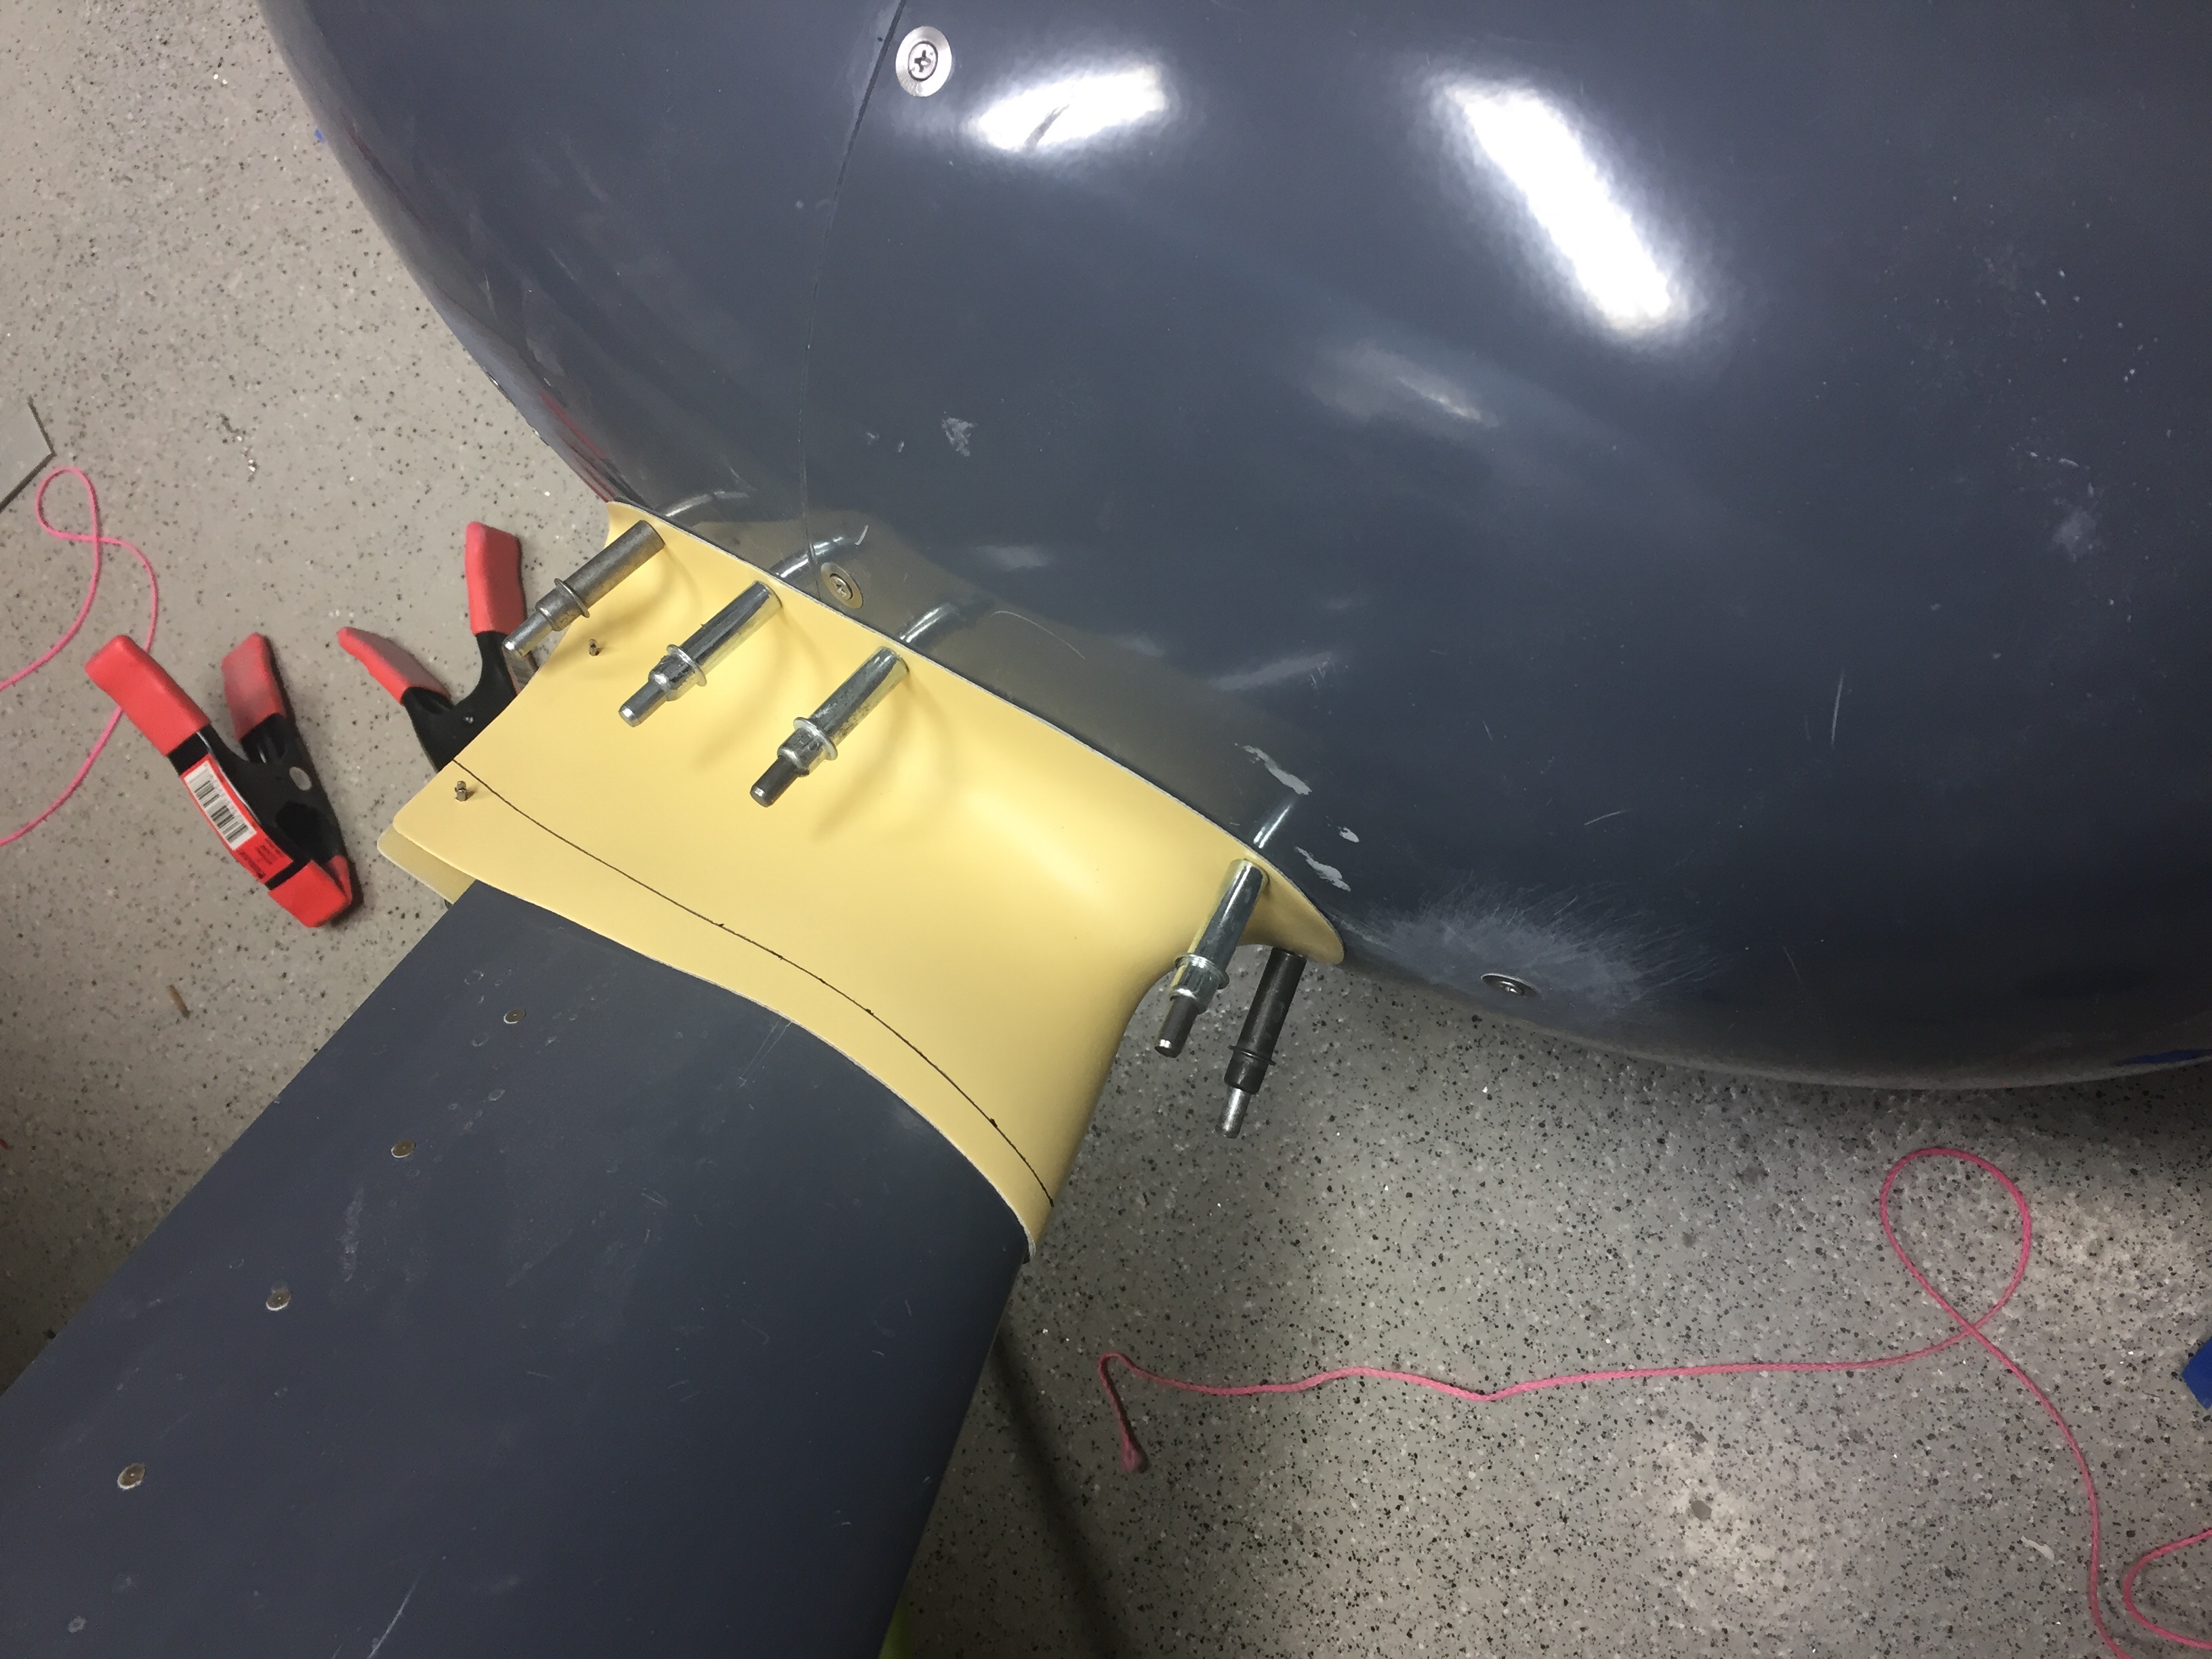
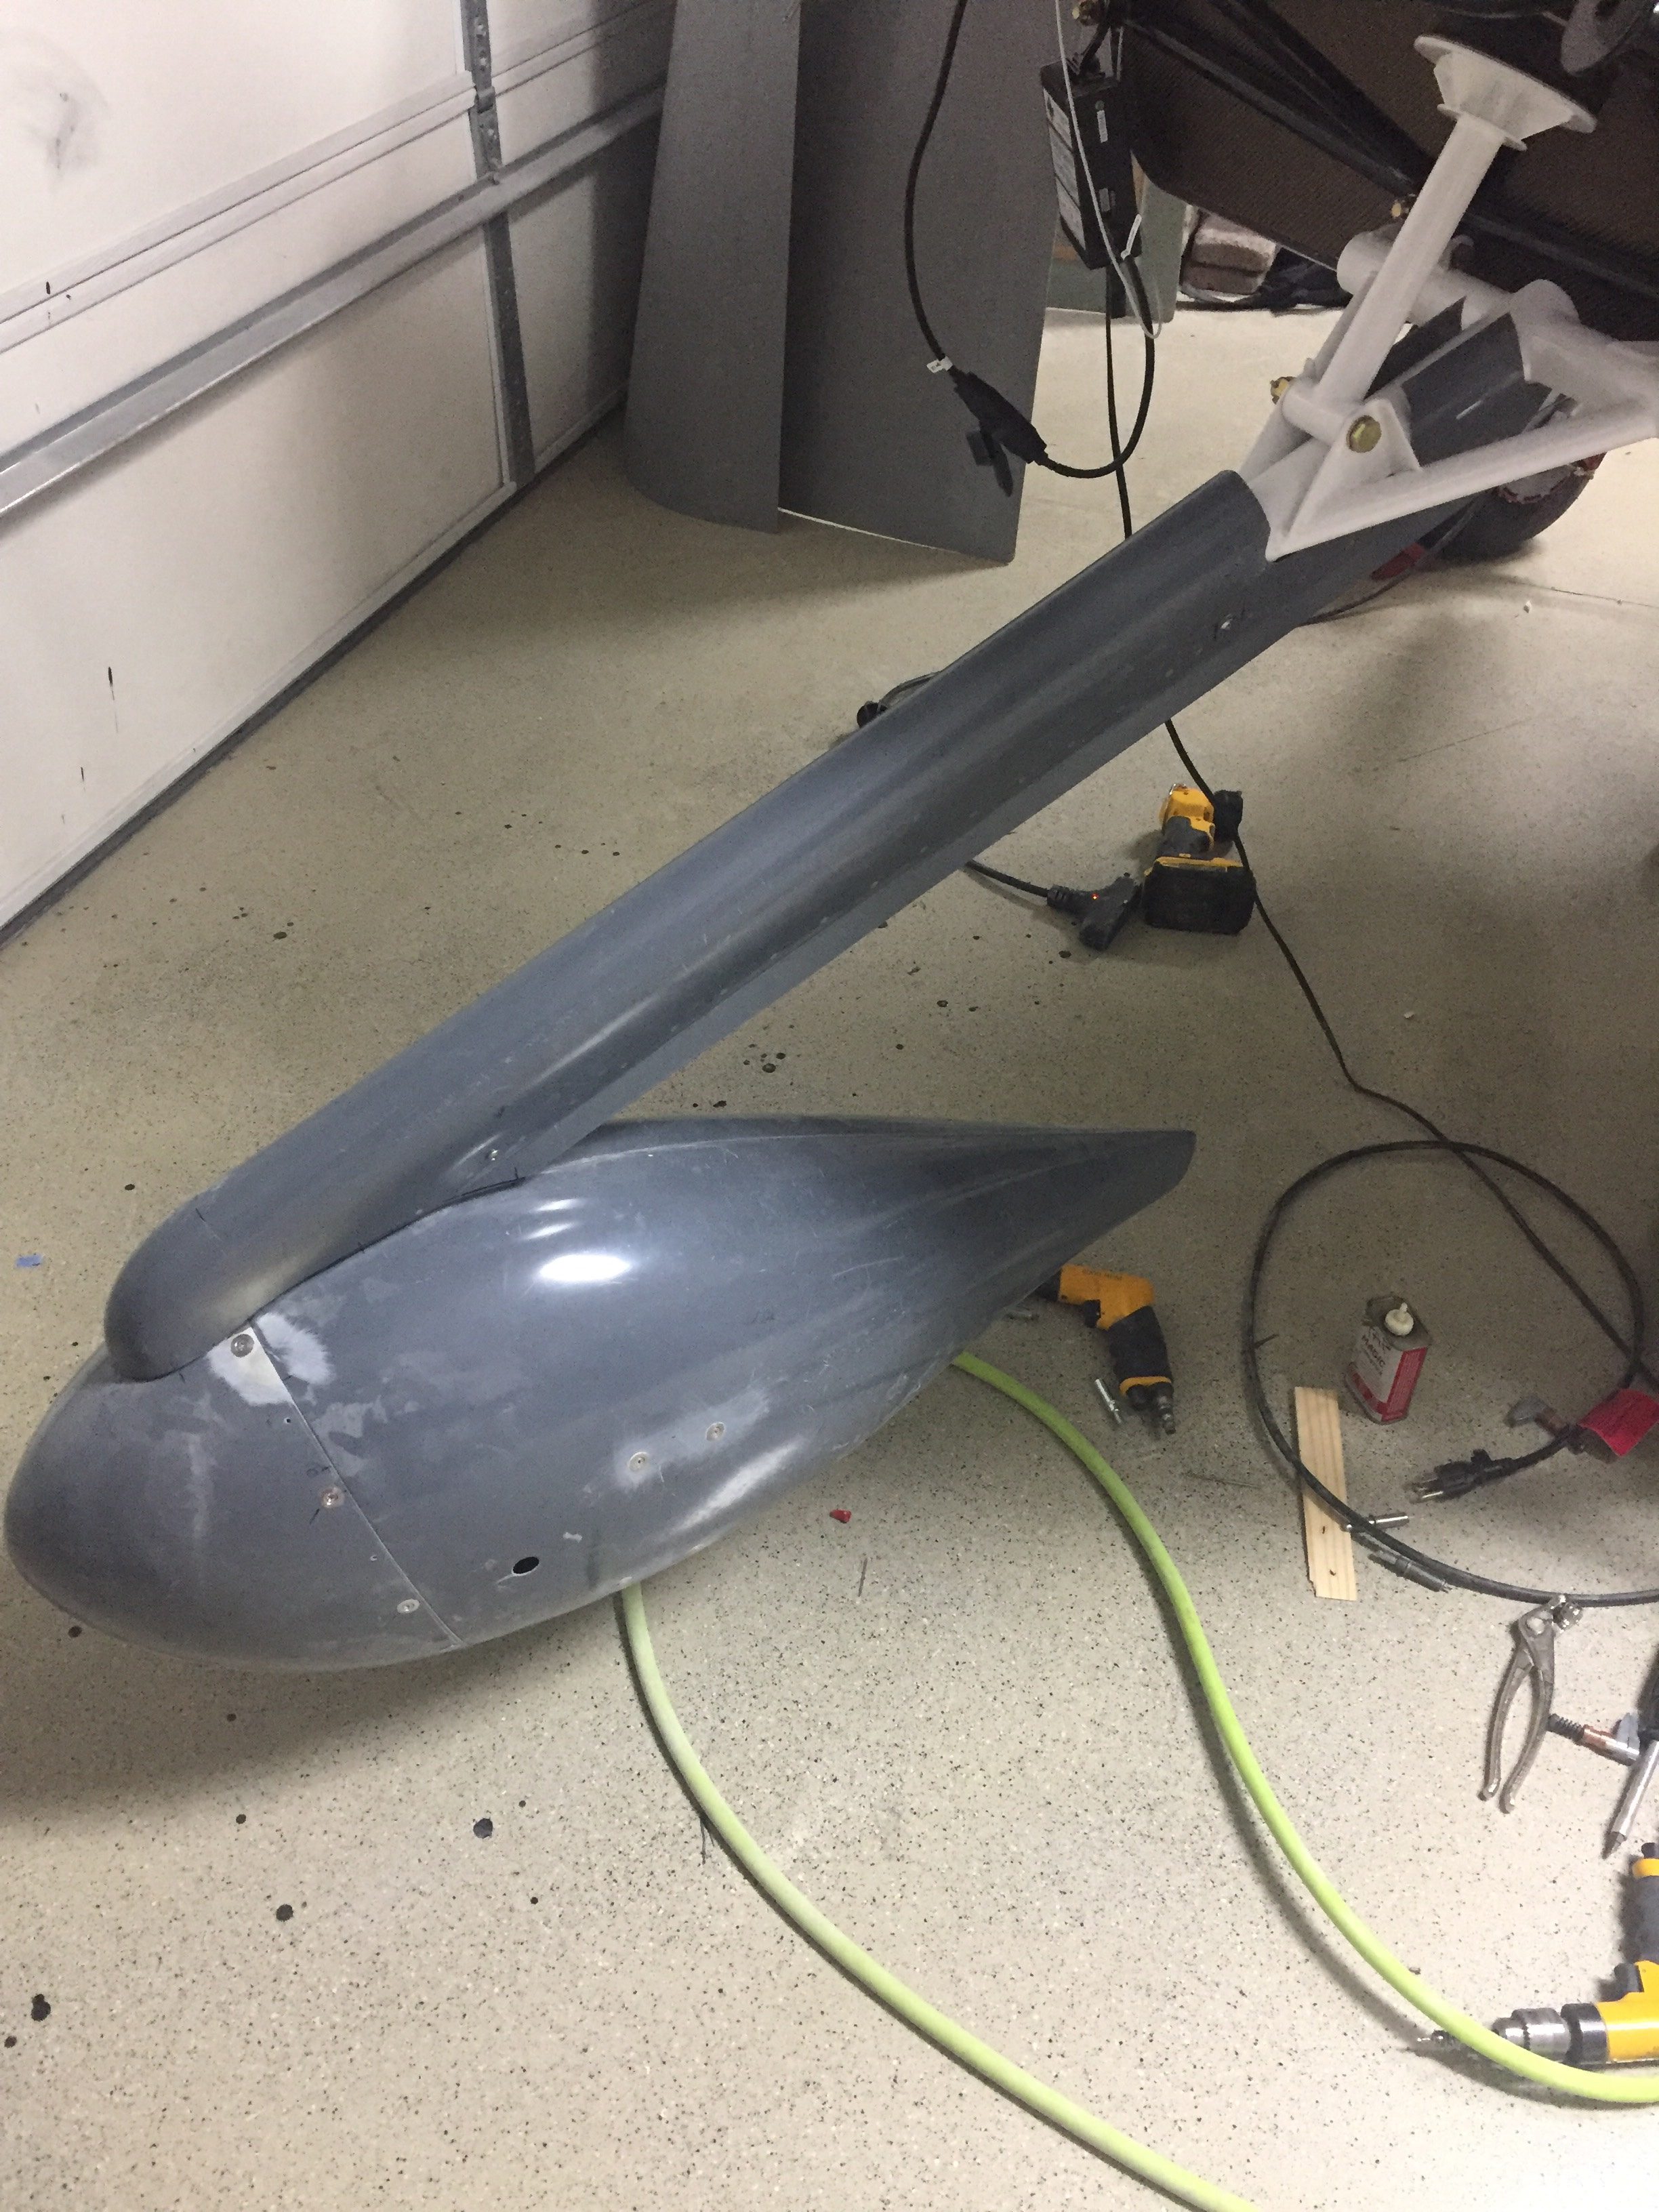
But wait, that was the easy part! The second sucky task was to do the gear leg fairings that cover the legs and brake lines. Hide your house cats, because you have to use about 25 yards of string through all of this. Wrapping string around the gear leg fairings and steps, you use that to align them with the prevailing wind in flight. I can’t even begin to describe how I did it, but it worked. Measuring, plumb bobs, levels, digital inclimometers, string, lasers, string, and lots of painters tape and string plus some more string all sucked into one giant suck.
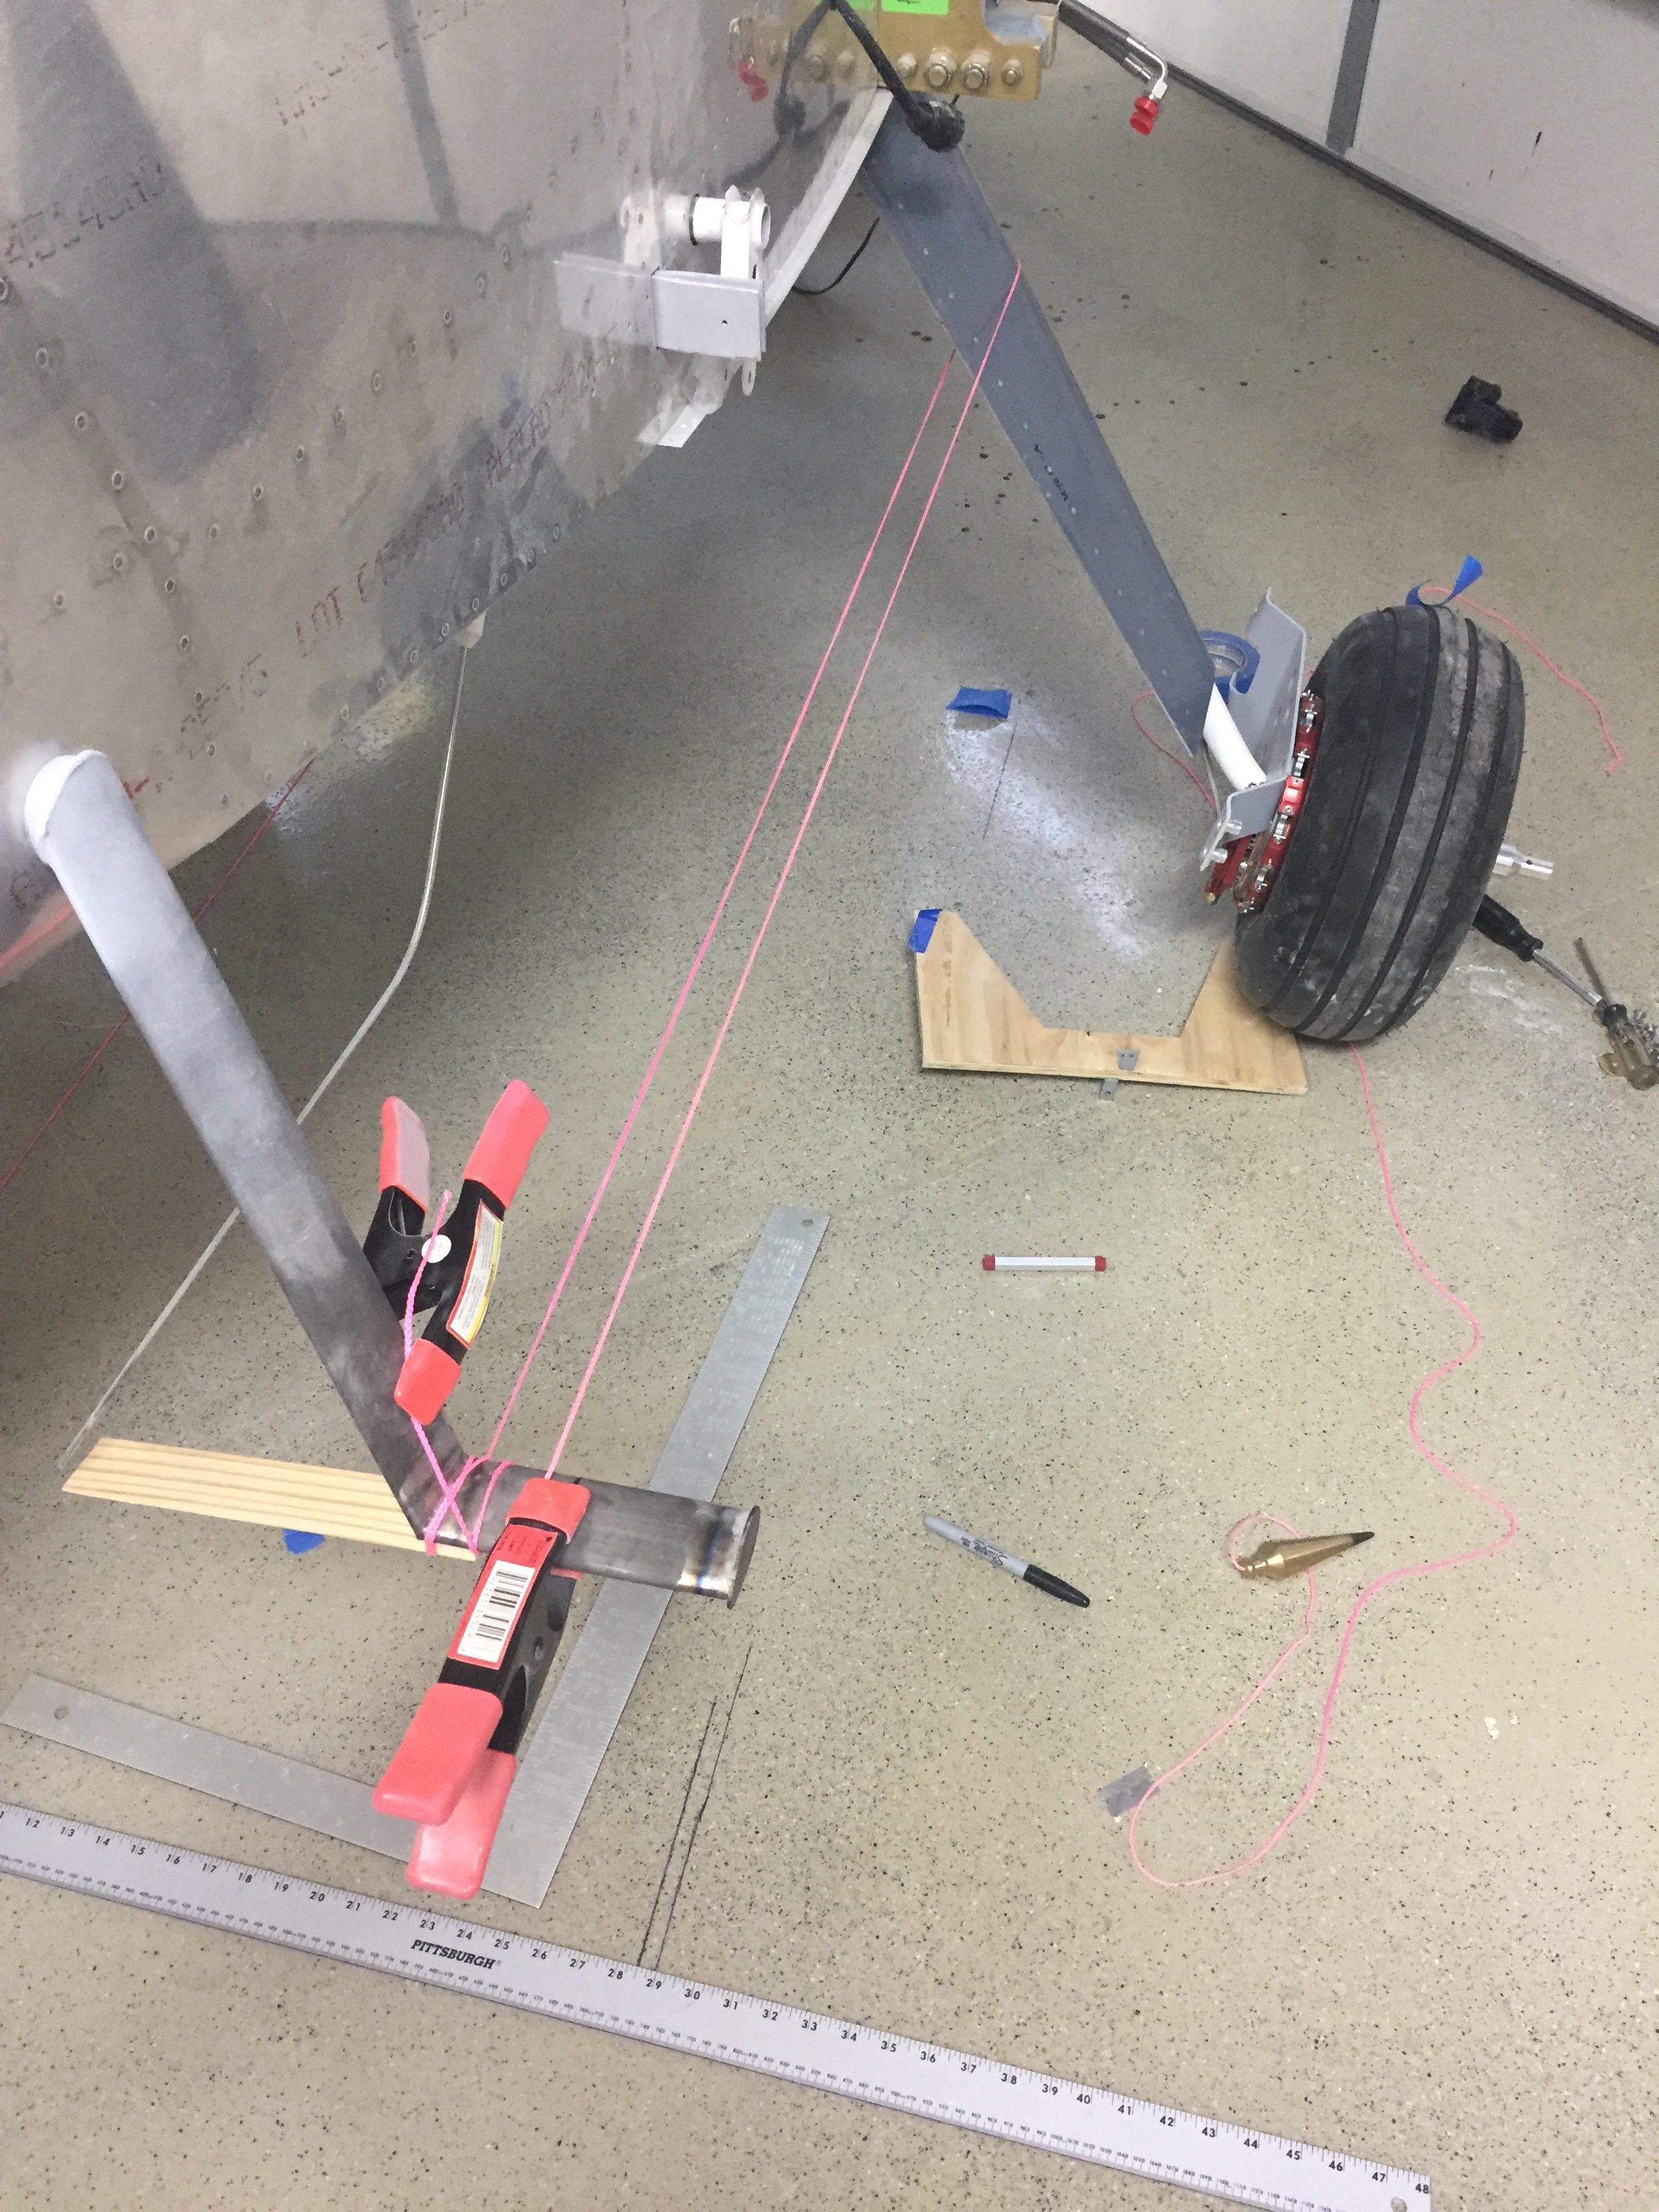
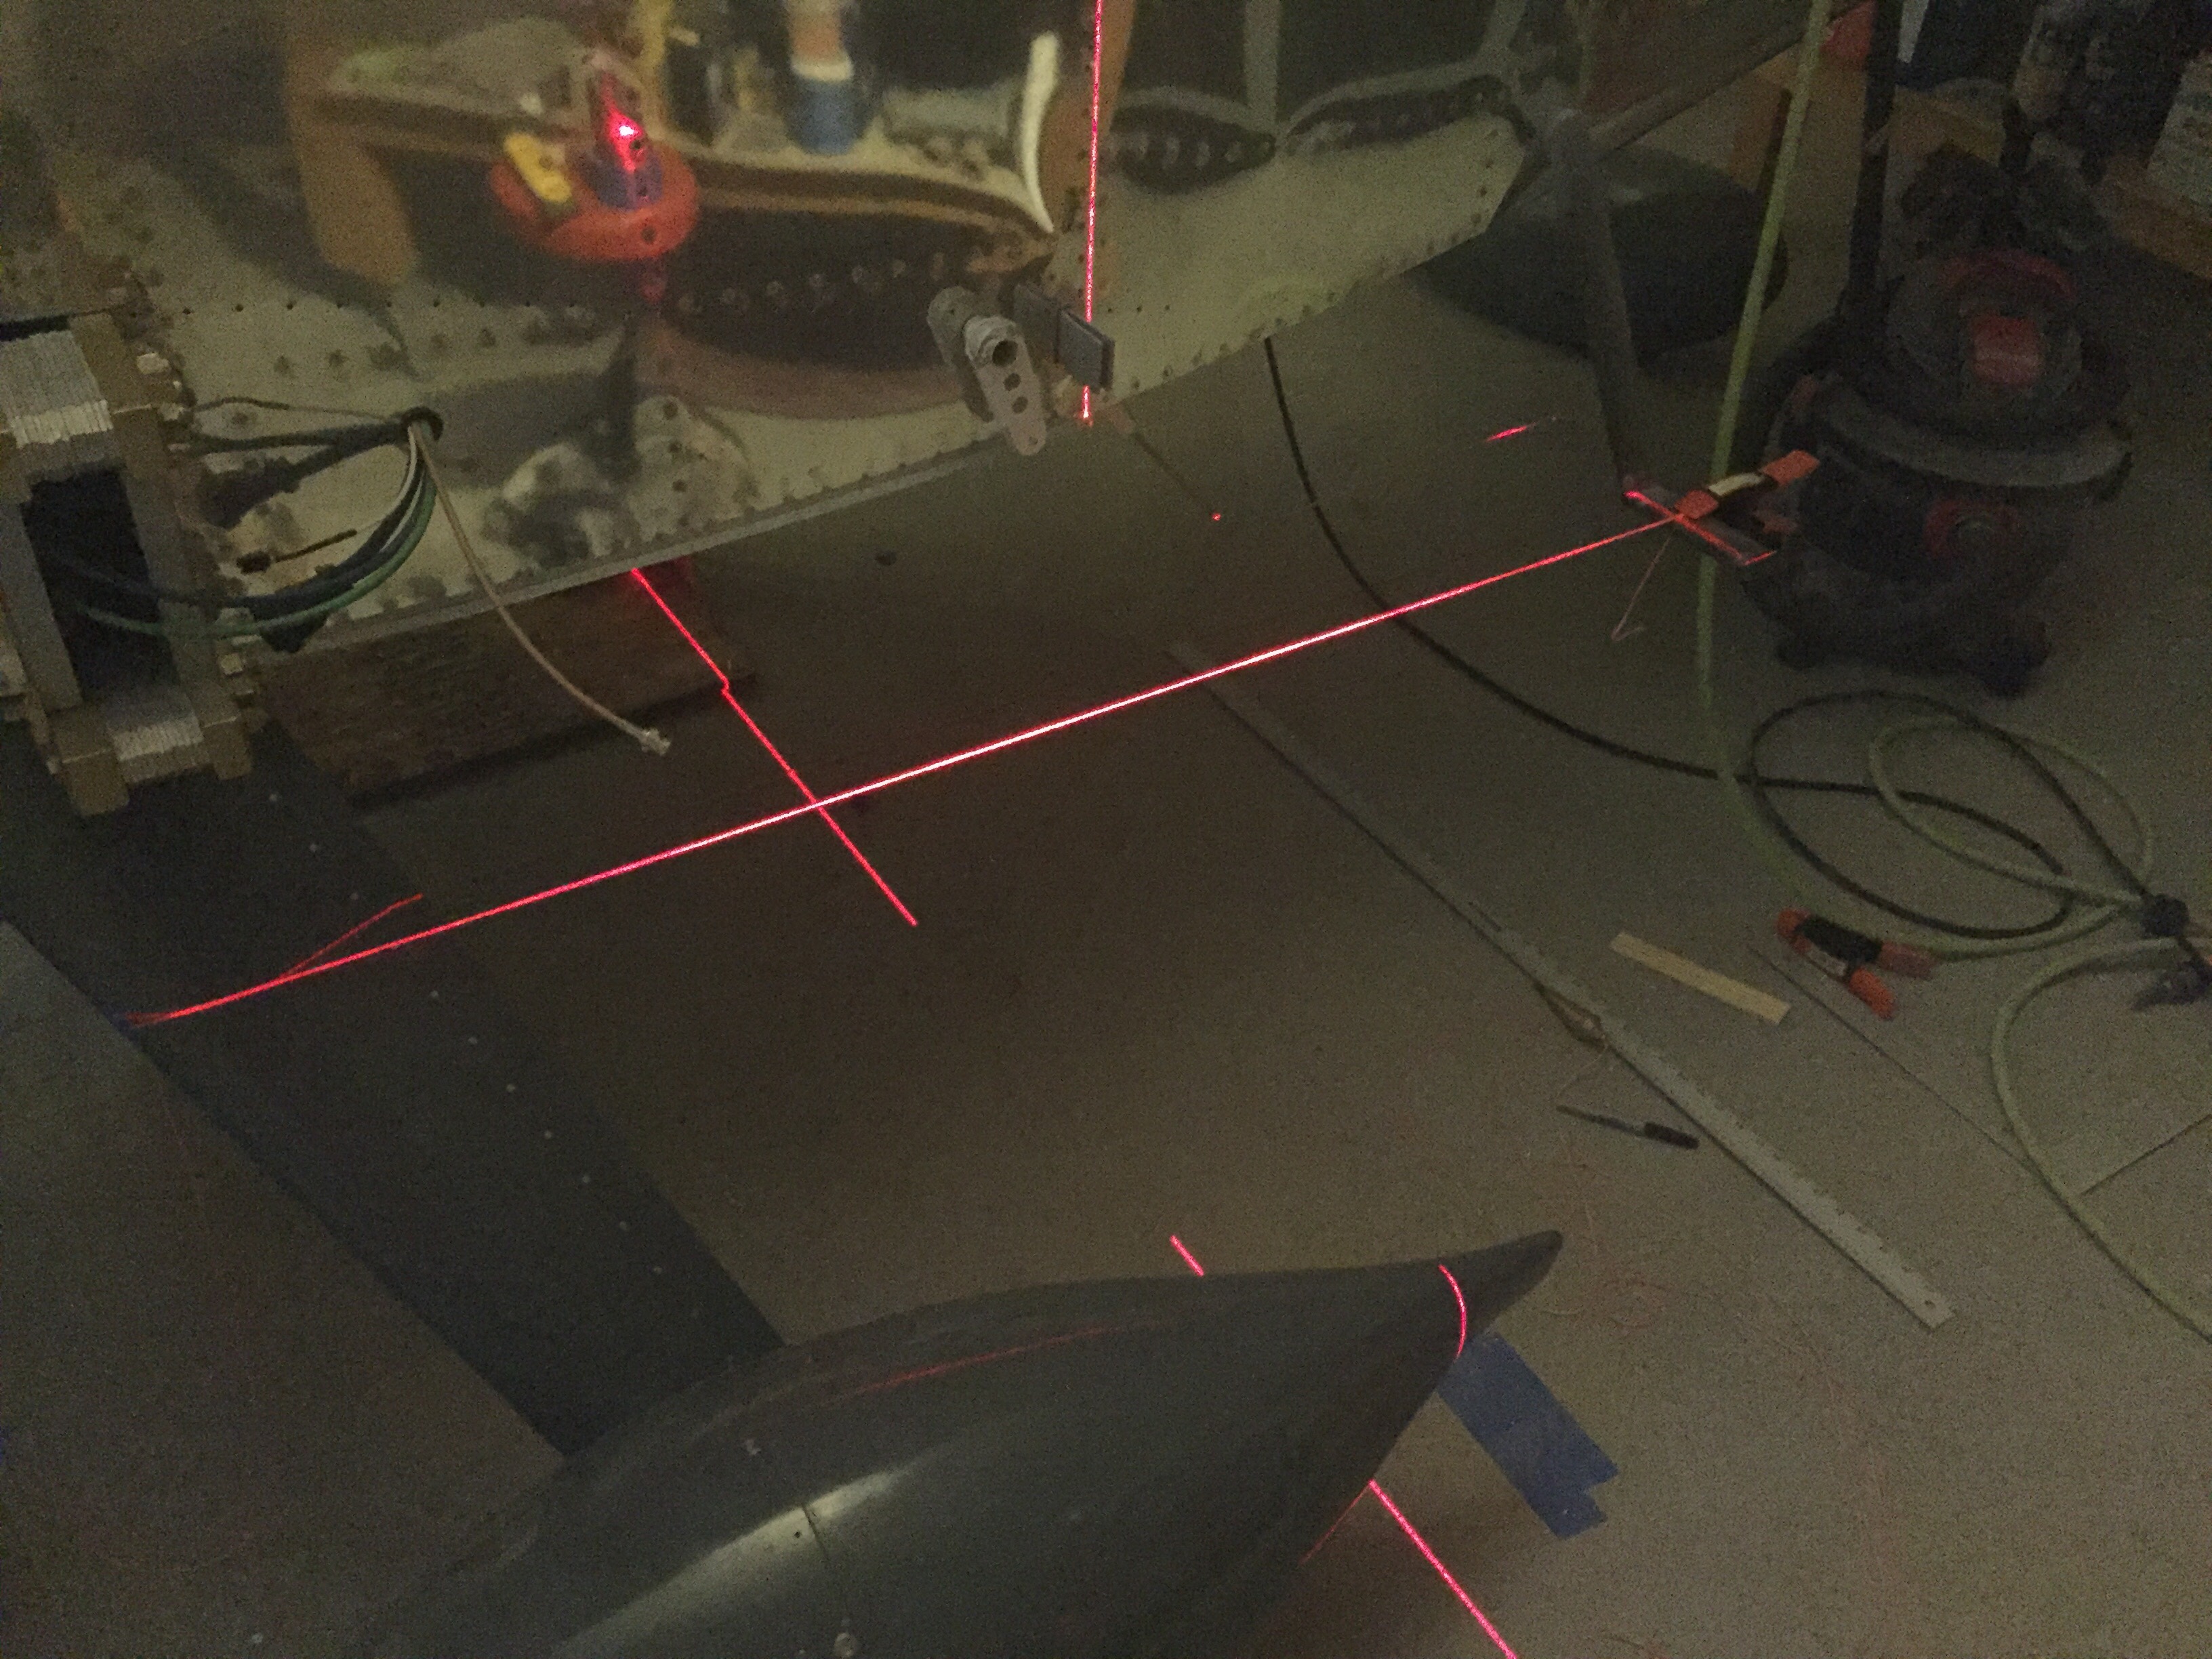
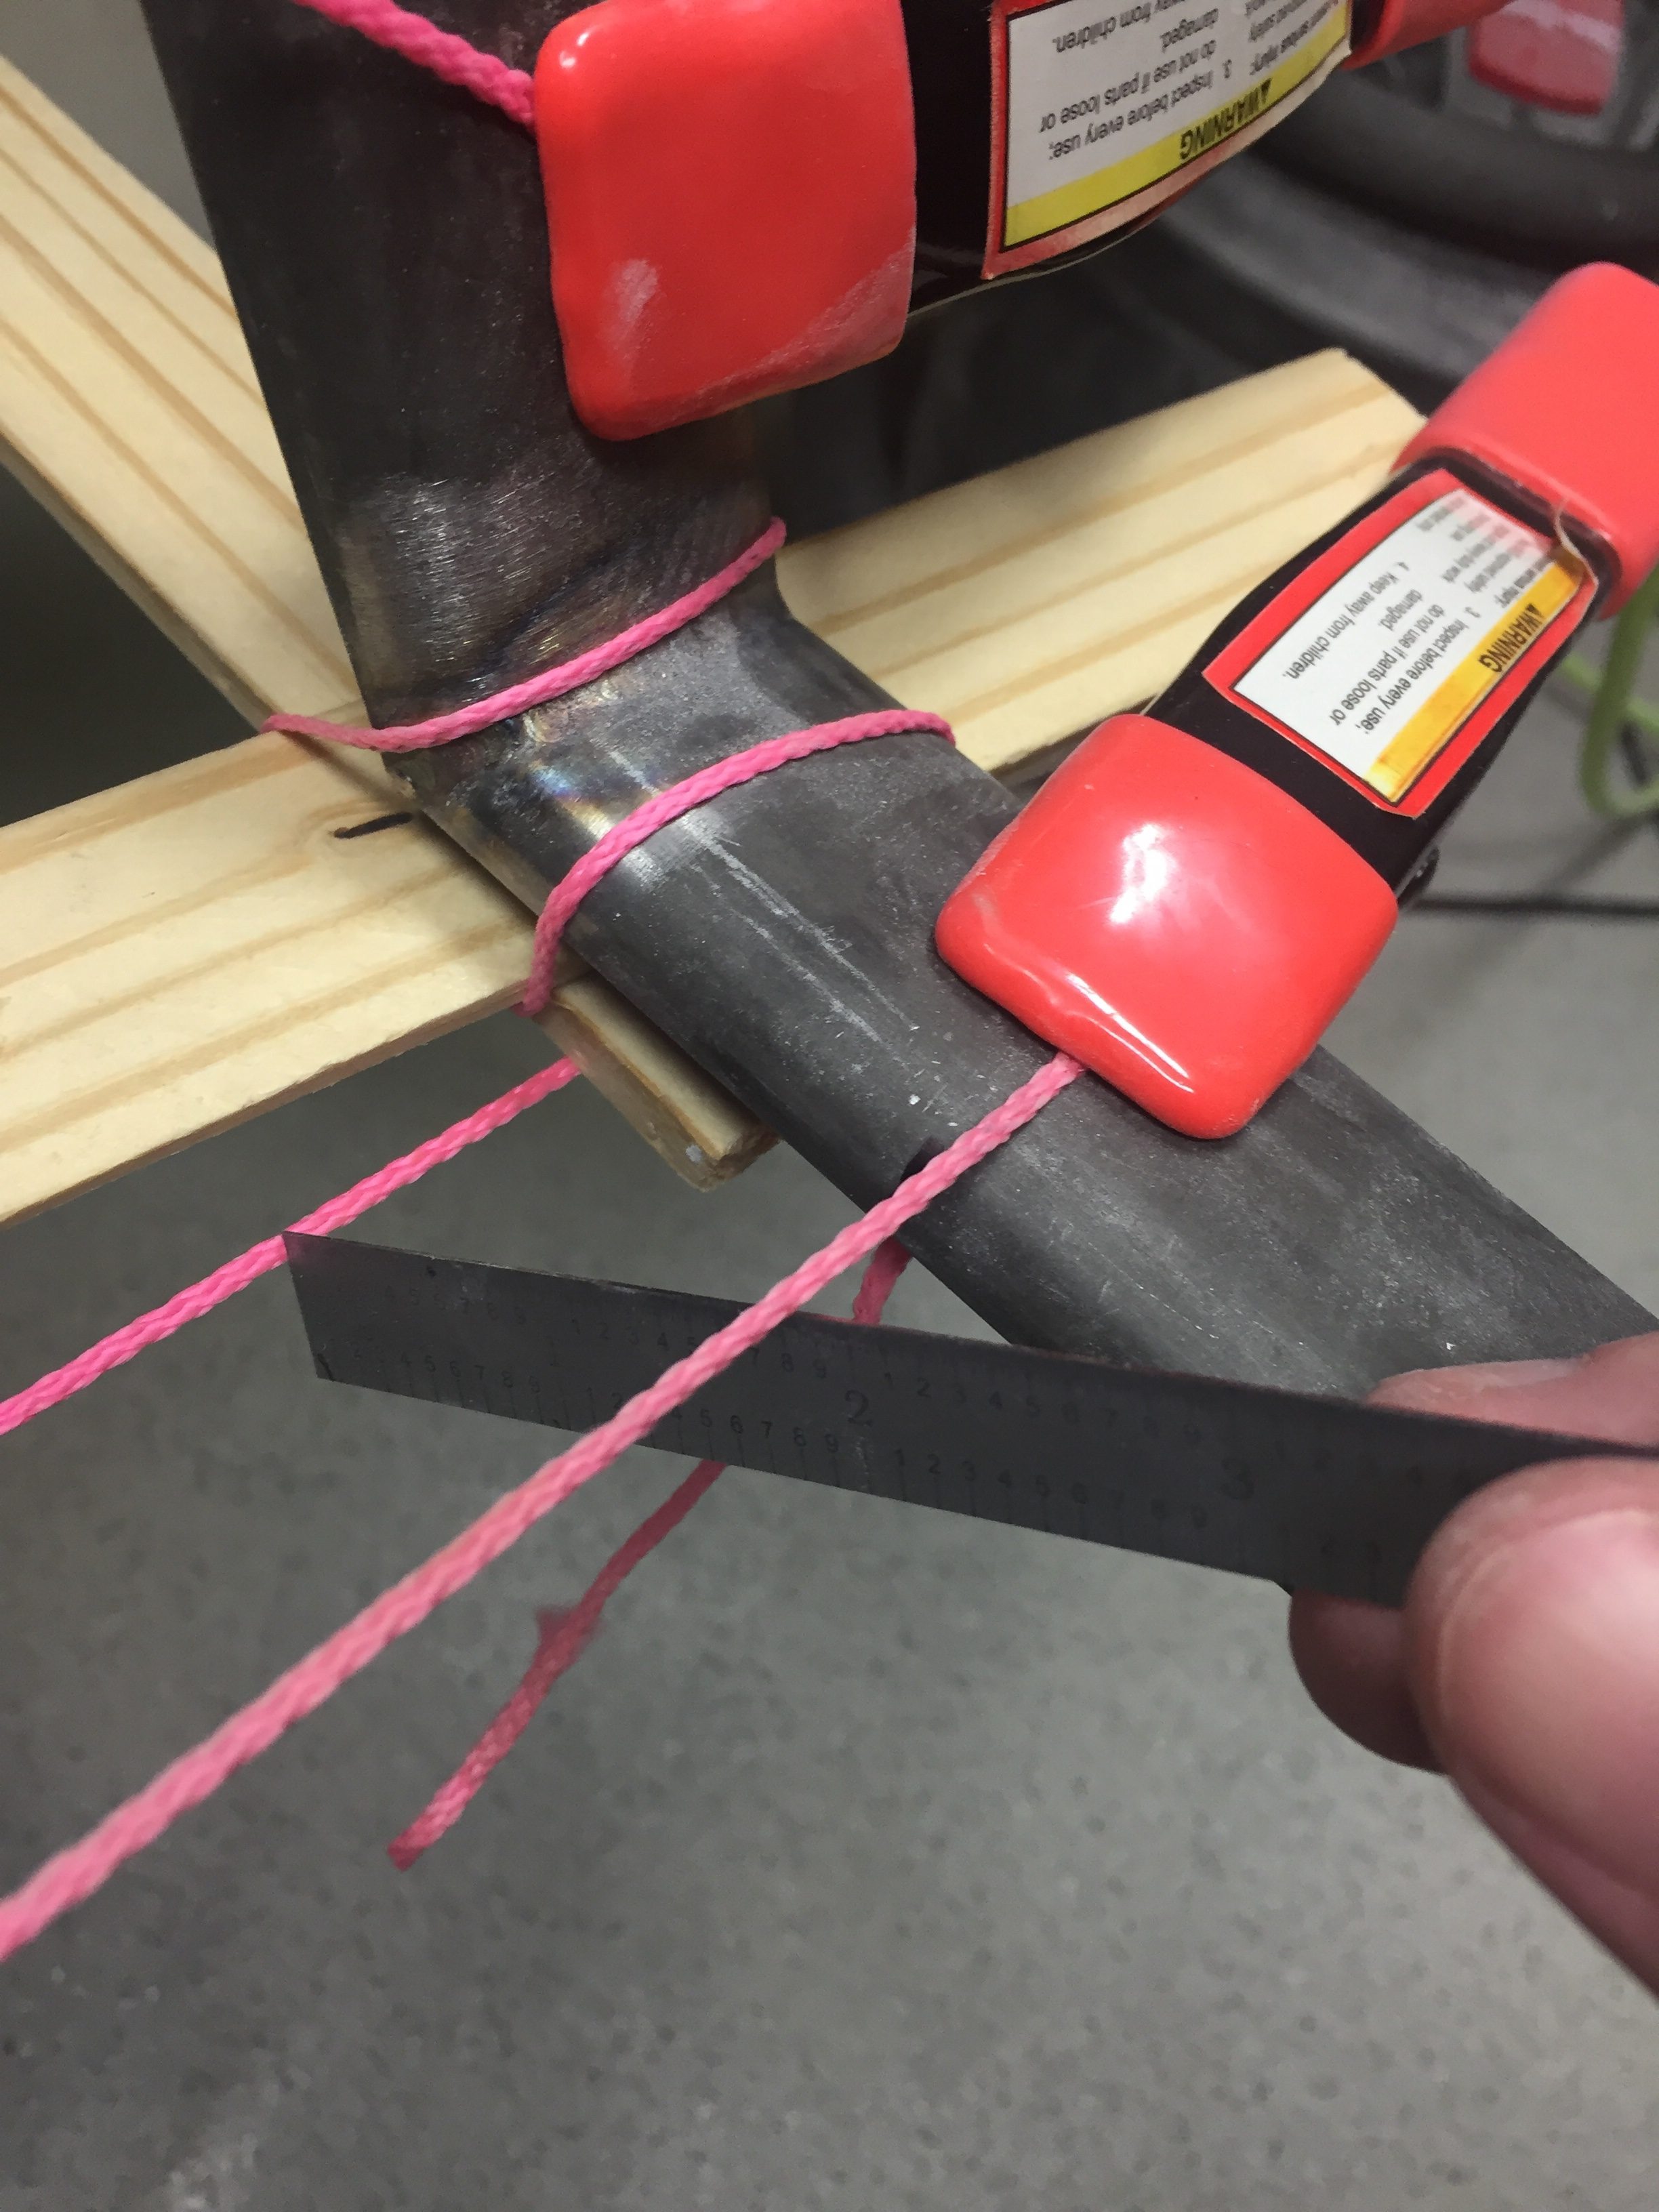
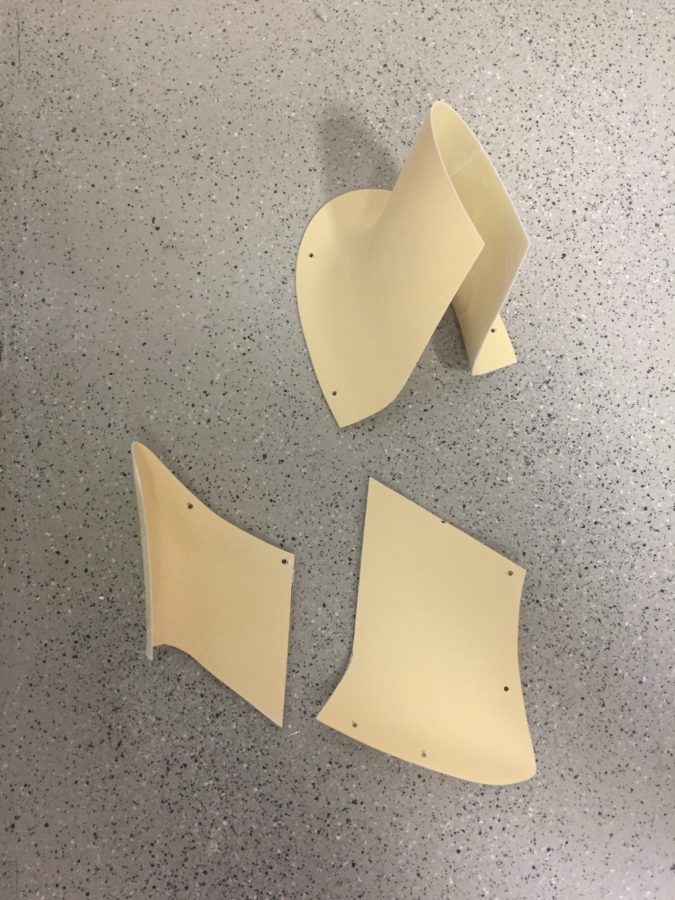
In the end, it was worth the work to have properly aligned and nice looking pants. I’m often complimented on my pants, and now my airplane will be as well. I repeated much of the process for the nose gear using the workbench and engine hoist to level the fuselage off the ground as in flight condition.. I trimmed my nose gear leg fairing a bit too much, so may add a bit more material back before paint, but it’s fine for now. I also attached the RV Bits intersection fairings and chose to split them with the pants as others have done instead of per plans. This does not suck and makes for a much cleaner look in my opinion. I epoxied them in place and will finish the filler and sanding work later after initial flights to save build time now.
Phew, even writing that sucked. Enough of that, let’s hang an engine!

