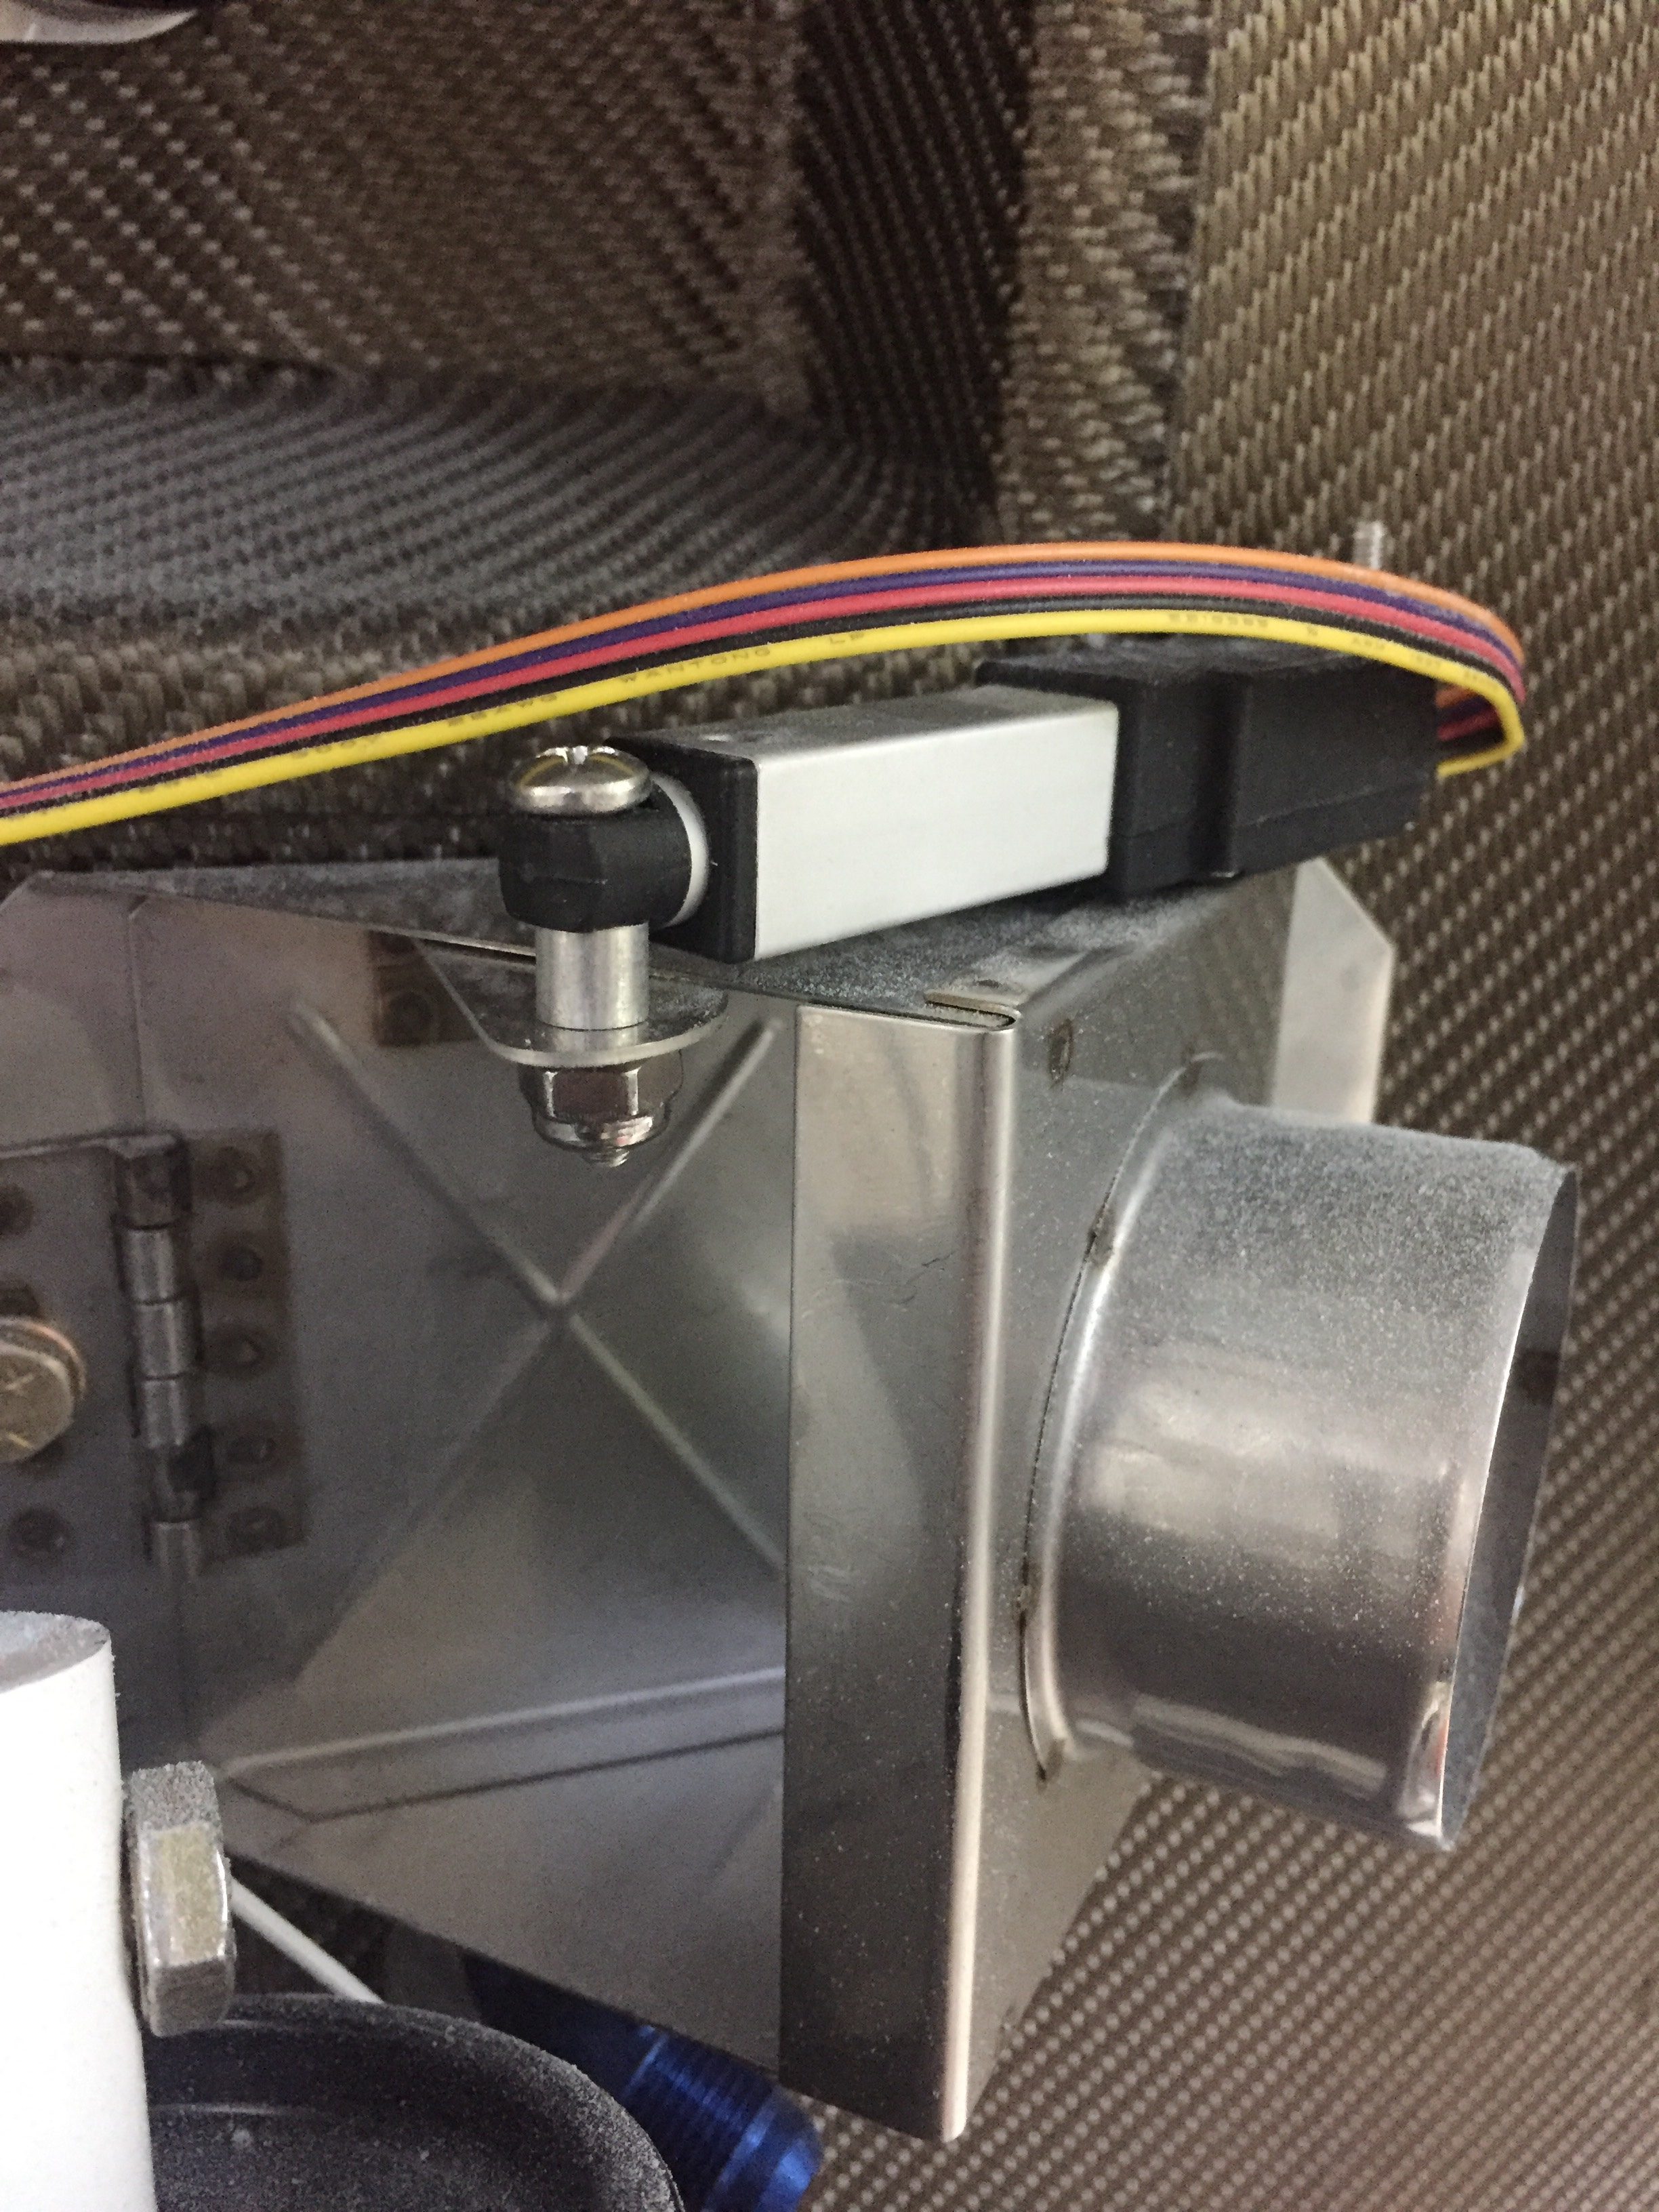
There are a lot of little jobs that go along with the big jobs on building a plane. I’m trying to use my time efficiently while waiting on the engine to knock out a bunch of them. The first was fixing the arms and servos on the heat ducts up front. An order to ACS and a few minutes at the band saw and the servos for the heat and oil coolers were attached properly and pots adjusted for full travel. I also spent an hour trouble shooting a bad pot for the rear heat duct, as I have a switch that allows either the front or rear rheostats to control the servo and the rear rheostat was inop.
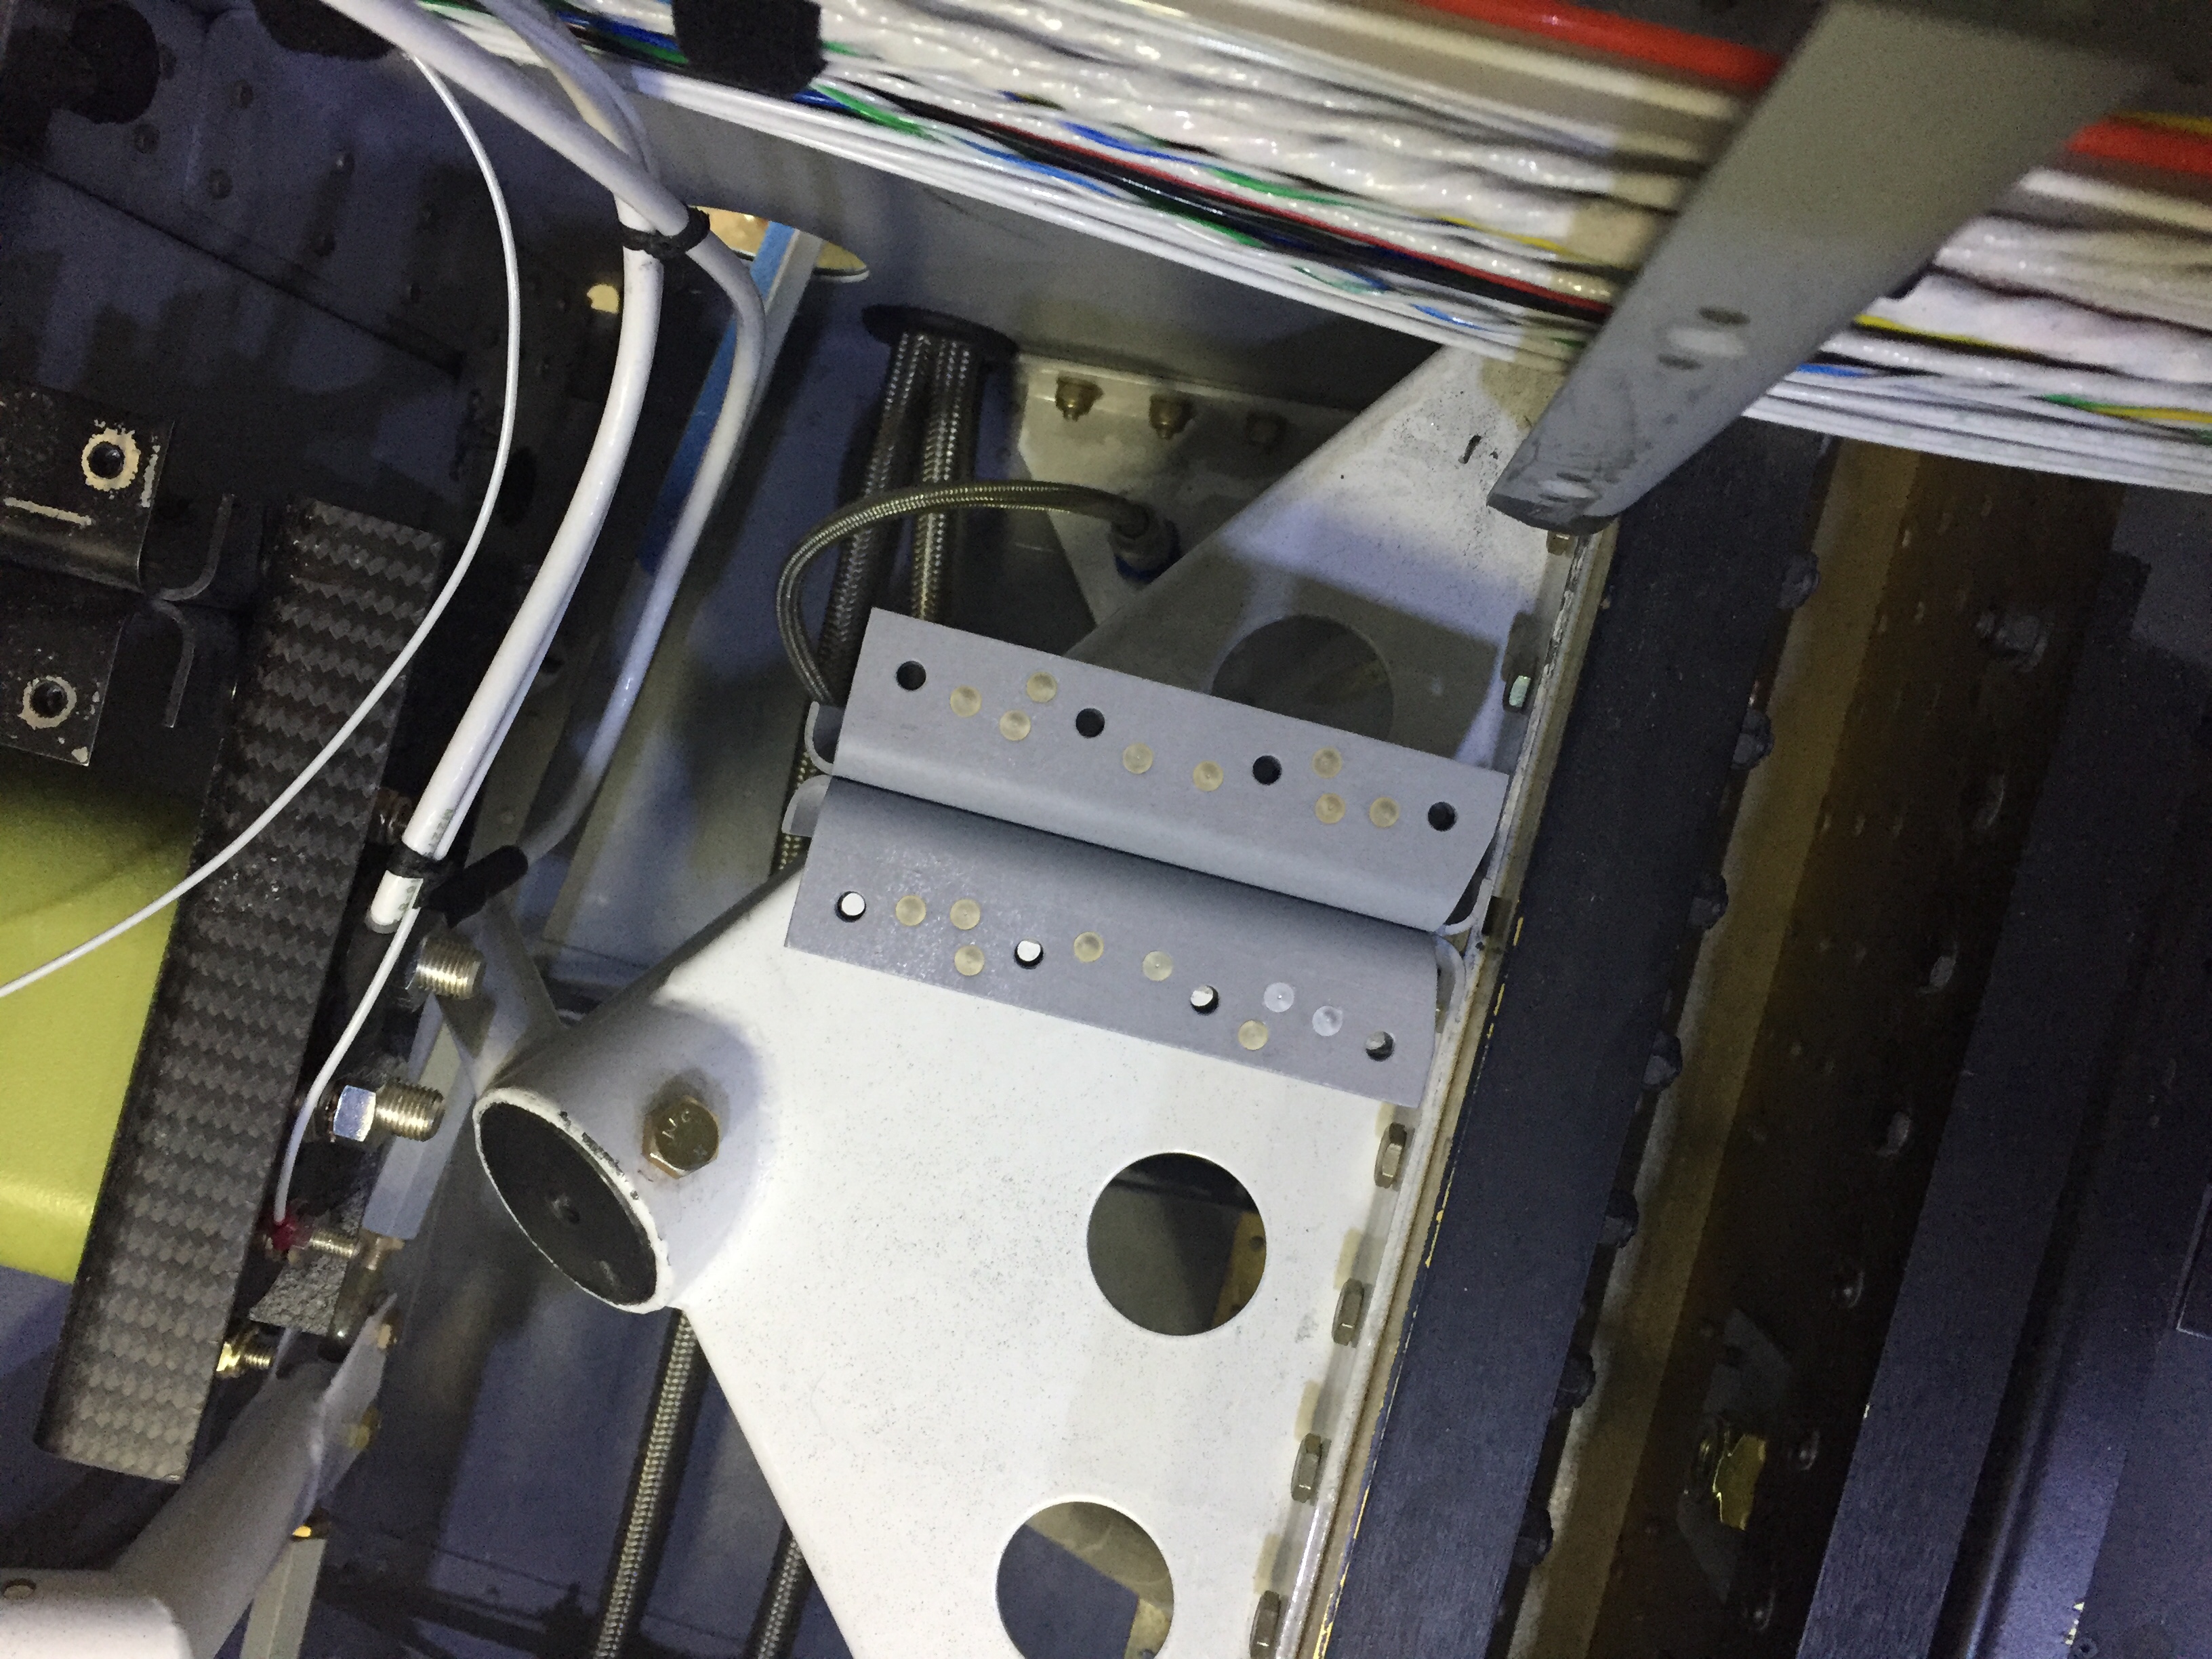
I cussed and bled in equal amounts installing the last of the seat rail brackets now the gears are on. The nuts and bolts are not easy to access at this point, but you have to wait in order to install the gear bolt. I also put in the last bolt and custom spacer for the GPU plug which helps reinforce the receptacle by attaching it to the seat pan.
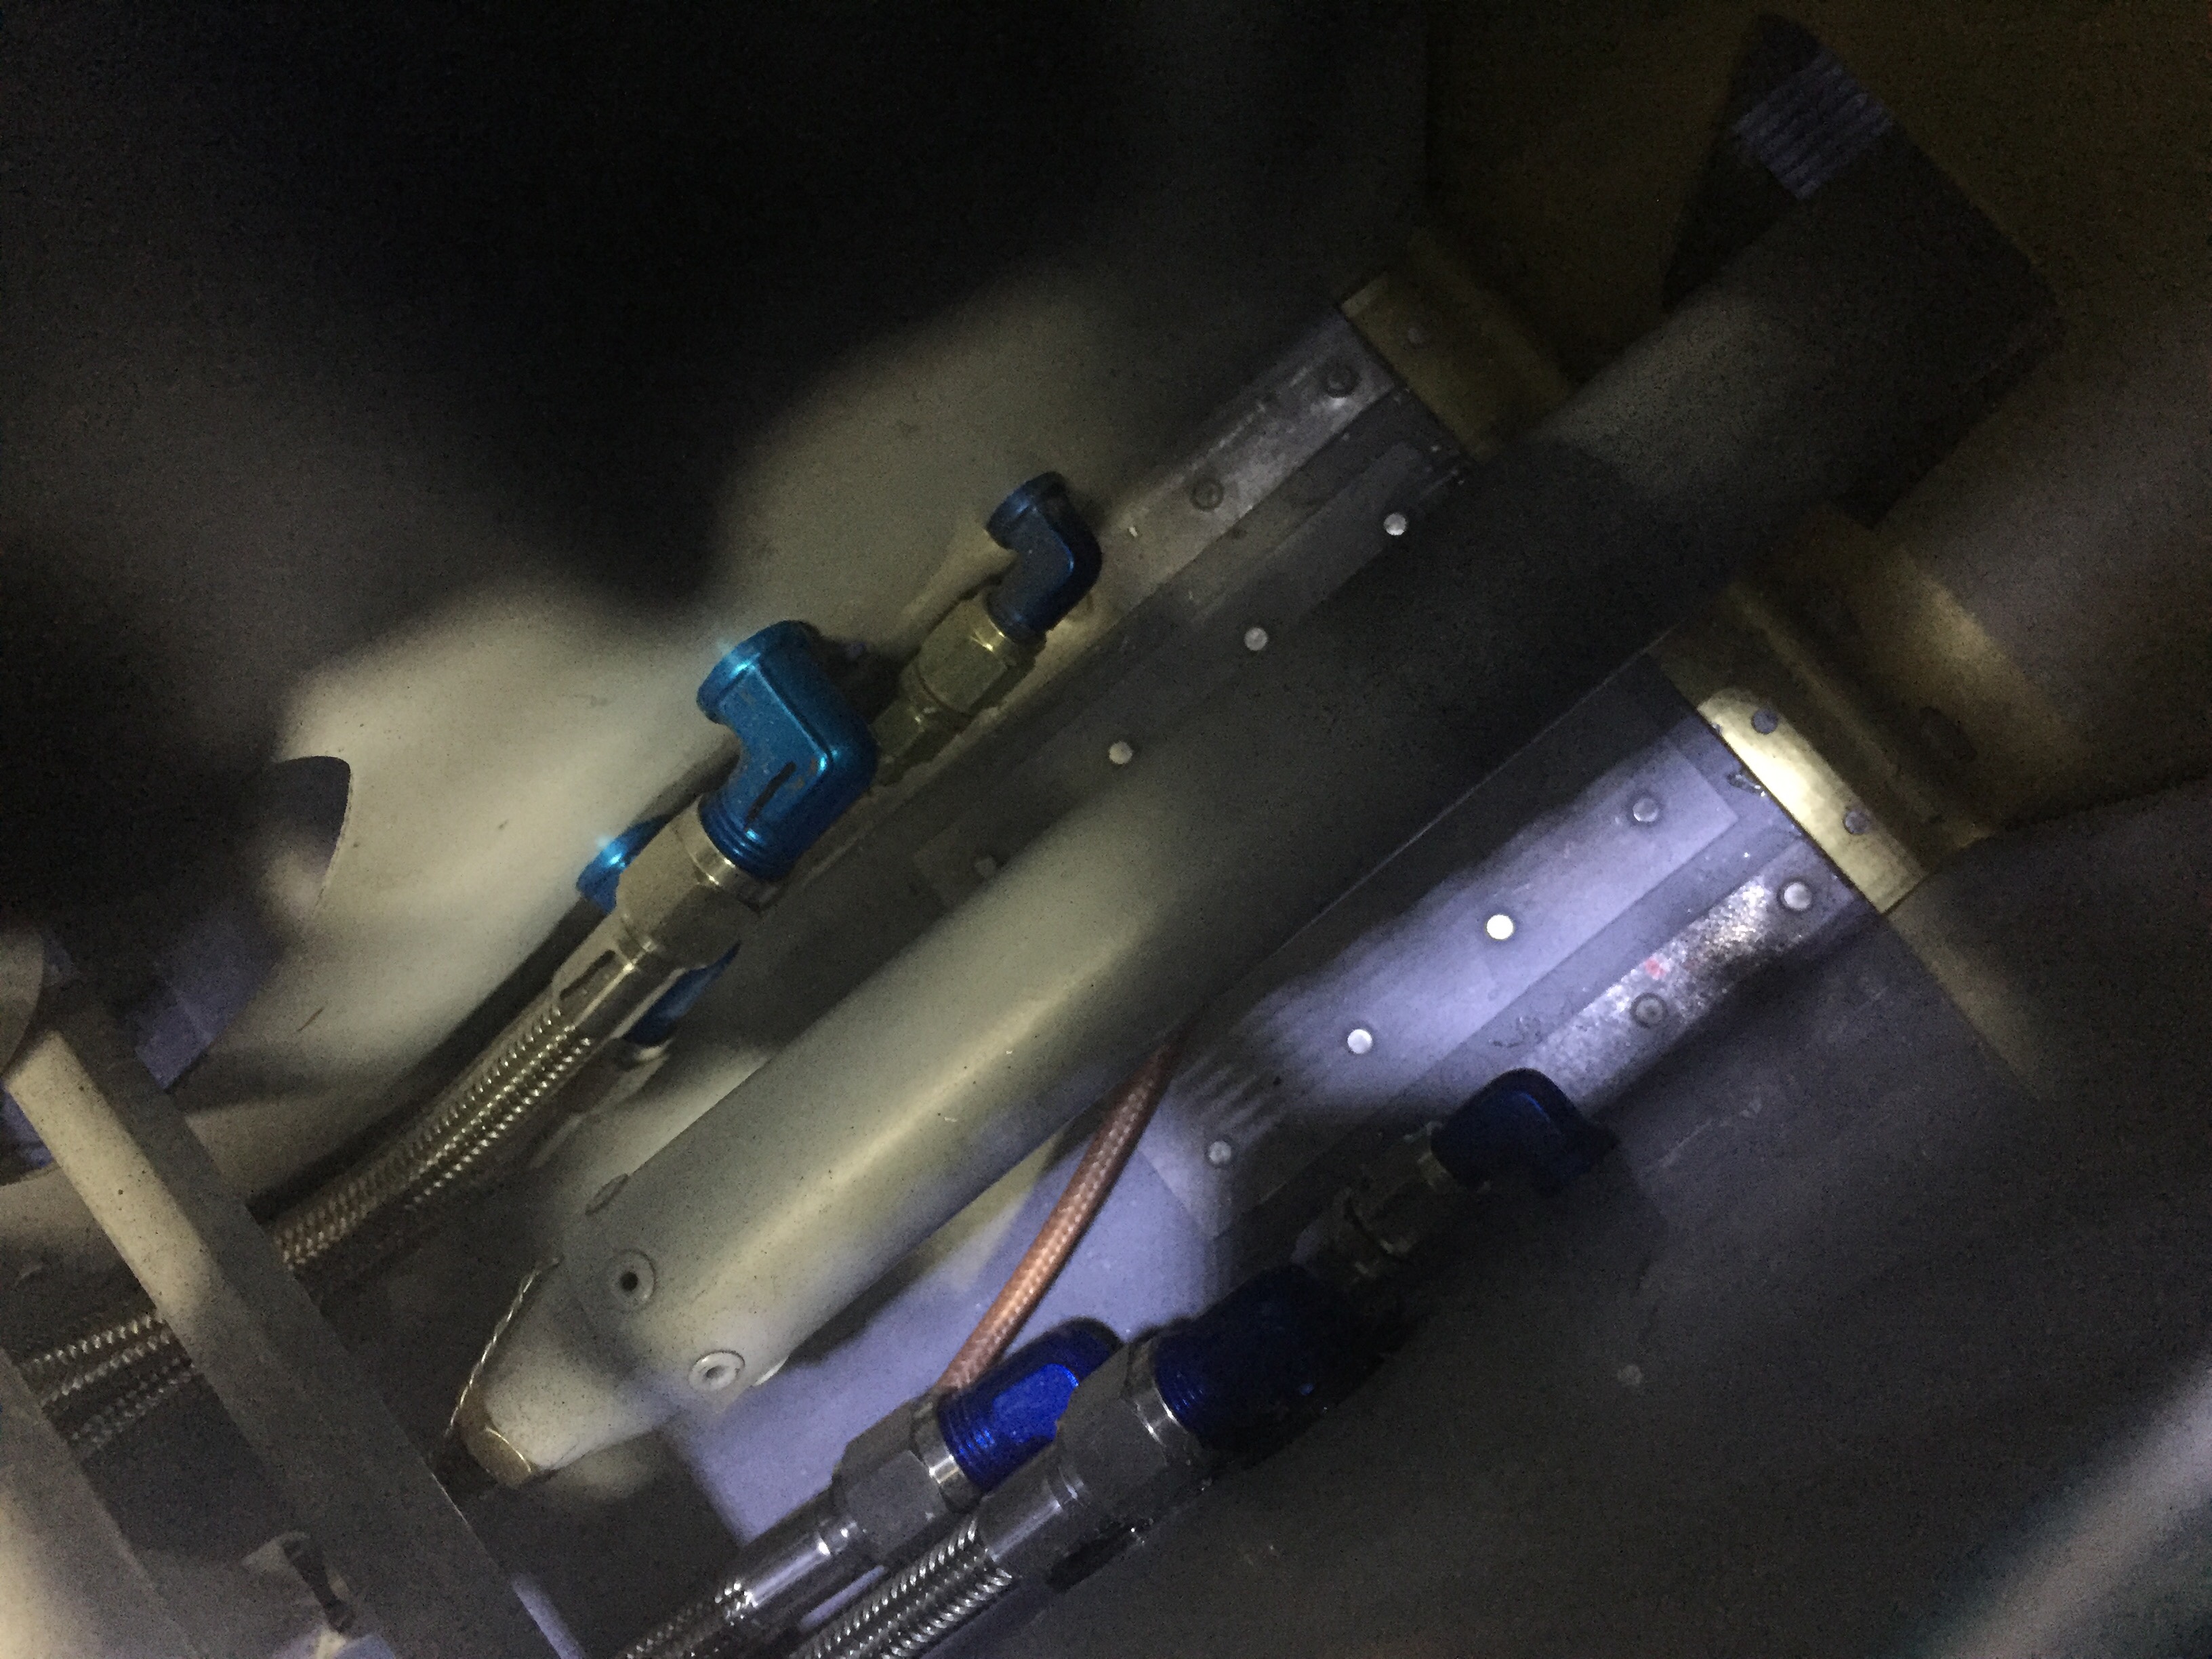
I ignorantly forgot to install the transponder antenna before buttoning up the tunnel, so I had to take the center console, tunnel cover, and lower instrument panel off to get down in there. Of course I burried it near the core of the earth which made access tricky to say the least. I was able to squeez my hands down there and got it all bolted on with the coax attached. I knew I had left one fuel line untorqued but couldn’t remember which one so checked all fuel line fittings for proper torque.
The last task in the rear tunnel is to secure the aircon lines which I did with some hose clamps and edge grommet material. Again, not fun to get to the hardware but it was doable and will rarely if ever be removed. The lines are now secure and fit nicely in the tunnel, I’m glad I didn’t run them down the side of the fuse. I also secured the last little sections of the O2 lines in the tunnel.
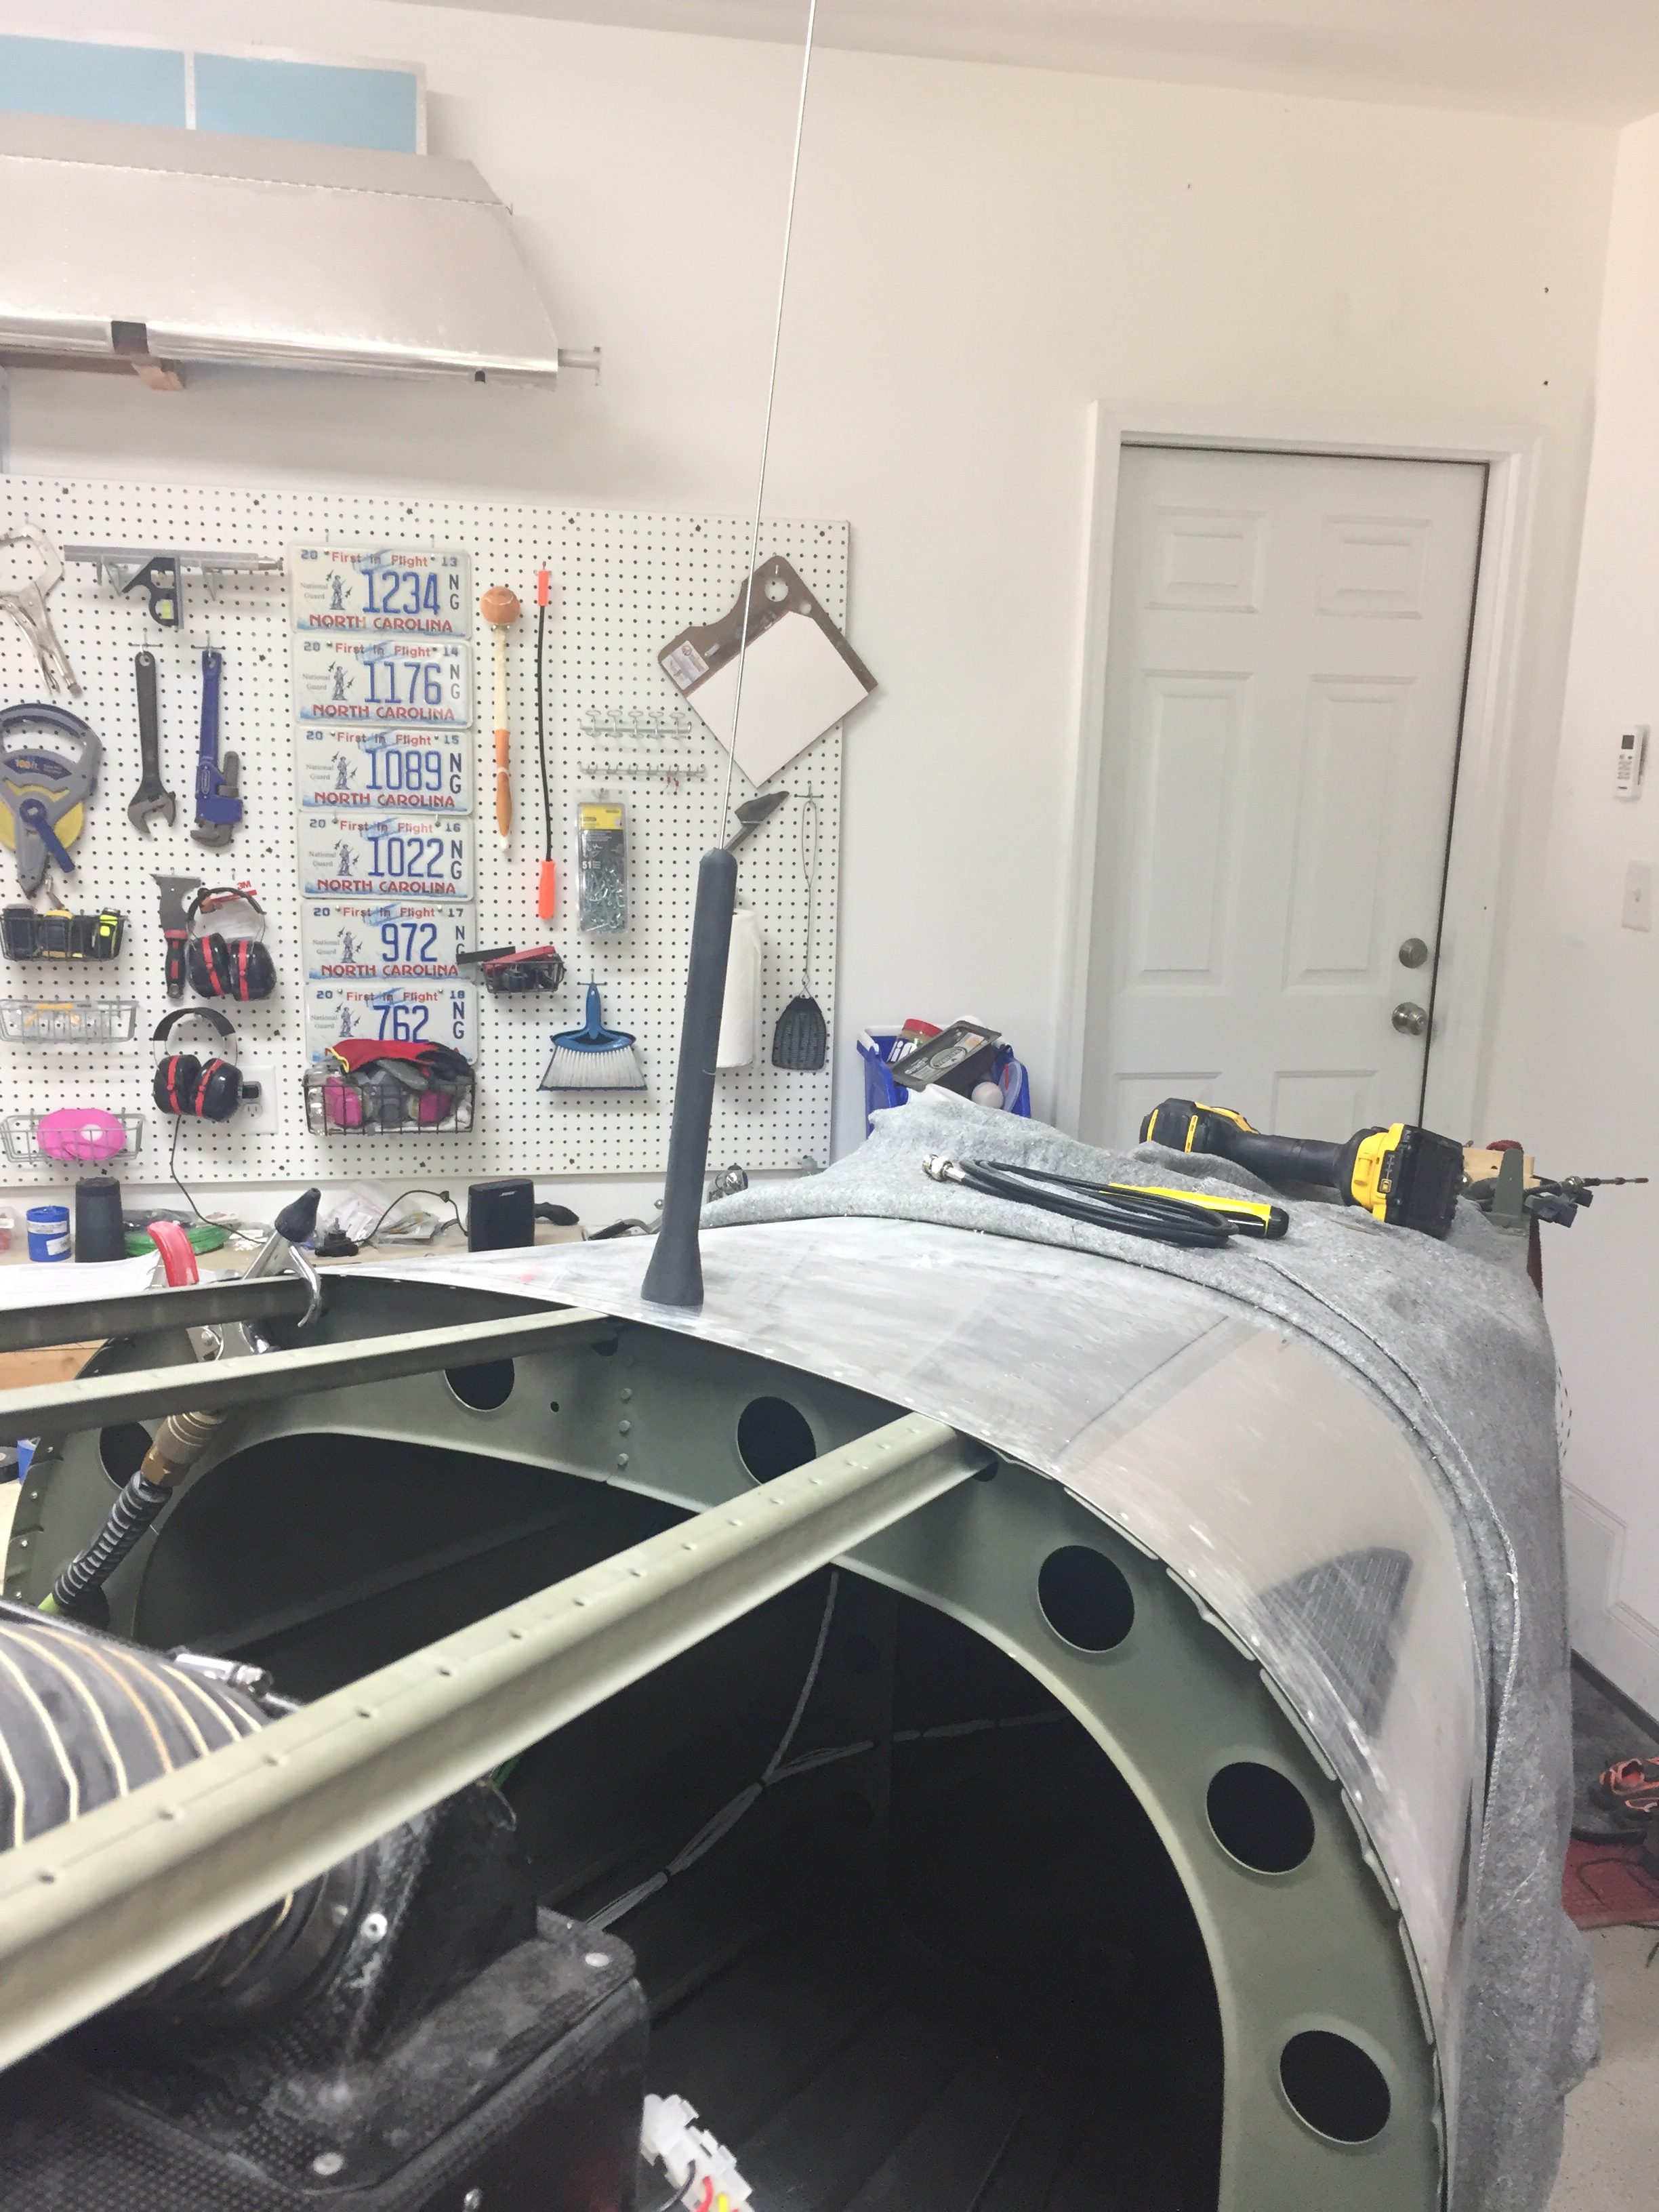
My ELT antenna placement has been a topic of disagreement on VAF, as I really wanted to avoid mounting it on top of the tail cone. It’s big, ugly, and ugly. Mainly, though, it’s ugly. It’s also essential to my life and the lives of my passengers should the worst happen and we have an accident, so I guess it’s important to do it right. I debated on doing some reception tests with it mounted internal to the tail cone, but honestly, I just got lazy and decided it really isn’t that ugly. In the end, I chose to do it the right way and put it on the top of the tail cone. The cable was secured along a bulkhead and the last of the wiring clean up for the O2 tank / ELT was completed.
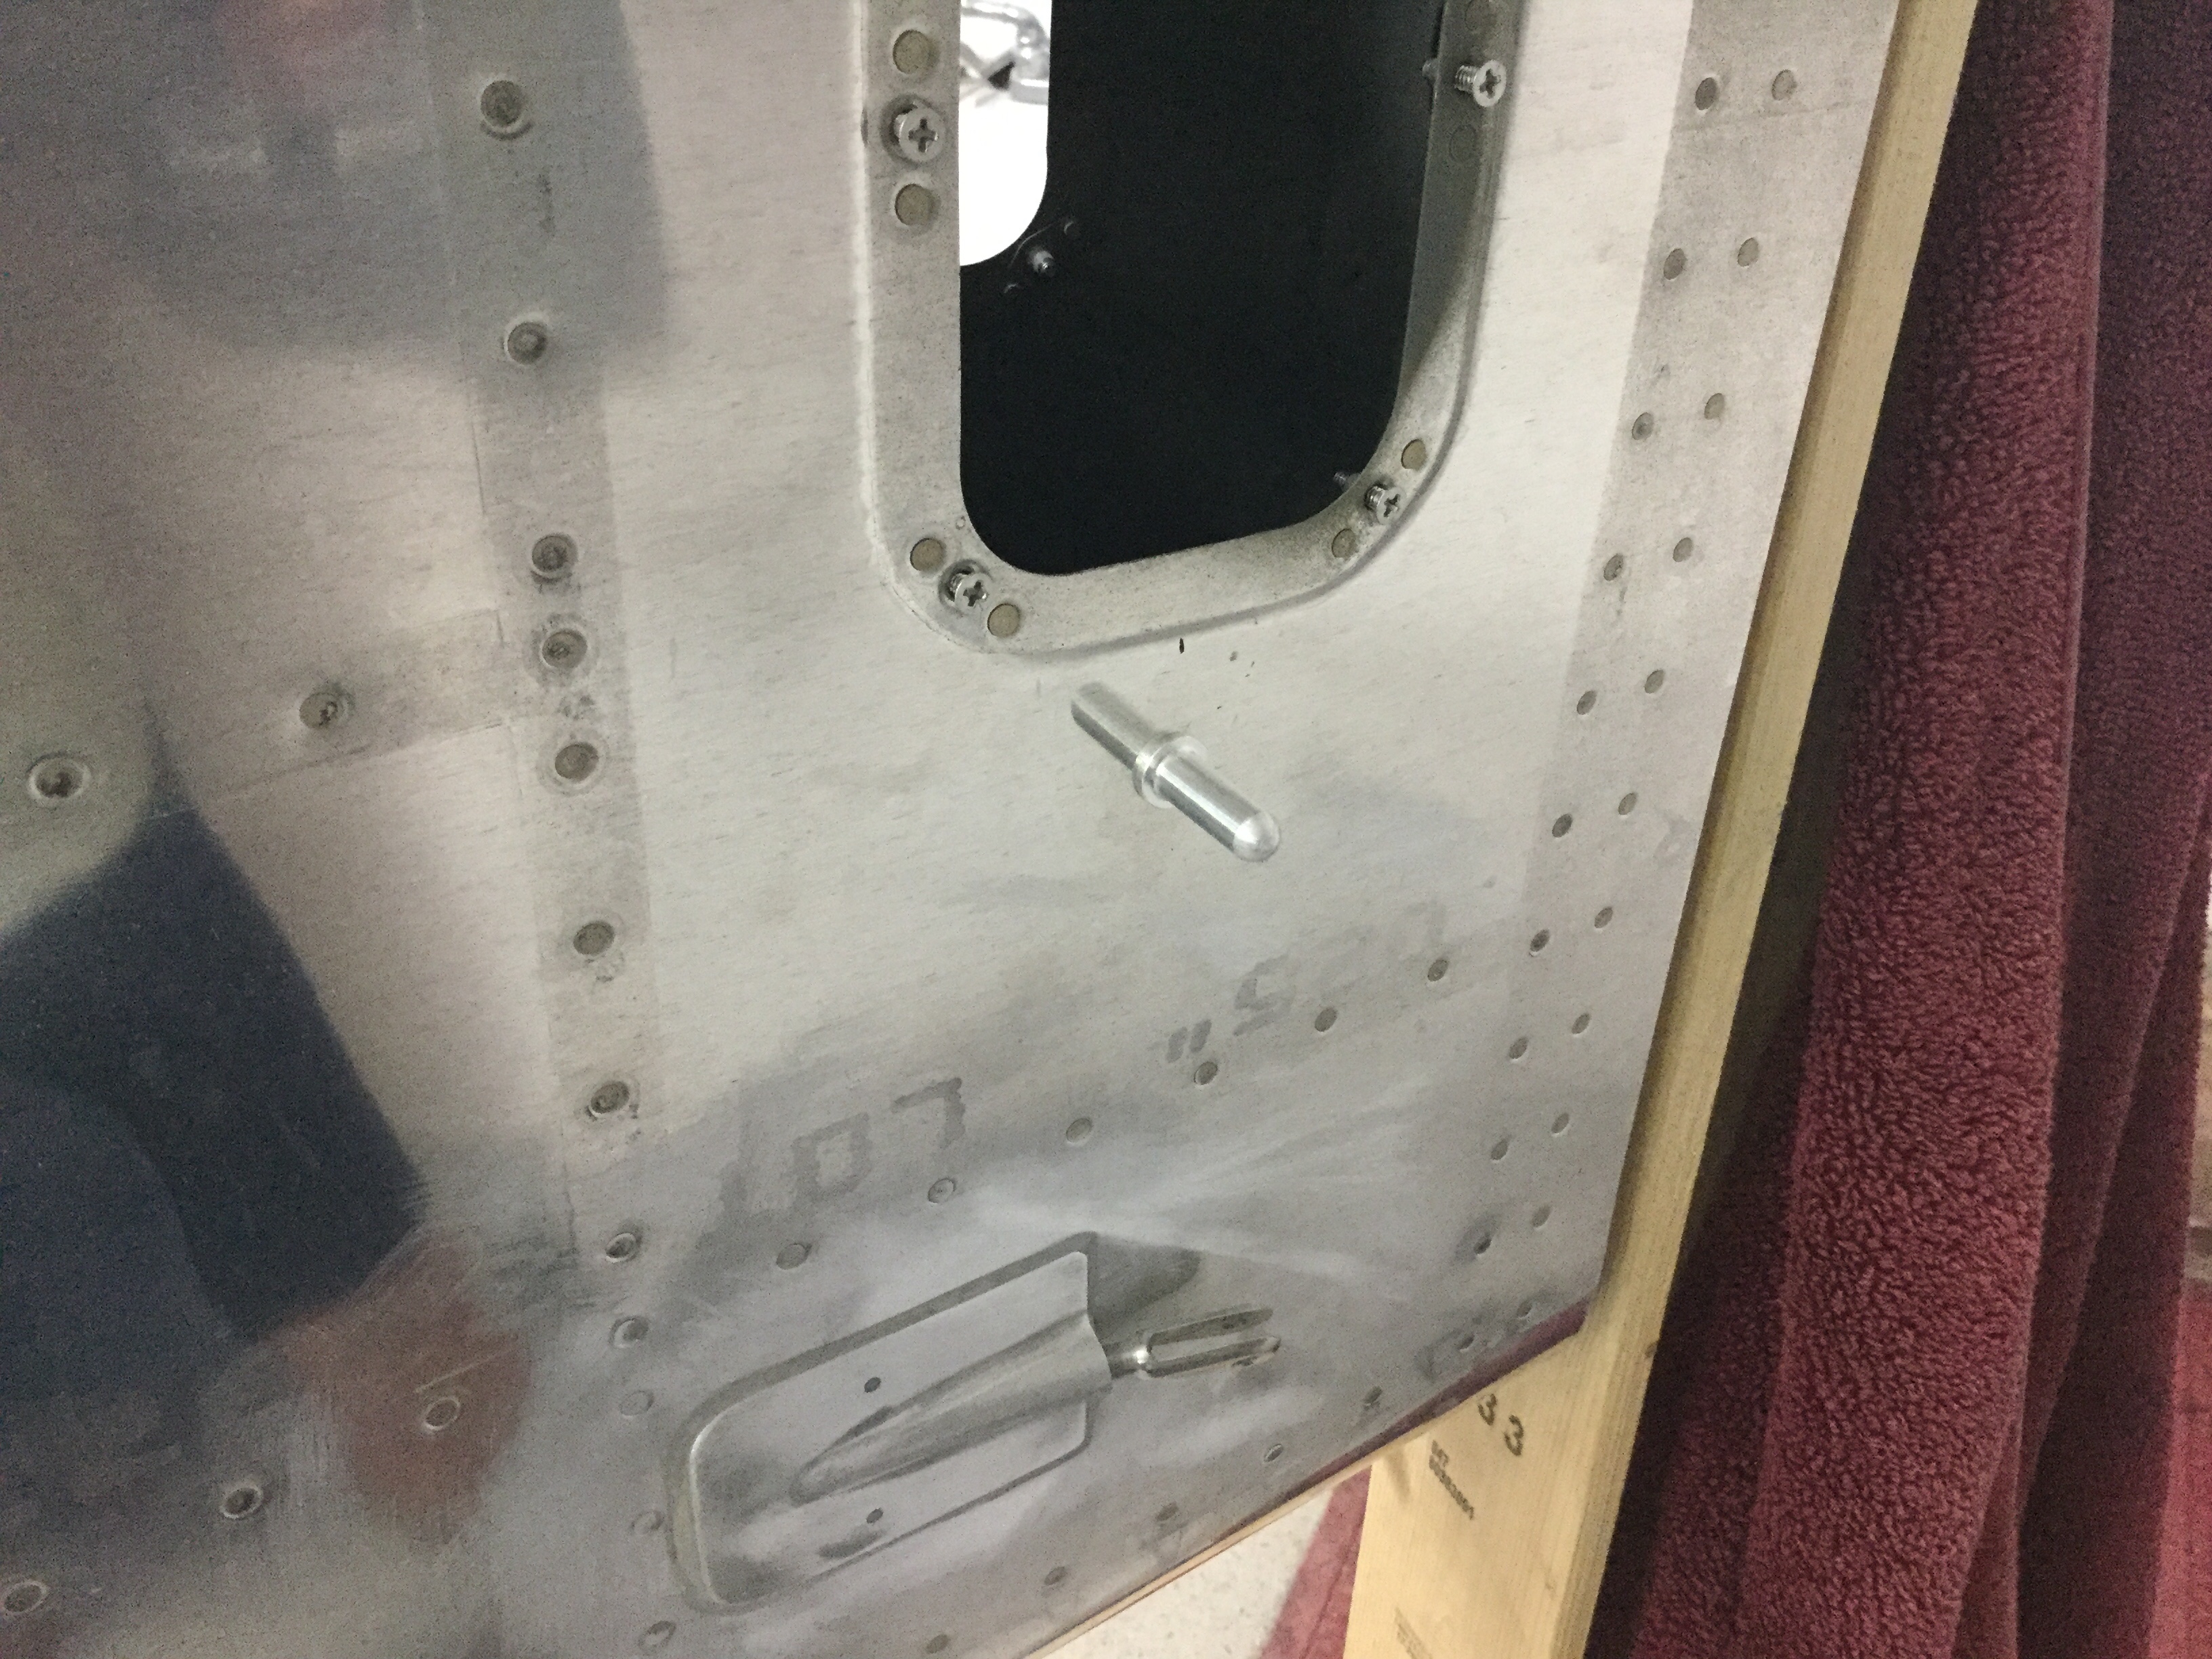
I love spending time wiggling back into the tail coffin, I mean cone, so I made a fort with blankets and towels and dove in to attach the OAT sensors to the ADAHRS and finish securing tail cone wiring. I put the OAT sensors below the access panels underneath the horizontal stab since I had all of my wing wiring complete and for shorter wire runs to the ADAHRS. Since they have to be calibrated anyway, I’m not too concerned with exhaust from the engine affecting them too much.
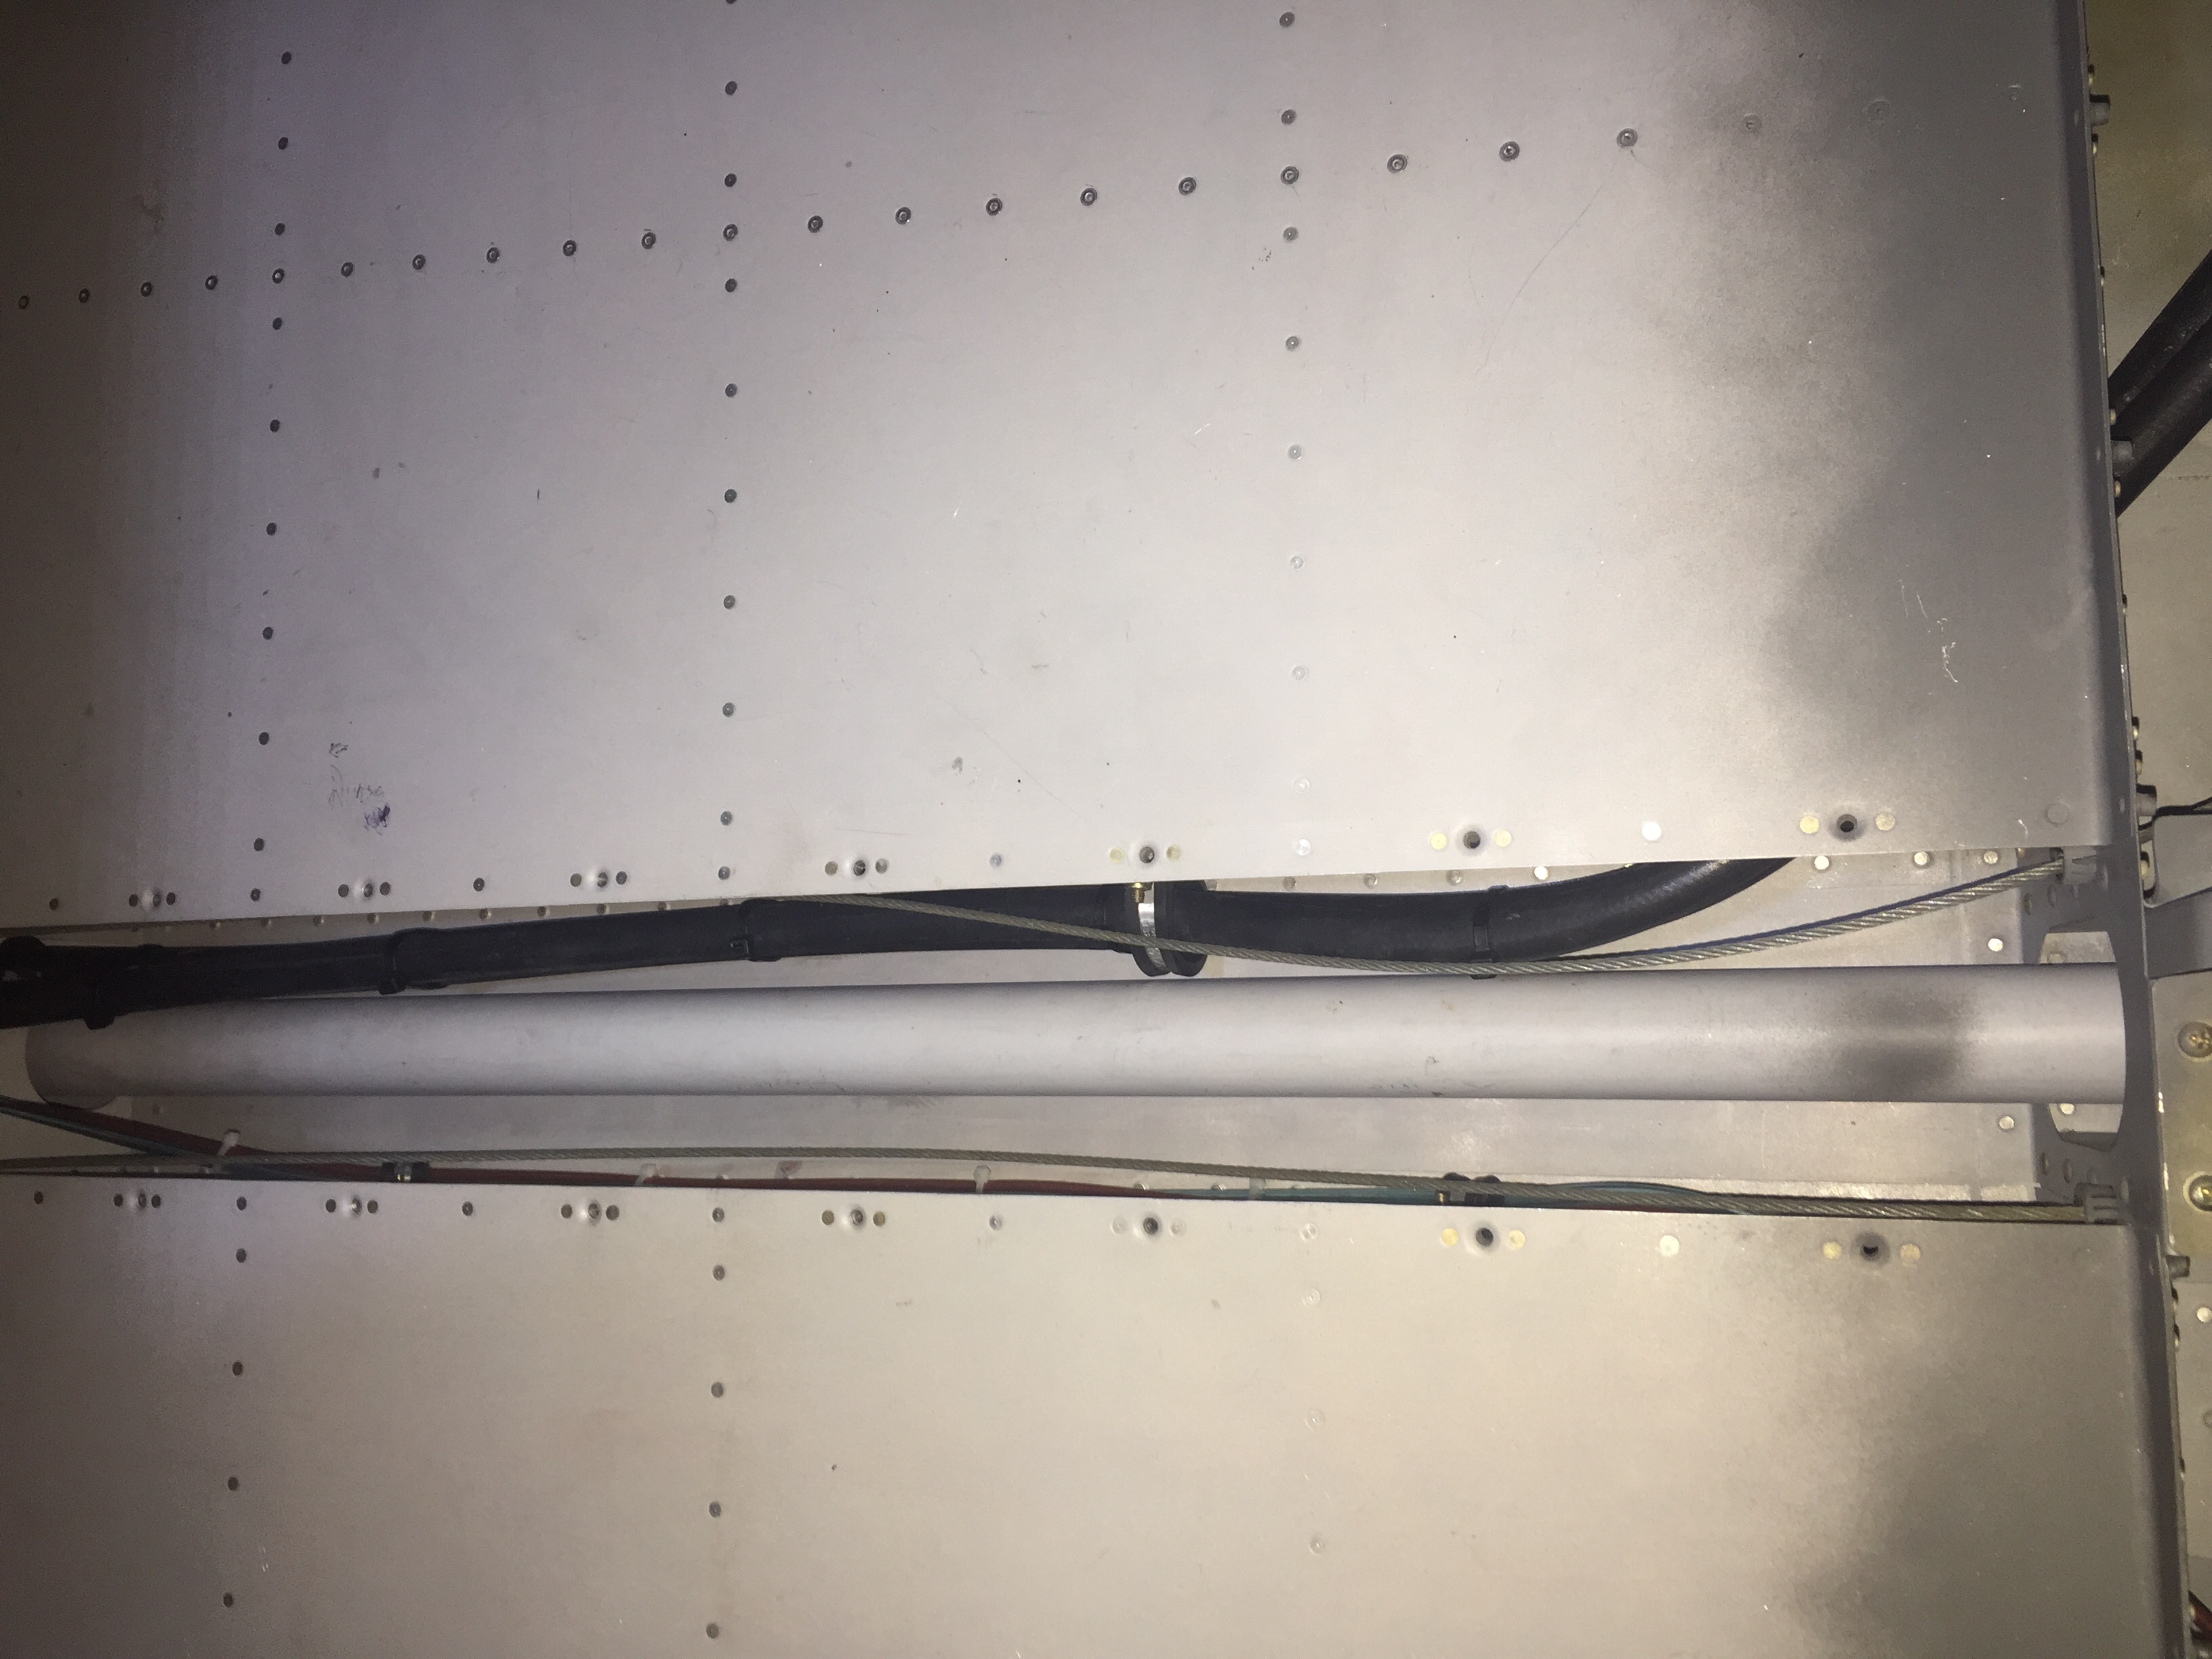
The O2 tank was put back in for good and connected to all of the lines. I also attached the pitch auto pilot servo to the bellcrank and will connect the yaw servo once the tail feathers and rudder cables are rigged at the hangar. That is the last task in the tail cone and can be completed without having to crawl all the way back there. It’s going to be motivation in life to keep from getting fat or have a small child that can slide back there for maintenance, it’s a very tight fit with all the extra stuff I put back there.

More zip tie work on the side walls as I cleaned up all of the wire bundles. I was lazy and didn’t lace them. If you don’t like that, you go build your own damn airplane! Lots of zip ties. Overall I’m happy with the wire runs, I was able to keep coax with mainly data / signal wires and have the high current ones seperated. I have seen plenty of aircraft with everything bundled together without issues, so I think it’s more important to terminate and ground properly than anything.
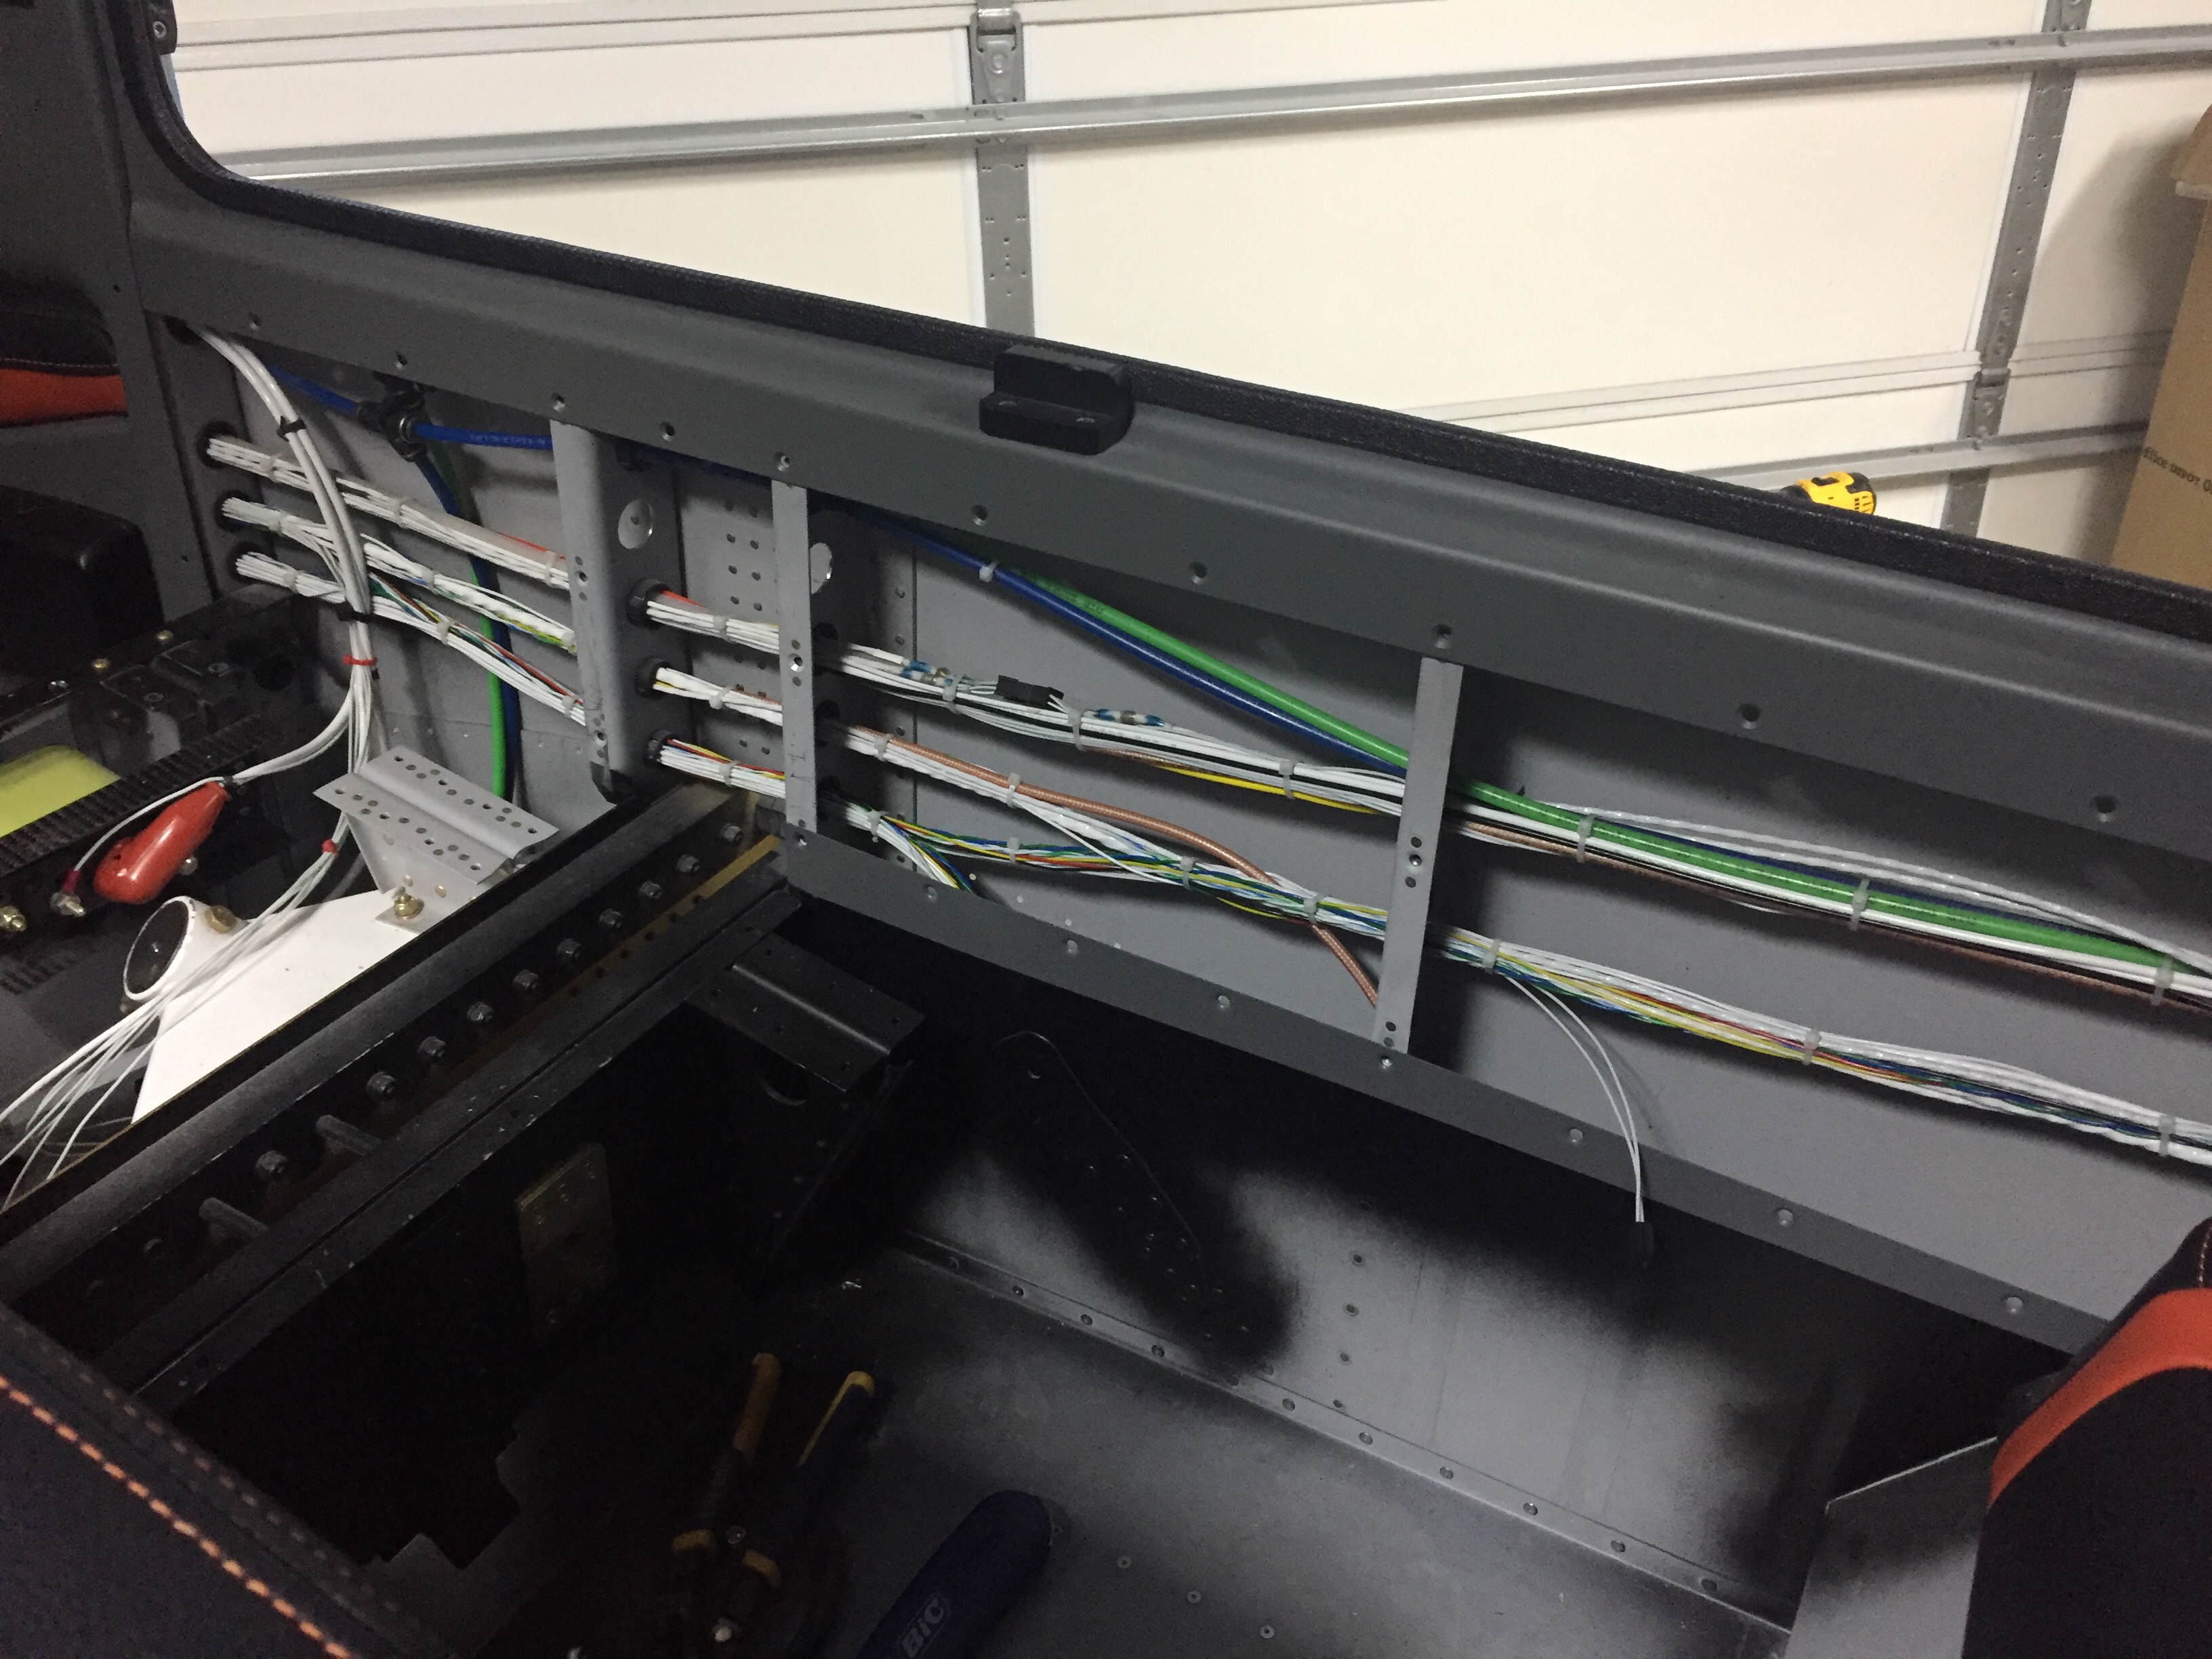
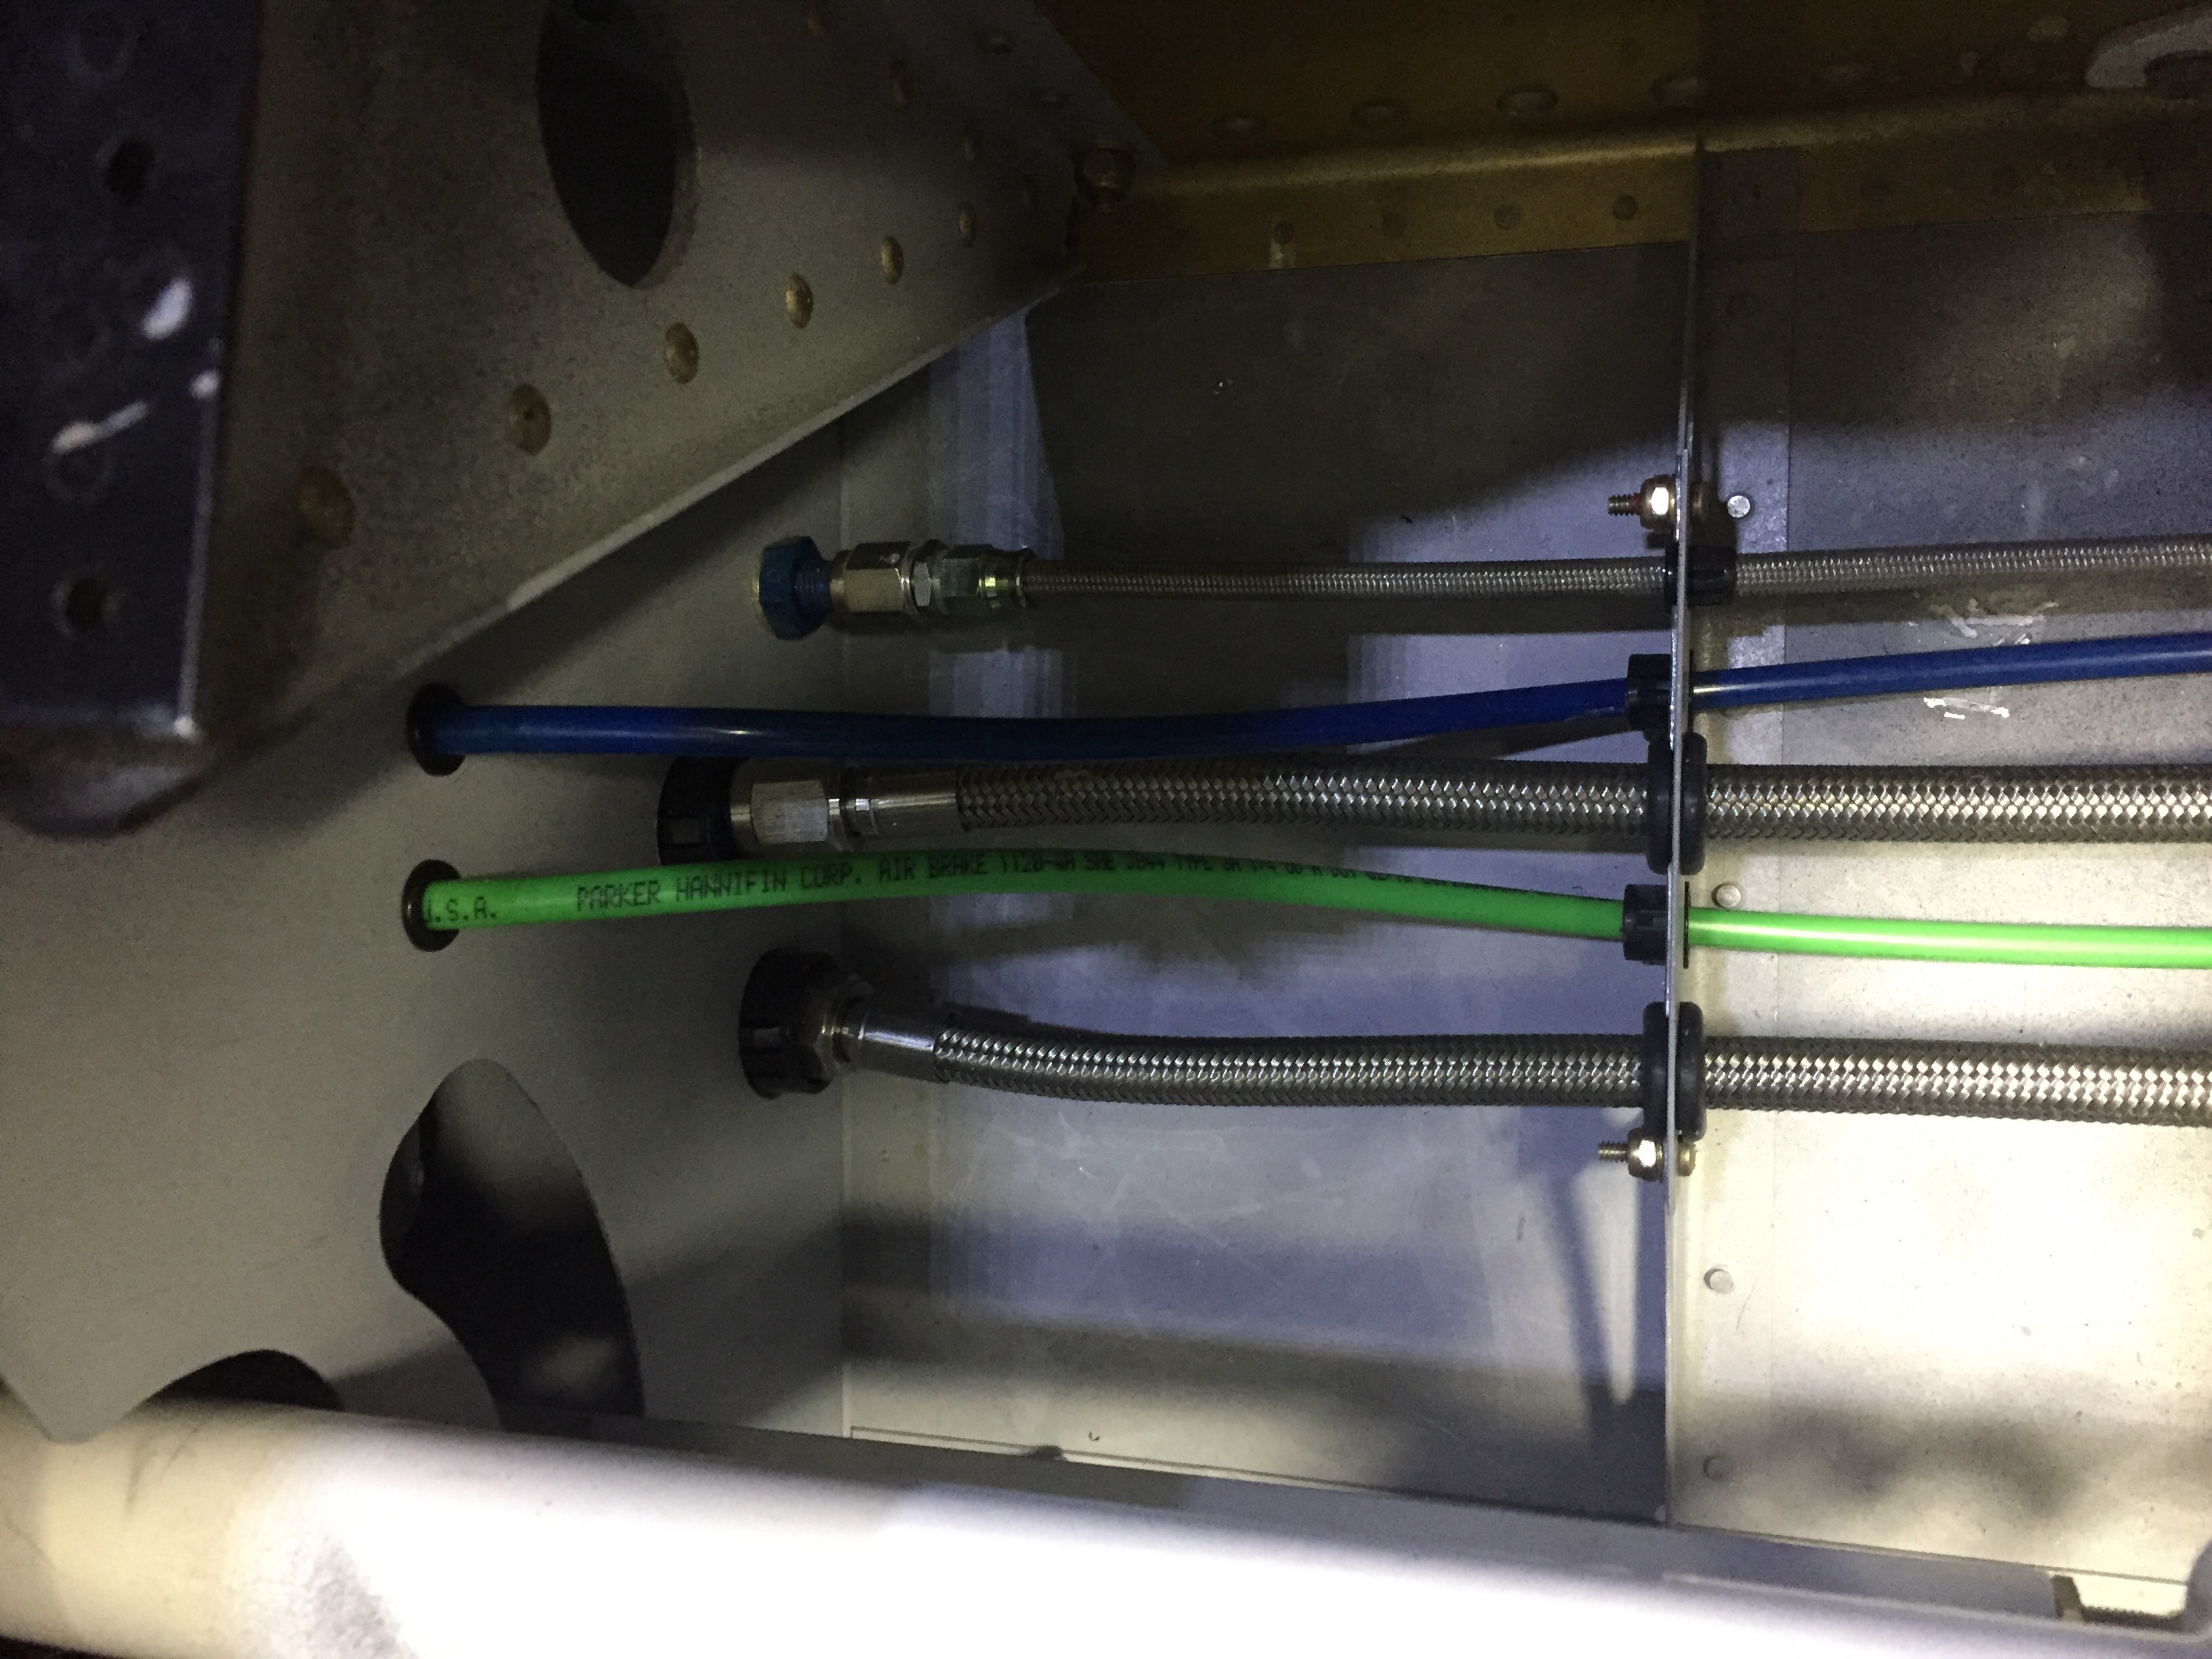
The pitot / AoA tubing needs to run across the fuselage from the left wing to the right sidewall, so I put two holes in the tunnel and used free holes from the fuel line anchors to run the blue and green tubing. The wing is already plumbed, so these lines will connect with those from the wing with two connectors and be done.
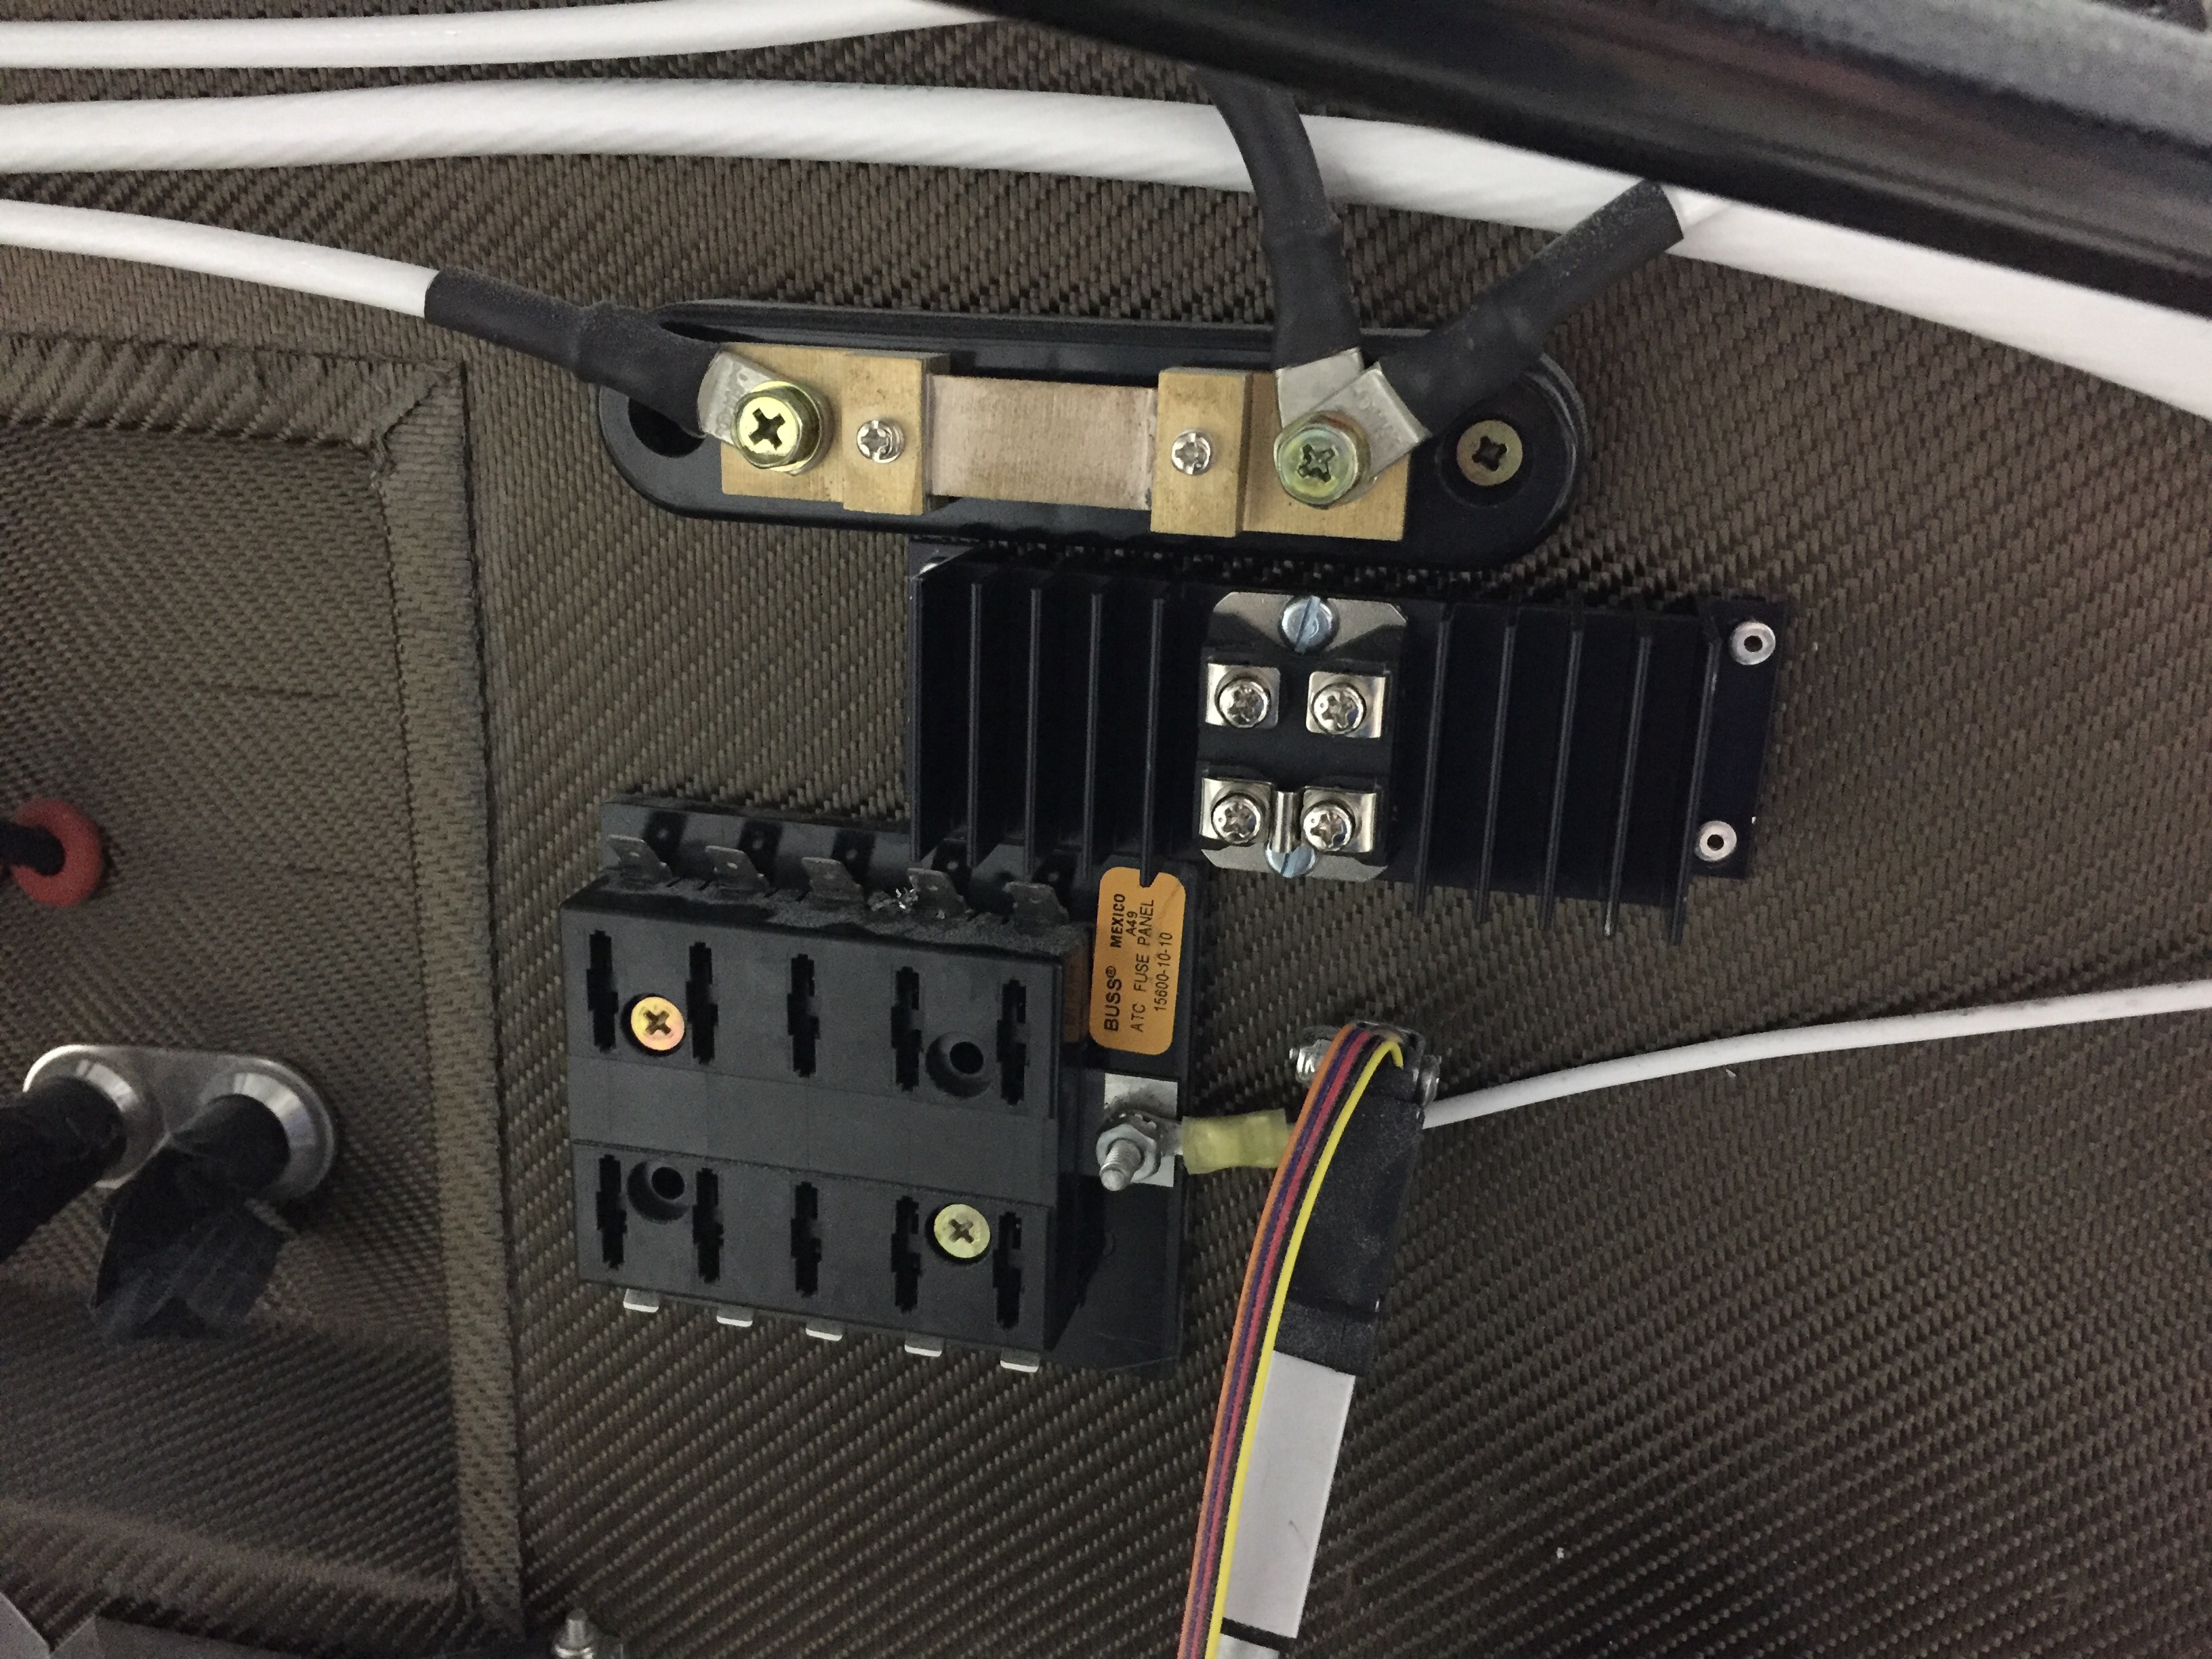
Finally, I put the 30 amp Schottky diode on the firewall between the shunt and engine fuse block. I had this in my electrical design but just in the wrong location. It provides redundant power input to the engine fuse block only, keeping it from backfeeding the rest of the electrical system. The power comes in from the emergency engine power switch which comes from the battery to the fuse block. Big picture, it is a redundancy for the single point of failure of the master contactor or short in the system. A complete electrical failure or engine stopping SOP will be to turn off the master switch (leaving PFD, MFD, and G5 operating on independent back up batteries) and switch on the emergency engine power switch. If the battery has any juice at all, it will go only to the engine fuse block.
