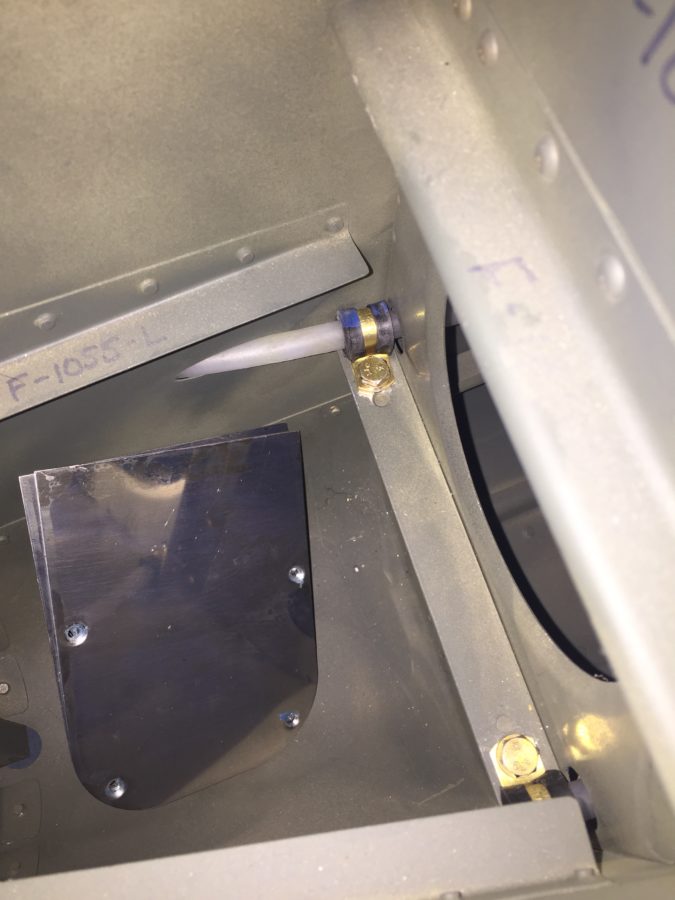
Even though I don’t have the stabilizers mounted, I need to run the rudder cables so that I can start putting other components in the tunnel and move forward with systems layout. The rudder cables get threaded through the tail cone skin and forward. Unfortunately, the ends don’t fit through the snap bushings easily and will require me climbing into the tail cone to thread through the bulkheads. More on that plan later. I could, however, go ahead and clamp the plastic tubing to the fuselage using cushioned adel clamps where the cables exit the fuselage. What should have taken about three minutes to put a clamp on and secure it with an AN3-5A bolt wound up taking over 30 minutes and resulted in a lot of frustration. The clamp proved to be just springy enough that the threads wouldn’t engage and it’s already a tough spot to reach. With my patience running out and my fingers sore from messing with the bolt, my gut instinct to scream profanities targeted directly at the airplane proved successful and I was finally able to get the little bastard in. I will never, ever, ever take that bolt out.
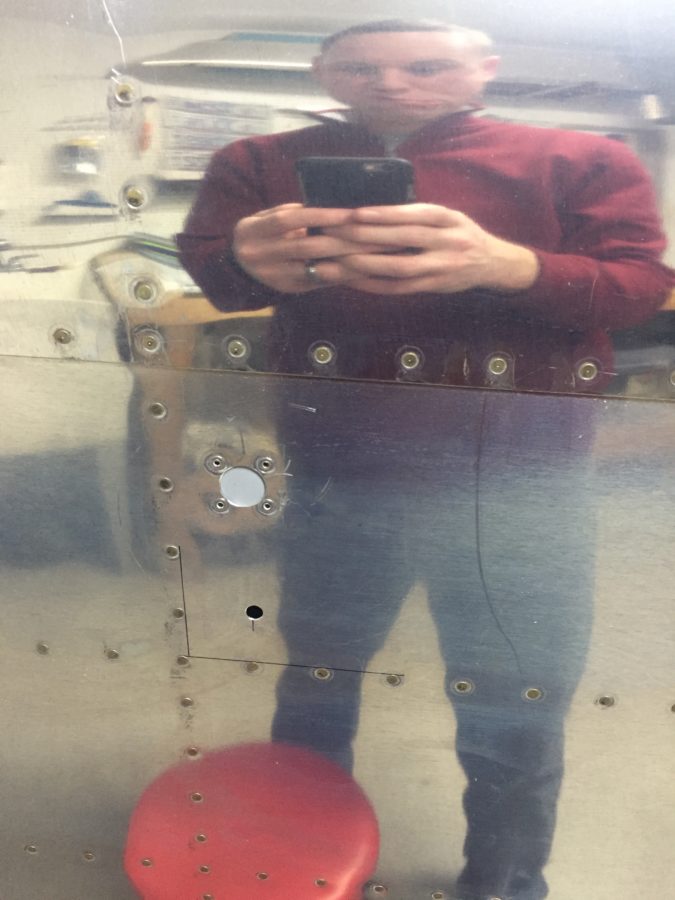
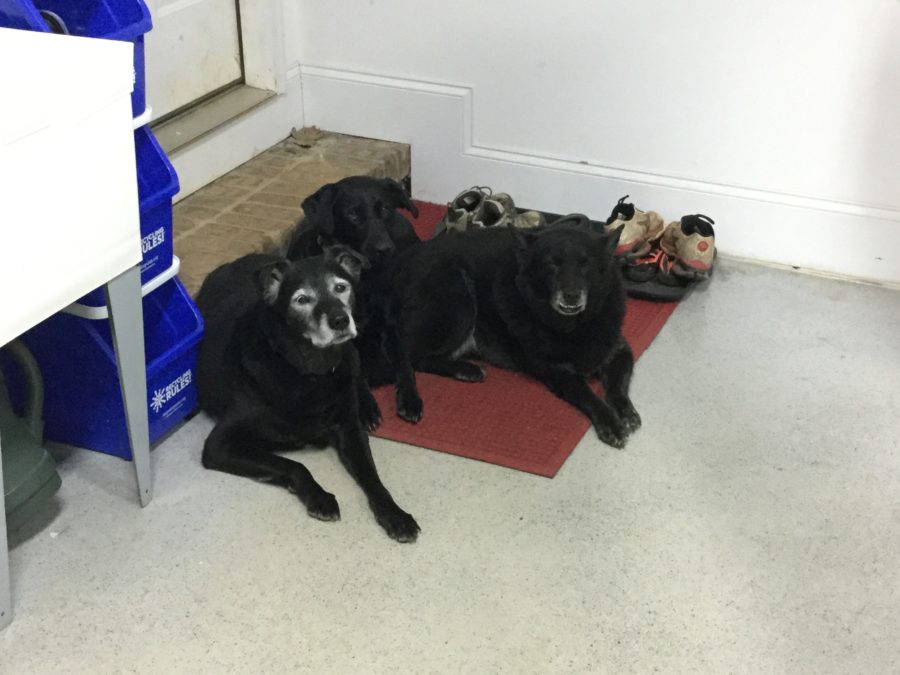
Needing to lower my blood pressure and calm my headache not to mention my now very concerned shop dogs, I decided to move to another aircraft system, the pitot static system. I ordered a kit from Safe Air 1 quite a while ago and have already installed the pitot tube mount with preliminary tubing in the wing. When I built the tail cone, I used another brand static ports that after looking at for years had to go. The Safe Air 1 ports are designed to be mounted from the inside and have a very clean look not to mention good reviews of functionality. Since I was going to have to crawl in the tail cone anyway, I decided to remove the current ports to prepare for the Safe Air 1 version. I had to drill out the four rivets, clean up the holes, dimple them, and make a patch. The patch is required since the original ports had a half inch hole required. I had to get pretty creative on how I dimpled the holes since I can’t get the pliers or squeezer on it. I wound up using the blind rivet nail trick with the dies designed for a finish nail with great results. Once the patches were made, I used blind rivets that sit nicely in the skin for ease of use and negating one more task of bucking rivets while crawling in the cone. Since I’ll use flox filler to smooth out the hole anyway, the blind rivets will disappear. I’m really happy with the result and quickly relocated the new port hole just below the original location. I don’t anticipate any issues with the new location.
I also installed the avionics shelf that I had fabed previously with the proper spacers and screws. I plan to use nutplates for permanent mounting of components once all of the boxes are laid out. I’m preparing everything I can think of to do while crawling in the tail cone to include mounting the new static ports, mount the static line and clamps, route the rudder cables, install snap bushings for tail wiring, and run string to pull future wires.


