Have I mentioned doors suck? Next airplane I build will be open cockpit. I pressed on with fixing the outside gap and leveling the doors with the cabin top. As I did with the pilot side, I used the door itself on the copilot side to create a mold in wet epoxy and then trimmed to a rough shape while still setting up. What a neat trick, thanks Kurt! Sand, fill, repeat. Woof, I’m tired of this and very happy I didn’t build a Velocity composite airplane!
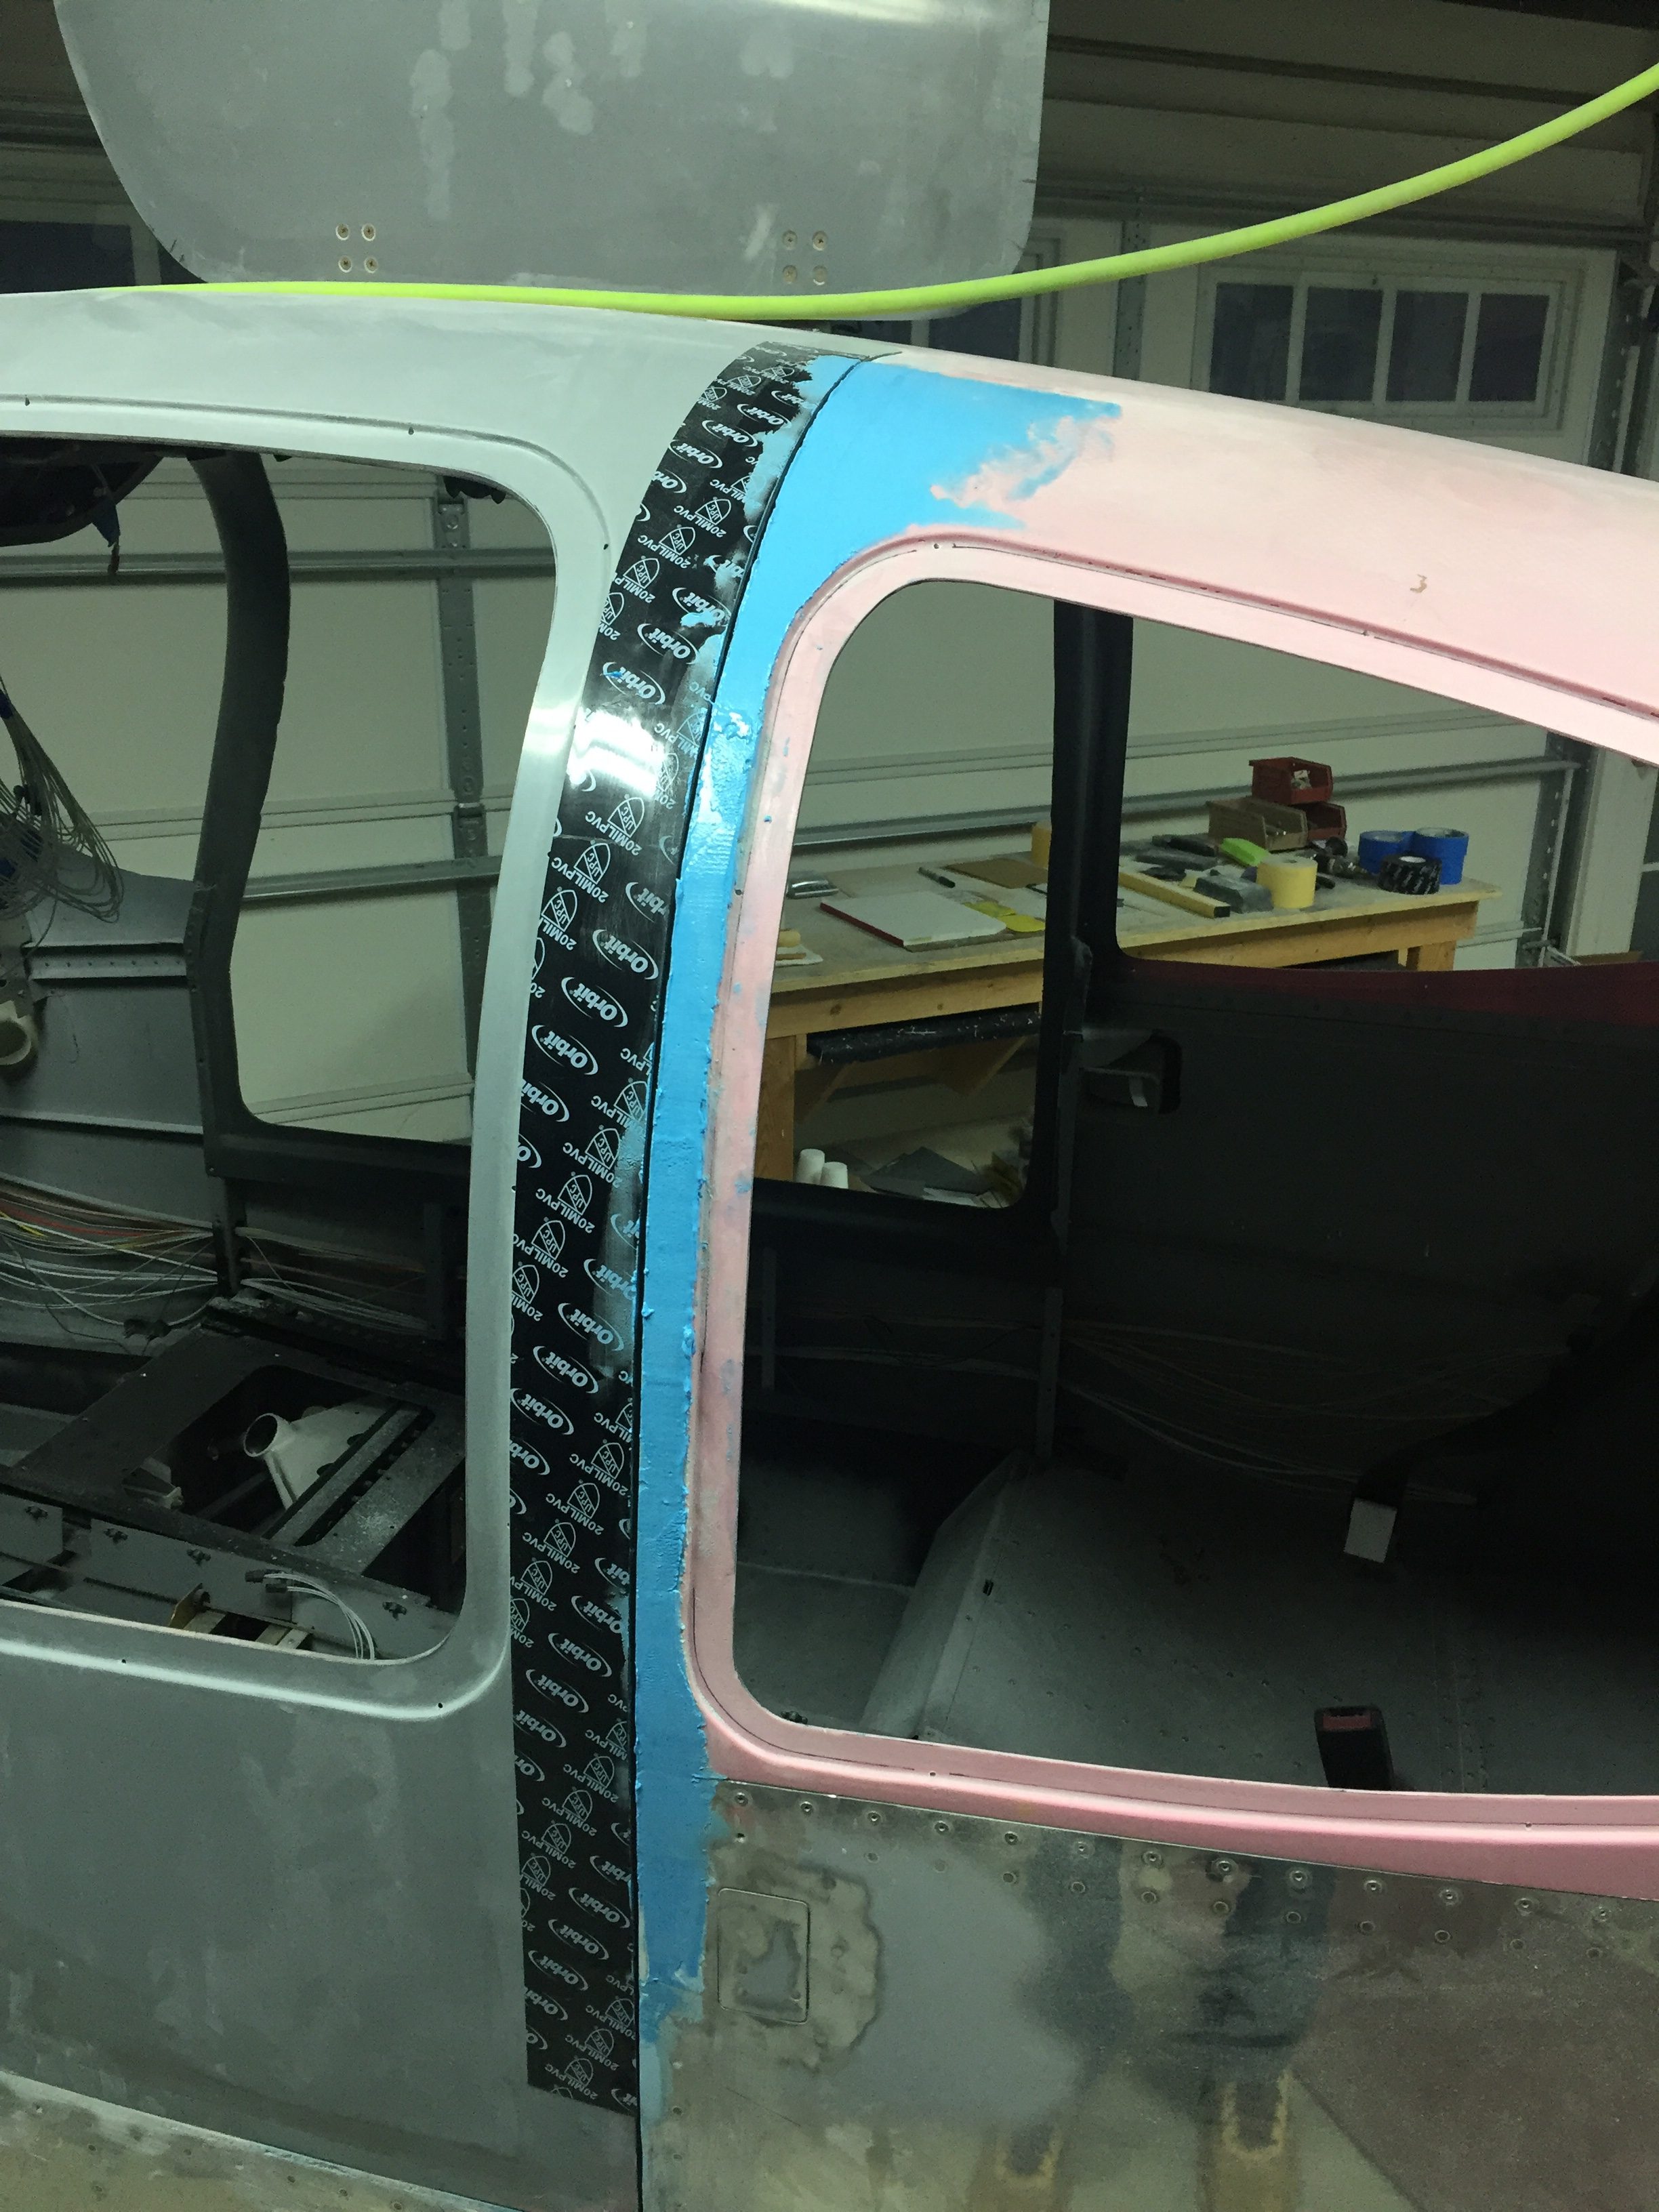
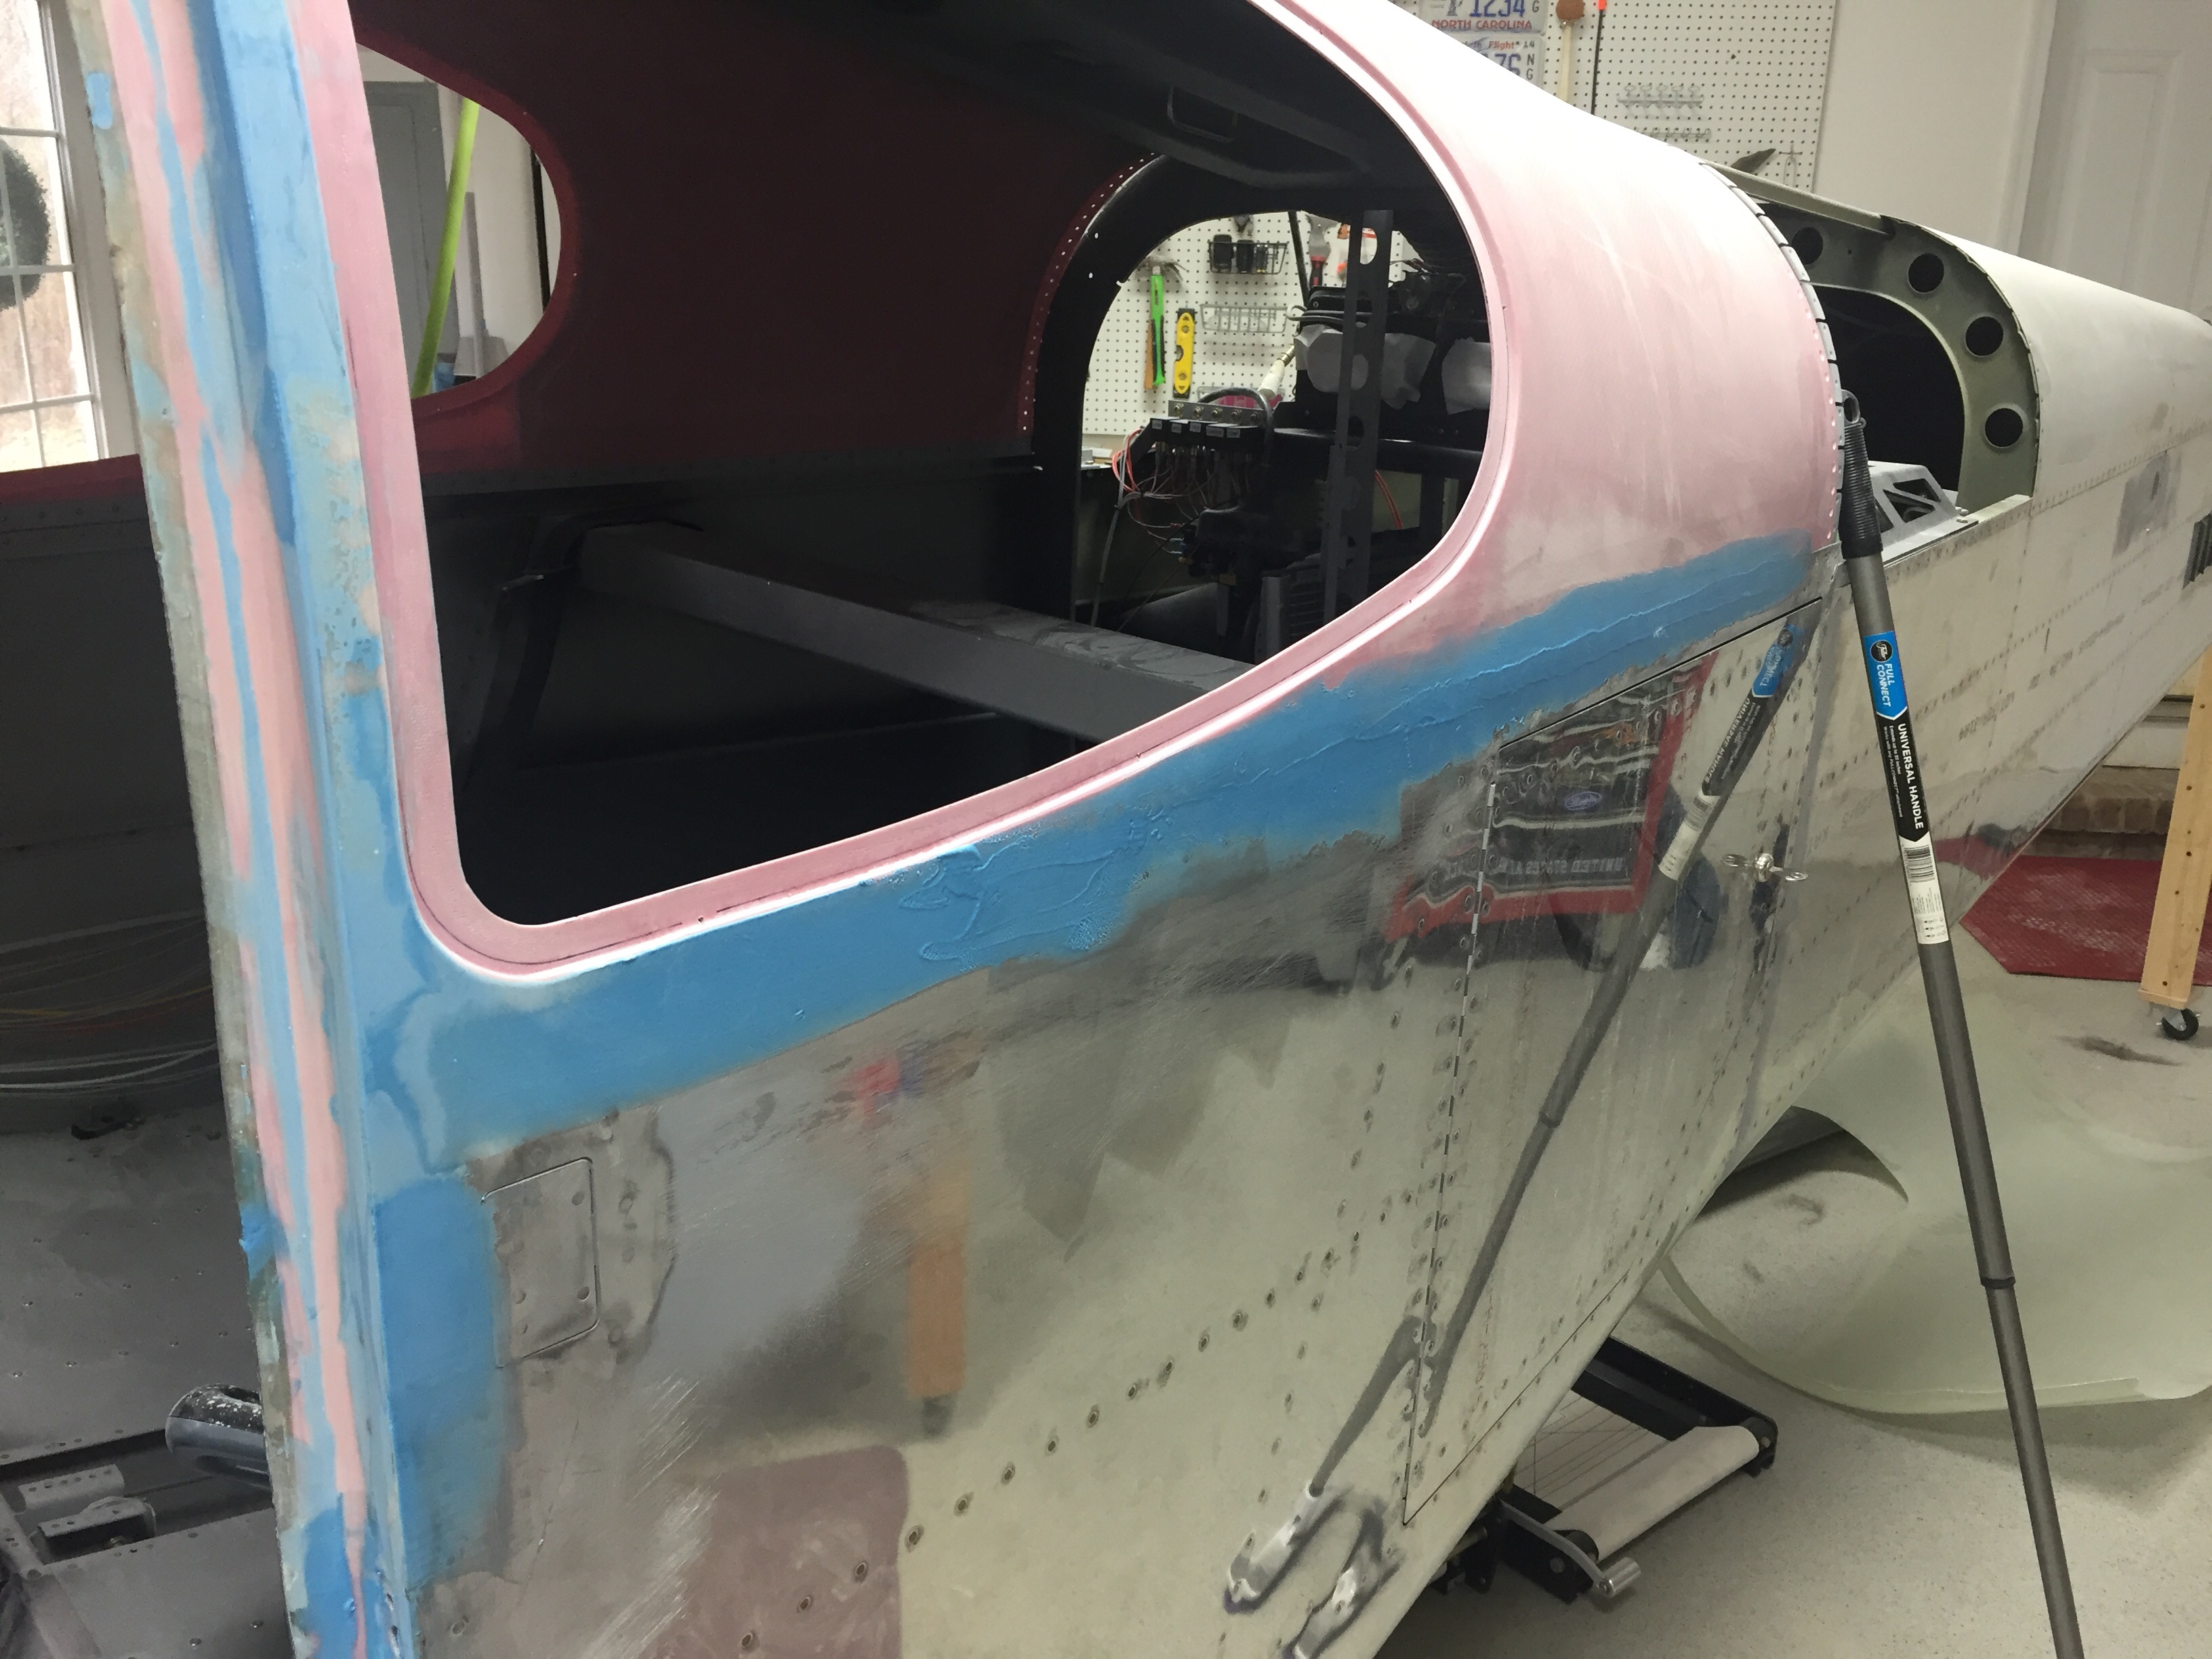
Finally, I got to a point where the door gap was consistent and had a proper gap so time to move onto fairing the doors to the top. A few spots on the frame were lower than the door which resulted in a uneven profile. This is where the SuperFil is really nice, as it goes on smoothly, is lightweight but strong, and sands wonderfully. The key is to be patient and not make it perfect with the applicator. I’m bad at that and wind up causing more work for myself down the road. Either way, its more sand, fill, repeat to get a good profile around the doors. I found the pilot side to be a bit worse than the copilots on the aft edge, but better on the forward edge. On the bottom of the doors where it meets the aluminum structure, I sanded the door face down to smooth the transition, as it didn’t need much. I figured that would be better than trying to put a few layers of filler on the aluminum. I’m quite pleased with the way that turned out and it was an easier job. Meanwhile I continued to perfect the jams, filling and sanding little spots that I saw or felt.
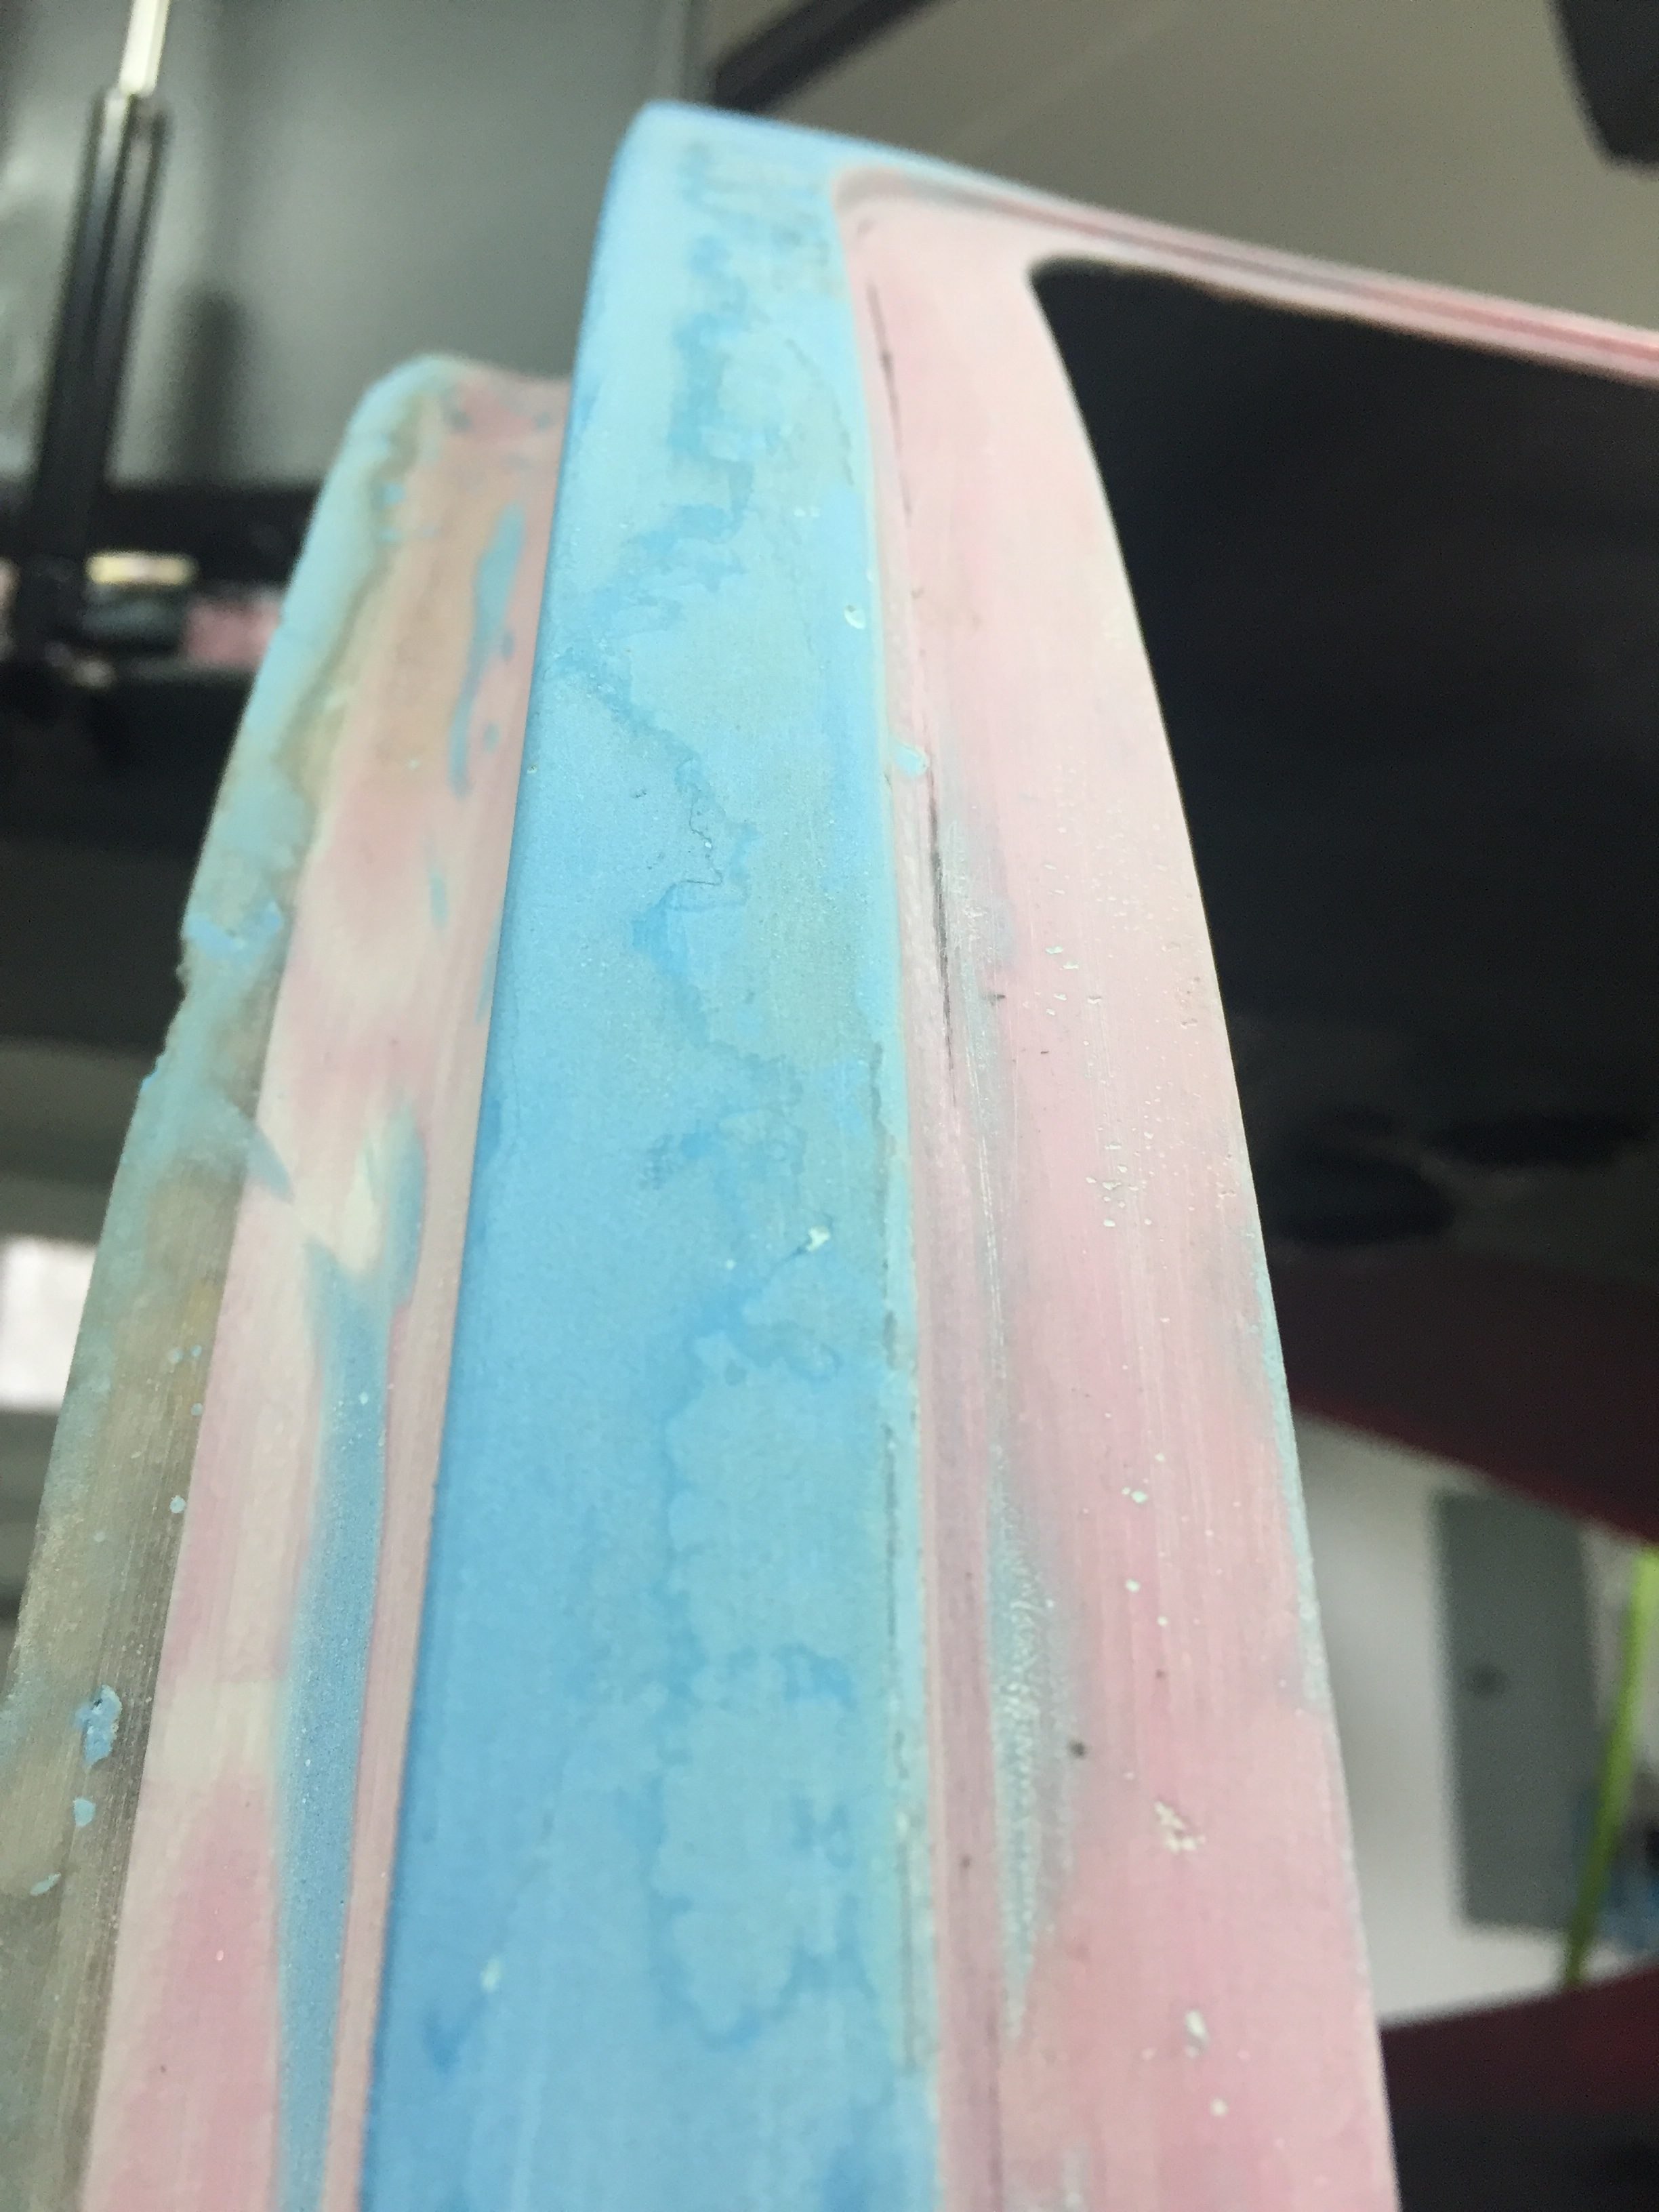
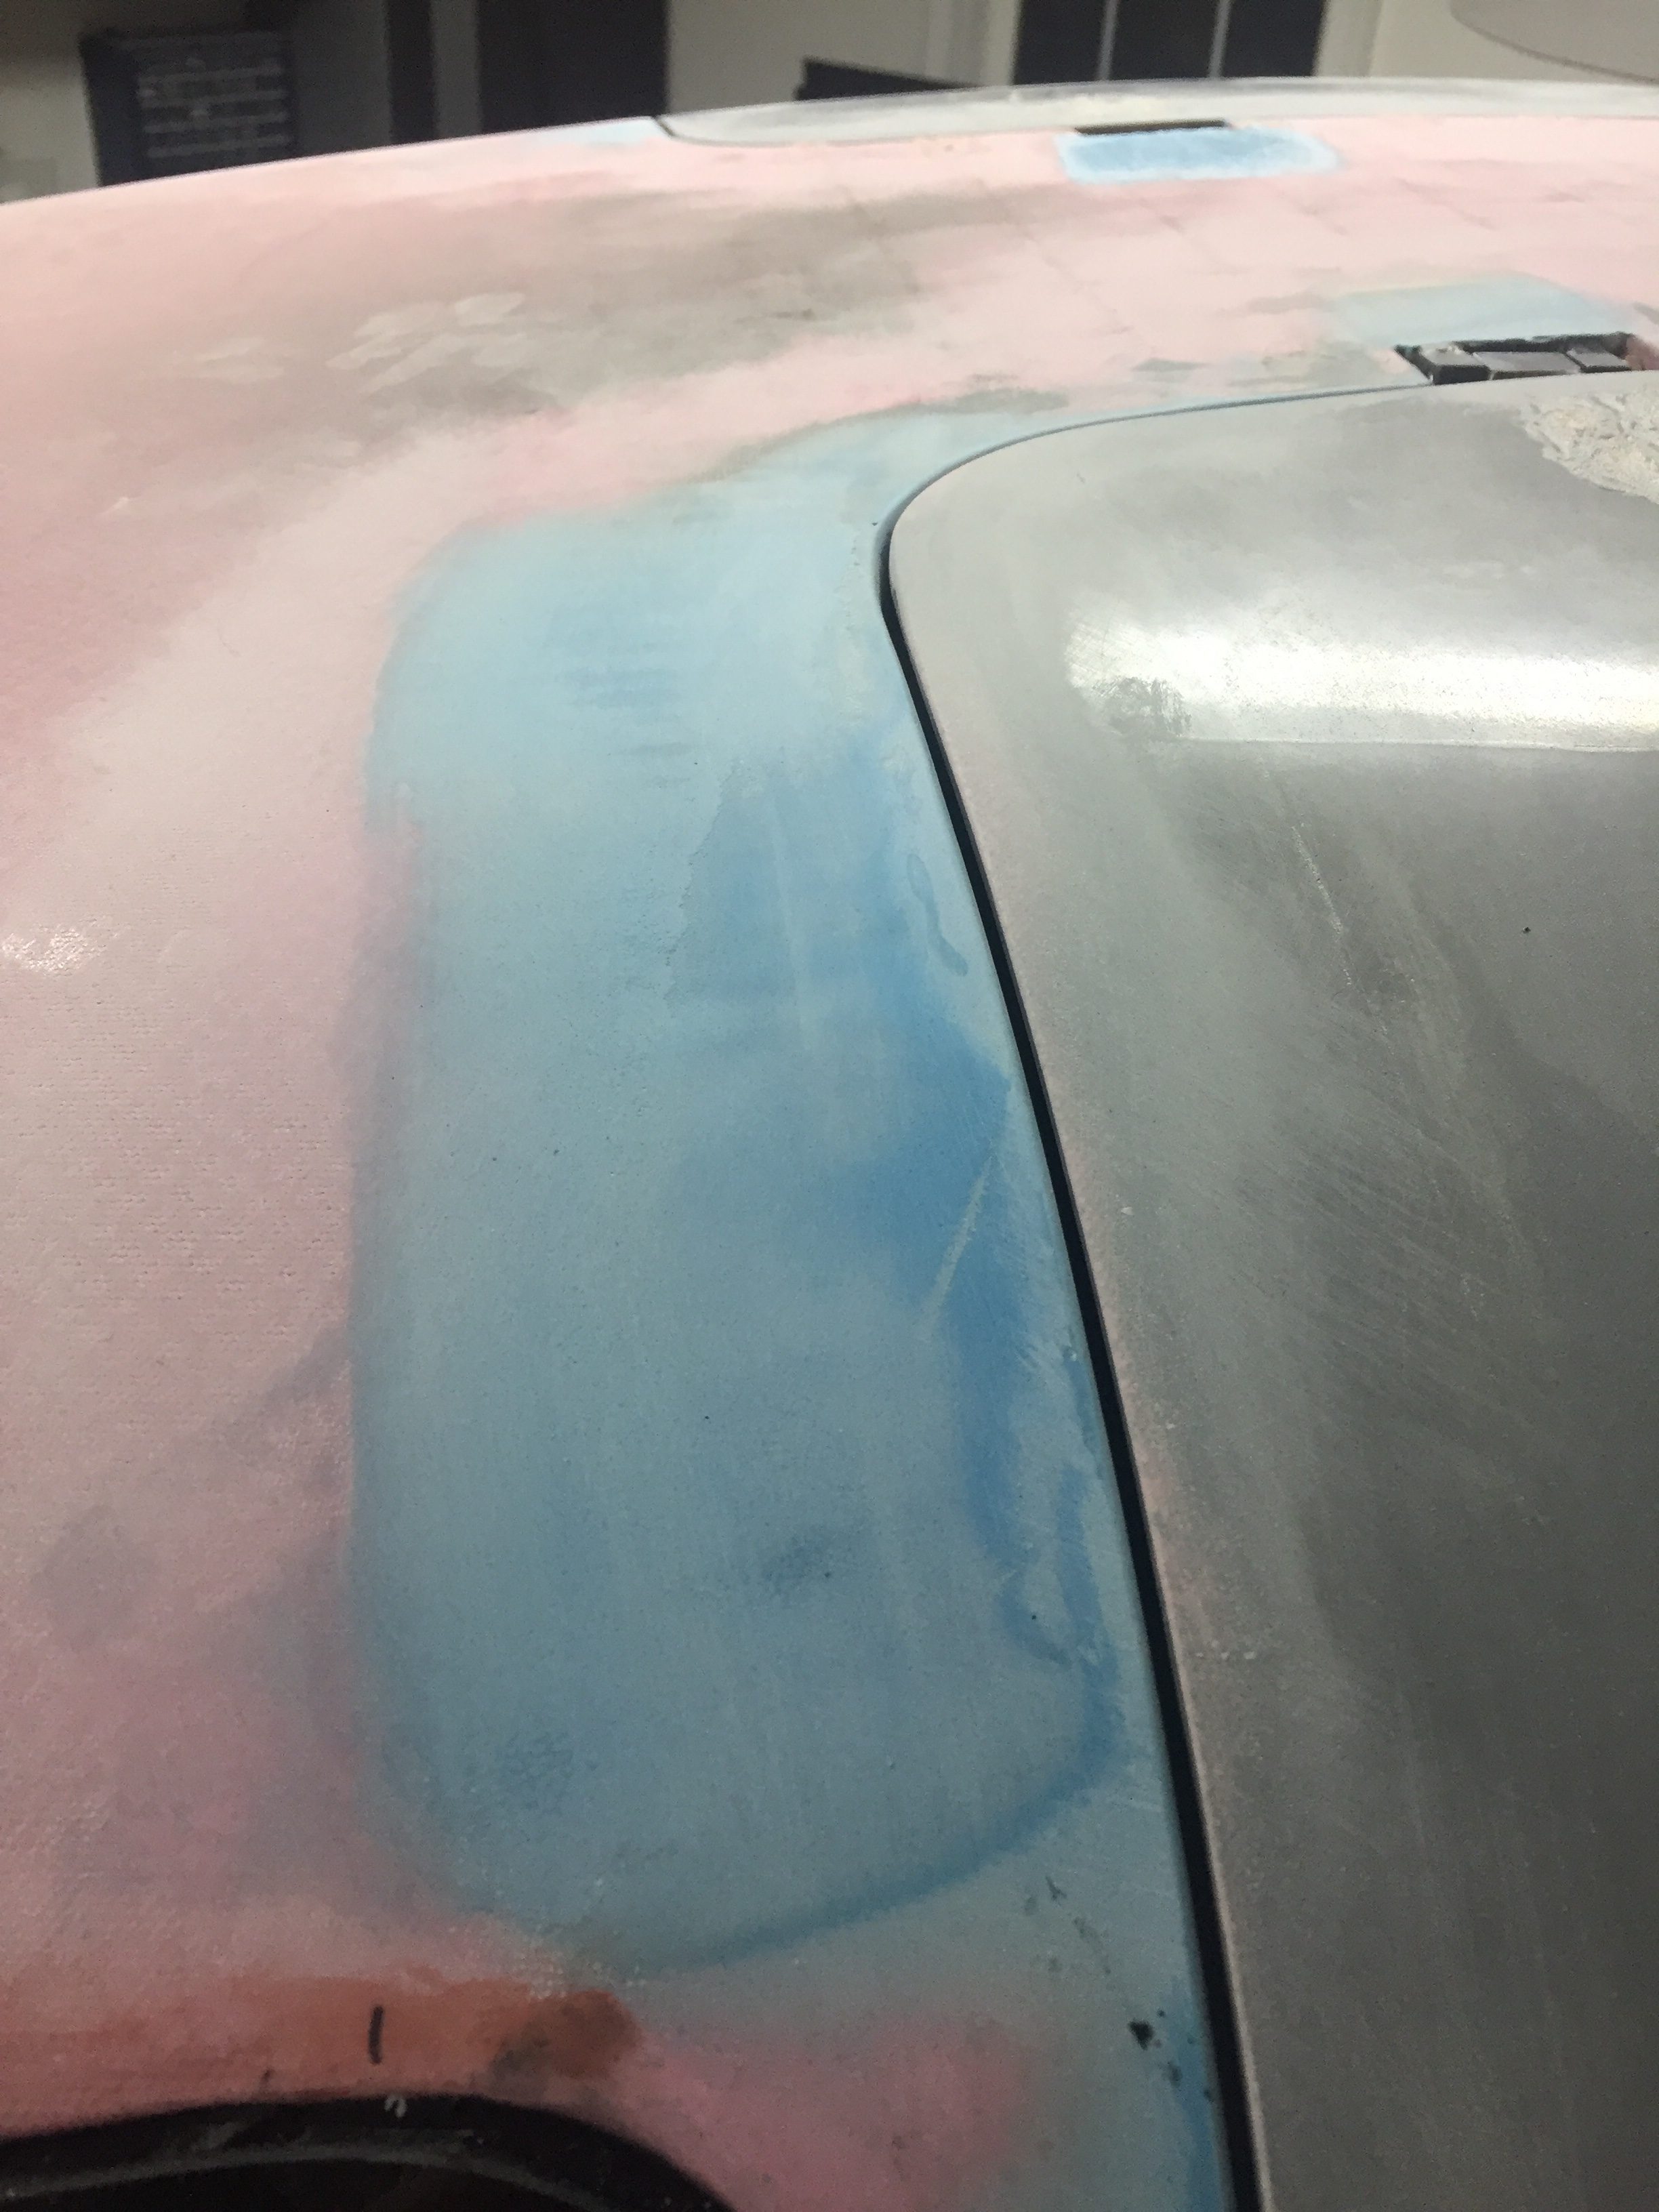
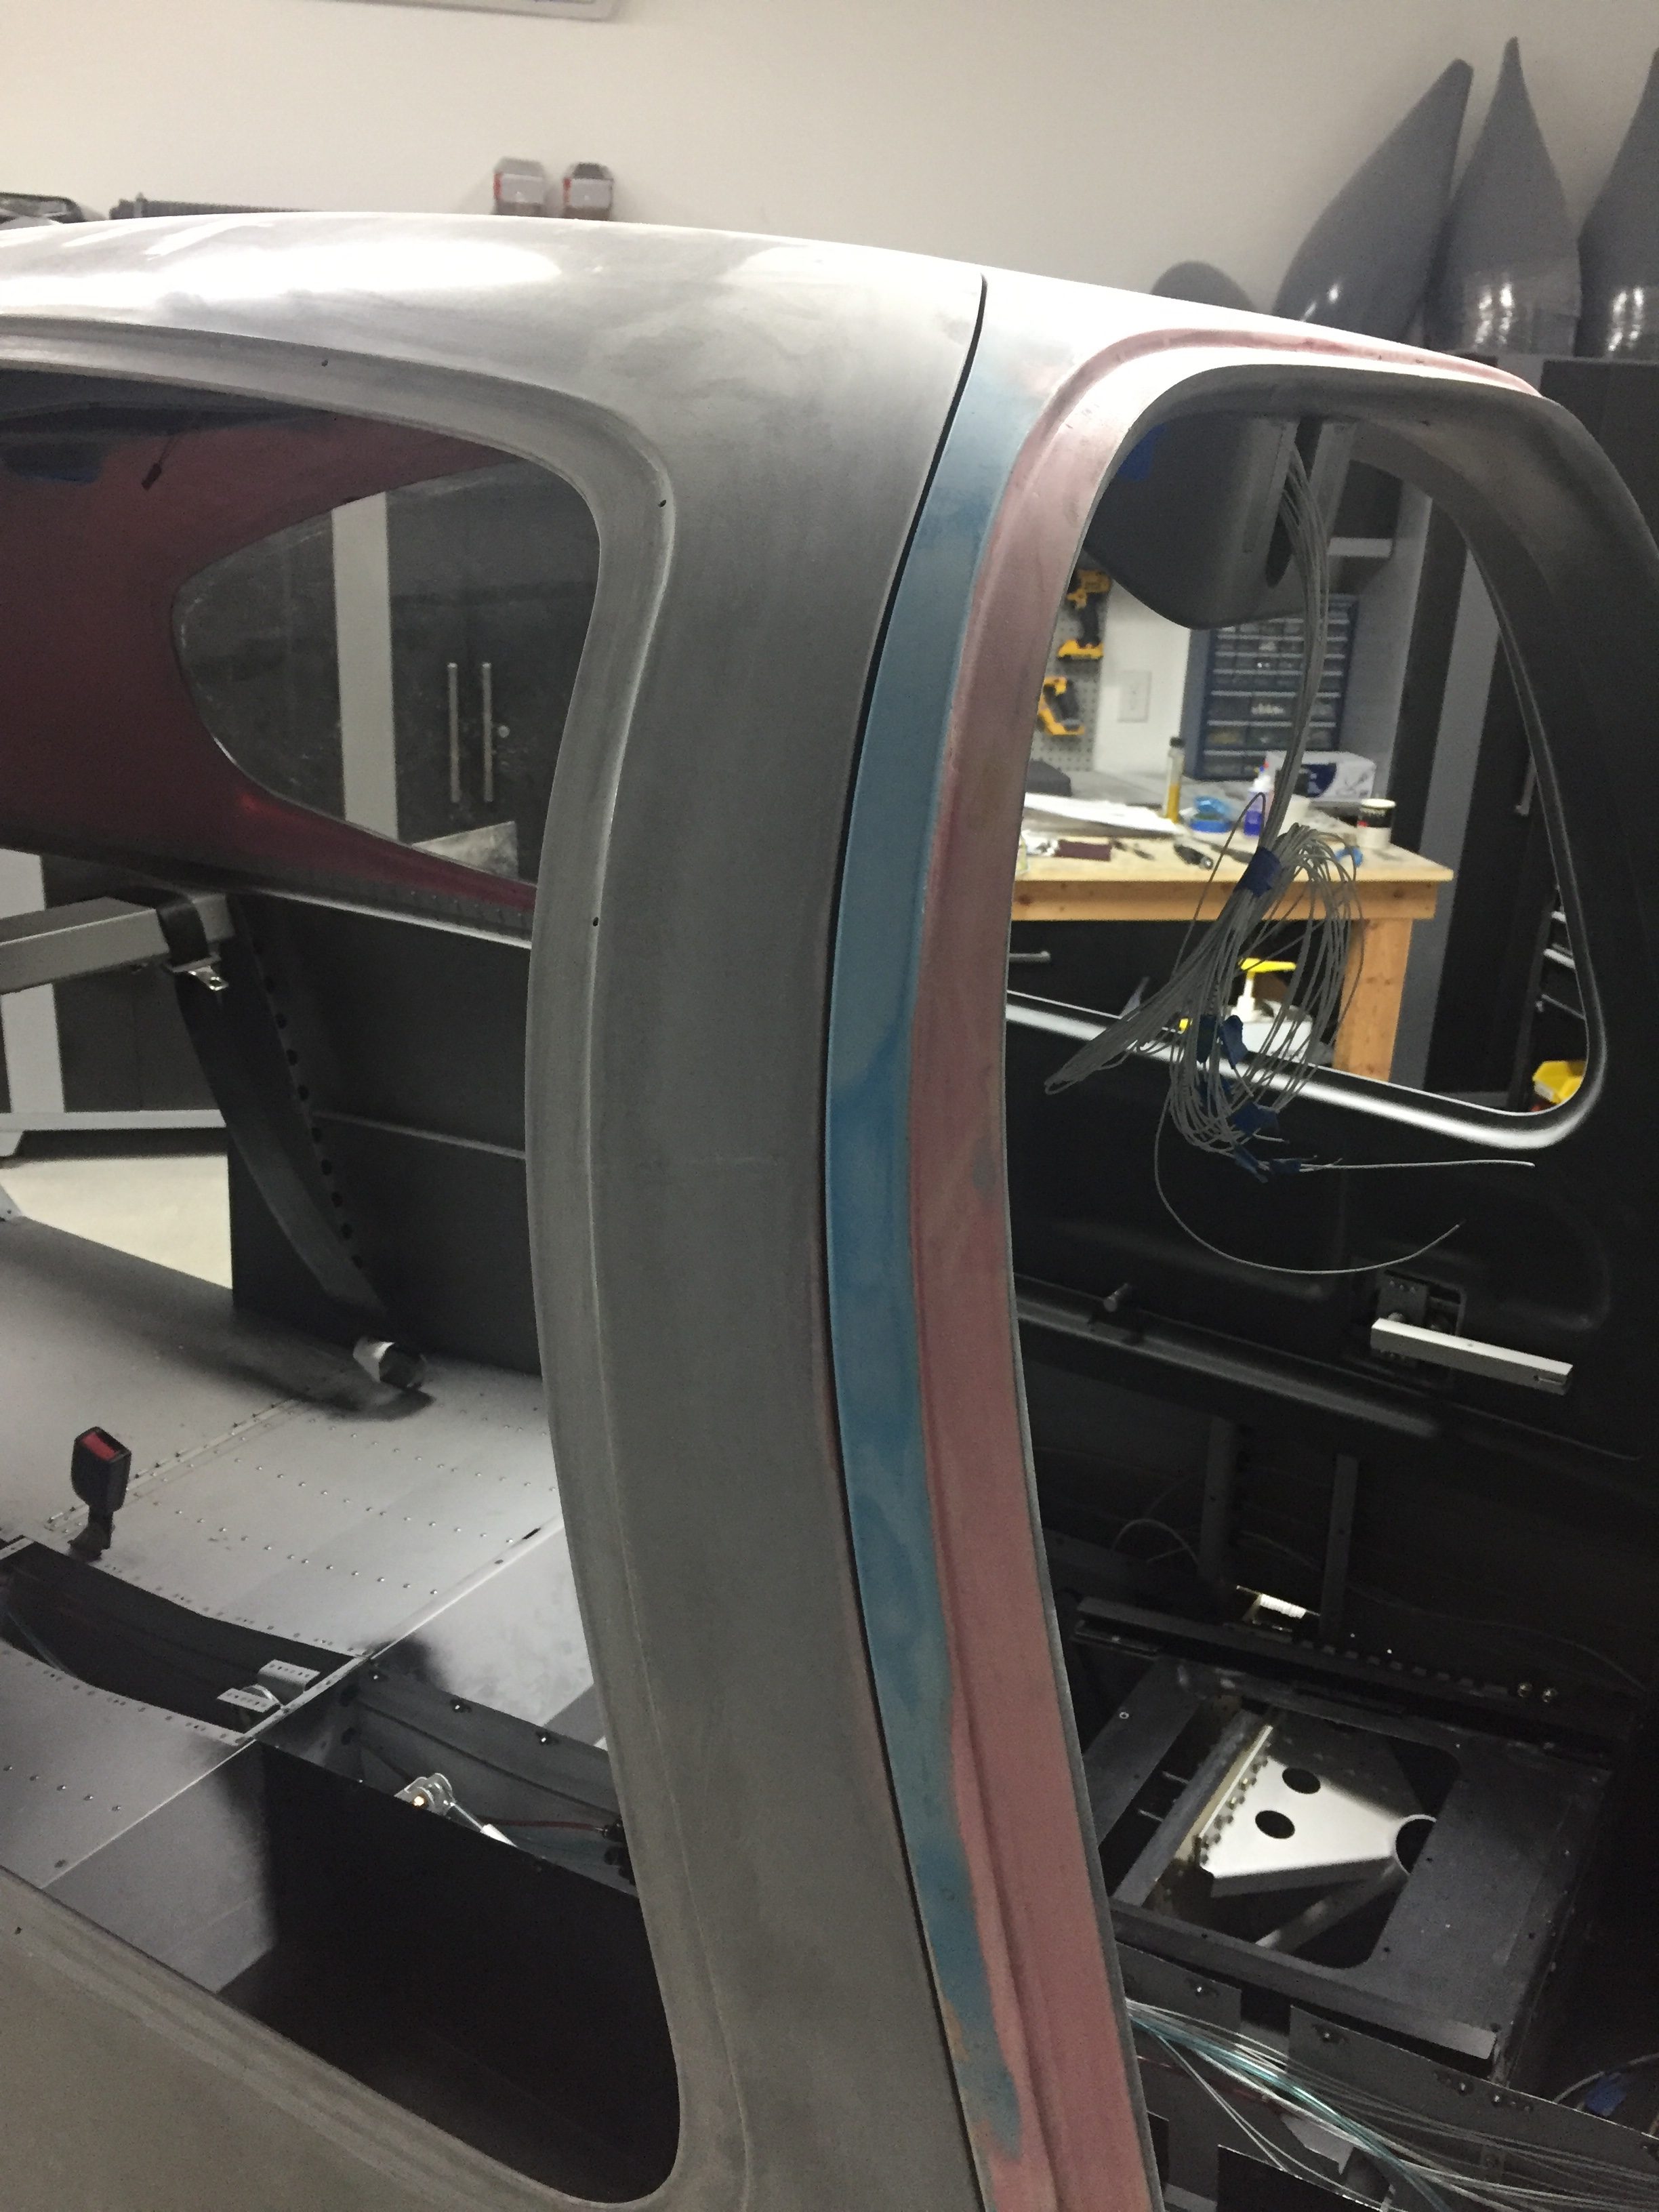
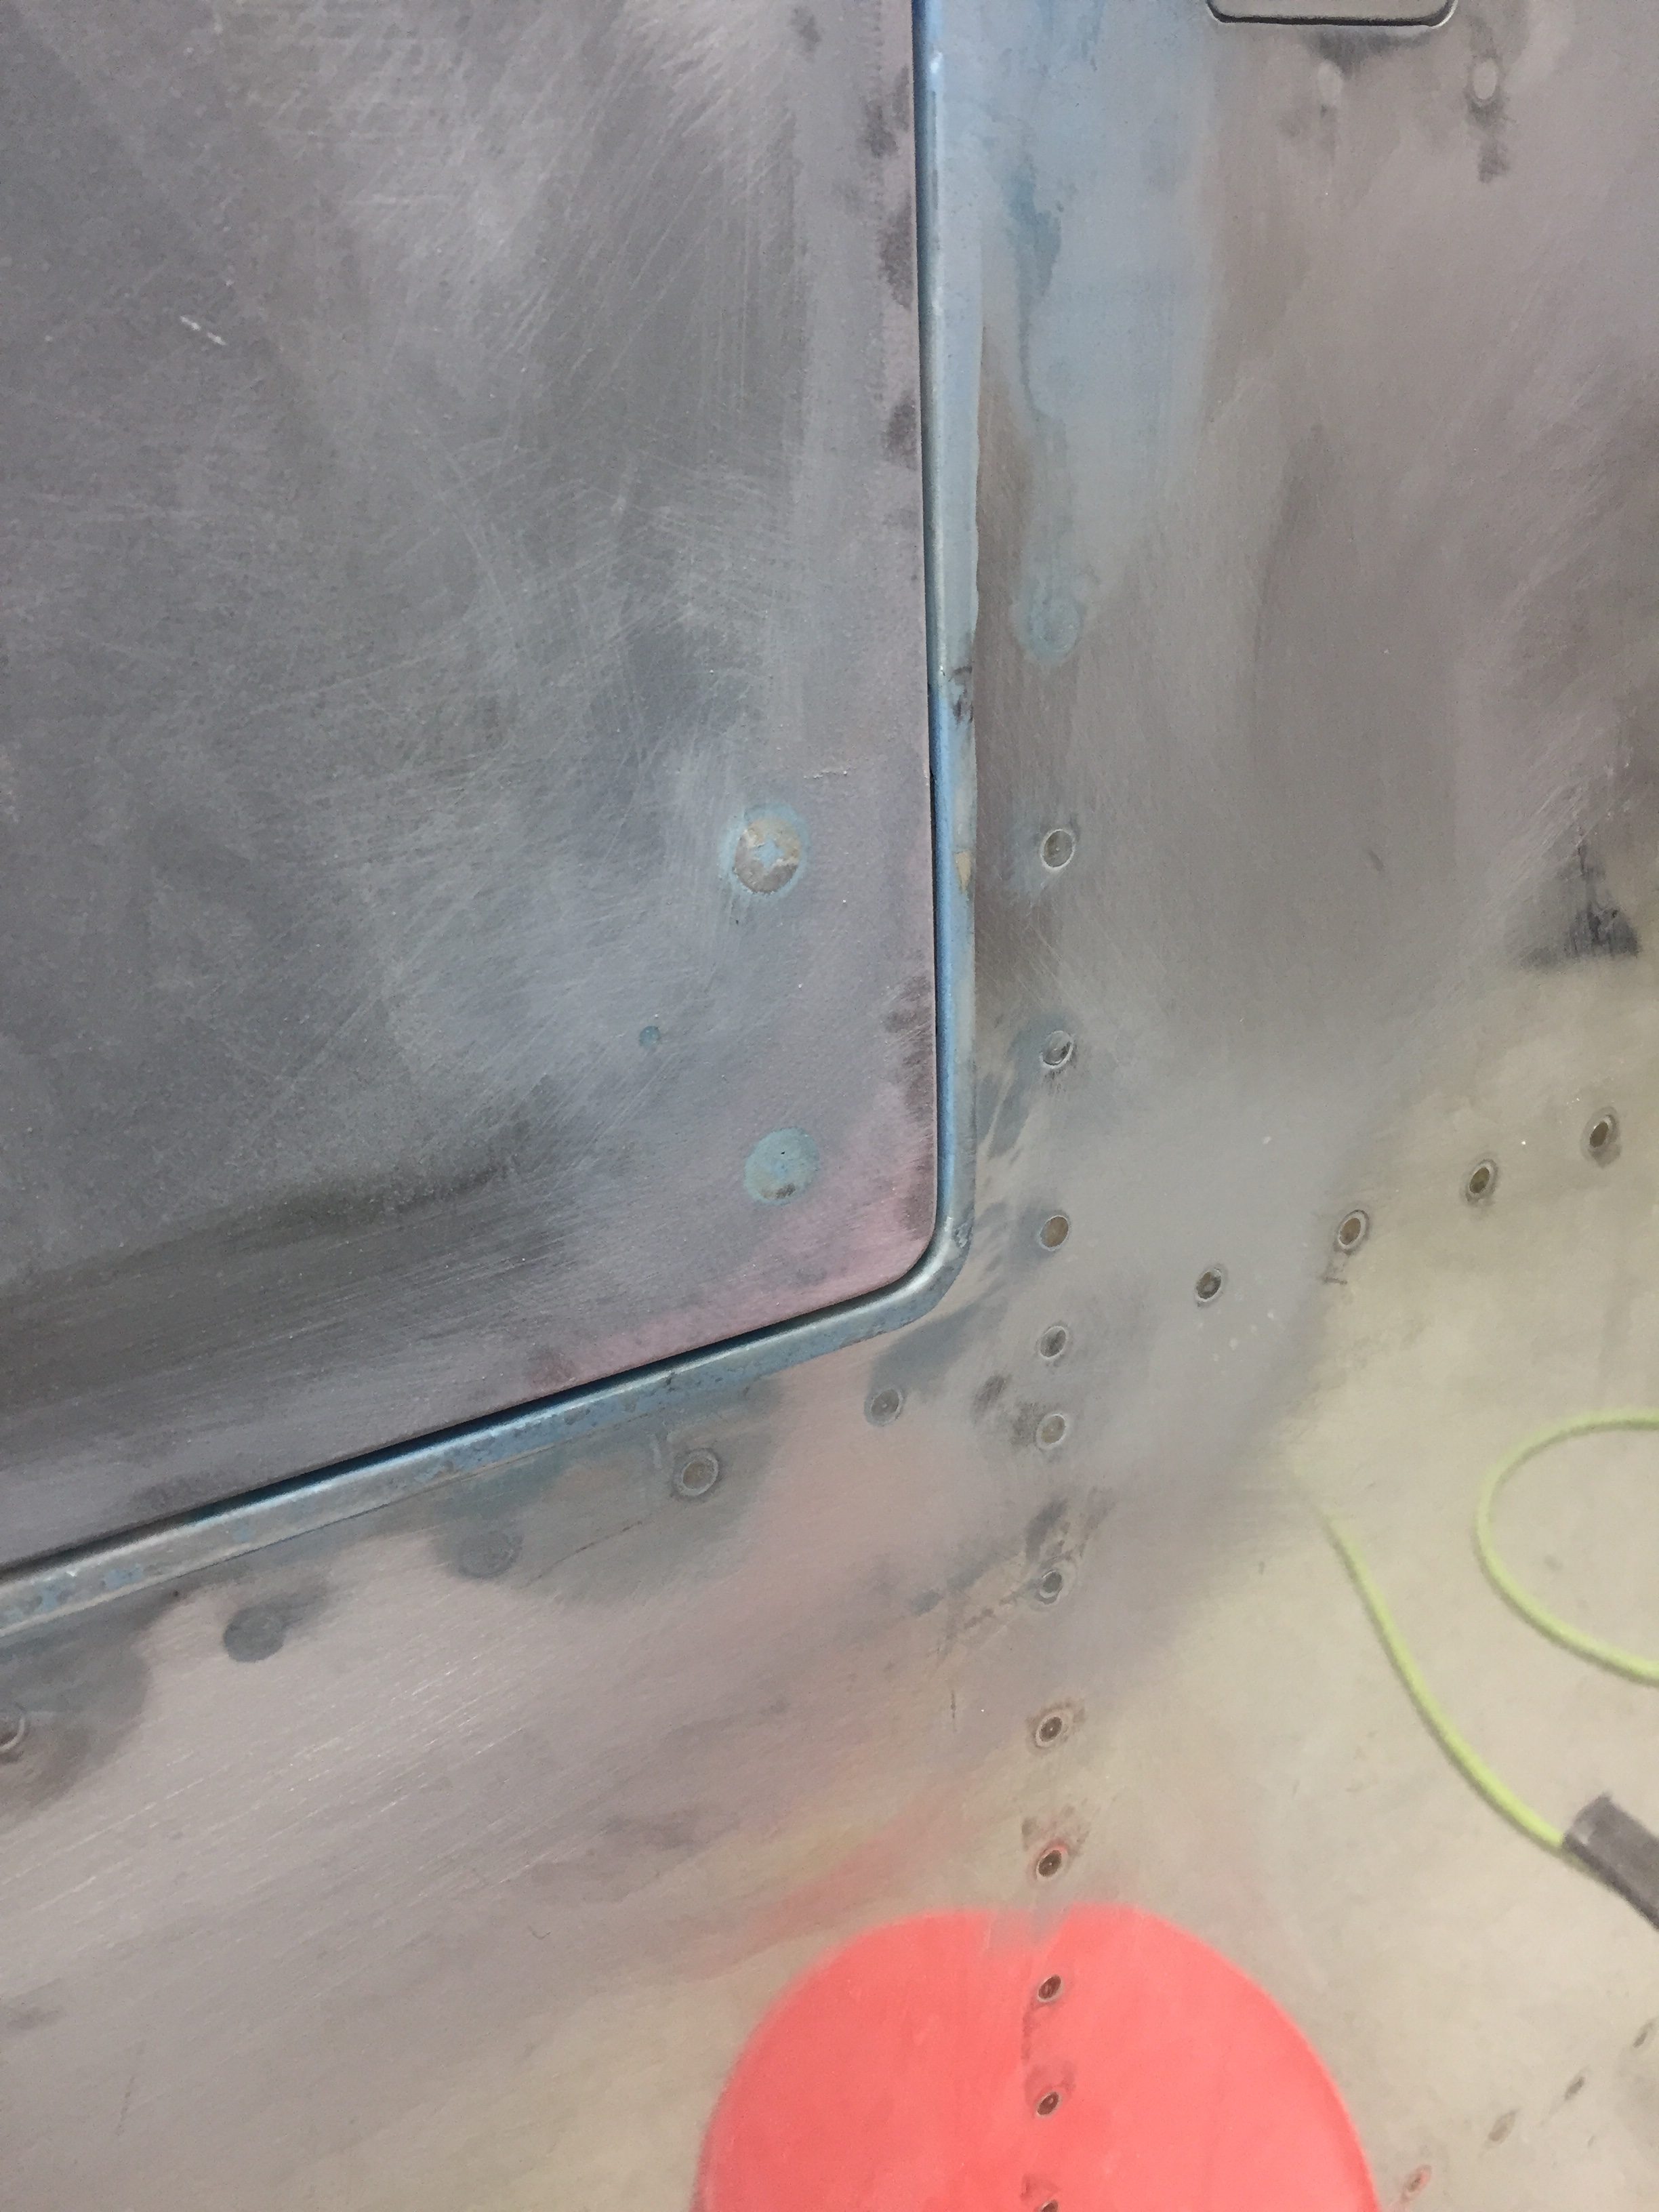
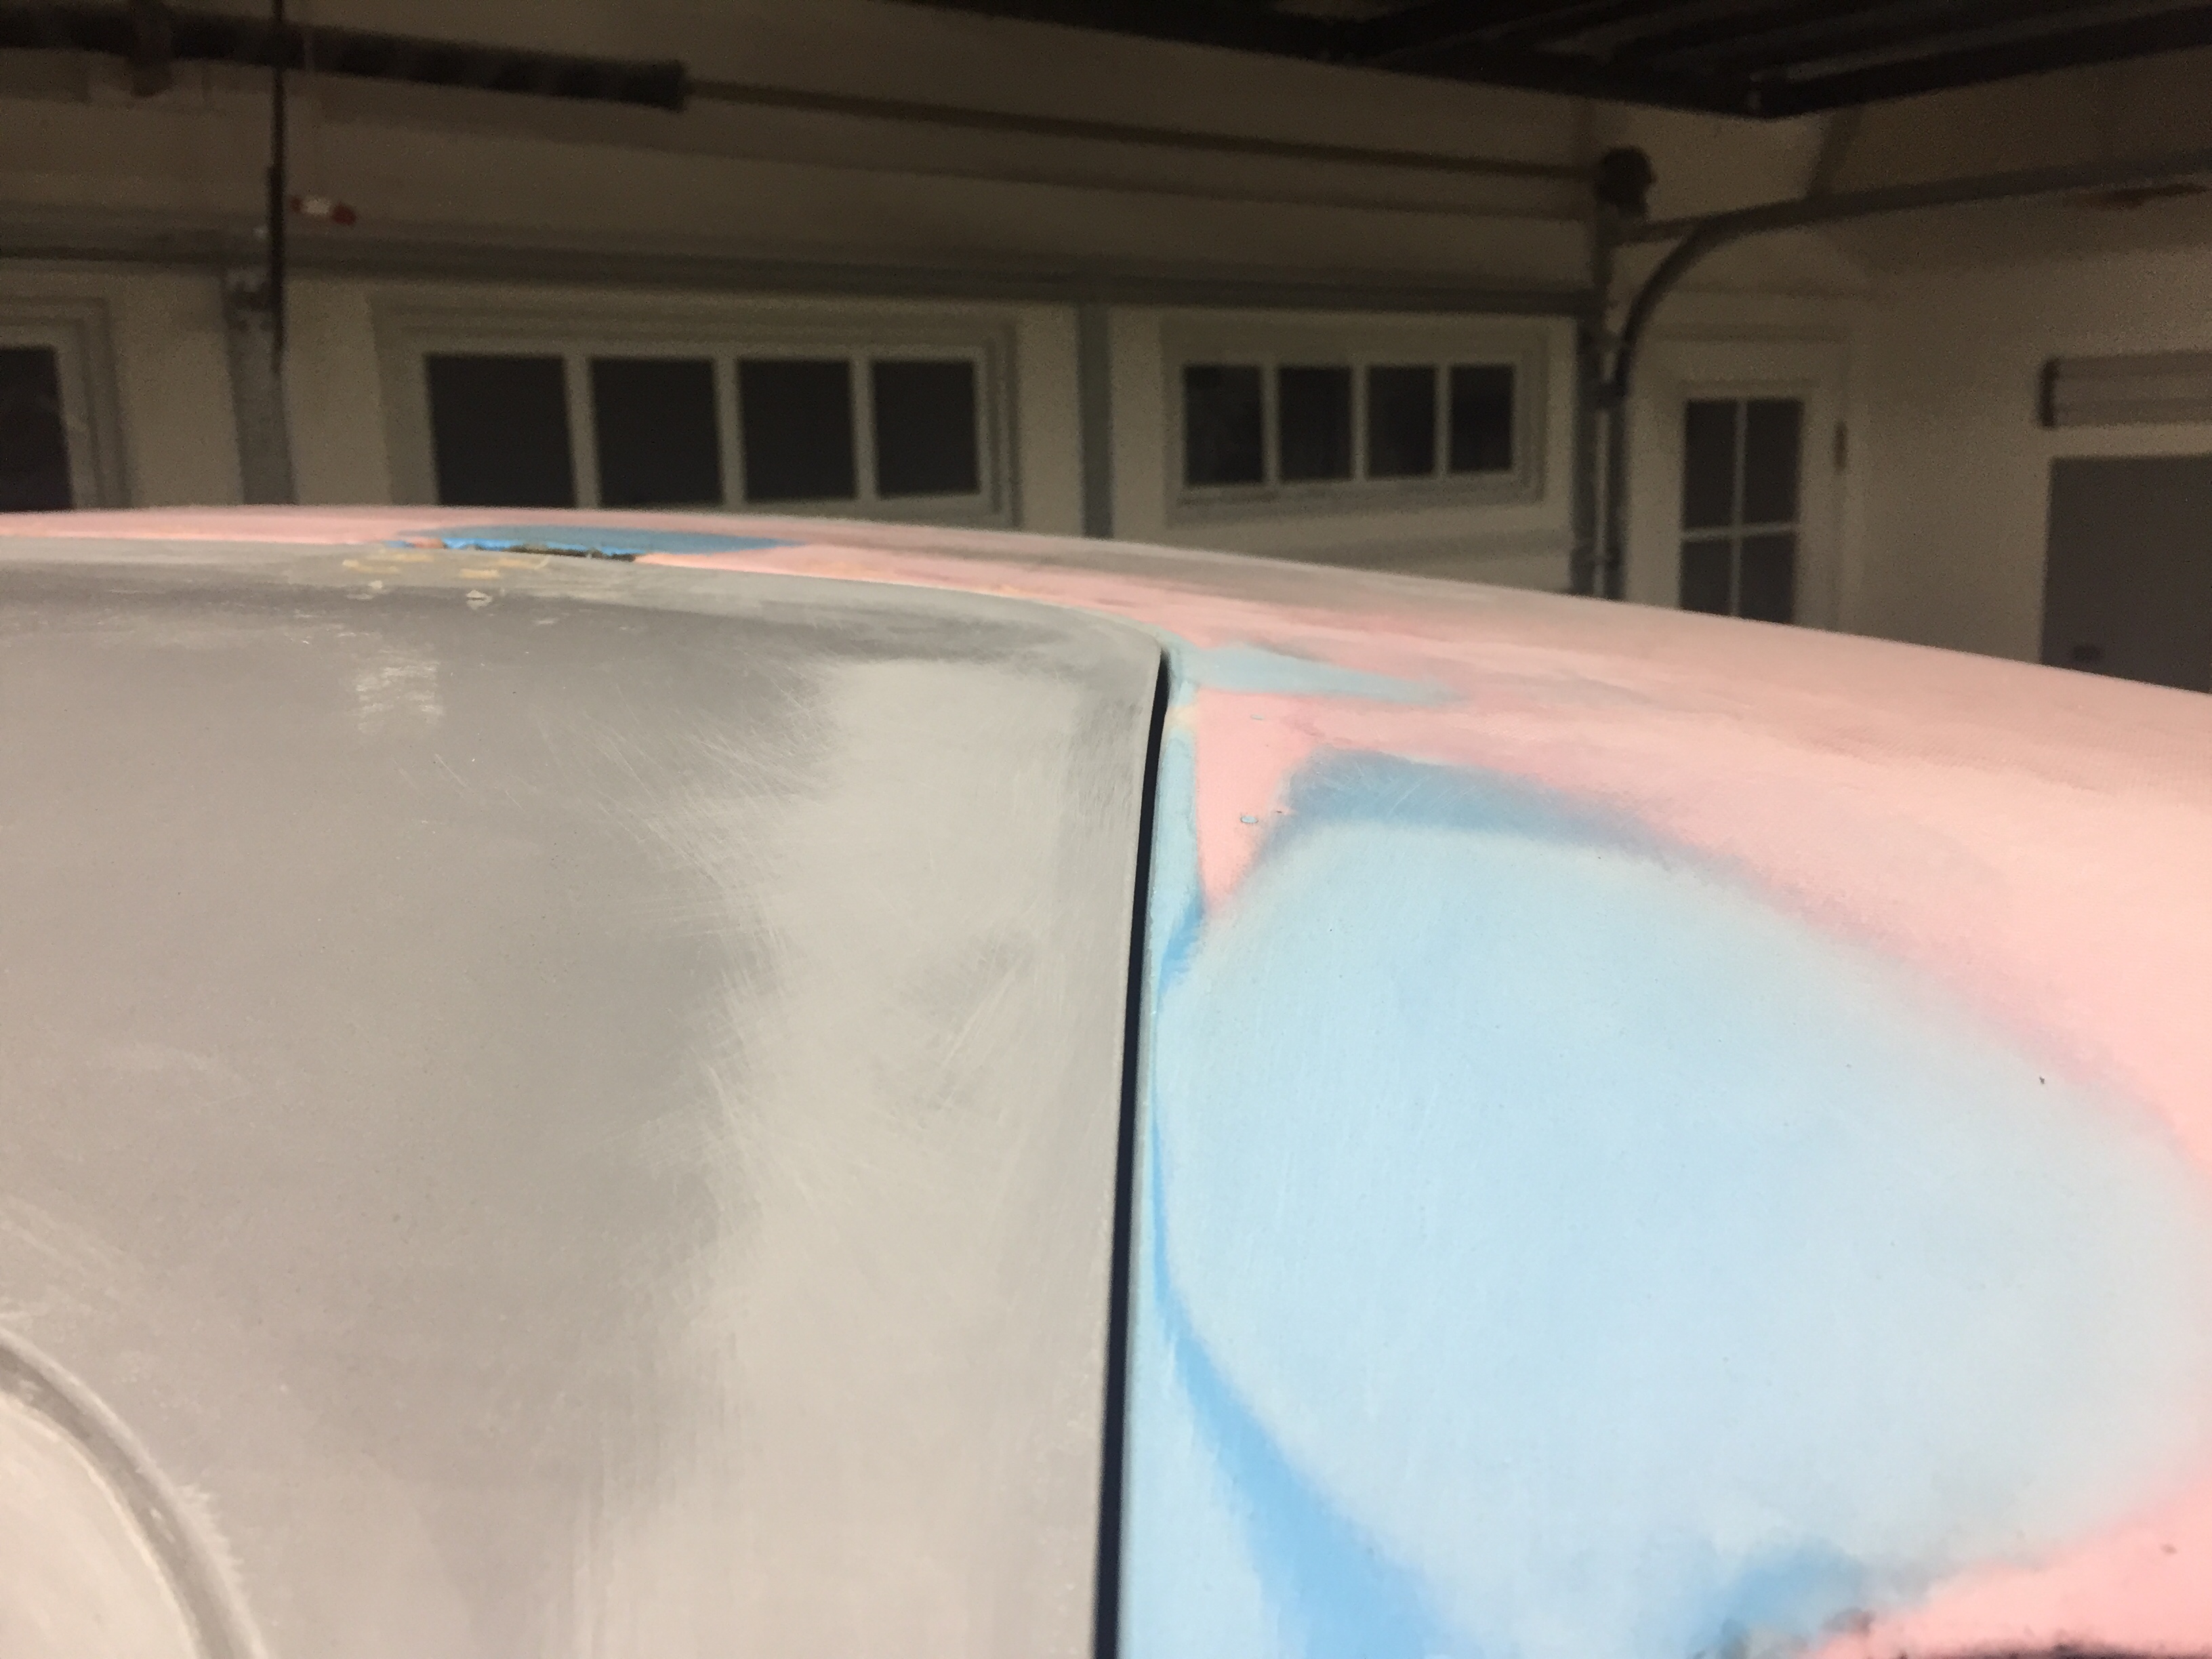
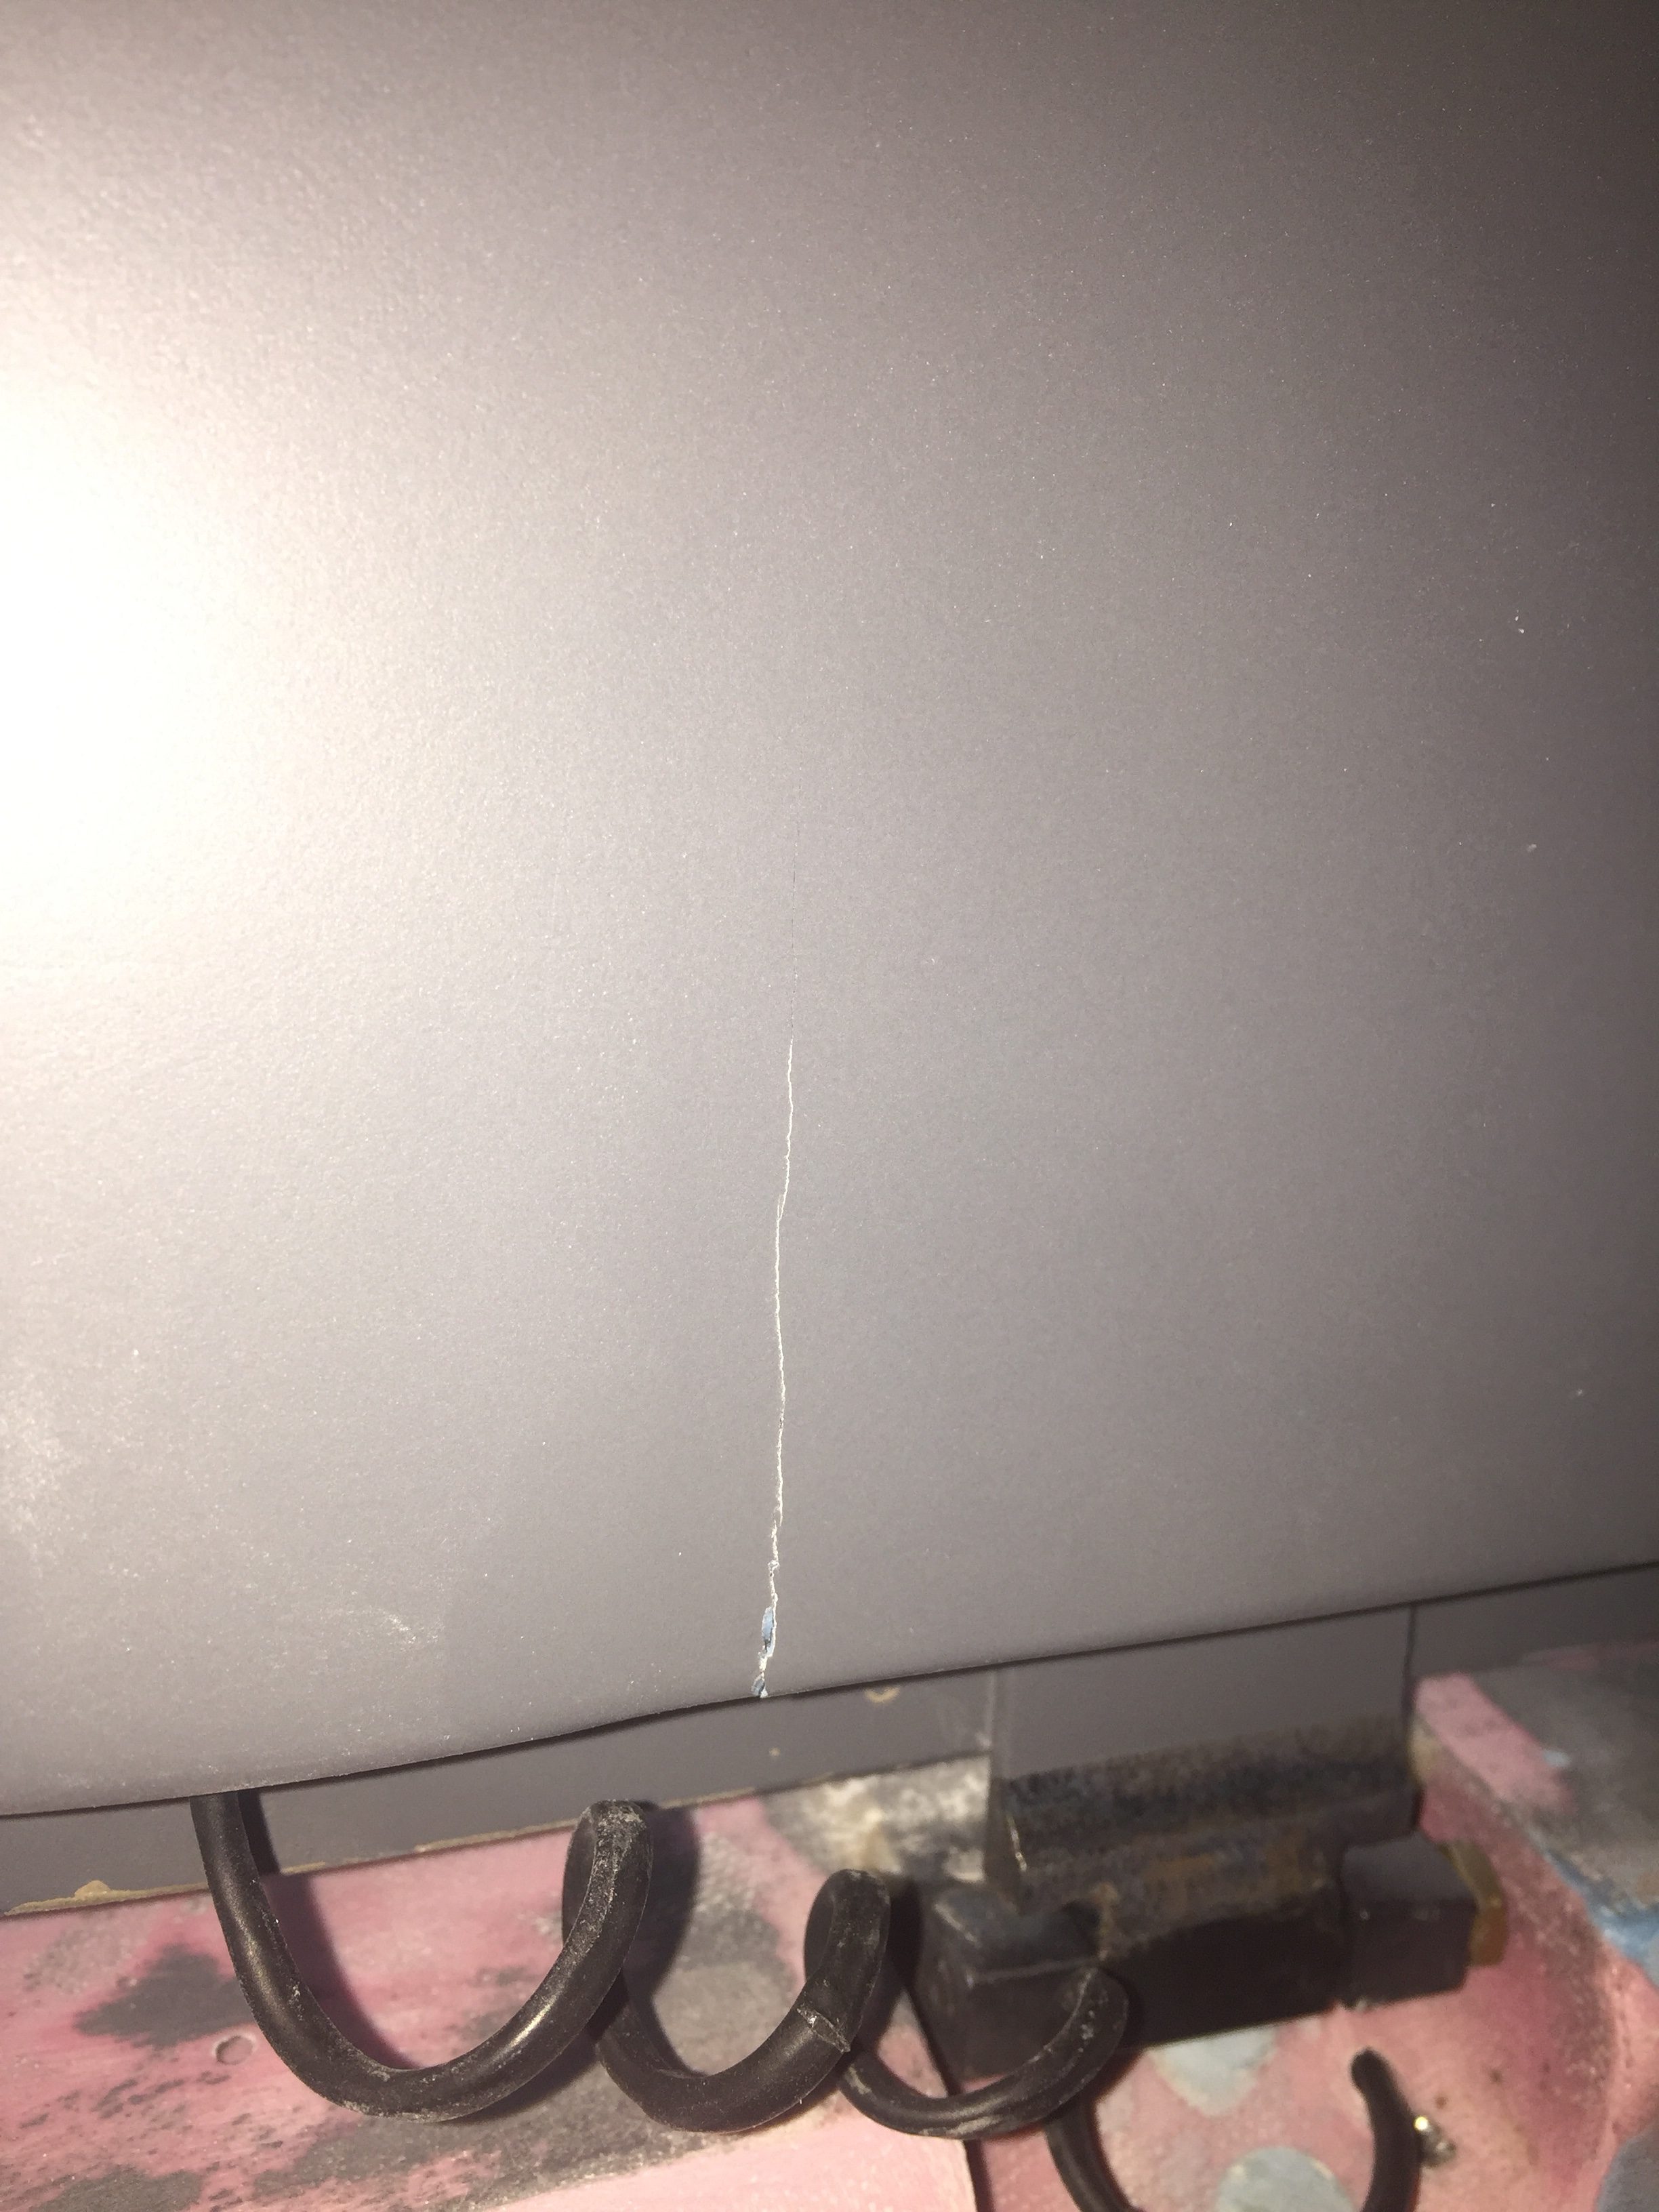
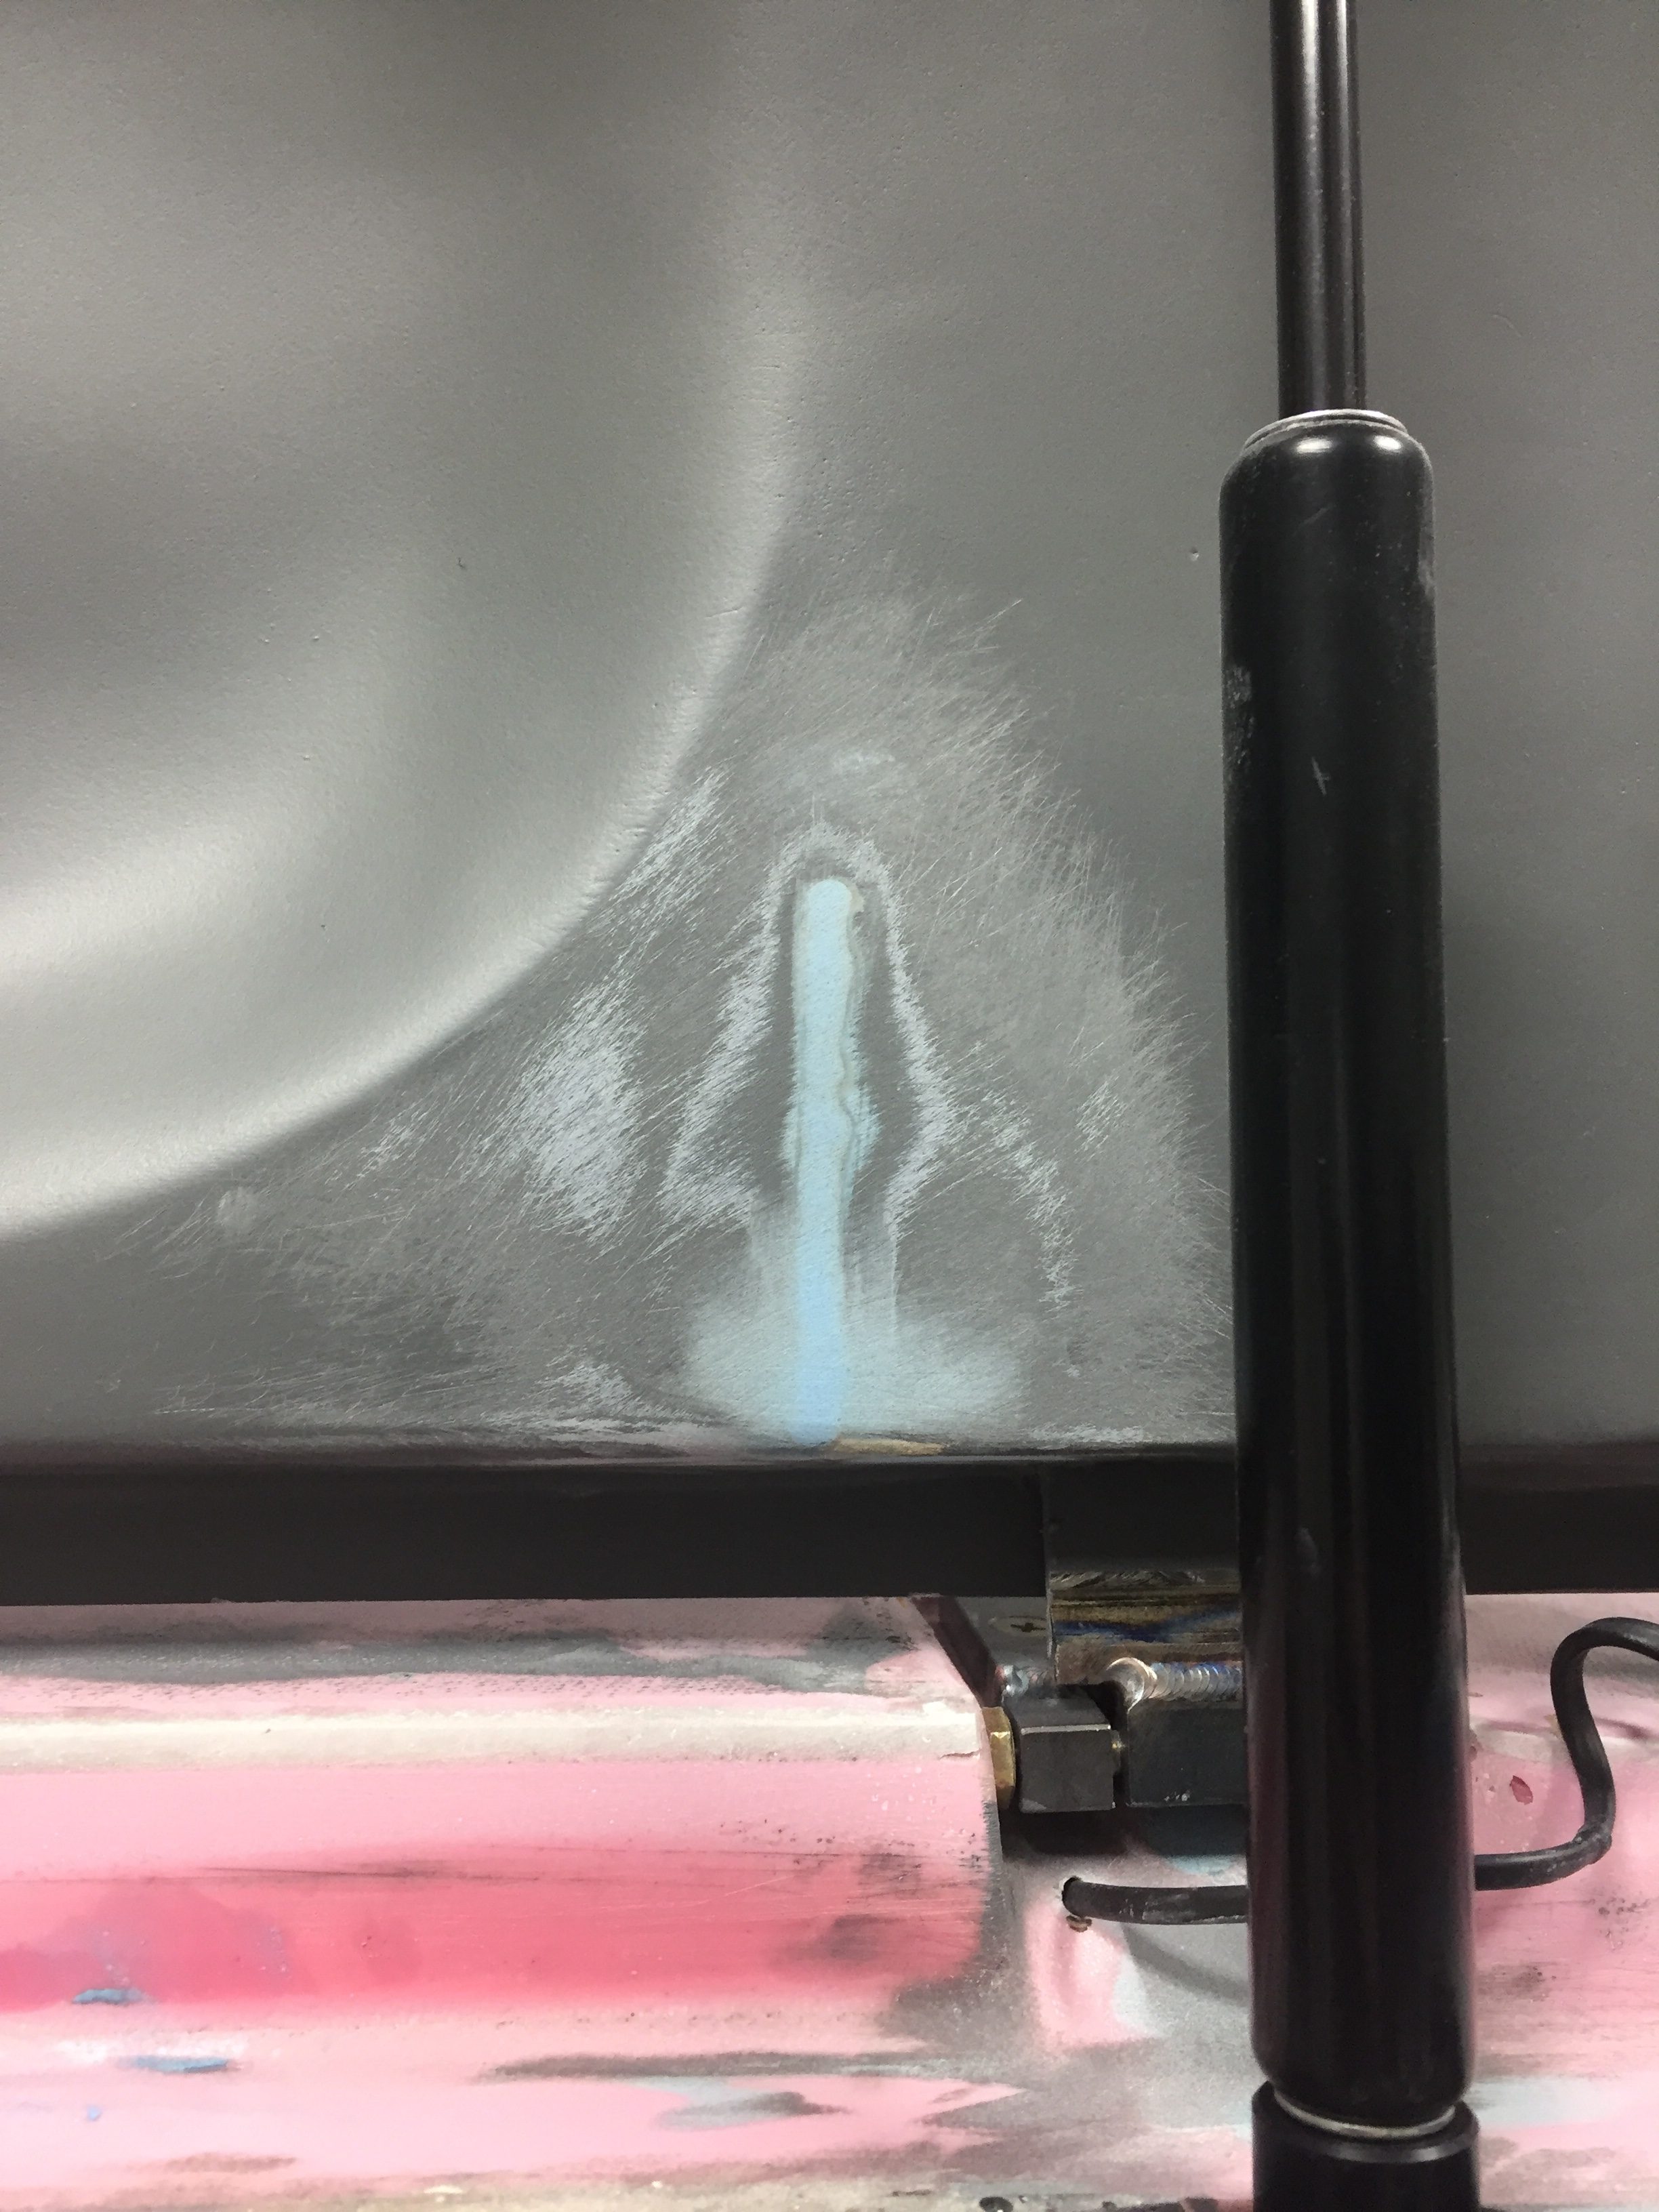
With the process of using the doors as molds, combined with the earlier paint issue near the door strut, I needed to touch up some paint spots again. I took advantage of the need to fix a crack that had already developed on the left side aft hinge cover. This was from me twisting the door inadvertently while working on the pins. I used a Dremel to dig down to the joint between the wood and glass and filled with 5 minute epoxy then filler. Now, that would have been a quick fix except that I doubled my work load by closing the copilot door on the air hose causing the same issue on the aft pin on that door too! But wait! Call now, and I’ll screw it up even further for only shipping and handling! I later went on to shove the fuselage back into the garage after a final (ha, no not final) cleaning with the doors open. Guess what doesn’t fit in the garage with the doors open? Yup, twisted the door really good (glad it didn’t rip it off the hinges) and cracked another one. Seeing a trend?
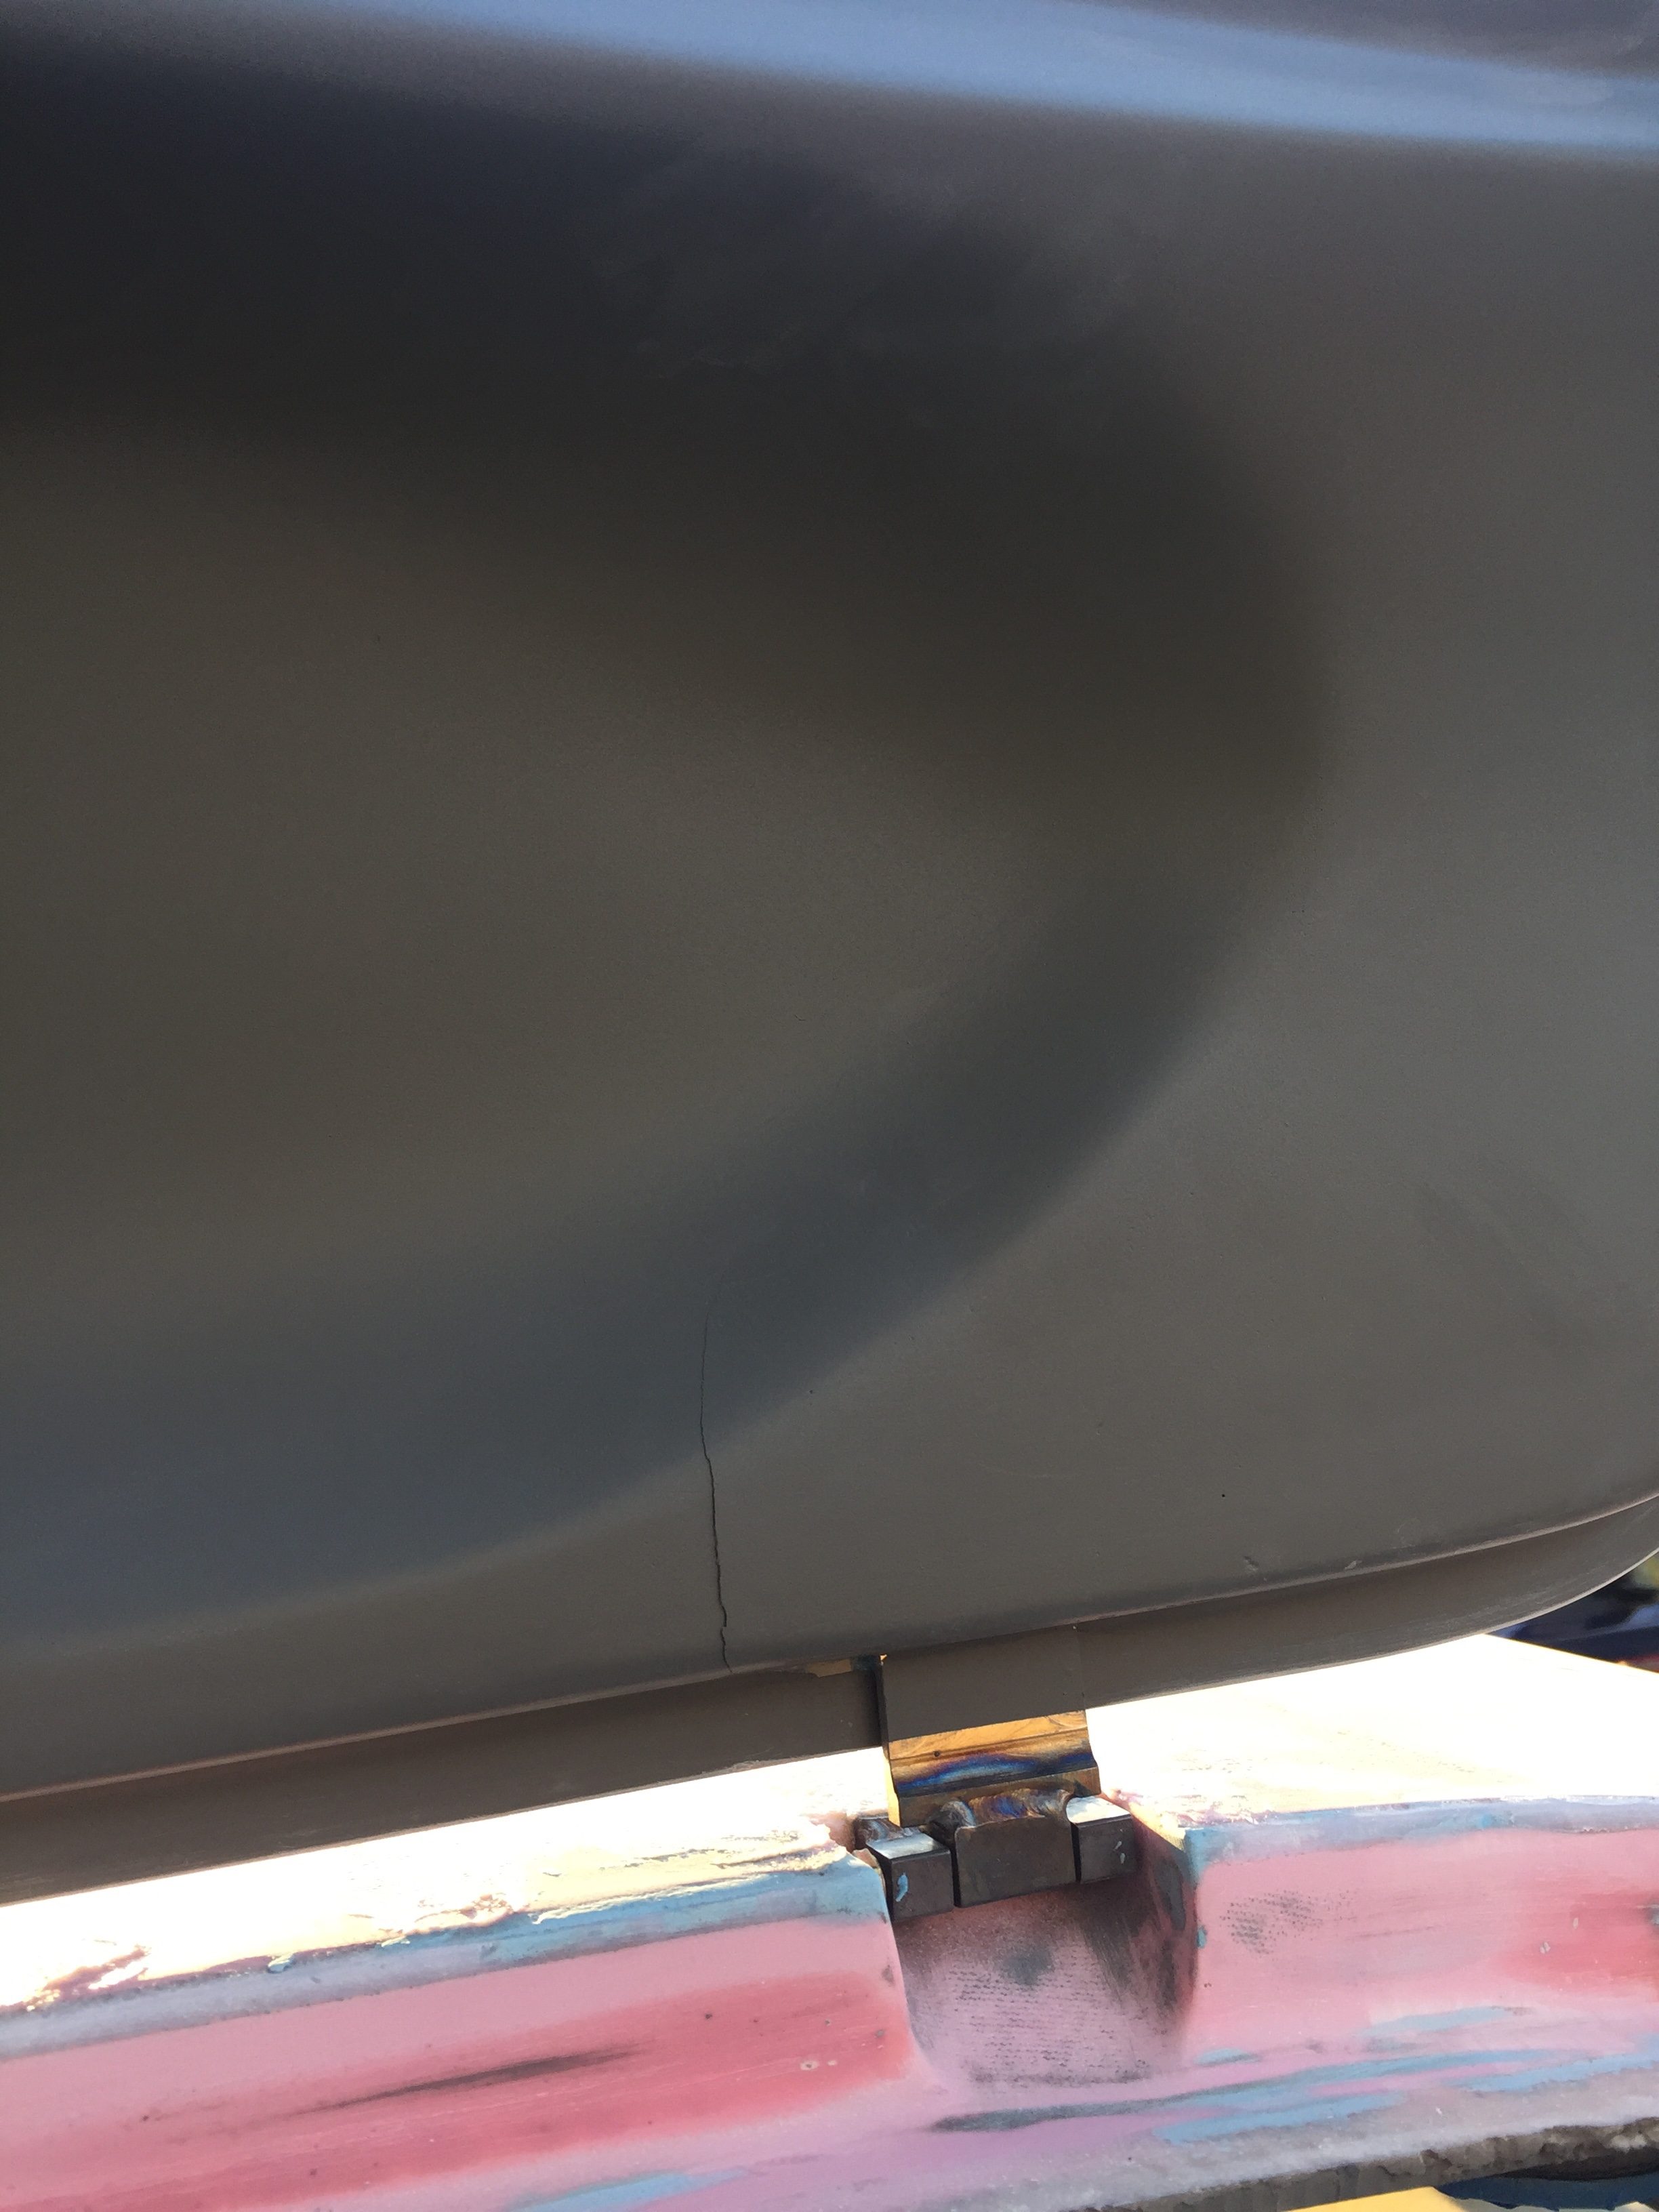
So three fixes later, plus a little TLC on the door edges, and they are ready for paint again, this time hopefully for good. The outside of the door jams are also finally done and satisfactory to my standards. This took a ton of time overall and was just as much work as I thought they’d be. I could do it better and faster next time, but I doubt there will be a next time for me! I rounded over the hard edge which will help the final paint on both the doors and the cabin top. I wound up with a 2-3 mm gap all around and it’s close enough to the naked eye that it looks really nice. I spent some time reinstalling the pin guides and really have the handles and pins dialed in for smooth operation. I tested the seal temporarily on both doors and you don’t even realize it’s there now, which is perfect.
I took the chance to put a tape of glass over the seam between the top and the aluminum followed by two coats of fill to smooth the transition. This will make a nice finish under paint down the road and is completely cosmetic, not structural.
The only Aerosport product left in the storage rack were the headliner panels, so I got those down and knocked off all of the dust. They are a very thin layup of fiberglass that the headliner material will adhere to and then velcroed to the cabin top. I needed to get them trimmed and fitted before putting in the windows, so spent a few hours on each getting just the right shape and fit. It’s not hard, but it was a bit tedious as there isn’t a good way to get a pattern since each area and side is a bit different. Lots of fitting, removing, trimming, repeat. In the end, they fit very well and I’m excited to have them finish out the interior of what will be a very nice and comfortable cabin, no doubt.
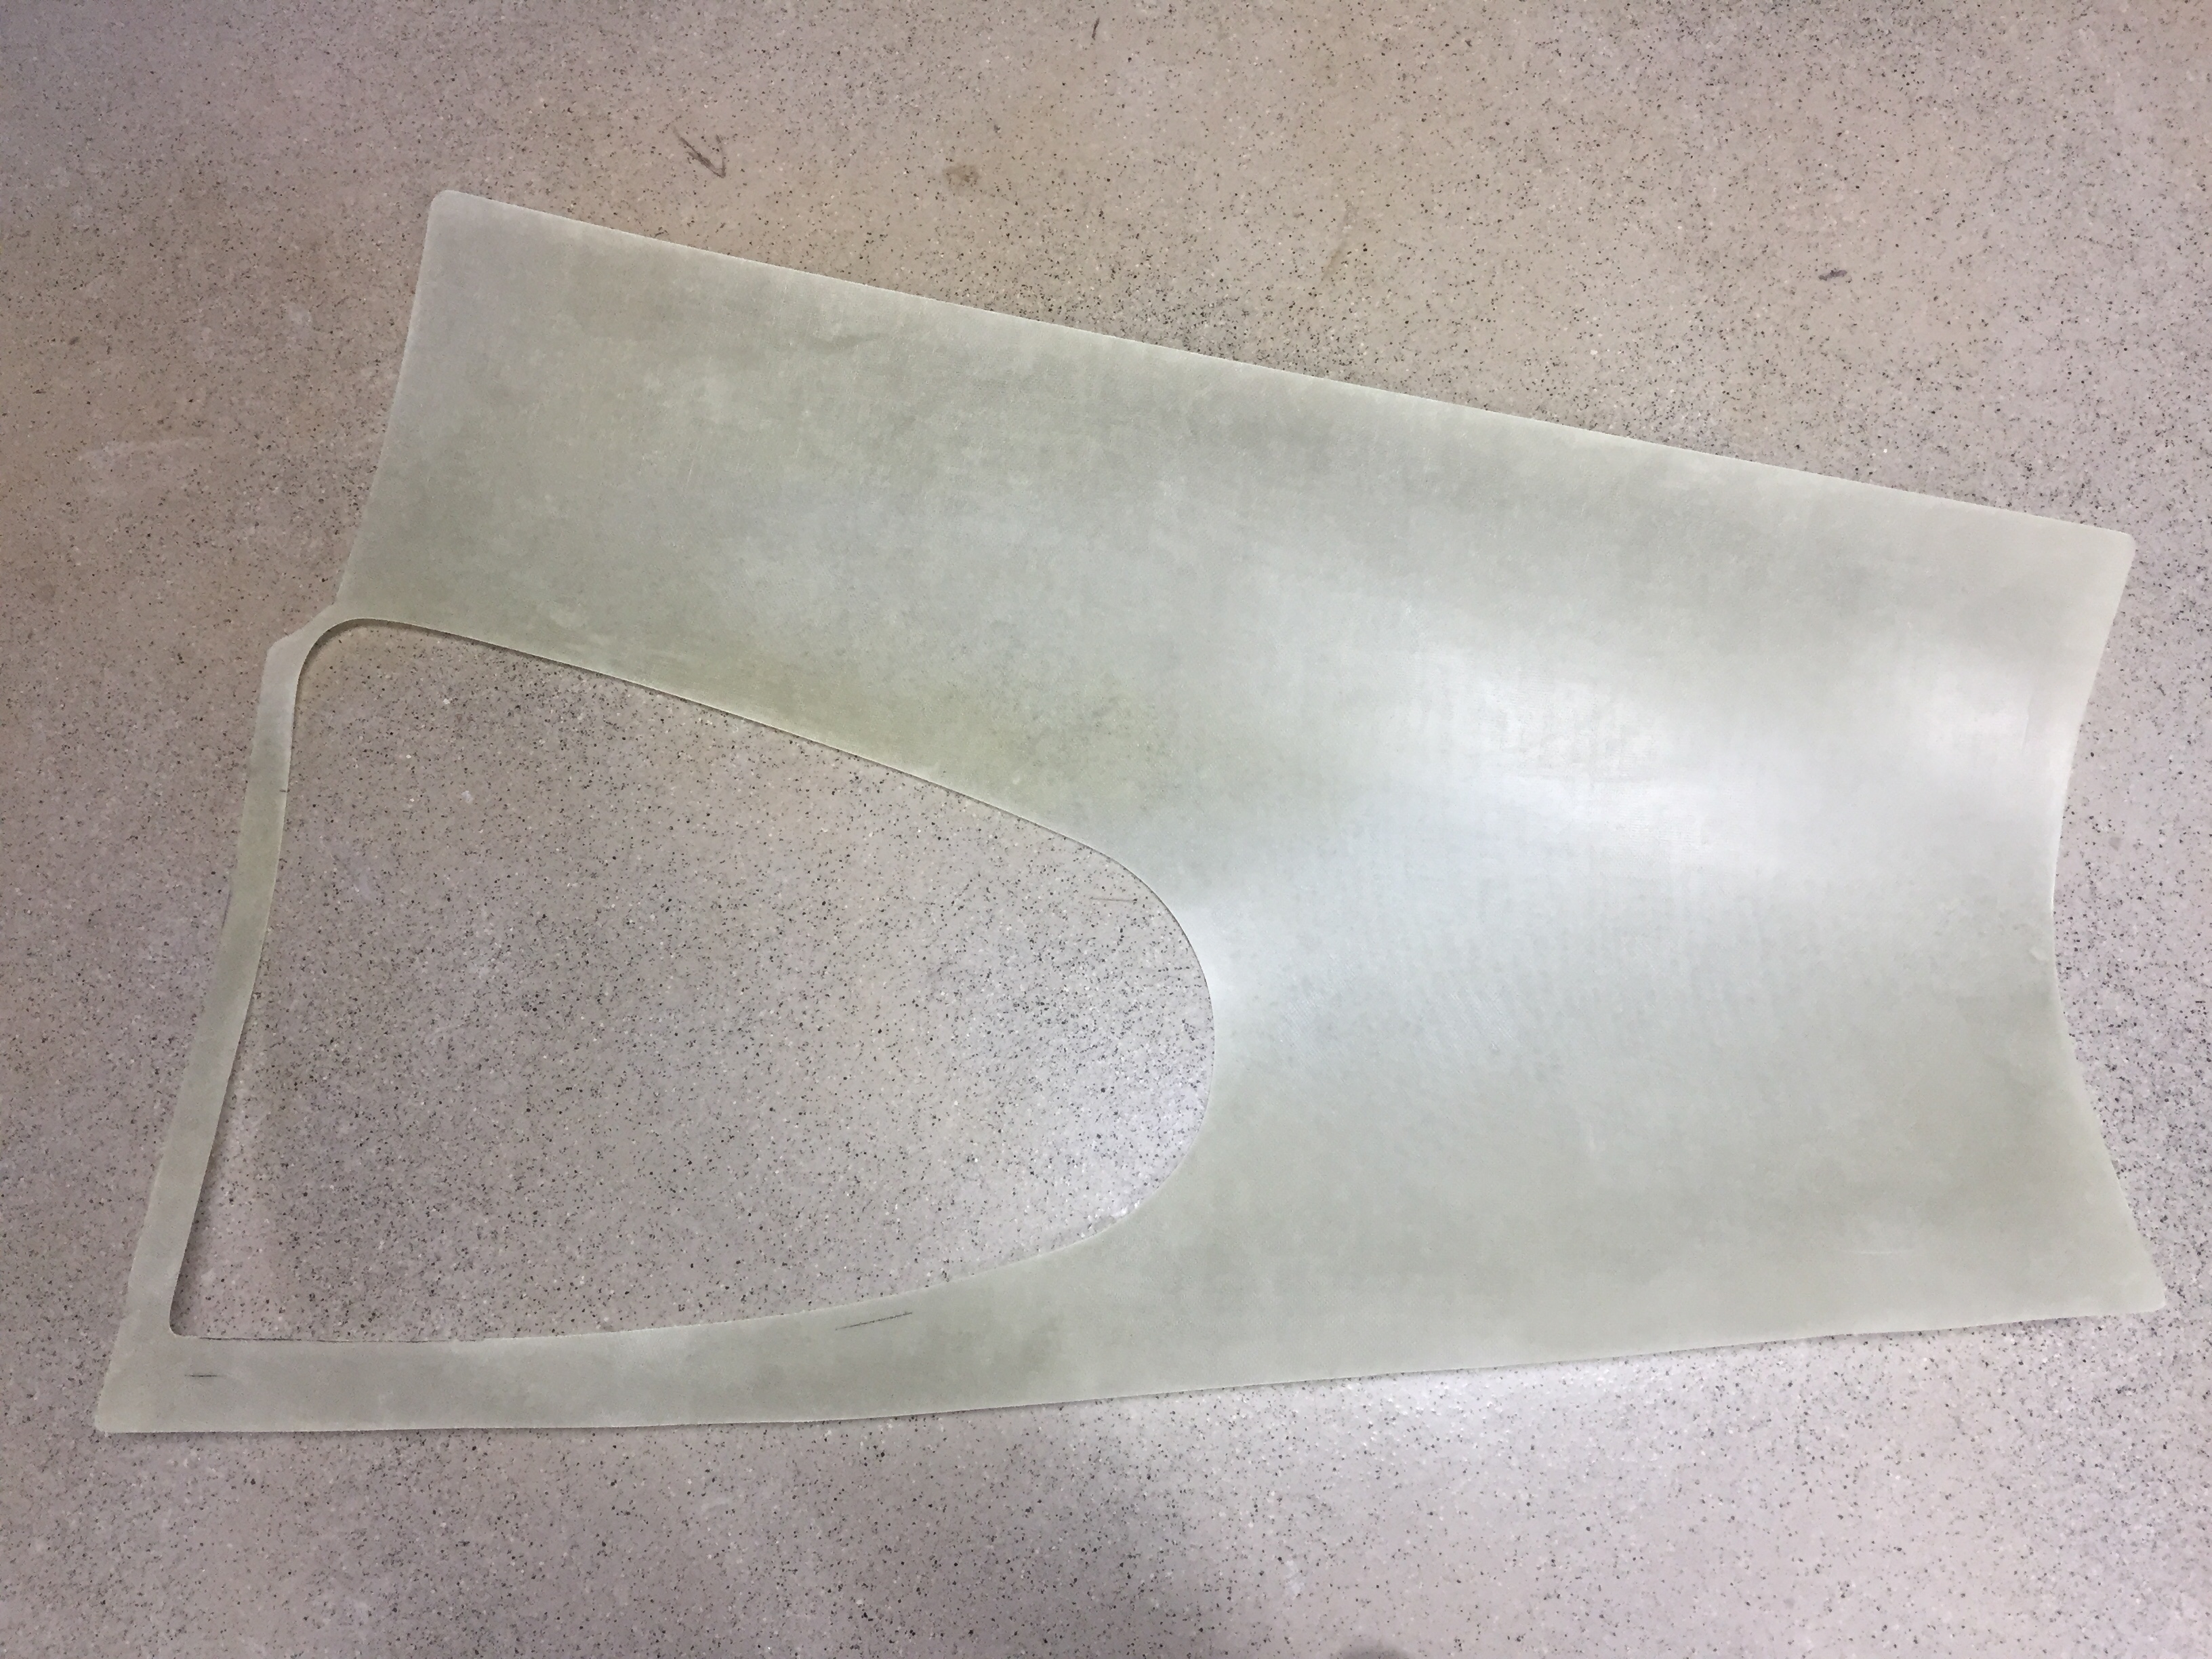
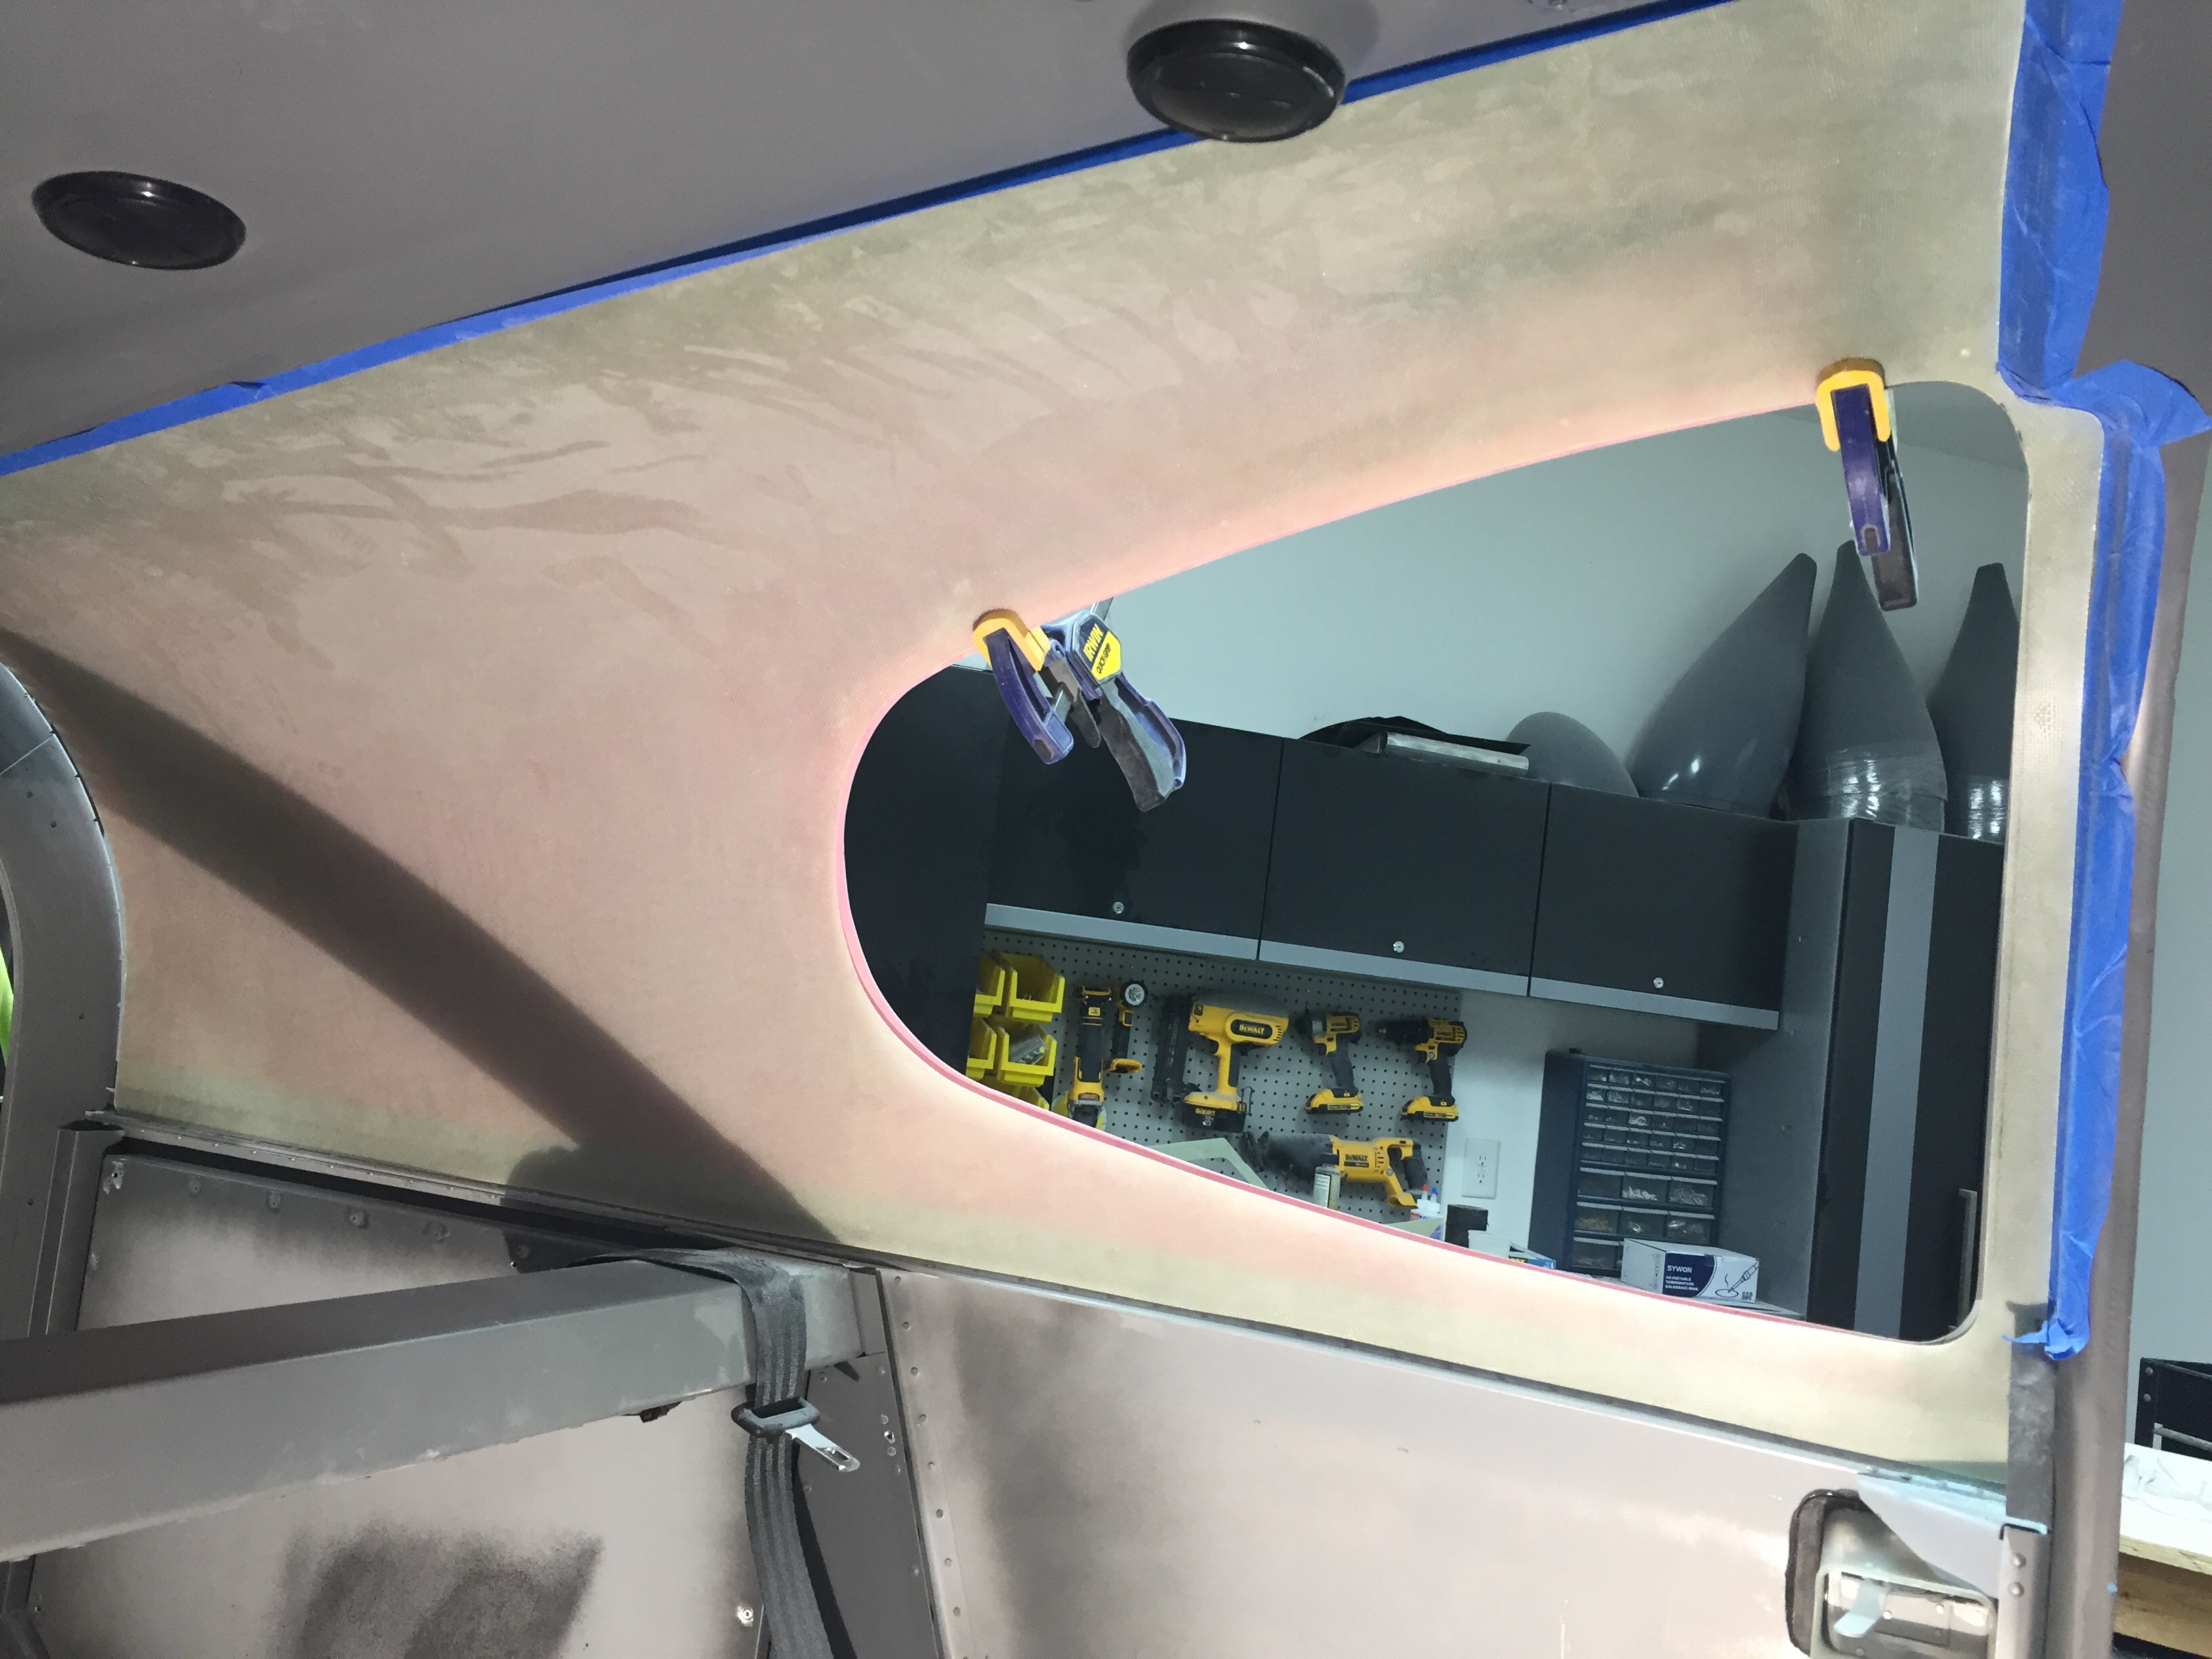
I ordered two different color headliner material (available a lot cheaper from online retailers than Aerosport) and found one that matches very closely to the grey of the interior. I’ll cover the panels down the road when I am between major projects. The carpet from Aerosport came in and looks great in the bonus room upstairs. This leaves a bit of paint left to complete the inside work.
