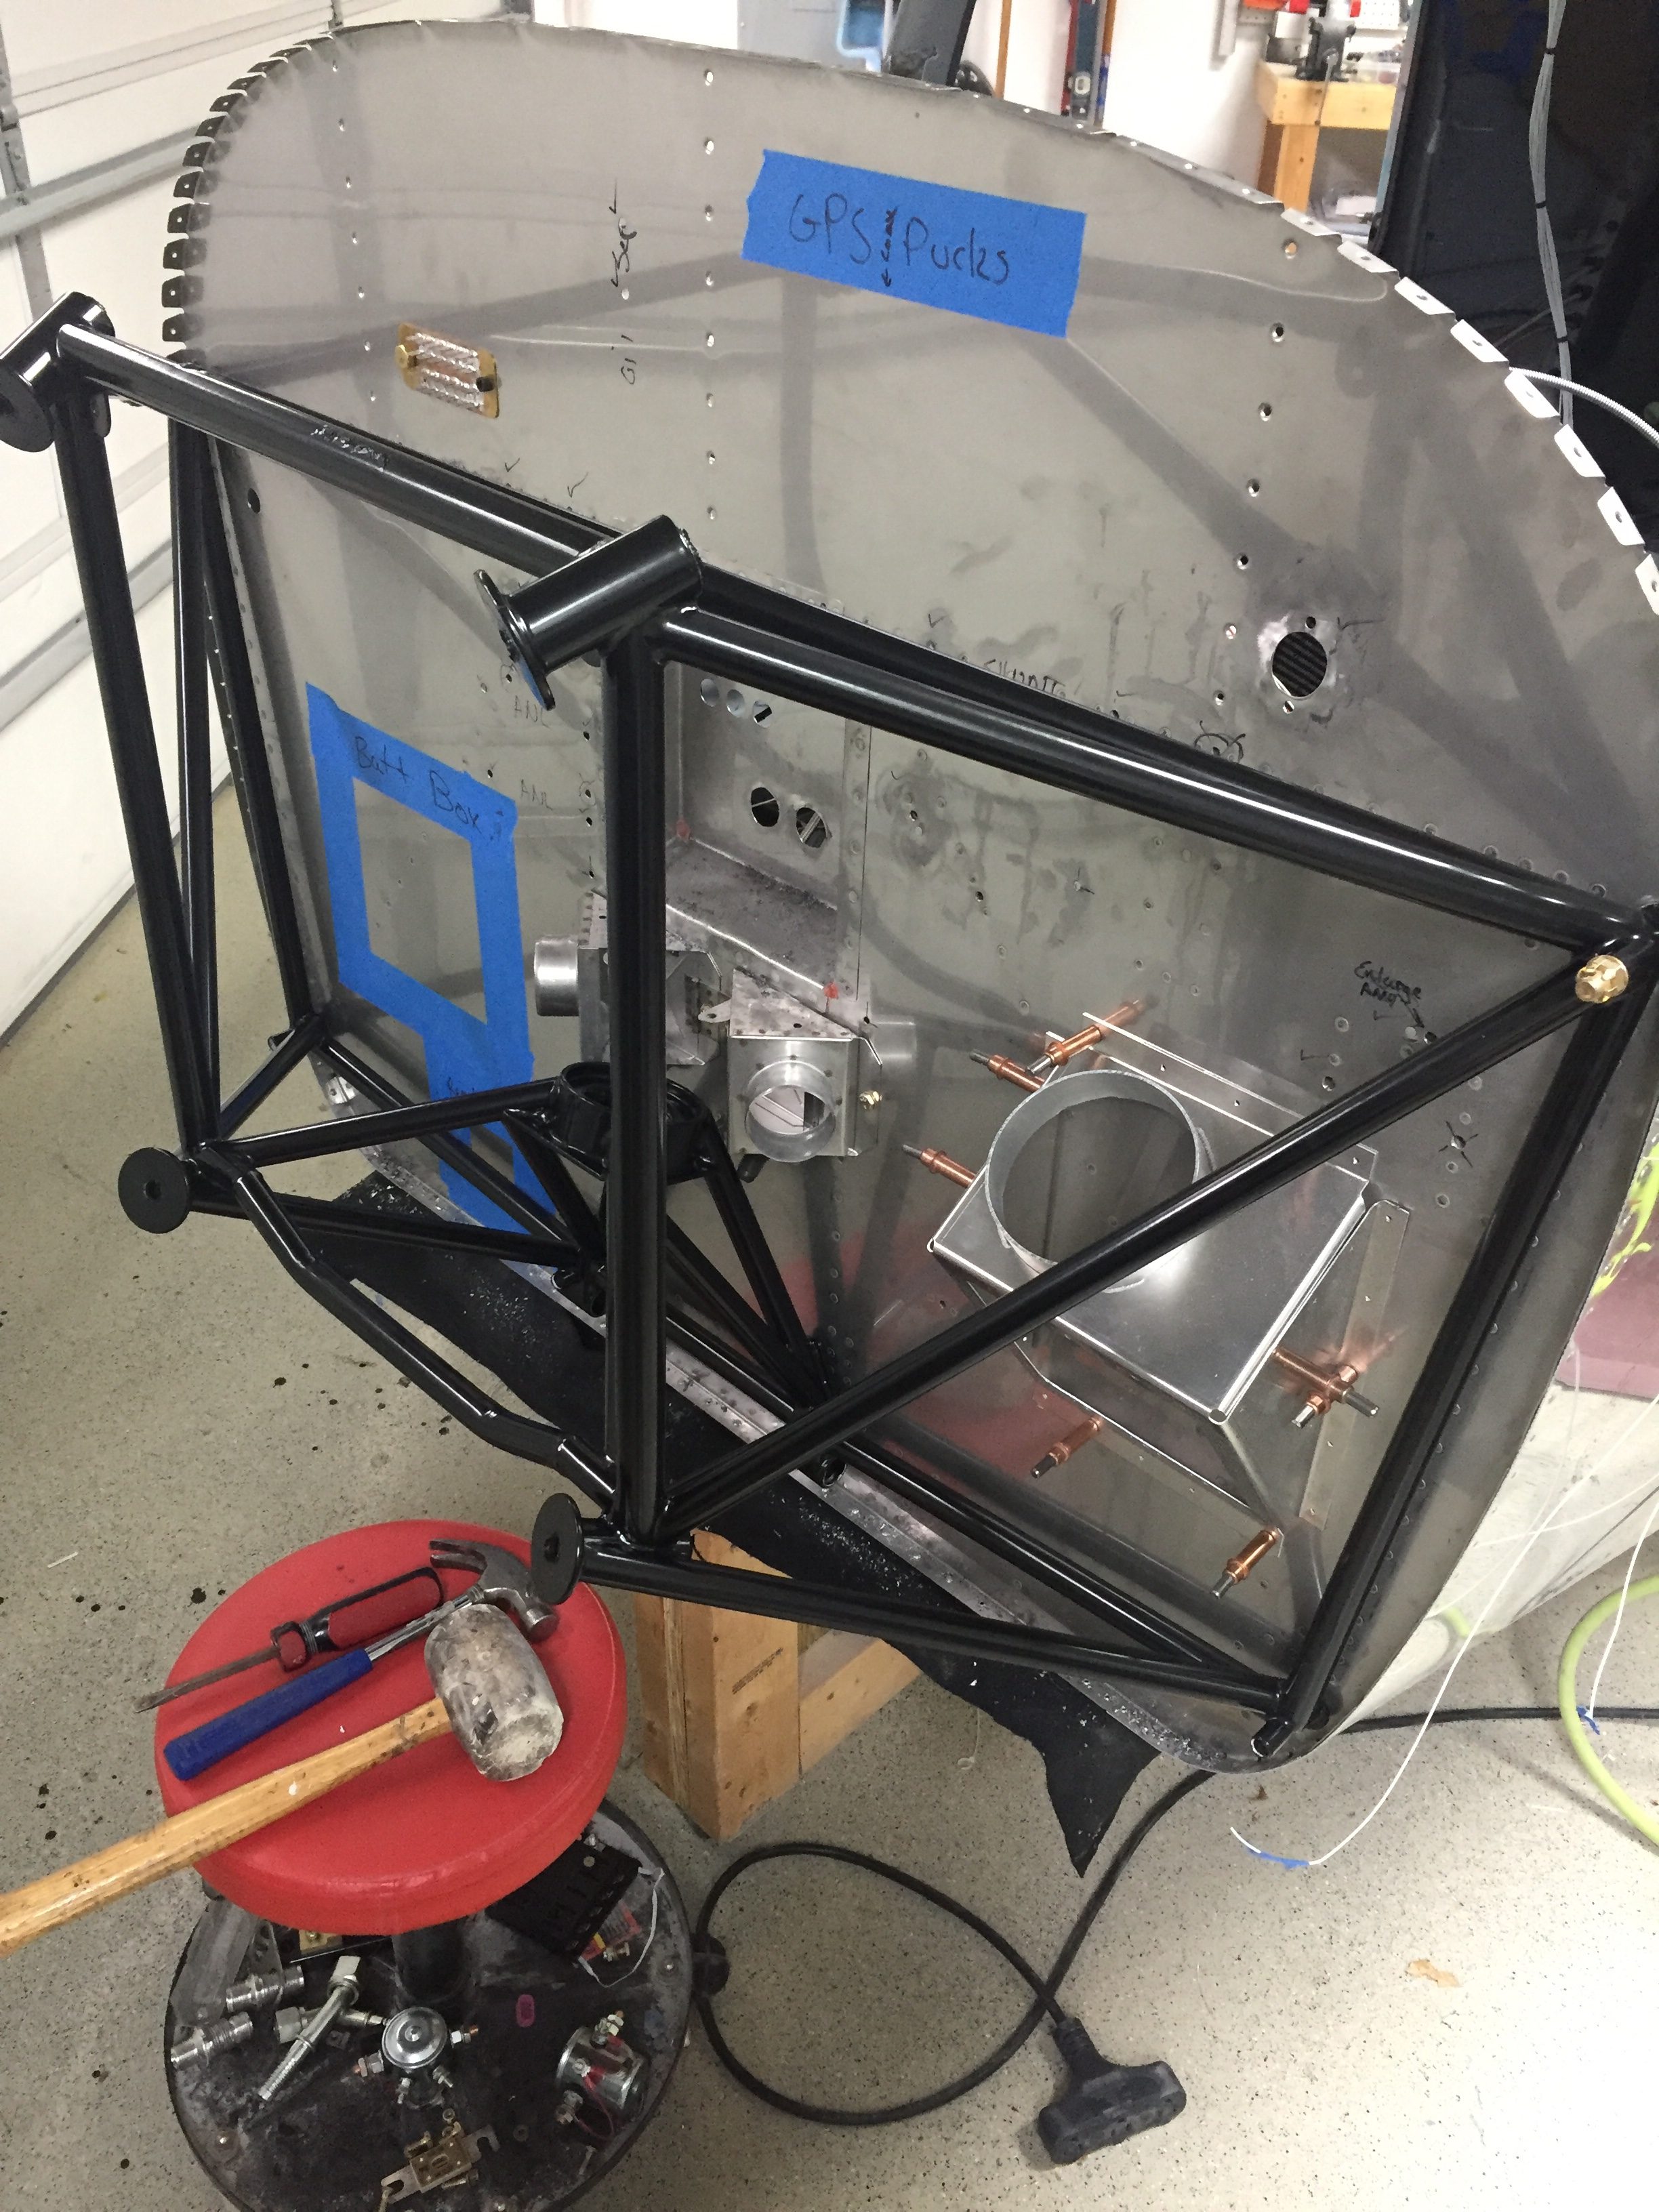
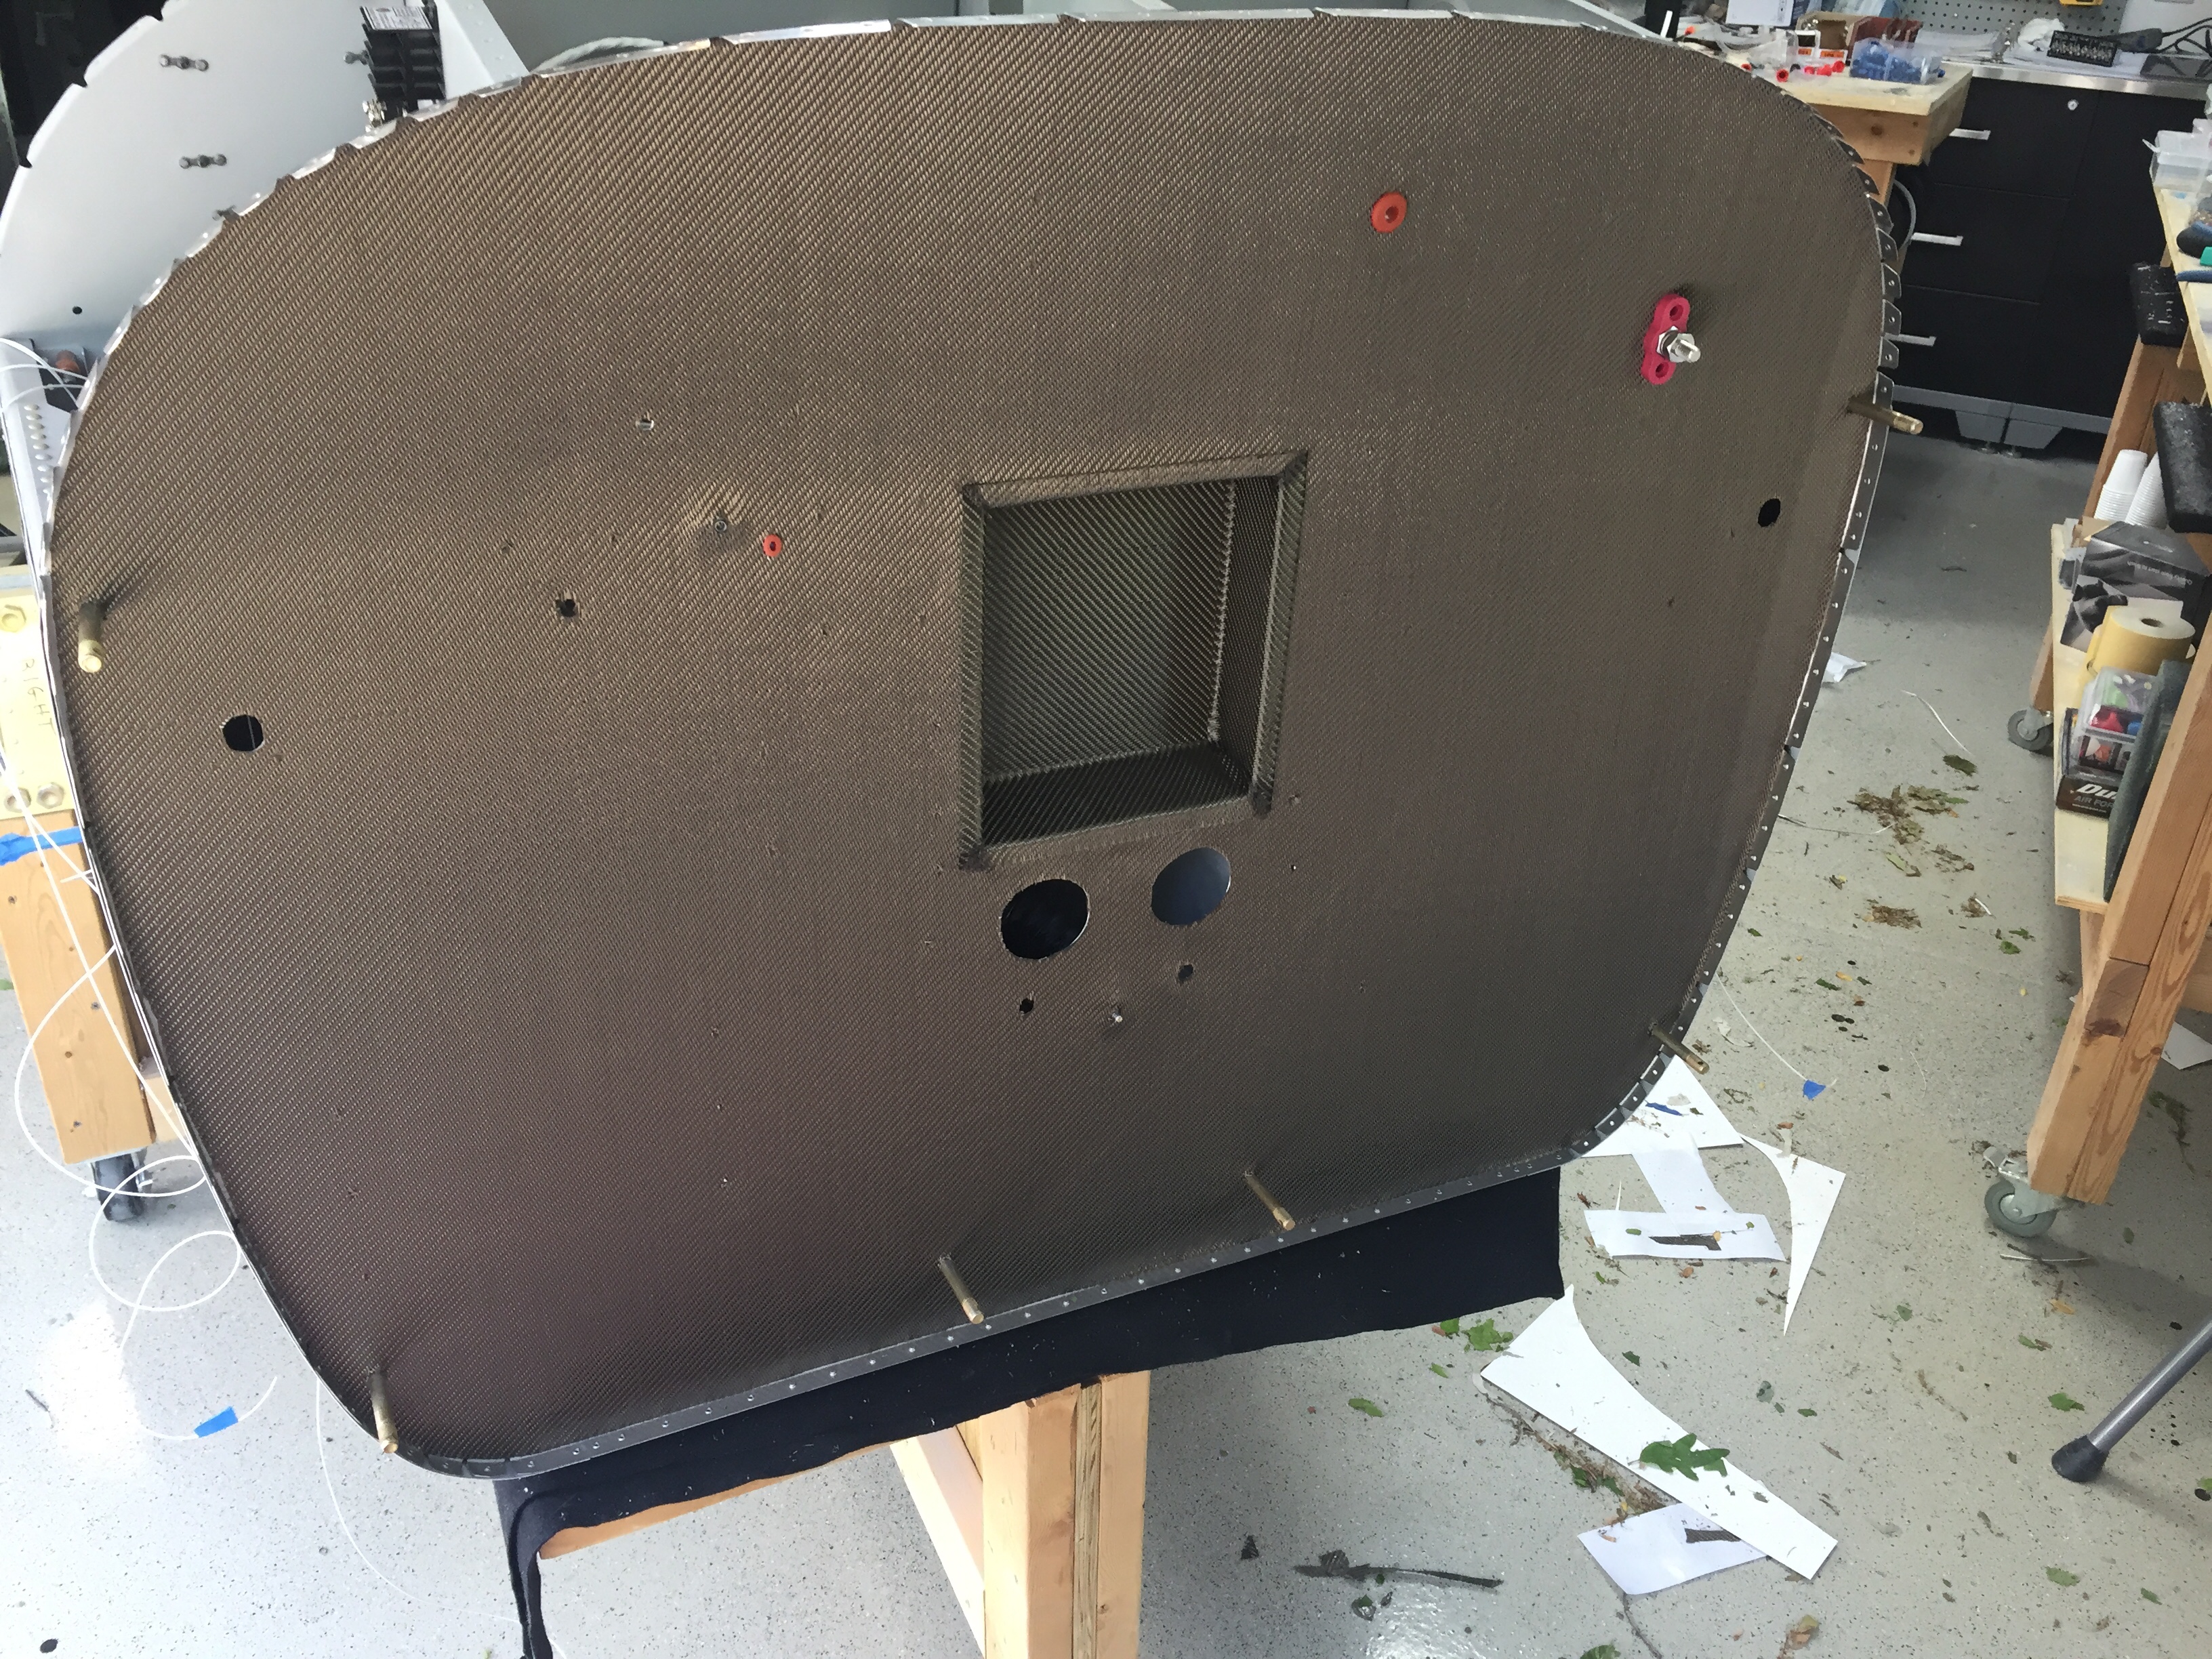
I have rearranged just a few items on the firewall and after getting confidence in drilling several holes, nothing was stopping me from drilling the remaining locations. The toughest was the large hole for my insulated pass through for the main power wire. I made the mistake of using a unibit and it really made a mess of the job. In the end, it turned out okay, but I used that as a lesson to chain drill all future large holes in stainless with a #40 bit. I needed to get the nutplates installed and all components temp mounted to ensure a proper layout so I could move on with the firewall insulation.
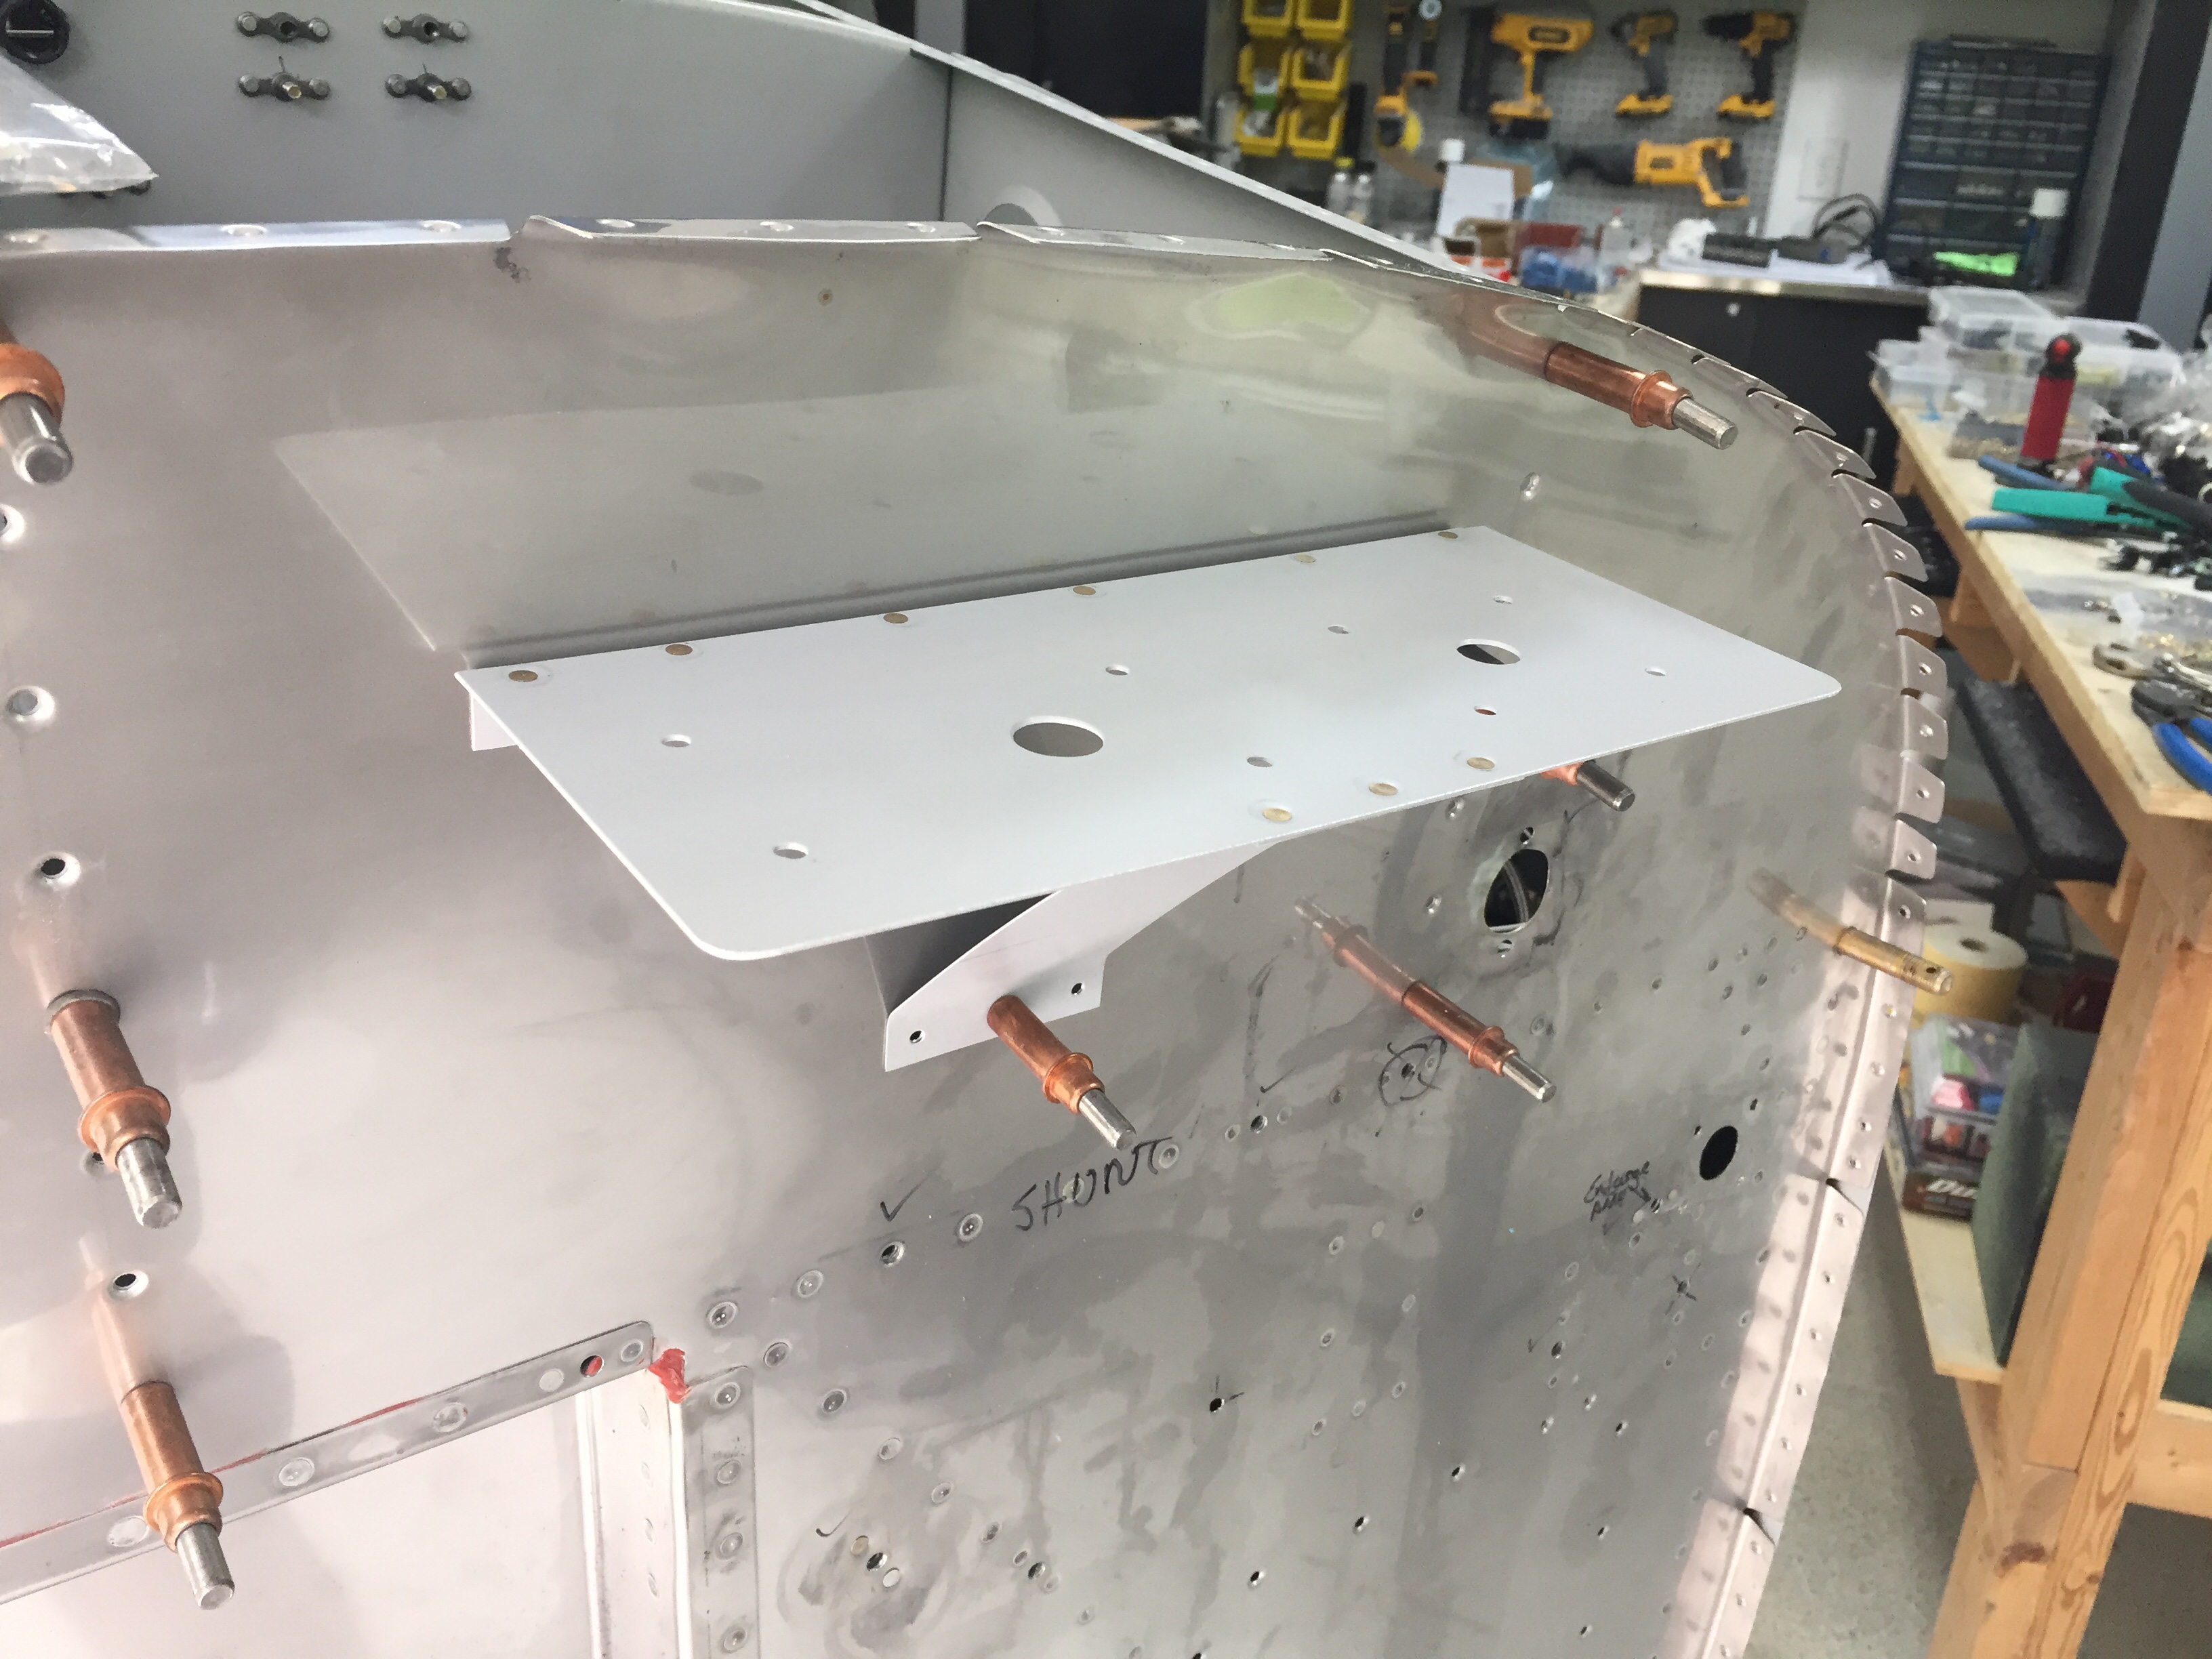
My two GPS antennas will be firewall forward just below the cowling as others have done, so I built a shelf for the AFS and IFD antennae. The cables and wires will go through a dedicated pass through just below the shelf. I ordered and will be using high-temp silicone grommets from ACS for these and the control cables going through the firewall. They will be sealed with Firestop per the plans.
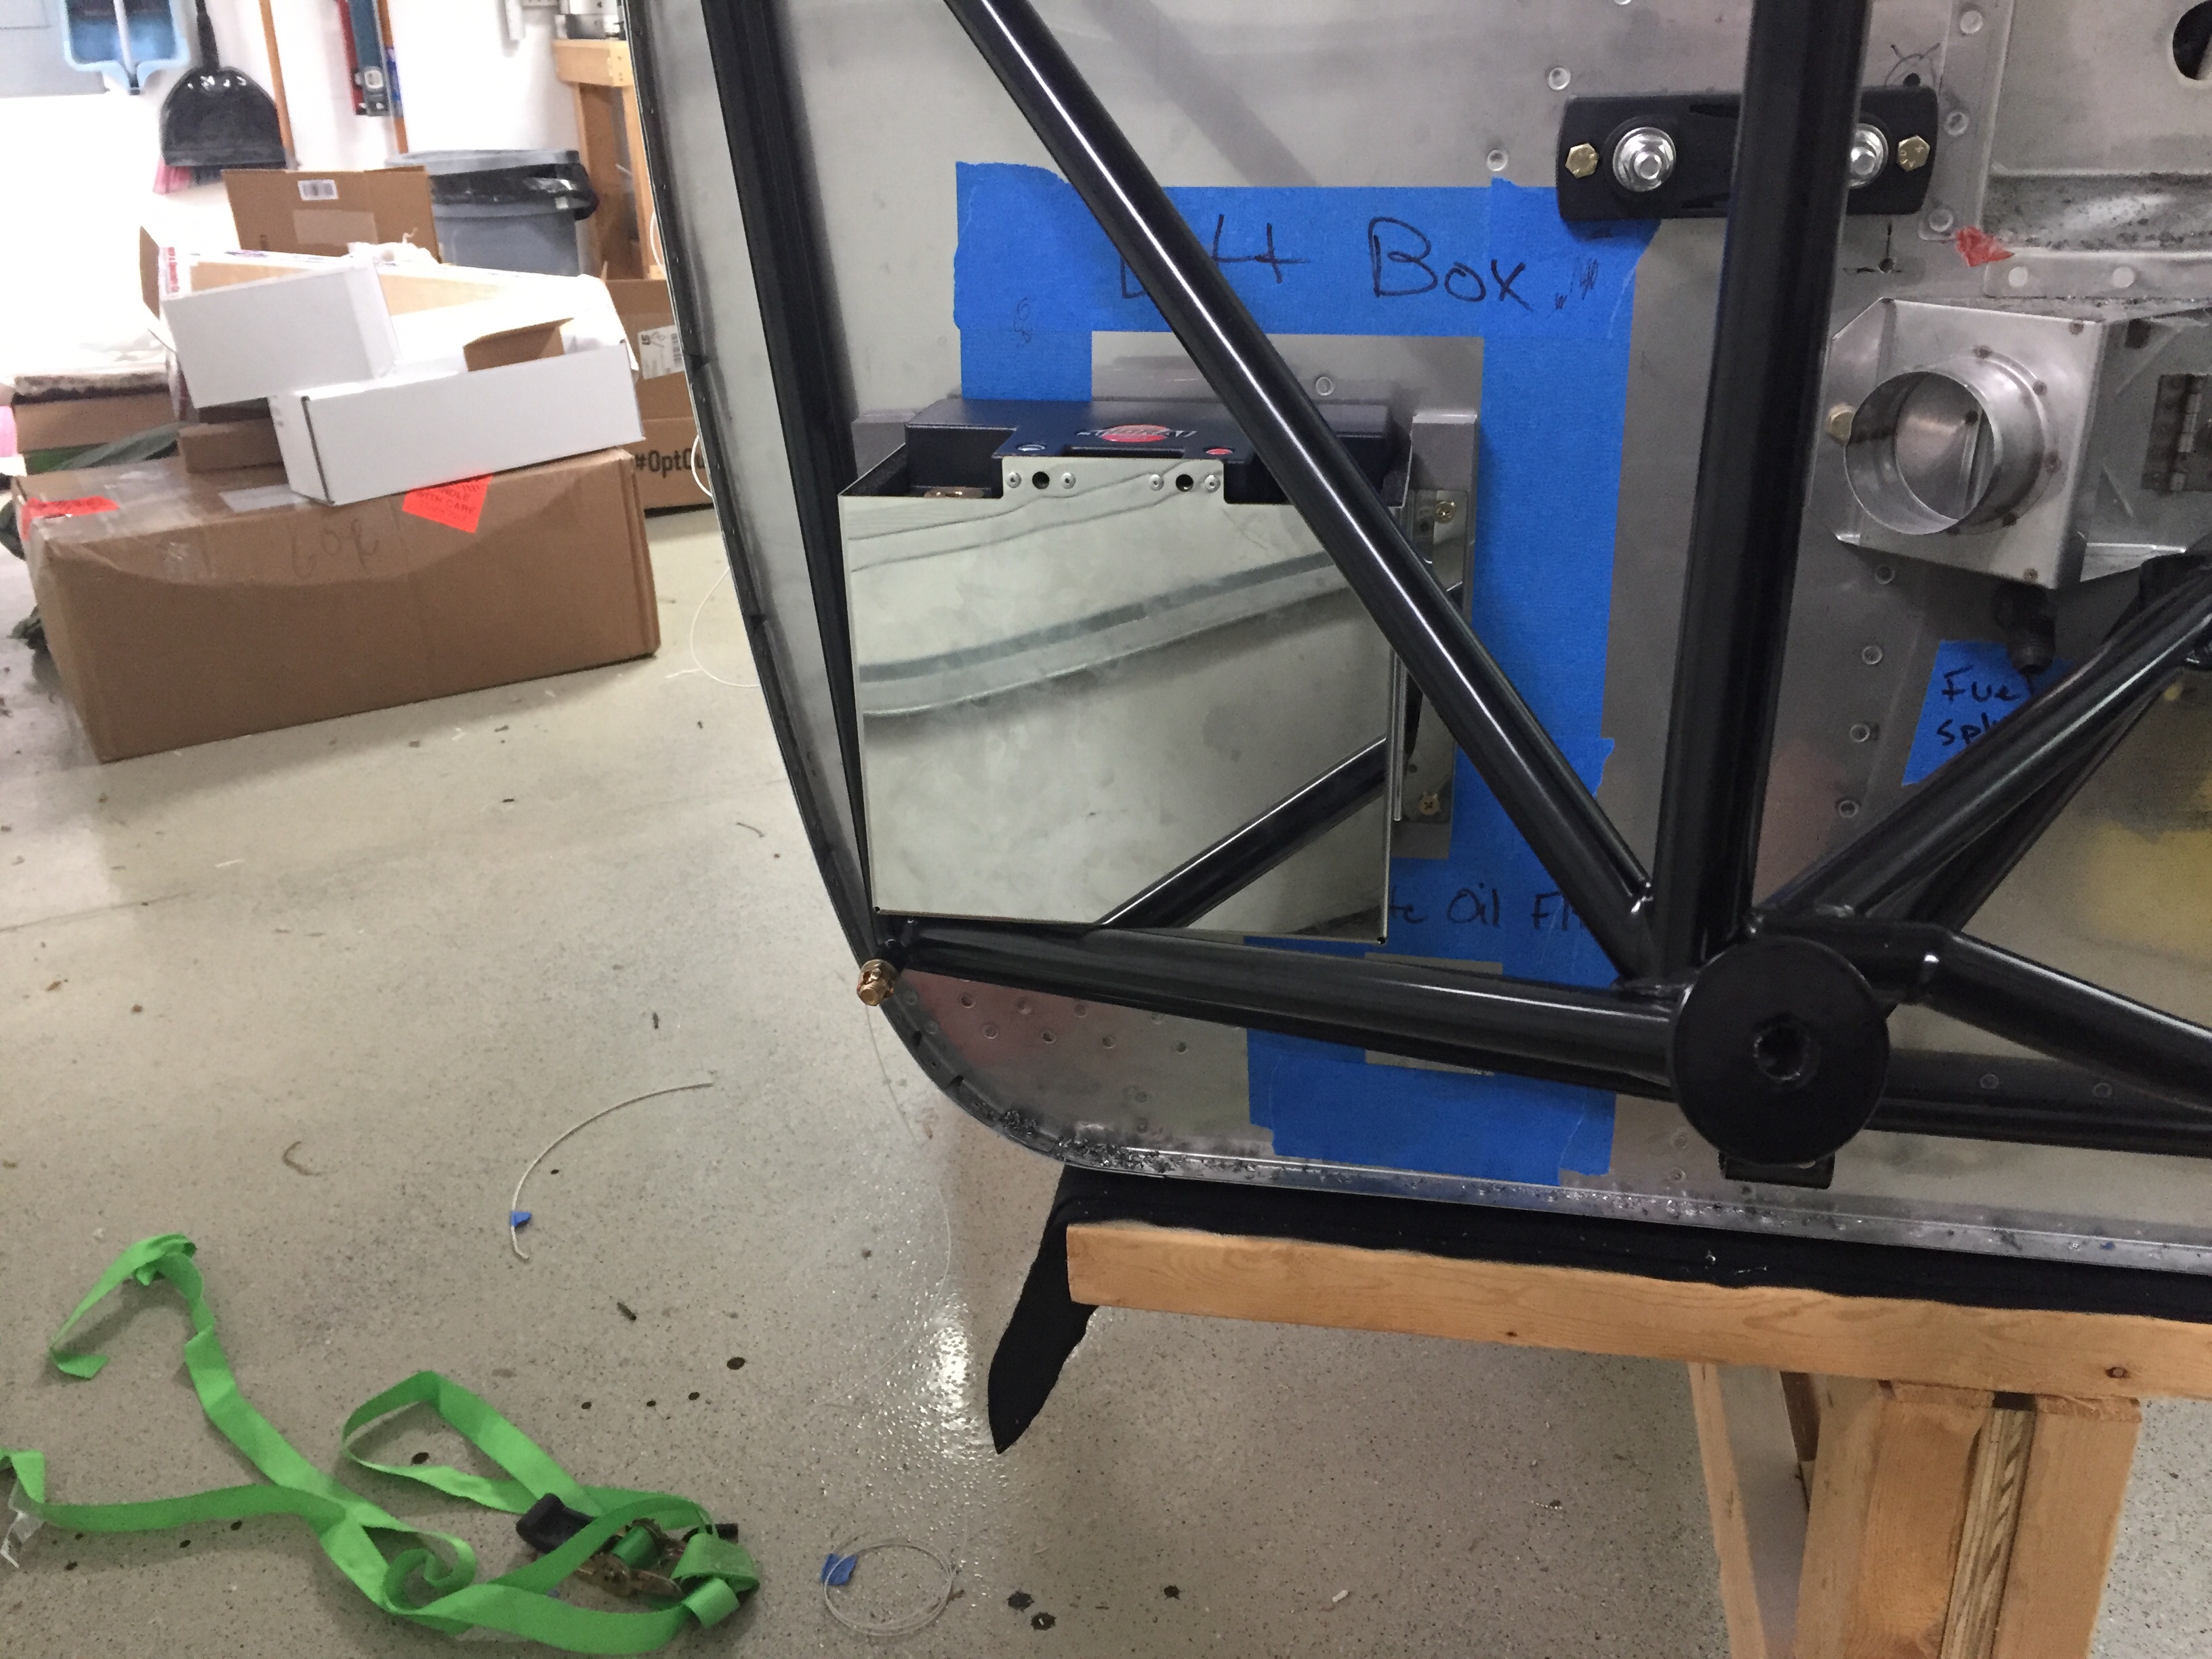
I decided to have the engine mount powder coated black just for a little extra pop and get rid of the white. It came out nicely and I went ahead and drilled the holes to get it ready to mount. I didn’t have to do too much finessing to get the holes lined up and it proved to be a quick job. That also allowed me to position the battery box and ensure clearance for the battery to come out without having to remove the box from the firewall, again thinking about maintenance down the road. The box is insulated and made by EarthX but is about a 1/4″ too shallow for the Shorai battery. I used some spacers and high temp foam to stand it off from the firewall and allow just enough room for a snug fit. The retainer of the box has a bracket to mount a 1″ blast tube which will come from the rear baffles for battery cooling.
The Shorai battery was a last minute decision over the EarthX for a few reasons. I spoke to a few other 10 flyers who have had EarthX failures and while the service to get them replaced was excellent, no root cause could be found. Further more, the batteries have the internal BMS which will protect the battery’s voltage from dropping too low. There are a bunch of pros and cons that I won’t get into about BMS but I decided I’d rather kill a battery than killing myself because my electrically dependent engine quite to preserve a $300 battery. The Shorai also has a higher aH rating, at 36 meaning in theory I’ll get more power for longer than the EarthX. It does not have an internal BMS so will die giving it’s last bit of power to me, which is what I want if both of my alternators fail and I need to keep flying. It’s about the same size, the same weight, and cheaper to boot!
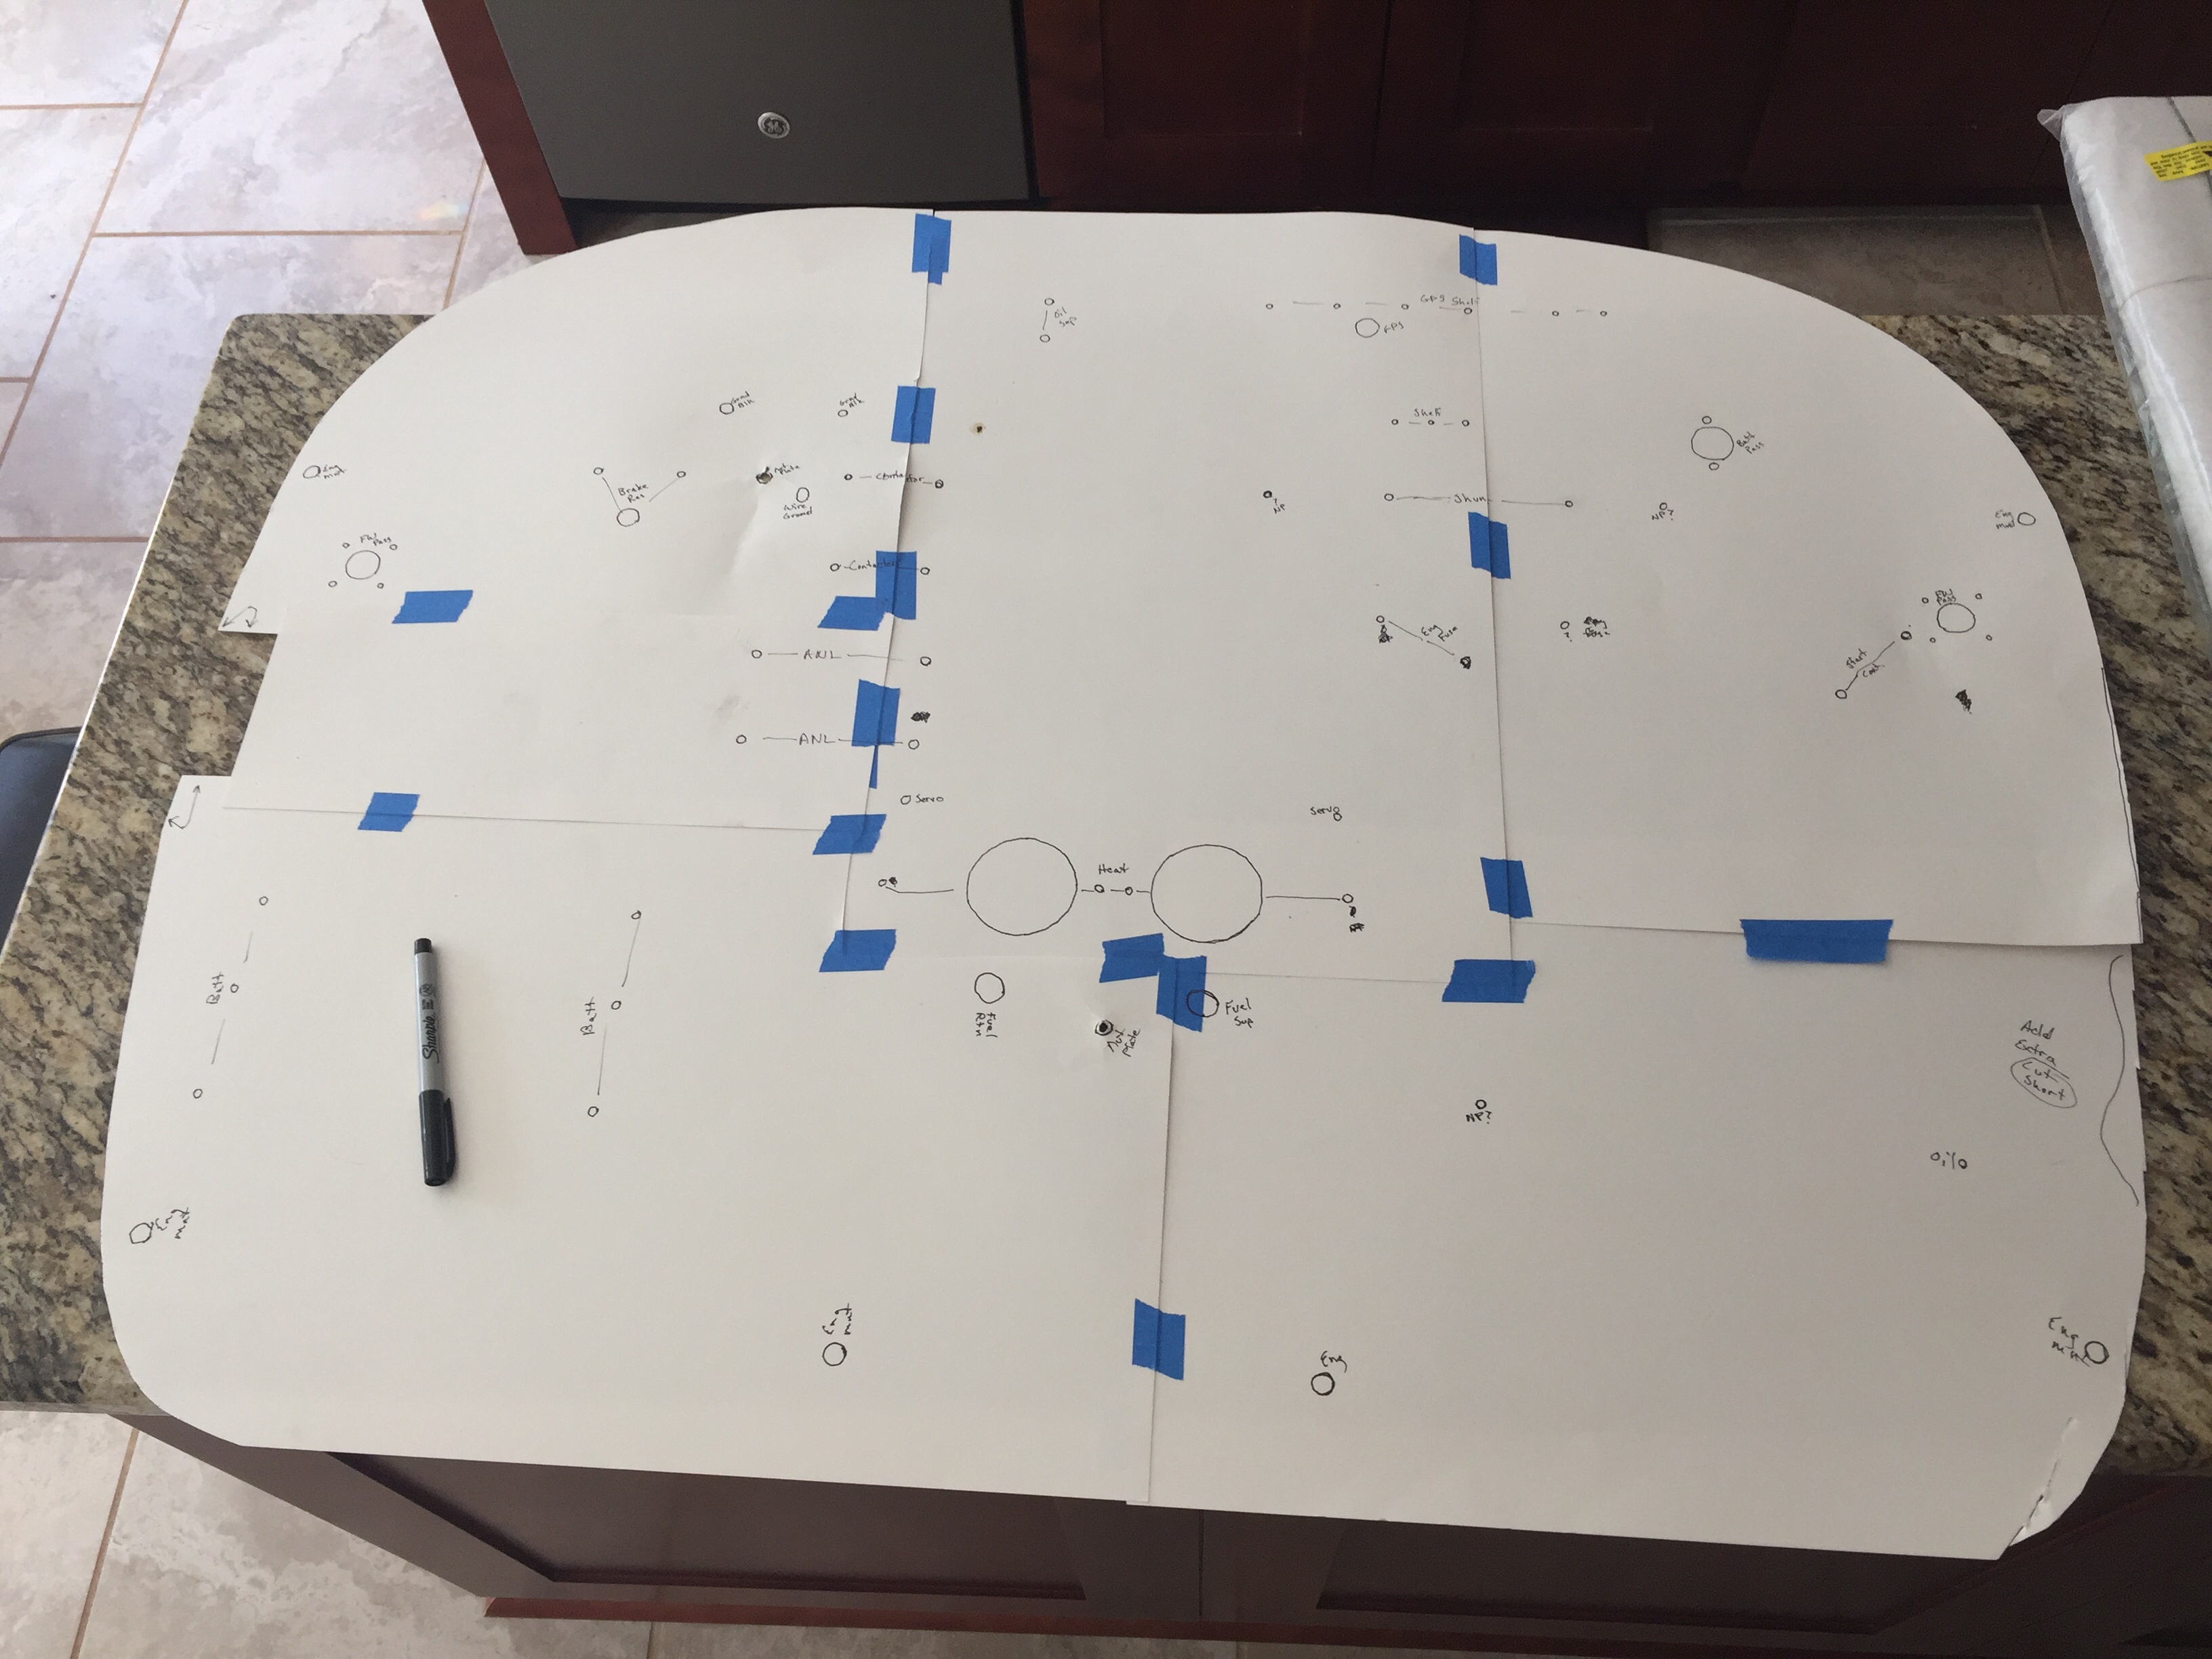
Once everything was drilled and nutplates installed where needed, I made a template of the firewall and holes on poster board to transfer over to the lava shield insulation mat. I got the product referral from John Walker and have seen his up close really looking and performing well. Plus, it’s a lot easier to install and work with than the fiberfrax sandwich, in my opinion. The lava shield is a carbon fiber material with a self adhesive backing. I trimmed most cutouts with a razor and decided to just match drill the small rivet and bolt holes once it was on the firewall. It was pretty easy to apply the mat to the firewall, taking my time and treating it like a big sticker.
I cut out the area covering the recess and used scrap material to fill in the edges of the recess. I chose to glue the edges, as the material is a bit stiff and didn’t like the sharp outside radii. I’m really happy with the finished result, not only aesthetically, but functionally. It should provide a nice barrier for heat transferring to the cabin and gives the firewall a nice finished uniform look.
It was finally time to bolt all the stuff to the firewall and get my workbench cleaned off. Again, having the forward fuselage section removable at this point really made the job easy as I could just reach around and secure nuts, etc. on the cabin side of the firewall. I used nutplates on everything that would have a good chance of needing removal but used nuts on the few items that would only come off once or twice in the plane’s lifetime or could be serviced while installed. It’s pretty cool to step back and look at all the components up there and seeing how it’s all going to fit together.
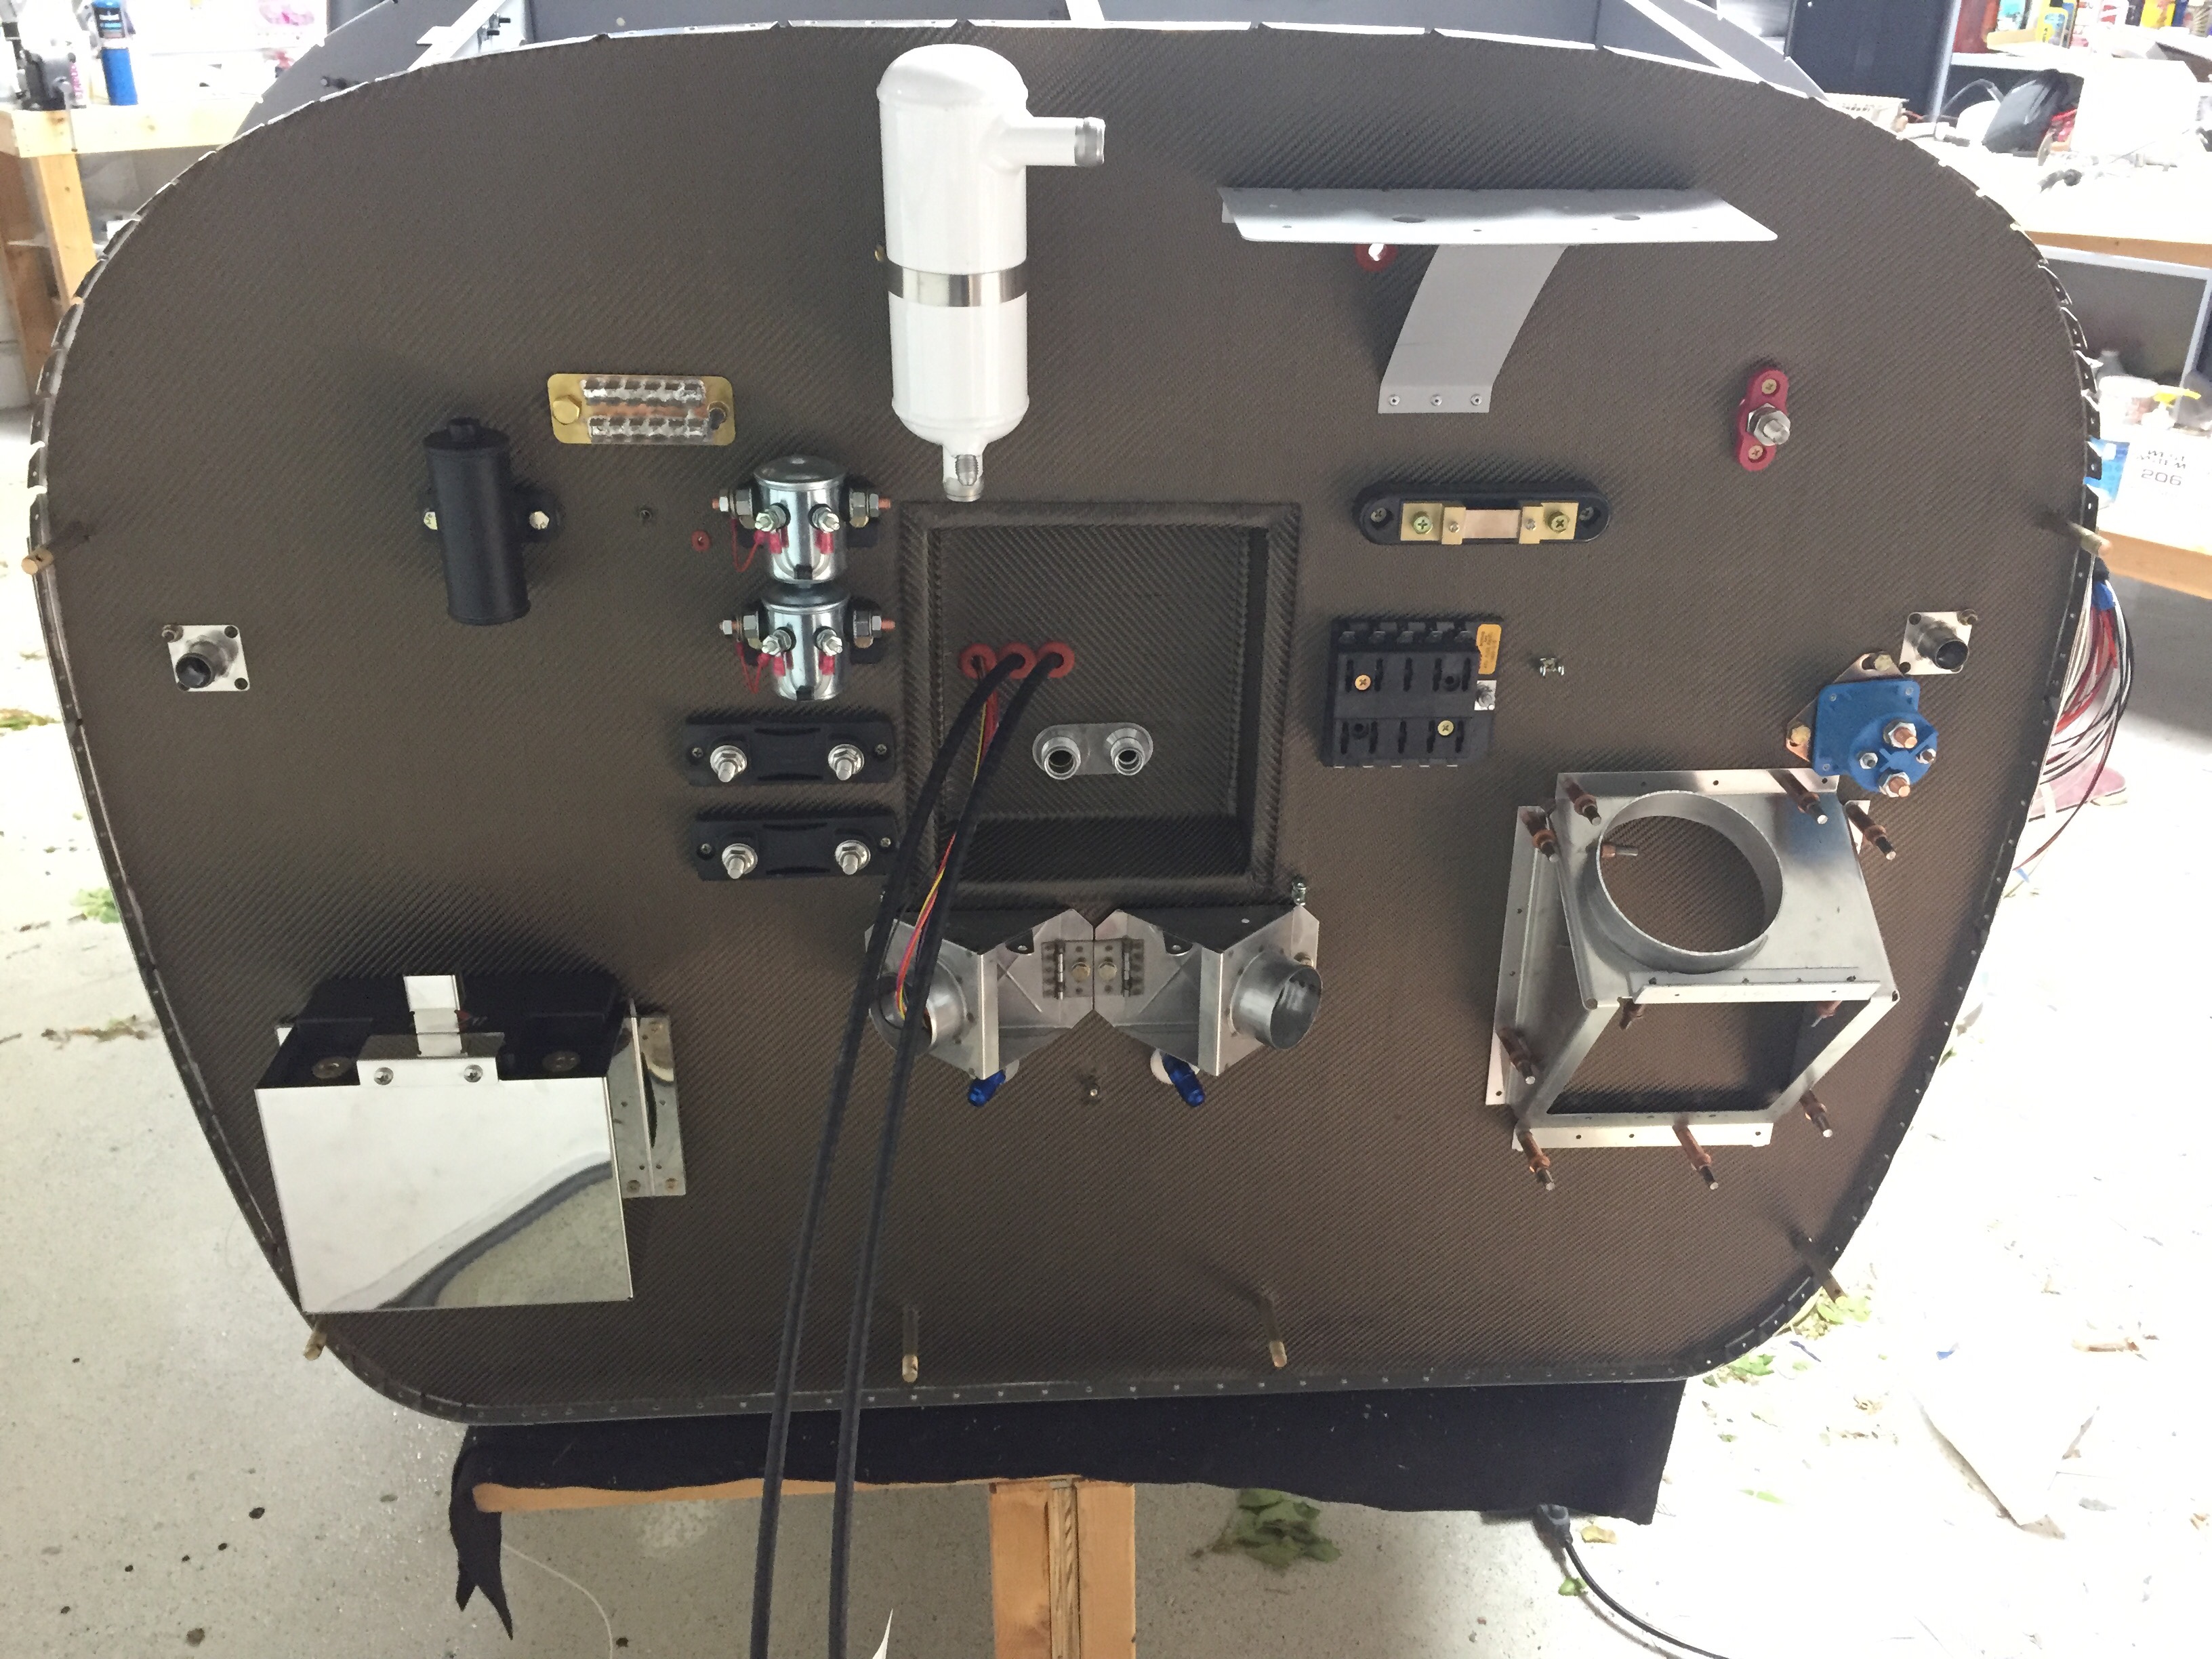
I am pretty confident the locations will allow clearance with the engine except the oil separator. I’m afraid it’s going to hit my stand by alternator, but only time will tell as the measurements I’m getting from others is a bit misleading. We’ll see and if need be, it’s a easy fix. I have the main power pass through on the upper right, a 3/4″ pass through on the left and right side, grounding tab and main grounding bolt on the upper left, and GPS shelf on the upper right. The two contactors on the left side are GPU (on top) and batt master on the bottom. Two ANL fuse blocks are below those, one for each alternator. The prop and throttle cable (no mixture with SDS) come from the center and I’m using the third hole for the heat vent servo wires. On the right, the AFS shunt will measure alternator current going into the system and the starter contactor is at the stock location. The fuse block is for all of the engine components related to SDS including coils, ECUs, fuel pumps, etc. Finally, the oil cooler has been modified to fit the larger 2007X oil cooler and will have a damper controlled by a TCW servo just like the heat vents.
Lot’s of progress that is really rewarding as I’m slowly emptying all the boxes and cabinet shelves holding purchase but uninstalled items! Next up will be attacking the throttle and center console along with the rest of the instrument panel and putting the forward fuse section on for good.
