I realized I forgot a post about installing the door seals after building up the door frame lip. As always, it took more effort and involved more frustration than I had originally imagined. To sum it up, my problem was not having a consistent gap between the door frame lip and the interior of the door. I had some tight spots and some just right spots. The issue are the tight spots that take a lot more force to squeeze the door seal bulb than you want to put on the door. Basically, I had to start again with fitting once I got the seals.
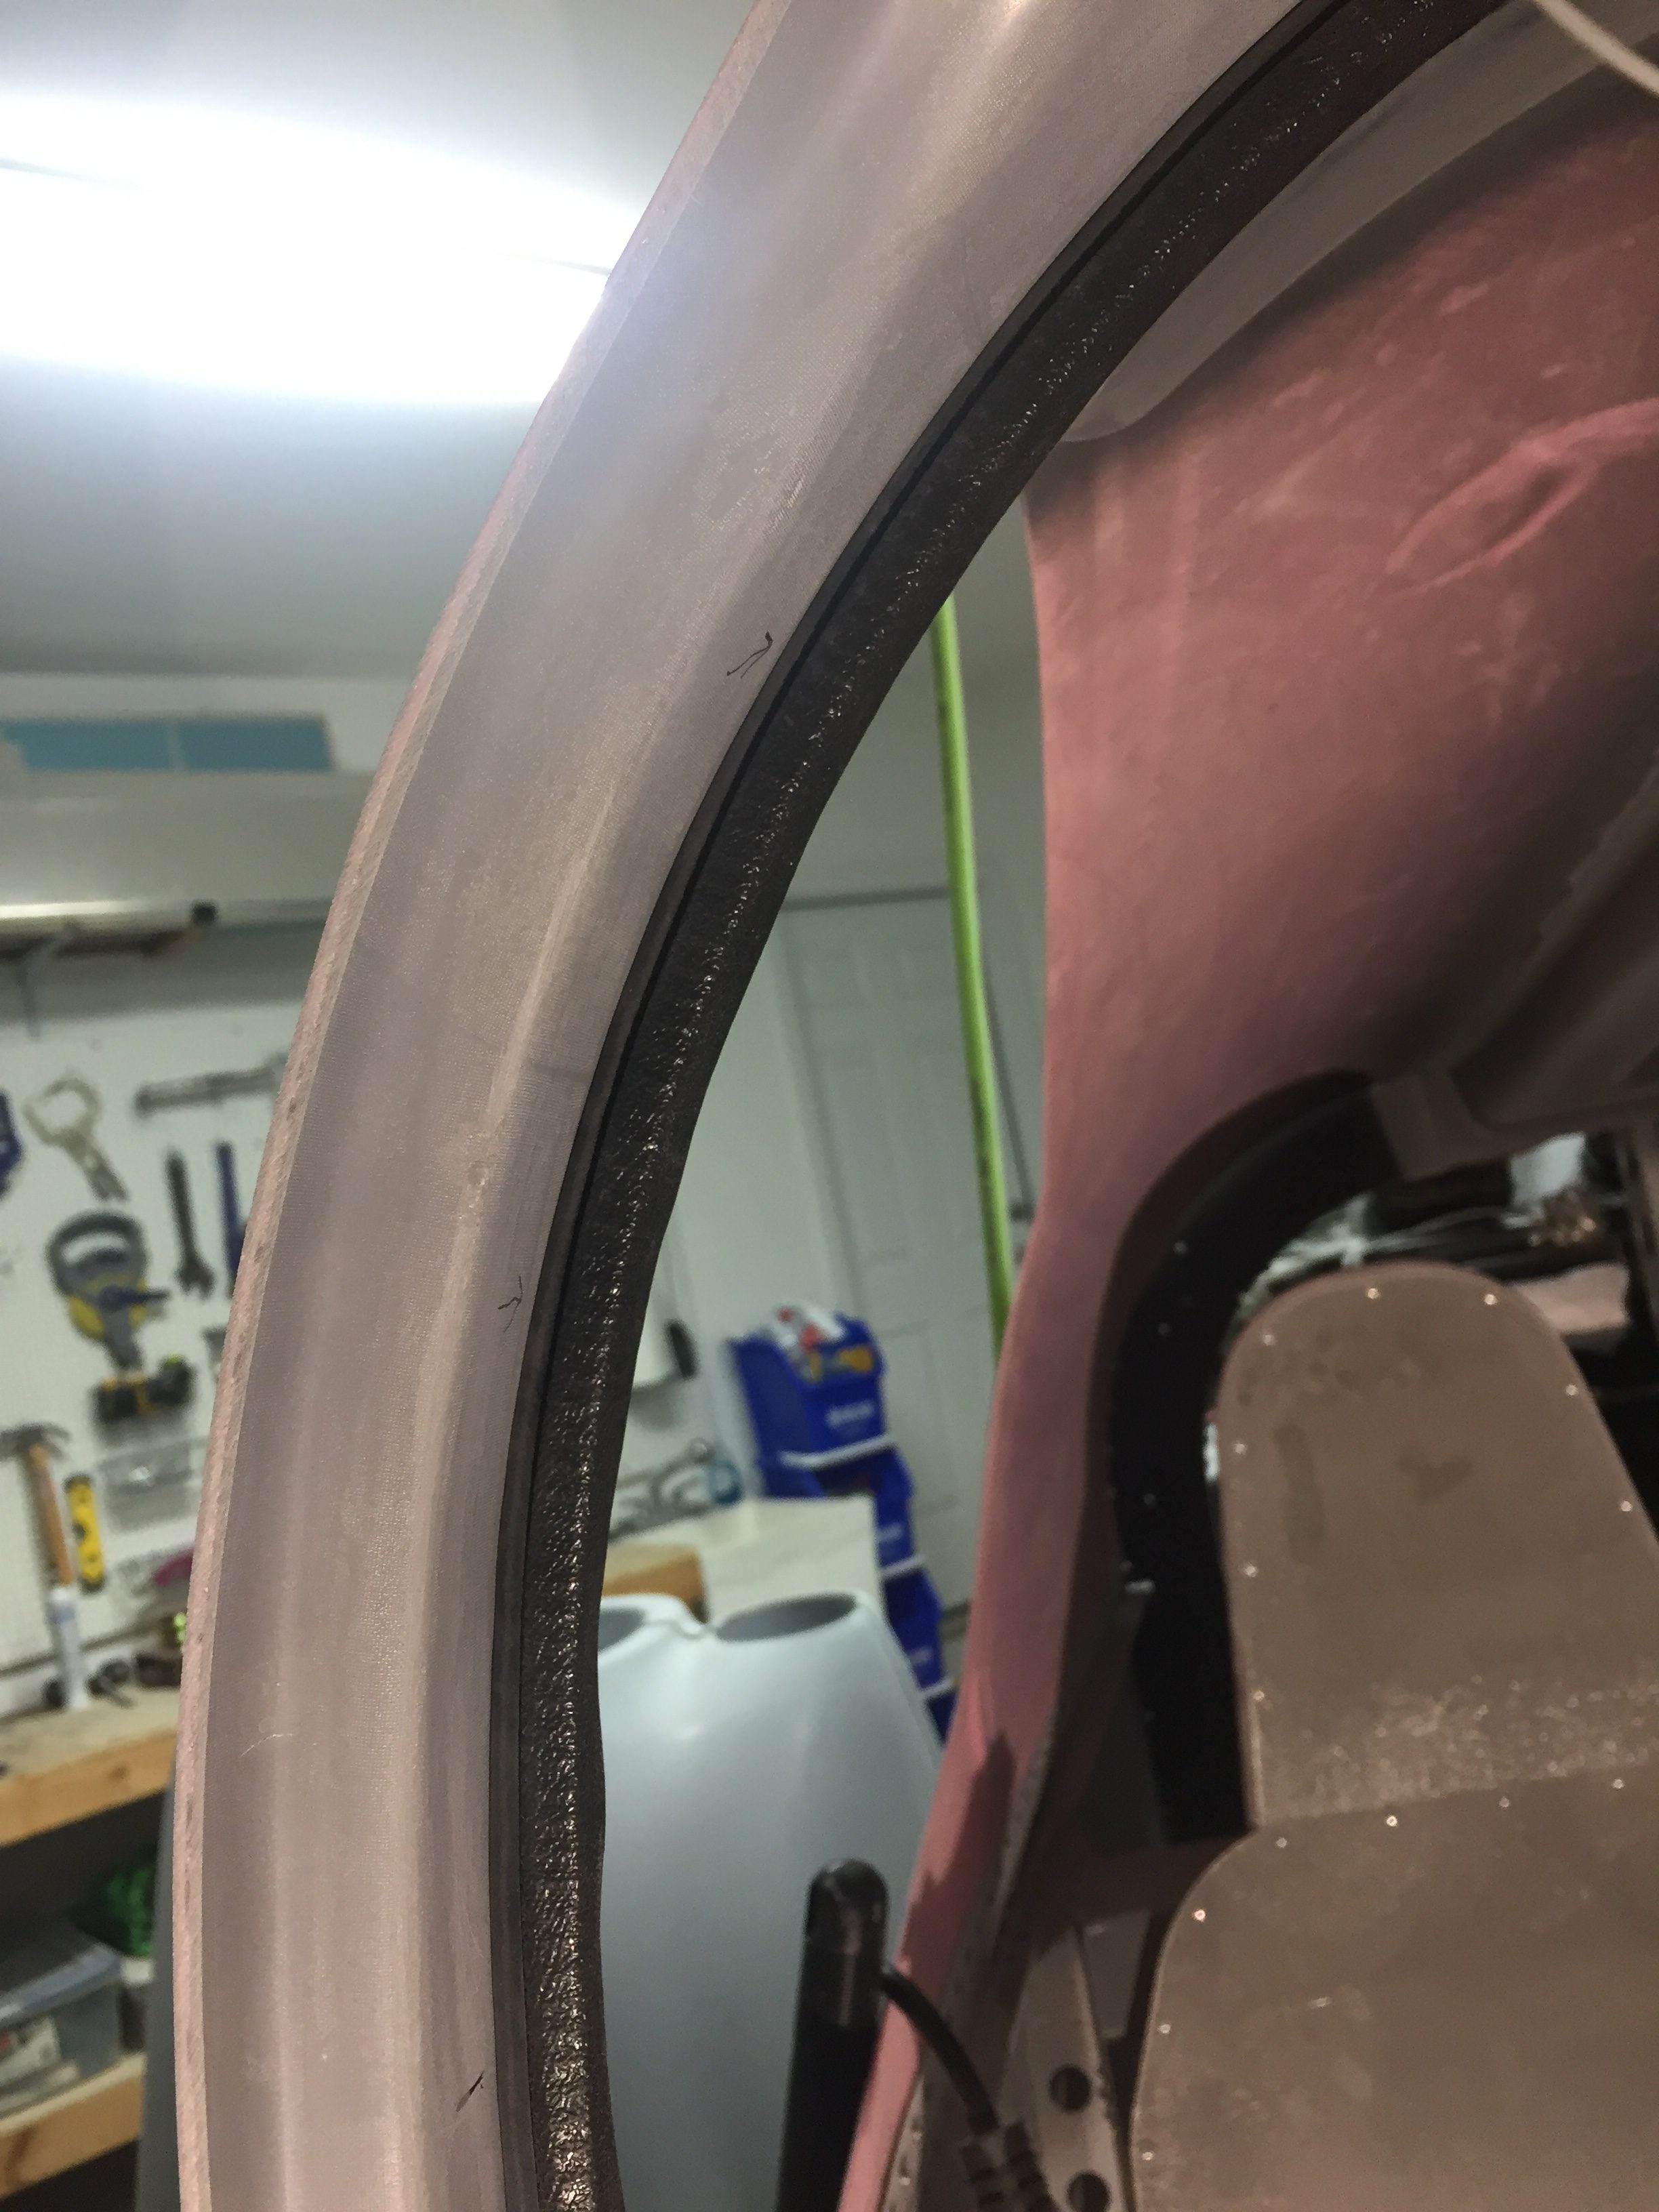
My first idea to make the seal fit with less squish was to remove a lip on the u channel of the seal. It’s designed to help hold the seal onto the door frame lip but it also added about 1/8″ of bulk. While that did help, it wasn’t enough. I tried different combinations of seals, but due to the uneven gaps, the smaller seal wouldn’t actually touch both surfaces in a few spots and adding filler would have required re-sanding and contouring the inside. That wasn’t a viable option, so it was back out with the angle grinder and Scotchbrite pads to go to town on the door frame lip.
I was shocked at how much had to come off in some areas. I determined this using a marker and template, acting as a scribe to measure the proper gap. I used an area that had a nice amount of squish on the seal but not too much as a gauge for the entire door gap. It worked well and after making a lot of dust all over the just cleaned interior, I was getting a nice fit on the door seals. I know I’d have to add some filler on the door jams anyway to get them looking nice, I wasn’t too concerned about my grinding methods. I mainly wanted a good fit, cosmetics will come later.
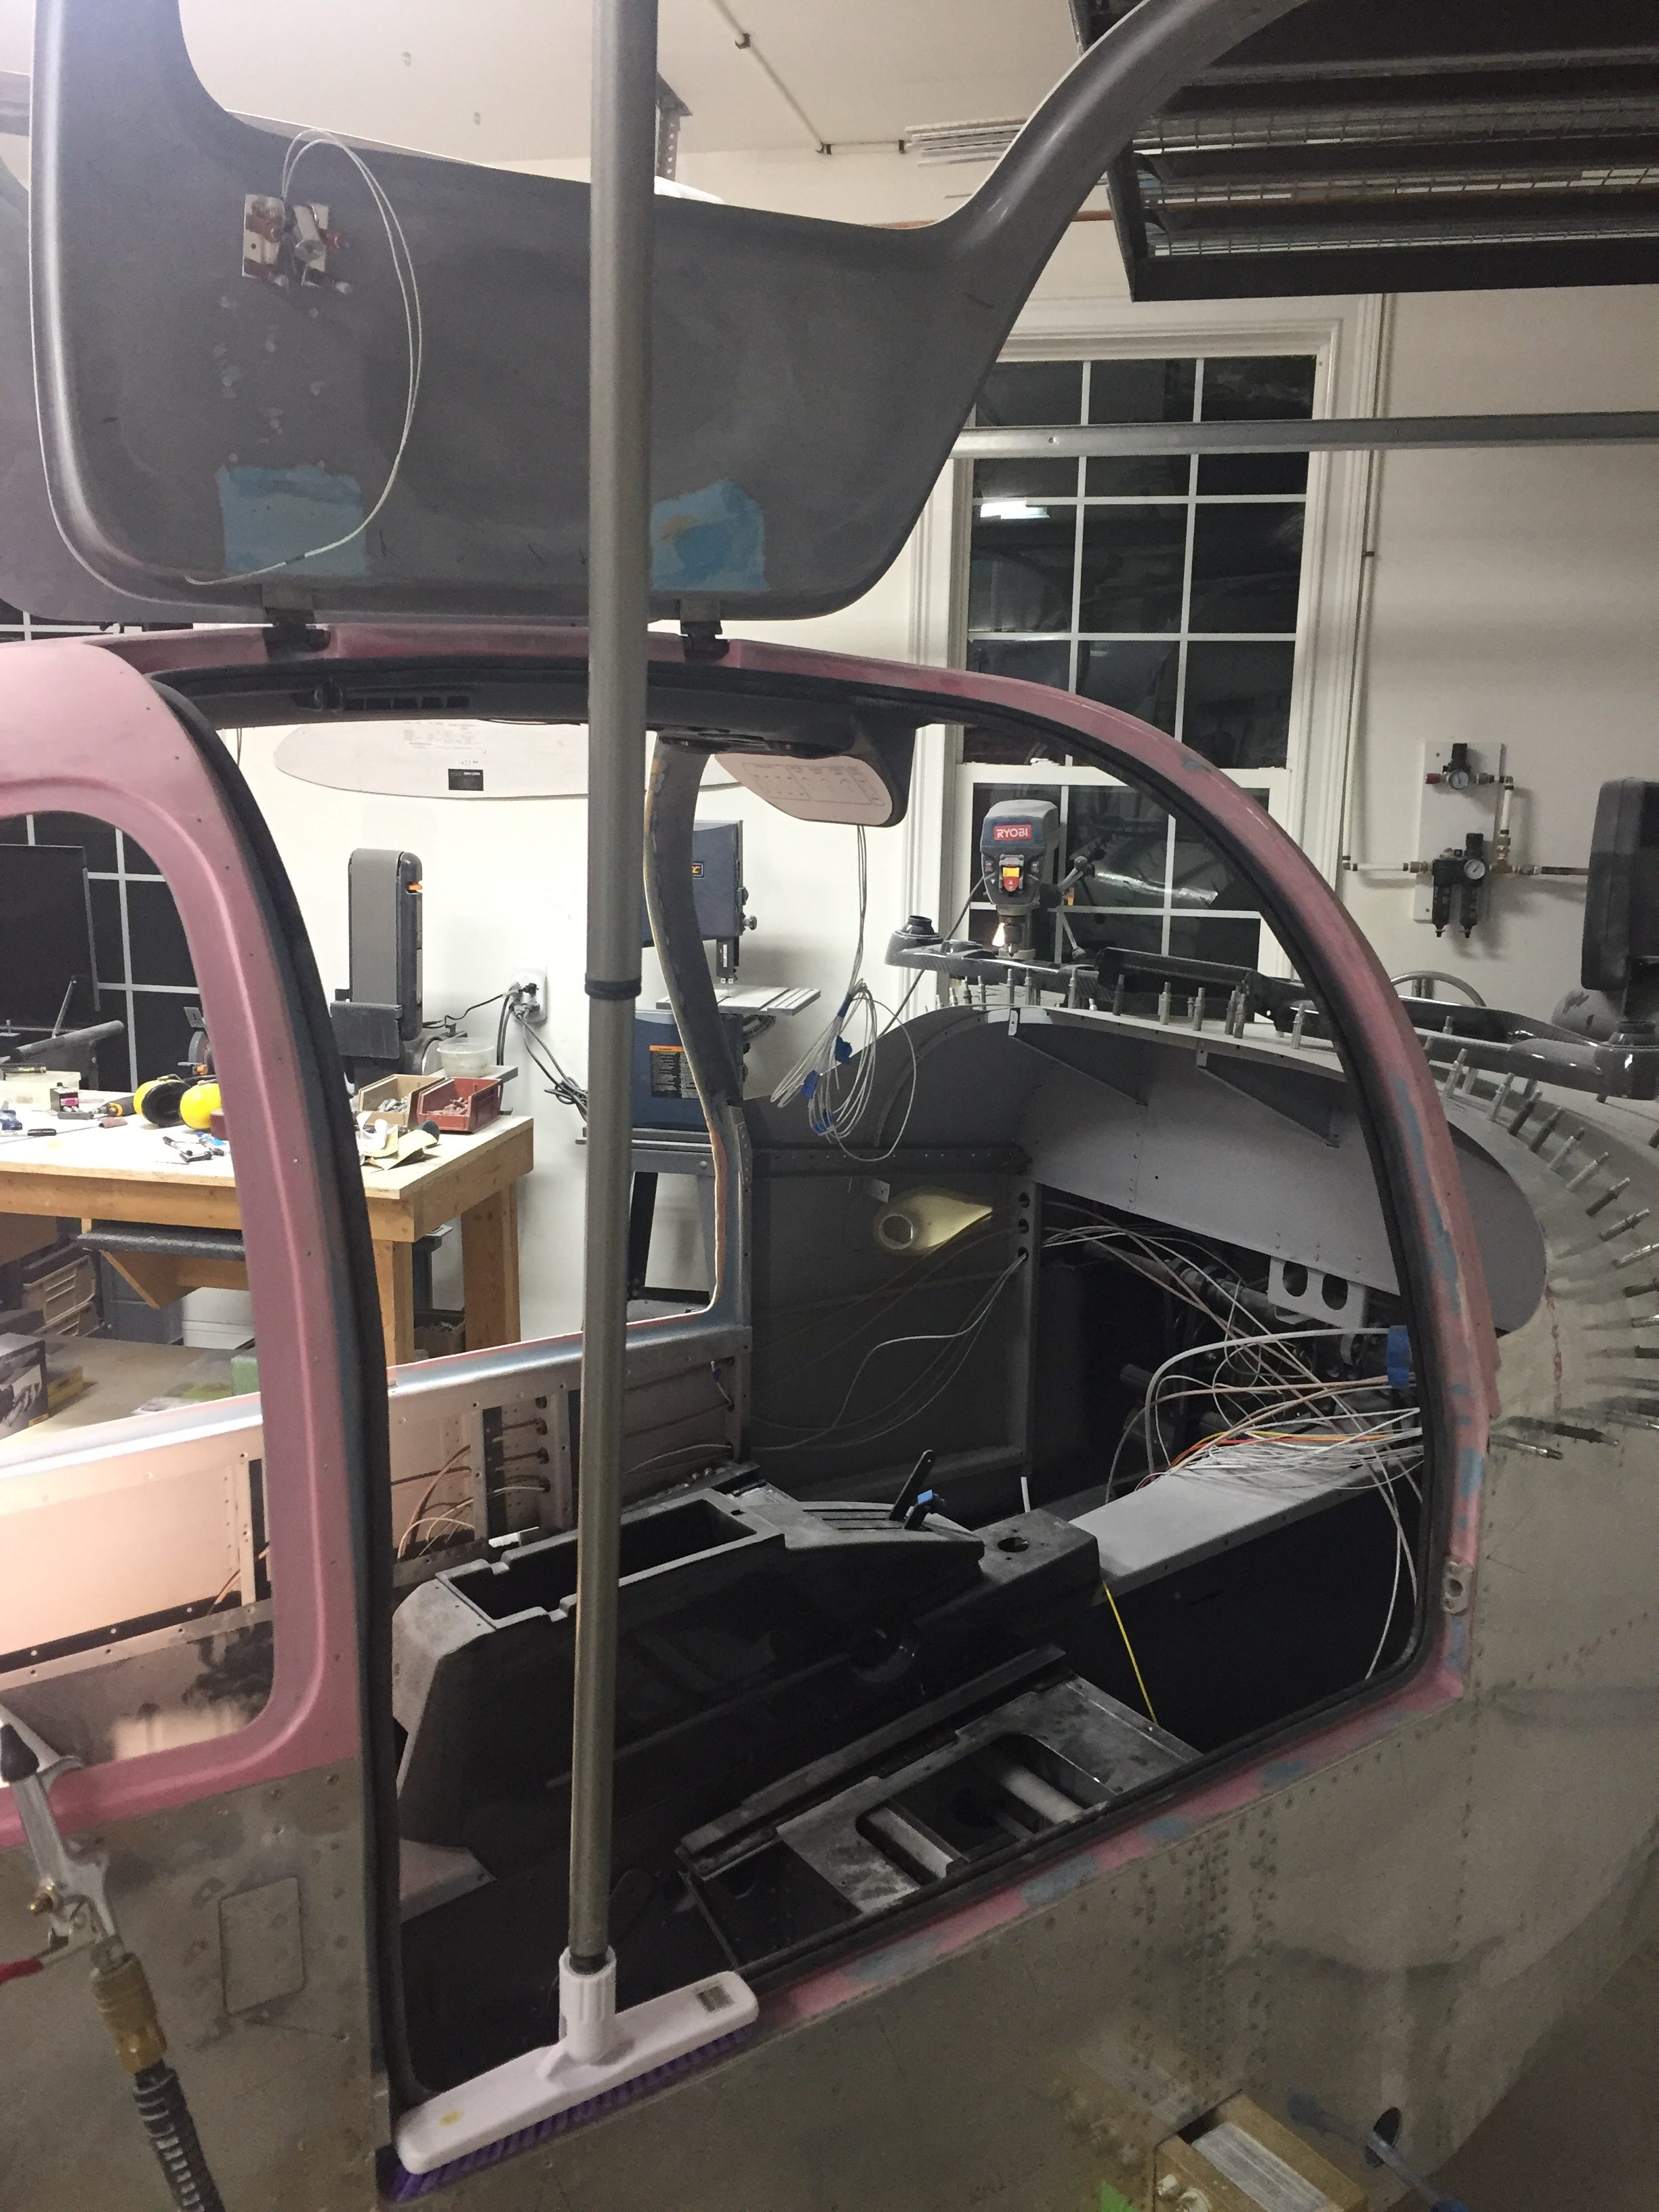
After a few evenings and a lot of opening and closing the doors, I had achieved a good consistent gap for the seal and was happy with the fit and function of the door seal. I noticed that even after two nights of the door remaining closed, the seal was already getting broken in, making it easier to close the door. Folks say these seals need to be replaced as they wear down, so it will be a maintenance item every other year or two,, I’m sure. What I wasn’t happy with were the pins that held the doors shut. The Plane Around latch was doing its job of pulling the door closed, but the back pin still needed to do some work to align to the block. The pins I have are stainless with epoxied magnets in their tips and are shaped like bullets. That sounds great if the doors are almost perfectly aligned, but they did a poor job of any movement into the aluminum blocks that I also had. Even after a few weeks of working, the blocks were gouged and the bullets were wearing scars.
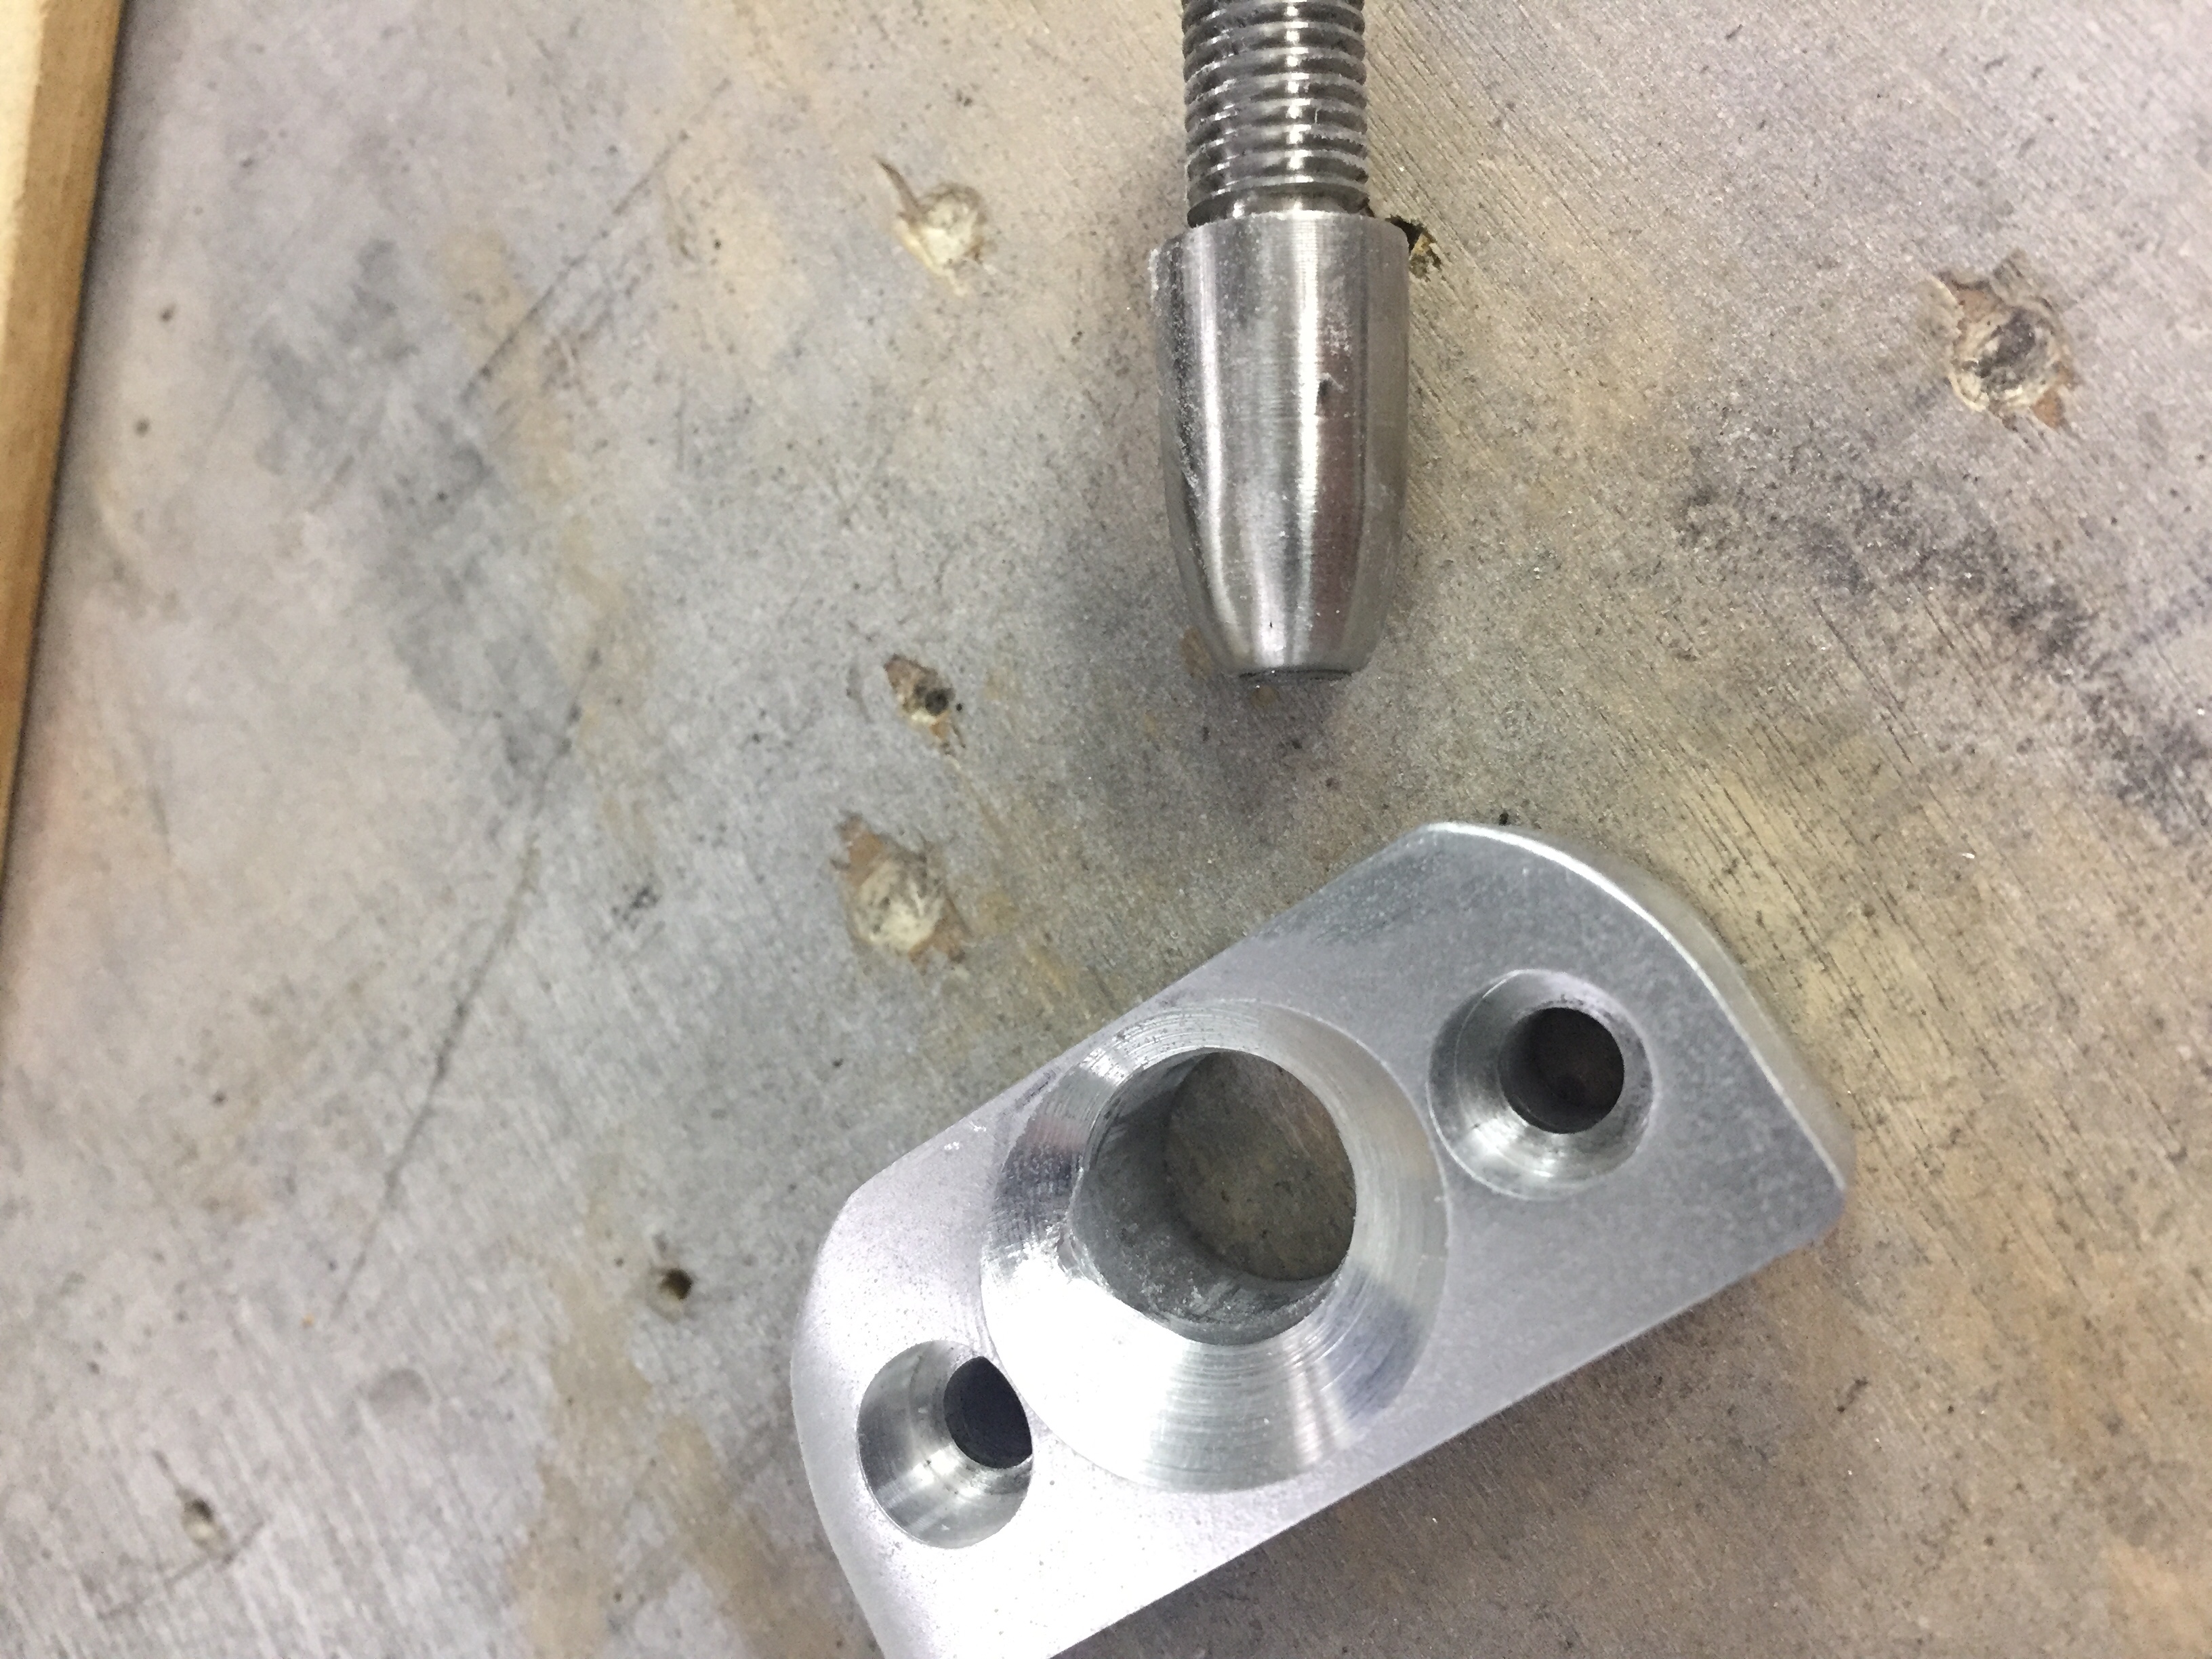
Luckily, a call to Sean at Plane Around solved my problem. He had a set of angled stainless pins, much like the shape of the stock pins, that were hollow for a magnet to be dropped into. These use setscrews to attach to the rods and can be positioned to most efficiently capture the blocks and align the pins. He also has Delrin blocks that are machined to have a nice rounded funnel shape. The stainless glides effortlessly on the Delrin making the closing and opening of the door handle a seamless effort compared to the rough metal on metal that I had.
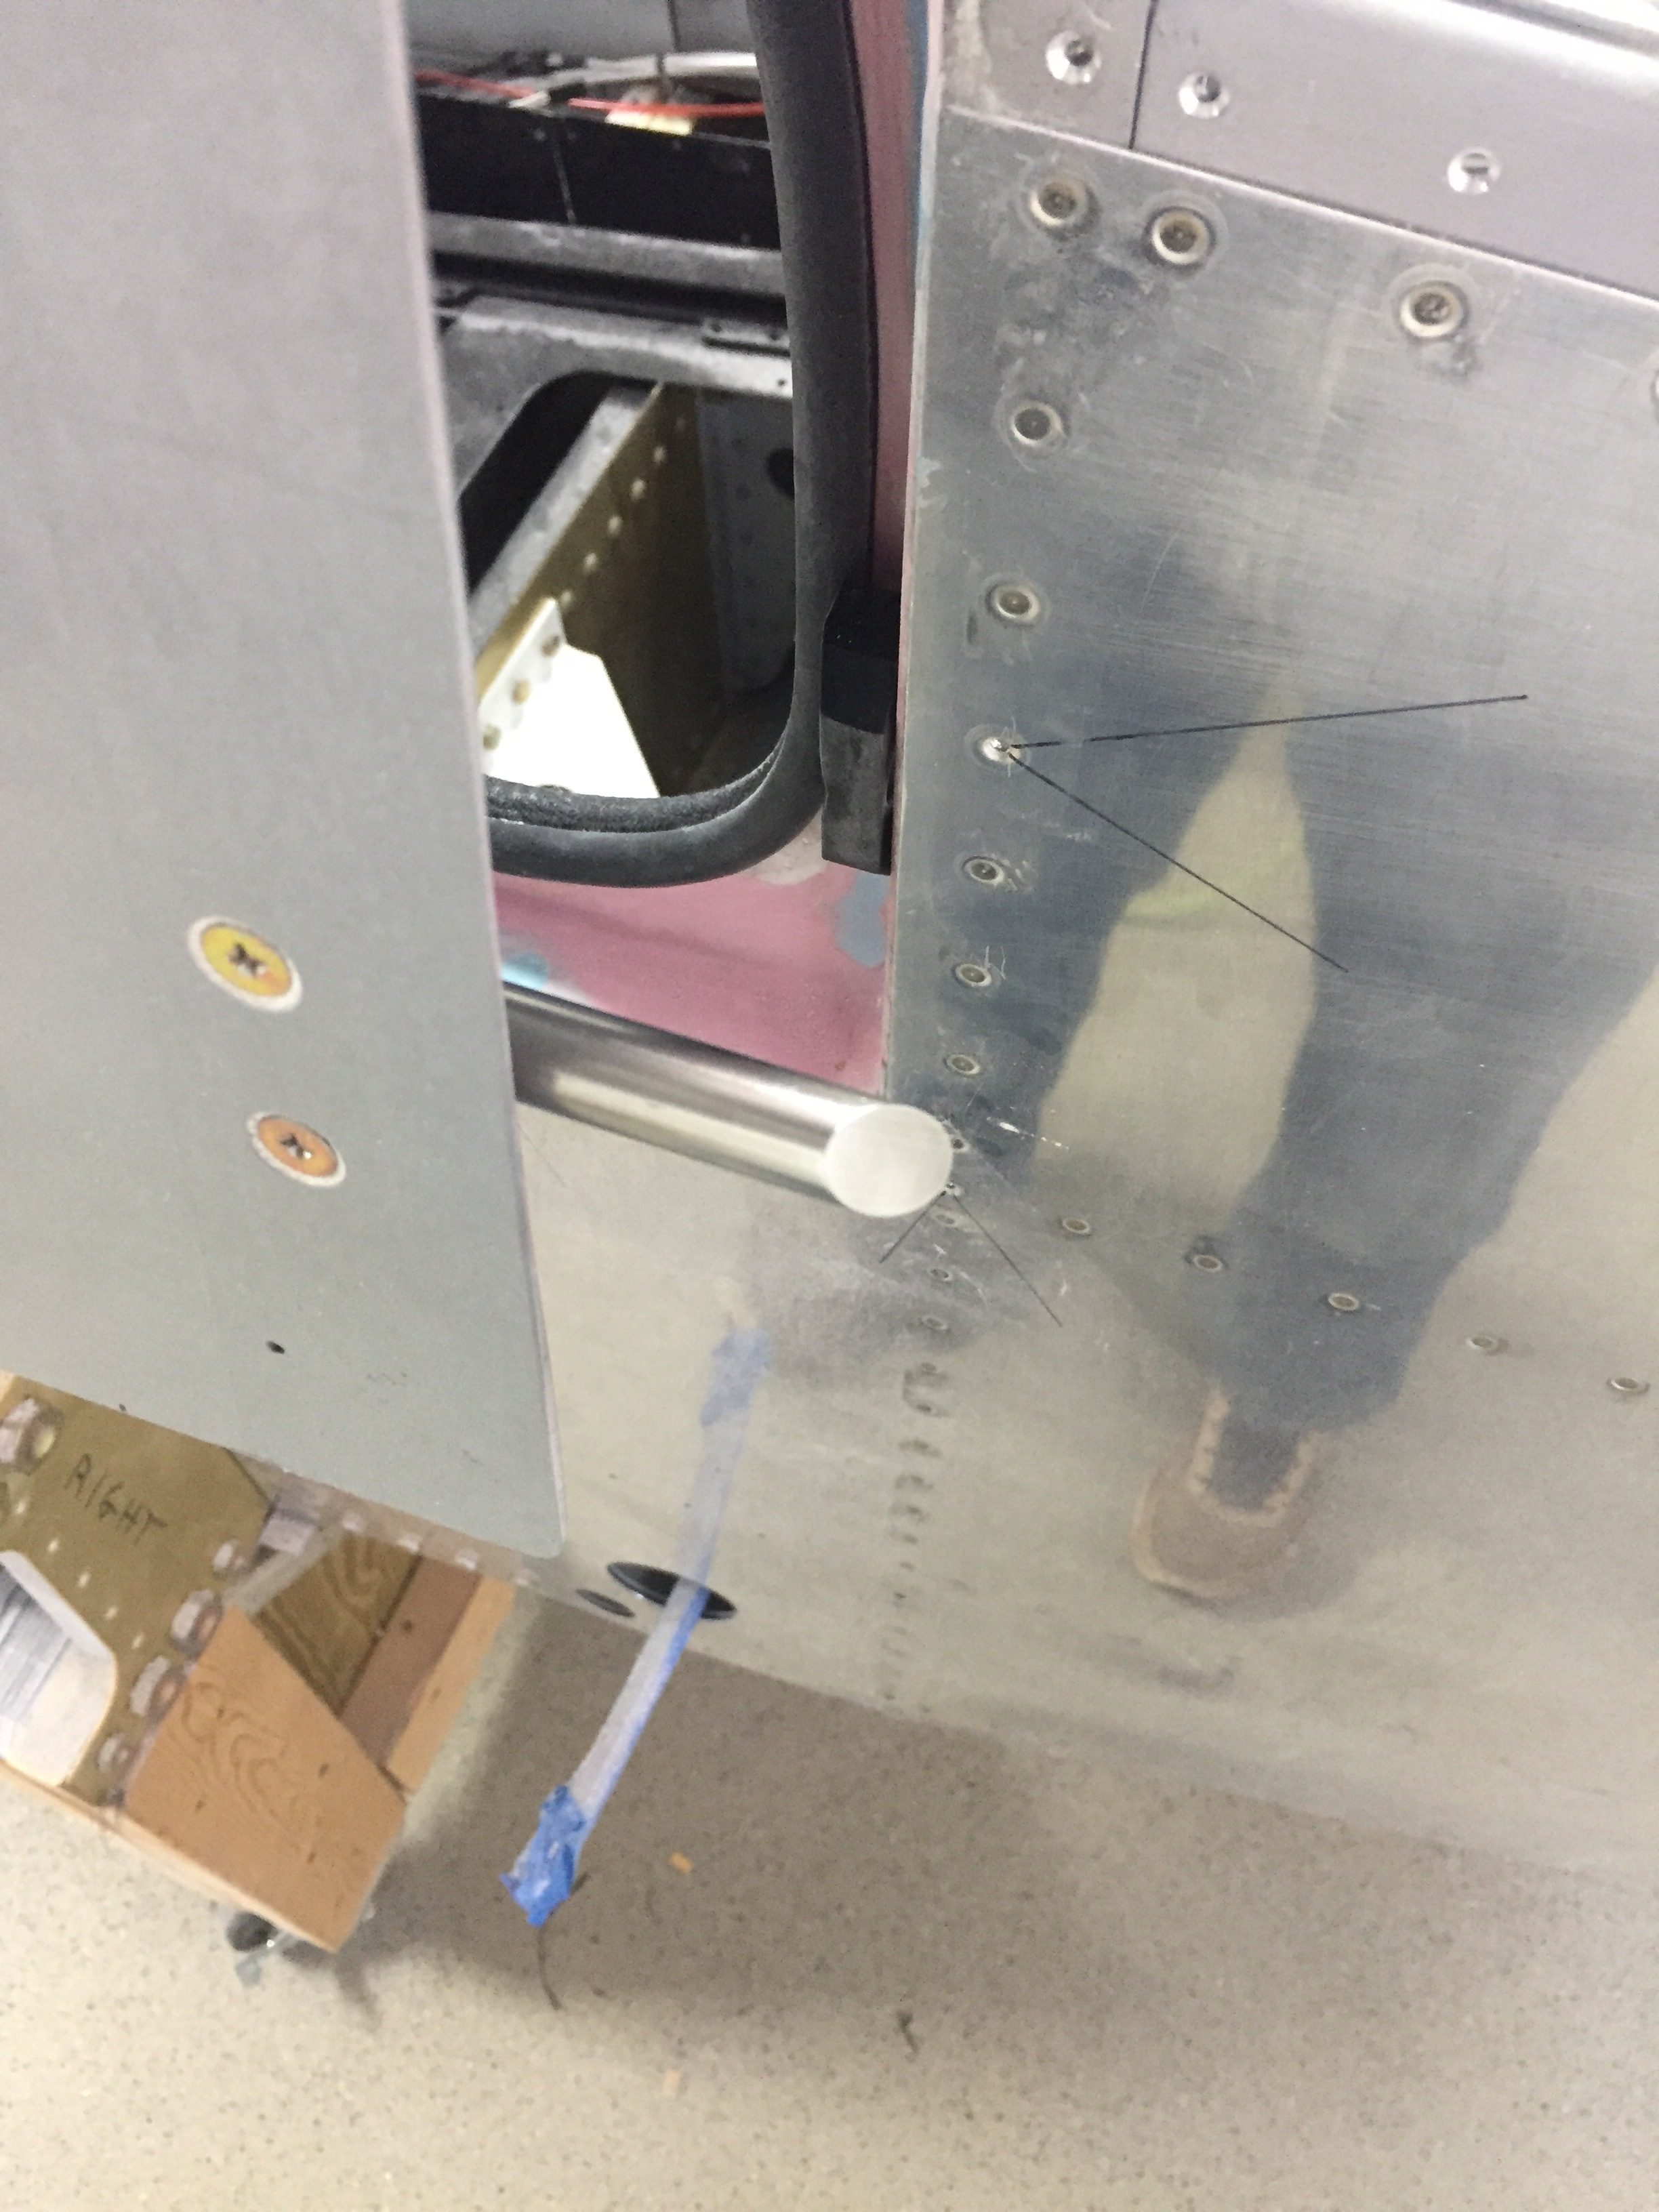
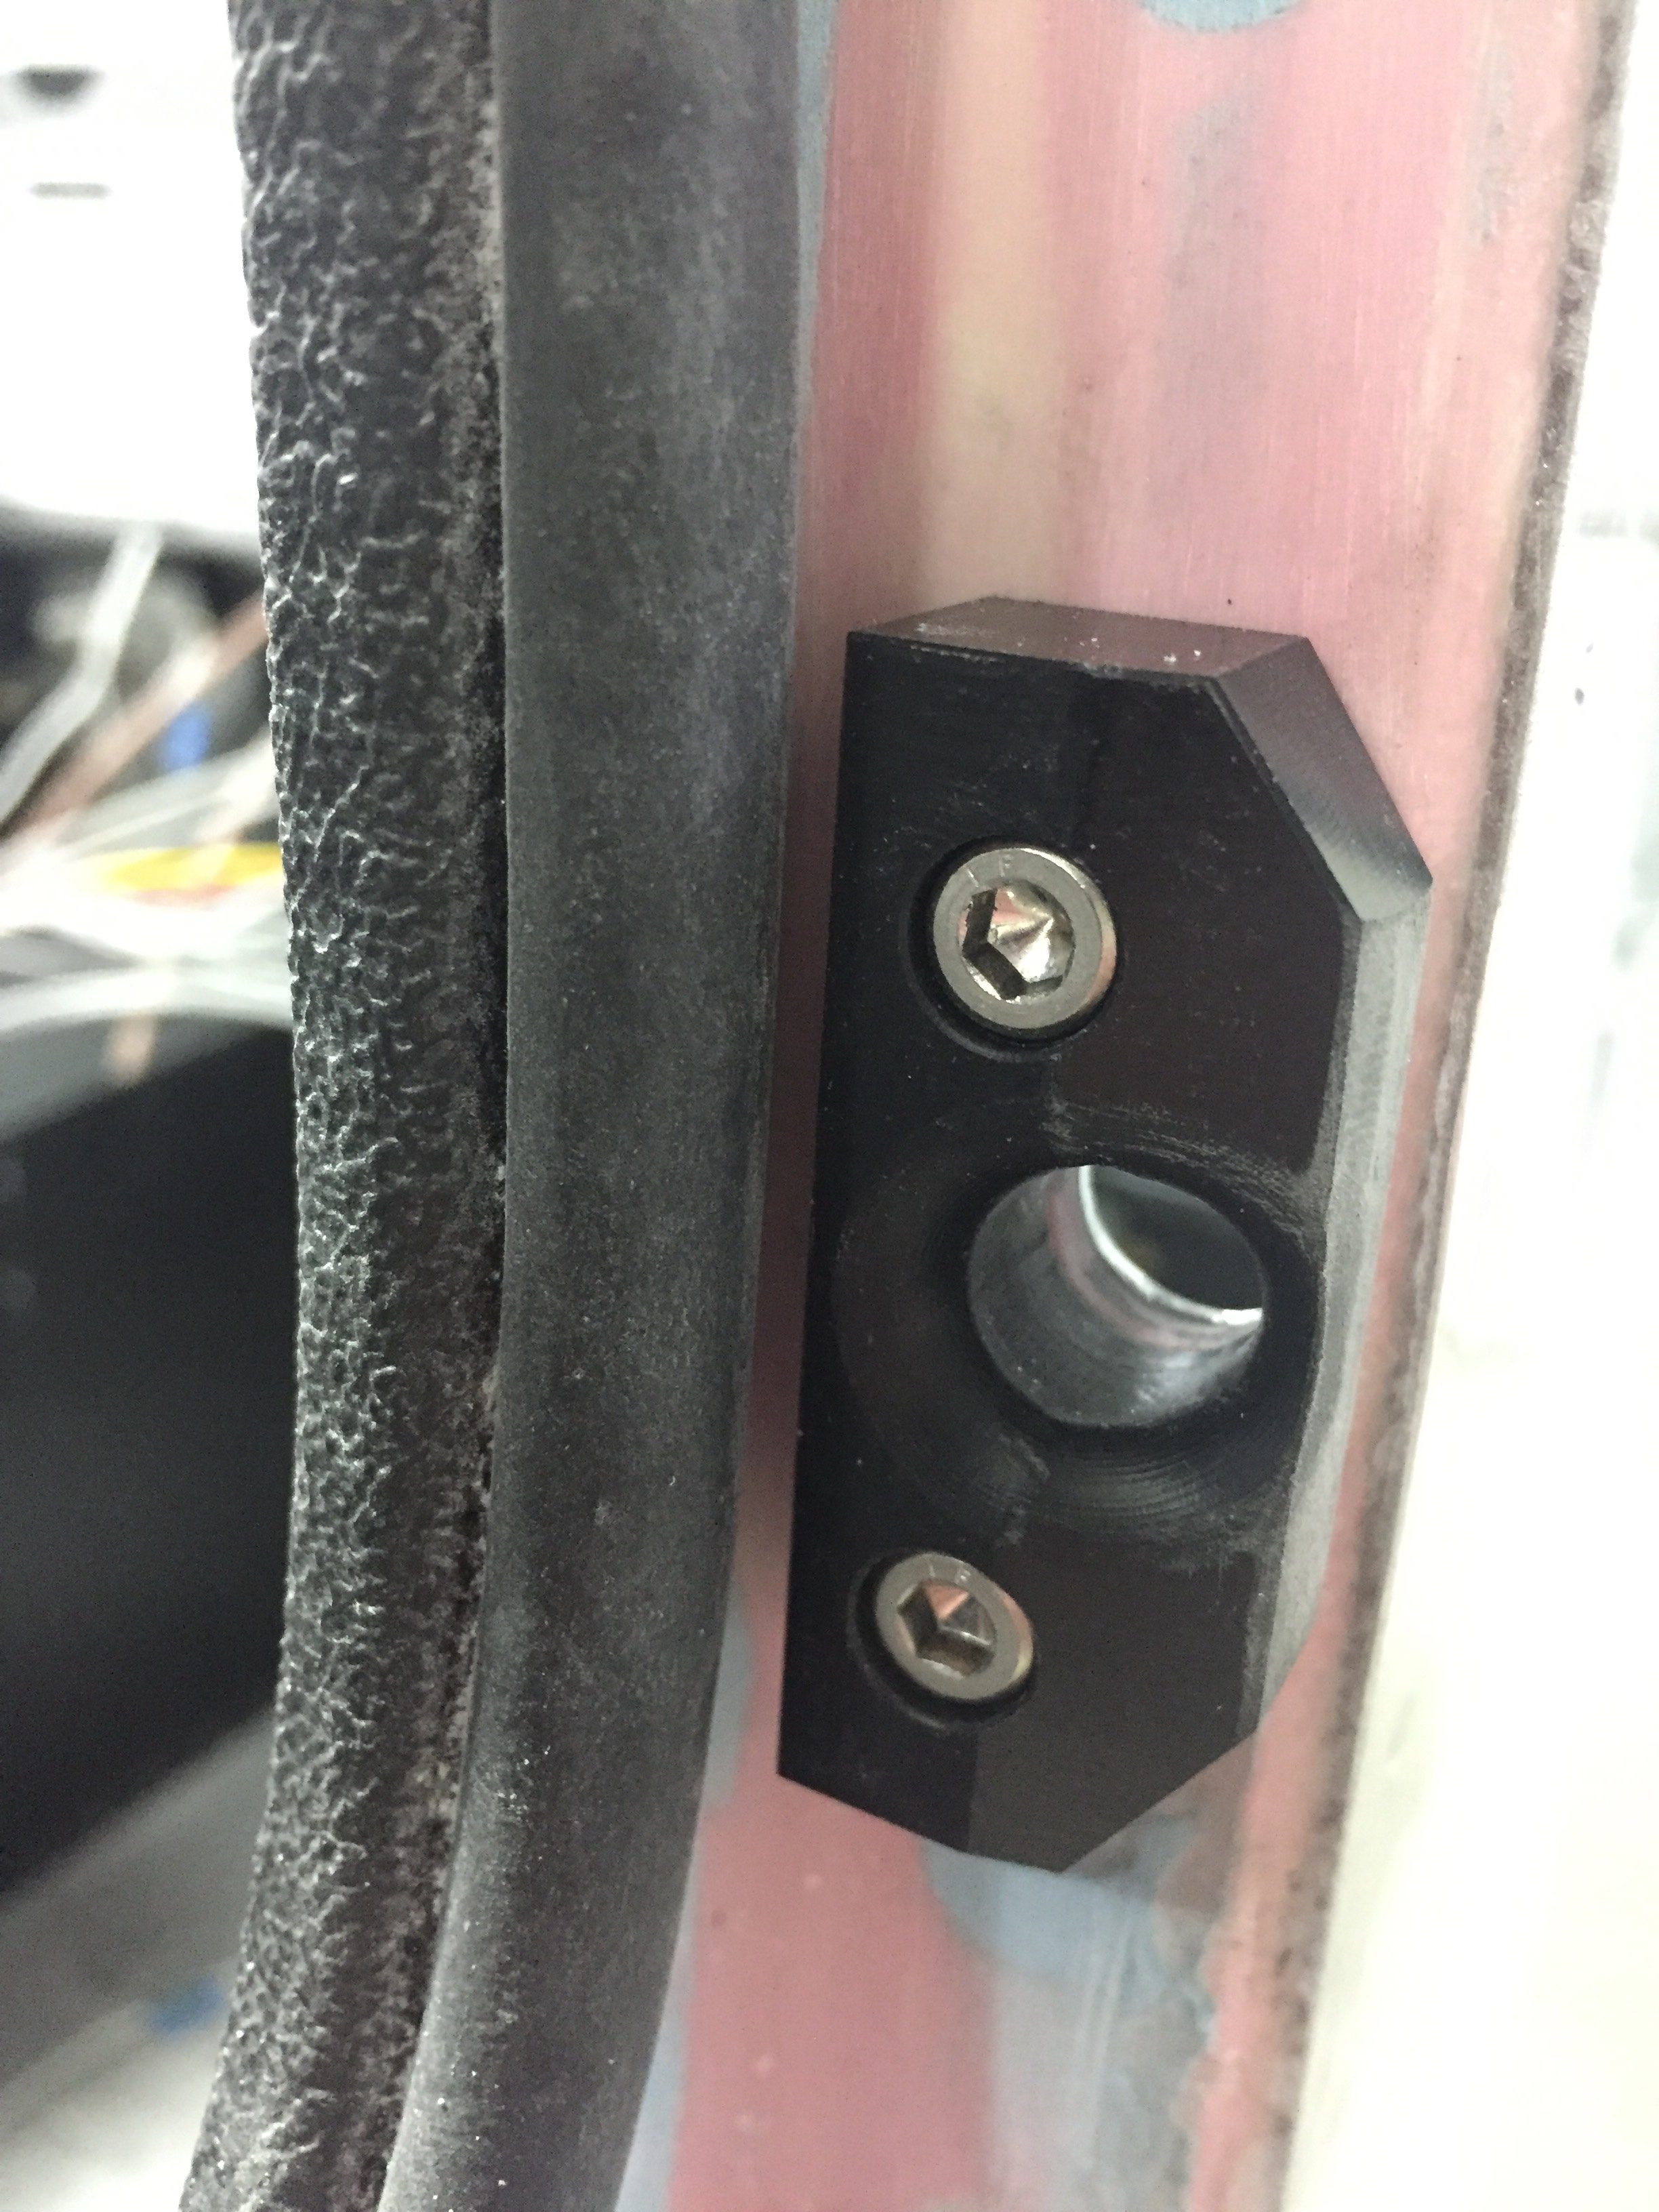
It took some time to fit, because I had to cut the rods and machine the pins to orient them just right but the effort was worth it. My doors now close perfectly with the seals and have a firm but easy motion in the handle. I fine tuned the blocks’ alignment with shims which allows the pins to insert perpendicular to the block, reducing the friction along the way. This has been a huge burden lifted, because while the doors were functional and airworthy, they weren’t easy or pretty. Now they’ll be both.
