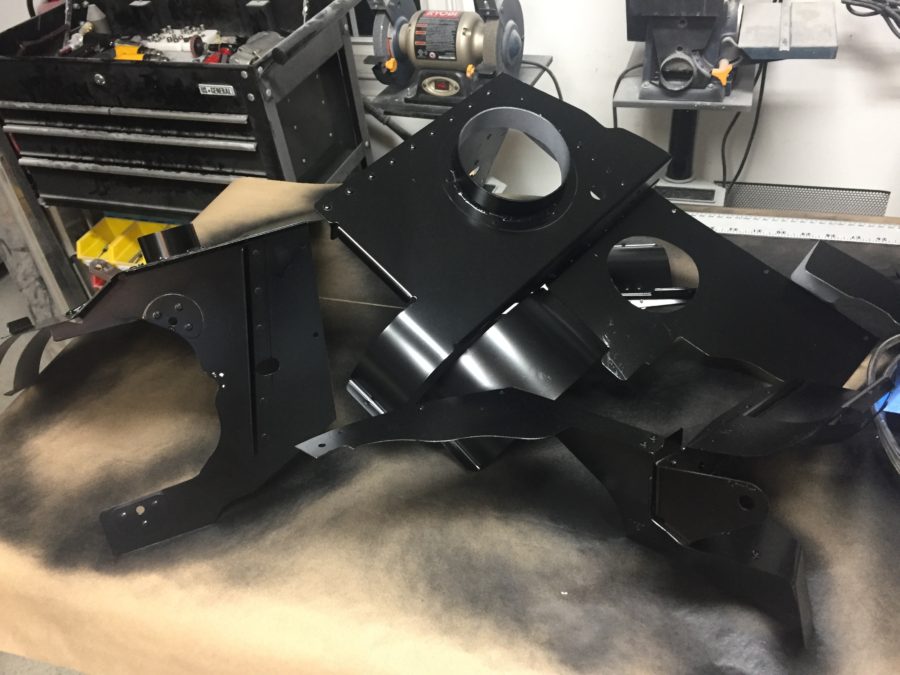
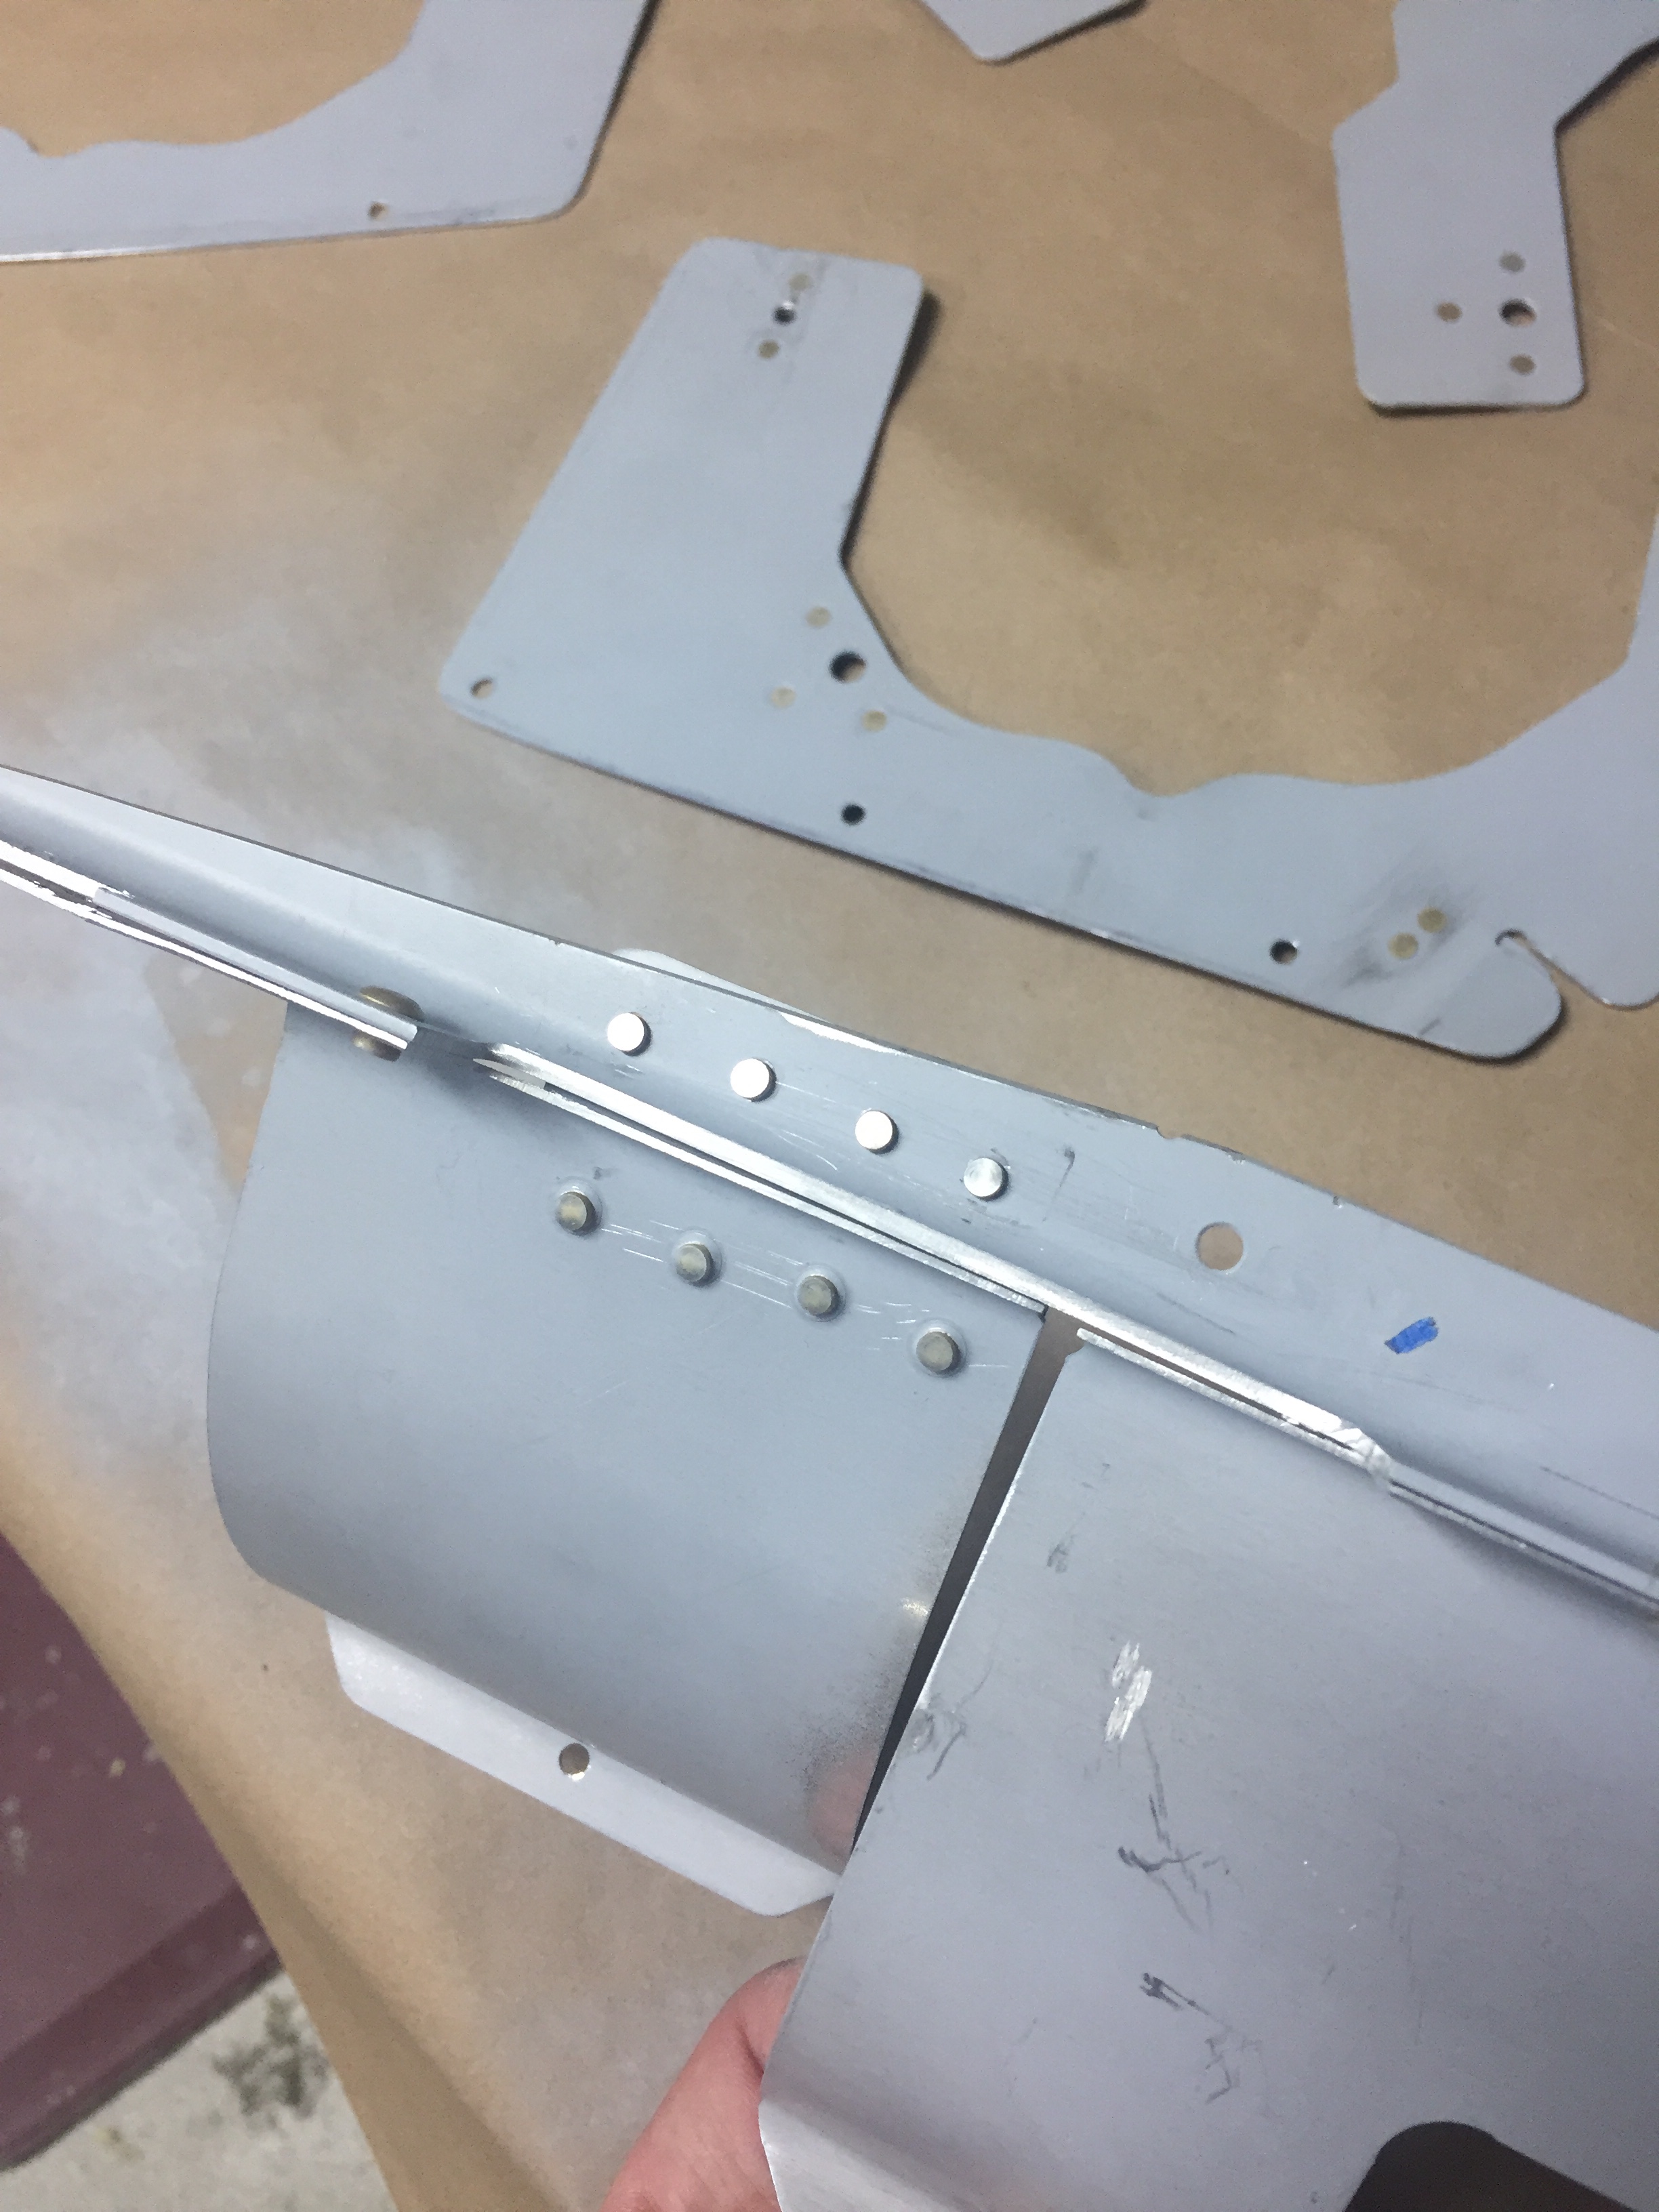
The baffles are all trimmed up and ready for a coat of high temp engine paint. Looking back, I wish I had them powdercoated, but too late now. They’ll get scratched up and at least this way I can touch them up, similiar to my mentality for the interior. The front ramp area was trimmed significantly for the air conditioning compressor and turned out pretty nice. I removed the front fence on both sides, as others say there is no point in them. I can always add a bit of tape later to warm CHTs up if needed.
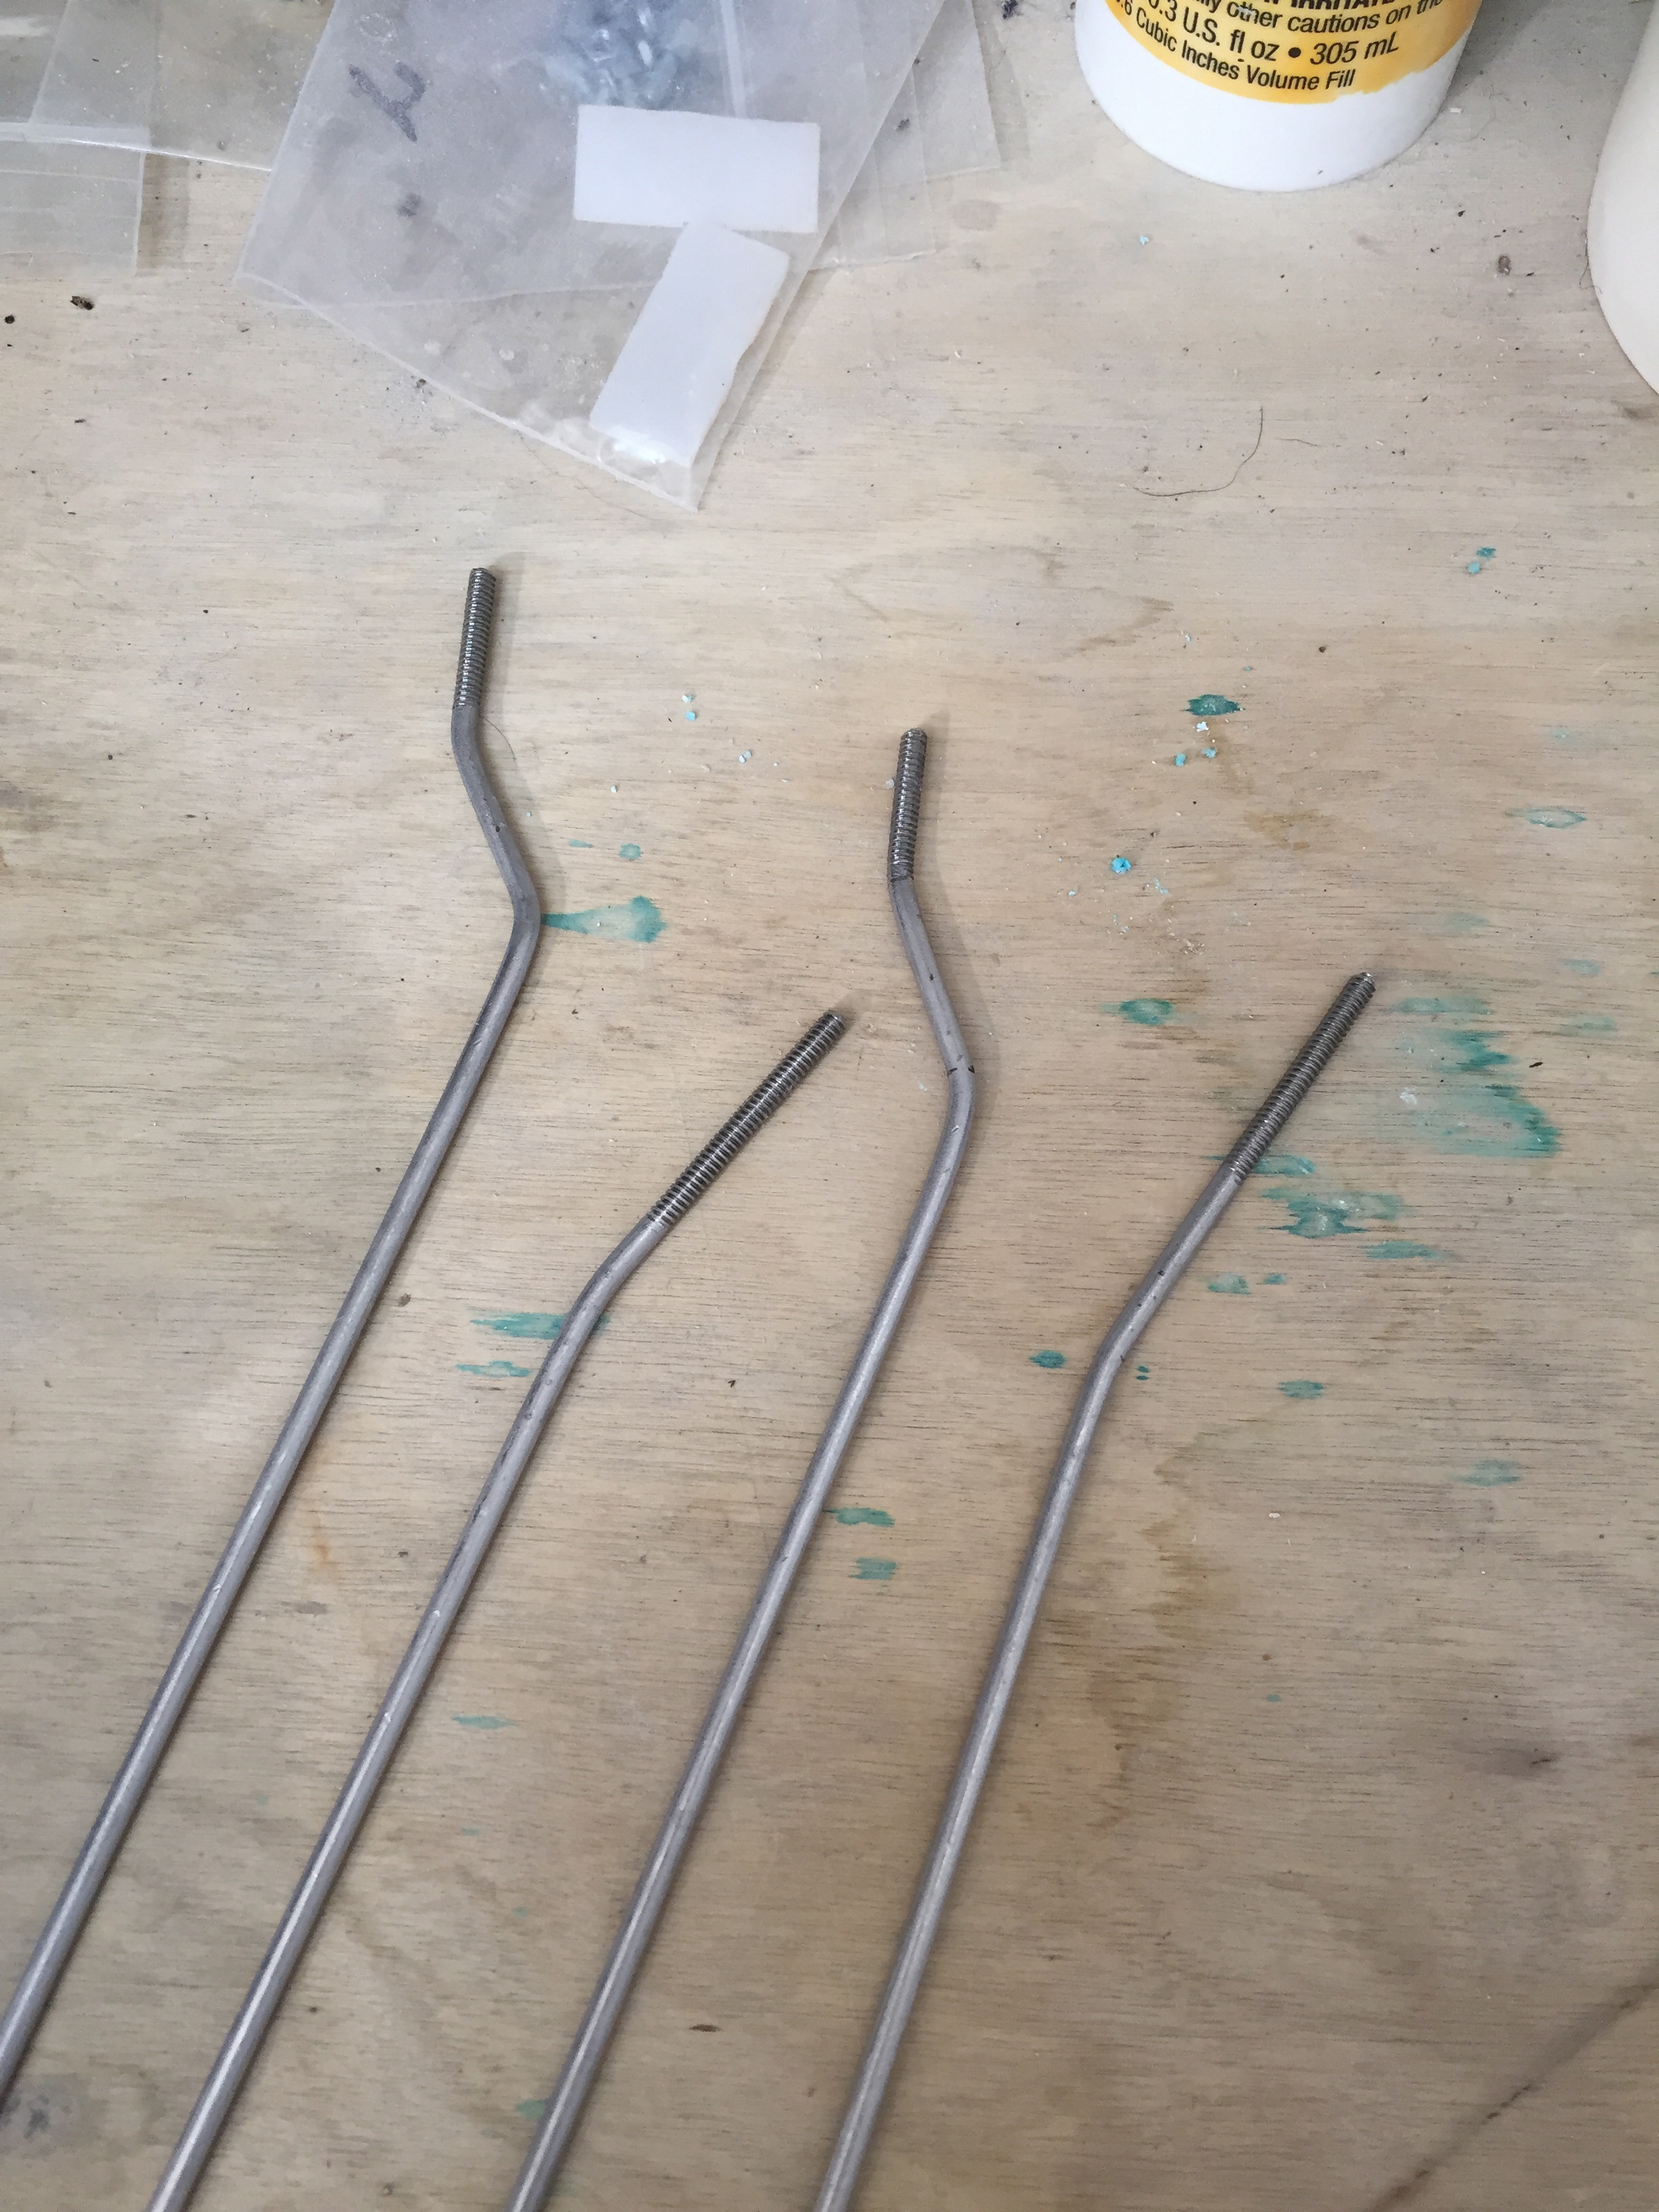
The rods that hold the bottom of the baffles together were a bit of work, as you have to put some bends in the rods and then thread them. I’m using these as mounts for the sensor wires as well as a few other wires including the starter wire and alternator b lead wire. It really cleans up the wiring nicely and keeps everything tucked away.
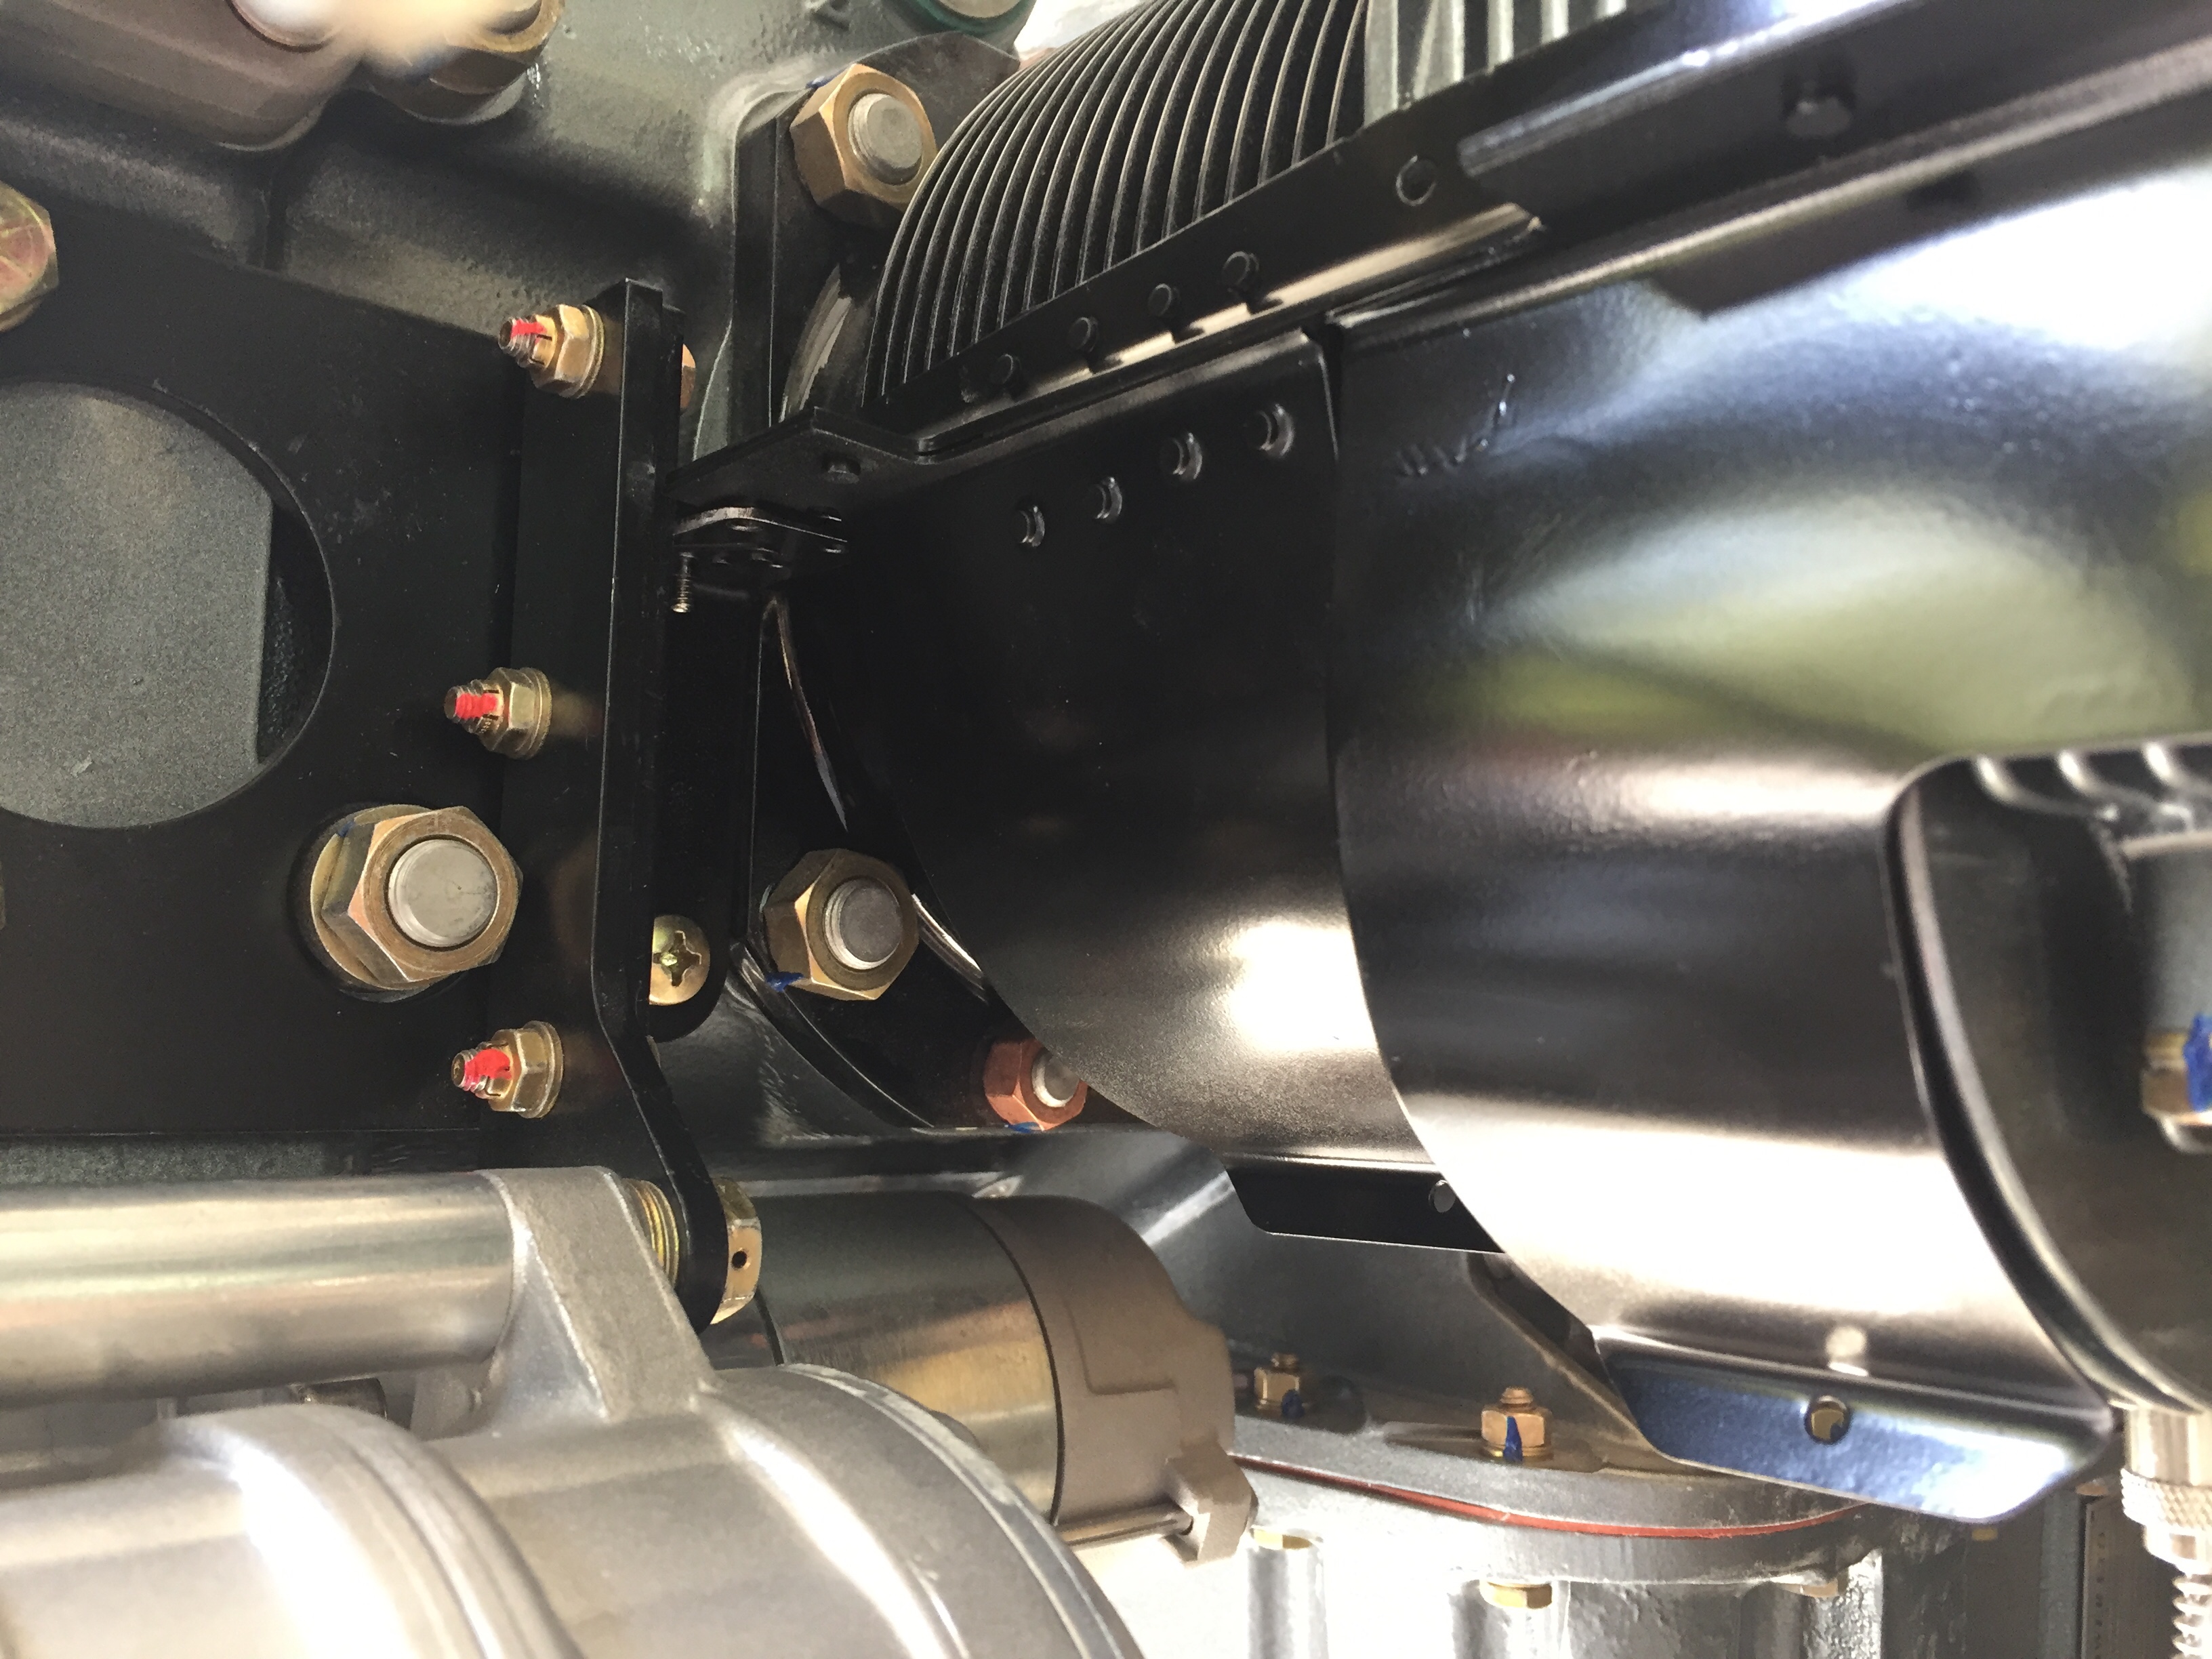
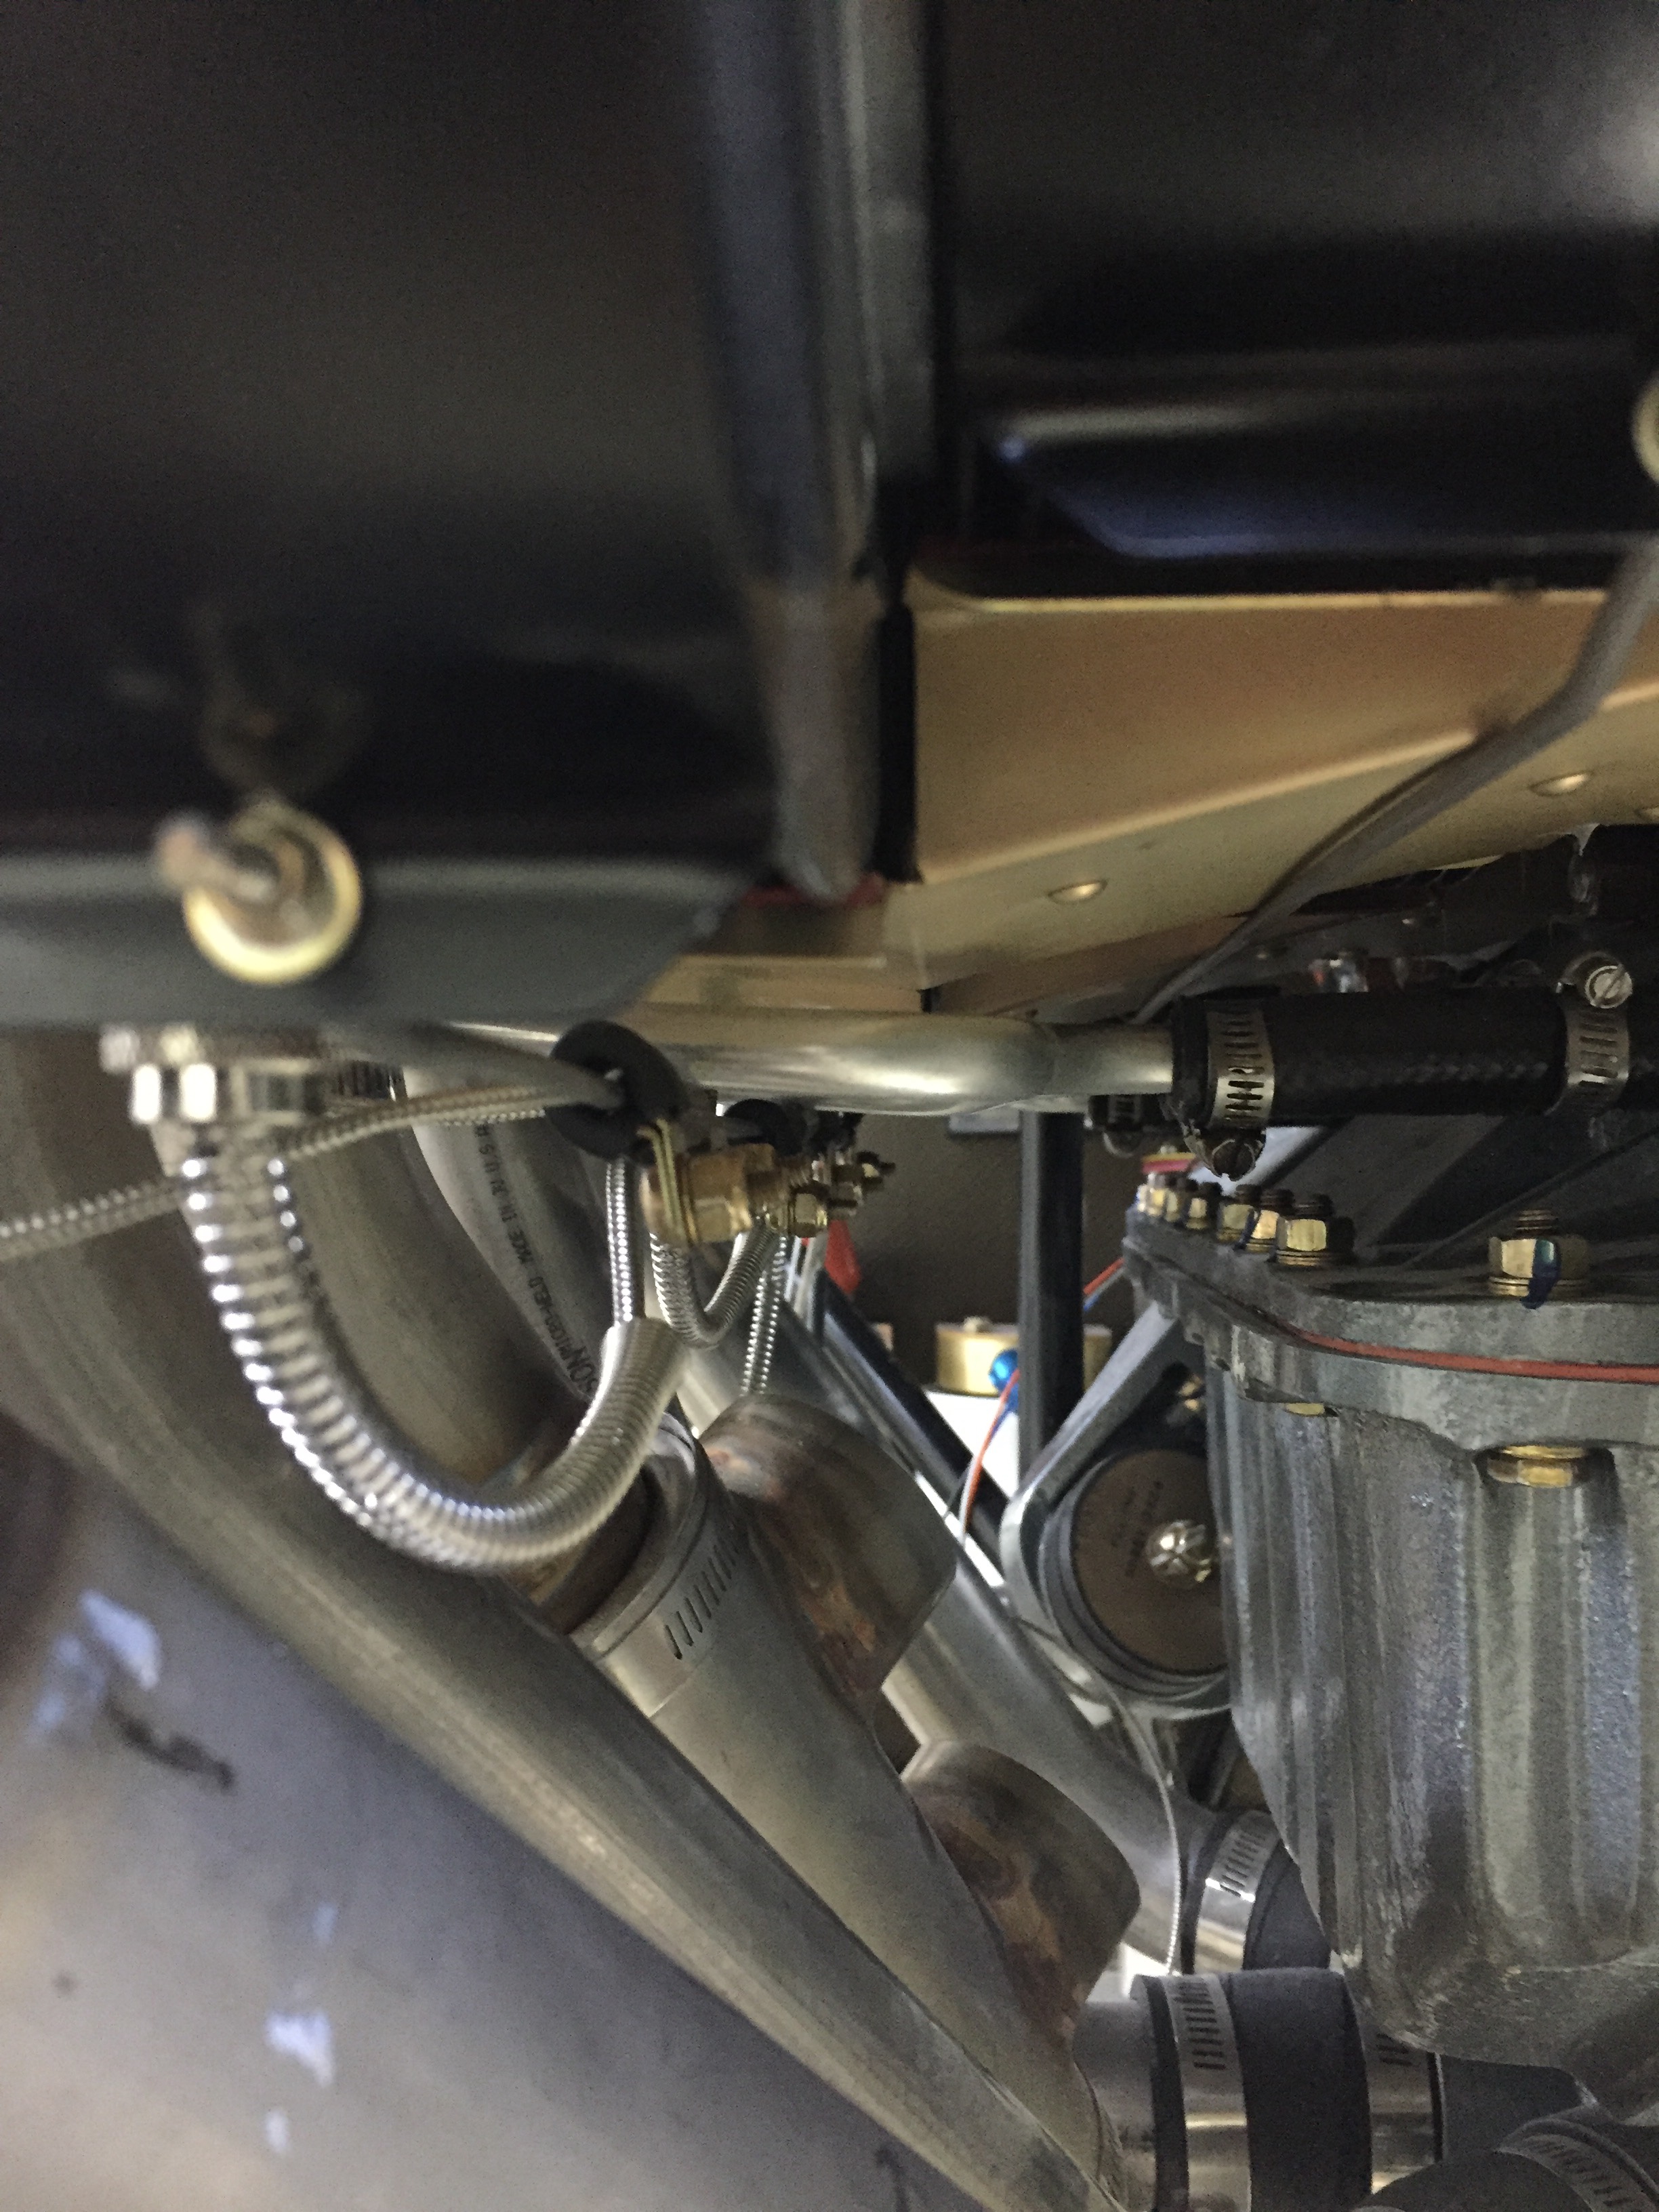
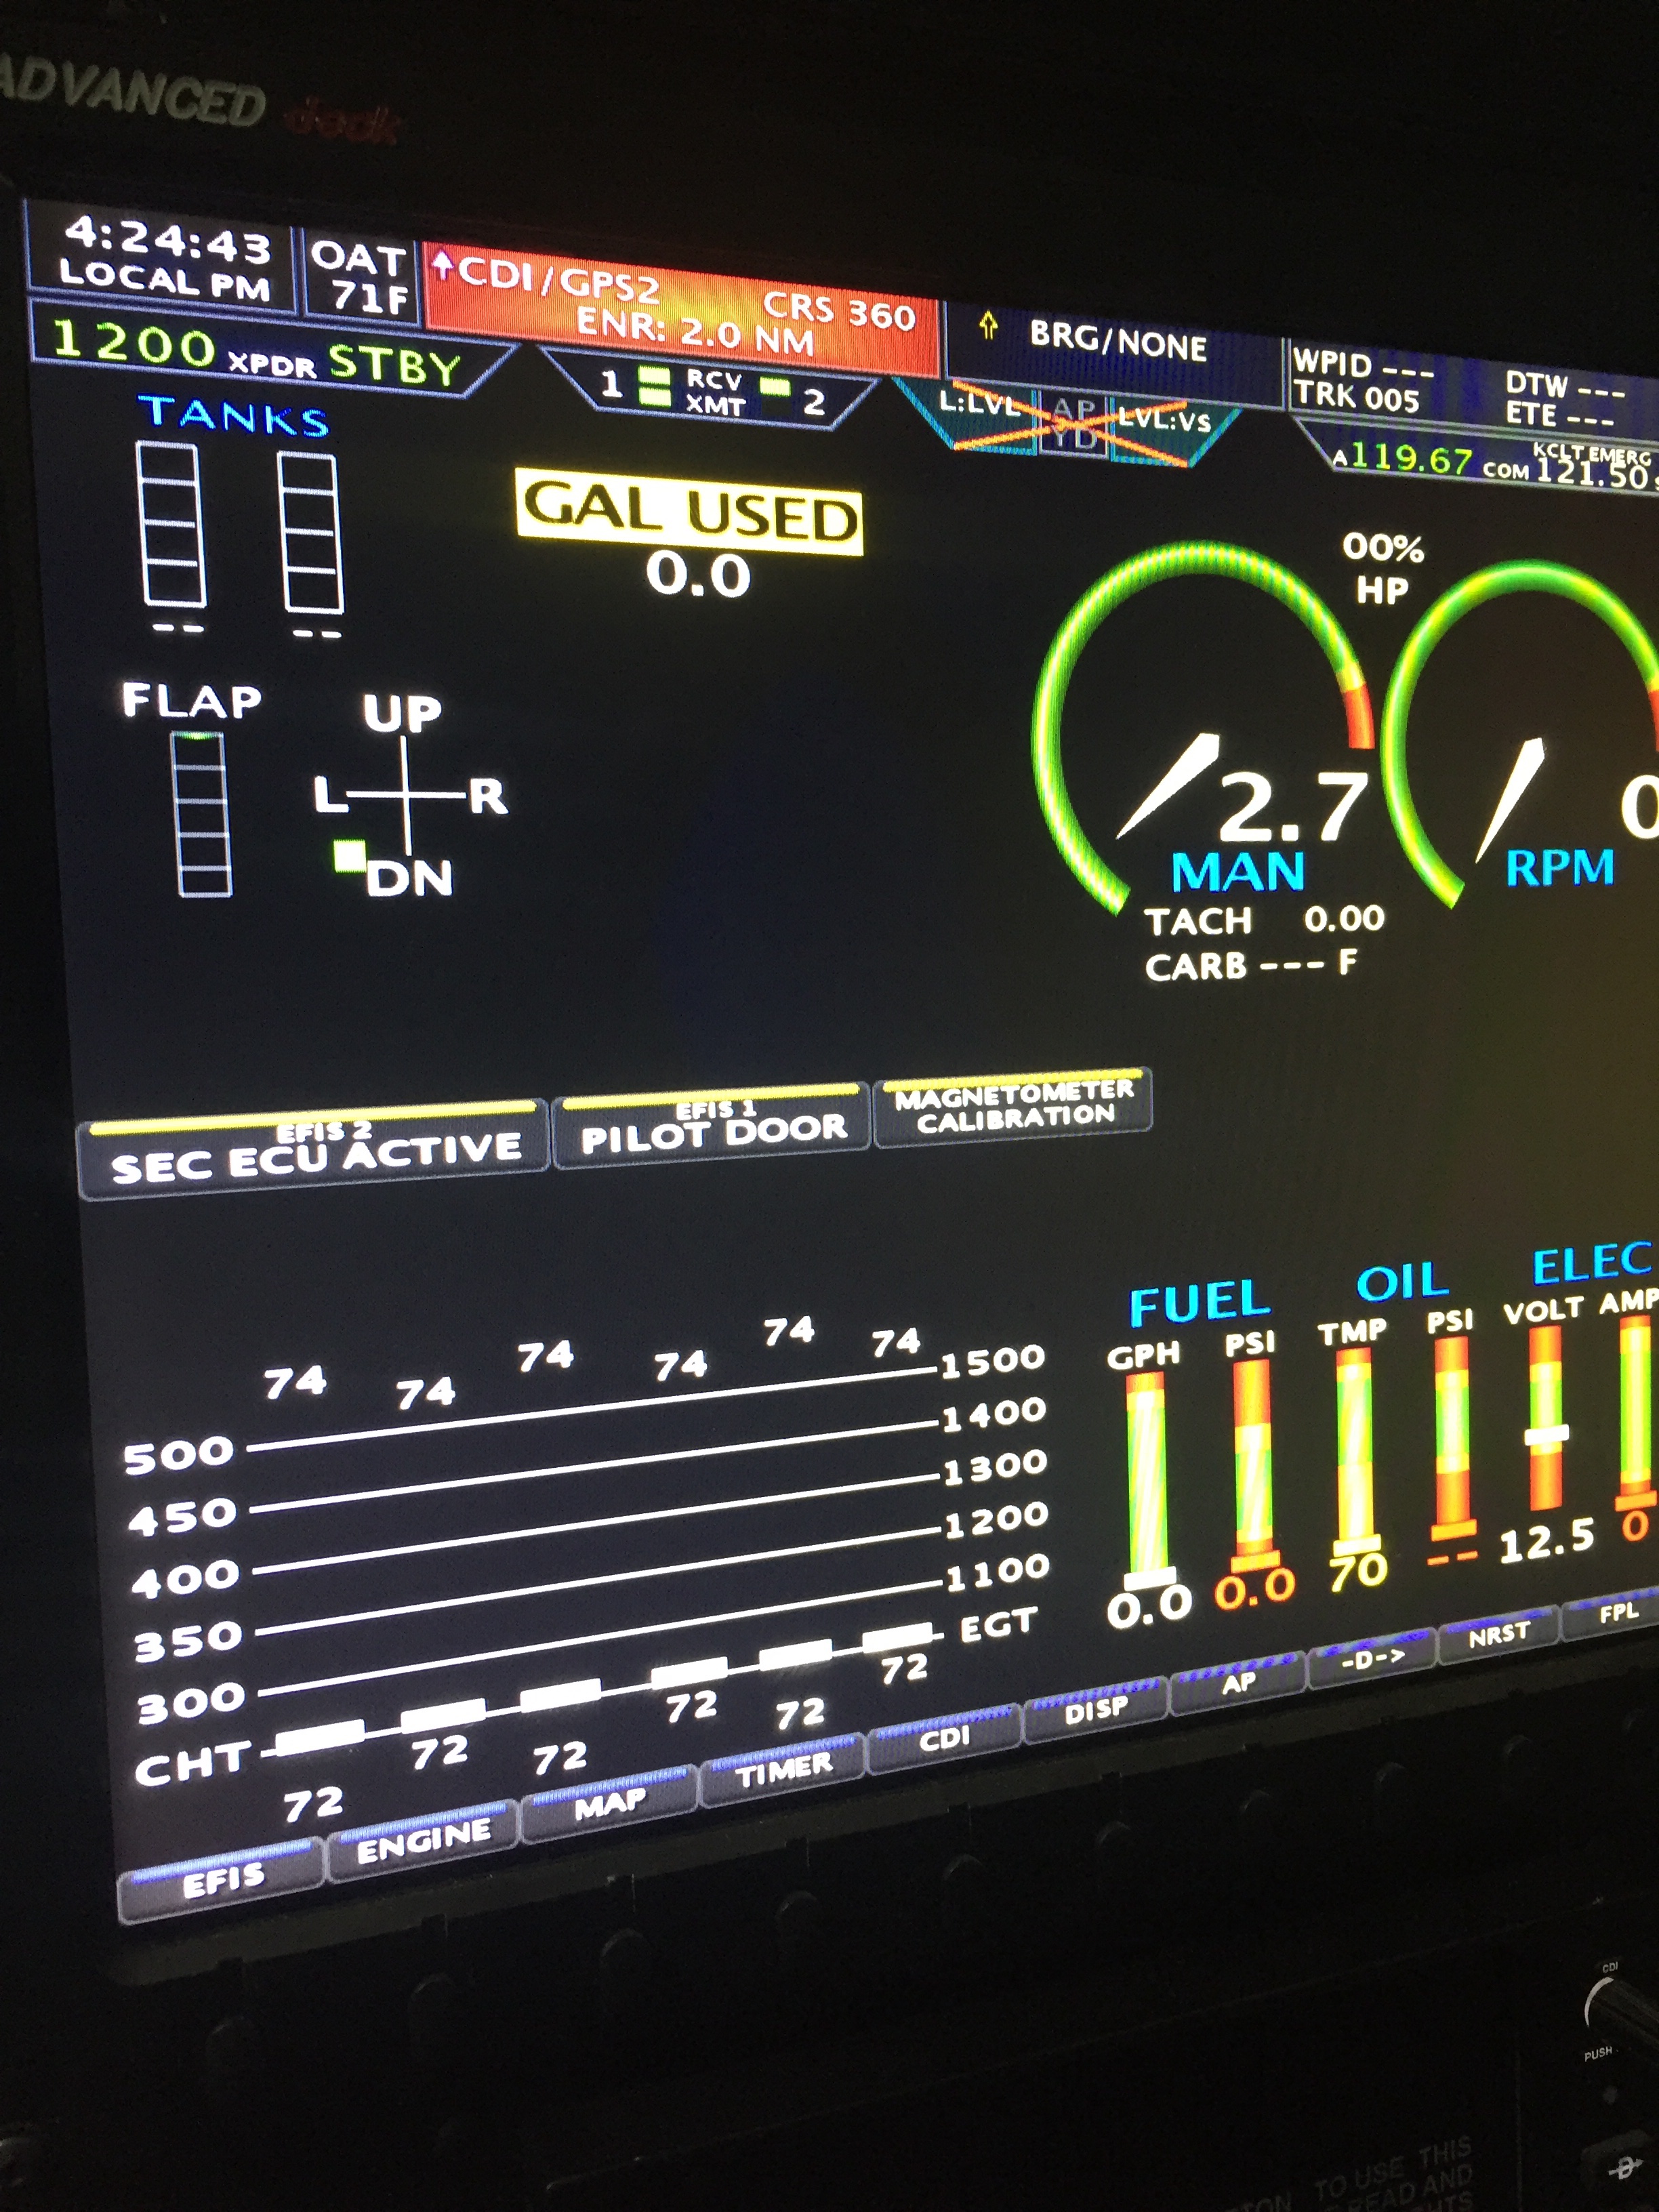
With each connection at the engine, I get to verify functionality by turning on the avionics and looking for realistic numbers. For instance, I now have 14 different temp sensors all telling me the garage is in the low 70’s!
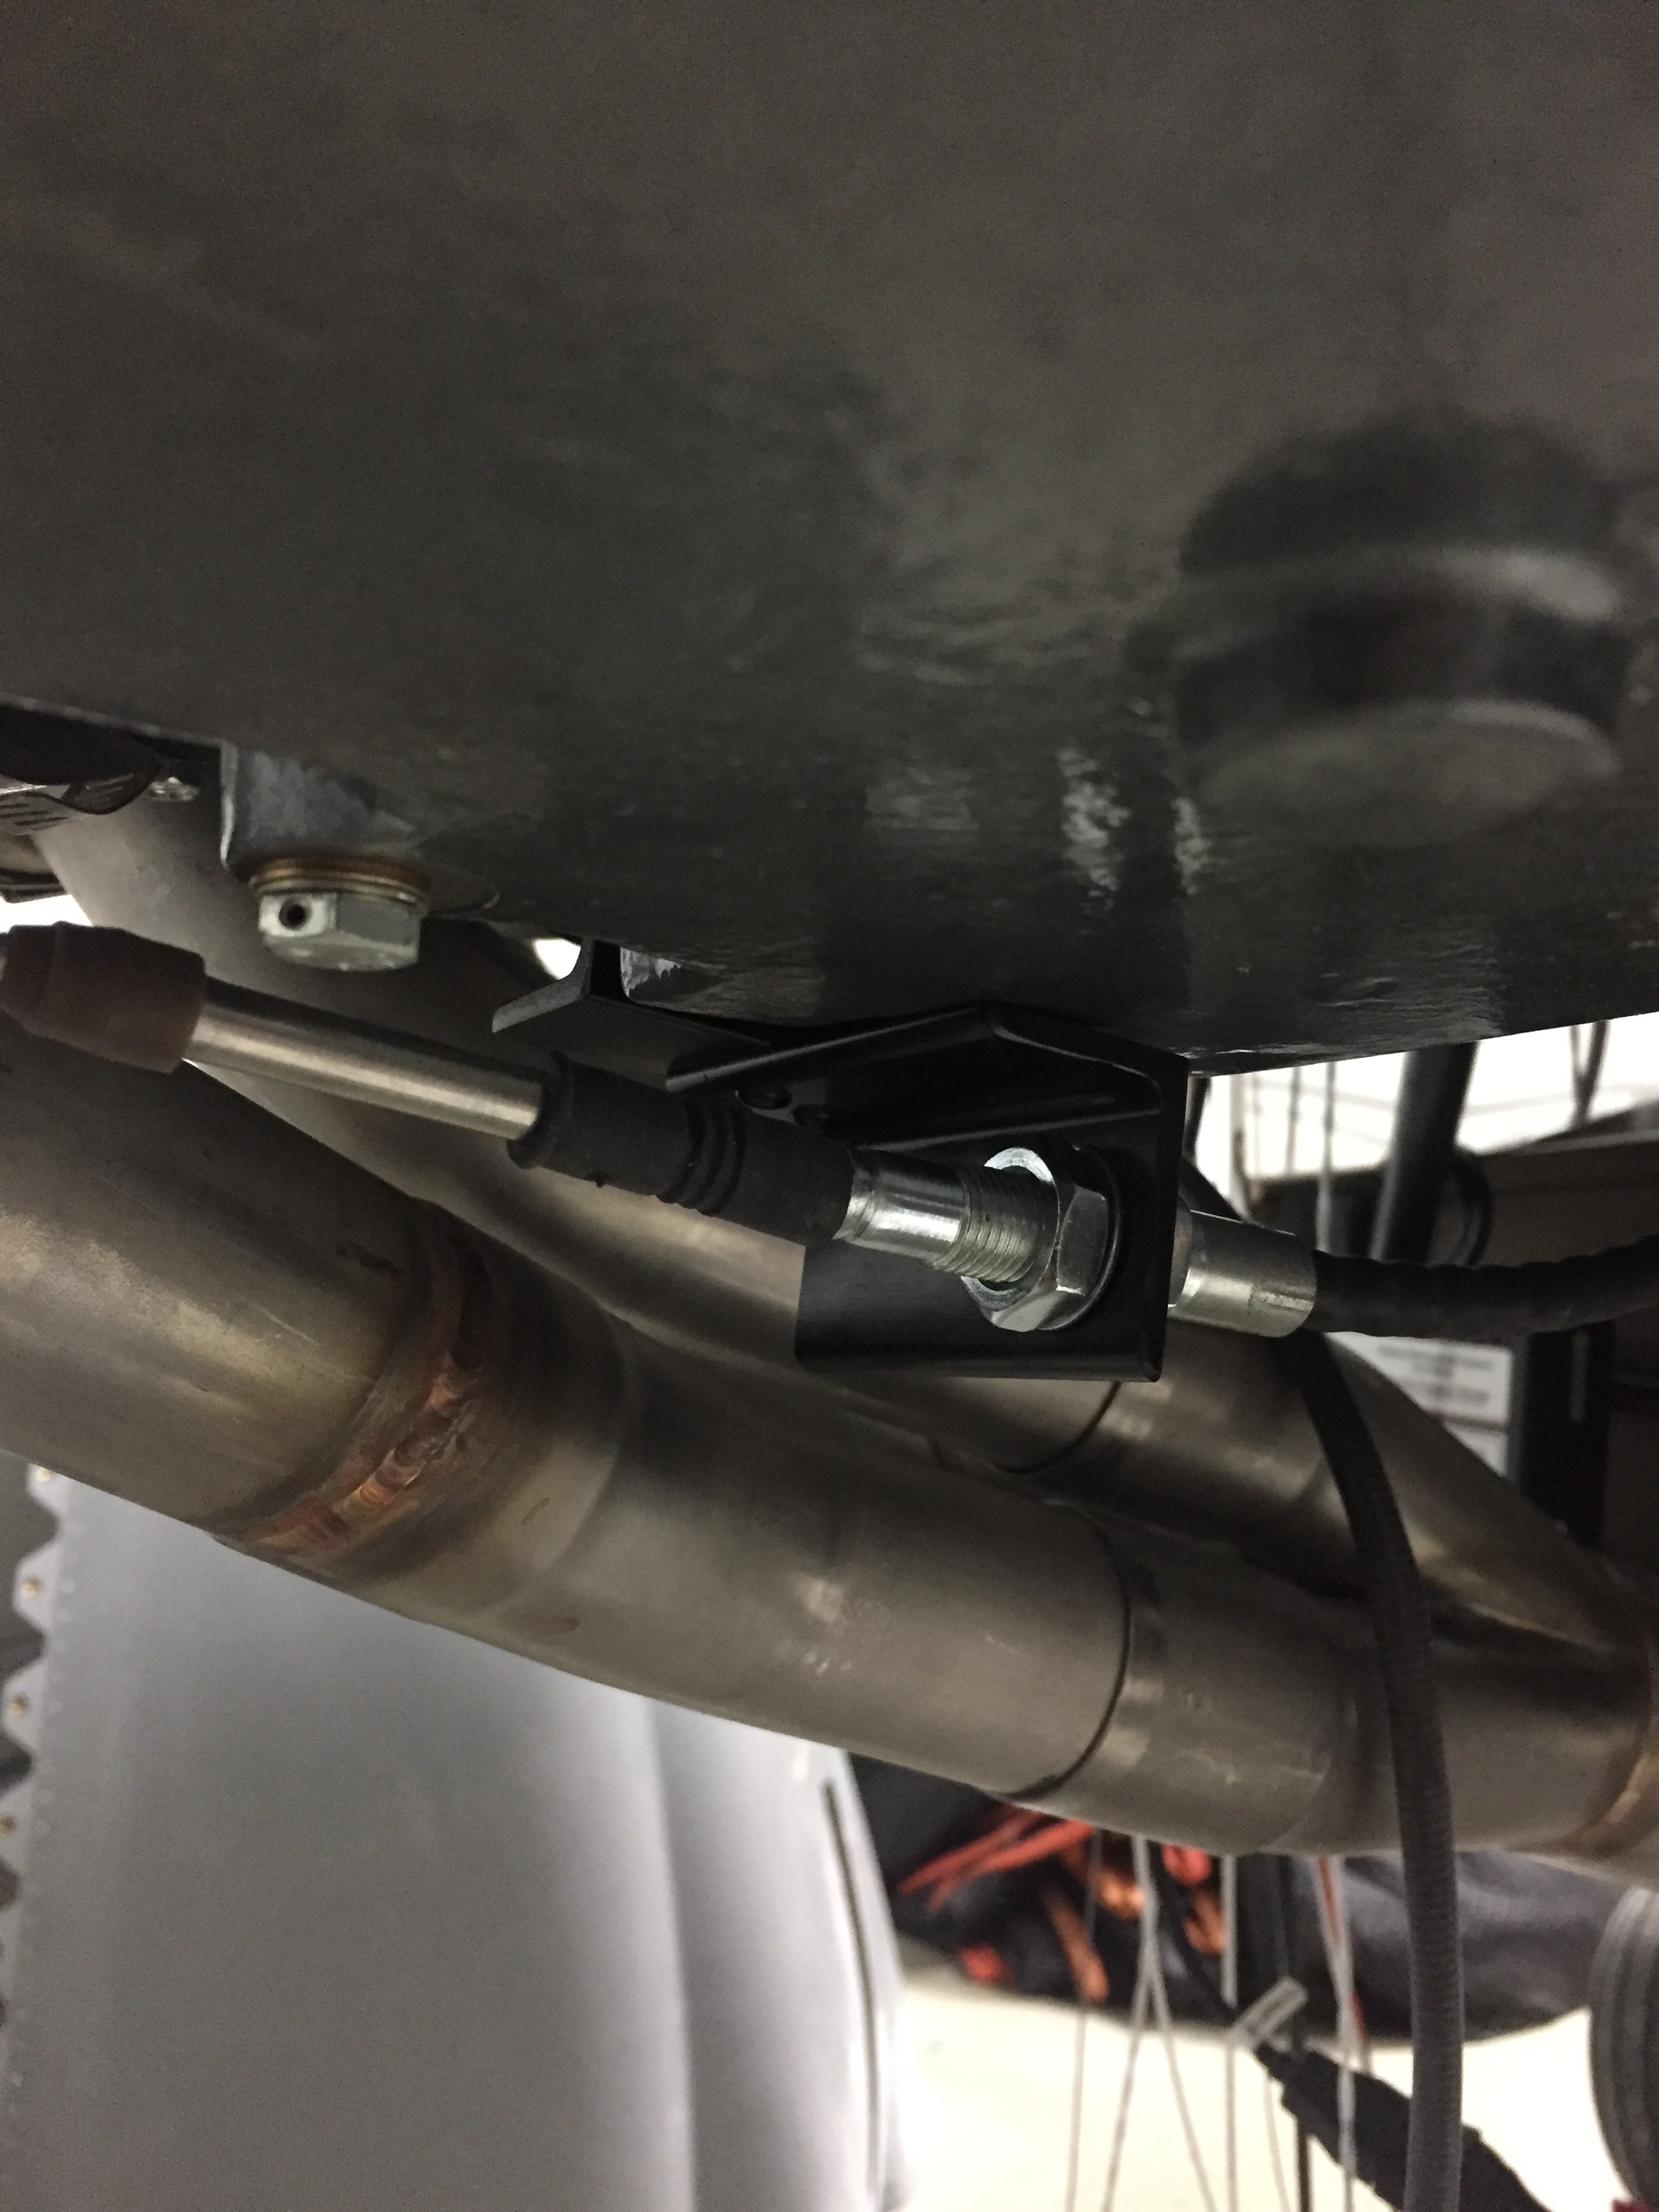
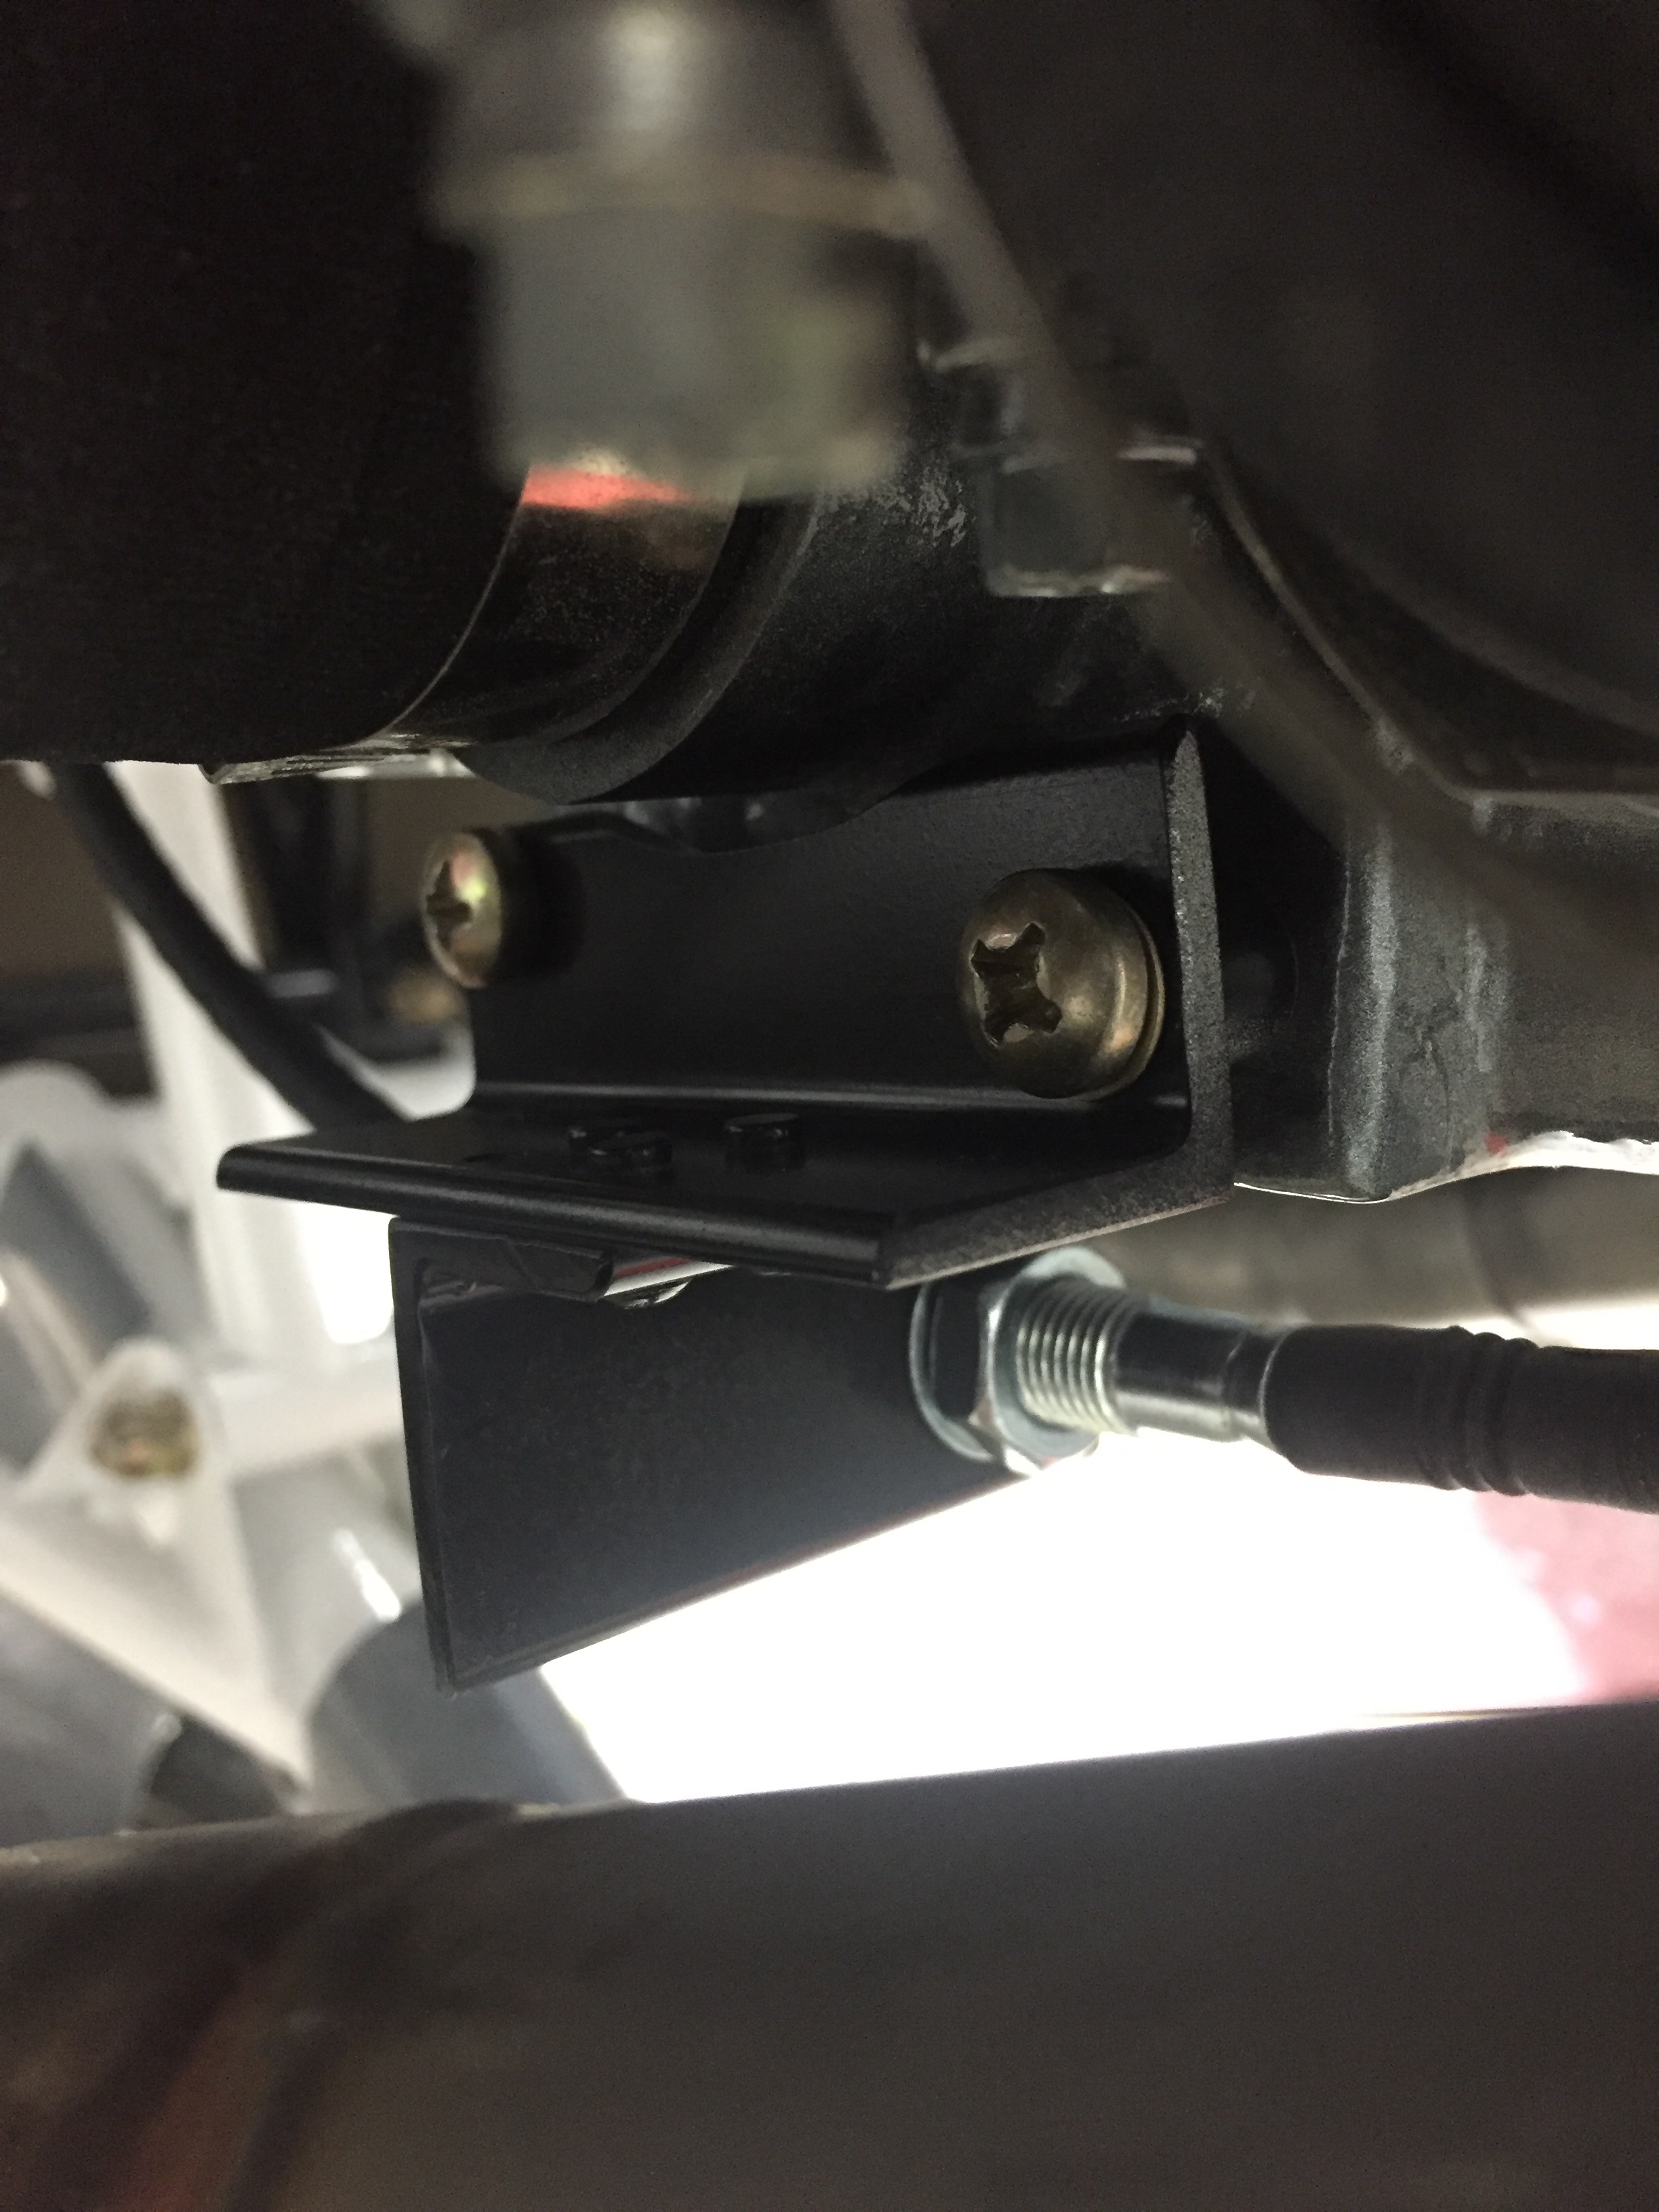
I fabricated up a bracket to mount the throttle cable to for the throttle body. It routes under the bottom of the engine and since it’s not exactly a stock setup, there is not stock cable mount. It was a pretty simple fix with some angle channel and a few bolts. I am thankful I ordered a lot of various 1/4-20 bolts for the engine case since they are not standard AN bolt threads. The throttle cable is now attached and rigged with good travel on the throttle body and throttle lever, so I’m 50% complete with engine control cables.
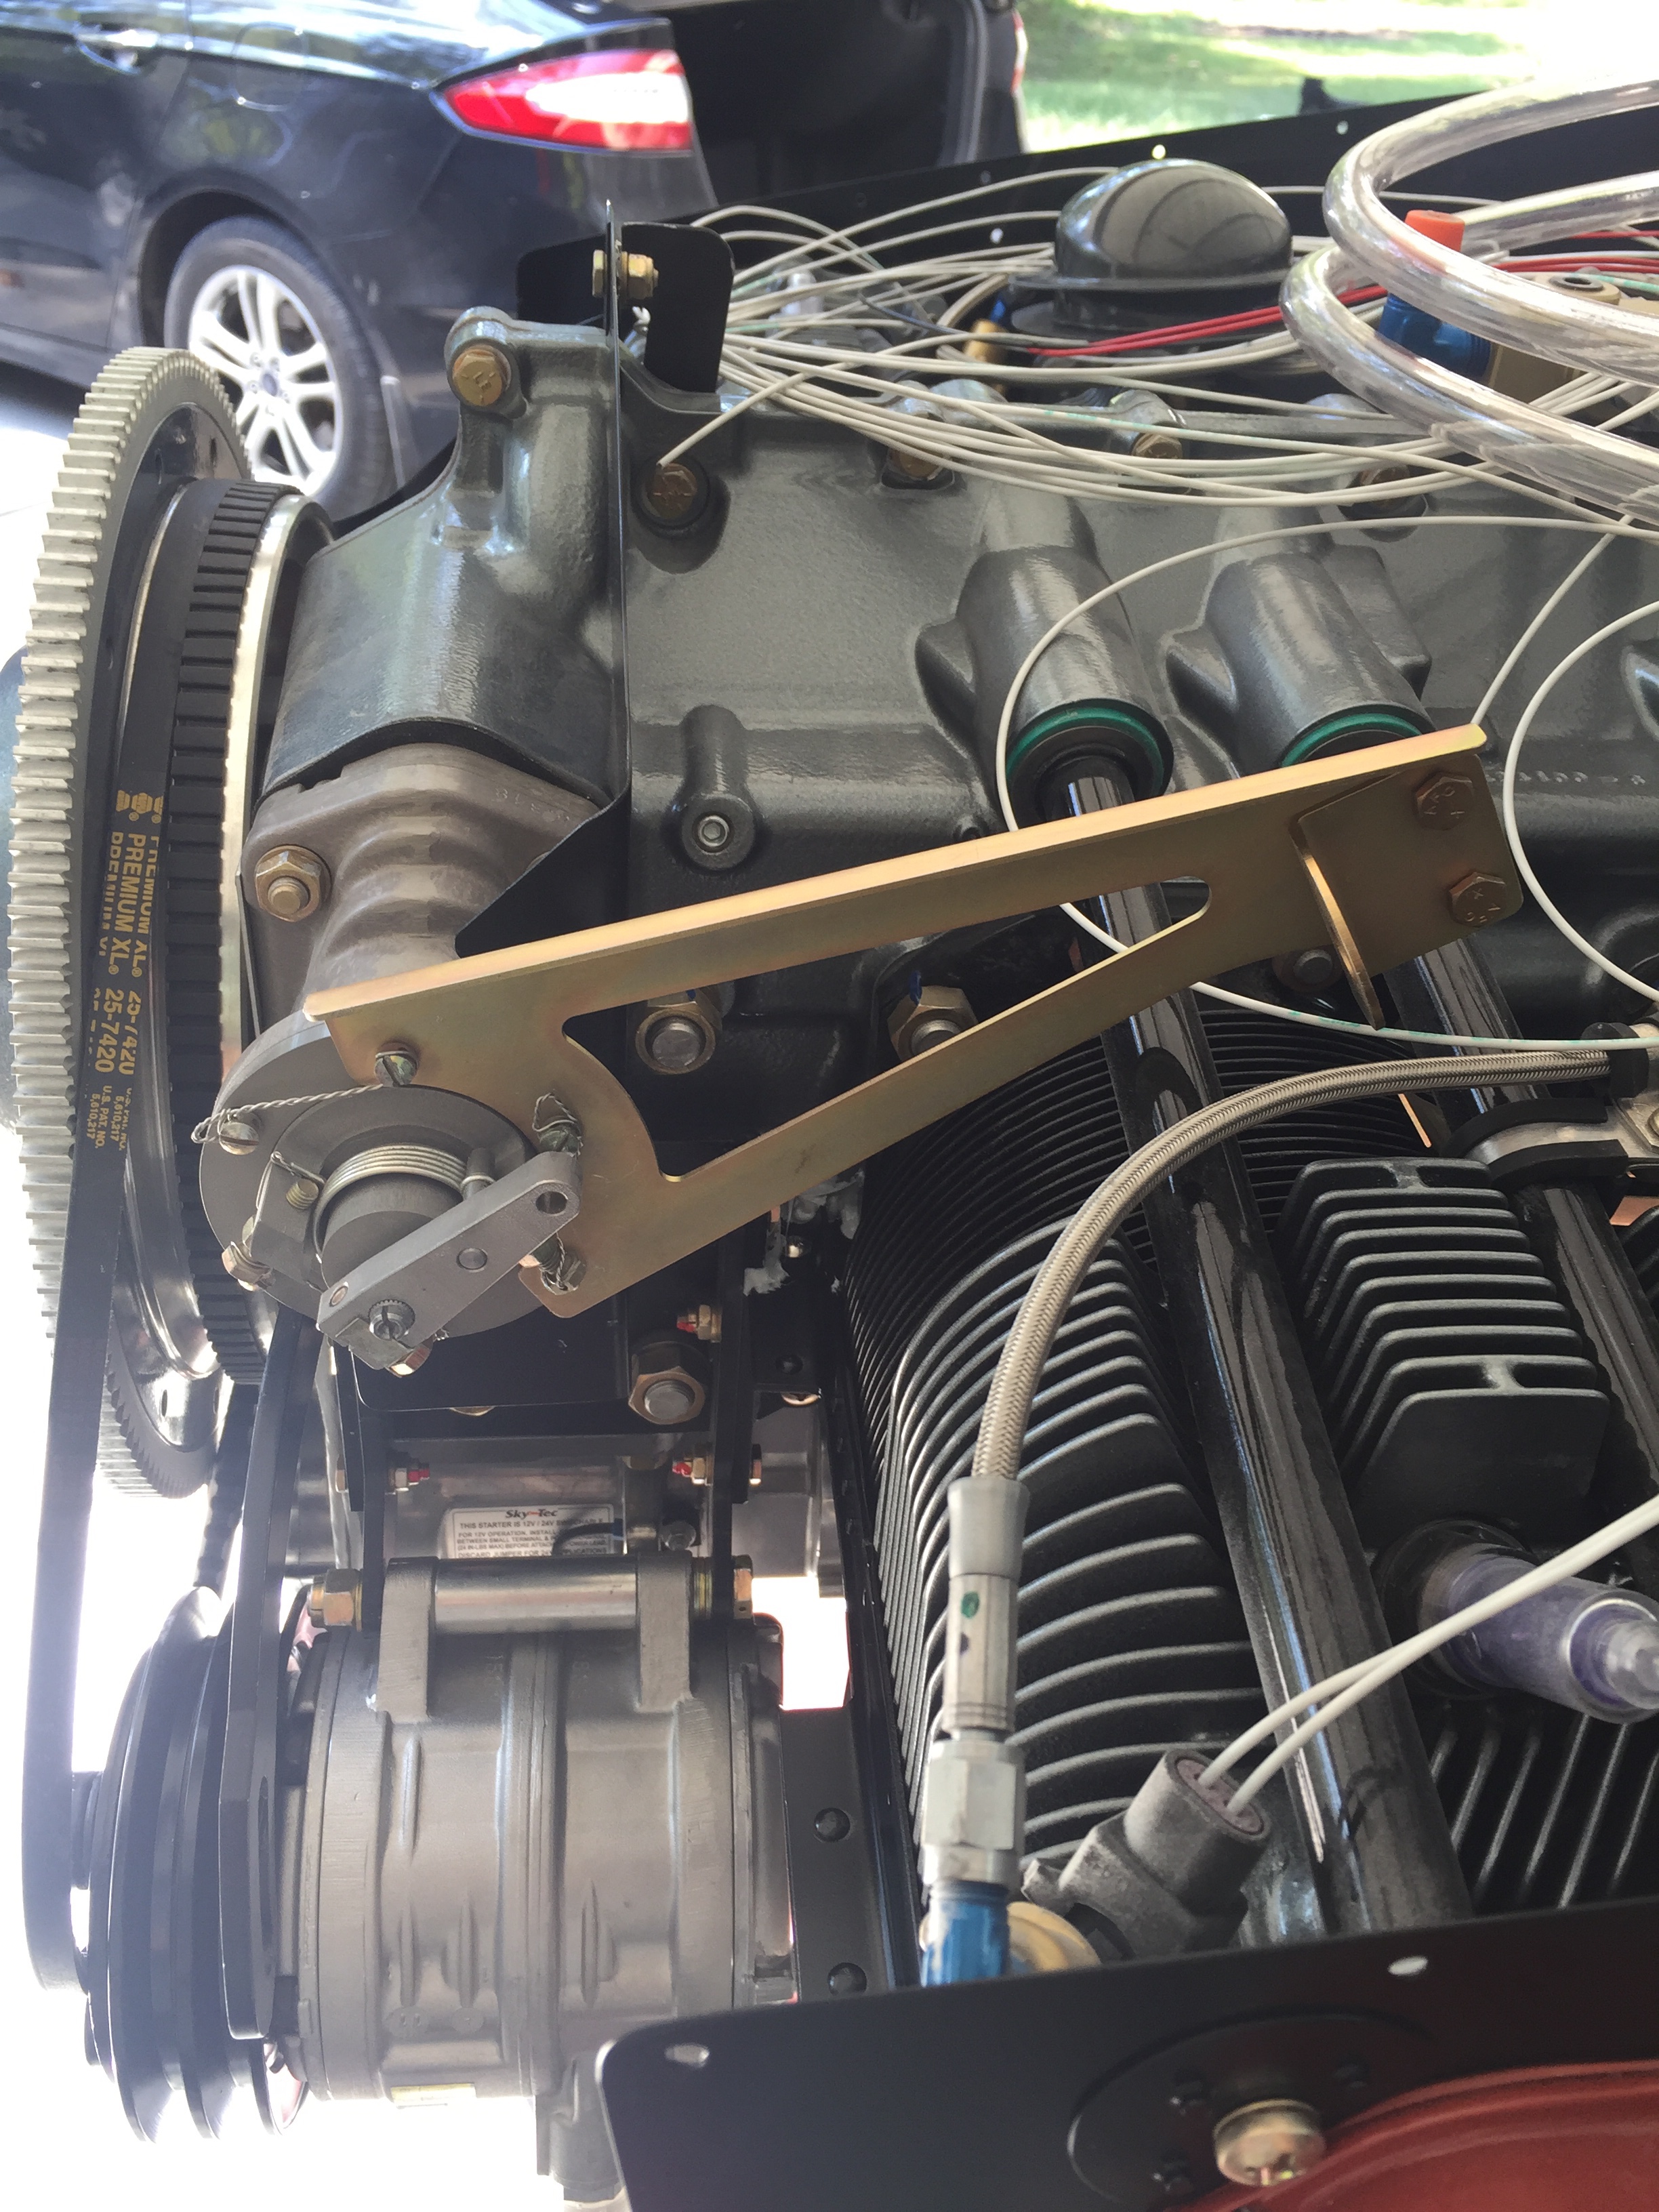
The prop lever didn’t work out so quickly or successfully. After I mounted the Show Planes bracket and hooked up the cable, I began to wonder why the governor is sprung to low rpm/high pitch. Yeah, oops, no, that’s not right. The governor can be configured a few different ways including rotational actuation and mine is backwards. I called Whirl Wind and as always, they took great care of me. I sent the governor into them and they shipped it back corrected the same day they received it. Now it is sprung to high rpm/low pitch as it should be with proper activation with the cable.
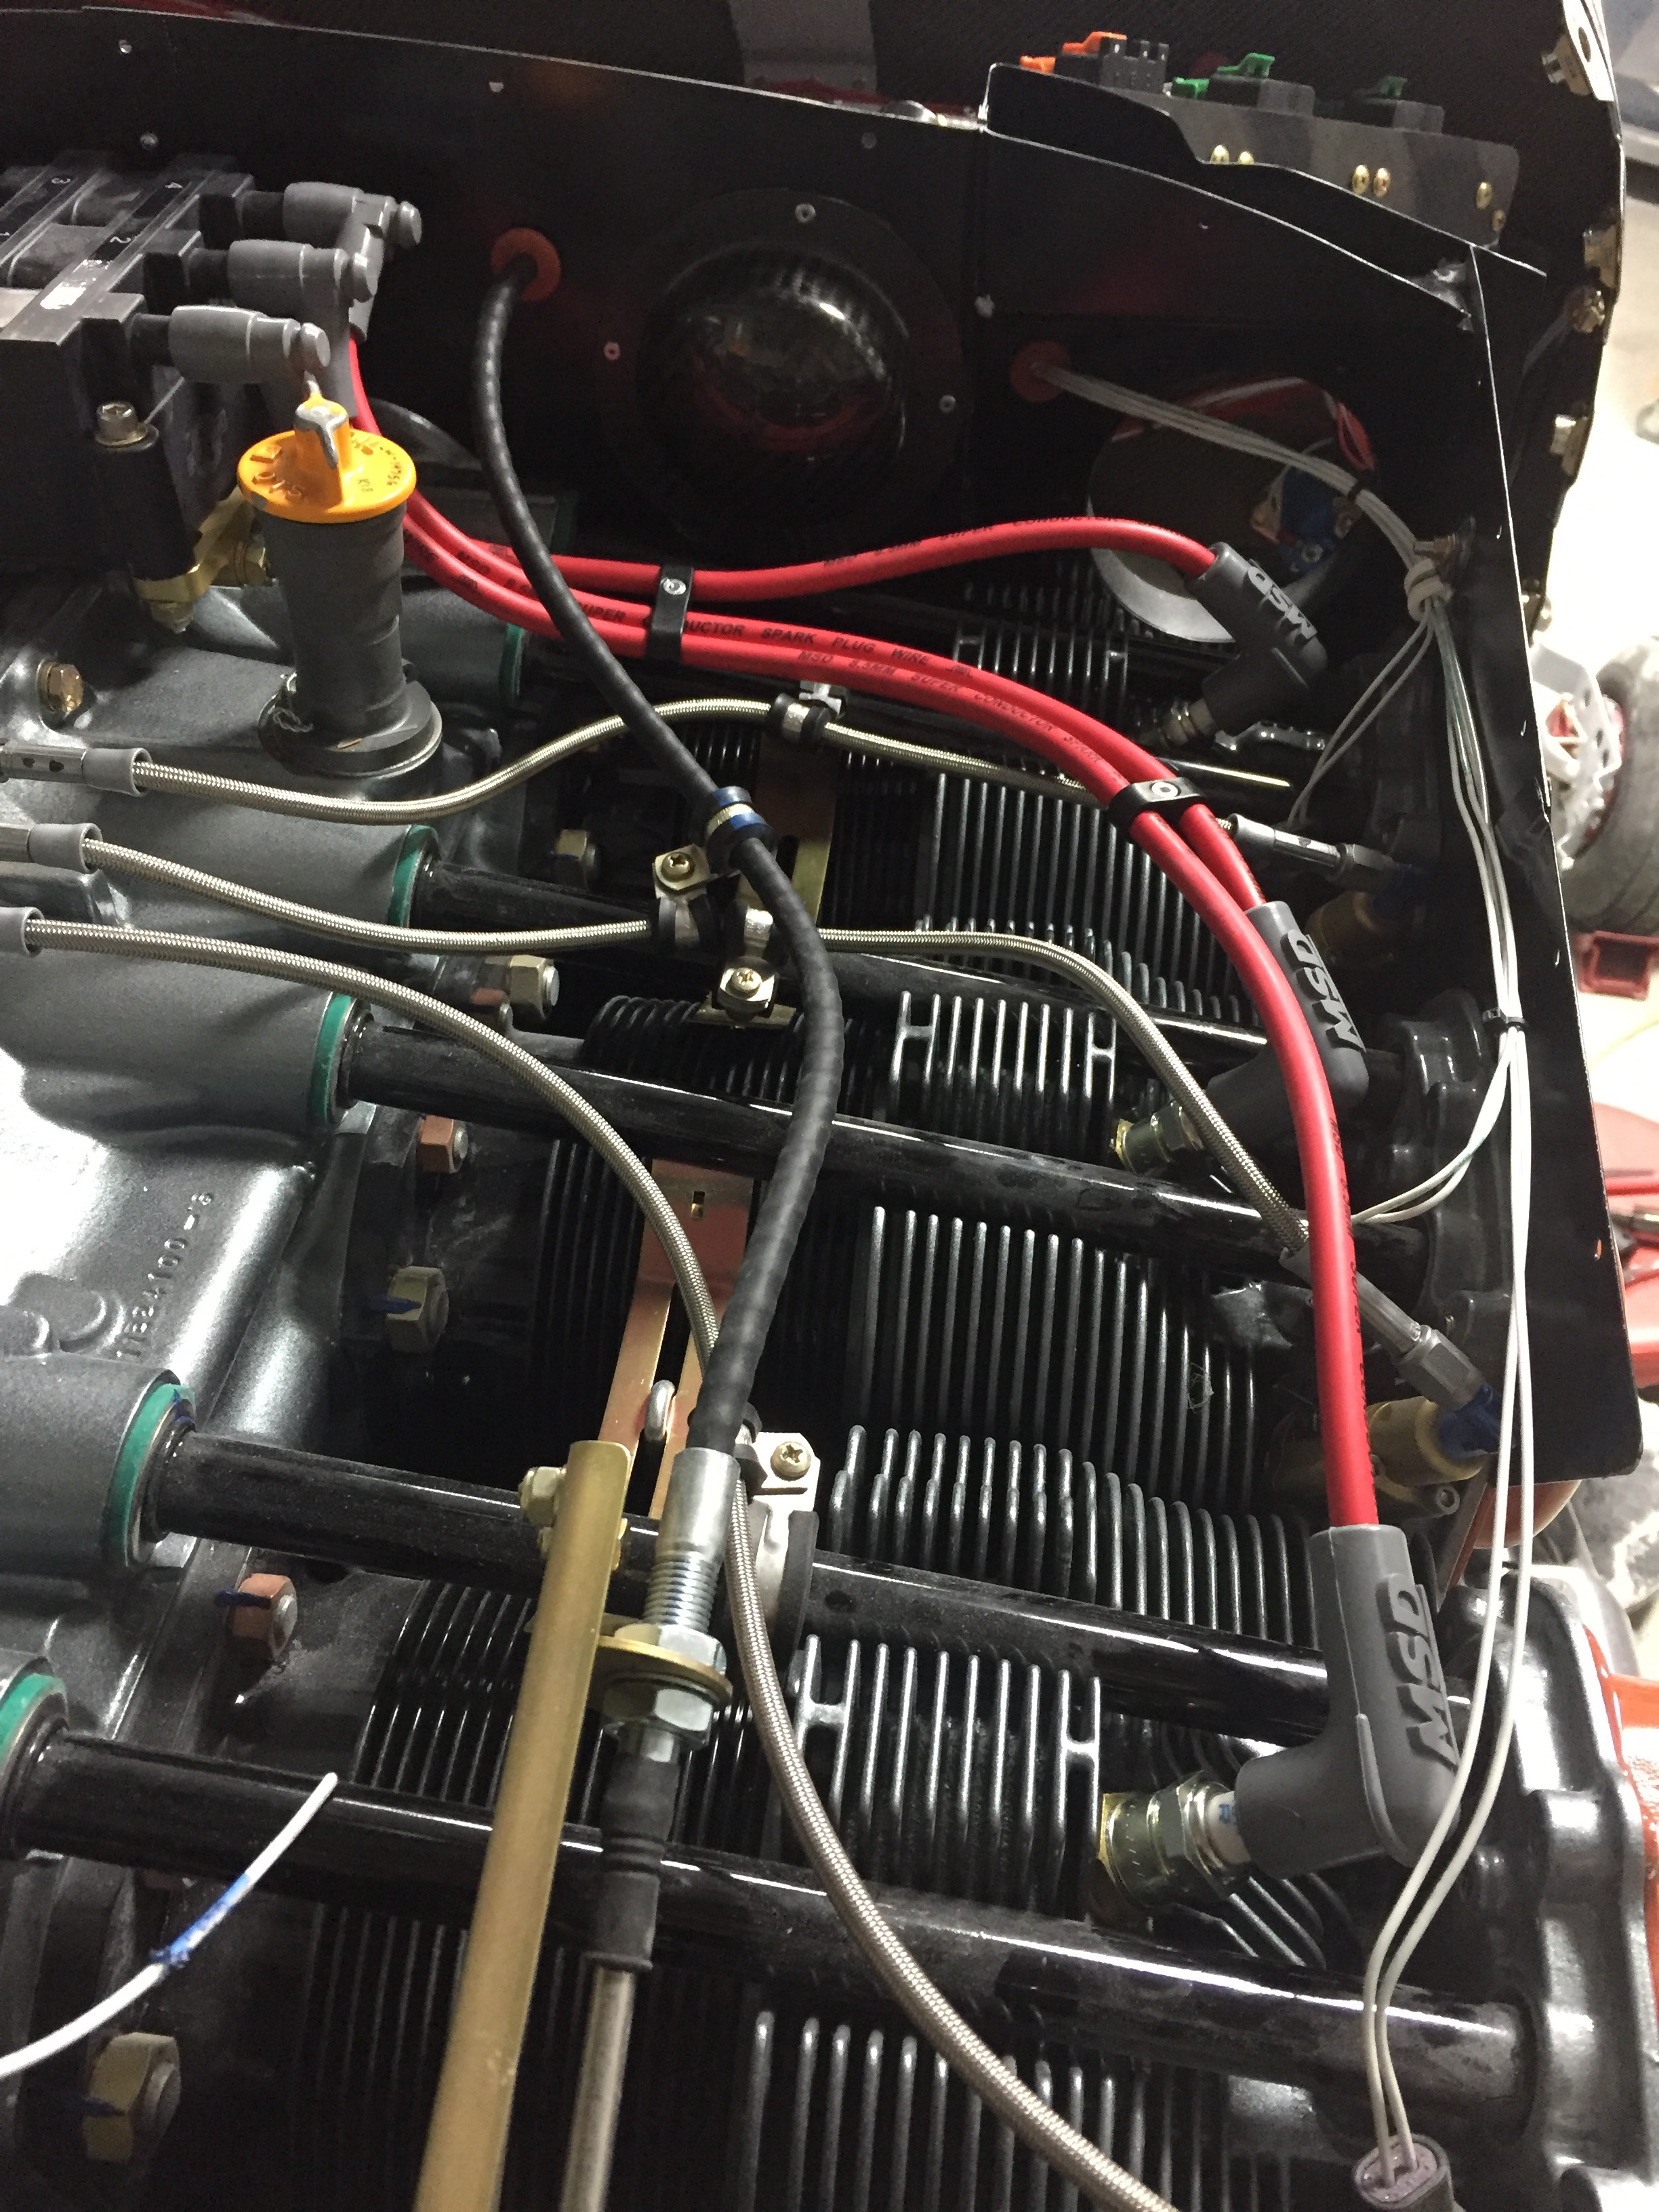
In an effort to reduce the crap on my workbench, I decided to wire the spark plugs and coils to get rid of two big bags taking up room. I ended up re-configuring the mount for the coil connections on the top case mounted coil and it made running the signal wires cleaner and easier. The plug wires themselves were pretty easy and quick to run now that I have the MSD crimp tool. The biggest challenge was deciding how to route and secure the wires. I’m pretty happy with some Amazon plug wire organizers and a few adel clamps.
Since everything inside the baffle area and the baffles now on for good (thank goodnes, they are a pain to get on and off a bunch), I could test fit the plenum, ducts, and cowling for the first time. Boom, it all fits!!! The plenum is just clear and will allow a bit of shake room for the engine within the cowl. The intakes and cooling ducts clear the inlets by about 3/8″ and I test fitted the bulb seal which I think will work nicely. Everything lines up nicely and I think it’s going to work out to a clean and effective installation.
I will need to check the oil from time to time (it’s a joke folks) so the oil door needs to be fabricated. I have the hidden hinge from Cleveland Tool and planned on using Cessna push button releases for the fasteners but decided against them once I got them in hand. I just don’t like how they work or look. I want it convenient to pop that door open and thus will sacrifice looks a bit for functionality. I ended up ordering the winged Skybolts. The releif area was cut out using the cutting wheel and I realized that I didn’t leave enough of a flange to mount those Skybolts. I test fitted the top cowl with the plenum on and ensured there was plenty of clearance for access to the dipstick and then fiberglassed on more of the flange to correct the issue.
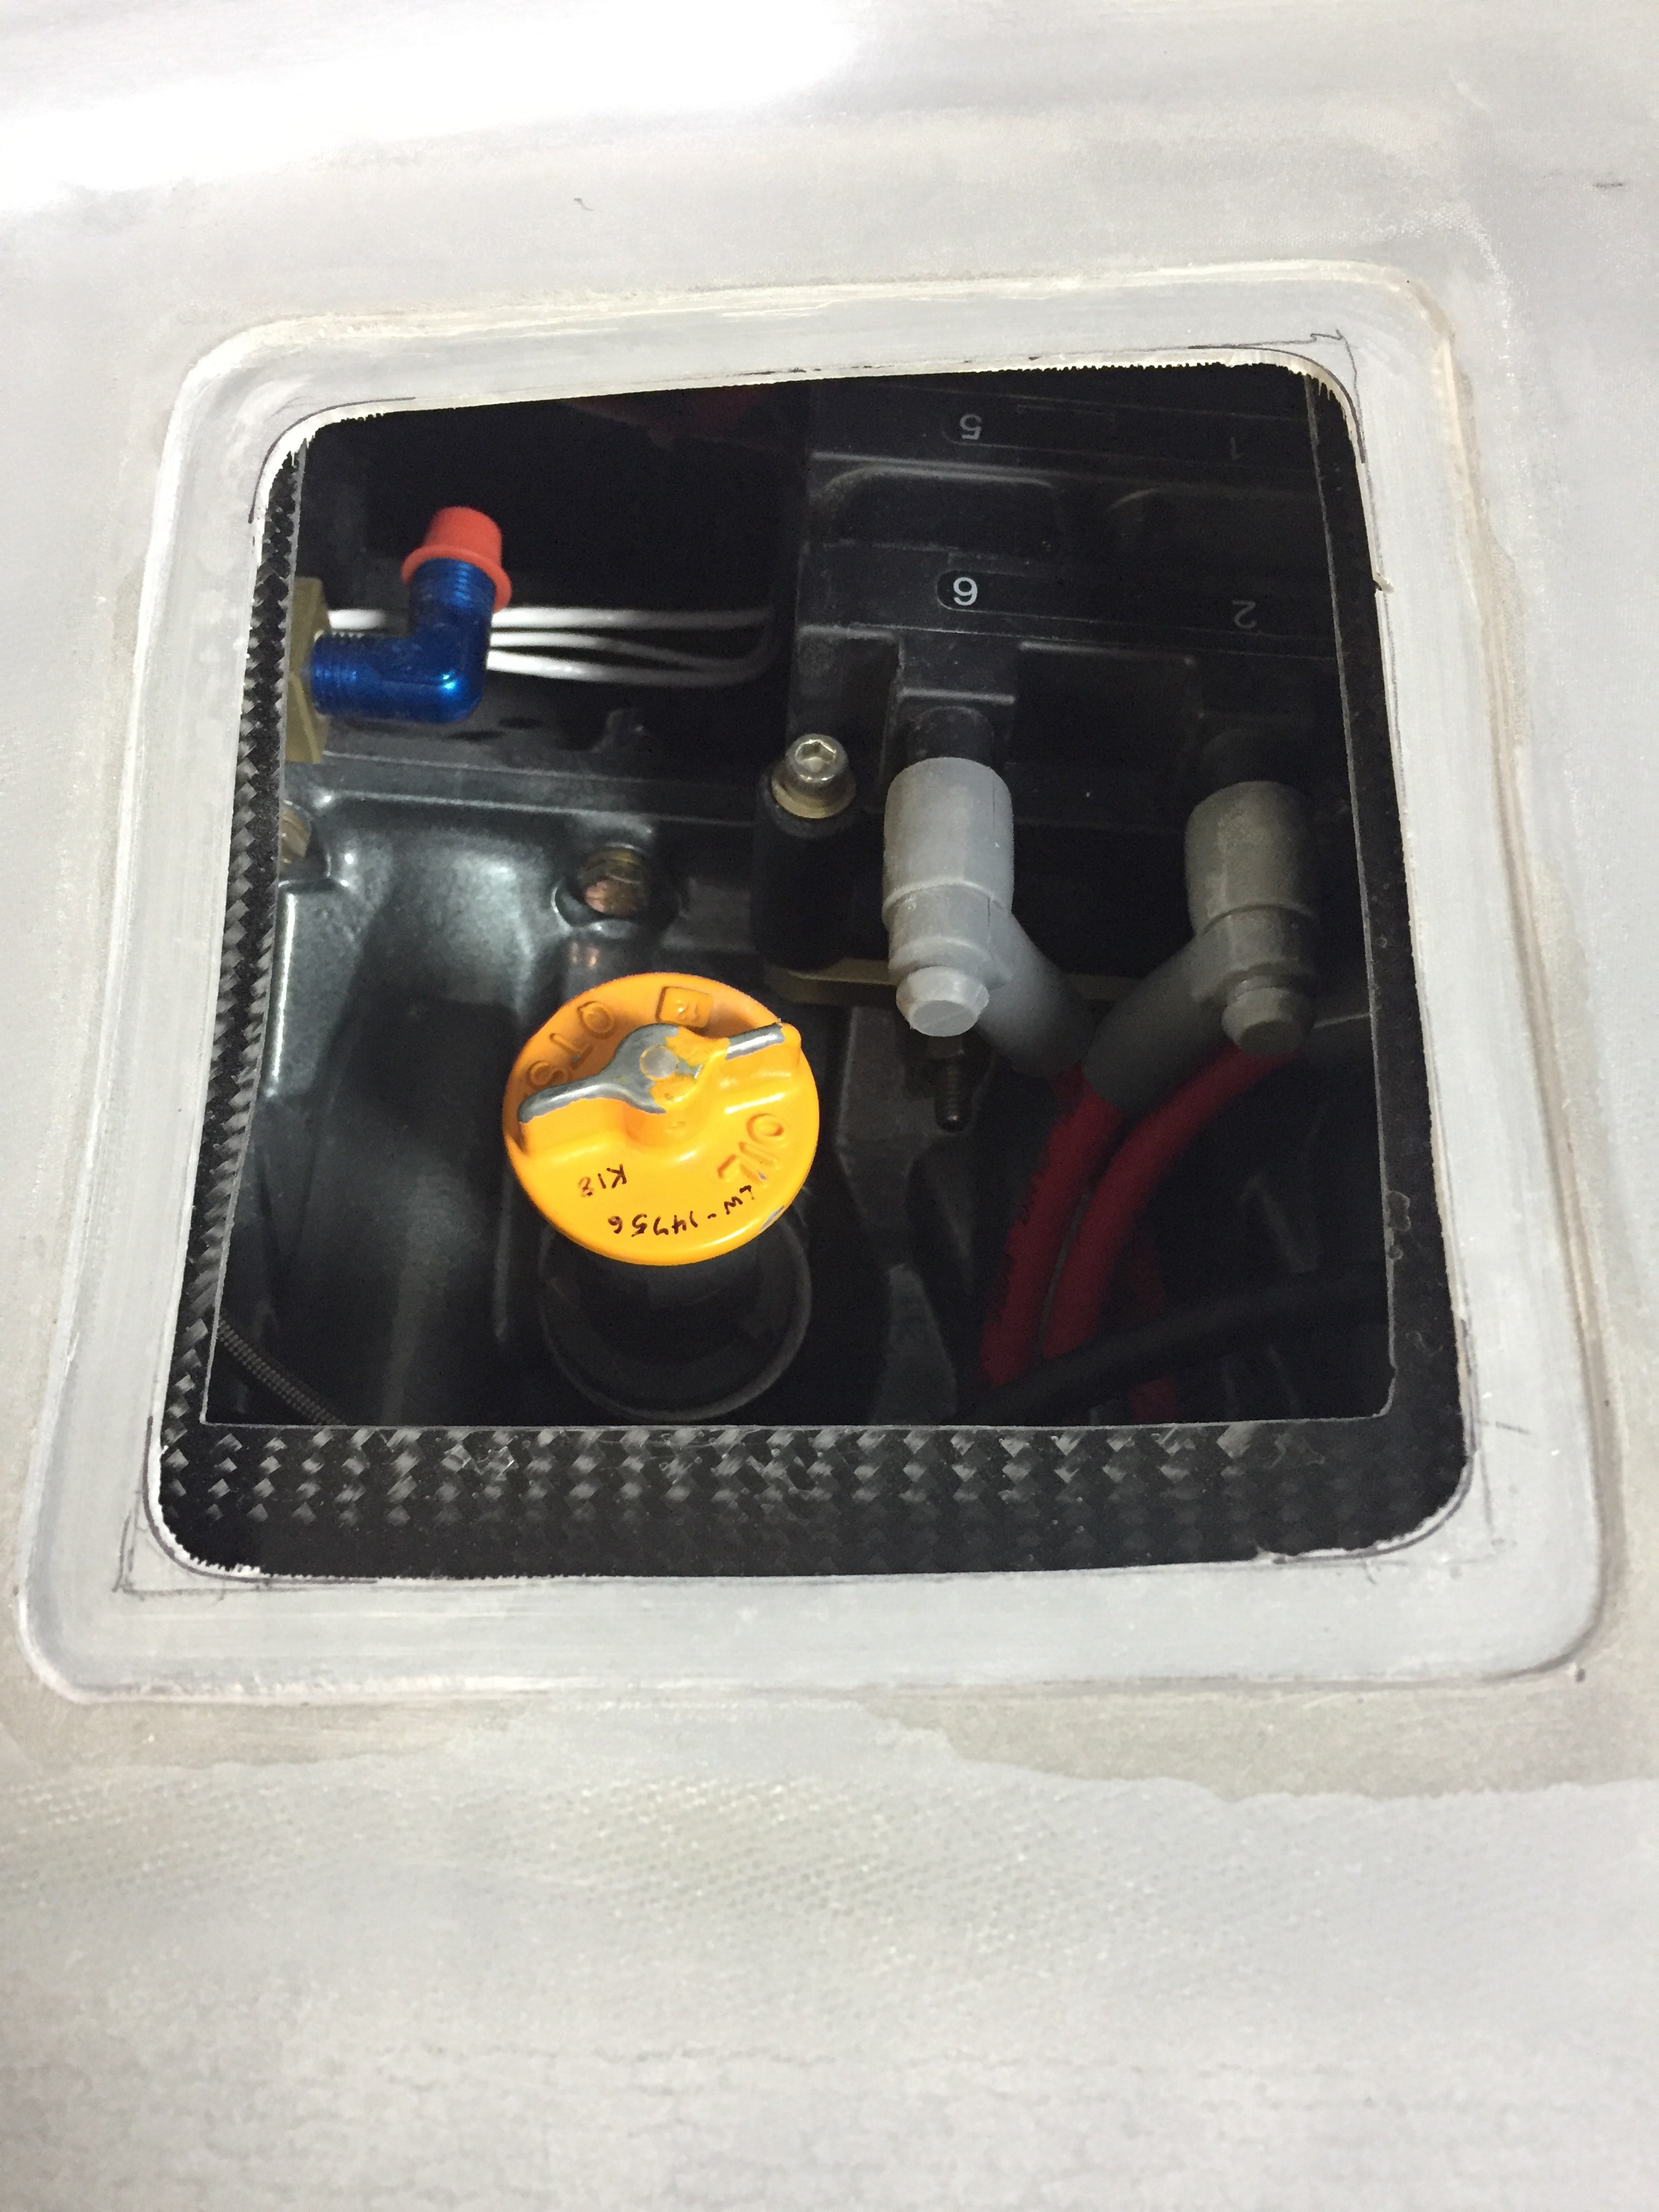
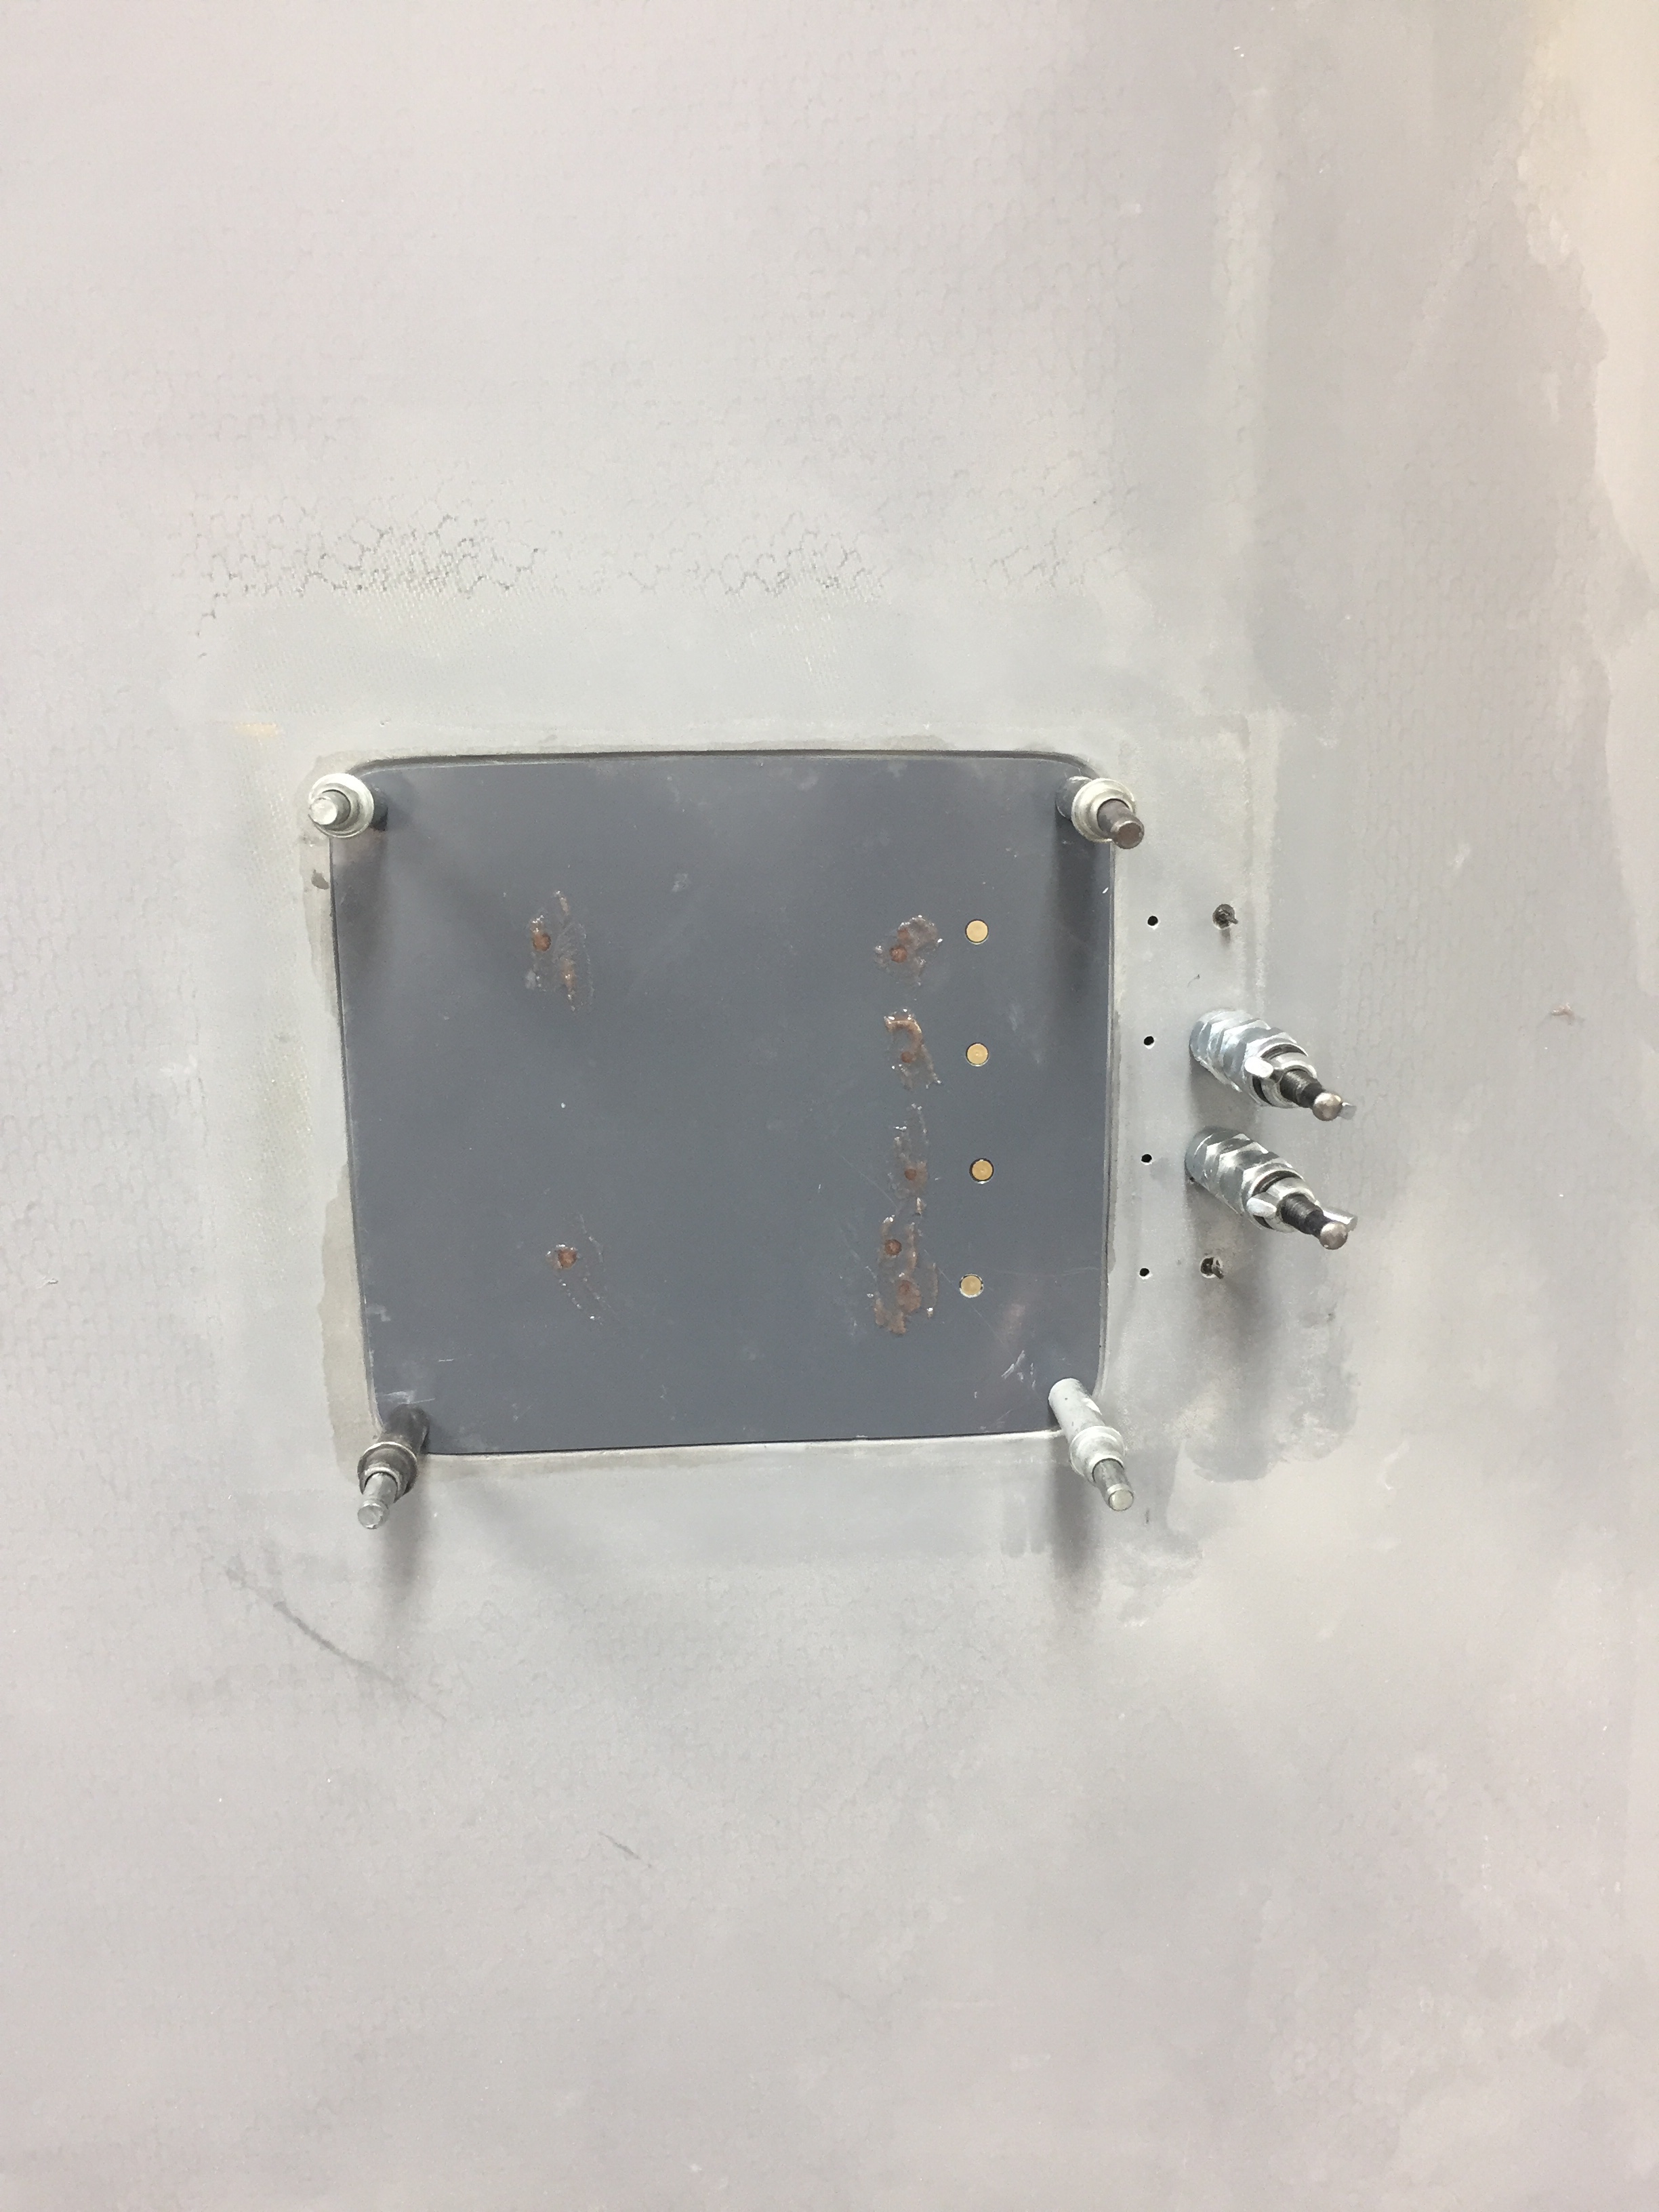
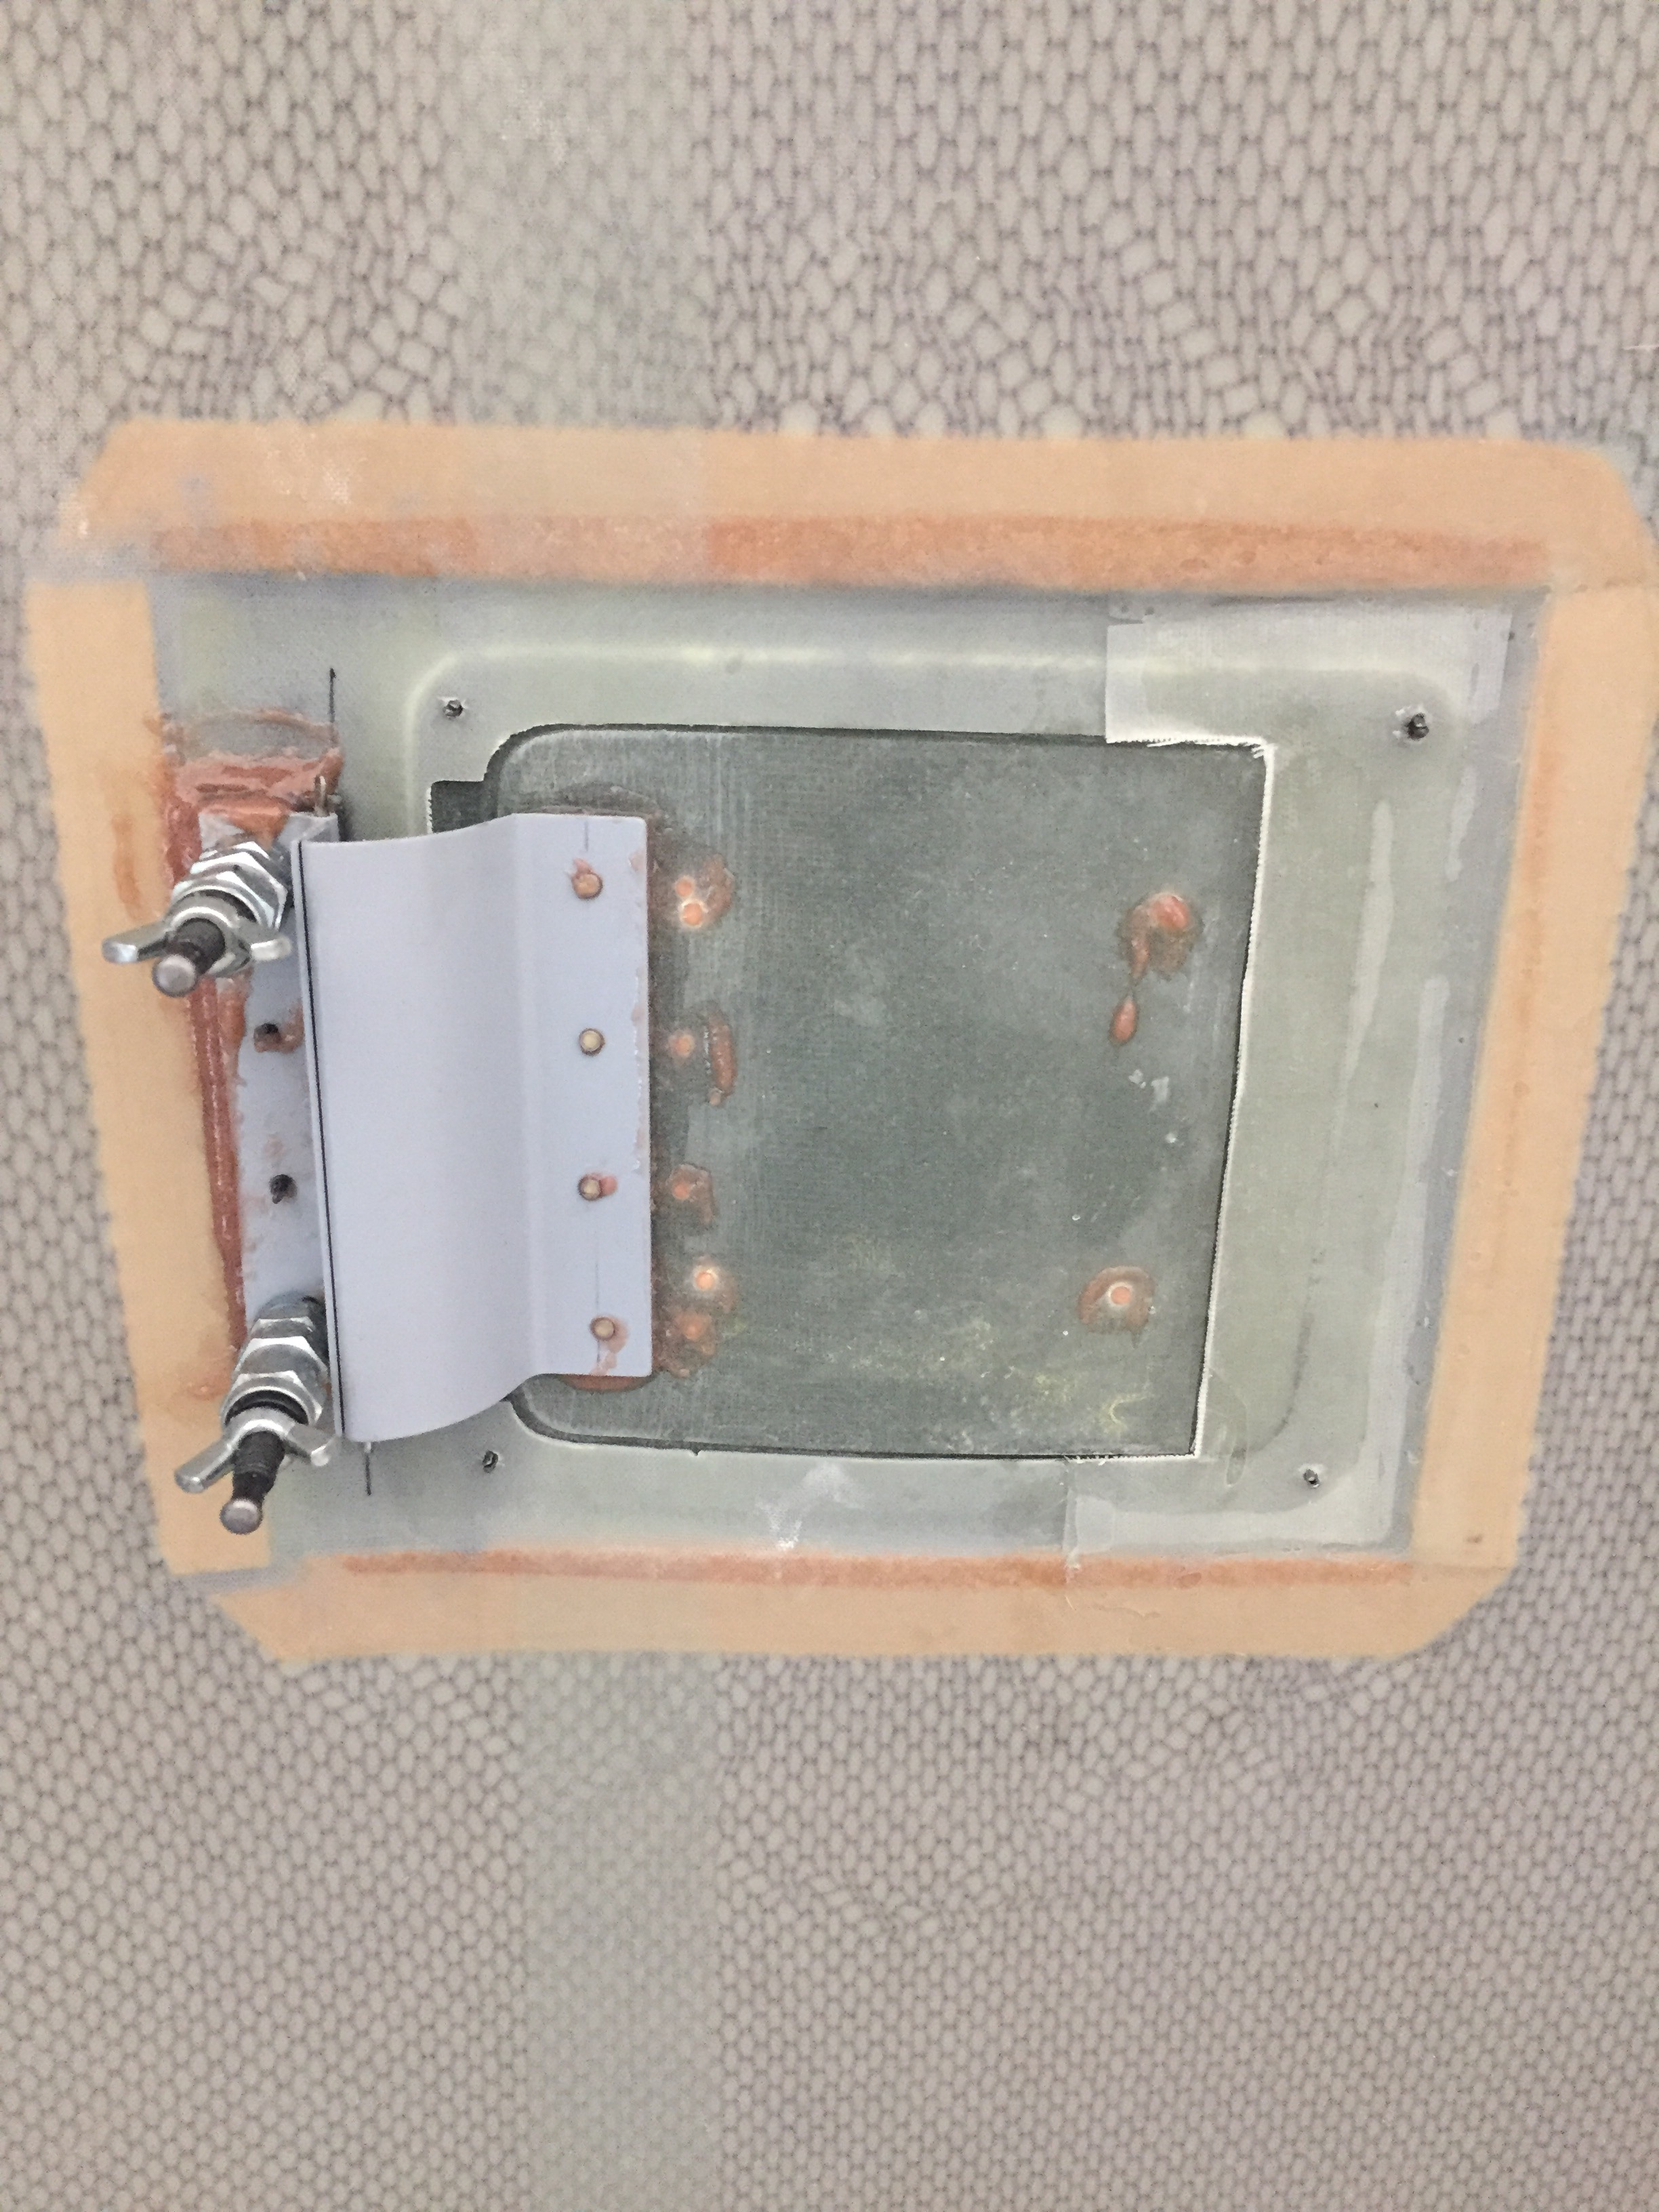
The door itself is a perfect mold and only required a bit of sanding. The stiffner was epoxied on with West epoxy and a bit of flox to add rigidity. Once it cured, man it is super stiff! I let it cure on the cowl with clecos to get good form. Installing the hinge was pretty simple, just a bit of adjustment to get the hinge point located properly and the spring will allow the door to stay open easing access to the dipstick. I’ll lay up a funnel shape to enclose the dipstick tube and seal the opening in the plenum in a bit.
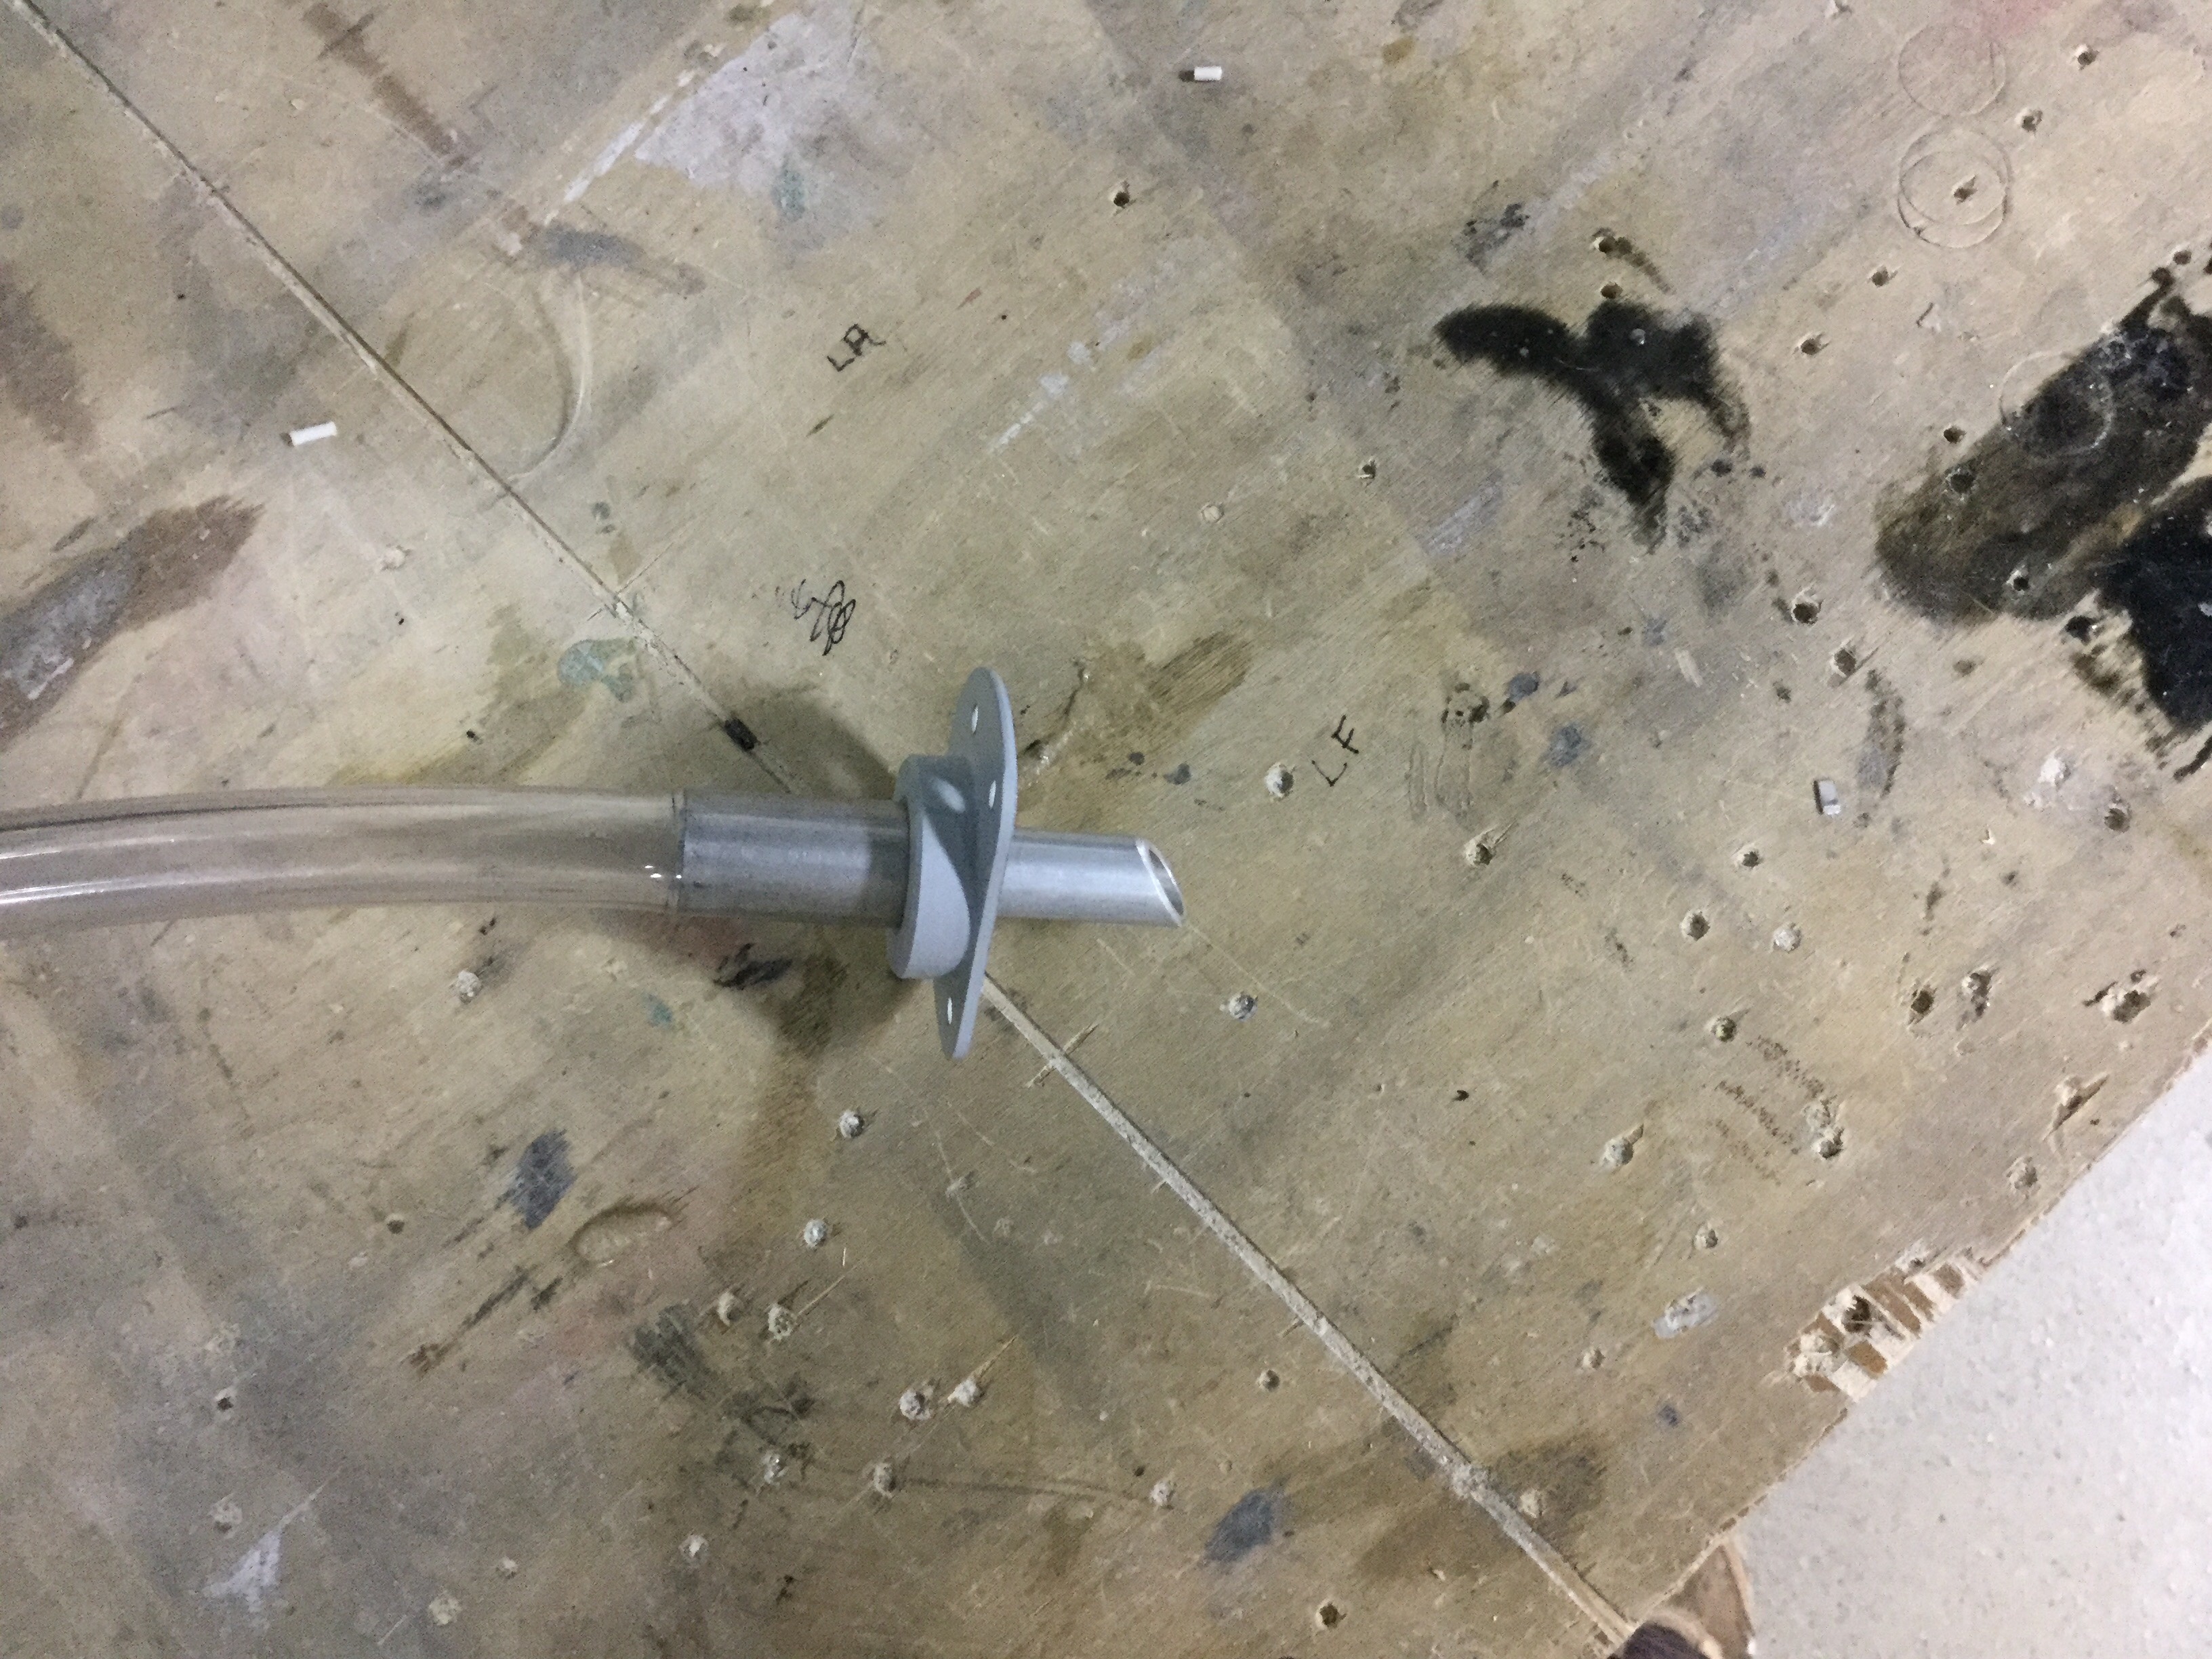
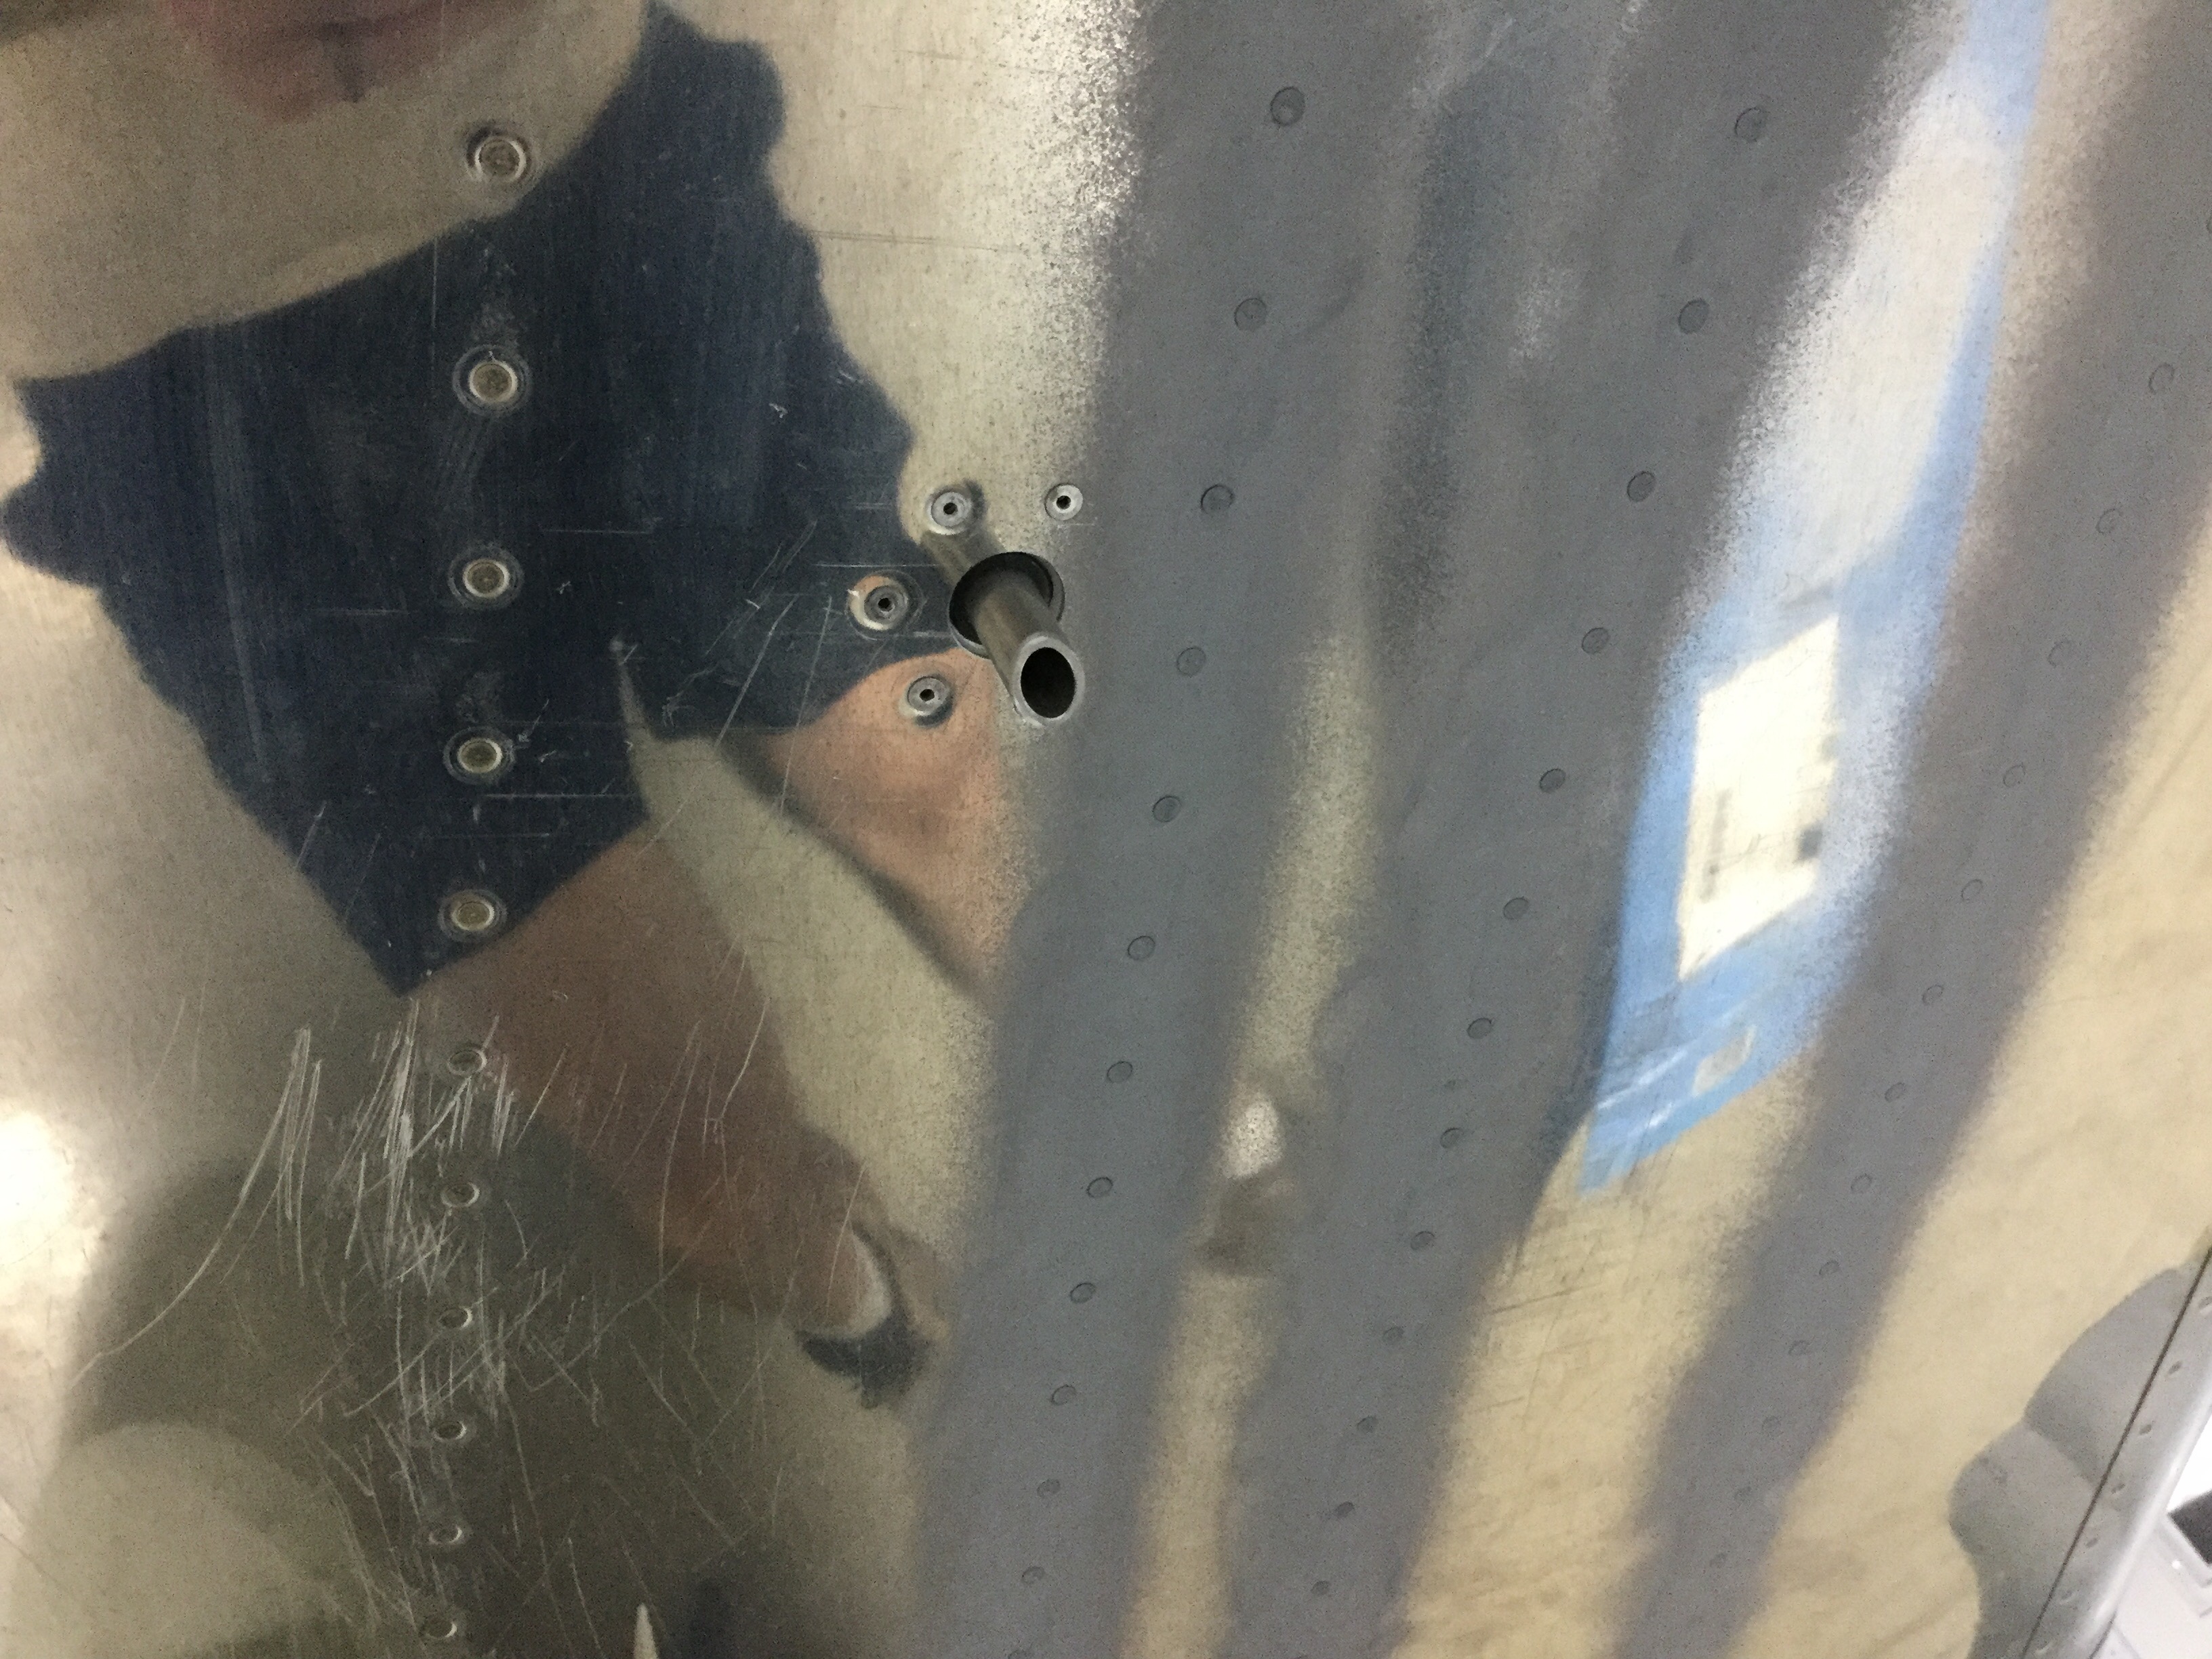
Finally, I knocked out a nagging job with the air conditioner. The condensate drain wasn’t routed to the exterior since I redid the ducts in the tail so I had to come up with a way to allow that water to drain out. I experimented with a fuel tank bung that I had surplus and a short piece of tubing. It equaled a great fitting vinyl tube with aluminum tube insert threaded into the bung and riveted to the bottom tail skin. I put an angle cut on it to help create a low pressure on the tub which will help suck the fluid into the airstream. Elegant solution, if you ask me. I know, I’m incredible aren’t I? So humble too.
