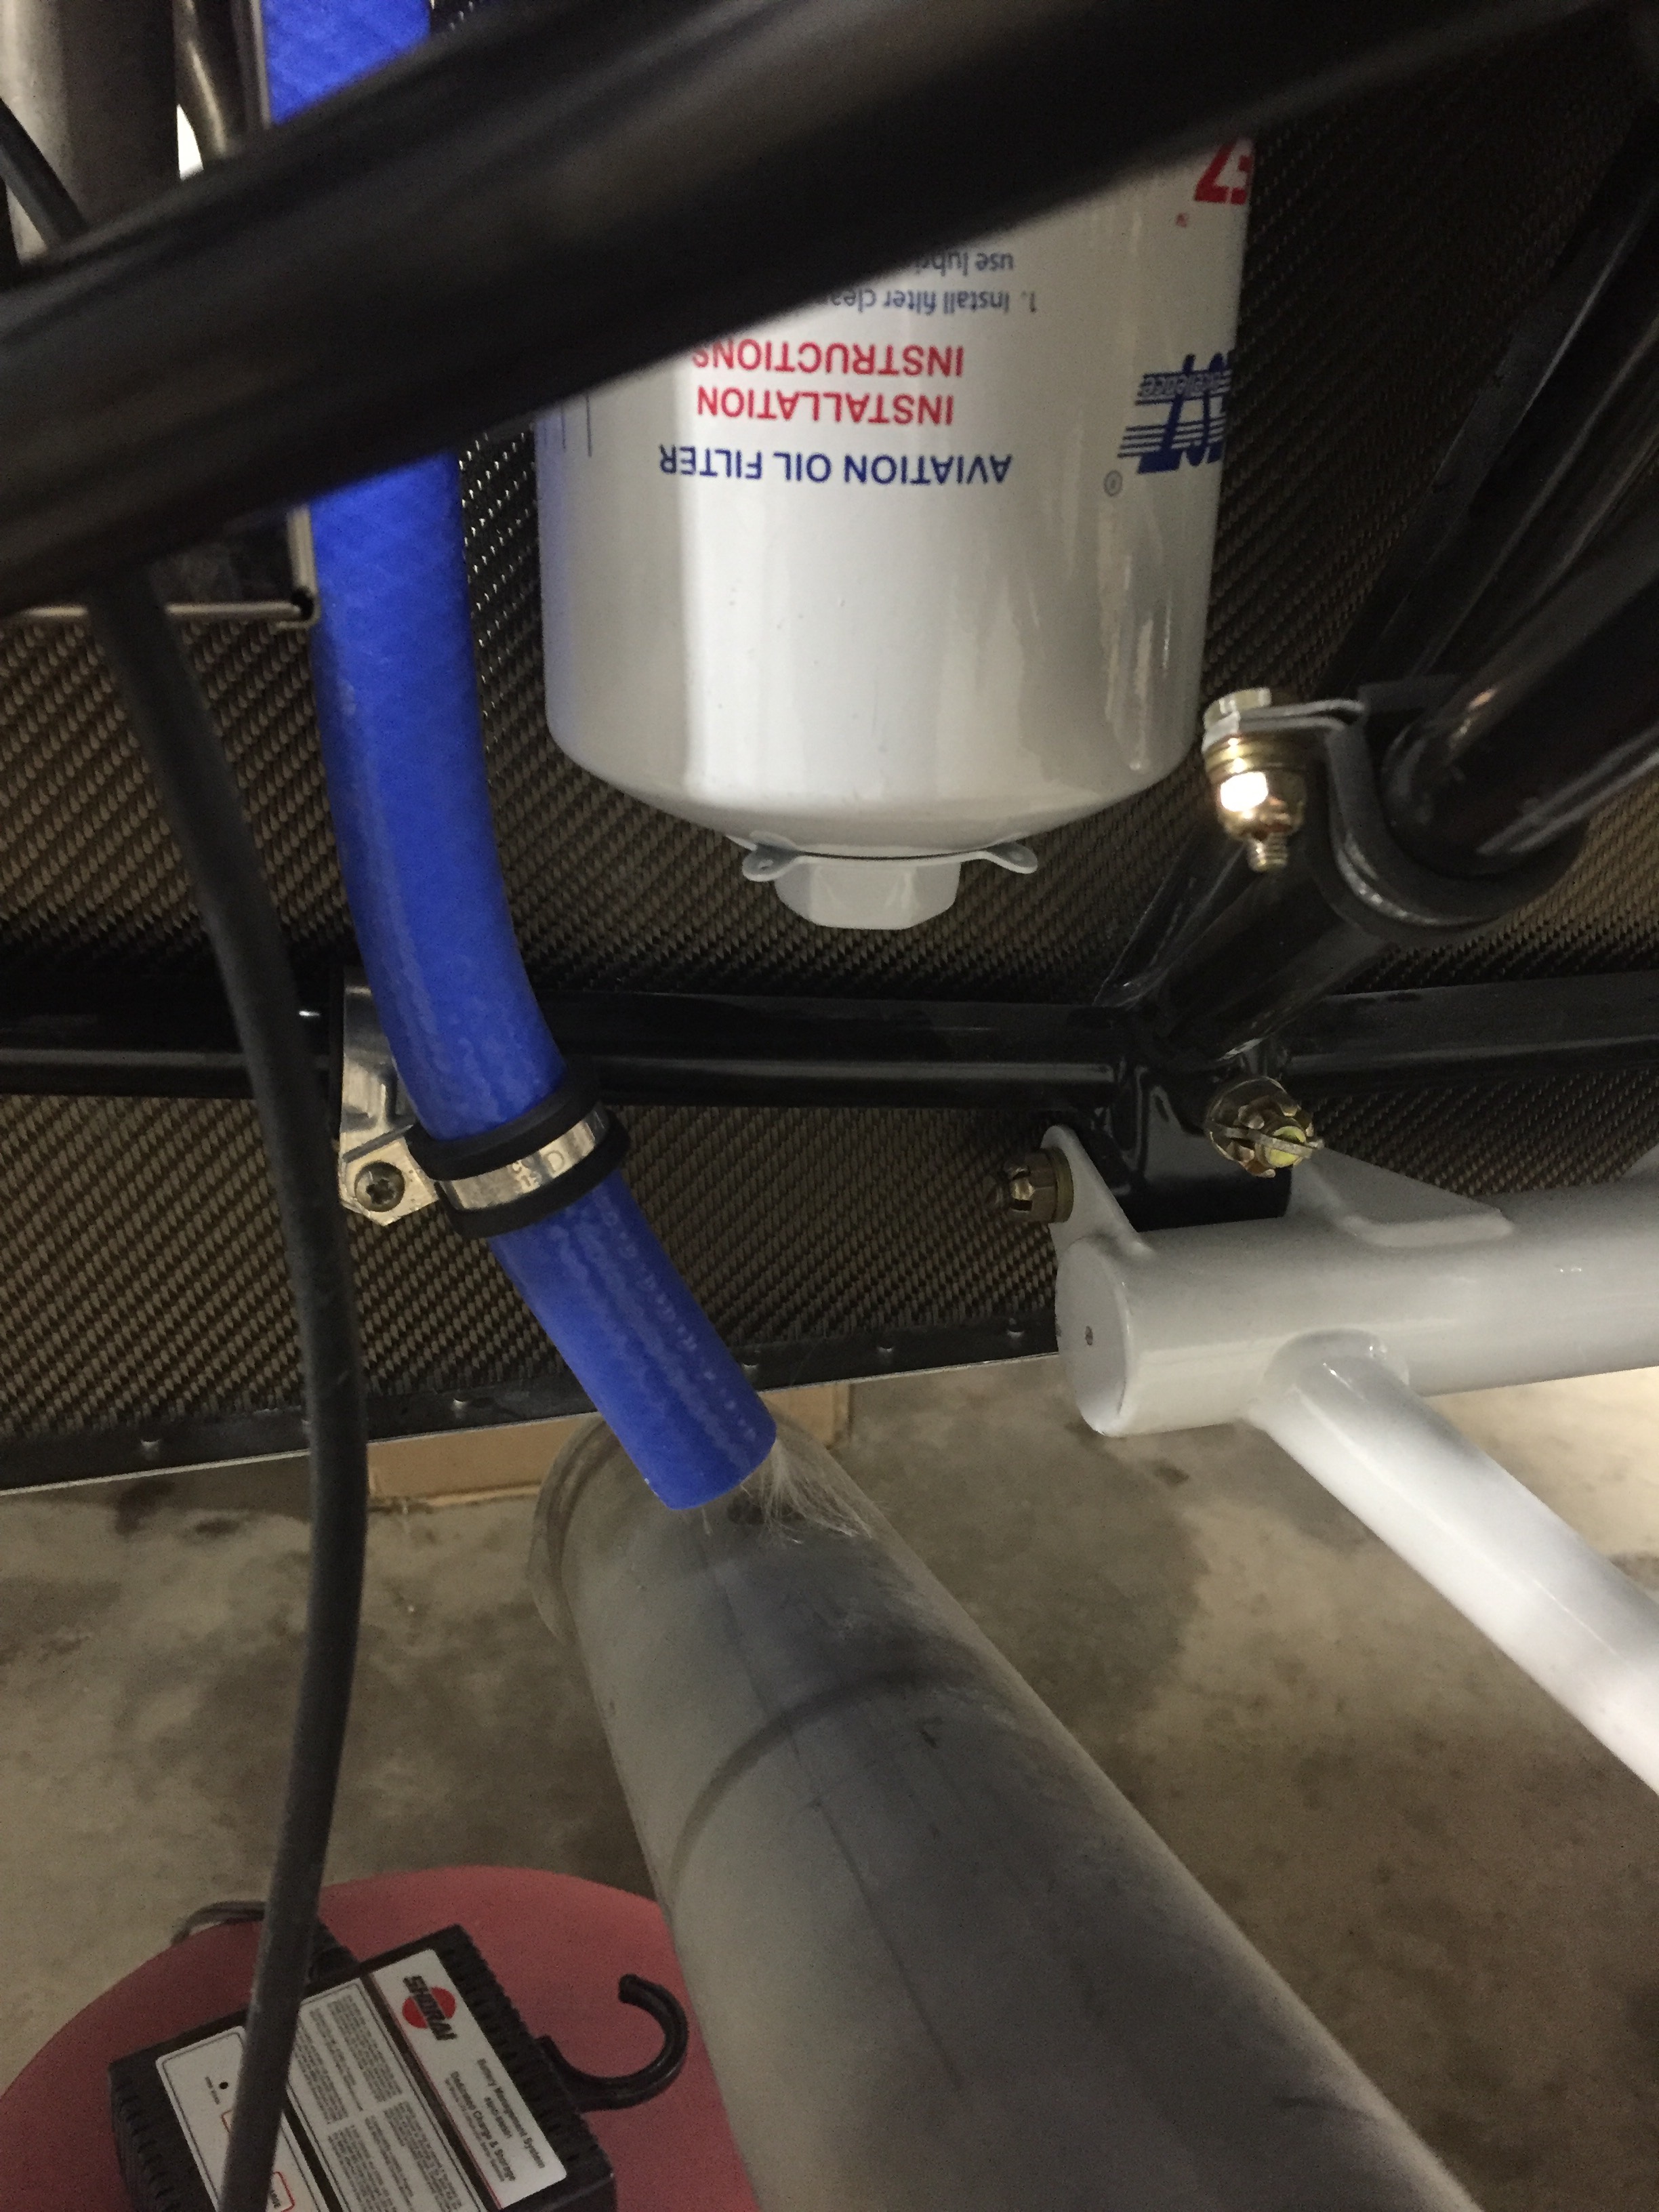
Before the wings go on, I finished up a few odd jobs since the parts came in from various suppliers. I ordered enough hose to route from the air oil separator to the cowl exit and secured it in place.
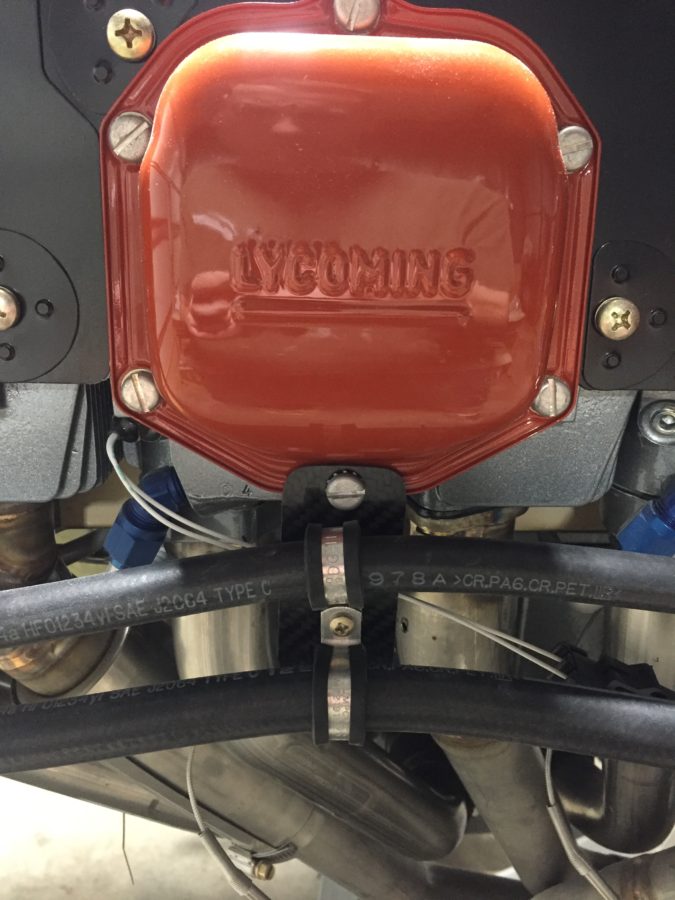
I also finished securing the air con hoses from the firewall to the compressor. I made a bracket to hold hose clamps on the bottom of the valve cover and it keeps the hoses from flopping around the side of the engine.
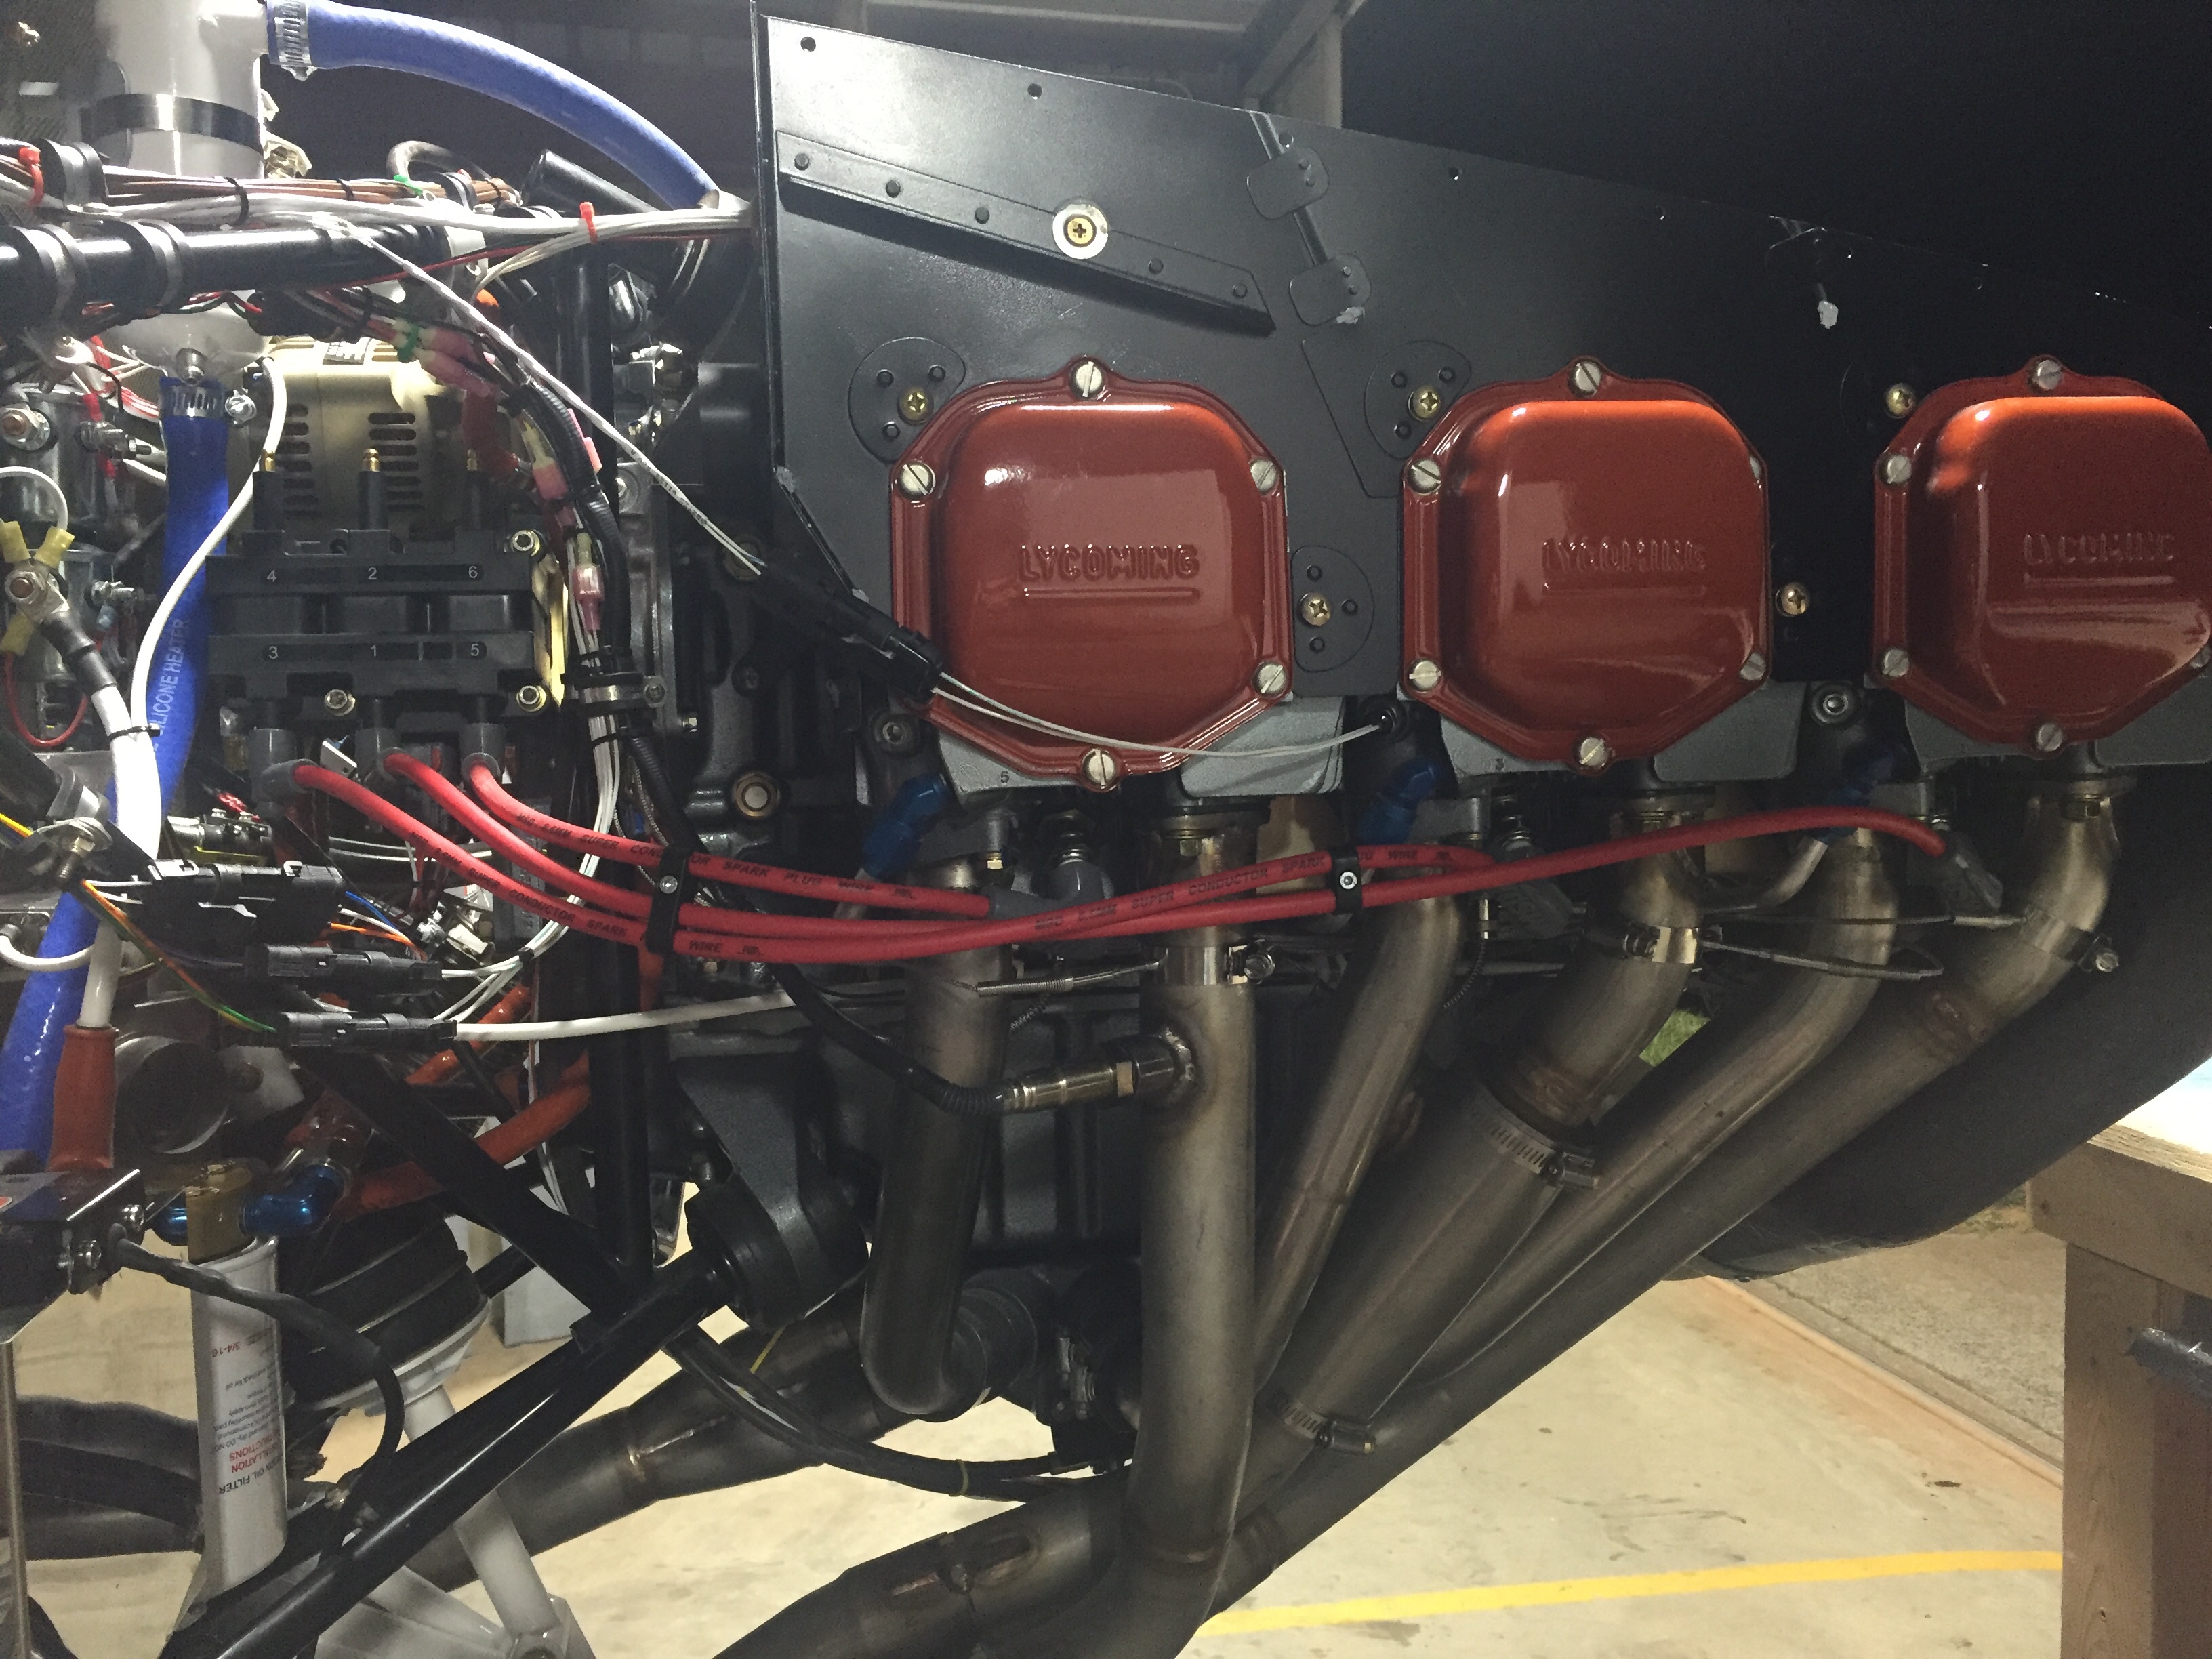
I also did something on the right side of the engine. I don’t know what I did, but I took this picture which meant I did something over there. I know I secured a few wires, added a ground from the engine to the mount (which I may have mentioned before, I don’t know), or maybe I just felt it looked pretty. Either way, here’s the right side of the engine and the mass of wires; enjoy.
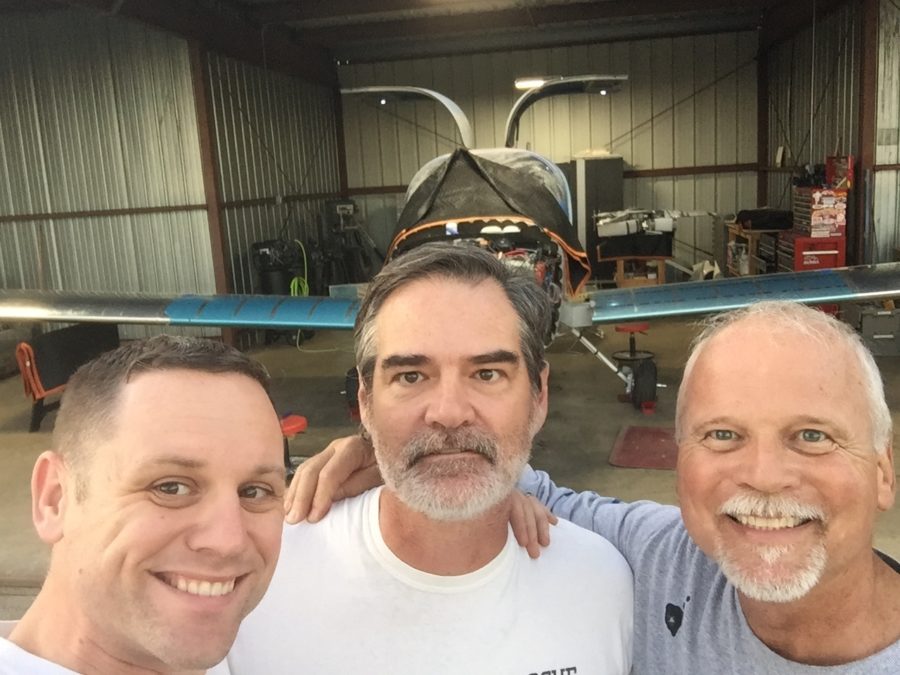
Tapping into my network of gulible aviators, I ropped two guys into helping me install the wings for the initial fit. I must admit, I typically don’t read ahead more than a few steps in the plans so I was pretty dissapointed to find out the wings go on then have to come back off before getting bolted on for good. It figures, though, you wind up doing everything twice on this airplane so why would the wings be any different? We got a few sawhorses and a plan together and according to the time lapse video shown below, we installed the wings in about 27 seconds!
Really, they went on a lot easier and smoother than I expected. I ordered new nuts for the wing attach bolts but will reuse the original bolts used during construction of the fuselage. I did get the suggested hardware store bolts to align the wings initially and they worked very well. I also felt better seeing the good fit between spar components, as I had a scary moment a few years ago when I realized my spacers weren’t the proper combination even though the dimensions worked out in the end. Either way, everything fit snug and as it should, so all is good. Great job Steve, smile for the camera. Or not.
It’s pretty bad ass to see wings on the plane after 6 years of telling everyone you’re building a plane but it actually looks like an enclosed canoe. So I decided to have a bit of fun and hook up the ZipTip lights. Combined with the gull door lights, it looks like a space ship!

The evening was getting late, but the big triangle box was too tempting for me so I pressed on with hanging the prop. Following the manual, I inspected and oiled the critical o-ring on the hub and ensured no damage as it slid on the prop flange. Again the engine hoist came in handy as I secured the prop to the hoist and used it to lift in place without asking for a third back surgery.
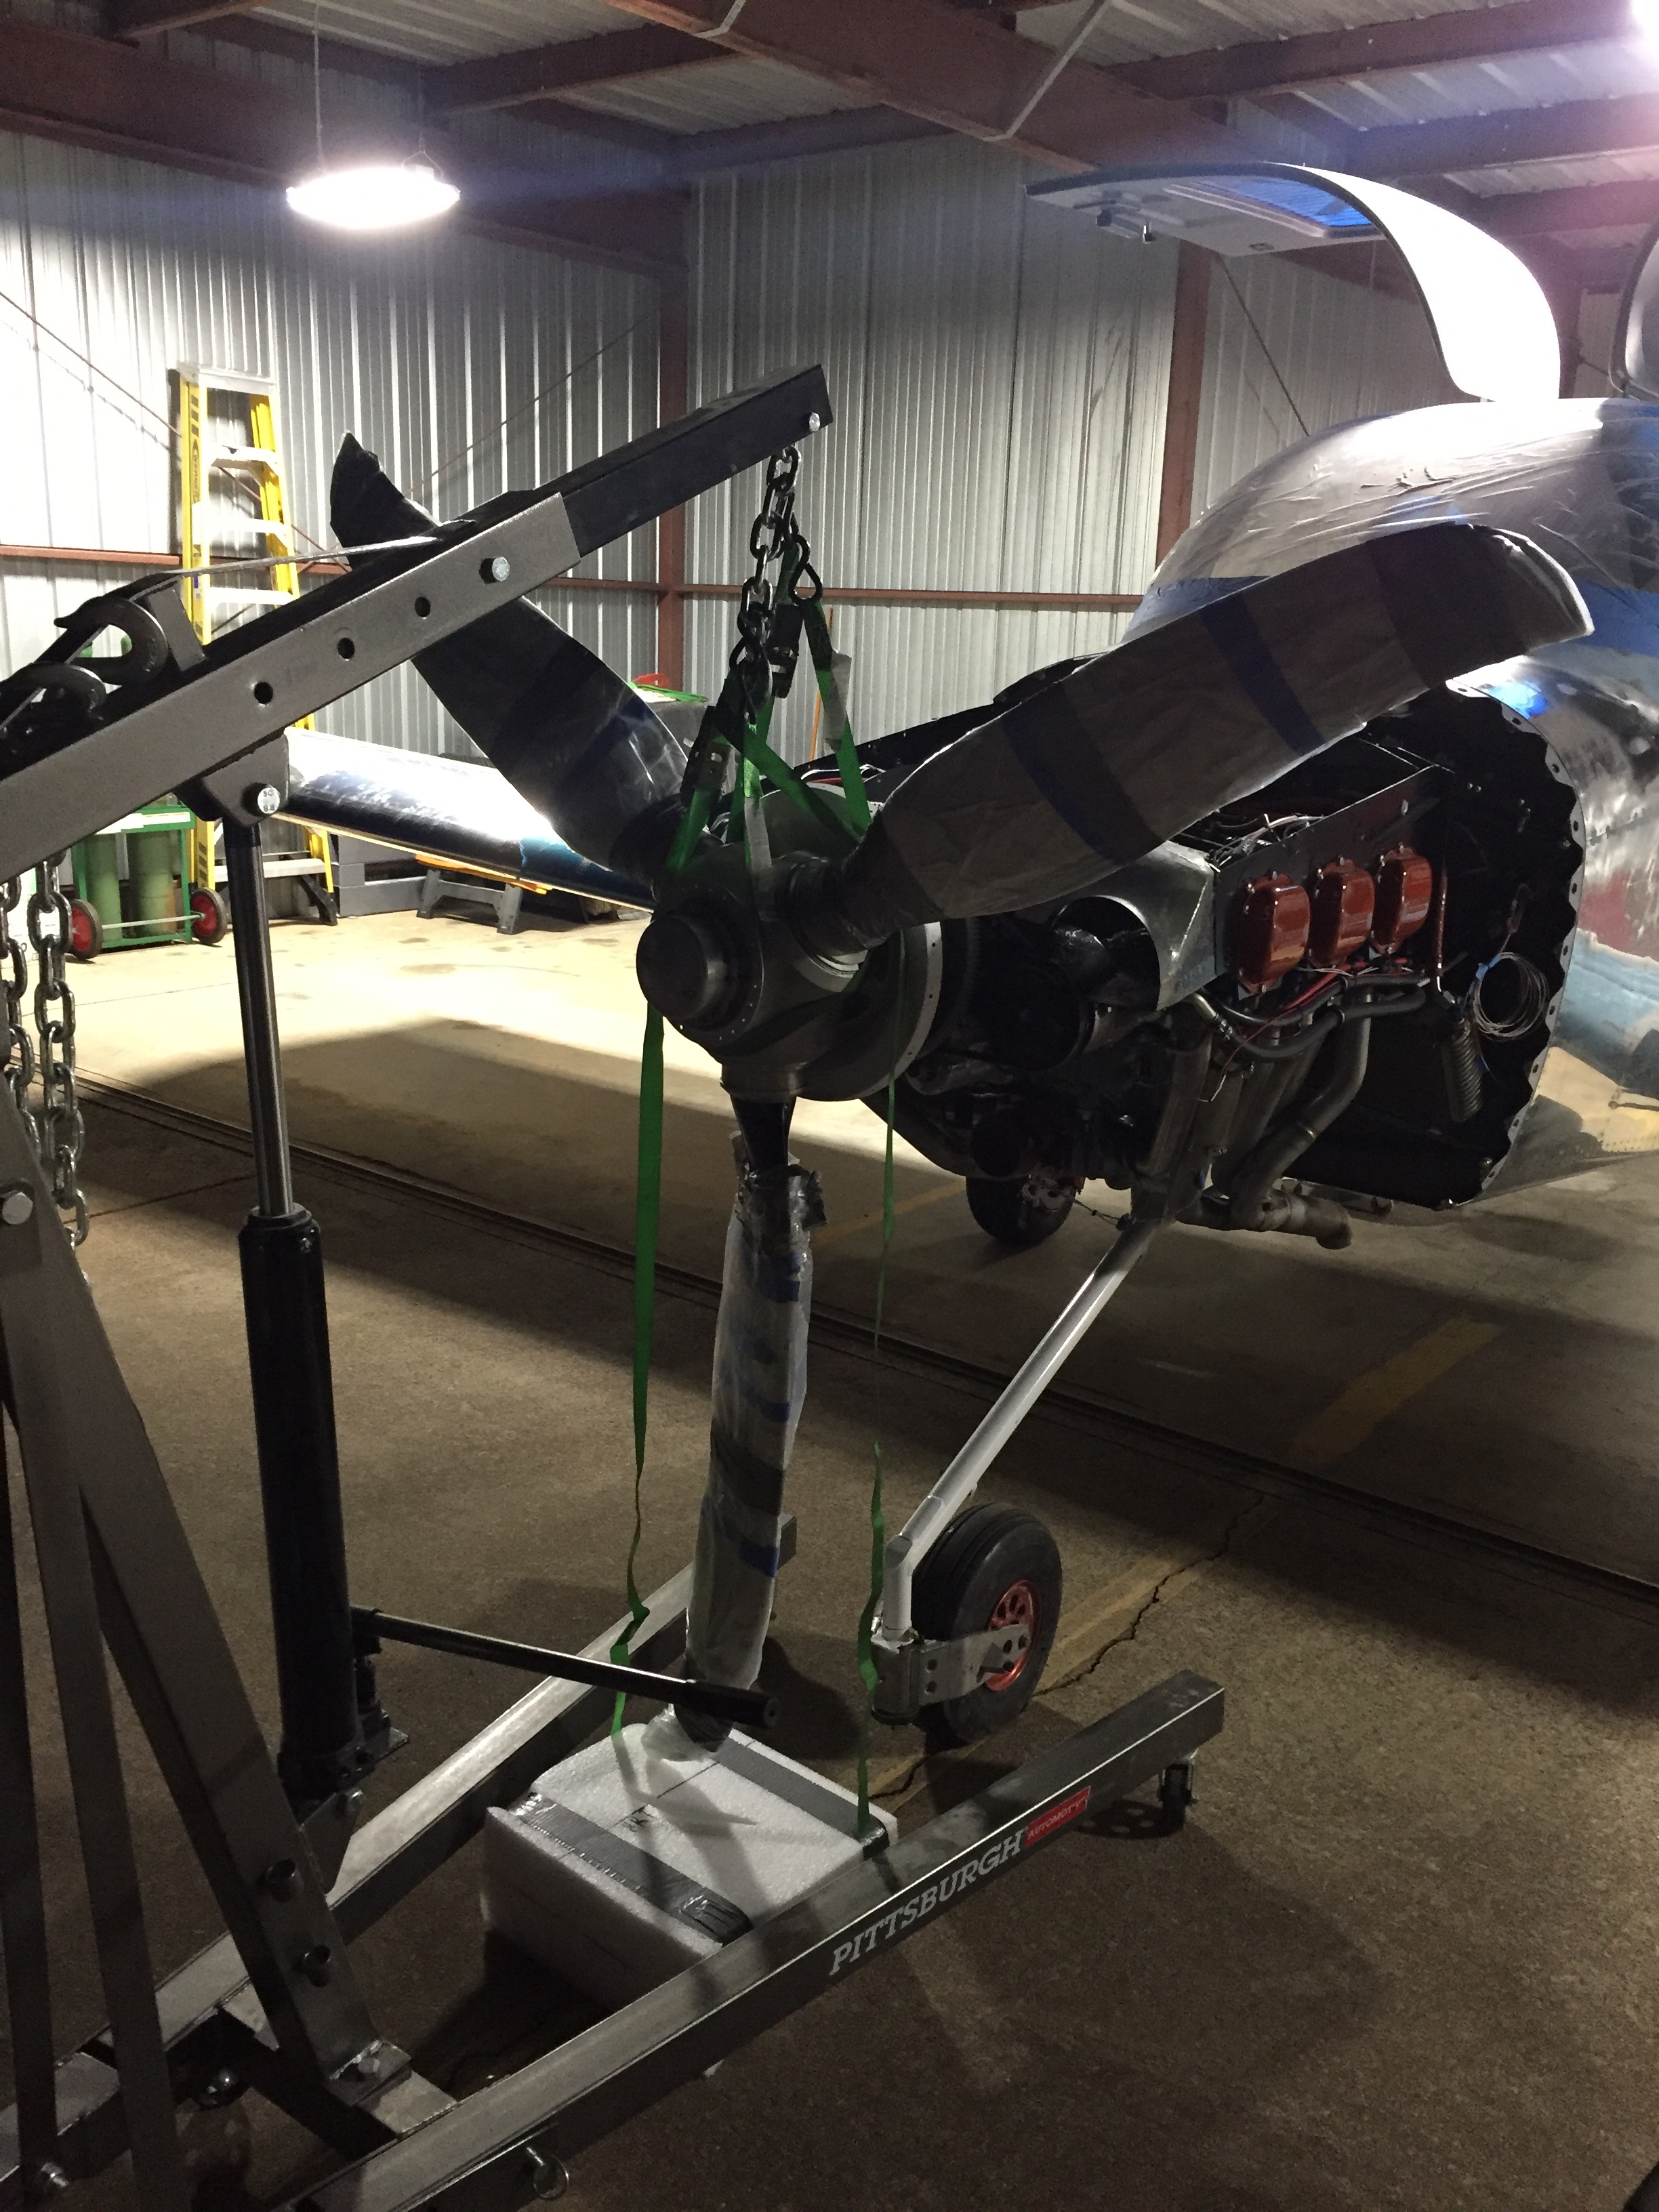
The bolts for the propeller are rediculously stupid and hard to get to. Once I got each one threaded, a challenge in itself, they can each be turned about one revolution at a time before all the others have to be tightened in sequence. There just isn’t much room and you want the prop to go on evenly. An hour later, I had the bolts hand tight and the prop was on.
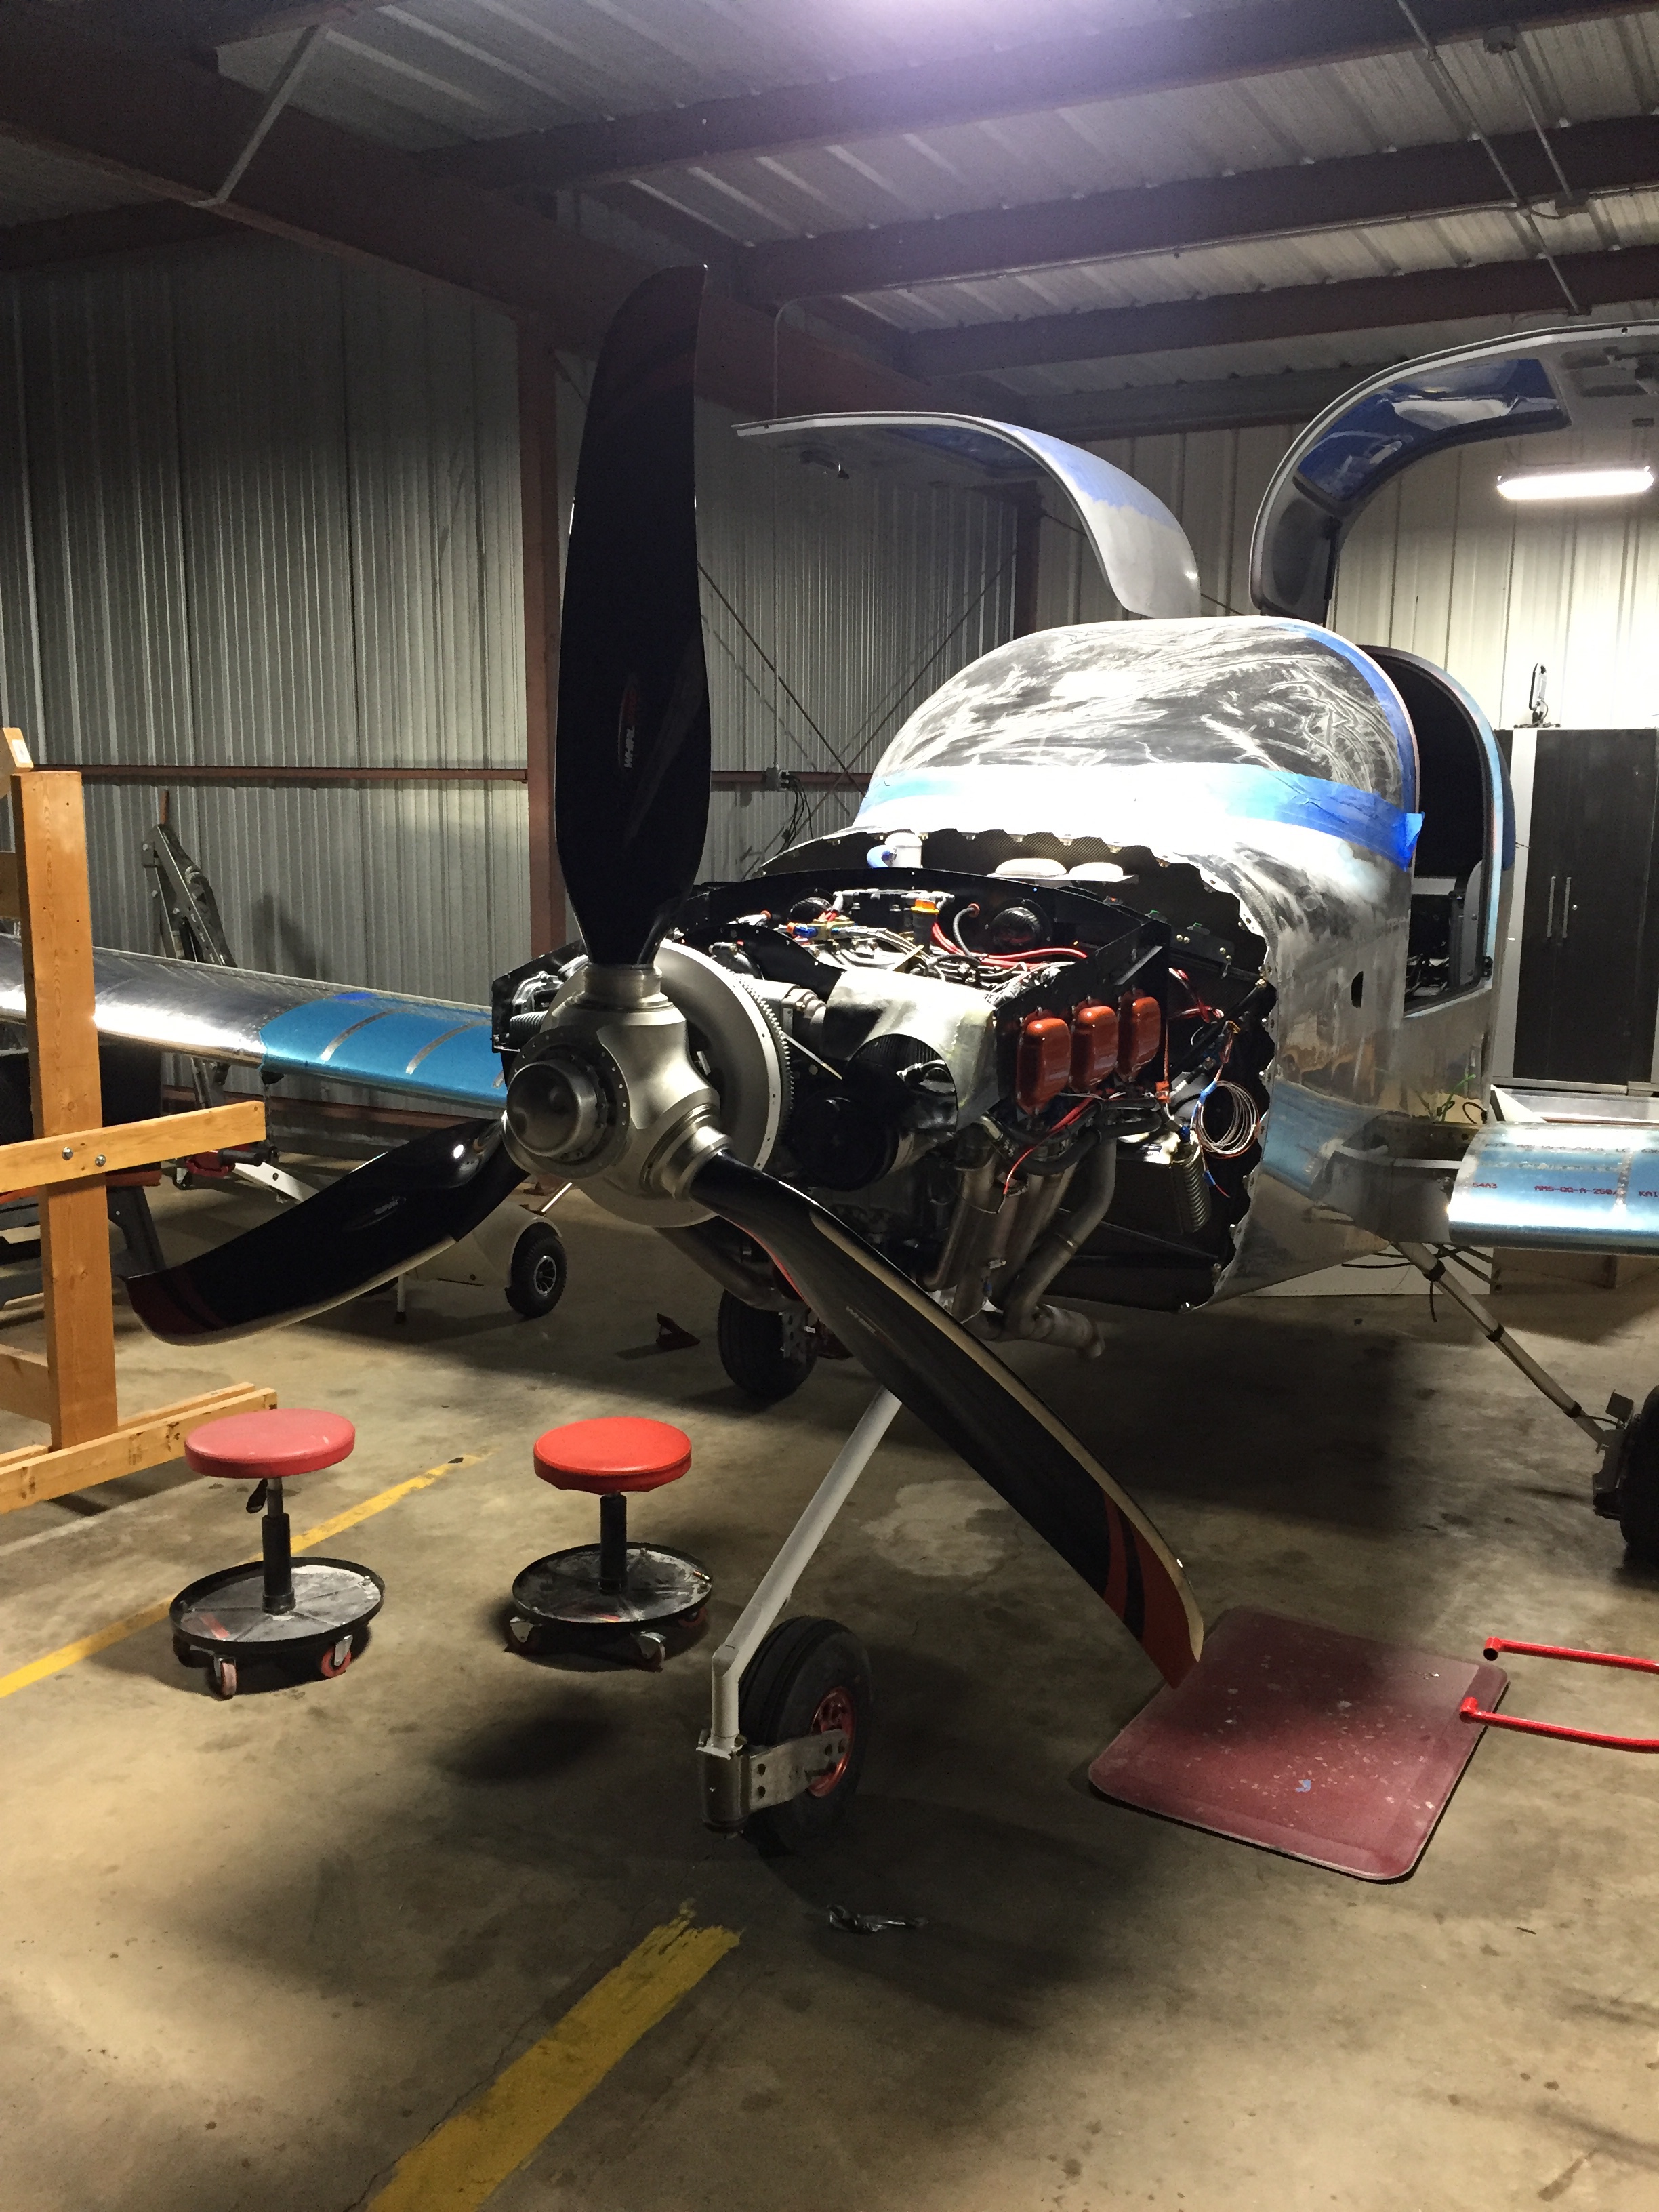
I realized quickly by my goose bumps and those on the propeller blades that it was chilly, so I went and got some socks for her. David makes these as a business (search BladeSox on Facebook) and they are just the bee’s knees. I don’t care if they make me a super dork. I had him do the tail number, Van’s new logo, and the best – our RV10 logo created by Sam at Plane Schemers.
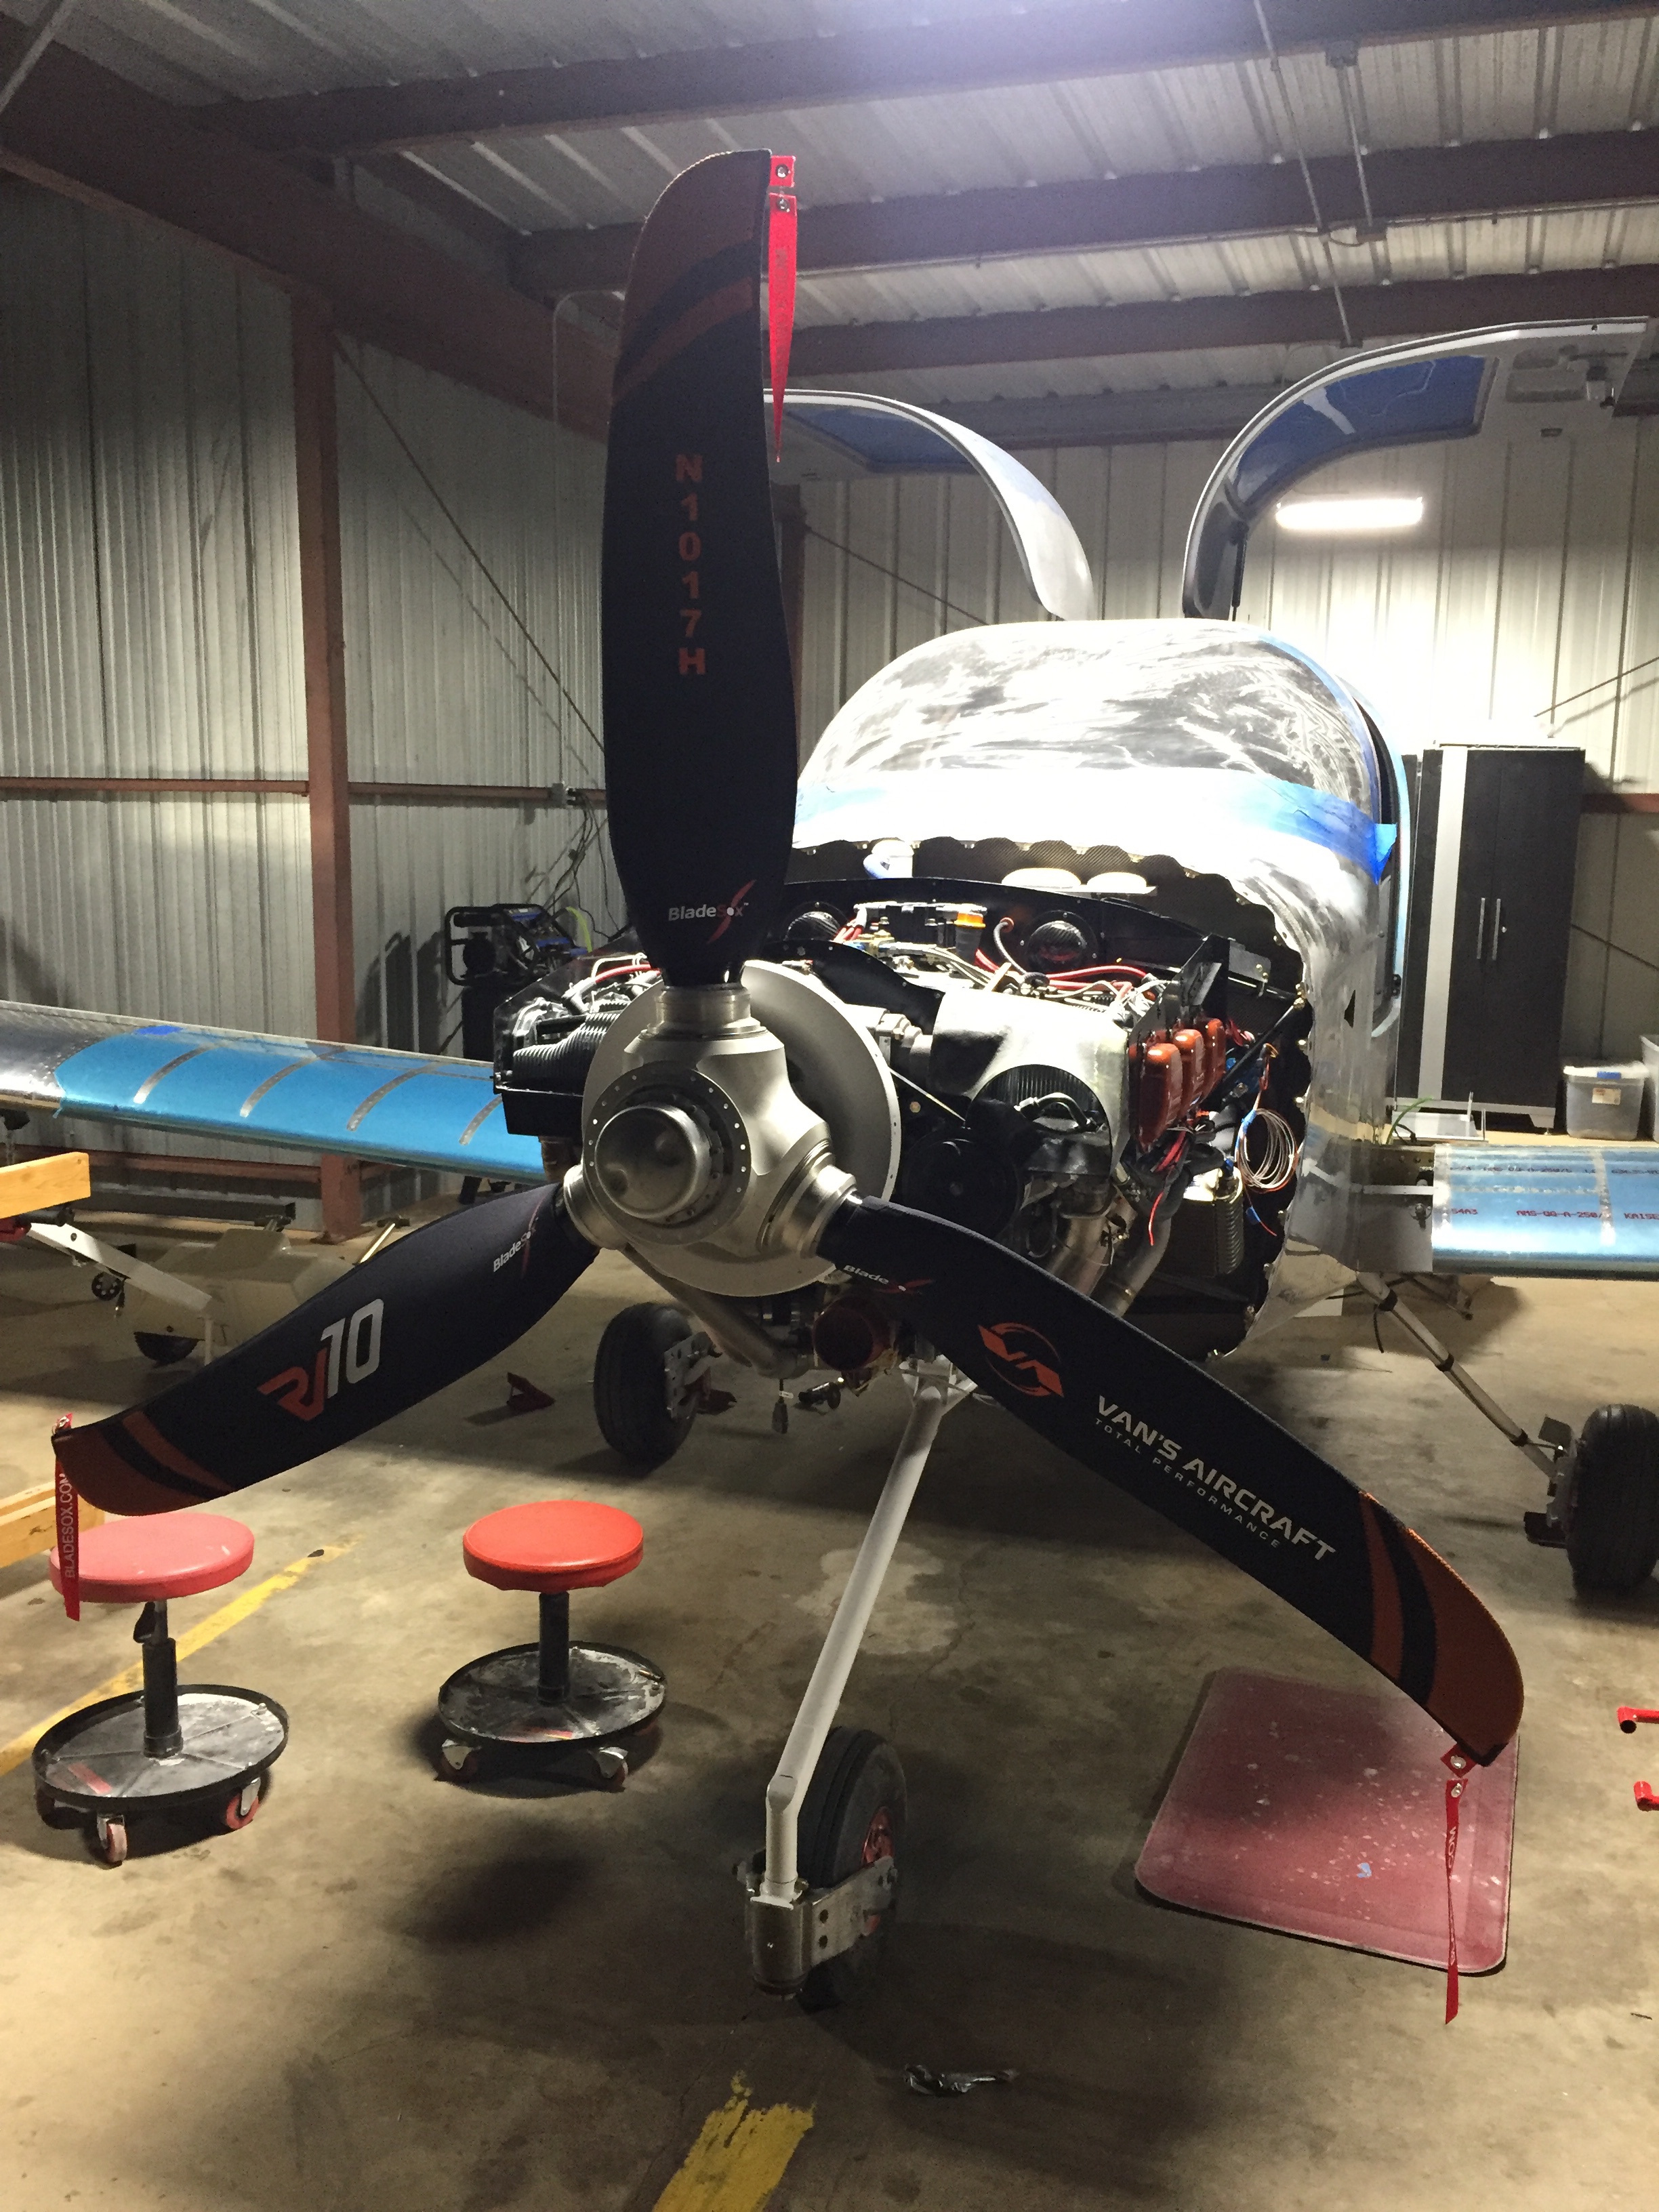
It’s really starting to look like a plane now!

