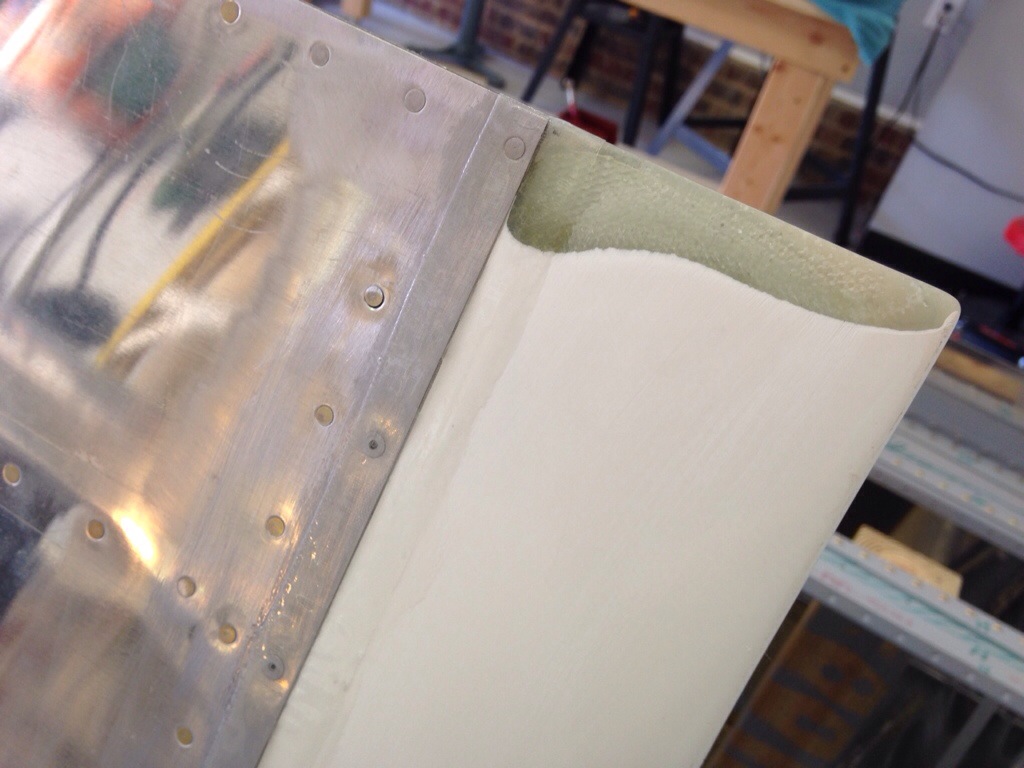
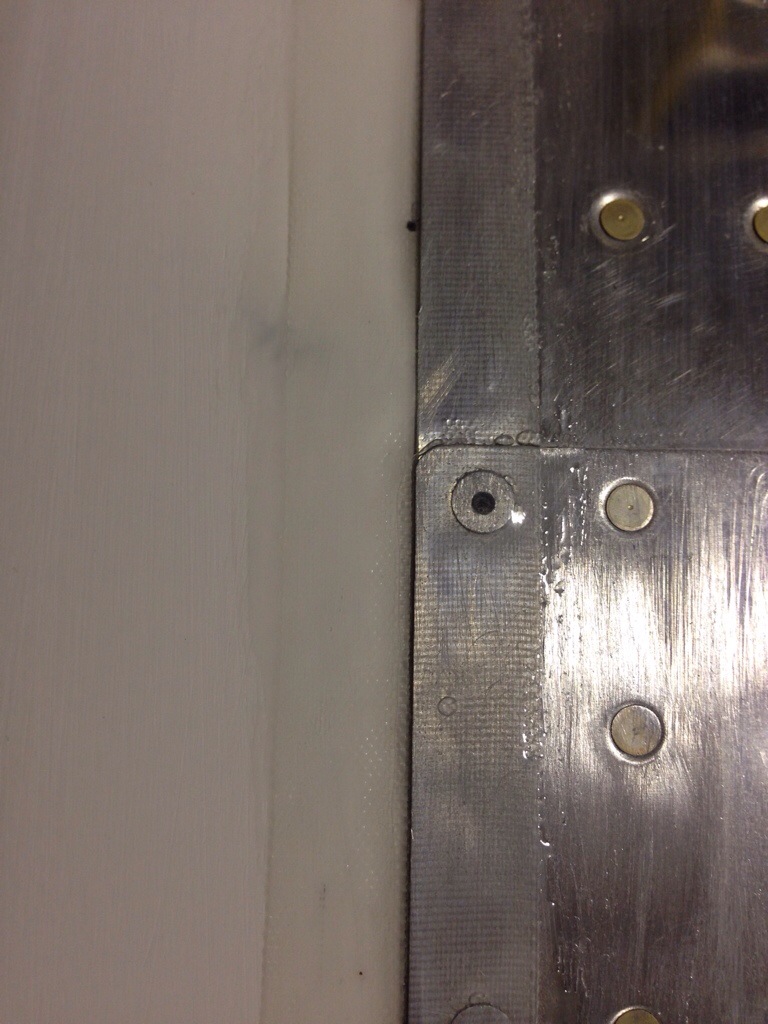
Fiberglass is very daunting to some while no big deal to others. I’m in the middle. I don’t like sanding for ever, but it’s a nice change from deburring. The tips of the control surfaces and both wings and stabilizers all are made of fiberglass and get riveted onto the aluminum. While the plans call for that the to the end of it, some builders will put a layer of glass over the joint to seal the gap, improve aerodynamics, and improve the look. Since I have plenty of time, I decided to do the same.
First step is to test fit the pieces and notch out around the trailing edge. I also needed to cut a bit off the flange so it would fit flush under the skin. Overall, these are formed pretty terribly next to the aluminum but they are old and I’ve heard Van’s molds are better now in newer kits.
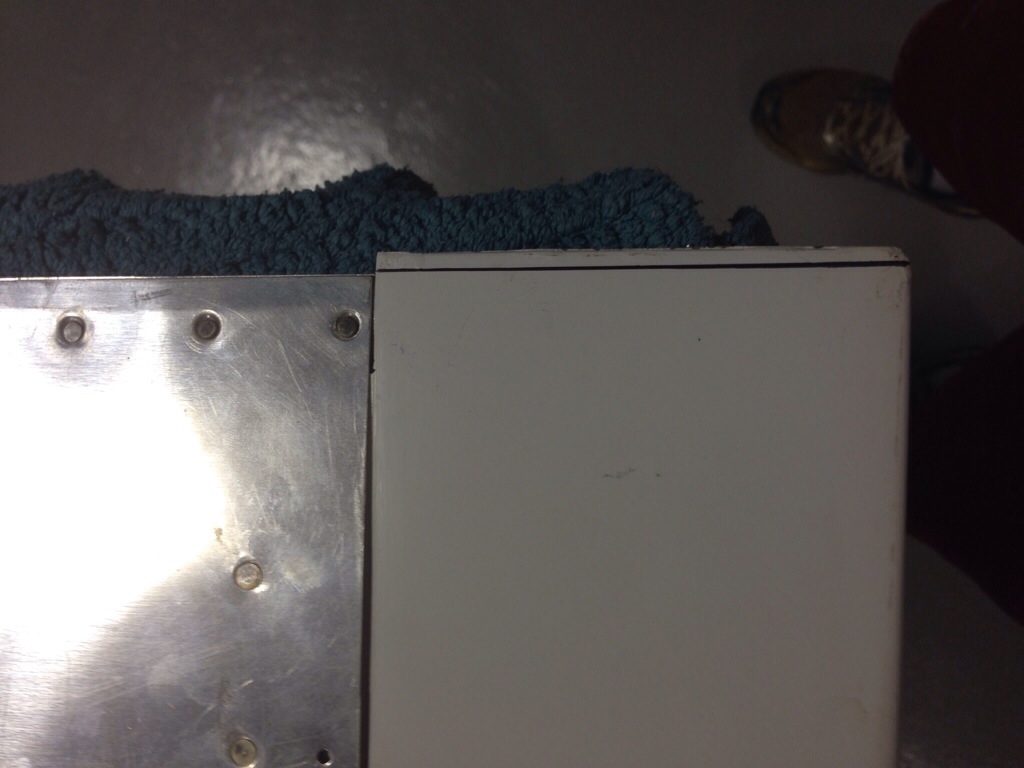
After fitting, I drilled and countersunk the fiberglass while dimpling the aluminum to take the pop rivets. This was pretty straight forward and the only exception I will make is to put nut plates and screws on the bottom rudder fairing so I can access the nav light.
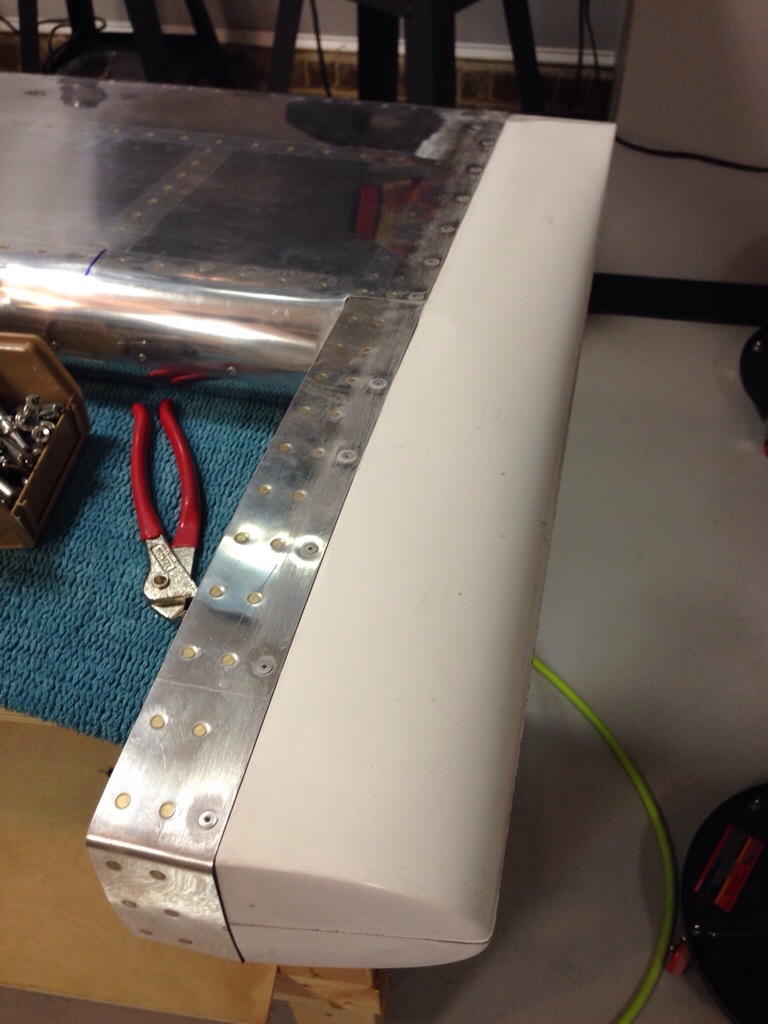
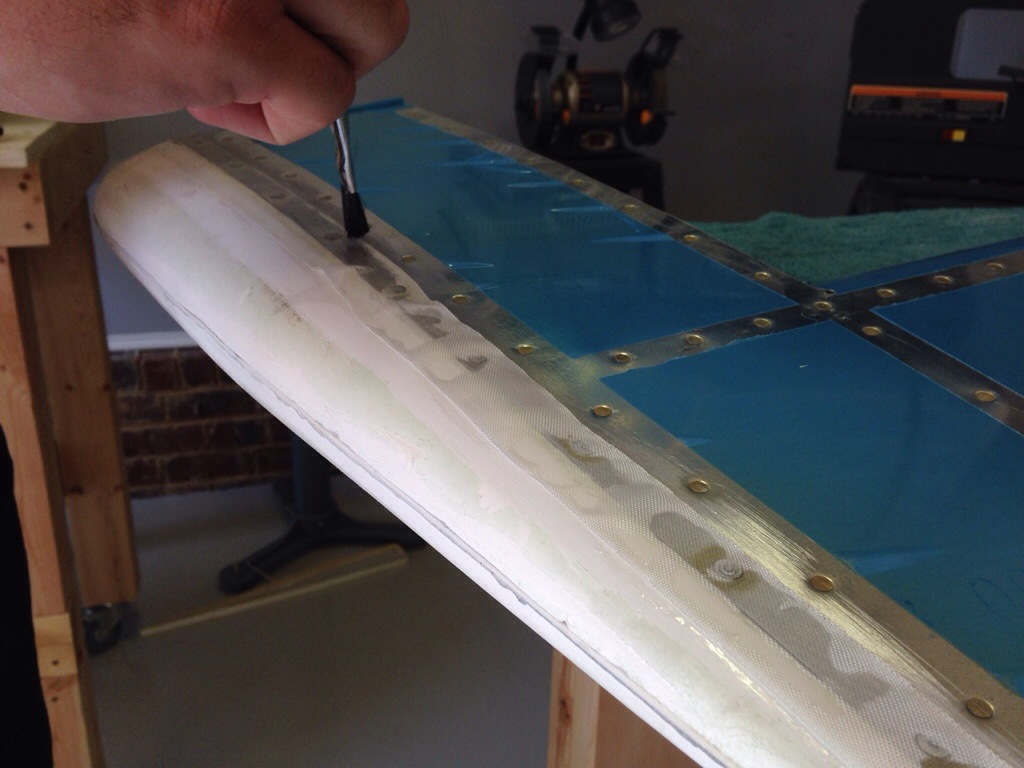
The first step in glass thing joints is scuff the area with 80 grit sand paper so the resin has a bit more bite surface to it. I then mixed up the West Epoxy system with the slow hardener and painted on a thin coat. I used a 1″ glass strip cut to size and laid it on the wet epoxy. Others have done more than one layer, but I plan on sticking with just one. Make sure that all the fabric gets soaked and minimize the excess then just let it sit. I did apply a bigger piece on the leading edge of the rudder tip since it was formed shorter than the aluminum structures. I’ll layer one or two more times to build up the difference then fill this with micro and create a nice smooth surface.
The trailing edge cut required a bit of sanding down to match the profile of the elevator. I used my belt sander which worked really well as long as I was careful to watch the shape and amount taken off.
This is the final result of the first glass laid on the project. I’m pretty happy with it. Next step will be some sanding and then a layer of micro to smooth it all out. Sand and repeat, I’m sure.

