About 375 pounds to be exact, all on your front end!
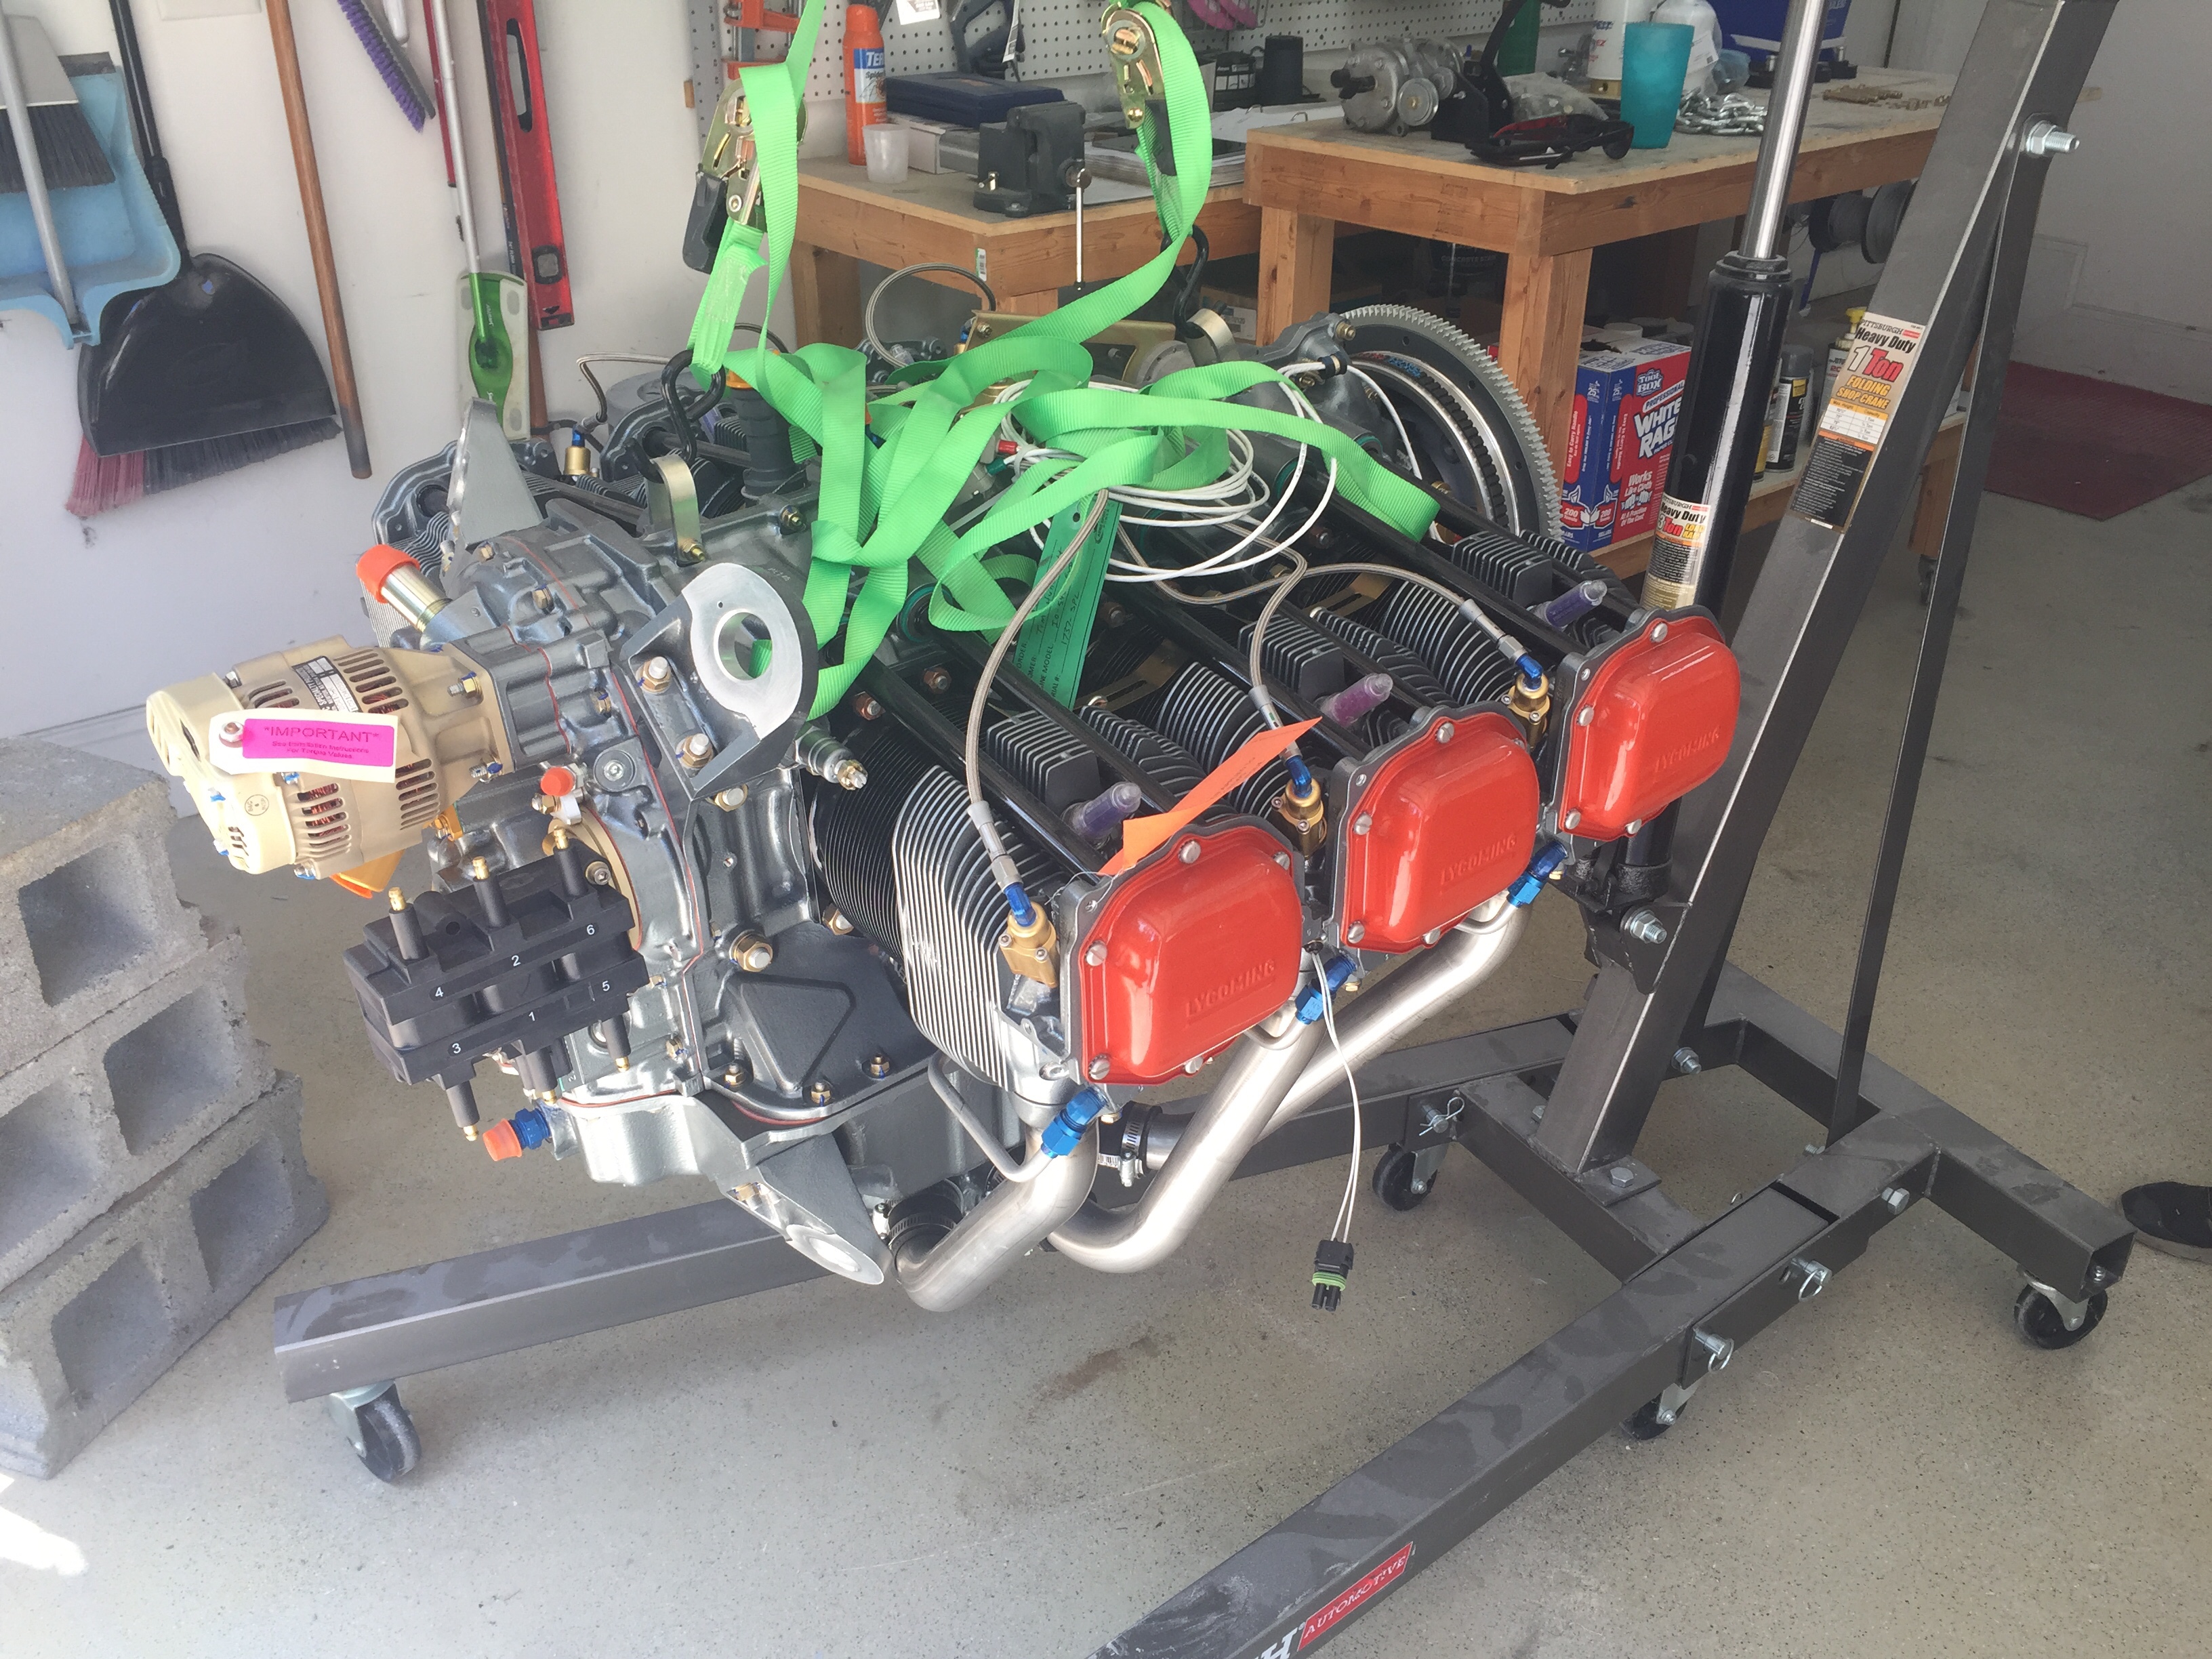
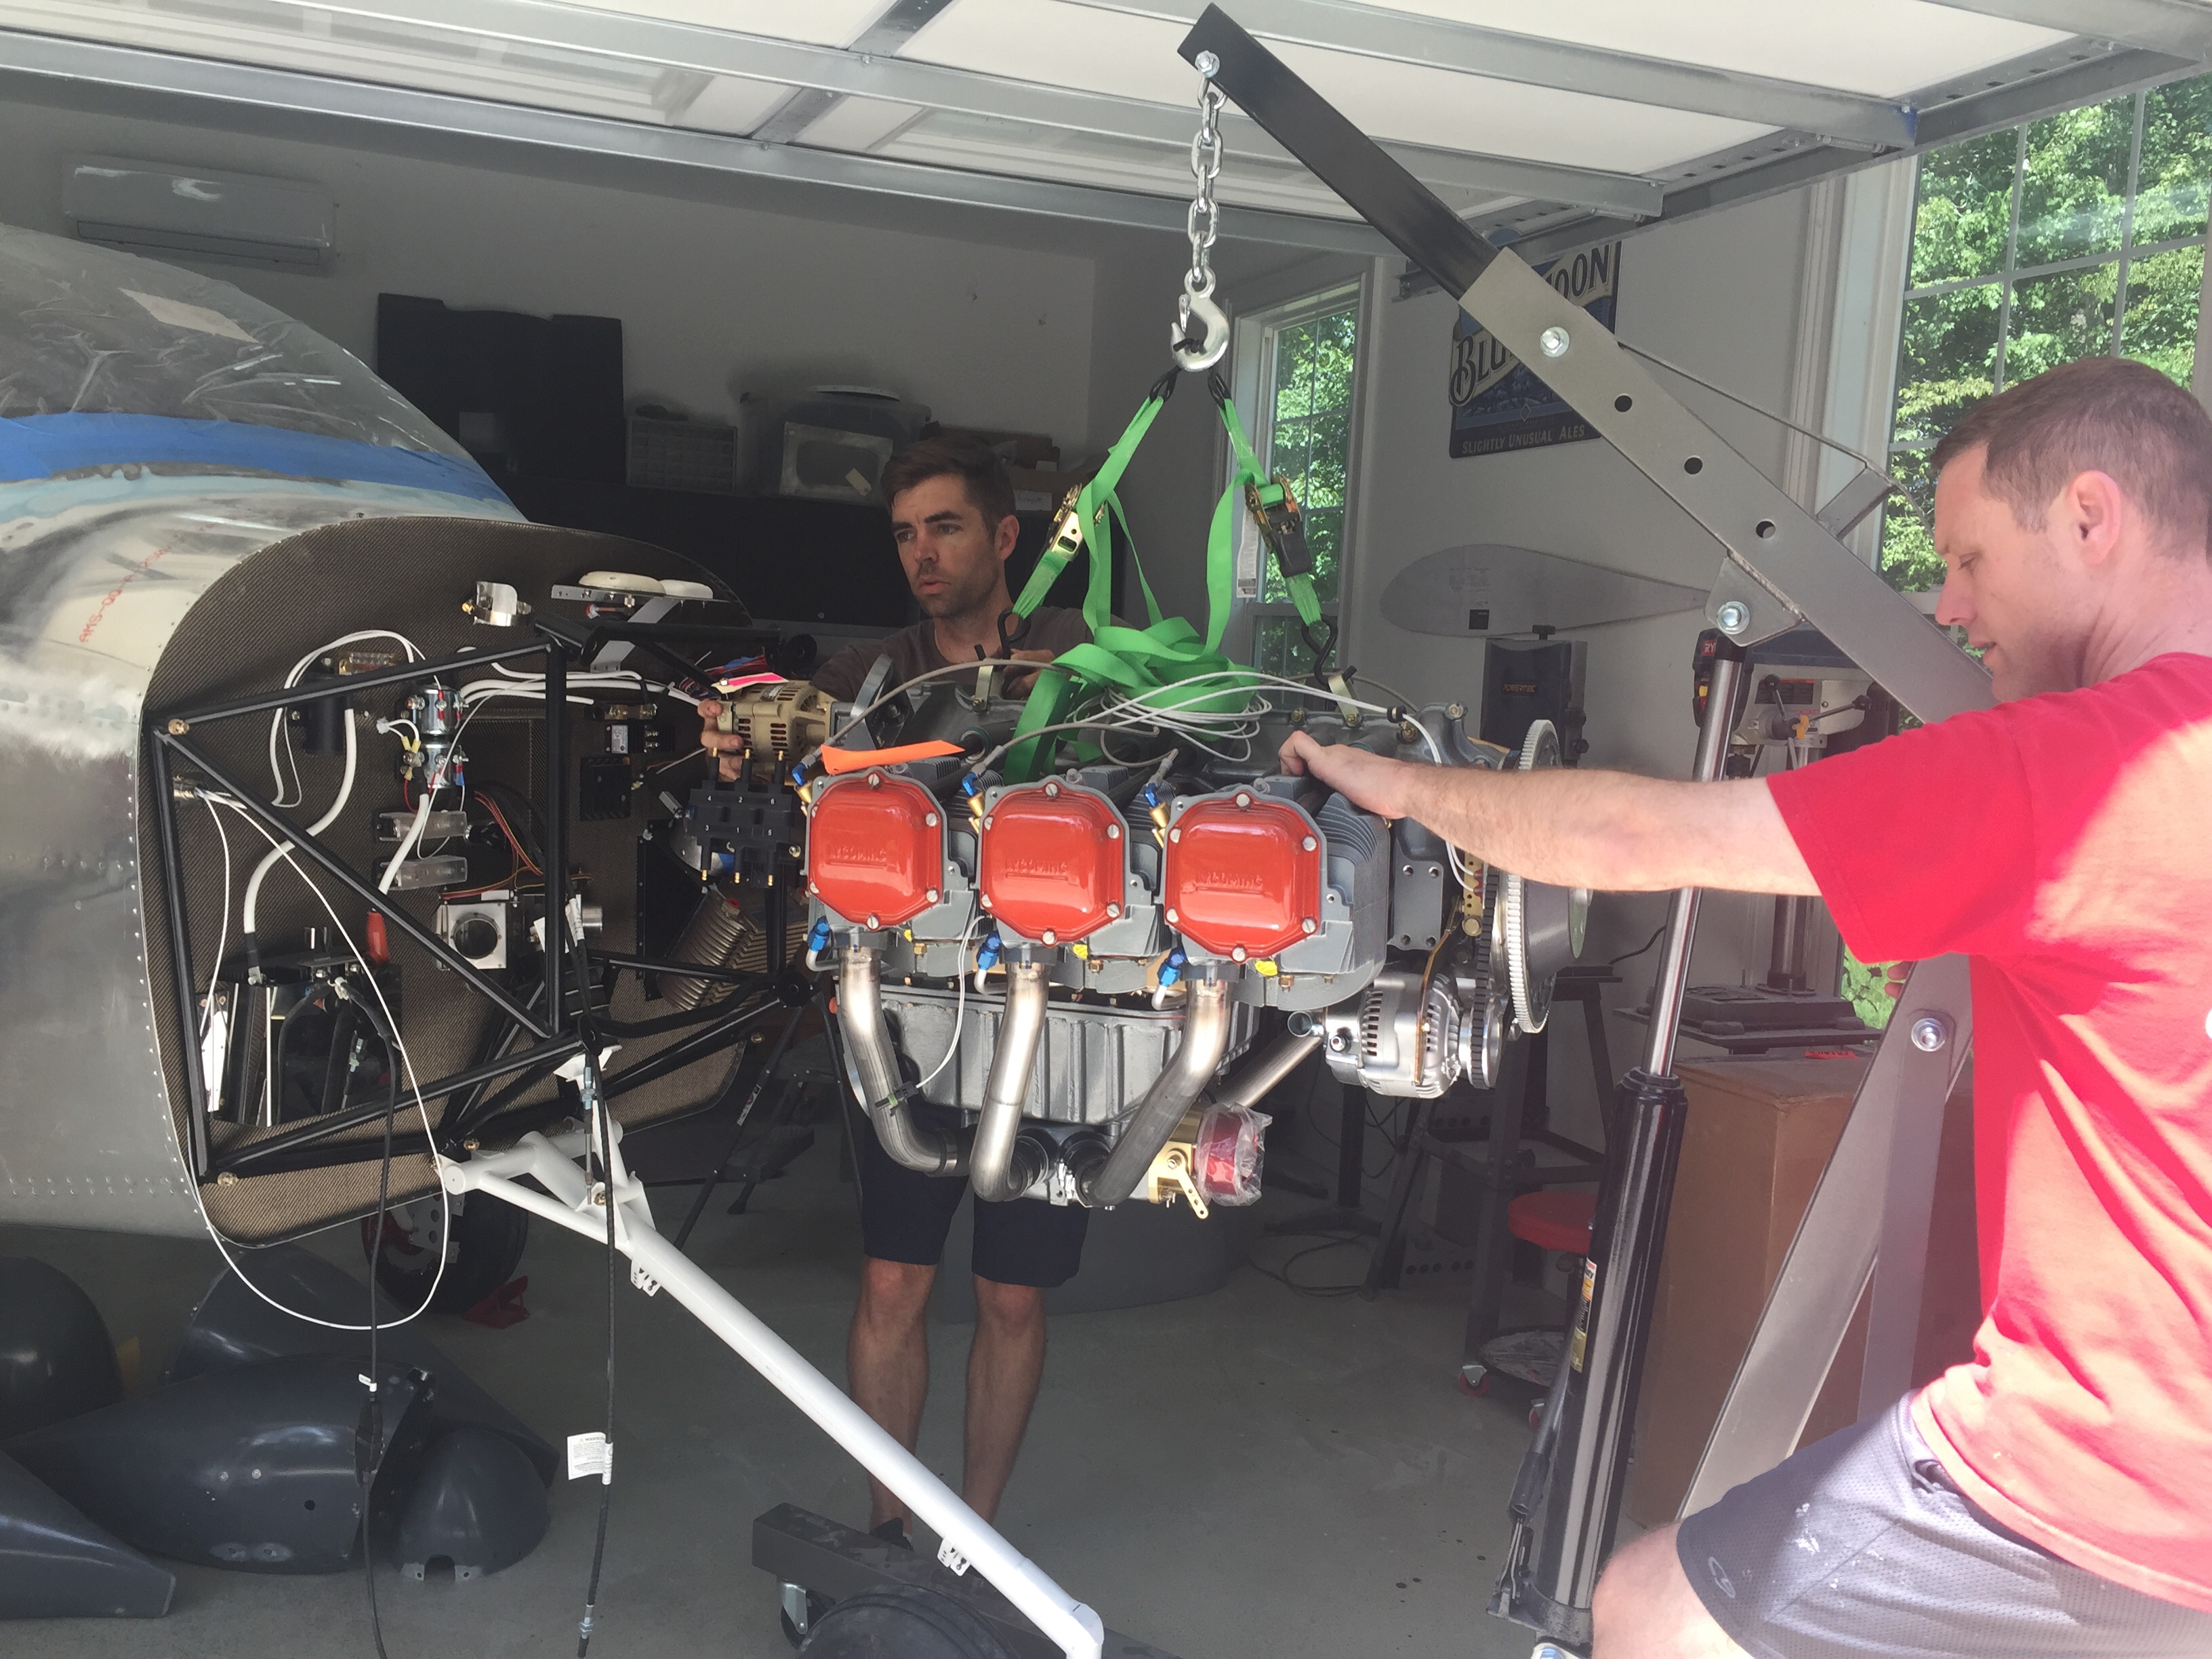
I enlisted the help of friend/flier/builder/neighbor Dan Olsen to help me hang this piece of art on the front end. I had done a little prep work such as sealing a few penetrations in the firewall that would be tough to get to and removed the air oil separator, as I was pretty sure my original location would interfere with the back up alternator.
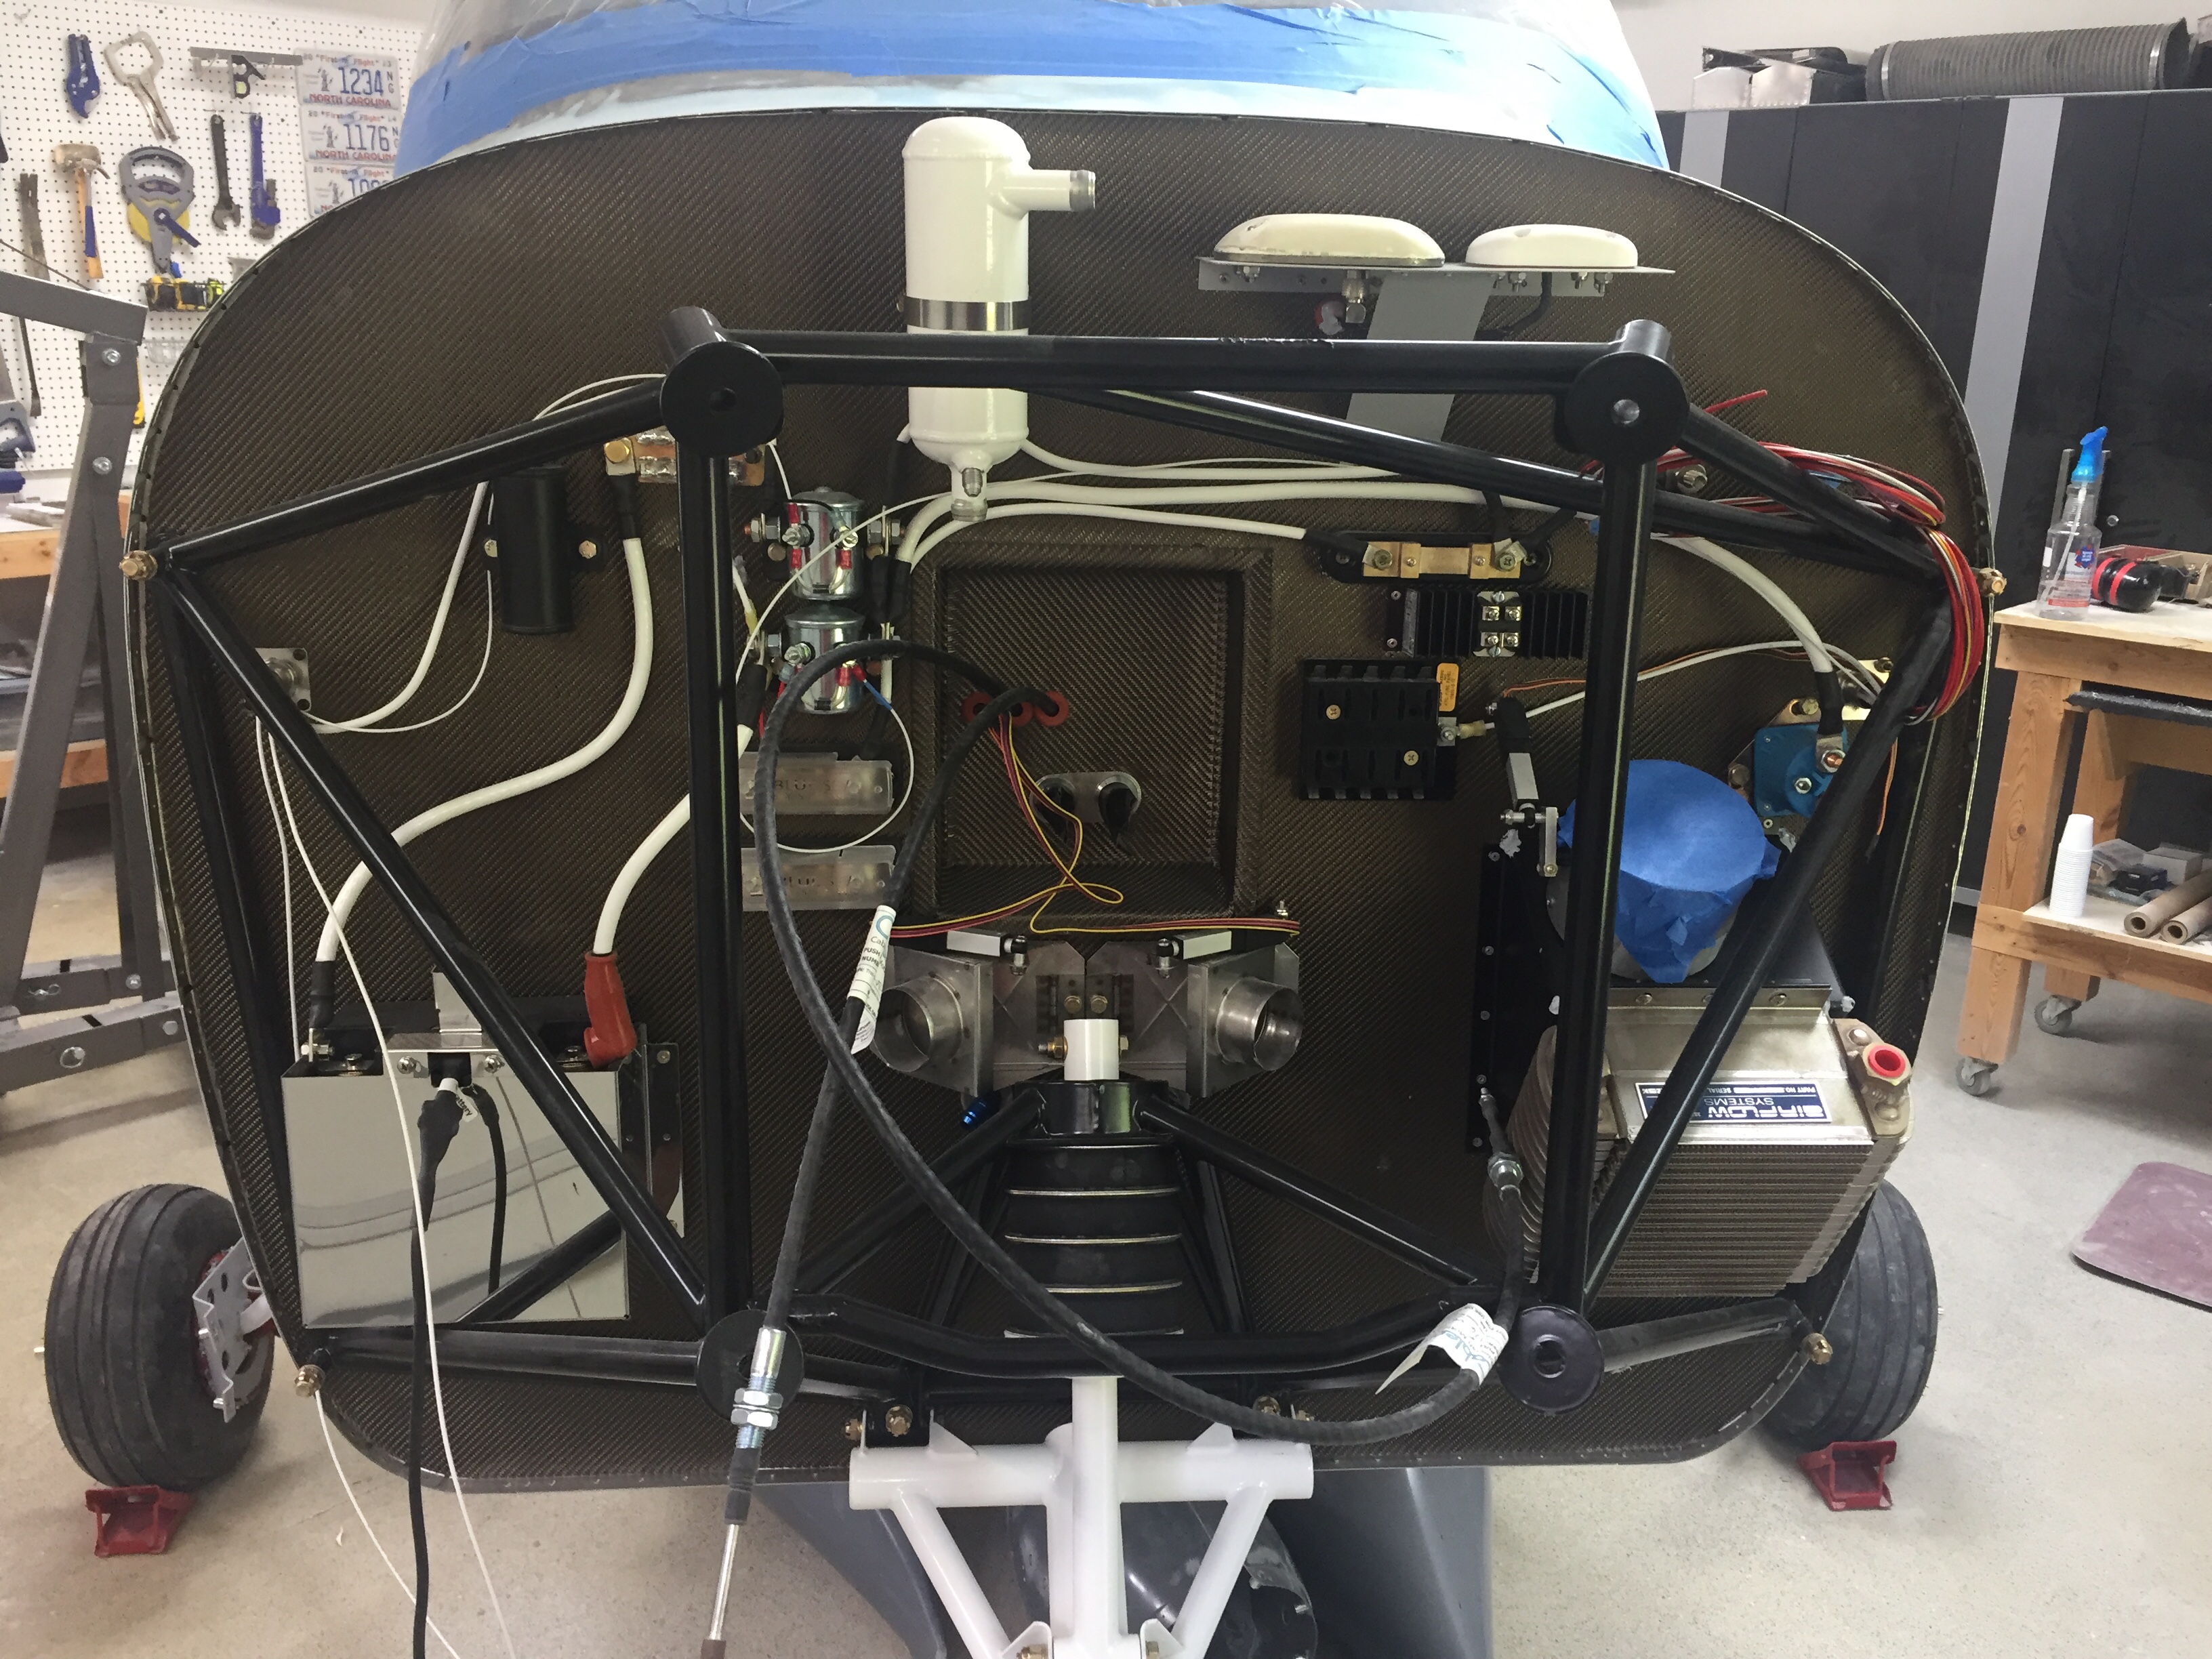
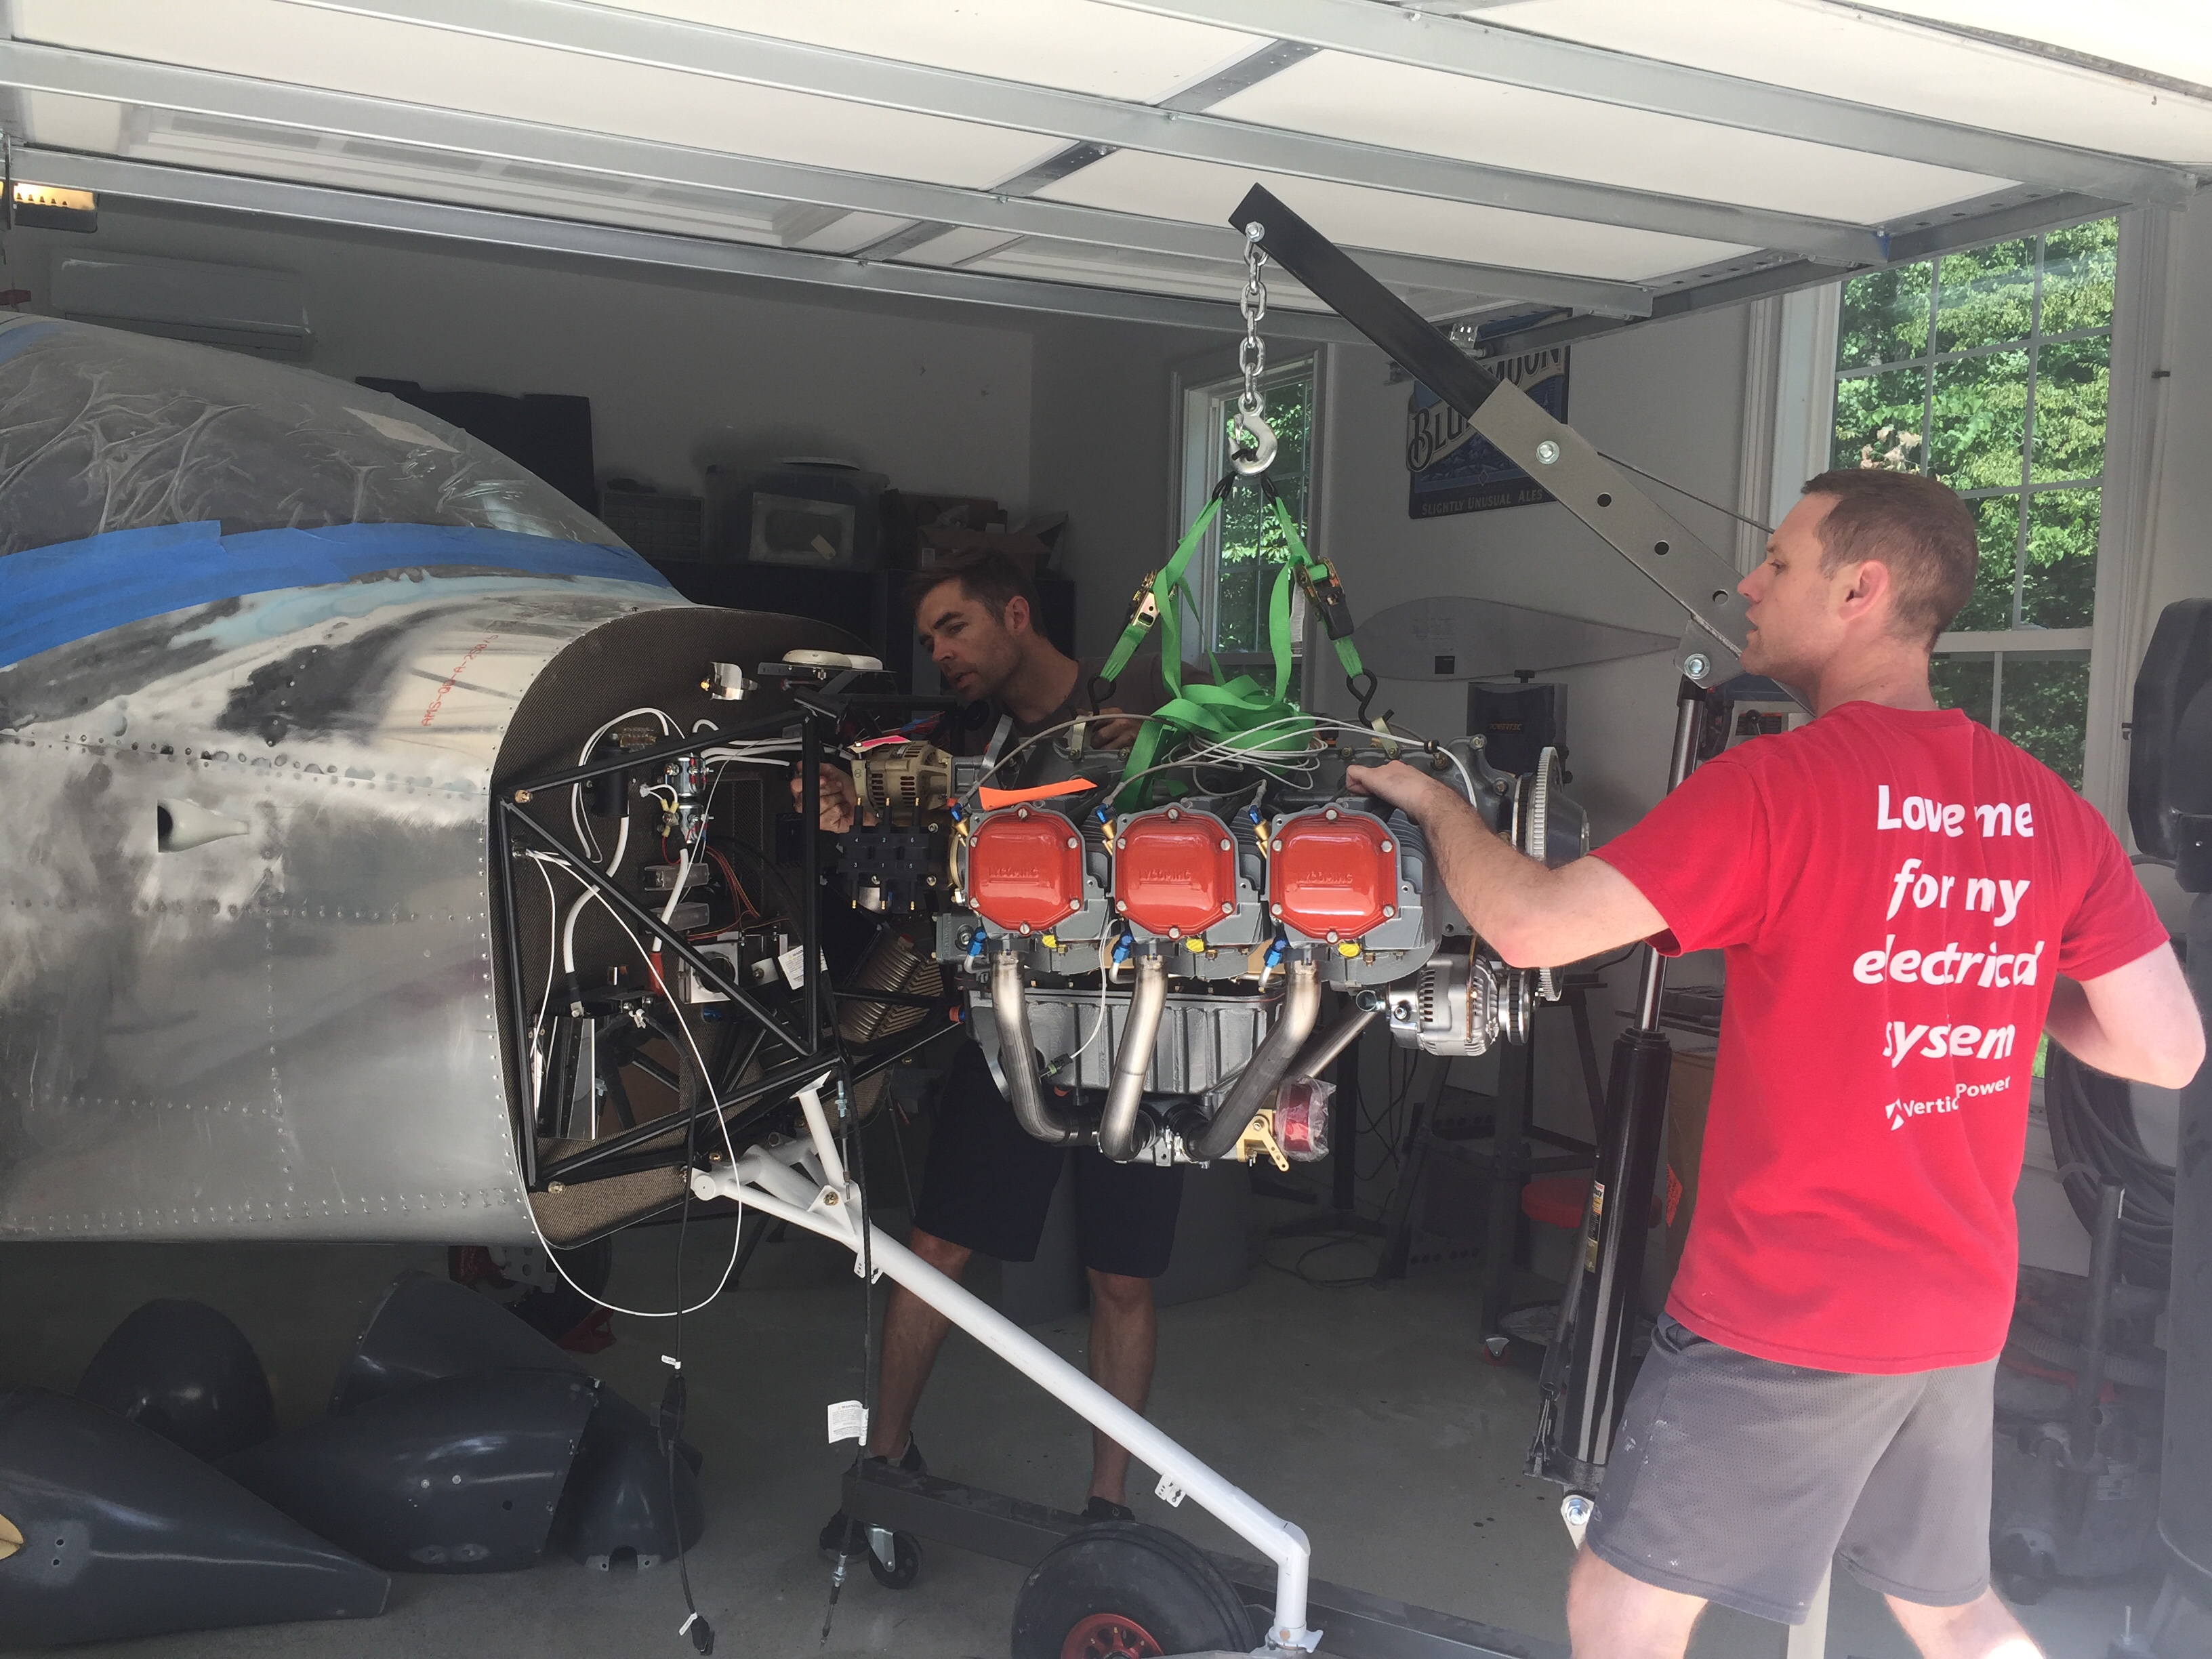
Some folks have had a lot of headache while hanging the engine while others have thrown it right on. Overall, I’d say we were towards the later, as the engine behaved admirably and didn’t give us too much trouble. We supported the tail of the fuselage to put the nose gear on the ground and used ratchet straps on the engine hoist so we could adjust the angle of the engine relative to the engine mount.
The top mounts went on easy, of course, and we secured the hardware enough to hold it in place. The lower bolts were the more difficult ones, as with the dynafocal mount, the engine needs to be nested in the mount but gravity is working against you. We found that using a easy grip clamp helped hold and compress the mounting pads enough that the bolts were able to be tapped in without much force. It all sounds simple and easy but was 30 minutes of tough work and a lot of maneuvering tools.
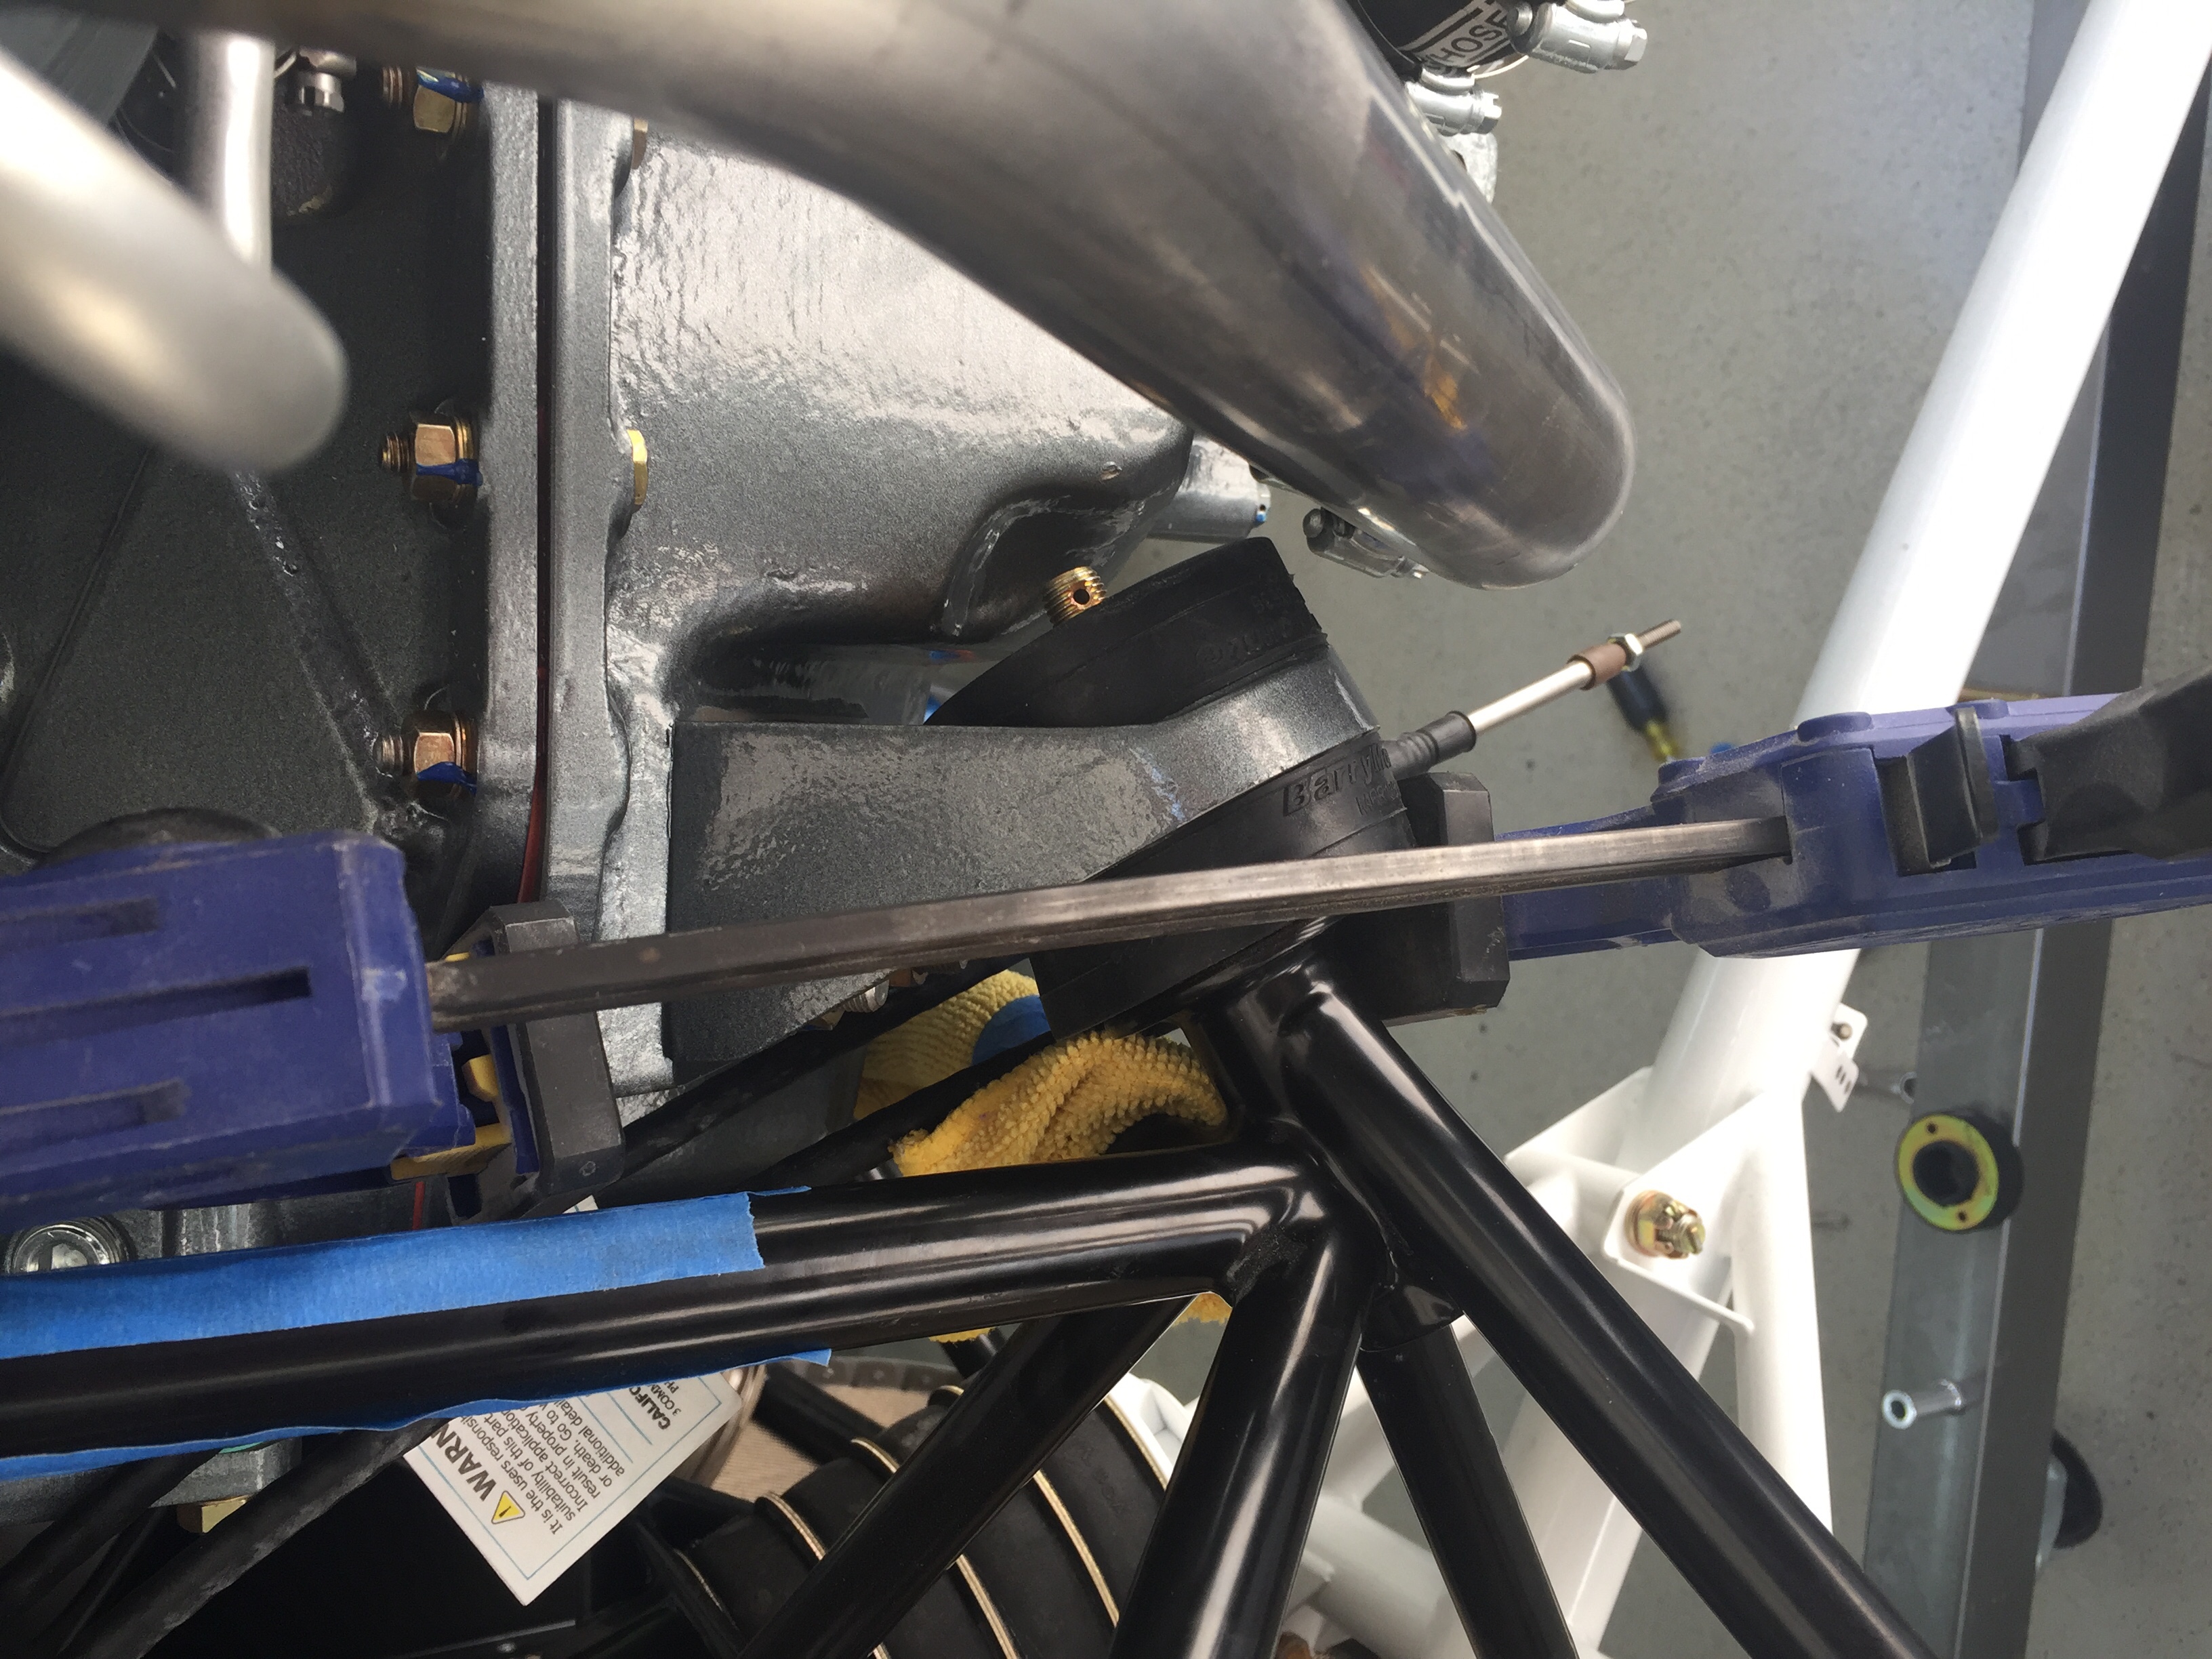
Four bolts in and we have an engine! Remarkable that all of the force, torque, and stress is secured with four bolts. The mount modification by Barret was perfect for the cold air induction and it’s nice to have the fuselage balanced nose heavy now so no more tail stand required! She is officially a tricycle aircraft now, not a four wheeler.
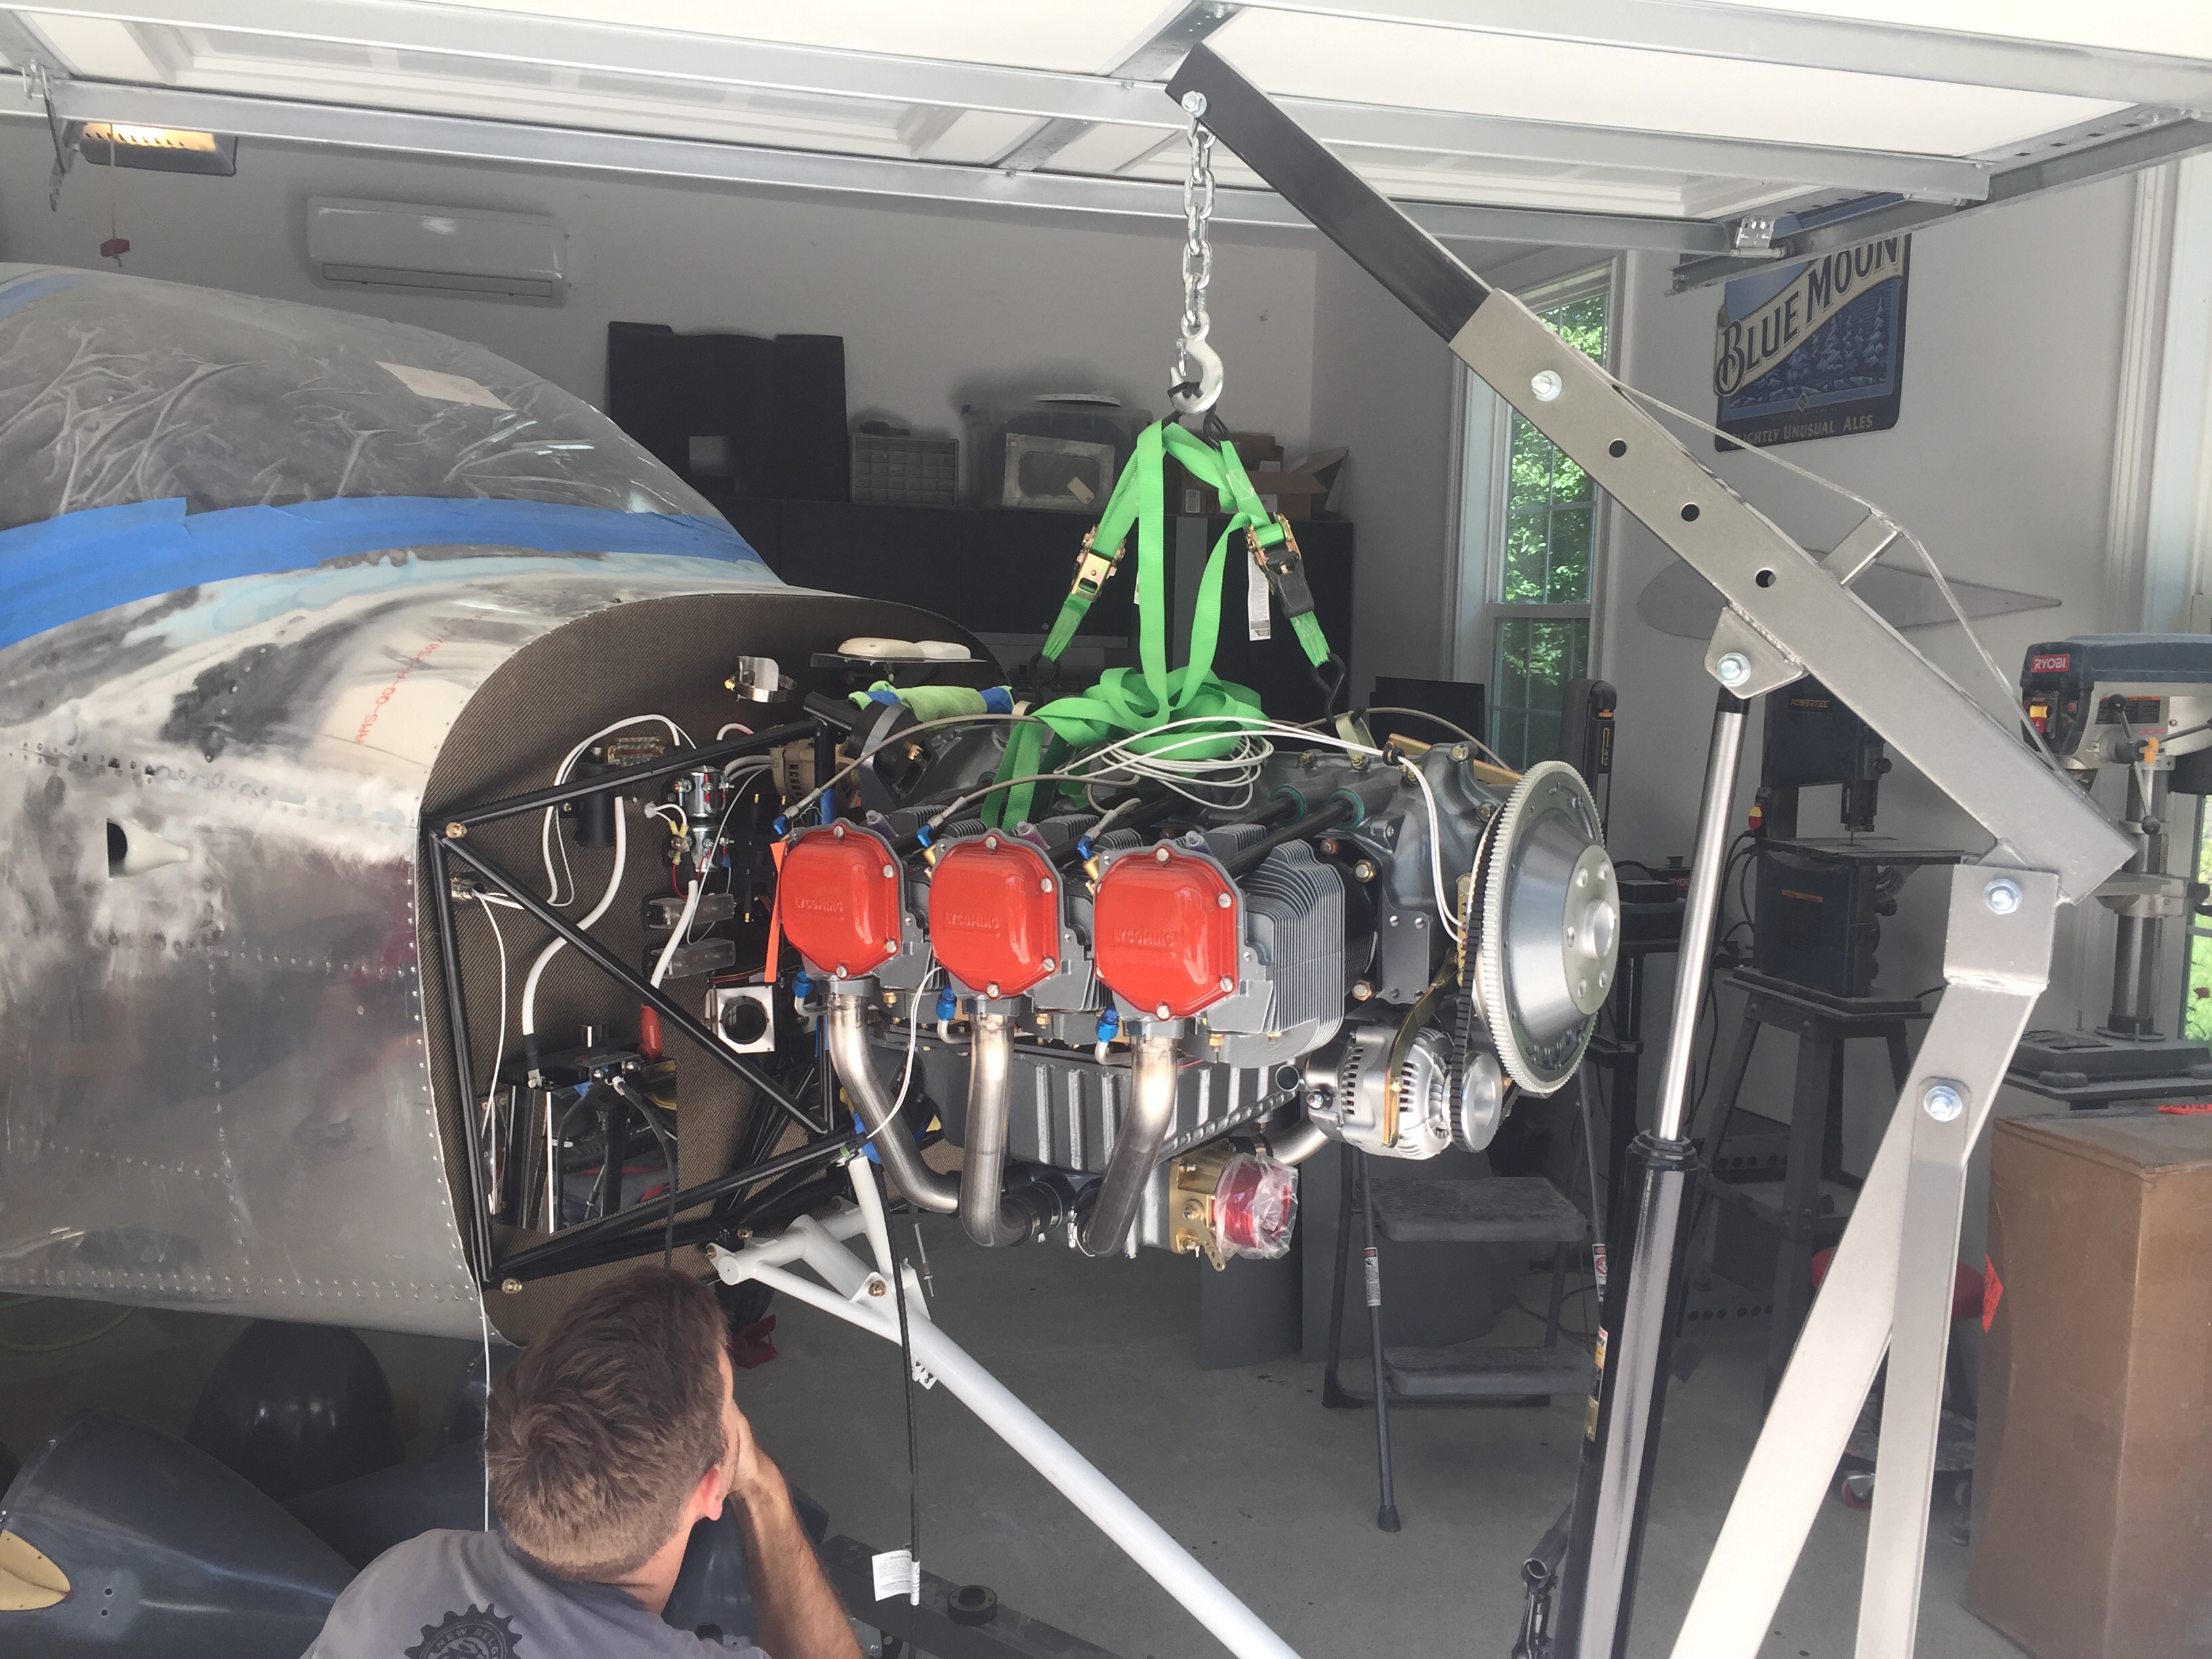
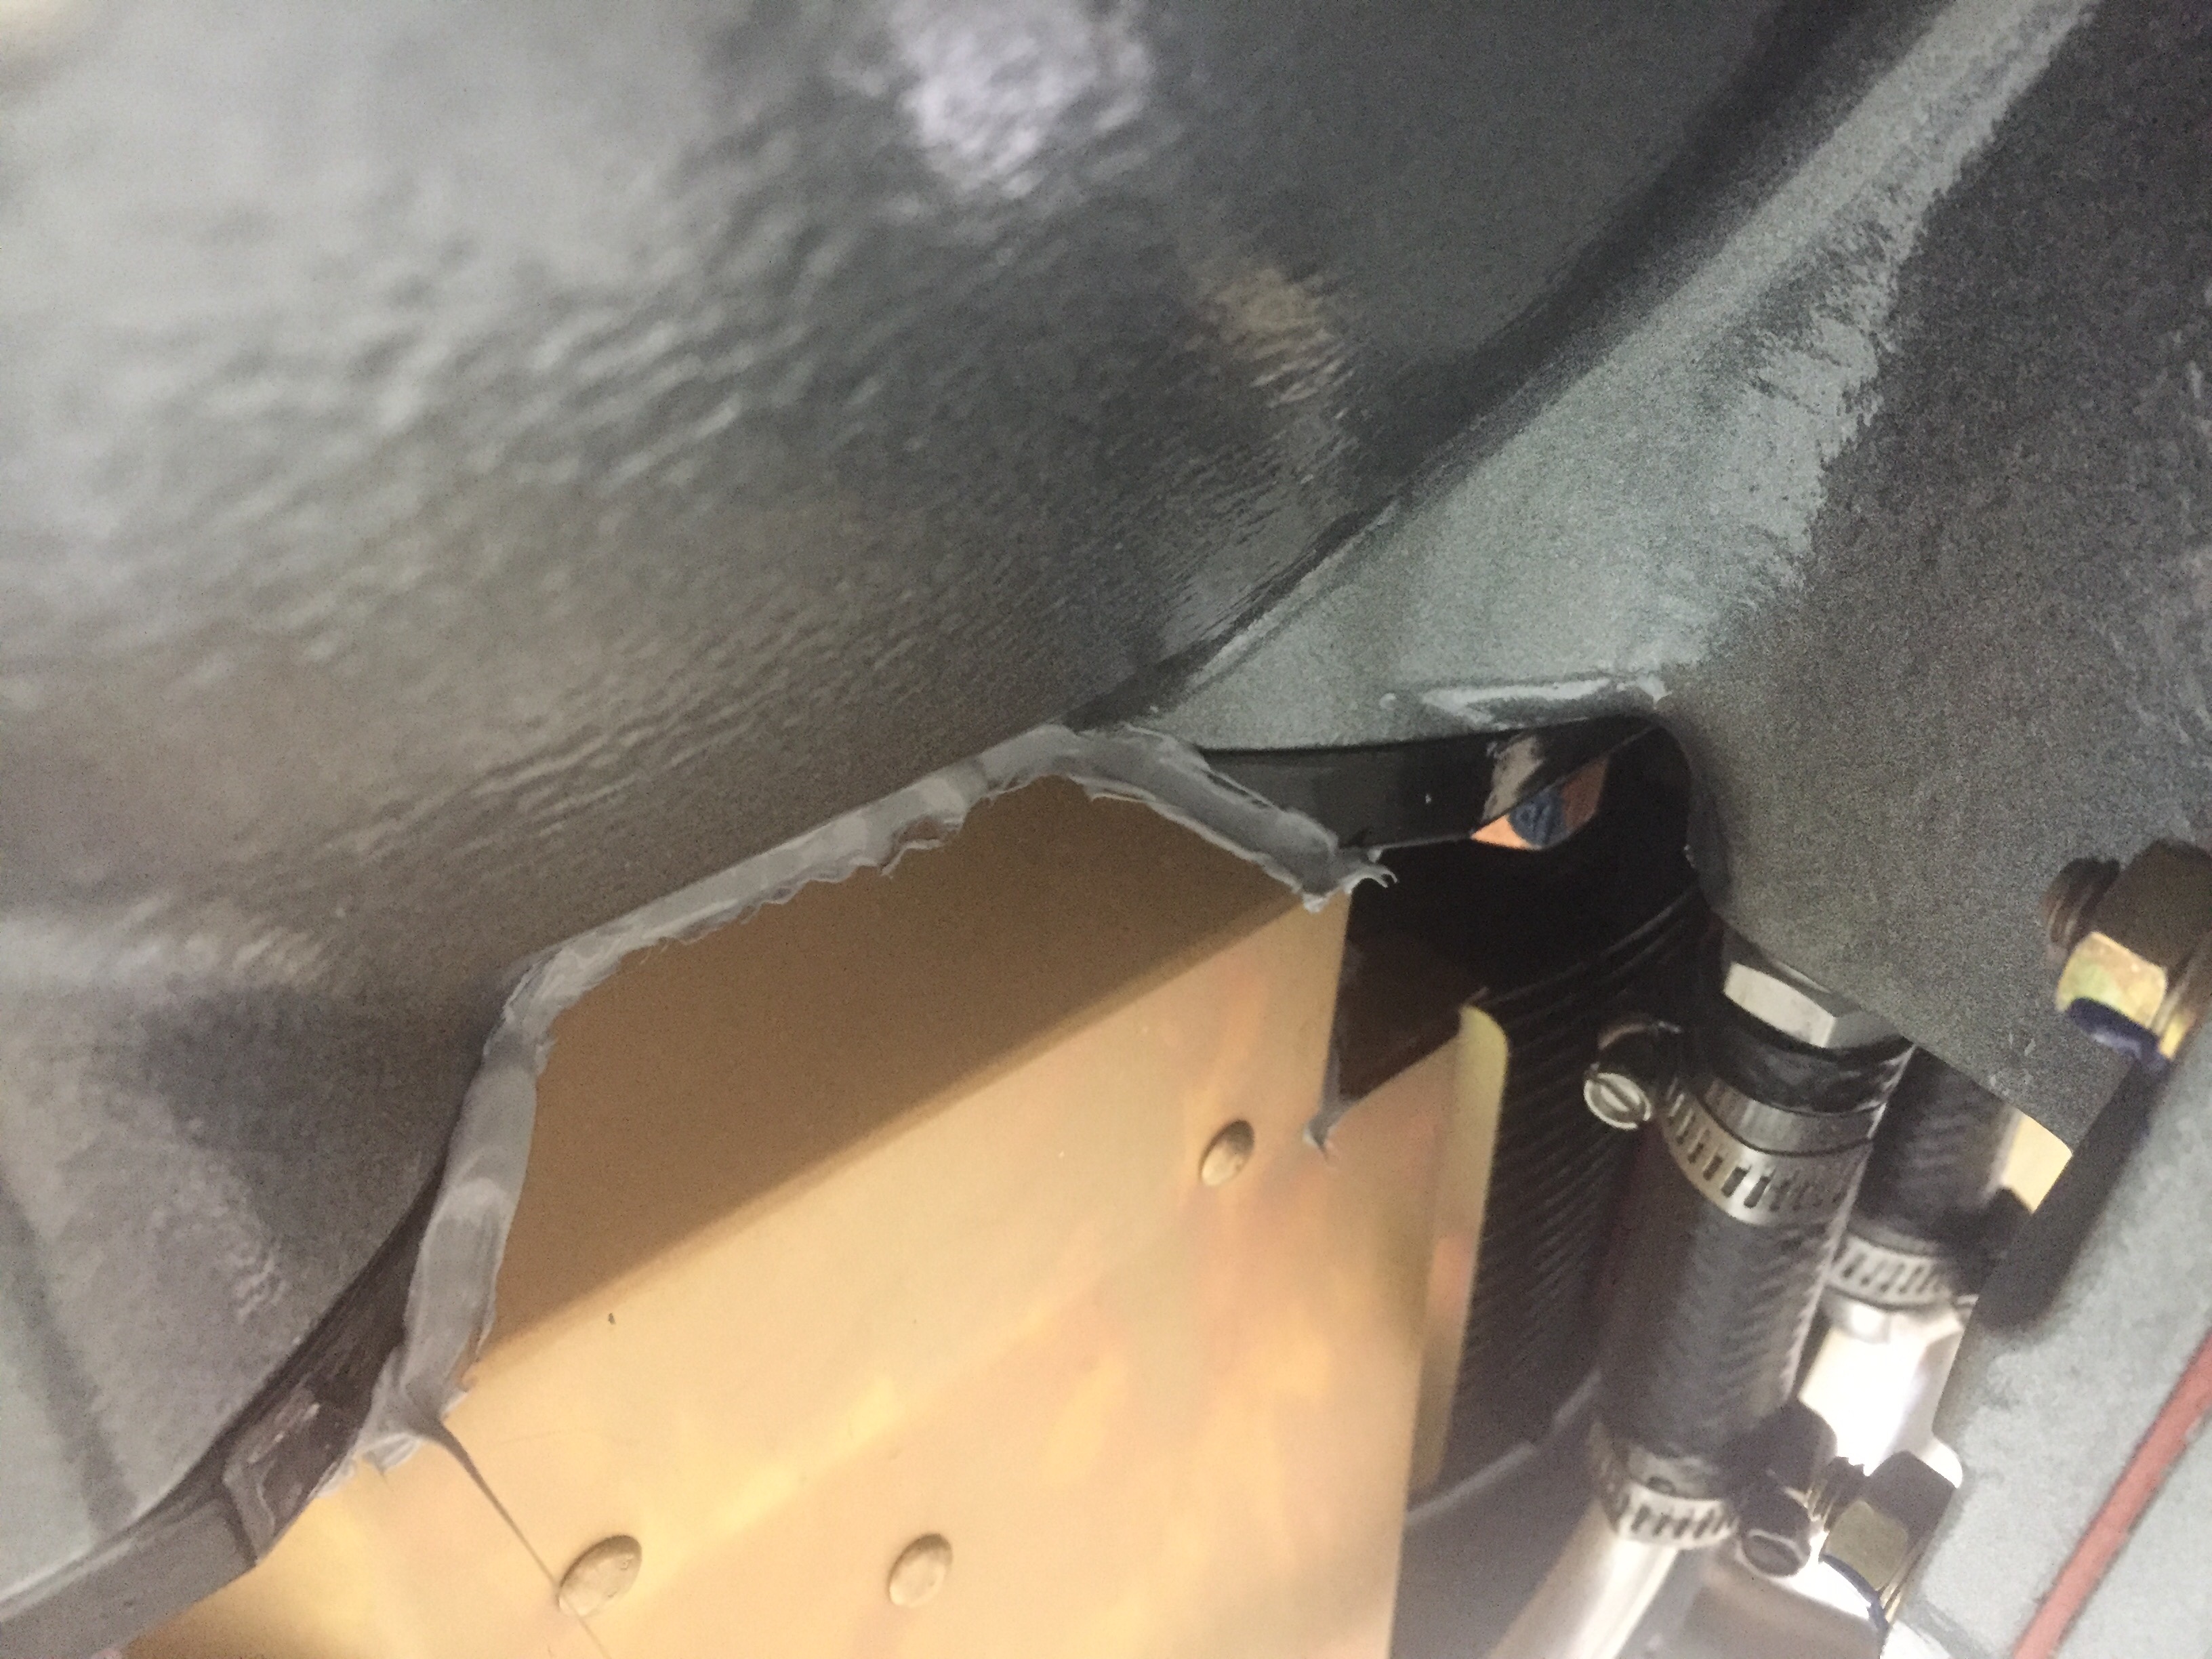
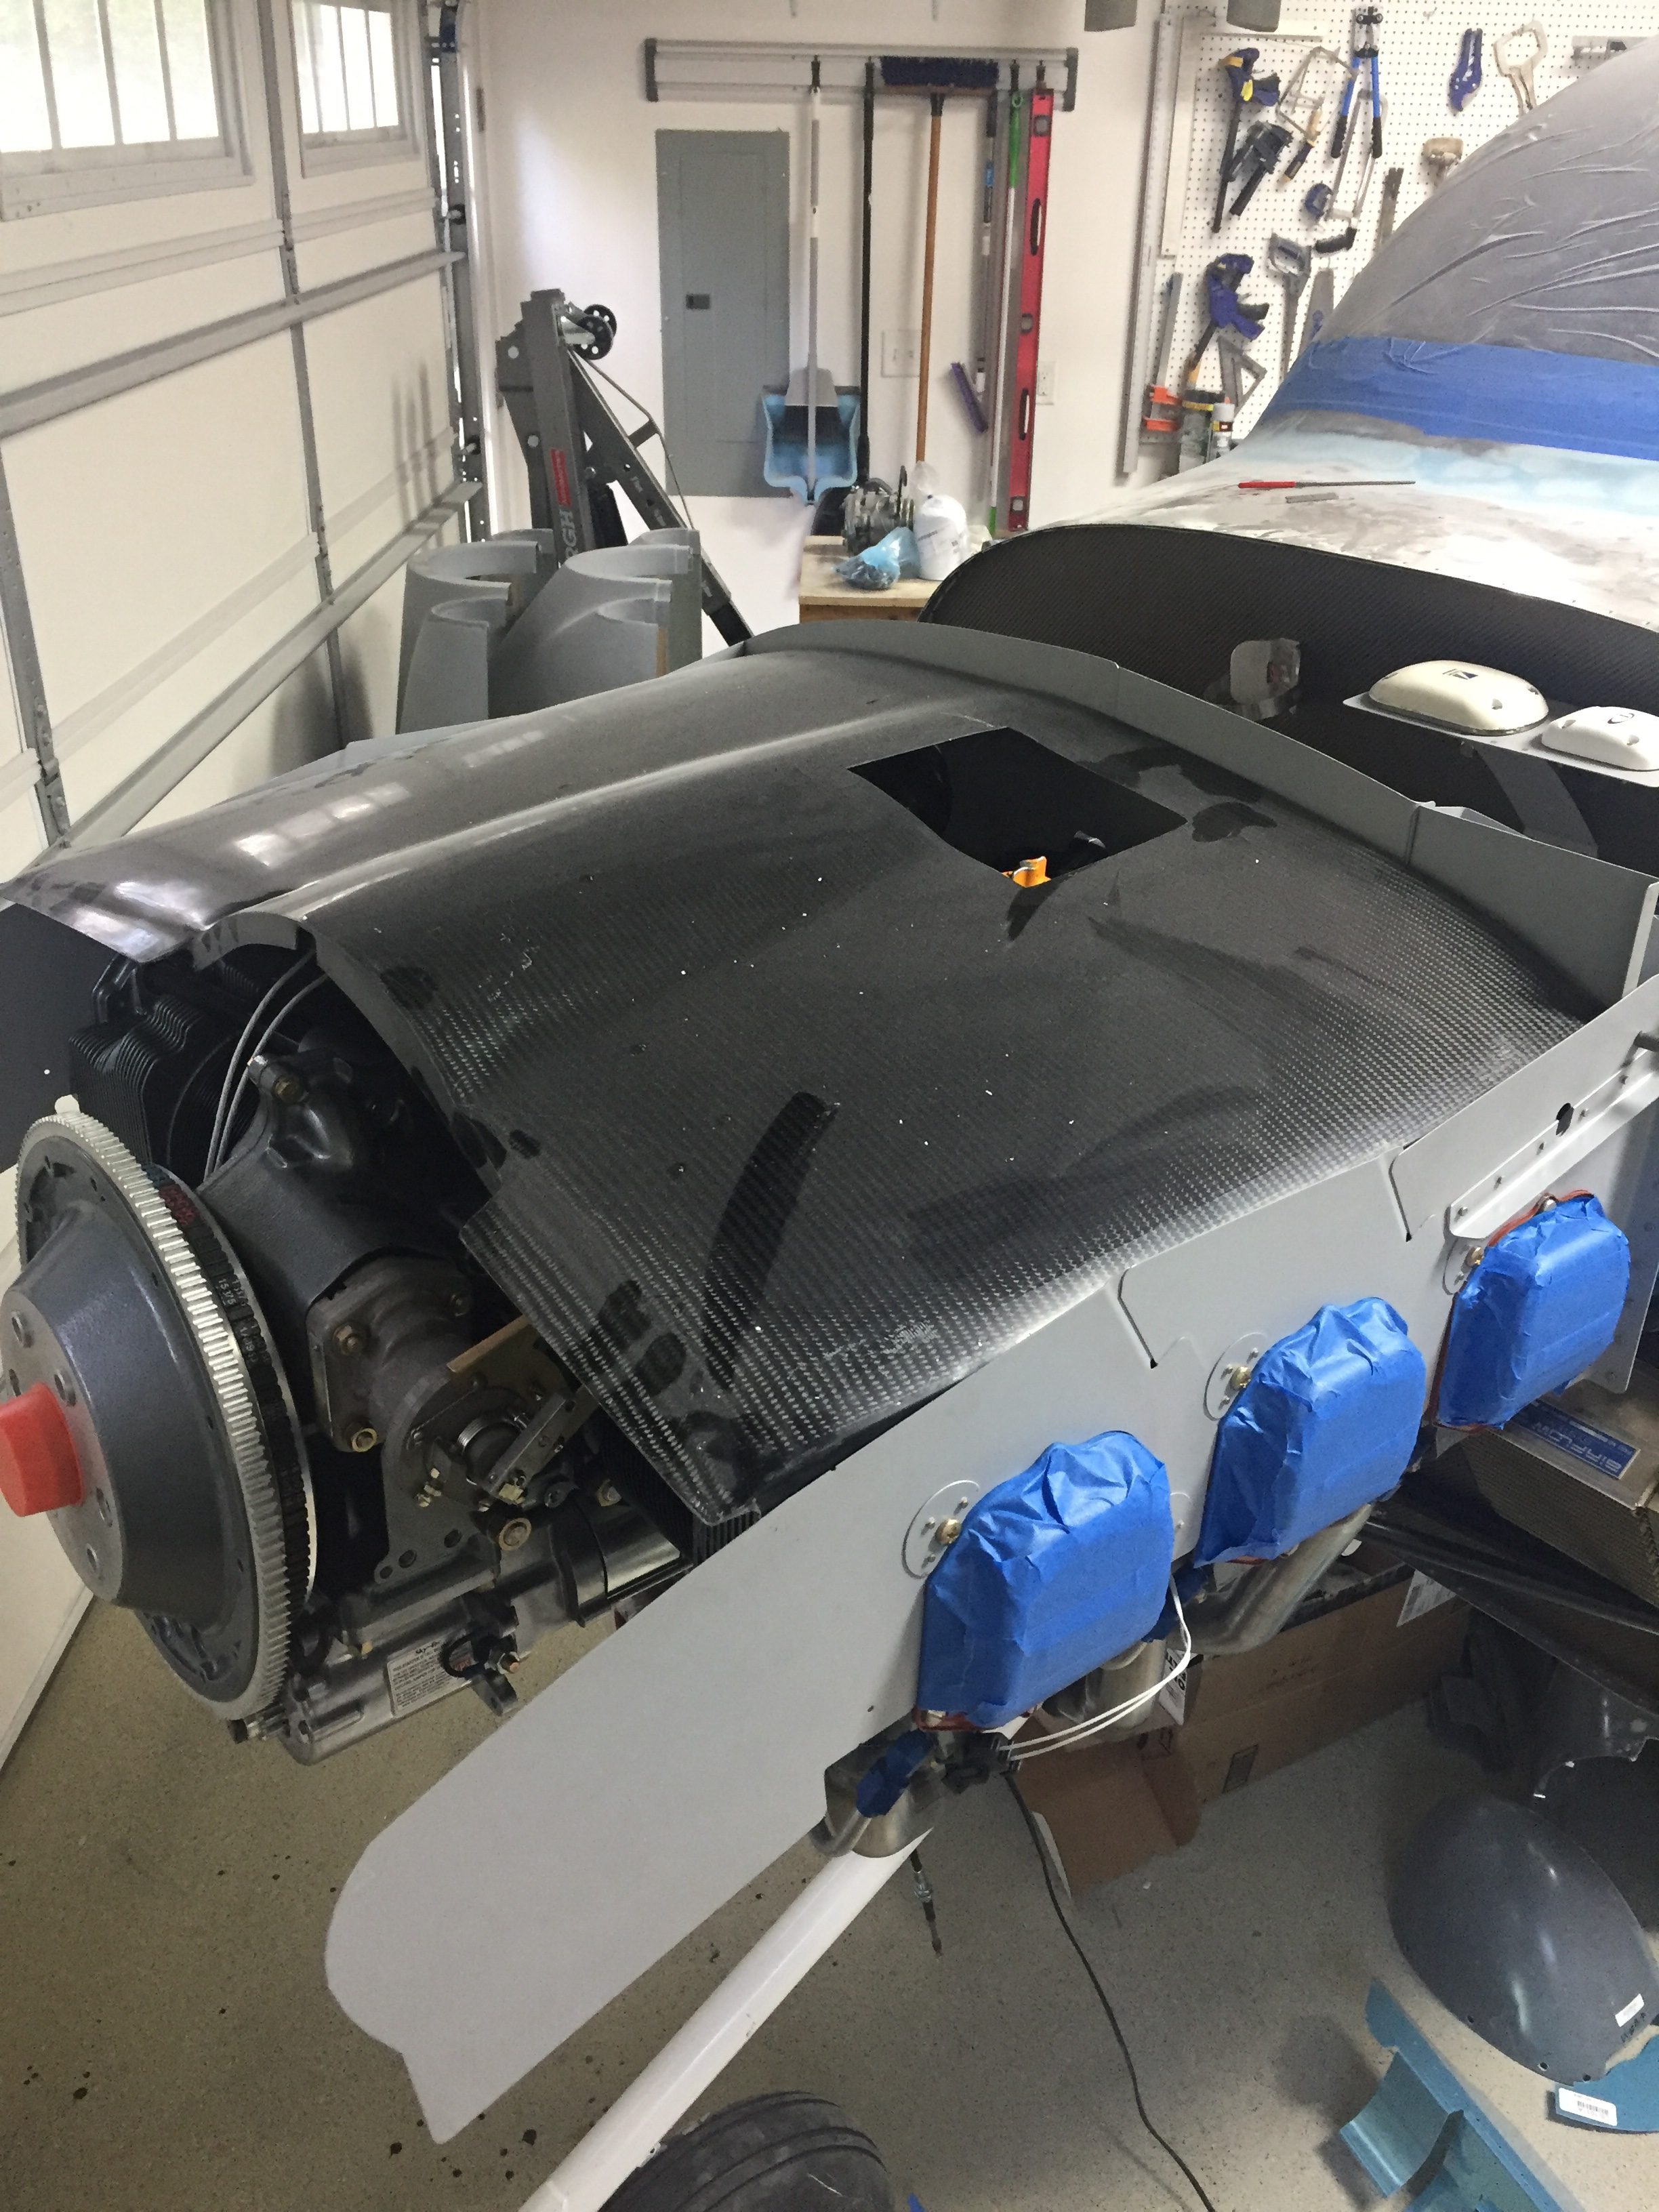
I took some extra time and used my sealant gun to really seal up the factory intercylinder baffles well. I’ve researched and discovered this is critical to keeping cooling air traveling through the intended paths and fins which helps control CHTs in flight. Doing it now before accessories and exhaust are mounted makes the task doable and the sealant gun with curved nozzles makes it easy. It was actually really fun finding all the little spots to seal up and visualize where are can escape from the cooling envelope. It also makes a lot of sense how you can not get great cooling from a stock engine and baffle setup without some extra TLC such as this.
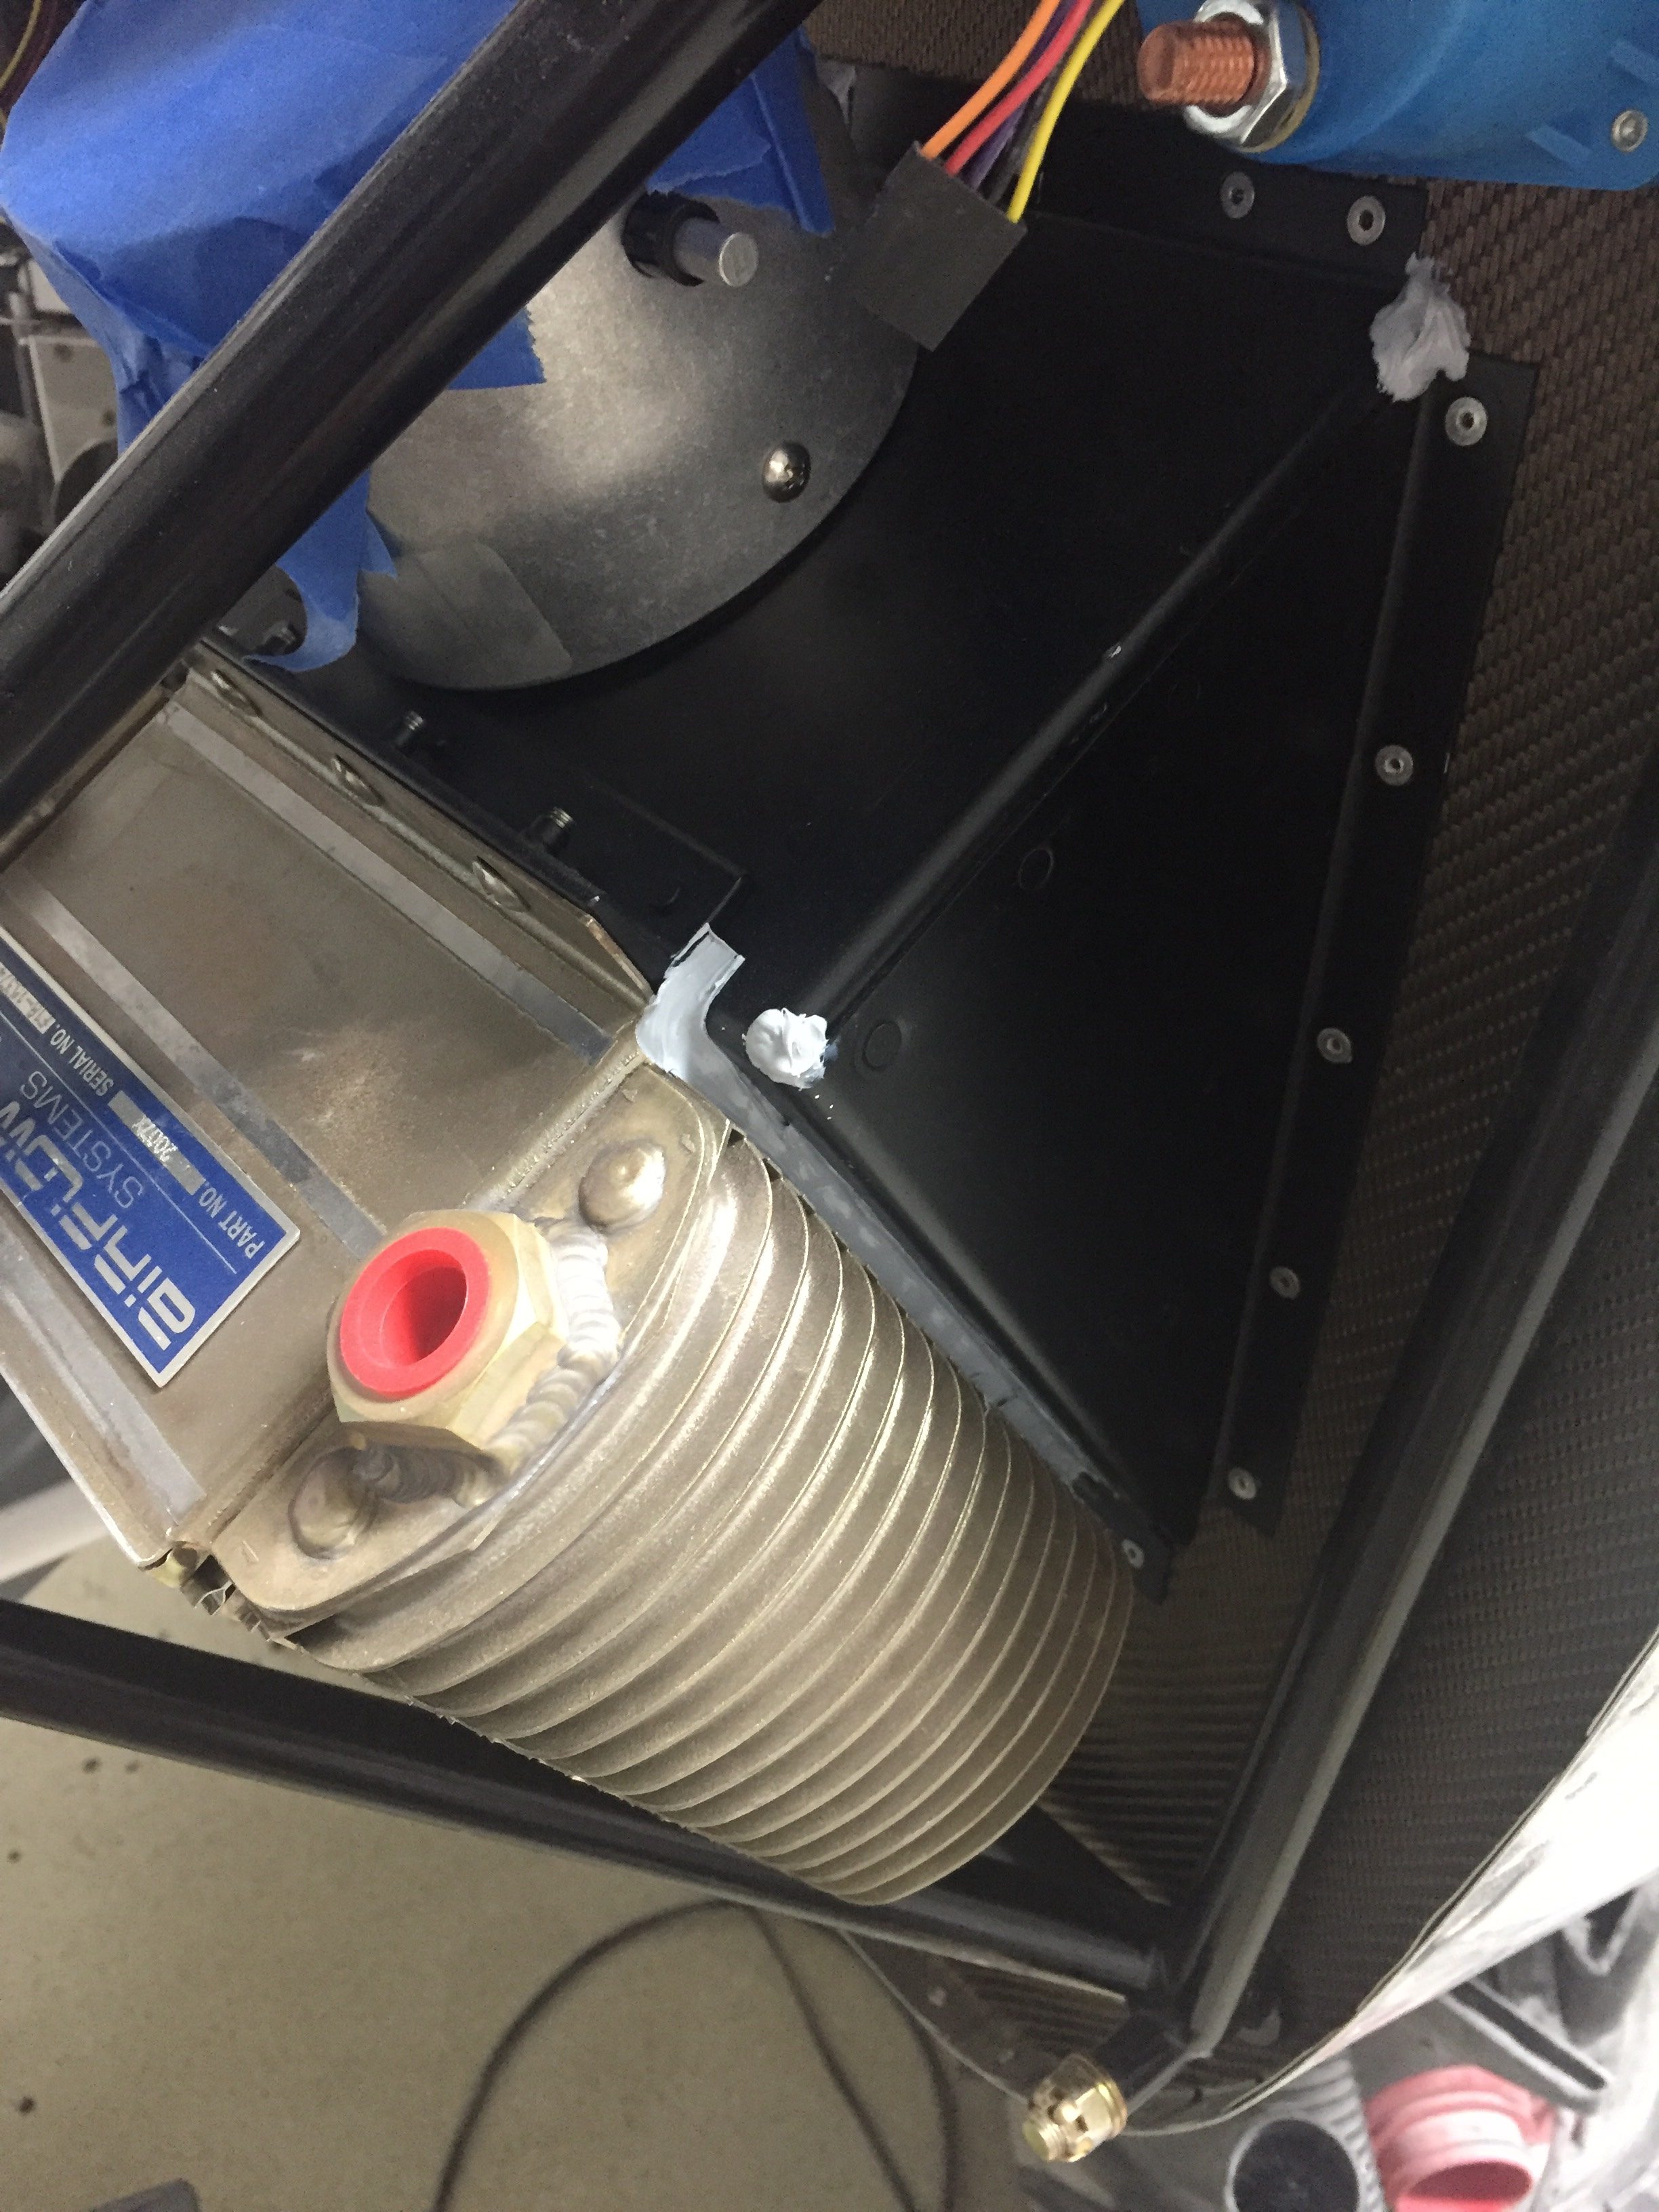
The oil cooler was also installed and sealed carefully to maximize air efficiency through the cooler. This is the next size up from the stock cooler and the modified mount works great without a lot of fuss. I’m sure it could be better if I had mounted it paralell to the ground and had a nice clean duct, but folks are flying a lot with great results just as I am doing it. The butterfly valve should help keep the oil temps higher in cold/high altitude flights that we have planned.
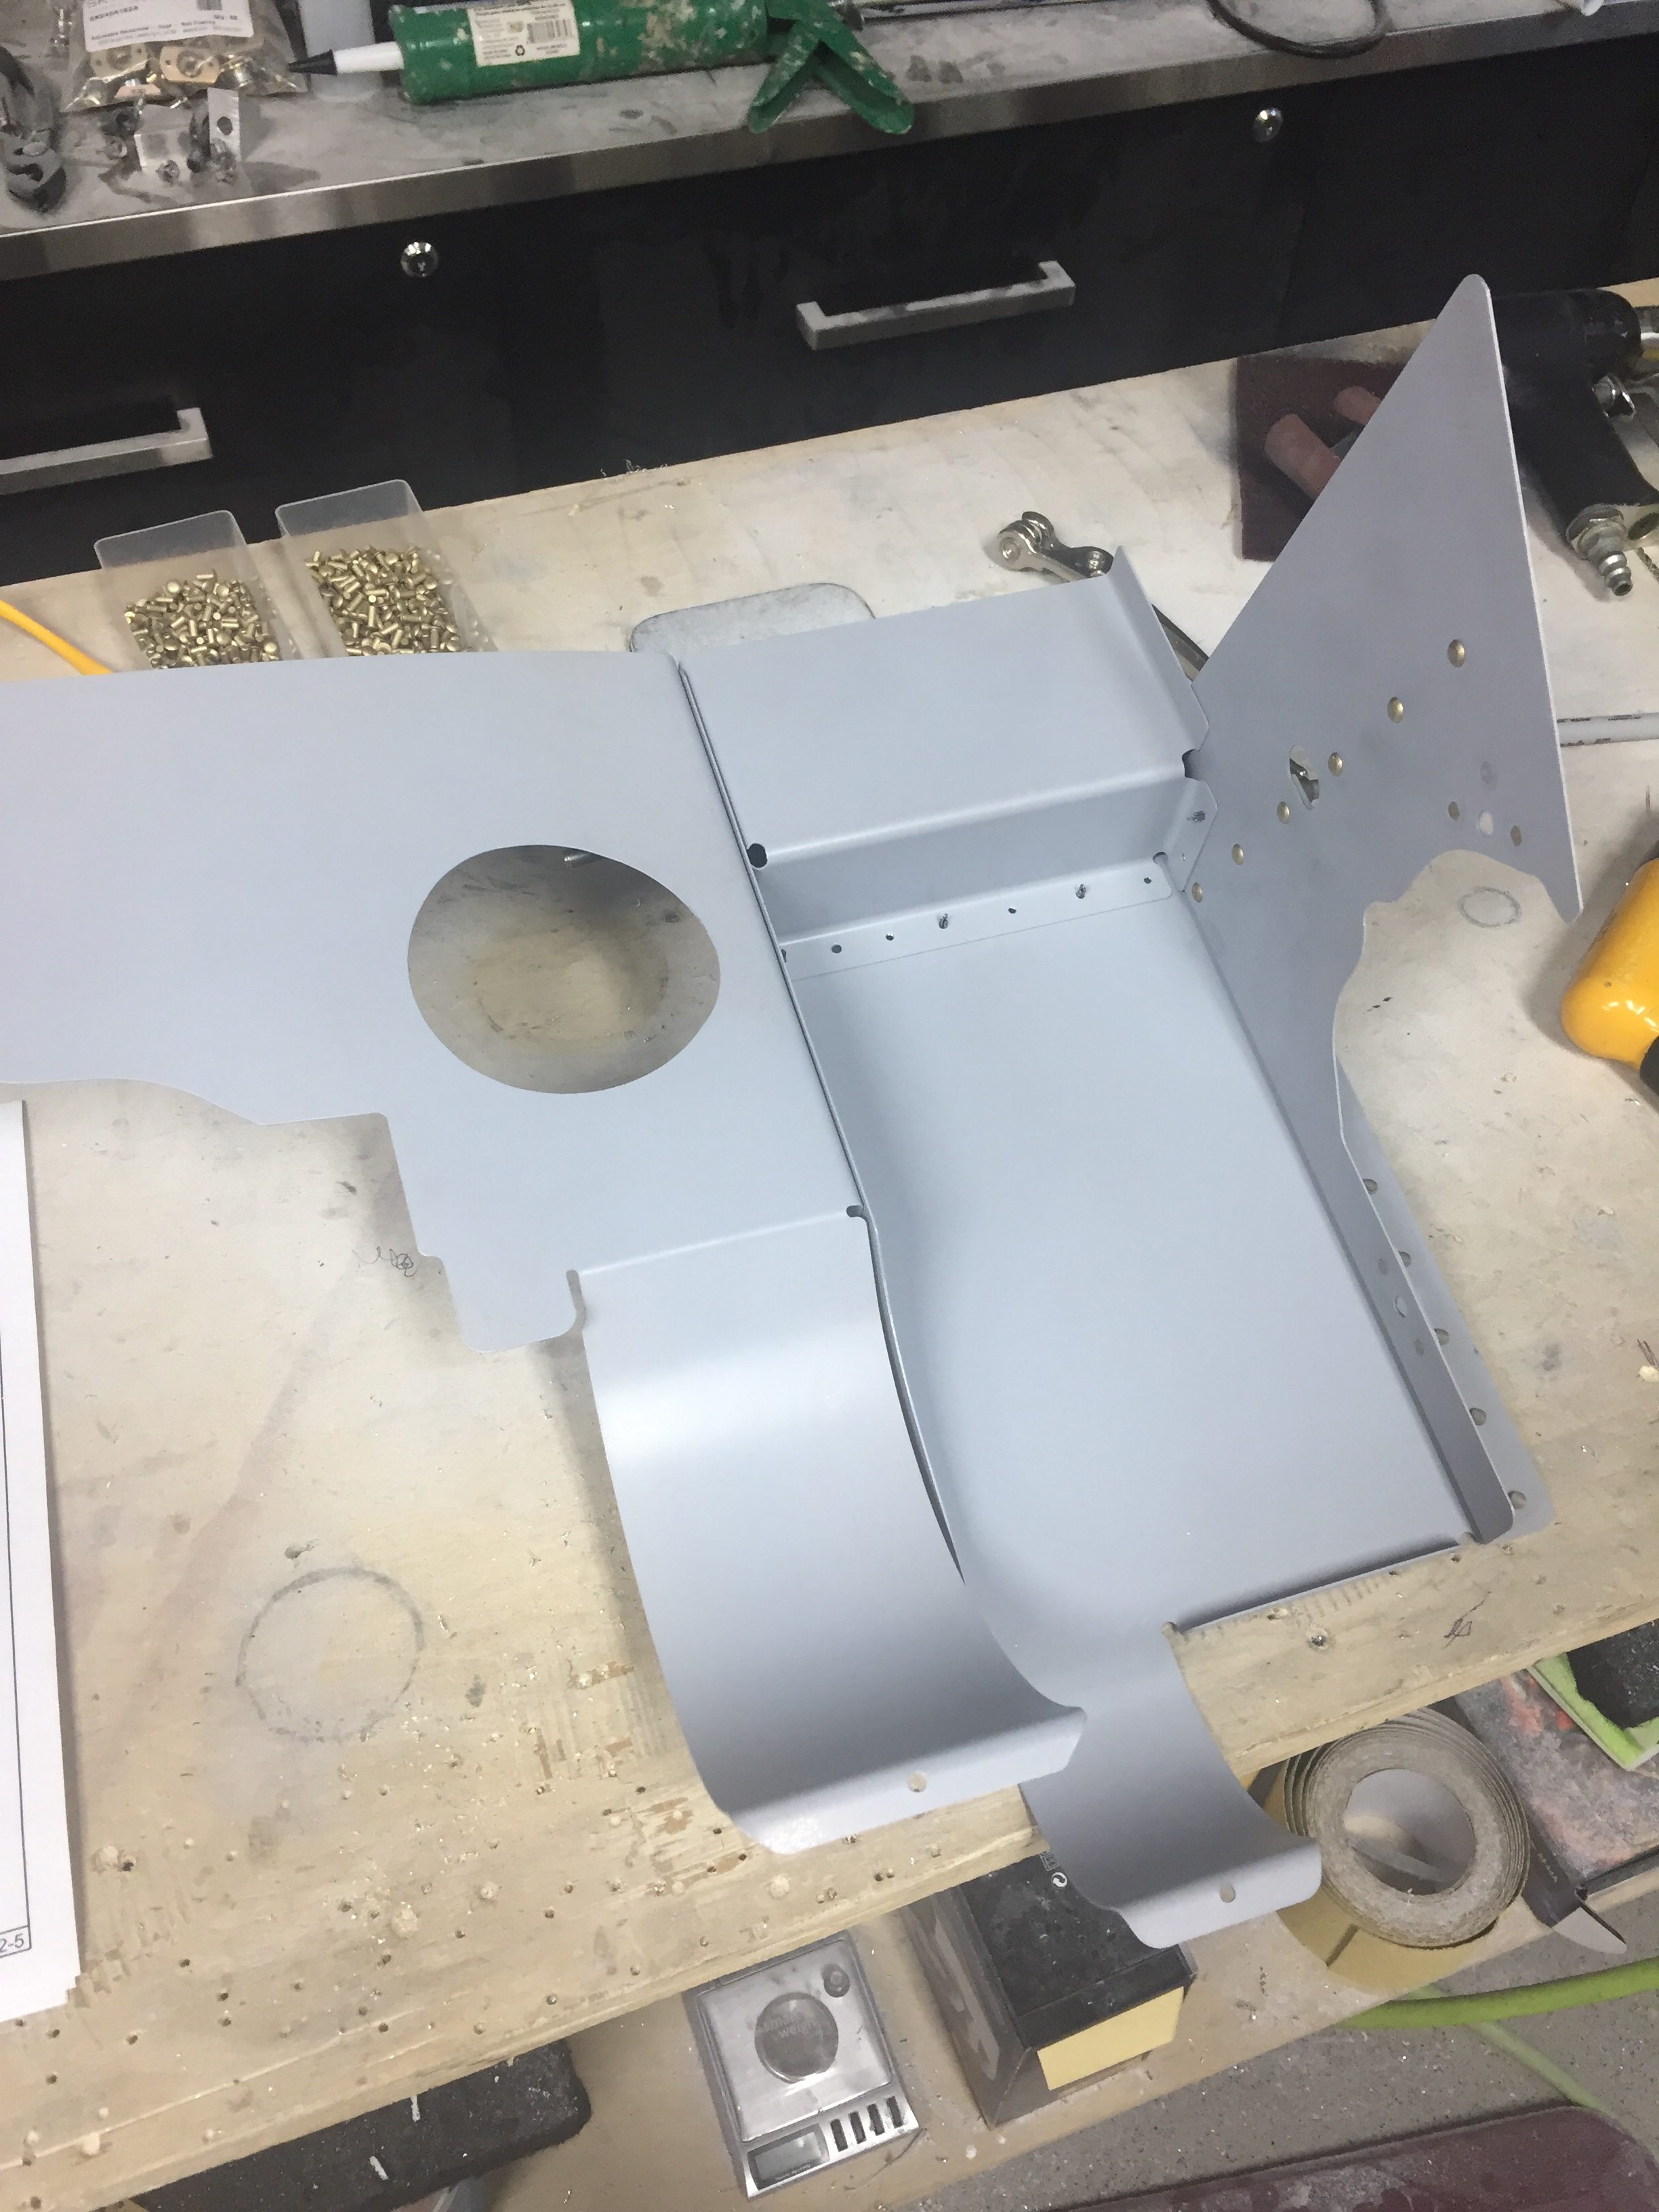
Baffles are up next and can be a bit of a tricky project to get completed. There is also a well documented modification on number 6 cylinder that I’ll do to increase cooling and help reduce CHTs on that notoriously hot cylinder. The baffle on number 5 is the hardest to fit onto the engine, so I taped up about everything to avoid or at least minimizing messing up the goregous paint job on the engine. There are a lot of unique pieces of metal and I am awed at who ever designed the presses to stamp these things out.
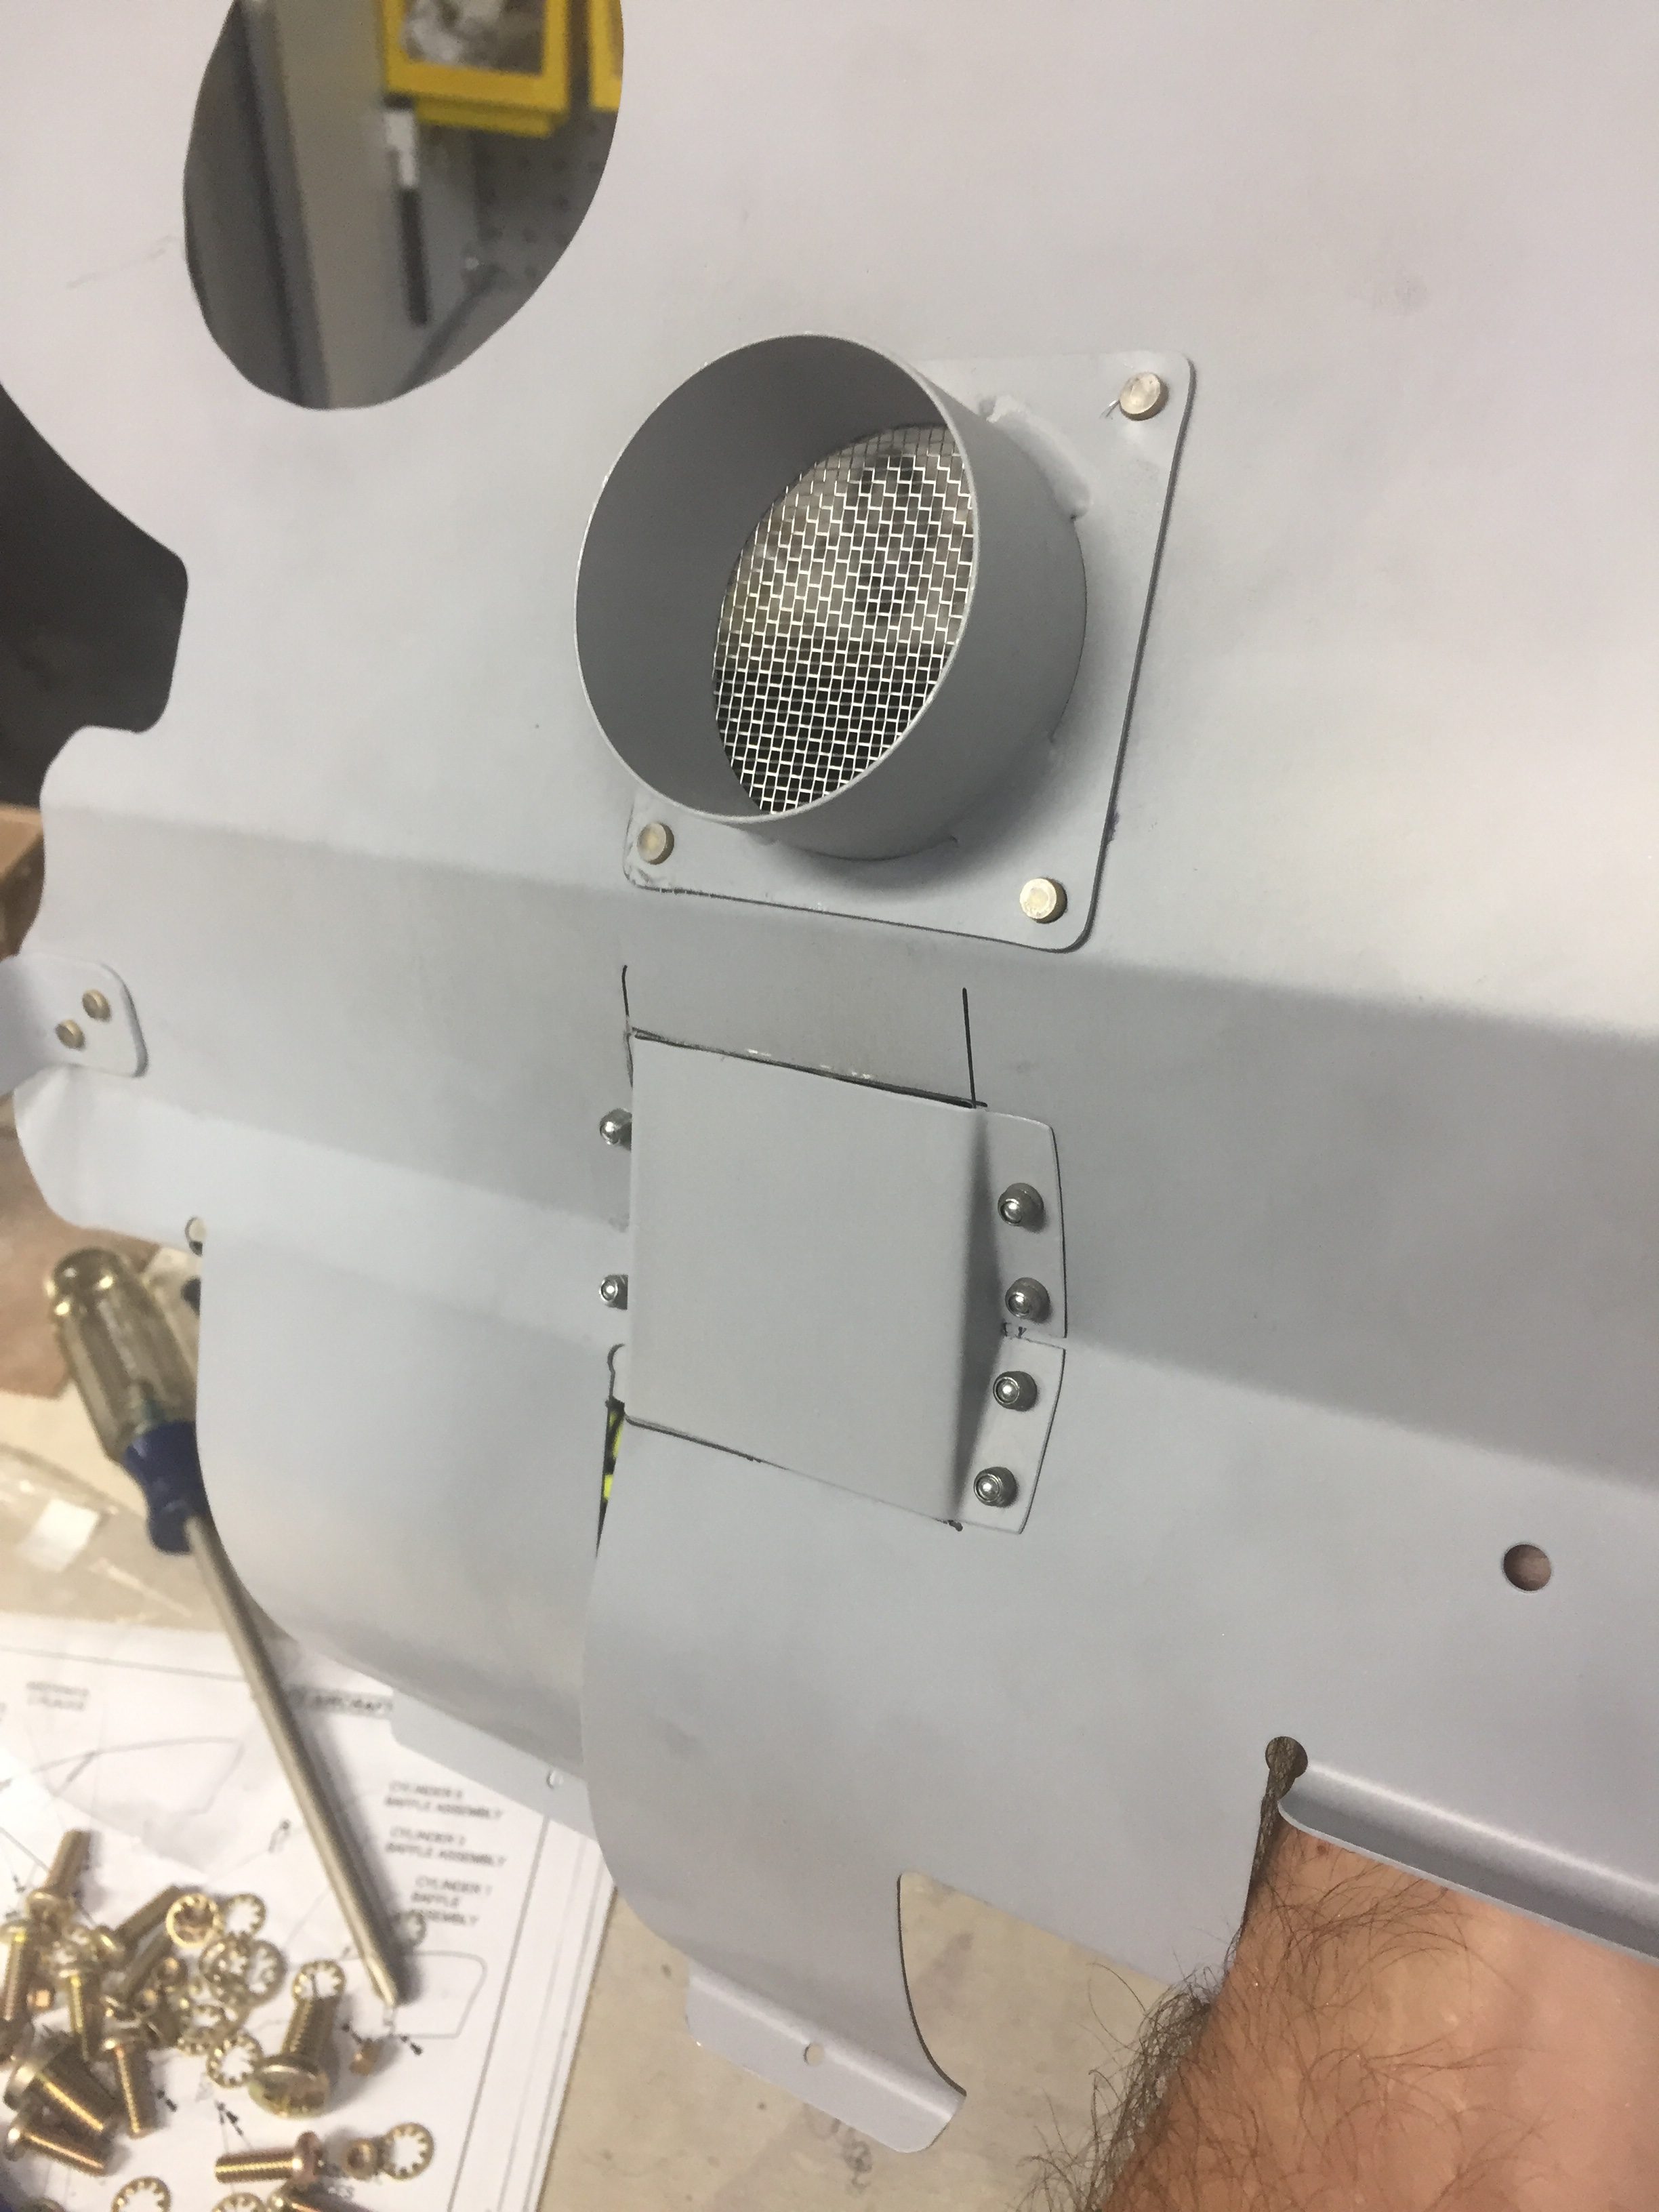
Behind number 6, the fins are not deep enough to allow air to channel between the cylinder wall and the baffle. Some have put a washer here which just pushed the baffle out a bit and allows some air to go through. The RV-14 has a new mod where a channel is built in which provides clearance in that area, so I made the same modification to mine. A few mockups using manilla folders, and I finalized a design which I riveted on and will seal once painted.
Once all the stock baffles are on, it was time to fit my RV Bits carbon fiber plenum. I had this shipped all the way from South Africa and it’s a nice piece. If someone wanted to create their own, it really wouldn’t be hard but it would take some time. I positioned it to maximize the opening up front around the intakes but keep it clear of the cowl which should help keep the pressure higher on the cooling side. That increases (in theory) the delta P between the high and low side of the engine as the hot air passing through the engine is sucked out the bottom of the cowl exit. I initially drilled holes in the baffles and plenum but later redrilled the baffles after fitting the cowl (to be documented in a future post).
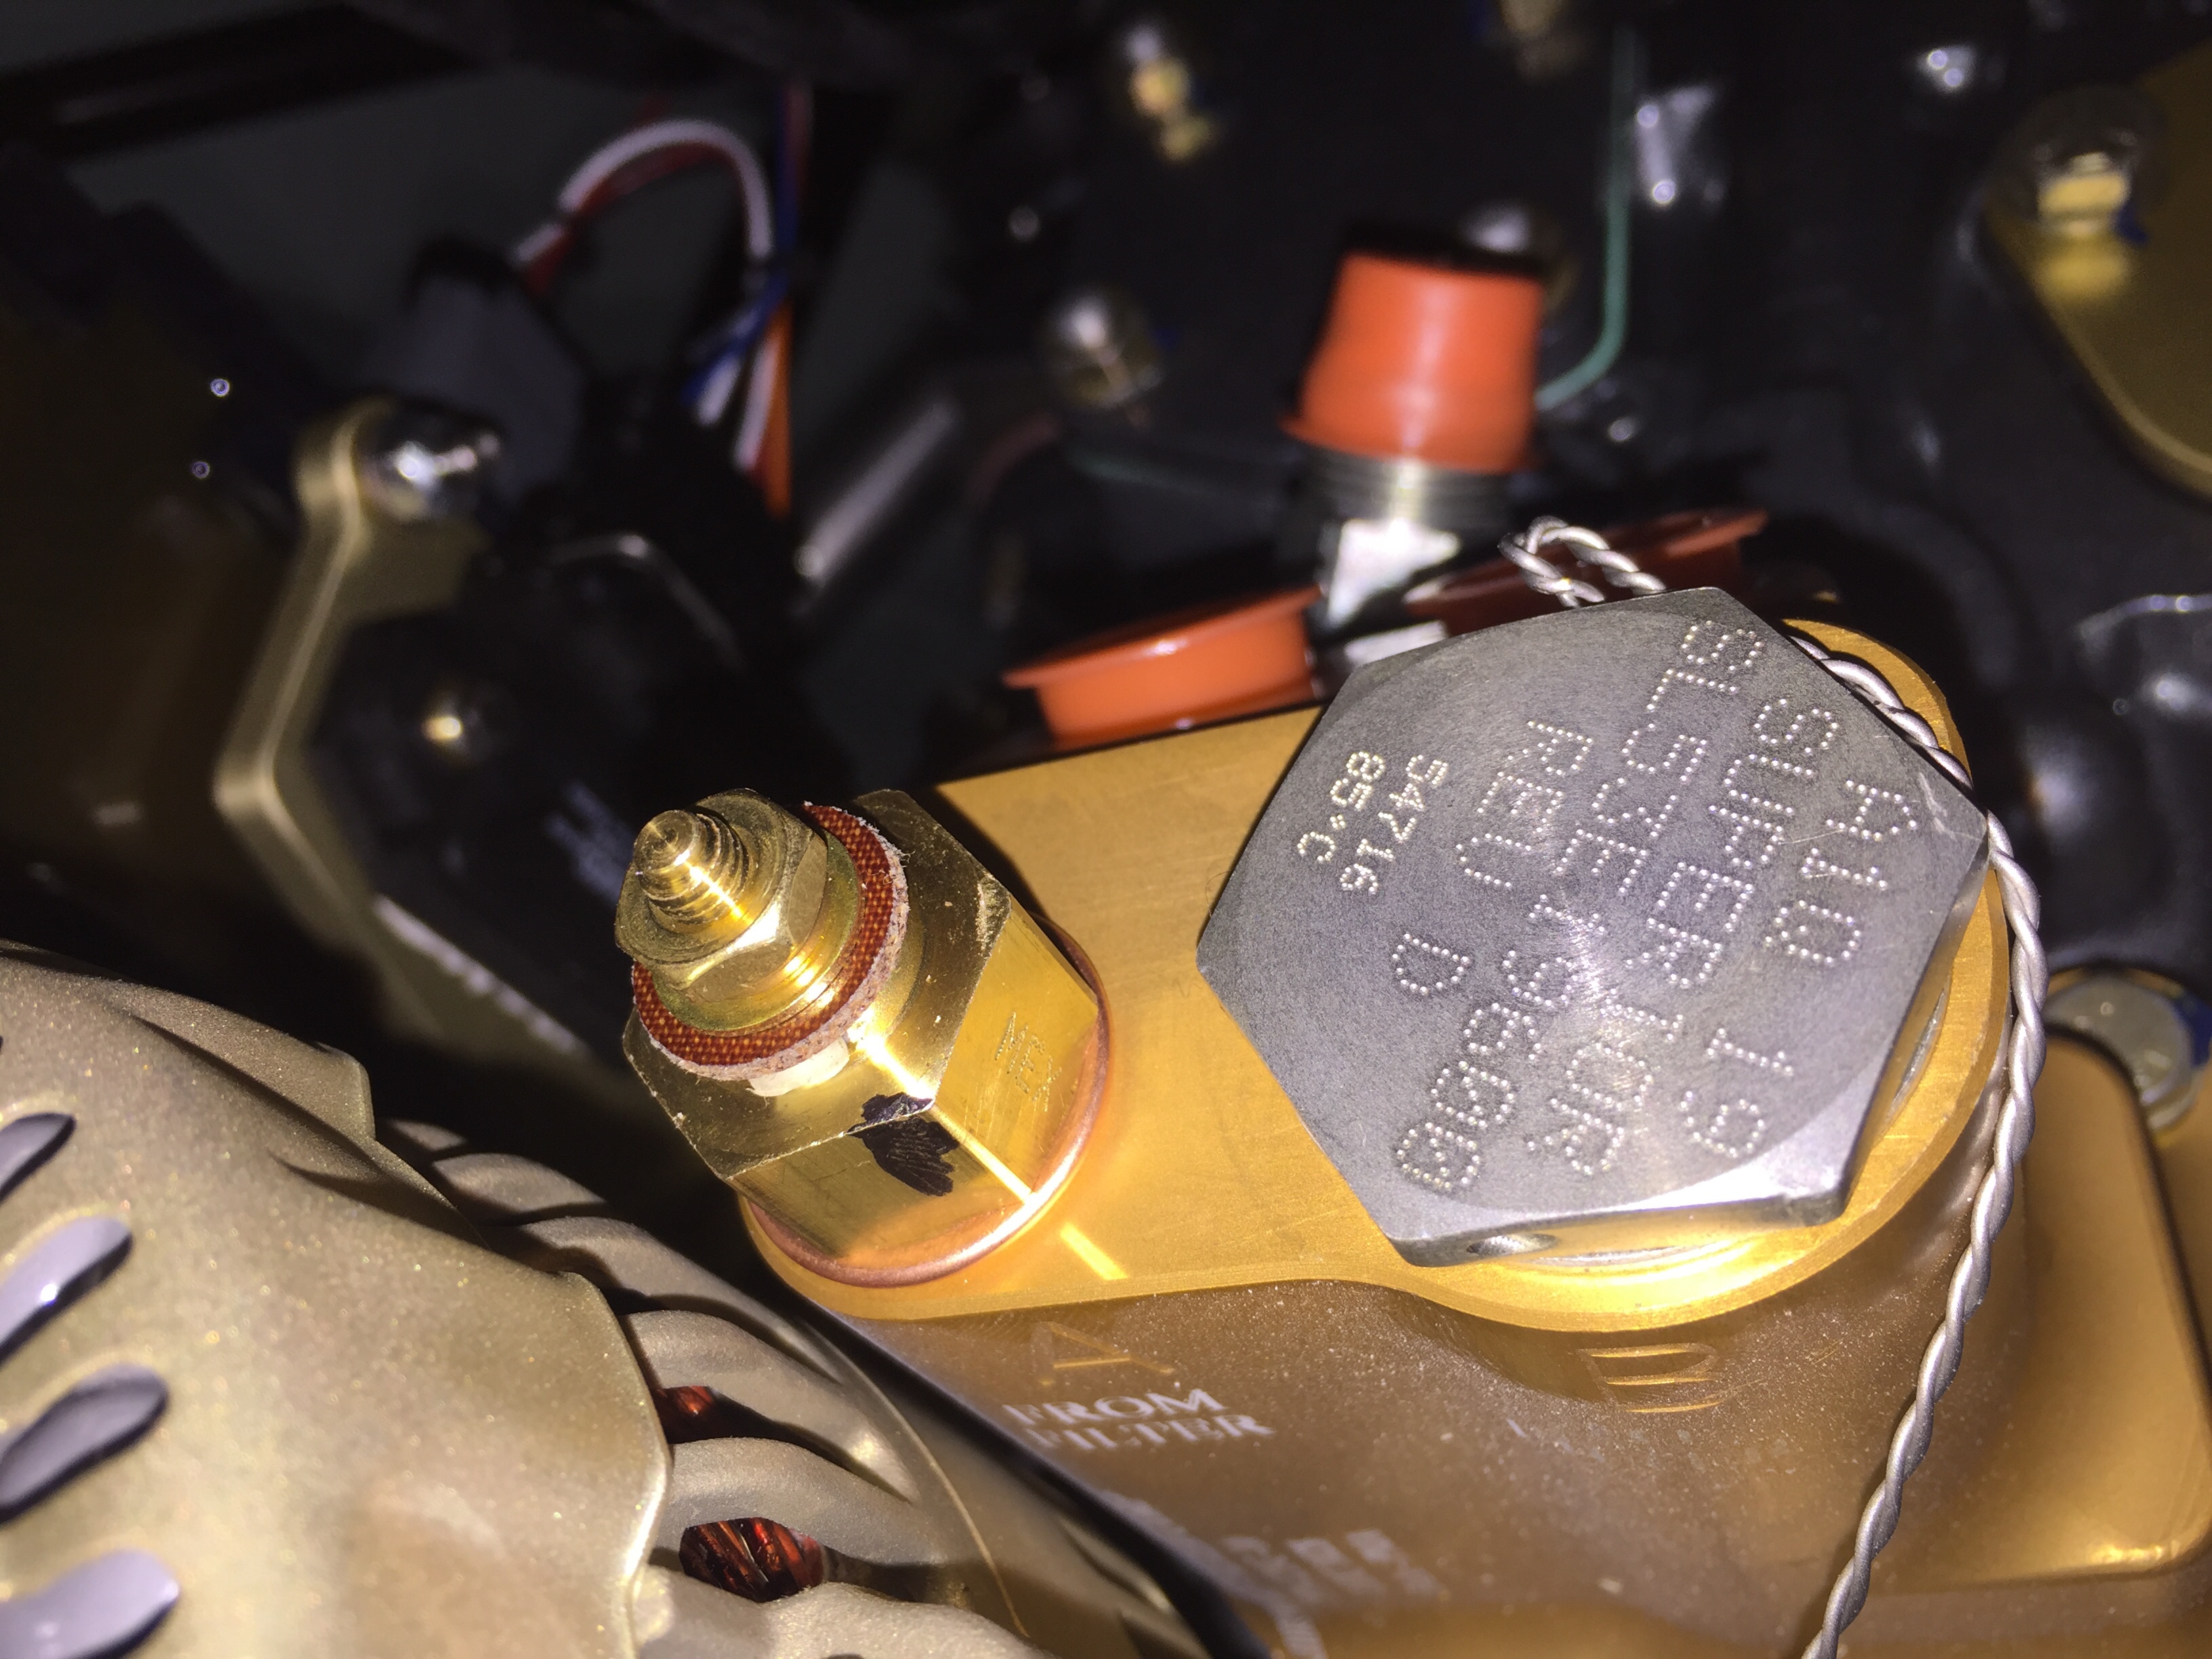
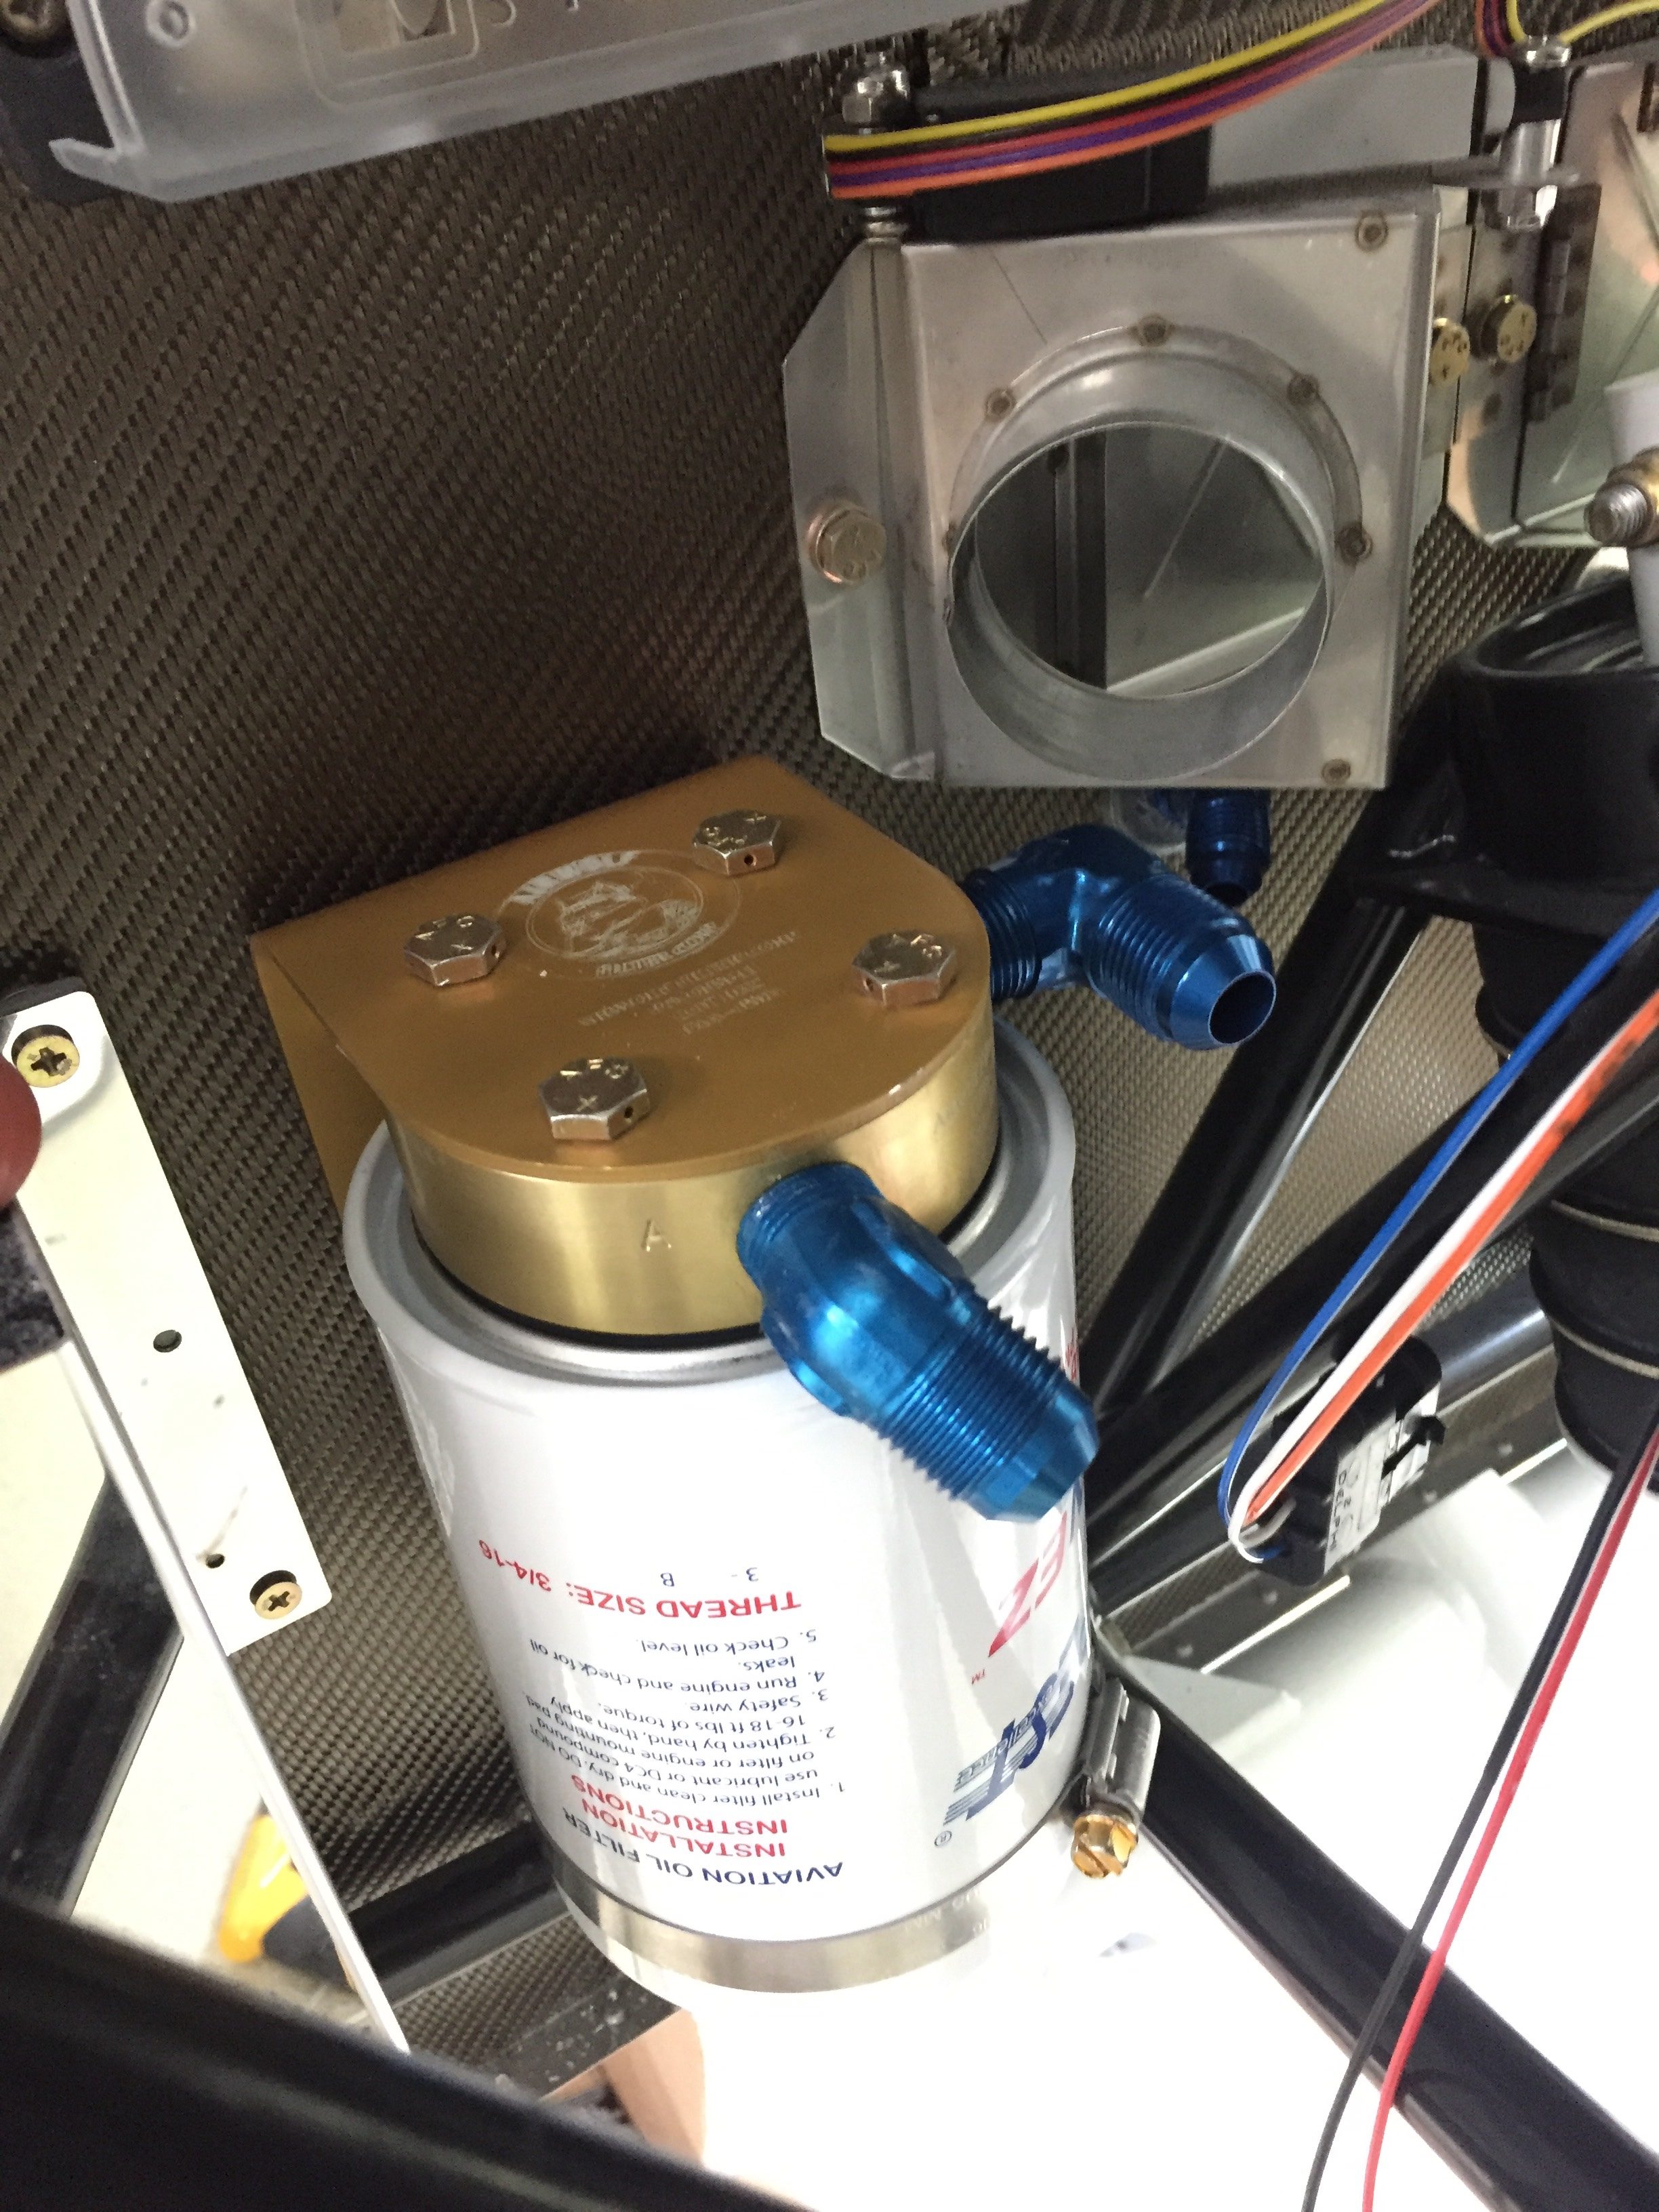
The Airwolf remote oil filter has a spot reserved low on the firewall near the battery box and wound up being perfectly placed. I installed the brackets and doubler along with the fittings and tested the filter out. The lines run up to an adapter that mounts on the accessory case and includes the vernatherm and oil temp sender. This and a quick drain oil plug should make changing the oil a no-mess event.
