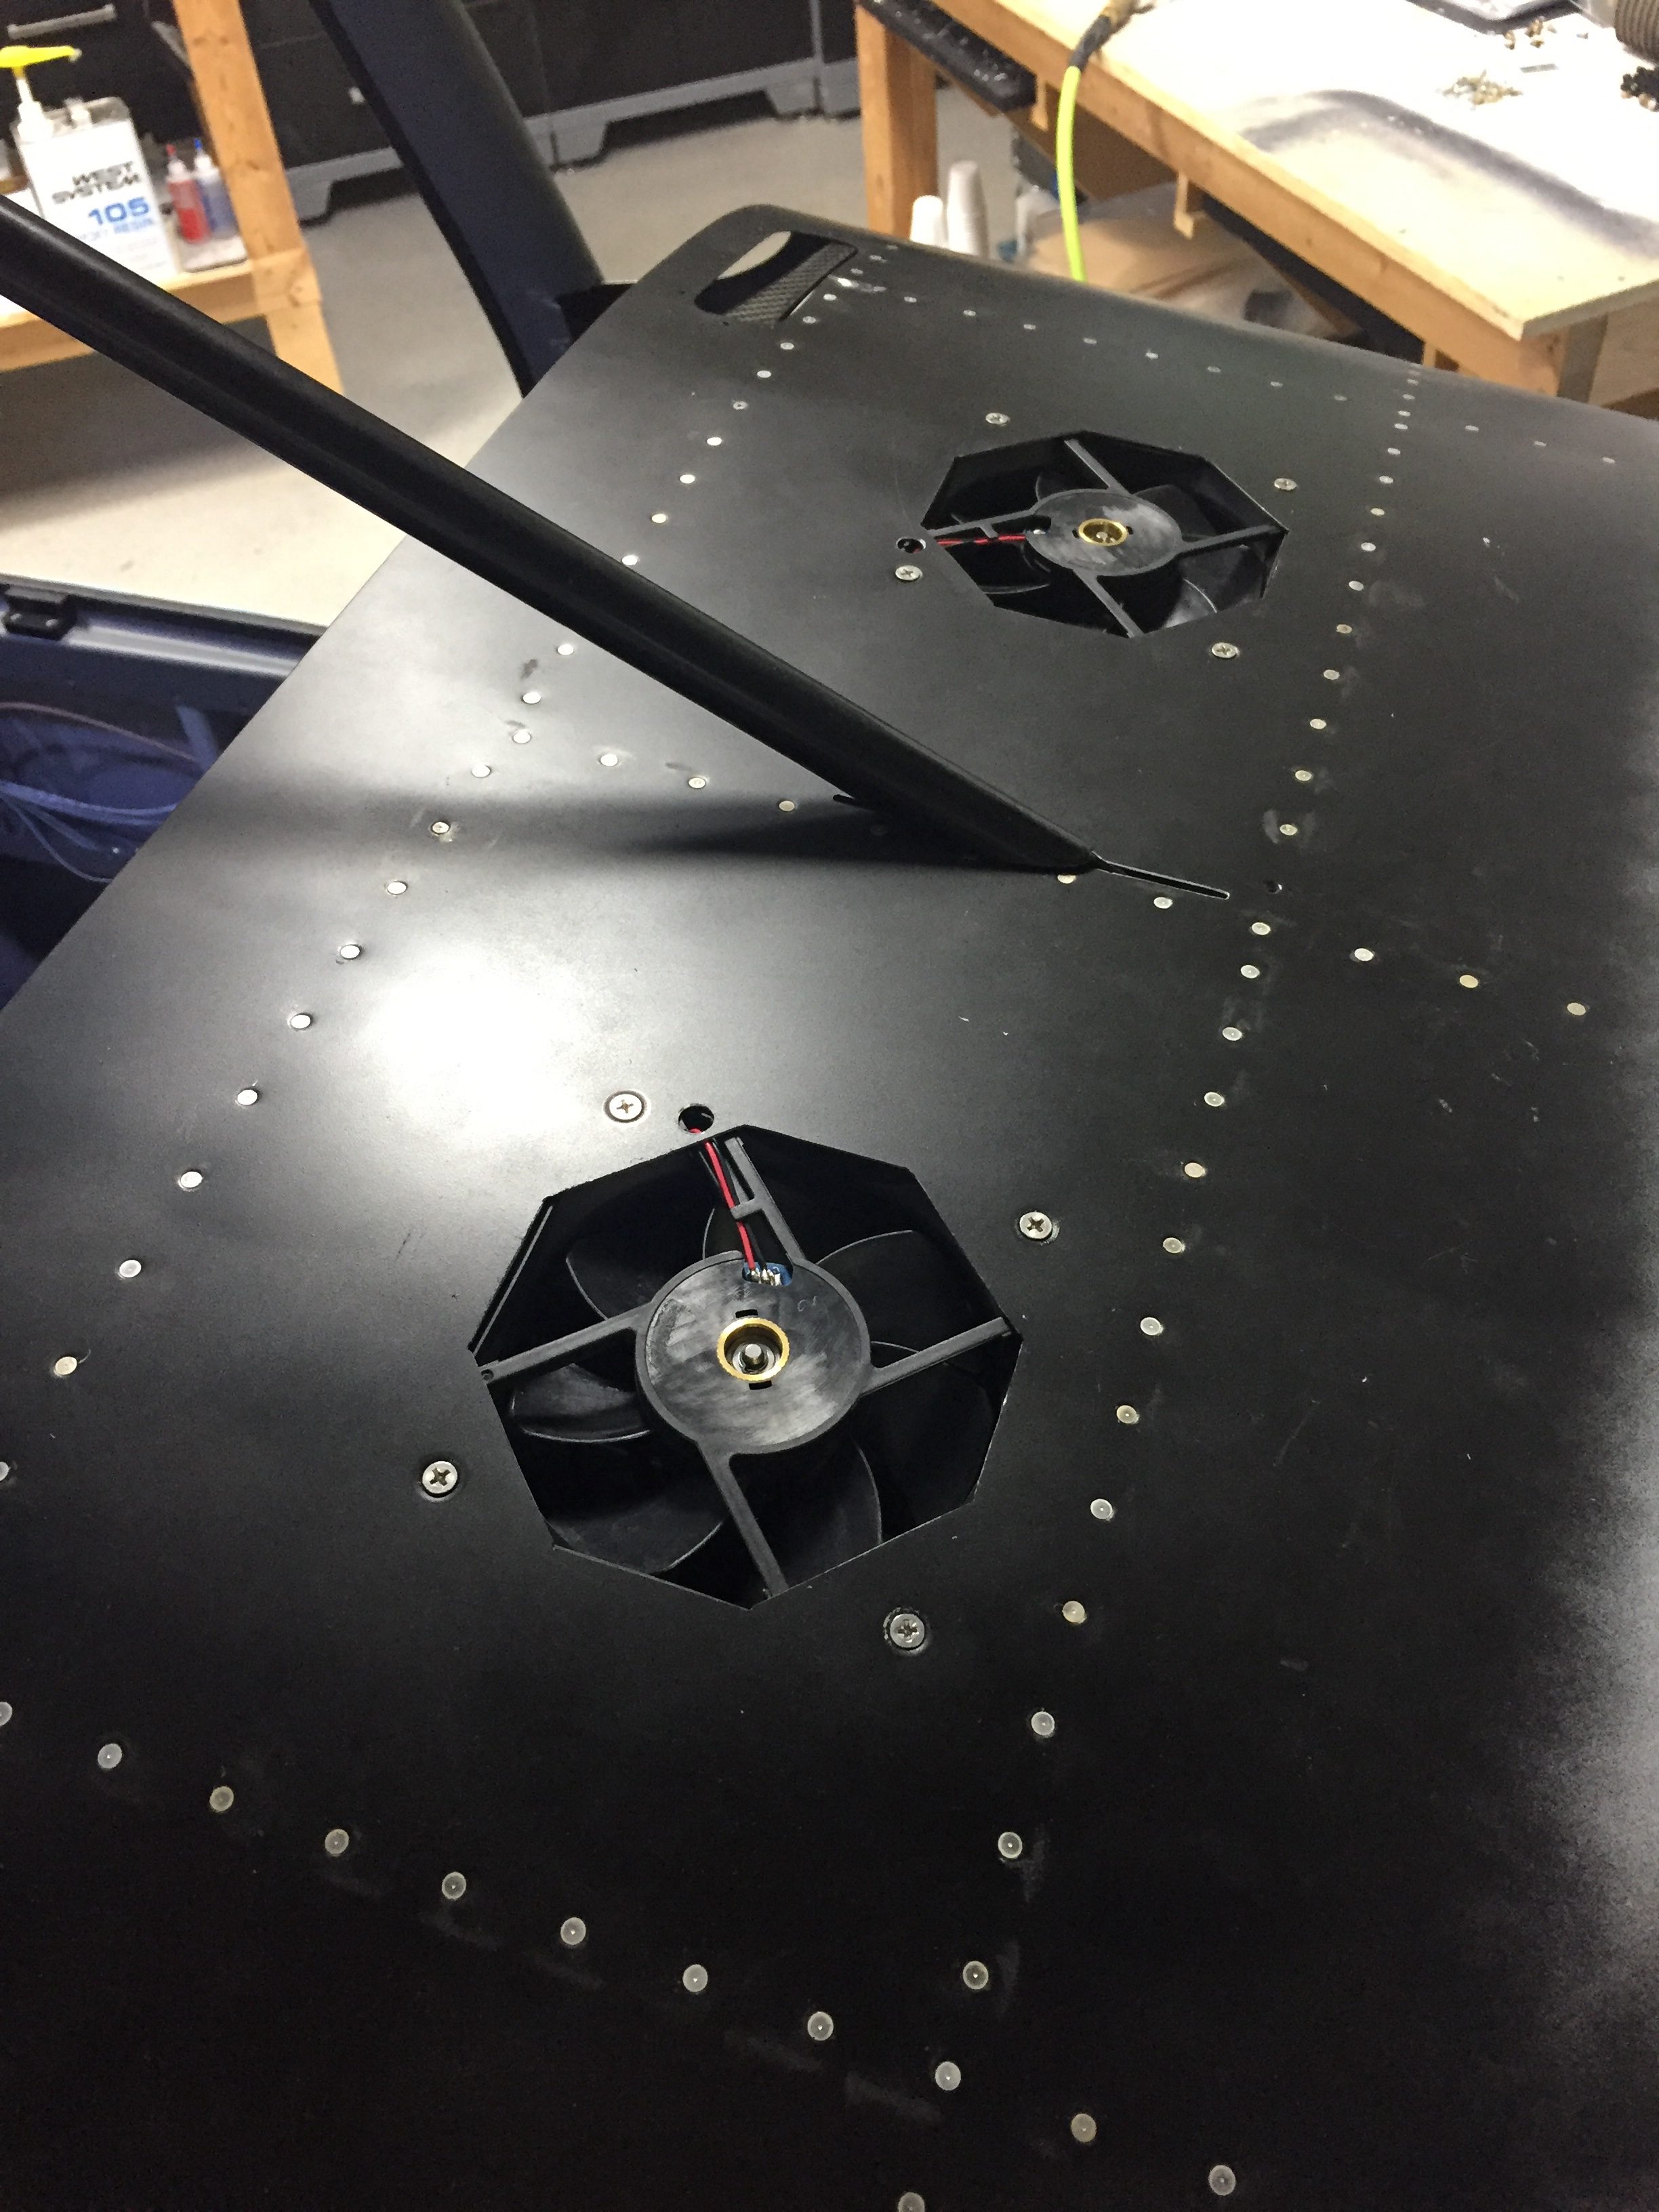
Two jobs still linger before I can rivet the front skin on; defrost fans and bolting in the support bar. The defrost fans were pretty simple, as I already had the wiring in place and holes cut. I just needed to drill screw holes and mount them up. Although a bit tough to get to, they were eventually bolted in and tested out. I probably could have gone smaller or lower CFM, but go big or go home. I shouldn’t have any fogging issues!
The support bar was one of those jobs that I have put off due to dread. Since I molded the overhead switch panel into the cabin top and overhead console, the access to the four screws going through the cabin top is extremely limited. Added to that is the hunky chunk grip of wires I have running up the bar to the overhead. My dad was in town for a few weeks so I decided to get his help and tackle the task. We were able to get the first two screws in pretty easily by sliding the wire harness to the empty side. I put the nuts on finger tight and then had to mulitlate two sockets to fit up agains the switch panel since it was so close fitting.
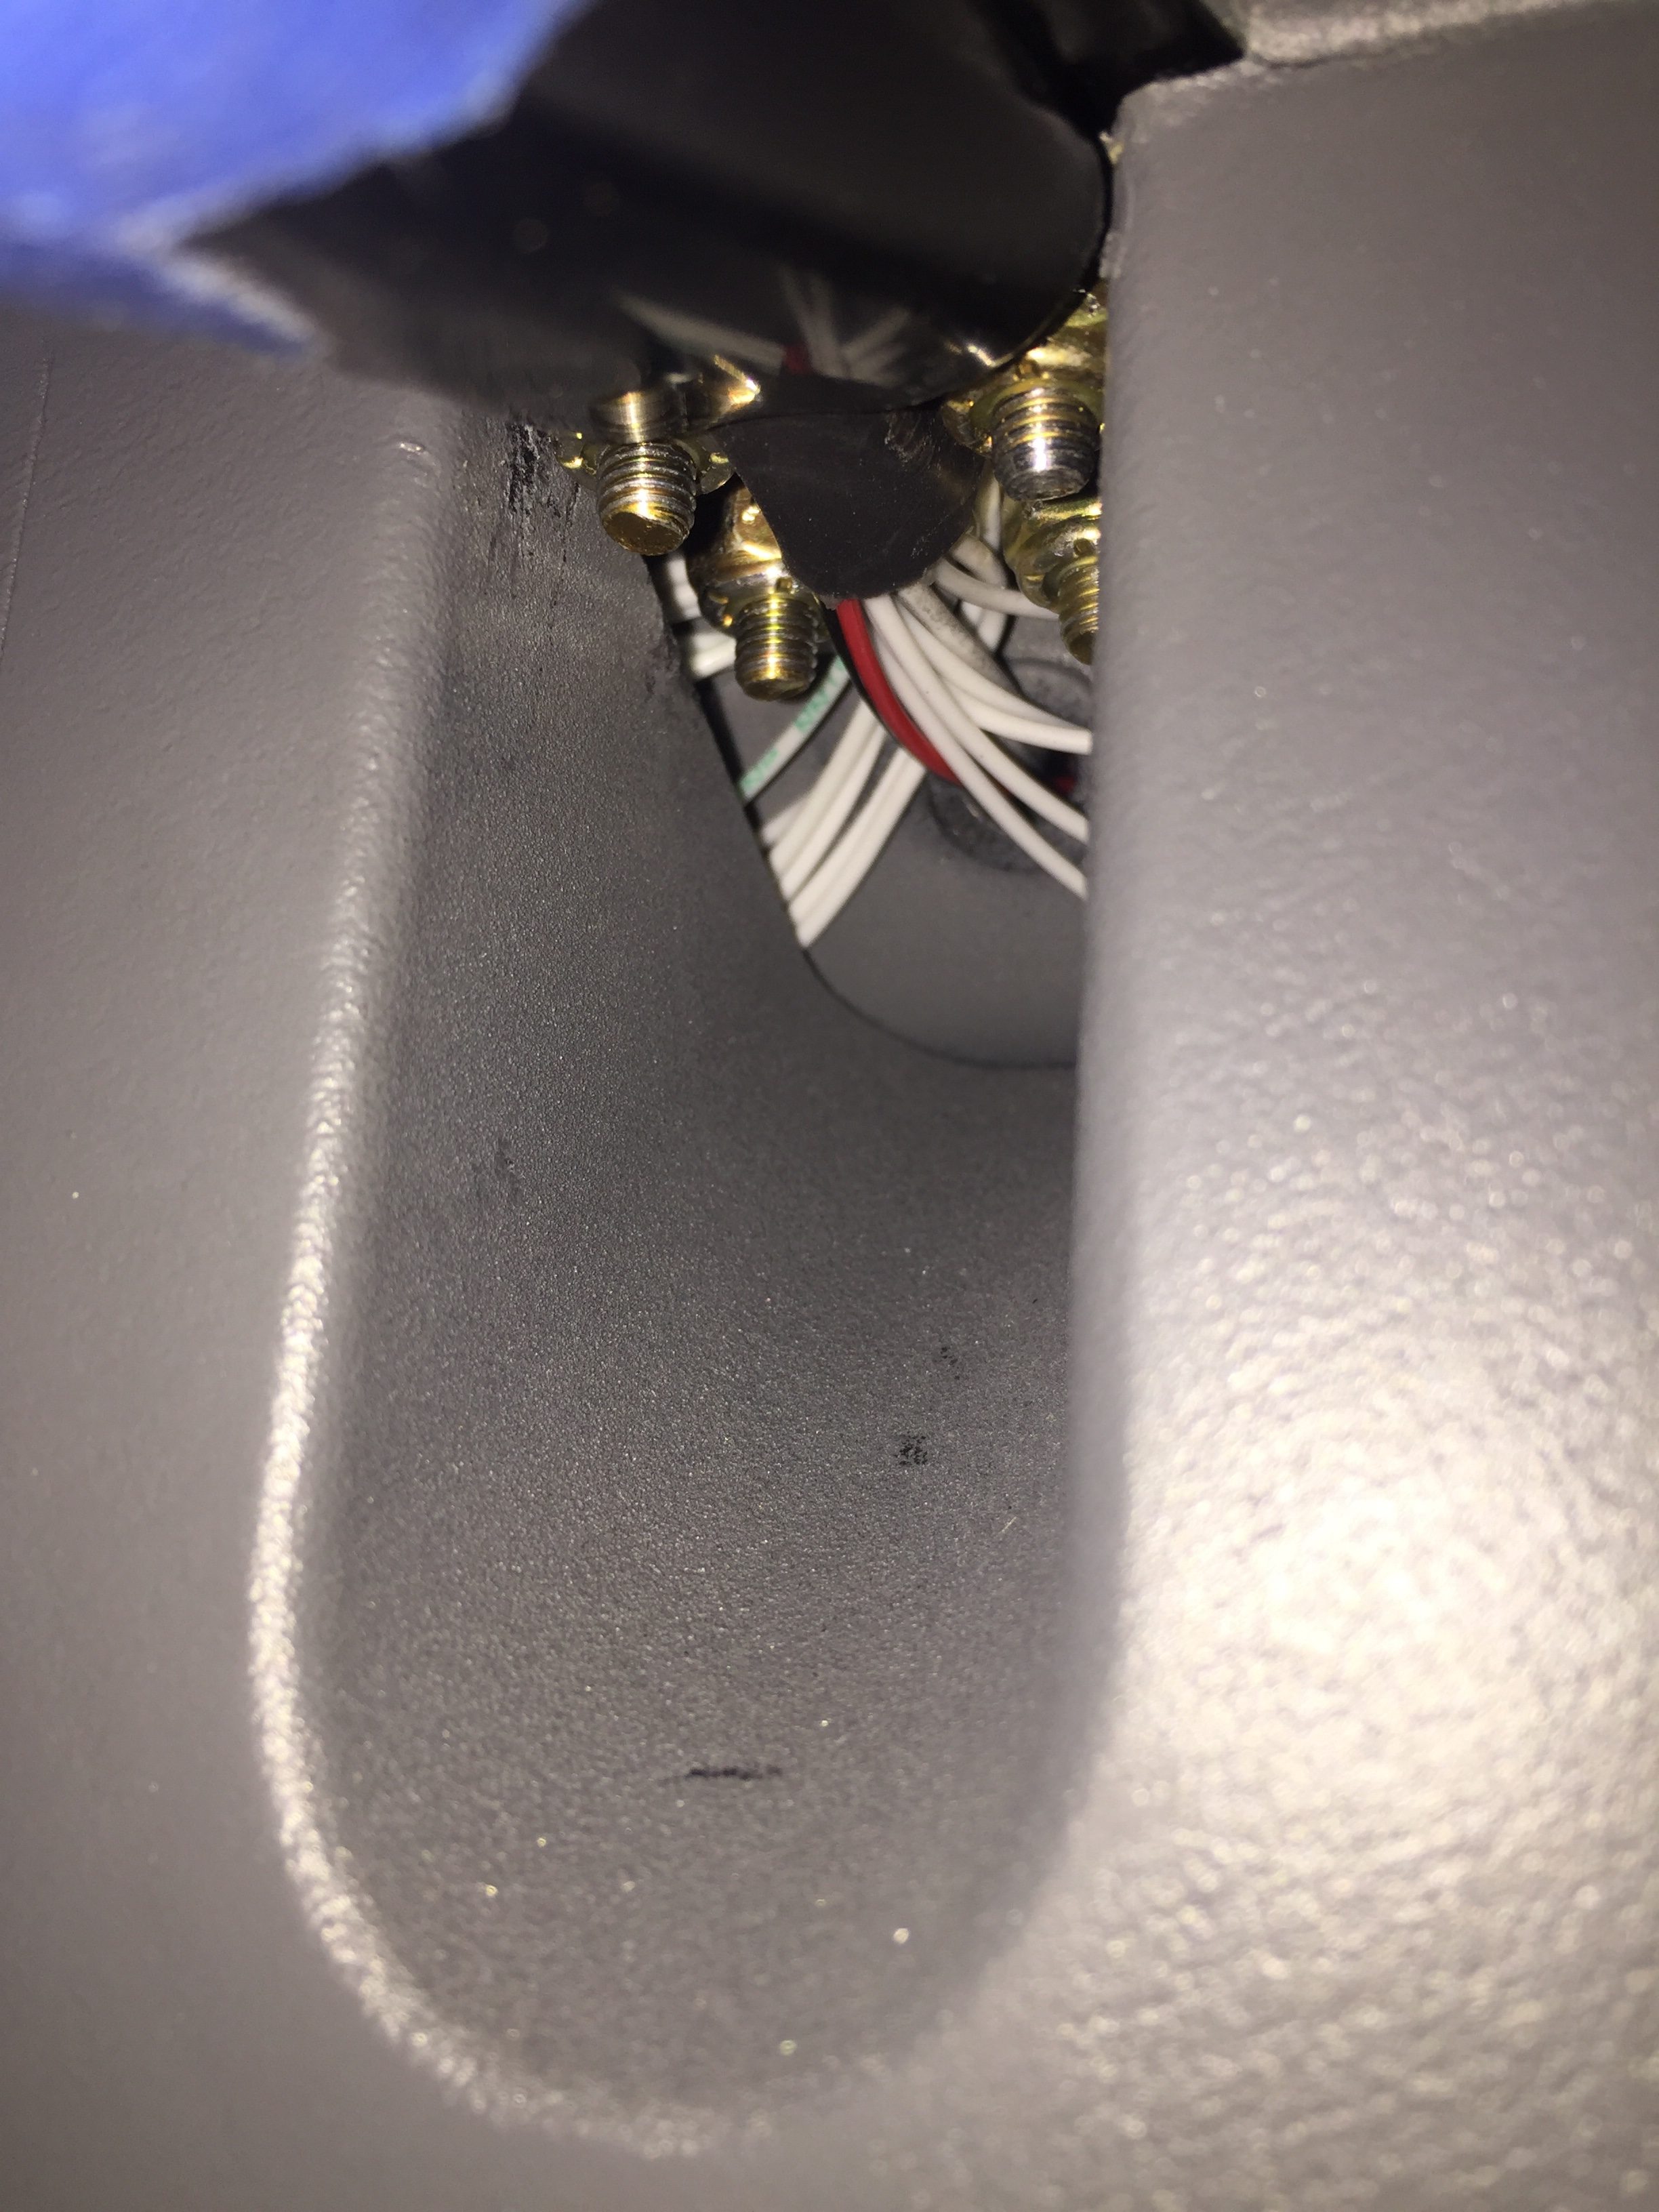
The other two screws were a bit more challenging, as I had to slide the wire between the screws now and wrangle the washer and nut around them but beside the switch panel. As with a few jobs, a lot of cuss words were uttered, a tool might have gotten tossed gently onto the floor, and after a lot of sweating and questioning why I didn’t just buy a Cirrus later, it was completed. I’m glad I won’t be taking this apart regularly.
All that cussing and sweating just primed me up for the next job, riveting the upper forward fuselage skin onto the structure. Since dad was here to shoot from the outside, I grabbed my PPE and dove under the panel in one of the most uncomfortable positions I’ve ever been in since I was born. The rivets went in smoothly and we were able to knock it out together in a few hours, but man it is literally a back breaker. I had positioned all of the avionics so I could reach the rivets, but it was still tight.
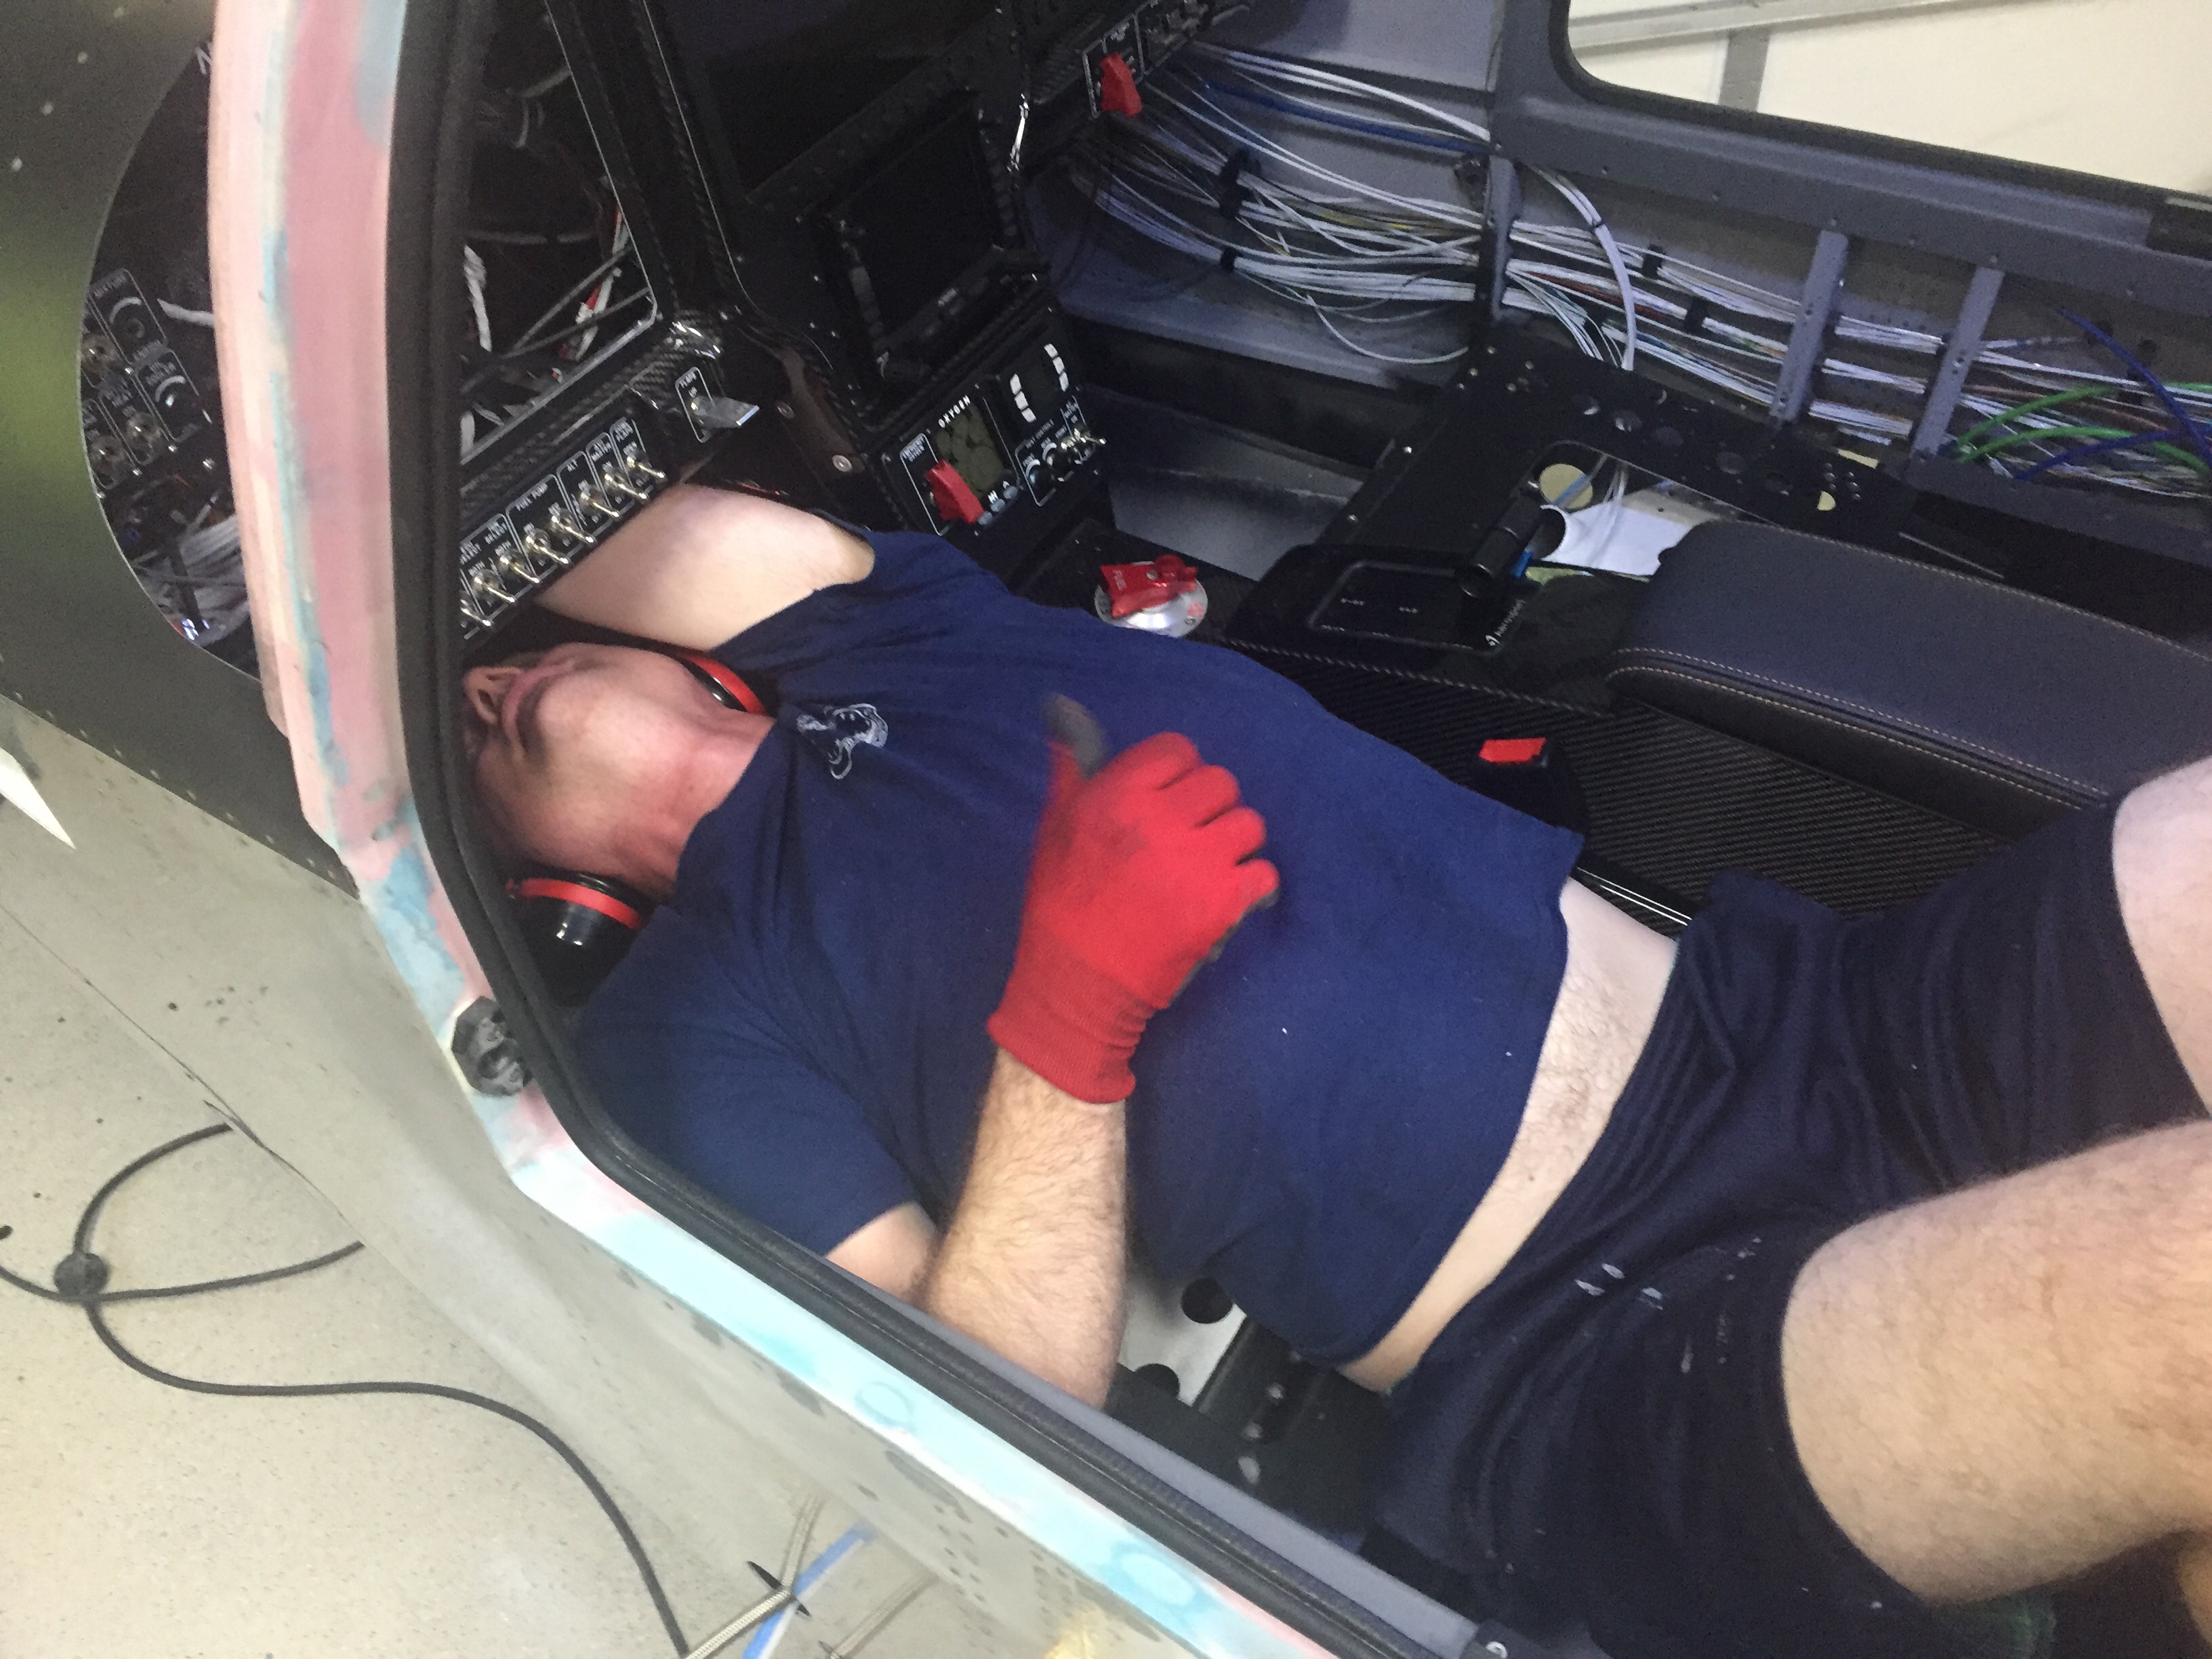
For anyone reading this that hasn’t reached this point or is considering building a 10, PLEASE TAKE THIS AS A PIECE OF WISDOM HANDED DOWN!!! Do NOT rivet the forward fuse / skin on until AFTER you have all of your avionics and wiring in!
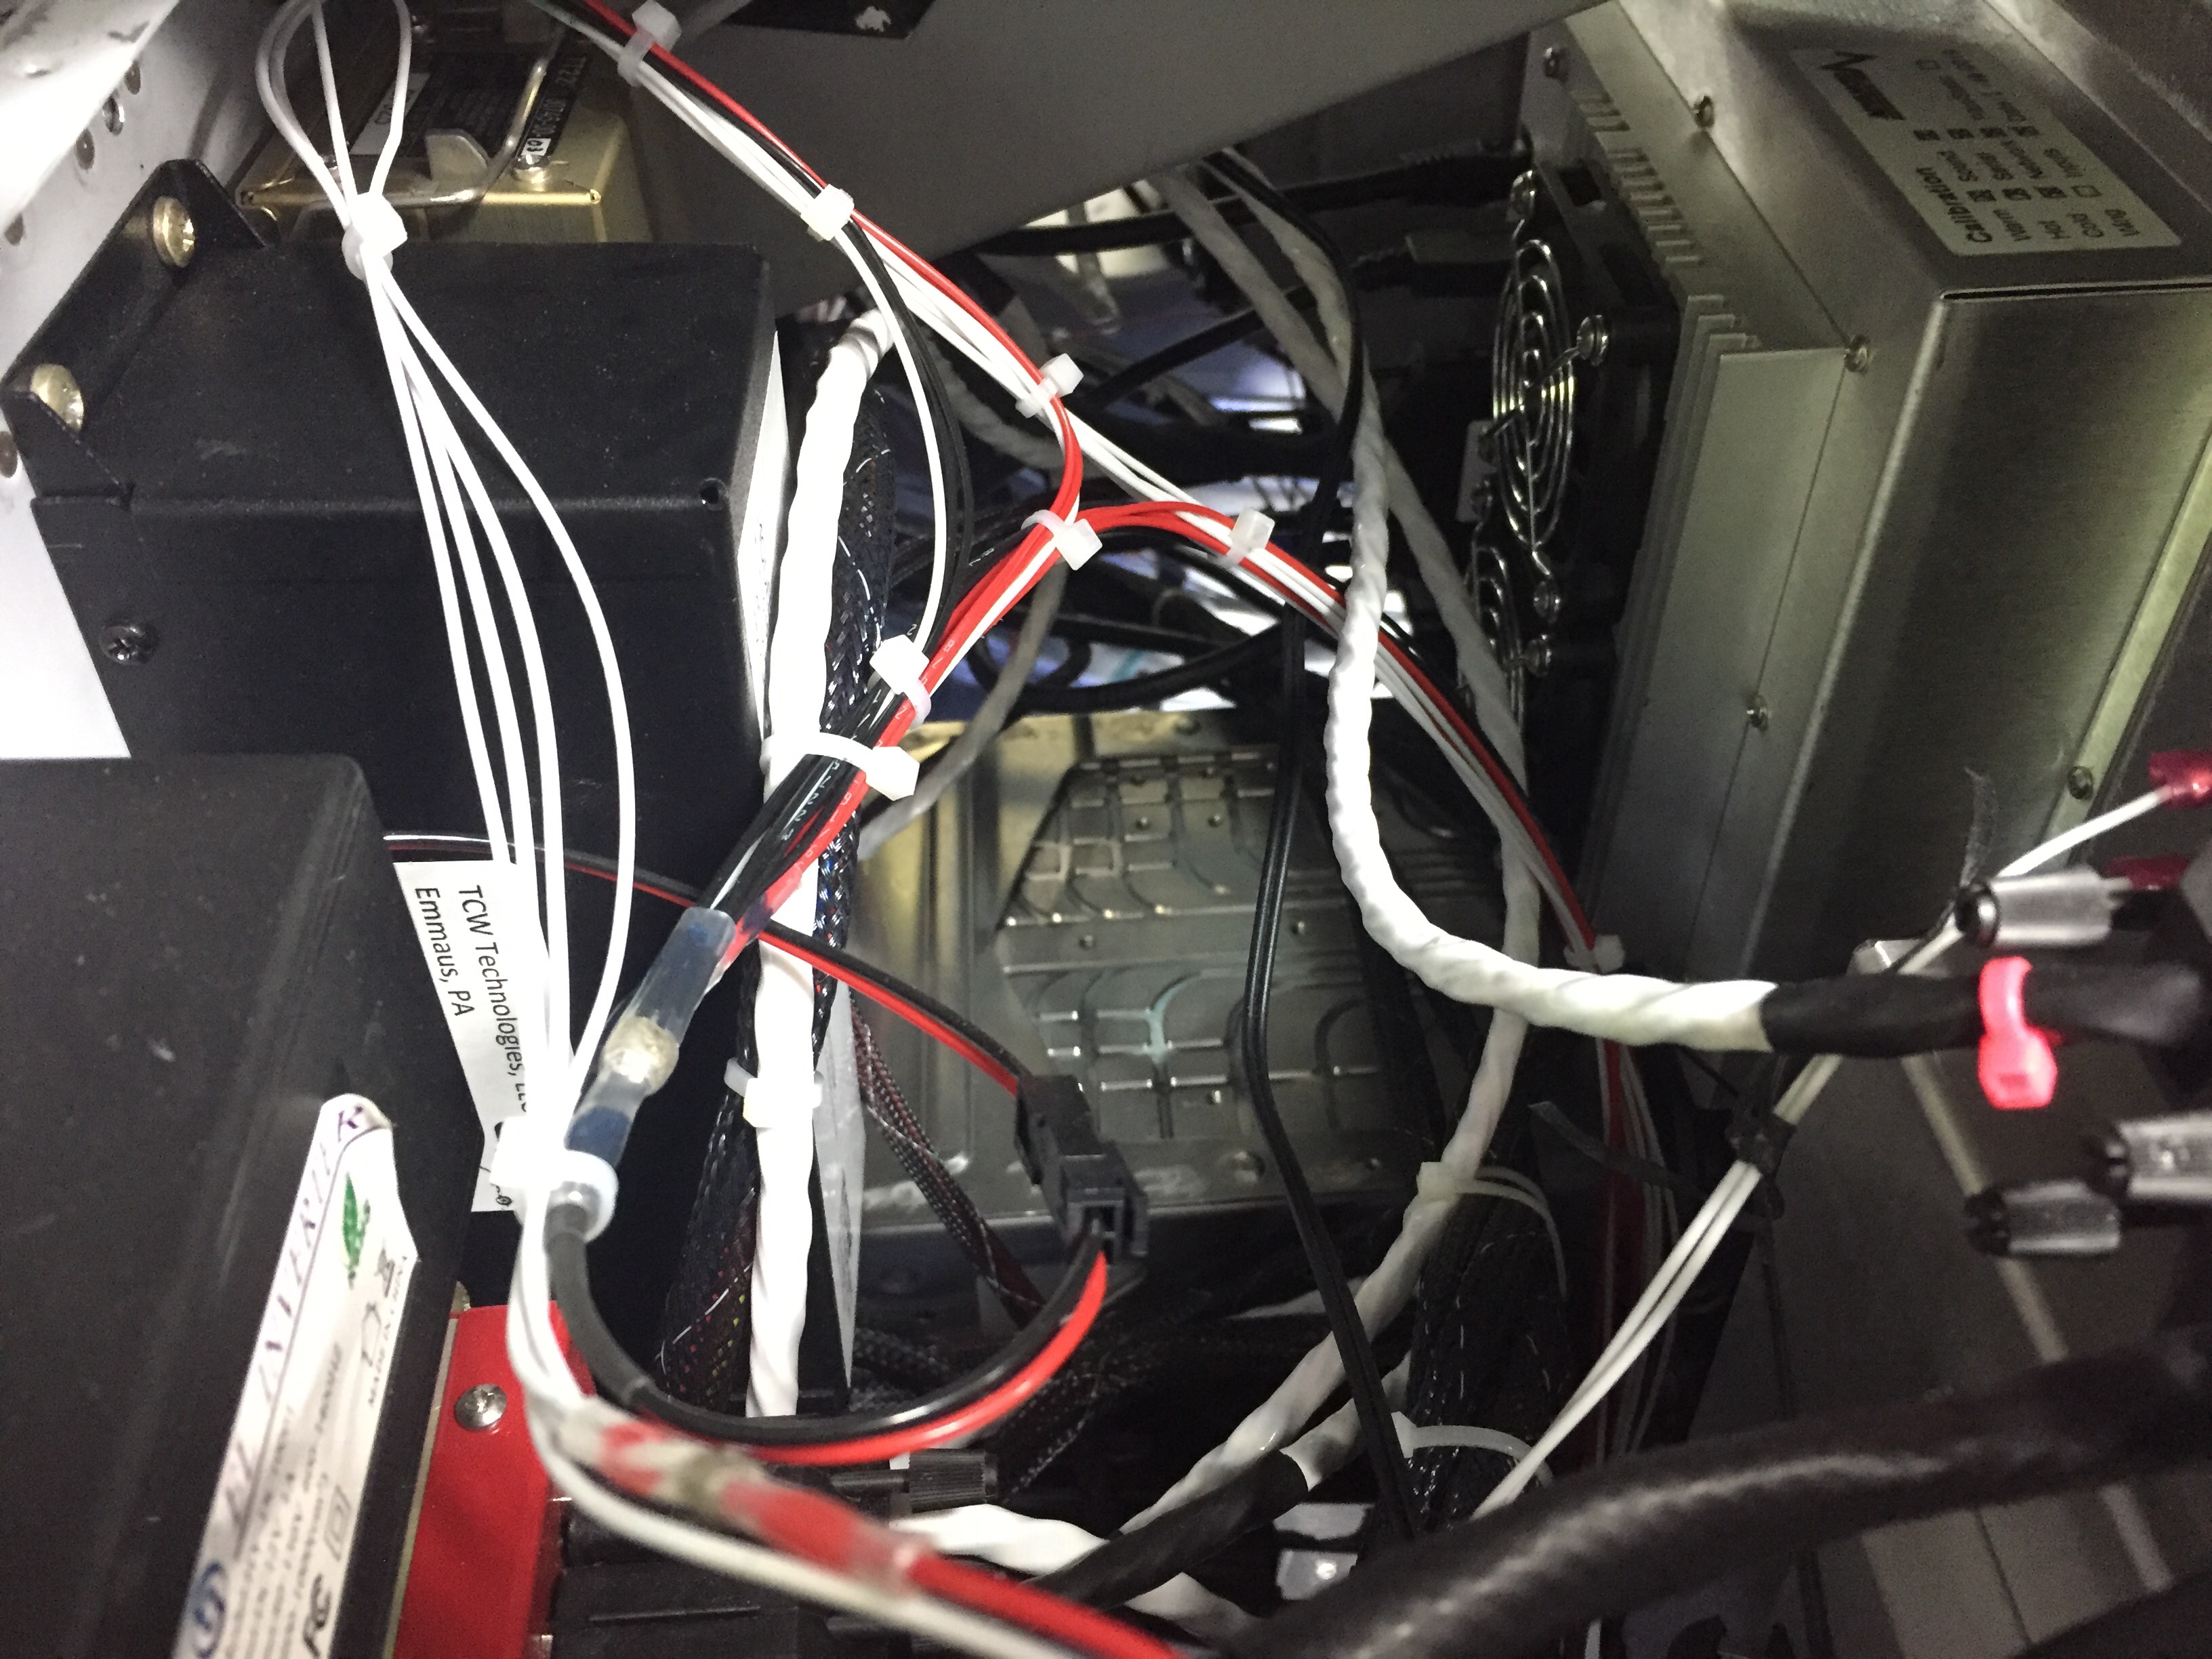
I can’t imagine spending days laying like that running wires, terminating connectors, and trying to bolt crap onto the subpanel. I kept the structure and skin off as long as possible and was able to simple walk around the avionics bay to complete everything. It would have taken me twice as long to complete the wiring if I had followed Van’s plans. I took the opportunity while under the panel to add just a few more zip ties to the wiring runs that I had already permanently secured. It’s not immaculate, but I’m very happy with my housekeeping and wiring runs.
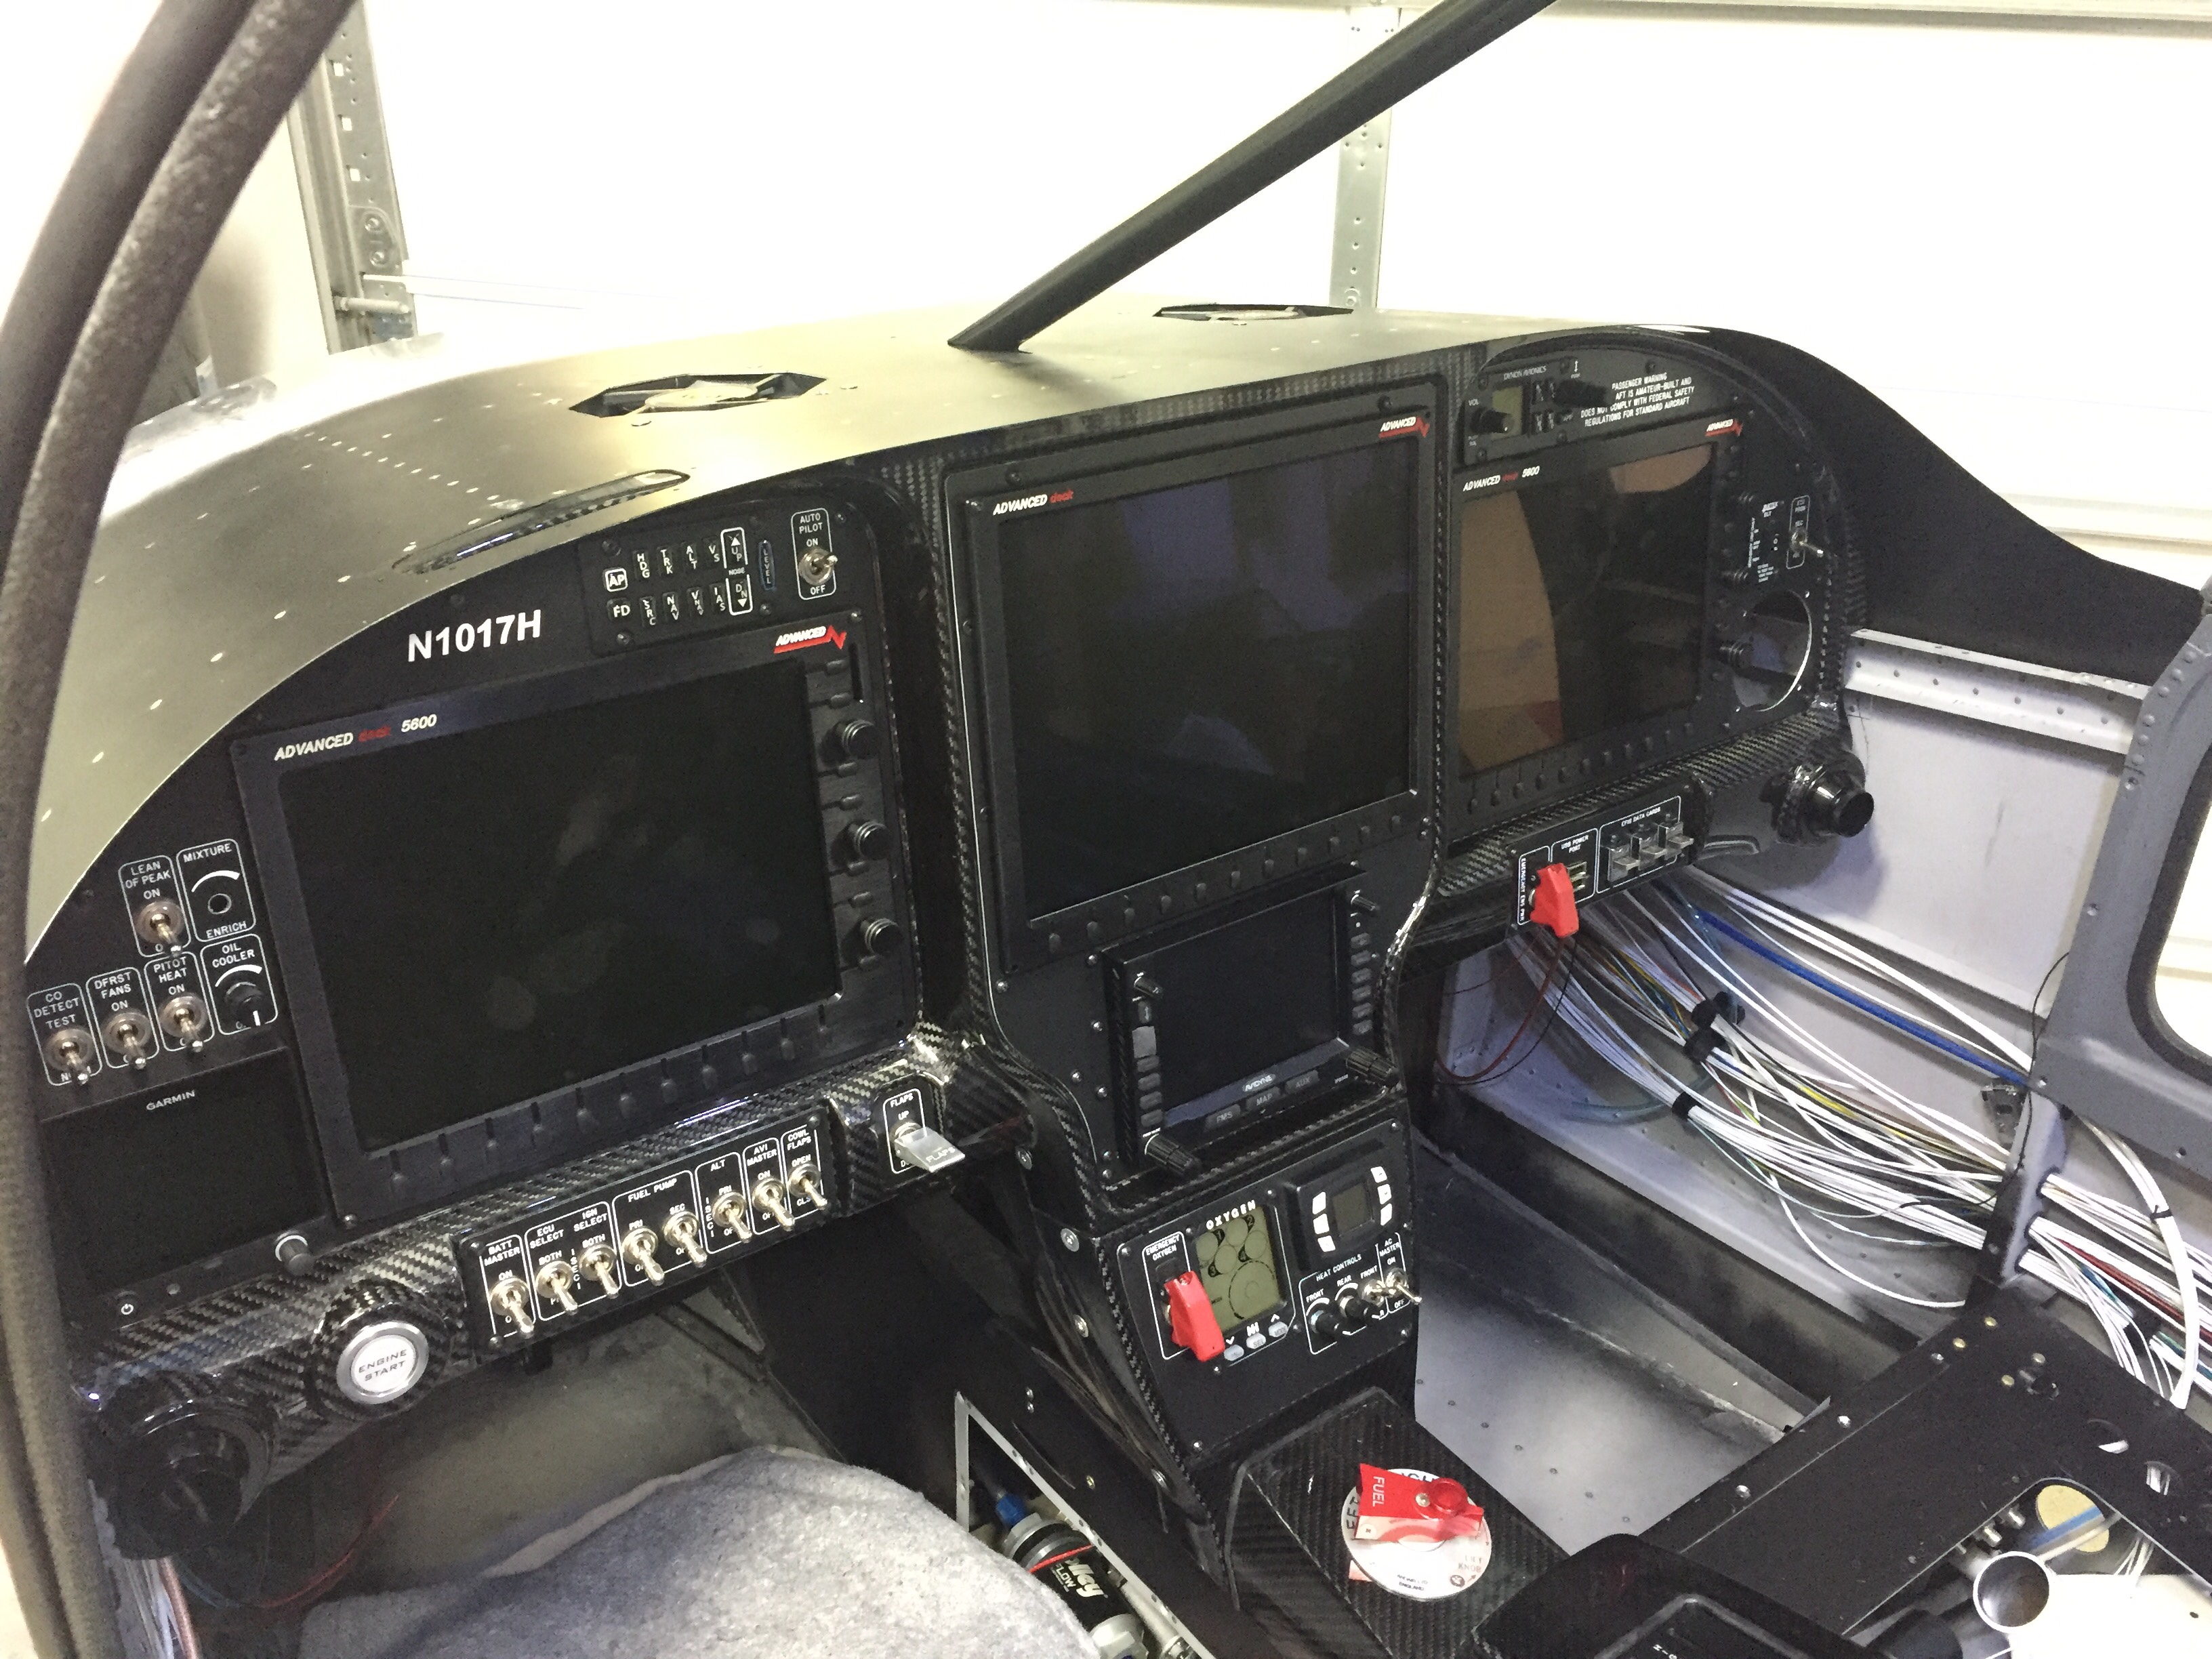
It’s cool to see the batwings gone now up front and the plane is really looking like a plane! I put the PFD/MFD screens in and tidied up a few things which at this point completes the avionics. All components have been installed and successfully tested sans the ECUs which will come with the engine in July. I’m trying to minimize the time spent playing with avionics, because to be honest, I won’t get any building done if I’m swiping and experimenting with instrument approaches to JFK!
Finally, all of the aircon relays came in and I was able to properly test the system without the compressor, of course. The condenser fan that I upgraded as part of the redesign really pumps some air and I’m really optimistic that it will produce good cooling for the condenser. I installed an Aerosport headset hanger on the overhead console panel and reinstalled the panel to enclose the overhead. With it all sealed up now, the cabin fan is very effective, even on low, at pushing air over the evaporator and throughout the cabin. On high, it’s more air than I get through the vents in my car, so I’m again optimistic that the aircon is going to be very effective even on hot muggy days here in the south.

Next up will be the windscreen followed by getting the landing gear on.
