Turns out, the pitot is much easier to install before putting the bottom skins on. I learned this thanks to the great info from other builders’ blogs. Check out the link Other Build Logs for some of my go to’s. It’s good advice, as it gave me a lot of room to mount the heater controller and the actual mount itself.
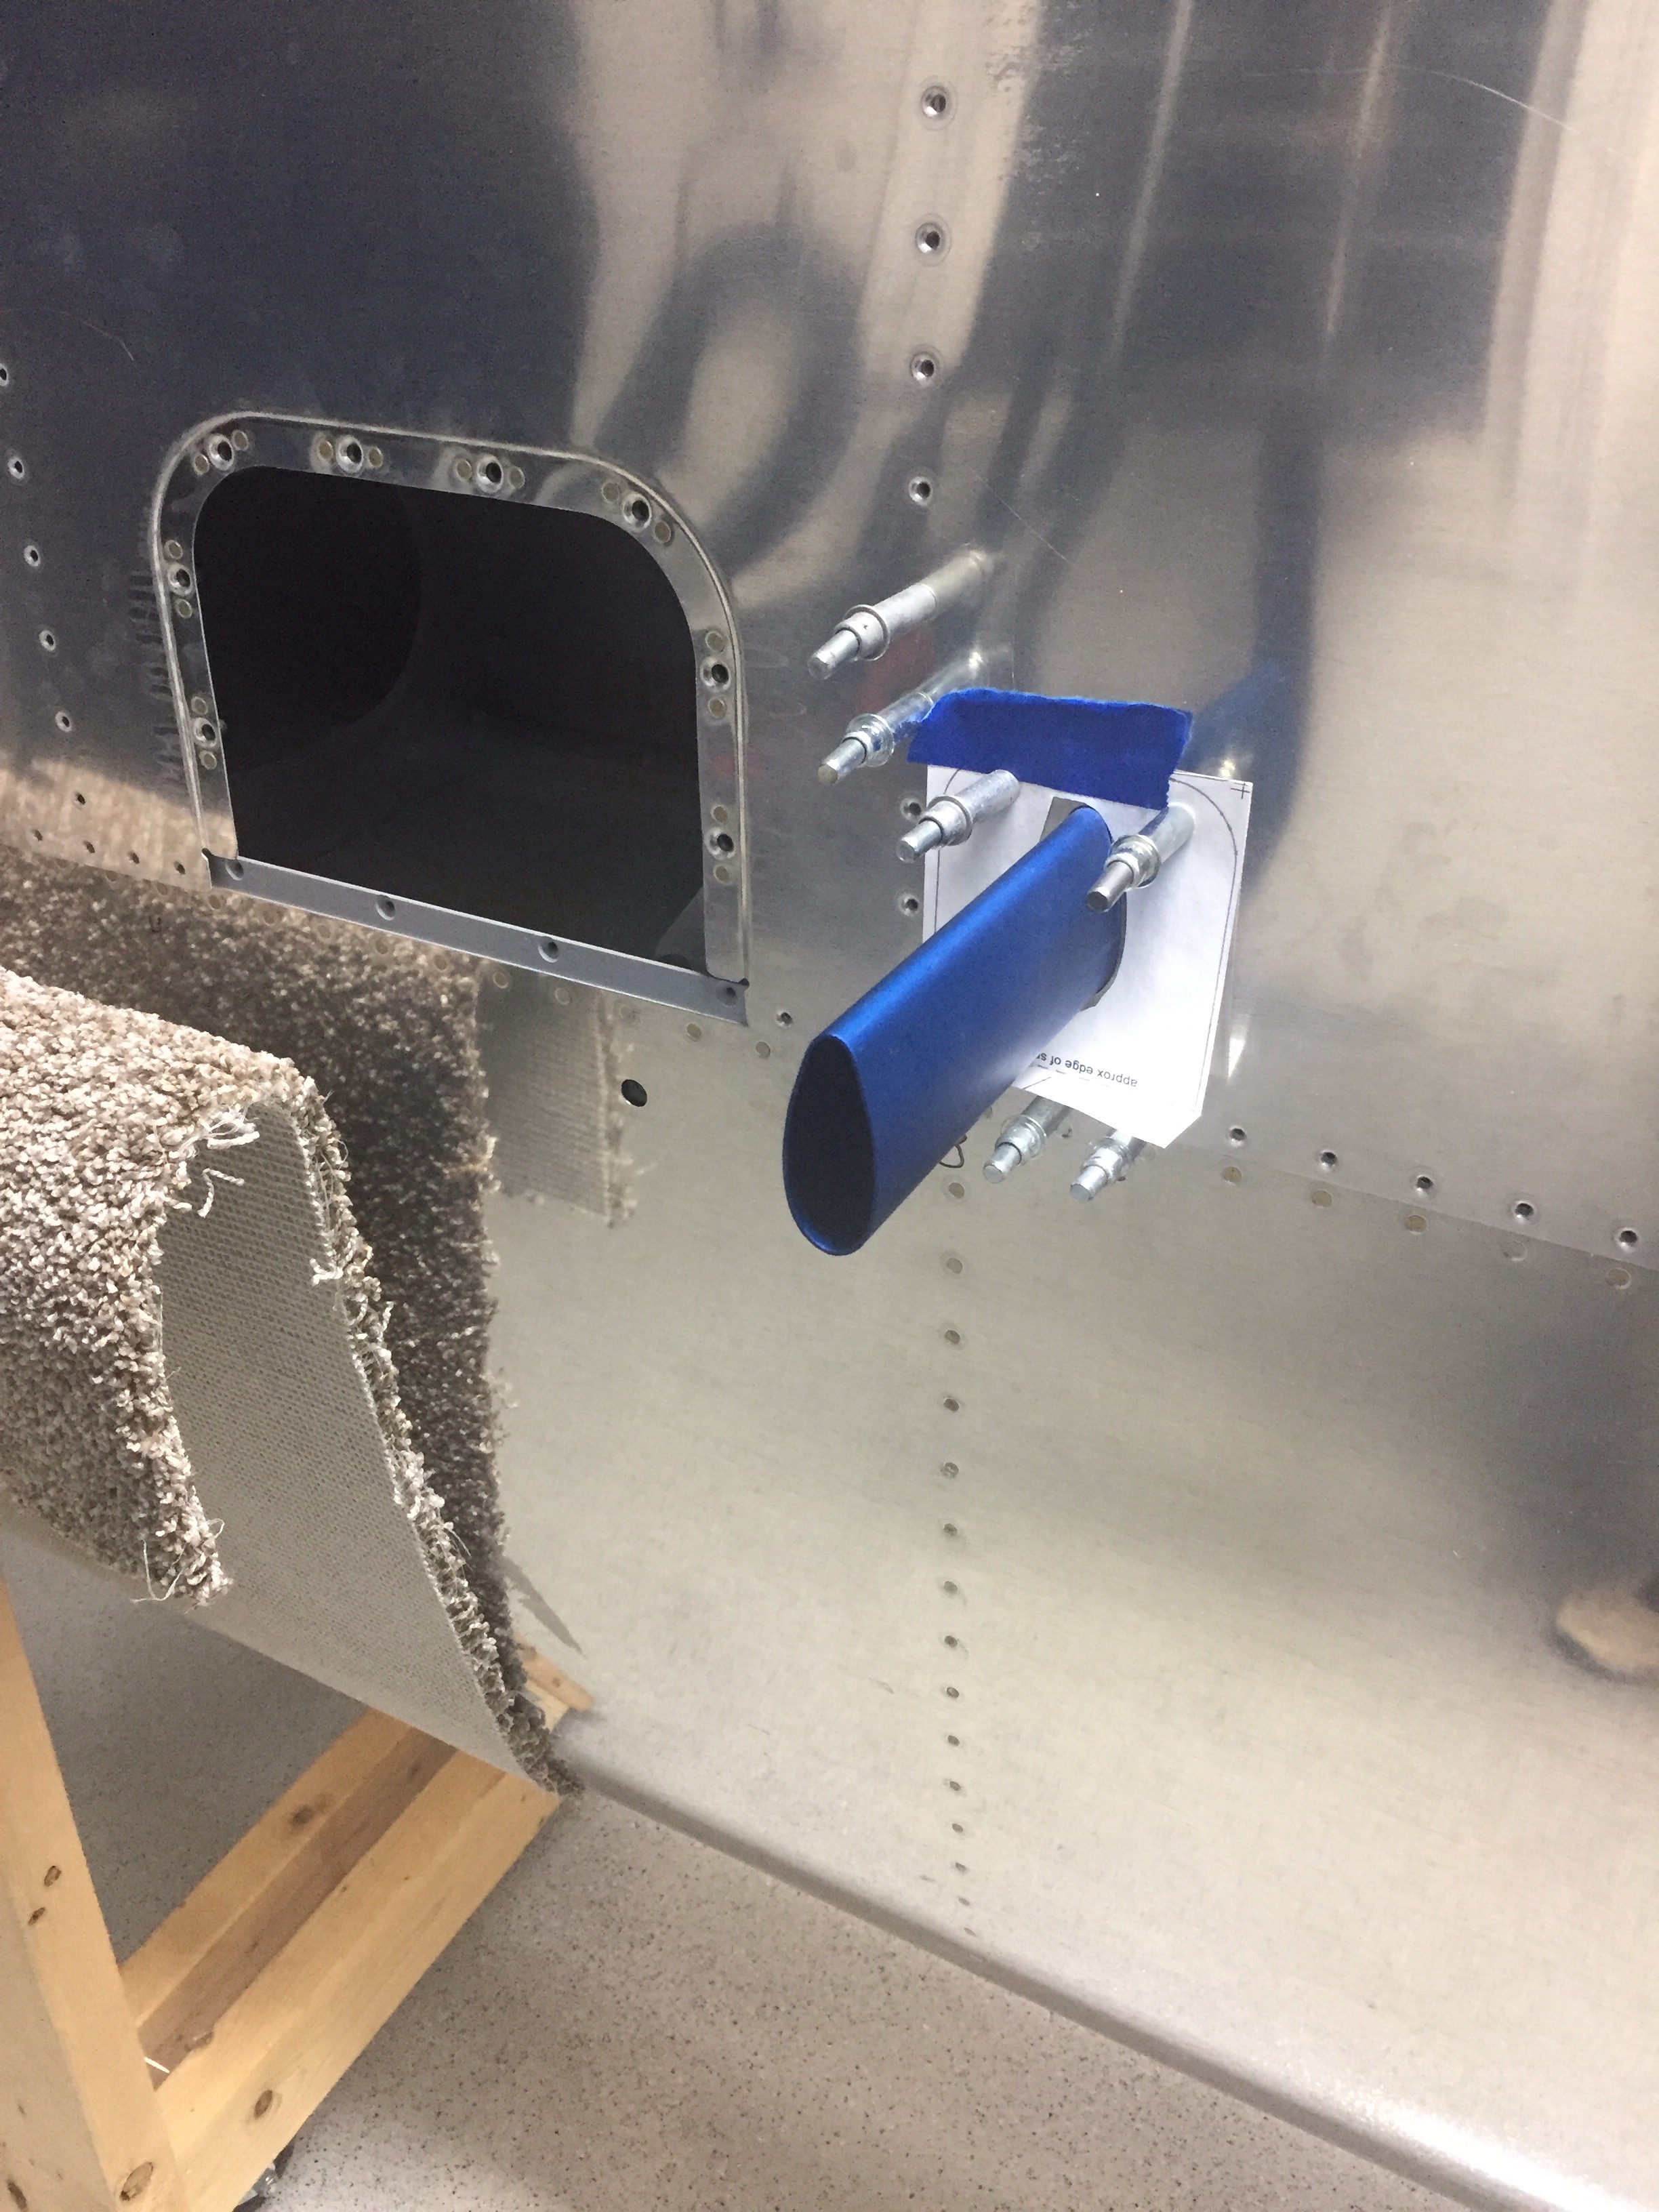
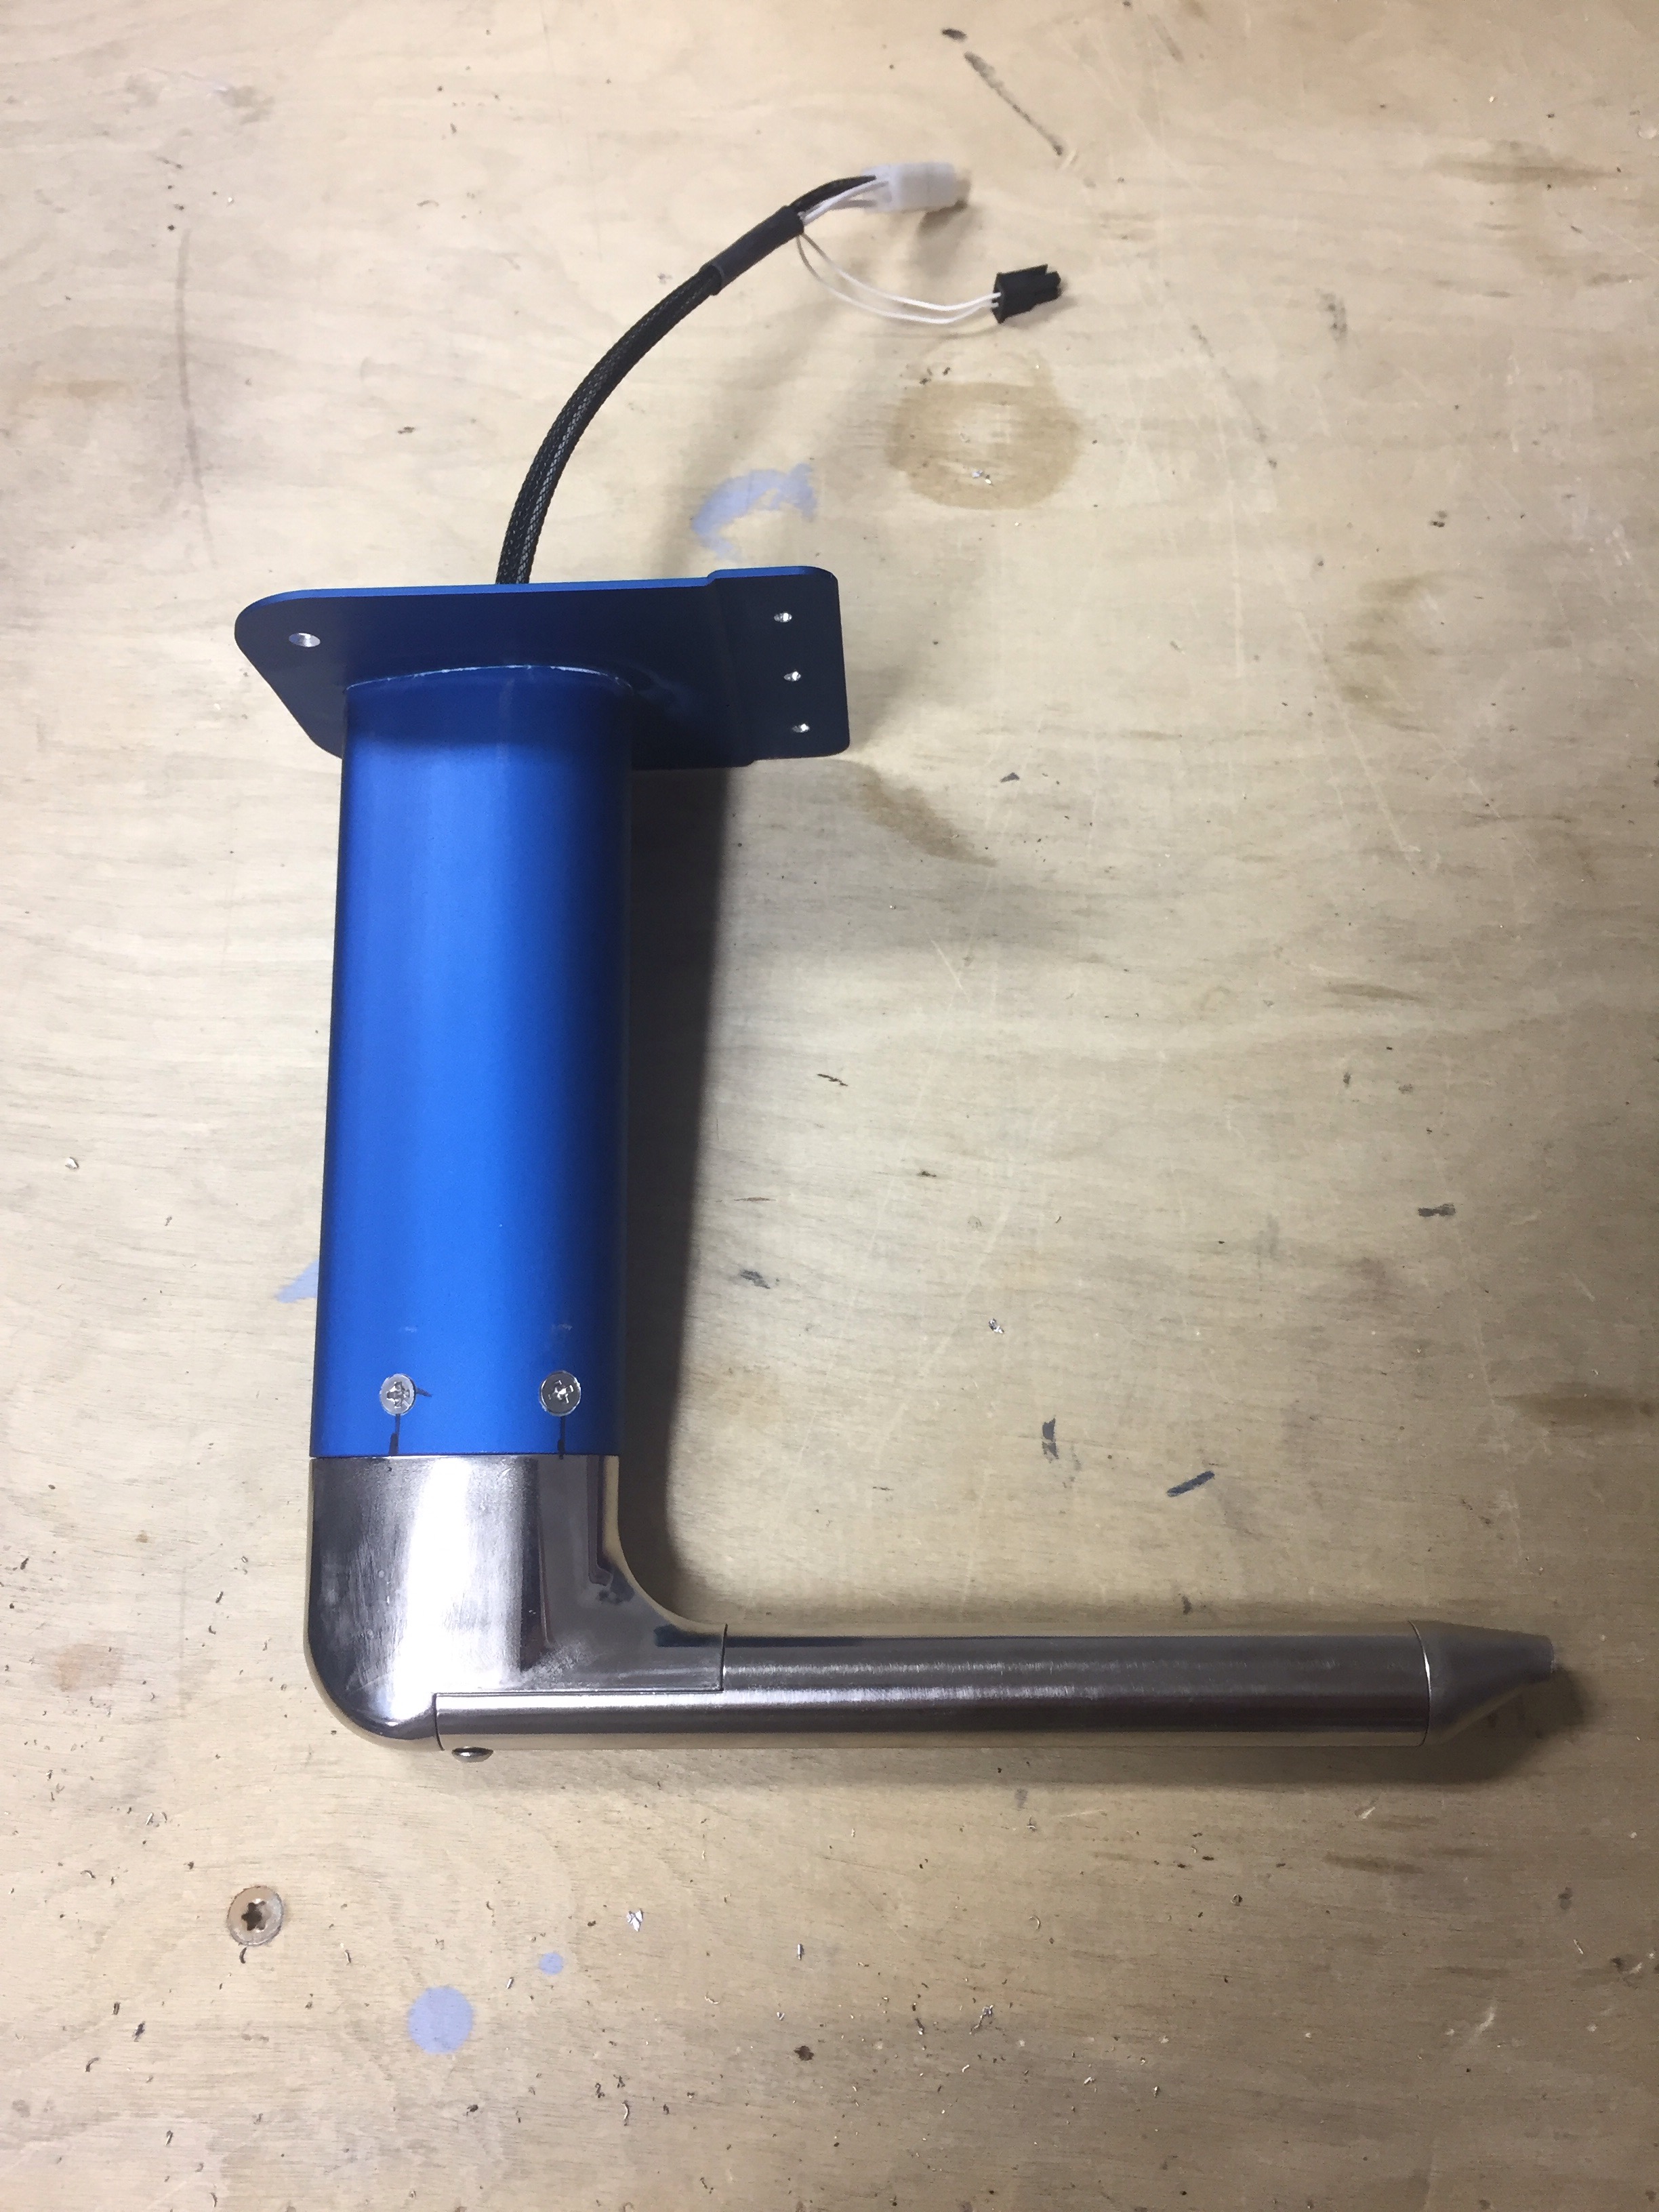
I’m putting in the Dynon heated AOA and pitot tube along with the Safe Air mount. Great products all around and the process wasn’t too bad. First step is marking and cutting the hole in the skin. Safe Air provides a nice template for this and a Dremel makes quick work of the task. I chose to use the standard Van’s location just inboard of the tie down location.

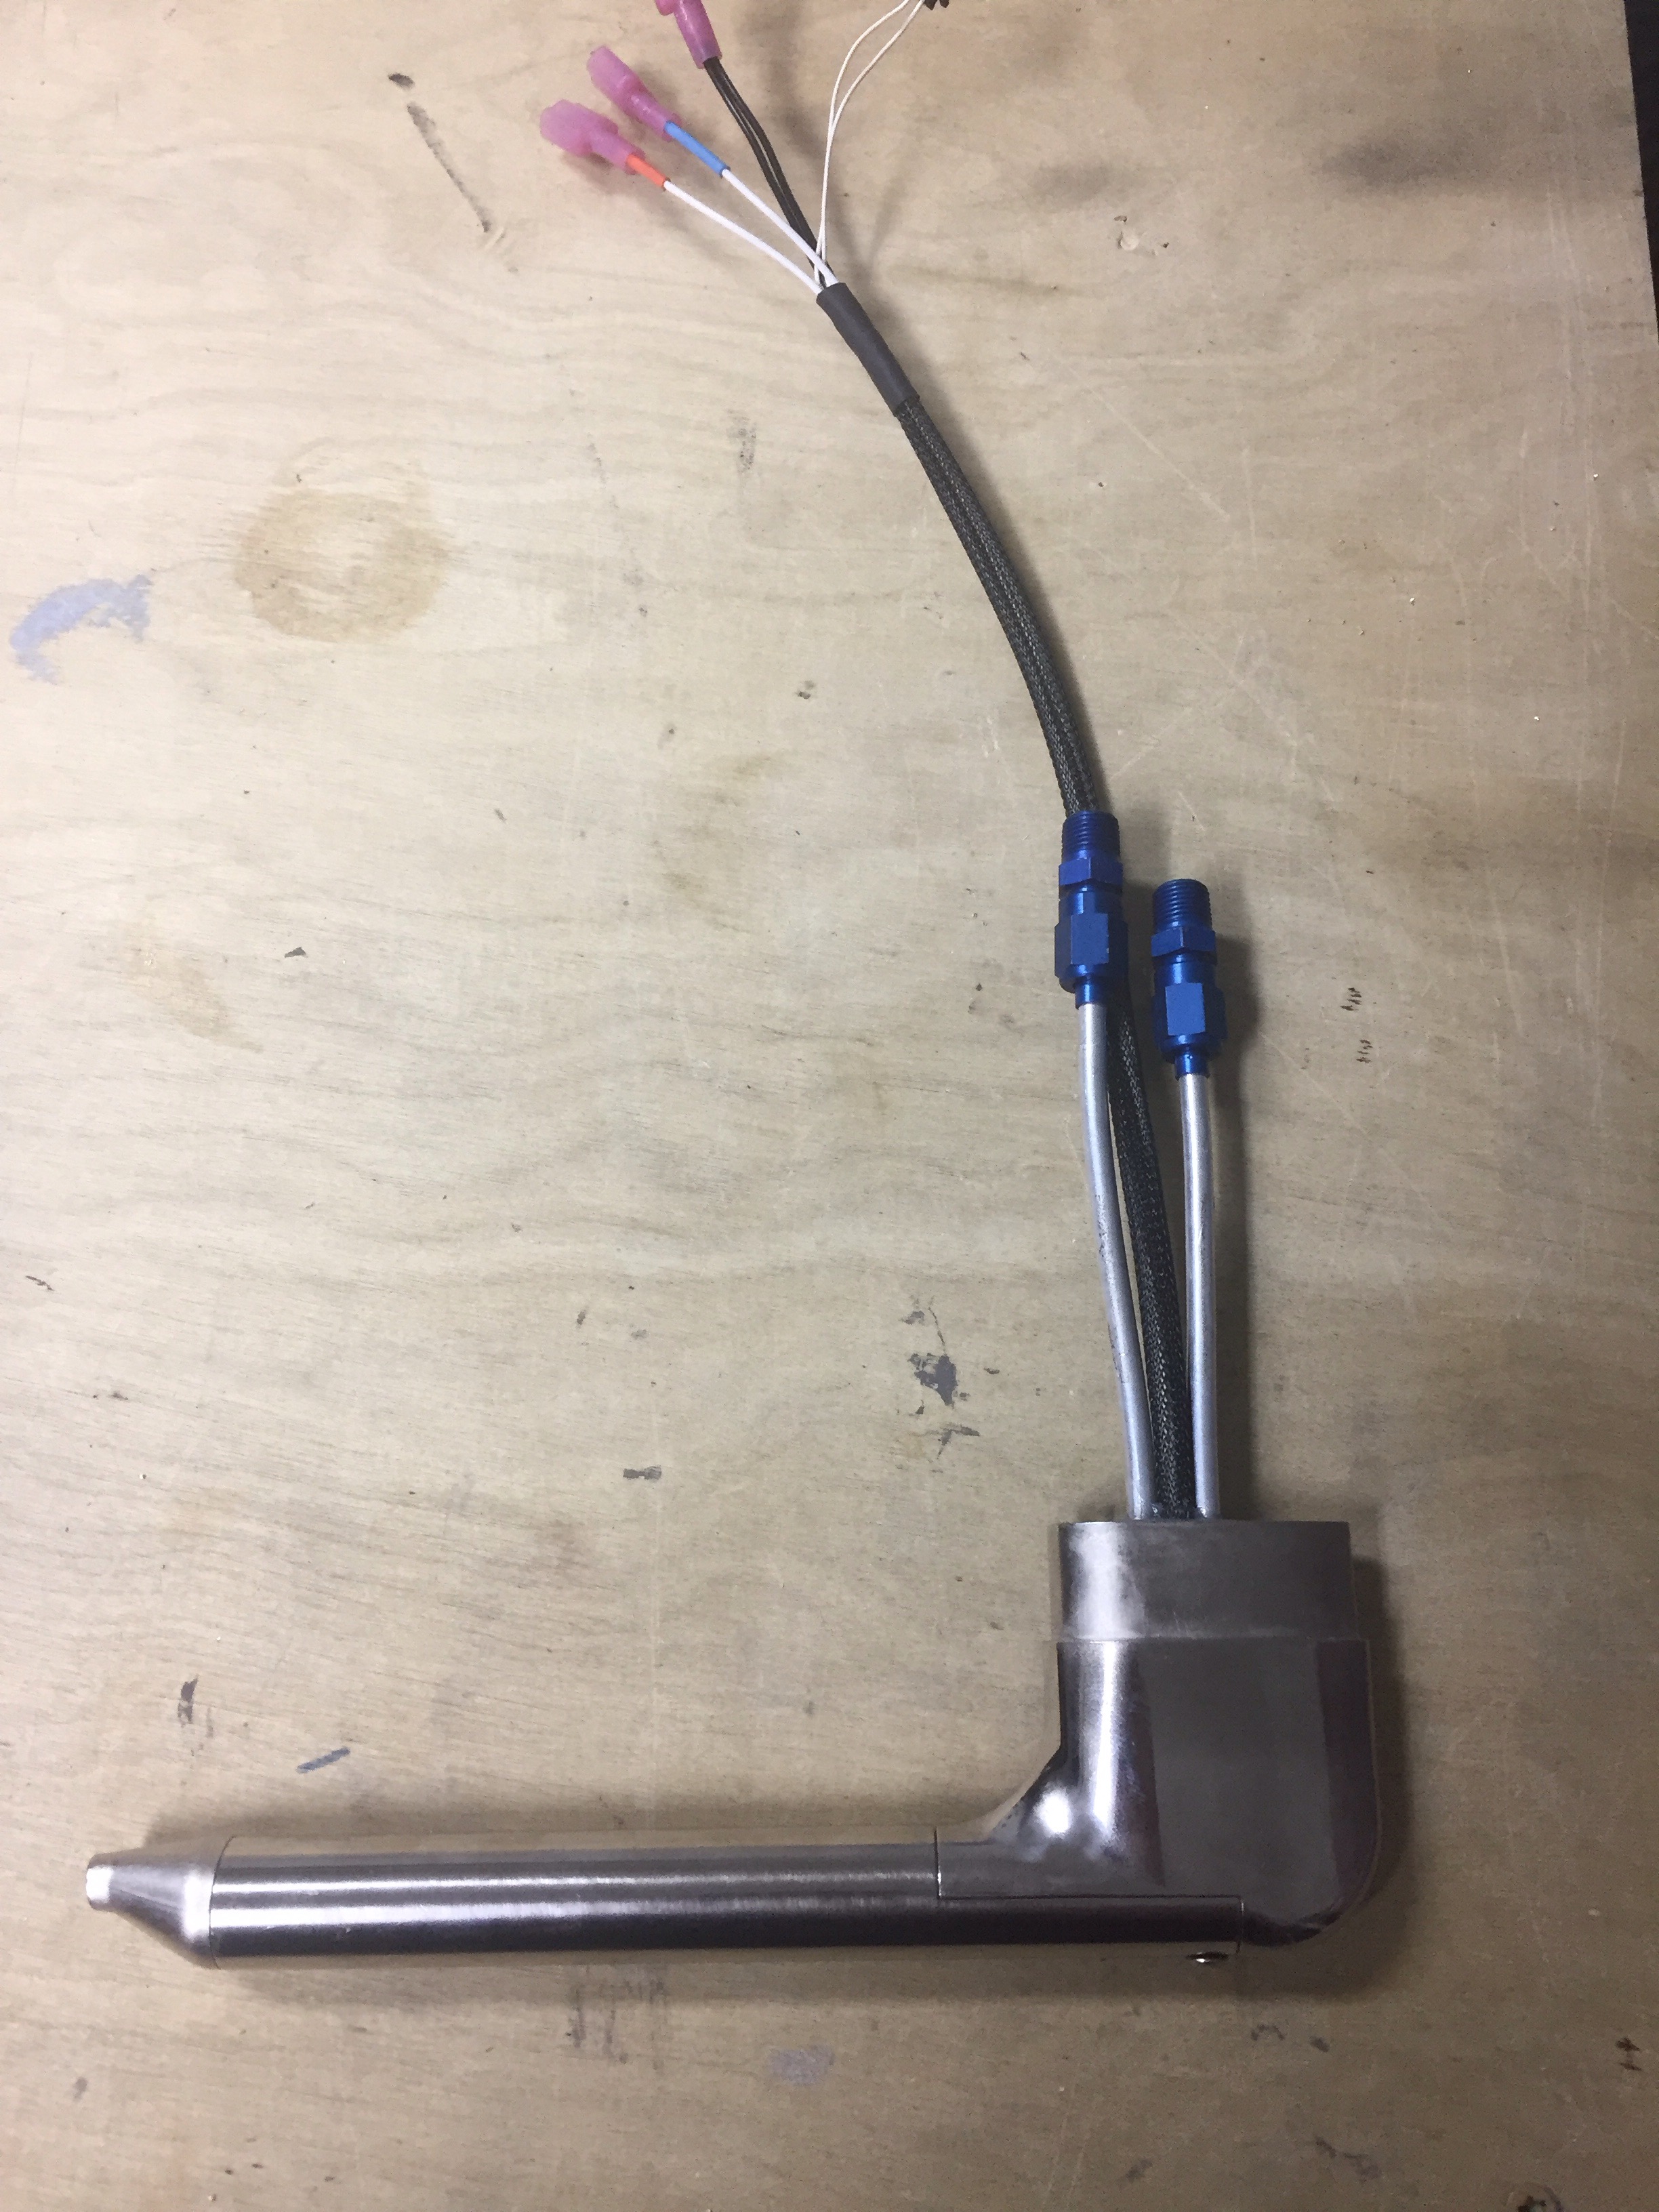
I used a bottoming tap to carefully cut threads in the pitot tube, making sure the drill and tap stayed clear of the tubes. I also installed the fittings which allowed me to use the new crows foot wrenches. It did surprise me how much torque they require, as I was afraid of ruining them. But they shouldn’t leak now that they are good and tight per the specs.


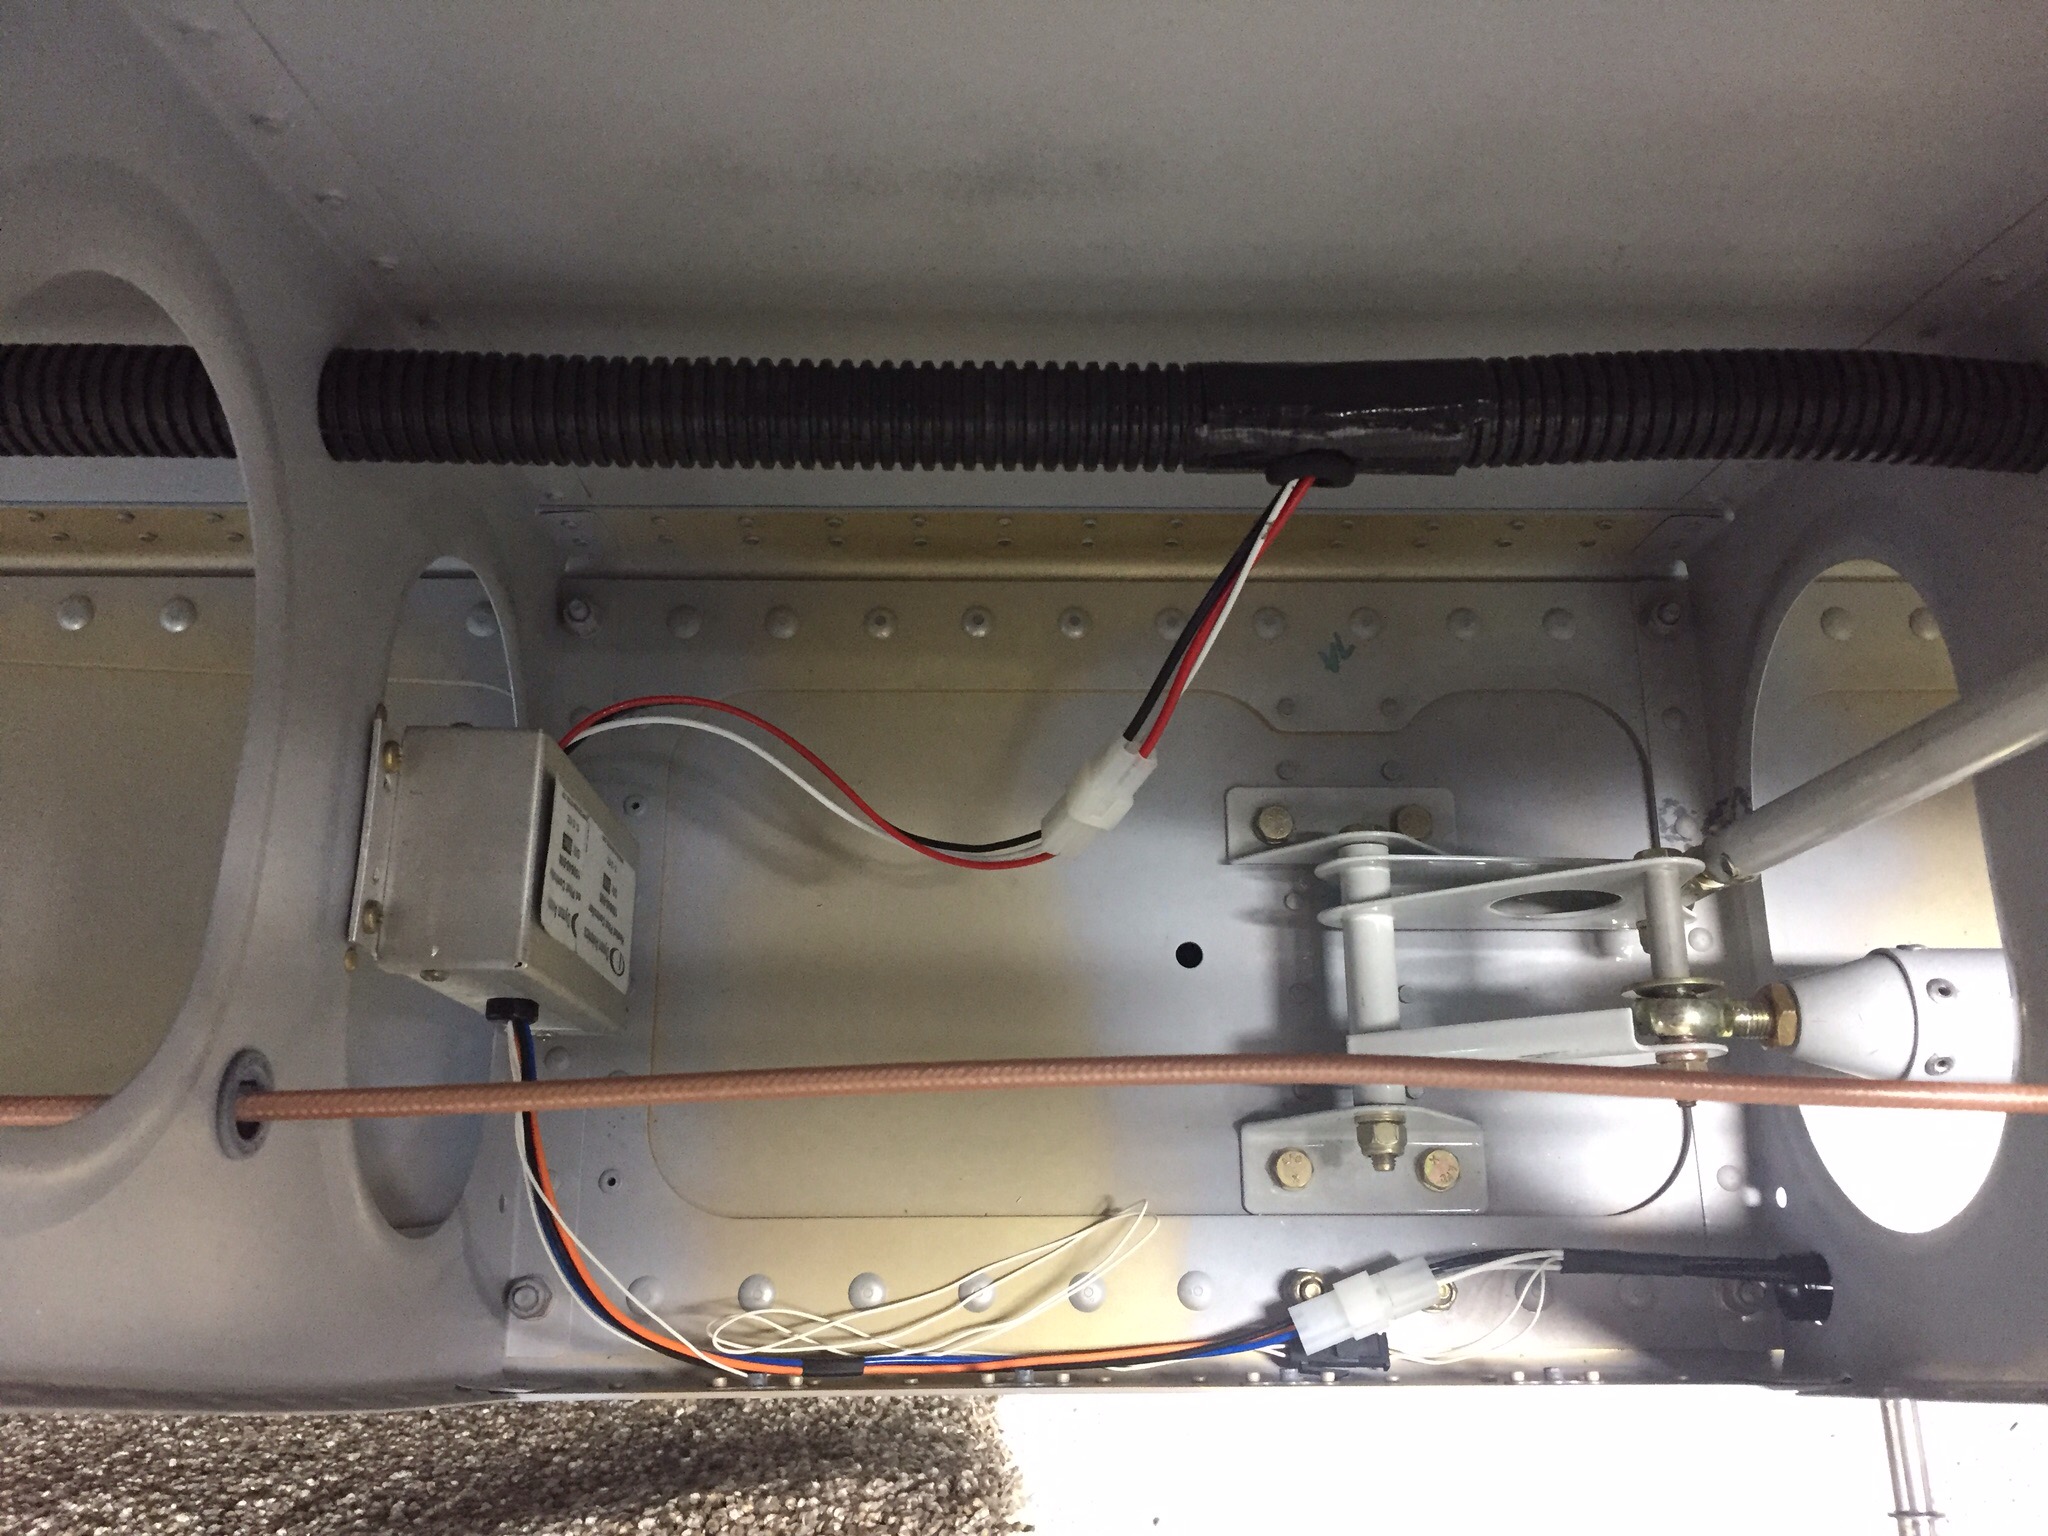
I also got to break out my Stein wiring kit for a connector and pins. I’ve used a similar crimper before, so the hardest part was figuring out which pins went into which side of the connector. I shortened the wires to reduce the amount of slack wiring inside the wing and put the pins on with ease. The only thing left to clean up is putting some braided sleeve on the wires to provide some abrasion resistance and spruce them up a bit.

One piece of advice is to mark the wires coming from the pitot itself before cutting off the spade connectors. There is a blue and orange connection from the controller but both wires from the pitot are white with a corresponding piece of heat shrink on them. I had to email Dynon and get a trick to identify which wire went to blue / orange. They advised a great trick to freeze the pitot and determine which is blue / orange by seeing which side of the tube heated up first.
I originally mounted the controller to the access panel as others have done, but didn’t like that with having to tuck wires in so I decided to follow another builders idea of putting it on a rib. Adding four nut plates makes it a clean instal and still allows easy to access once the bottom skin is on. Overall, I’m very pleased with the install and looking forward to having the integrated AOA display in the cockpit.
