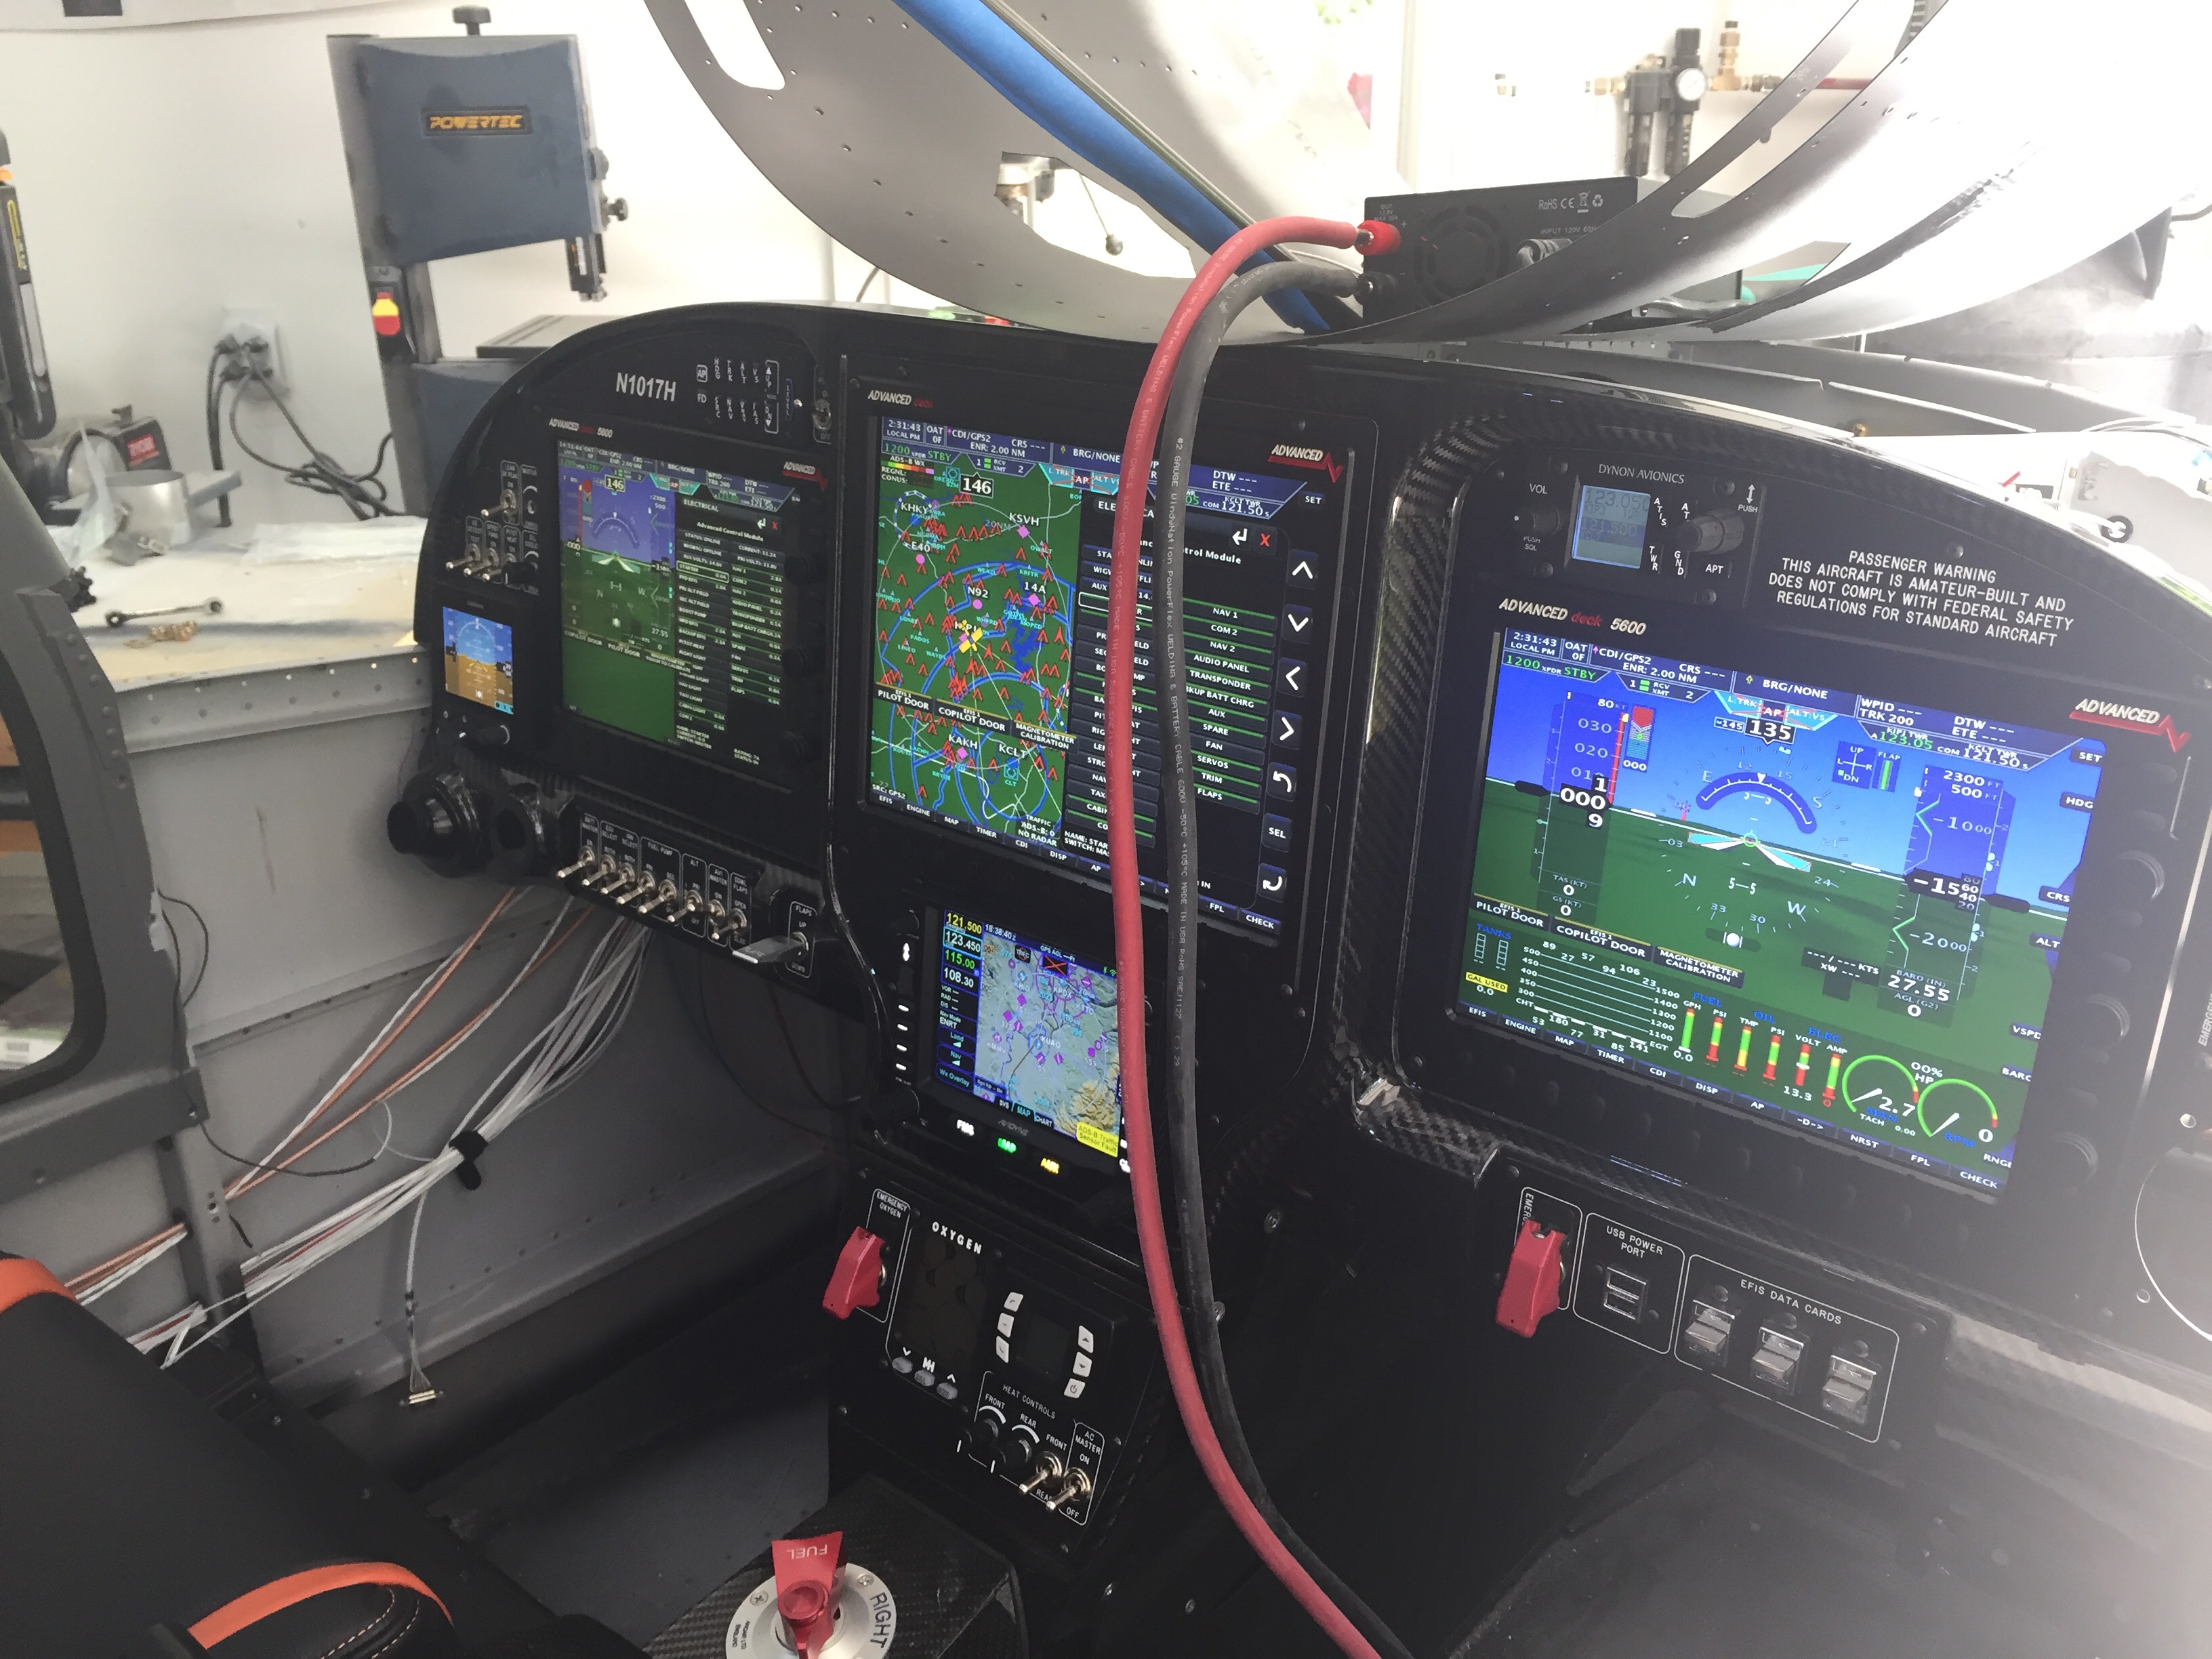
I have fully recovered from the traumatic smoke incident and have made progress on completing initial testing on all of the electrical components in the plane. I buttoned up the tunnel and got the tunnel cover and lower panel console installed. I am lucky but allowed JUST enough length in wiring for the components on the lower panel including O2, aircon, and cabin heat controls.
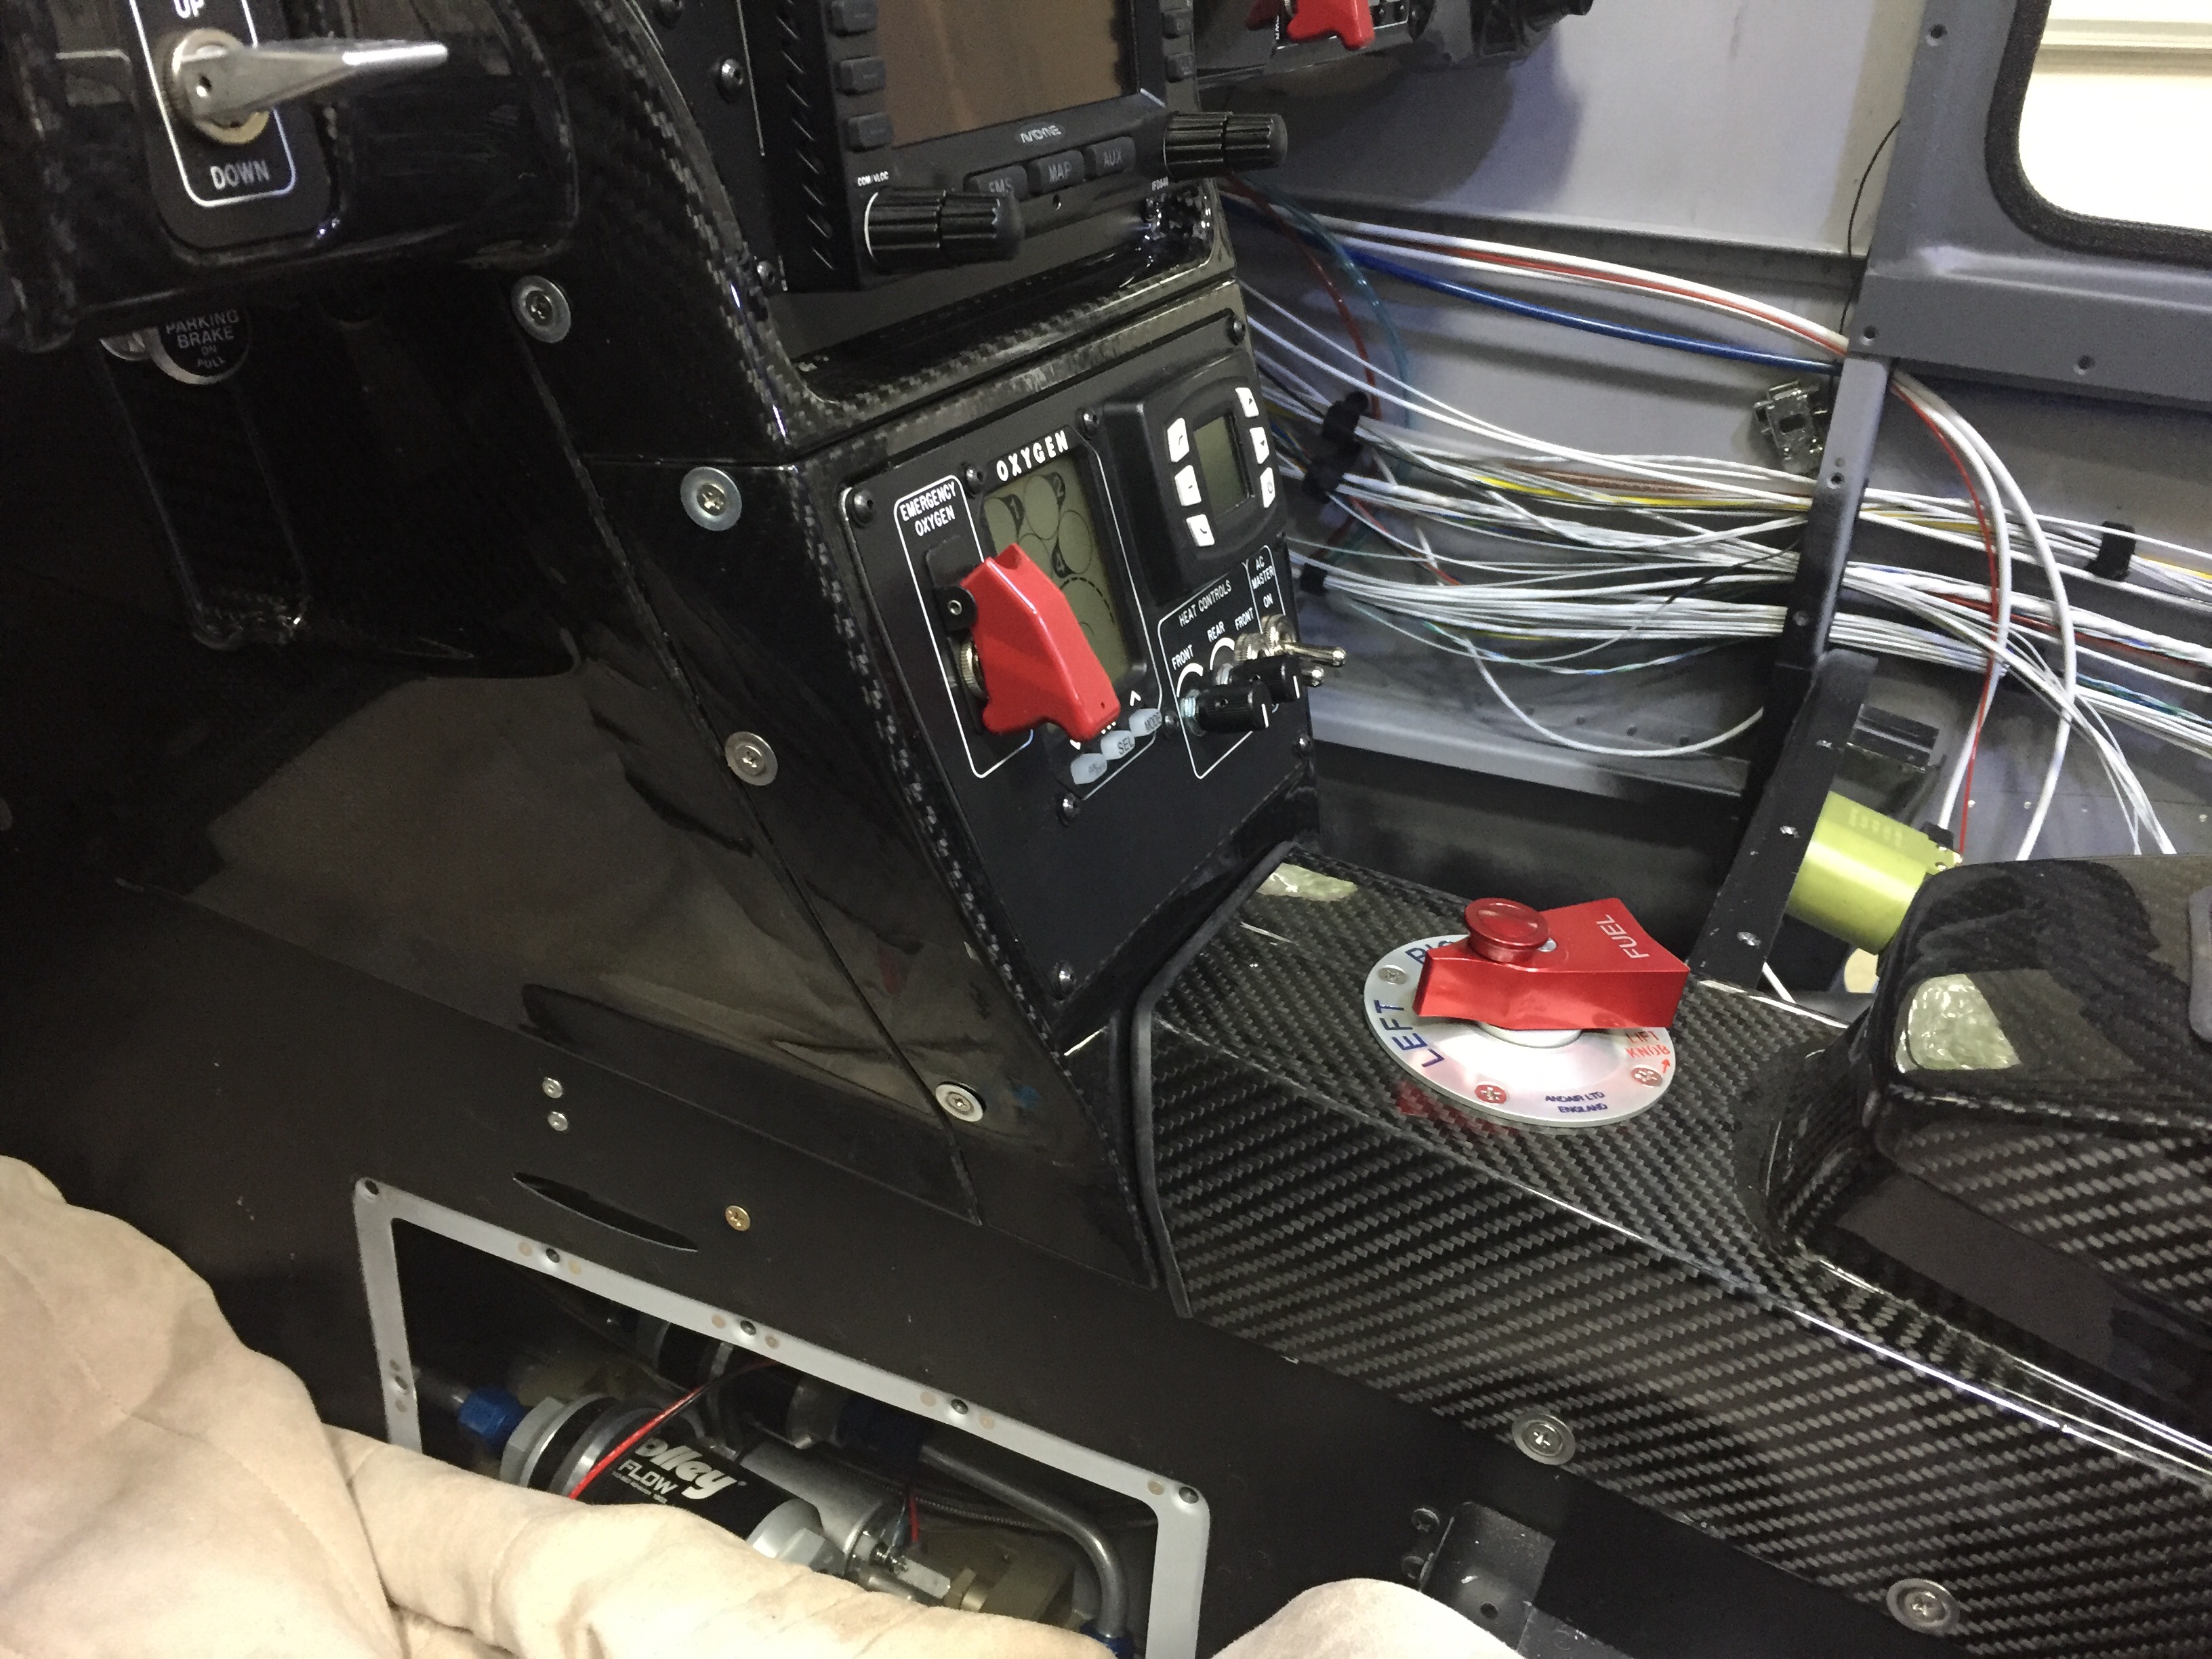
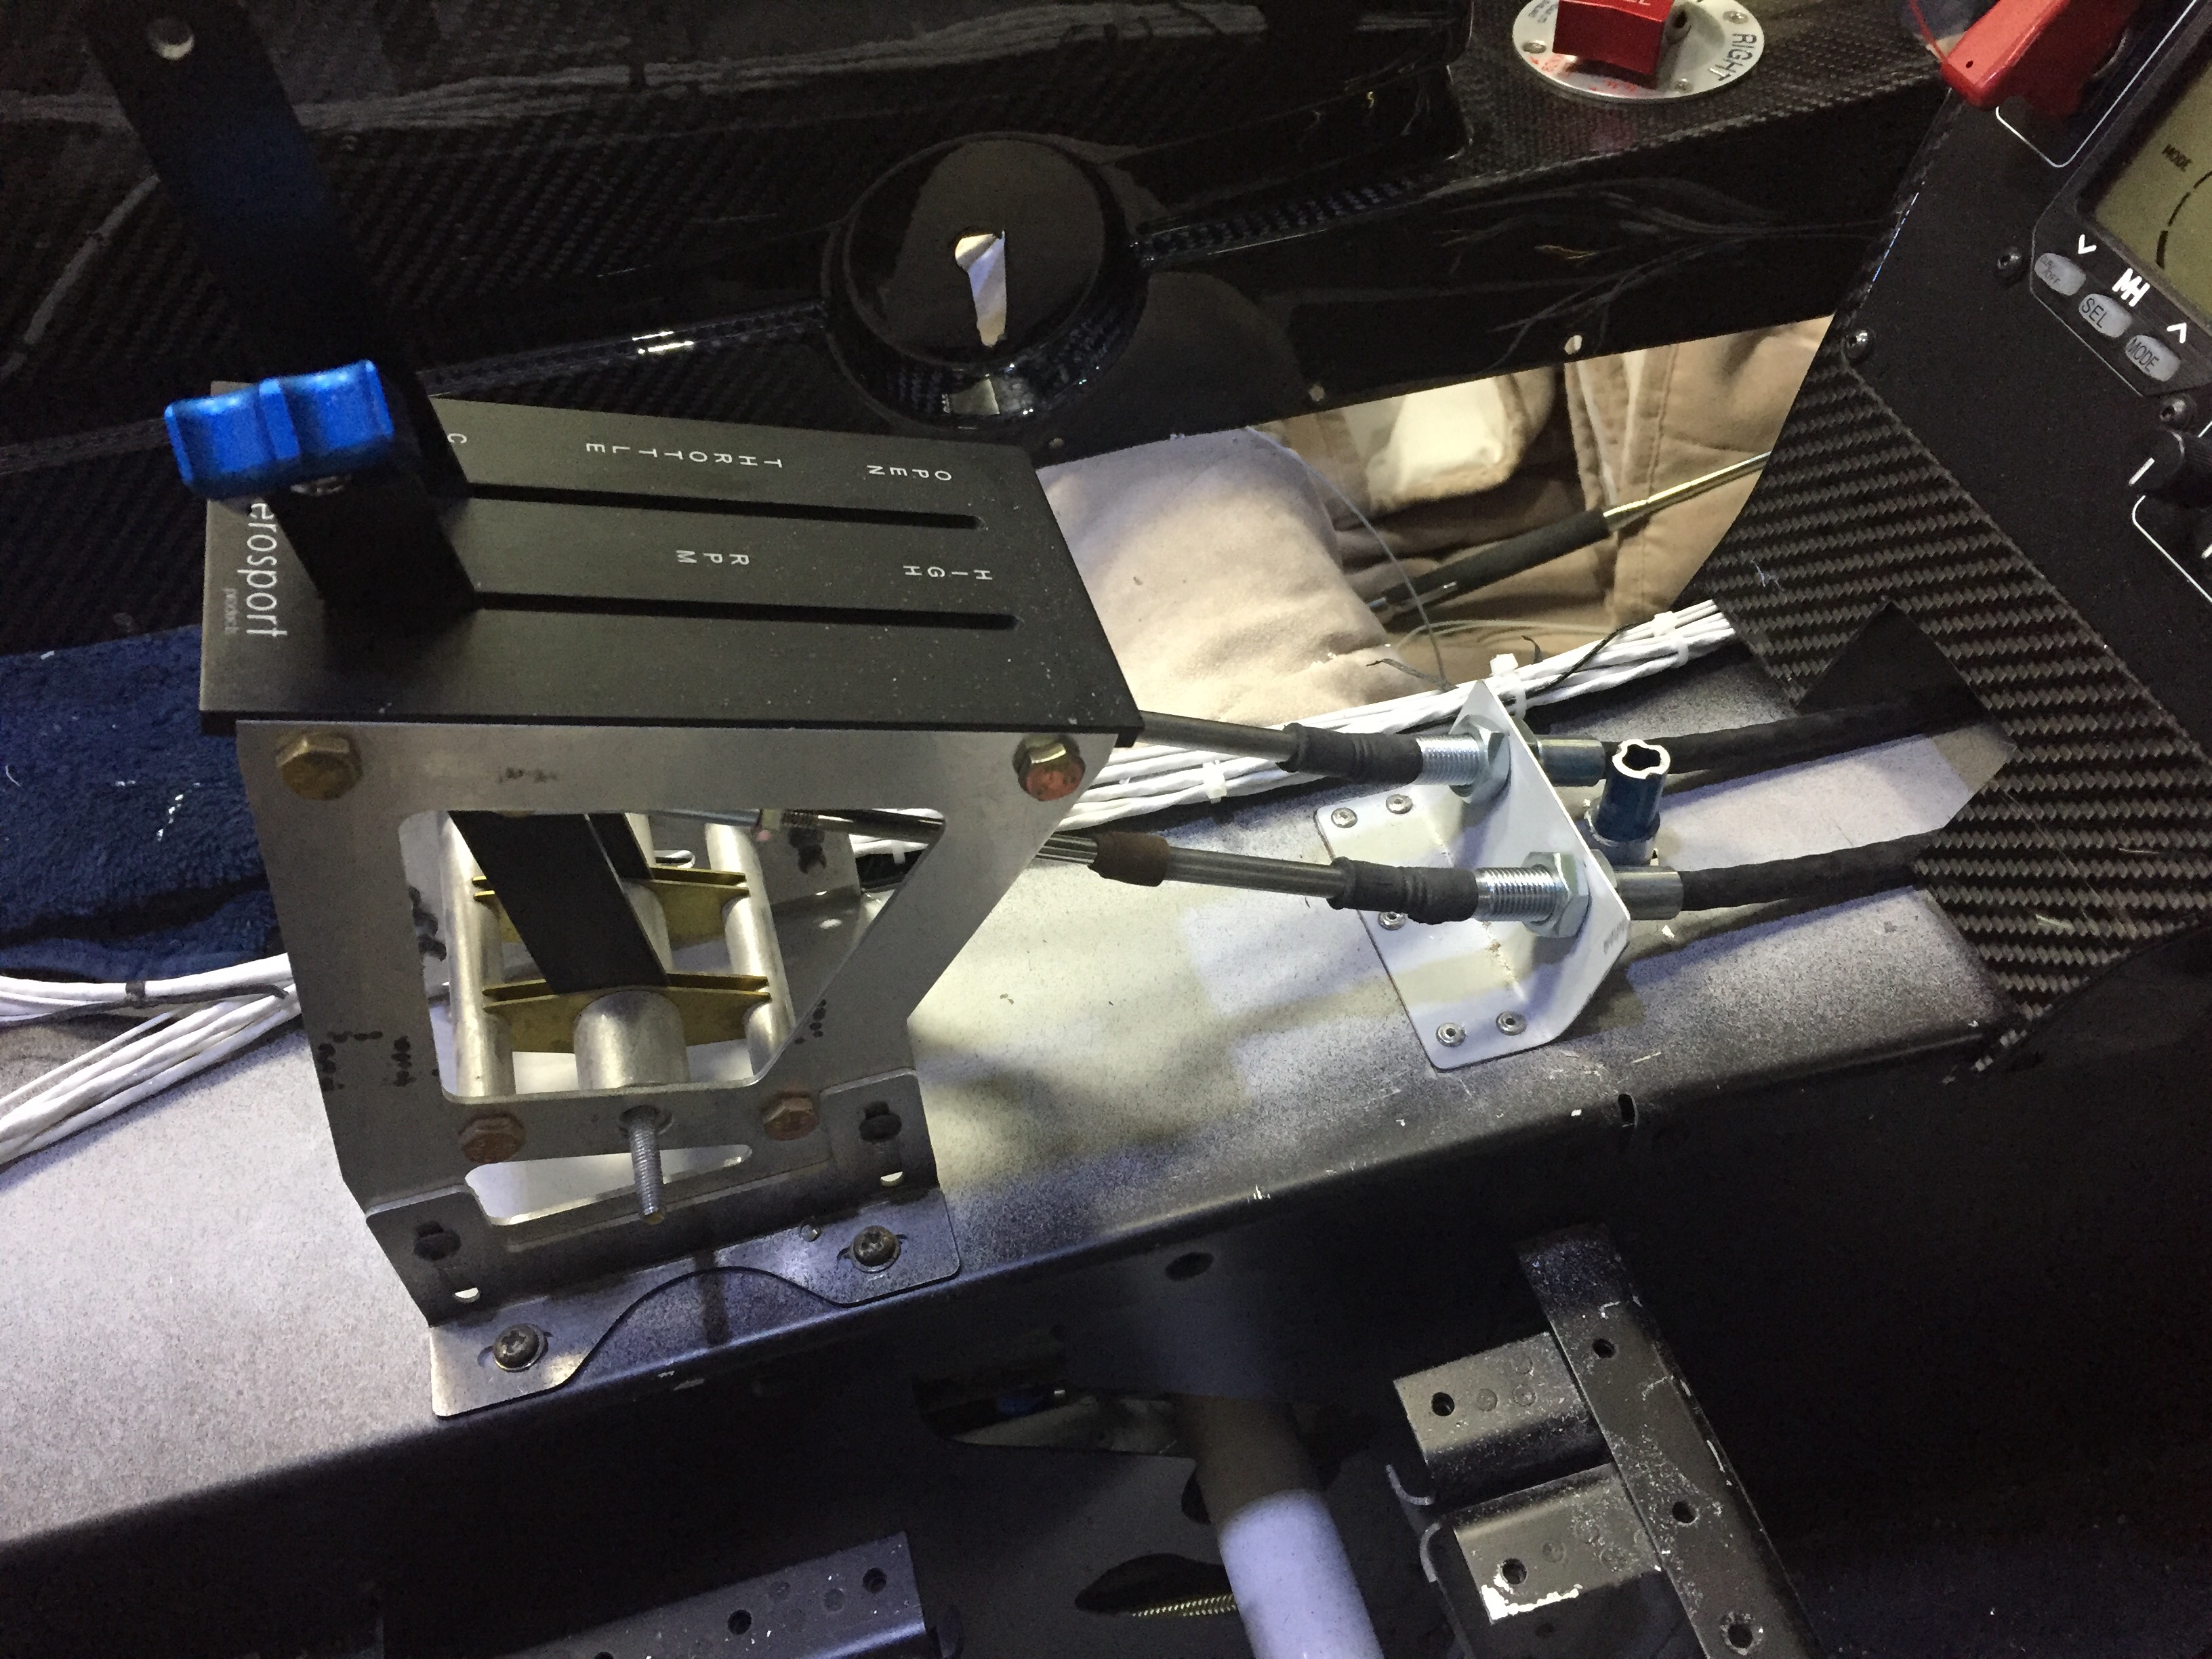
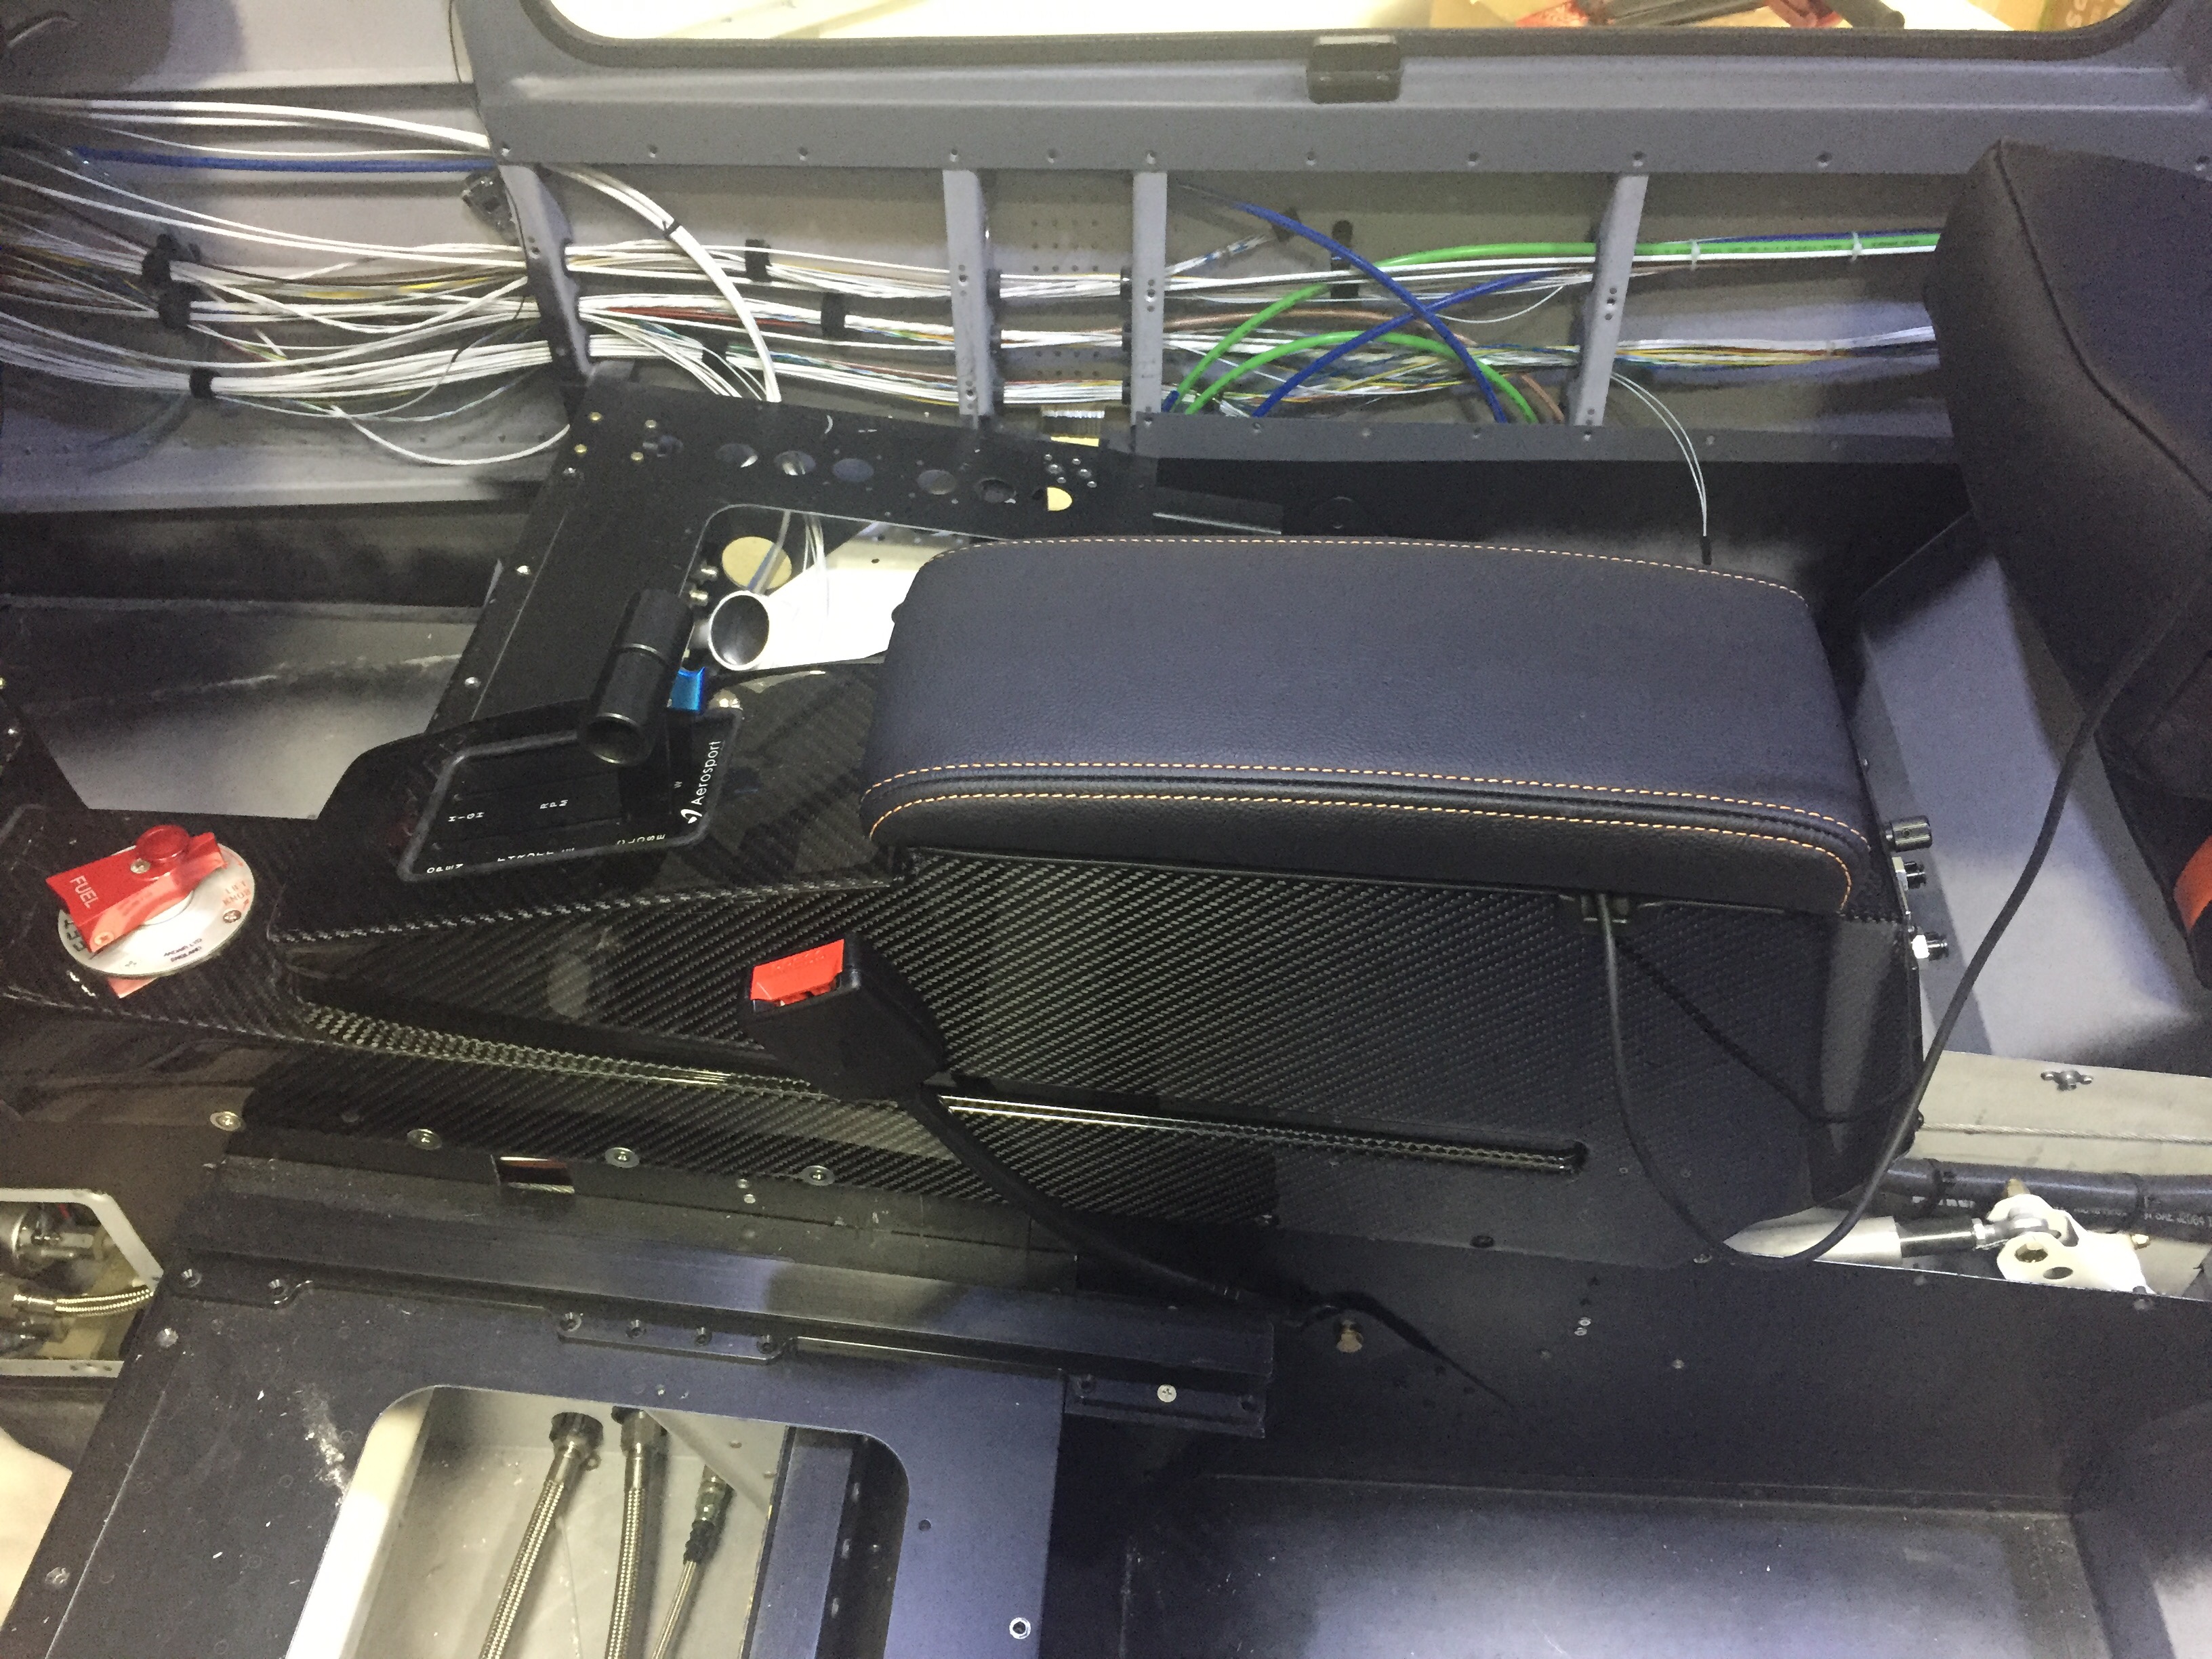
The center console was next to install and went in pretty easily all things considered. I finished odd jobs with the audio jacks, USB power port, and the wiring runs on top of the tunnel cover to get it all cleaned up. I also mounted the throttle quadrant for good and fabricated a bracket to route the throttle and prop cable to the quadrant. All of the O2 lines were hooked up and the fuel selector was verified in the correct position corresponding to the selector.
I haven’t installed the front seat O2 ports, so can’t test the oxygen system completely, but the power and back light input functions properly as do the rear controllers, so I’m optimistic it will all check good. The only item that gave me a bit of trouble was the aircon. I have the aircon fuse block (bus) powered via a 40 amp relay and master switch to allow for rapid load shedding should I need it. The switch, relay, and control head all works but I wasn’t getting either fan to come on. I double checked all connections and wiring runs were correct to include the drier, high pressure switch, and thermostats. I should have at least gotten the cabin fan coming on but the 24v relay wasn’t clicking on for the selected speed. That’s right, the 24 volt relay. Not the 12 volt relay, the 24 volt relay that I’m expecting my 12 volt system to activate. Dammit. It took me sitting in the back reading voltages for about 15 minutes with Laura at the control head to figure out the error. I never put two and two (or 12 and 12) together, so grabbed two spare 12 volt relays and swapped them out. Sure enough, proper function of the cabin fan and condenser fan! I ordered new relays and swapped them all a few days later.
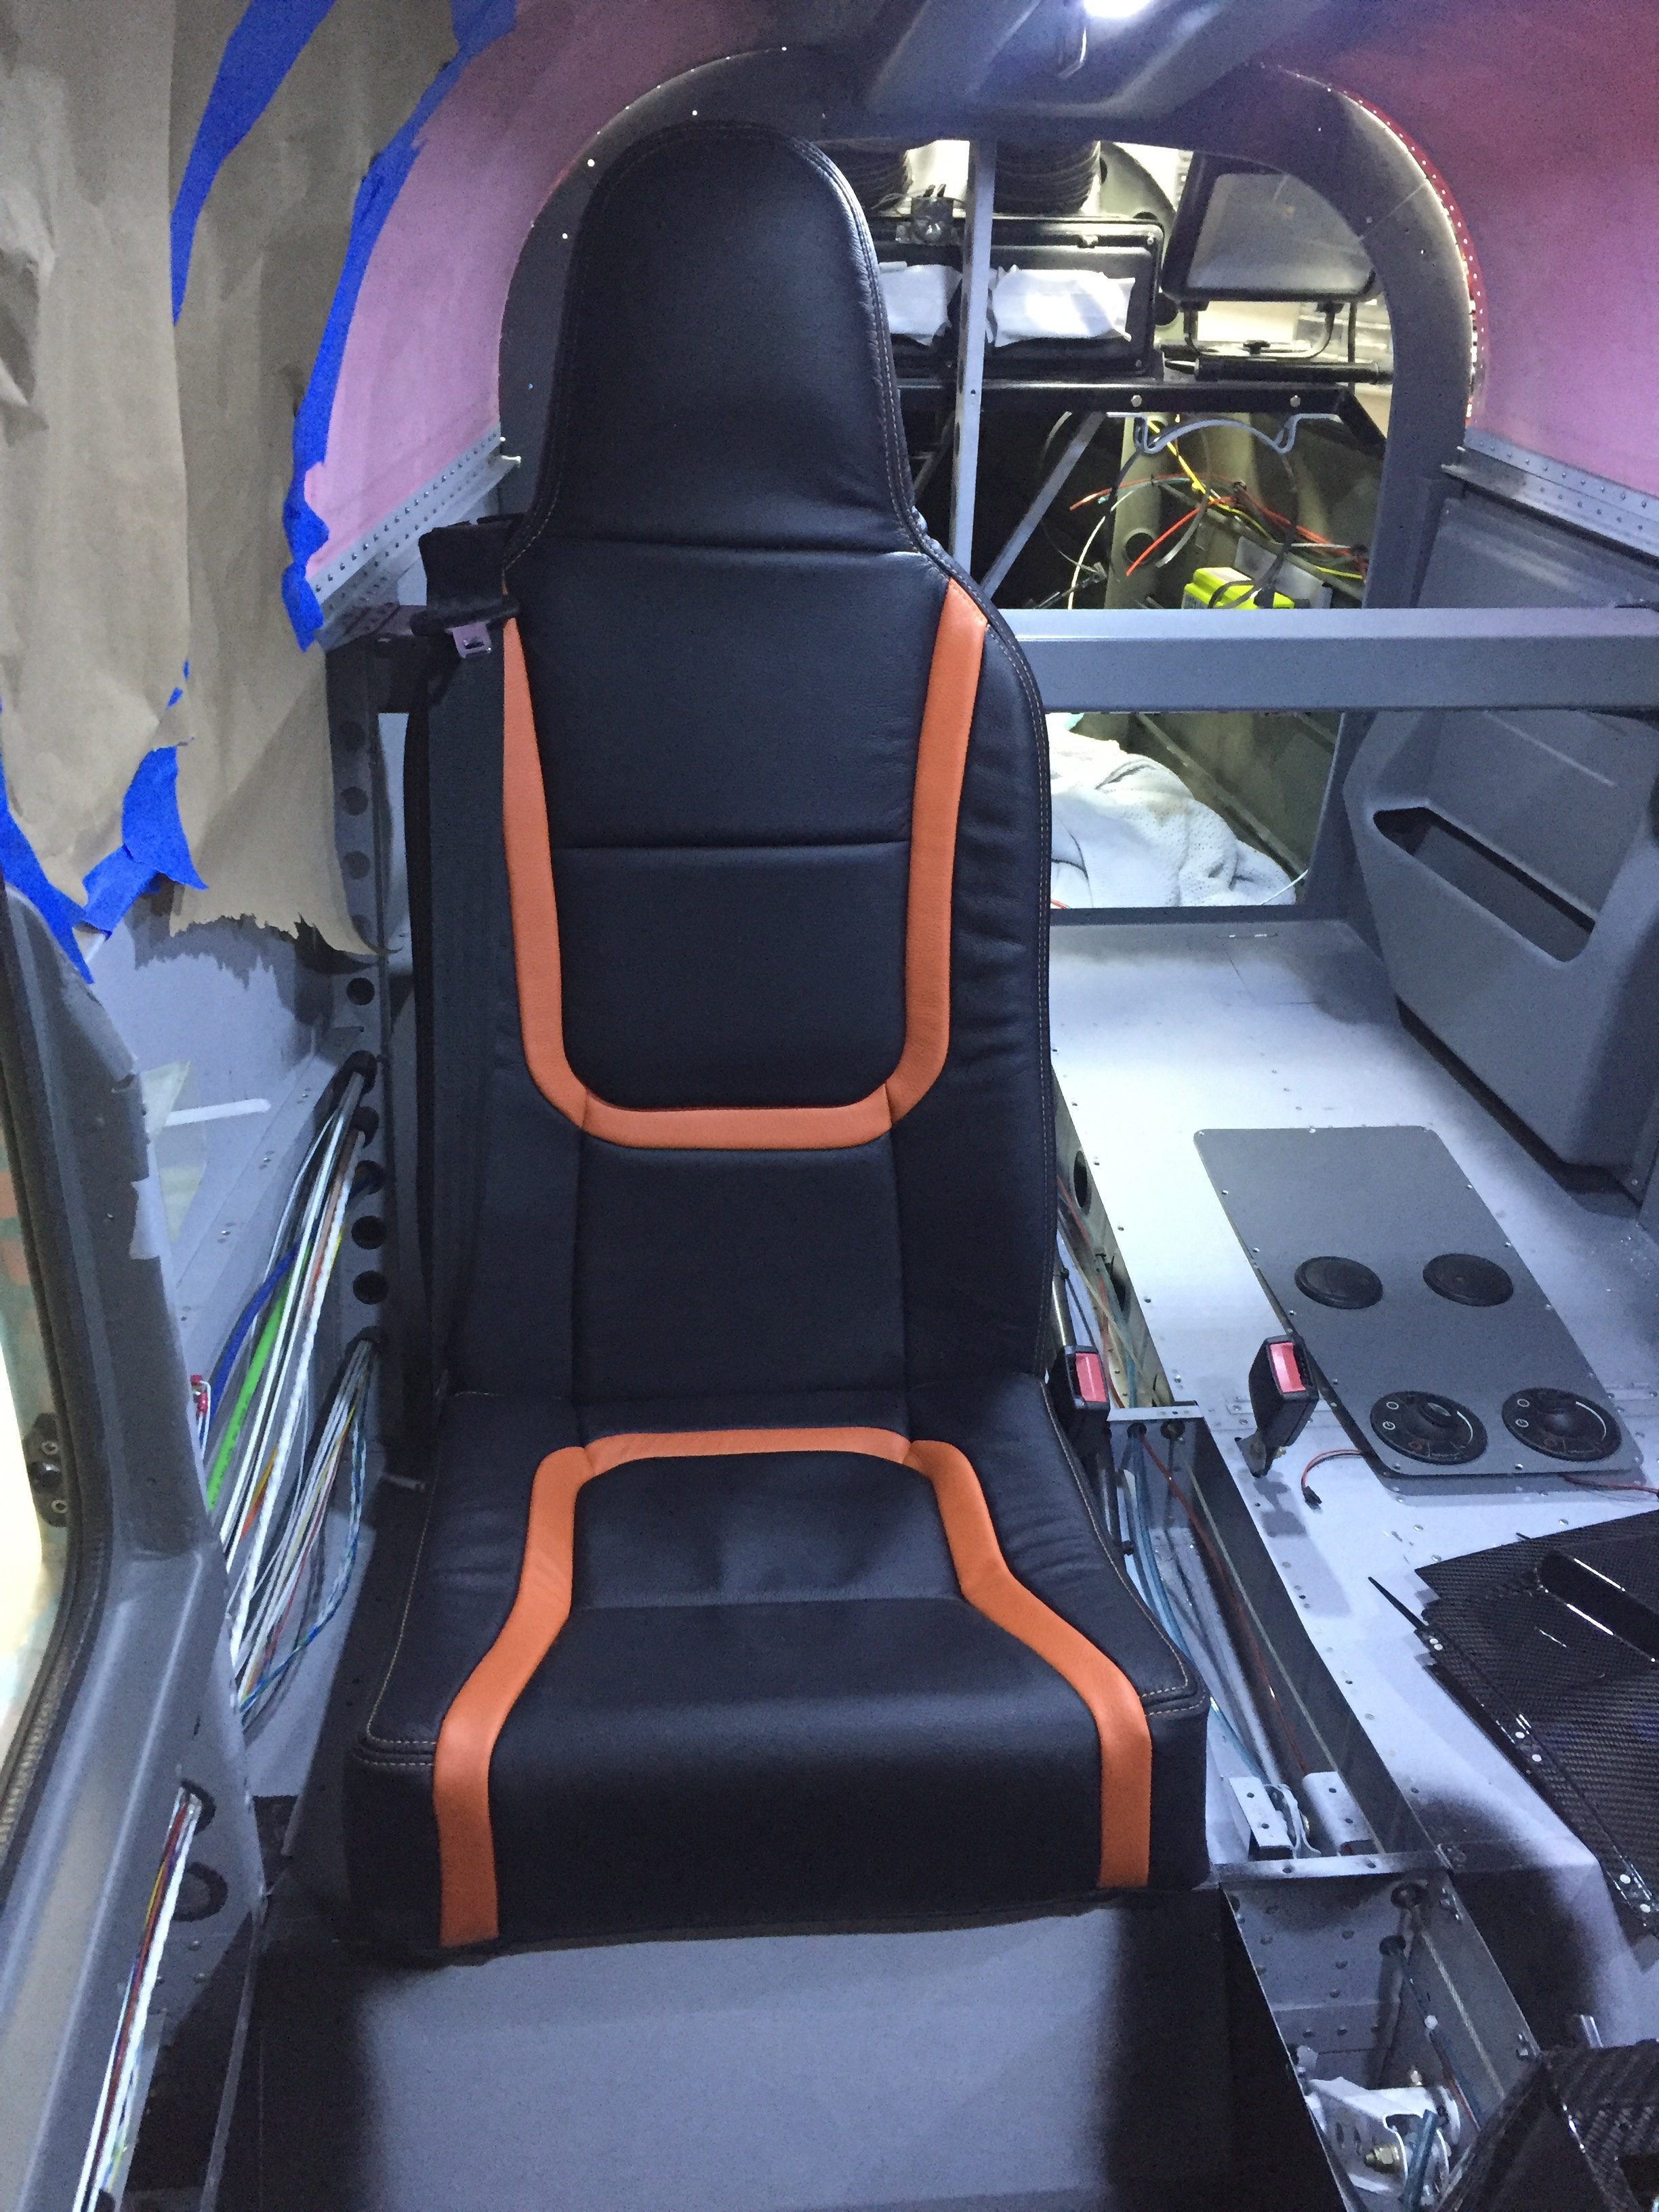
Meanwhile, I received two big boxes full of leather upholstered seats and goodies from Aerosport! Andrew has been pretty patient with me and man did it pay off! The seats came out perfect and just what I had imagined. The orange stitching looks great on the black and matches the leather I sourced perfectly. They made up the side panel inserts as well as the stick covers and armrest pad, all looking very high end. I couldn’t help but build up the front seats to see what they look and feel like.
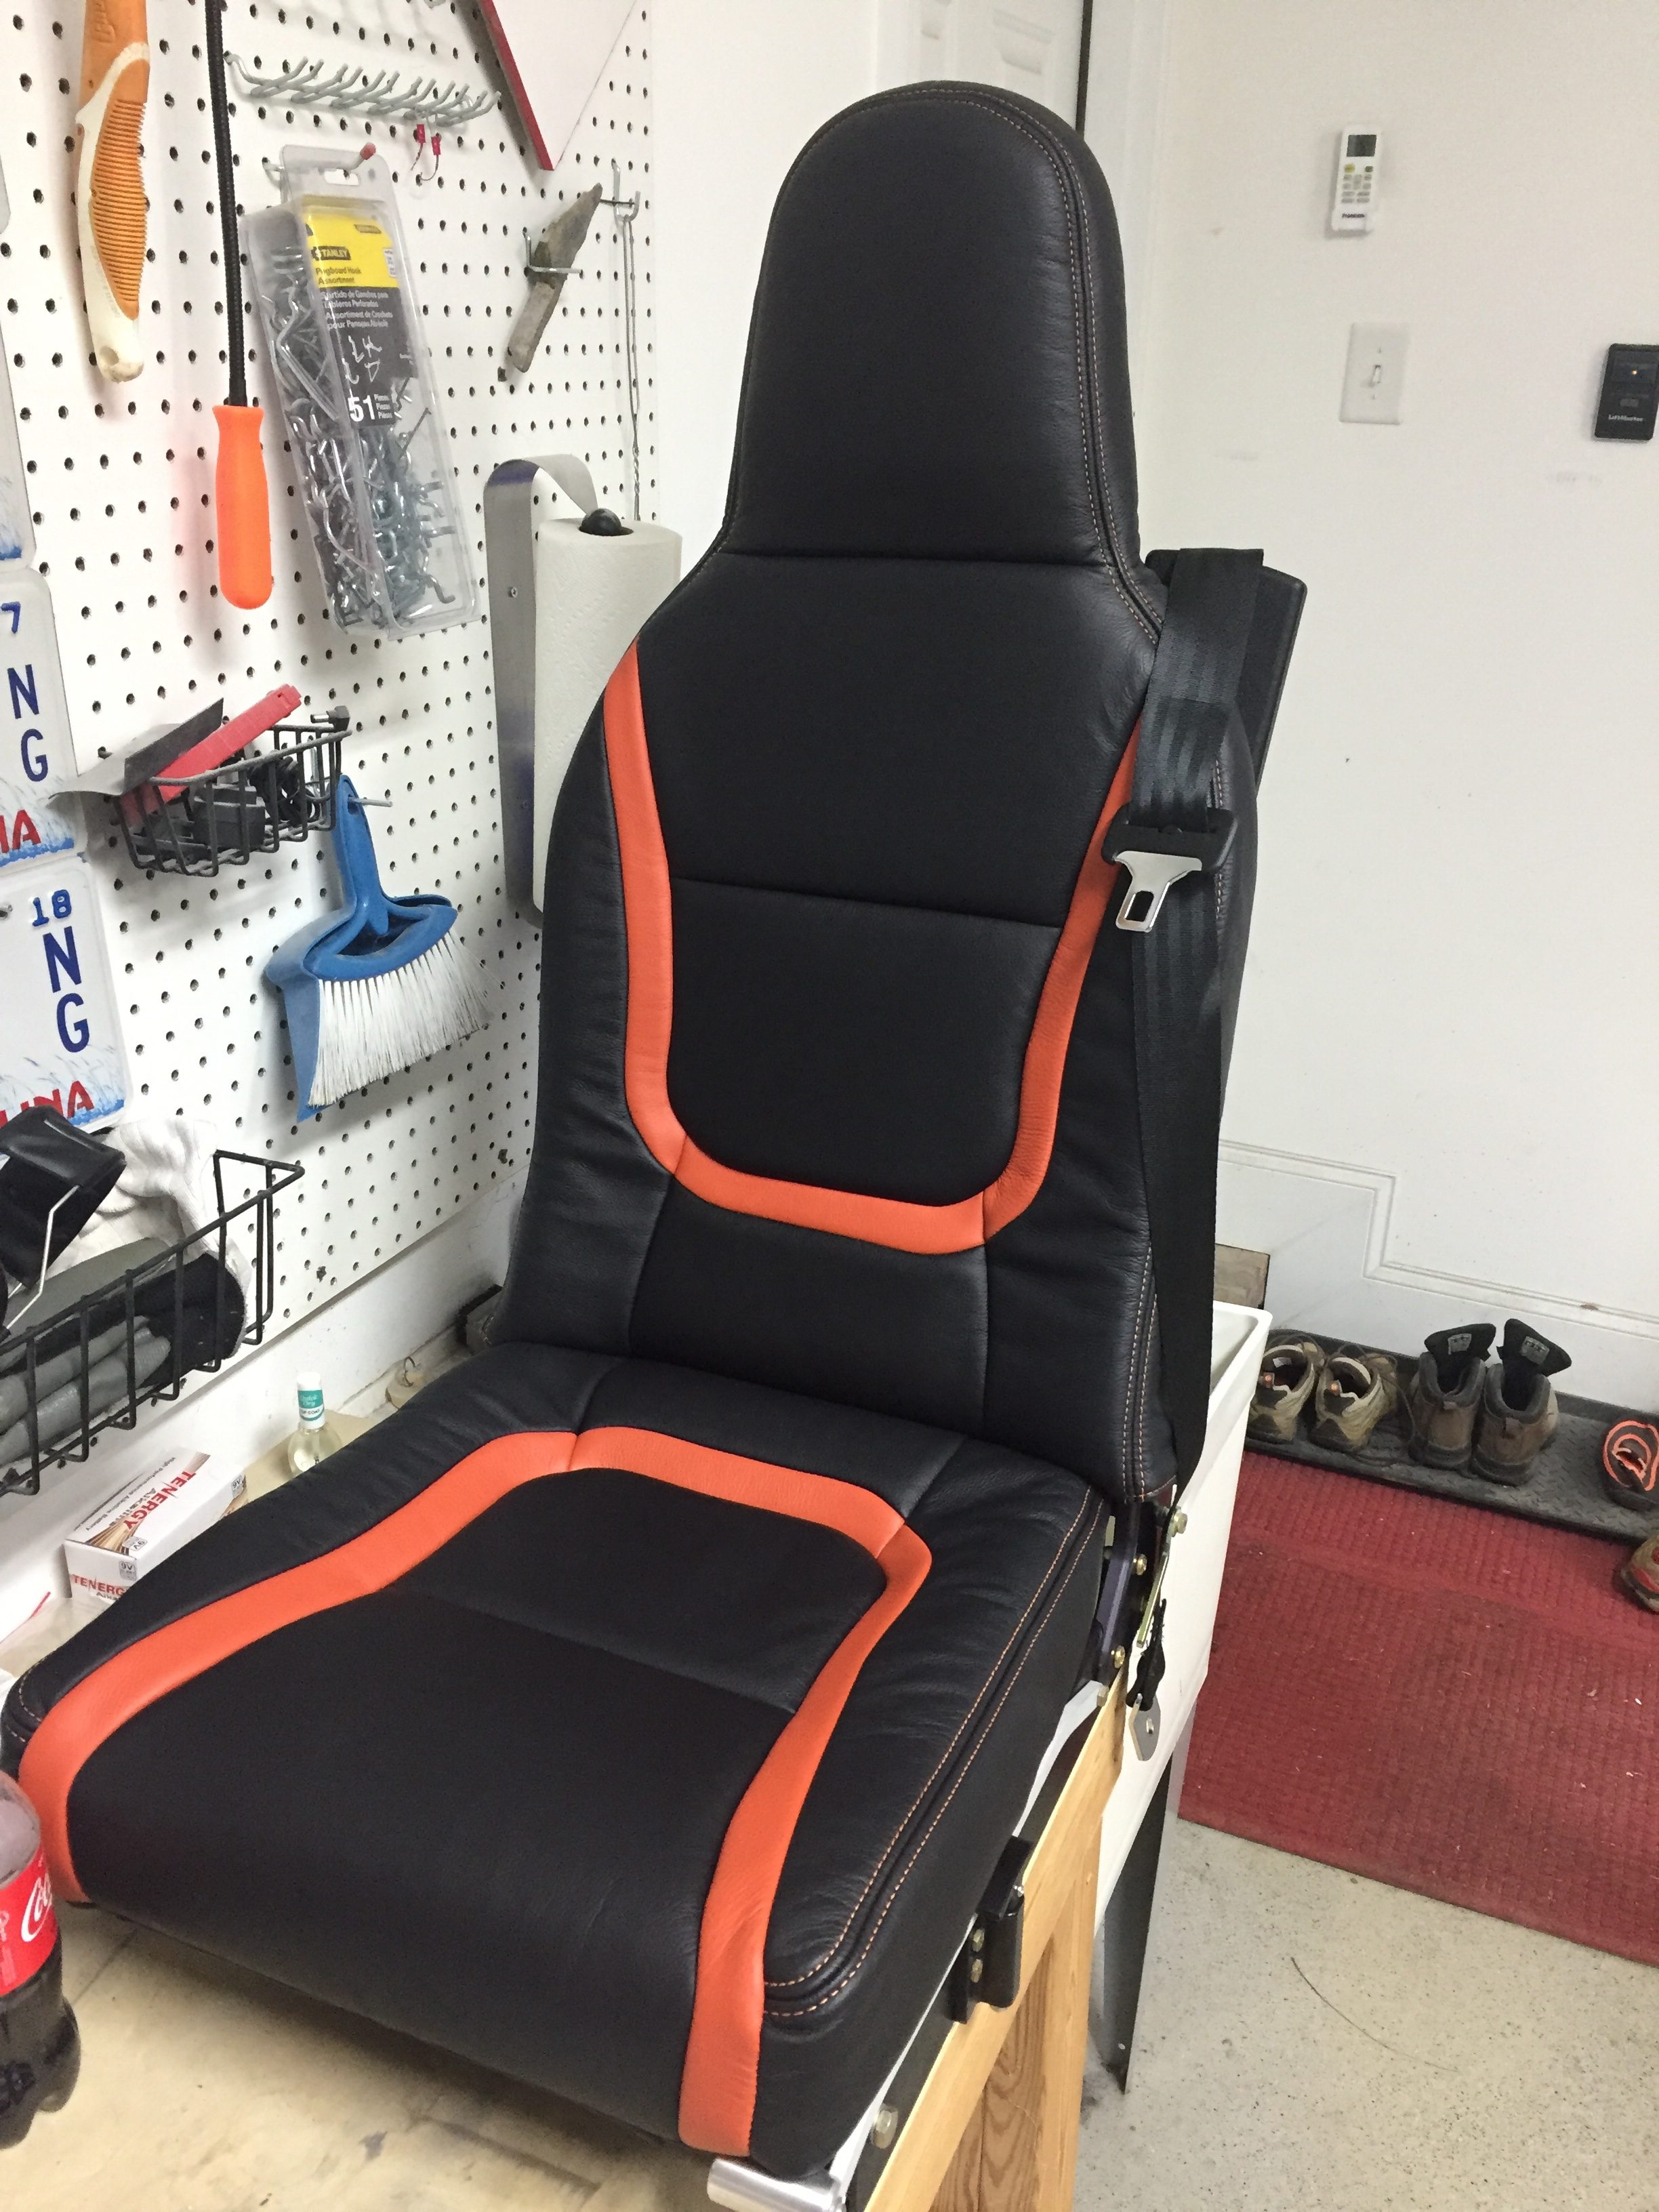

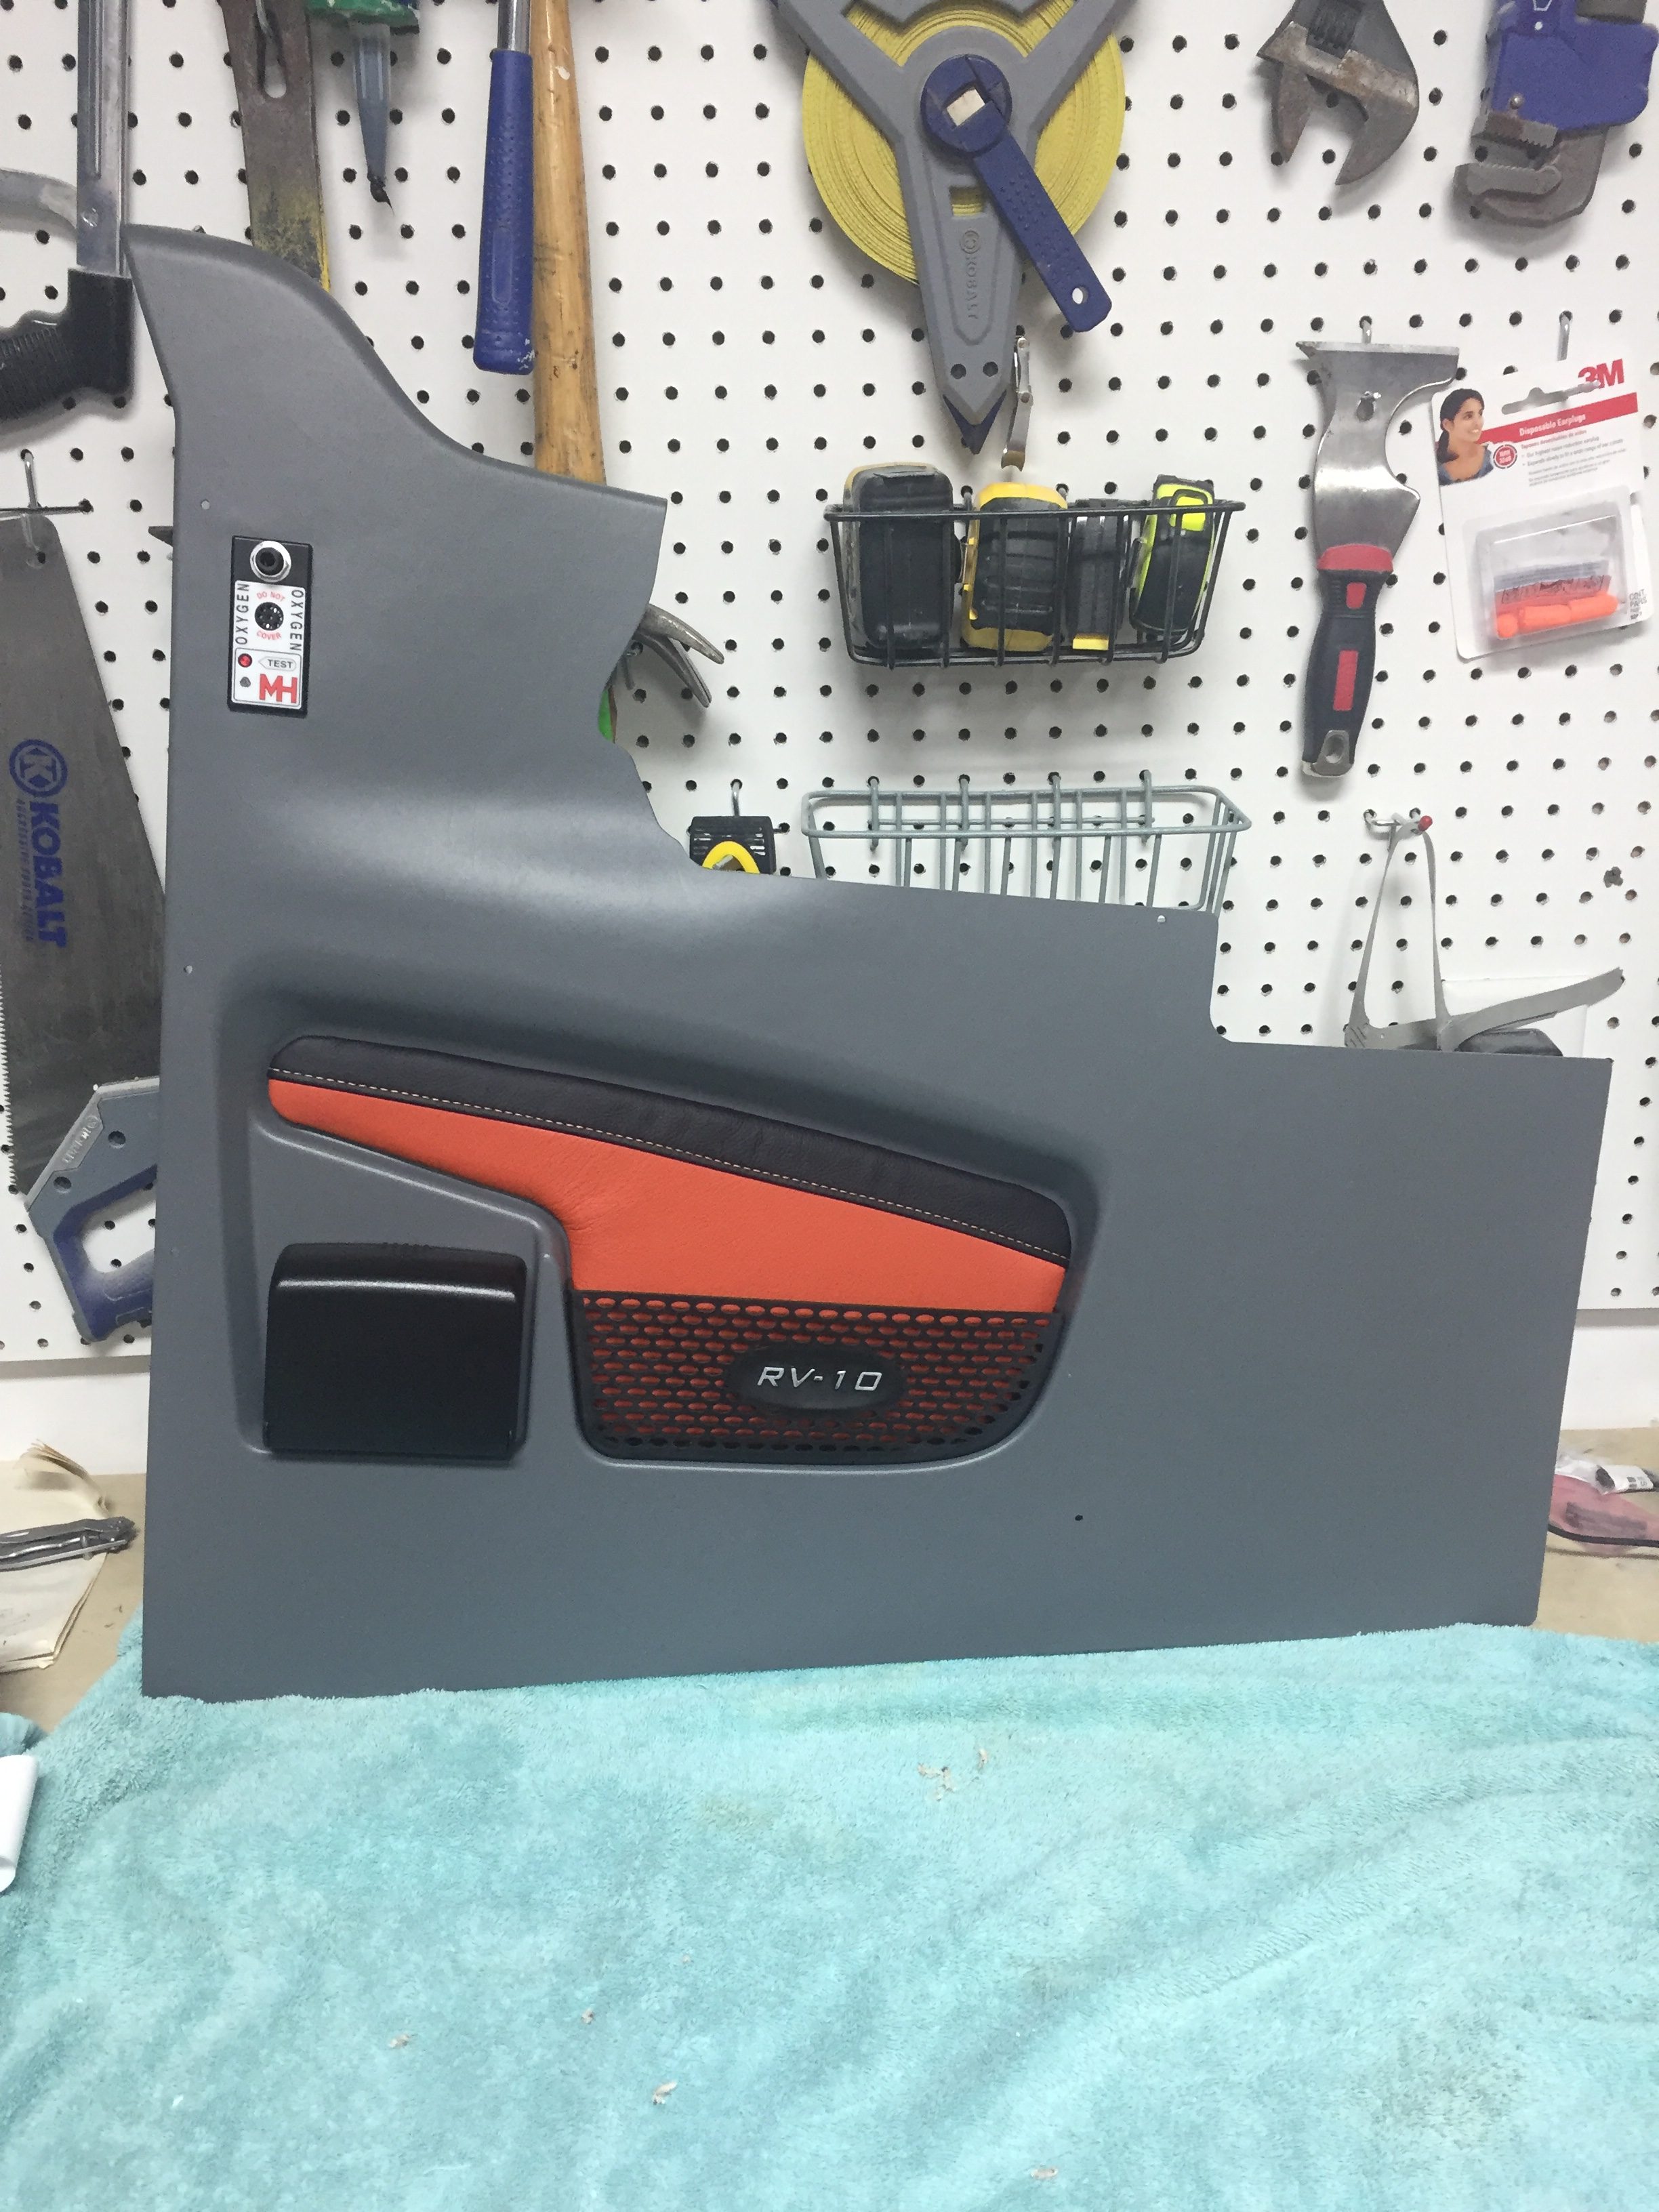
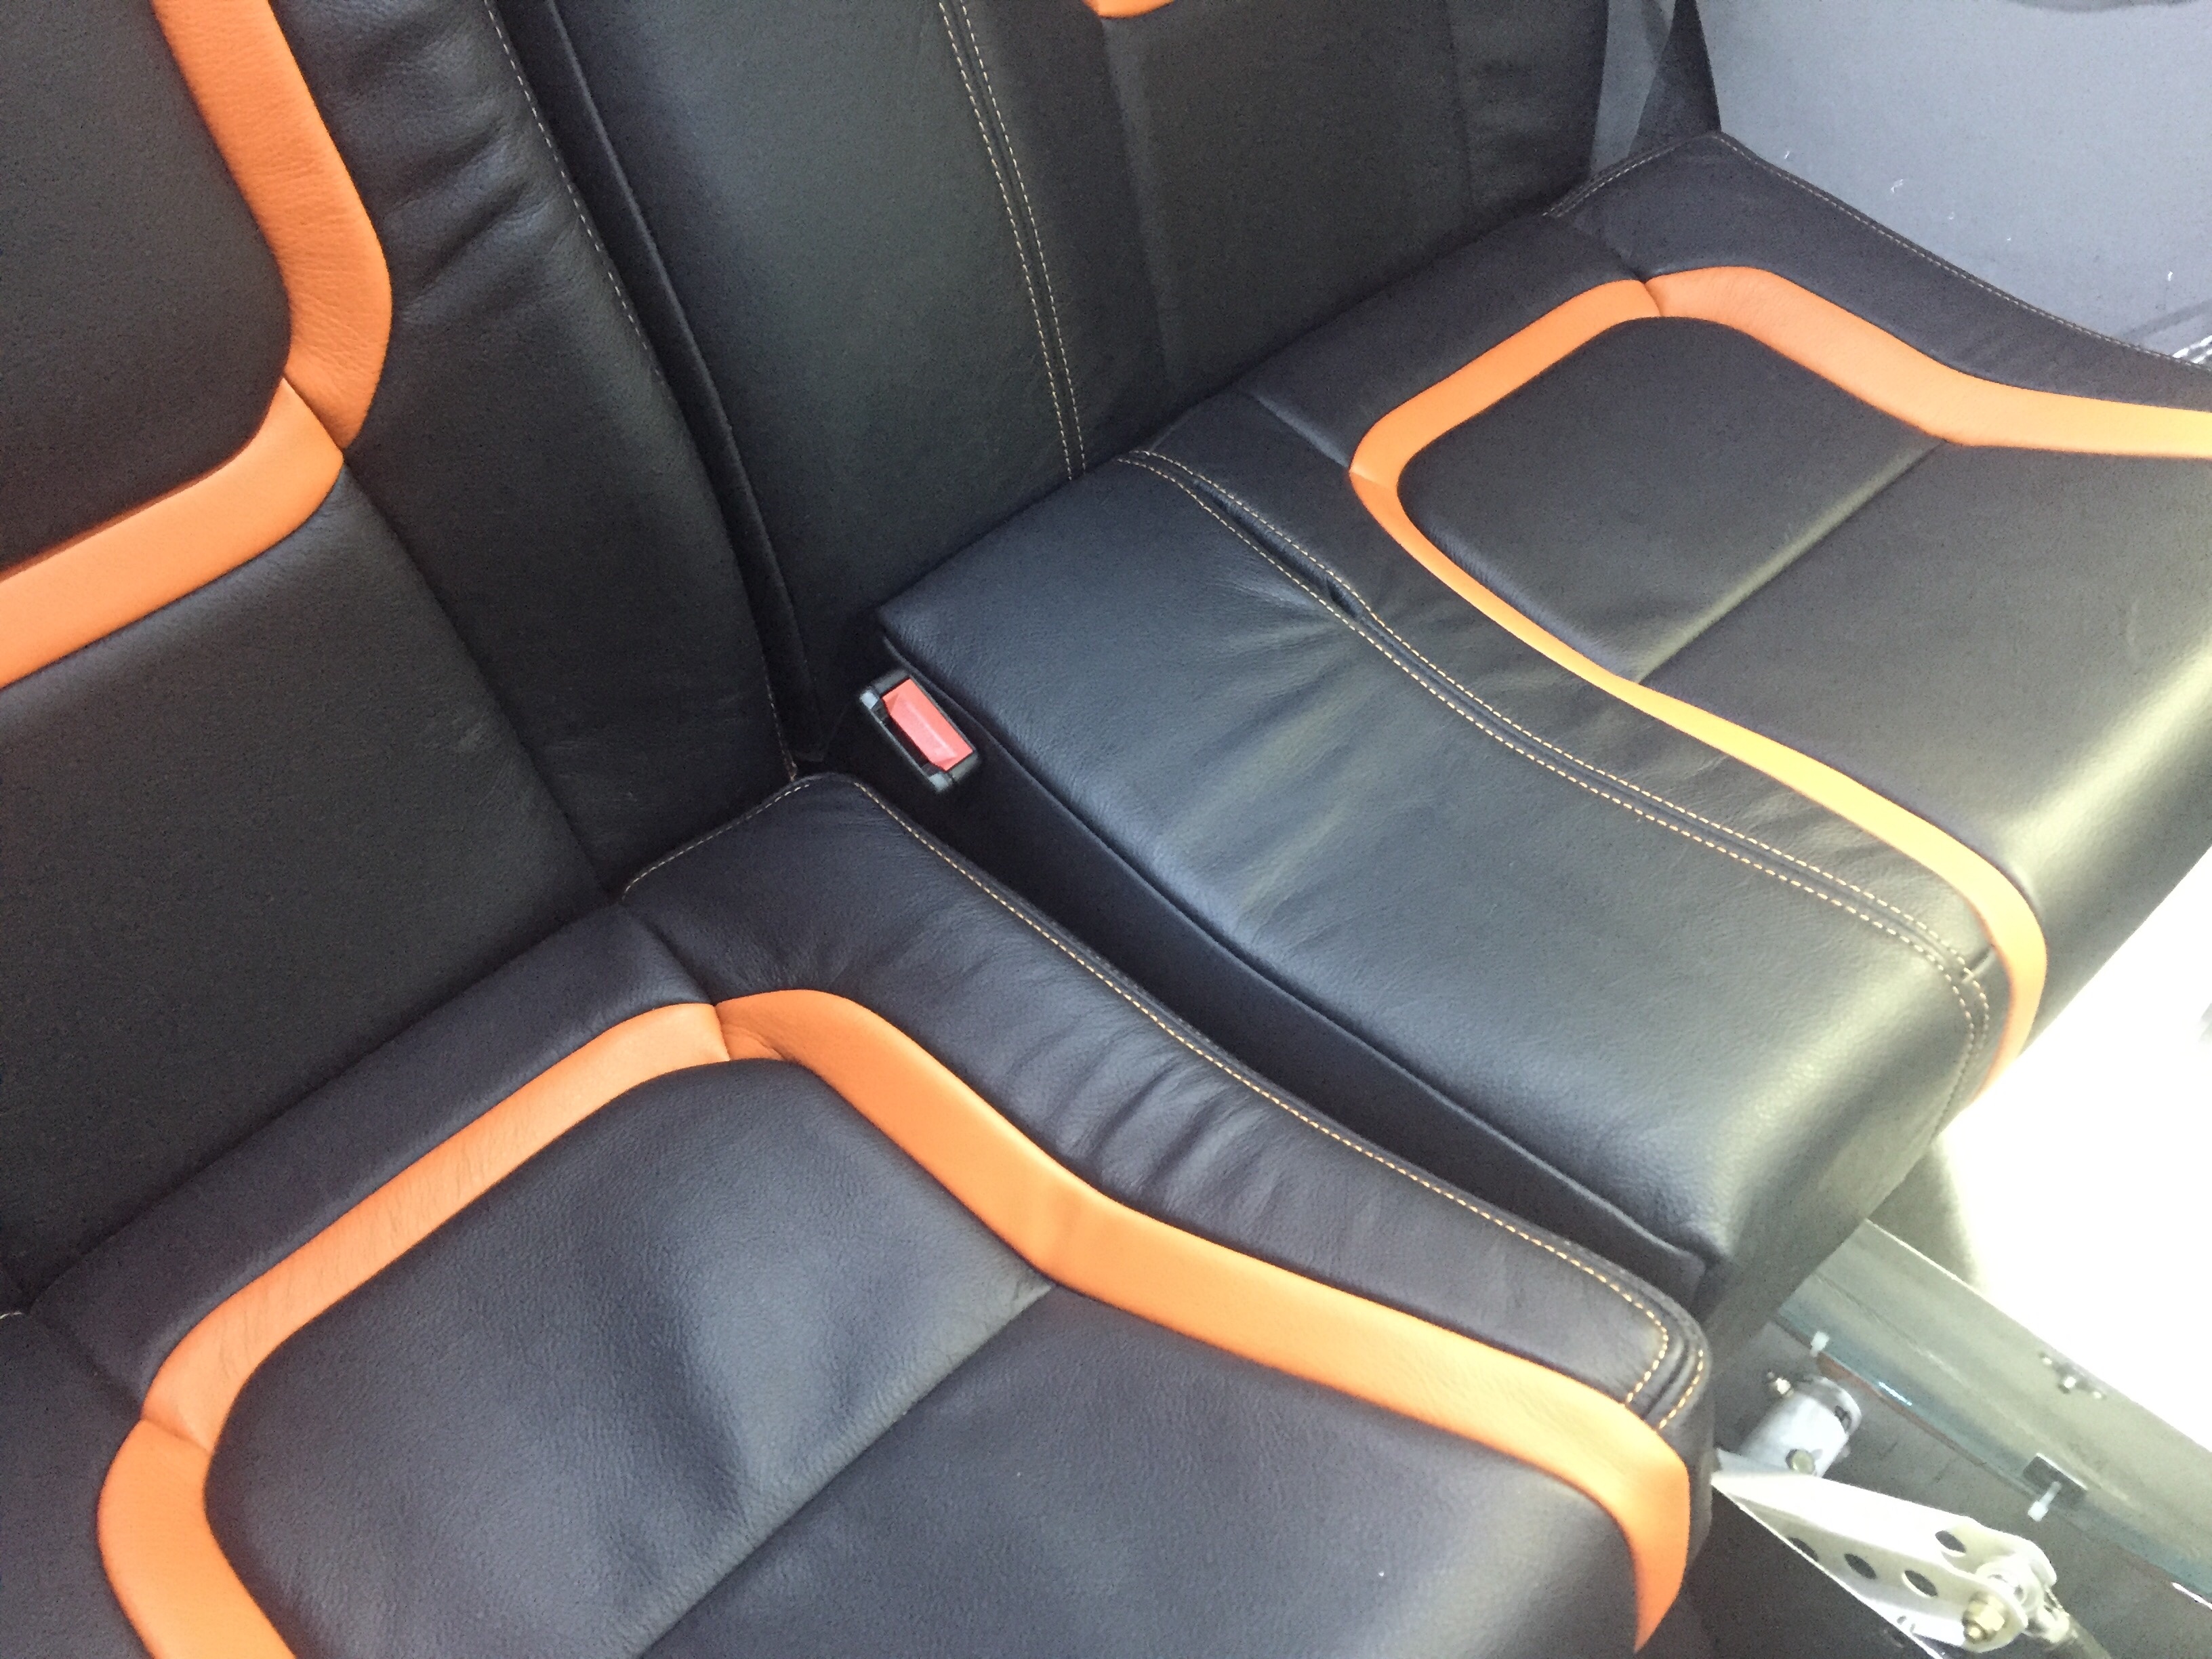
The back seats came out just as awesome as the fronts and feel super comfortable for passengers. I cannot say enough great things about Aerosport’s stuff, except for their prices! You do get what you pay for, however, and this is an area that I didn’t want to go cheap on. Andrew changed up the plan a bit on my front seat belt brackets by designing and 3D printing a cover for the bracket. This worked out, as I had to open the bracket and widen the belt channel about 1/16″ to get the belt to retract easily. If Aerosport had done the leather like I had asked, I would have had to pull the entire seat back cover off and I’m sure it would not go back on as well as they have done it.
The left rear seat bottom cushion was the only hiccup, as the seat belt receptacle doesn’t quite fit in the slot they sewed. Andrew is already on it and I sent the cushion back for modification along with the rear bulkhead substrate after cutting the aircon return vent hole in it. They then covered it in leather and embroidered the EXPERIMENTAL in matching orange which looks awesome. The cushion, bulkhead, and new glare shield will be on the way to me in a few more weeks.
Next priority is to finish the remaining items up front and in the back so I can rivet the last skins on and keep the new interior furnishings clean as we finish the build.
