Are we there yet?

The right fuel tank cap flange is not my friend. This same rivet continues to leak. I’ve inspected with mirrors, flashlights, magnifying glass, and fingertips to no avail. It drips the third test just as it has the first two. At this point, it was clear that there was a path for the water to get to that hole from somewhere obscure and slathering proseal on the back isn’t fixing it. I decided to drill it out all together.

IMG_1475.JPG
I then surgically removed a chunk of proseal from the back of the flange covering the shop head. I cleaned the area well and mixed up a mini-batch of proseal, this time resealing the hole from the front before inserting and setting the rivet. I then resealed the back and put one more generous layer of proseal, basically covering the inside of the skin and flange from the end rib all the way over to the flange.
The good news is that the once-large leak is no more and the rest of the tank was finally behaving. All of this testing time has given me ample opportunity to finish up the leading edges with a bit of help from the Mrs. and a buddy who came over to drink a beer and was voluntold to learn how to rivet in quick order. He now owns 1/100,000,000 of an RV-10!

IMG_1494.JPG

Being on the leading edge isn’t all that great

I have decided I don’t like leading edges. While they are beautiful and shapley, not to mention aerodynamically critical, they are a real pain in the ass to build. The real problem are the rib tips and how they just never want to fit right the first, second, and sometimes third time. But with enough patience, perserverance, and hammering (not really, but yes really), they will come together. After assembling and final drilling the components, everything got deburred, primed, and dimpled.

IMG_1456.JPG
Of course now that I’ve done this four times, I figured out the easiest way to get the skin to wrap around the ribs is to start on the flat side, then work from end to the other around the profile of the skin. I also had the first “F**k-up” that will be a lasting oops on the project. I managed to drop the bucking bar and it seemingly bounced around the inside of the leading edge before finally dropping right in the bottom with a nice zit on the outside.
It’s not terrible and I was able to very gently hammer a bit back into place. It’ll just remind me that I built the airplane every time I do the preflight!

IMG_1476.JPG
In other bad news, the fuel tanks gave me a 50/50 success rate. The left tank tested fine after the initial fixes cured. Not a single drop of moisture, which made me happy. This was confirmed after four days of water sitting in the tank.

IMG_1460.JPG
The right tank wasn’t done fighting. The one rivet on the fuel cap flange continued to drip like I hadn’t even attempted to fix it. And the rather large leak on the front spar continued to leak, albeit a bit slower and farther out on the spar proving I didn’t really fix it but just slowed the exit path. So, again it was drained of 30 gallons of water down the driveway and dried out to prep another fix session. For now, here is the completed bits of the left wing.

IMG_1479.JPG

Ah yes, that’s what it’s called…progress

It seems like progress appears in spurts with these types of builds. And this is one of those spurts! I finished riveting the top wing skin with the help of my dad and wife over the course of a couple of days. All went well and I’m now much more comfortable with the rigidity of the wing hanging on the rack.

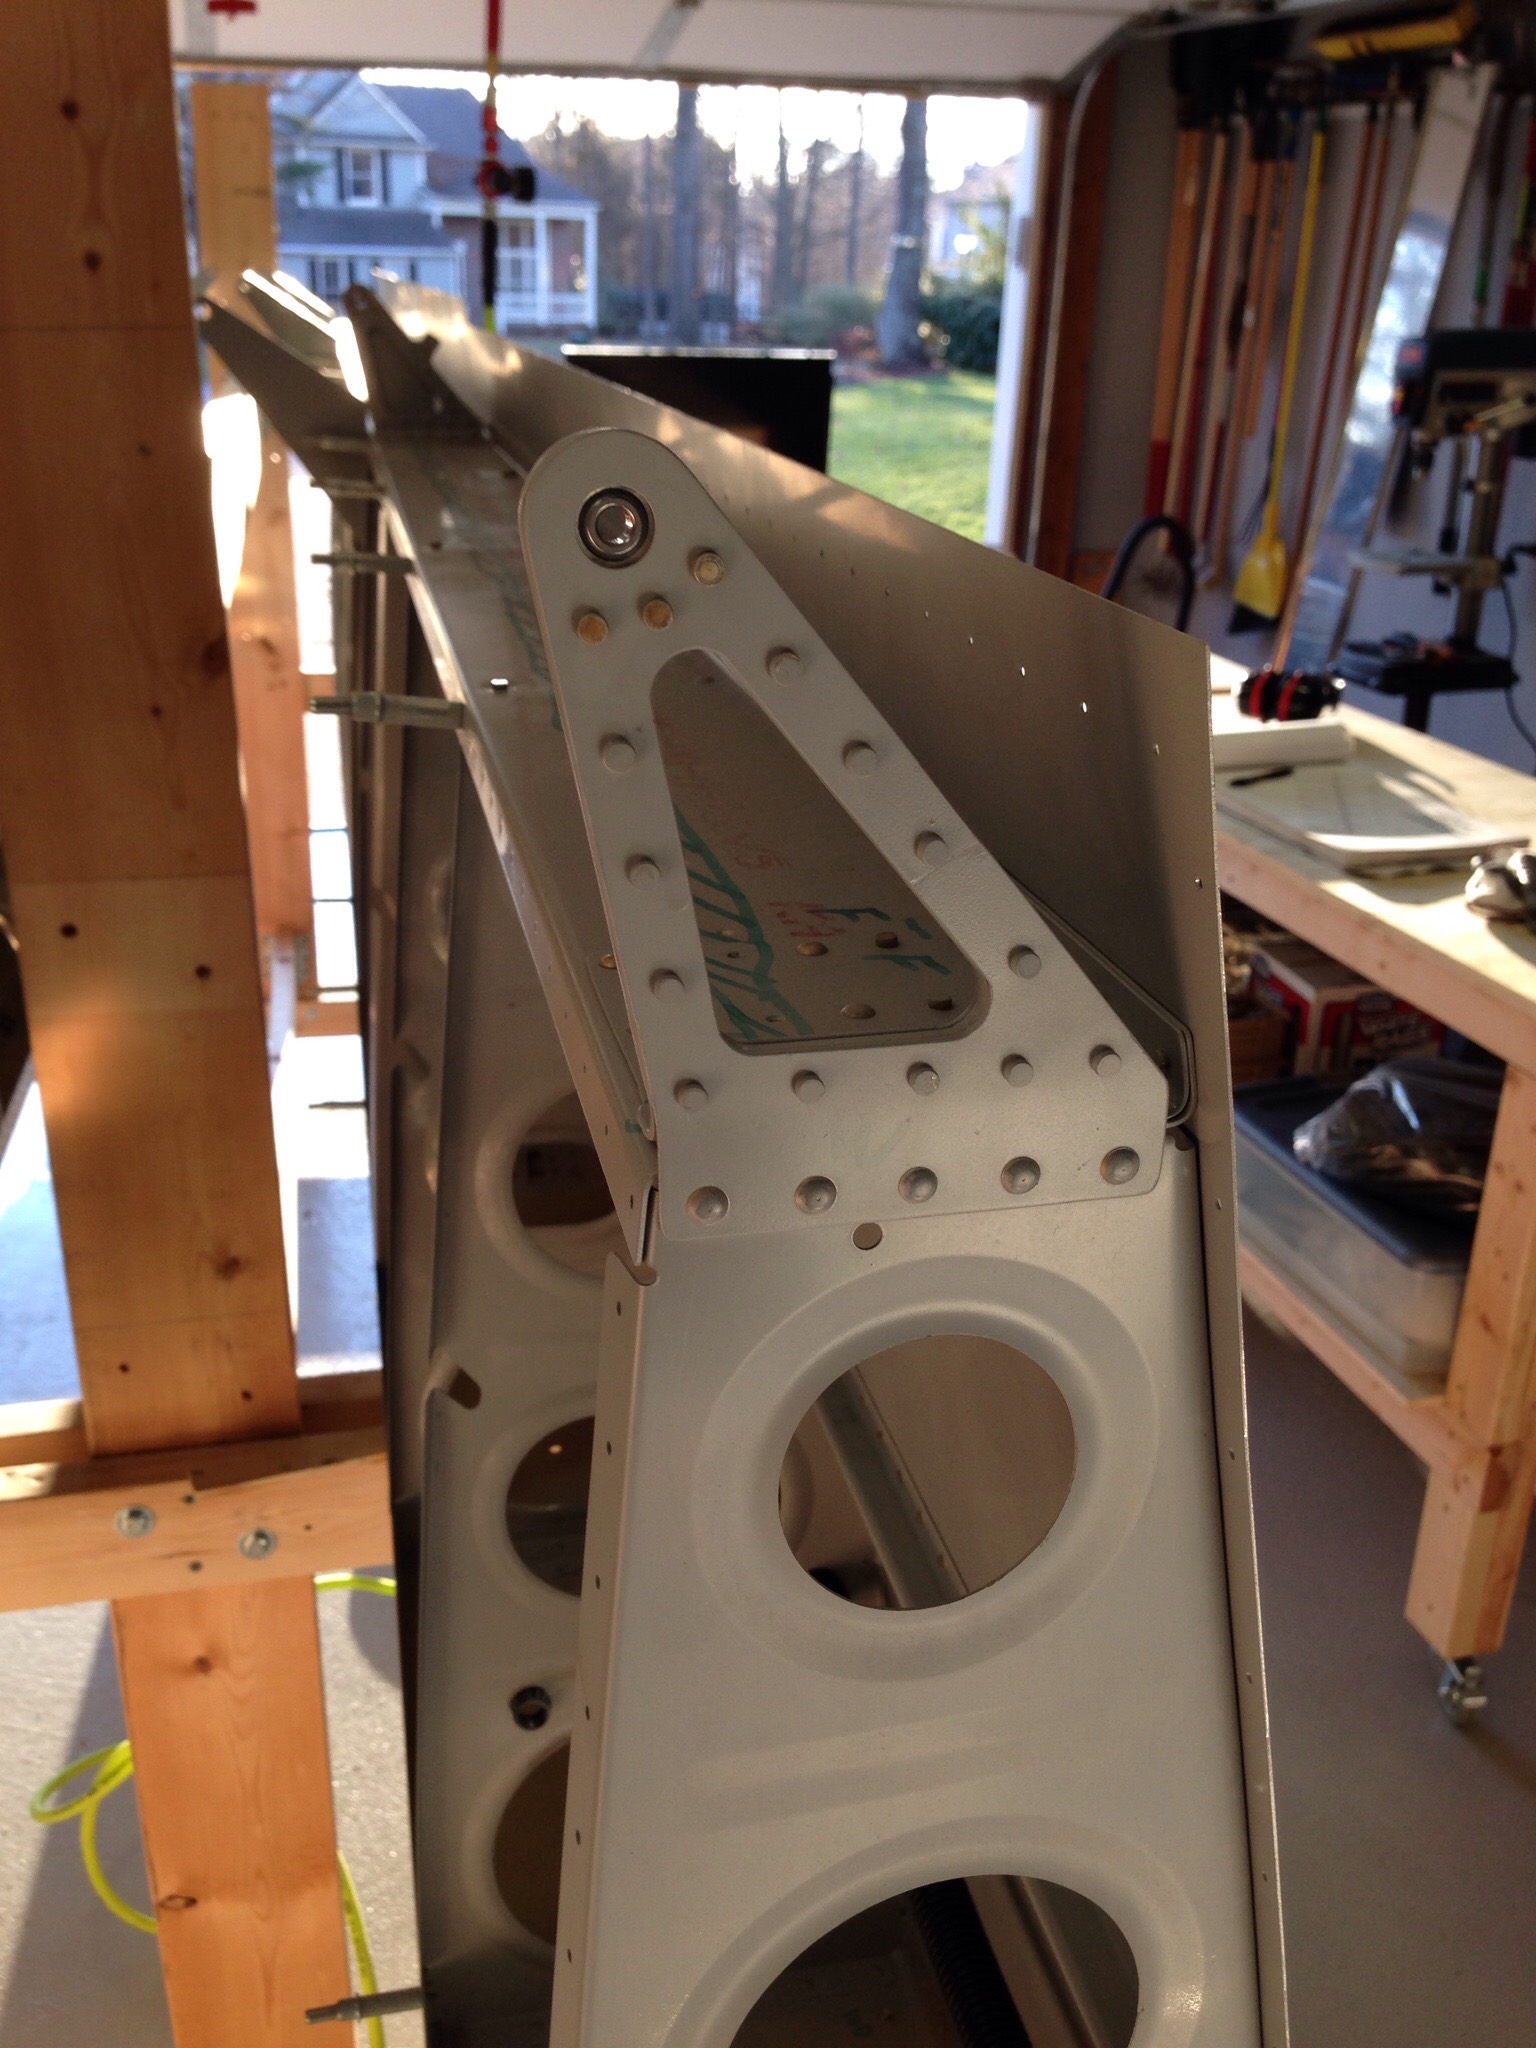
IMG_1452.JPGI also attached the outboard aileron brackets on each wing per the plans. My random parts tub is quickly emptying out for the wing kit, which is a good thing.

IMG_1451.JPGNext up while the tanks finish curing with the fixes are the leading edges. Normally these are done before the tanks, but it doesn’t really matter as long as they are bolted on the wing spar in the correct order. I went about doing woodwork again to create cradles for the leading edges. A quick job and hopefully won’t be needed as long as the tank cradles have been.

IMG_1453.JPG

IMG_1454.JPG

Leaking…I mean Testing…the tanks

You can guess how it went by the title. I read another build log and saw the idea of testing the tanks before sealing the rear baffle in with water and food coloring. The guy had taped toilet paper on all the seams to be able to identify weeping rivets / leaking joints. I decided that was a good idea since I’m not in a hurry and it would allow me to fix any spots with Pro-seal instead of having to tear into the sealed tanks.

IMG_1427.JPG
Boy am I glad I did this.

My dad and I got out the hose and filled up the right tank first. Overall, I’m really happy with my first Pro-seal job. I had one weeping rivet (a solid, steady drip) at the fuel cap flange and a stead little stream at the seam between the front spar and skin. After a little inspection, I think I can see where I didn’t get a complete fillet on that joint, so I’m confident it will be a quick fix. I also had one drop appear on the fuel sender plate after letting it sit for 24 hours, so I’ll beef up the Pro-seal on those as well.

IMG_1430.JPG
The toilet paper really wasn’t neccessary, so I didn’t repeat the prep on the left tank. We filled it up and were immediately standing in water. I missed a fillet on the outboard rib and it was a pretty good leak there. I also had one weeping rivet on the bottom leading edge of a middle rib that I’ll need to put some more on.

IMG_1441.JPG
I’m pretty excited that my work was solid and method proven capable. I didn’t use nearly as much as others and my tanks look clean. While I know it wont’ win any awards, it makes me feel better not having the extra mess, weight, and sloppiness inside my tanks. My plan is to fix those few spots after a couple of days of drying and then retest for a few days to ensure they are all set before cleaning and sealing the rear baffles.

Smoothing the skin

Now that the wings are solid on the modified rack, it is time to attack the right wing top skins. I had previously clecoed the skins on the frame to help keep it ridgid, so I added a lot more clecos and started final drilling. It was a lot of drilling and countersinking since the inboard skin and wing walk doublers are countersinked instead of dimpled. No issues here, however, and it went quickly.

IMG_1418.JPG
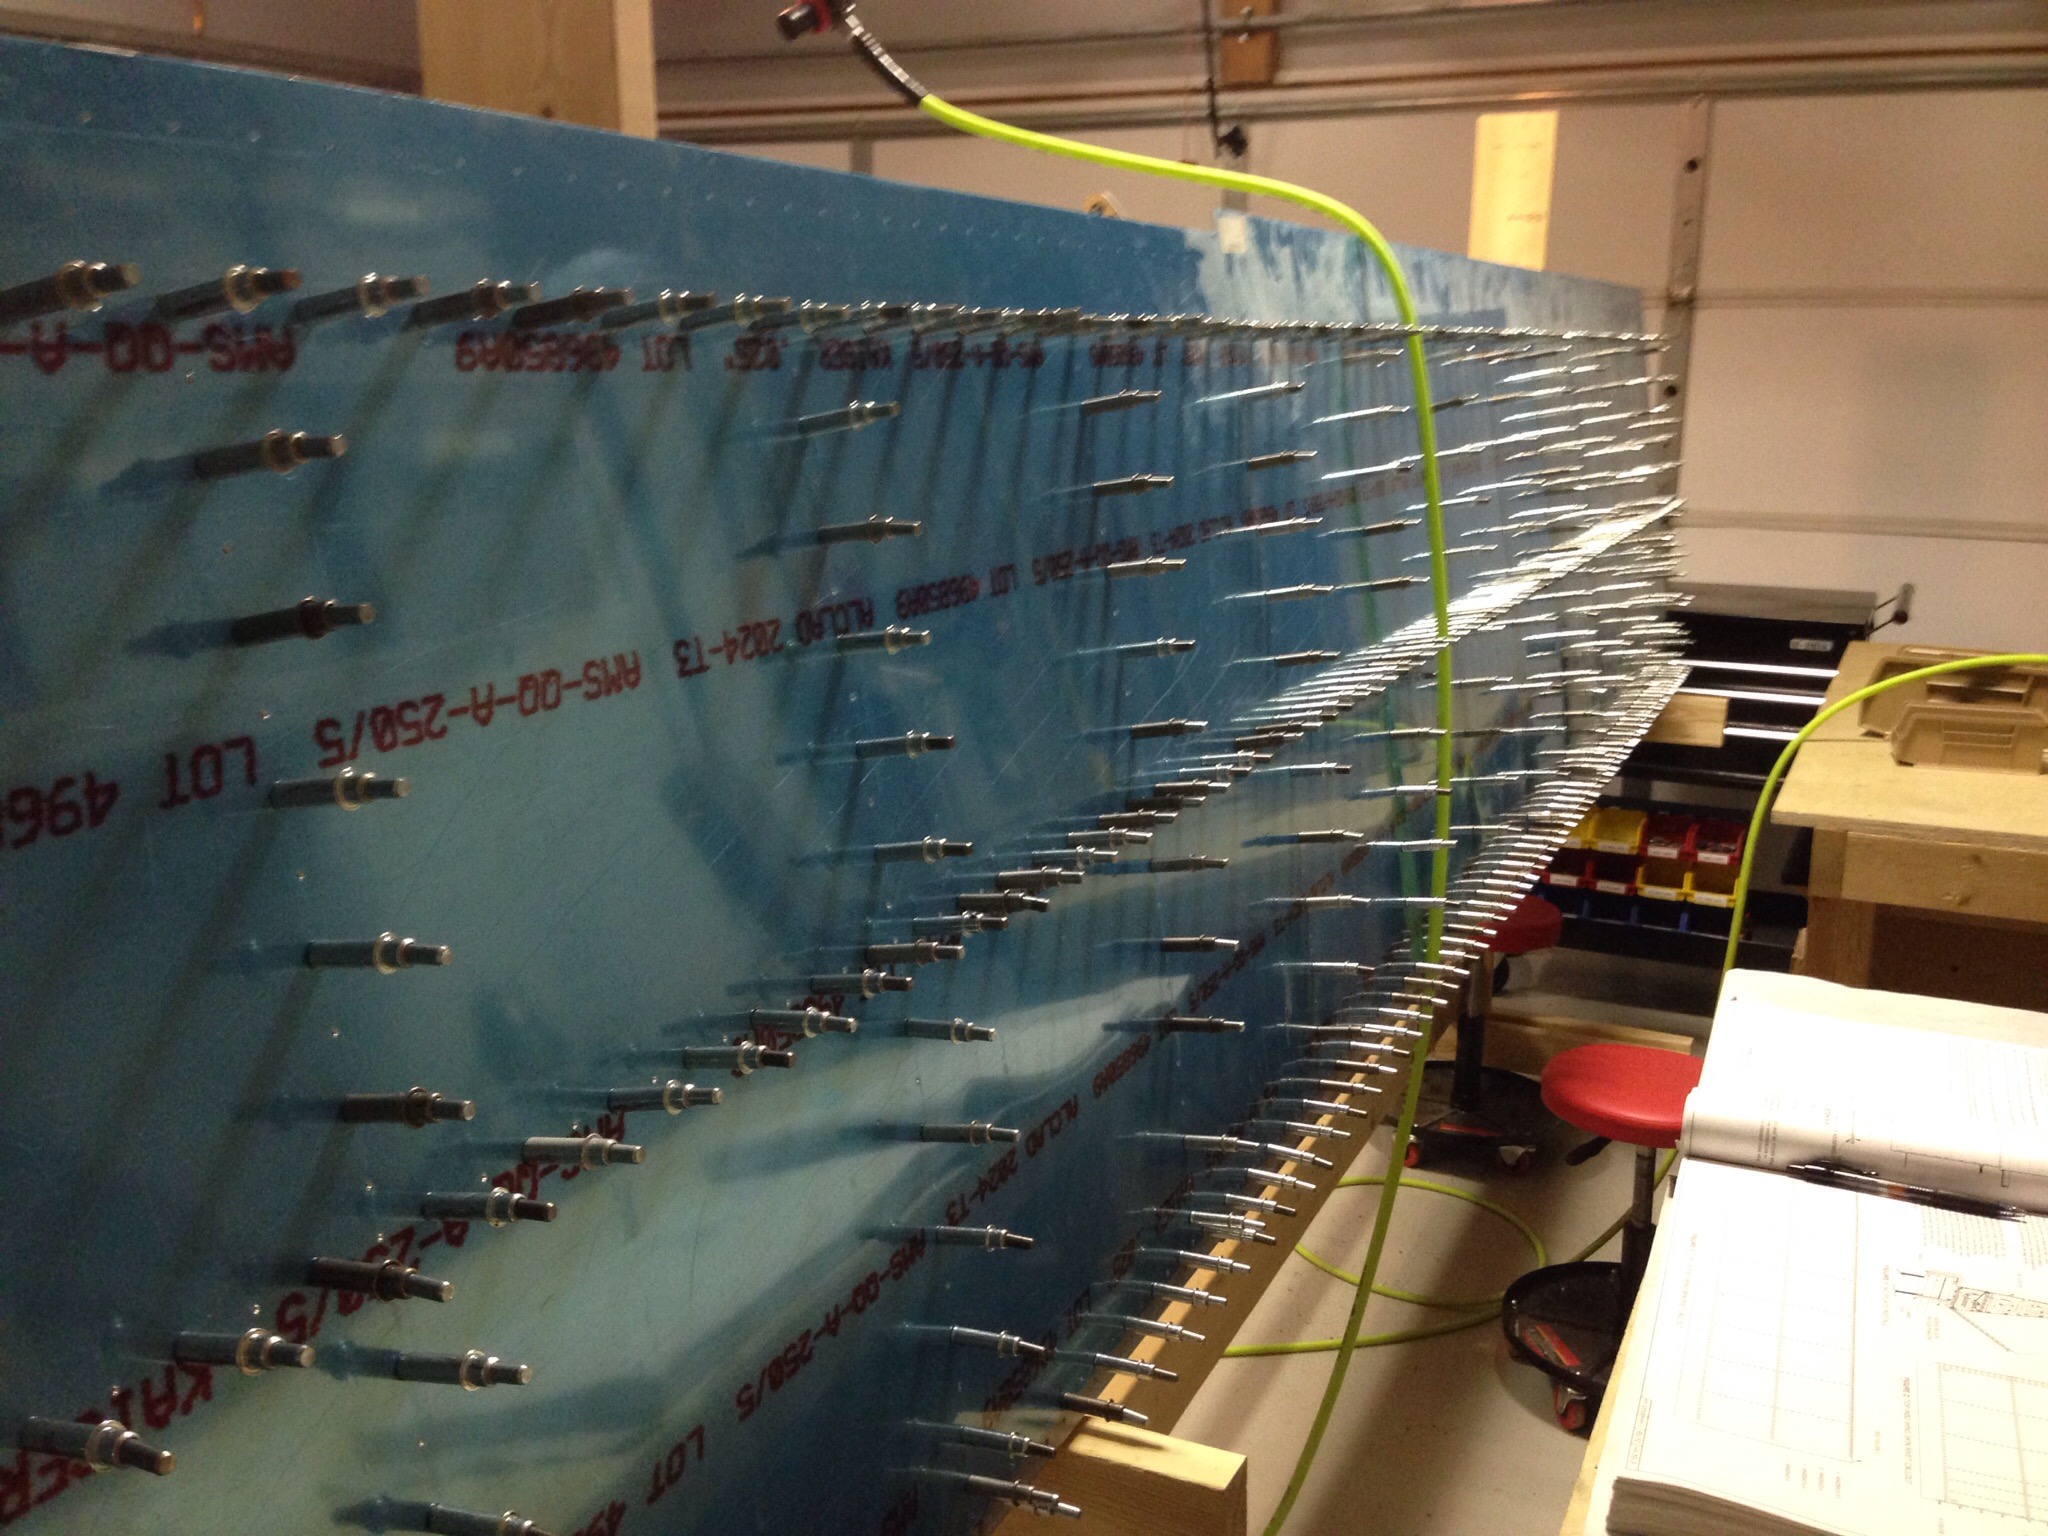
Deburring with the power tool is a breeze and my dad being in town for Christmas lent me a helping hand on the deburring and dimpling. I also got in a couple of cans of the SEM primer in an aerosol can. This is what the original wing builder used and I thought I’d give it a shot. I must admit a like it a lot better than the Dupli-color and may go back to priming everything (I know, I’m so indecisive). It was a nice day, so I rolled everything outside and shot the primer on all the parts, completing the priming of the ribs. I’ll do the left wing when I make it that far. The dogs provided moral support for me.

IMG_1428.JPG

IMG_1426.JPG

Wing Re-Rack

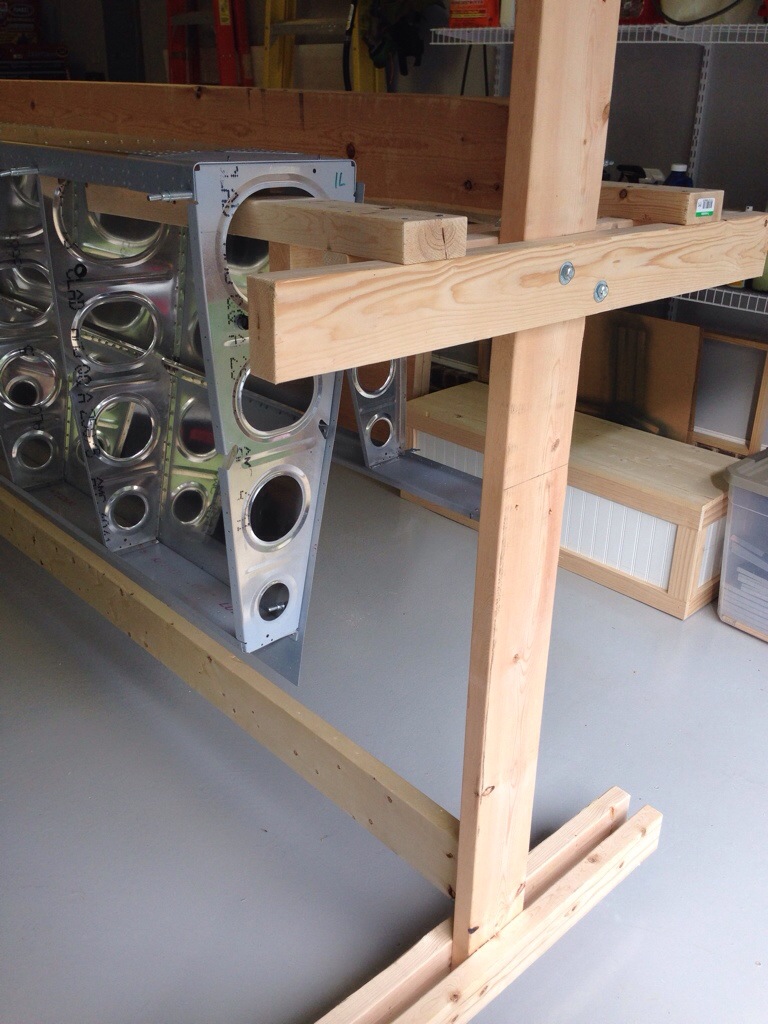
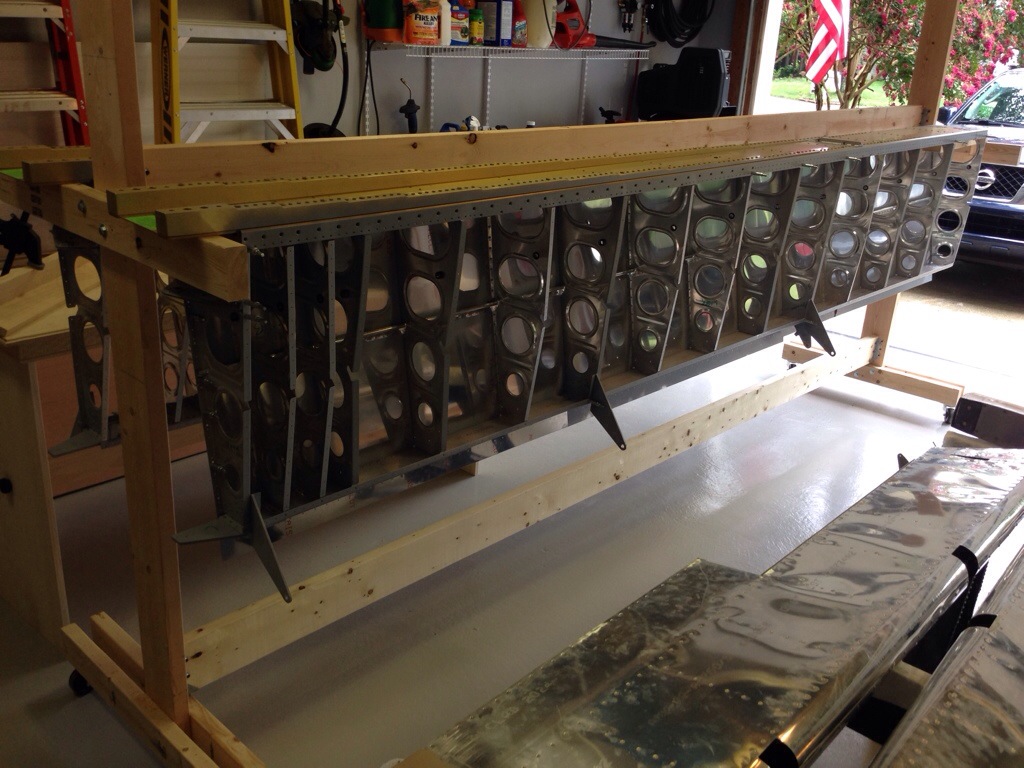
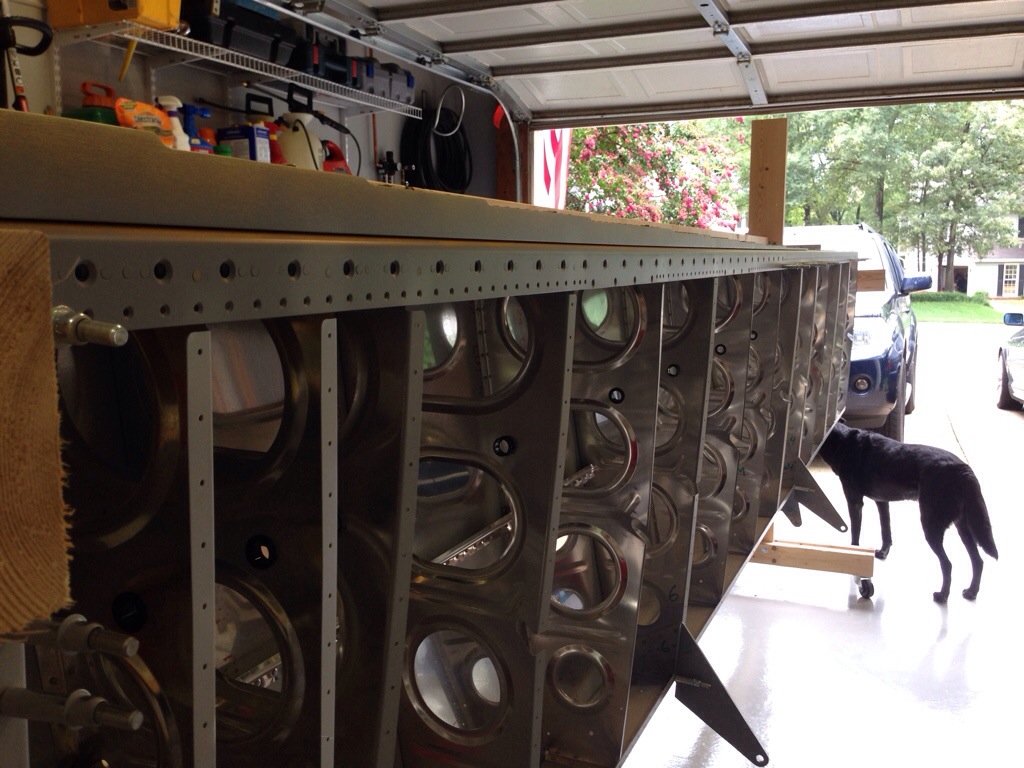
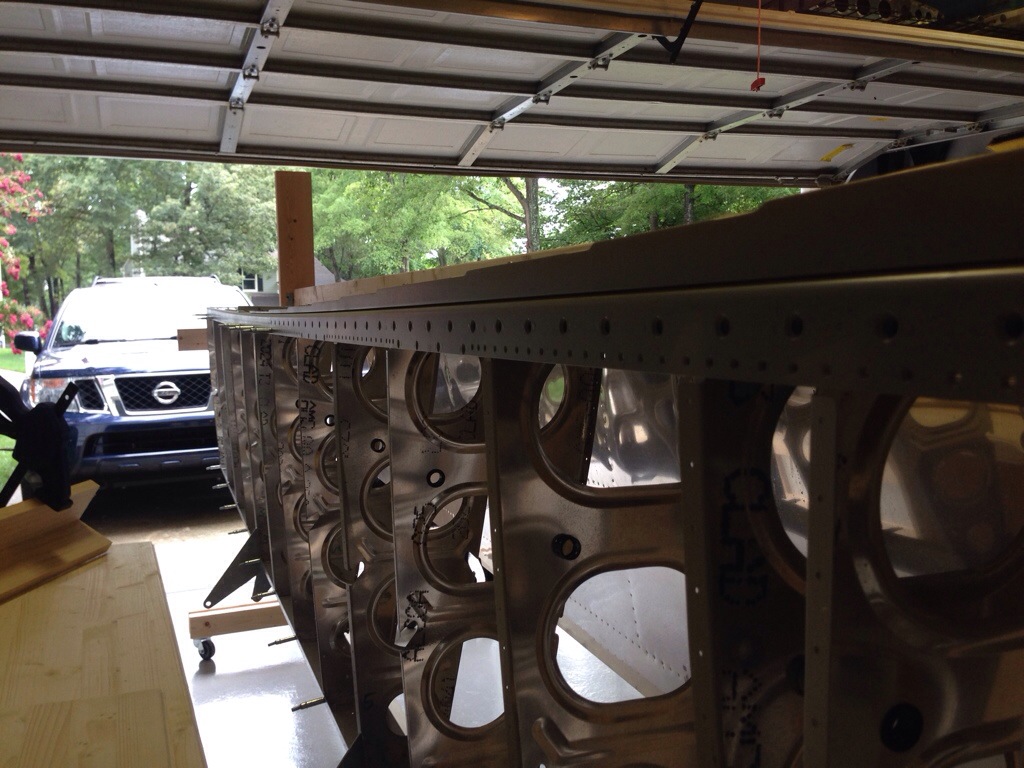
While both fuel tanks cure, I shifted my focus back to the wings. The first problem I wanted to solve was my wing rack. While it’s a nice storage solution to keep the wings safe and out of the way, I quickly saw that it was keeping the spars in a warped state due to the way it was hanging. So I disassembled the frame and decided to shorten it, allowing the spars to sit on top of two cross pieces. This would allow me to better square the wing and secure it a little better while putting it in a better position to work on it. I’m much happier with the result now, as it’s more of a work platform and a storage solution. I’ll also be able to store the wings on it with the leading edges attached with few modifications.

IMG_1415.JPG

IMG_1414.JPG
Then, I completed my wing-walk through. The wing kit was purchased used by me, and being the second builder, I wanted to first understand all the work that went into them and to ensure the work was done correctly and completely. Overall the wings look very good (as I knew at the time of purchase) but there were a few action items.

There were about six places on the rib-rear spar intersections that had pop rivets instead of the usual AN round head solid rivets. I still don’t understand why, as it was random and only one per rib. So I drilled those out, cleaned up the holes and installed the rivets according to plans. I had only one hole that was really buggered up, where I couldn’t get any rivet to hold.

IMG_1374.JPG

IMG_1378.JPG
A quick email to Van’s said to drill it out and replace with an AN3 bolt and locknut. It was a simple fix and I know it’s all done right now. Every step was checked off on the plans and it is up to speed for me to take over.

IMG_1412.JPG

Avoiding a sticky situation

With the drilling and deburring complete, it was time to use yet another new tool that has sat in the toolbox for far too long. This is a bucking bar and rivet set that allows you to insert dimple dies and dimple areas that the c-frame can’t get too. It was useful on the leading edges of the tank skins in the middle of the skin. I did learn, however, that the dies don’t like this tool, especially with a side load on them. I broke two sets of dies. A quick call to Avery and a replacement along with the SafeAir1 pitot mast was on the way.

IMG_1355.JPGIt’s hard to believe that almost all the components of the fuel tank can fit on my little stool.  I scuffed the joint surfaces to promote adhesion for the Pro Seal on all the parts. These are all set for final installation into the skin.

IMG_1359.JPGThis is where things can get sticky. The biggest advice I read was to be prepared for working with Pro Seal and to wear two pairs of gloves while replacing the outer pair often. Once Pro Seal touches a surface, it doesn’t come off without MEK. I used a postage scale to weigh the components, ceramic tile to mix, and the applicator gun from Brown Tool. All that equaled a clean, easy process of using Pro Seal.

IMG_1365.JPGThe wife-copilot-cobuilder-photographer came out to help and we started with the stiffeners. I chose to 100% cleco the parts in place and come back for riveting the next day. It greatly reduces the mess and actually makes riveting easier. Kayla the flight engineer dog came out to support the project as well. The next day, I came out to rivet the stiffeners with a dab of Pro Seal in each dimple to seal the mfr head of the rivets. Turned out well with the tank die dimple, as it’s a nice flush surface.

IMG_1375.JPGIMG_1385.JPGI went solo and finished up the ribs and the j-stiffener for each tank after mixing up yet more sticky stuff. I found that letting the sealant cure for one day was perfect for riveting, so the following day was spent riveting the ribs and j channel. I also went back and put a blob of sealant on each shop head, completely sealing each rivet (hopefully) to prevent any fuel seepage.

IMG_1386.JPGThe next step is to fabricate the fuel vent lines, which consists of straightening very carefully the aluminum tubing and flaring one end to accept the AN fitting through the end rib. I skipped ahead on the plans and riveted the end rib on before putting the line in, but was able to easily work around it. None the less, it’s a good lesson to stick to the plans. Pro Seal is permanent, so no going back and redoing!

IMG_1392.JPG

We need some gas

With the rudder all finished, it went up in the ceiling with the other finished components to make room on the workbench for the next project.  Fuel tanks are a key part of each build and one that is often dreaded because of the process and mess that it can make.  I’ve read a lot of how-to’s and gotten a lot of advice and feel pretty confident moving into this stage.  I also invested in a few tools that should make the job a little easier, cleaner, and more effective!

First is to prep just like all other steps.  The previous builder of my wing kit started the left fuel tank, getting so far as to seal the ribs and fuel cap flange to the skin.  However, I want to have the upgraded locking caps and wasn’t comfortable with the sealing job that had been done.  So I decided to order replacement parts and start fresh.  I also used the now scrap tank to practice with was helpful.

Each tank has 14 stiffners that are cut from a single stick of aluminum similar to most of the j channels.  Those are cut, shaped, and deburred then match drilled to the skins.  The ribs are also finessed into the skins, especially the pointy part that doesn’t seem to fit well without a little encouragement with the pliers.  I was surprised at how difficult it was to get all the ribs lined up for match drilling.

IMG_0240.JPG

The fuel cap flange is contoured to match the skin.  I used some of the double sided tape for trailing edges to hold it in place for match drilling.  One thing to note is that the locking cap looks a lot better and fits a lot better than the stock Van’s unit.  Well worth the extra money for me.

IMG_0311.JPG

The attache zee’s were next, having been match drilled to the tank spar and having nut plates installed.  These will be primed as will the exterior of the tank ribs.  Nothing inside is primed, as the fuel is corrosive to all but the mightiest of paints.

IMG_0313.JPG

One piece of advice to heed, make sure nothing is in the tanks that doesn’t belong!  I had used my rubber mallet to tap some pieces into alignment.  I found it after enclosing the tank with clecos to match drill.  I looked all over the garage for that thing!

IMG_0324.JPG

Oshkosh Be gosh!

I met my dad for our first ever trip to Oshkosh.  Now, this was purely a business trip to speak with builders, pilots, vendors, etc.  At least that’s what I wrote down on the taxes…

My pops and I had an absolute blast spending five days at the homebuilt/general aviation mecca.   Without going into too many details and stories, the first day set the bar really high.  Wednesday morning, my dad and I wanted to meet some fellow -10 pilots and check out the HB camping area before folks started packing up and flying home.  I talked with a lot of folks who’s blogs I’ve followed for years now and got a lot of great advice and information.  I saw some great ideas, some not so great ideas, and validated my own build work as compared to flying -10’s.  We met up with Brian (their blog is on the links page) who was going up to get some air to air shots.  He was nice enough to offer us a ride and within three hours of being at Oshkosh, my dad and I were sitting in a stunning example of a -10 with three other’s all going up to do some formation flying and photo ops.

IMG_0900.JPG

IMG_0859.JPG

IMG_0872.JPG

IMG_0894.JPG
The weather was perfect with some big puffy clouds about 2500 and deep blue skies above.  Brian was a great pilot and gracious enough to hand over the controls to me for the second half of the flight.  I even go to thread the needle and get us inline for the VFR arrival all the way to final!  Flying in a -10 was cool enough, saying we got to go in and out of Oshkosh was priceless!!

I took a ton of pictures, too many to put on here but plenty to stash away as building references.  I also spoke with a few key vendors that I had on my list and made a few purchases.  The biggest was talking to Aveo Engineering who I’ve been working with for a year now.  I’ll say upfront (and gave them candid feedback about this) that their customer service sucks.  However, their products make up for it in quality, function, and cool factor.  I bought our tail strobe (PosiStrobe XP) and finally officially got on the list for their ZipTip wing tip nav lights.  I was somewhat dissapointed that they didn’t have the power on these, but I’ve seen another RV with them and they are awesome.  I promised (threatened) them that I would follow up in October, which is when they are expecting to start shipping.

IMG_0886.JPG

IMG_0858.JPG
The last story is my favorite, though.  My dad was a trooper and hiked up and down the acres of flightline with me all day.  We were lucky enough to camp out under a DC-3 wing that one of his Boeing instructors flew up for the week which provided shade, shelter, and a home base for our chairs right on the showline.  We made the trek to the C-7 Caribou that had done a flying display and went inside.  Dad started swapping stories with the crew chief from when he used to fly the 7’s in Alabama for the Reserves.  I’ve heard most of the stories, but to see him light up while talking airplanes with a fellow Air Force service member really made the trip for me.

IMG_0942.JPG
We had a great time watching the Thunderbirds and also tried a Wisconsin staple, the cheese curds! We were exhausted but already talking about our next trip.  Although, I’m sure the next trip will be way more expensive since it will likely involve purchasing bigger chunks of our plane!

IMG_0865.JPG

Wow, Babe, nice rack!

Is what my wife said to me after I finished building the new wing rack.  The wing kit came with an EAA wing rack that was the carpet cradel type but I had seen others suspend the spars that kept the pieces a little higher off the ground.  I like this idea as I don’t want to be bending over any more than I have to and it will hopefully reduce the need to move the wing assemblies around.

I used other’s as a guide, but really just built on the fly for this.  2×6’s for the main uprights (cut down to 6′) and horizontal supports (14′) with 2×4’s for the wheel braces and the spar supports.  The challenge was the tip, as it doesn’t have any structure that sticks out like the spar to fuse joint.  So I came up with a solution that should work well until needing to install the tips further down the road.  There is plenty of room and structure to come up with a different way to support the tips when the time comes.

20140723-154403-56643035.jpg20140723-154400-56640482.jpg

One thing to note, if you didn’t think the spars flex, you’re wrong!  I was surprised how bouncy and sagging the spar on the right wing is without the top skin riveted to it.  The left already has the top skin on and is rock solid.  I’ll be getting the left up to speed shortly so I’m not too worried about letting it hang here for a little while.

20140723-154402-56642138.jpg

20140723-154401-56641288.jpg