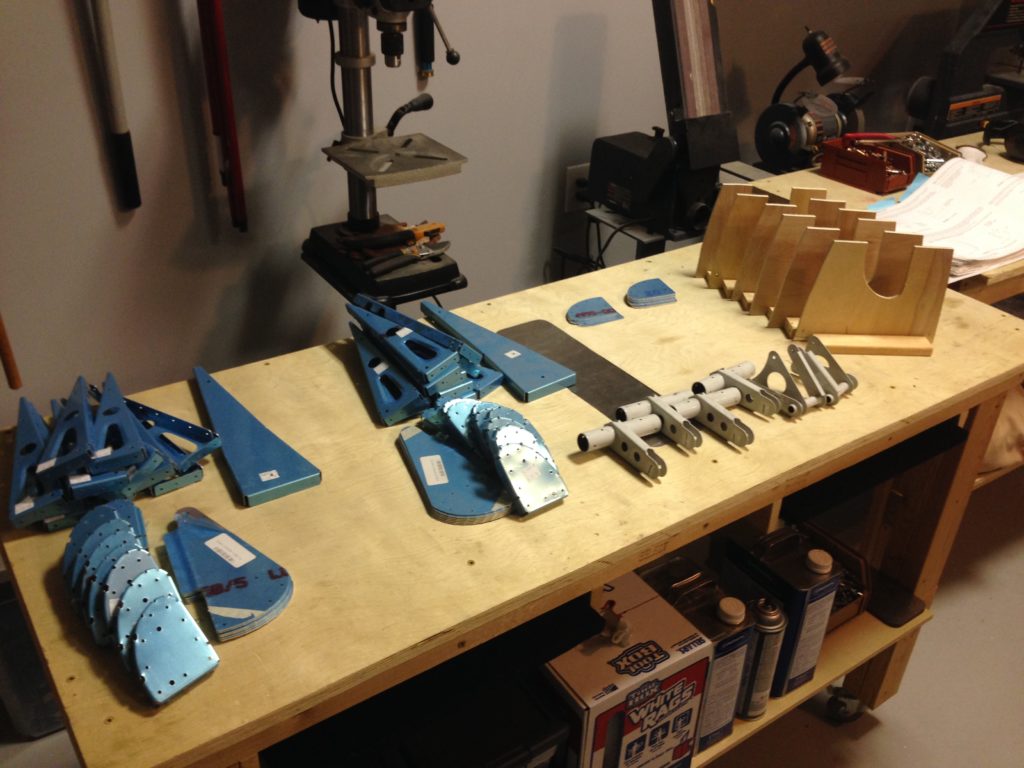
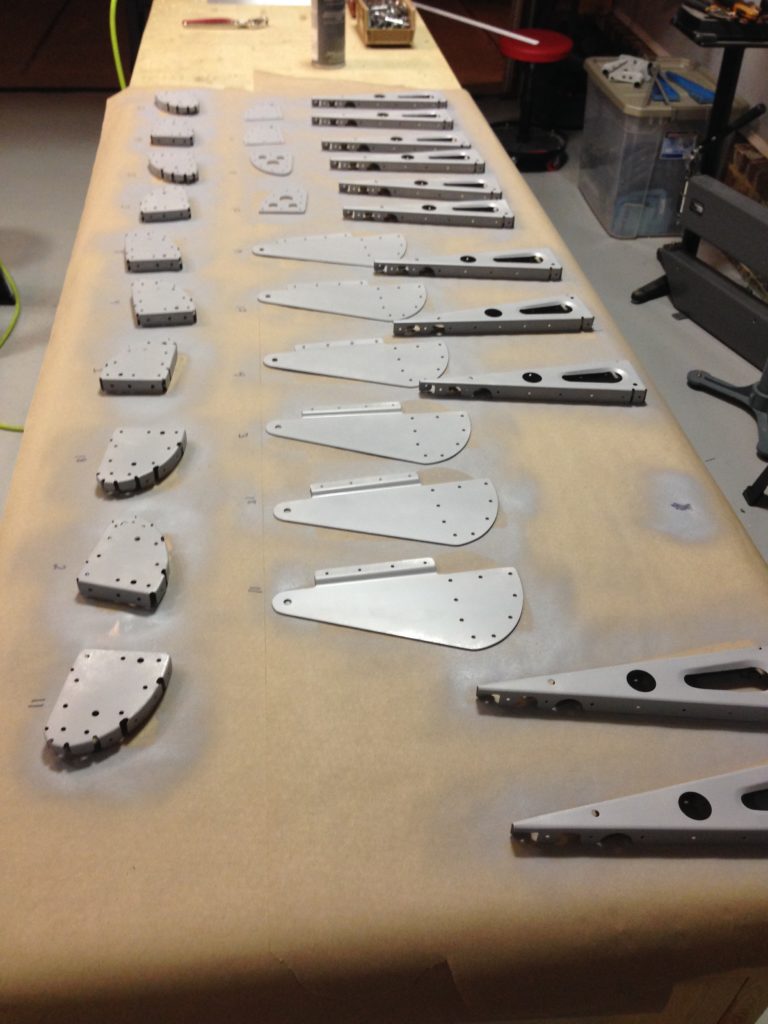
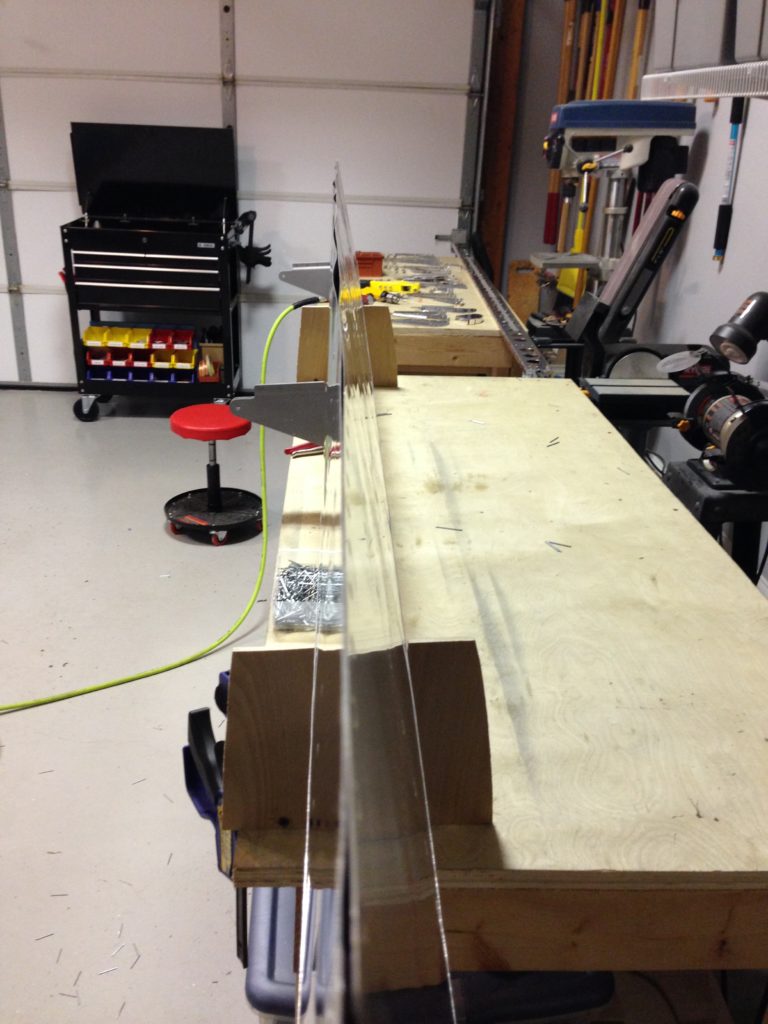
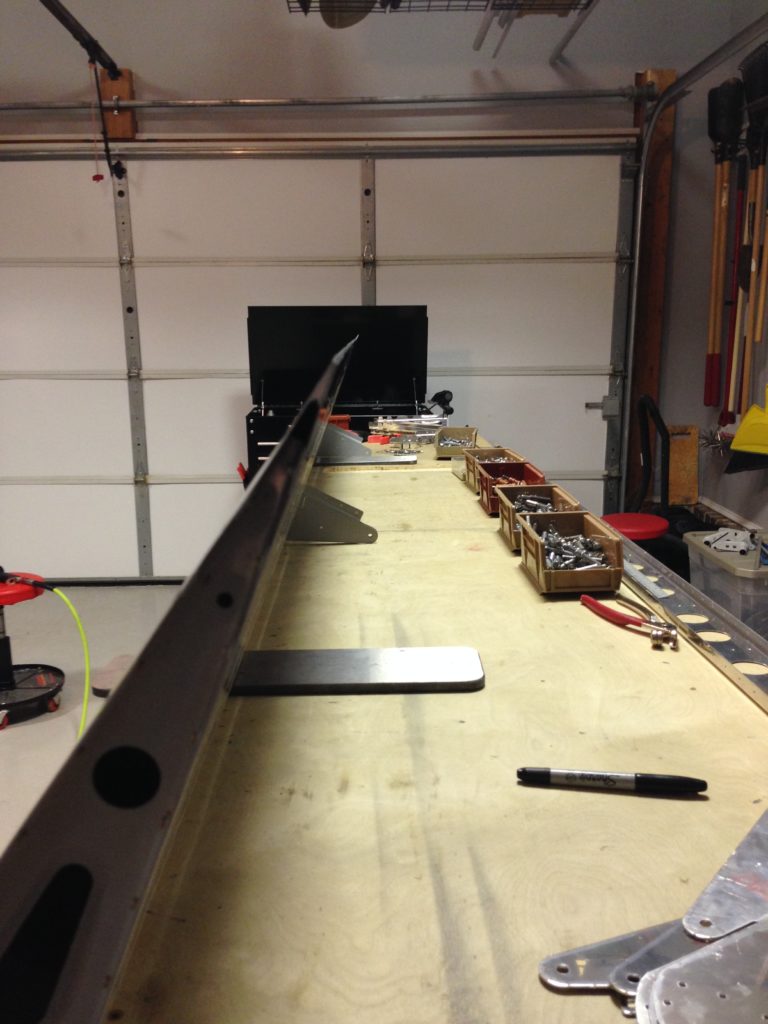
One of the last projects before the cabin top section is the flap torque tubes and motor. Switching gears back into progressively drilling holes in steel is a bit tough and time consuming. Lots of oil, lots of shaving, and patience is needed. I had to open up the holes with a deburr tool through the side panels which the tubes pass through. All fairly straight forward, however, and everything lined up very well in the end. The motor was an easy mount and at the end, I had to hook up a 9 volt battery to test it all out. Pretty cool seeing systems start working in the airplane!
This was several evenings in the shop getting it all fabricated and I quickly realized that there is nothing left to do than put the cabin top on! I also realized that while the cabin top is a massive amount of work, it’s also a good time to order the finish kit since having the doors is key to getting all the big work done on the fuselage. I’m looking forward to getting the big pink thing down from the ceiling and on the fuselage!

