Dreaded Doors

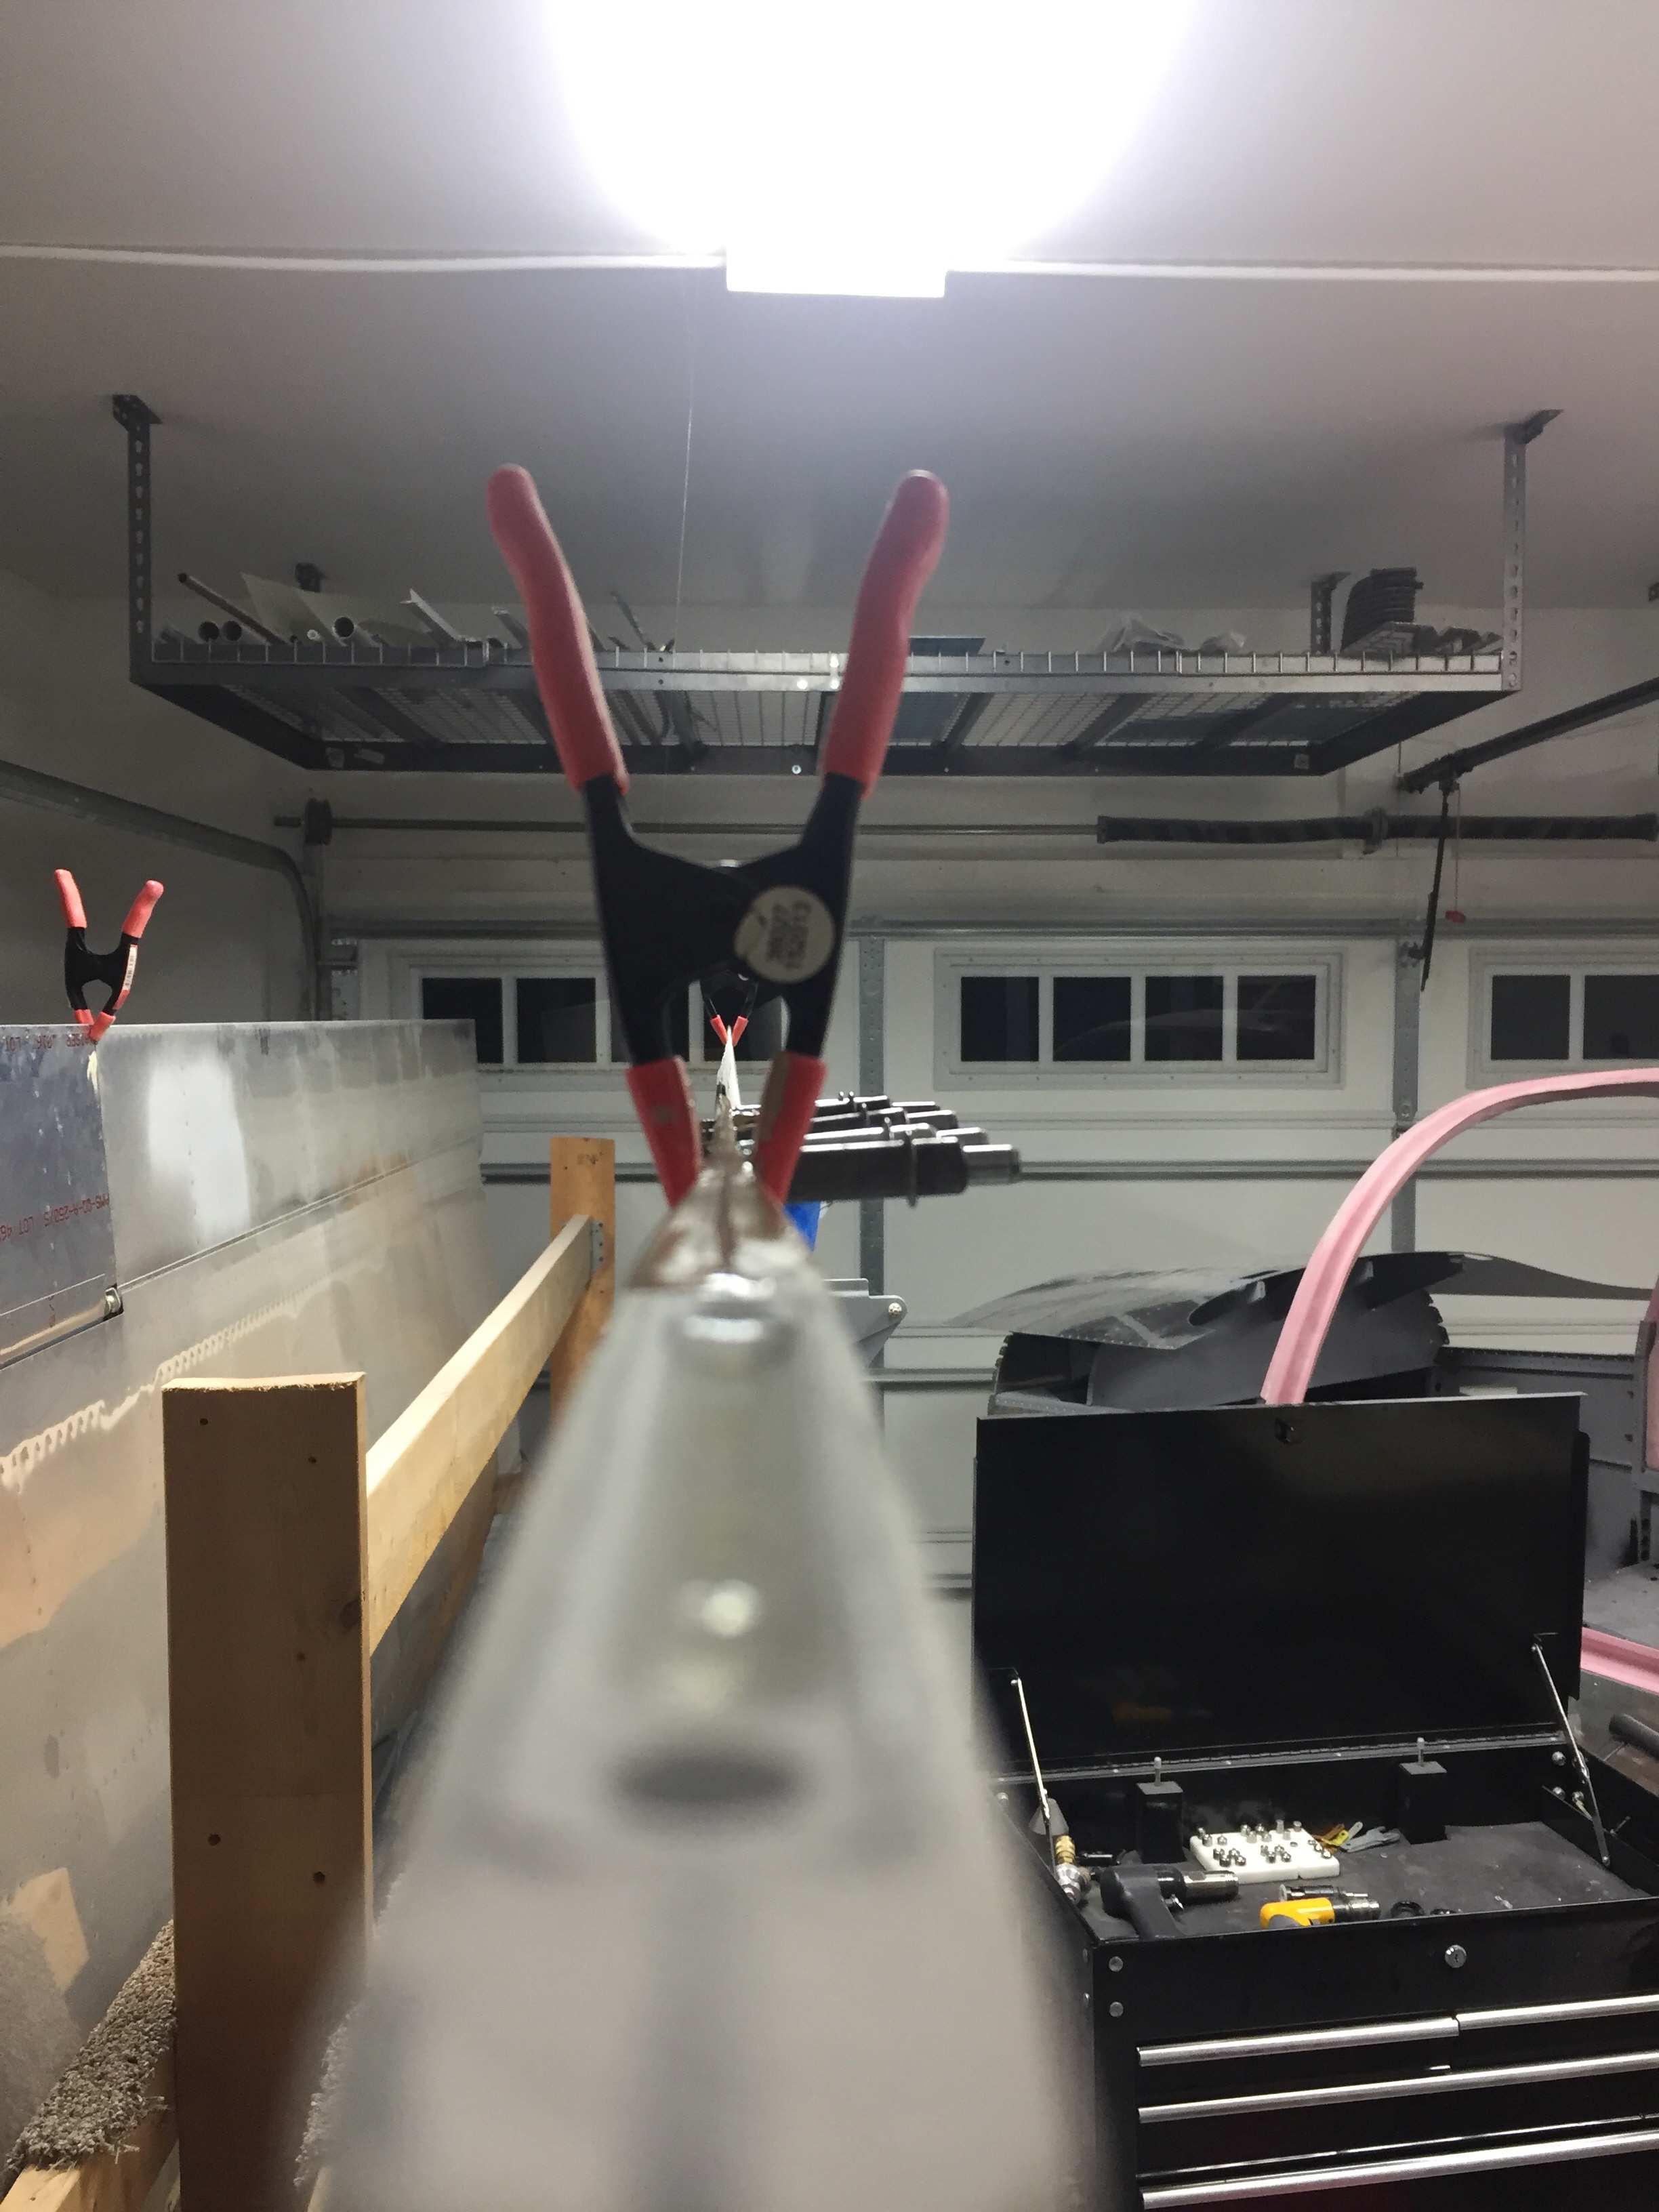
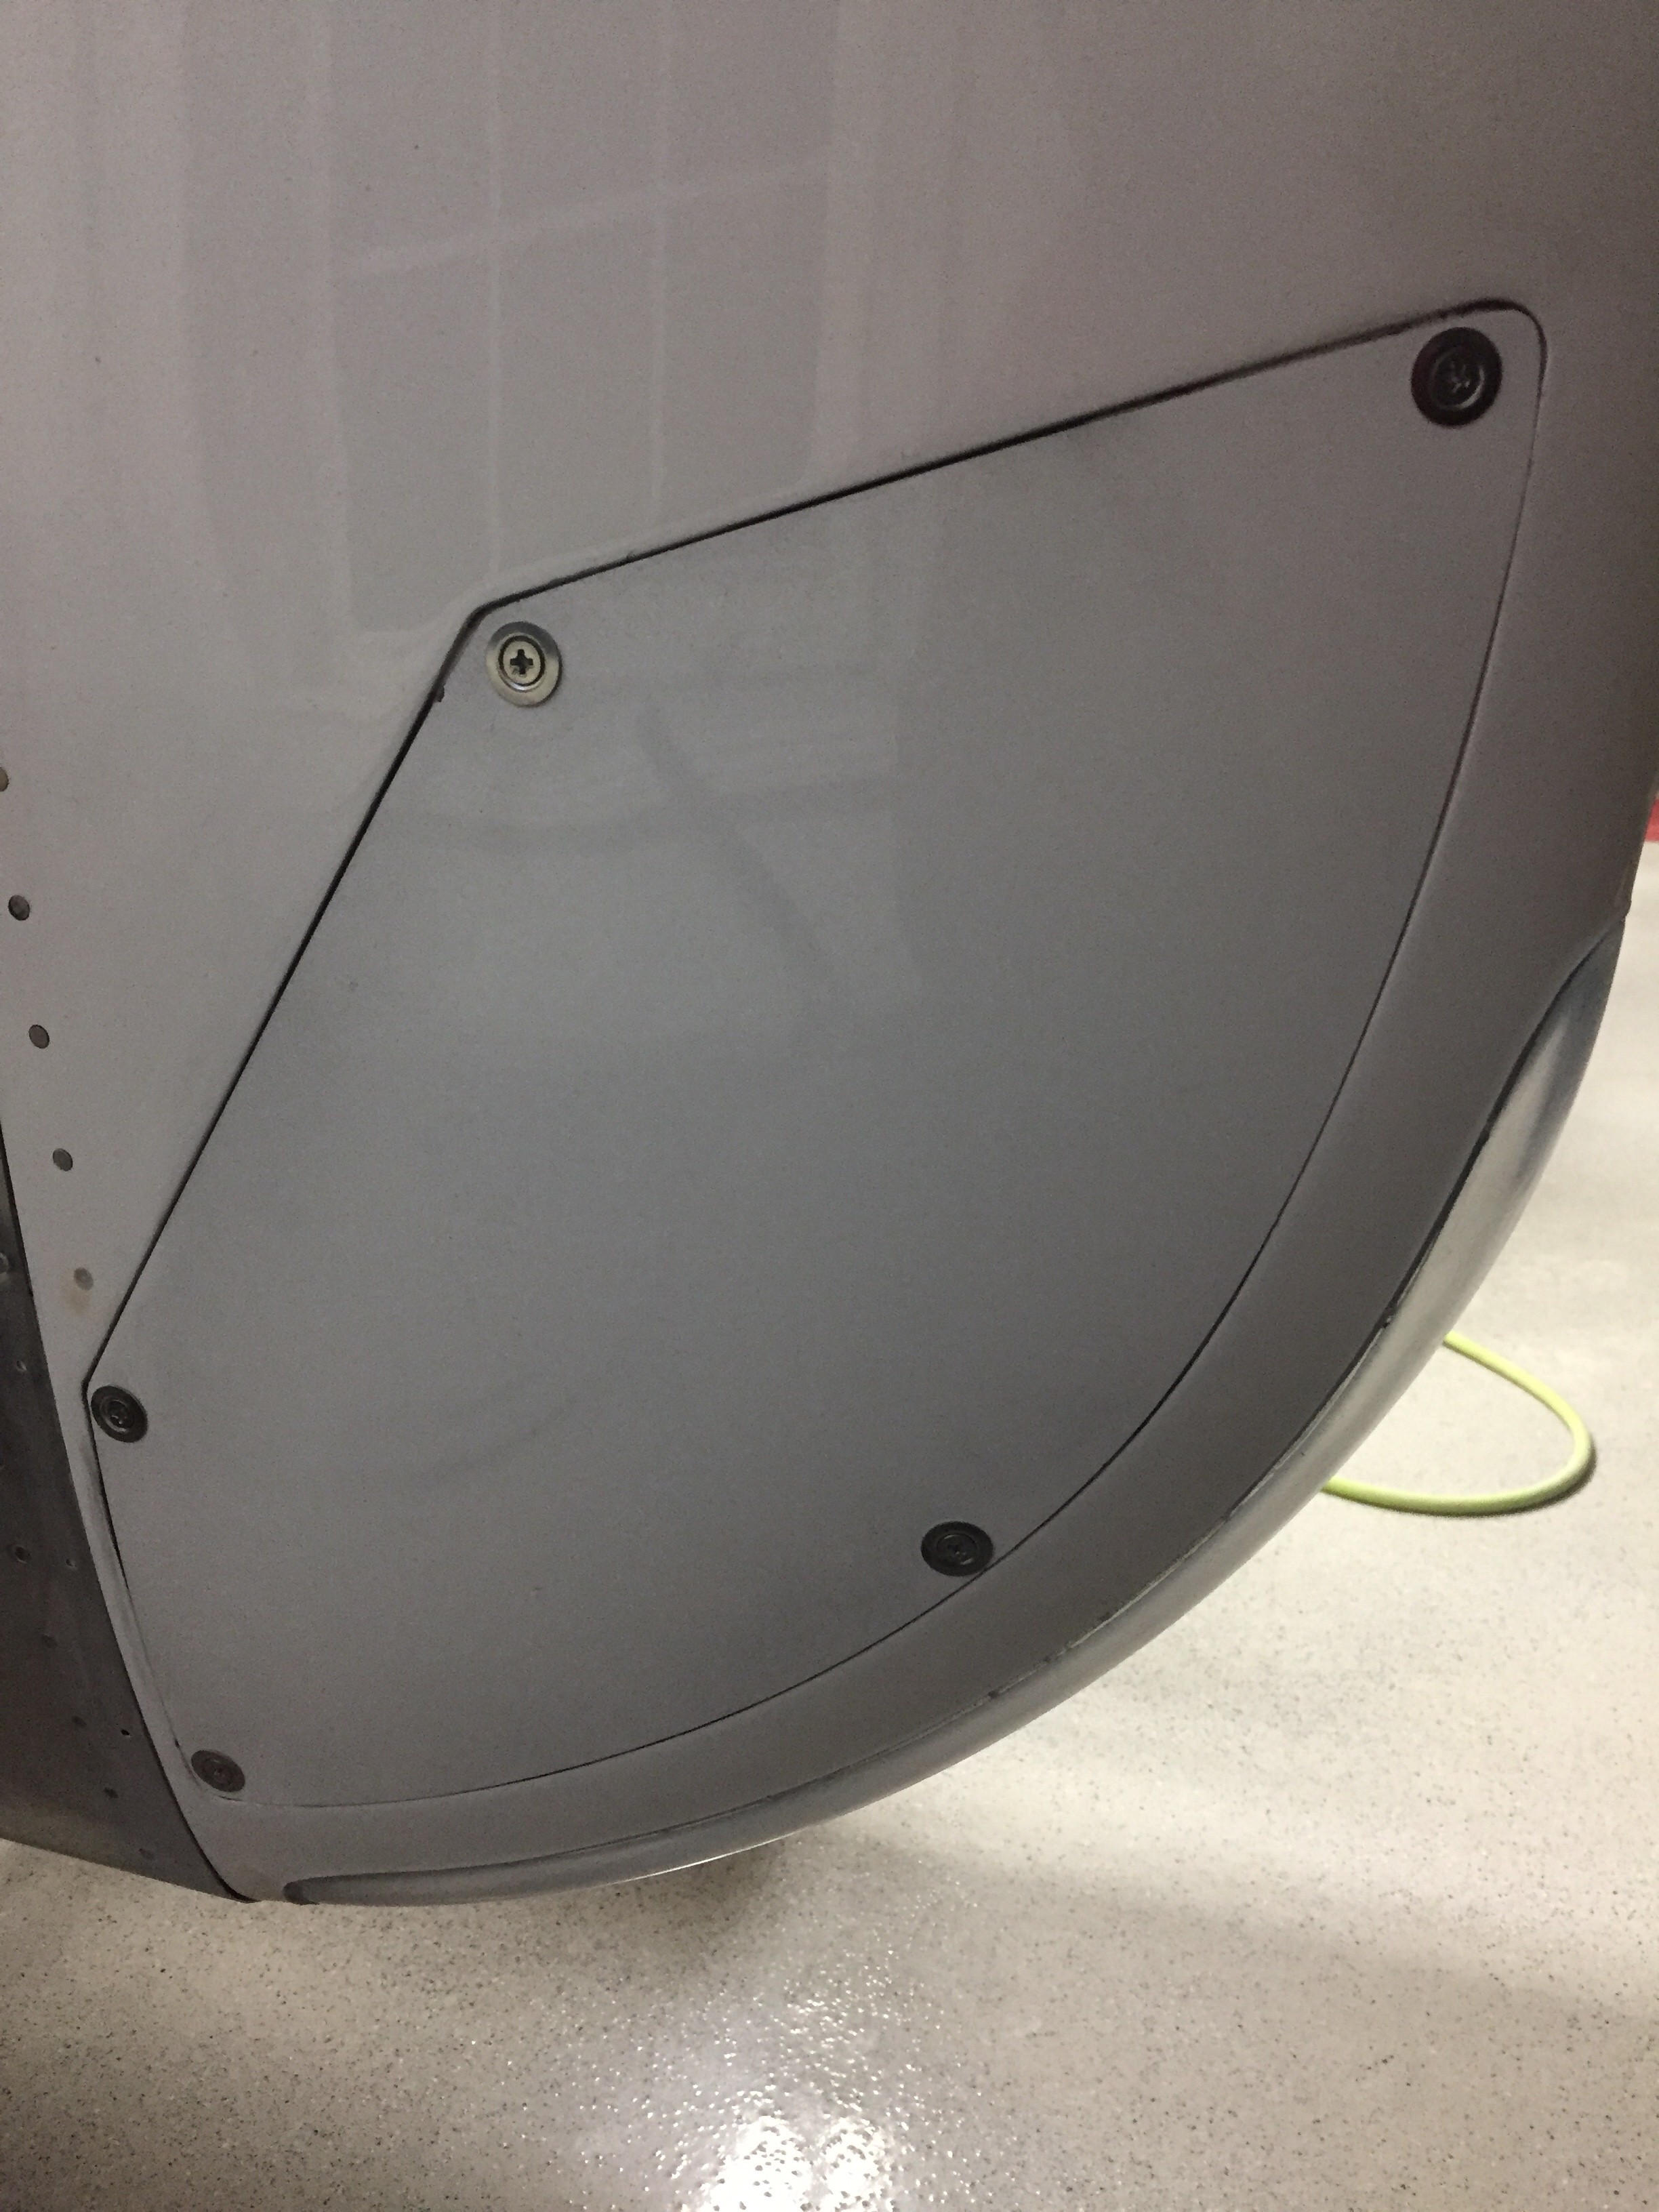
The biggest and most dreaded part of a RV-10 build for most people are the doors. The are notoriously tough to trim, fit, and fill to get a nice result. However, they are critical in the safety and looks of the plane. And since I don’t want to mess up my hair while flying, I dove in to start closing up the cabin.

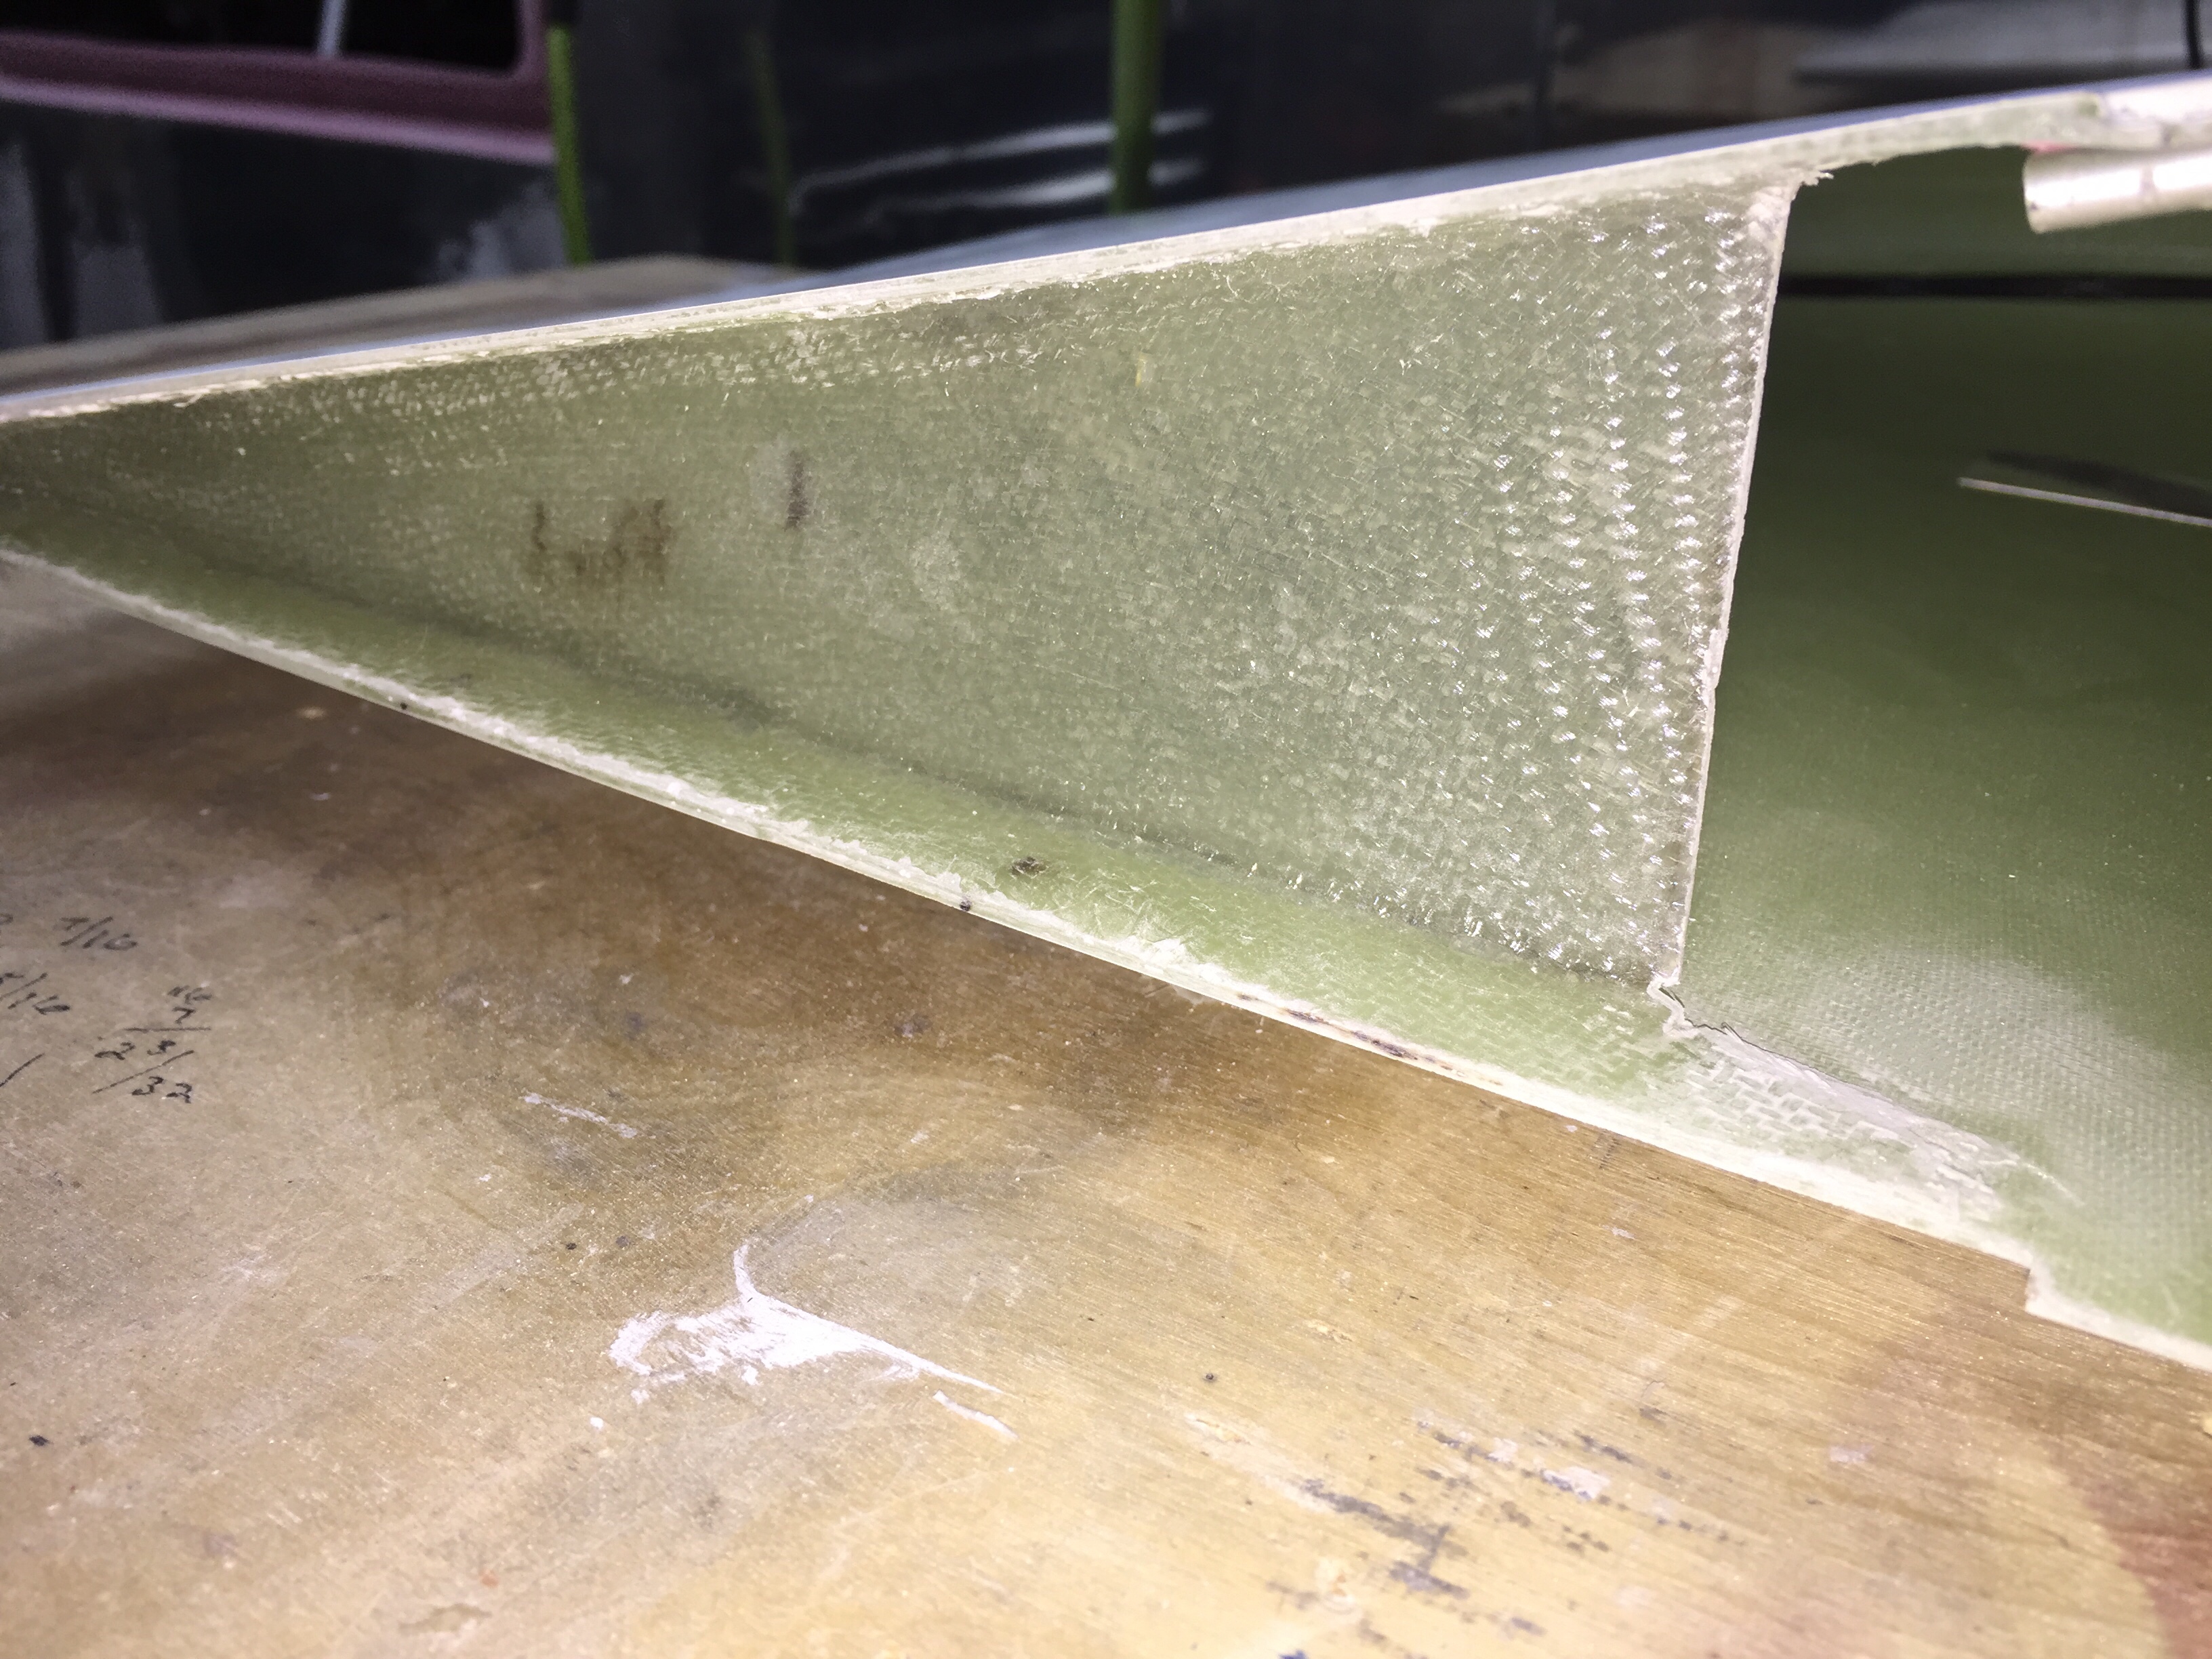
It’s commonly known the scribe lines and reference dimples are useless and my doors were no different. The dimples were a half inch off from each other So I matched up the two shells of the doors by eye and measurements. The first step is to trim the window opening and prepare the shells for bonding.
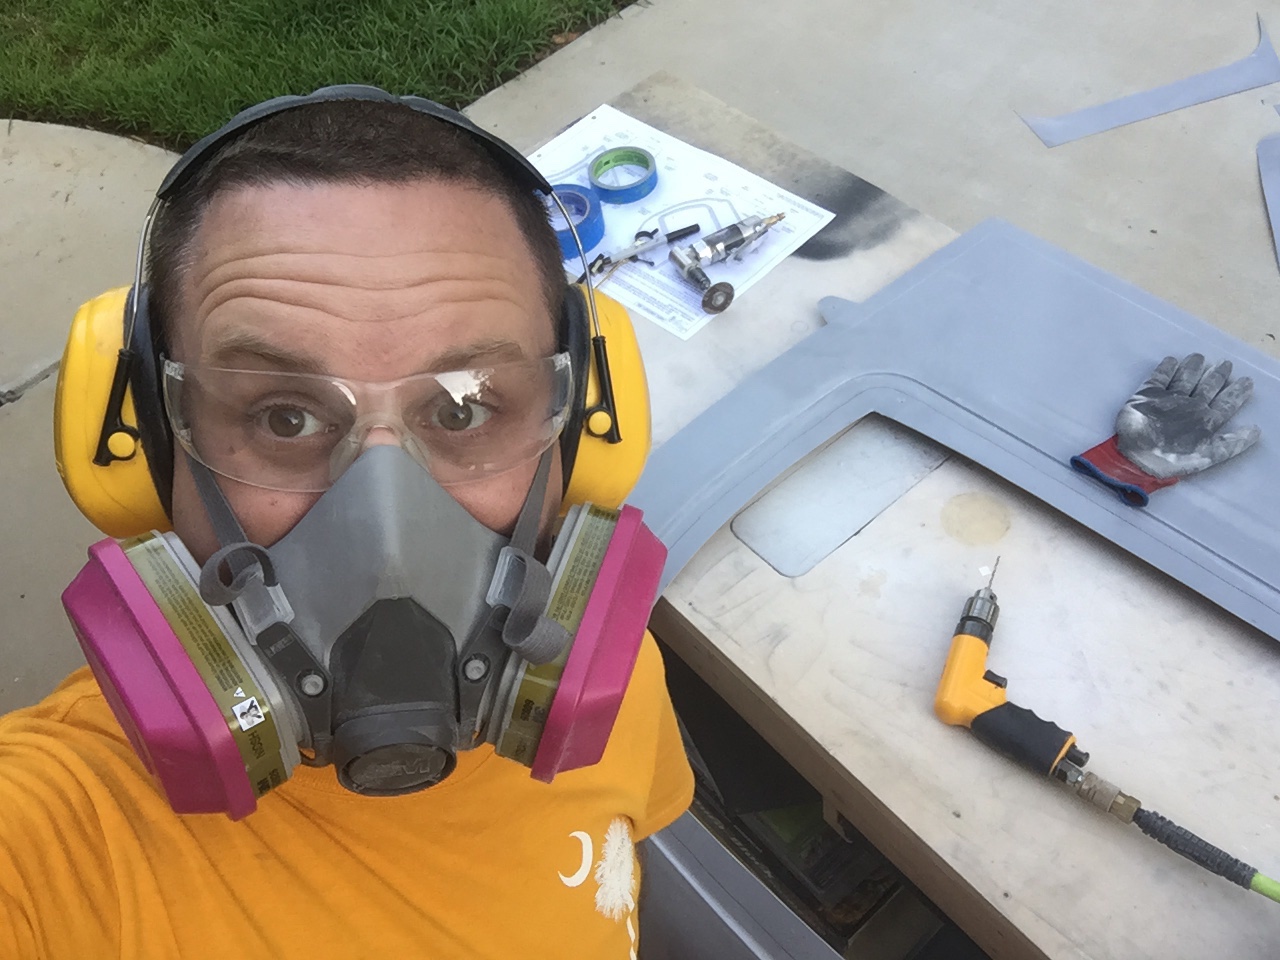
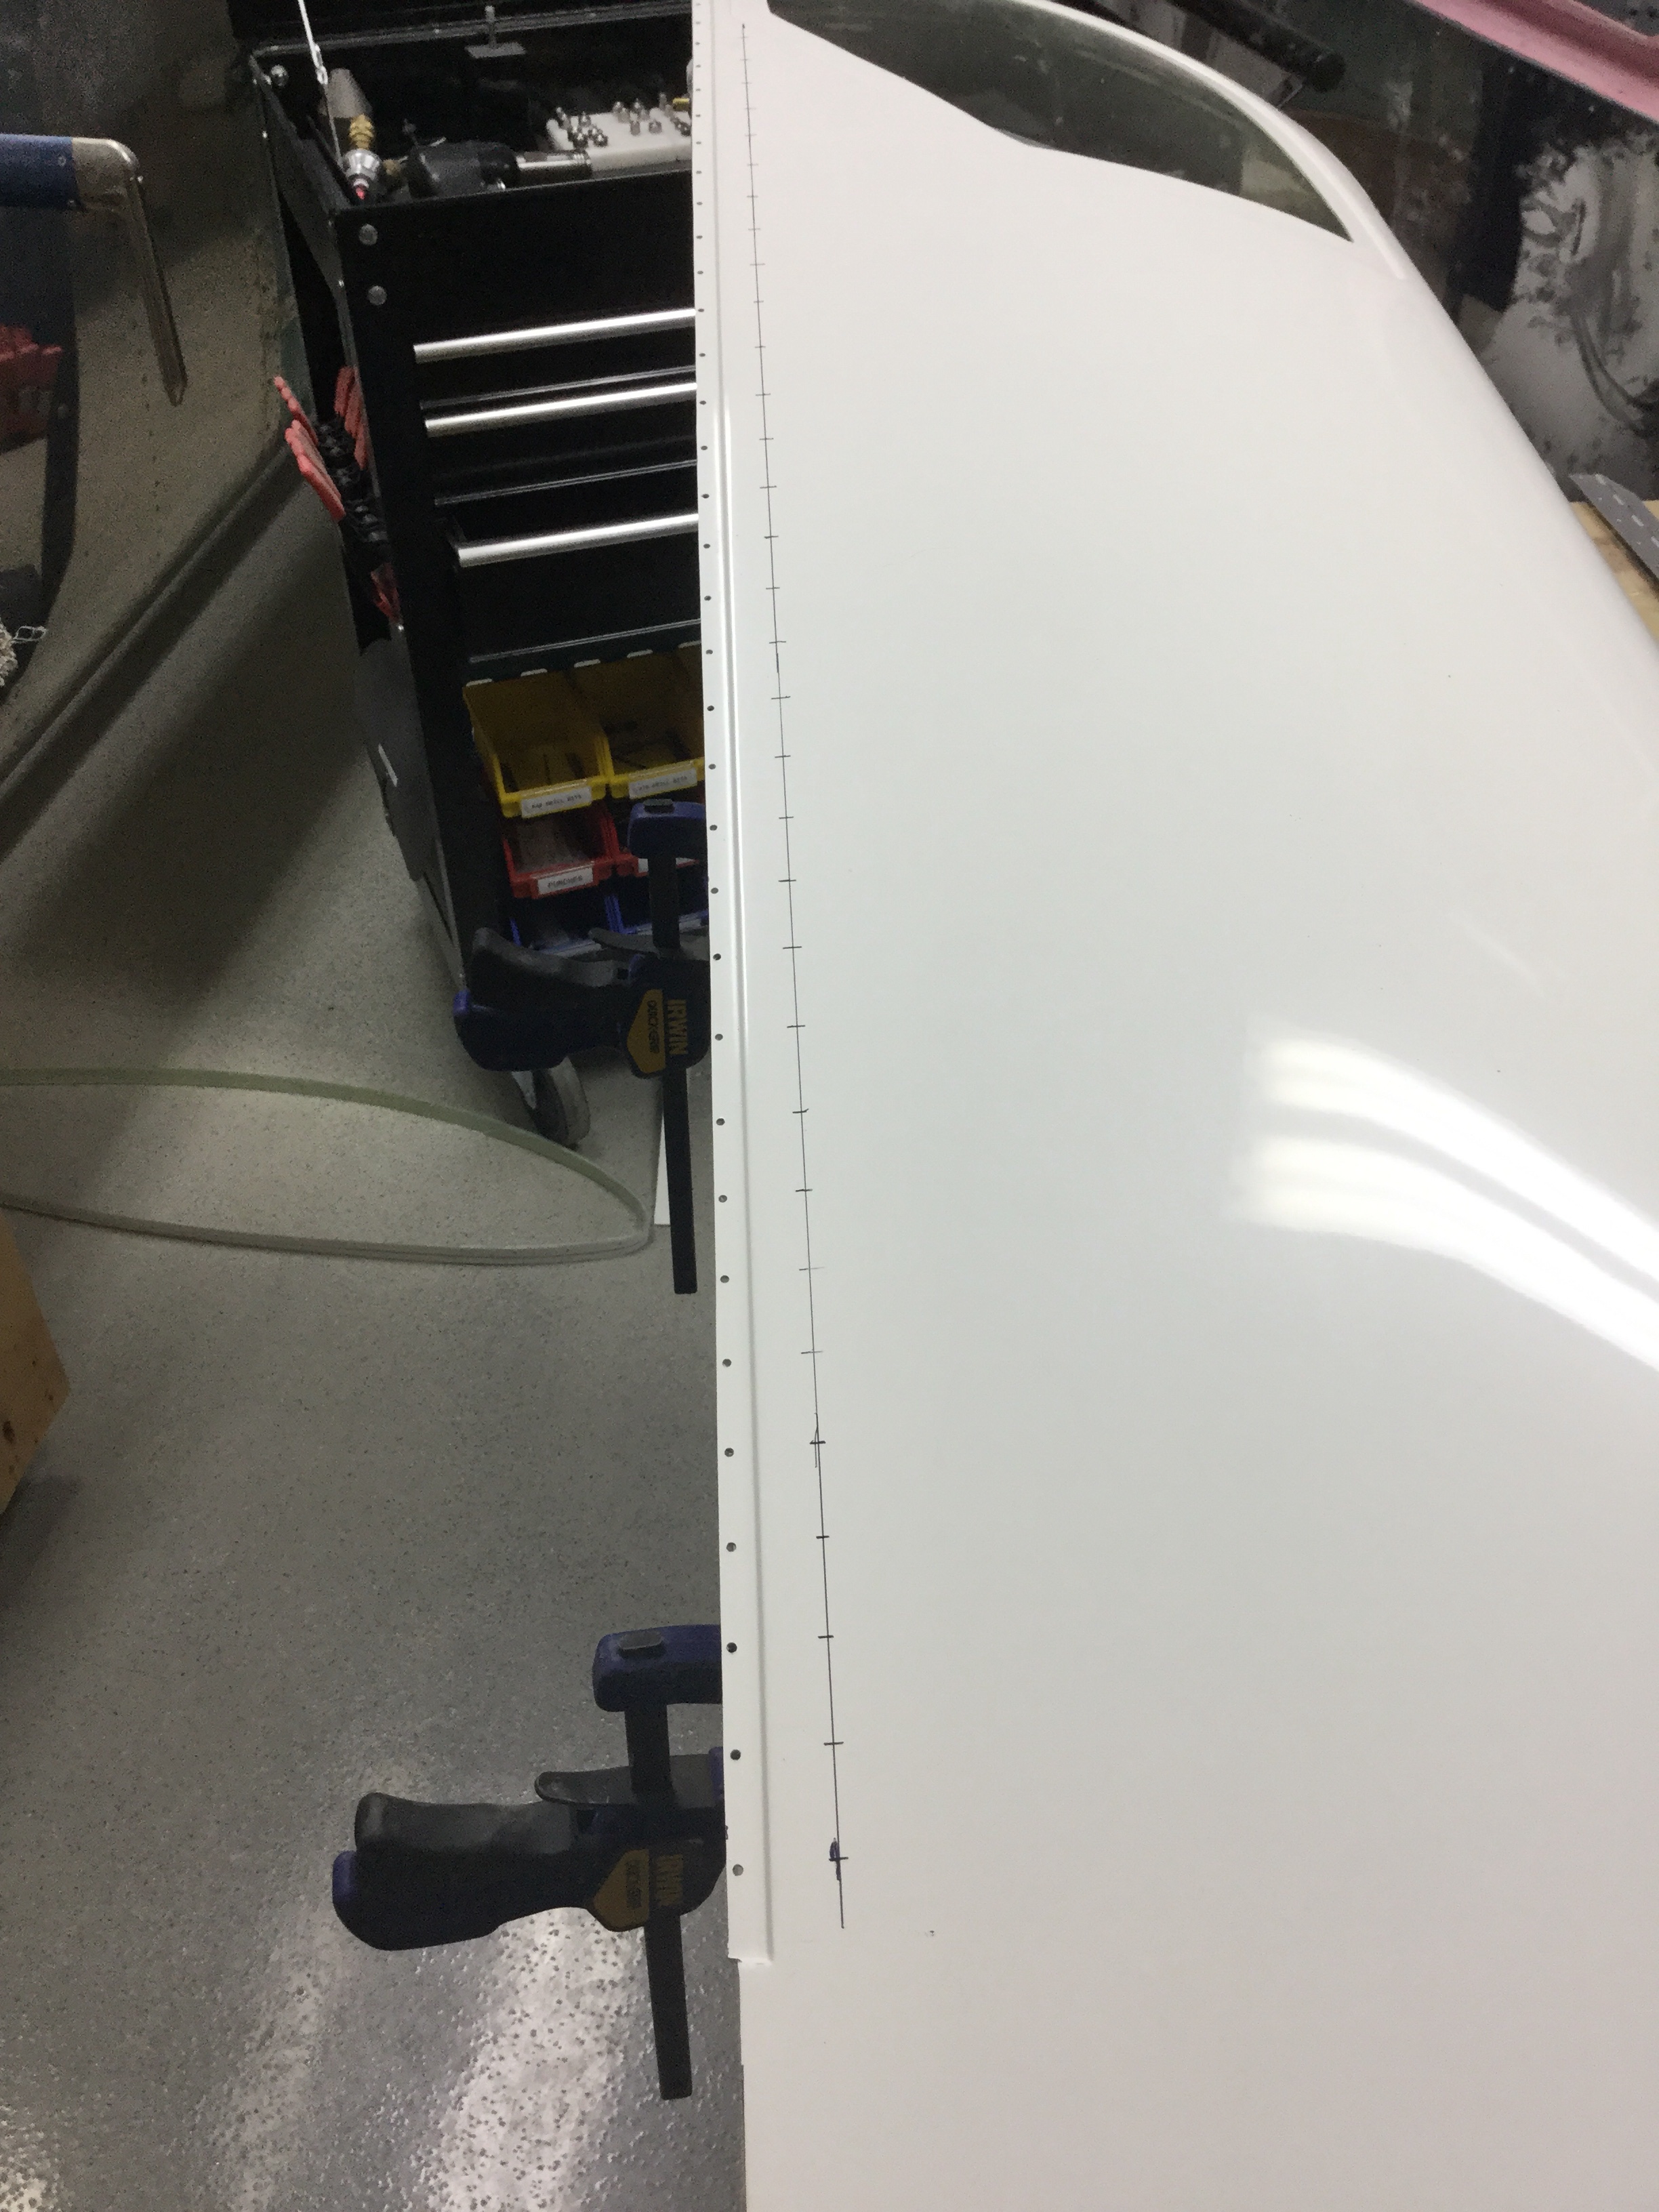
Fiberglass is messy stuff, so use proper PPE! I then did a rough trim on the exterior of the halves to get ready to bond them on the cabin top. You use the cabin top as a template to get the proper curve set while the epoxy sets. So I payed the halves on the top and prepped by drilling holes for the clecos.
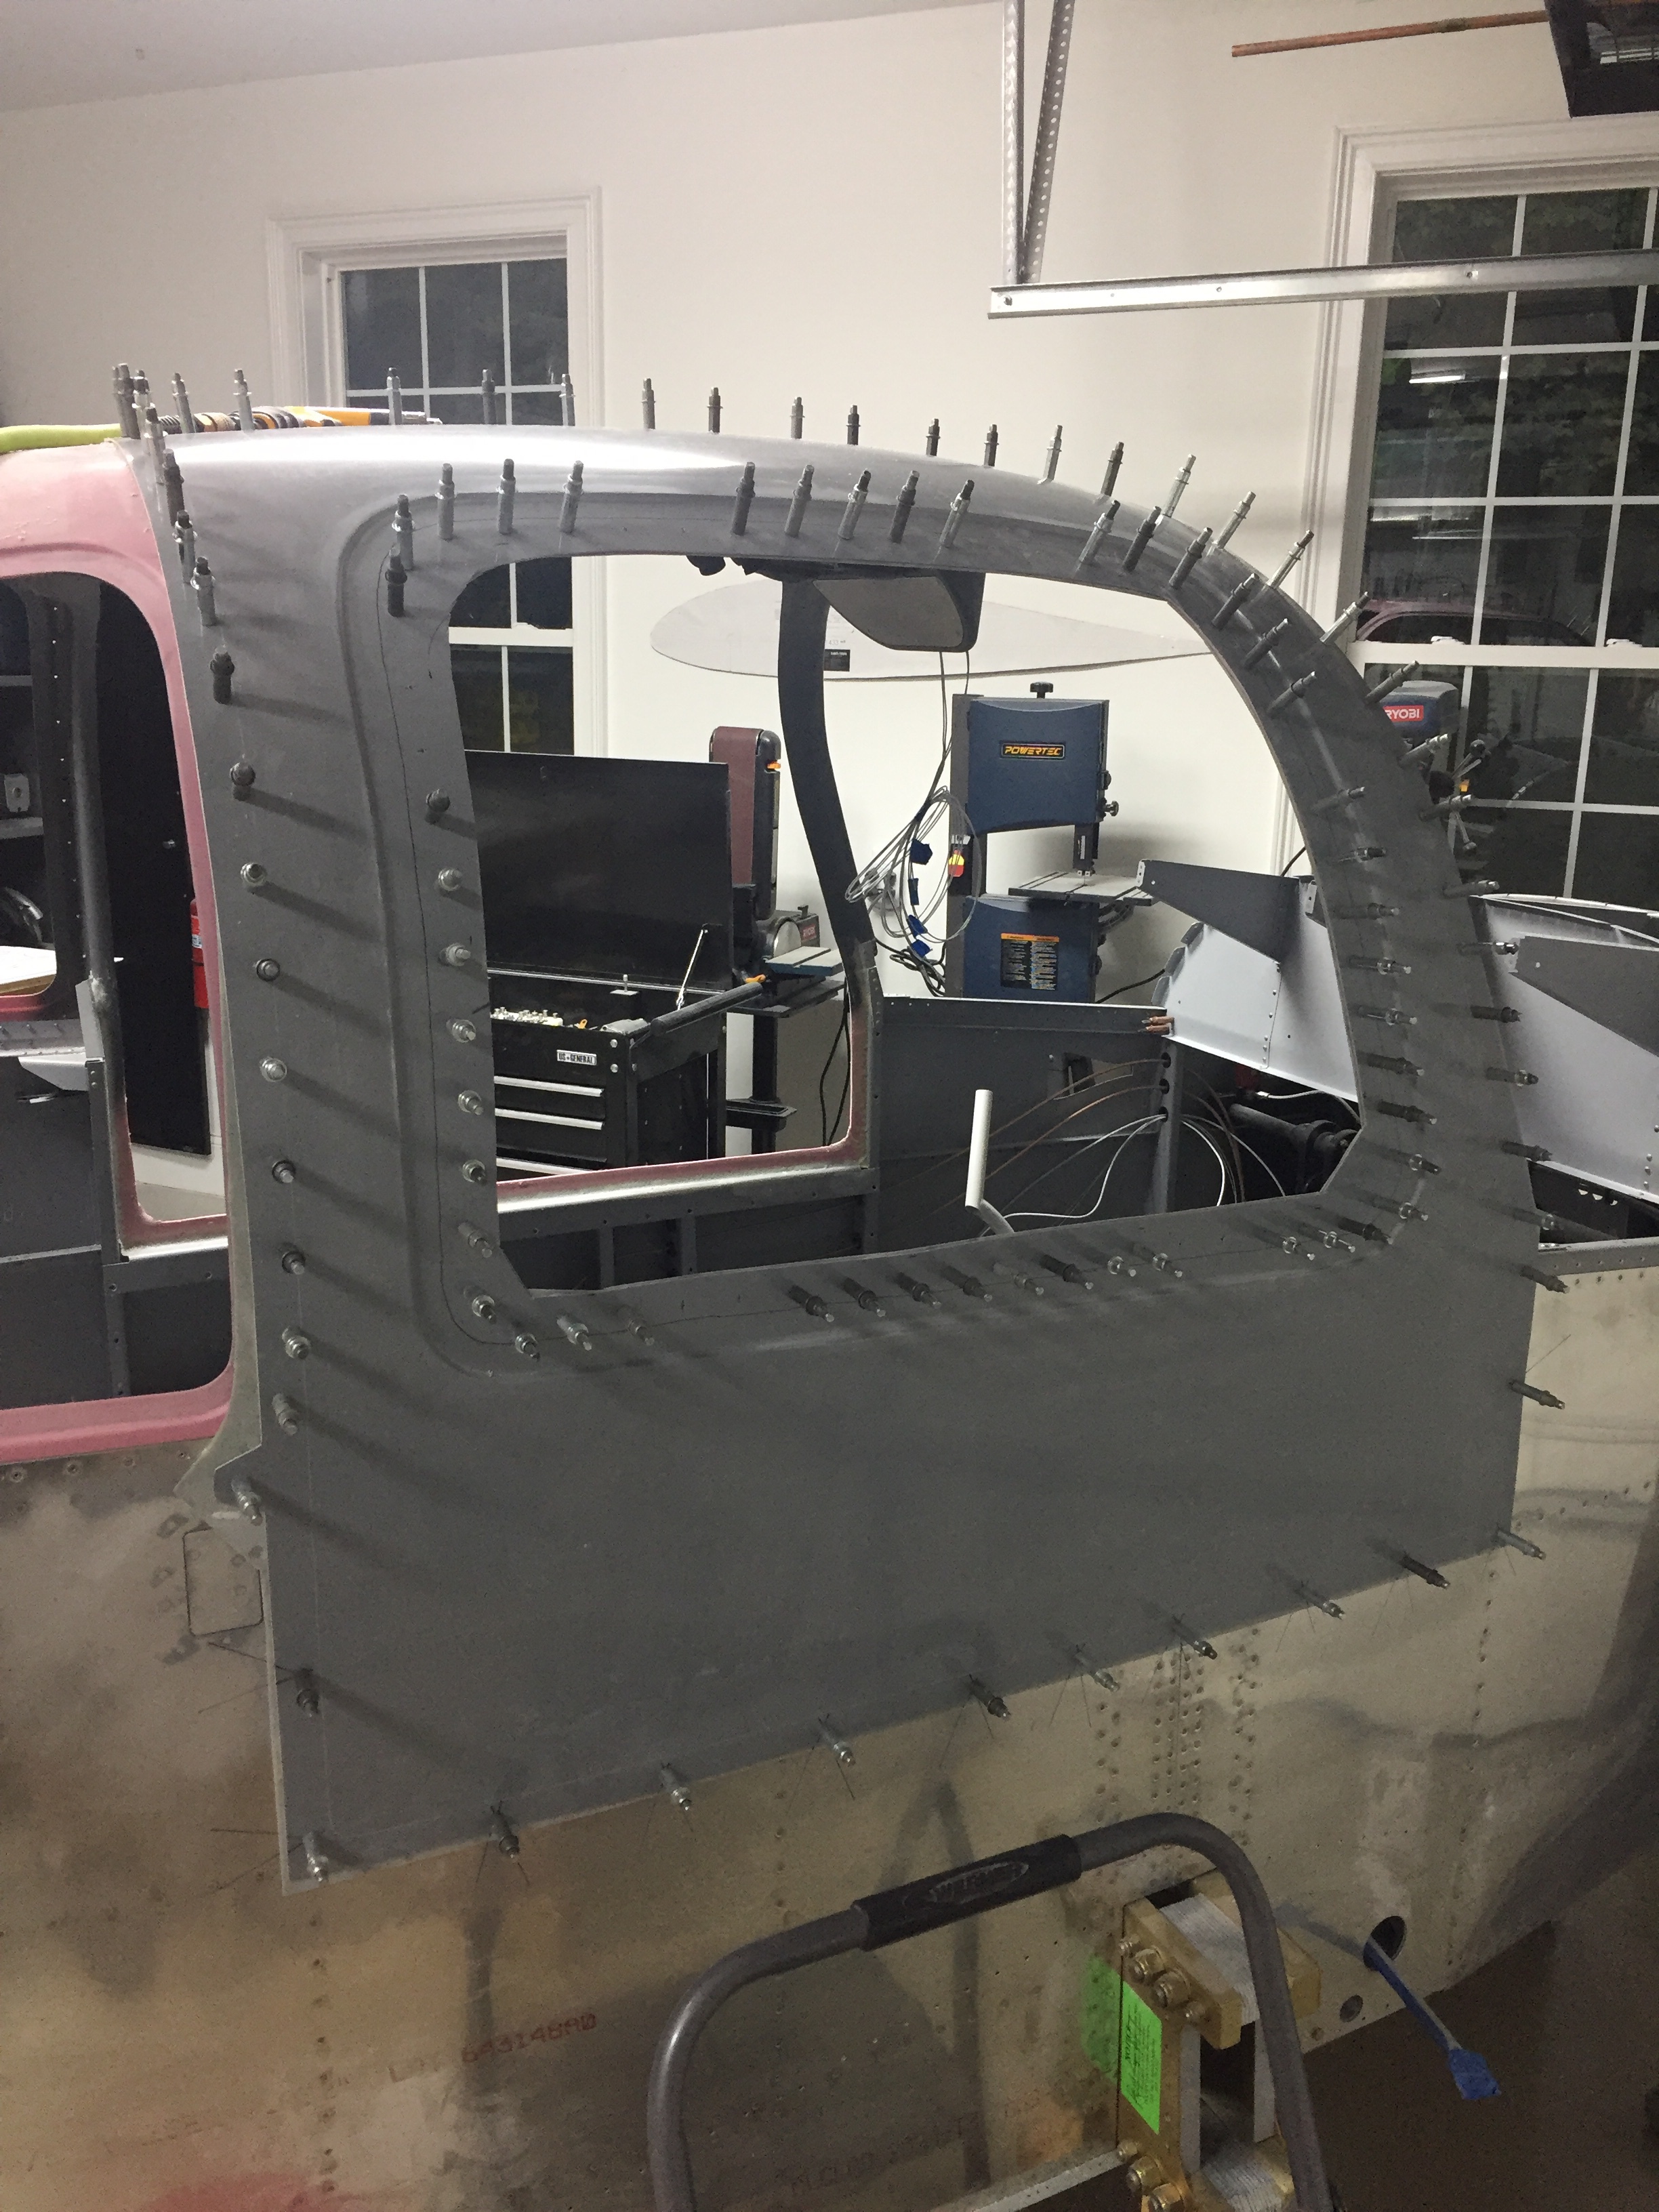
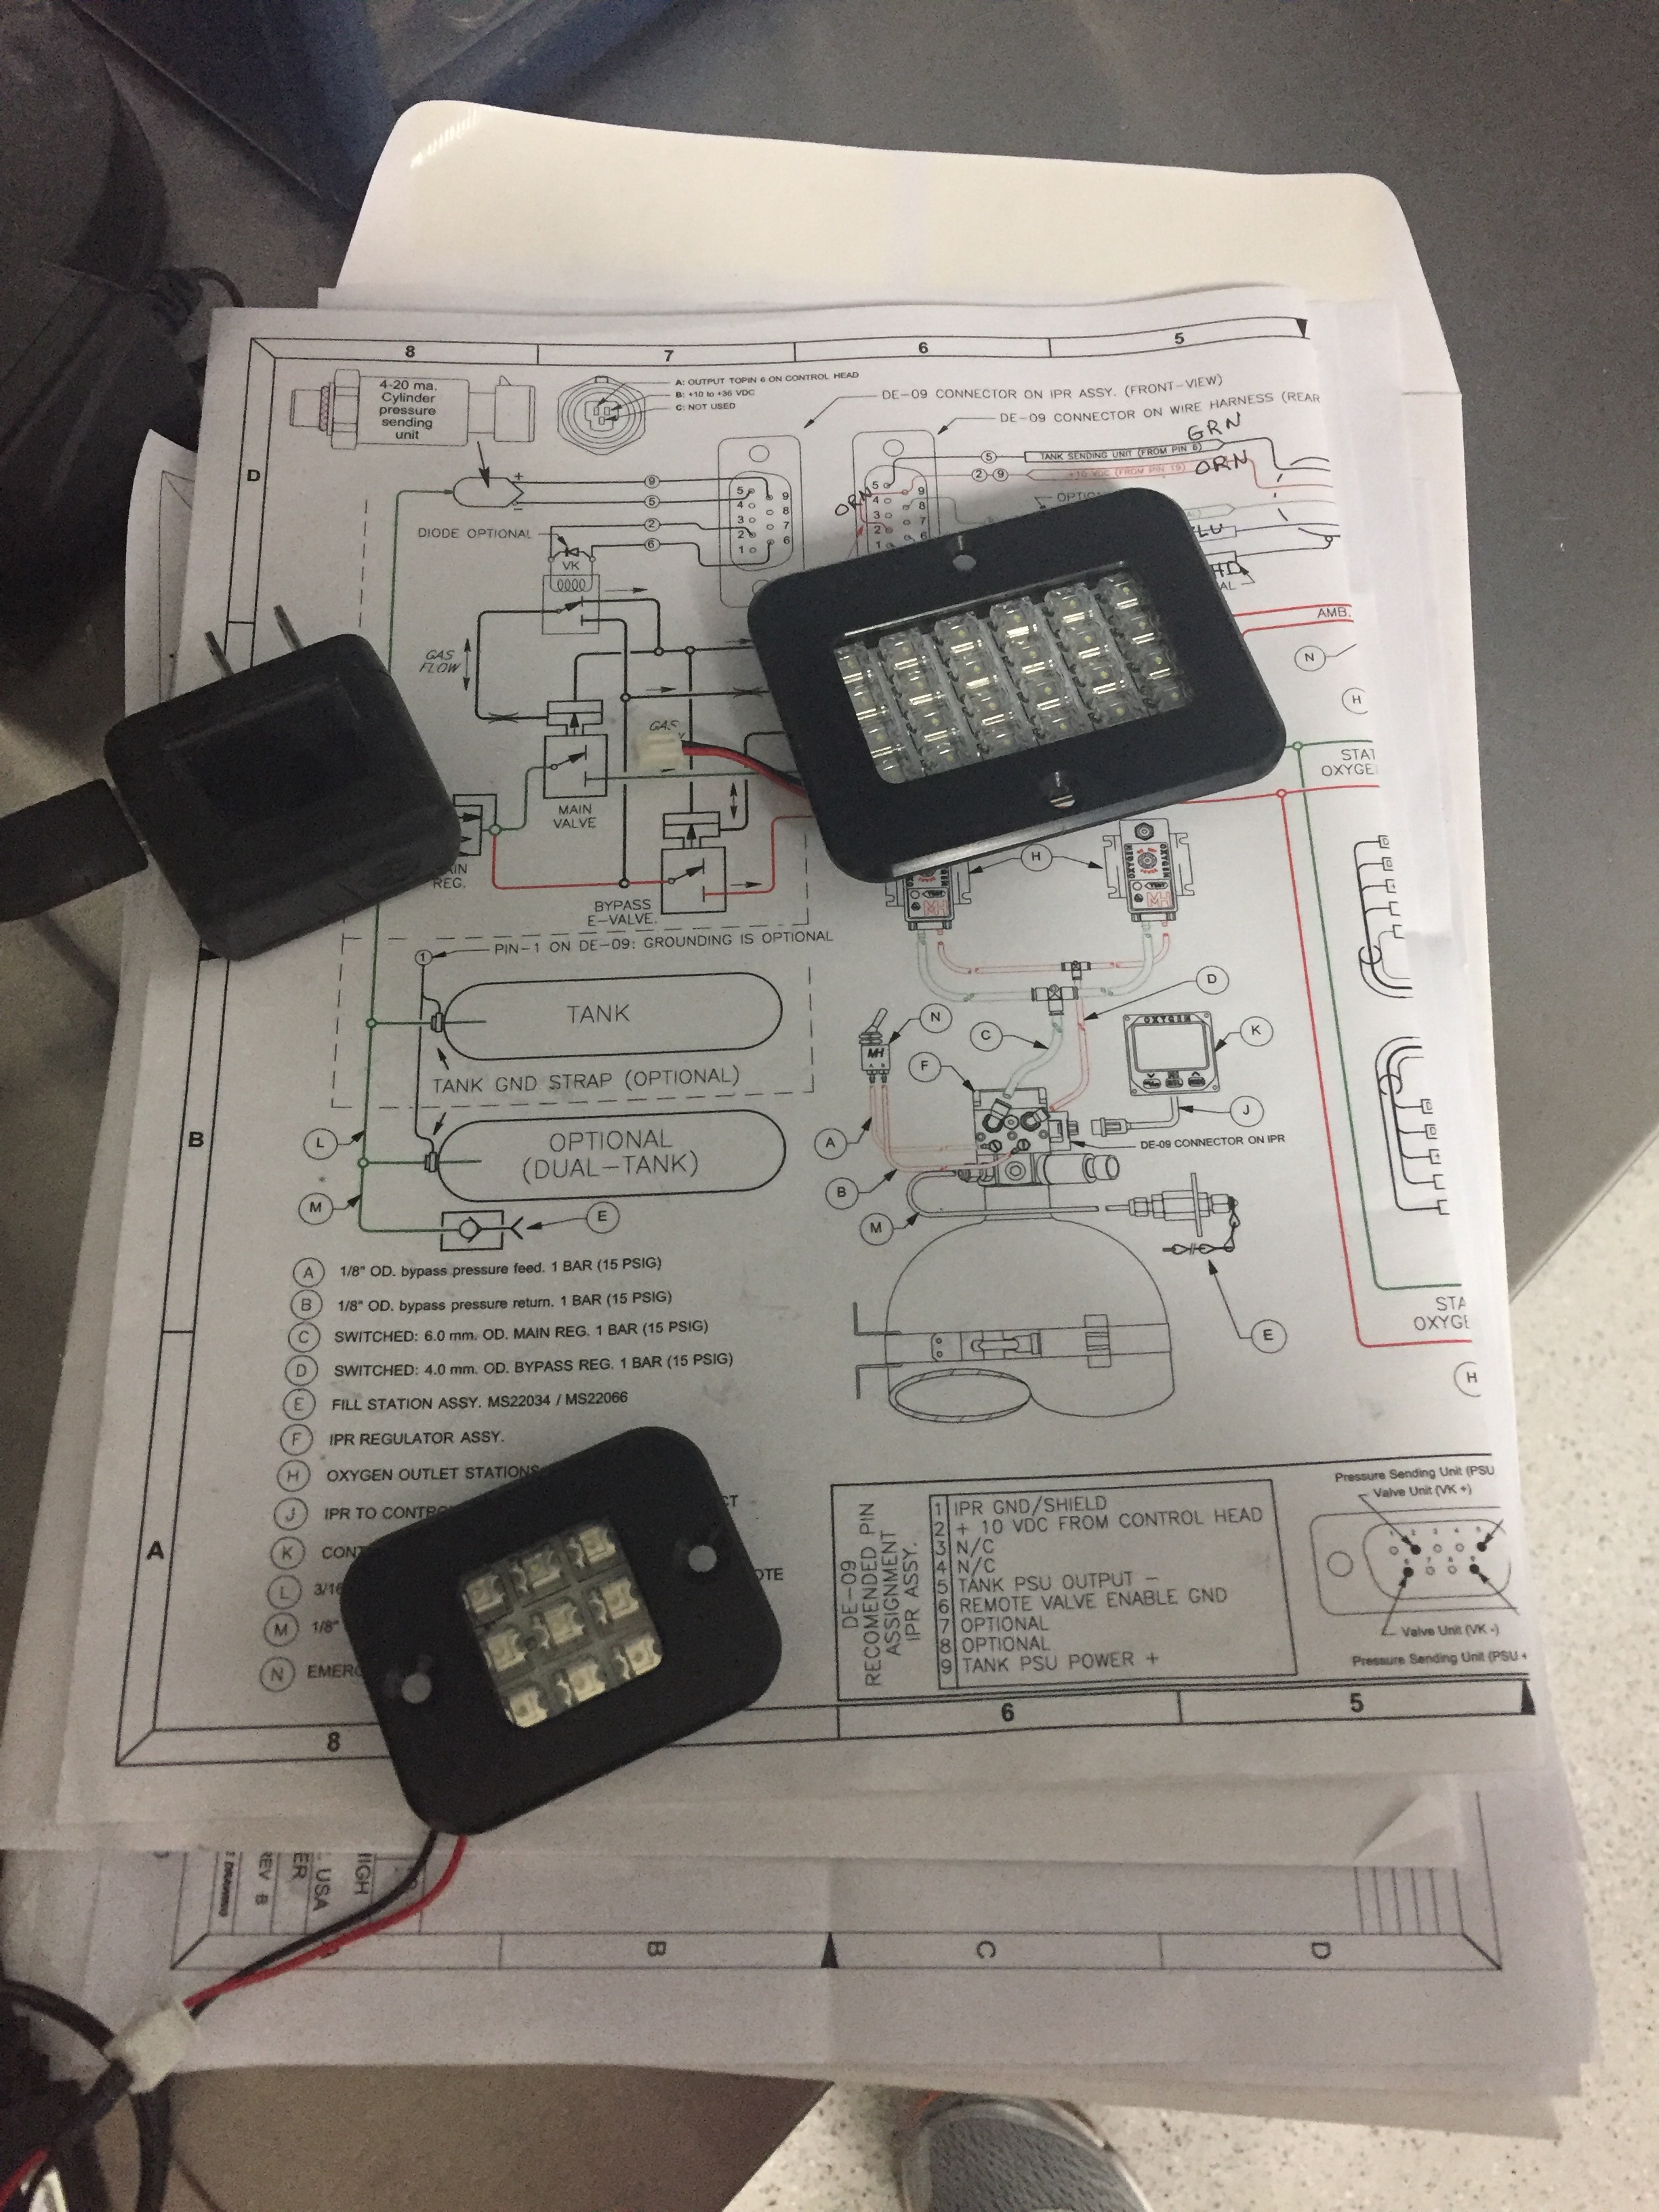
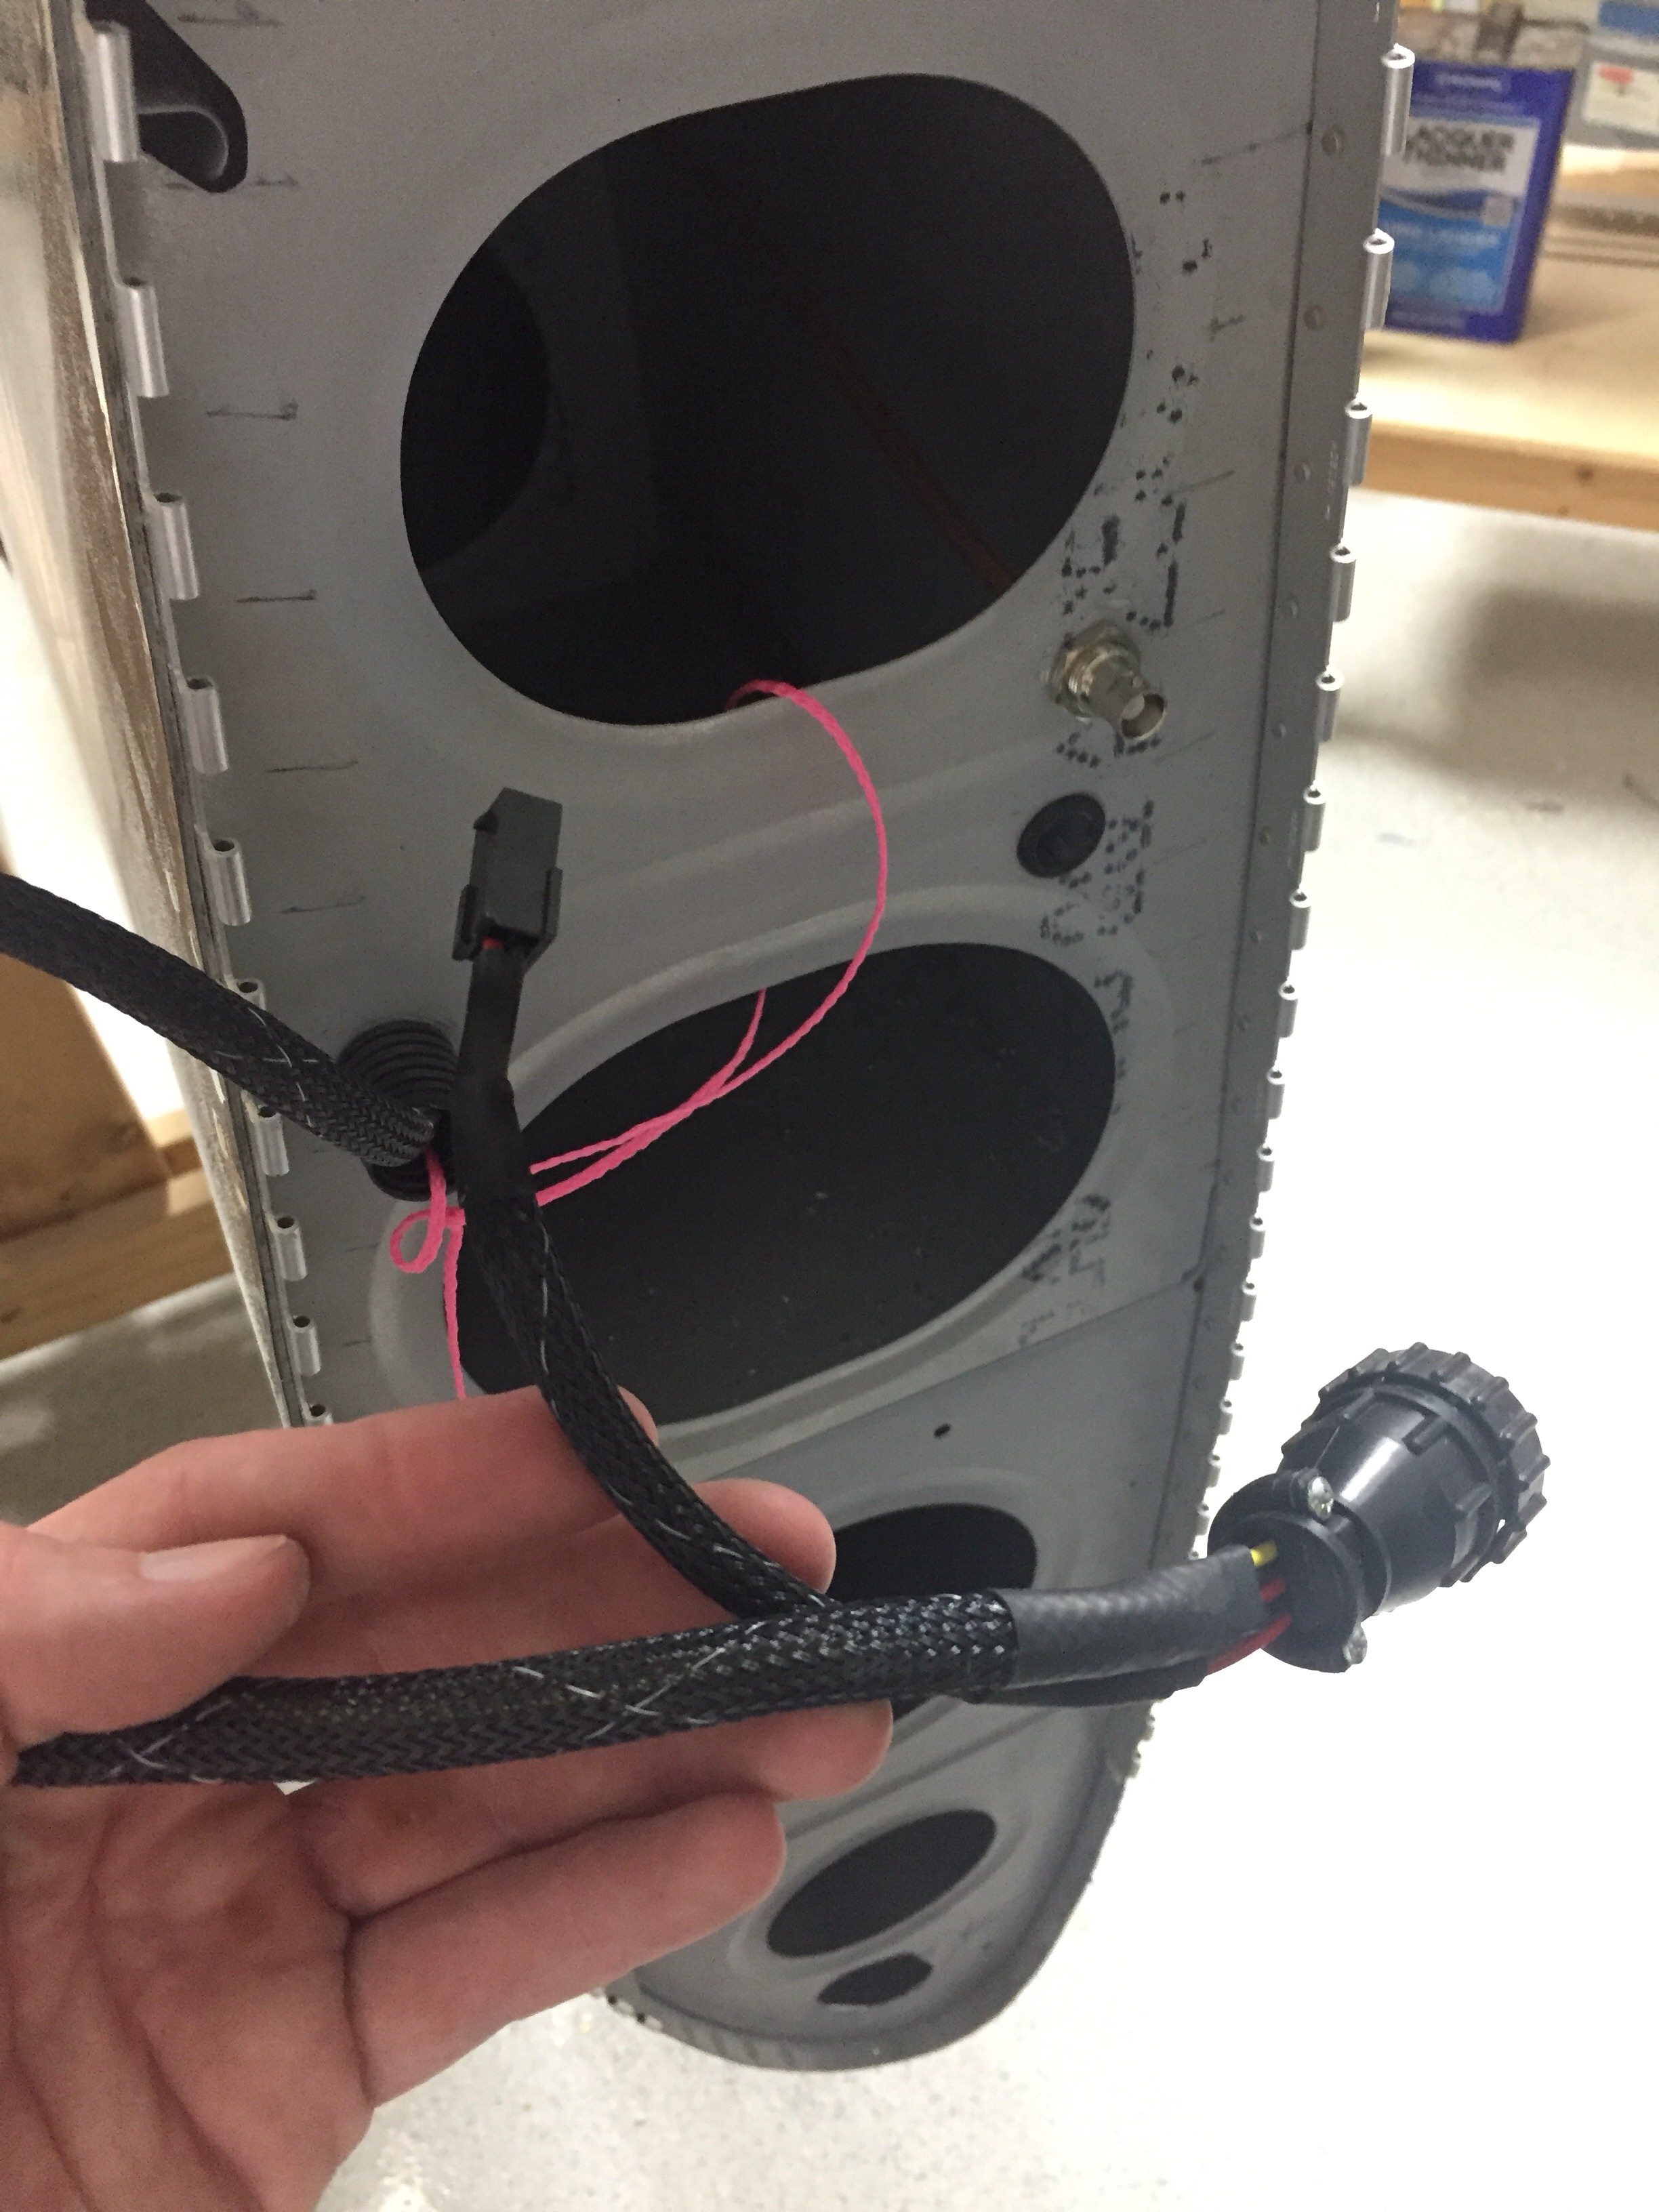
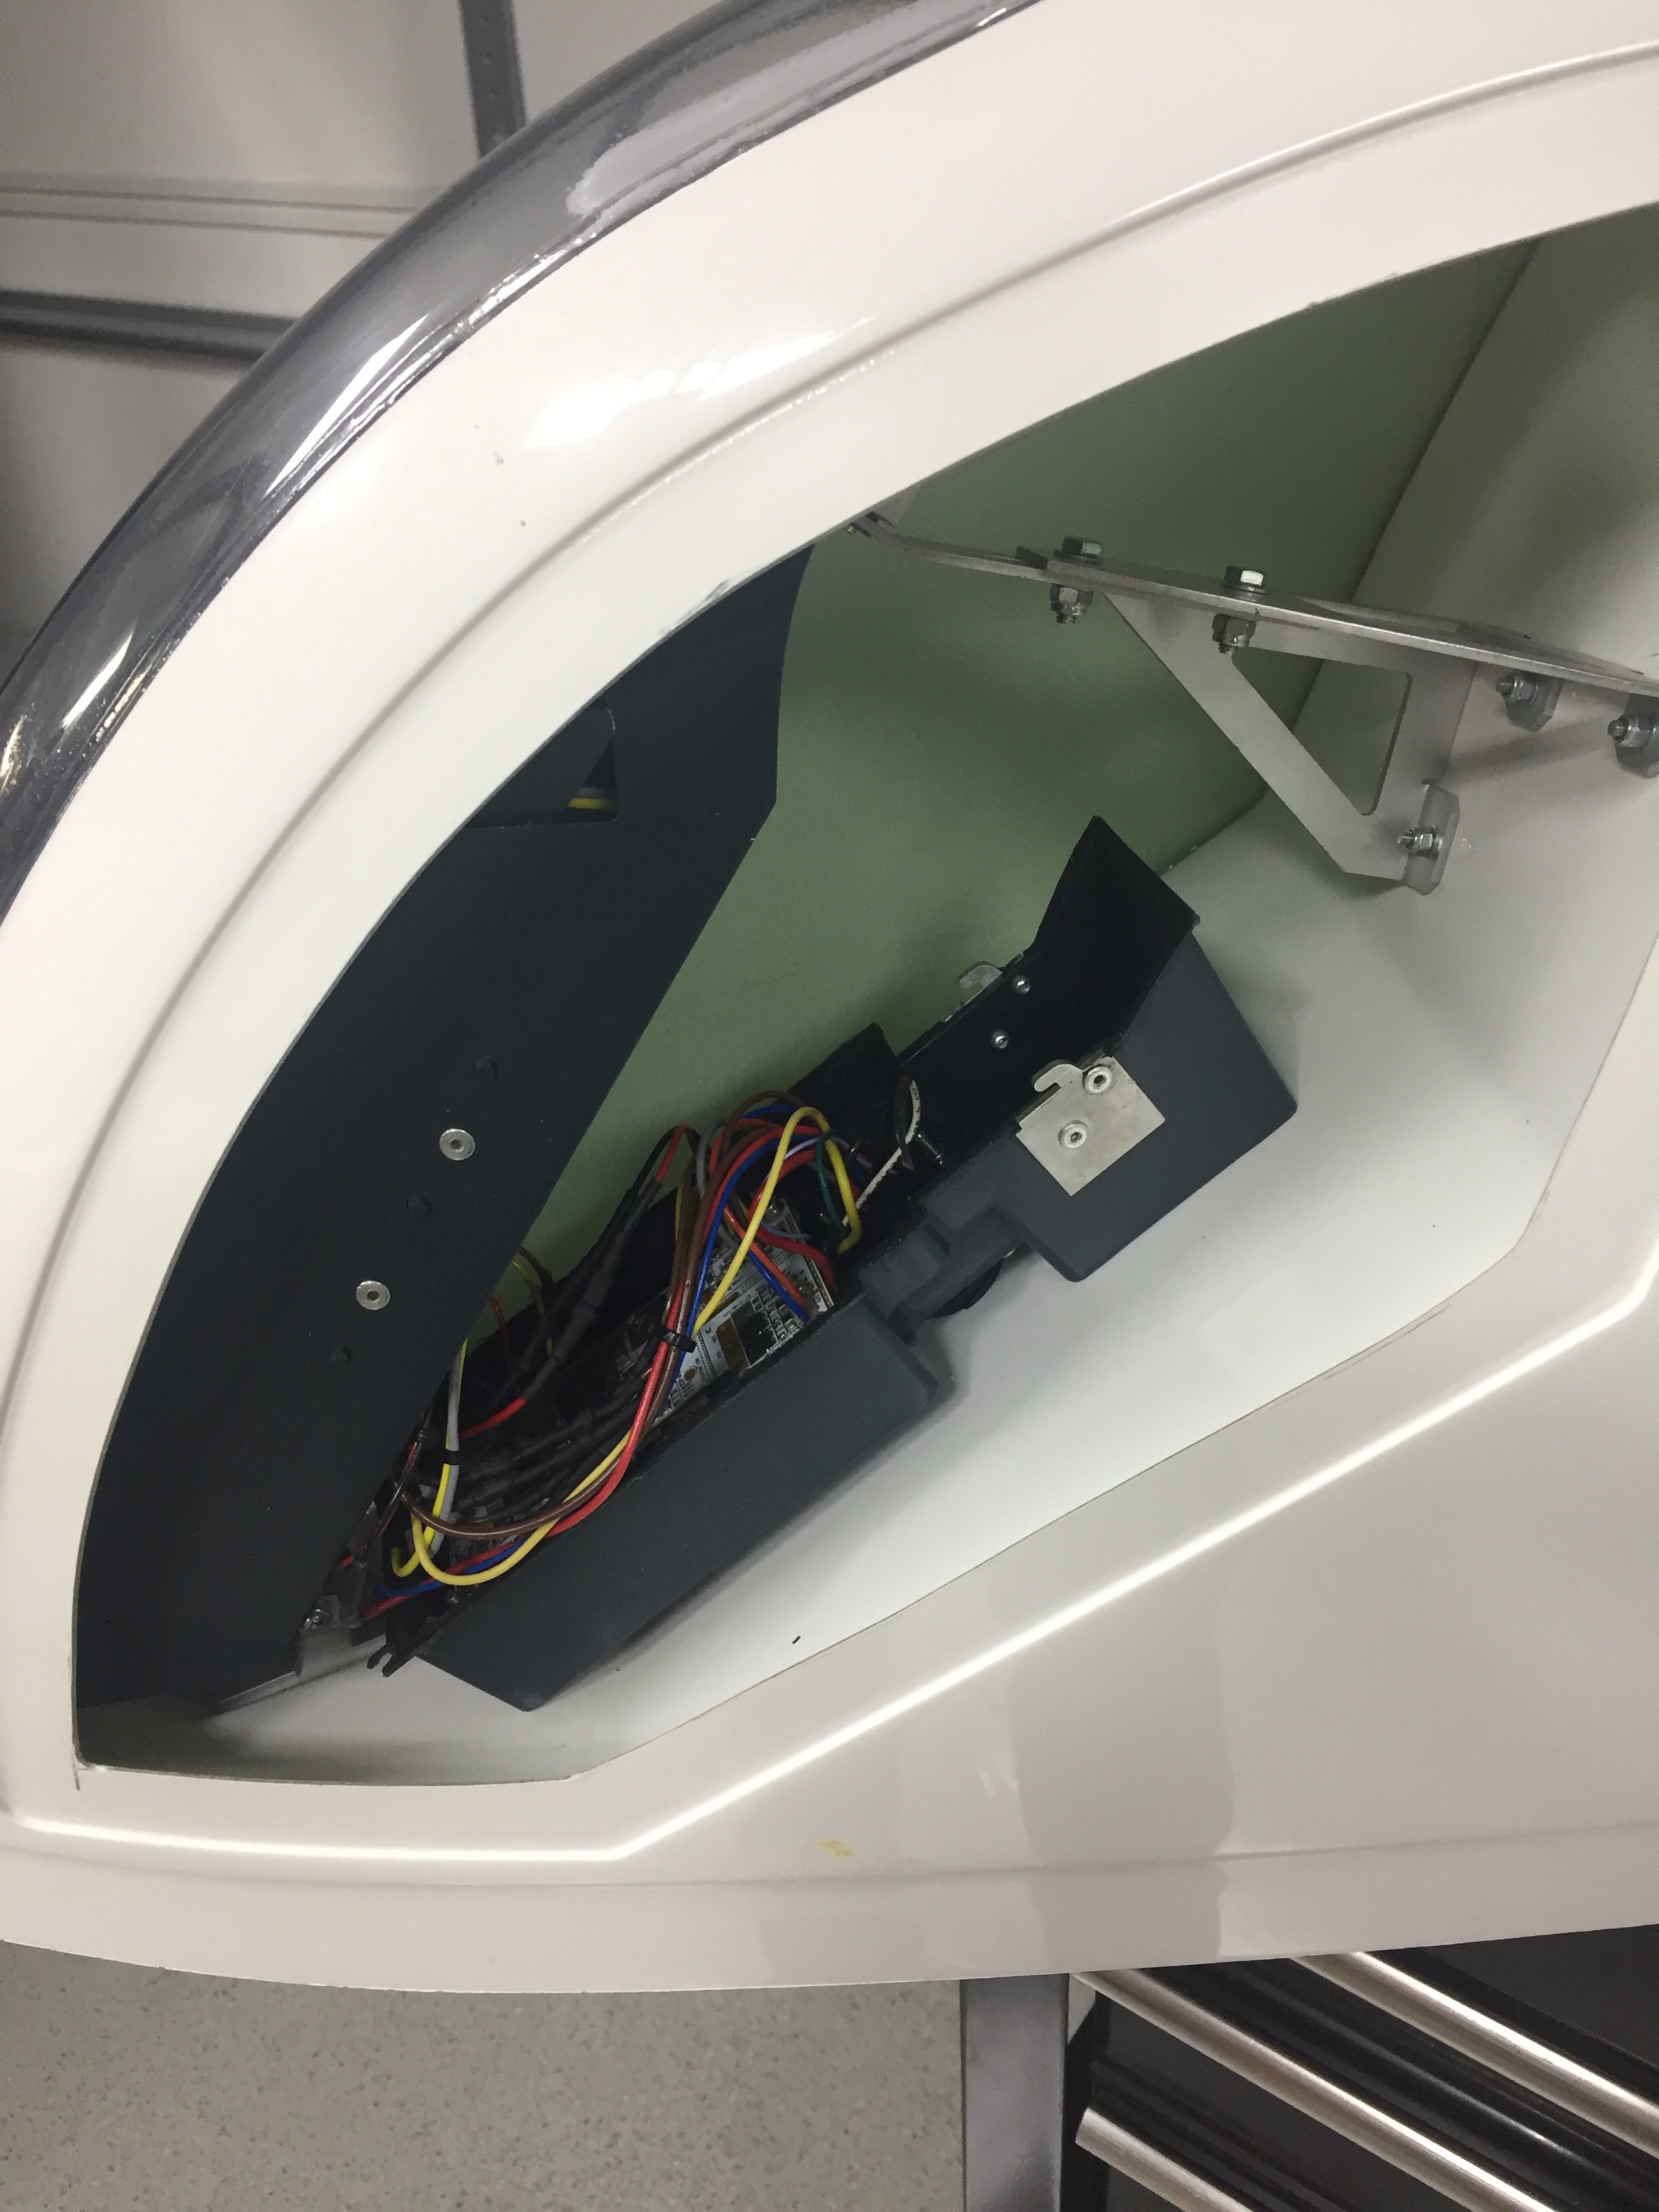
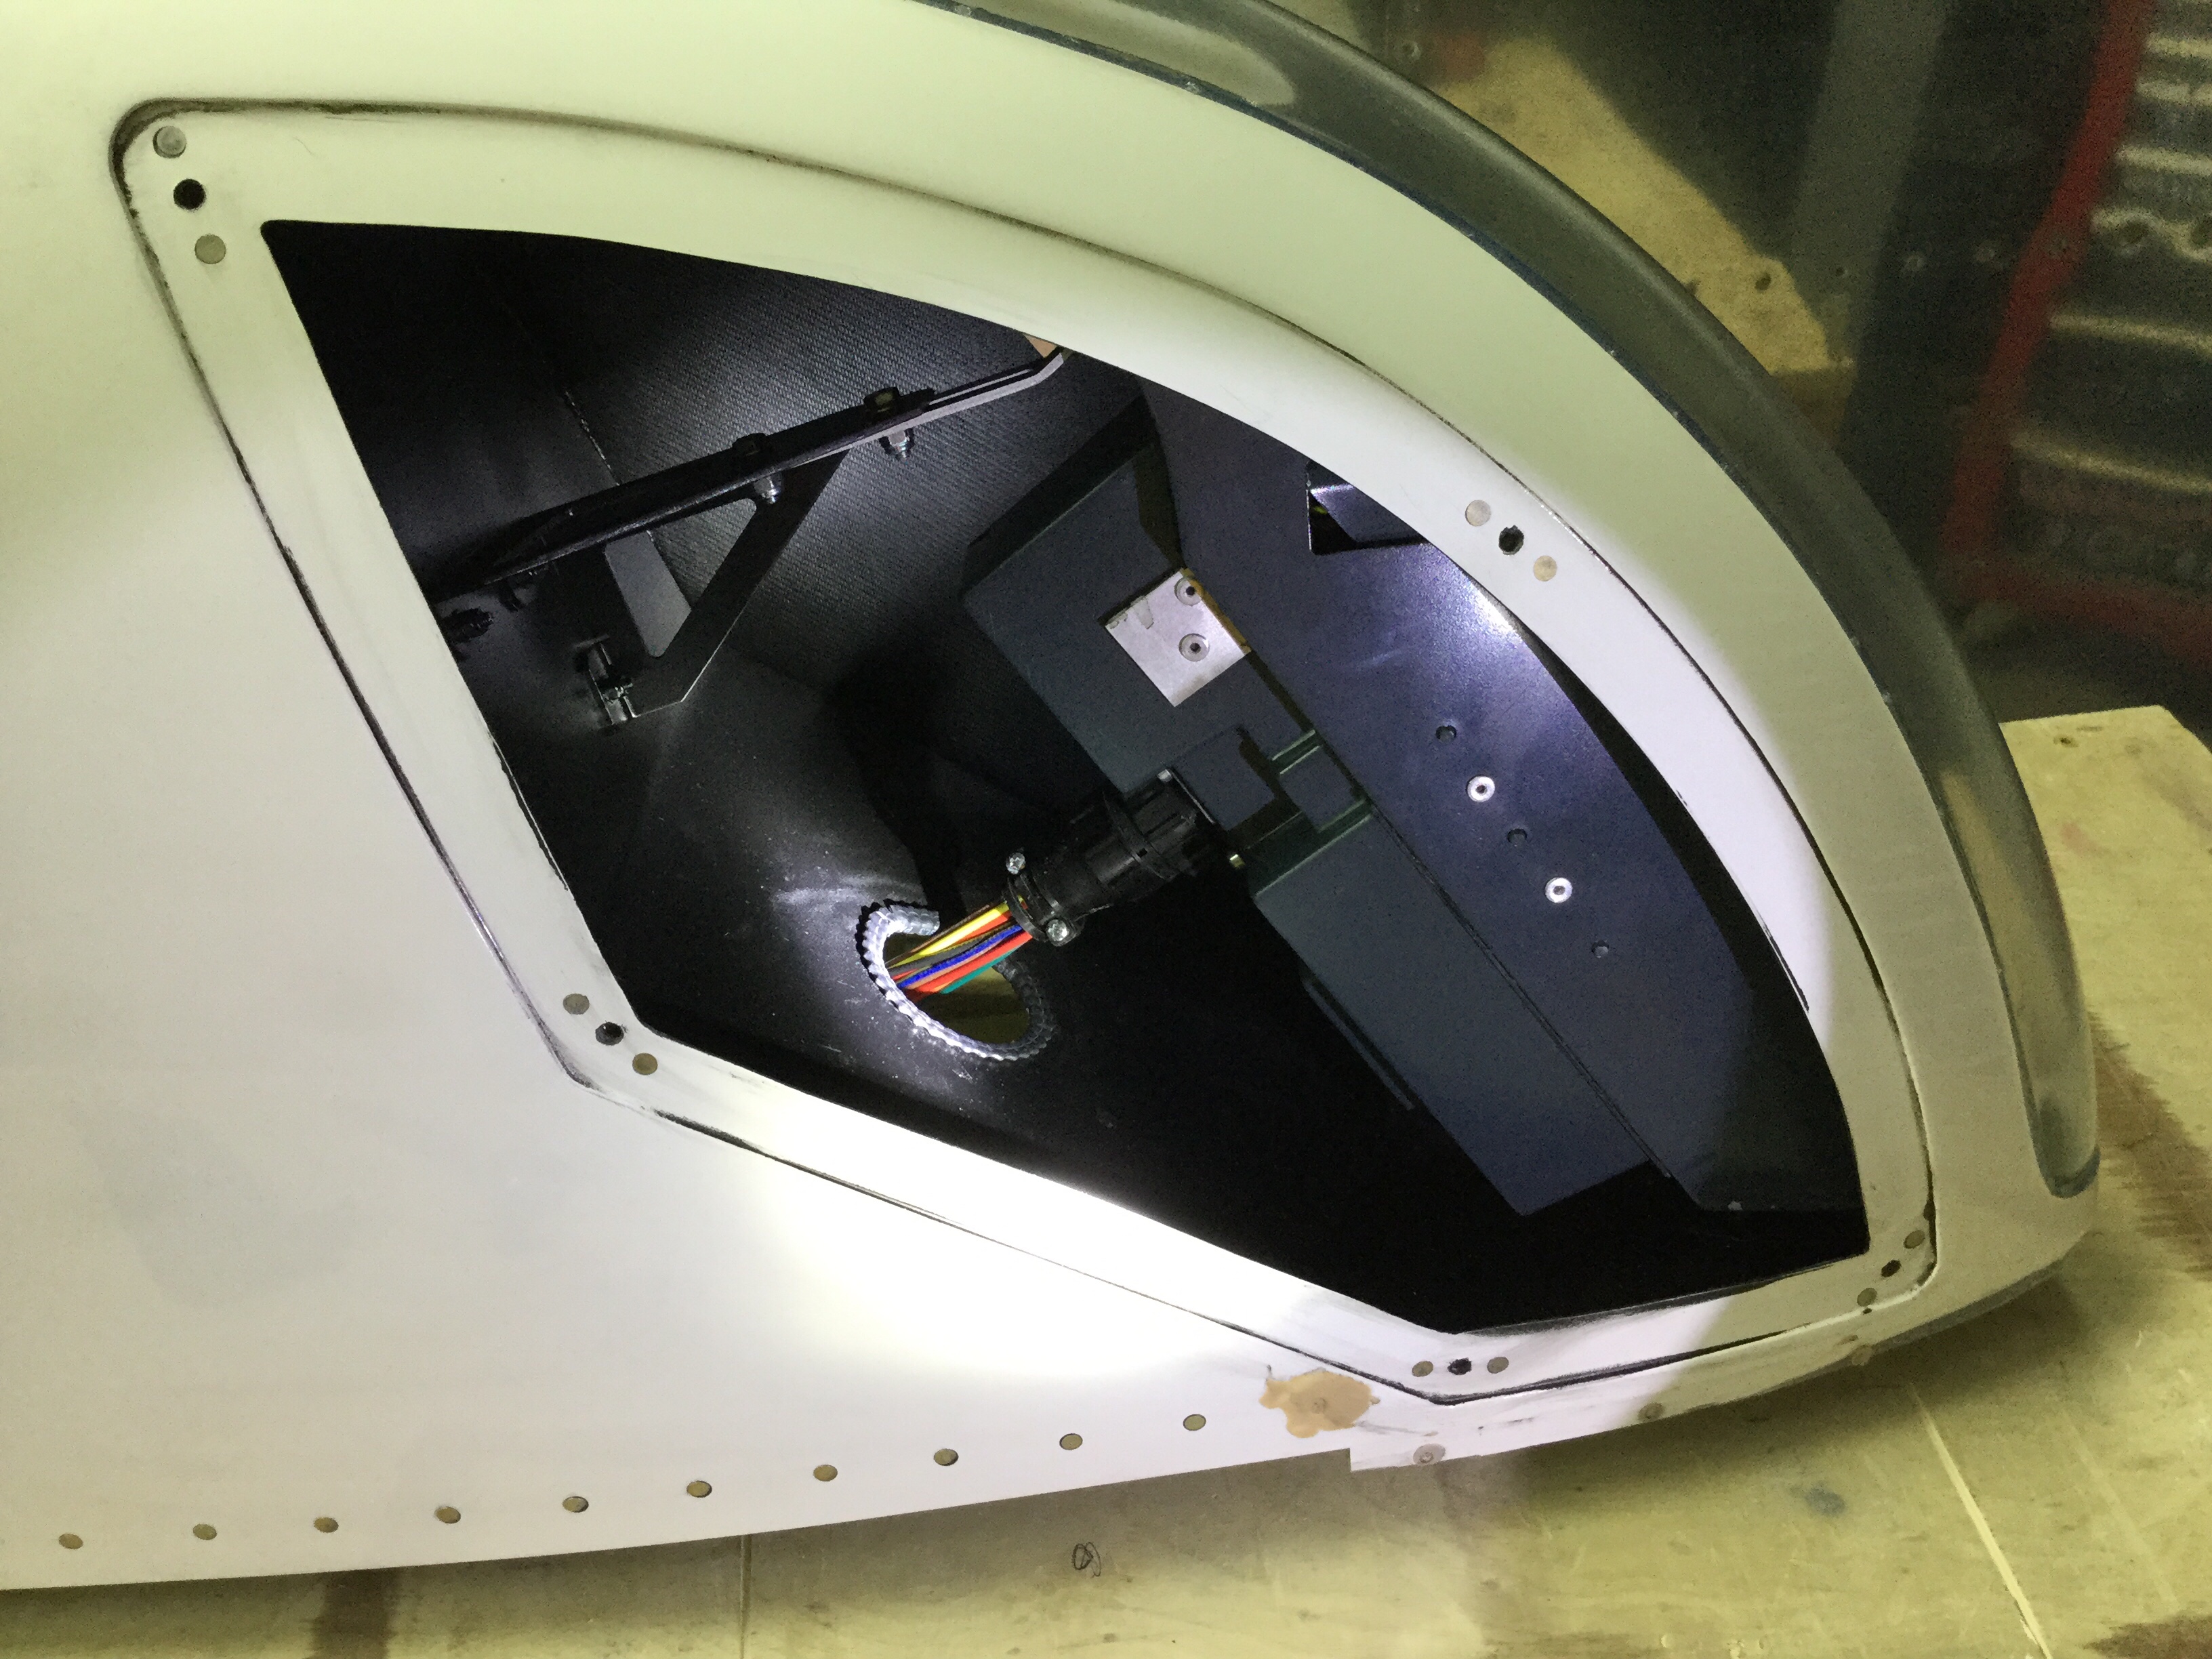
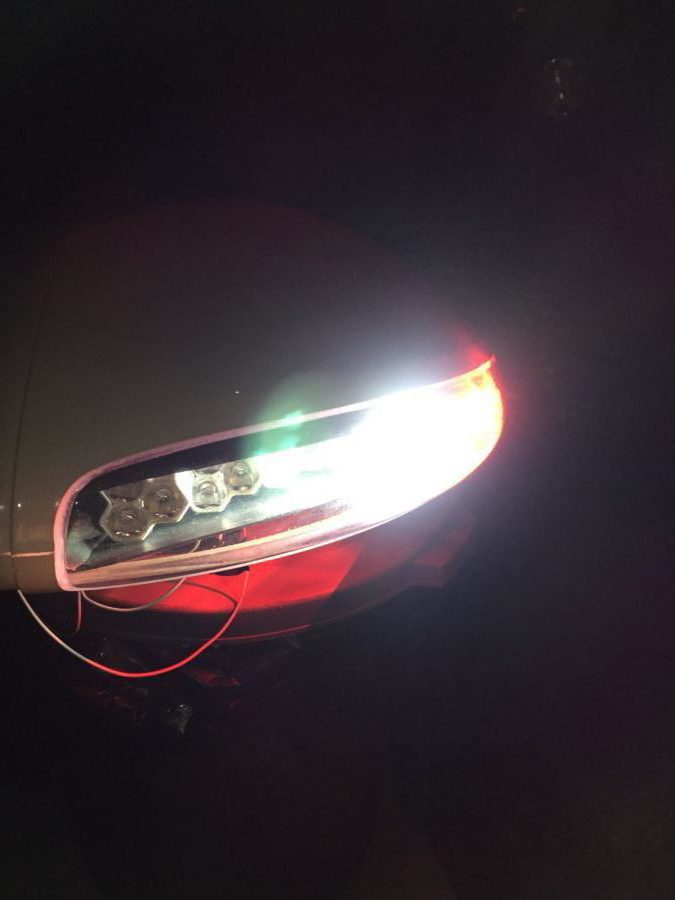
I then began working on the Planearound center latch as another builder did, before epoxying the door halves together. It was much easier to work on the back side of each half before the pieces work together. It also allowed me to insert the gear box through one hole instead of having to cut the slot. Looking back, I wish I had done the entire door handle system while the door halves were apart, but I’m getting ahead of myself. I cut the reinforcement tubes and also ran wire for the door/access lights that I ordered from Sean as well. These are smaller versions of what I put in the overhead console and should light up the wing and step at night very well.
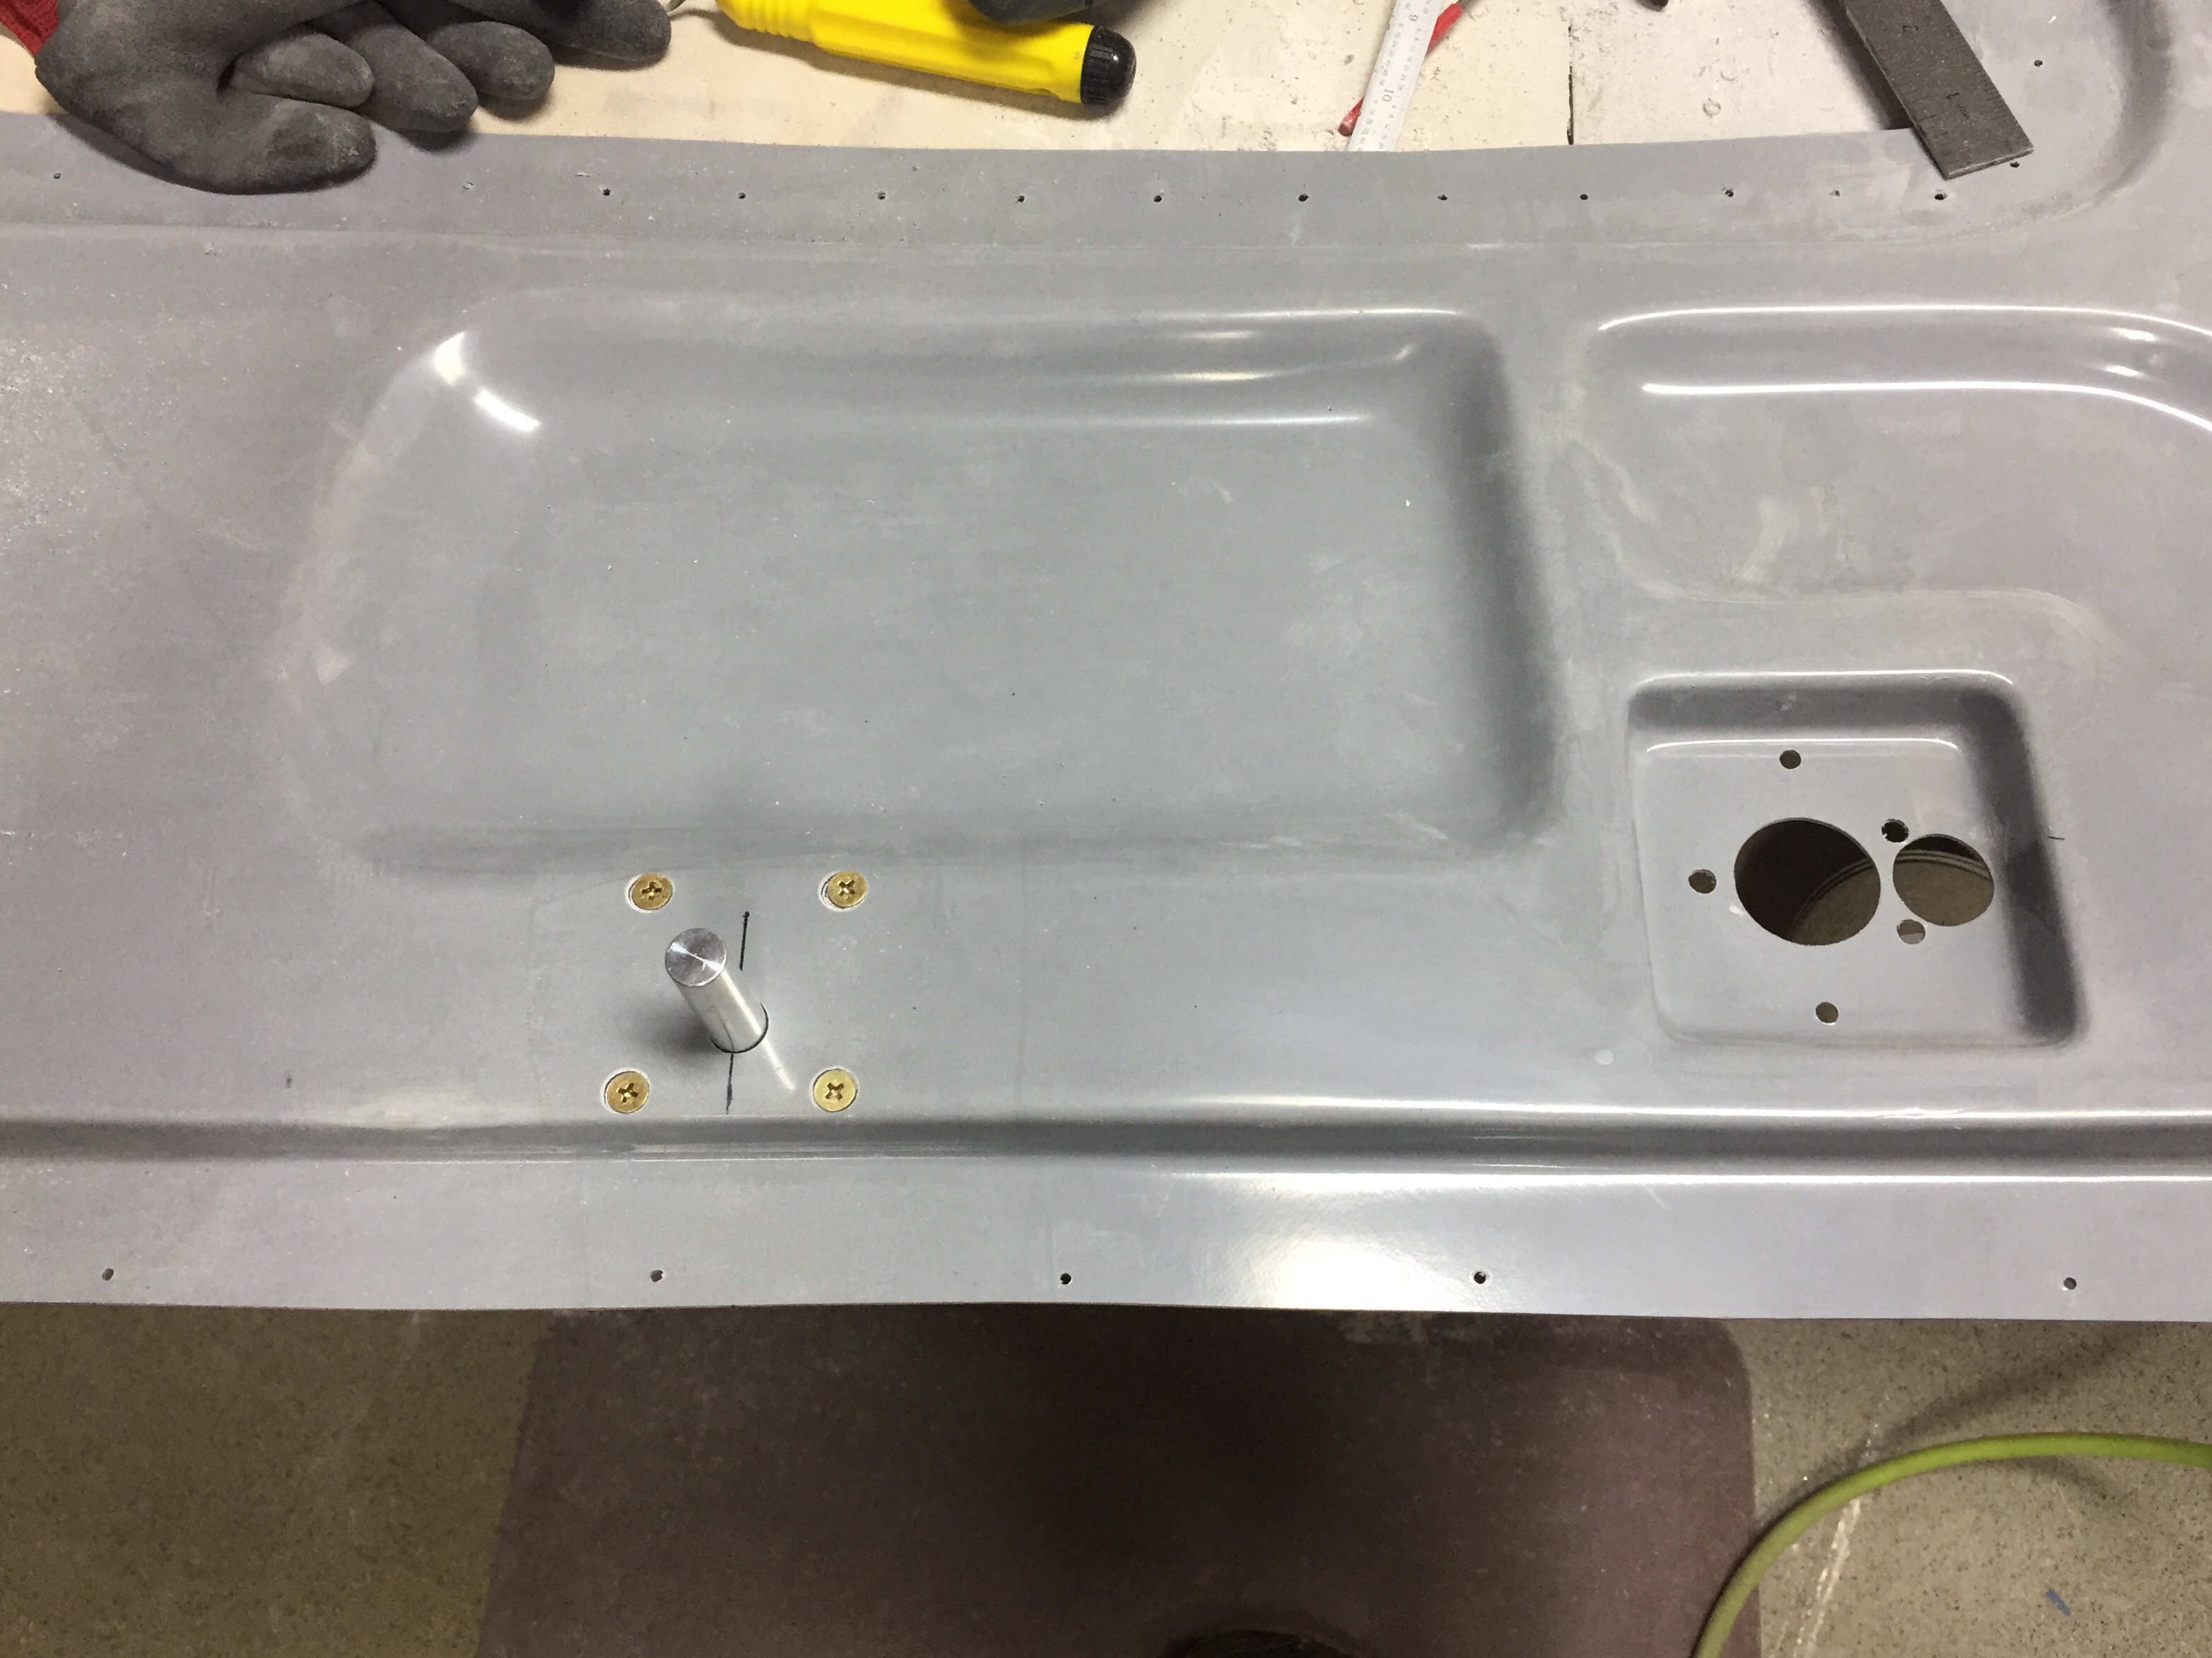
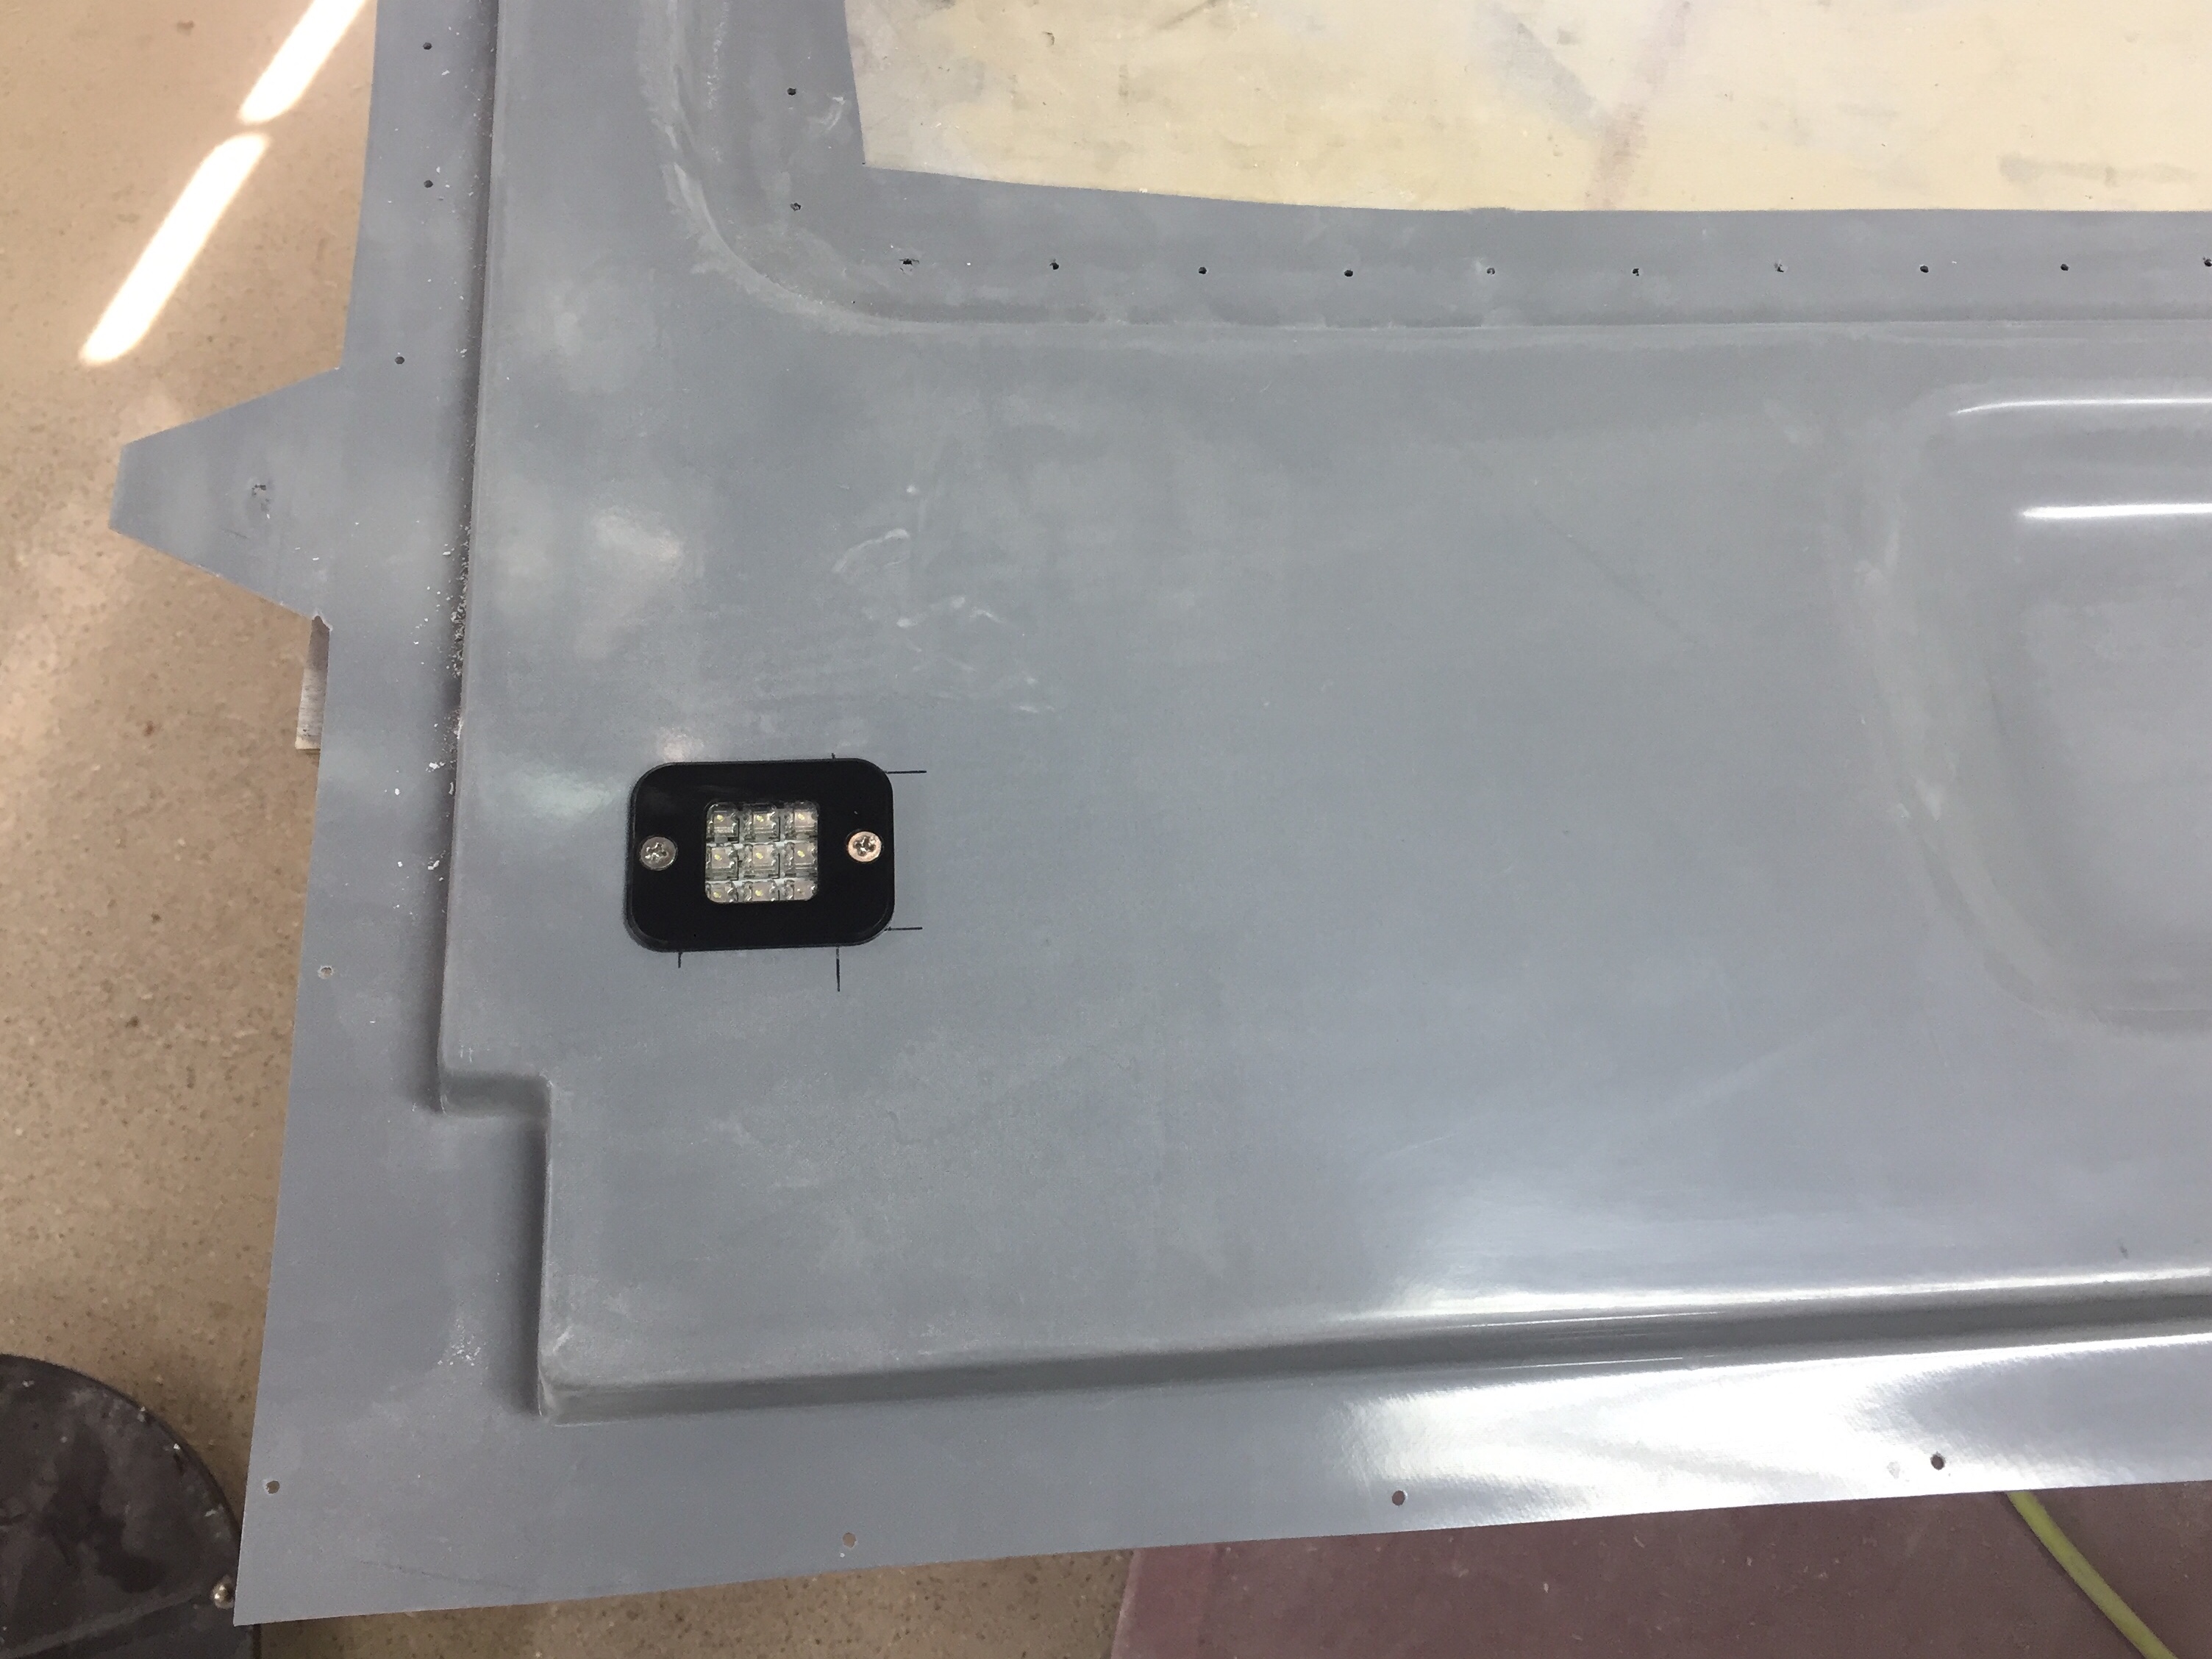
I’m also installing the low profile exterior door handles from Aerosport and again it was easier to do some preliminary work on those before the doors went together. Drilling the skins for the large block as well as the door lock and trim ring saves a lot of work later on.

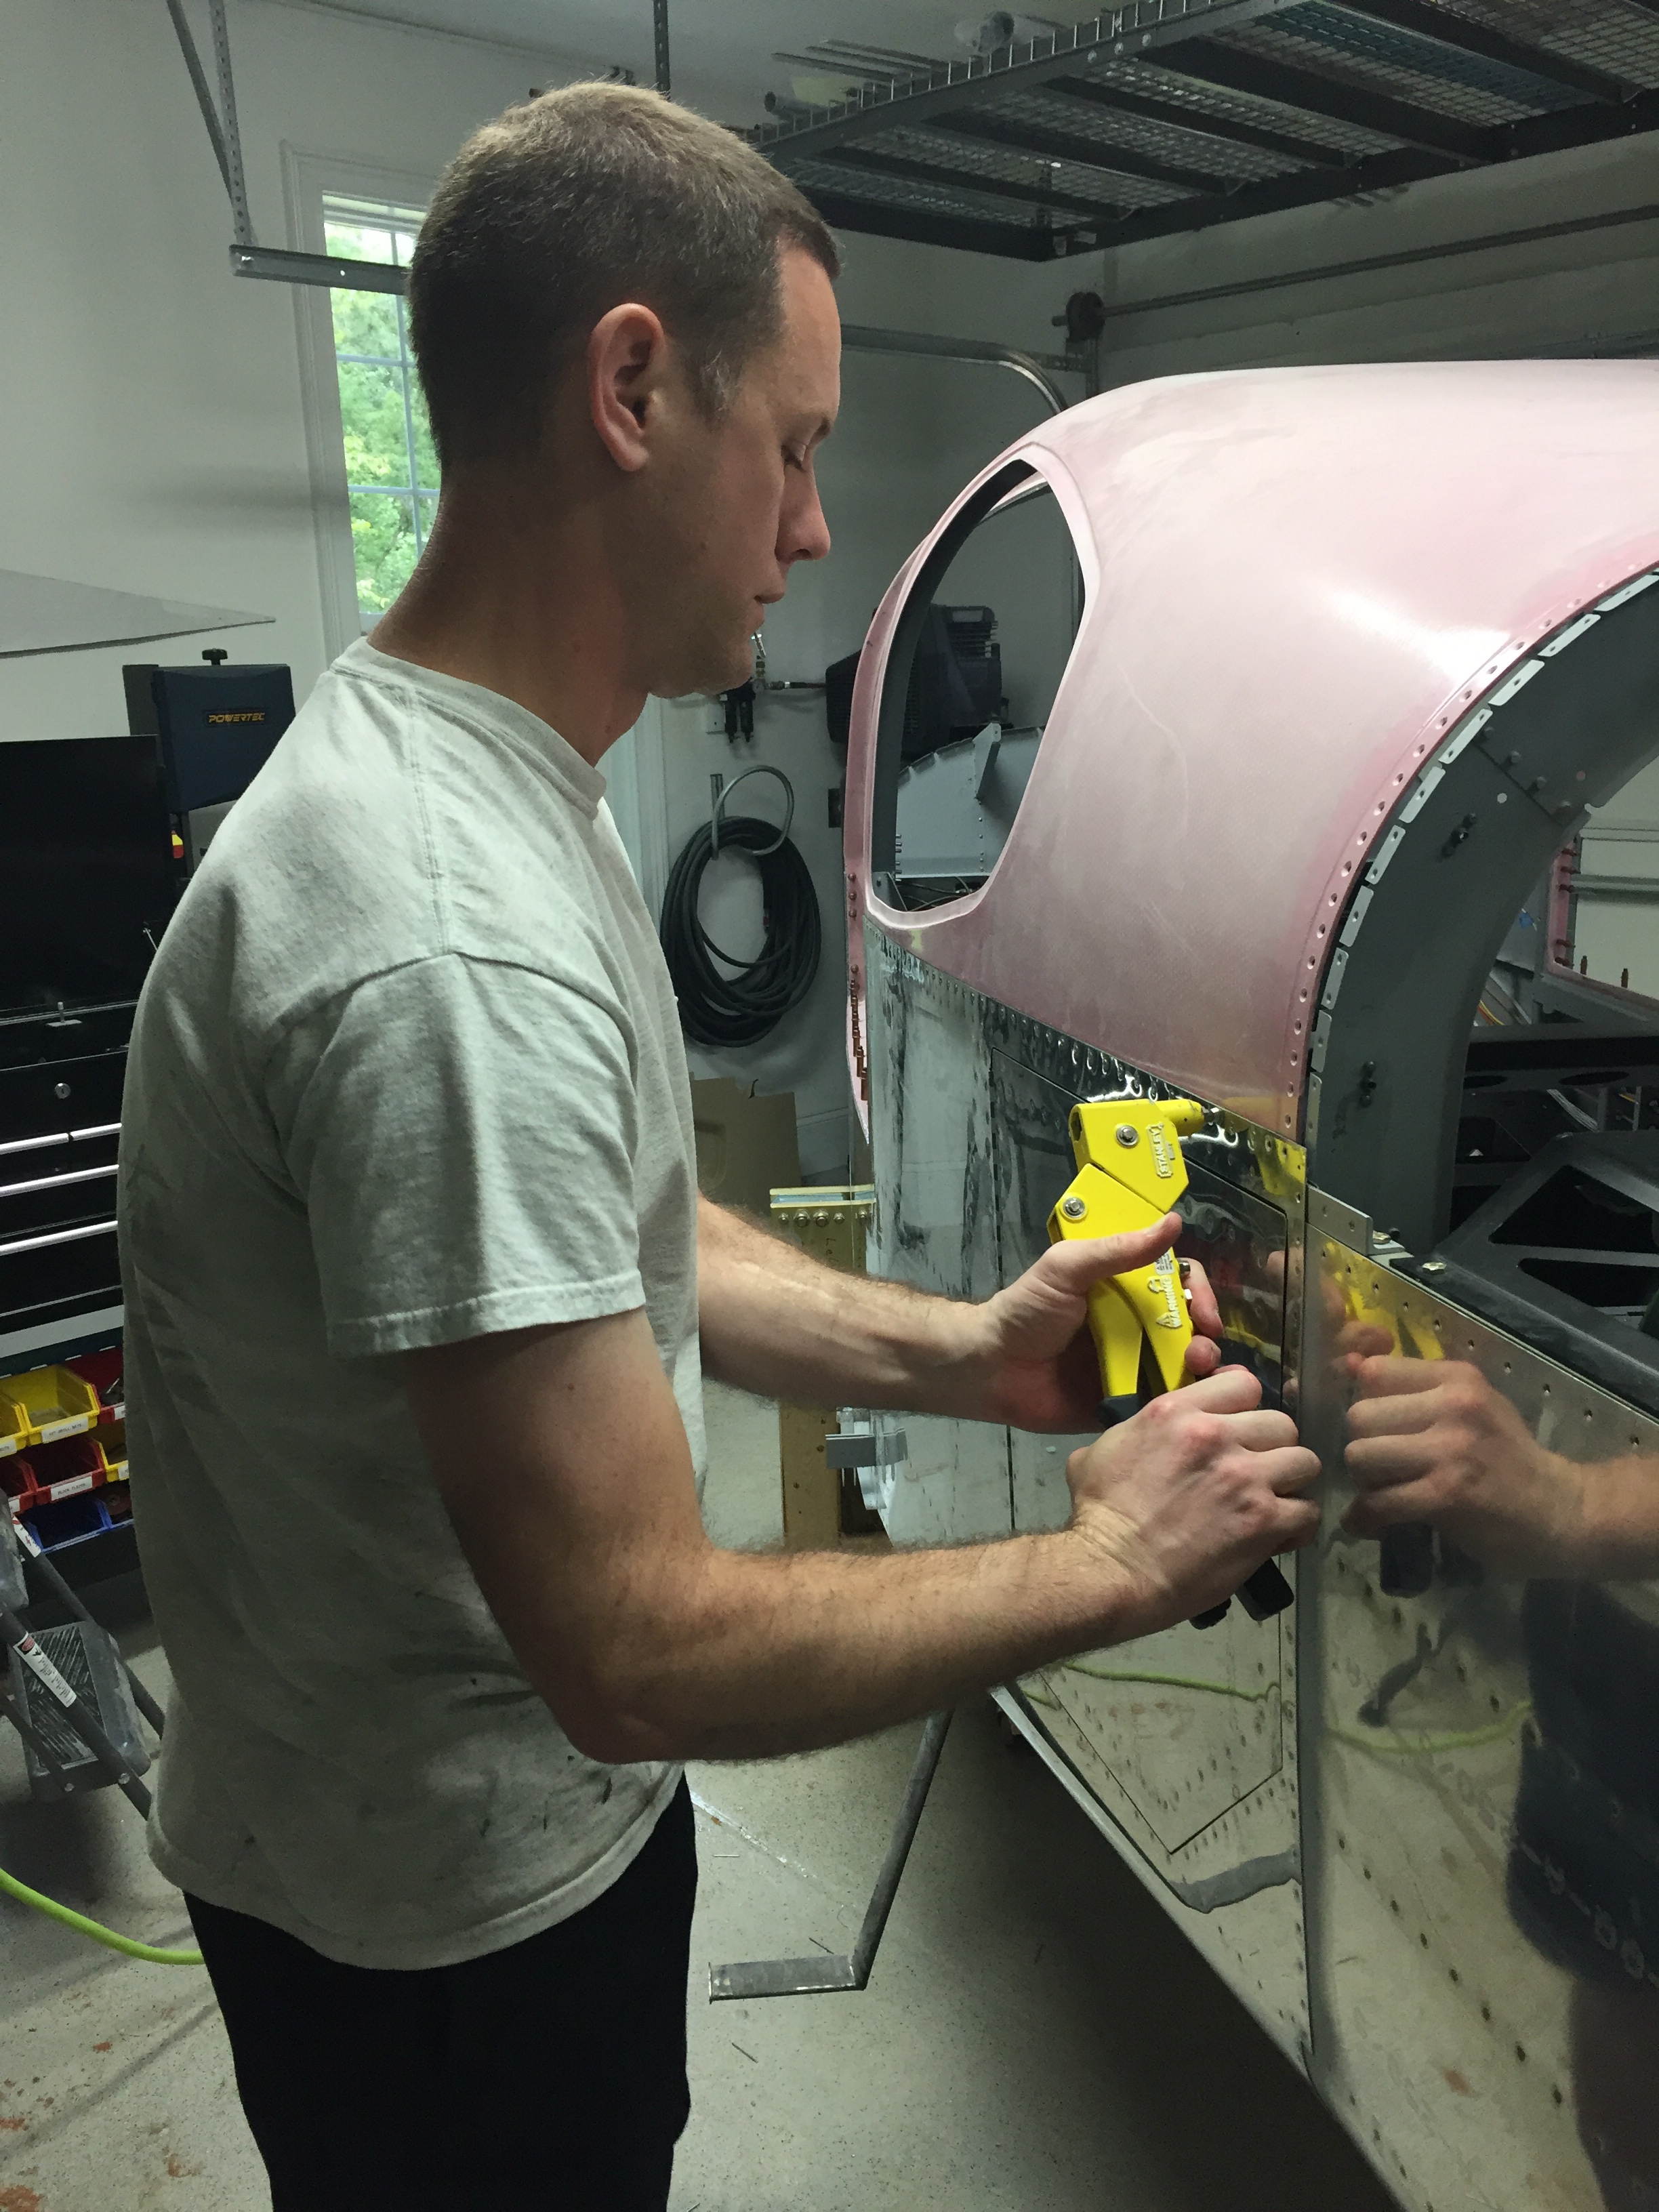
I had a fellow flyer-buddy of mine come over and help mix flox and set everything in place. I chose to follow a few others by using clecos into the cabin top instead of tape, clamps, weight, etc. to get the curve. This worked very well except for one spot on the right side door where the door just would lay flat against my cabin top. I pressed on knowing I’d be doing some fill and finessing later. It takes a lot of epoxy/flox mix to butter the halves up. I filled the cavities near the center cam we slathered on the flox followed by pinning it all to the cabin top.
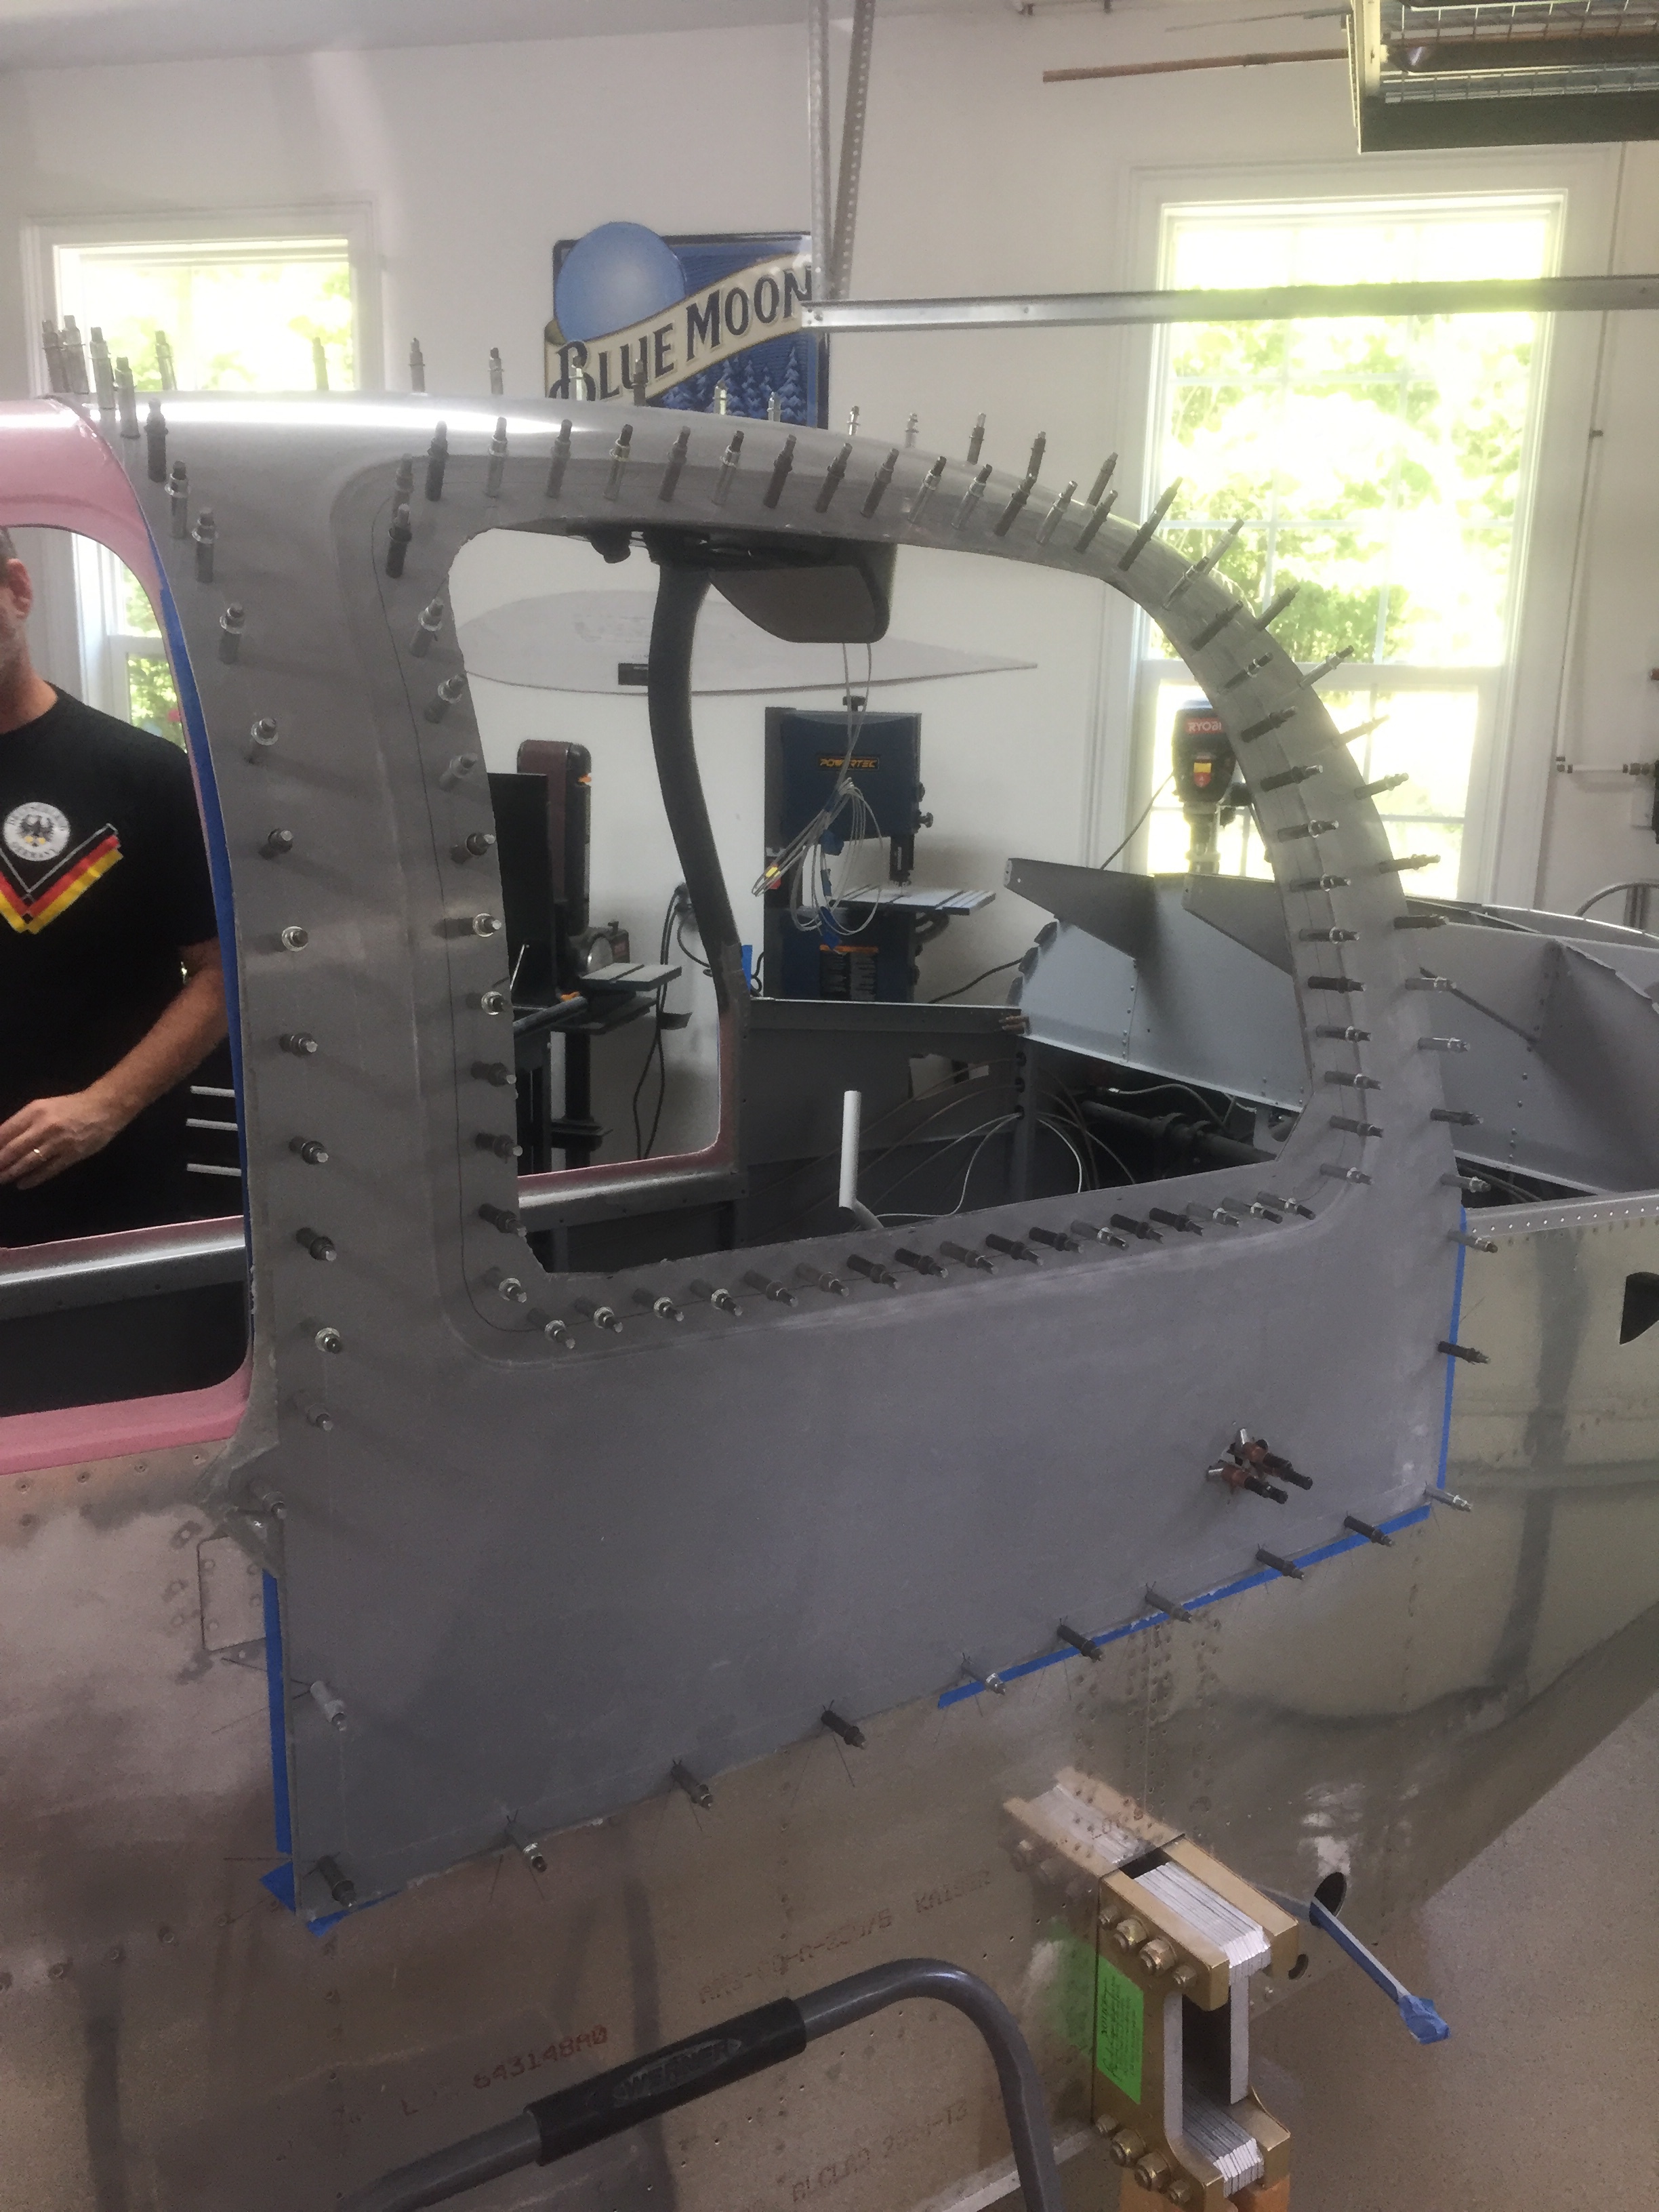
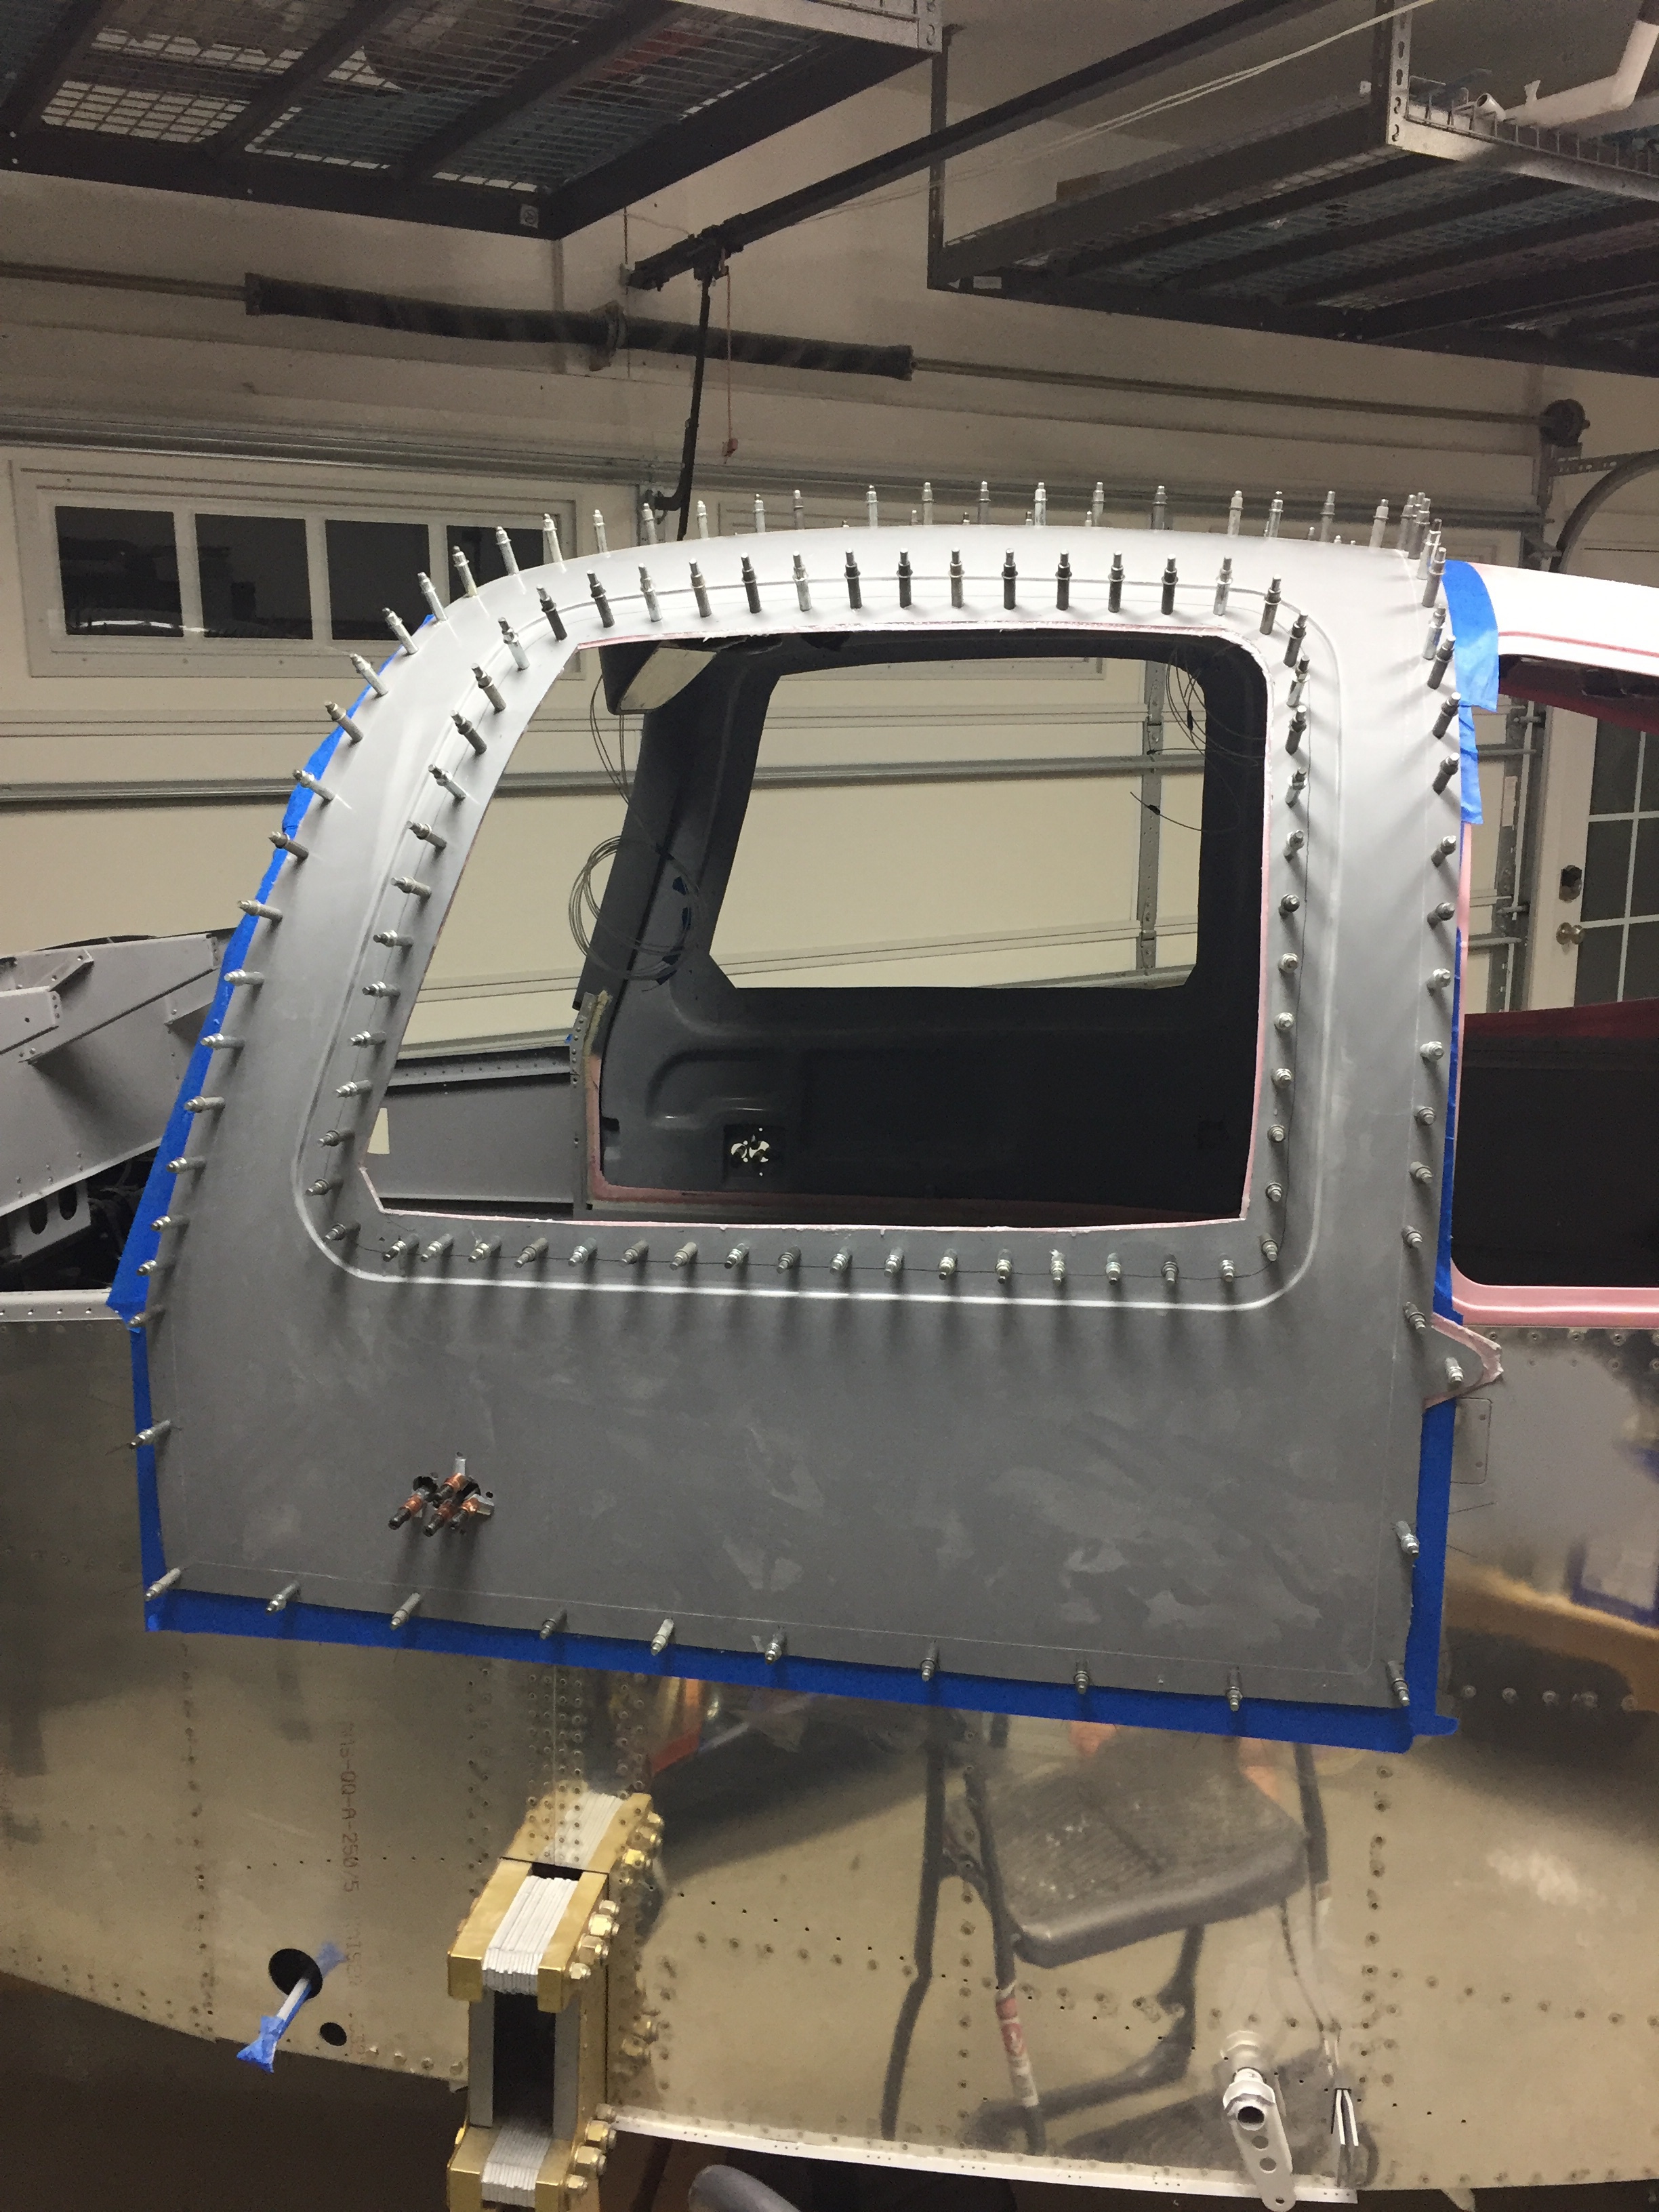
We cleaned up the excess flox that oozed out and I’ll start popping these off tomorrow. This is all the easy part!

Fun with electrons

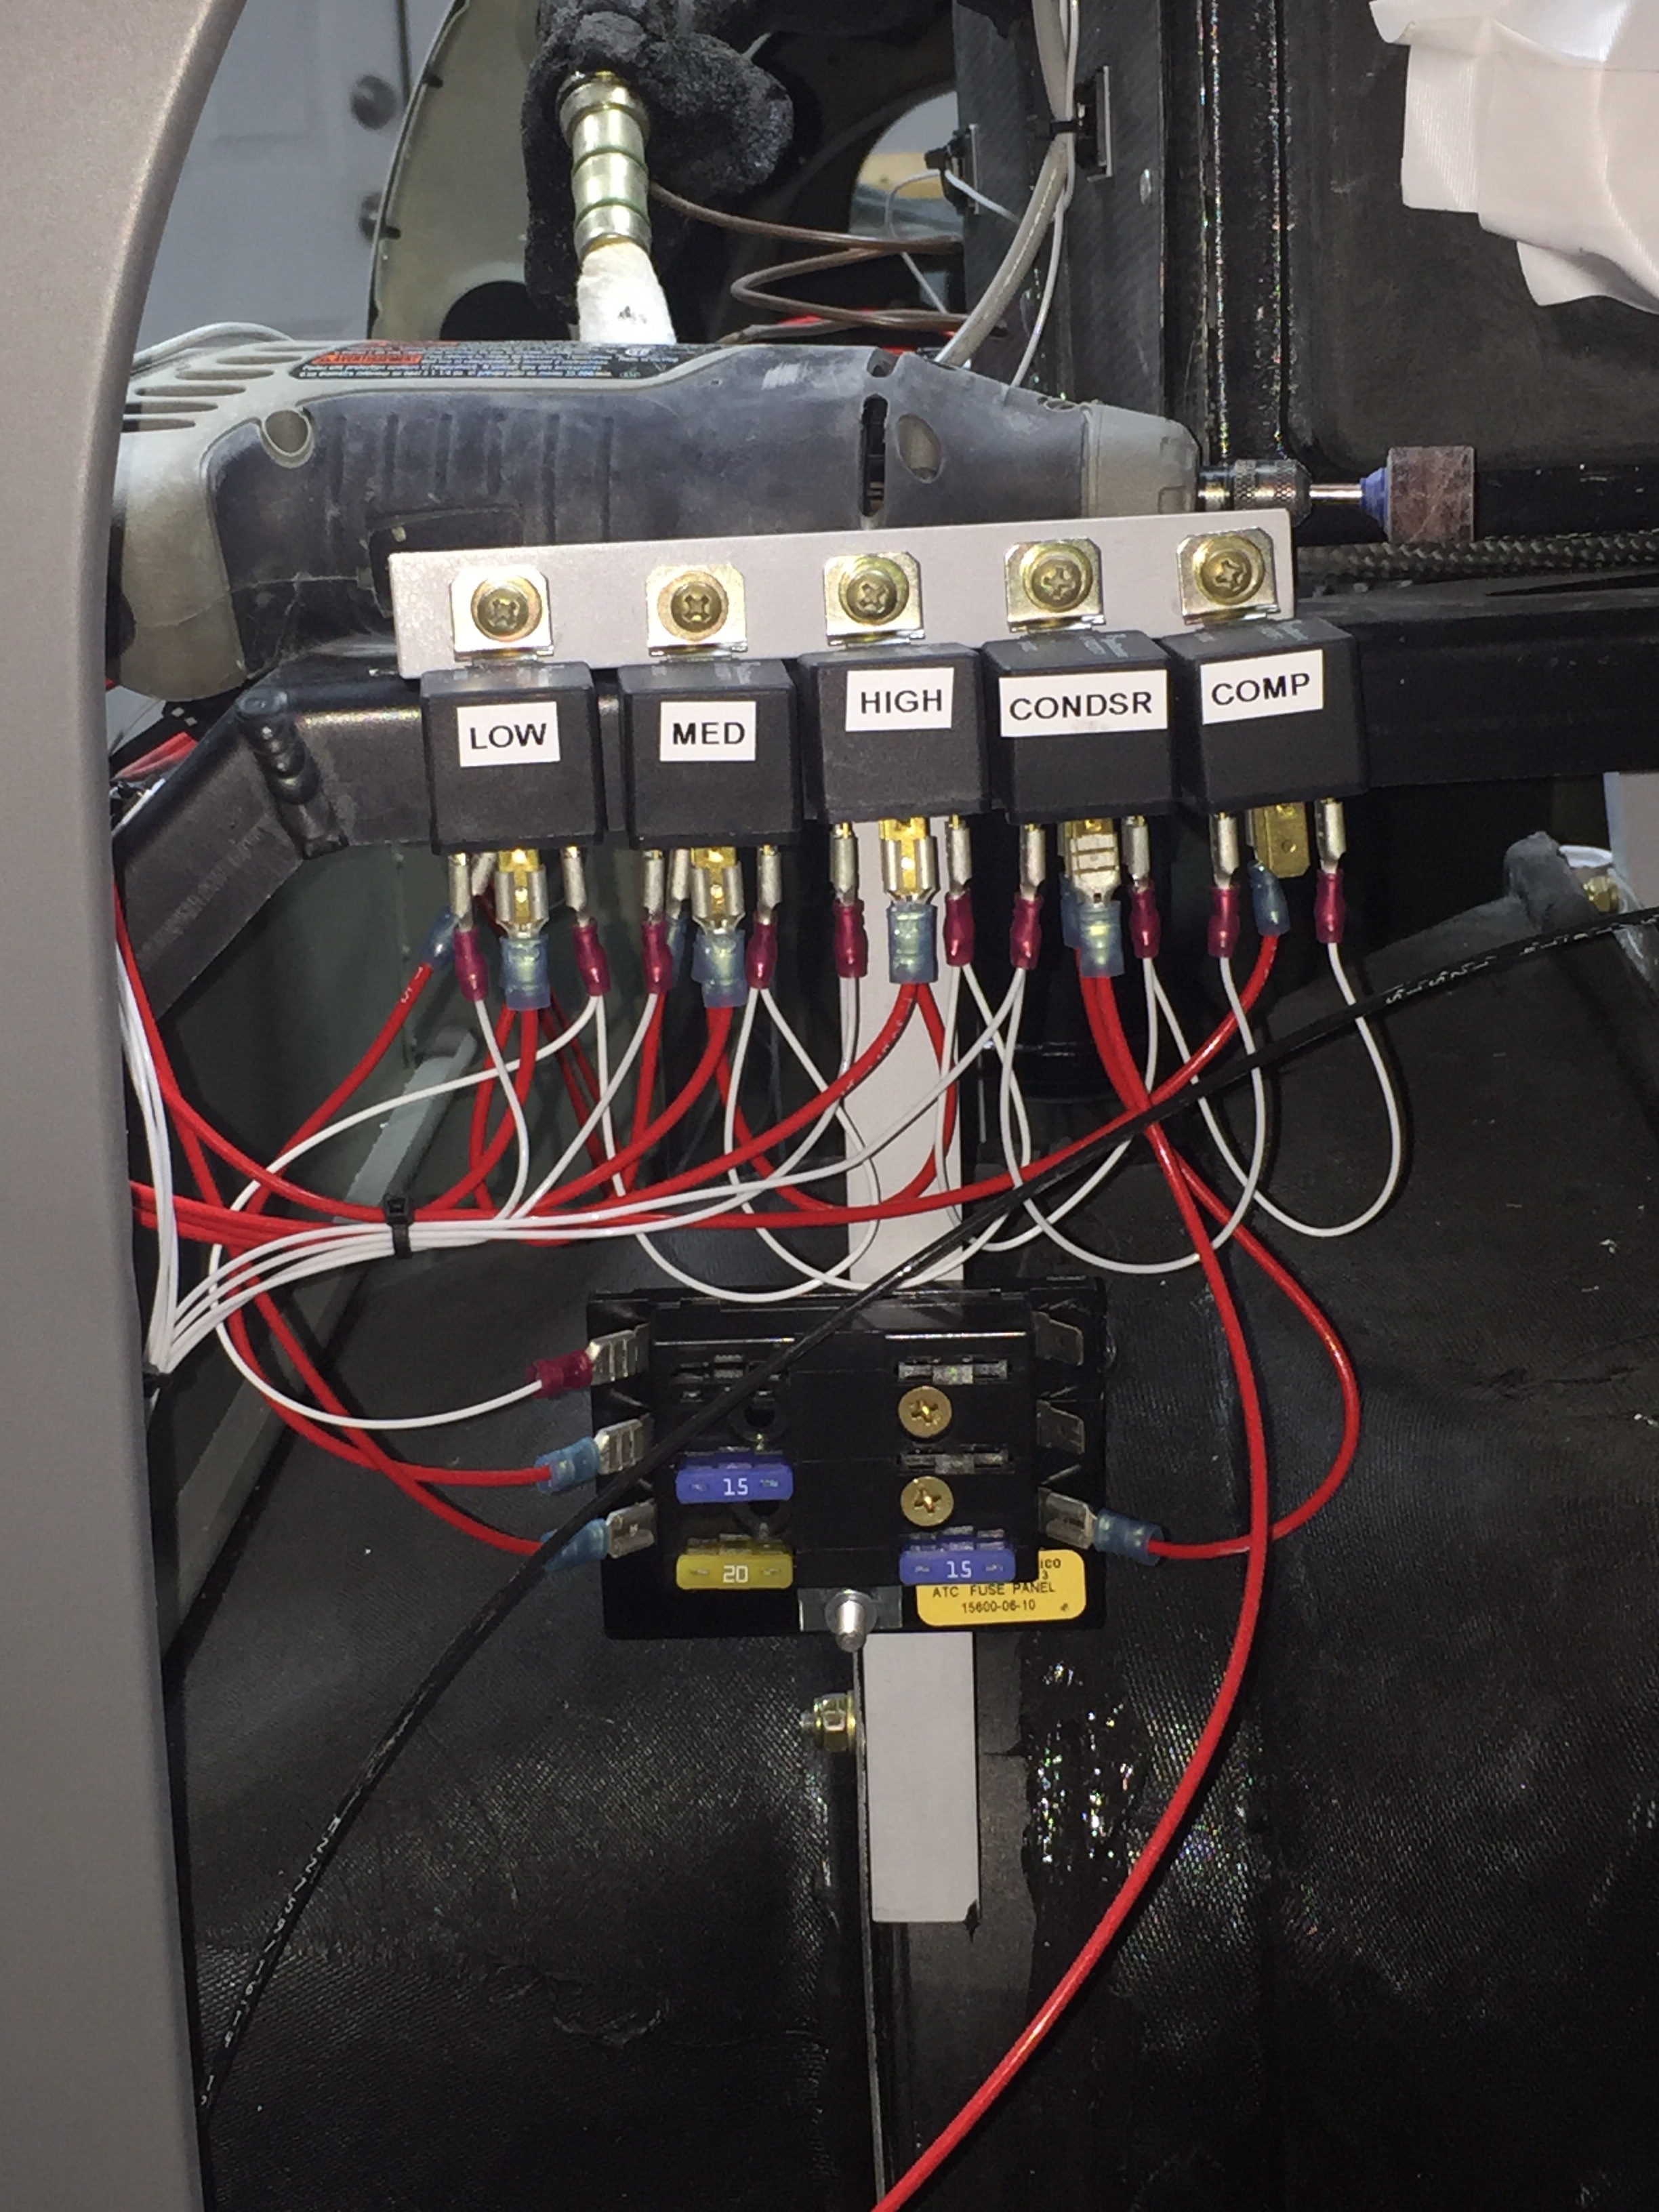
While waiting on the finish kit, I worked on a few electrical to do’s on the build. The AC system is installed, but all the wiring still needed to be hooked up. The system’s controller uses relays and I decided to move the location of the fuse panel to the bulkhead for easy maintenance. The relays were labeled and mounted to angle aluminum on the equipment tray. A lot of wire connectors later, the relays are all hooked up and the wires up front are pulled. I also wired the condenser fan with a disconnect for future servicing. The only wire not run is for the compressor, as I may go with an electric compressor depending on a few things down the road.

I also received a sample of the electroluminescent panel to experiment with backlighting my instrument panel. Aircraft Engravers sent me a sample panel on acrylic that I put on the EL panel and am really excited about the results. The EL panel put off a nice amount of light and dimmed well. The sample panel looked great and is easy to produce as well. My plan is to have Aircraft Engravers produce the panel overlays in acrylic which I will mount on top of the metal panel inserts holding the avionics. The EL panel will be sandwiched in between. In theory, it will be a nice clean look to the panel and have a high end backlight to boot. I took the EL panel with me in the Diamond on a quick flight to see if there was any noise from the transformer and didn’t notice any issues. Not a overly scientific test, but enough to keep me motivated to make this work.

I only had a 1″ strip, so you can see the difference where the panel is not backlit. The EL panel is also white when off, not the typical pinkish so the panel during the day appears to have white lettering as typical. More to come on this!

Coloring outside the lines

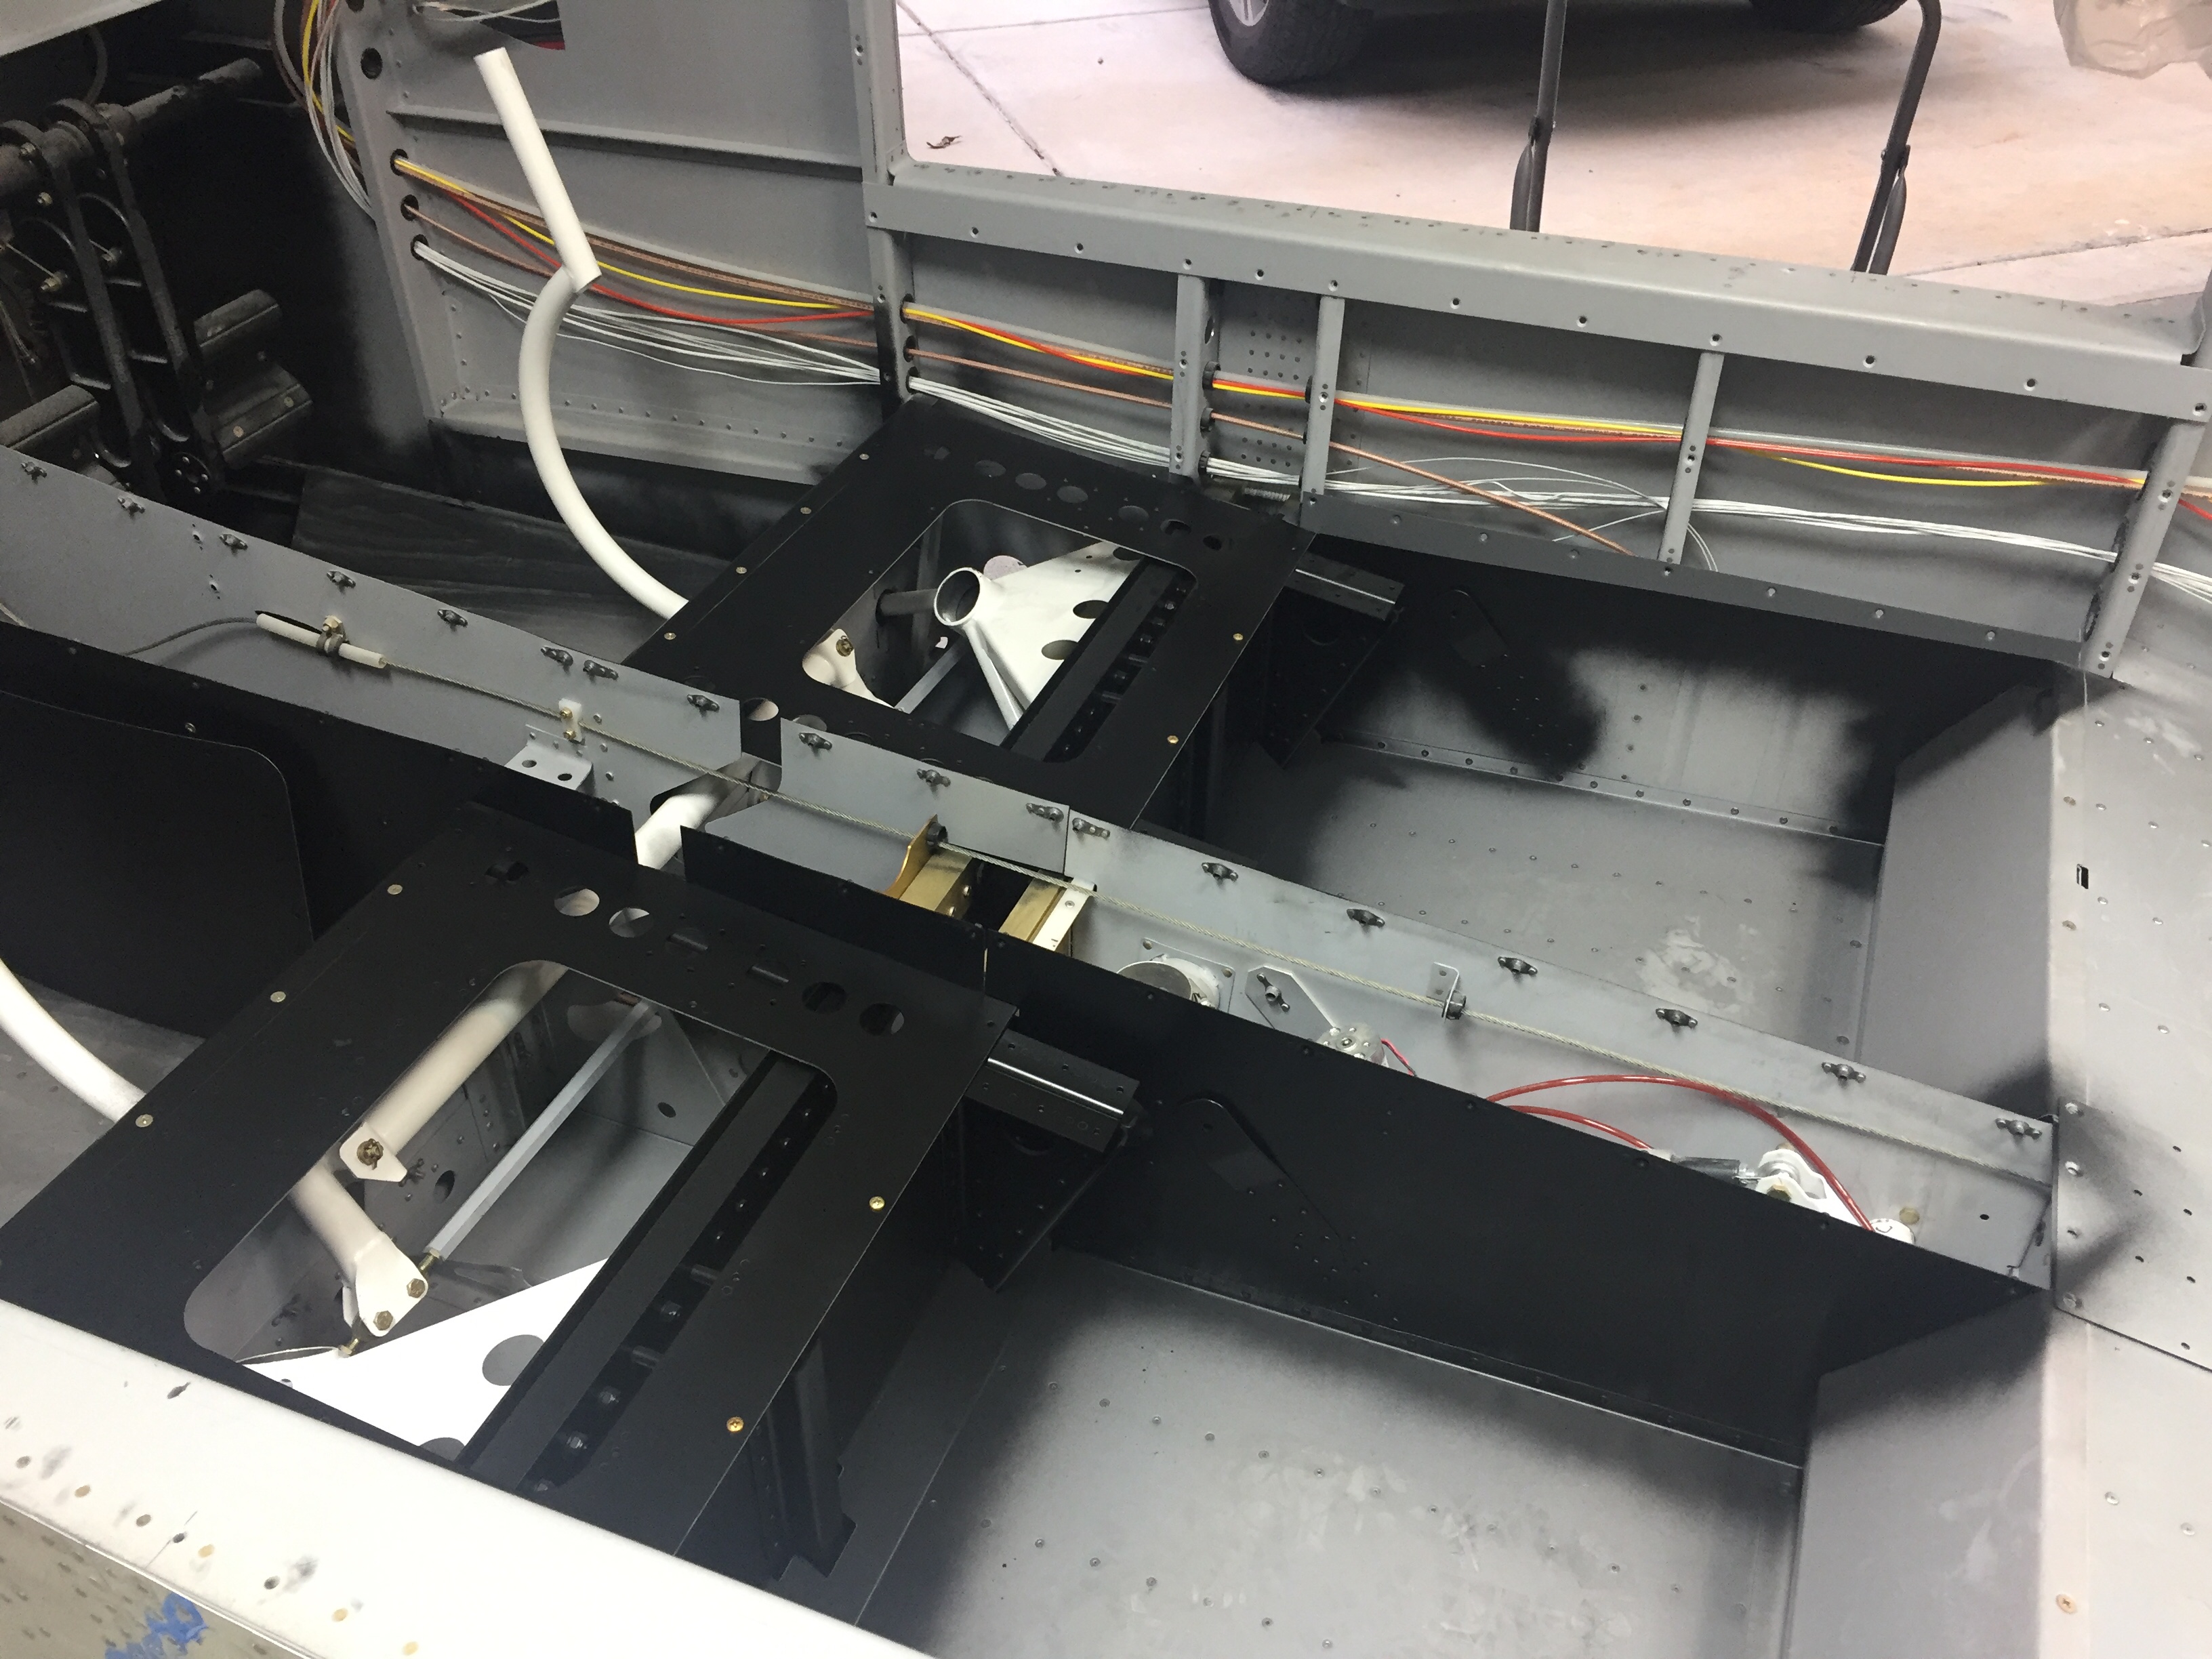
Painting the inside of the cabin is much easier when the cabin top is removable, and with only a few items left to do before permanently installing the cabin top, I took the opportunity to put some color on the project. As mentioned earlier, the cabin interior will be a dark grey and black. I started by cleaning and prepping the tunnel walls and footwells. Most of this will be covered by the black carpet, but I wanted to make sure any areas not covered would be black. The SEM is really easy to work with and two nice coats provided plenty of coverage. I then used a low luster clear to help provide some further protection and sealant. I didn’t worry about overspray since the carpet will hide the imperfections.

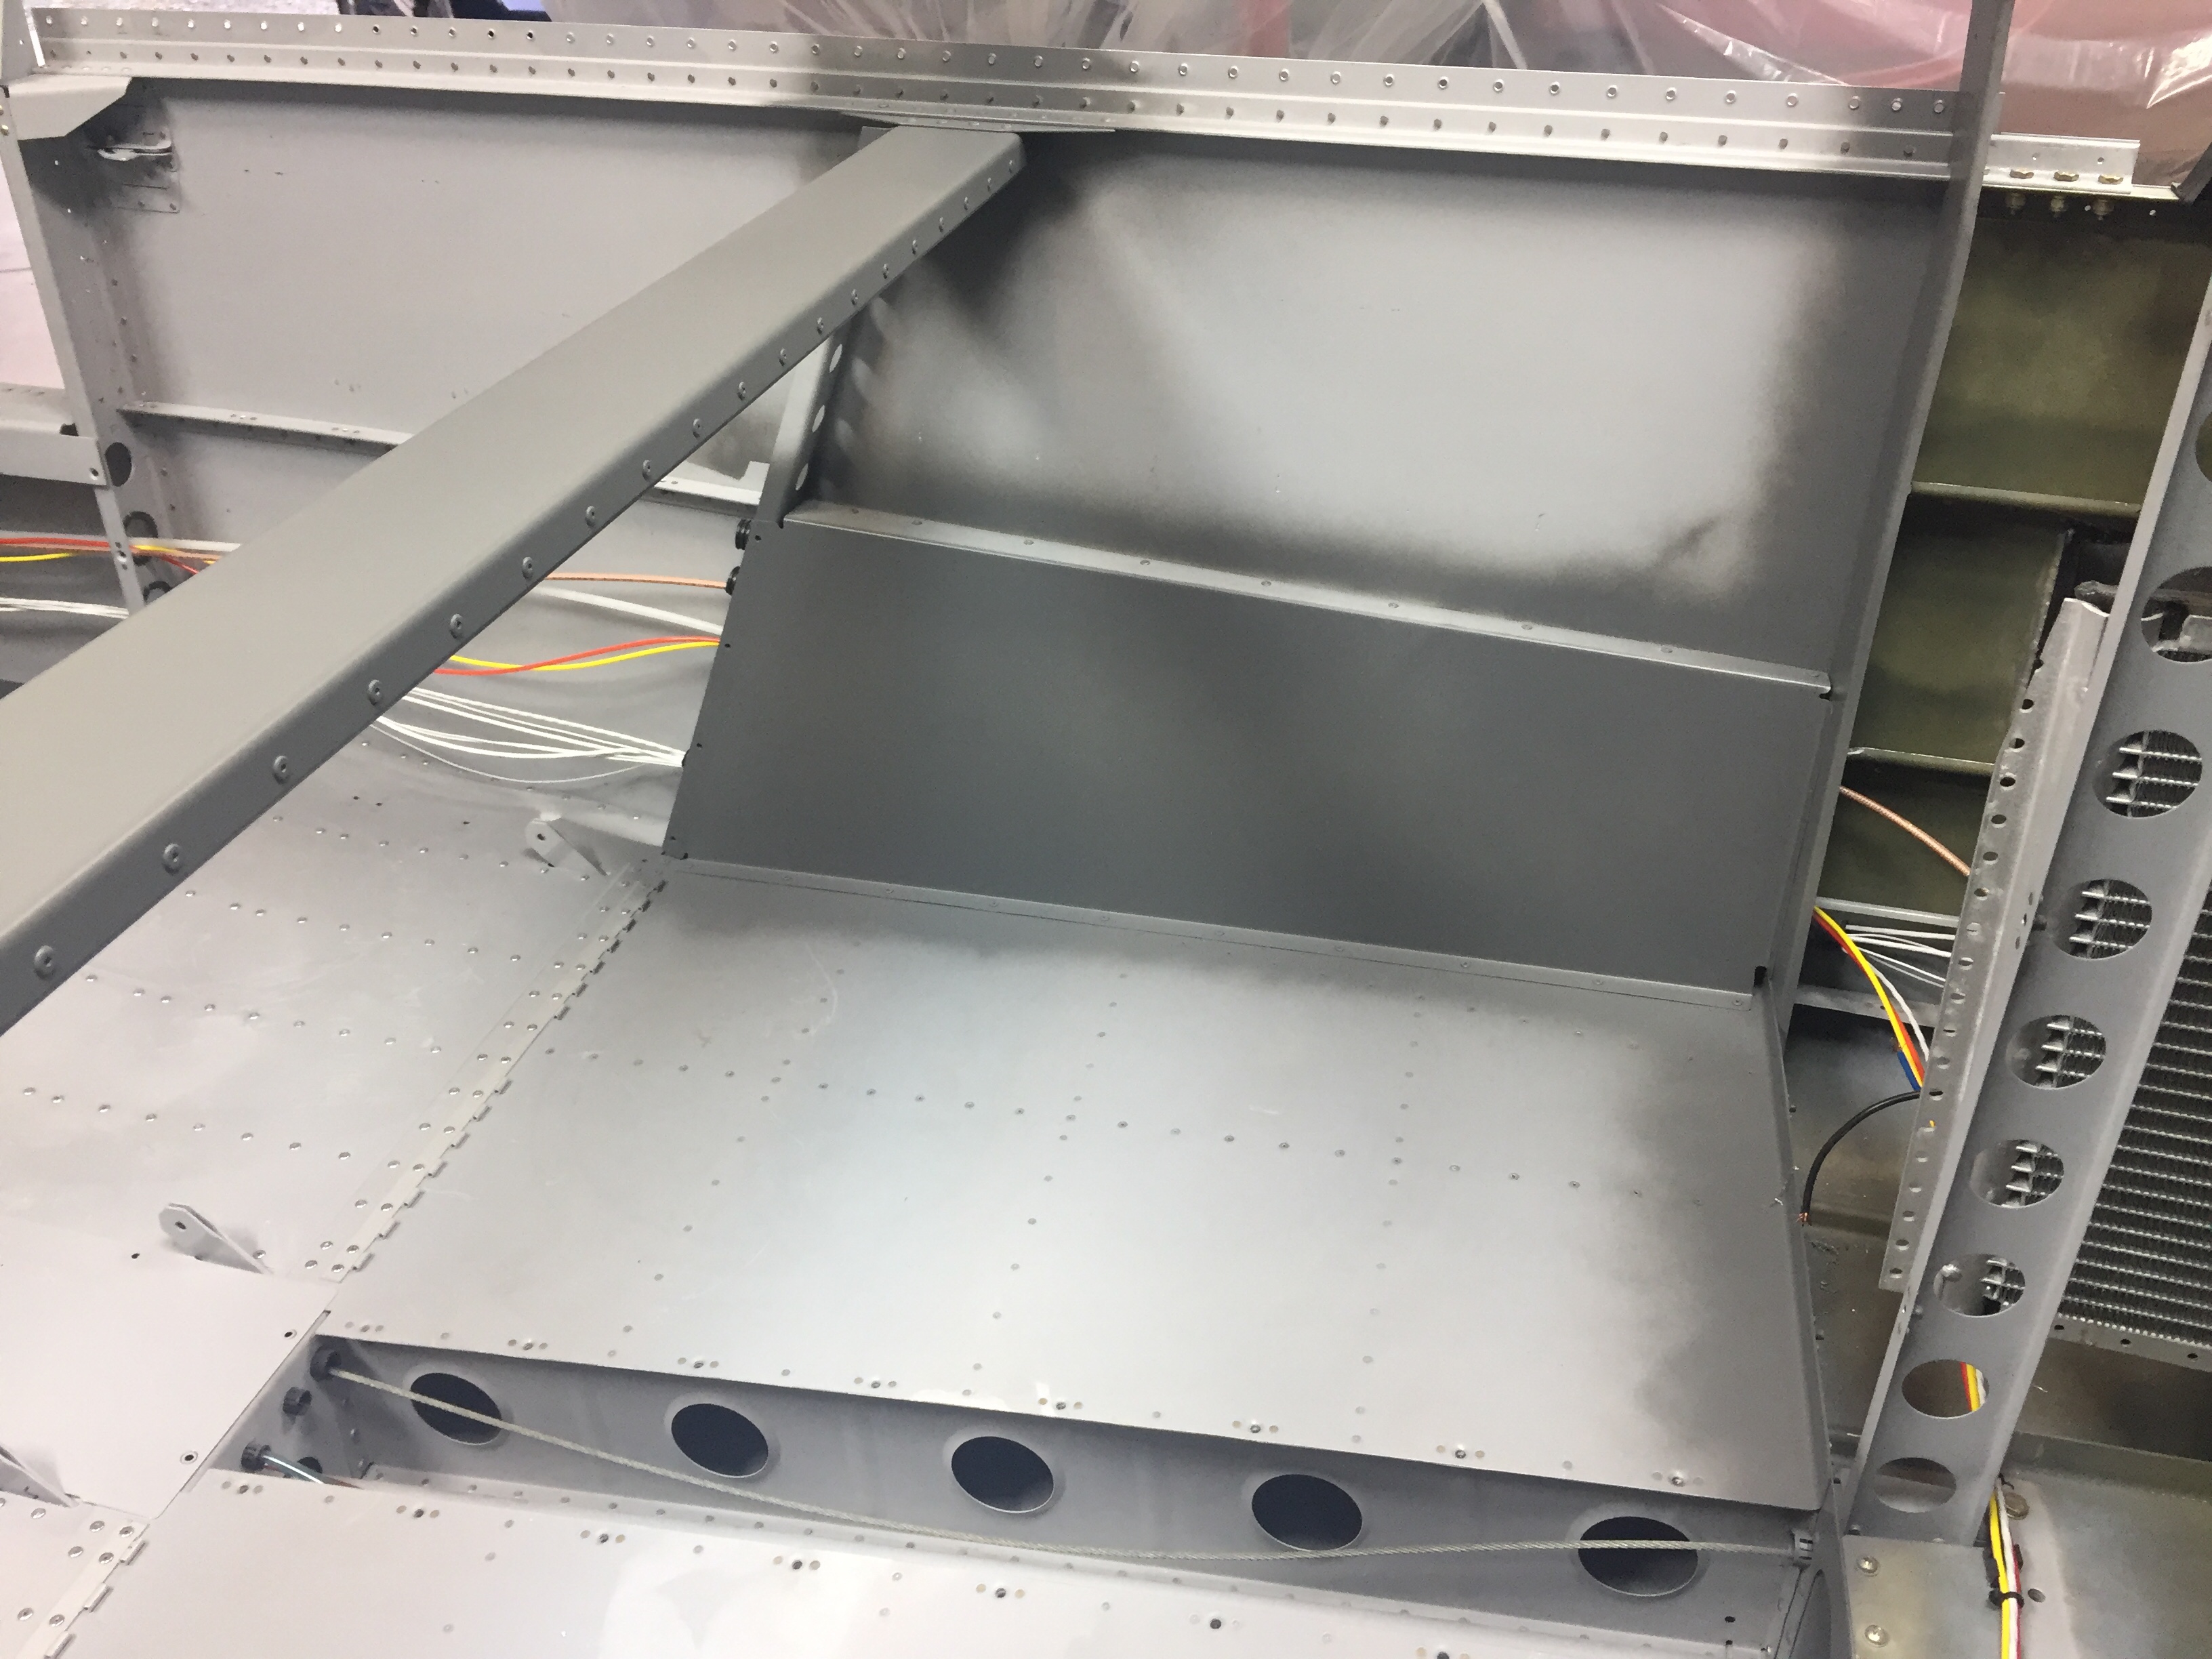
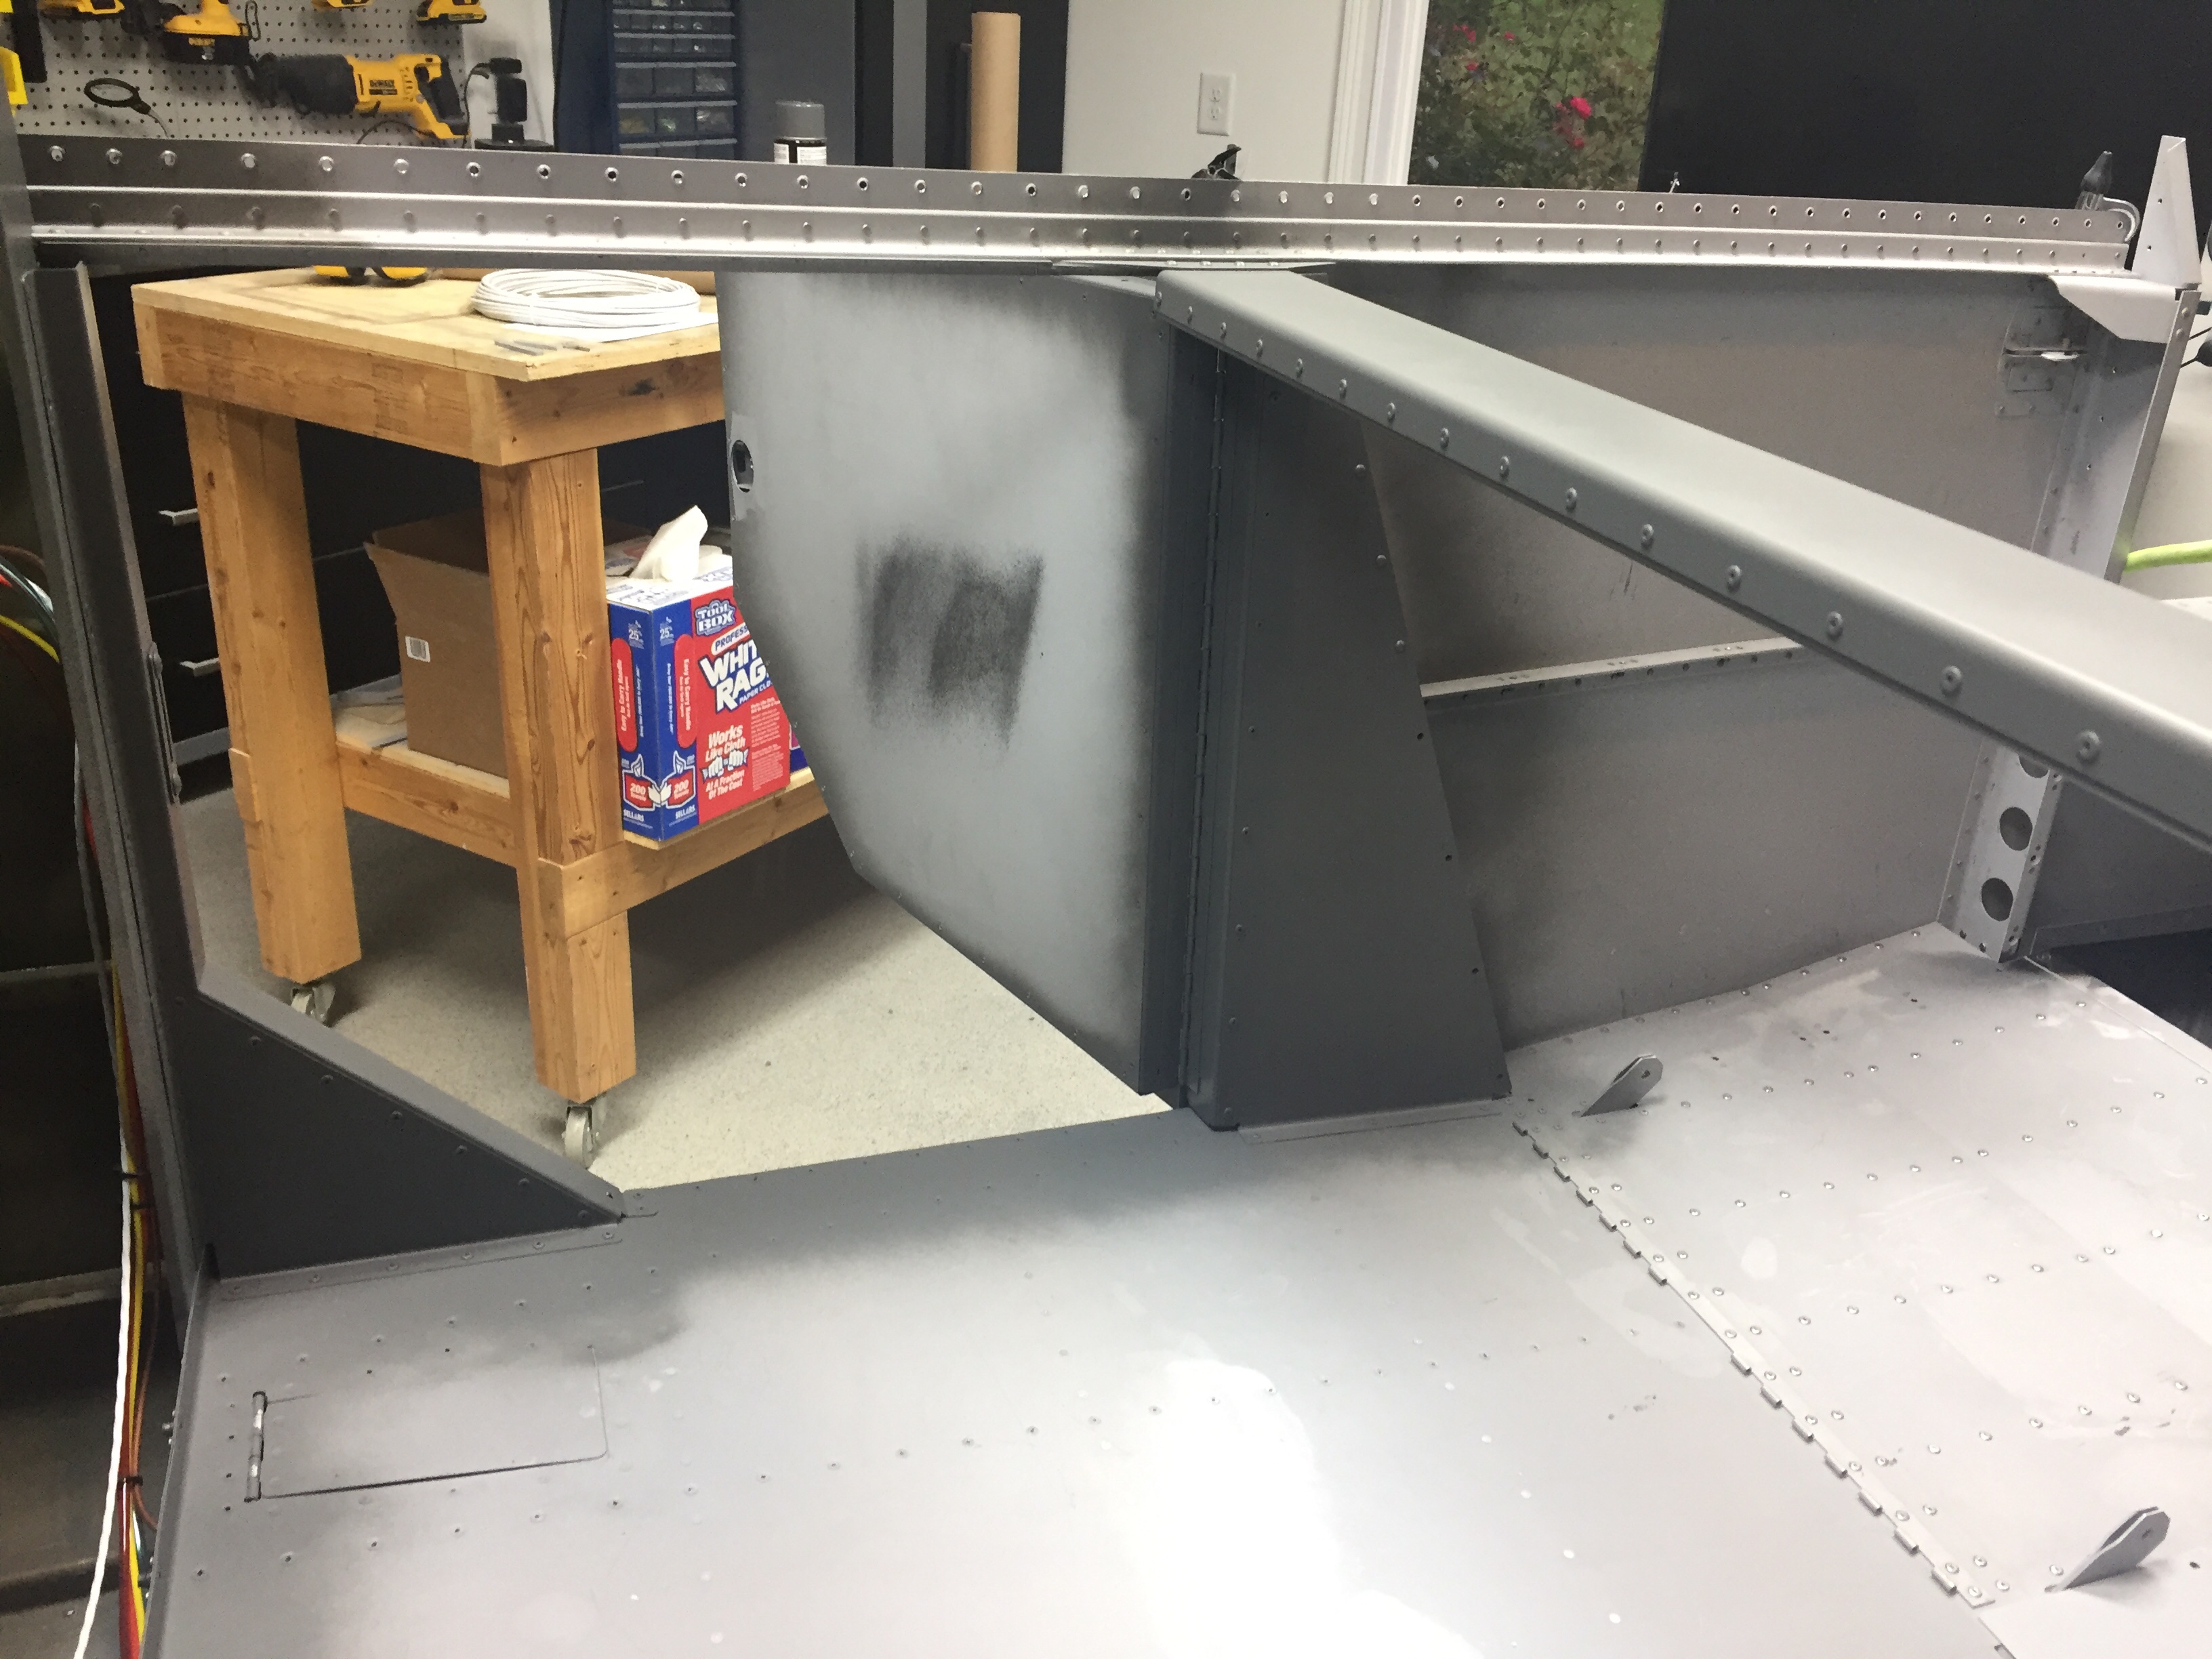
The rest of the interior is the dark grey so I prepped again and sprayed the remaining parts of the cabin which will not be covered by Aerosport panels. I’m not a huge fan of painting because it’s so much prep work, but the results are rewarding. It’s nice to see a finished surface finally.

Sean also sent me his updated LED lights for the overhead so I got those wired up and installed using nutplates and the standard micro-Molex connectors. I really appreciate working with fellow builders as vendors because they provide great support. Upon receipt, there were a few LED boards that didn’t work properly. I gave him a quick text and new ones were on the way in a few days. He later did some troubleshooting and found out the wire used to secure the boards was shorting them out. So I pulled the wire and simply filled in the back with black silicone and had no other issues. The lights are great quality and very bright, providing a nice pattern of light. Night loading should be very easy with these on the overhead and in the doors.

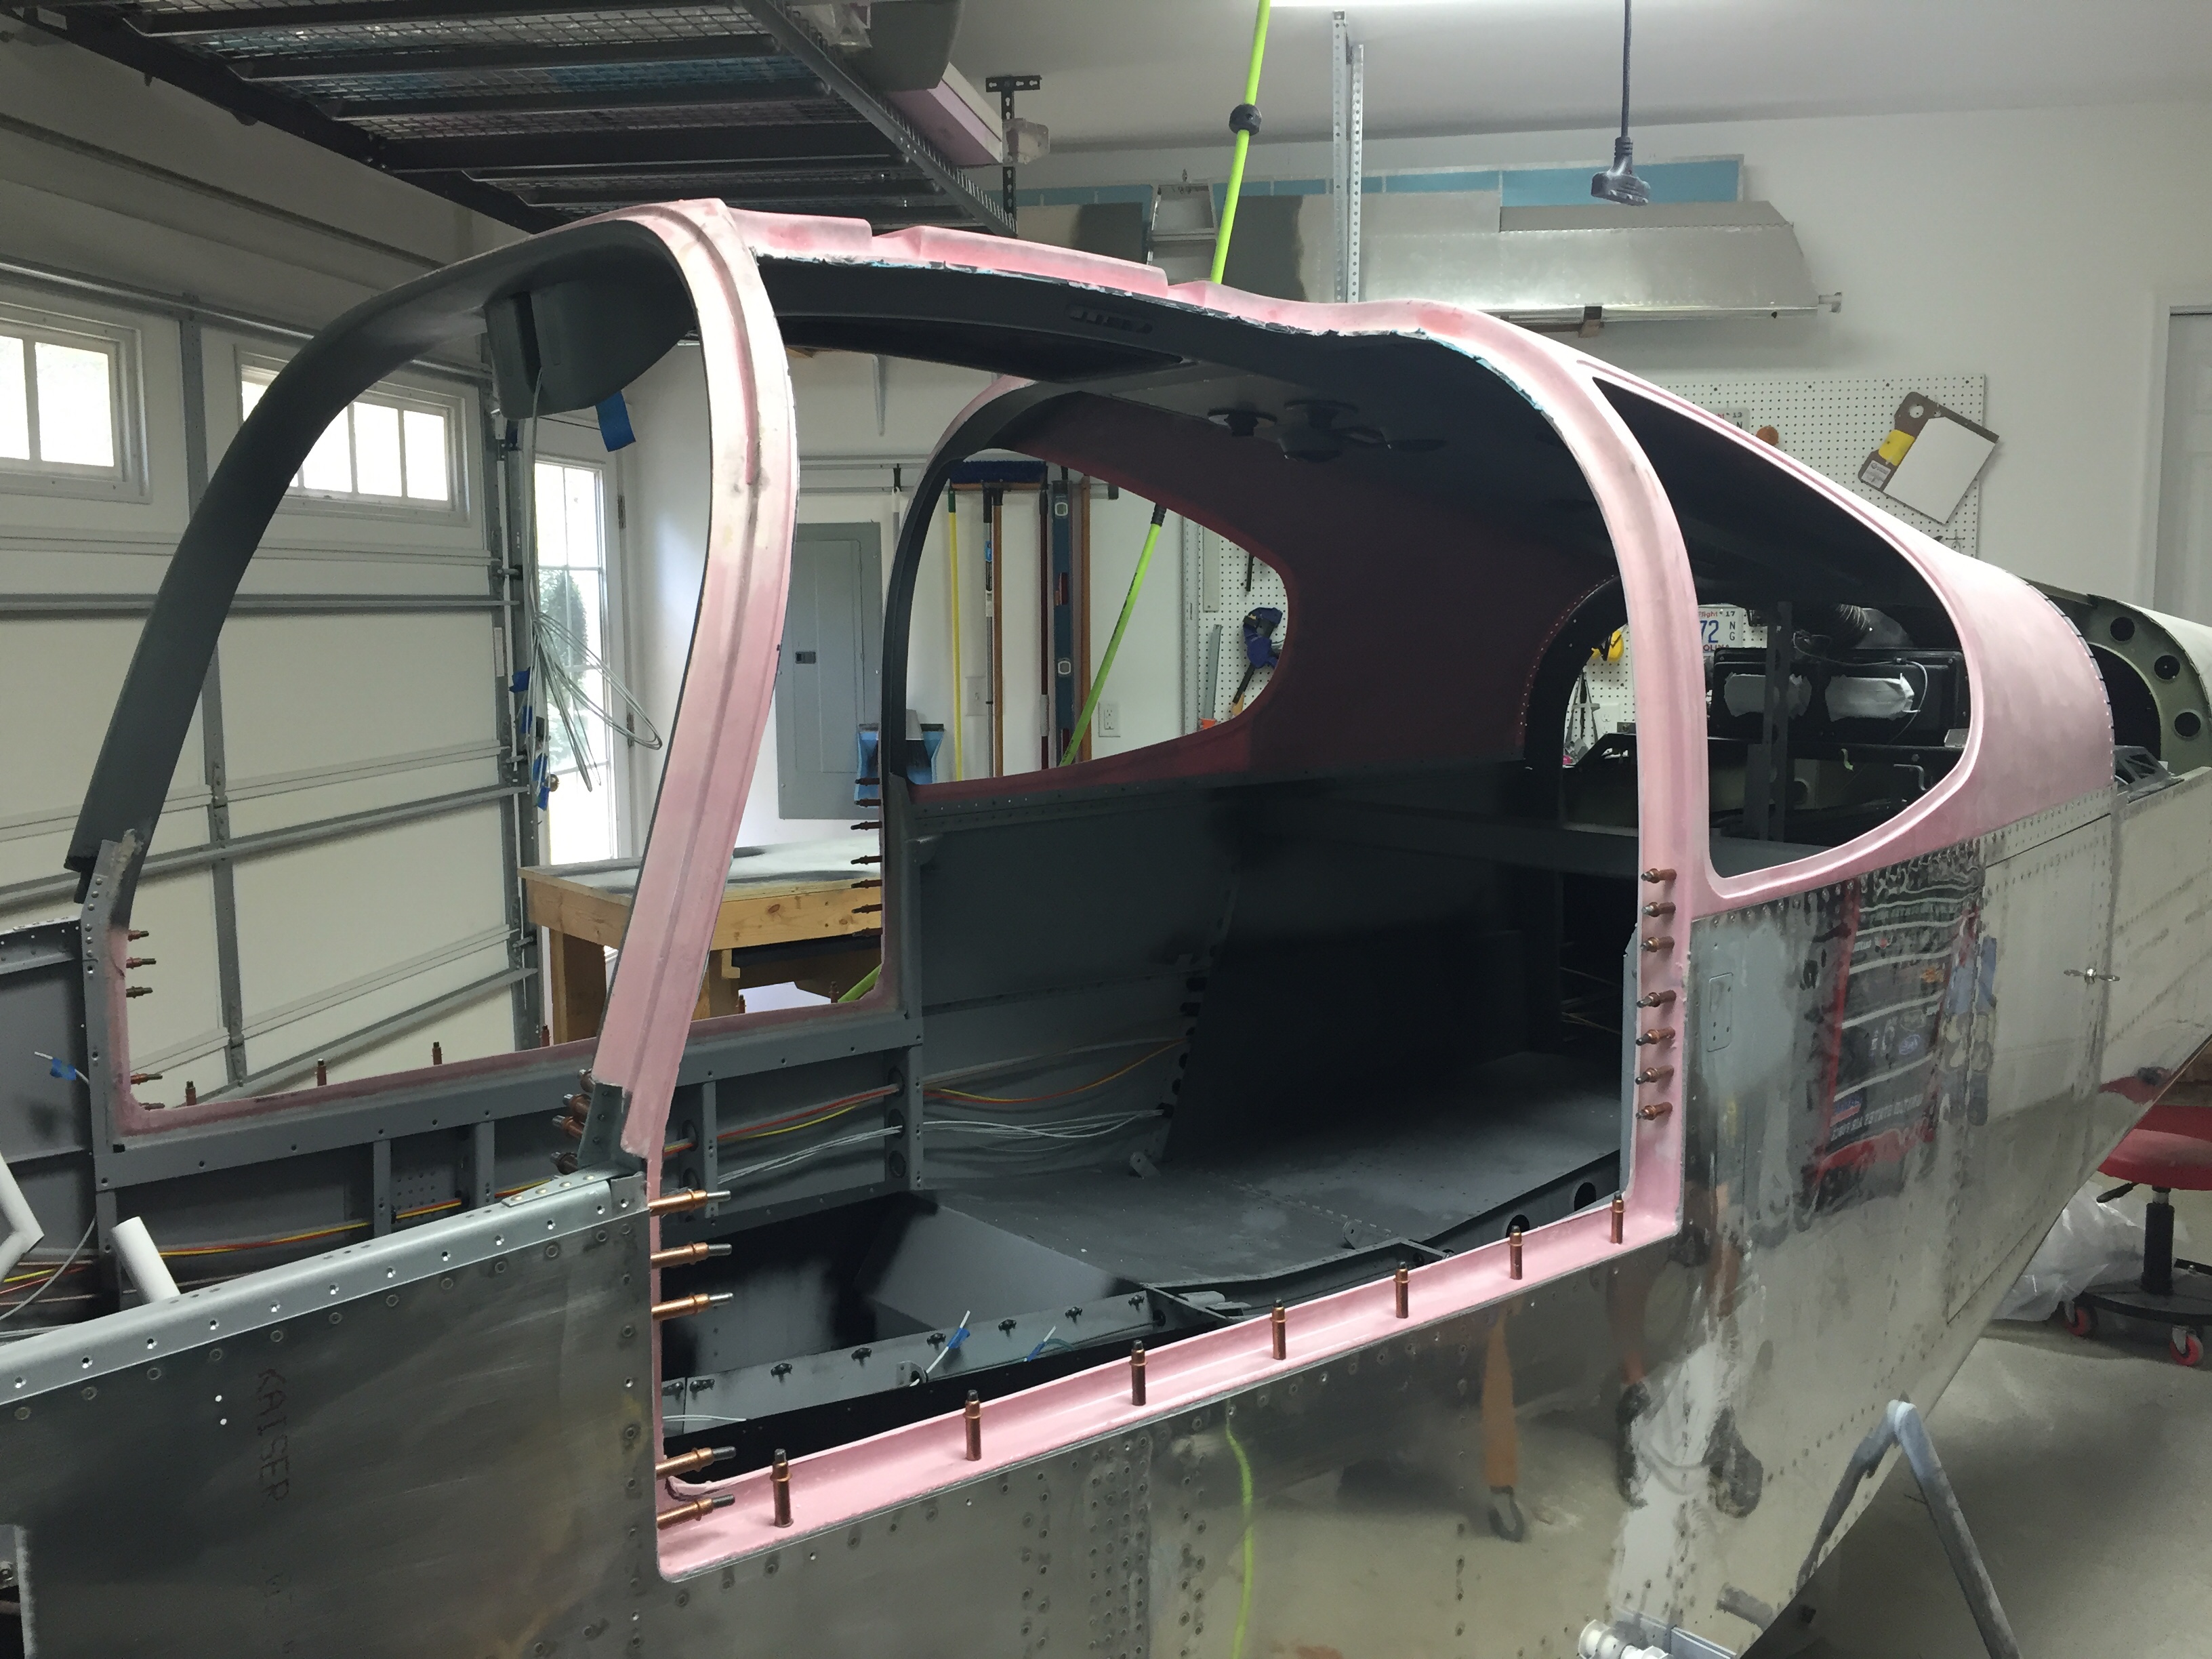
As typical, the big moment of putting the cabin top on for good was somewhat anti-climatic! I am glad I won’t be Atlas-ing the thing on and off anymore, as that was getting a bit tiresome. It is secured with a ton of pop rivets on the rear and screws up front. The challenge to it, however, is setting the frame in a bed of flox all around the door areas. I had the Mrs. come out to help mix epoxy and spread it on the fuselage. Even with slow hardener, we were pushed for time getting it all mixed, applied evenly, and positioning the top on just right. I chose not to drill the screw holes yet and clecoing the cabin top was much quicker and easier at this point.

I cleaned up the remaining flox from inside and and put the rivets in. All in all, a bit stressful for us but a rewarding step seeing the canoe form finally disappear! The finish kit is coming next and I’m pretty pleased with the amount of progress I’m making this year.

Kool like Krantz

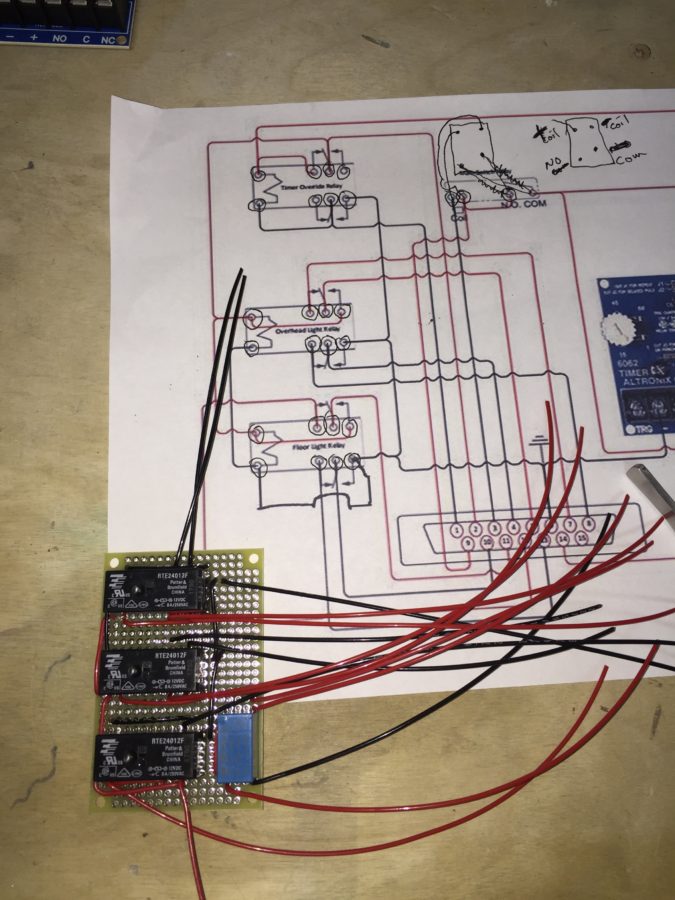
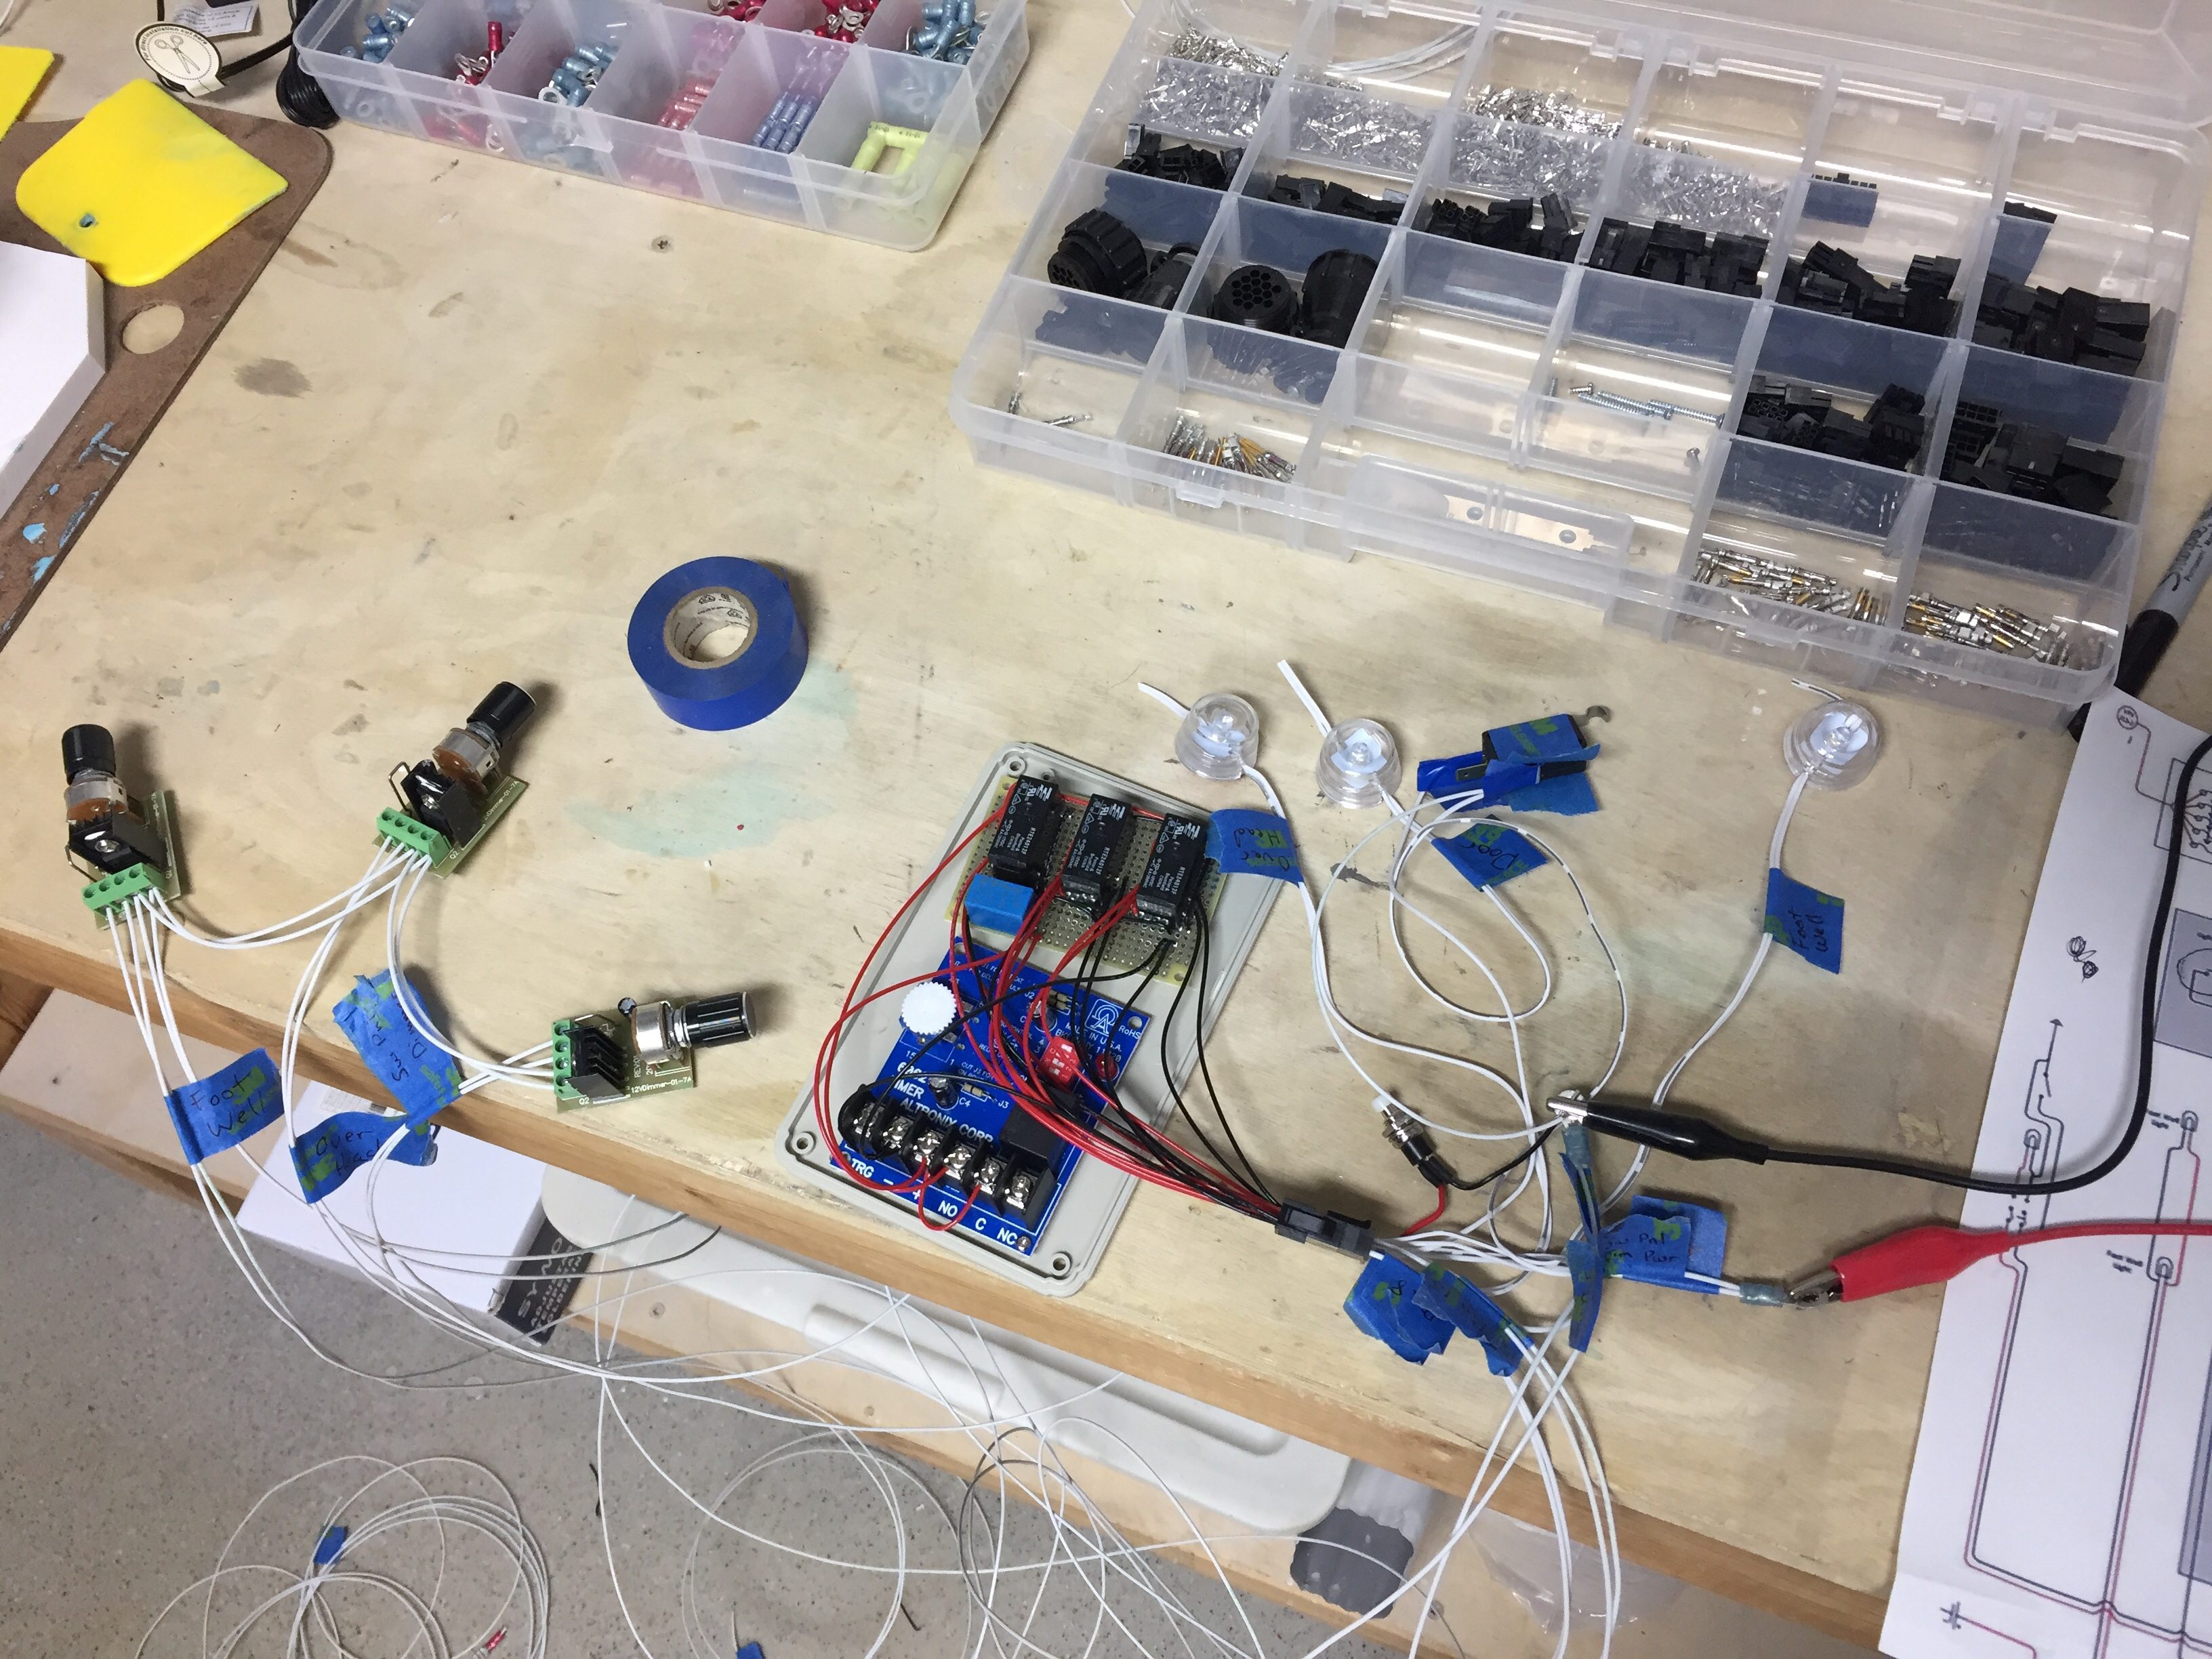
In between working on the overhead console, I decided to tackle a fun little project dreamed up by Ed Krantz (Good Plane Living) to control the interior lighting. He came up with a fancy little box full of relays and a timer to essentially make the lights behave as a modern car. While this doesn’t seem fancy, most little airplanes have one dome light from the 1960’s, so this is all pretty high tech. The best part is he designed it to work as a DIY project and kept it simple and functional. The best, best part though is he shared it online for others to benefit from, so thank you!

Without diving into the actual wiring schematic, the little box receives a signal from a micro switch that a door has opened. This in turn causes the three overhead LED lights to illuminate, the footwell lights, and under panel lights all to come on to full brightness, even if they were on using the dimmer. The timer is used to keep them on for a set amount of time then they all turn off. Once the door is shut, the whole system resets and the lights return to their prior state, either off or according to their dimmer.

I’ll have two additional LED lights, one on each door, that shine down on the wing when the doors are open. Ed had put each task light on the control as well, but I chose not to since I think the three overhead will provide plenty of light.

It also has a manual reset switch to allow a door to be open but reset the lights to off or dimmed in case you want to have a door open while taxing or any other reason. There will also be a master switch near the rear baggage door to control overall power. This is because even after the lights are reset, the timer does draw a small amount of power and in theory could drain a battery if left for many days, for example during extended maintenance.

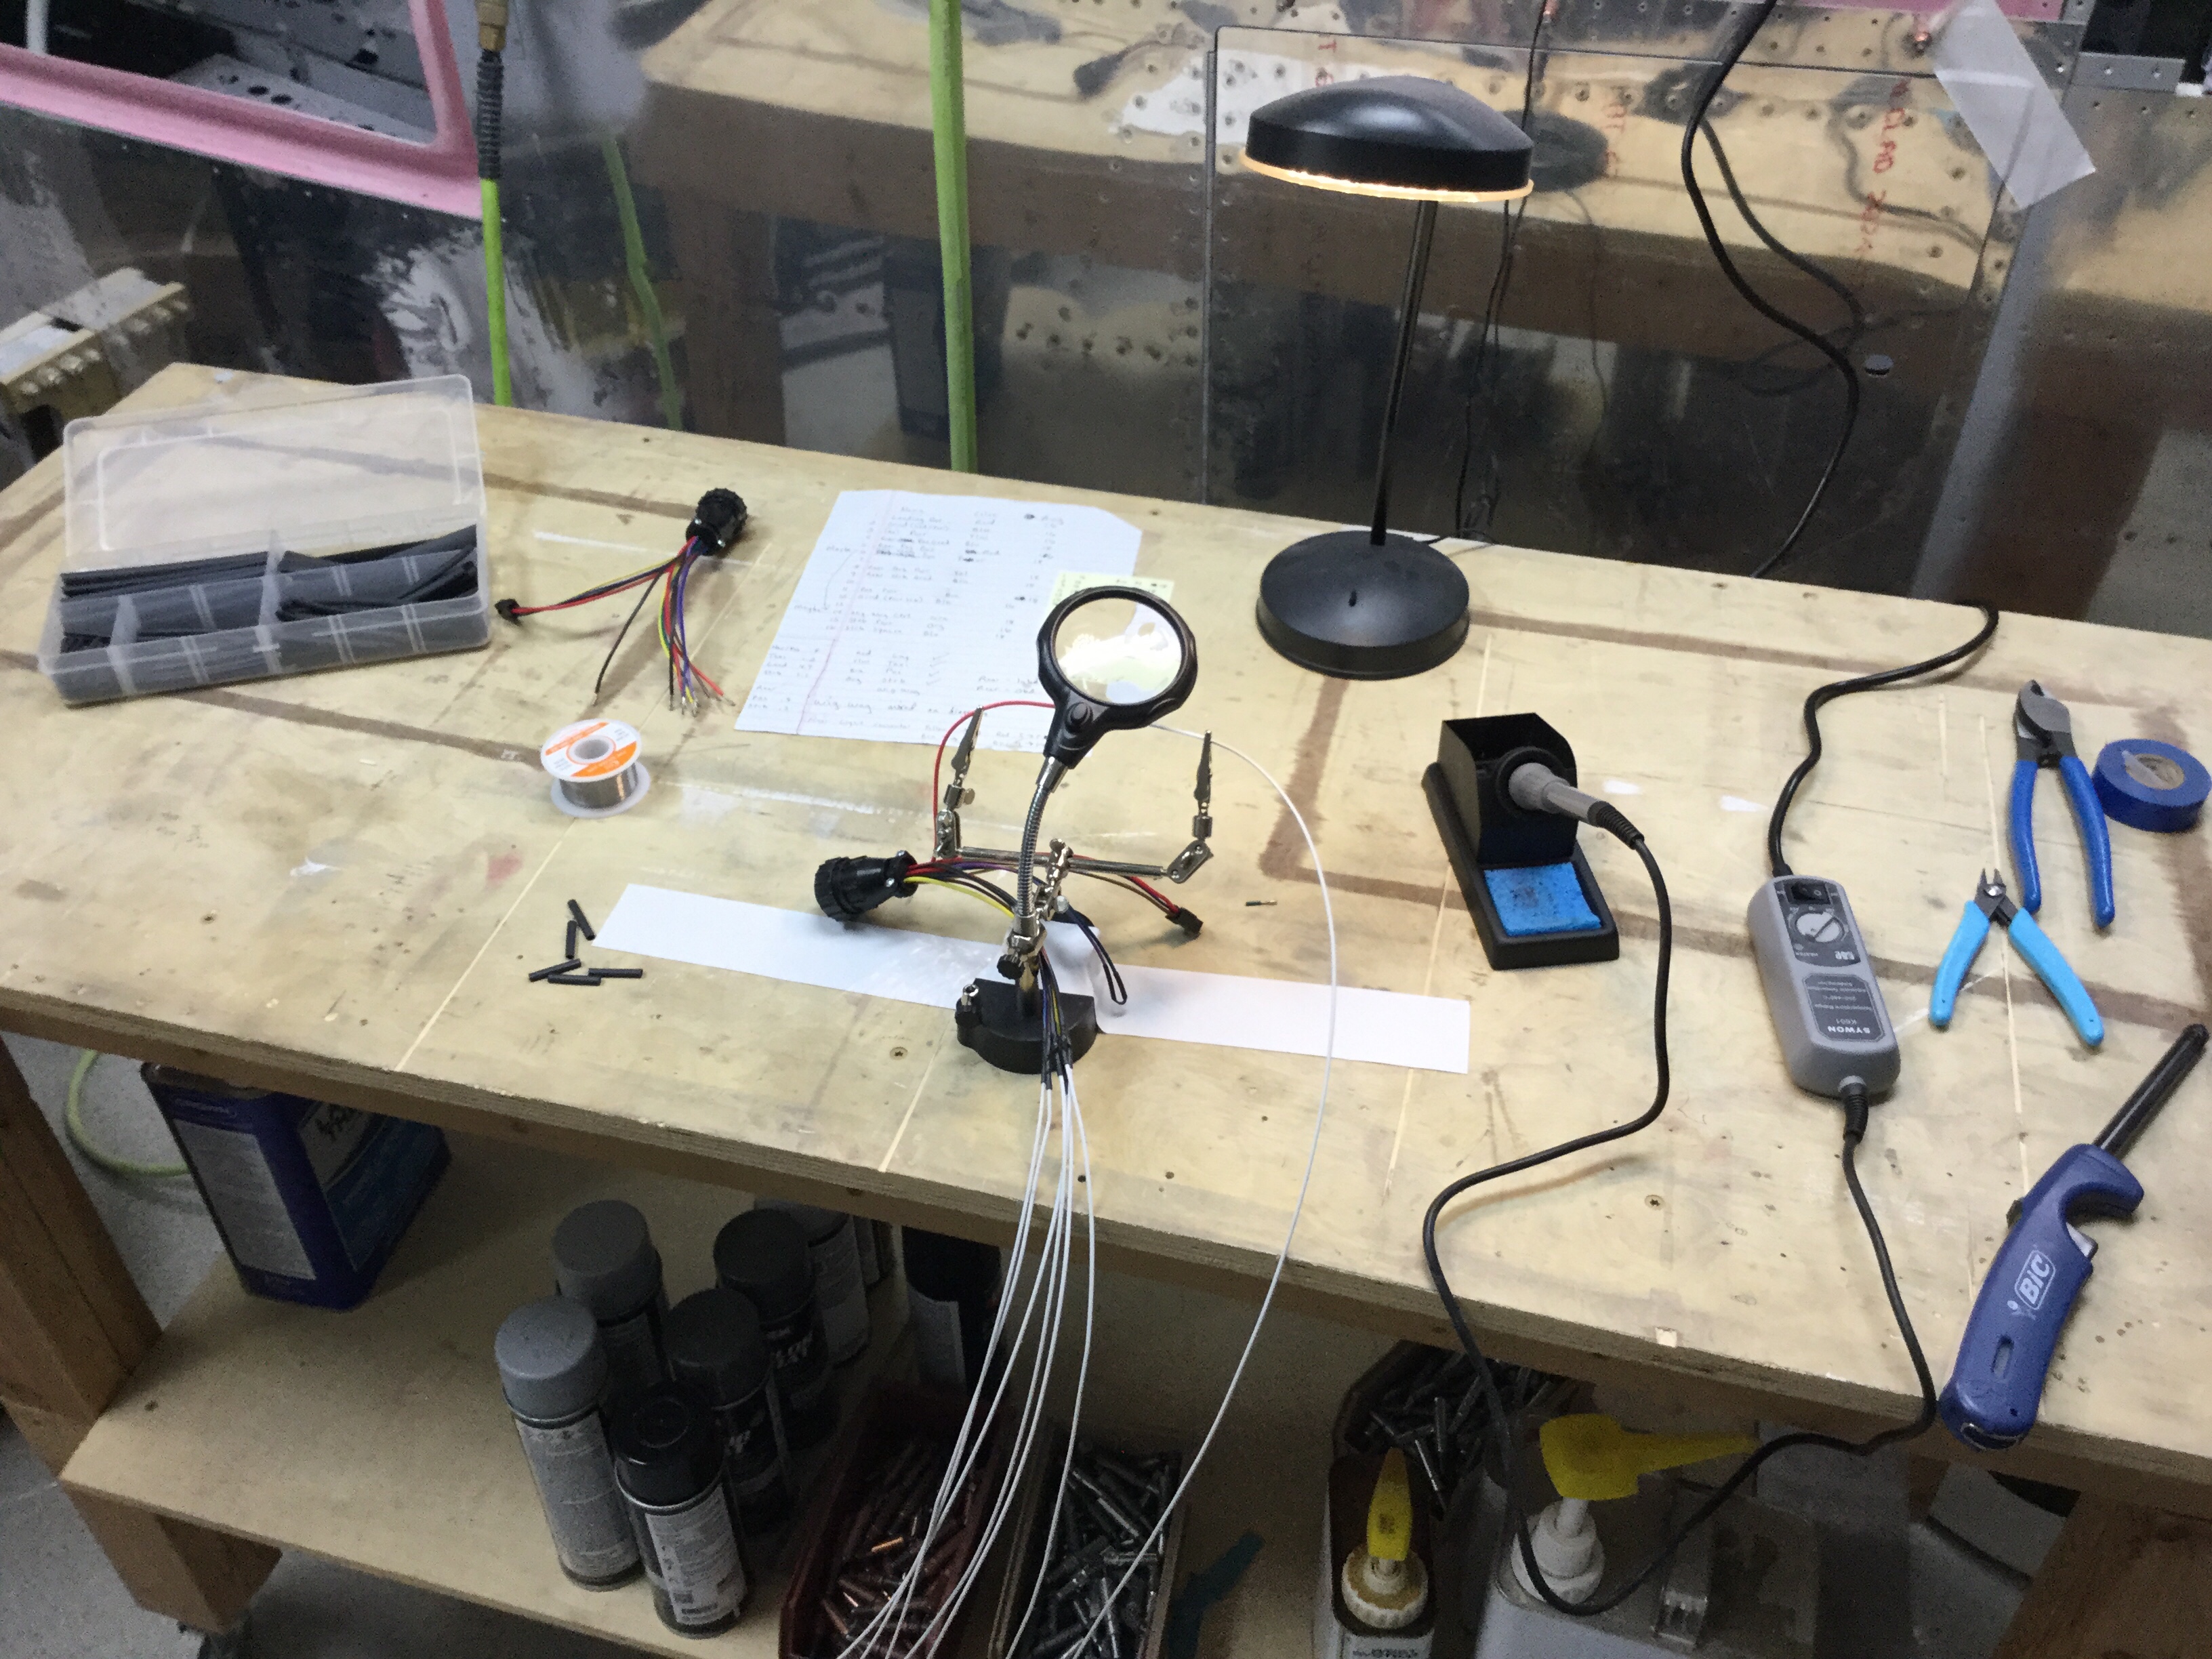
After a few hours of laying out the components and soldering it all up, I hooked up a few cheap-o LED lights to test it all out. Just as Ed did, I forgot one ground wire but that was soon fixed and everything worked just as designed. It was a really fun project and will make night flying / loading a non-issue.

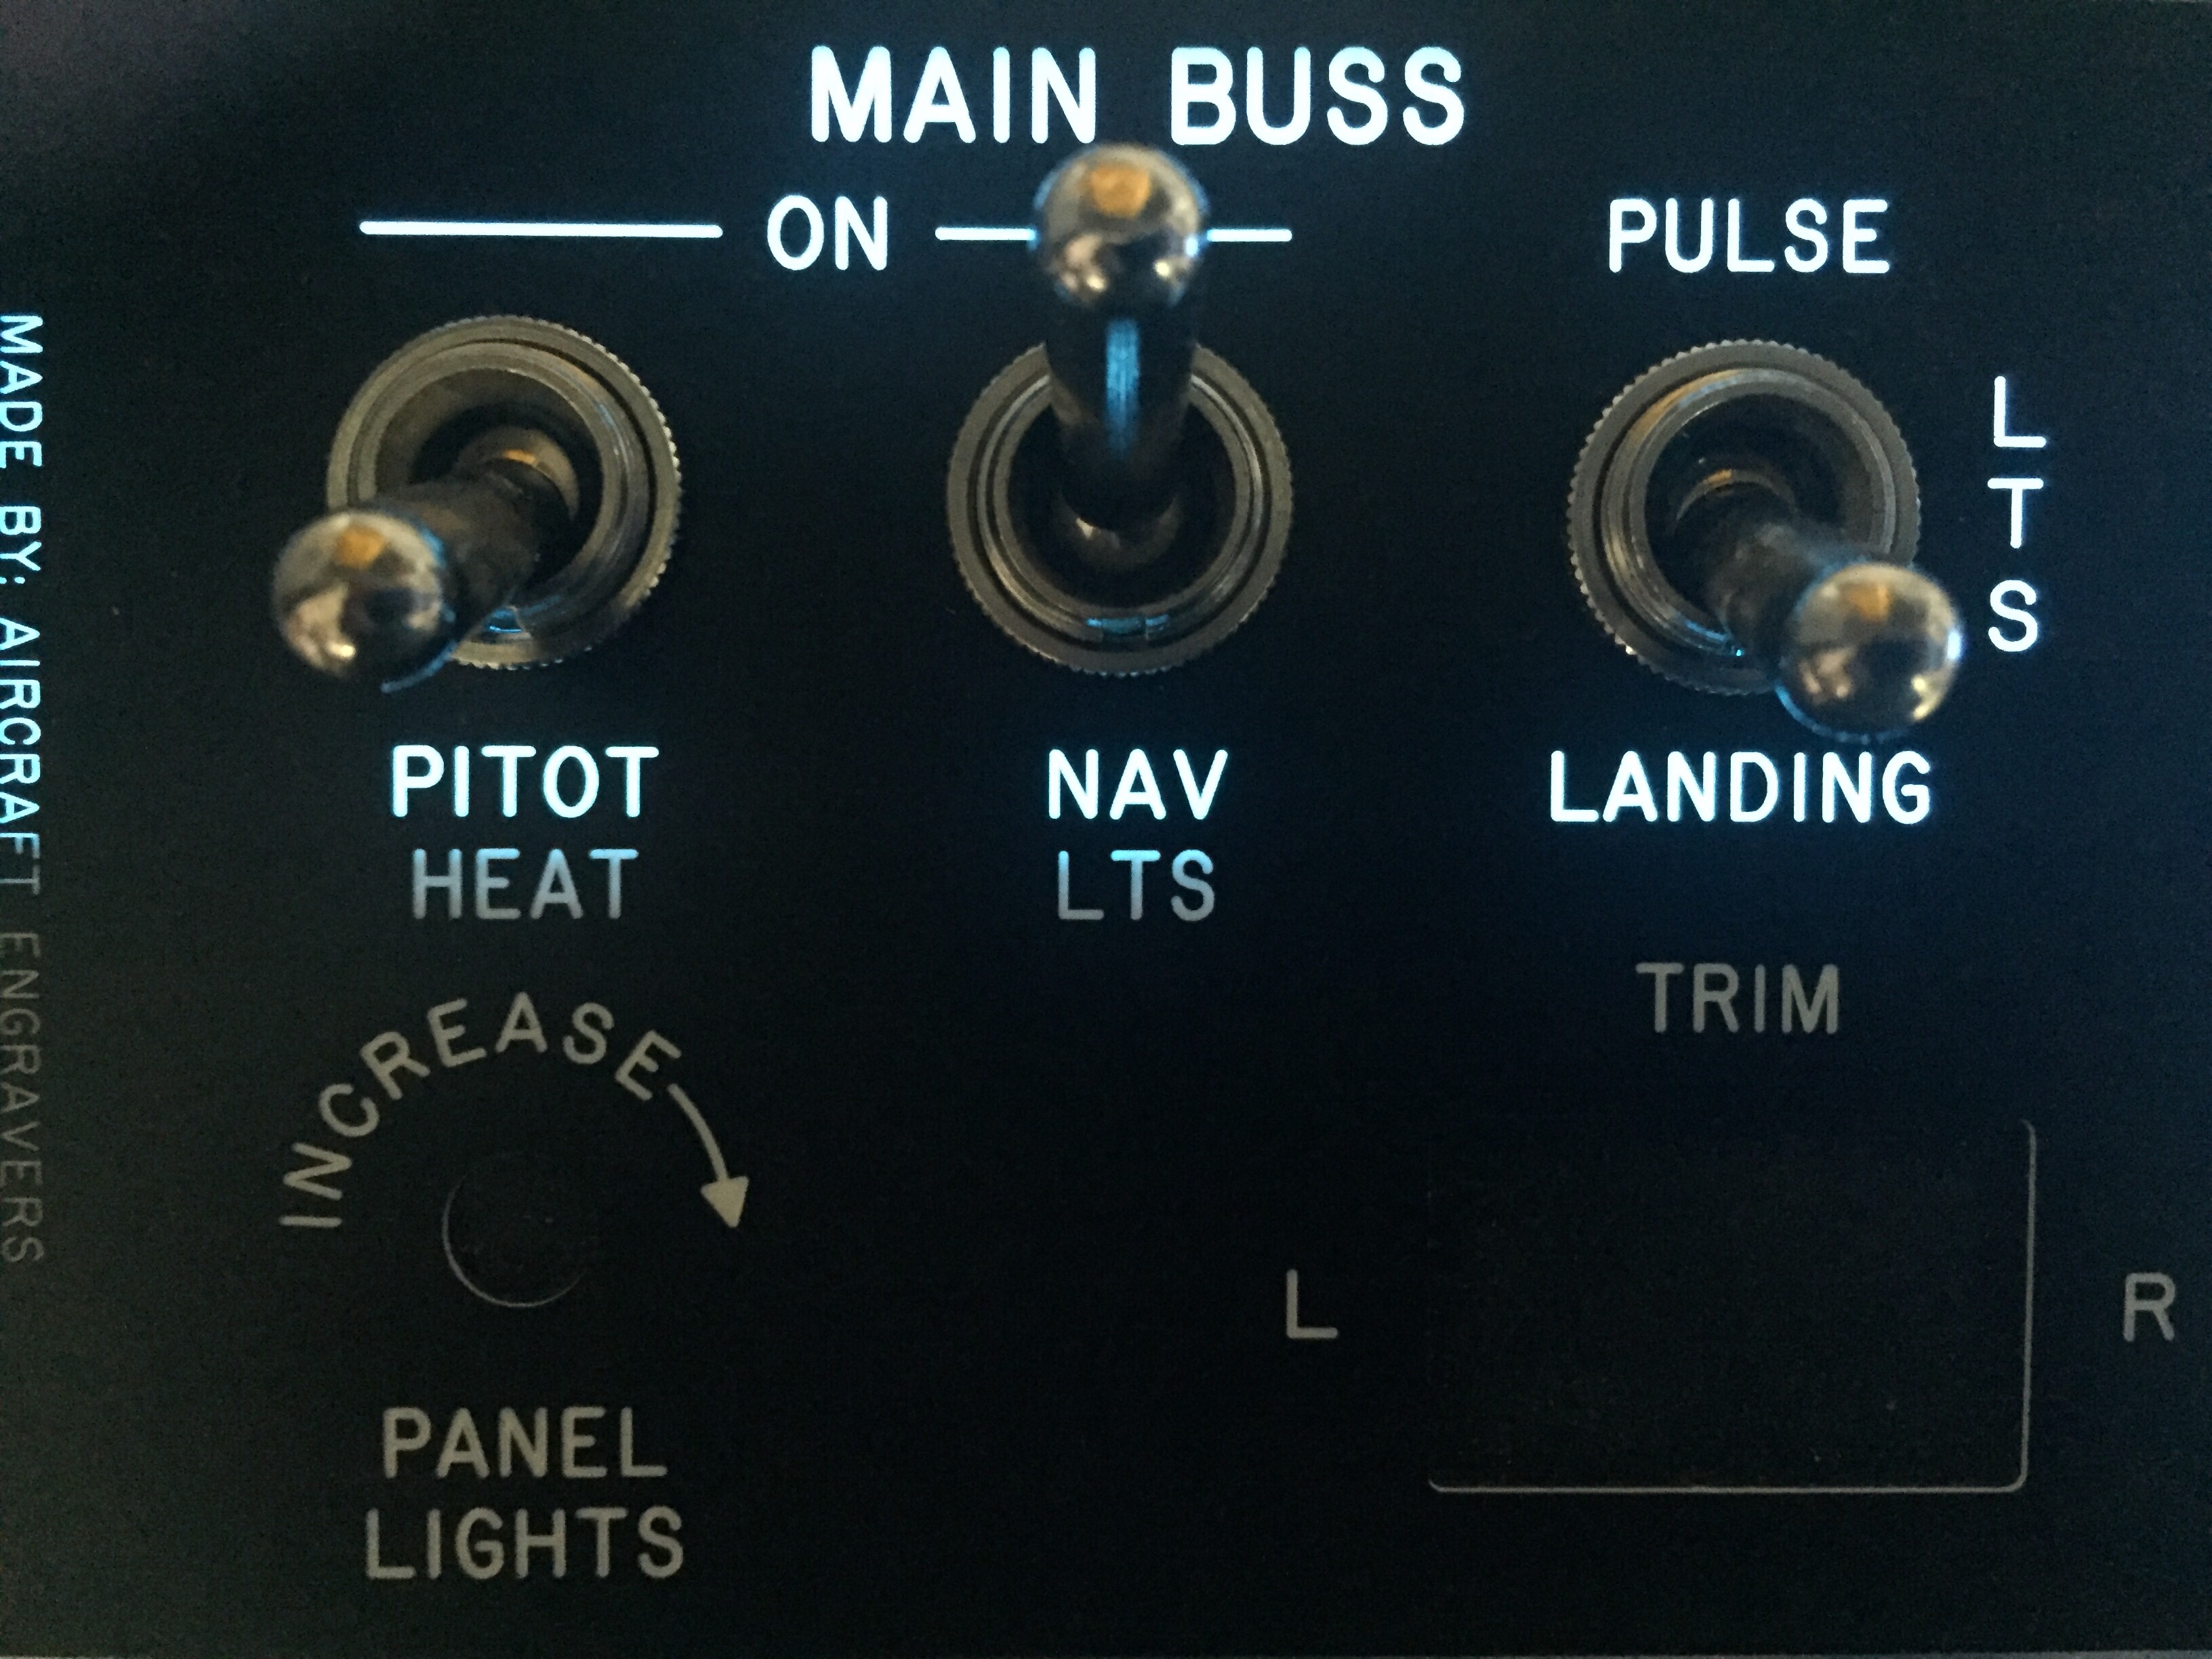
So on the overhead control panel, I will have all lighting switches (Nav, Strobes, Taxi, Land, Interior Reset) along with the dimmers for the panel, instruments, and interior lights.

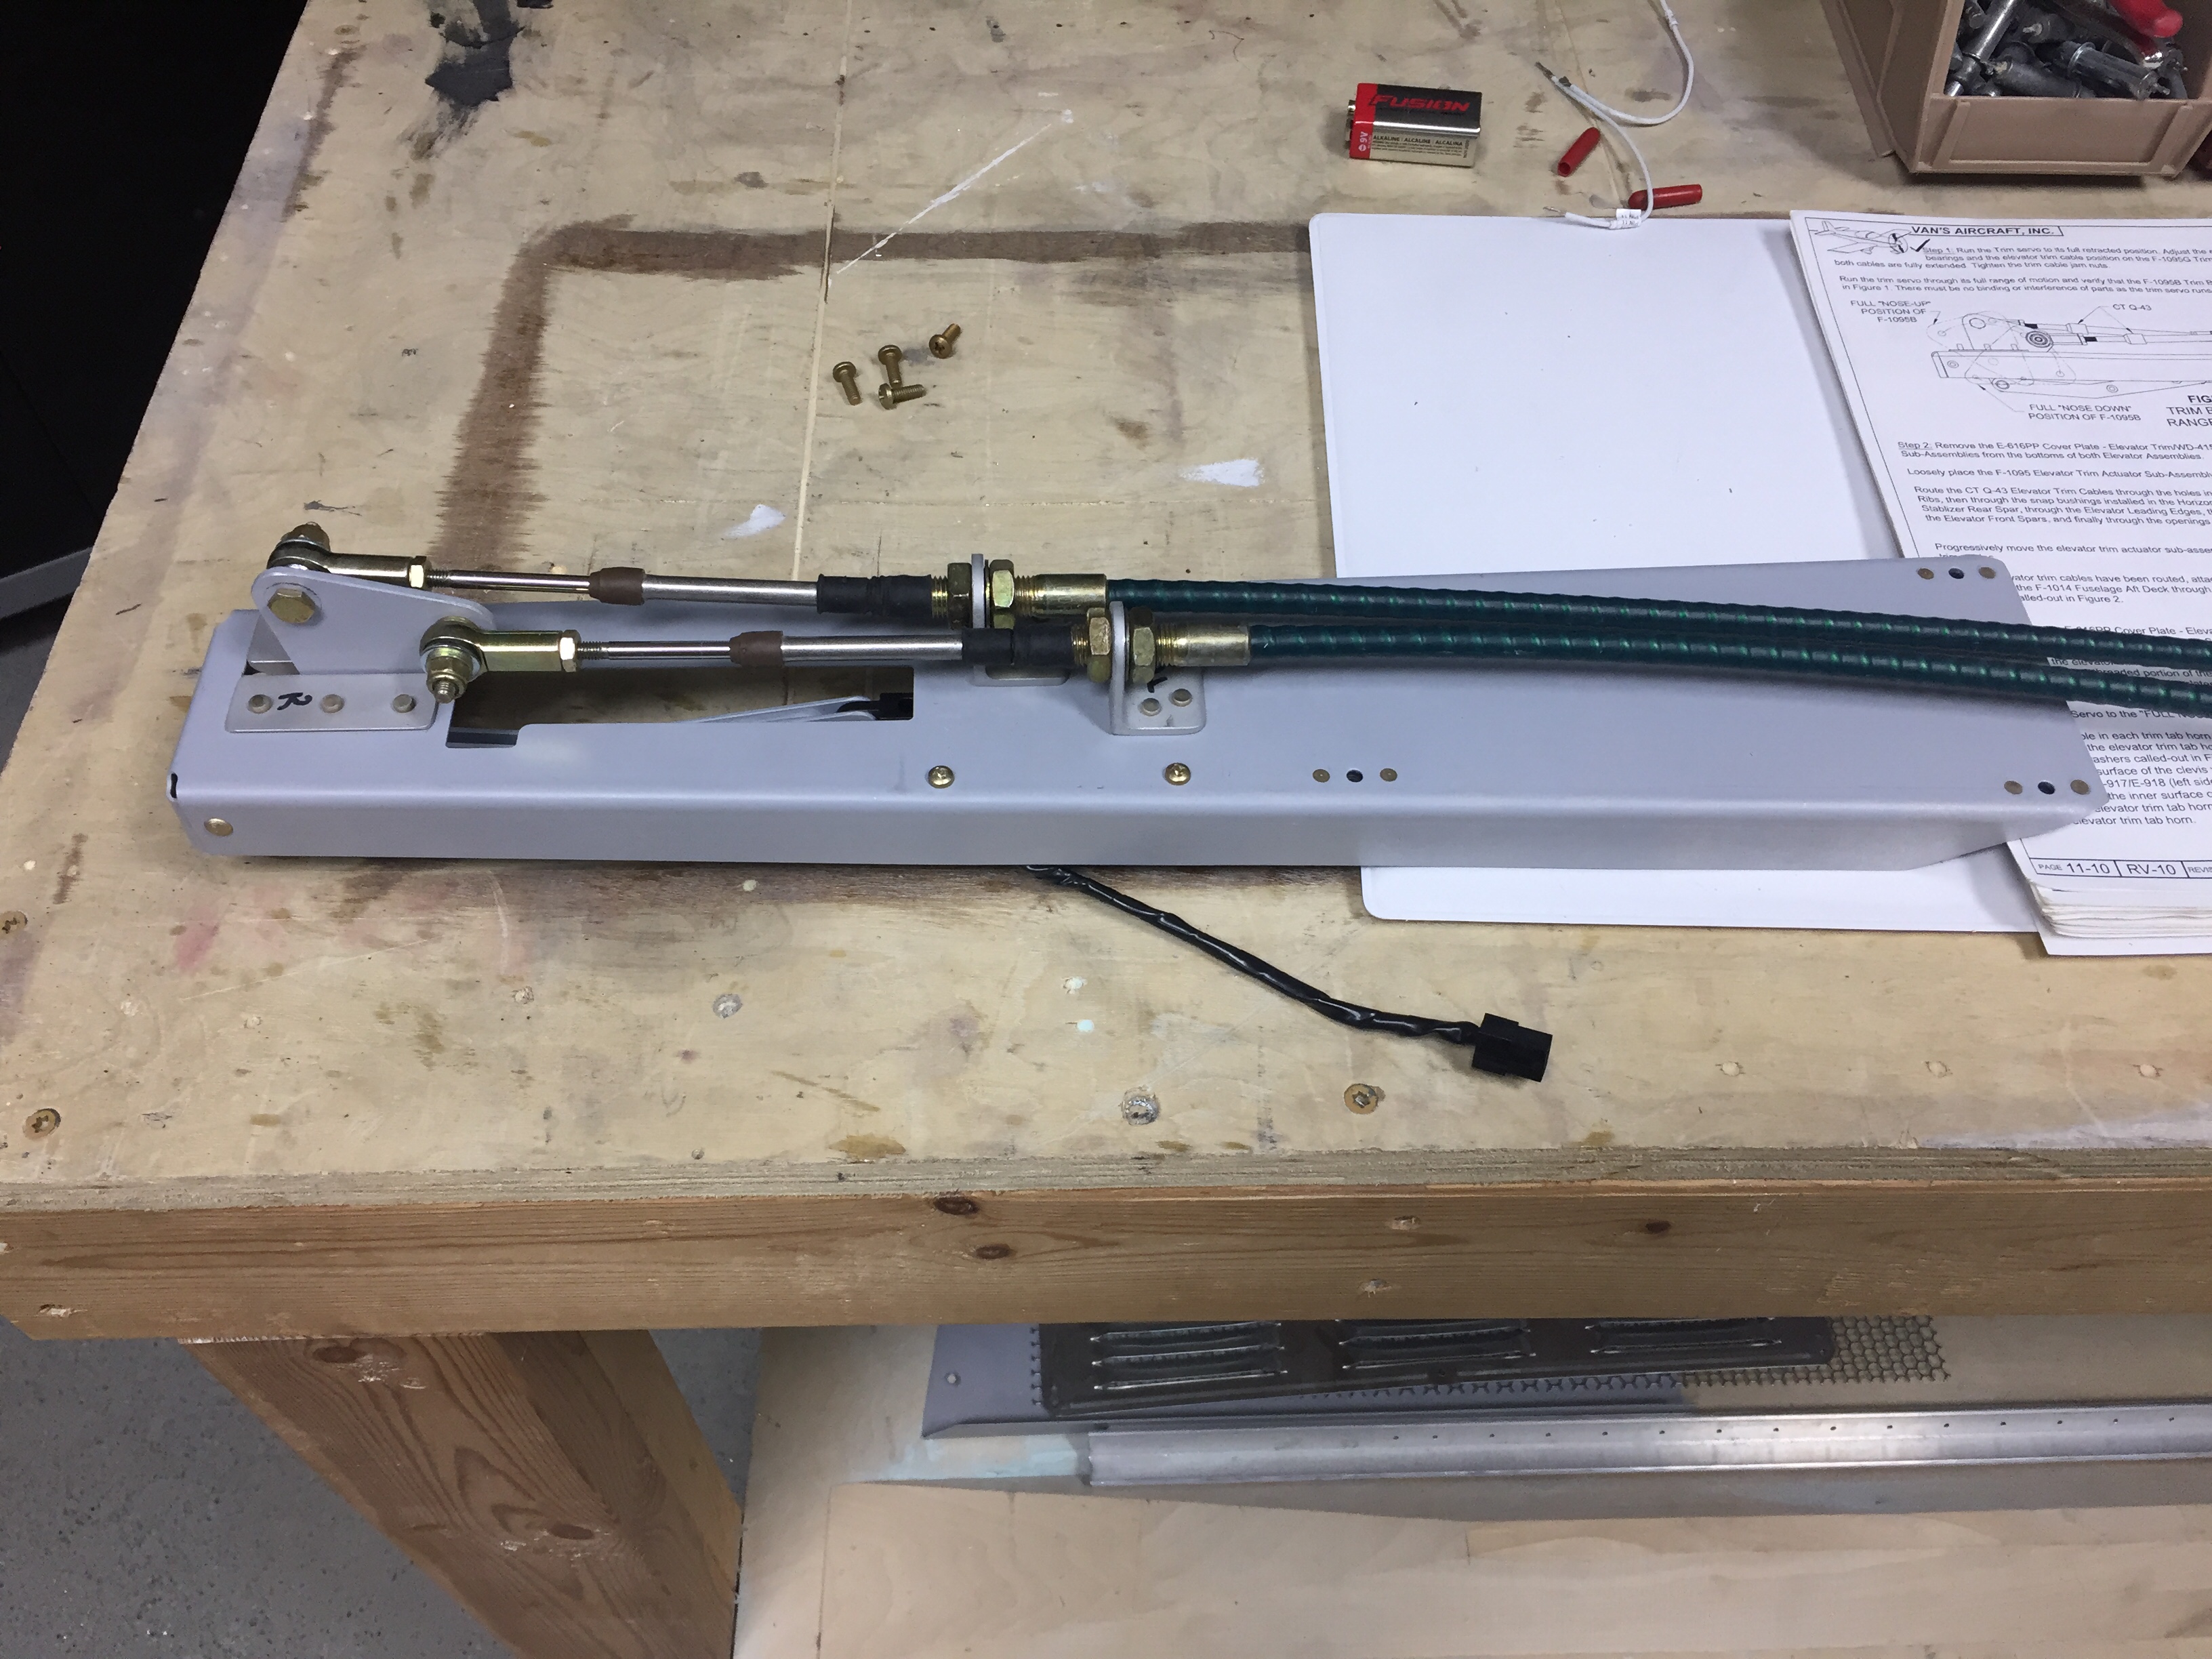
I also fabed up and installed the pitch trim servo mount. It was a pretty quick job and the wiring for the servo was already pulled during an earlier build session. I’m trying to get as much wiring roughed in now before much more structure goes in place.

Controlling the overhead

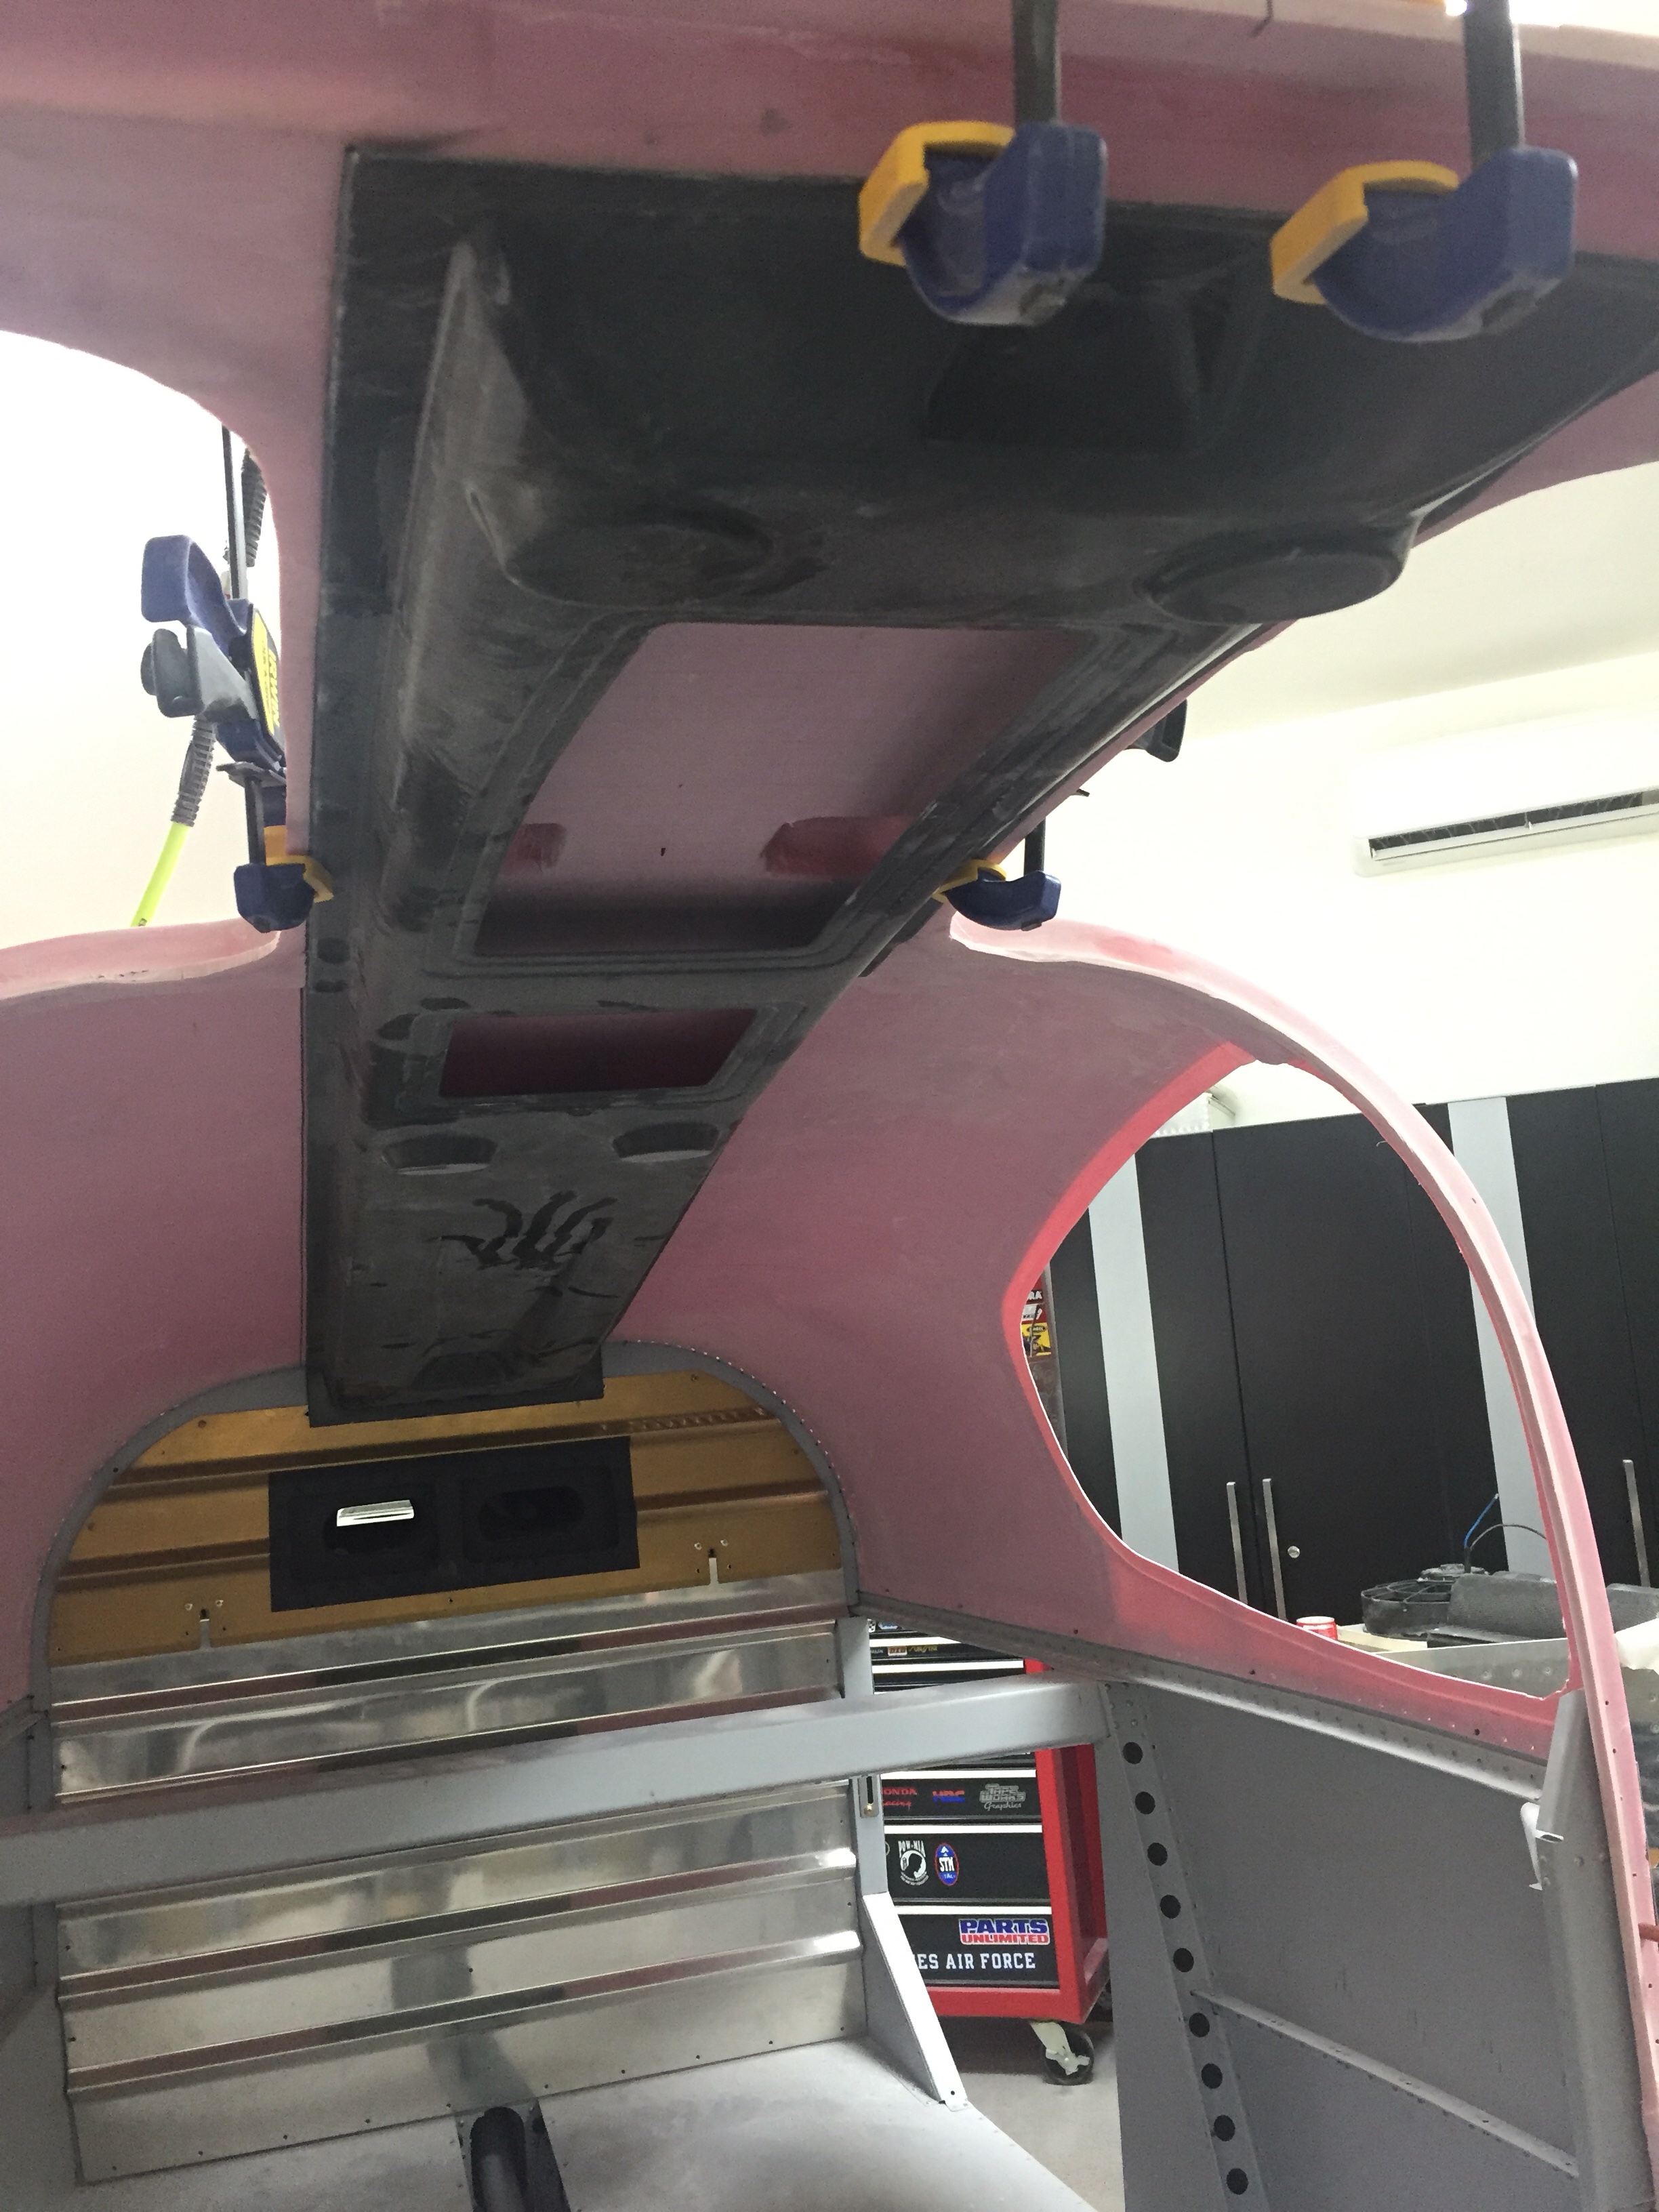
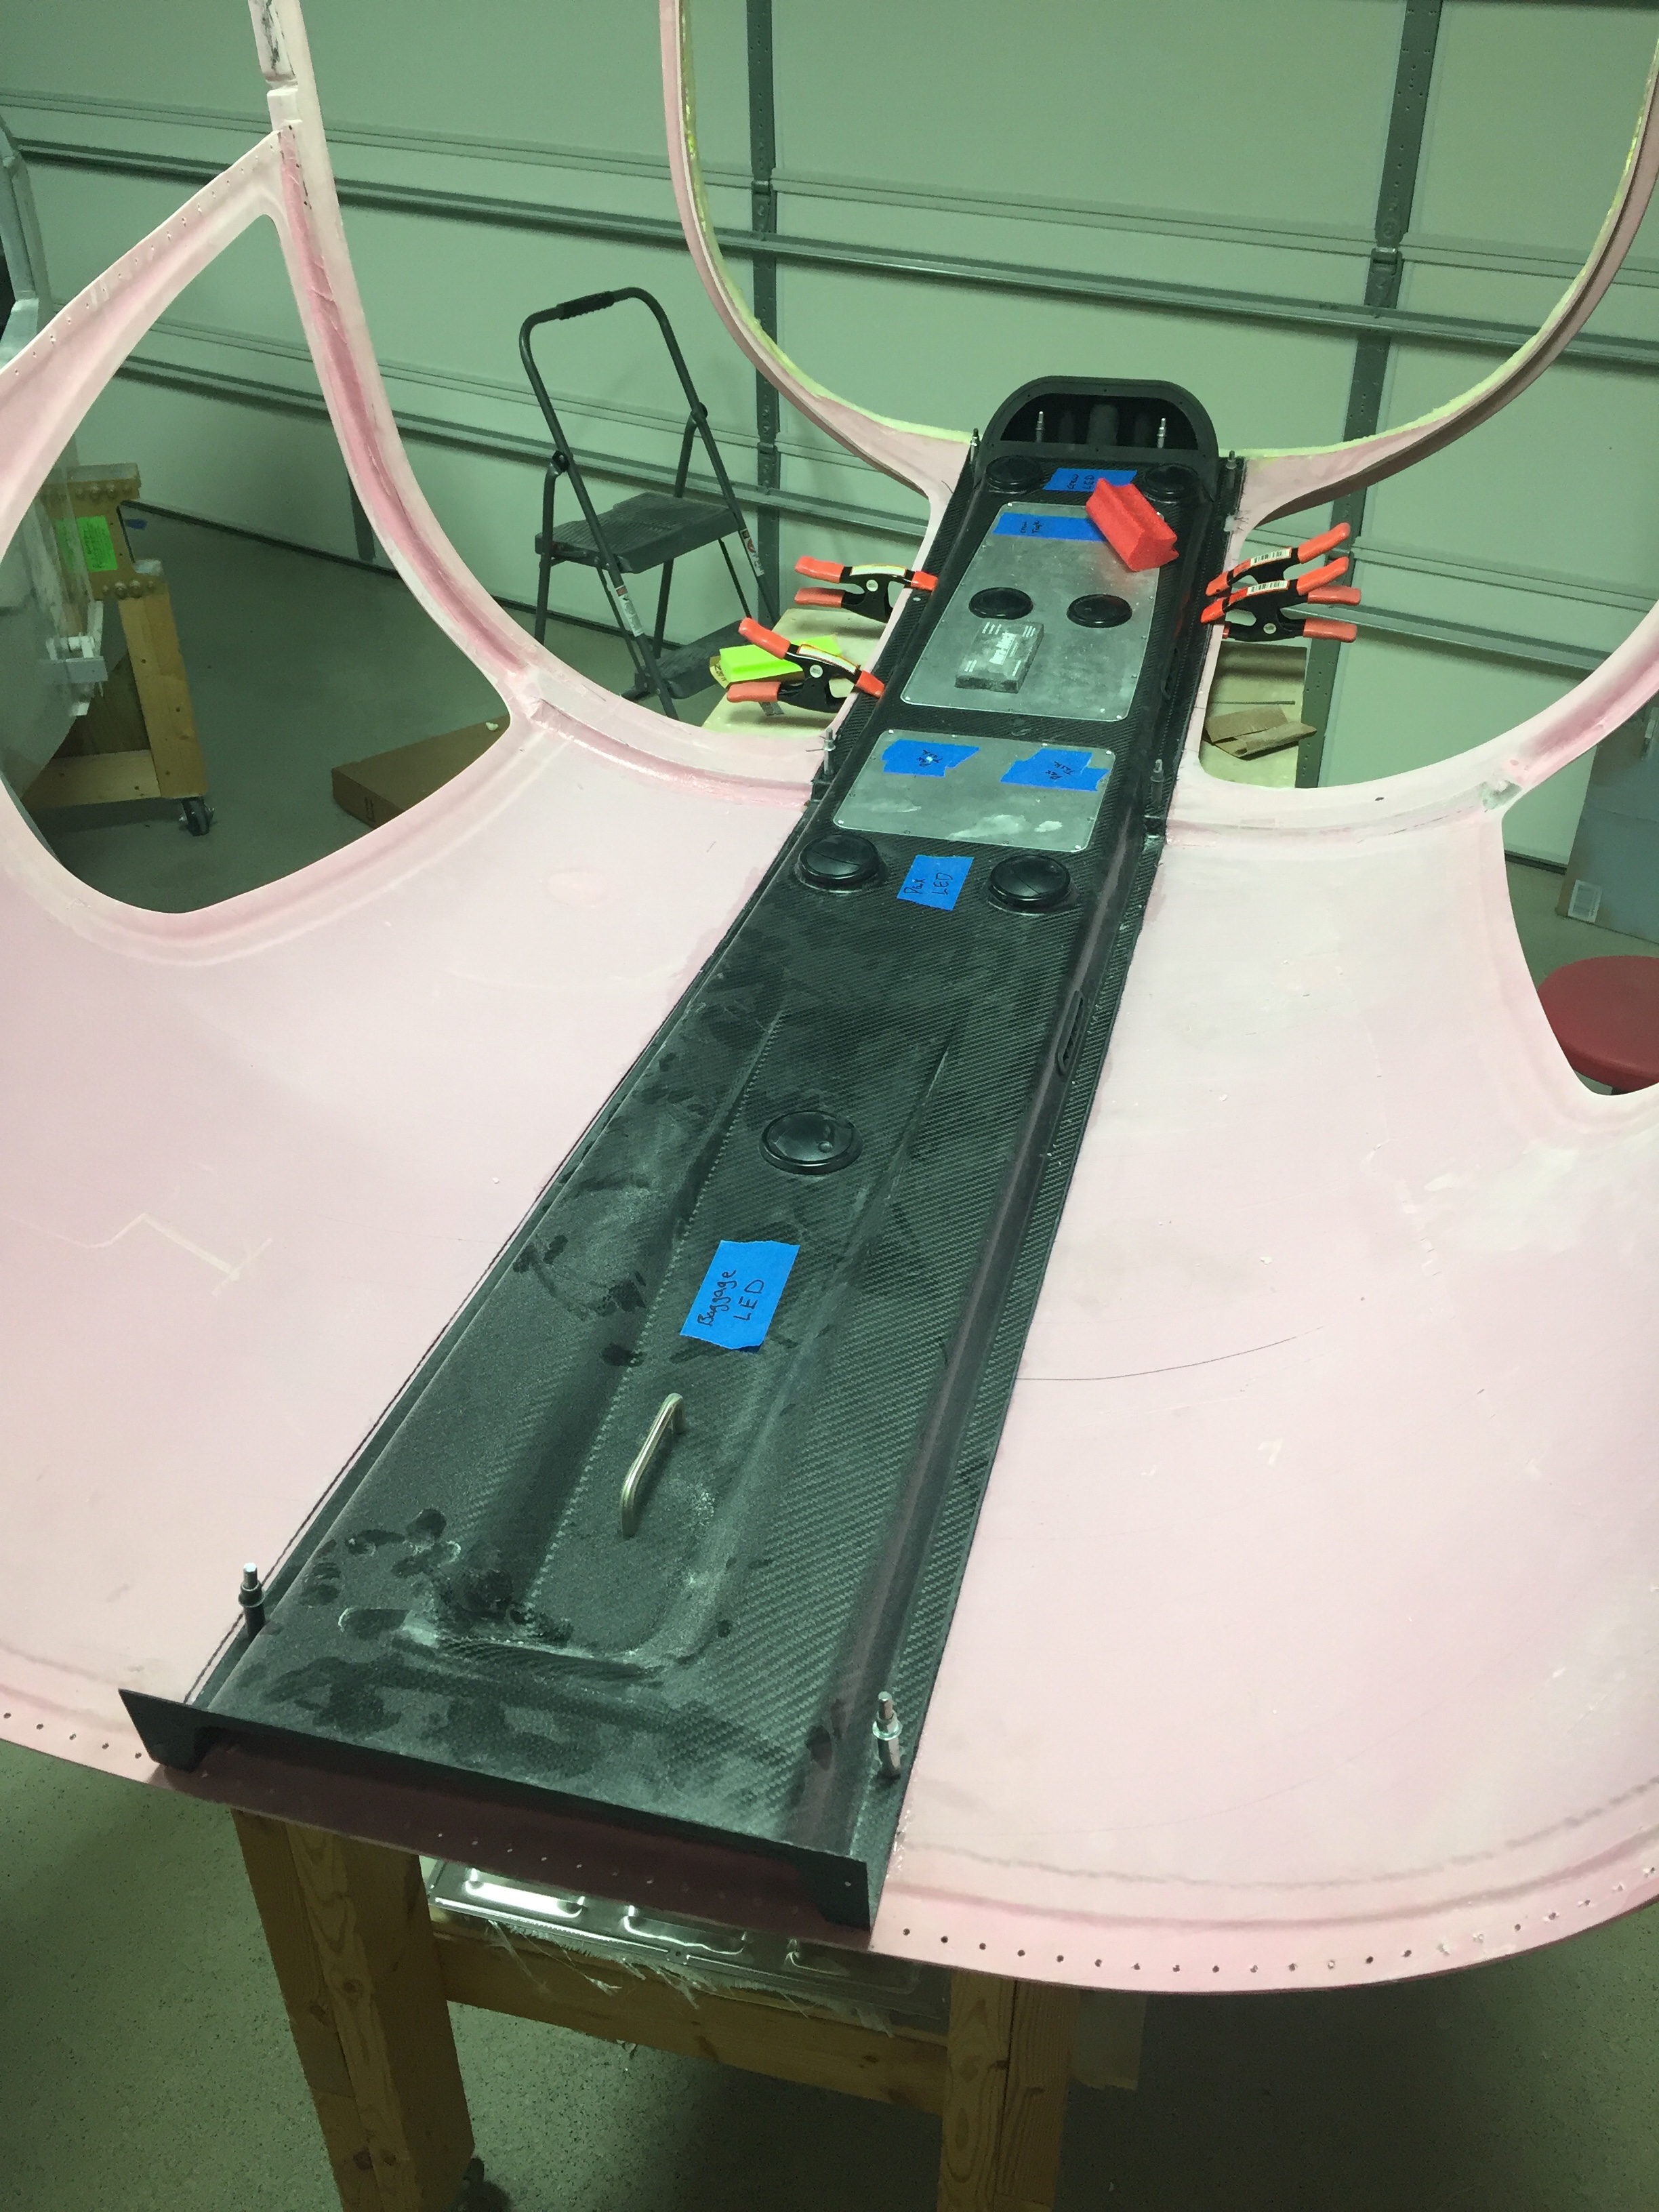
One huge task to complete before the cabin top can go on for good is the overhead console. This piece of art comes from Aerosport and allows the vents for the air conditioning and the lights to be mounted on the cabin top. I also have one of the first production examples of the overhead switch panel that Ed Krantz molded up.

The first step is a rough fit and trim to get an idea where the interference points are. The mold they use is pretty accurate but has a few spots that needs adjustments. I didn’t have to cut the joggle around the step in the cabin top, however, there were a few spots up near the windshield that were too bulbous and had to be ground down. Overall, the initial trim and sanding was a pretty quick and painless job.

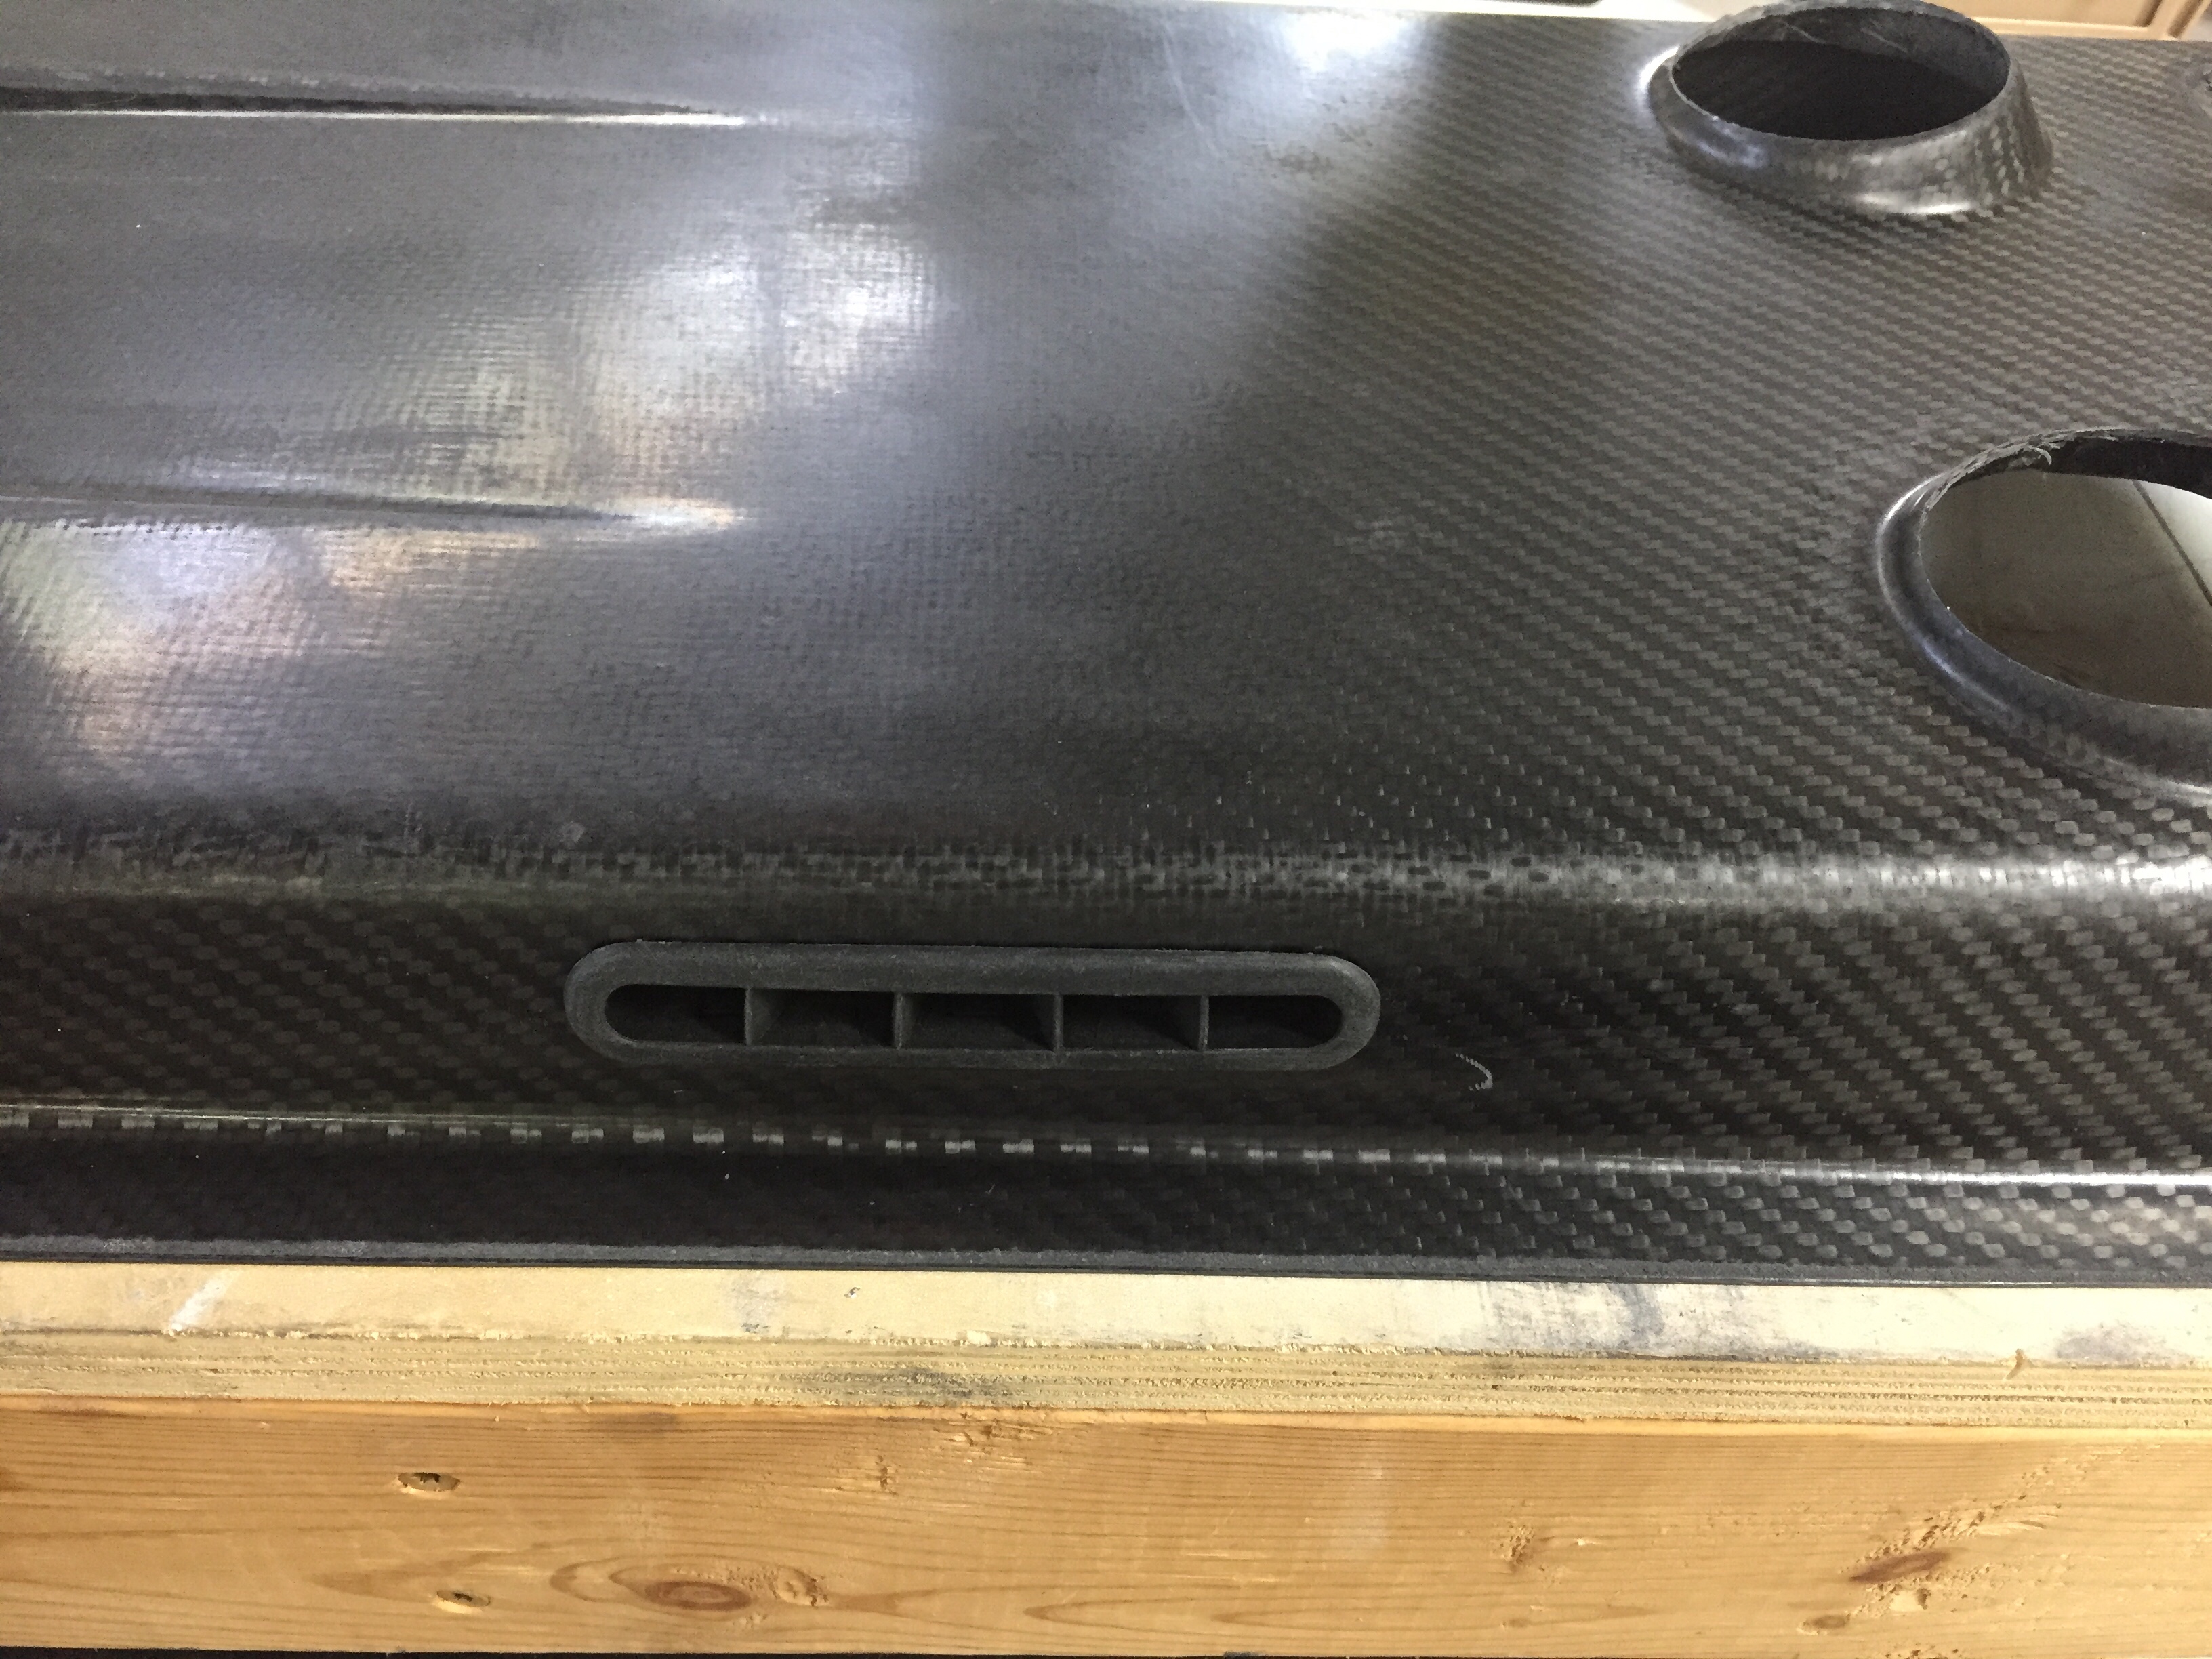
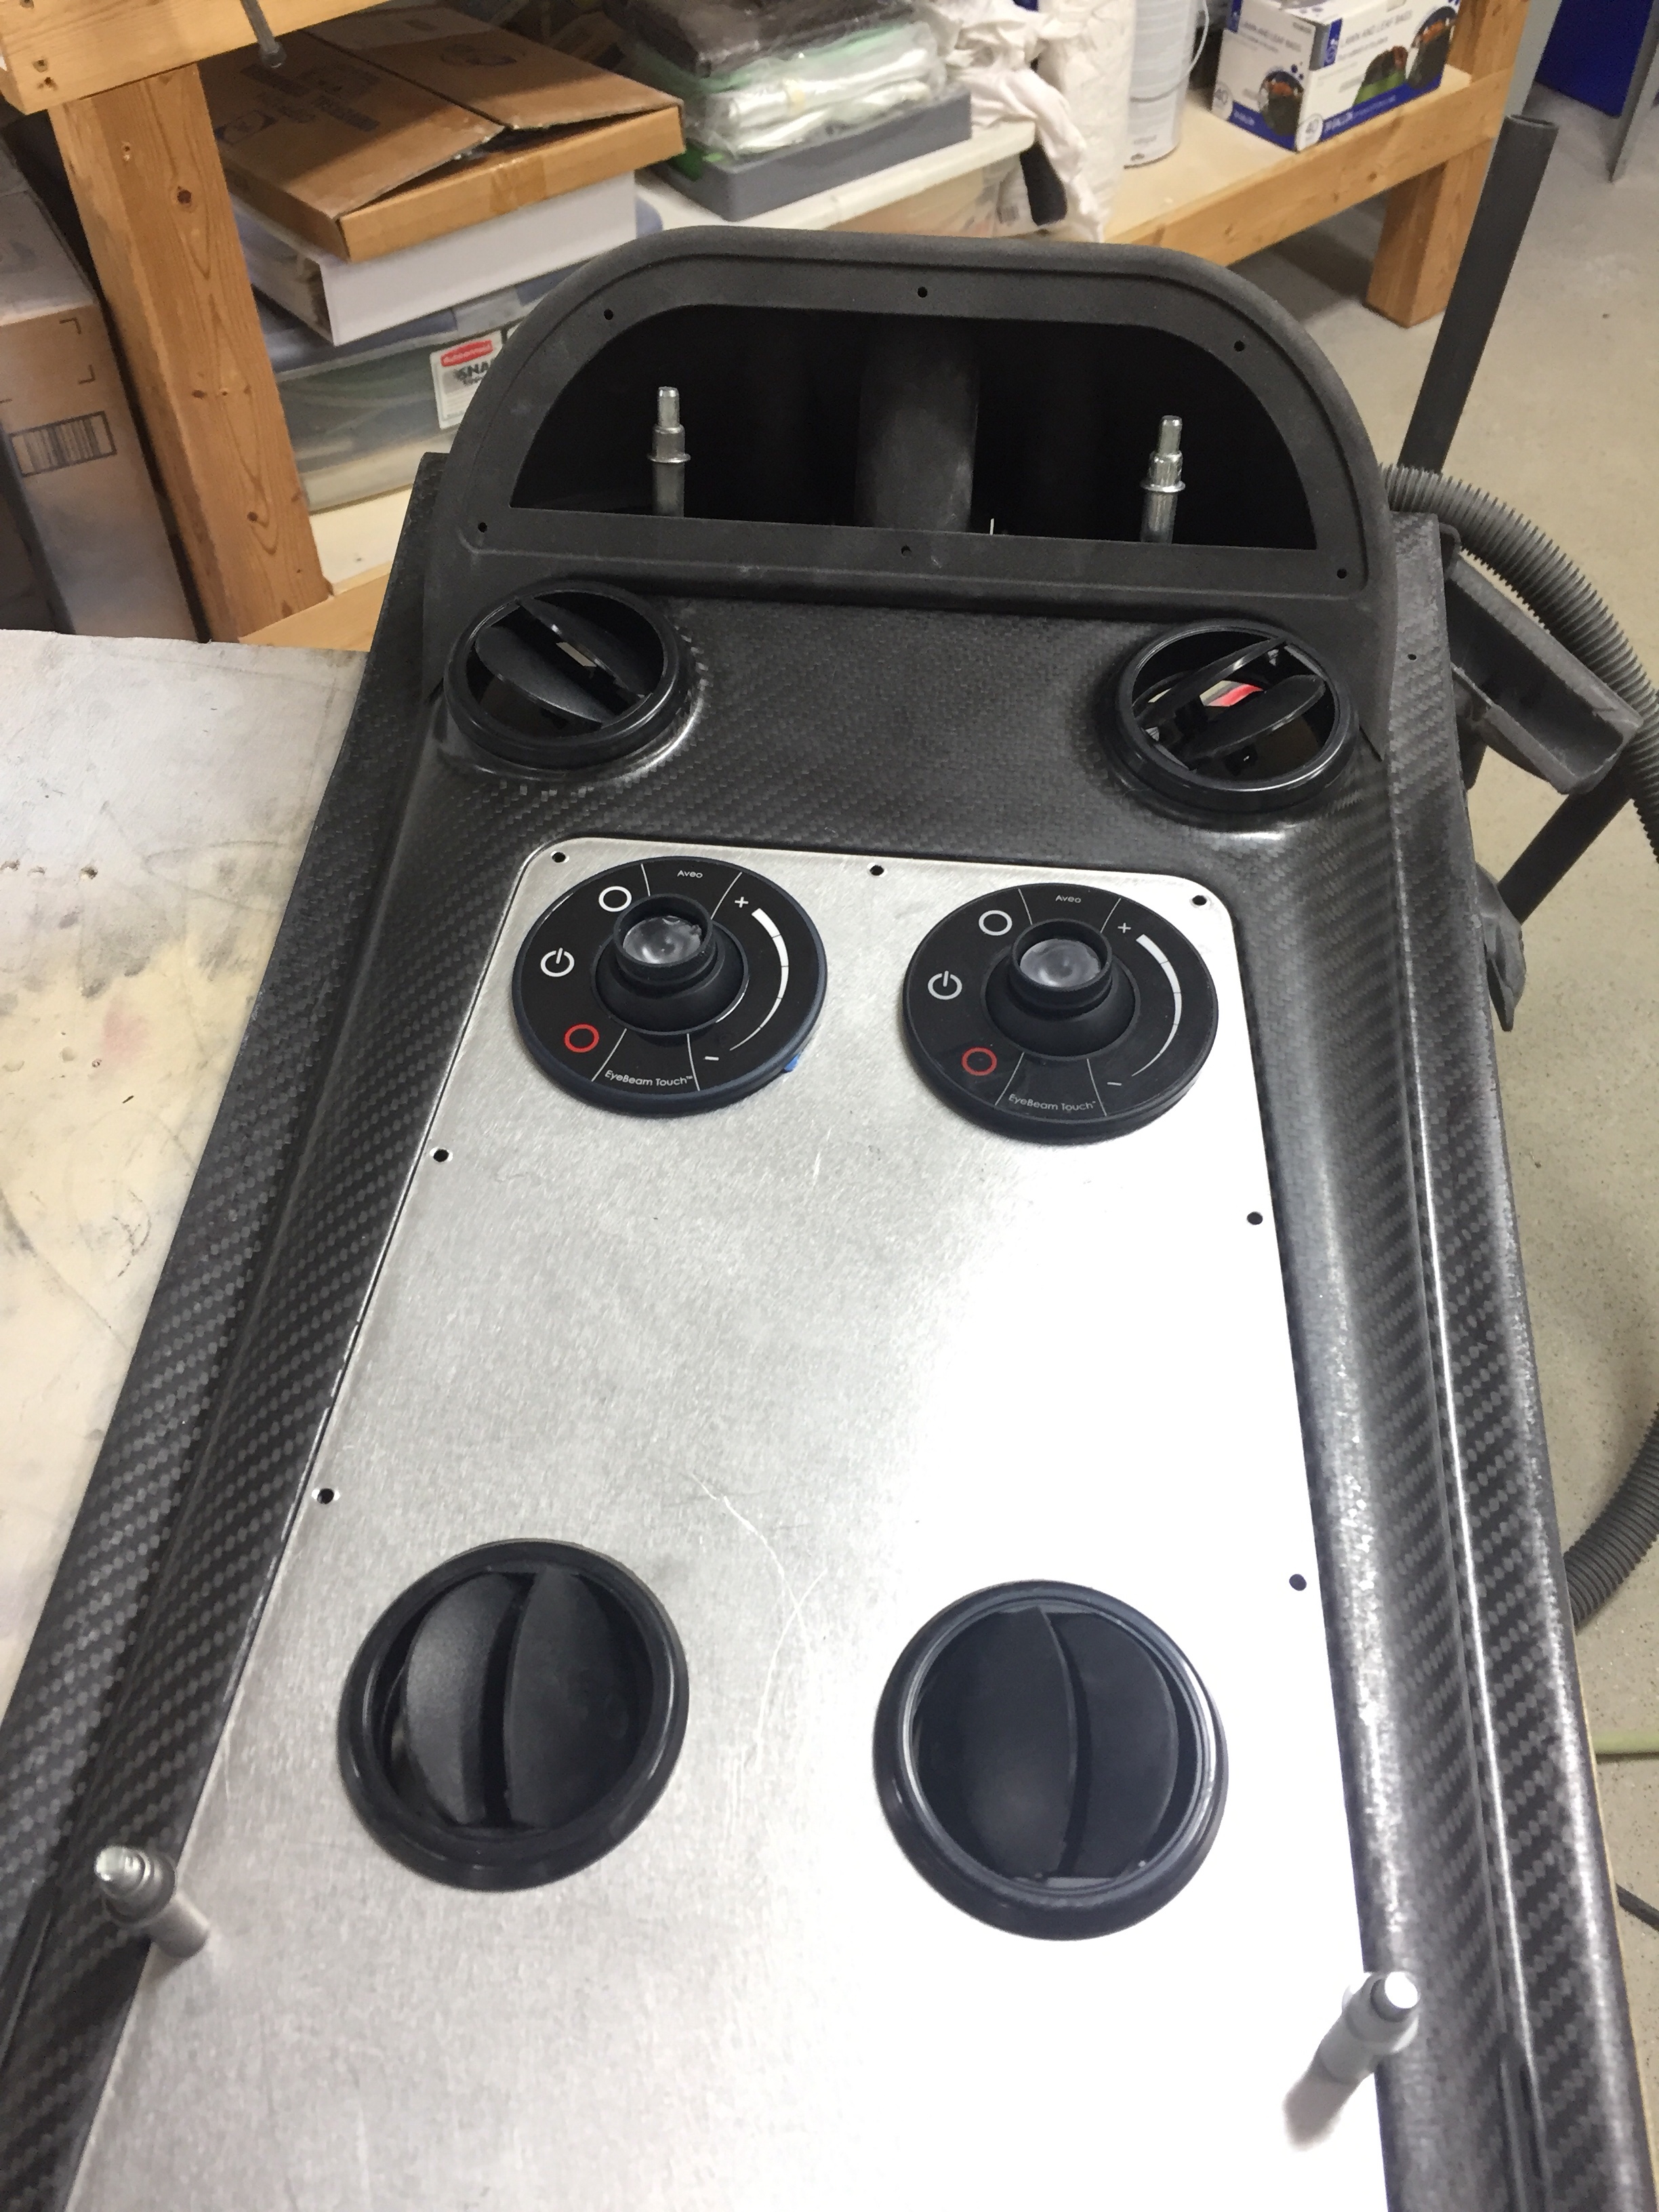
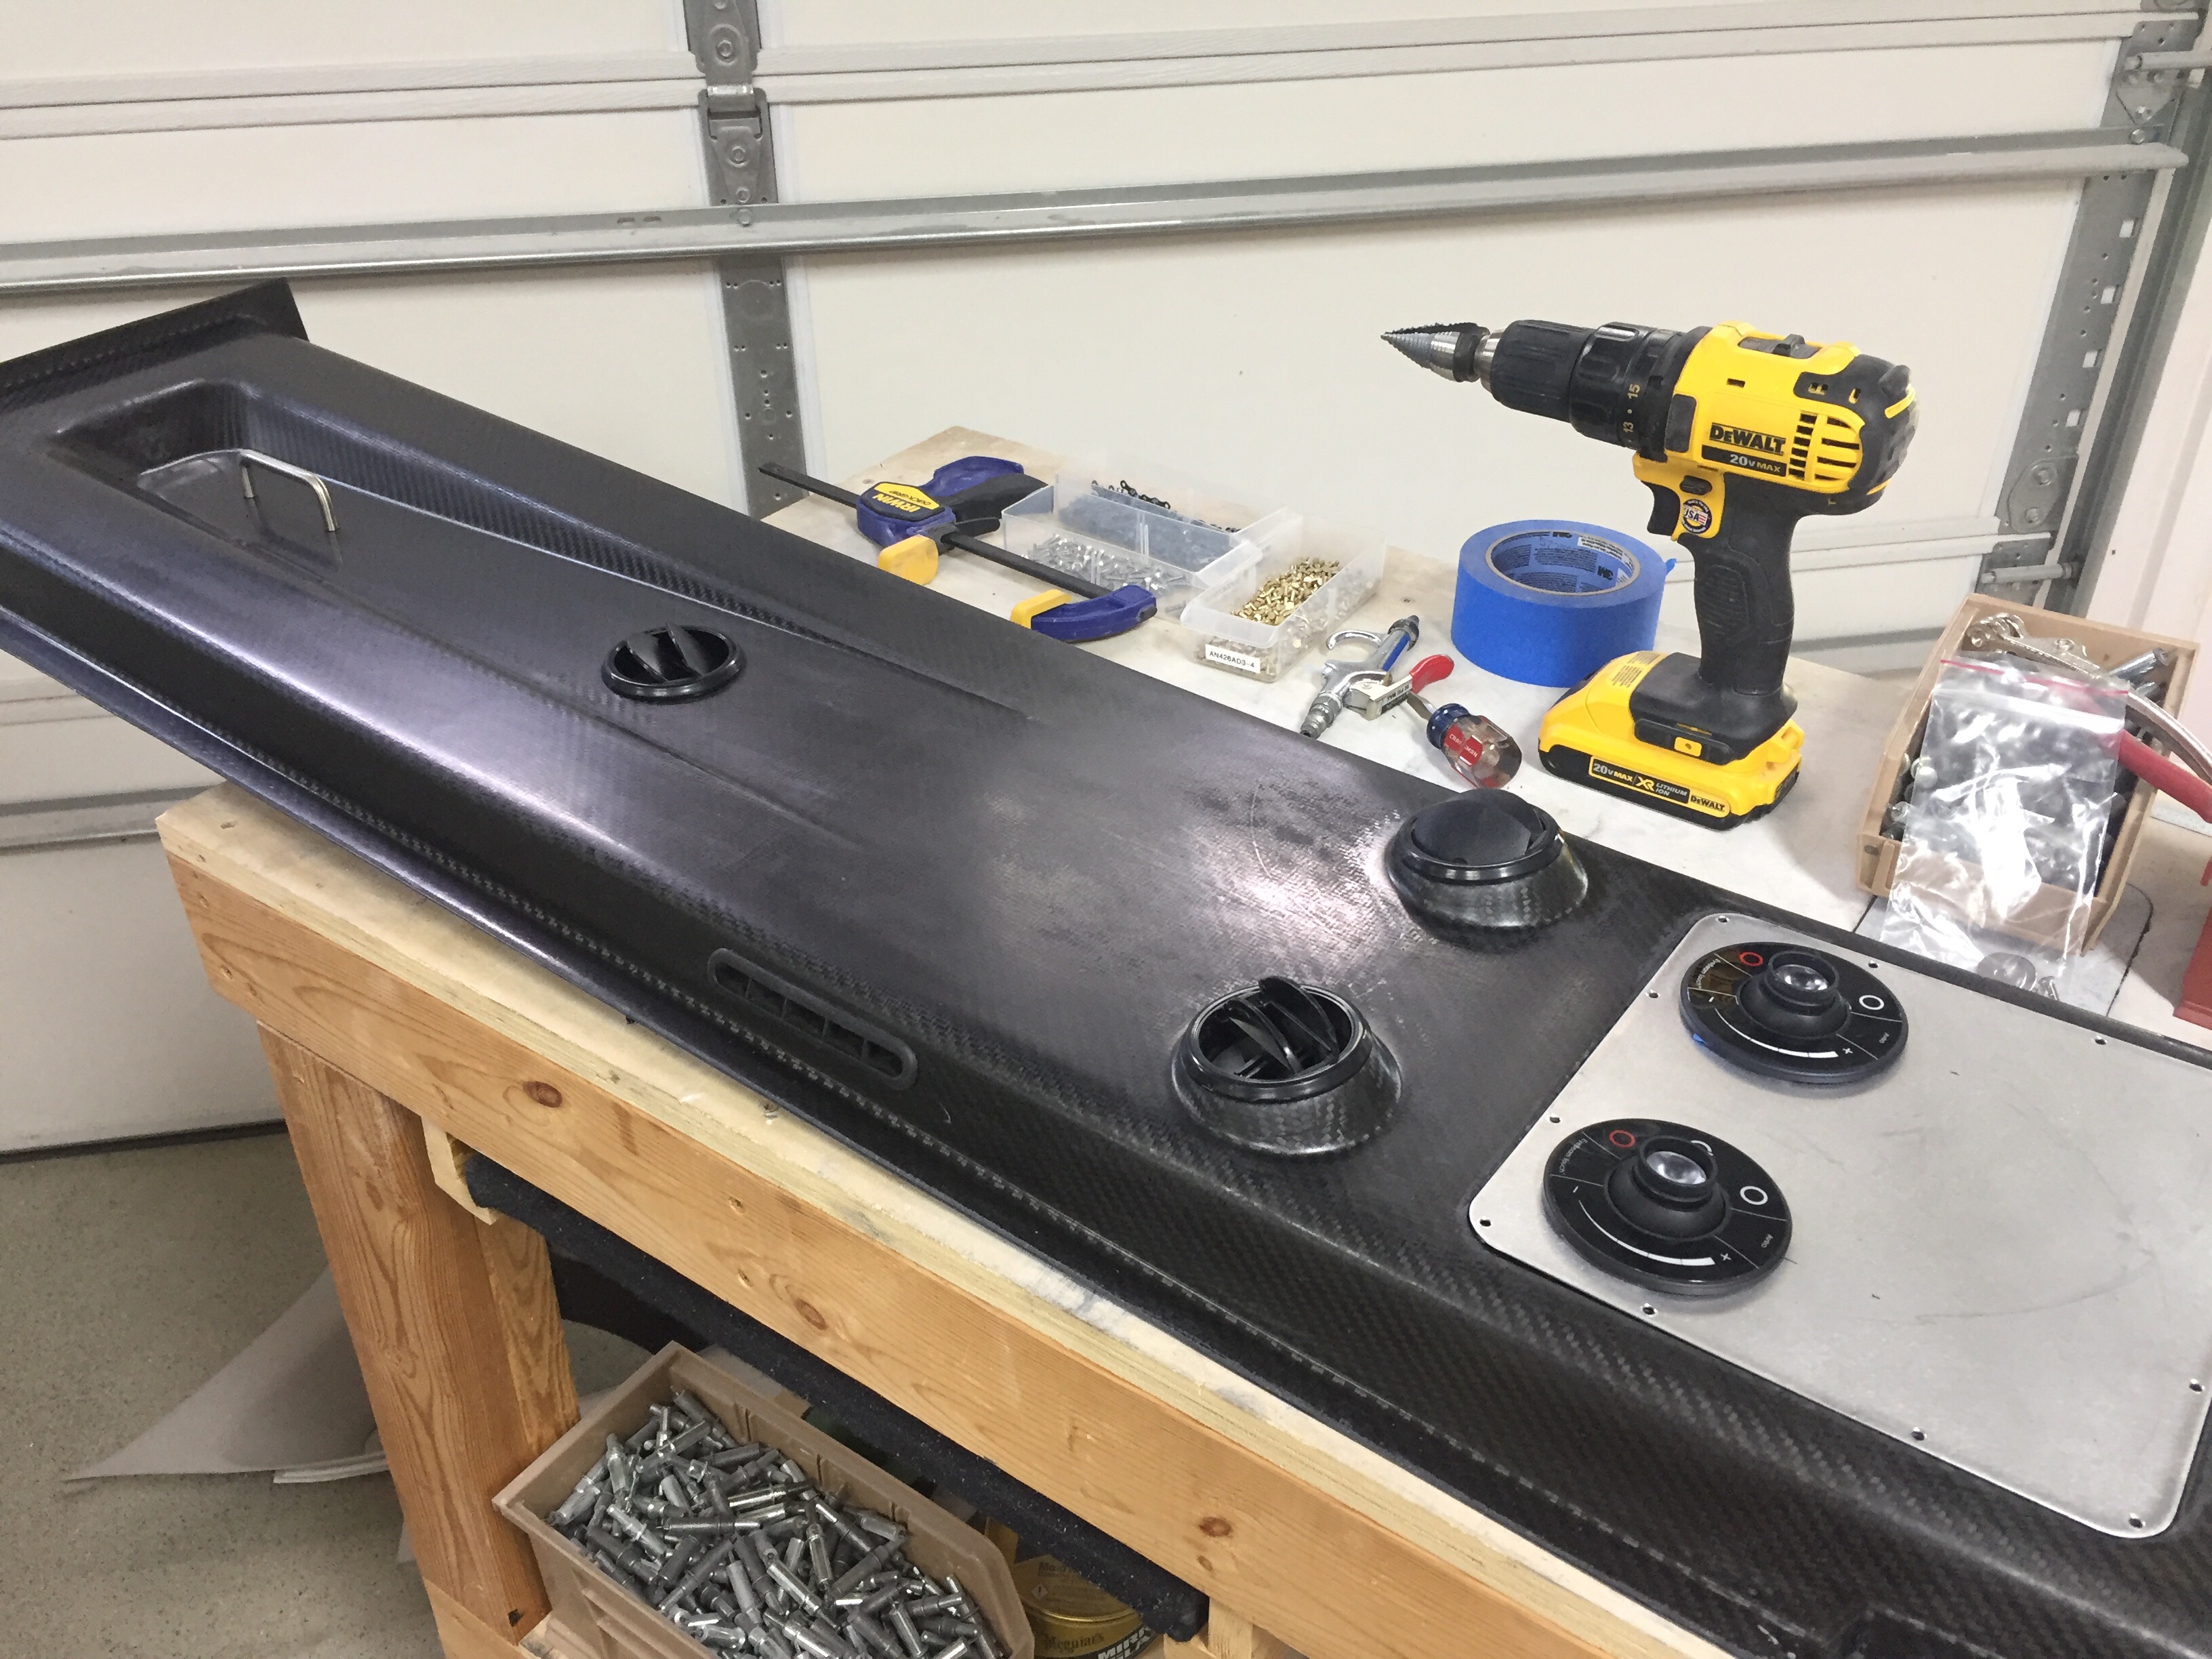
The overhead has two large aluminum panels that can be used for lights, vents, etc. but need nutplates installed to secure them. Pretty quick job to set it all up including countersinking the panels for flush screws that came out very nicely. I also decided where to mount the four curtain vents that I got from South Florida Sport Aviation. They are using the Airflow Performance set up on their own interior and despite my best efforts, I couldn’t find any vents like these online. I like these because it allows good airflow along the windows as well as alternate airflow if one or more of the vents are closed, keeping good flow through the cabin and over the evaporator which is key to efficient performance of the air conditioner.

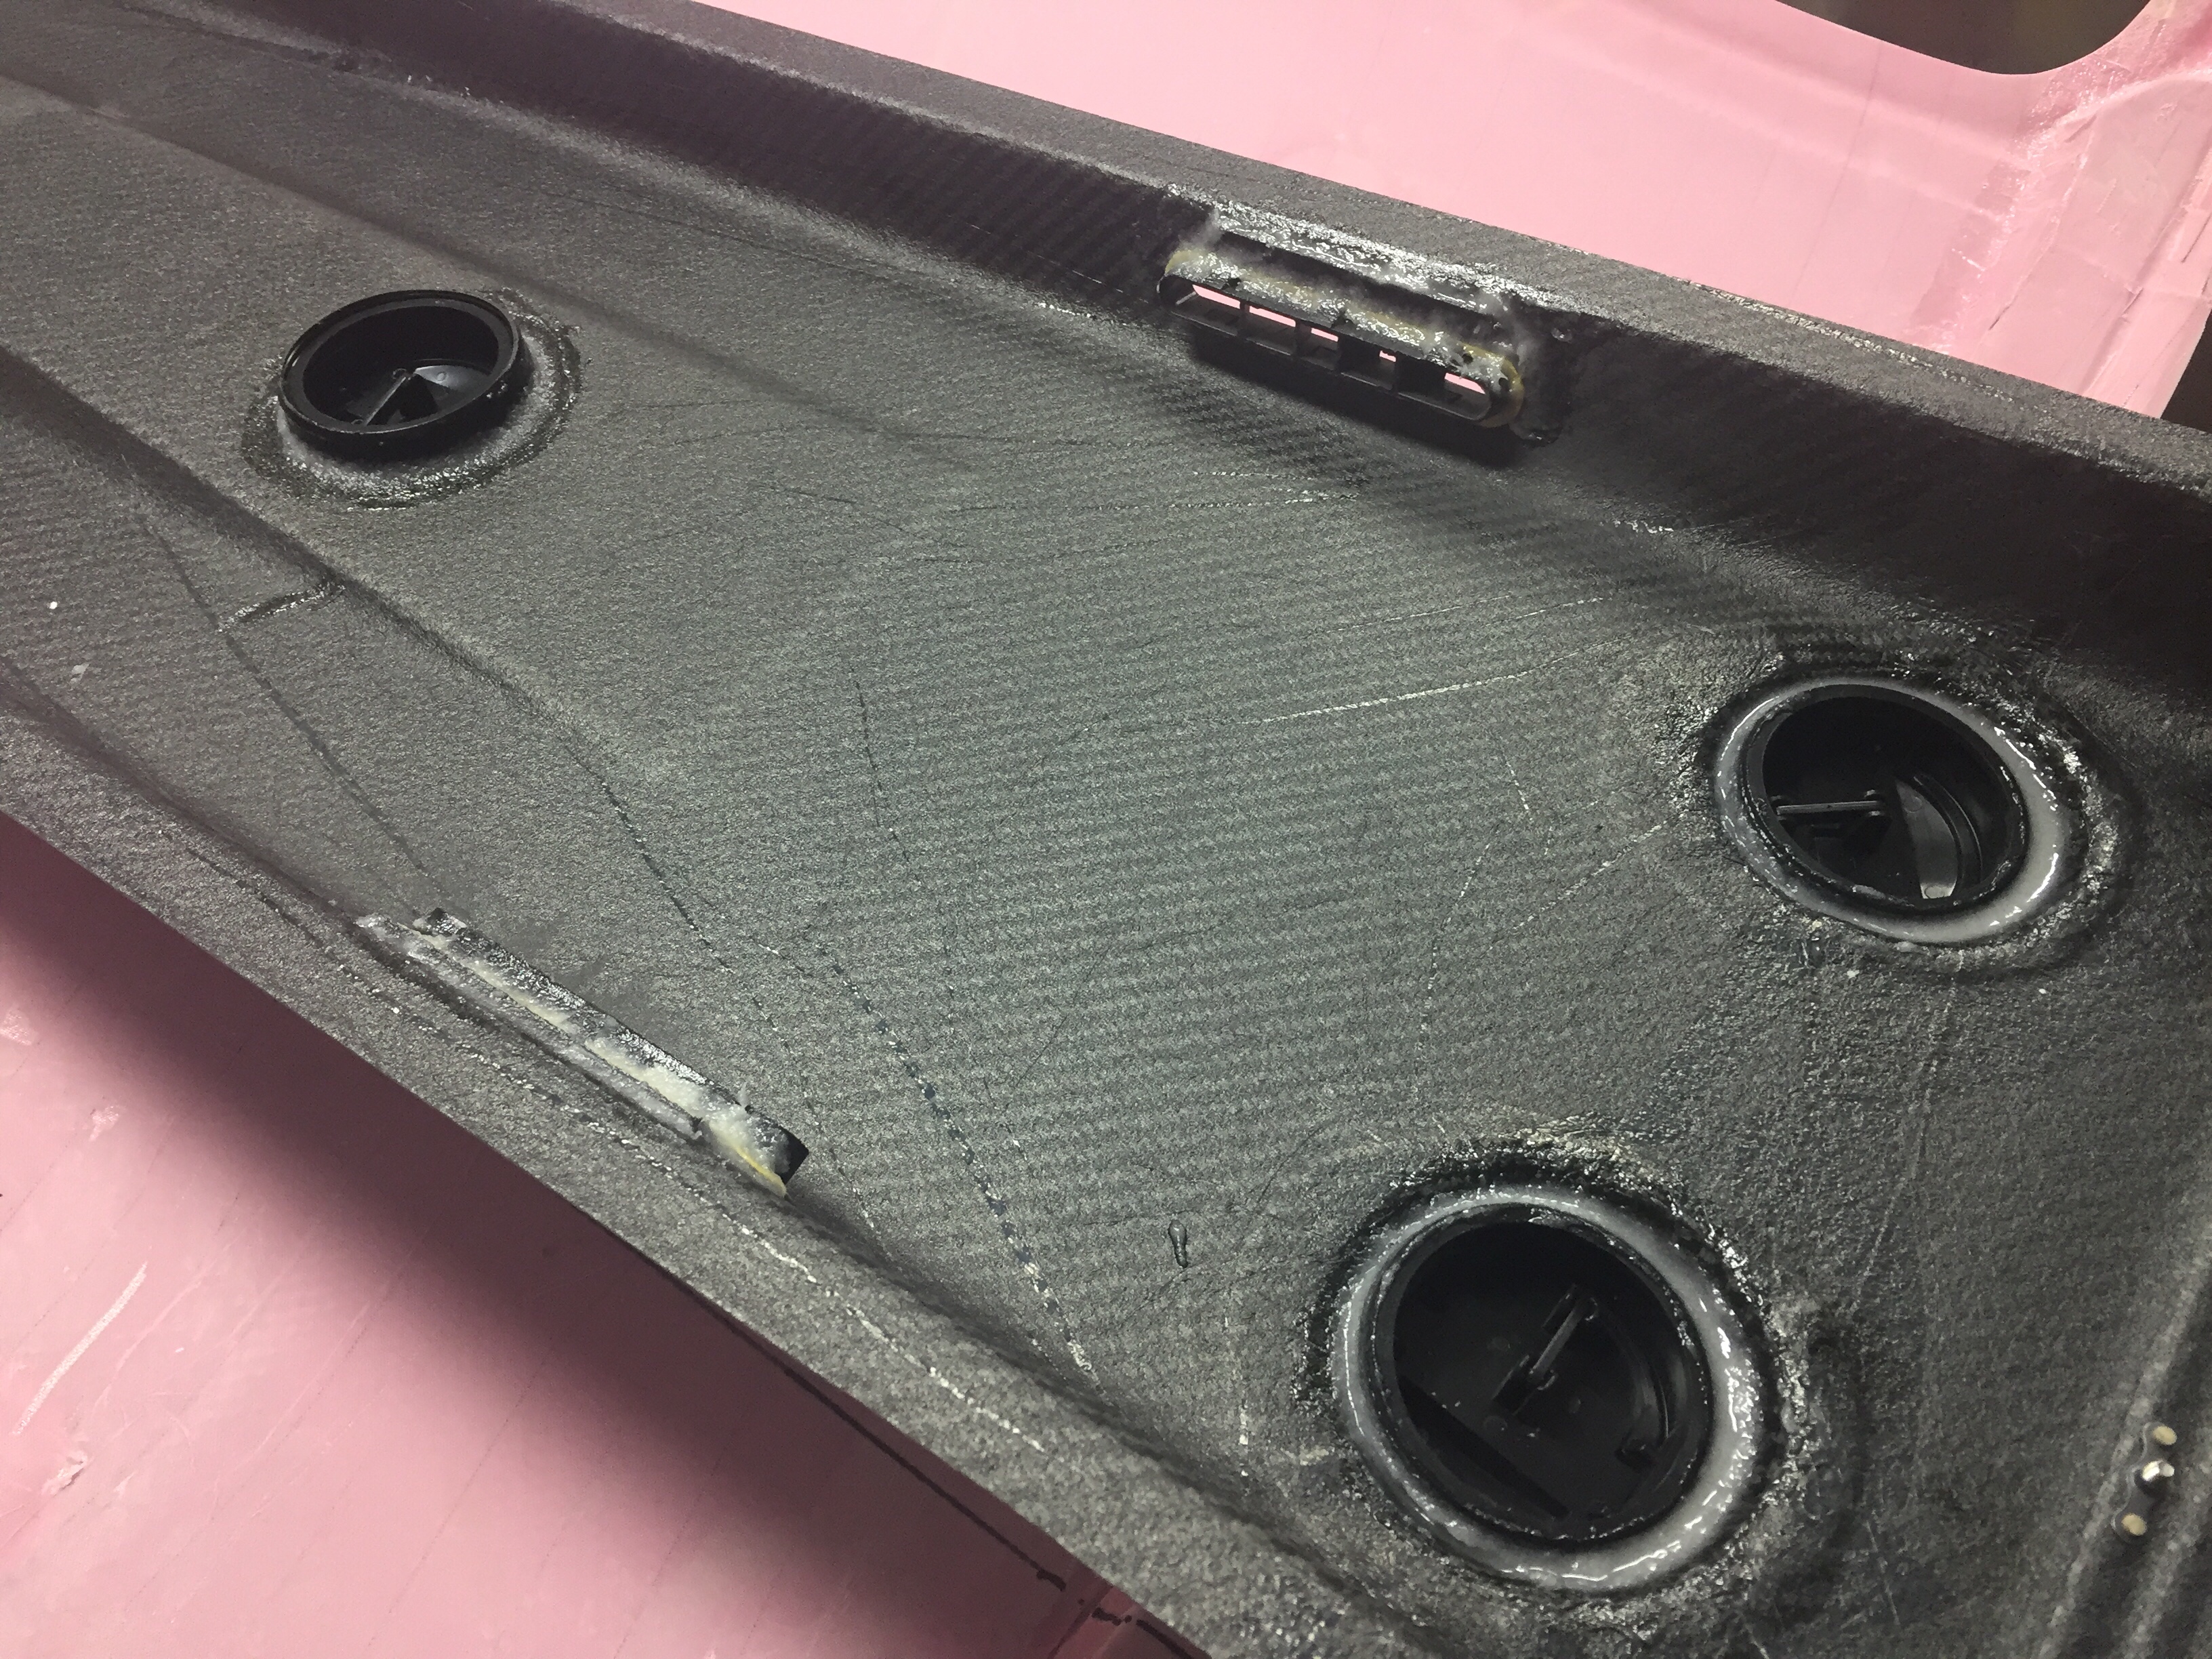
I also used the four molded spots to mount air vents in as you can see the cutouts above. Most have used either the eyeball vents or a universal car vent. Based on feedback from others and the astronomical price of eyeball vents, I decided Summit Racing vents would work better. They were $20 each instead of $120 each and I think will allow a lot more air to flow while being easier to use. I simply used epoxy/flox to secures them to the overhead taking care to not have any leak on the vents themselves. I also put two vents in the metal panel so that the pilot and copilot each have two vents, hopefully keeping me cool up front with all the glass. The panels will also hold an Aveo Eyebeam Touch task light for each seat.

Lastly, I installed the coat hanger in the rear which will probably rarely be used, but hey, it’s part of the kit and looks good. I can also use it to call this a business aircraft!

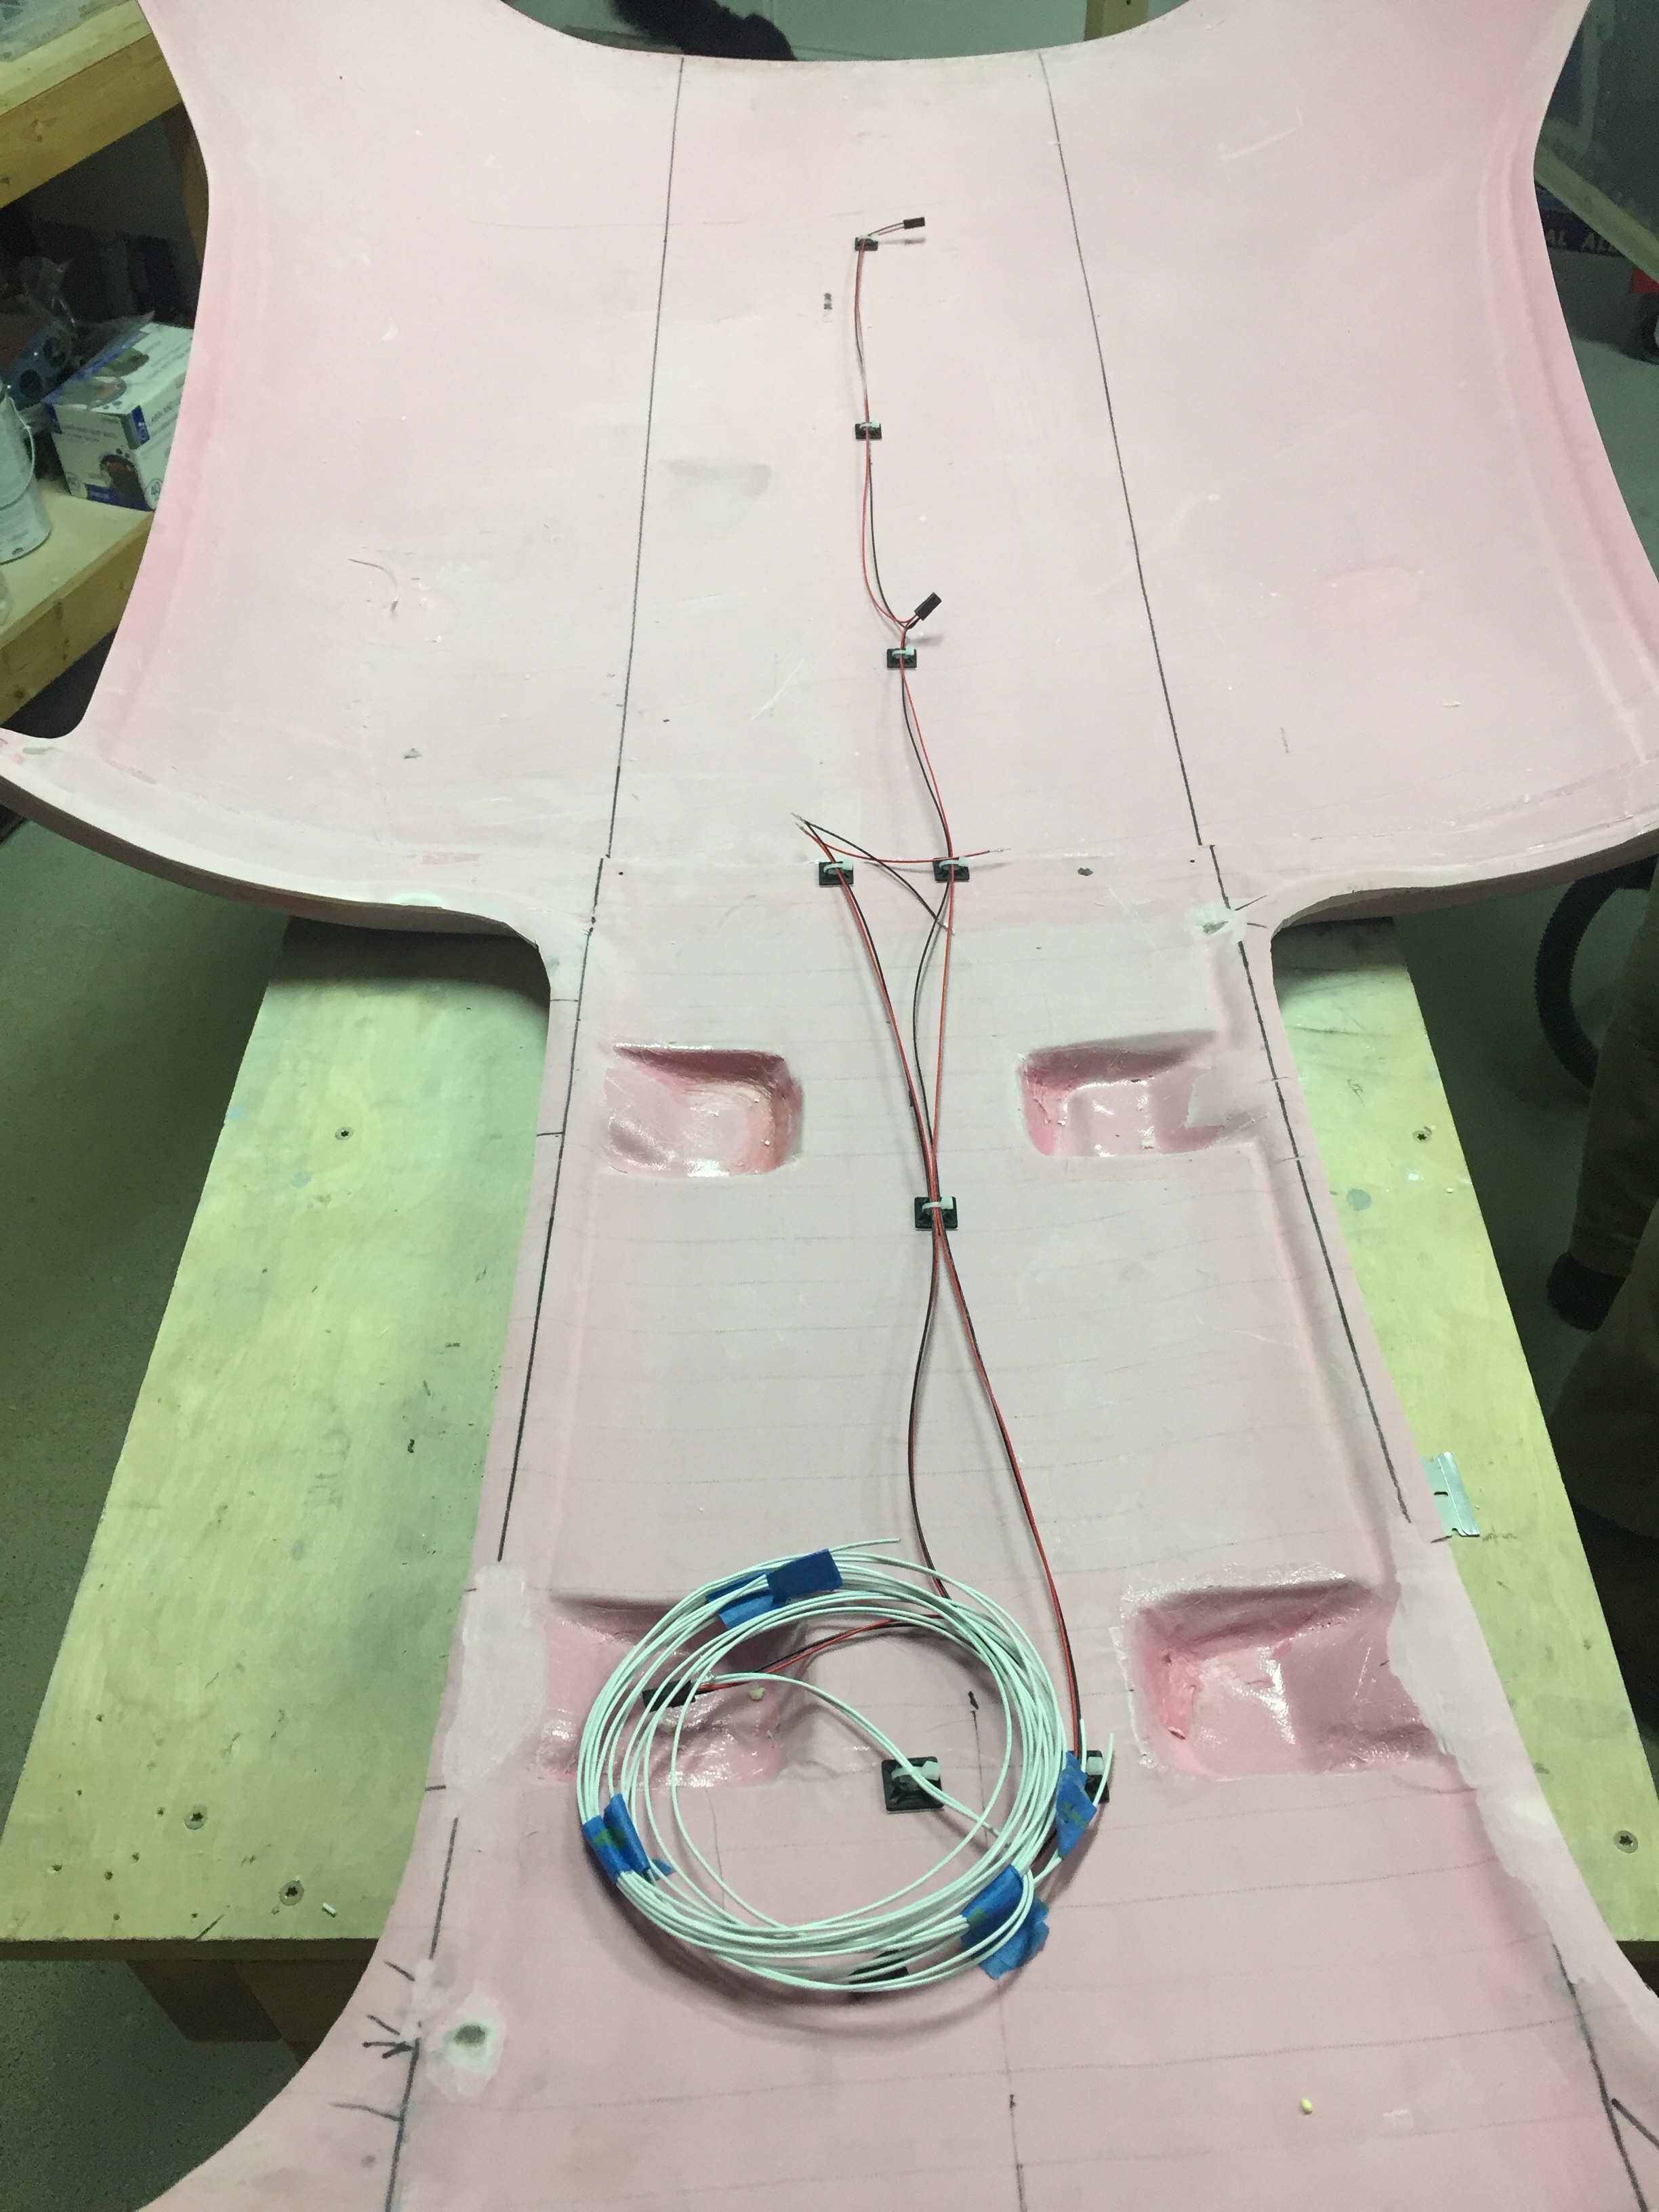
I will be running the wires for the switch panel and the task lights up through the center post so wanted to get the wiring that will be in the overhead completed. I went ahead and made up the wiring harness for the four task lights as well as the three overhead dome lights that will be used for general cabin lighting. The pictures show bare contacts, but after another order from Mouser came in, I installed the Molex connectors so that everything is line replaceable without cutting wires. I also cut the three holes in the overhead for the lights.

Finally, after one complete evening off of the cabin top to clear my head and make sure I’m not forgetting anything, it was time to epoxy it on for good. I mixed up a healthy amount of epoxy/flox and fortunately had a friend to split the task of spreading the mixture and setting it in place. With a couple of clamps and clecos, it fit well and made a secure bond to the cabin top.

Next up will be shaping and filling the assembly to get it all prepped for paint and final instal.

Wired for moving day

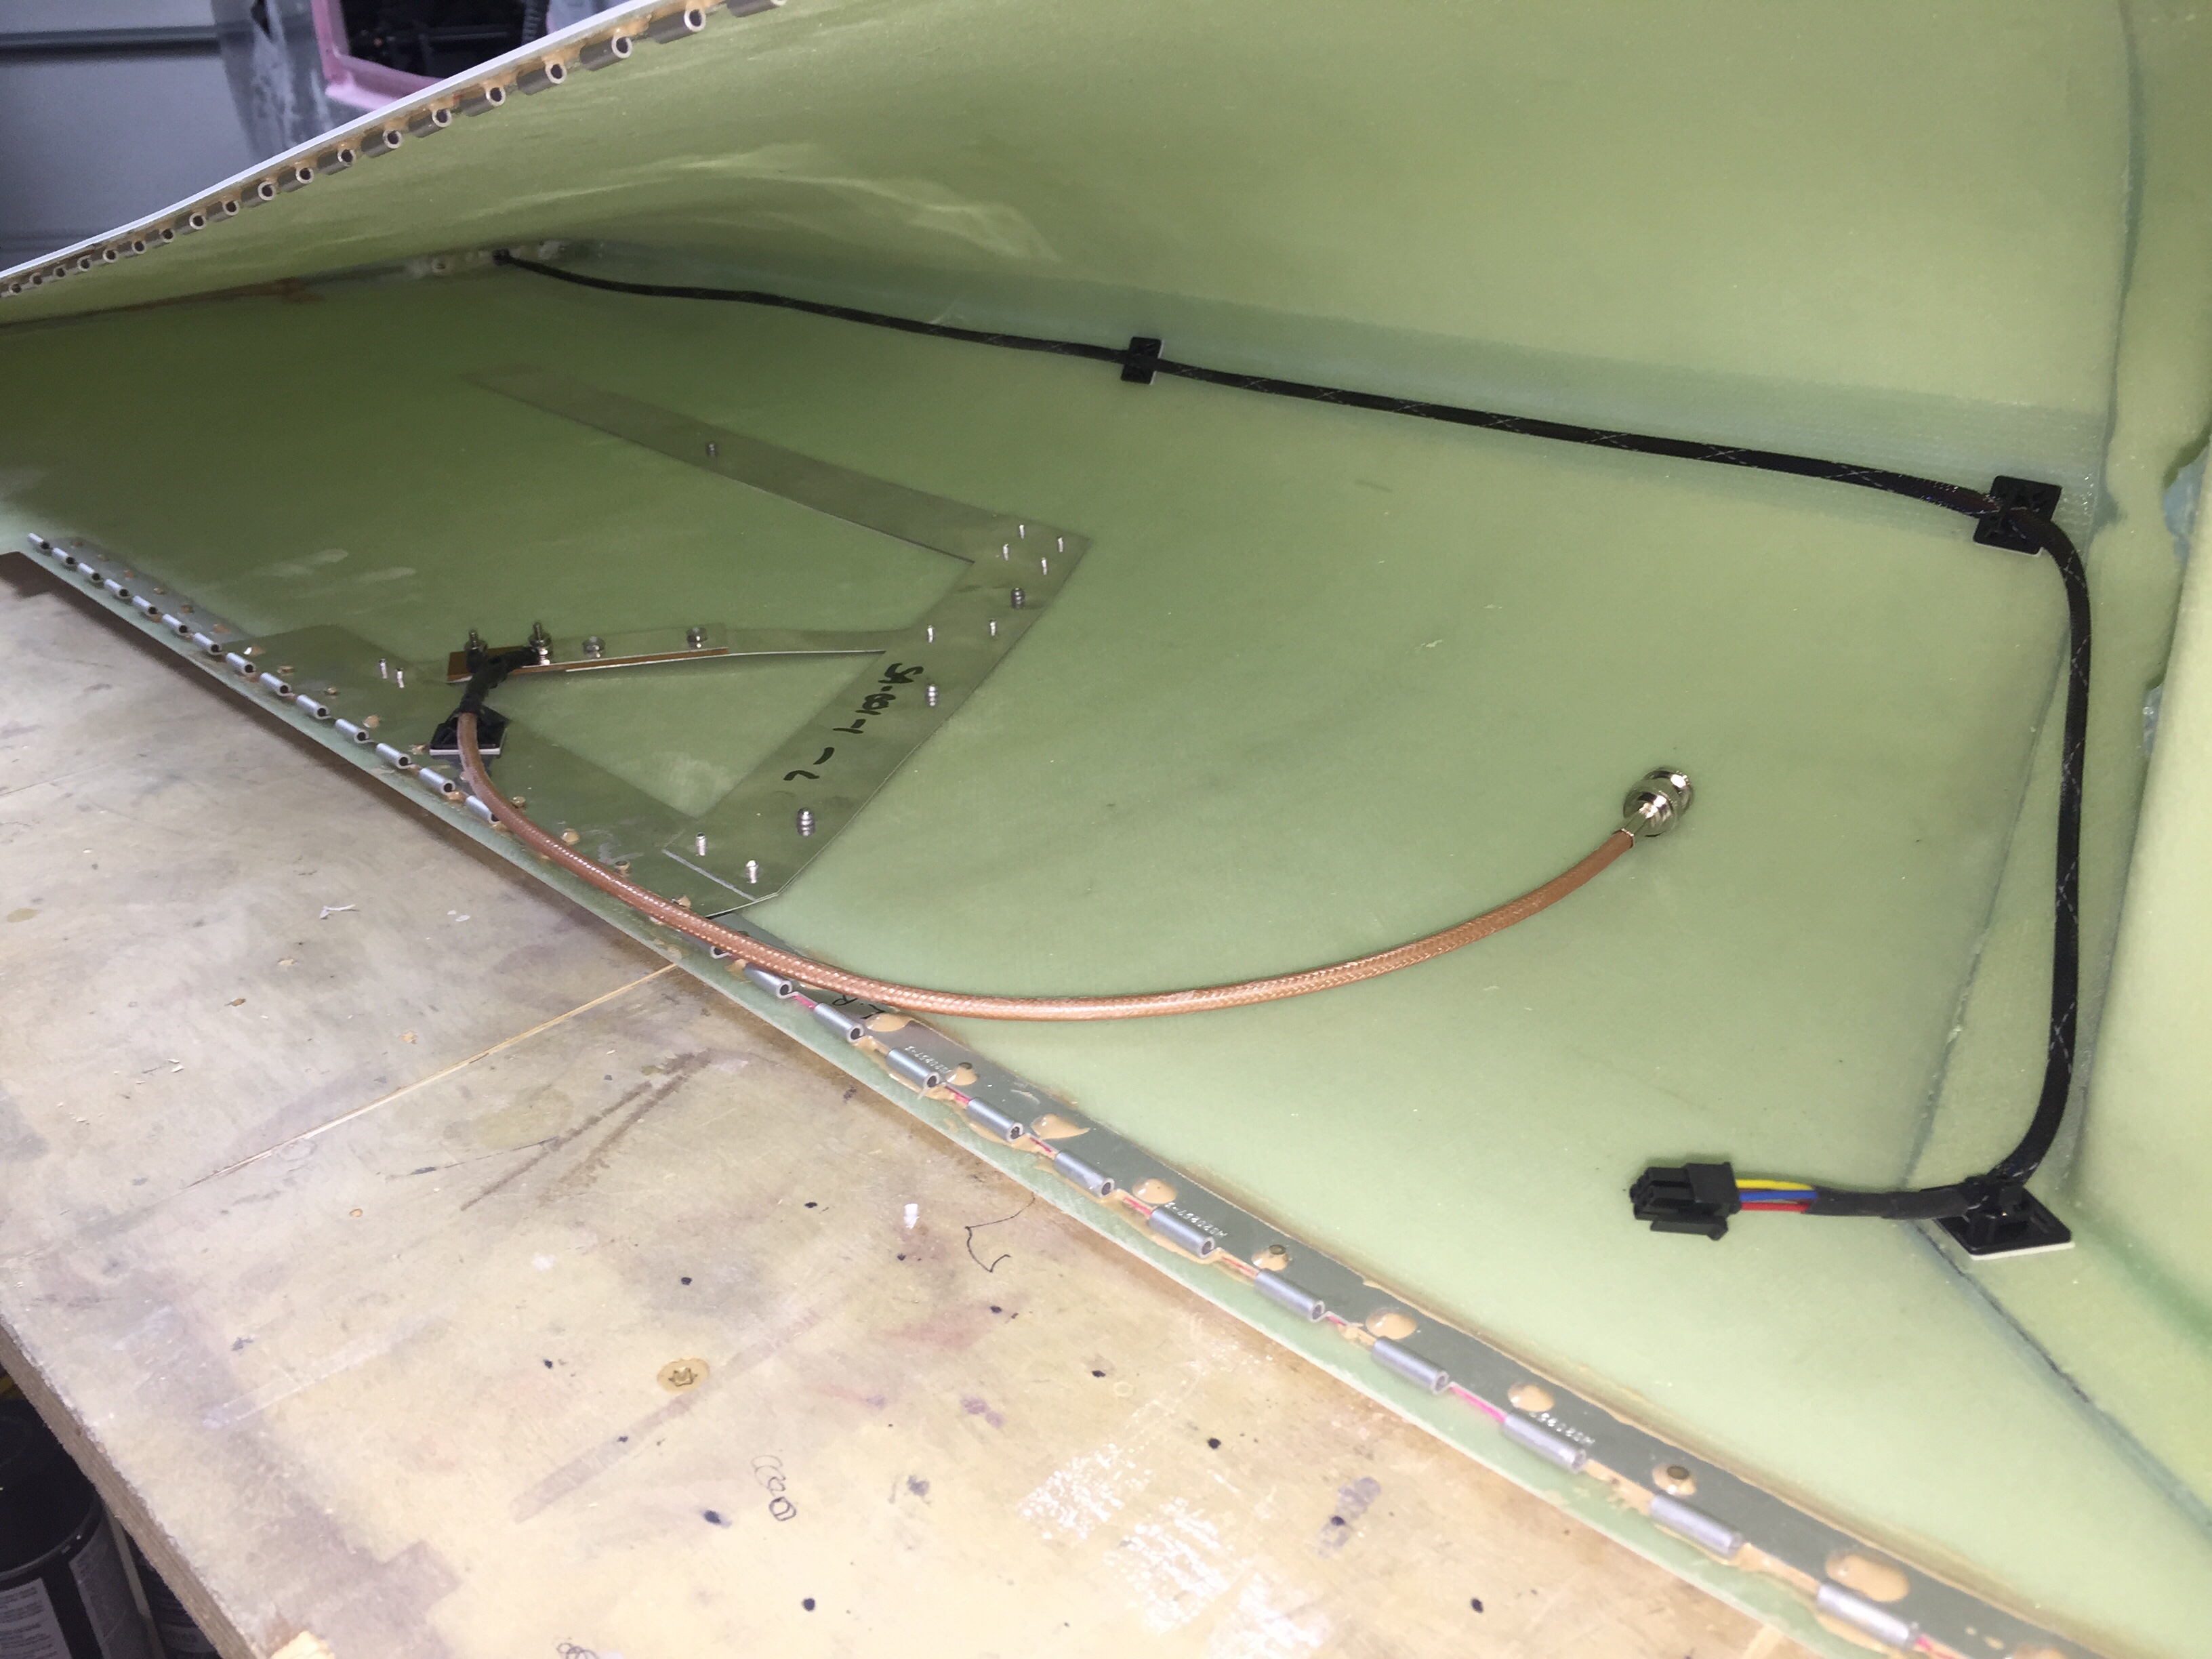
With the tips fitted to the wings, it’s time to run some wiring and finish up the wings. I integrated the Archer nav antenna into the tip mounting hinge which thus links the antenna to the wing for a proper ground plane, per the plans. I used a few pop rivets through the bottom of the tip to secure the antenna in place. I wanted to make the tips easy to remove, so I used bulkhead BNC fittings for the coax on both end of the wings.

I also ran the wires from the trailing edge position / strobe light up towards the main lighting modules and installed a micro fit connector so that the lighting module can be removed for future maintenance / replacement should the need arise. Again, all of the wiring has been documented in Visio including pin outs on each connector so I’ll be able to reference it long after I’ve forgotten how or why I did it this way!

I used CPCs for the main wiring runs and am very pleased with the setup. Some folks avoid connectors like the plague, but I don’t see them as failure points if they are done right and properly tested / treated. I checked continuity of each wire after running them all so I know everything is ready for plug and play. The wing root connectors include those for the pitot heat and AP servo on their respective wings. The aileron trim servo is on it’s own micro fit connector due to the small wire size. I’ve gotten really proficient at the micro Molex connectors and really like them.

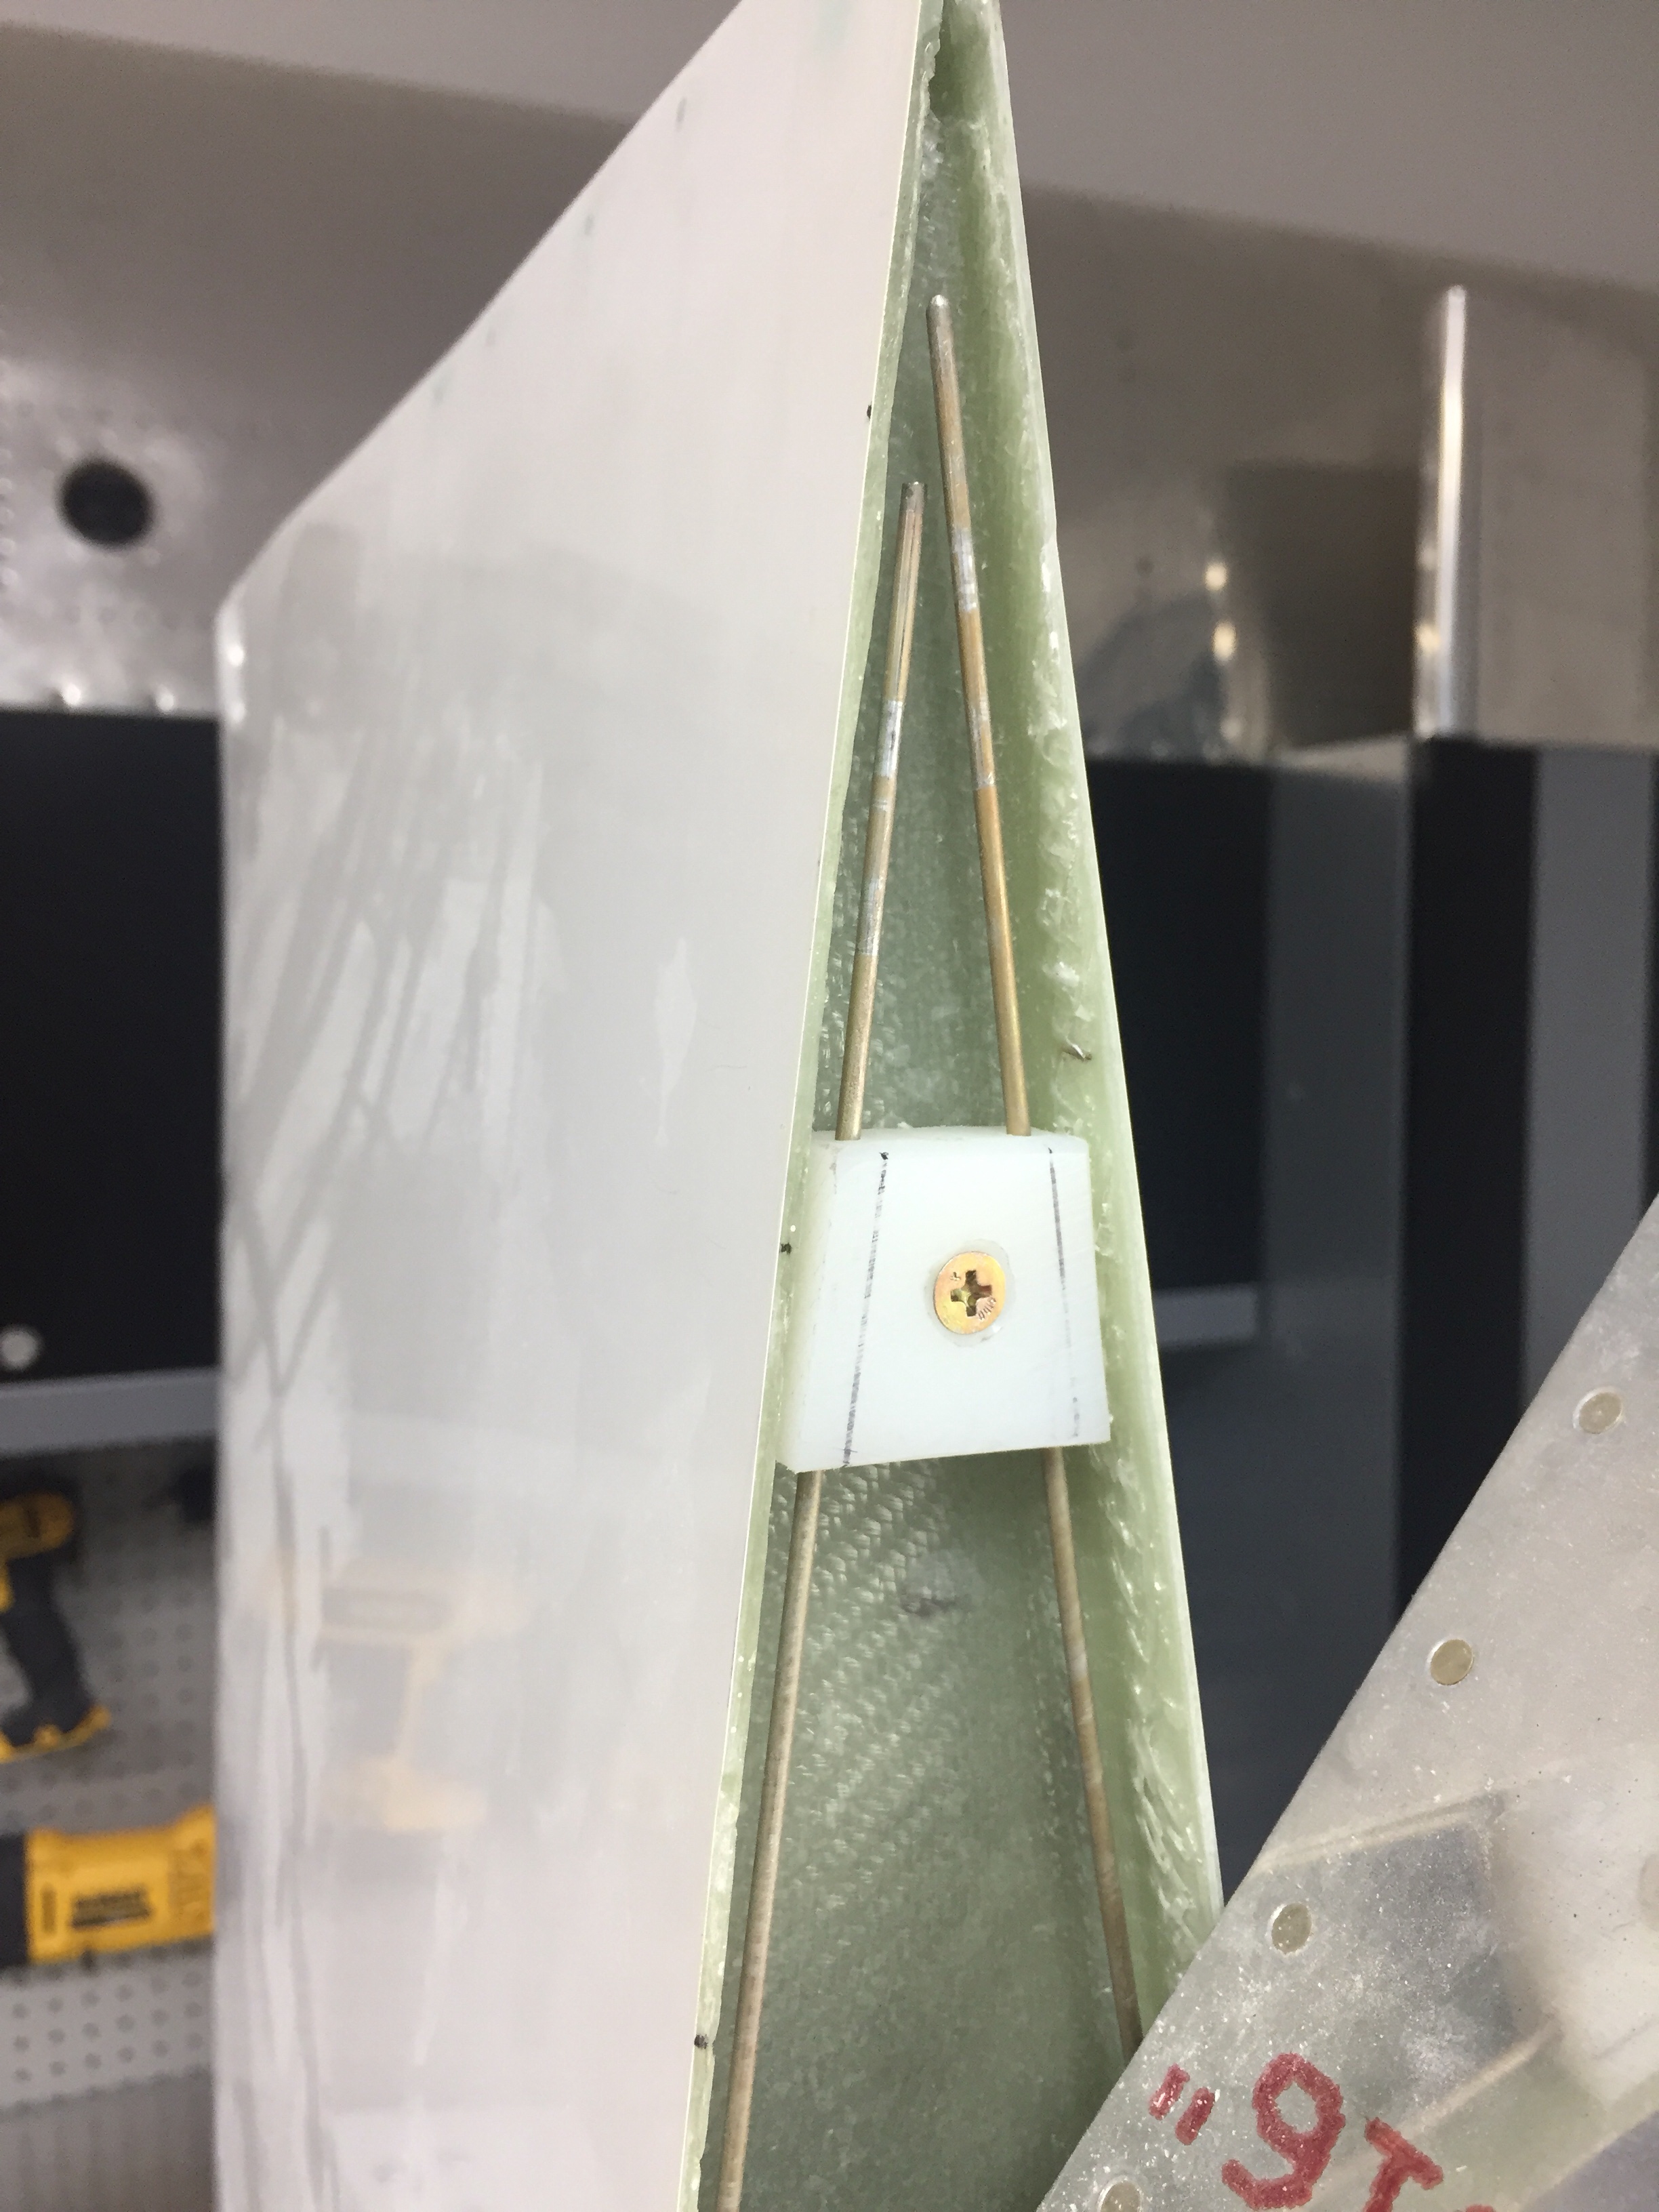
I also had to layup a small rib on the trailing edge to not only support the shape of the tip, but also provide a mounting surface for the hinge pin retainer. I used a trimmed block of delrin and nutplate to secure the pins. This keeps the pins inside the tip profile and thus unable to work themselves loose. They also butt up against a stop on the leading edge. I didn’t want to put a bend in them, as it’s very easy to use a drill and spin them in / out.

The only system component not installed in the wing is the OAT sensor which I’ll get with the avionics in a few months. That’ll be simple to put into an access plate and a string is still waiting to pull wires through the wing root.

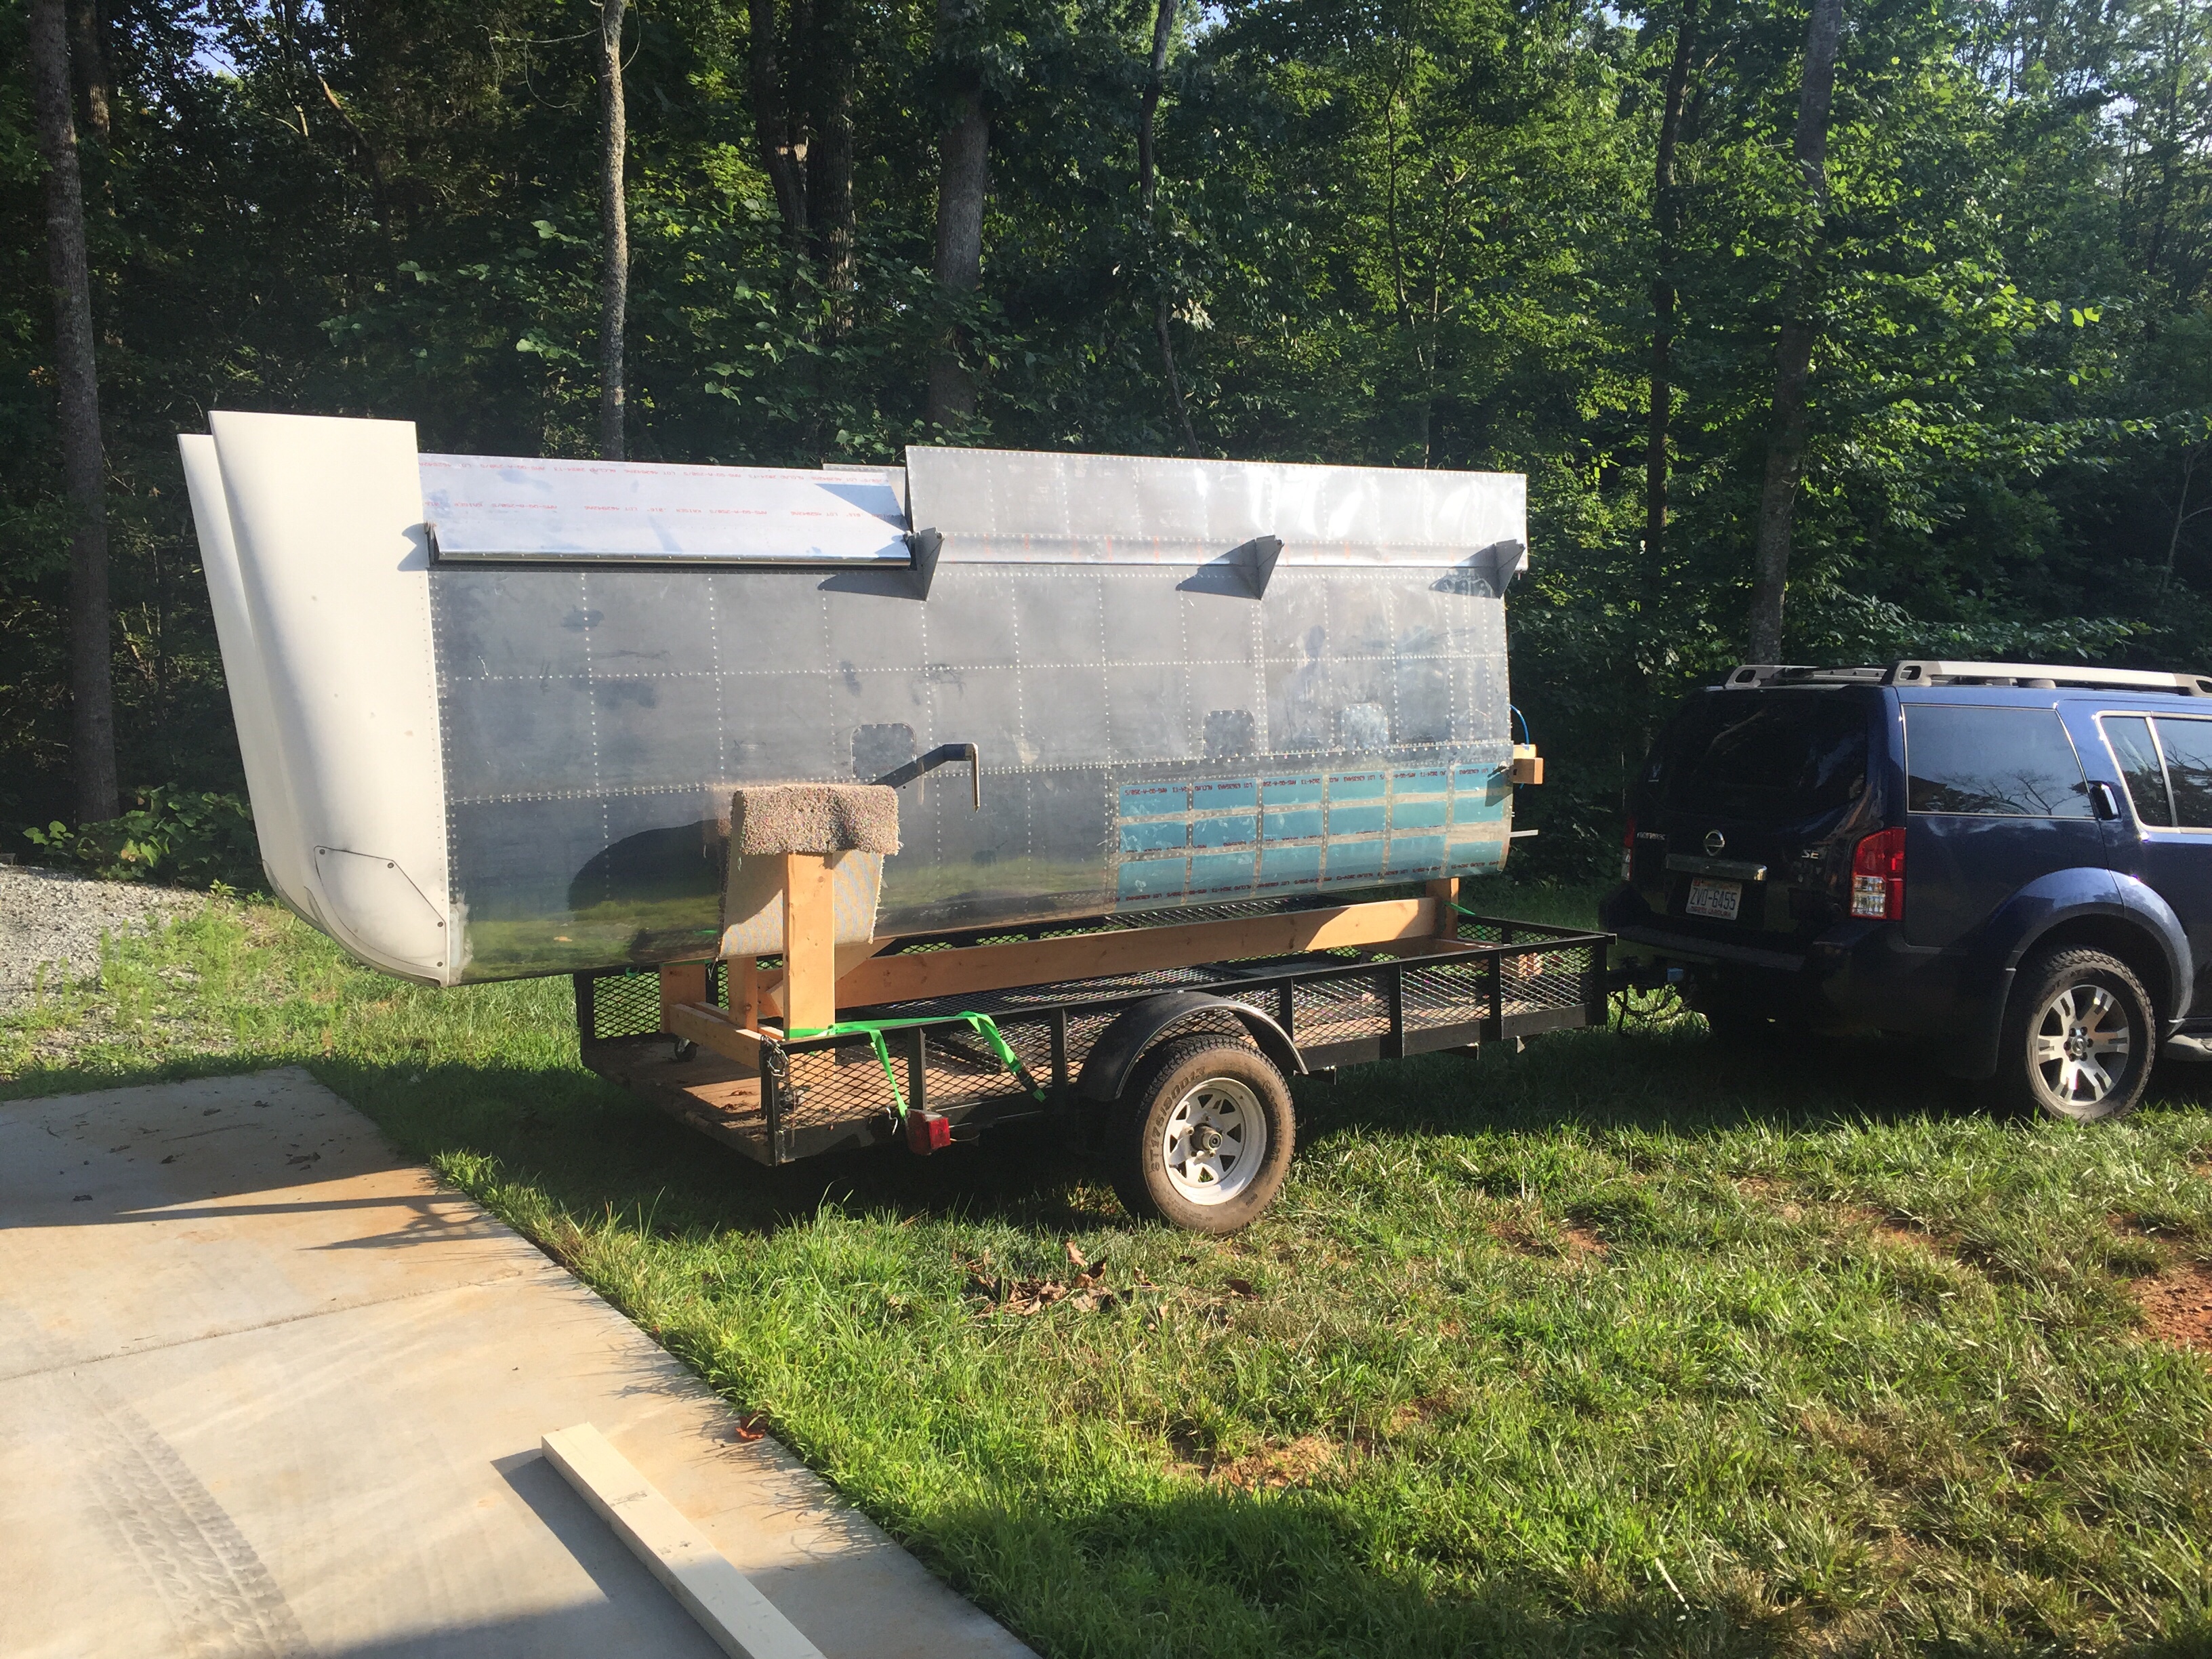
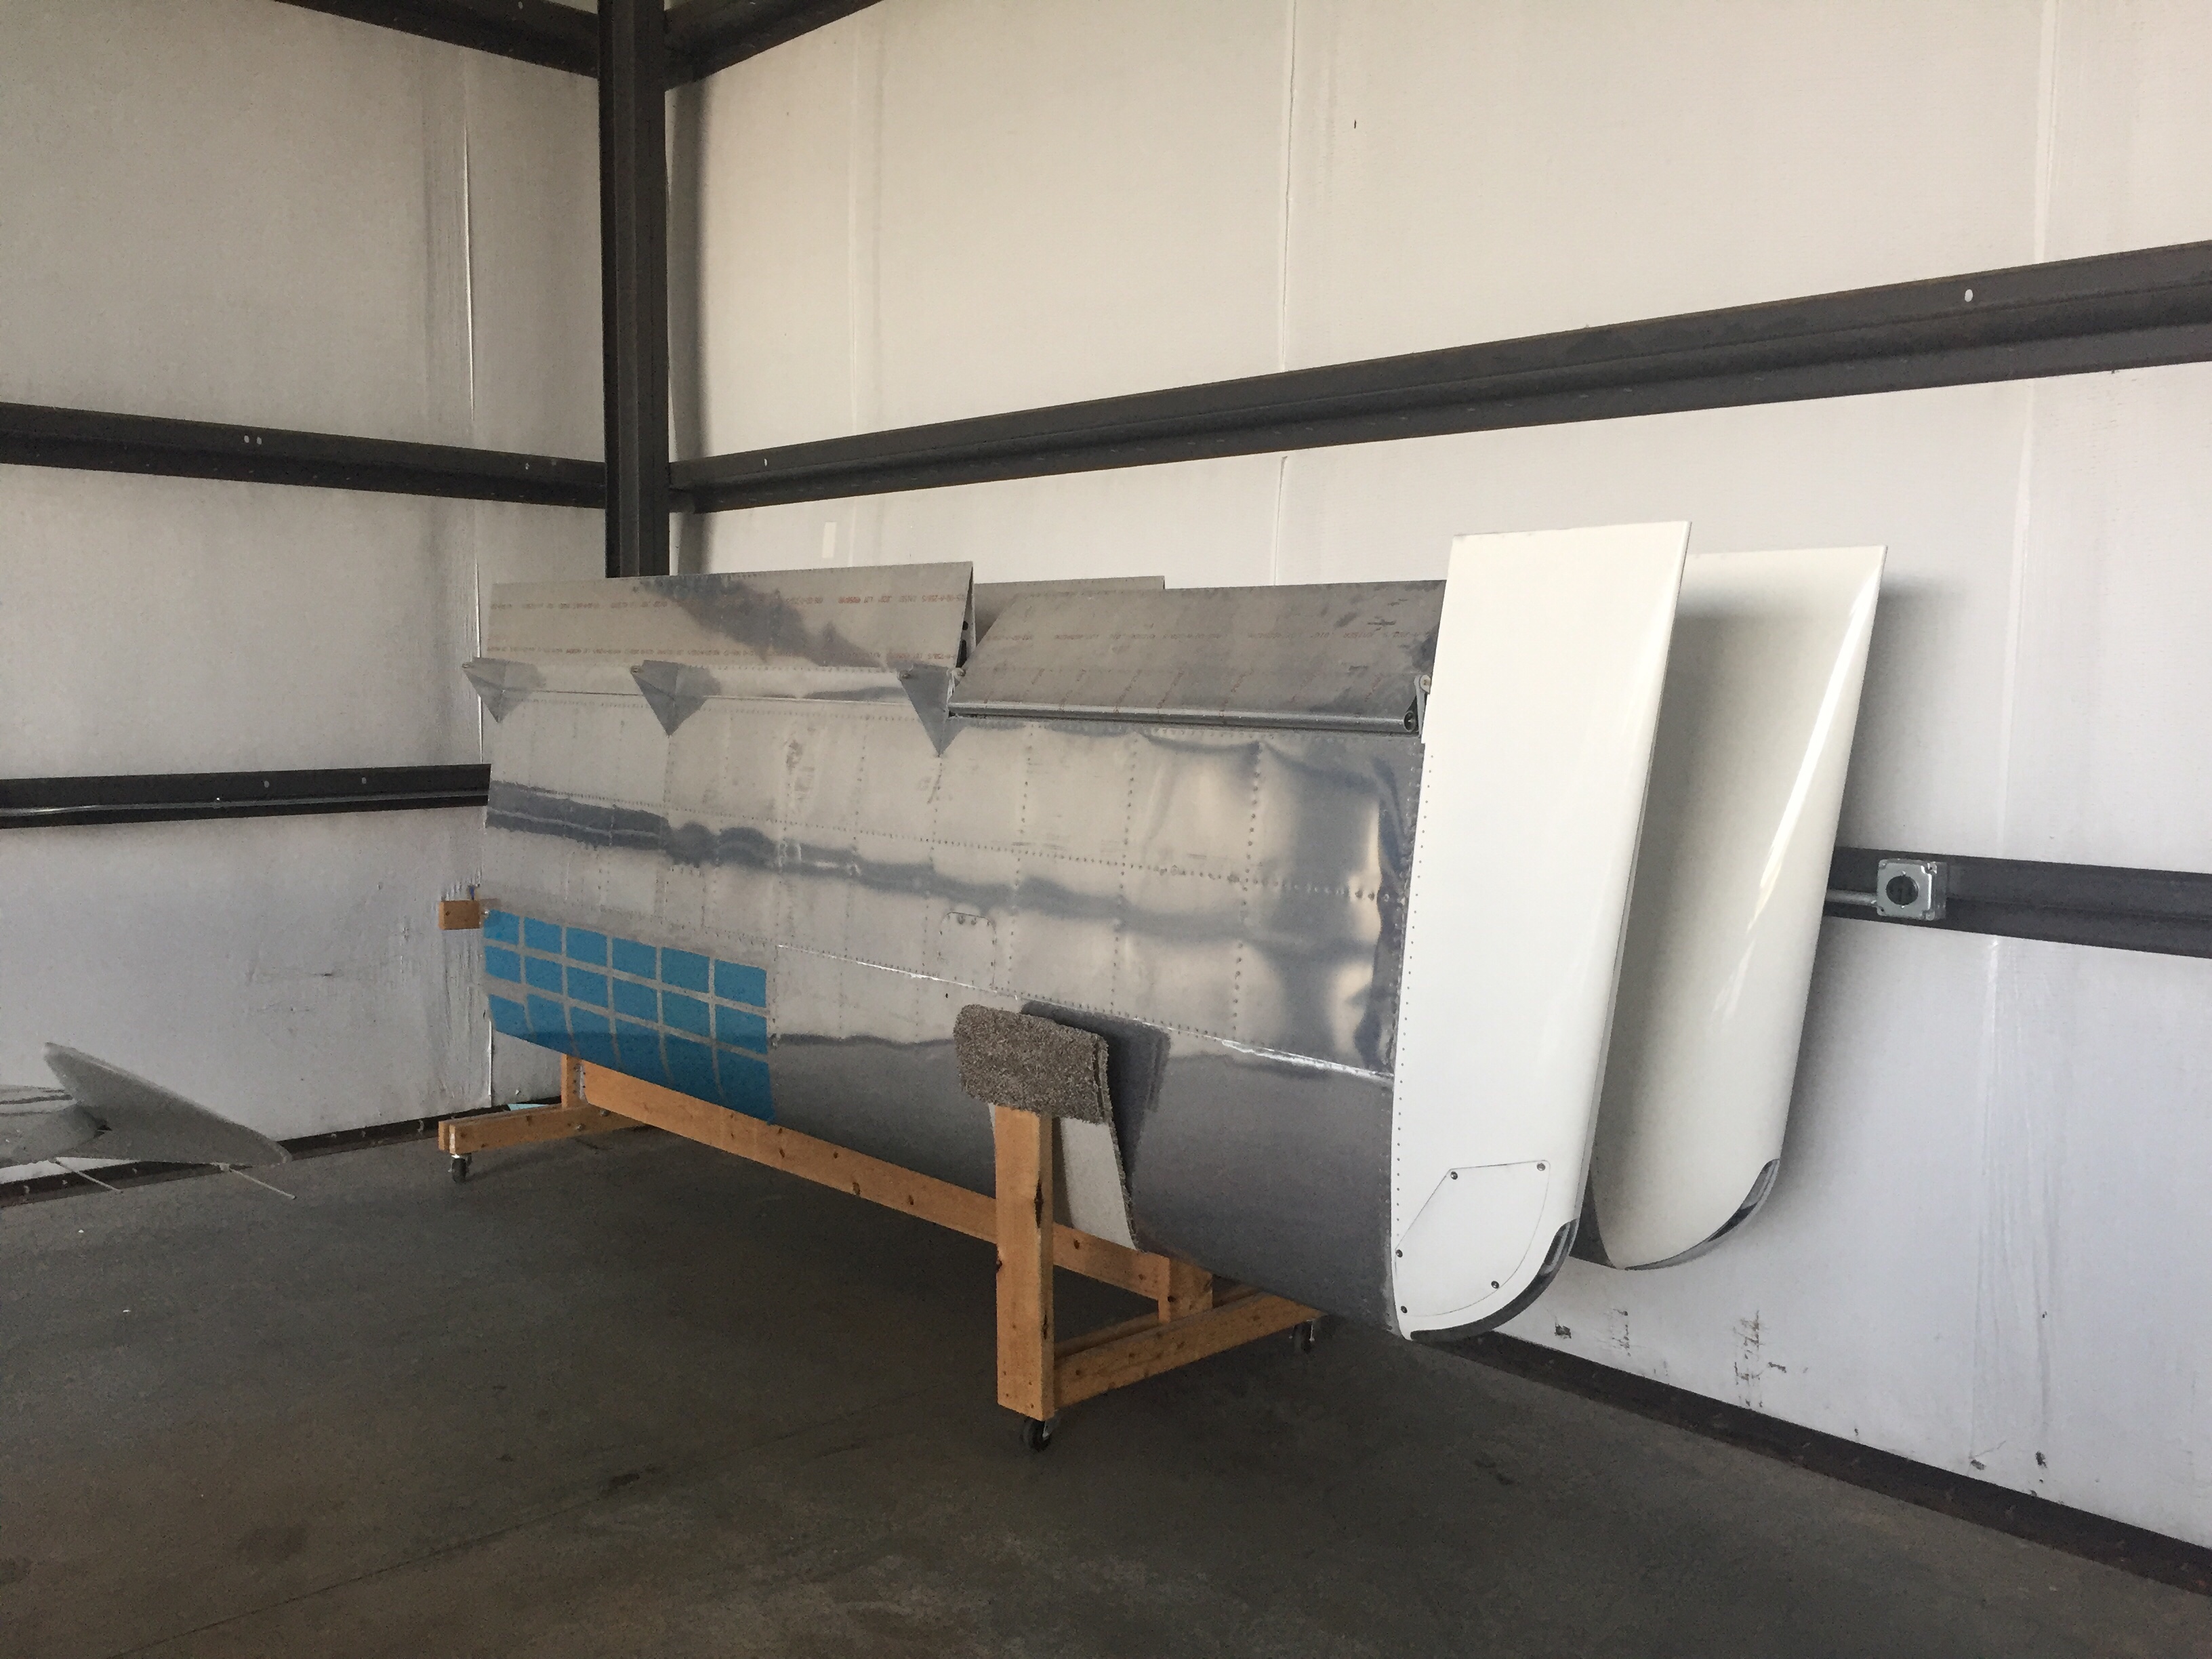
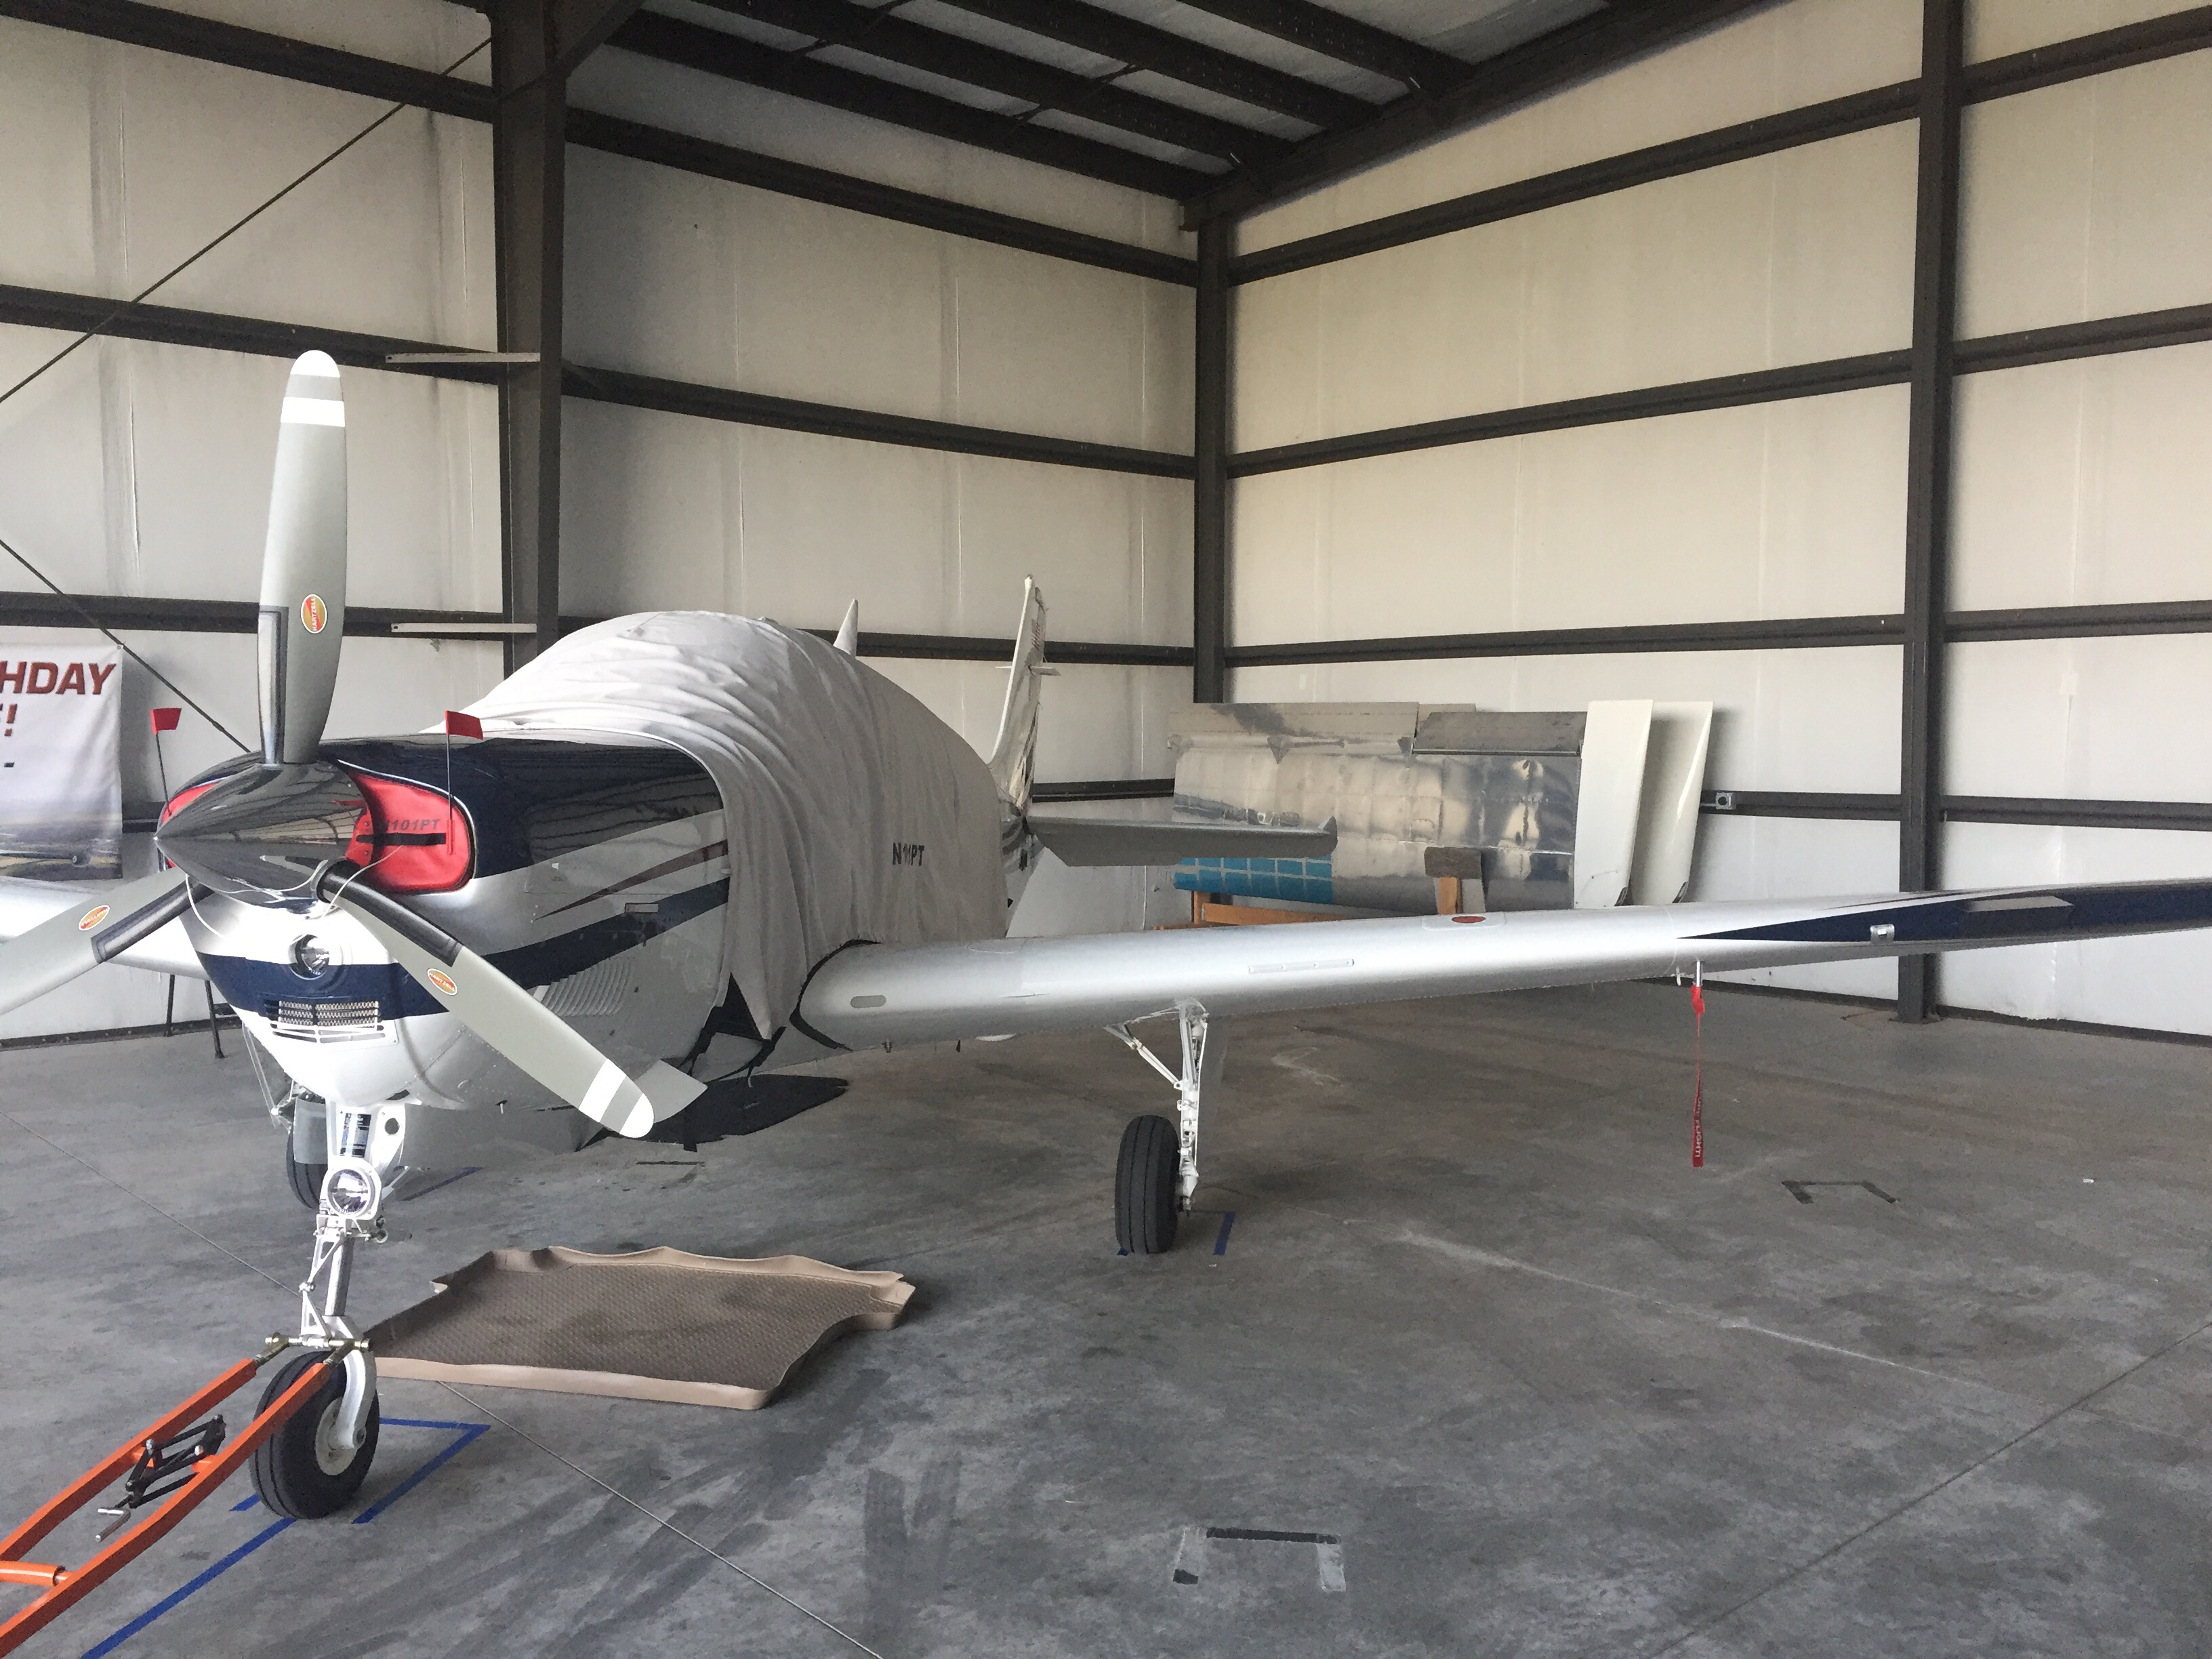
Since the wings are all complete, I need to get them out of the garage to make way for the finish kit and make me feel like I have real airplane parts in a hangar. My Diamond bros graciously offered a corner of their hangar for me to store the wings in until our hangar is available. So moving day came and anticlimactically went! It was like I designed the wing rack for the trailer and with Ron’s help, they rolled right on and off. We used a few tie downs and took our time on the 10 minute drive to the airport with no damage reported. I hope the fuselage move goes this smoothly!

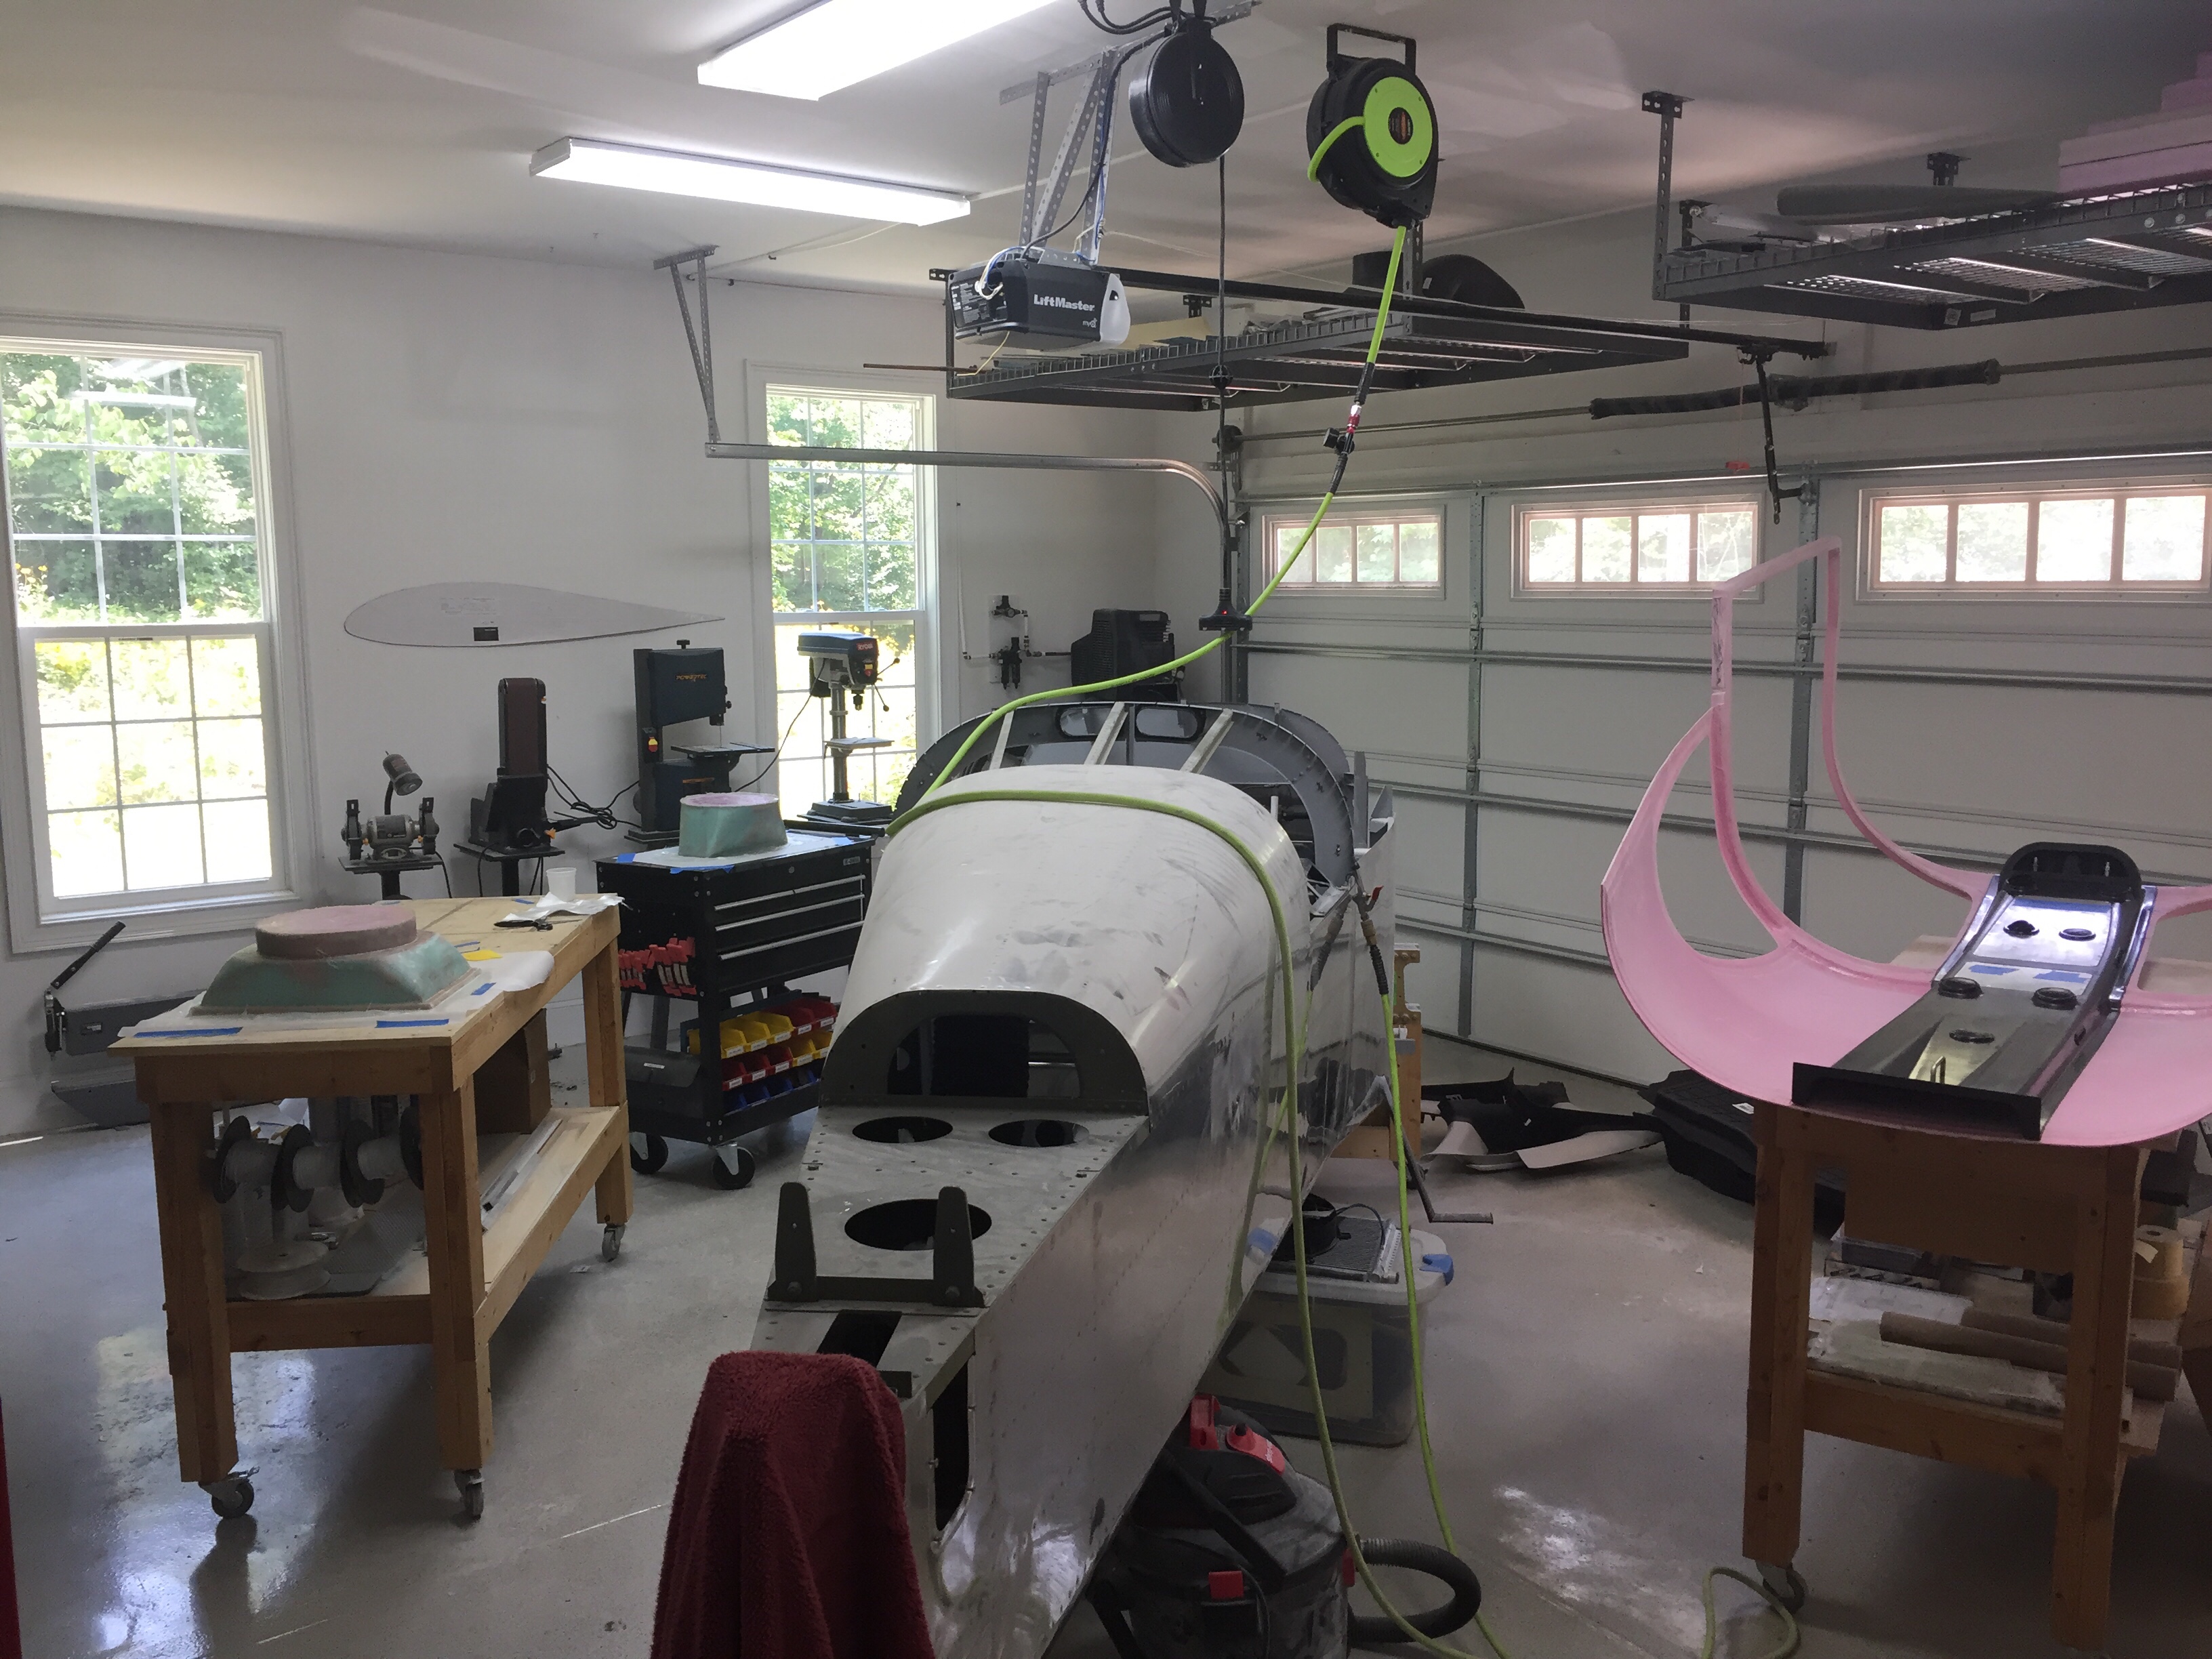
Bonnie the Bonanza is now babysitting RV wings. Meanwhile, back home the shop has so much room for activities such as finishing the cabin top and getting ready for the finish kit and cowling which are due to arrive early August.

Success hinges on the tips

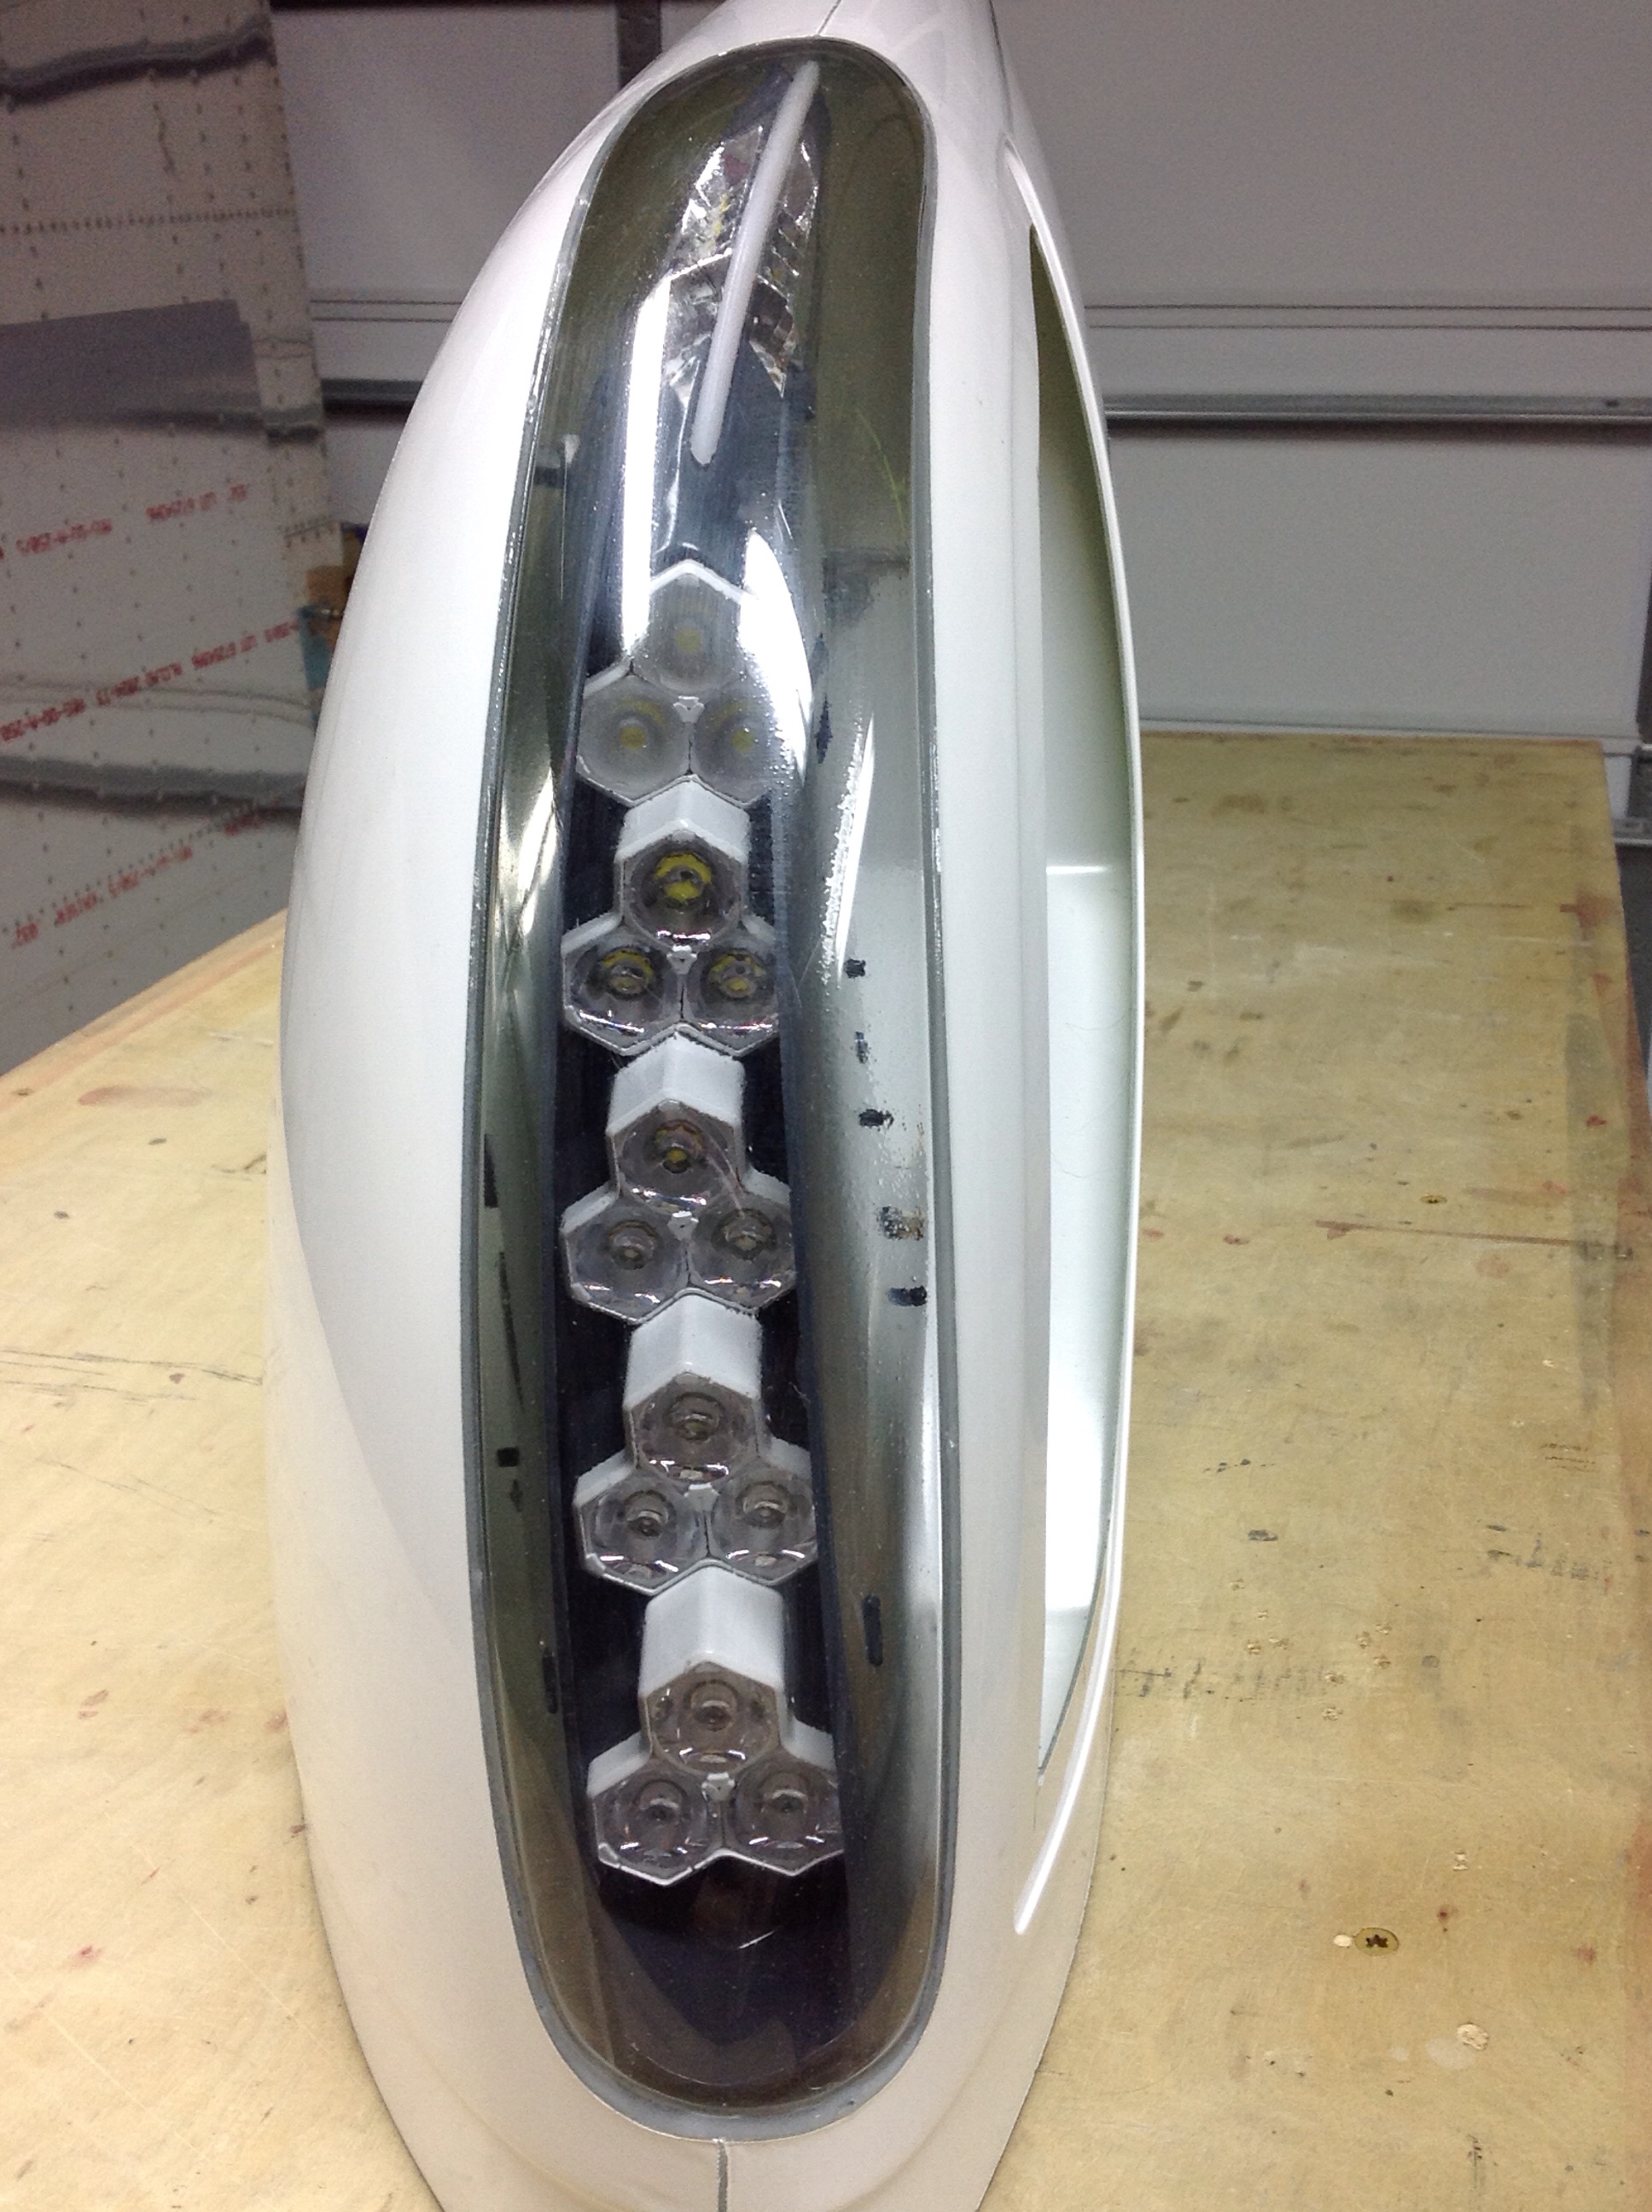
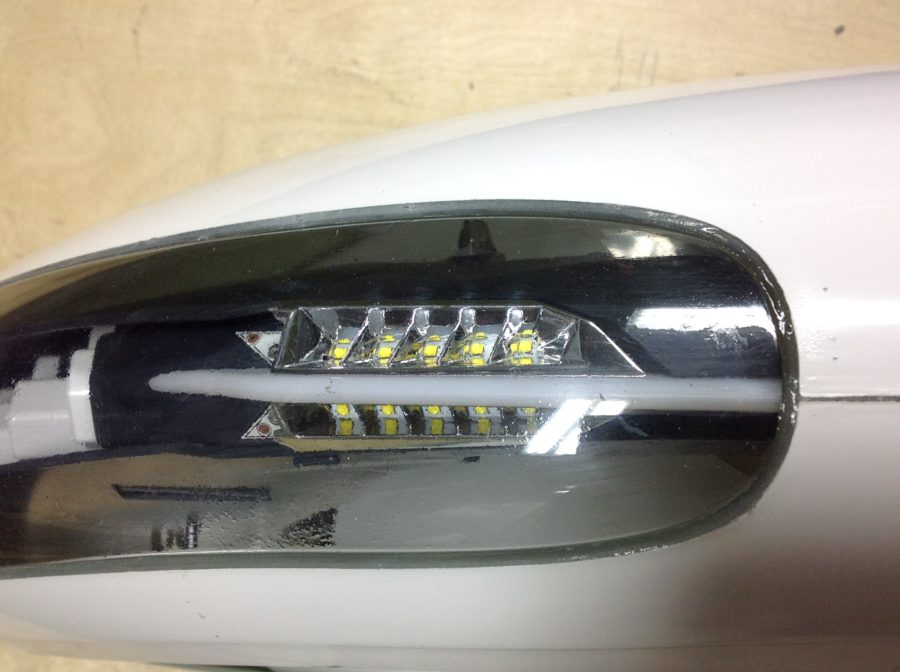
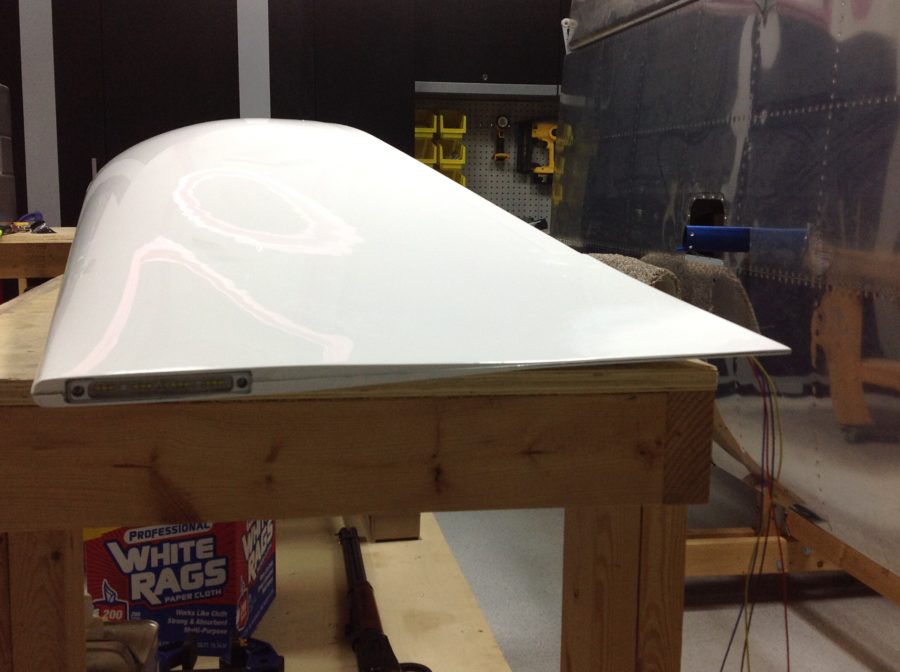
Some time ago, I received a large package from Aveo containing a brand new set of their ZipTips, wing tips with slick looking LED’s. I’ve been waiting on these things for years, ever since I saw them at Sun ‘N Fun in 2013. I’ve hounded poor Damien at Aveo relentlessly but it paid off with an opportunity to help them out with profile shaping and some prototype testing. In the end, I think it was worth the wait and I’m really looking forward to seeing these things all completed.

Now, because I was helping out, I received the prototype of the light modules and to say it nicely, they’ve been through a tough time. Unpacking the box, there were a few things rattling around and the back of the light module had come off.
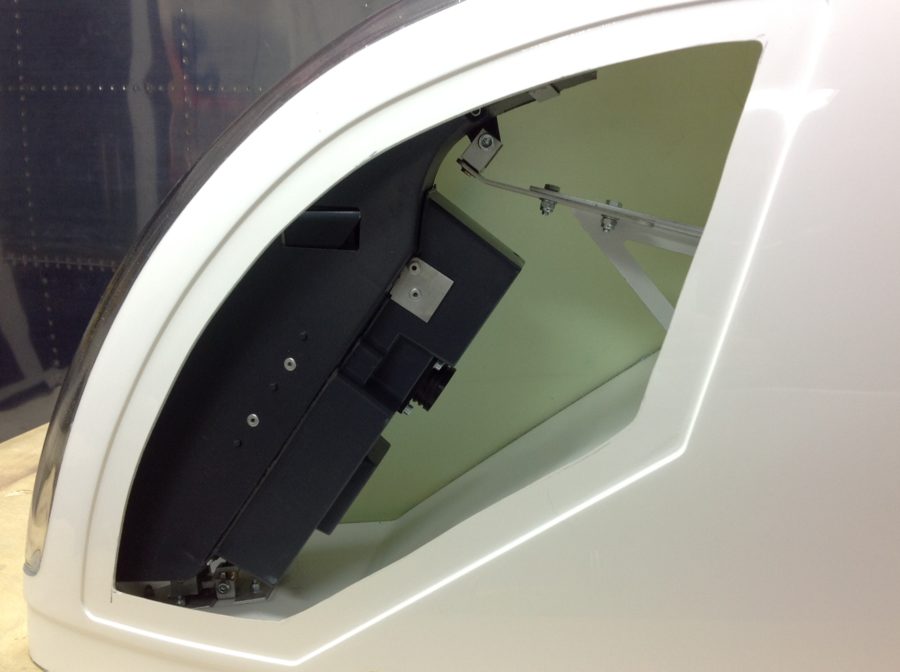
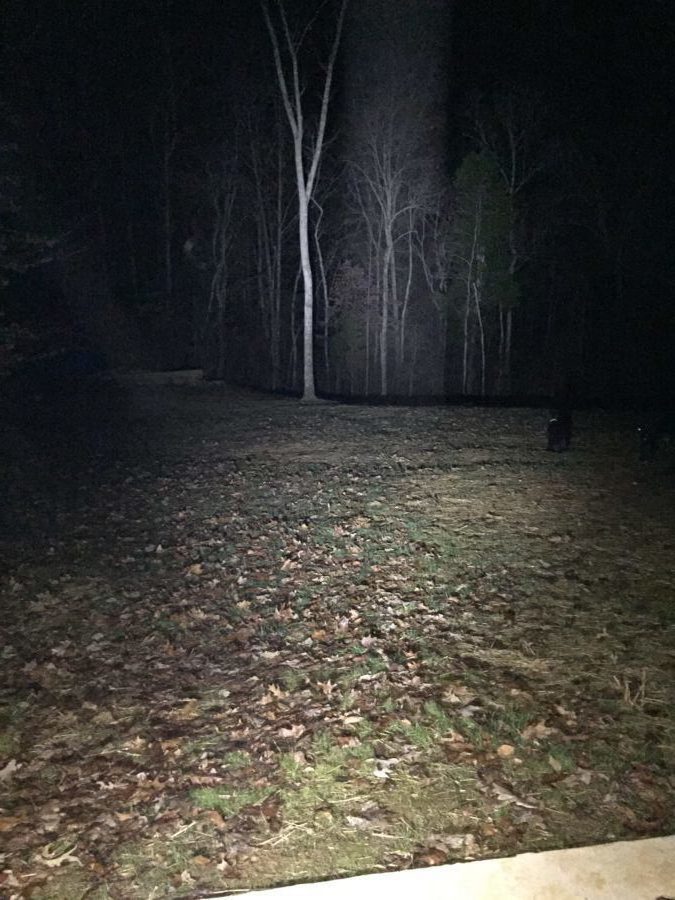
First order of business was to test out the light modules. There is a 16 pin CPC with pigtails included, but the wires weren’t pinned out accurately causing me a few scares that I had shorted out the board or LEDs. After a few emails and testing, I was able to re-pin and document the proper wiring schematic. I did this for both sides and then took the time to re-seal the modules closed using some silicone and fresh hardware.

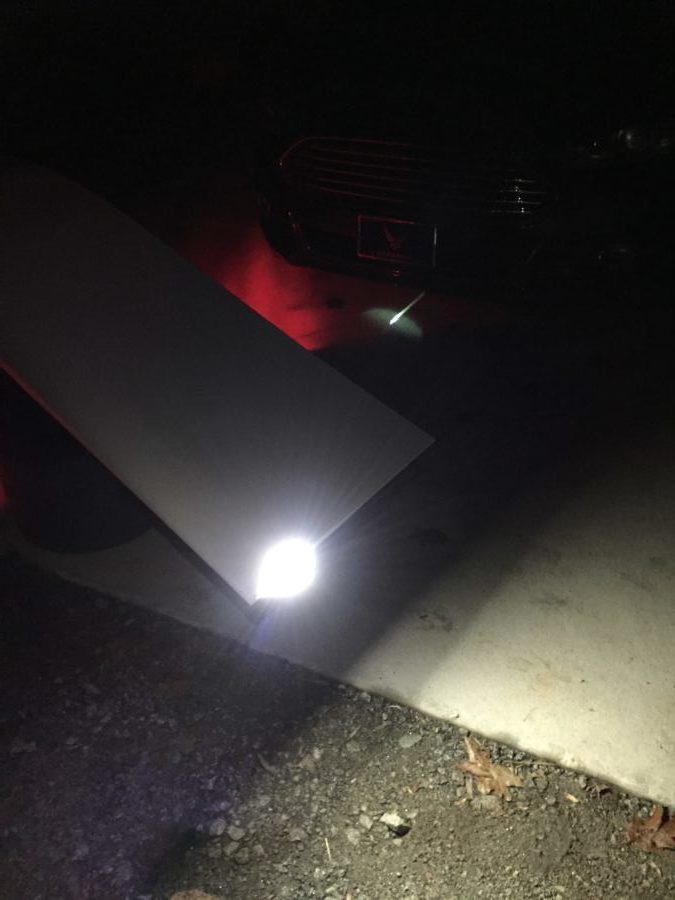
As others have said, these things are crazy bright! I hooked them up outside just to see what could be lit up and man, I am really impressed. Pictures and video don’t really do justice, but let’s say that I’ve flown many Pipers and Cessnas that have less than half of even one of these landing lights. Combined with the Aerosport taxi light, I think I’ll be able to light up the night just fine.

After testing, I started to do a rough fit and trim, but then they got put to the side waiting on the piano hinges that I planned to use to mount them. A year later, it’s time to finish them up so that I can call the wings complete. The first step was to complete the trim using the methods followed by others to install the tips with hidden piano hinges instead of screws and nut plates. I won’t go into detail as it’s documented on plenty of other build logs and forums out there such as VAF. Taking my time, I was able to get a really nice fit and used the cut off wheel on a die grinder just as I did with the cabin top.

I did run into some interference with the light module mounting hardware that butted up against the end rib. After talking to Van’s support, I drilled an accommodating hole in the rib to allow the hardware to protrude inward through the rib and let the tip sit flush against the skin. Once I had the hinges on, I split the trailing edge to reposition and line up with the ailerons. This is a common practice, even on the stock tips and was fairly straightforward. After a bit of work, I had a nice straight line from flap to tip.

Finally, I received some stainless steel hardware in for the light module access covers and mounted them with nutplates. Others have used a lot more fasteners than I did, and I’ll probably go back and add a few more before first flight. I painted the inside of the light area black to give the lights a meaner and cleaner look. I also painted the outside of the light reflectors, again, just for cosmetic purposes. Next up will be to run the wiring through the wings, mount the archer antenna, and make a pin retainer for the hinges.

In other news lately

In between the fuel tank tasks, I’ve been able to tackle a lot of smaller projects and tasks.  In no particular order, here’s what else I’ve been working on.

Aileron trim servo:  This was a pretty easy project, assembling the trim mounting which is actually built on an access panel that will mount to the bottom of the left wing.  Along with the actuator arm and some hidden hardware, the assembly attaches via springs to the aileron pushrod inside of the wing.  The actual servo is also hidden under the bracket.  I’ve ran trim servo wire from the wing root to the servo location and will have a disconnect to make mainenance simple.


Flap gap fairing:  These are long pieces that fill the void between the rear spar and top wing skin and provide better aerodynamics for the flap.  They were pretty easy to install and finally filled the reminaining line of rivet holes in the rear spar.  I was surprised at how much rigidity it also provides to the top wing skin where it overlaps the flaps.


Switches:  I wanted to get an idea of what my Apem switches were going to look like lit up and ensure that I could gget the lighting to behave like I want it to.  Each switch has two independent LEDs  and the switch itself is DPDT.  What others have done worked for me usiing one pole of the switch to control the bottom LED which provides a status indicator for the switch.   The top LED will be controlled with  an on/dimmer dial  and linked to a FDS LC-50 lighting controller which will control all interior and panel lighting.  There is a bit of bleed  on the lighting but I think it will have minimal impact  once installed.


Flying:  It’s really important to me to keep flying throughout my  build.  Rather than the typpical 172, I got a chance to take a ride in a Champ to go eat lunch and check out some other RV’s with a new friend.  It was a great day and I really enjoied my first tail dragger flight!!


Oshkosh Be gosh!

I met my dad for our first ever trip to Oshkosh.  Now, this was purely a business trip to speak with builders, pilots, vendors, etc.  At least that’s what I wrote down on the taxes…

My pops and I had an absolute blast spending five days at the homebuilt/general aviation mecca.   Without going into too many details and stories, the first day set the bar really high.  Wednesday morning, my dad and I wanted to meet some fellow -10 pilots and check out the HB camping area before folks started packing up and flying home.  I talked with a lot of folks who’s blogs I’ve followed for years now and got a lot of great advice and information.  I saw some great ideas, some not so great ideas, and validated my own build work as compared to flying -10’s.  We met up with Brian (their blog is on the links page) who was going up to get some air to air shots.  He was nice enough to offer us a ride and within three hours of being at Oshkosh, my dad and I were sitting in a stunning example of a -10 with three other’s all going up to do some formation flying and photo ops.

IMG_0900.JPG

IMG_0859.JPG

IMG_0872.JPG

IMG_0894.JPG
The weather was perfect with some big puffy clouds about 2500 and deep blue skies above.  Brian was a great pilot and gracious enough to hand over the controls to me for the second half of the flight.  I even go to thread the needle and get us inline for the VFR arrival all the way to final!  Flying in a -10 was cool enough, saying we got to go in and out of Oshkosh was priceless!!

I took a ton of pictures, too many to put on here but plenty to stash away as building references.  I also spoke with a few key vendors that I had on my list and made a few purchases.  The biggest was talking to Aveo Engineering who I’ve been working with for a year now.  I’ll say upfront (and gave them candid feedback about this) that their customer service sucks.  However, their products make up for it in quality, function, and cool factor.  I bought our tail strobe (PosiStrobe XP) and finally officially got on the list for their ZipTip wing tip nav lights.  I was somewhat dissapointed that they didn’t have the power on these, but I’ve seen another RV with them and they are awesome.  I promised (threatened) them that I would follow up in October, which is when they are expecting to start shipping.

IMG_0886.JPG

IMG_0858.JPG
The last story is my favorite, though.  My dad was a trooper and hiked up and down the acres of flightline with me all day.  We were lucky enough to camp out under a DC-3 wing that one of his Boeing instructors flew up for the week which provided shade, shelter, and a home base for our chairs right on the showline.  We made the trek to the C-7 Caribou that had done a flying display and went inside.  Dad started swapping stories with the crew chief from when he used to fly the 7’s in Alabama for the Reserves.  I’ve heard most of the stories, but to see him light up while talking airplanes with a fellow Air Force service member really made the trip for me.

IMG_0942.JPG
We had a great time watching the Thunderbirds and also tried a Wisconsin staple, the cheese curds! We were exhausted but already talking about our next trip.  Although, I’m sure the next trip will be way more expensive since it will likely involve purchasing bigger chunks of our plane!

IMG_0865.JPG