Plinko Anyone?

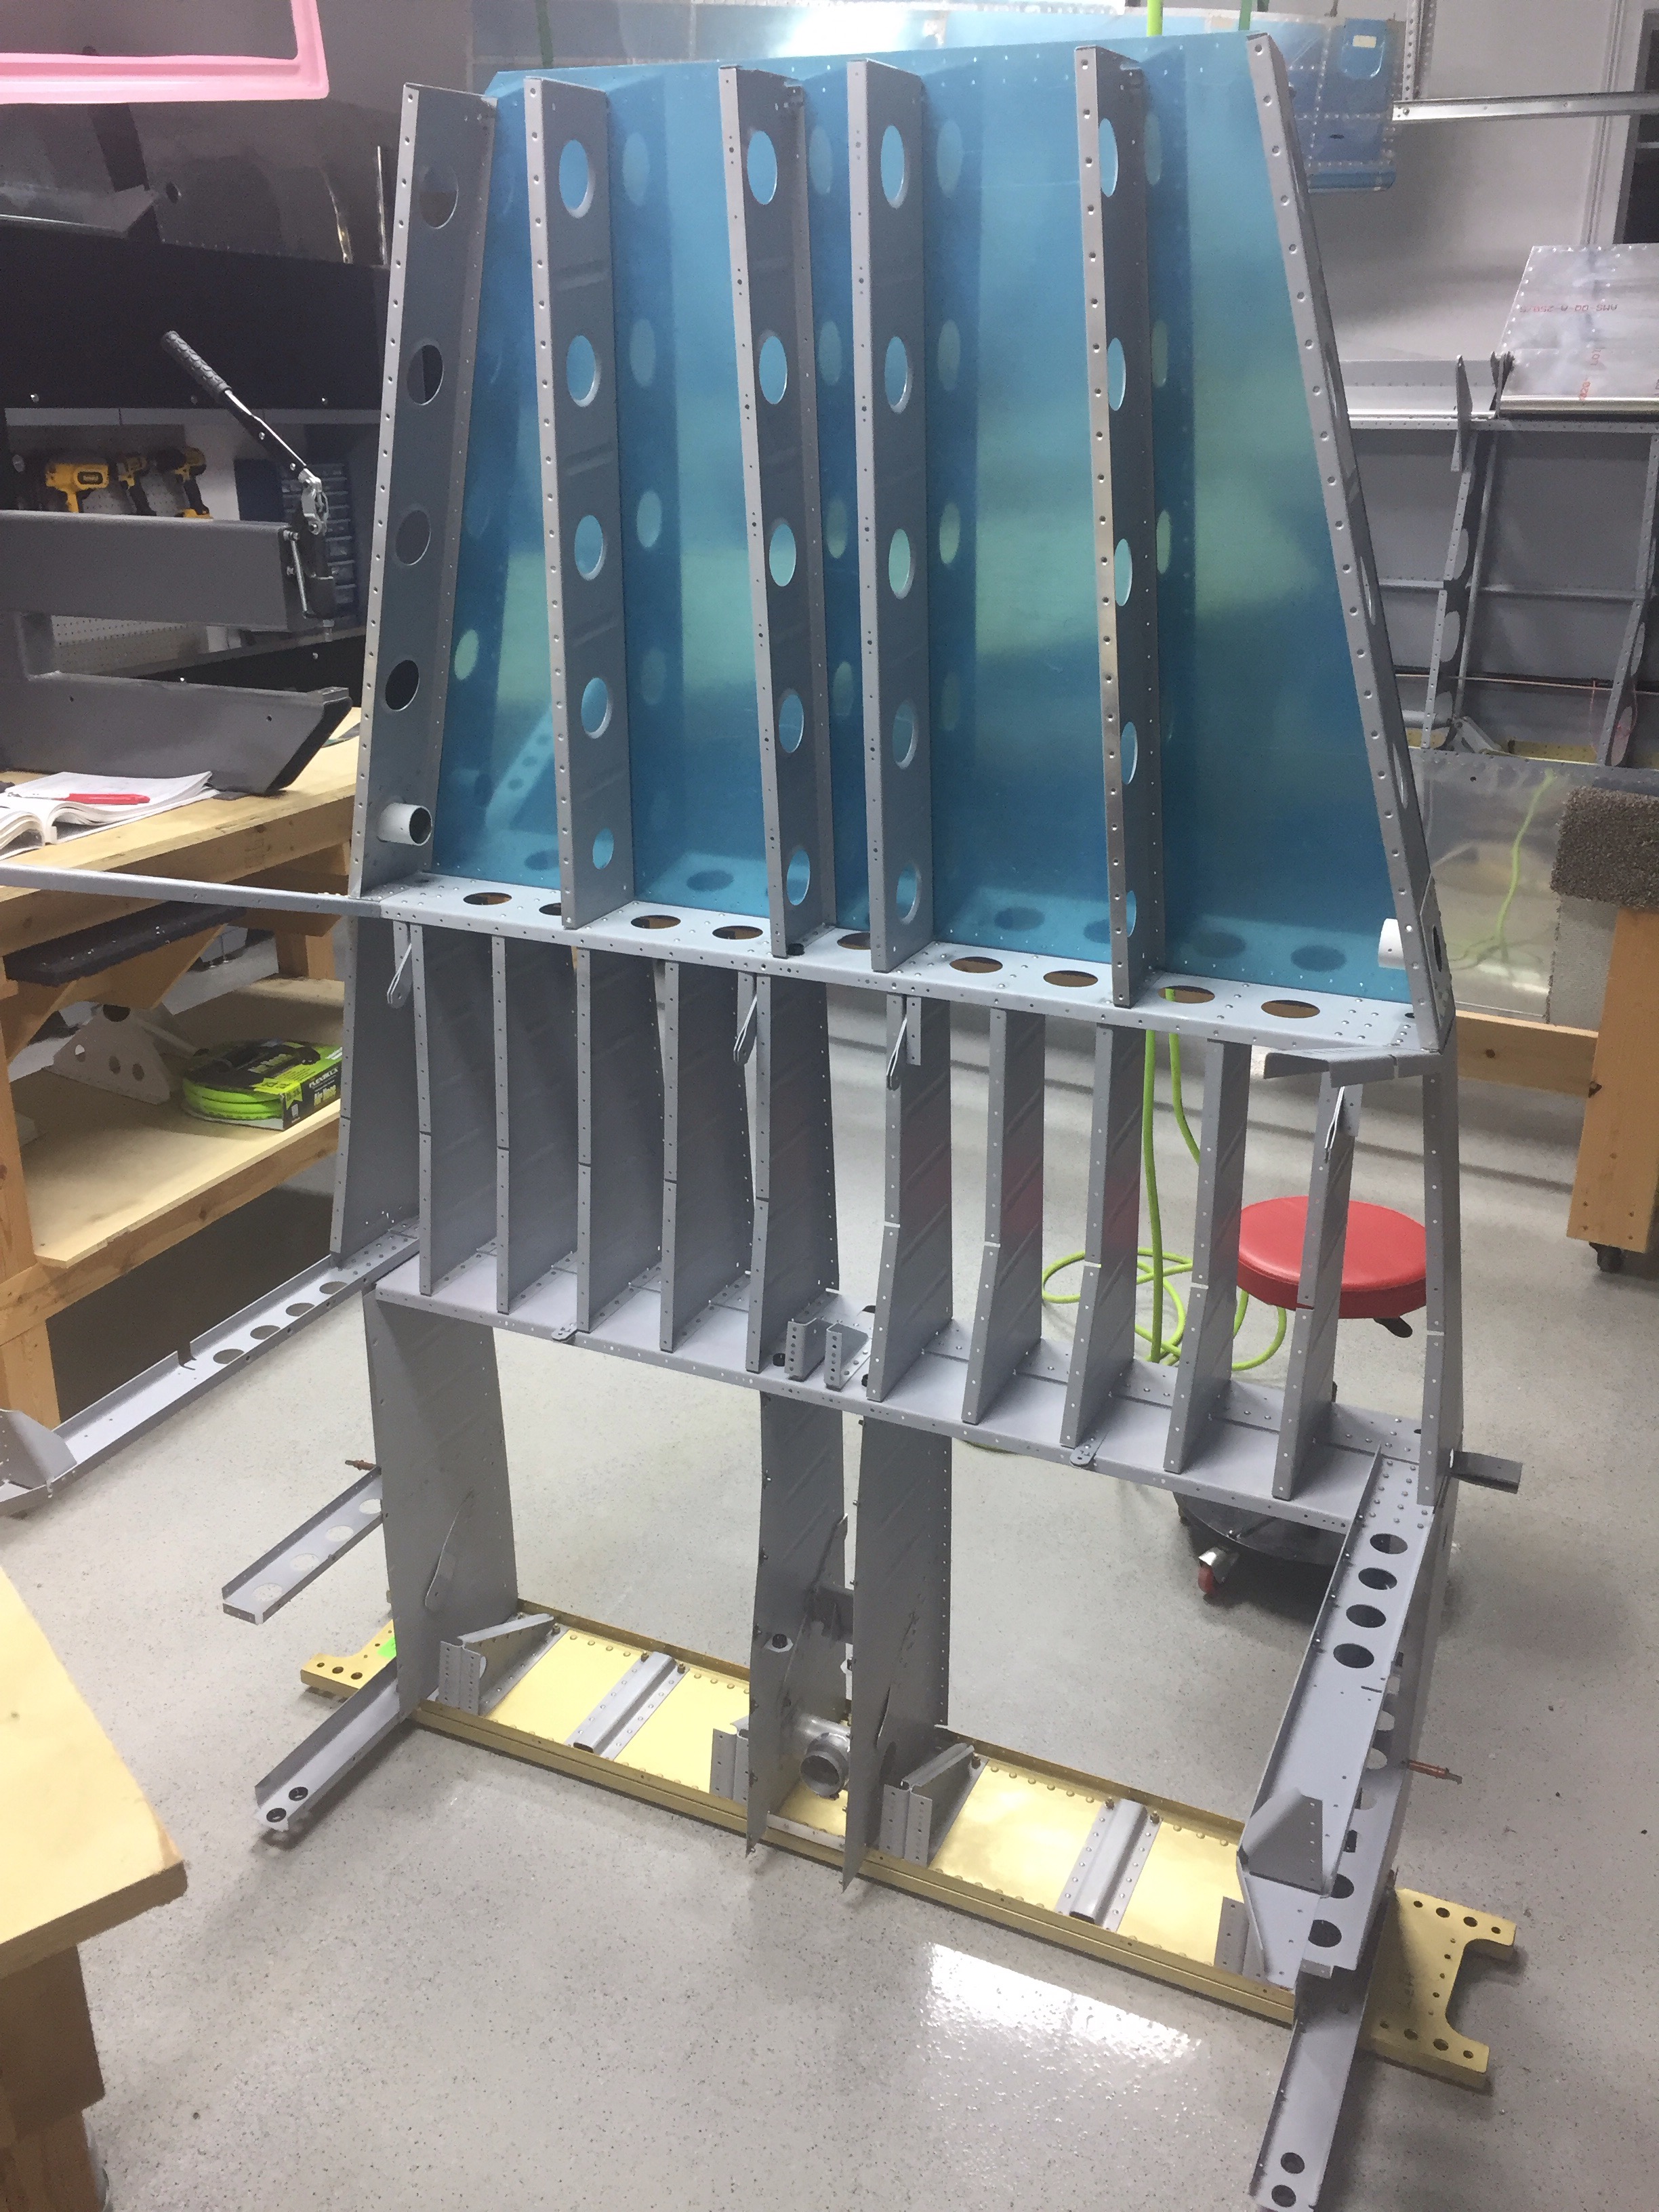
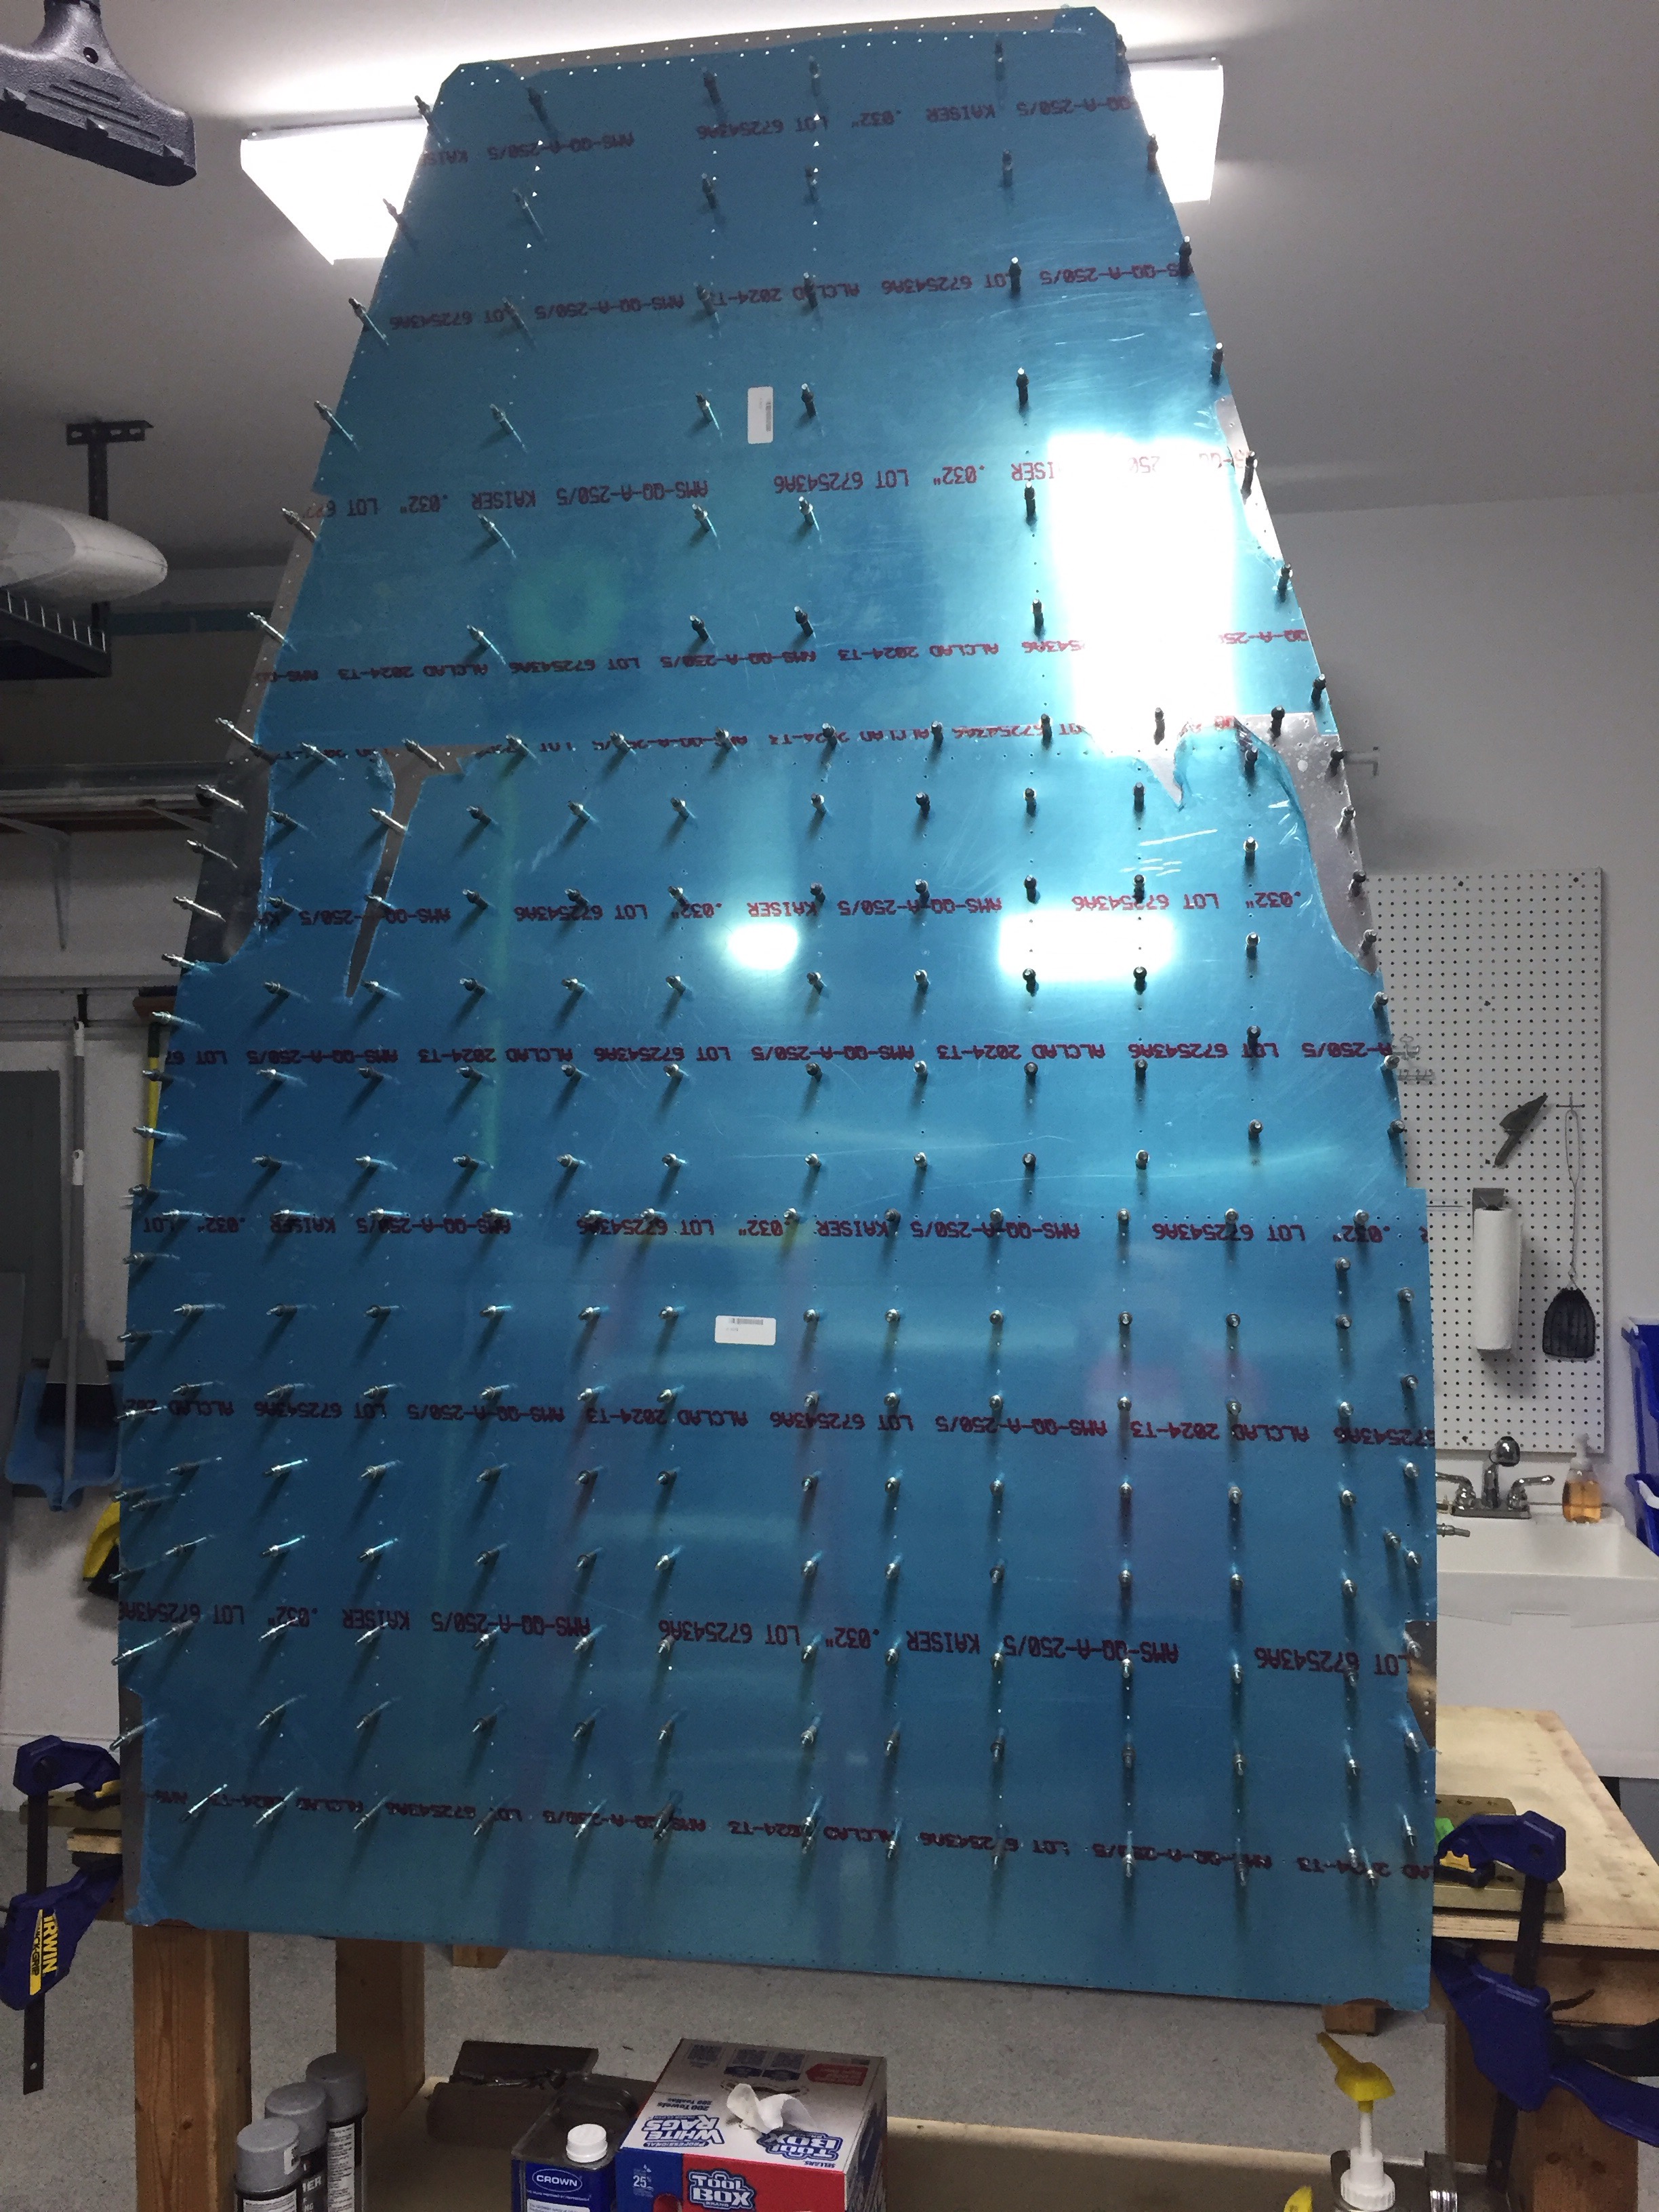
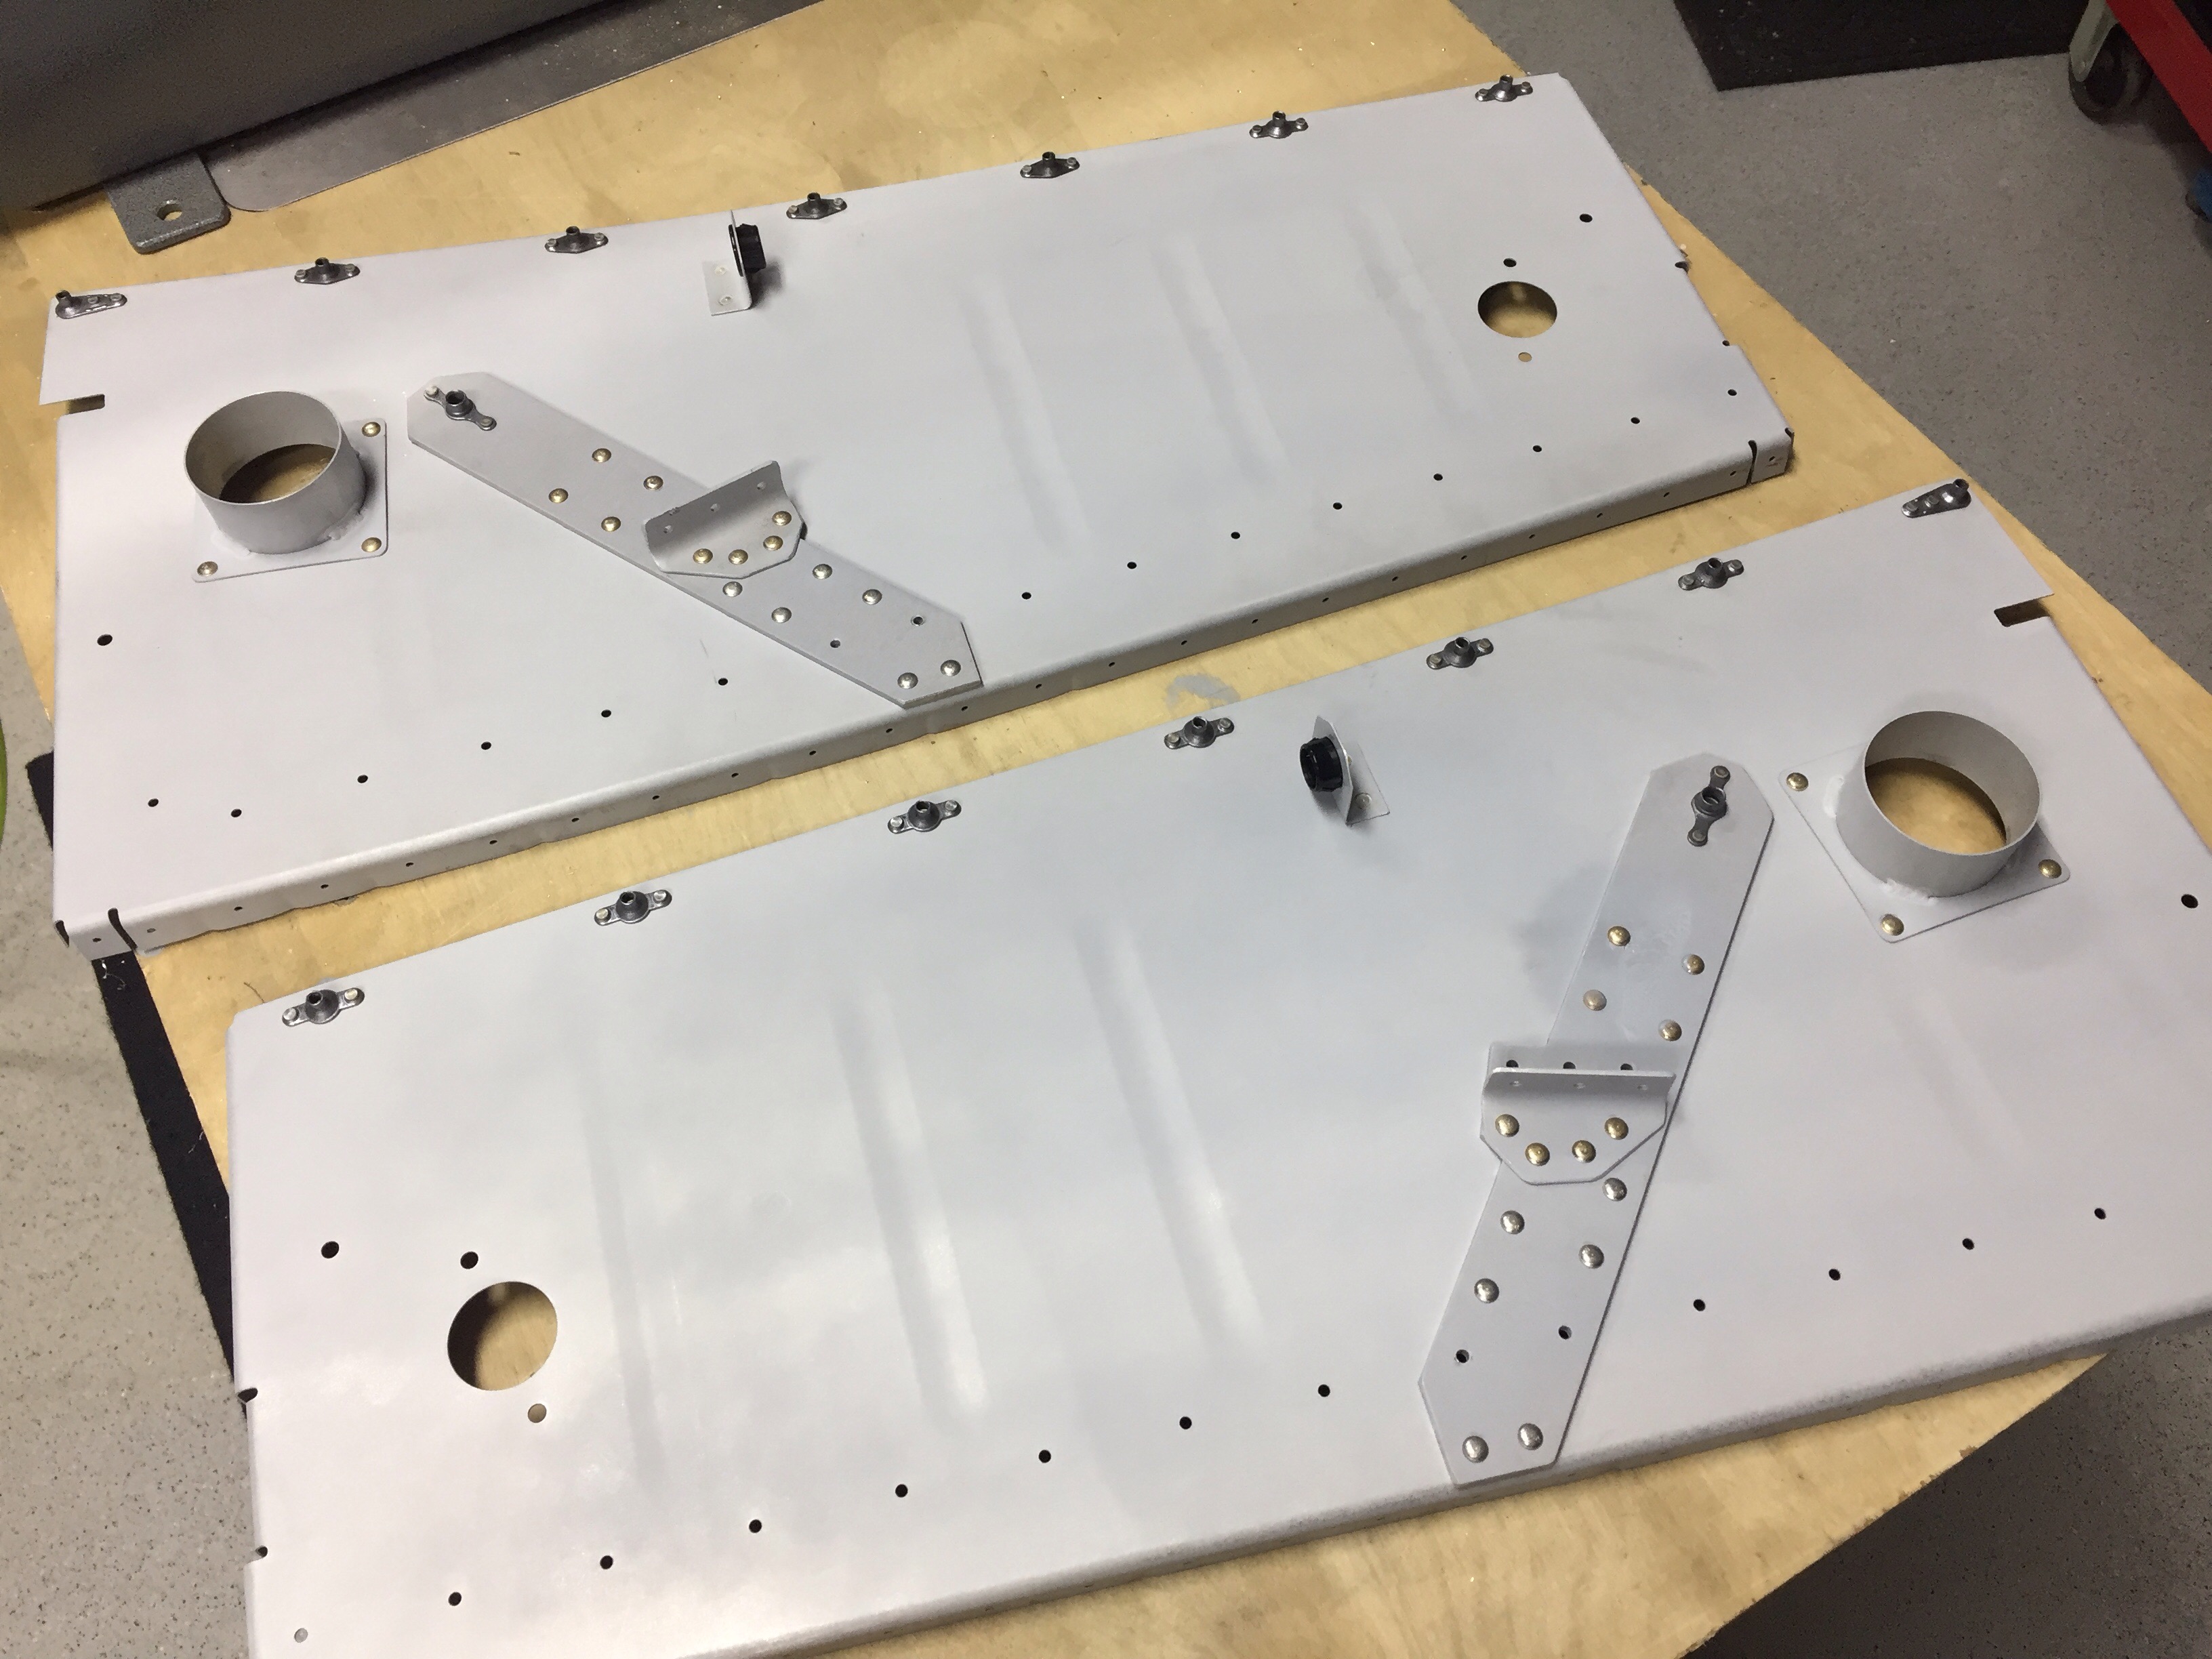
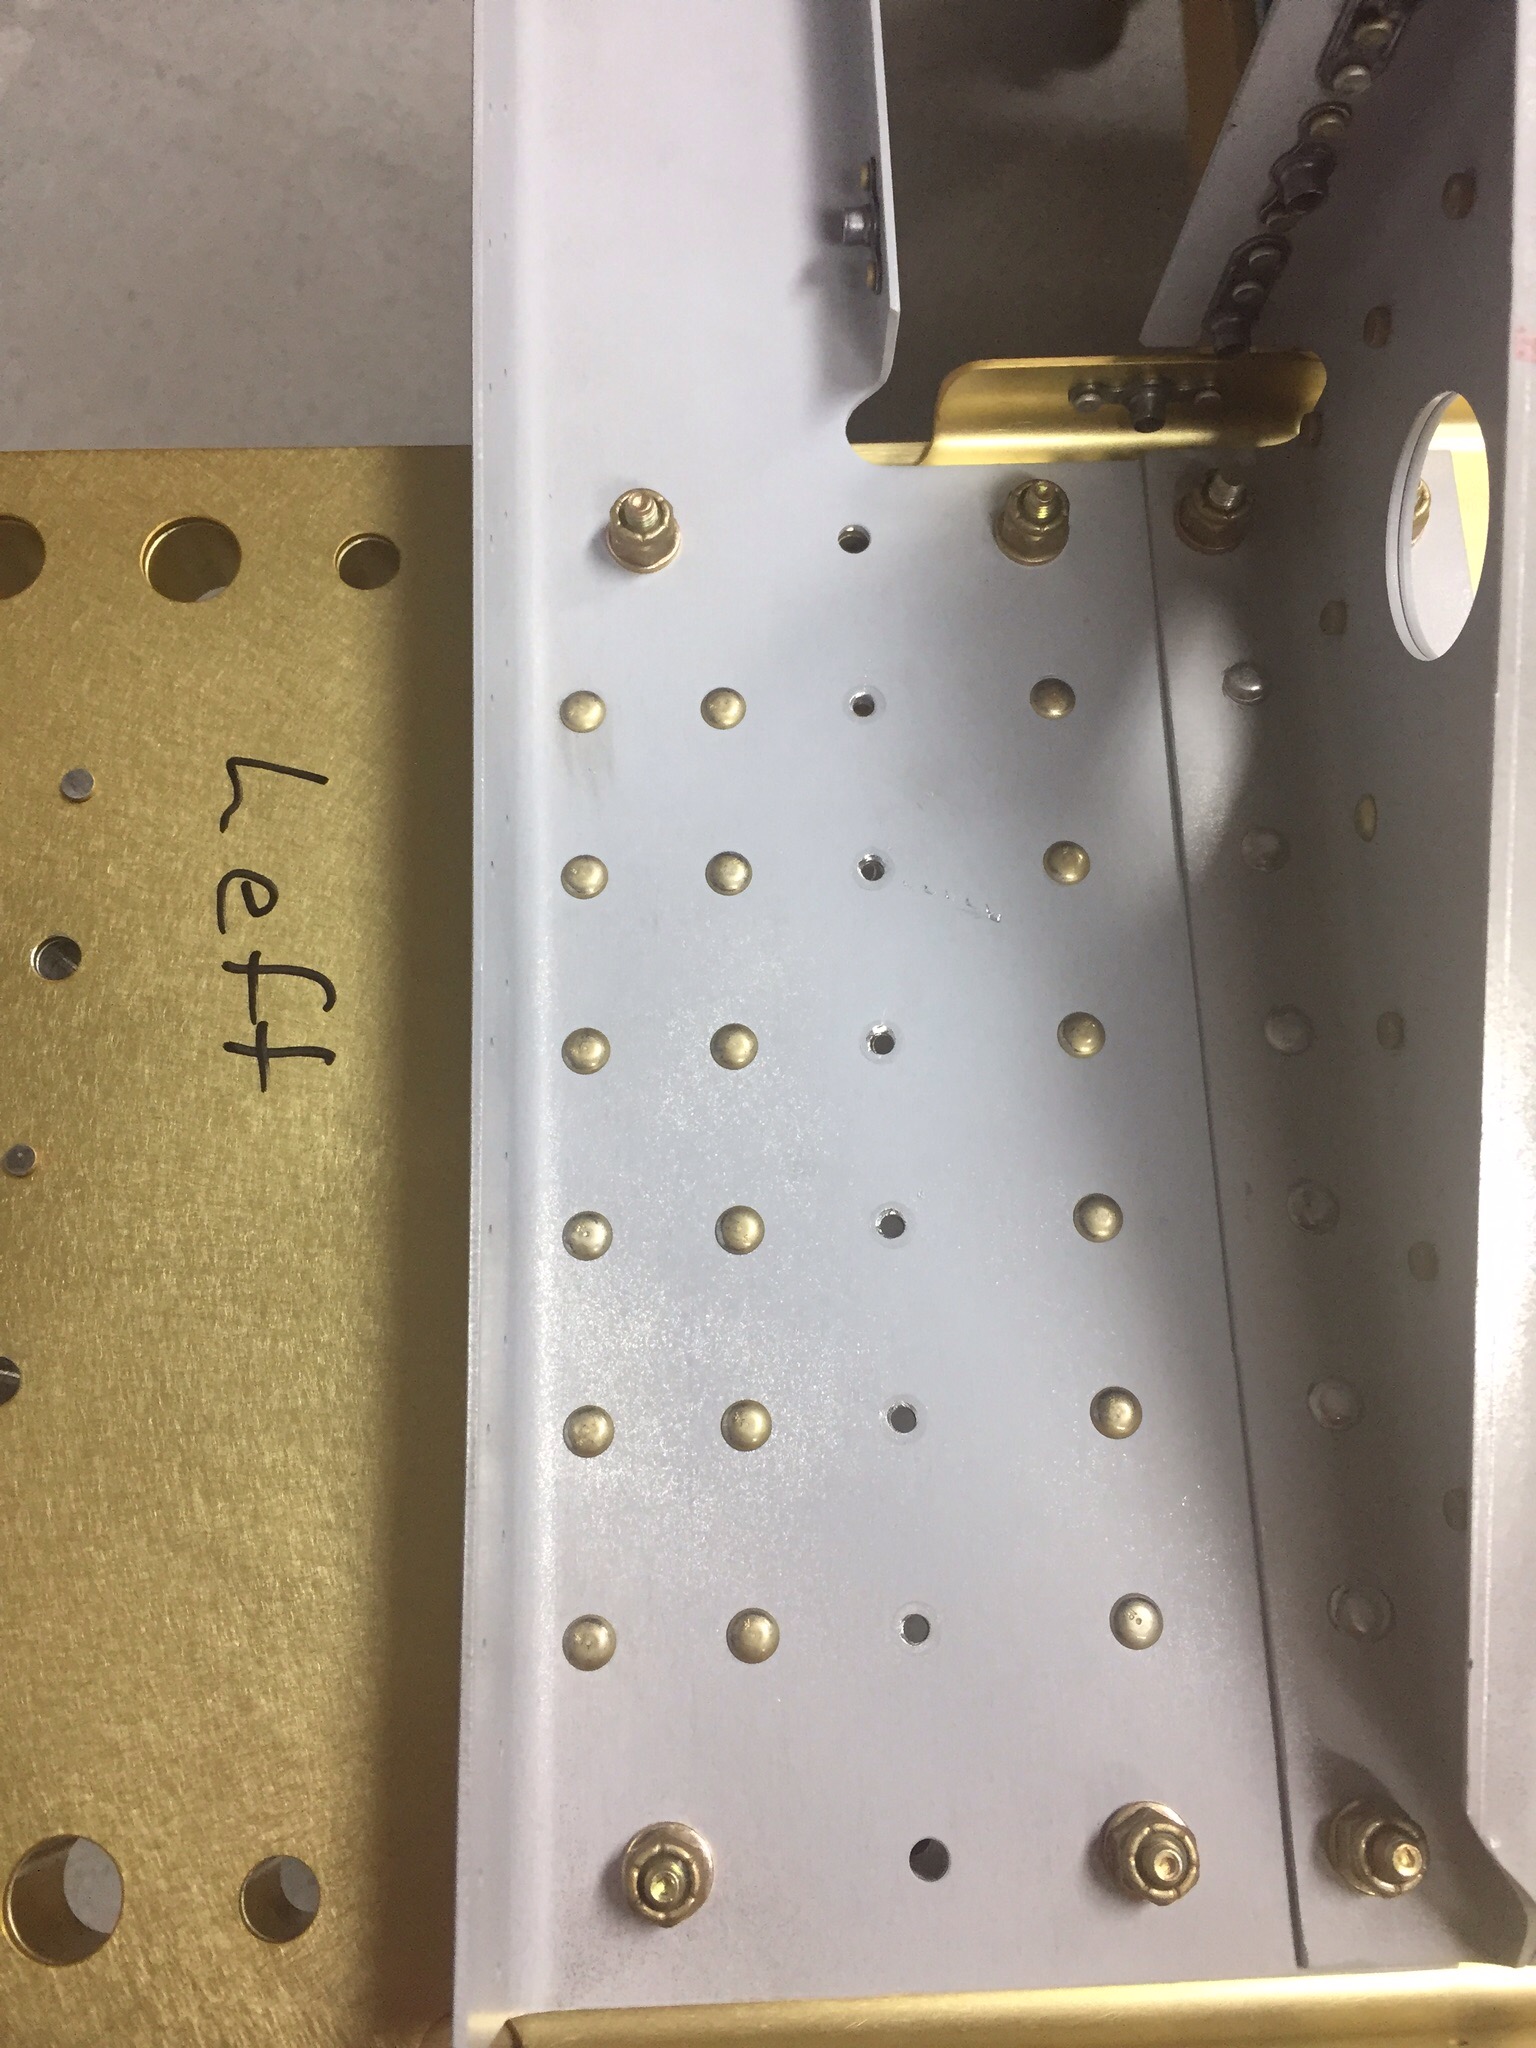
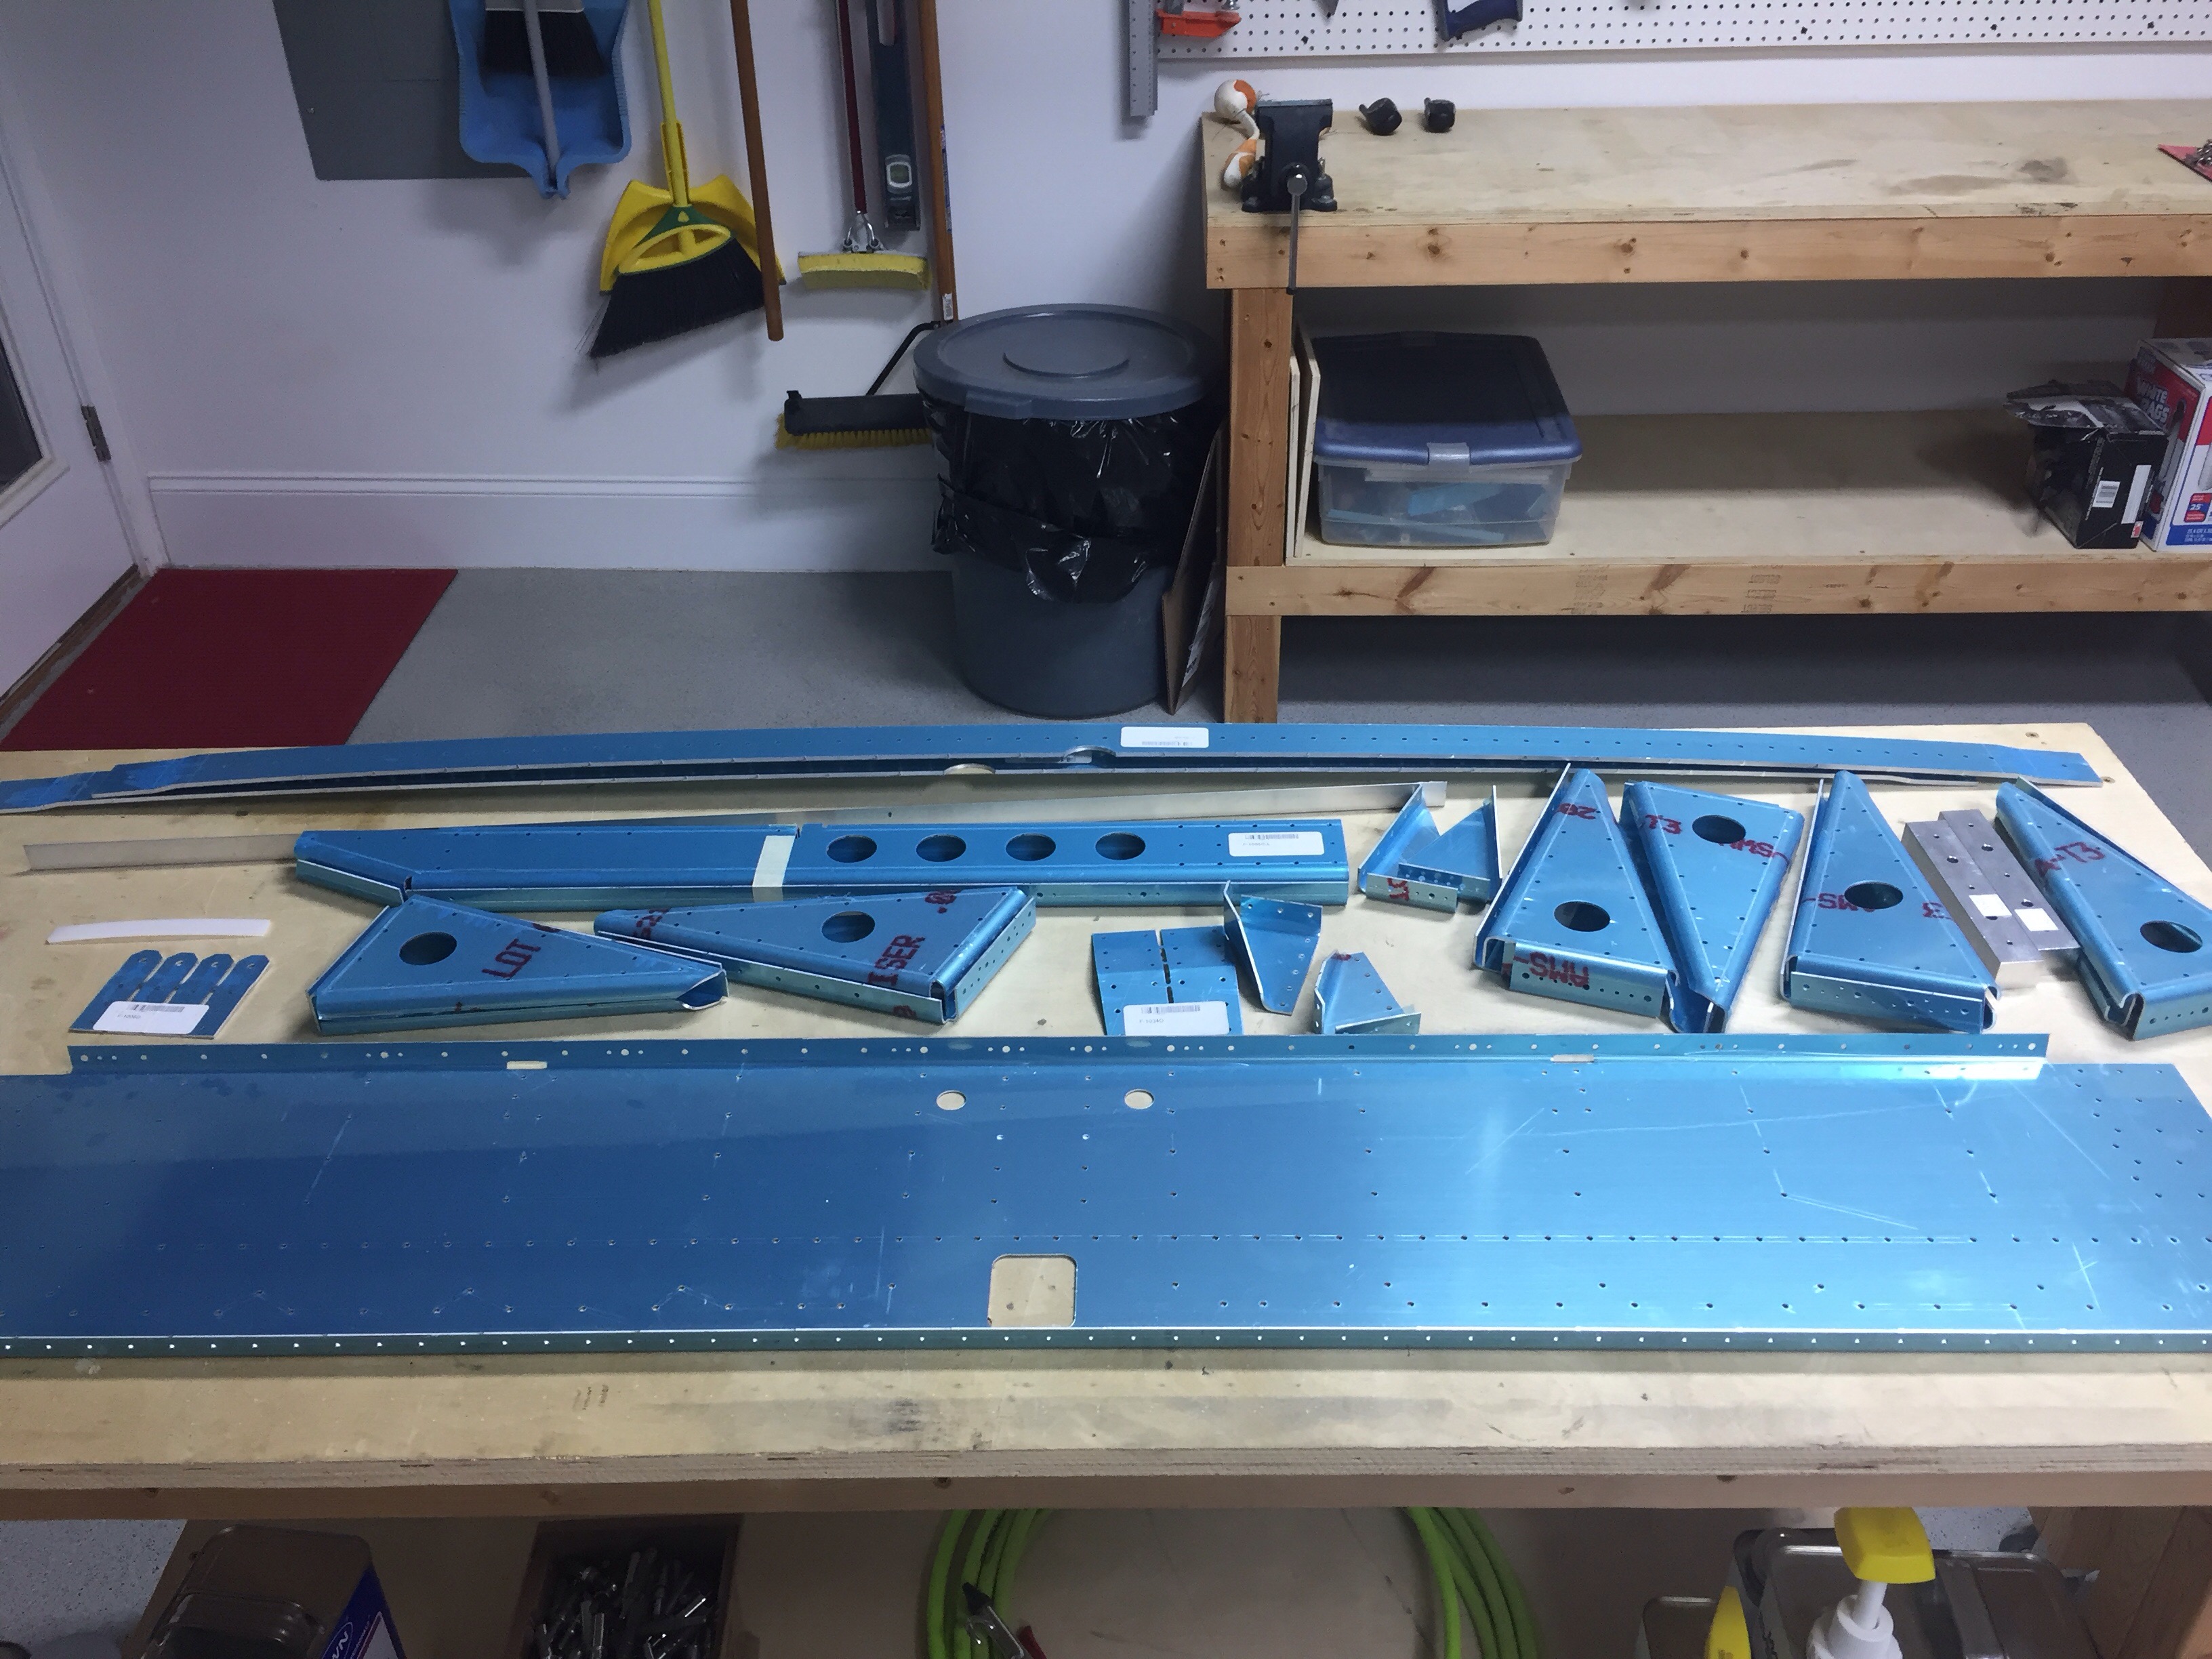
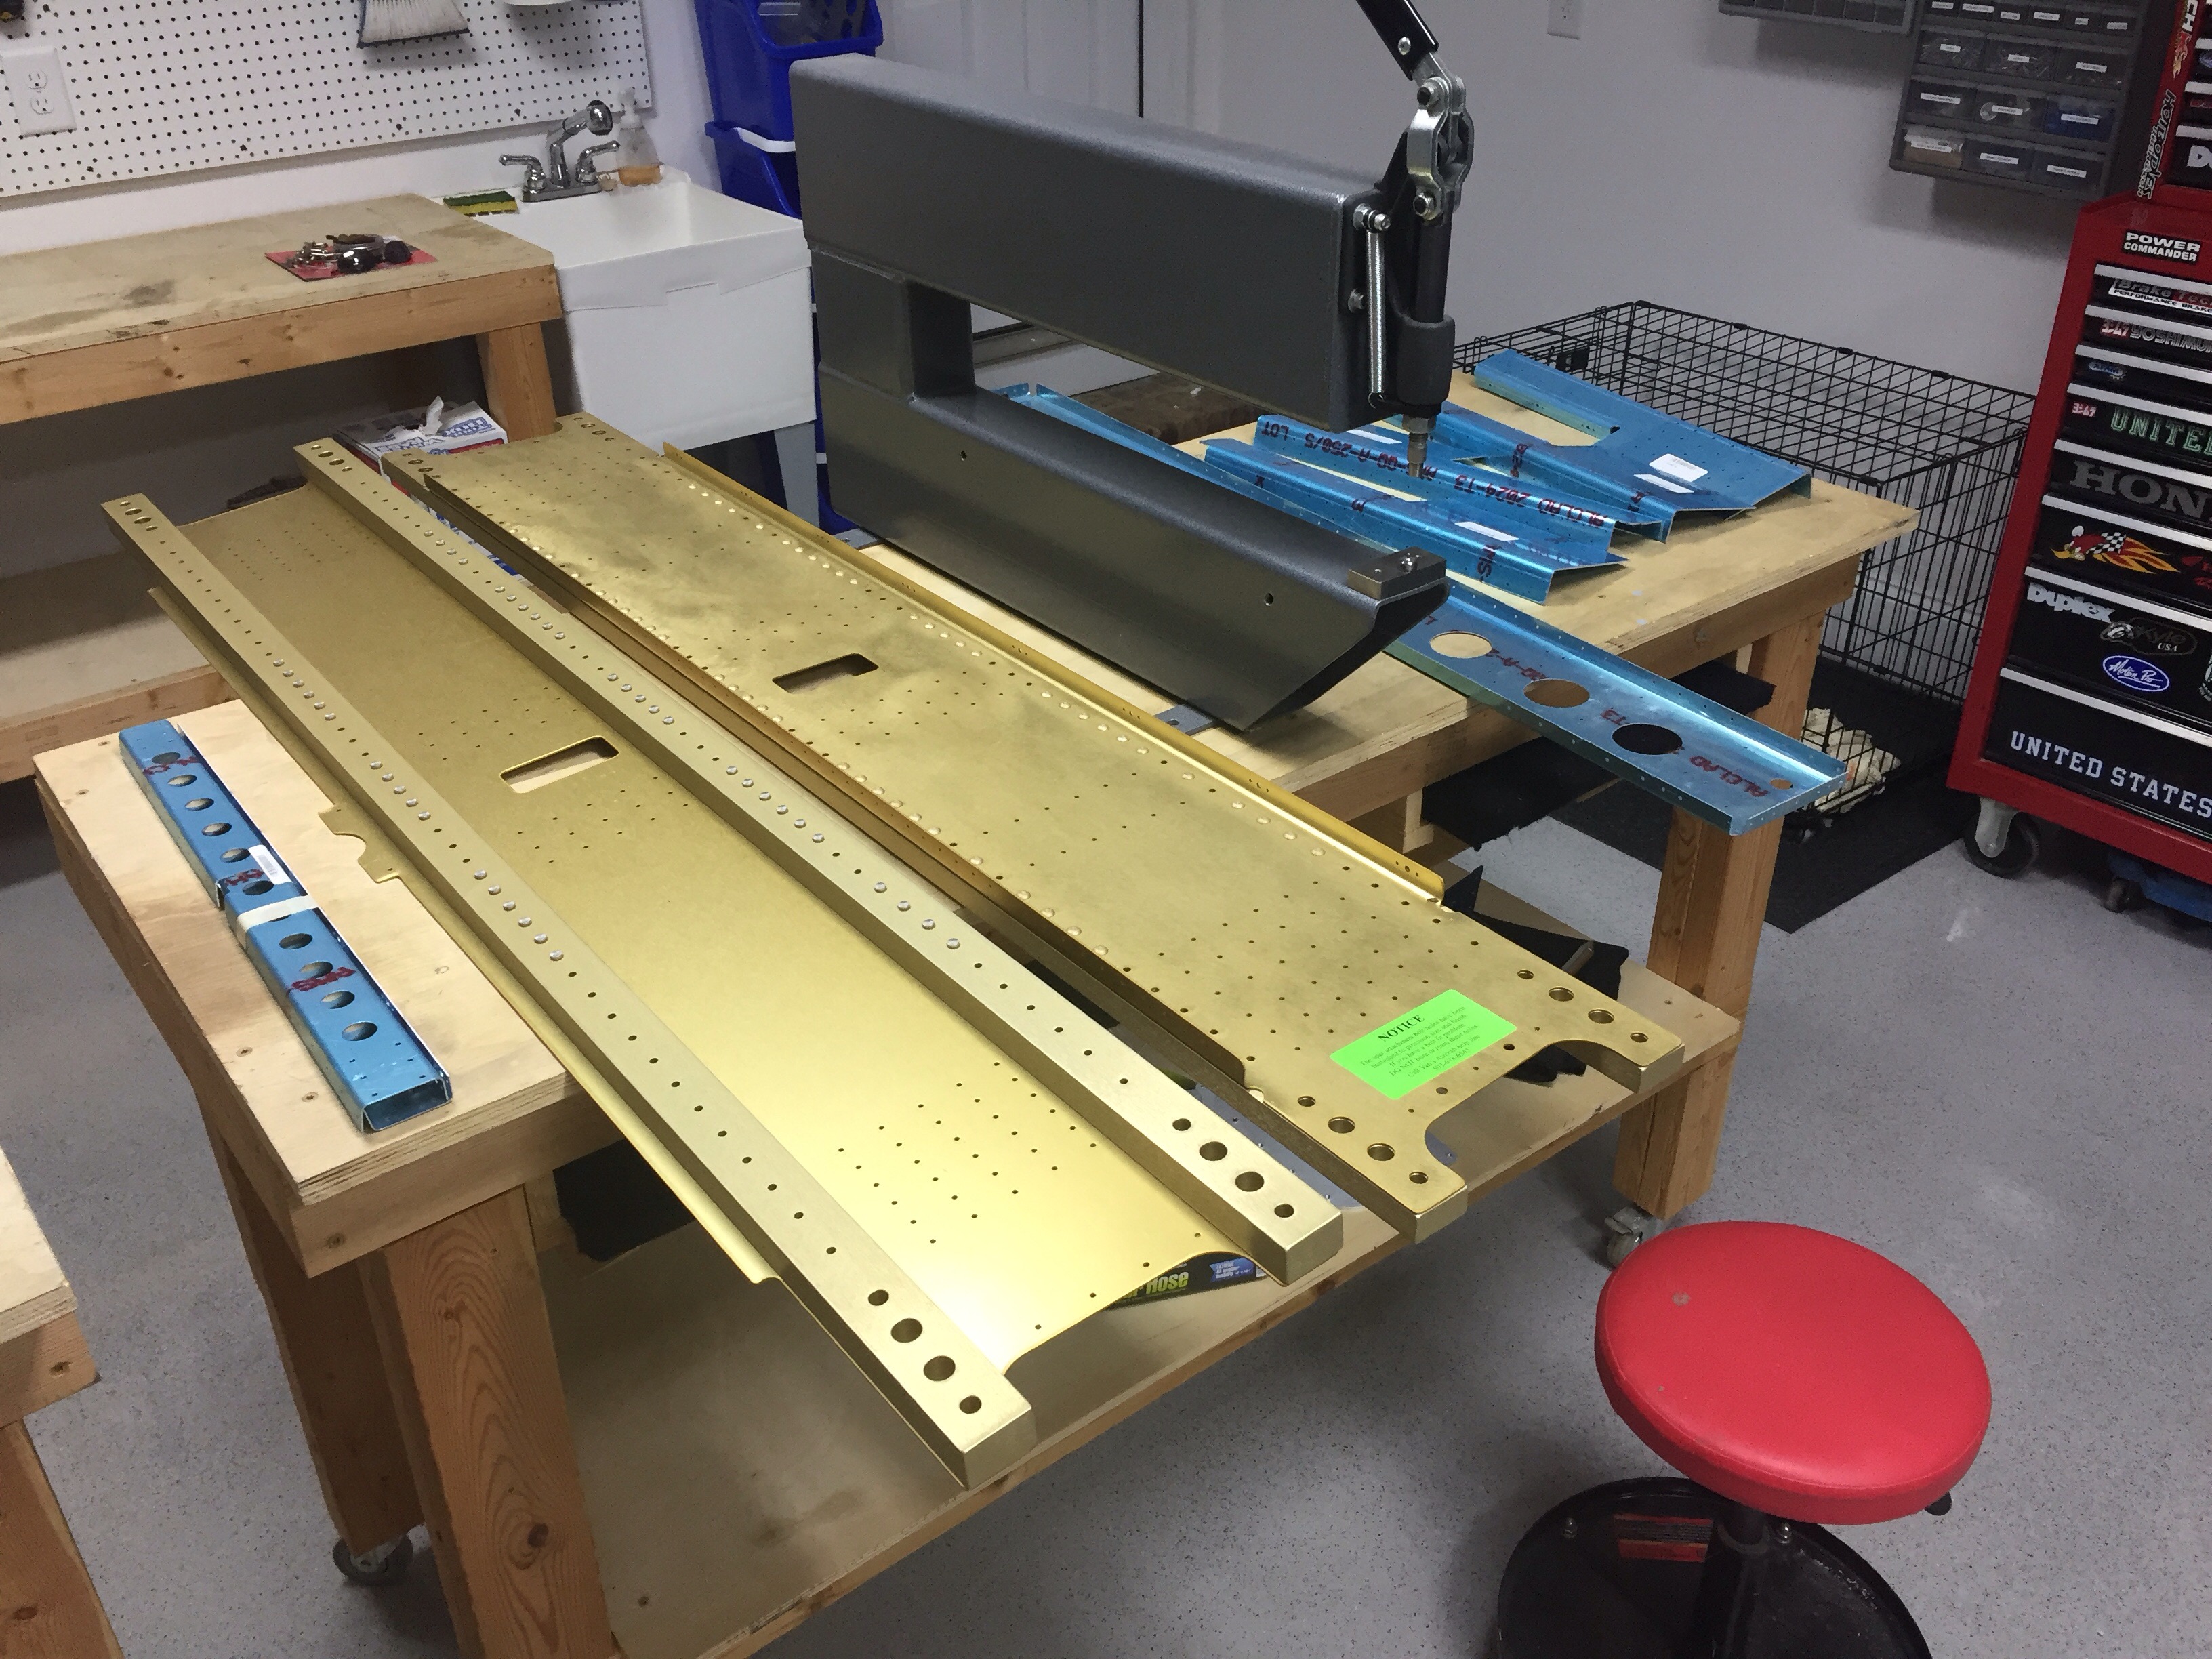
The bottom of the fuselage has a lot so structure to it, as it supports the wing spar and cabin payload.  The bottom skin reminded me of Plinko, just without prizes at the bottom.  It’s really just more of the usual for construction with this bottom skin.


In other news, I had my local EAA chapter technical counselor stop by and give the wings a last look before closing them up.  I got a great report card on my work and another report for my final inspection.  While it’s not a blank check, I have heard quite a few folks say the final inspection is a bit easier when the FAA see a history of routine inspections.  It’s nice to have your work validated as a quality product as well.  It’s good motivation to keep charging on the project.

I’m craving ribs

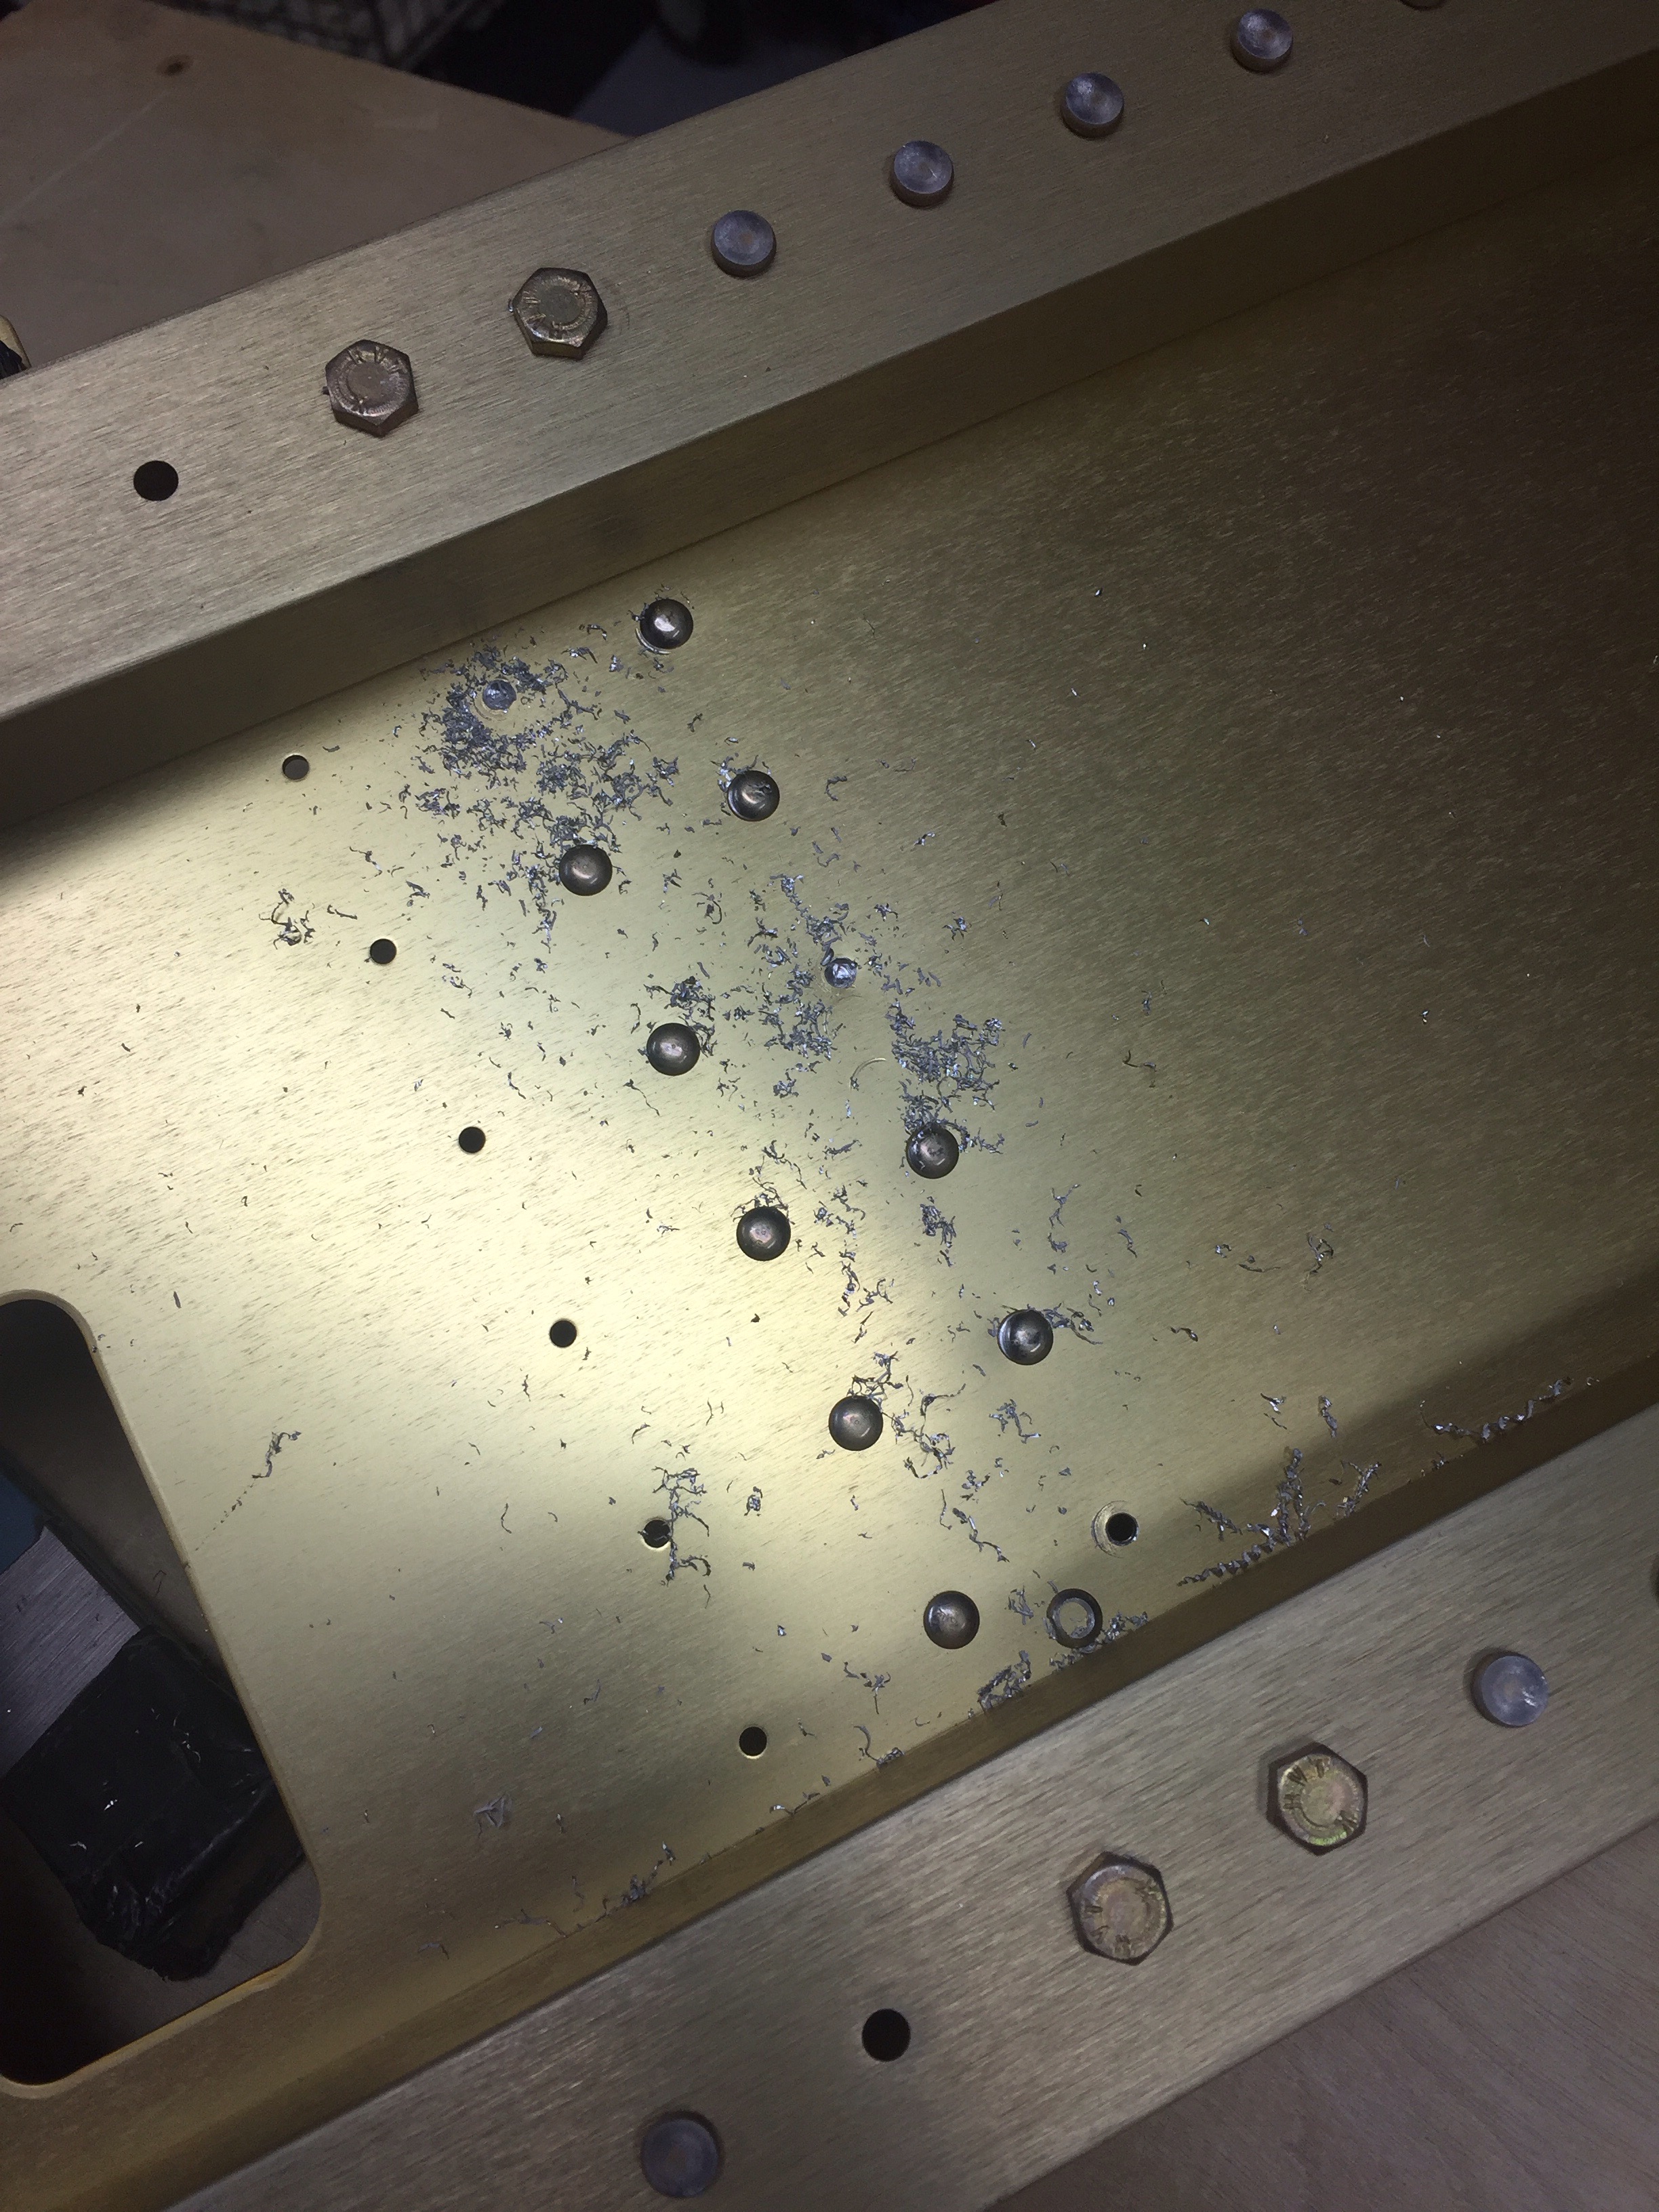
Once the bulkheads are all together, there is an infinite amount of ribs that are attached making up the bottom of the fuselage.  It’s also where the pilot and passengers park their butts, so it’s pretty important to get right.  Fortunately, I’m really good at drilling out rivets.  More on that in a minute.


The ribs take a lot of work to prep, as they are very closely spaced and there’s a lot to scuff and prime.  The prepping alone took a few hours and got a bit boring.  It was also a bit tricky making sure I had everything in the right spot.  Attention to detail on the plans was important and I had to reference a few future sections to see what the bigger picture is on where stuff goes.


Finally everything is primed and now it’s time to rivet.  I just can’t get into a groove with my offset rivet set.  I am drilling out about a fifth of the rivets because I am smashing the manufactured head.  I also riveted an outside rib on without putting the other end of it inside a bulkhead, so all of those rivets had to come out.  I had to slow myself down and refocus which is yielding better results.

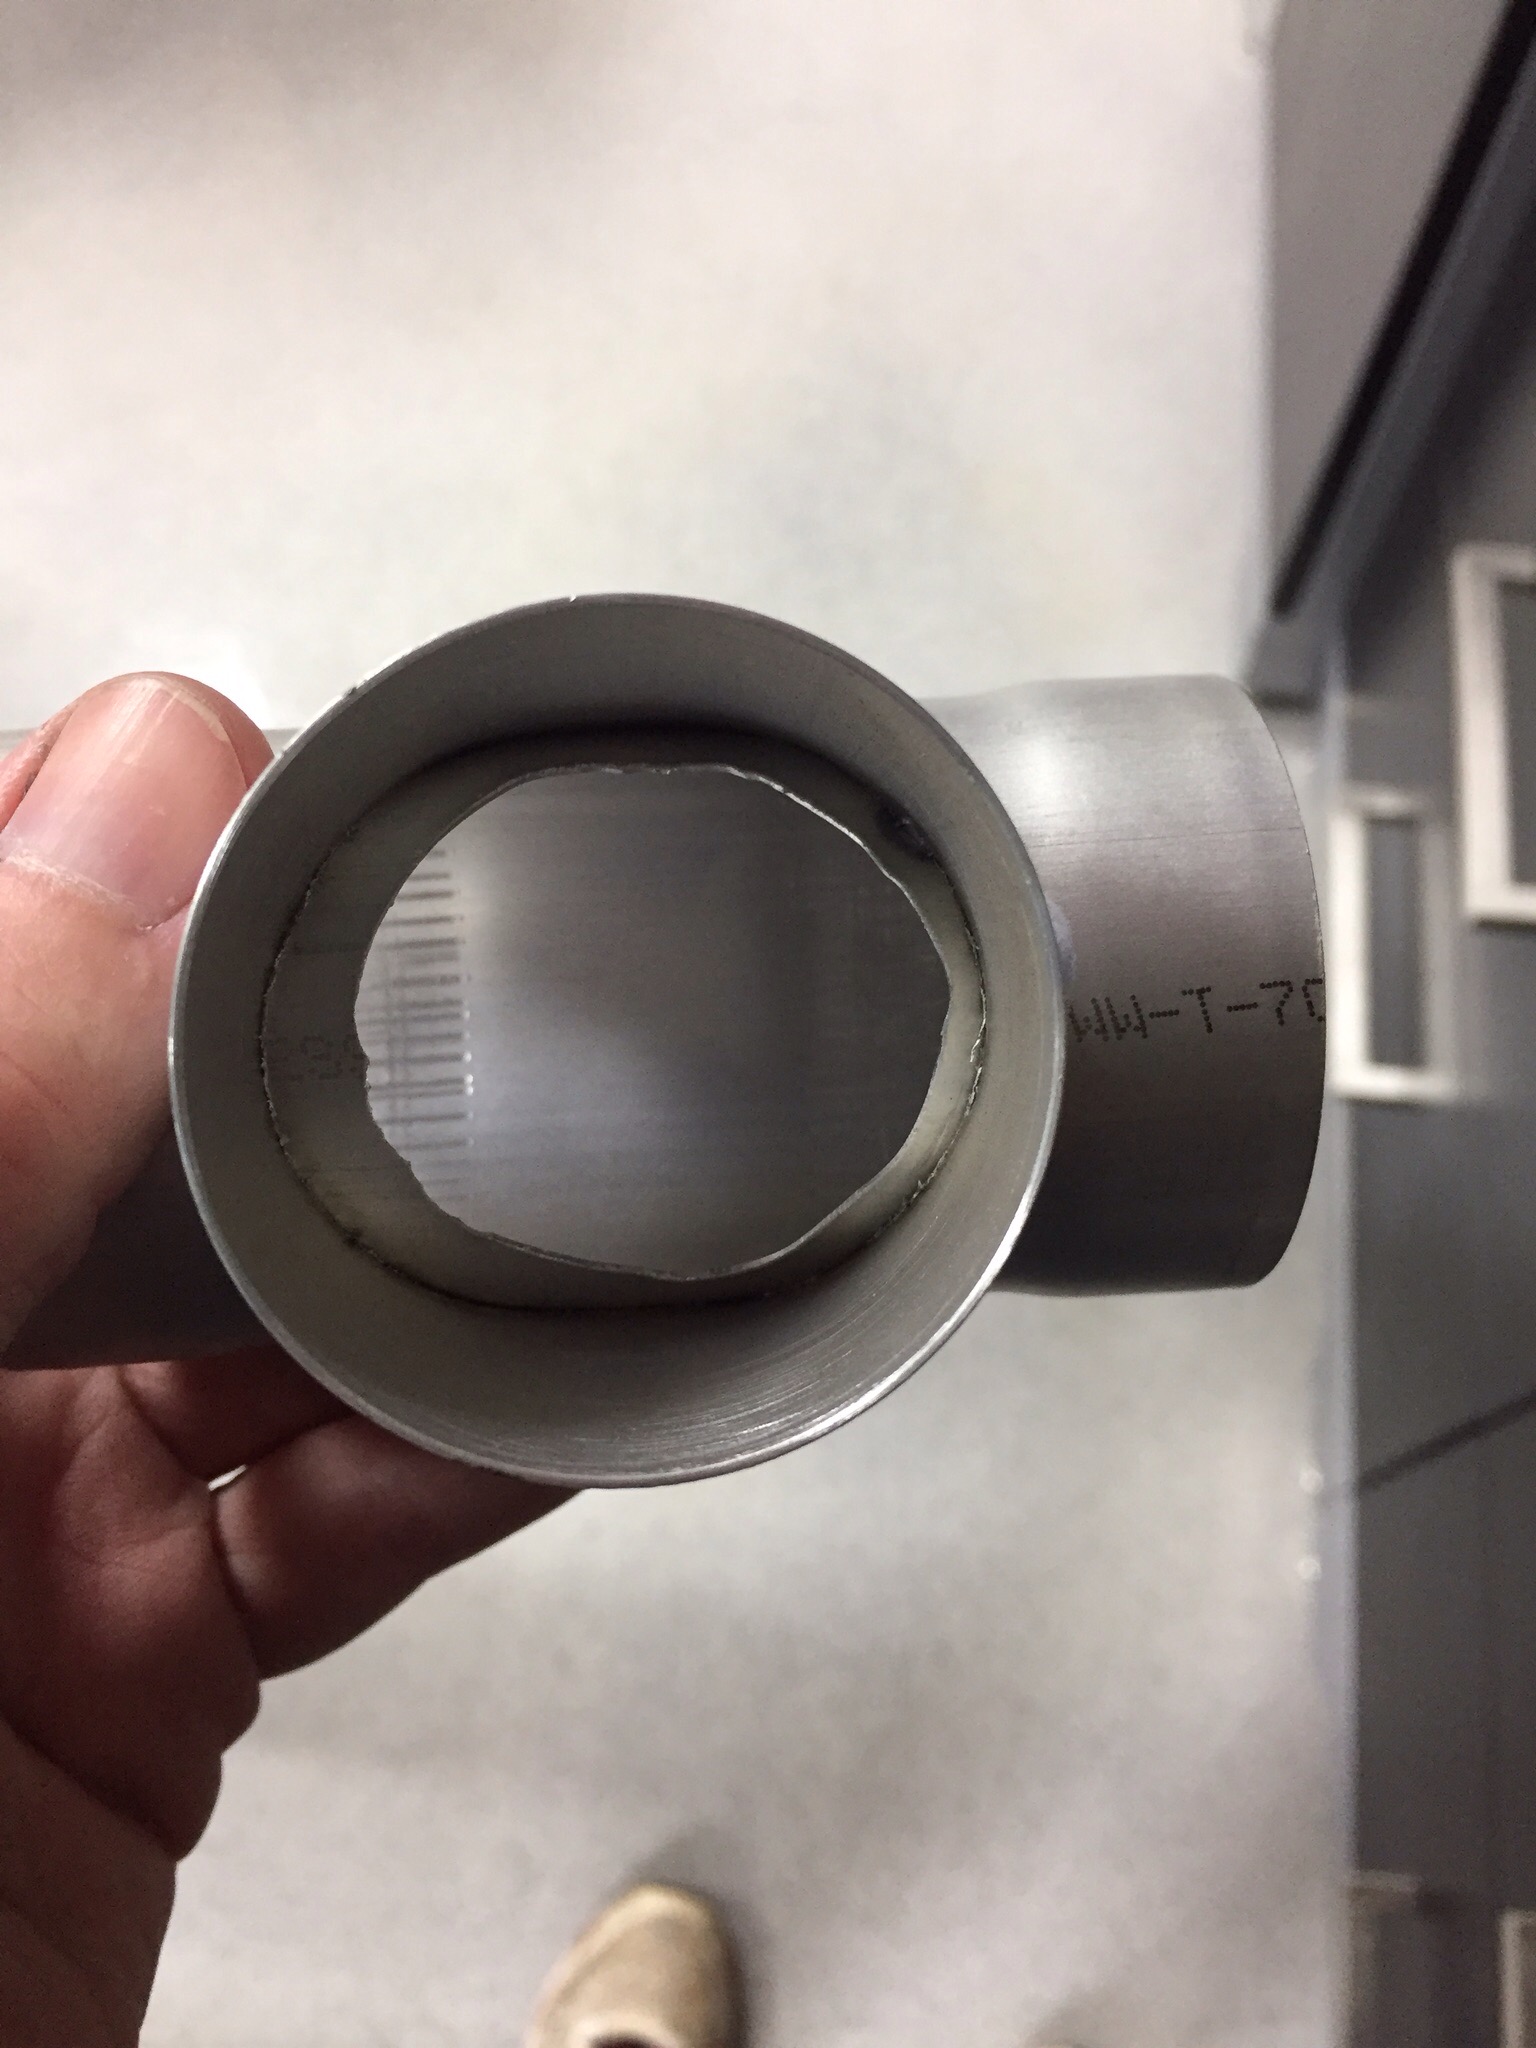
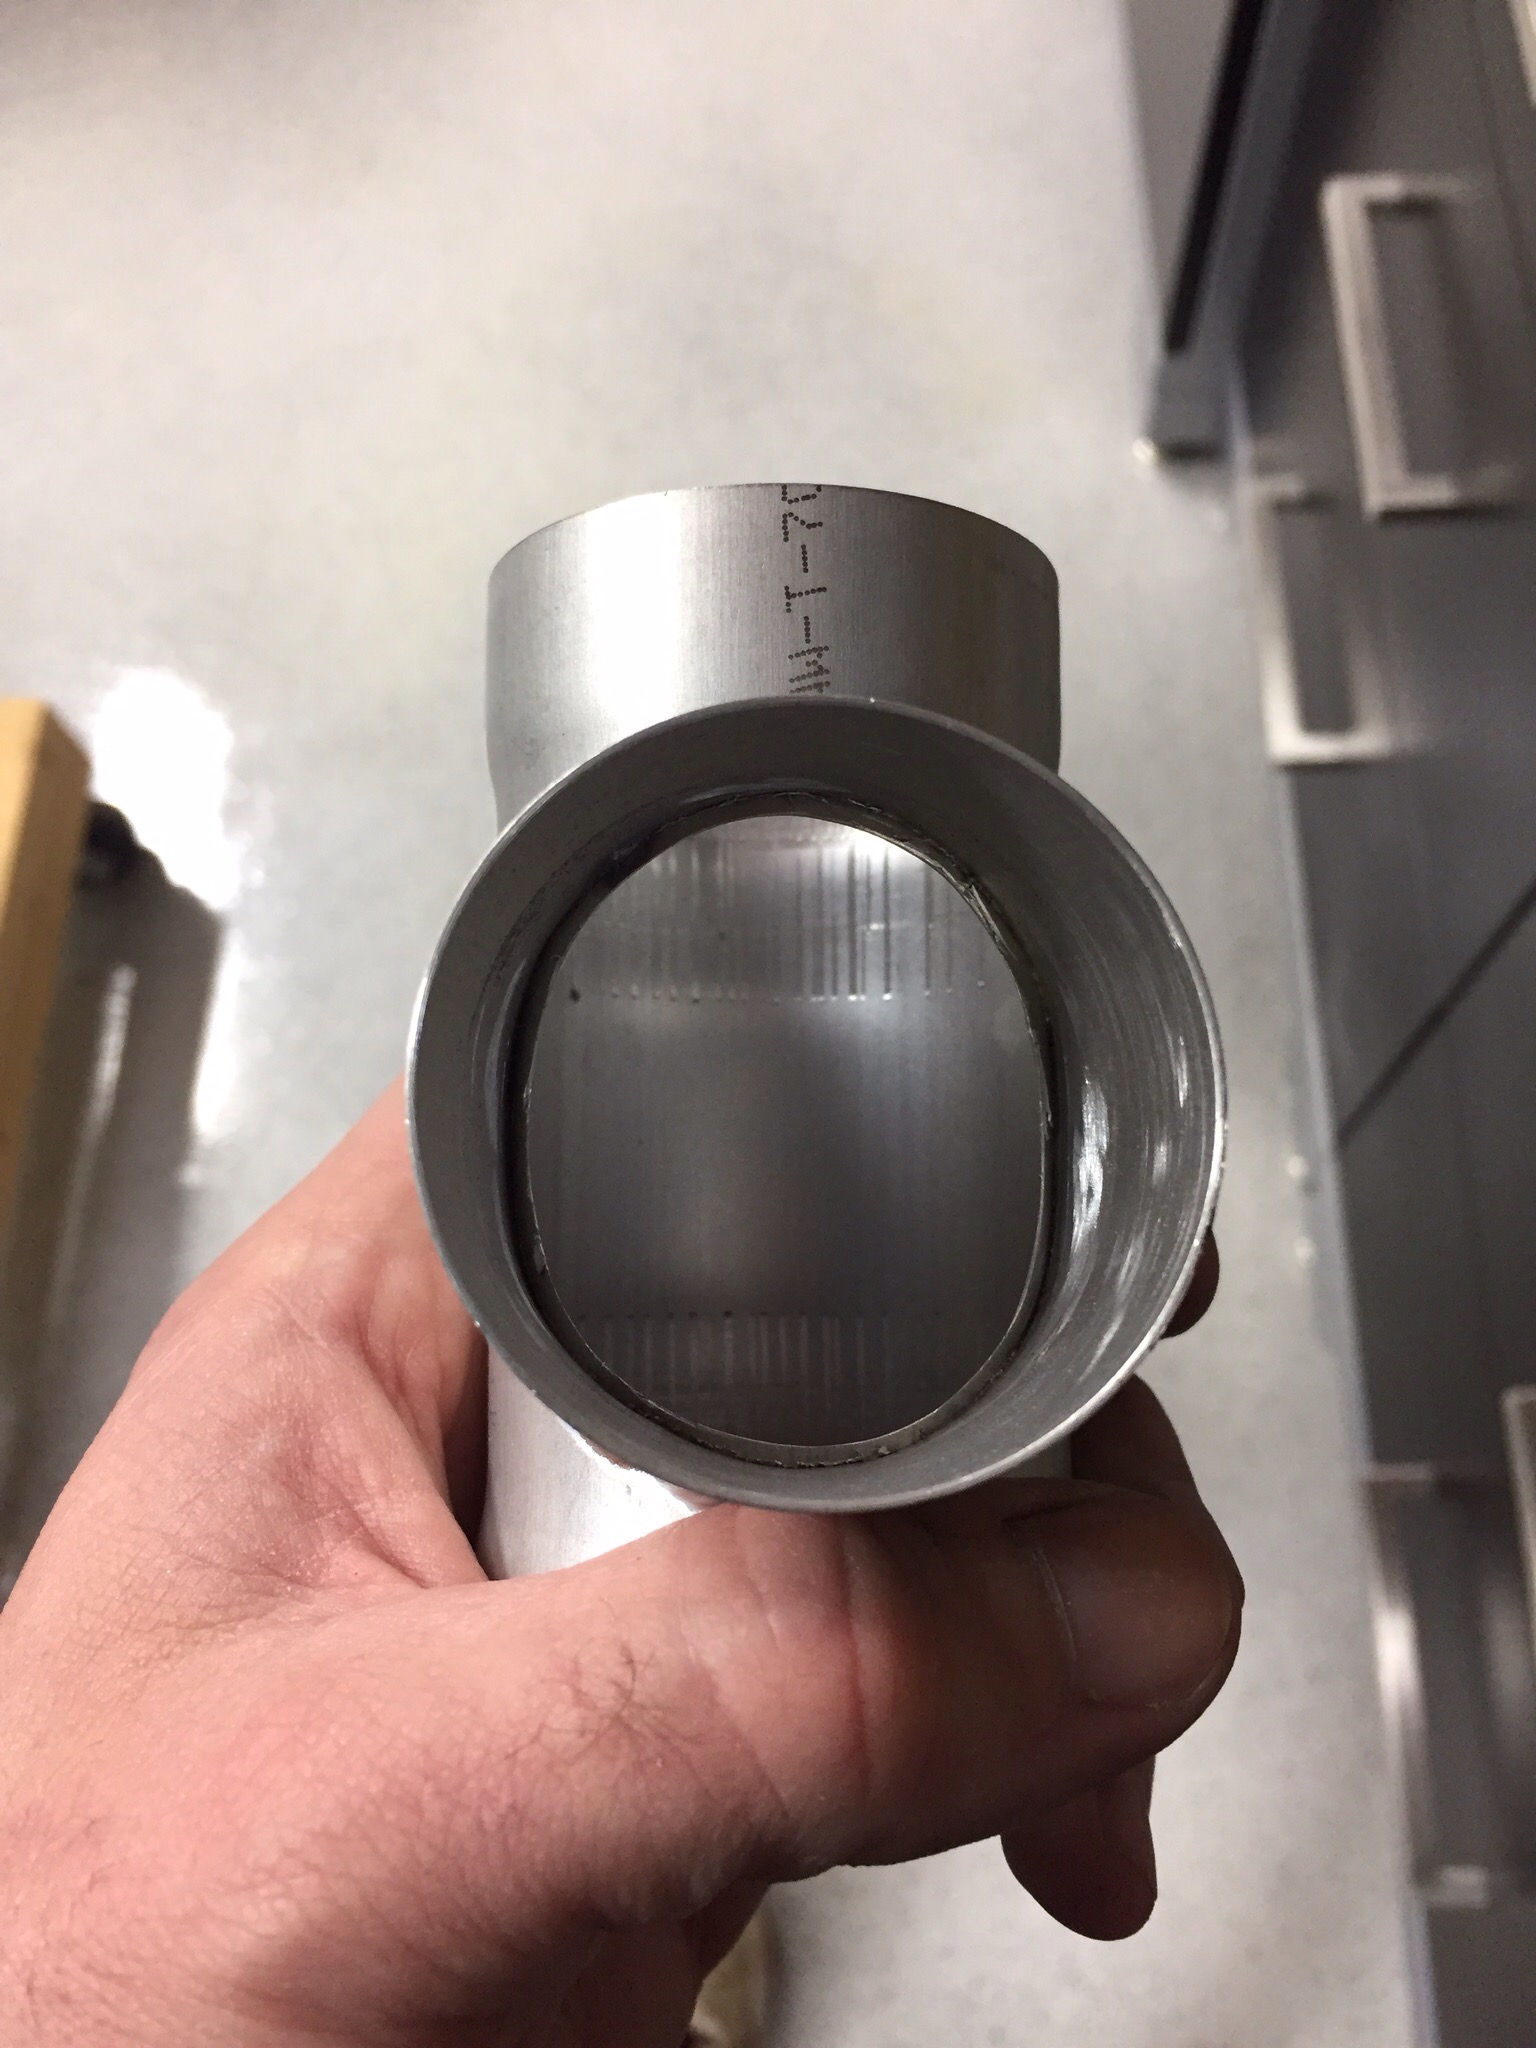
I did take some time to clean up the heat duct tee before installing.  I’m sure there is plenty of heat in the back, but why leave an ugly piece in the project when I could fix it up.  Before and after shows a nice increase in the outlet area so it should provide smoother airflow compared to the original condition.

Well, buck it

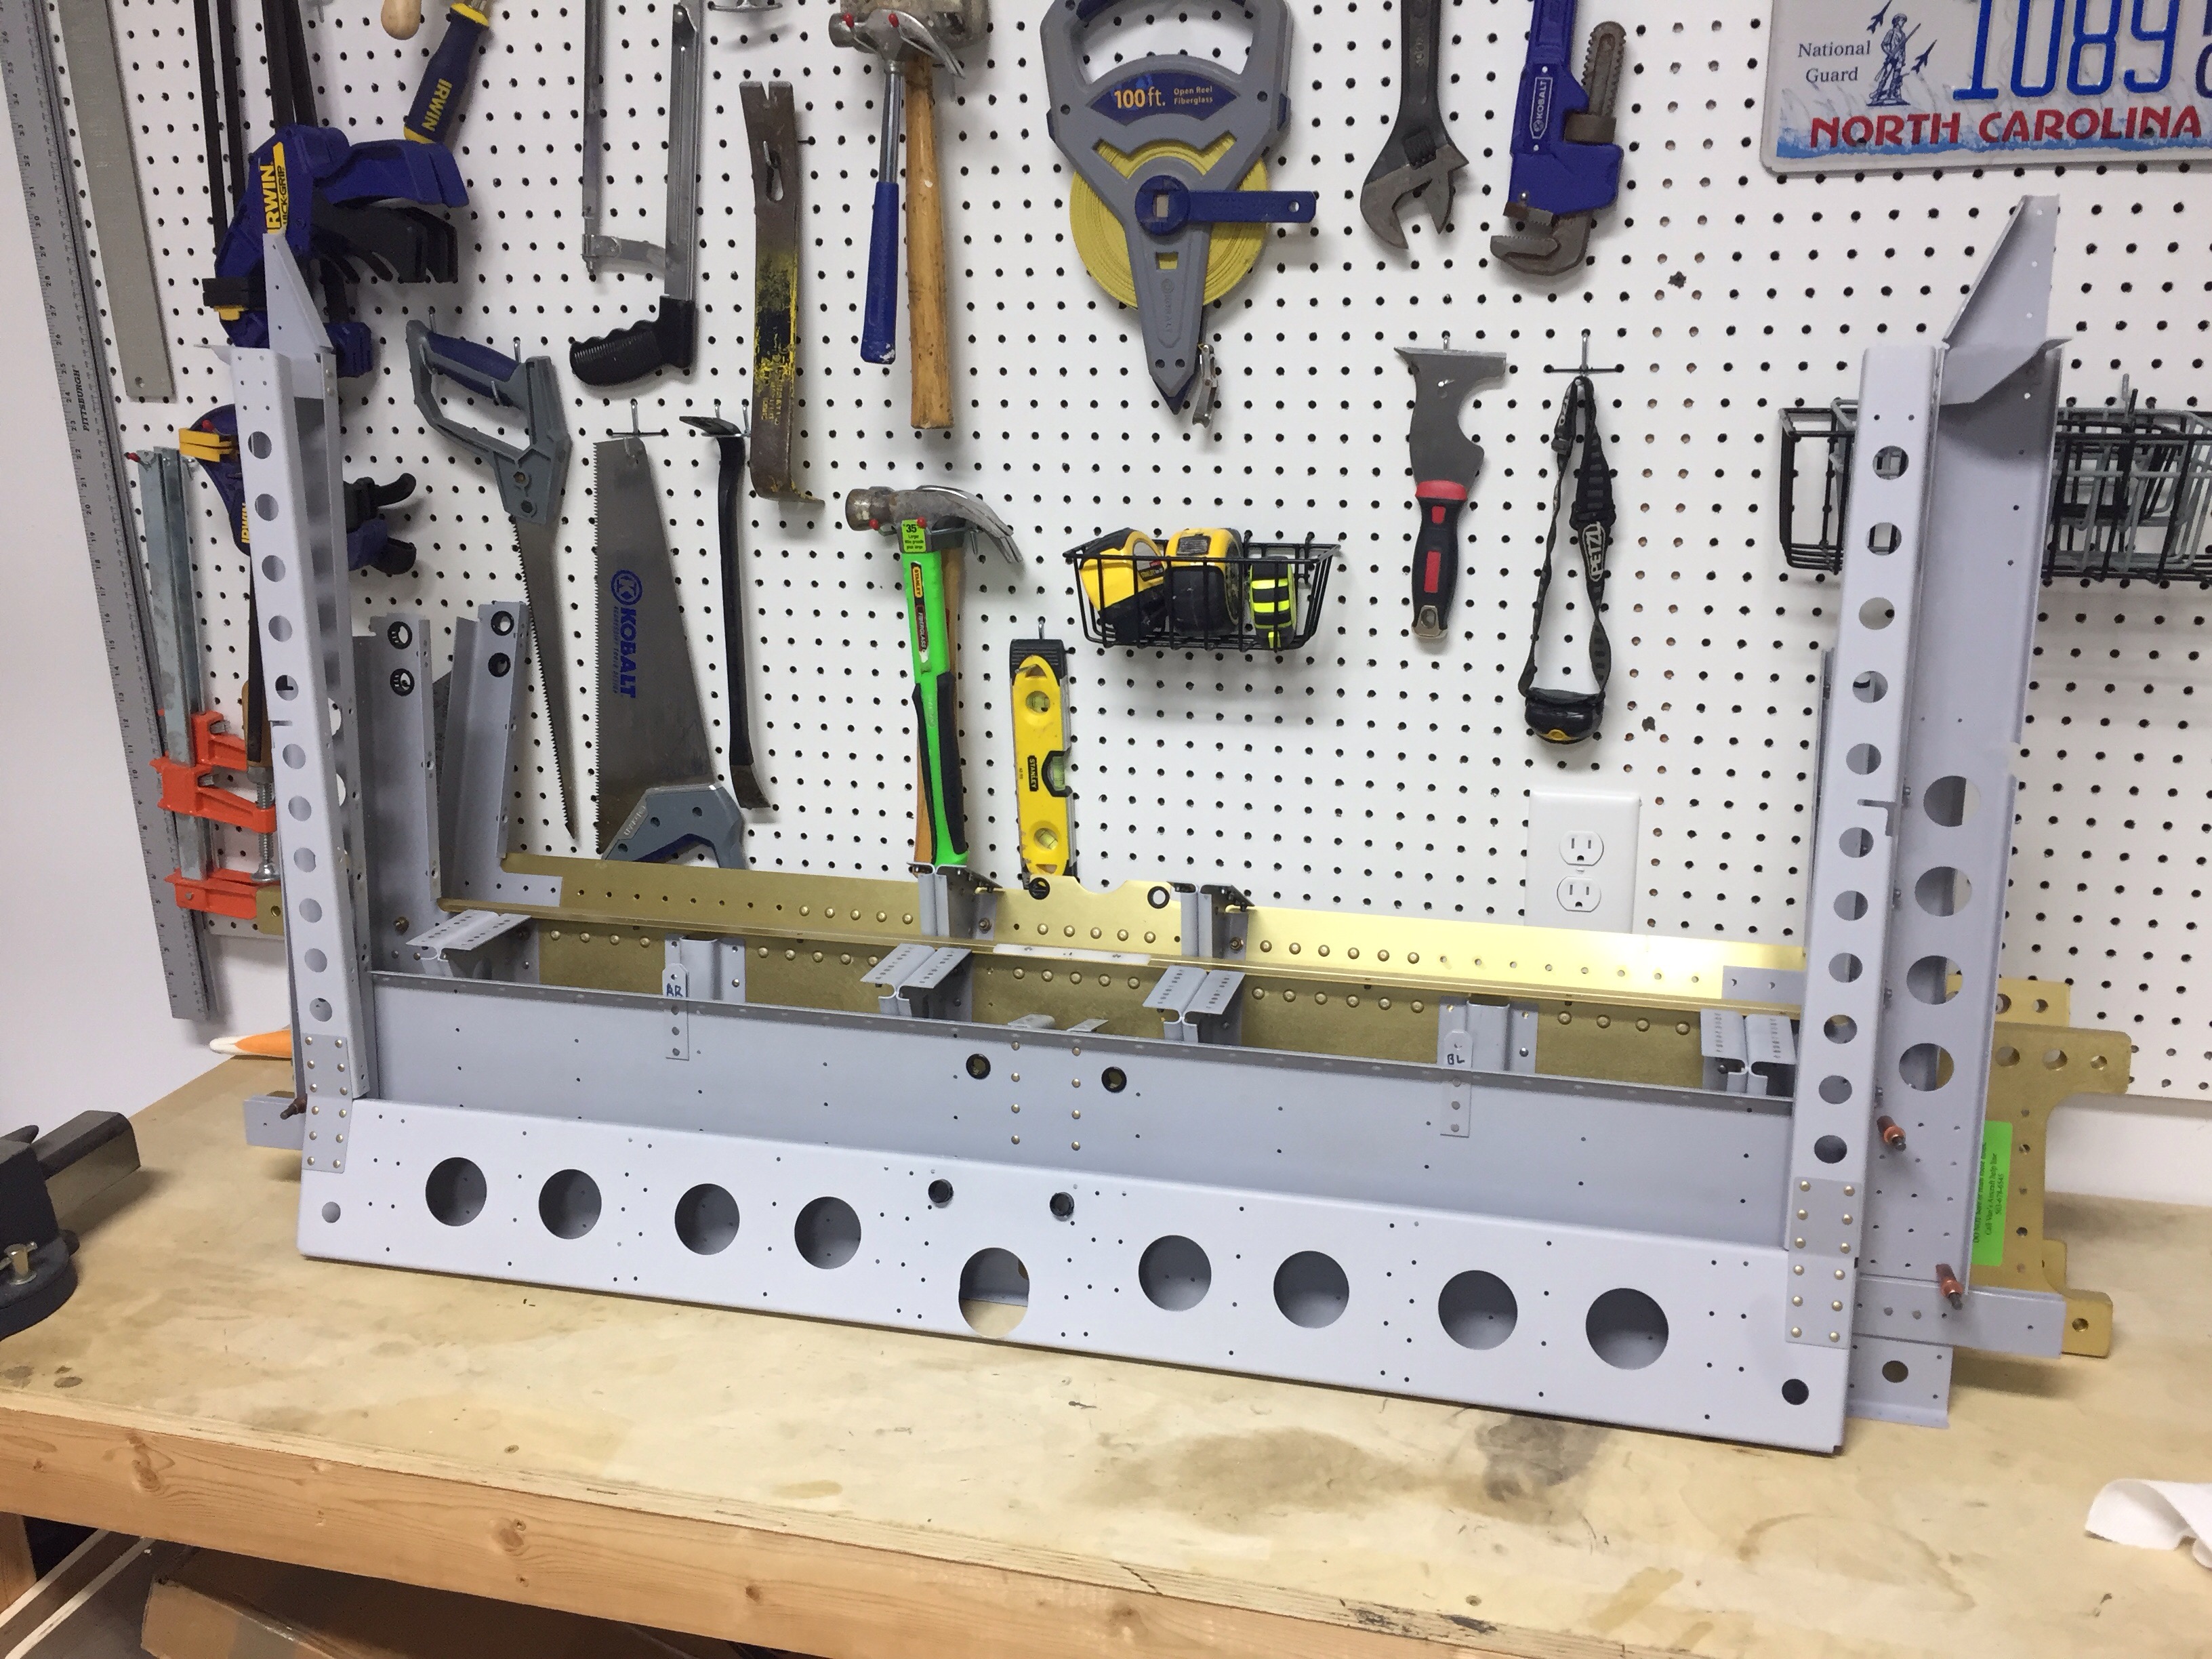
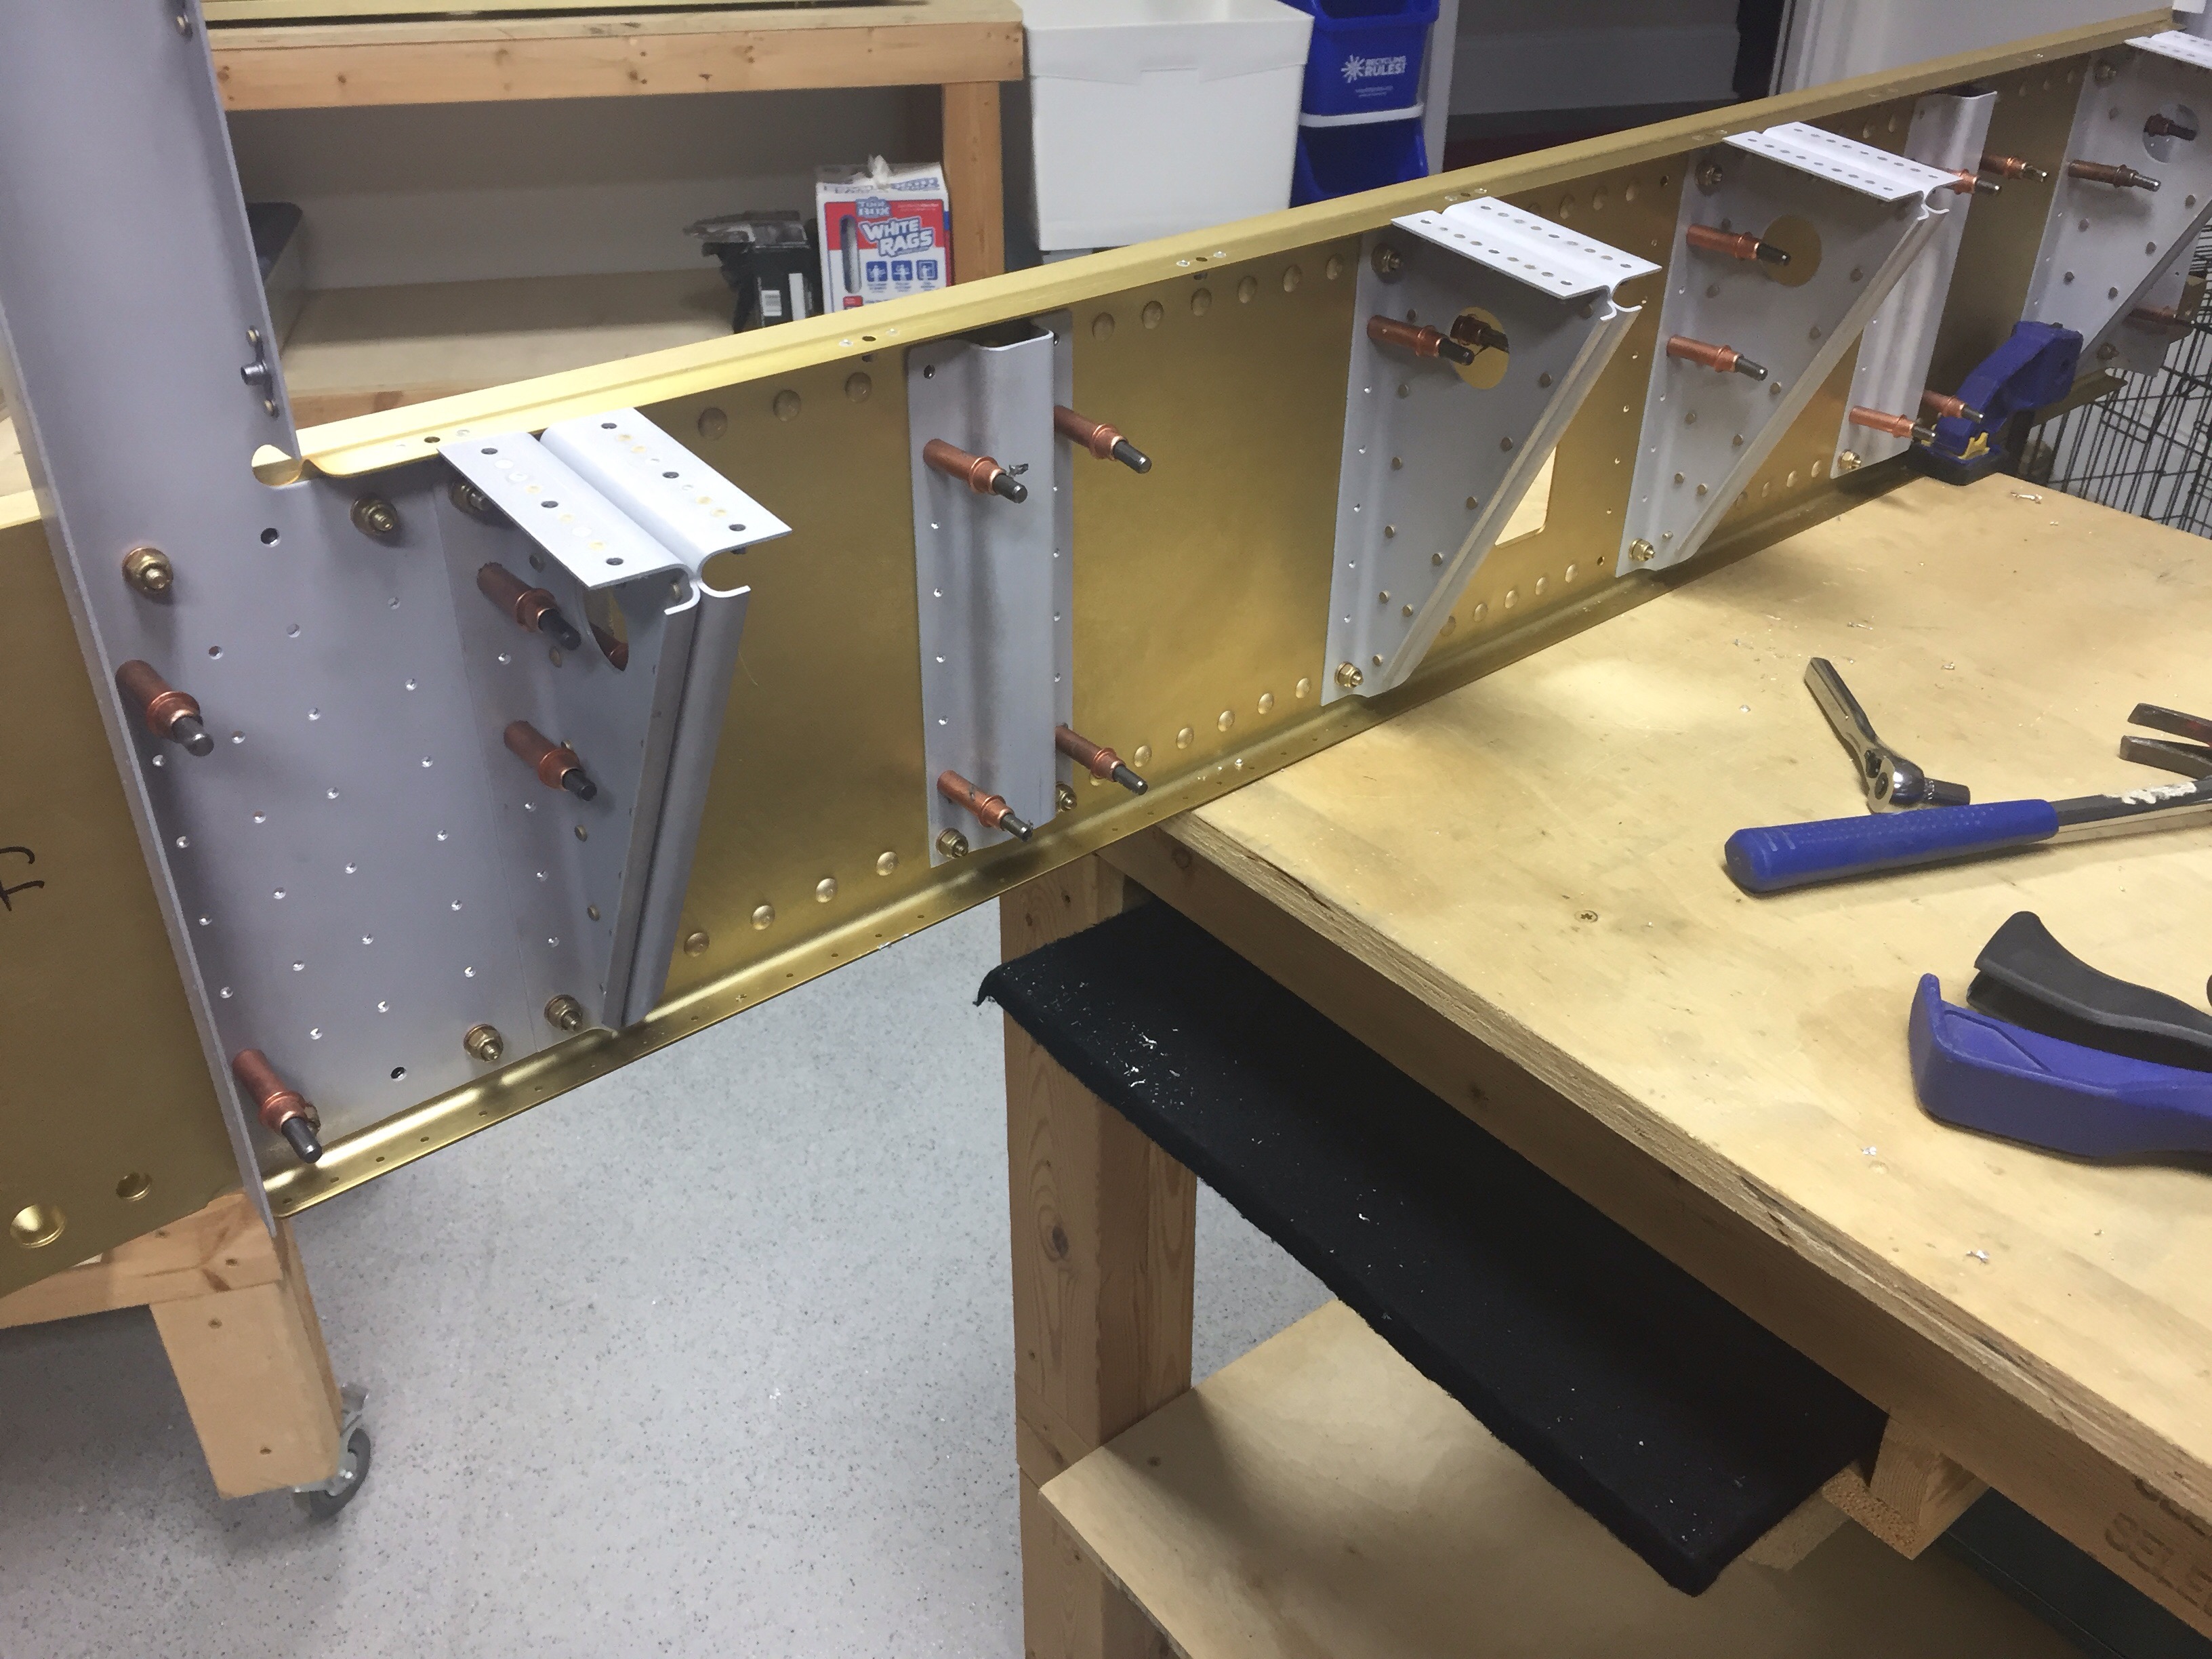
Sometimes you’re on and sometimes you can’t figure out why nothing you touch works or ends up as it should.  Tonight I attacked riveting the aft spar and seat rails.  I had bolted and torqued everything the previous evening as I was tired, and it took long enough with the large quantity of bolts on this spar.  On the forward spar, I used the DRDT2 with rivet dies to squeeze  most of the rivets, but had to buck all on the aft spar.  There are a lot of rivets that you have to get to with the offset head and it took quite a few terrible rivets for me to get in the grove again with all of my tools.


I also was mentally worn out from work and despite consulting the plans many times and noting one line of holes should be left un-riveted, I filled them with beautifully set rivets on the left side of the spar.  So I had to drill all of those out before moving on.


Now one would think you’d remember that on the right side, but not me.  Filled that line up with perfect examples of bucking rivets.  Awesome.  Drilled those out.  I also took some time to really closely inspect all of the other rivets and drilled quite a few out, as I wasn’t happy with them.  Taking my time and a deep breath, the second attempt on each one of those turned out vastly better than the first.  It’s one of those cases that I’m sure it’d be fine and the airplane would never notice a few imperfect rivets, but I haven’t taken a “that’s good enough” mentality yet and don’t want to start now.

Time to start fusing

With the decision to hold off on the bottom wing skins until after another EAA tech counselor visit, it’s time to move onto the fuselage kit.  This kit arrived to our old house over a year ago, and has since been stored on the overhead racks in the garage.  The first challenge was to find all the associated parts that resulted in lots of trips up and down the ladder.  Alas, I finally located everything and was able to get started on the spars and seat rails.


I’m already seeing a lot of smaller pieces but many more than in the wings, and of course beefier substructure as it carries most of the loads of the aircraft.  After the normal routine, I got to riveting and quickly remembered it’s been a year and a half since I’ve bucked a rivet.  It has also been a year and a half since I’ve drilled out a rivet.  I can now say I’m current on both tasks.   


The front spar is all ready to go with the aft spar and assemblies up next.  I’m also happy to say that for the past three weeks, I’ve worked on the airplane every single day, whether it’s physically in the shop or electrical planning.  Not only am I really feeling motivated by that, but I’m also making a lot of progress.

Let’s unpack

With a big wooden crate in the garage and fewer parts left on the storage racks, it is time to unpack the fuselage and get a bit more organized around the shop.

I was surprised at how well the individual parts were packaged in the crate.  I wound up with a massive pile of duct tape, shrink wrap, and paper!  However, I will say that all the parts arrived without a single damaged item.

There are a lot of hardware bags.  I took the opportunity to rearrange my plastic parts bins and finish labeling everything with my label maker replacing the masking tape and marker from the previous builder of the wing kit. It takes a bit of time, but makes finding parts really quick and easy.  It also helped me inventory all the little things.  After unpacking everything, my only issue was 40 AN3 instead of AN4  bolts.  A quick email to Van’s and they were on the way to me.

I put most of the sheet metal parts up on the racks above our garage door — man are those things earning their keep!   I went ahead and pulled down the last parts for the flaps, as those are the next project to work on.  The cabin top was precariously hoisted up to the ceiling for longterm storage  and some new brackets were put on the wall for the rudder and pedal assembly.   Speaking of, the master cylinders were the last pieces I needed to complete the rudder pedals, so I went ahead and installed them according to plans from Approach Control.    These things are a work of art and now they have a nice home until they get installed in the fuse..

Planes, trains, and trucks

Several months ago, I placed a rather expensive order with Van’s for one (1) RV-10 fuselage kit.  The process itself involved a lot of emails back and forth to a very helpful lady in OR to figure out any additions/deletions that I wanted to make to the kit.  It’s a very popular question, so here’s what I did:

Removed:

All windows and main windscreen (to be replaced by CE Bailey’s)

Rudder pedal components (dictated by Approach Engineering)

Instrument panel (using Aerosport)

I inquired about adding the doors into the fuse kit instead of the finishing kit but you get penalized for messing with a good thing and I figured I’ve got plenty to work on.

Now, this wouldn’t be a good story without drama.  The drama started by asking if I could ship the crate by UPS Freight and my company’s account which earns an incredible discount.  Van’s agreed but marked the BOL collect instead of 3rd Party.  This equaled a temporary bill of over $4000 from UPS.  Long story made short, I correct the first issue in short order and got the charges back down to a reasonable $233 including residential delivery.

Which brings up an interesting point.  Delivery.  Long way from OR to NC.  Lot of different ways to get here.  This is how our shipment did it.  Loaded onto a semi trailer which was then loaded onto a train car which then broke somewhere in Idaho without anyone knowing it meaning it got lost.  I discovered this for UPS on Wednesday while tracking the shipment online.  It said it was in OR on Wednesday and on time scheduled for delivery on Thursday.  Right.

A week later and some great help from a real live person who works for UPS in CLT, the crate showed up to our house and we pushed it in the garage.  Finally home safe and sound and thanks to a comprimise, all at a bargain freight charge of $100.


Control Approach to my rudder pedals

RV-10 builders have drooled for years over ControlApproach rudder pedal set up and I am no exception. A few lucky guys picked up the available sets and Paul hasn’t produced them for a couple of years. I always kept an eye out for the classifieds for a set but had no luck. I decided to take matters into my own hands and reach out to Paul directly.

As luck would have it, Paul was filling promises and had a small production run with one set left. I weaseled my way onto the list and within a few days, had a set on its way to my house.

These pedals first of all look amazing. The design is much better aesthetically then the Van’s setup and goes along way to making the aircraft interior look professionally done. They are also awesome functionally, feeling much better (in my limited experience, one flight with and one flight without them) especially with the free-castering nose wheel on the 10. They relocate the master cylinders to the back of the pedal arms to clear up some foot space and eliminate hitting them with your shoes. They also move the rudder cables to the tunnel for their entire run.

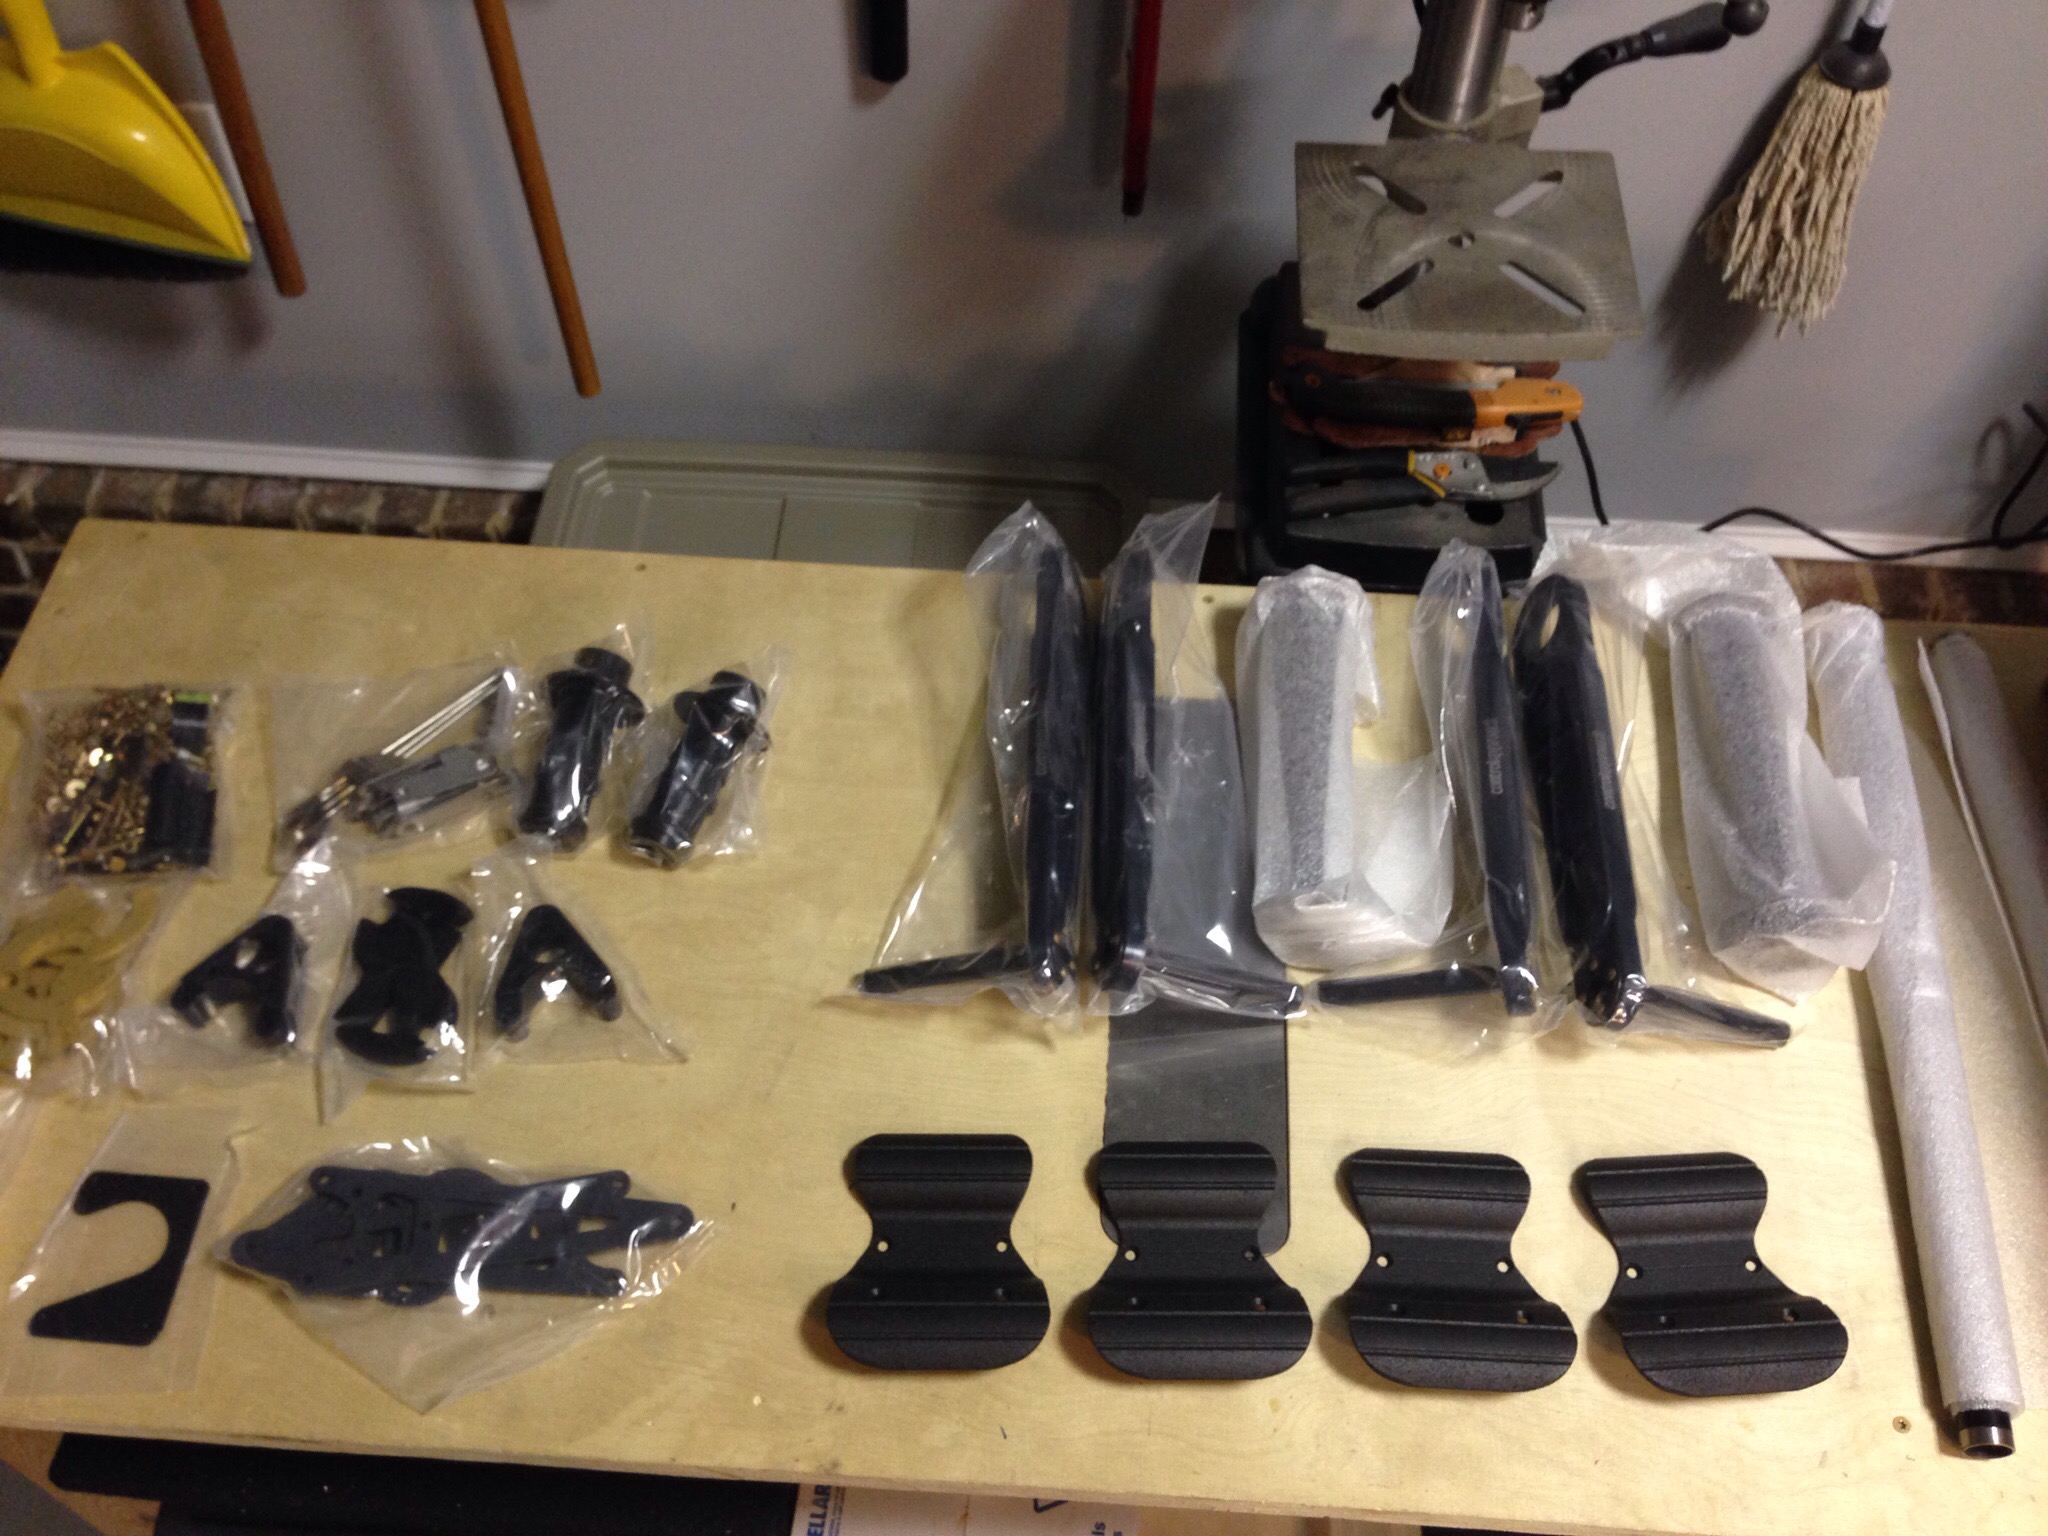
While the machining and quality of the pieces is amazing, the directions leave a lot to the imagine. The box was well packed but the hardware bag was a bit intimidating!

IMG_1419.JPG
After a bit of organizing, it was much less messy and I was ready to get to work.

IMG_1420.JPG

IMG_1416.JPG
I had to re-read the directions a lot, but once I got a start and all the pieces laid out, it makes sense. A bit of jigging was required to get the four holes drilled for the inner and outer tubes that linked the pilot and copilot pedals.

IMG_1421.JPG
There is also a shortage of thin washers with the hardware kit, but I fortunately have plenty in reserve and most that I need are needed when installing the master cyclinders. I put everything together and securely stashed them away in the storage racks until ready for the fuse.

IMG_1425.JPG

IMG_1424.JPG

Getting back to it

After a busy trip to HI for a NGAUS conference, I’m back in the shop working on the elevators. I finished disassembling both tonight in order to dimple one and remove all the blue film from both skins. The right elevator has already been dimpled but I found a few holes that he missed. I demurred on skin and sanded the edges down a bit to make them all nice and smooth.

I also laid out cut lines for my dimpler table that I have yet to build. It’s absolutely necessary for the skins so I can’t keep putting it off. The table saw is out and ready to go to work in the morning.

Finally tonight, I checked a few toys that came in the mail. The special bucking bar (one of which I already had and forgot about), another 400 silver clecos, and some future supplies. I found a great deal on VAF for the flush door handles, hardened door pins/guides, and a keyed alike flush lock set. At half price and brand new, it was too good to pass up. They will be stashed away for some time in the future. I also received the last of the Aveo Rockrack switches and caps. I heard a lot of folks having availability issues and didn’t want to lose out, so I got all the ones I plan on needing plus a few extra. I played around with the lights on a 9v battery and am really pleased with the way they look.

Hoping to get the table built tomorrow and get the elevators mostly irvine together this weekend.