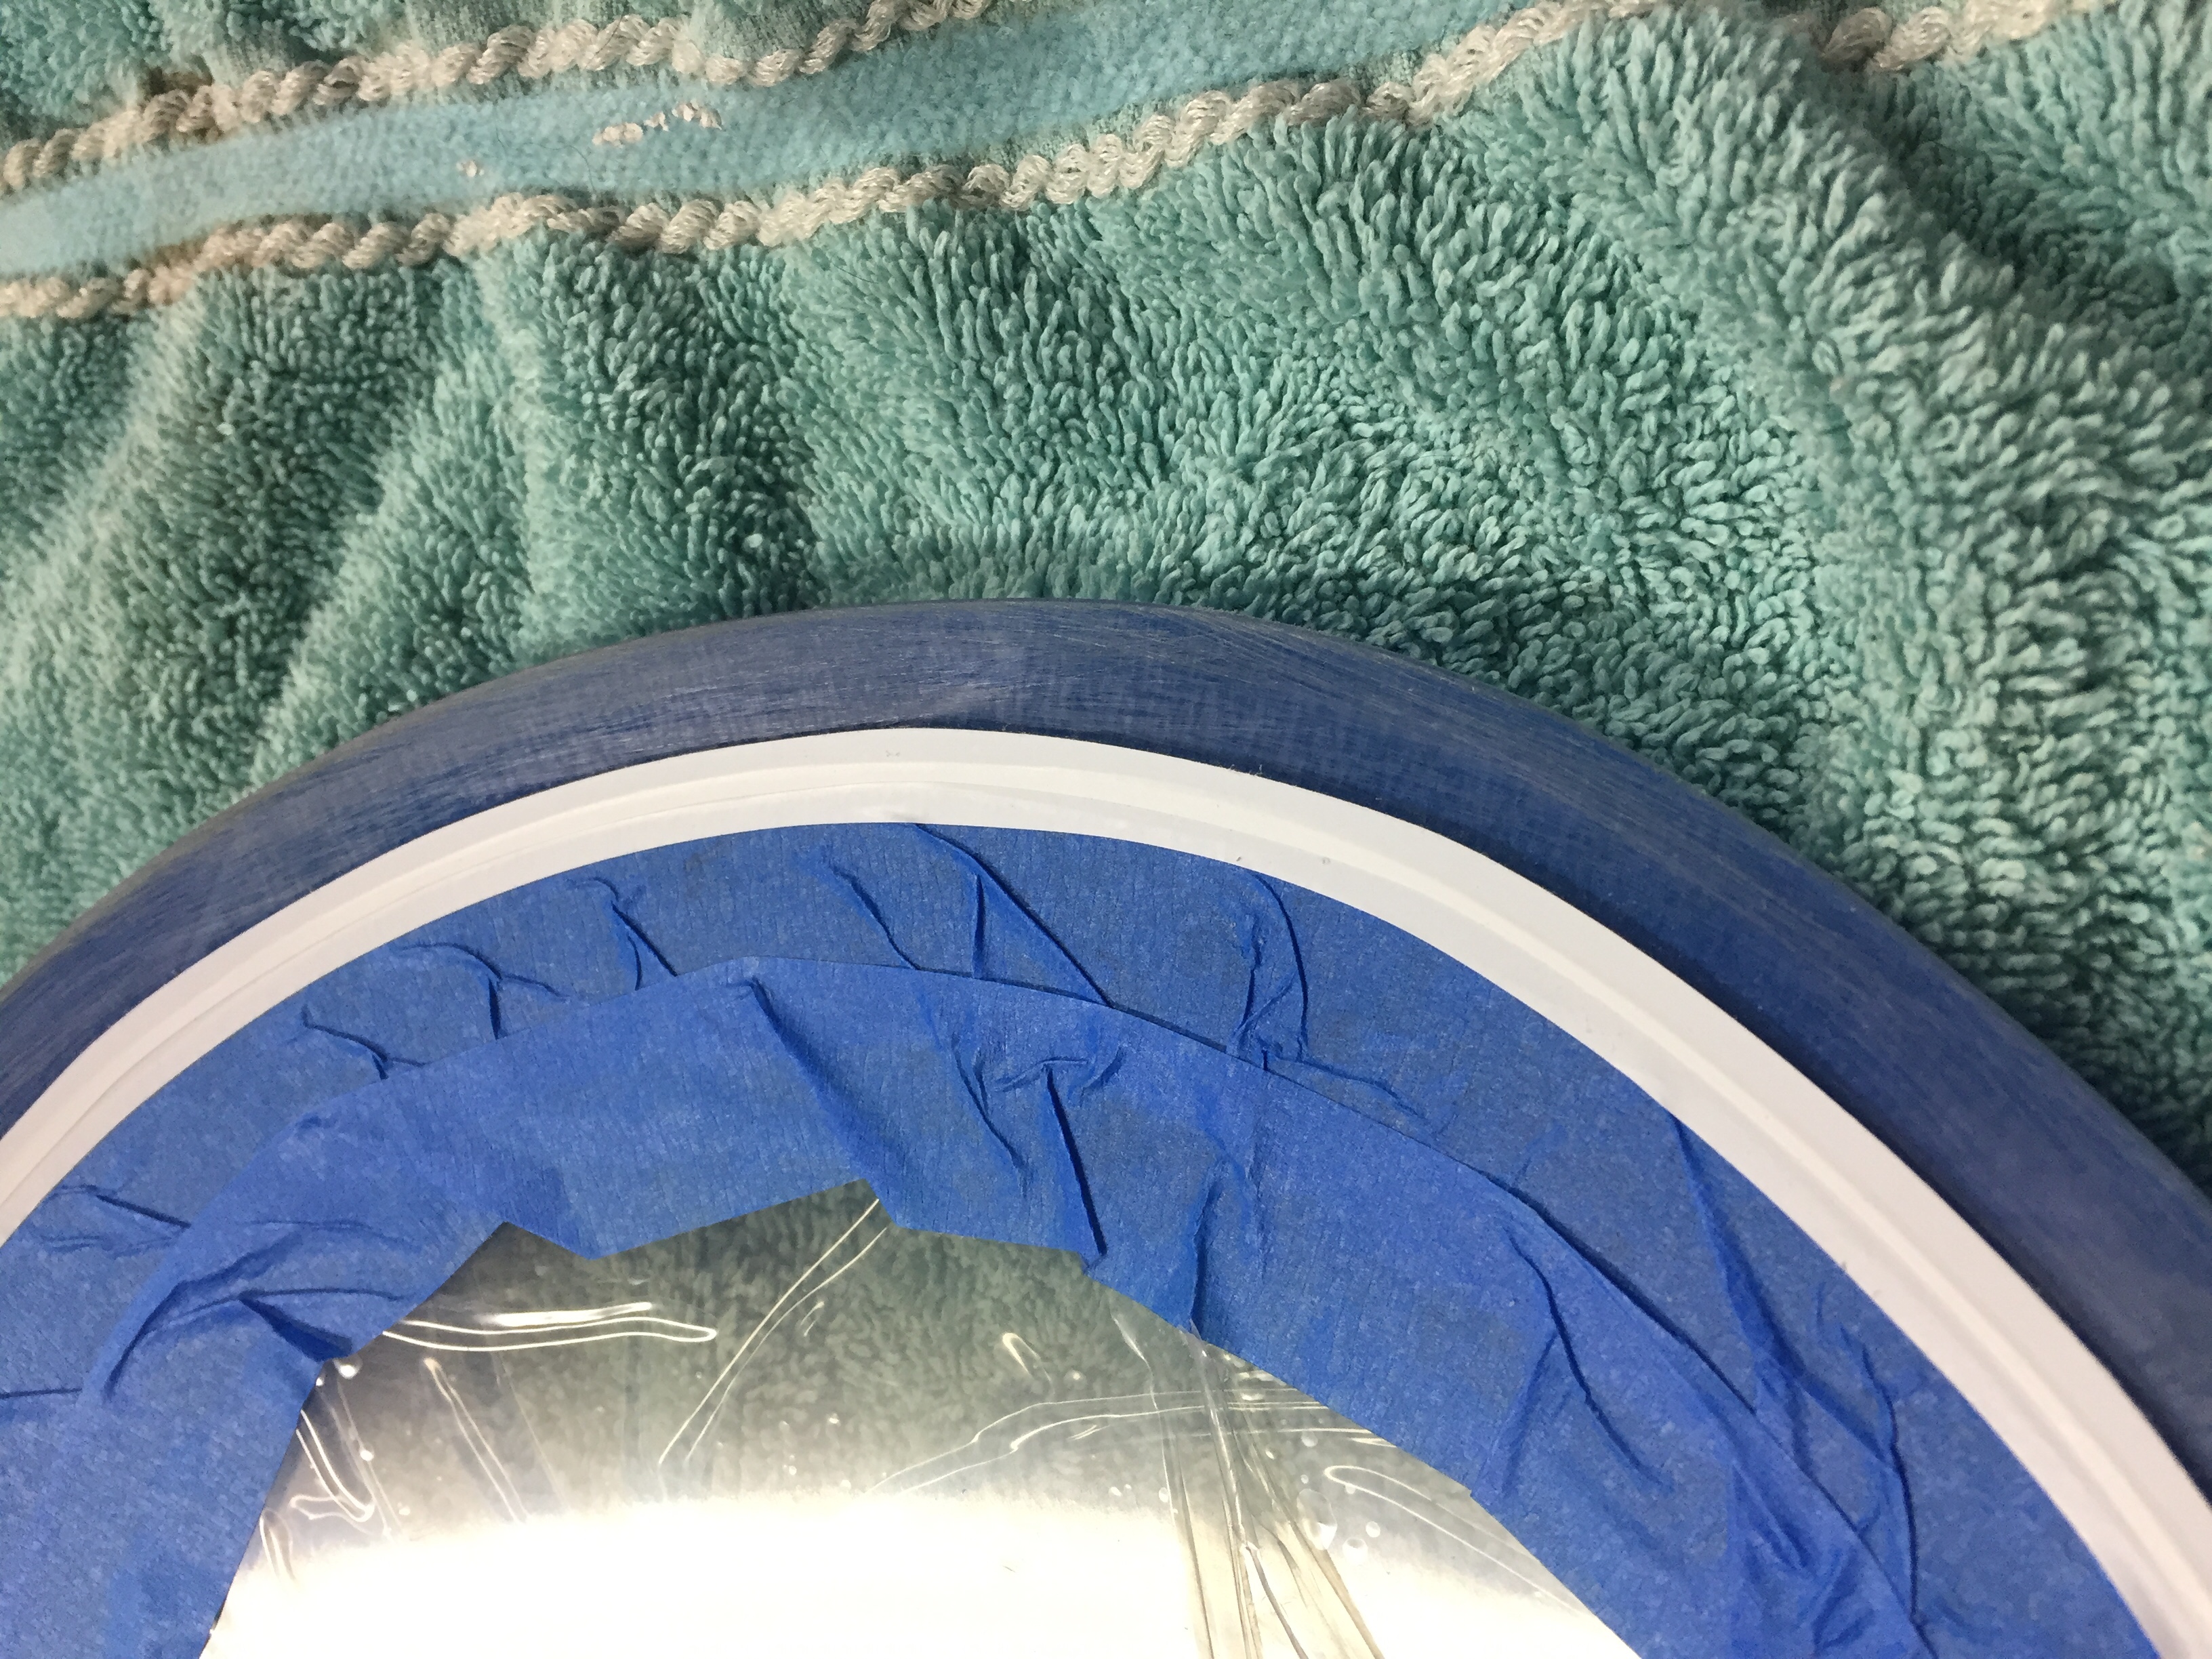
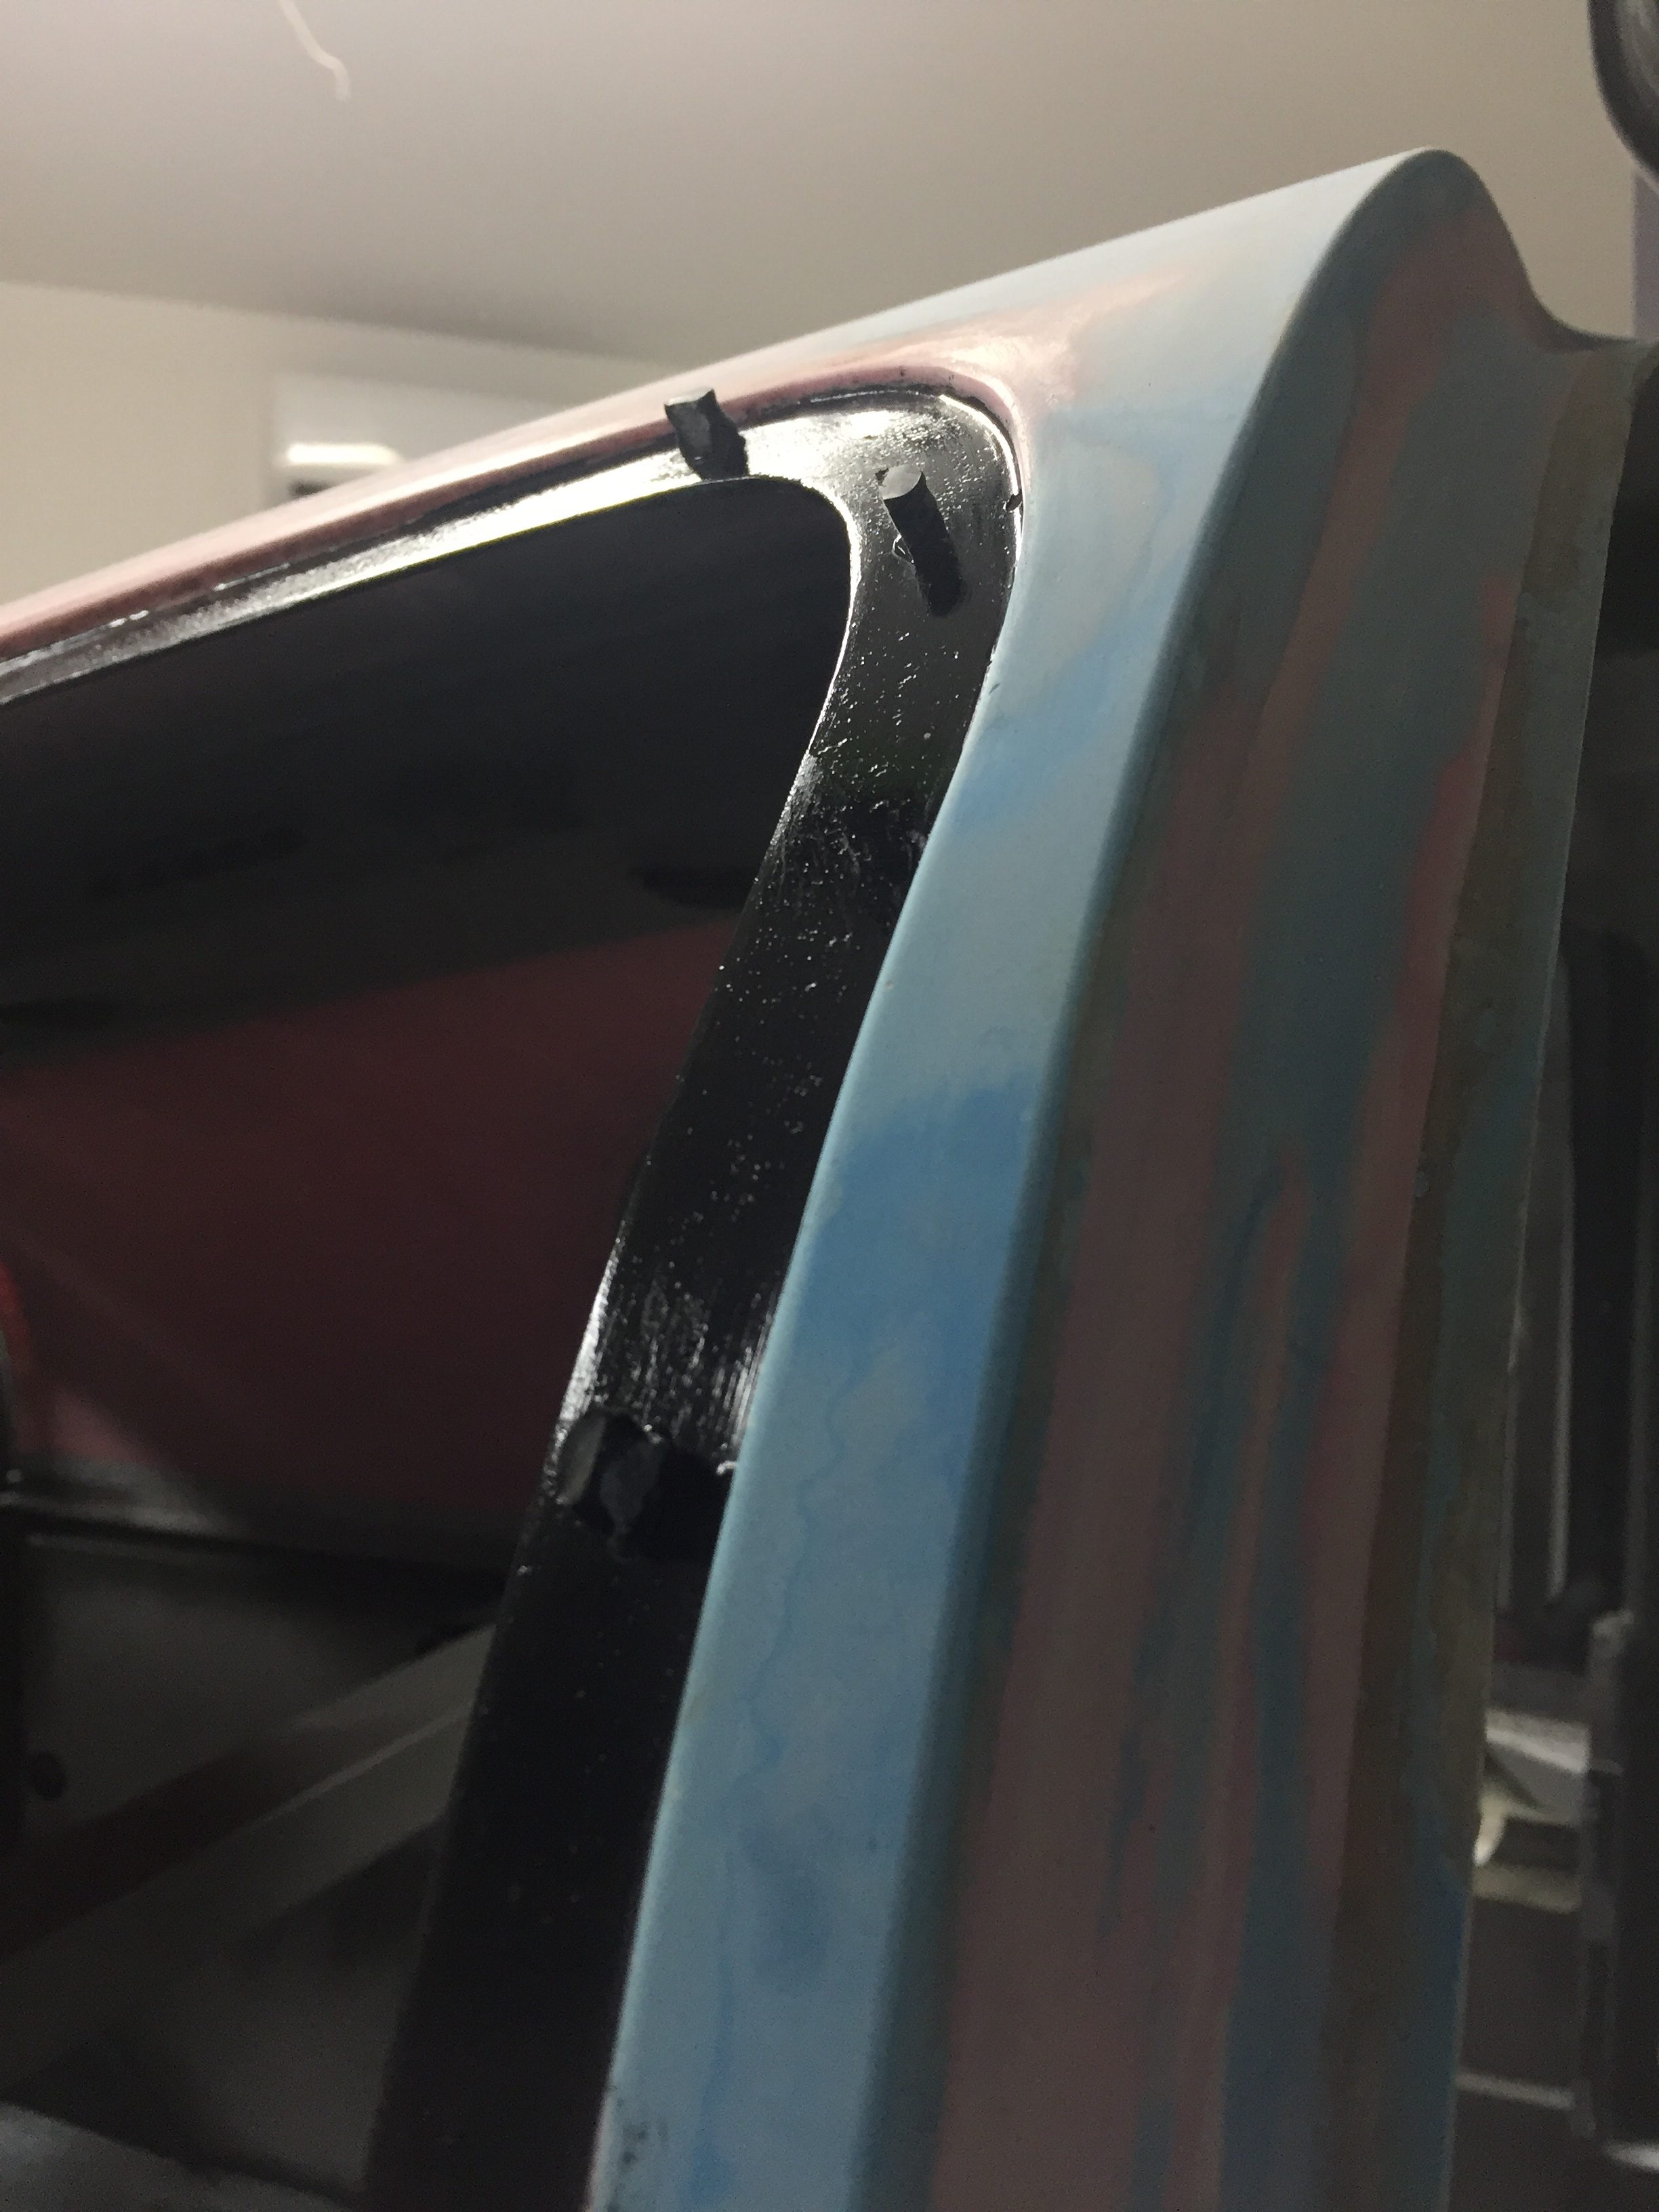
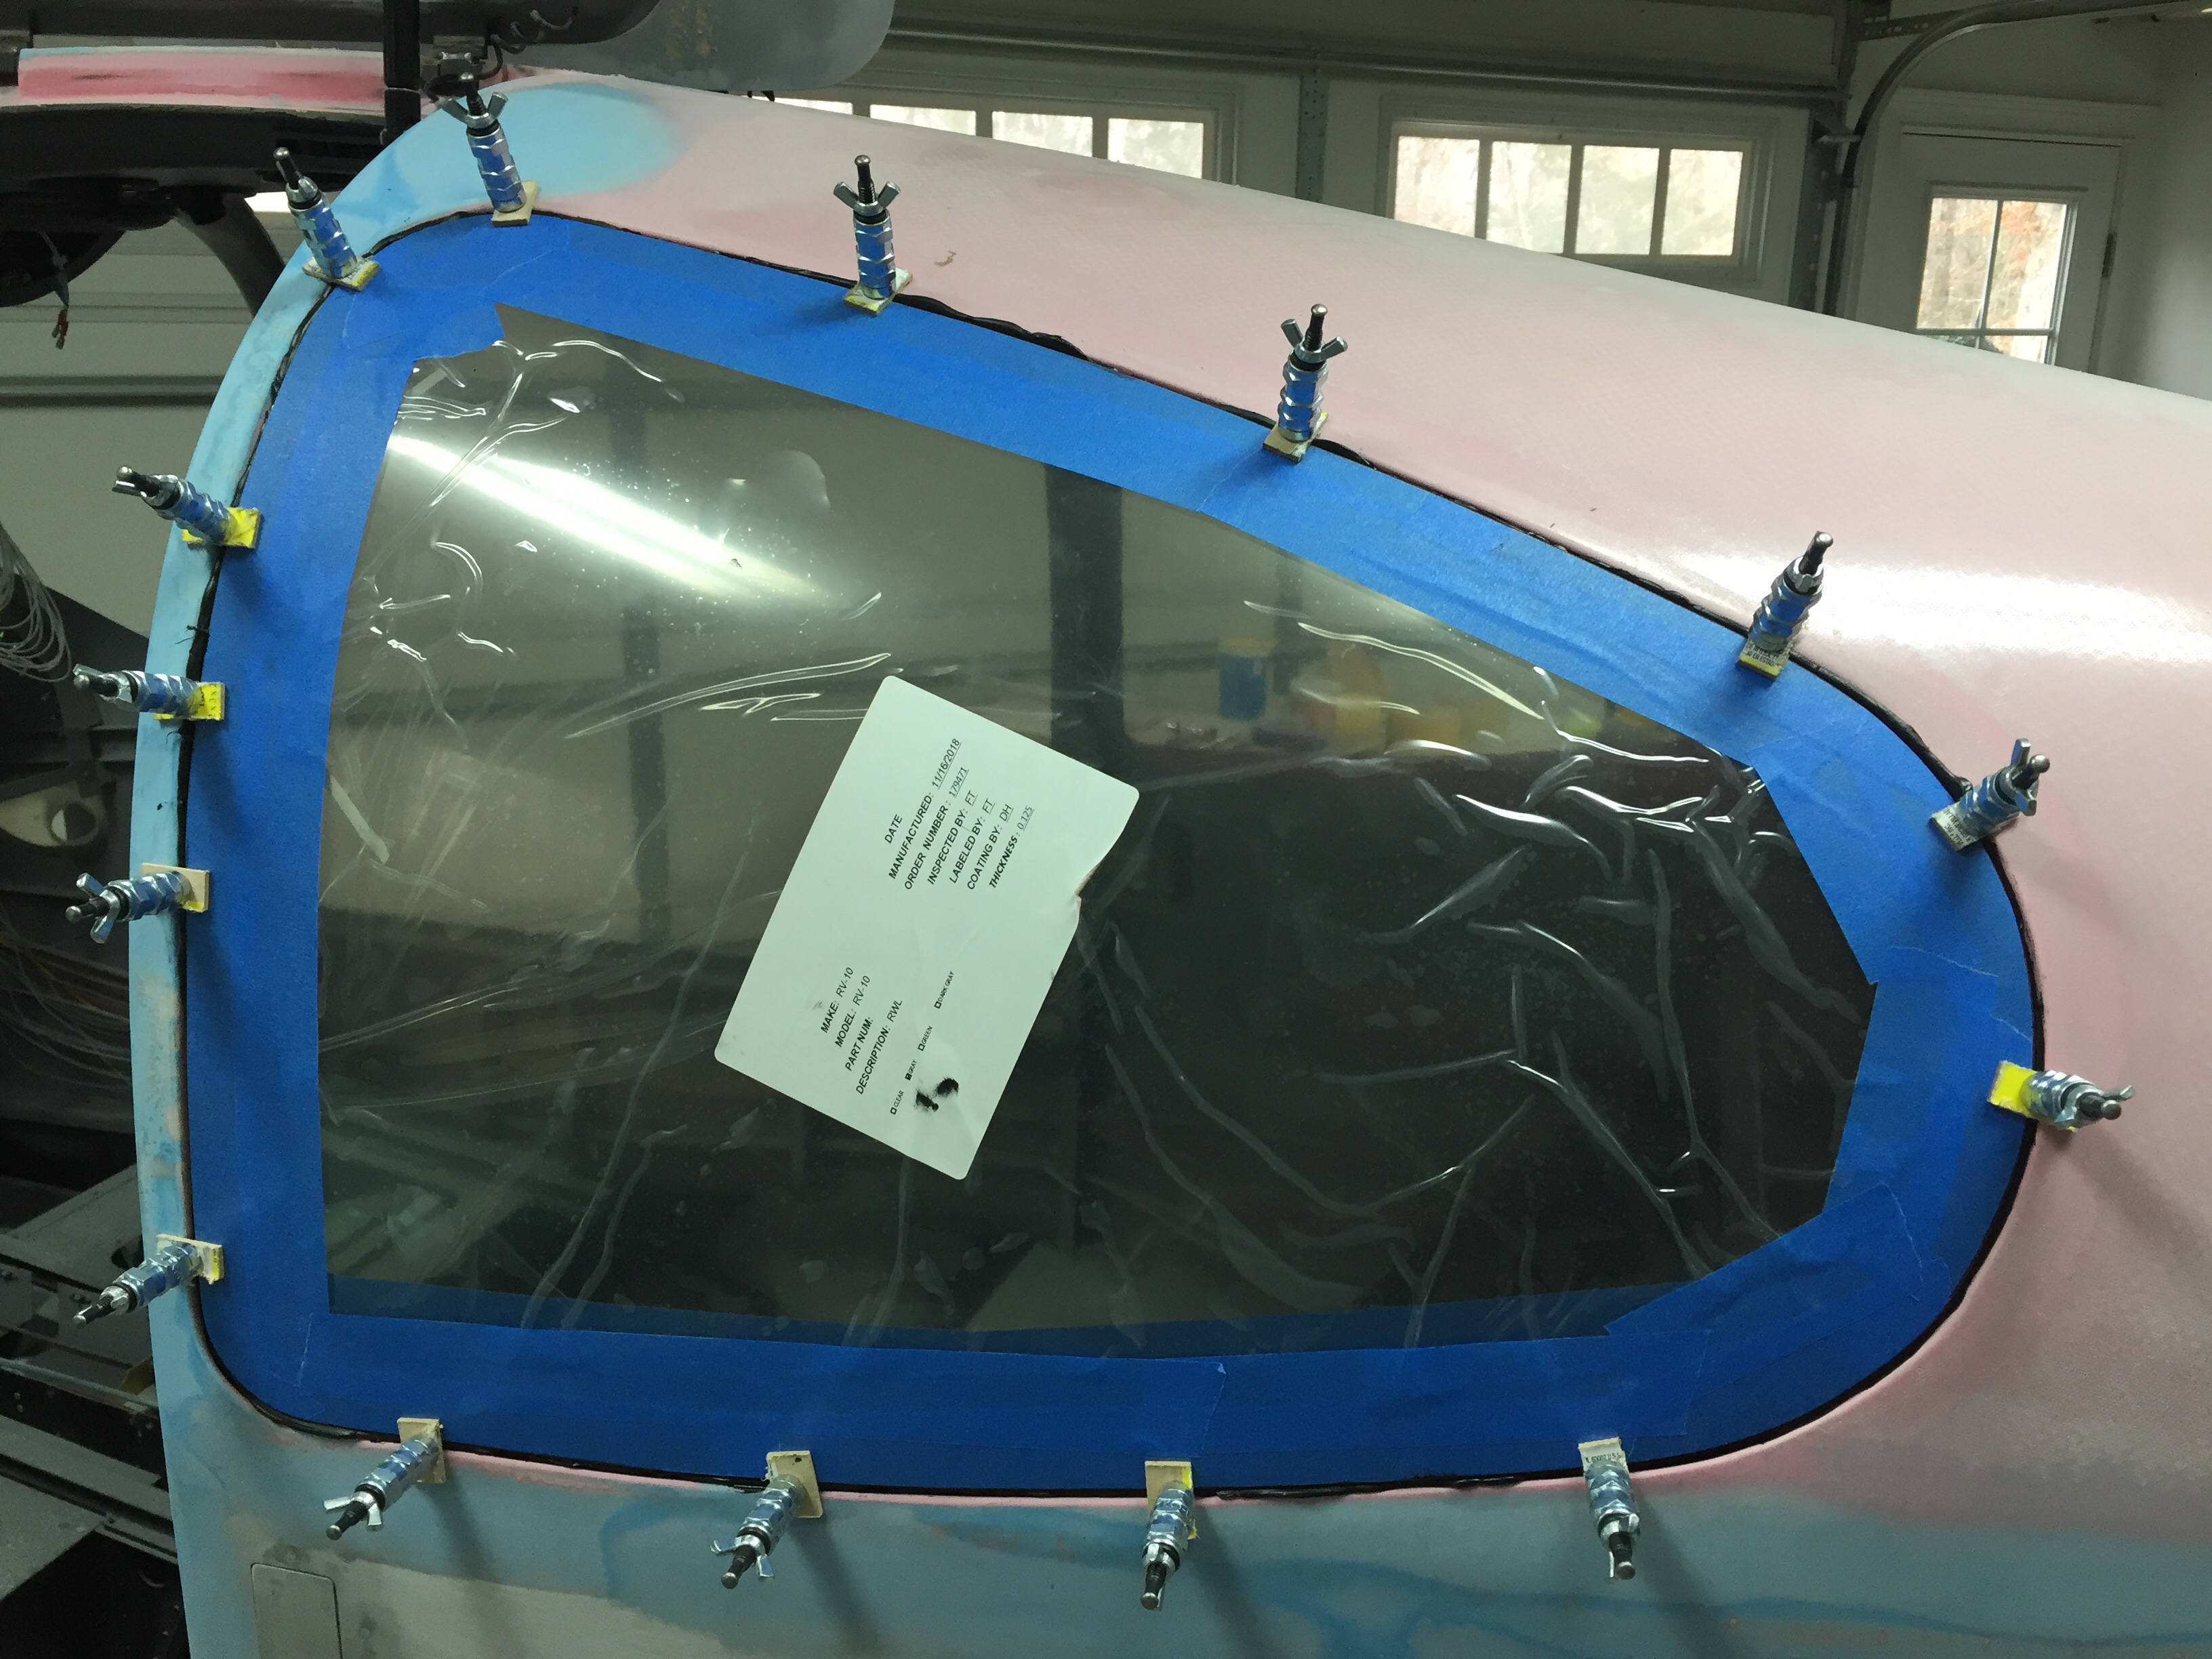
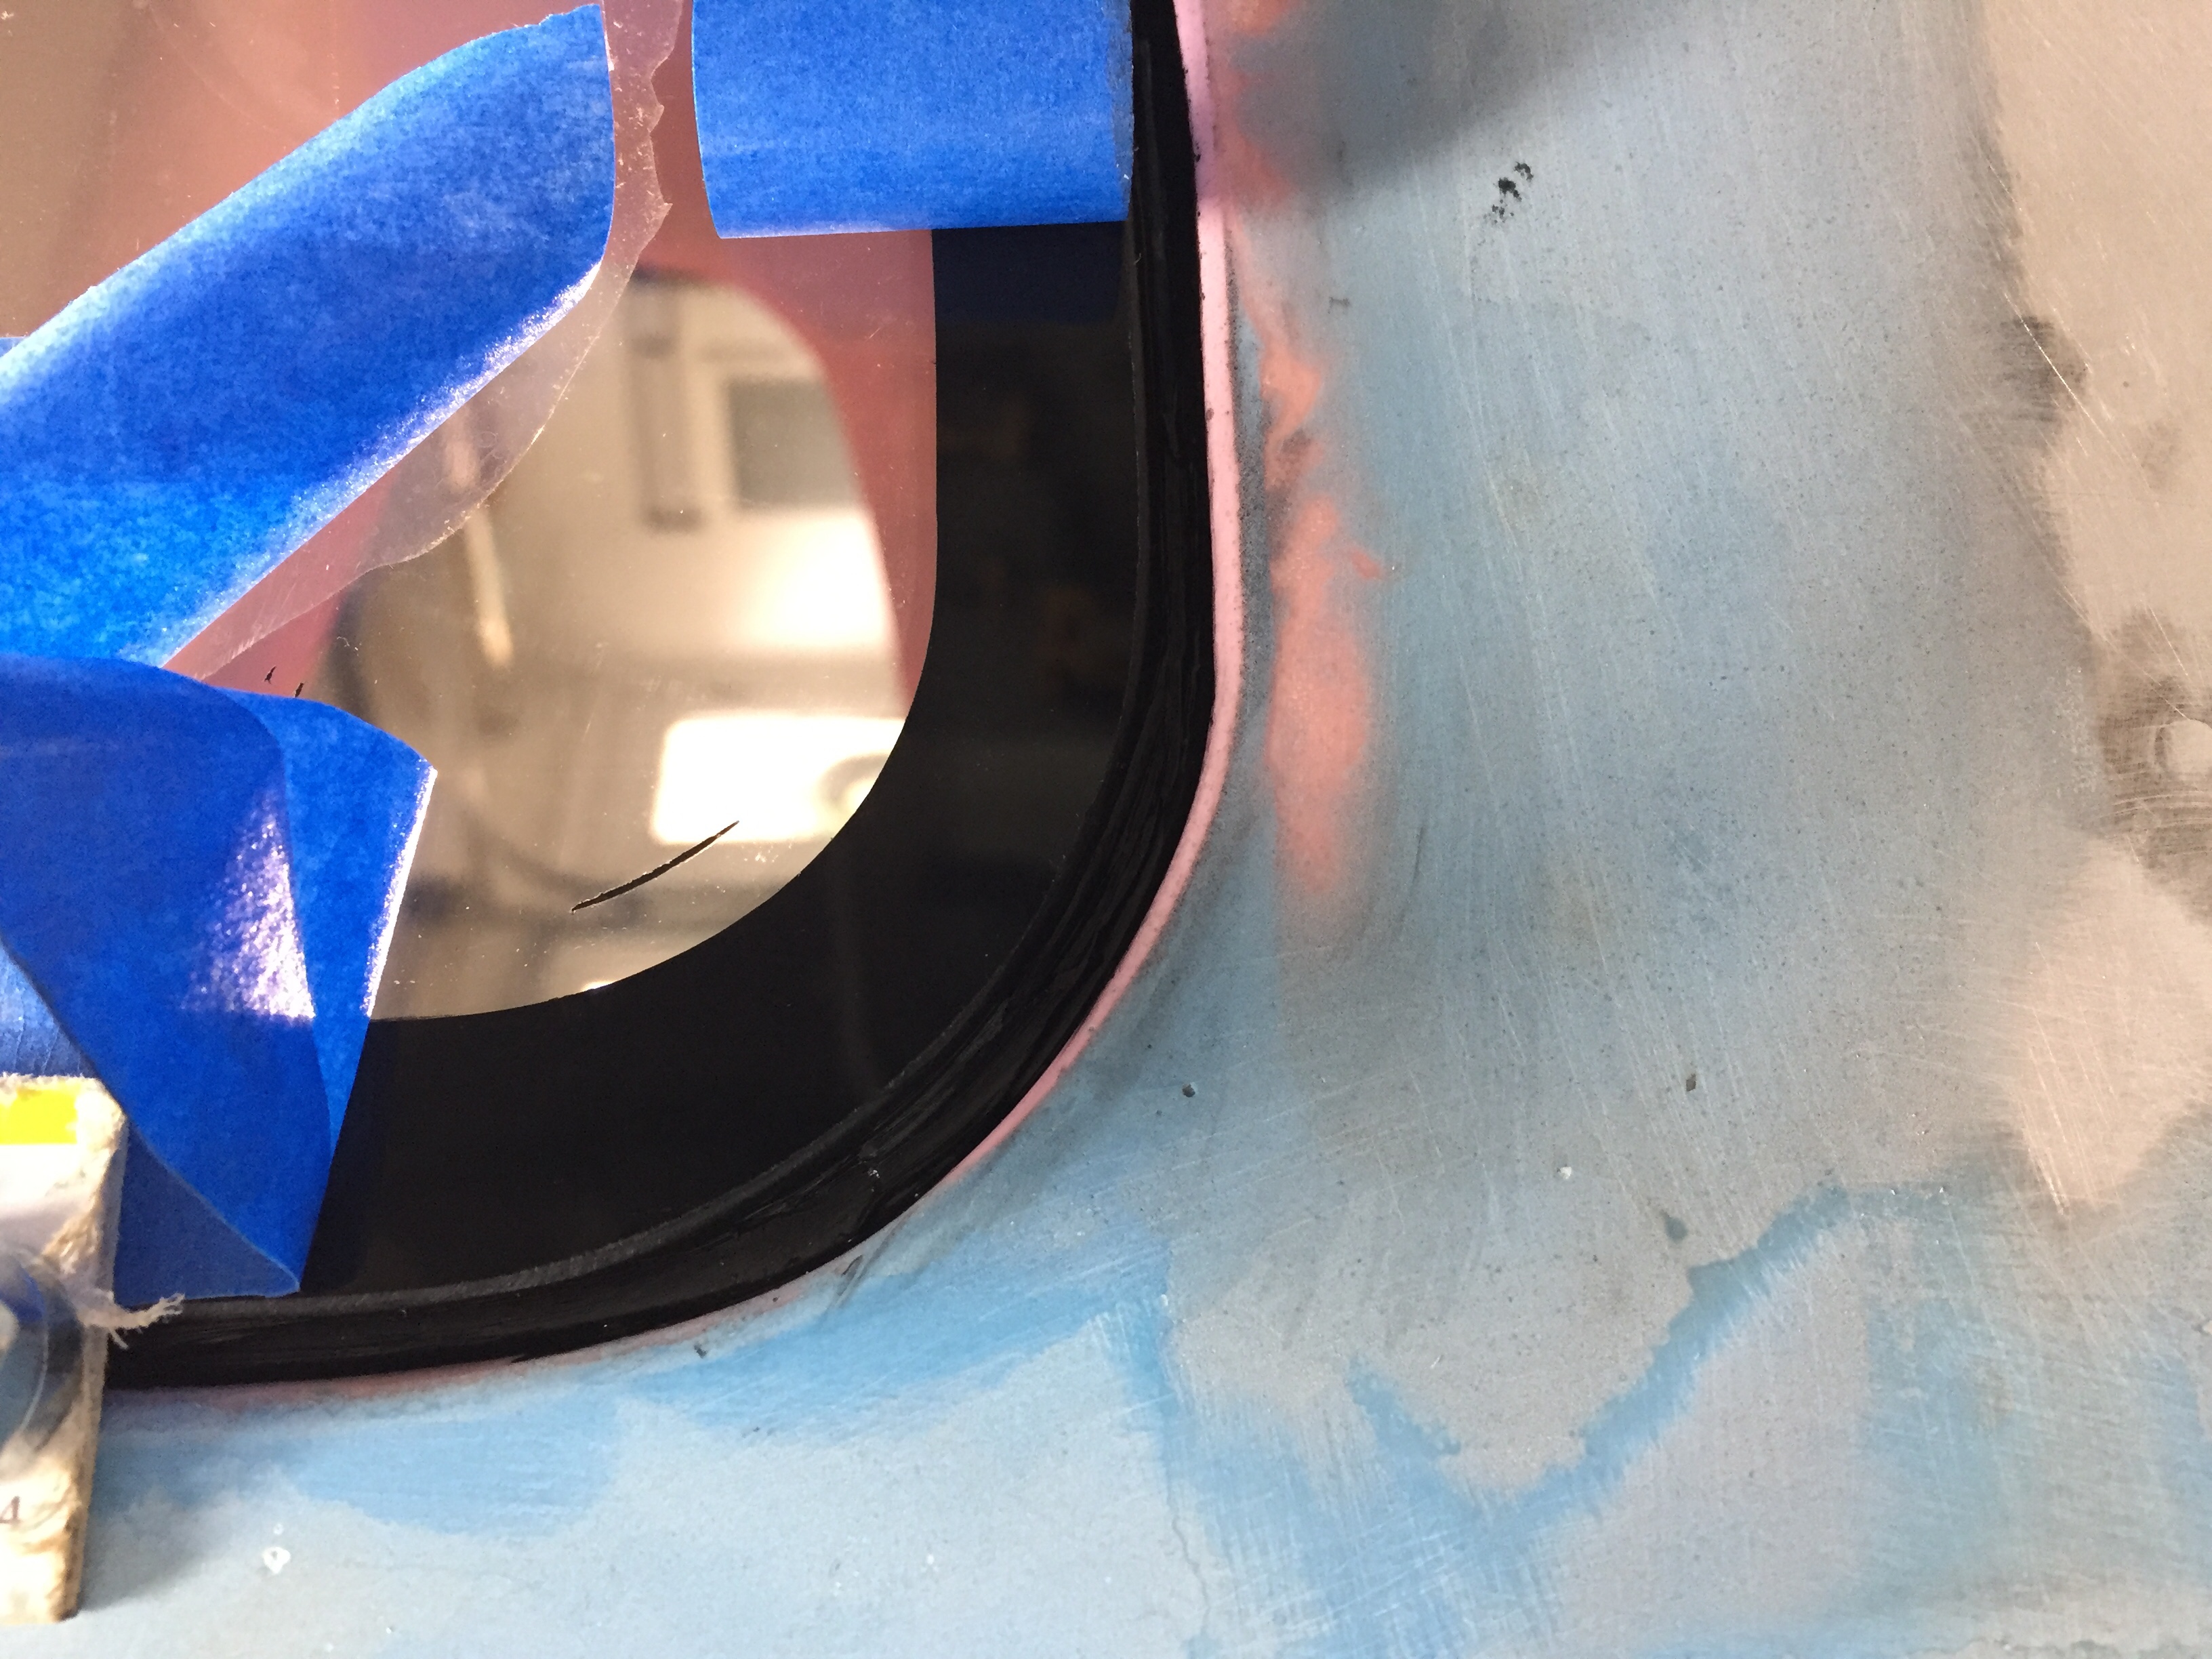
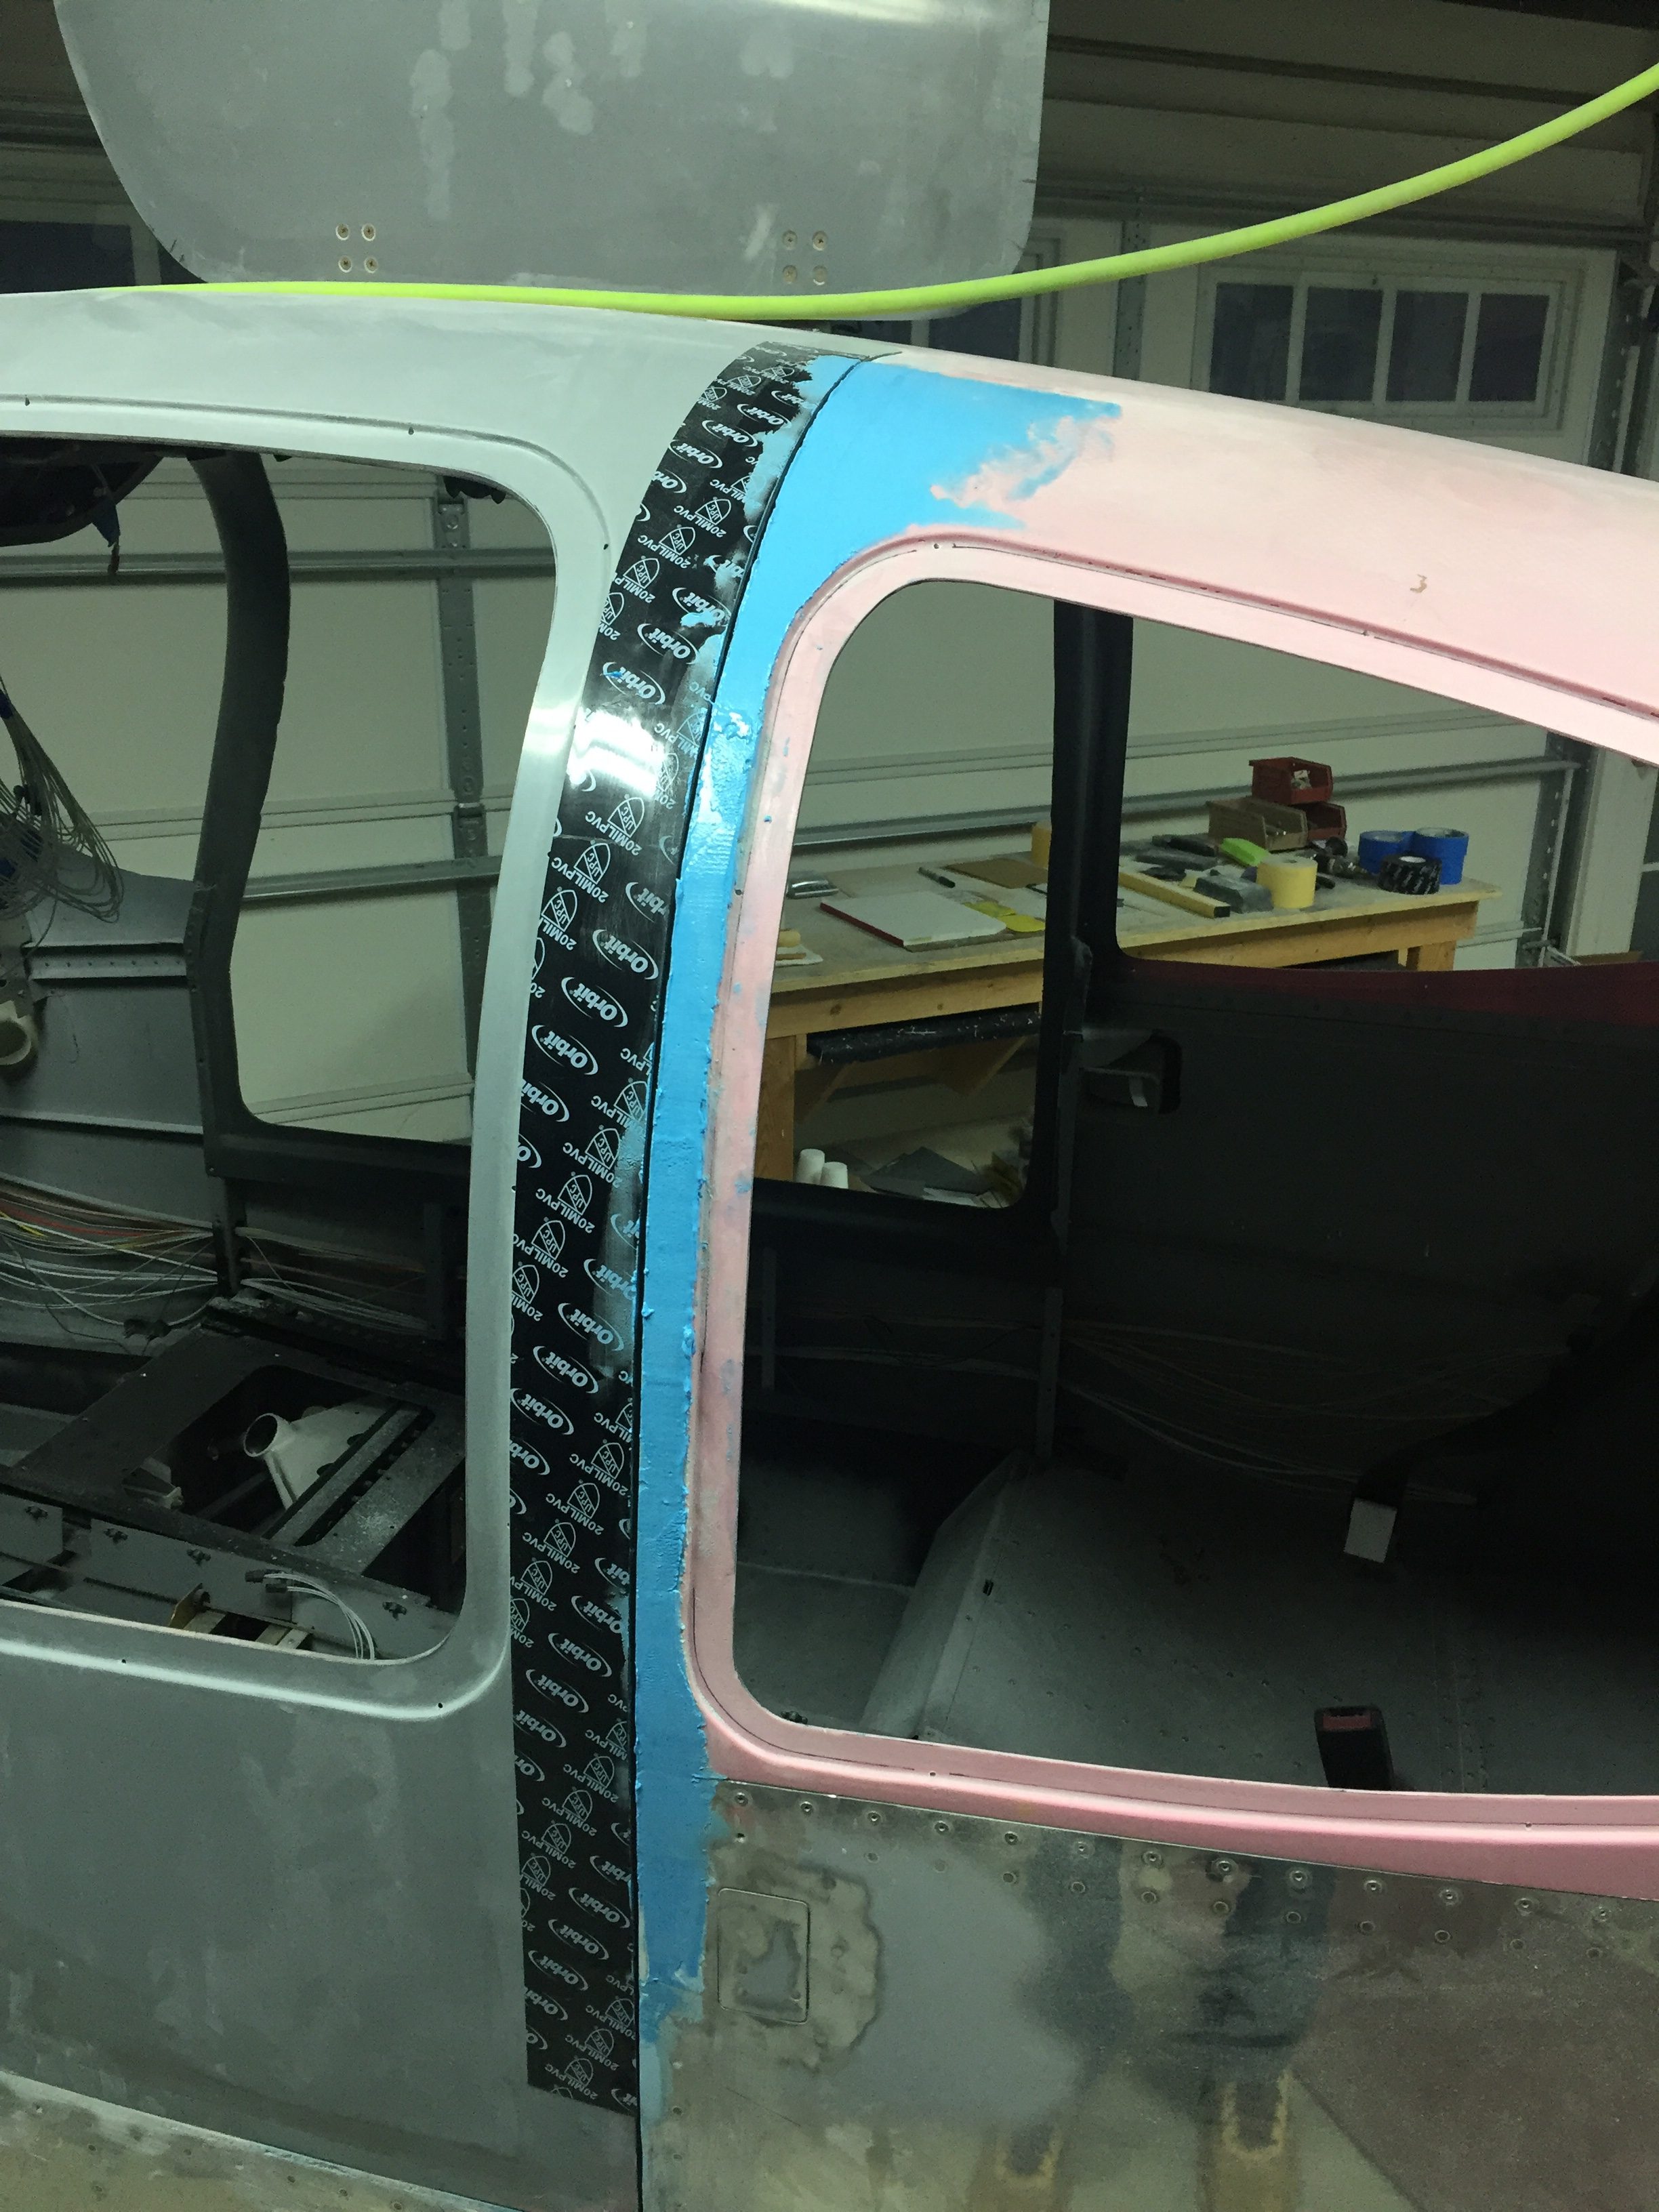
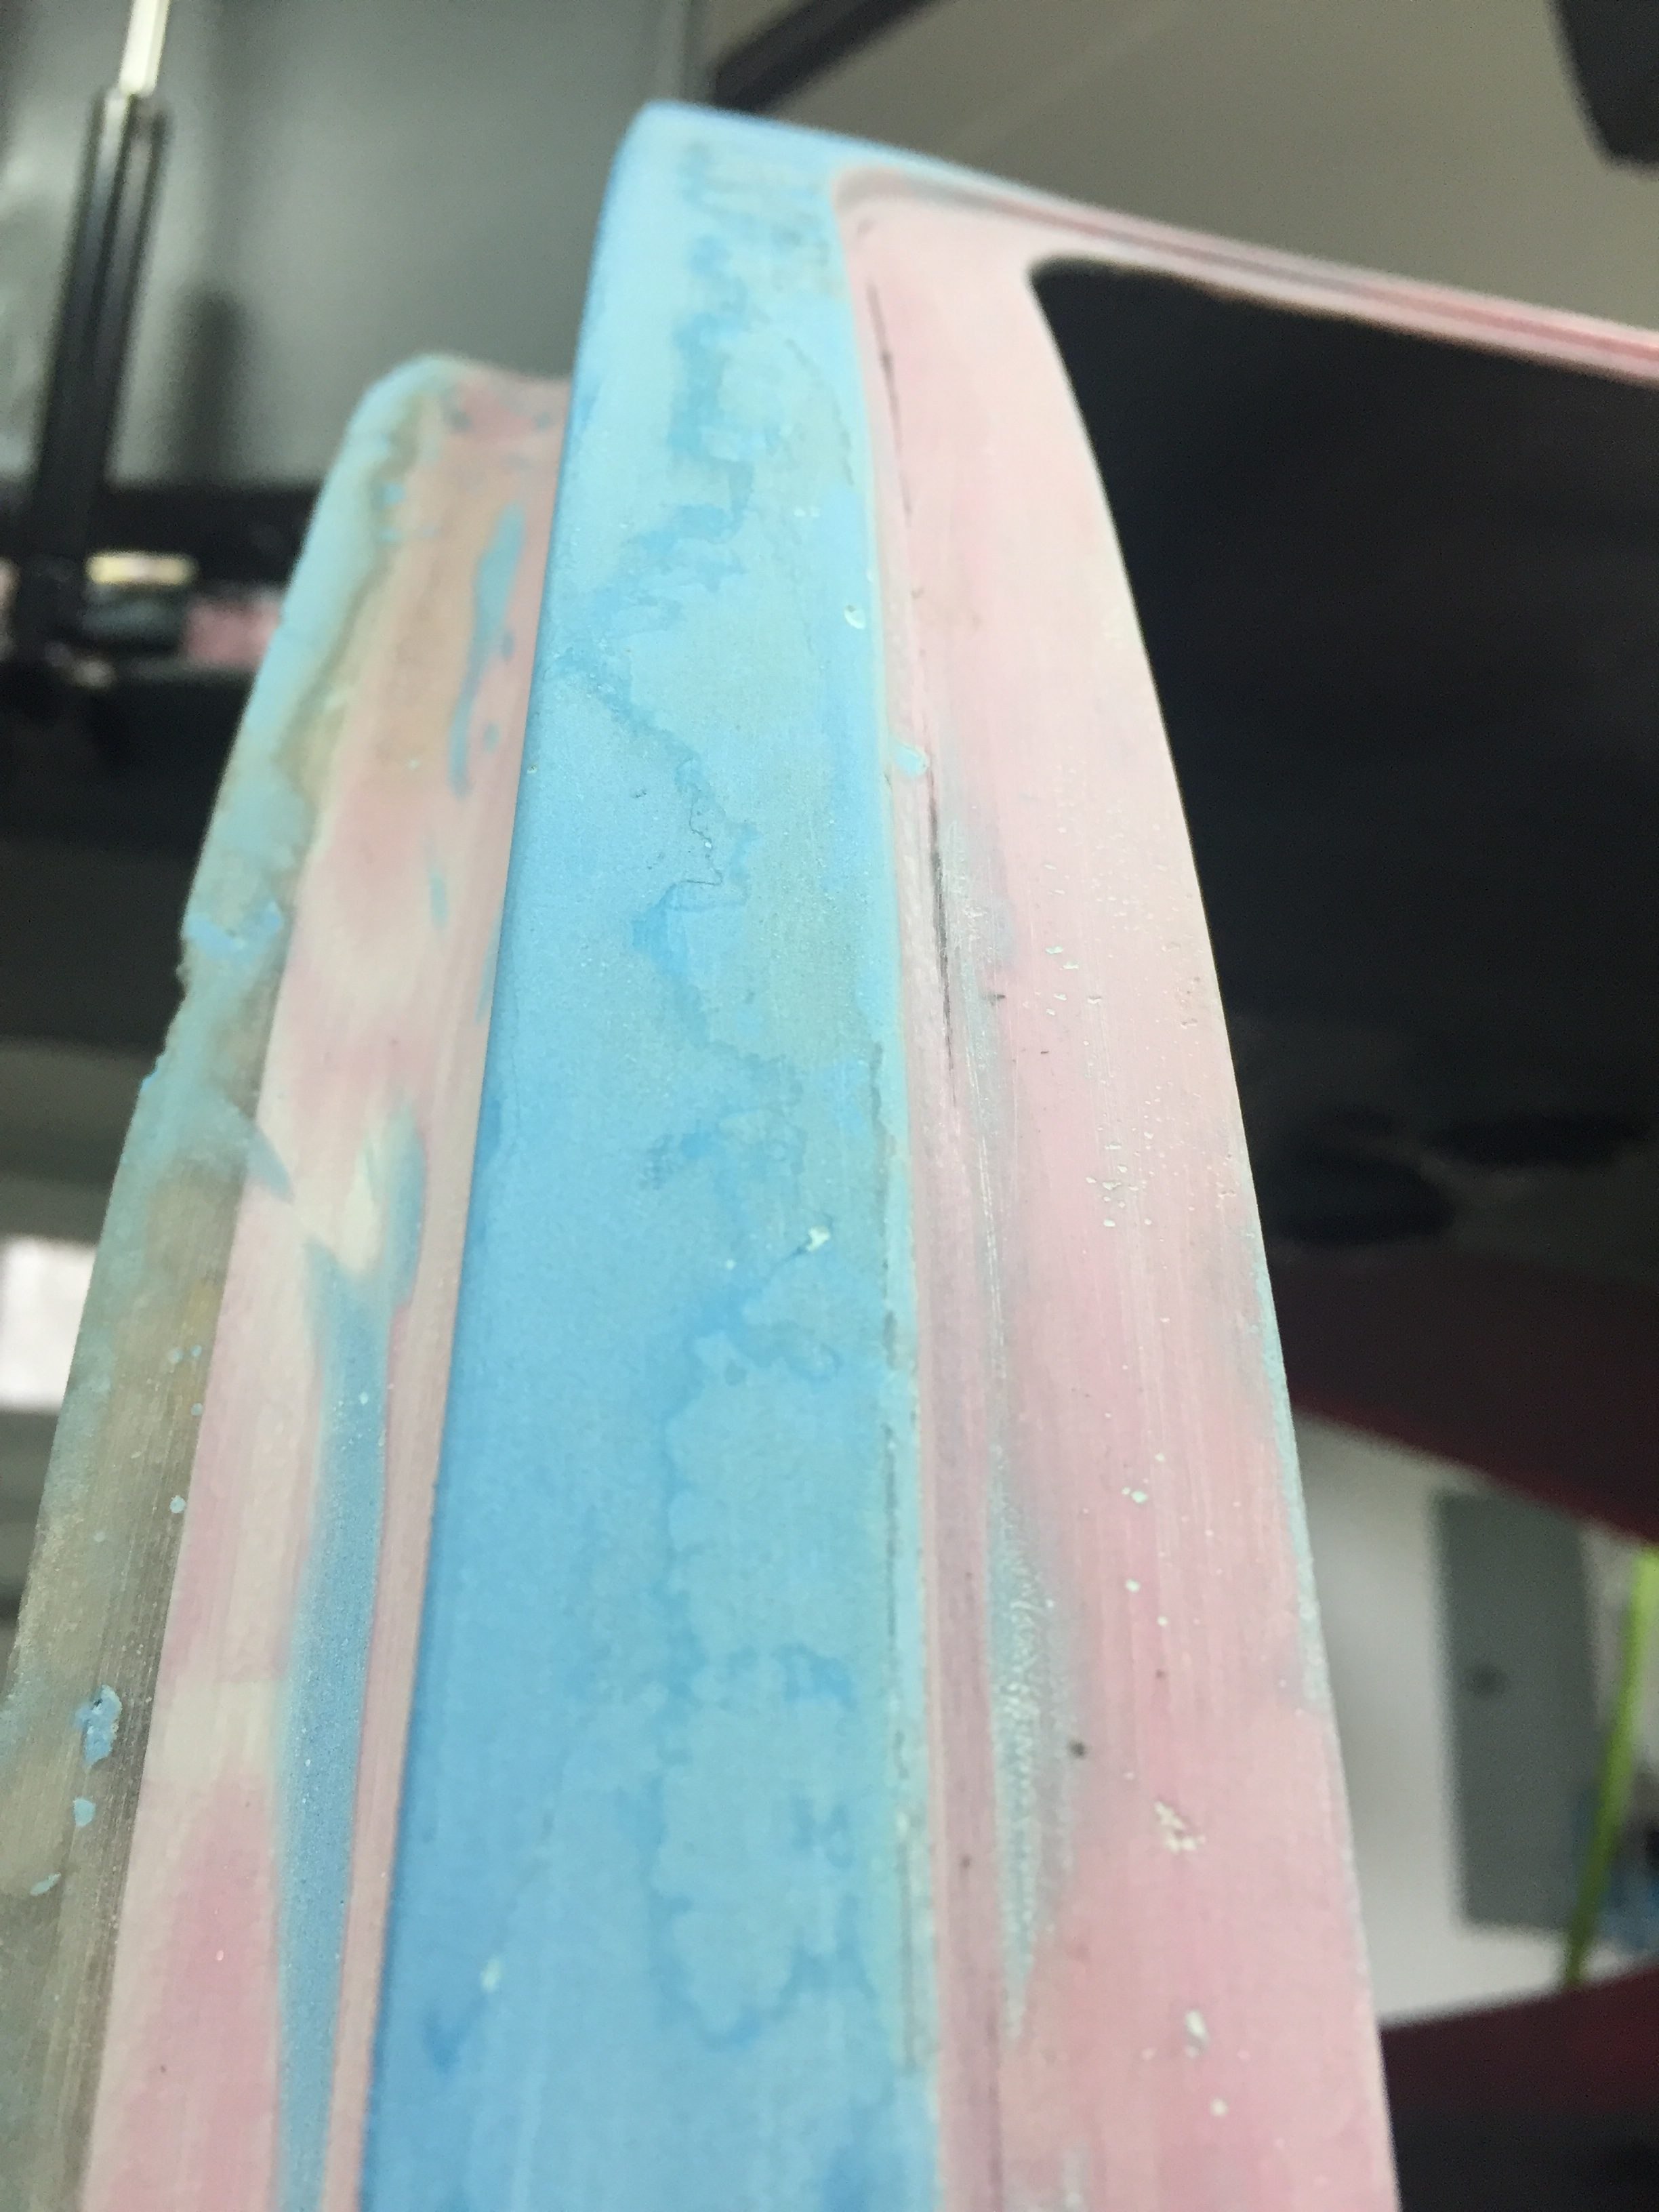
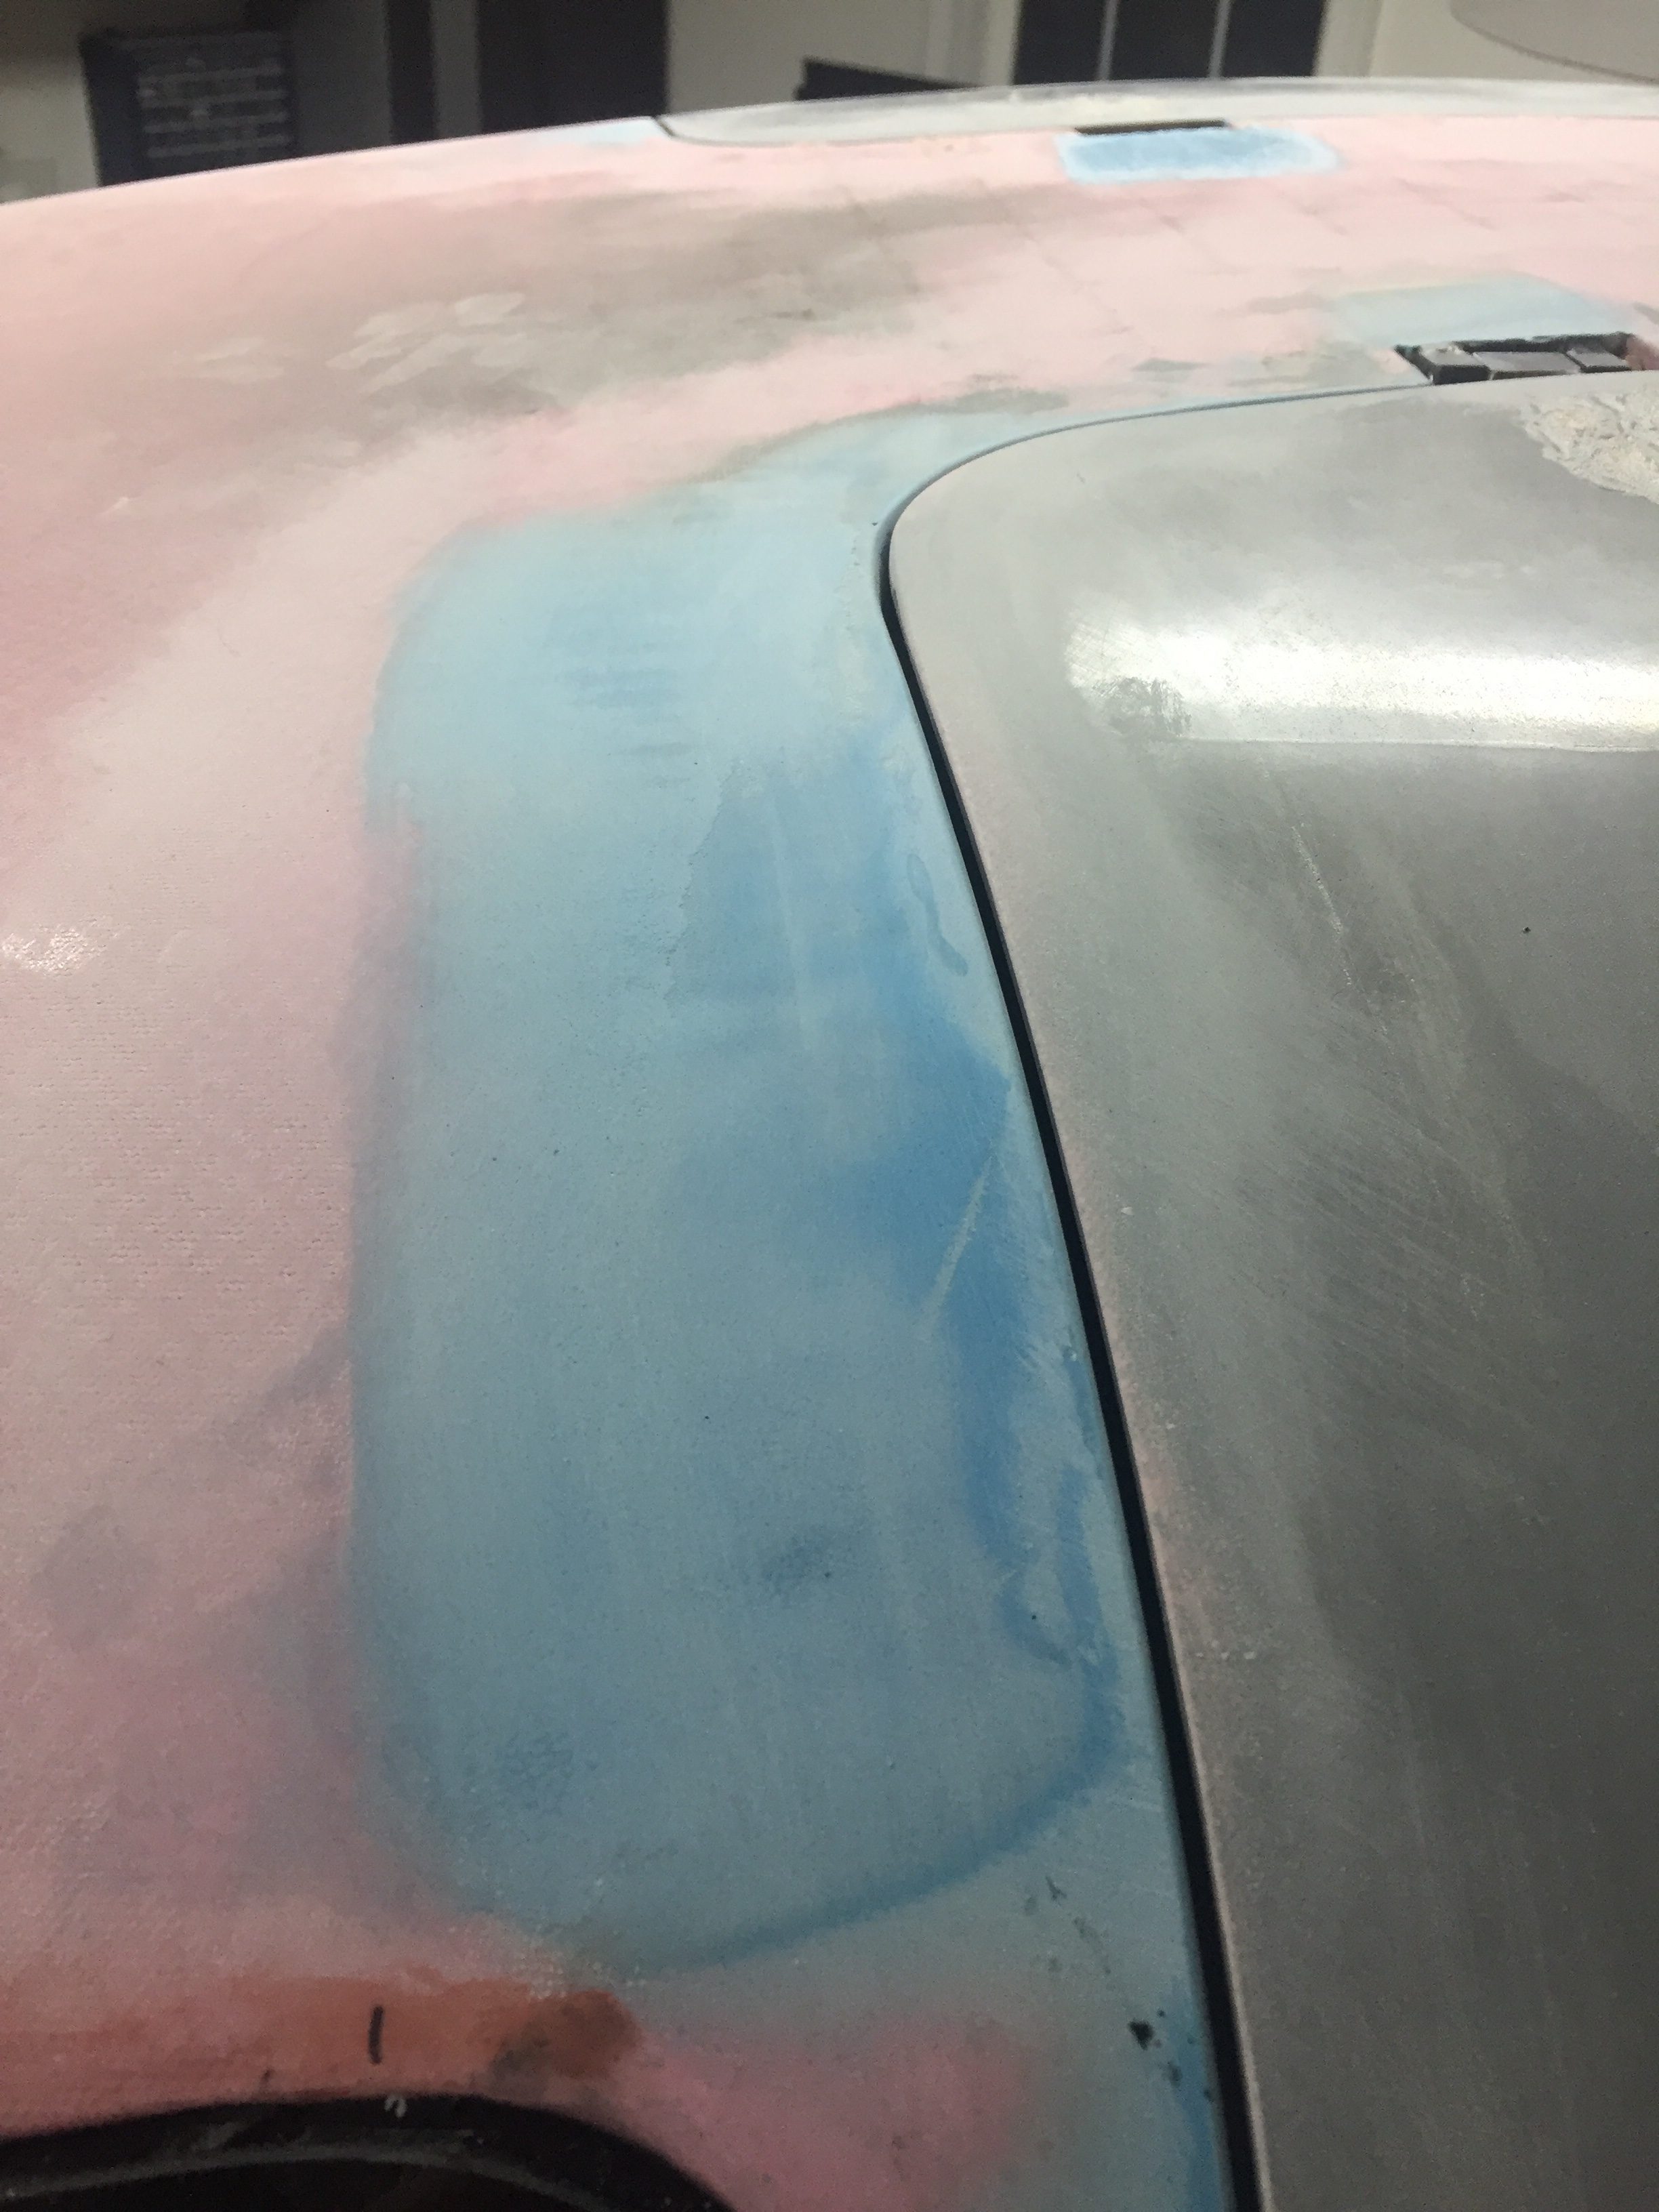
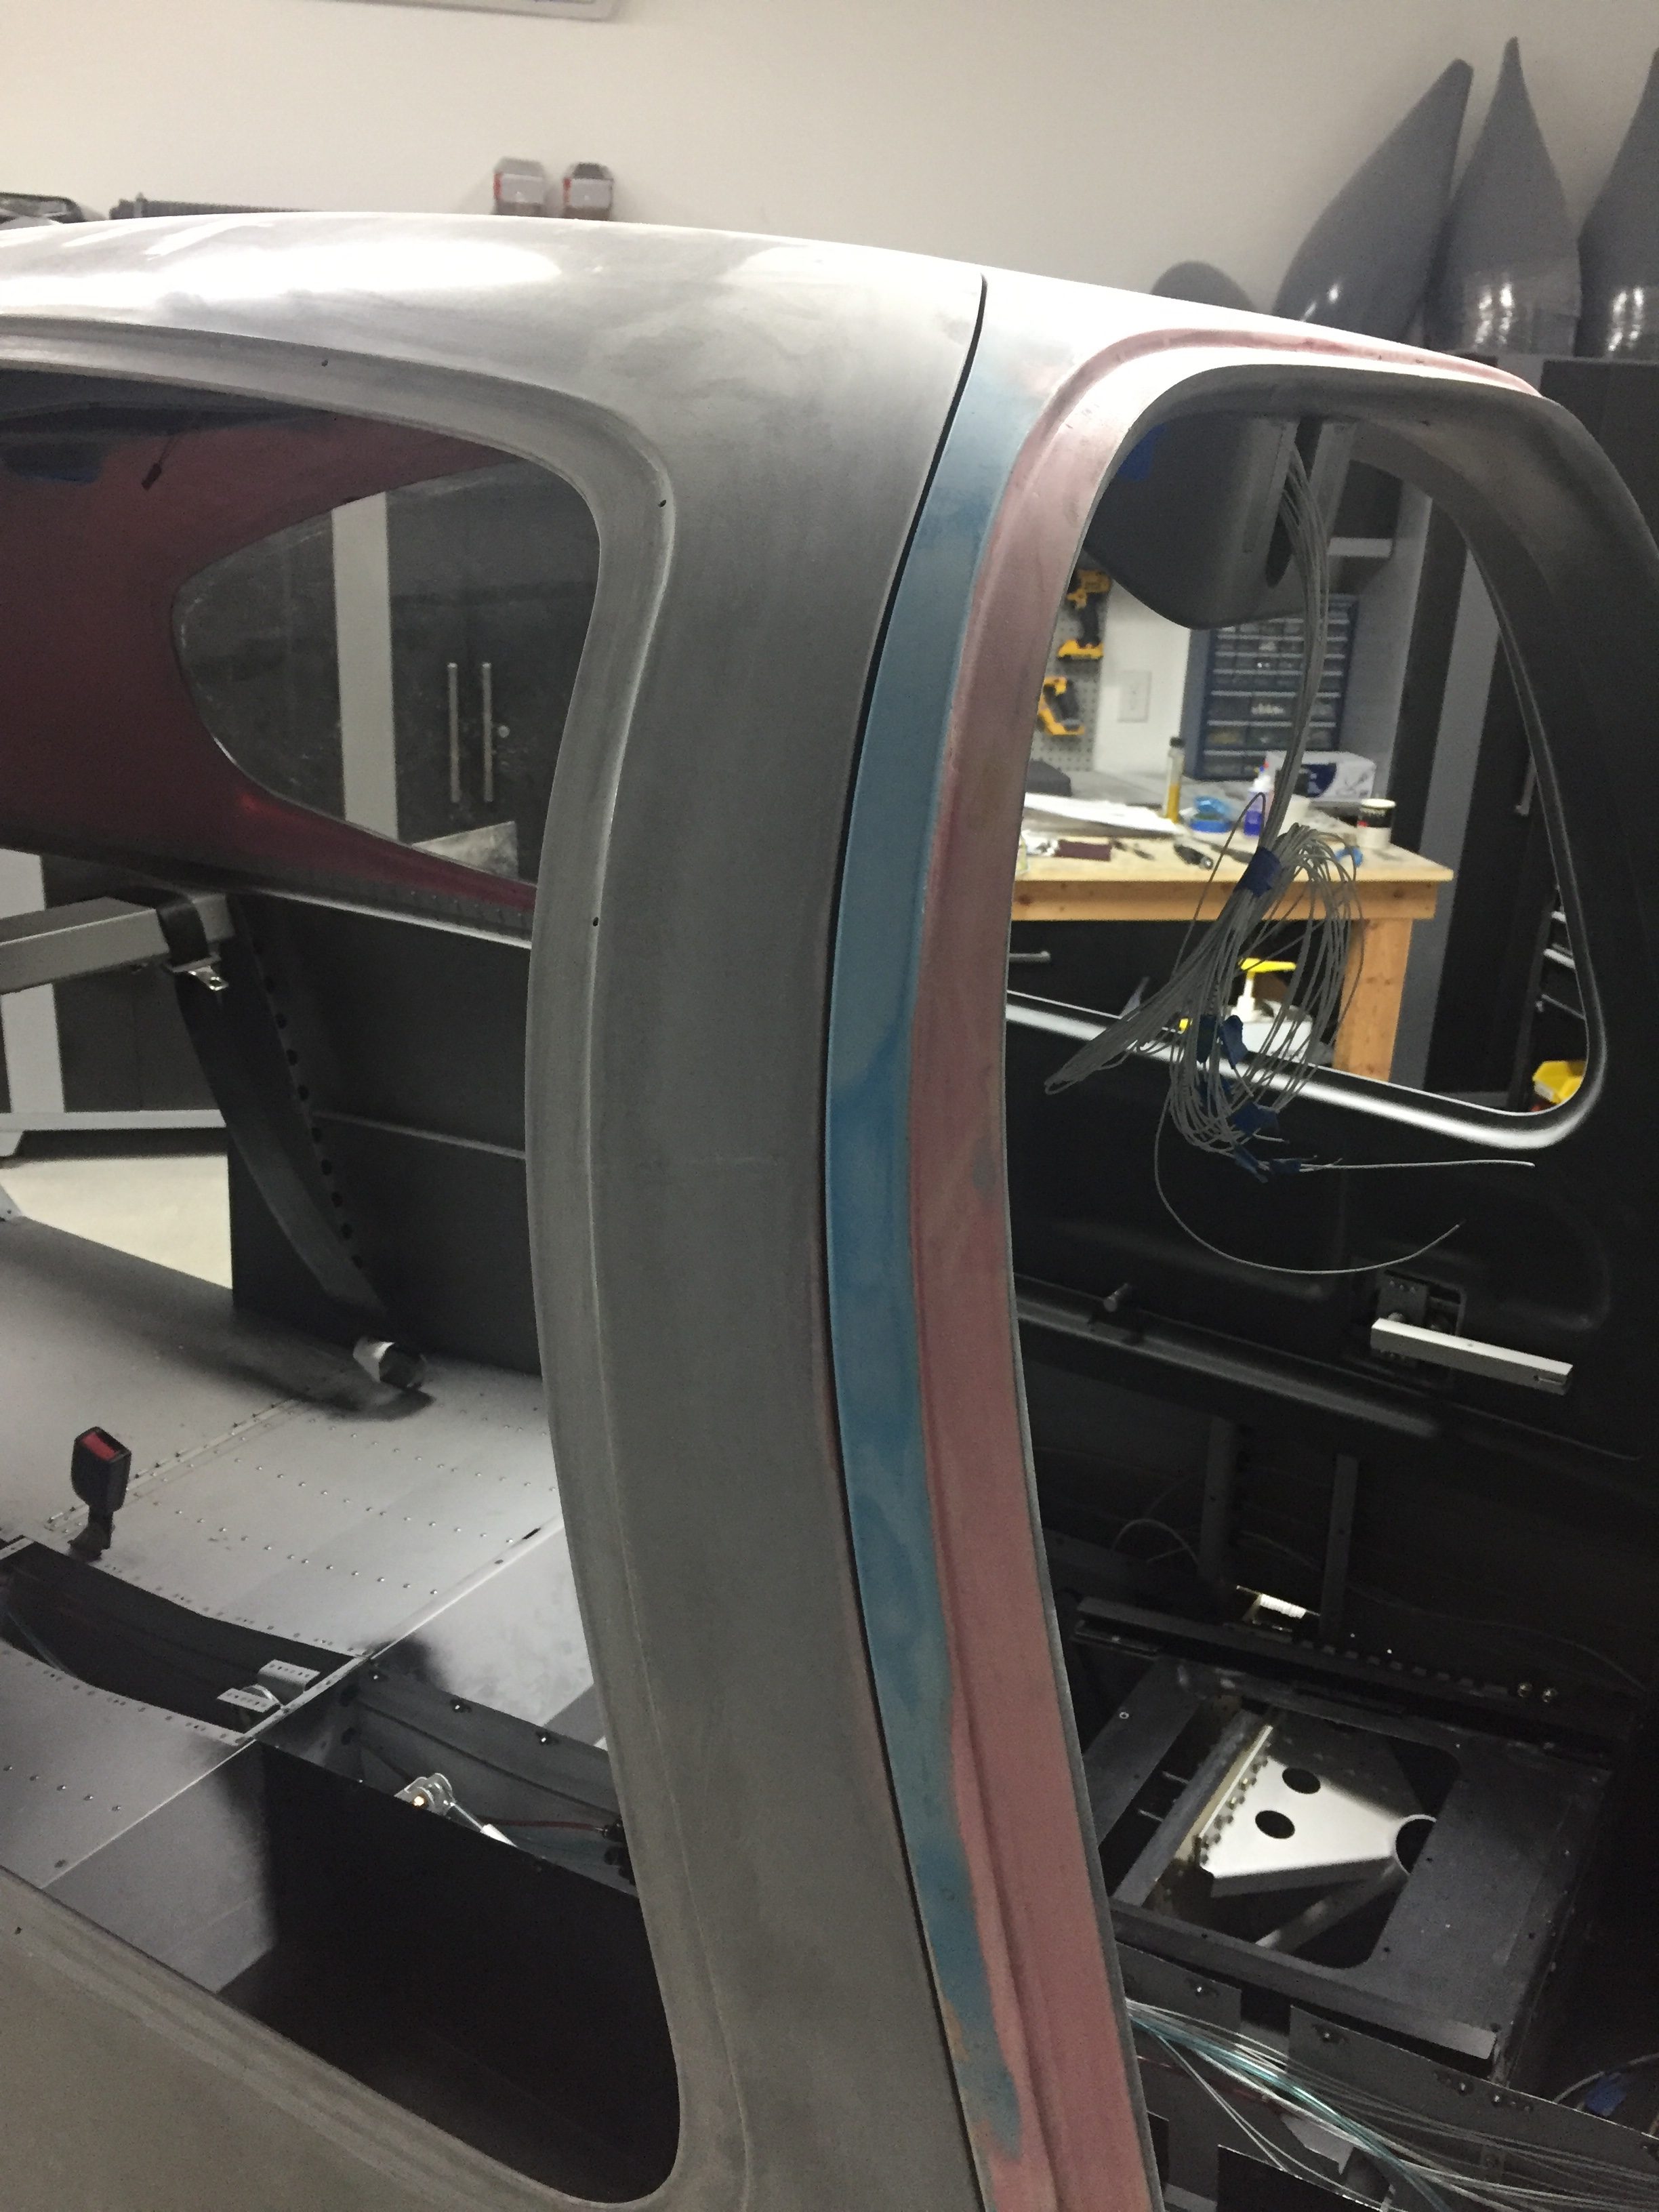
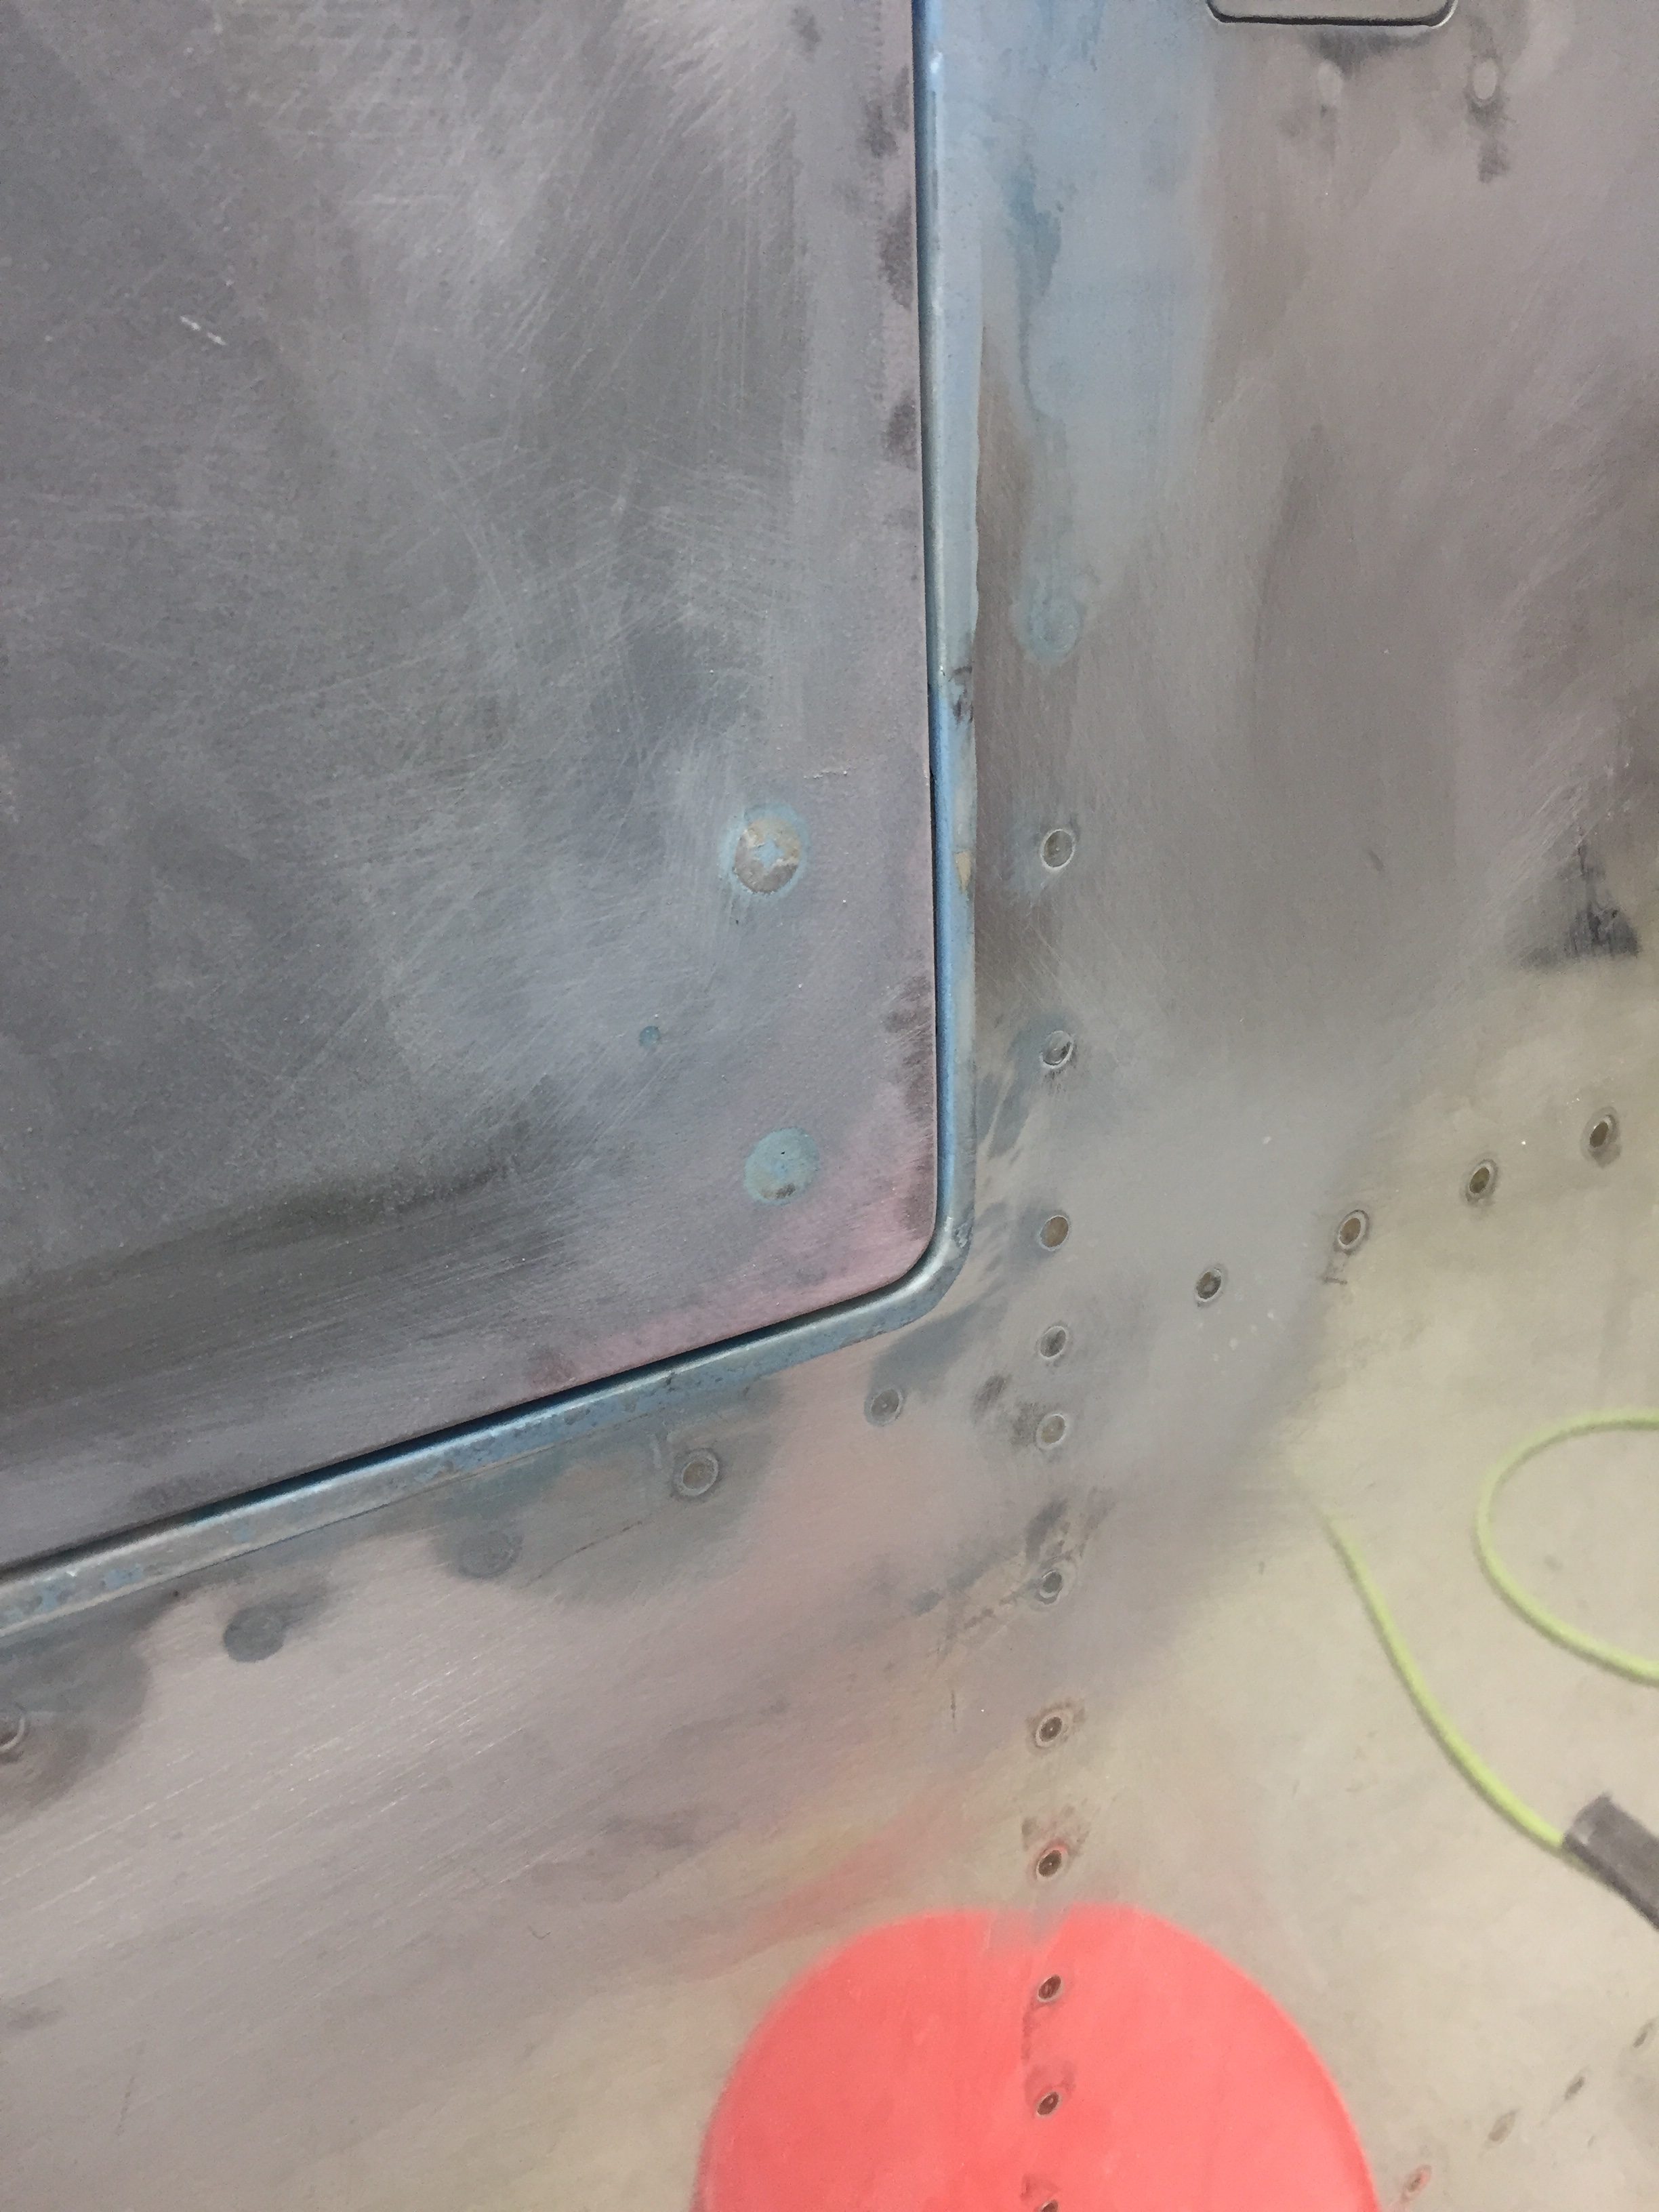
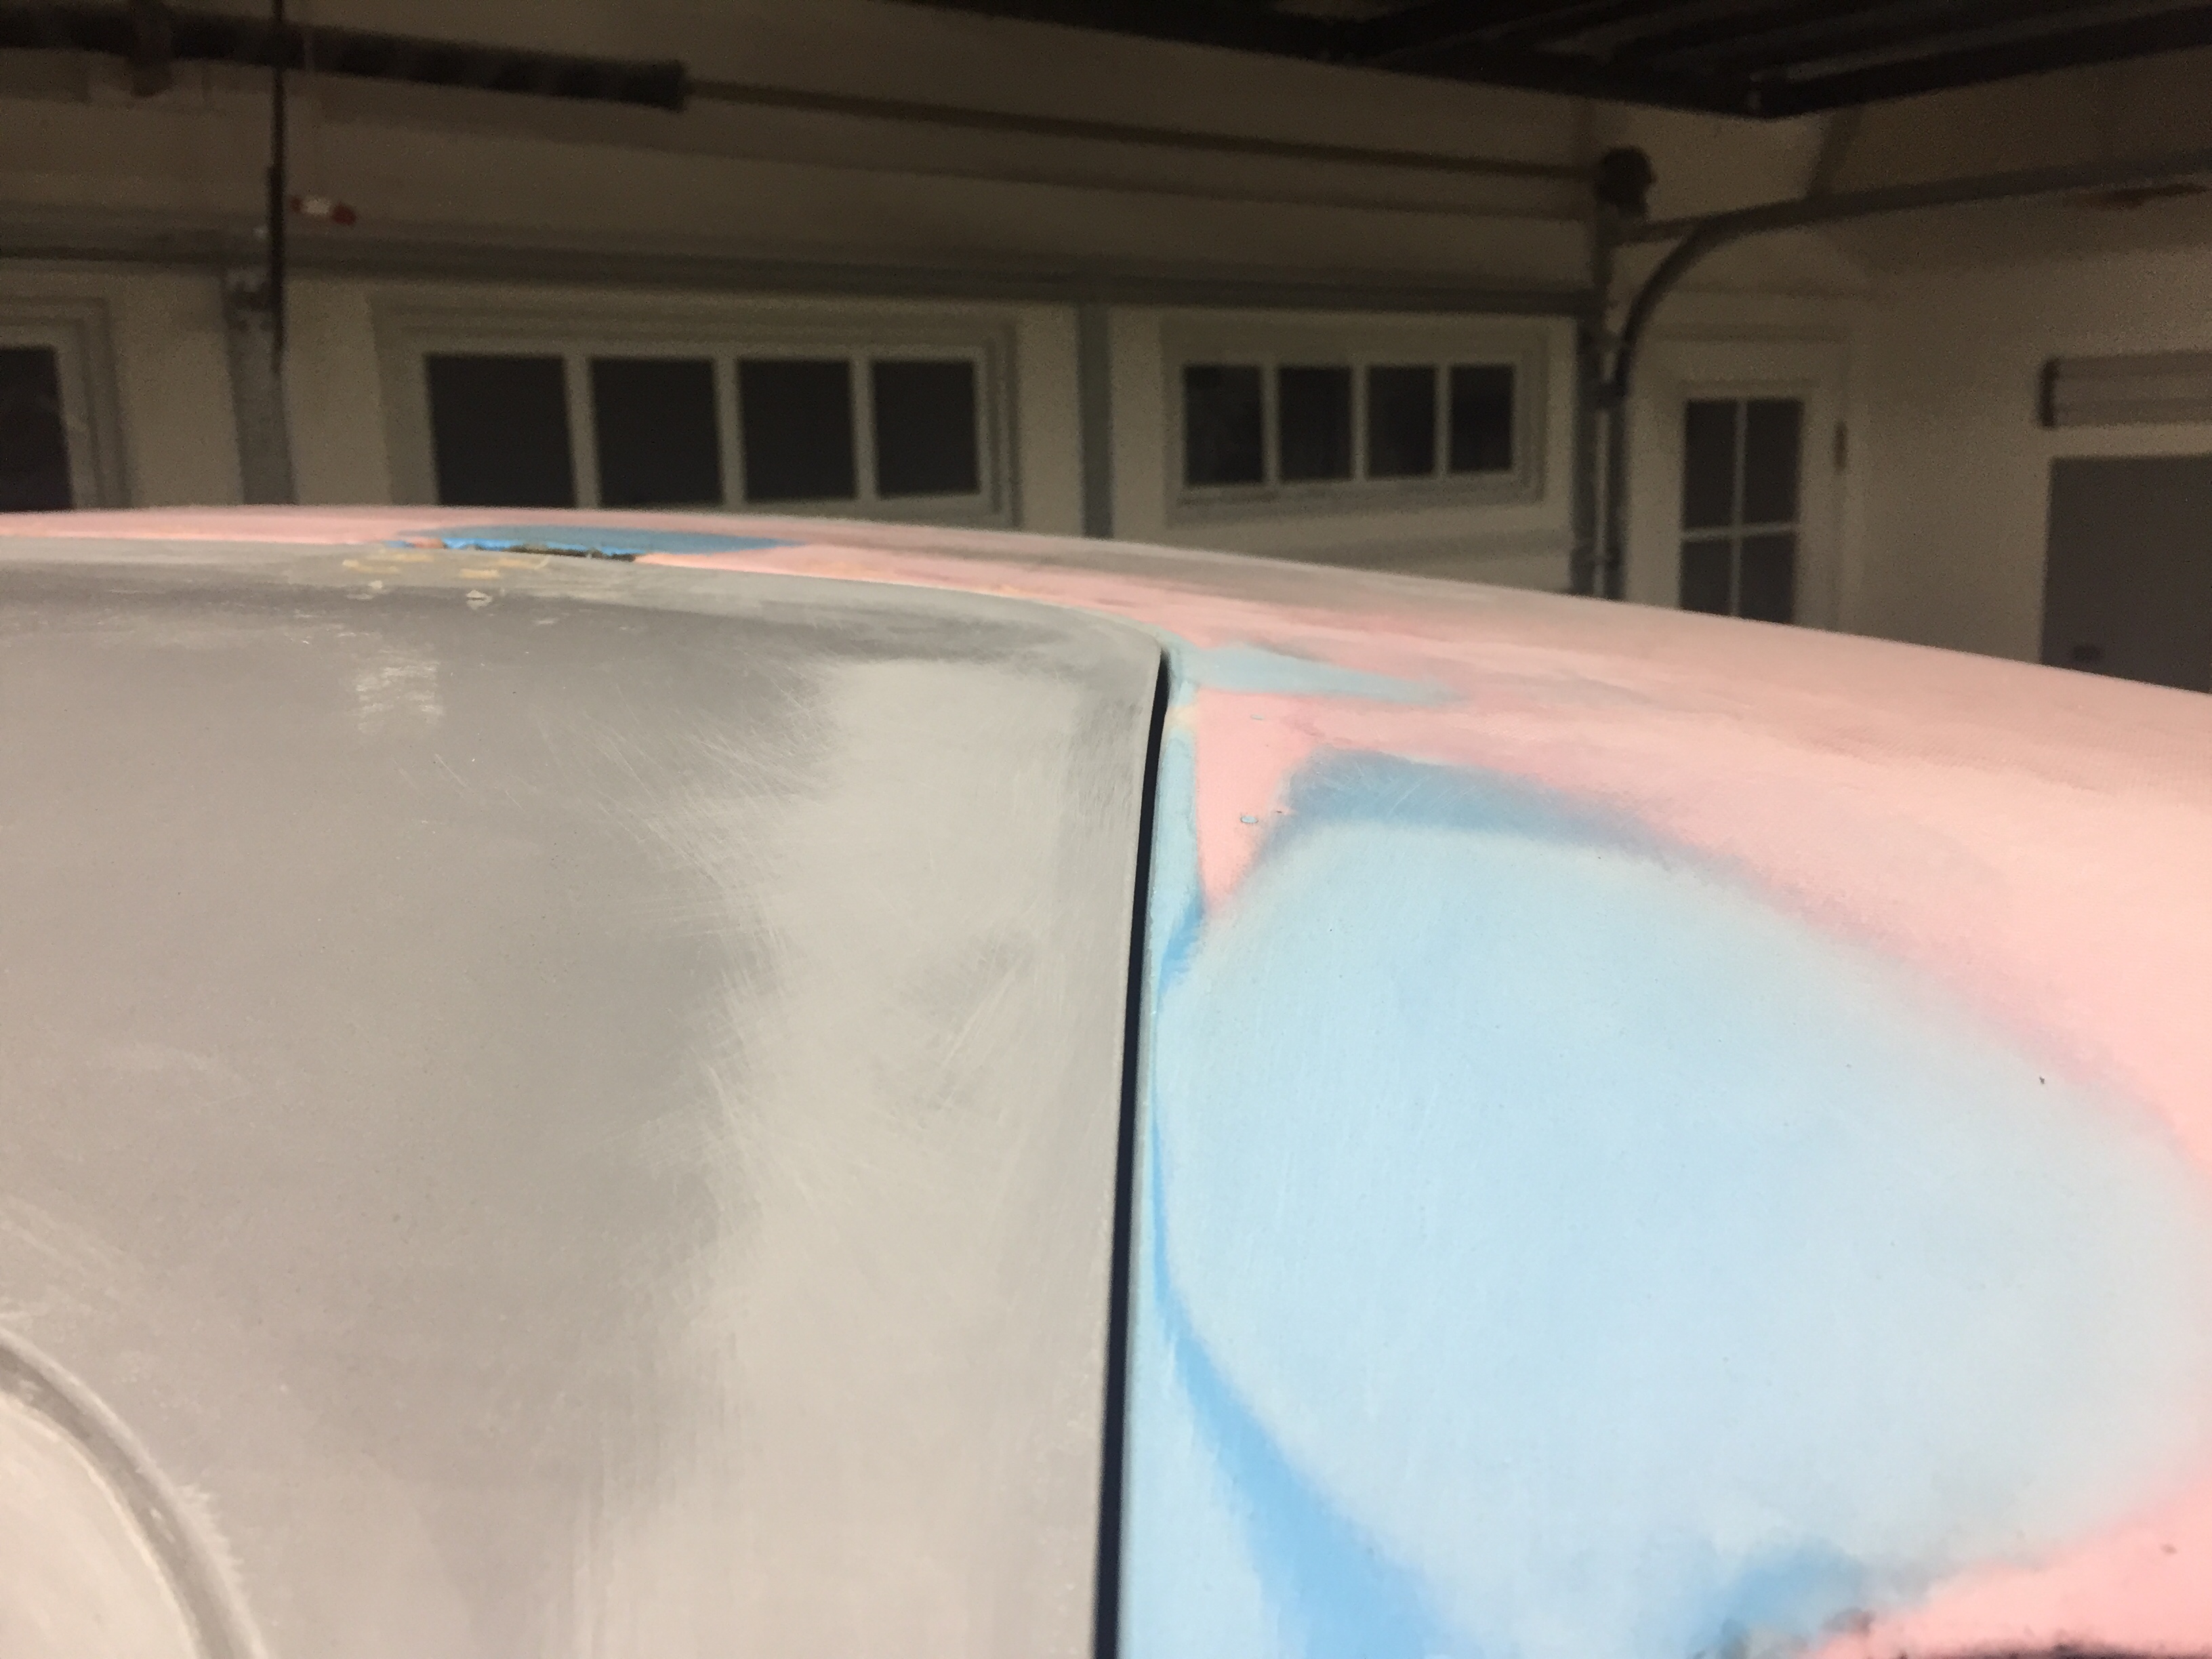
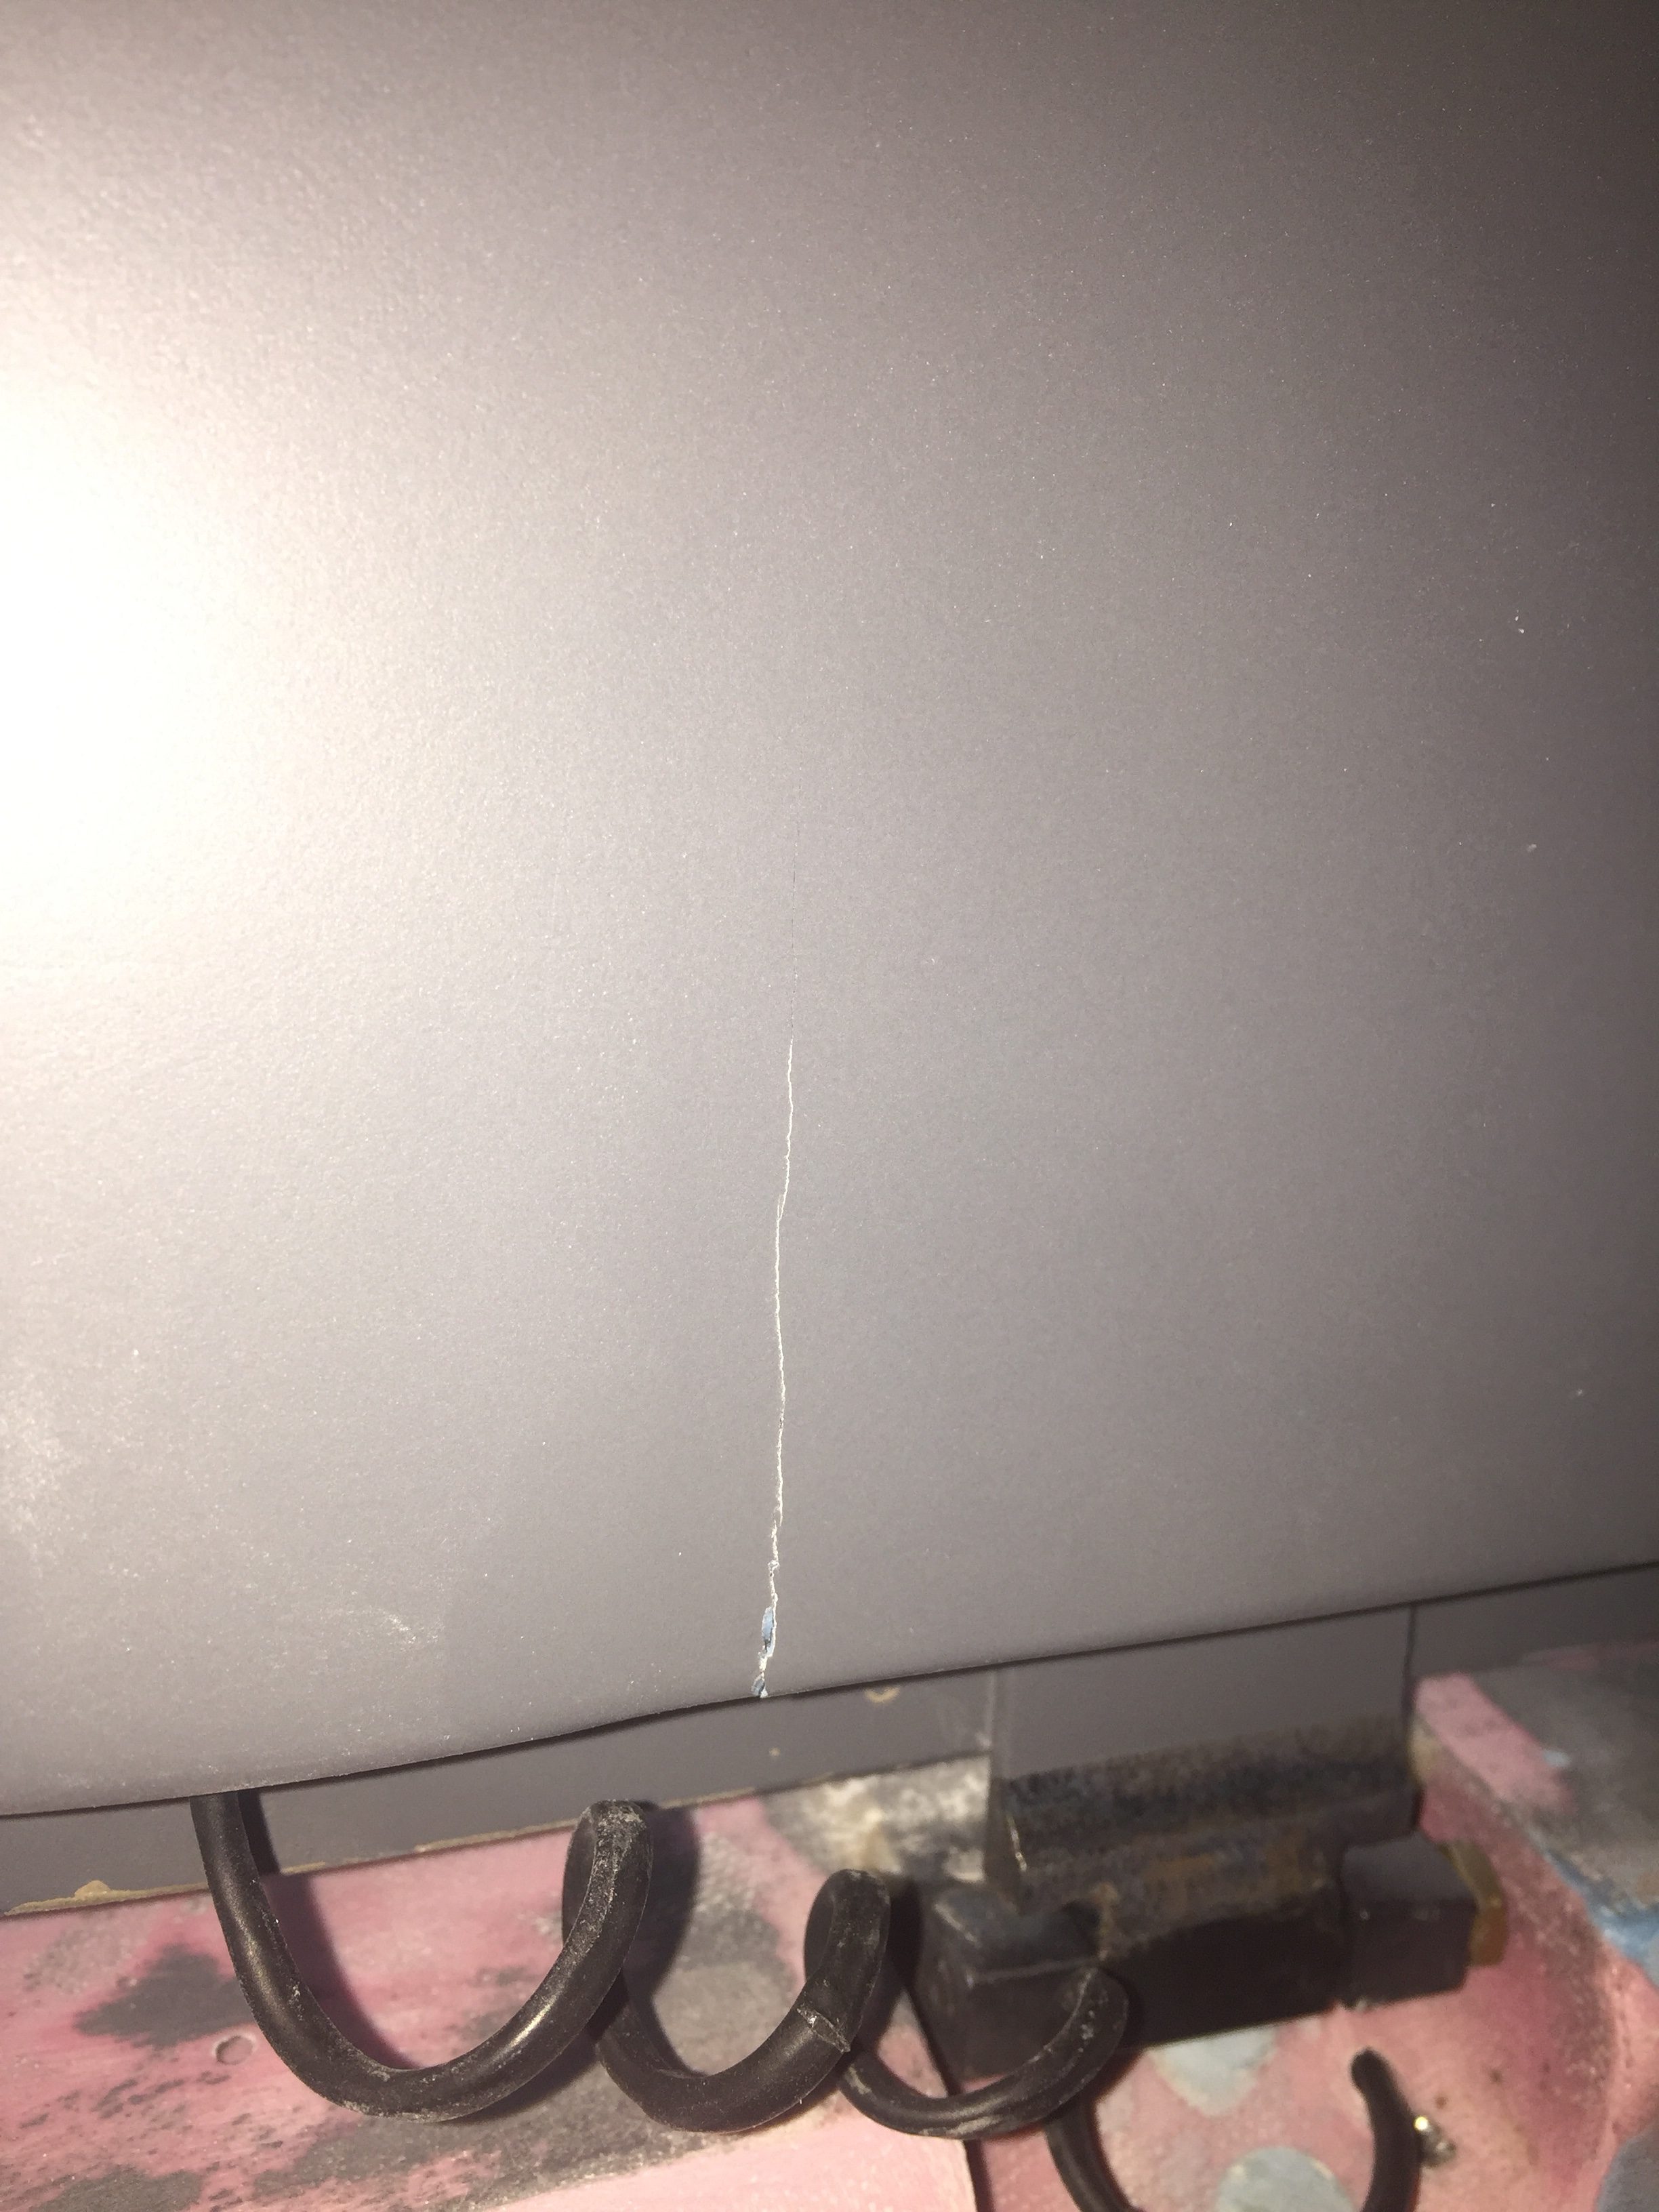
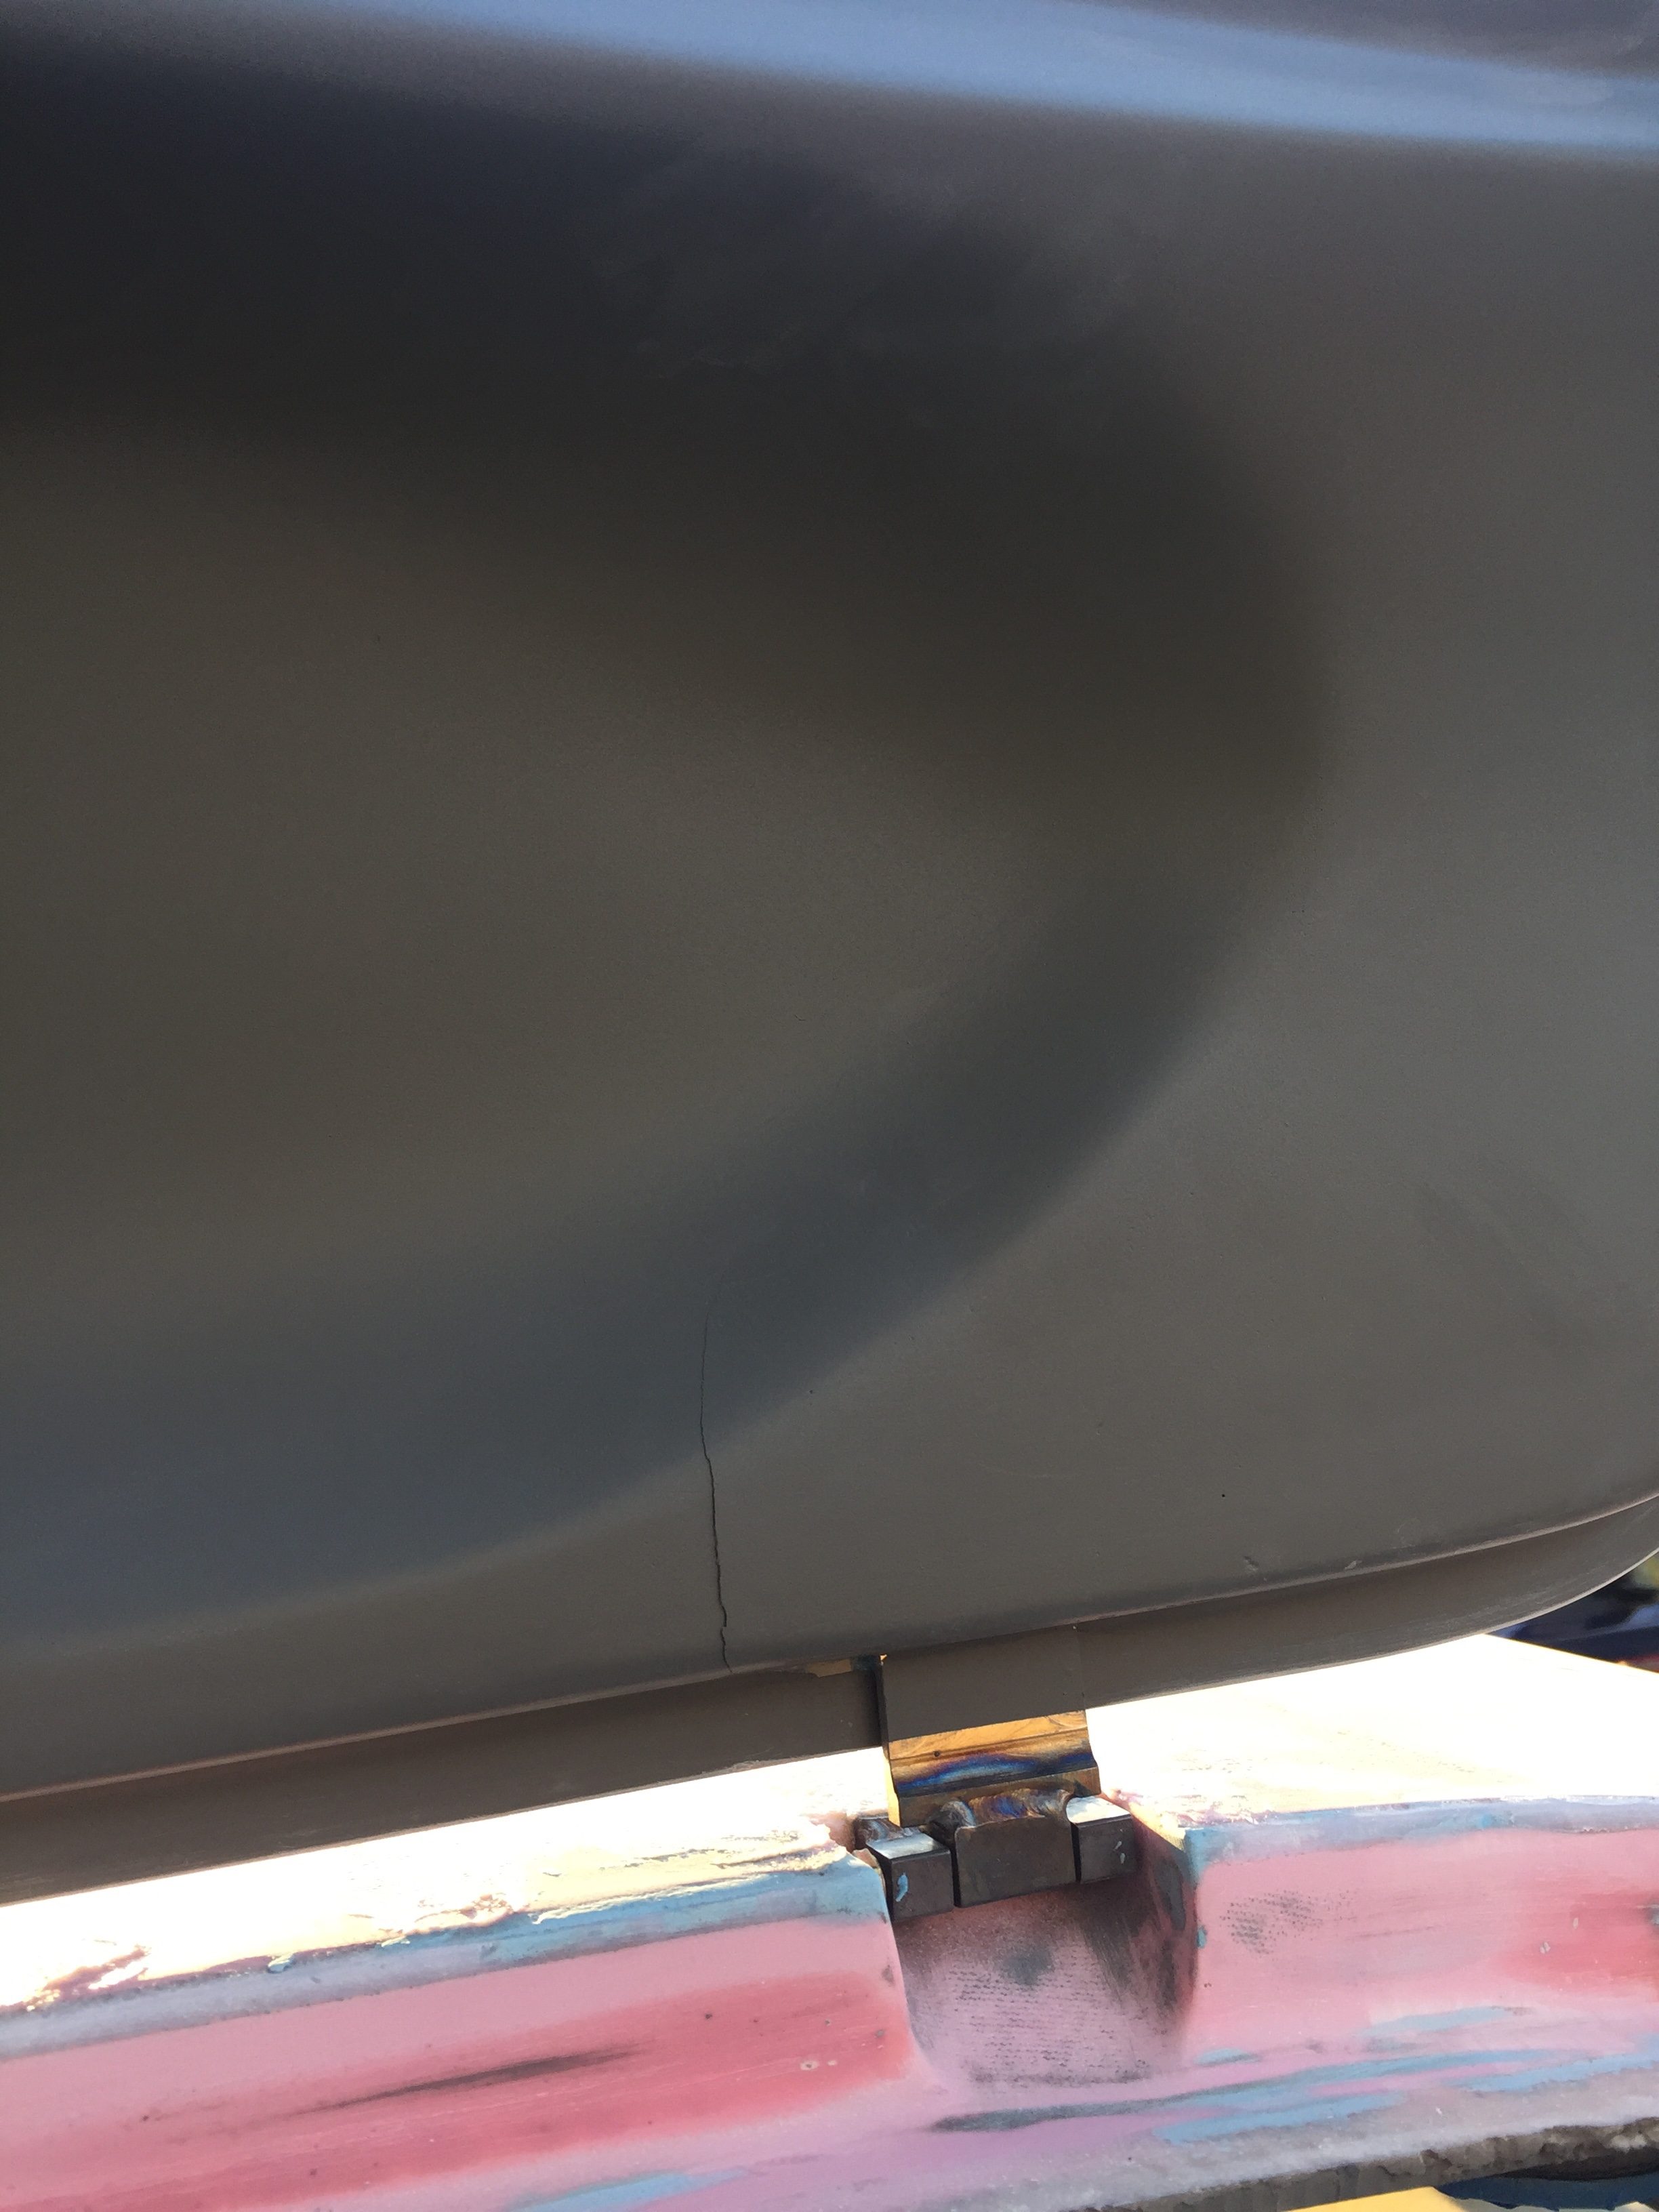
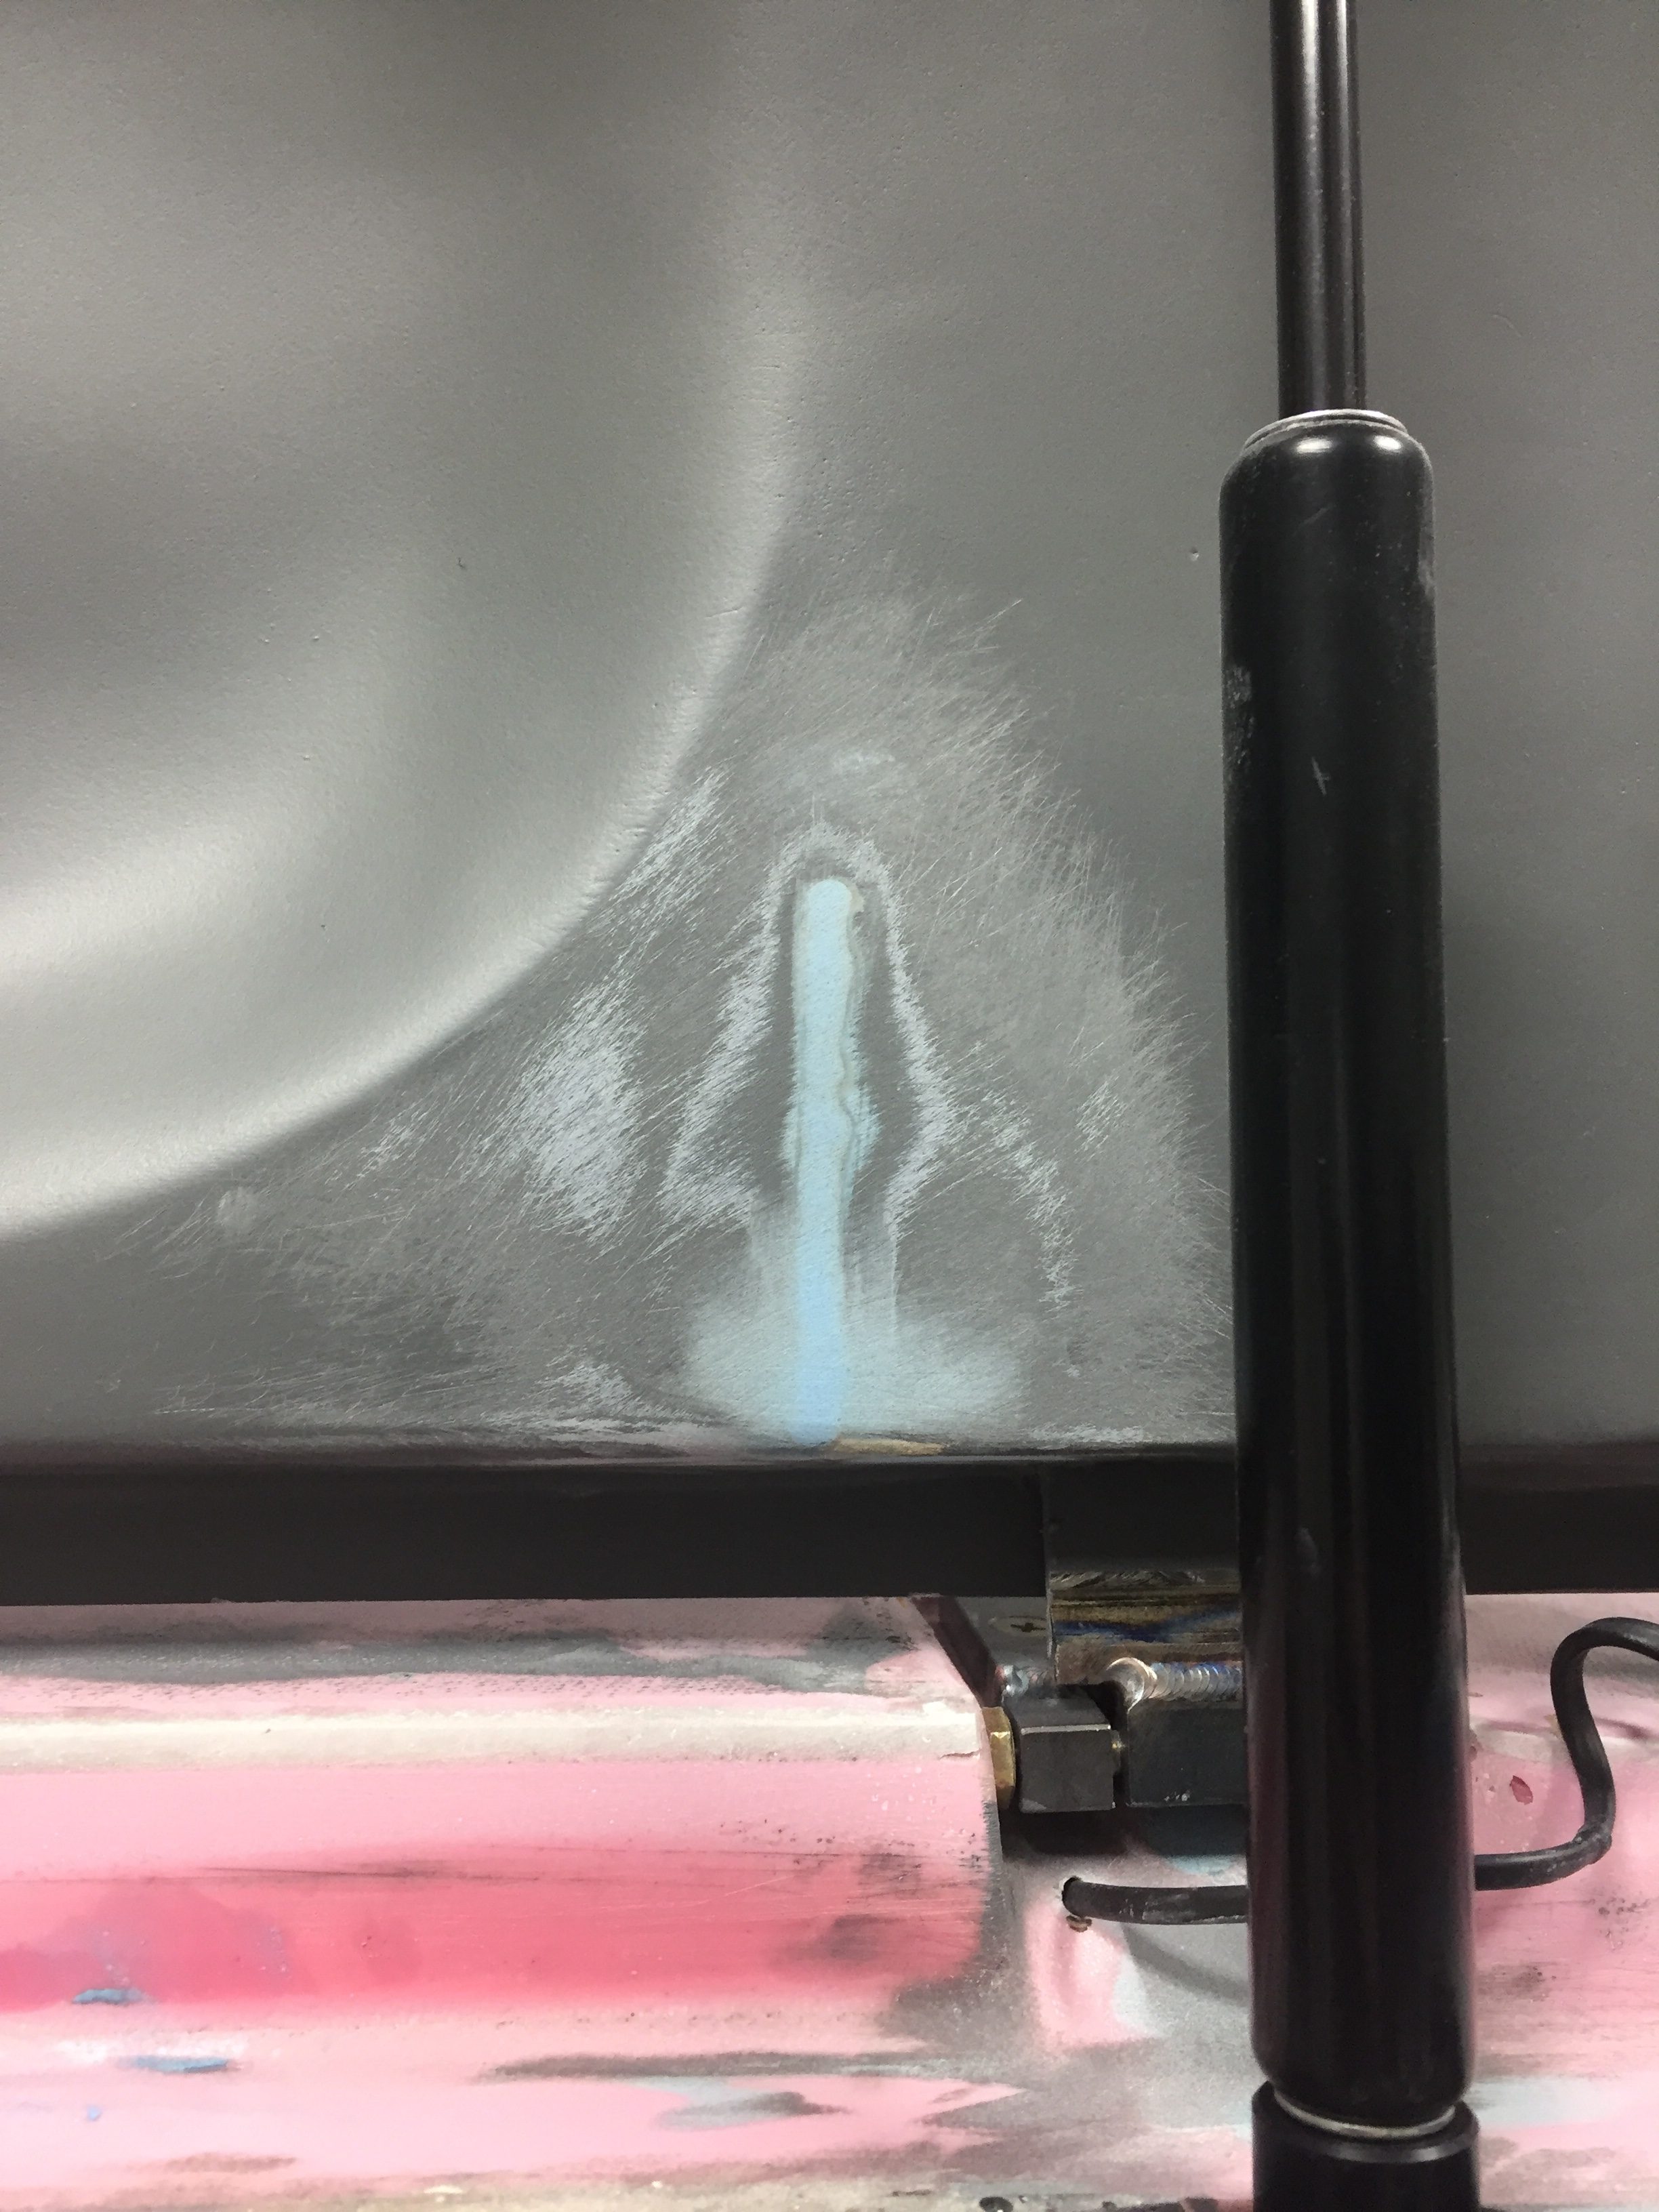
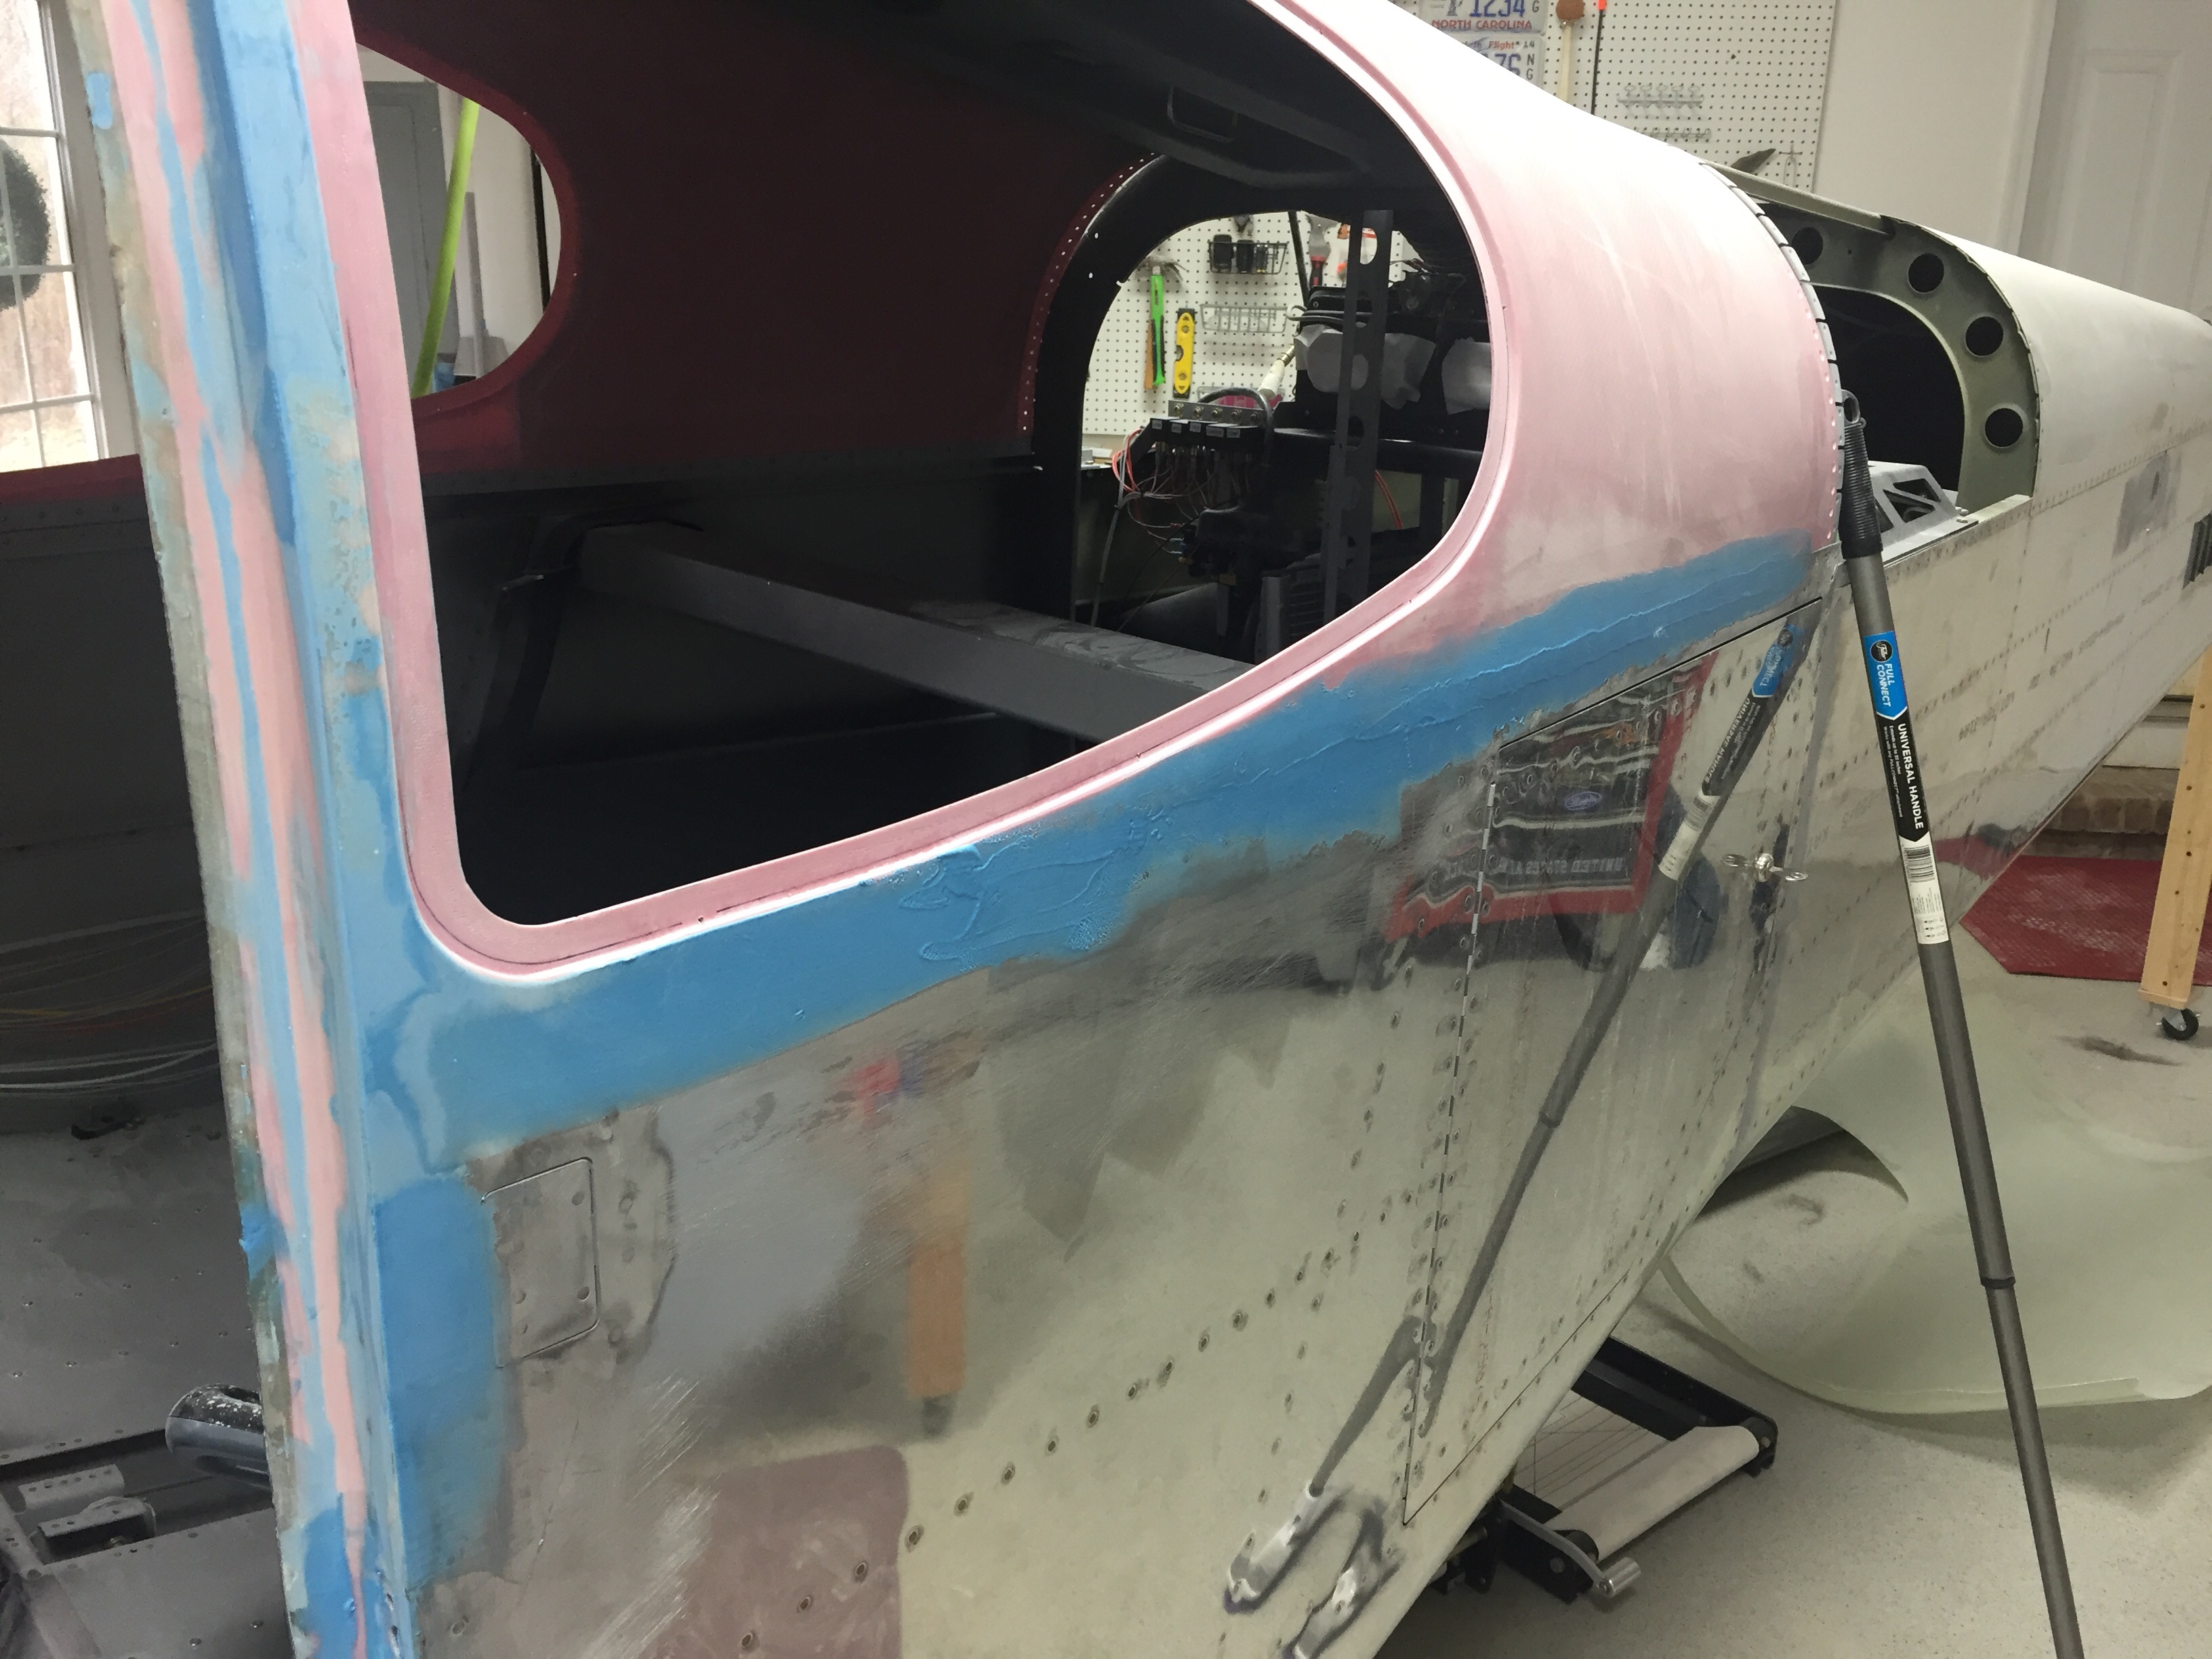
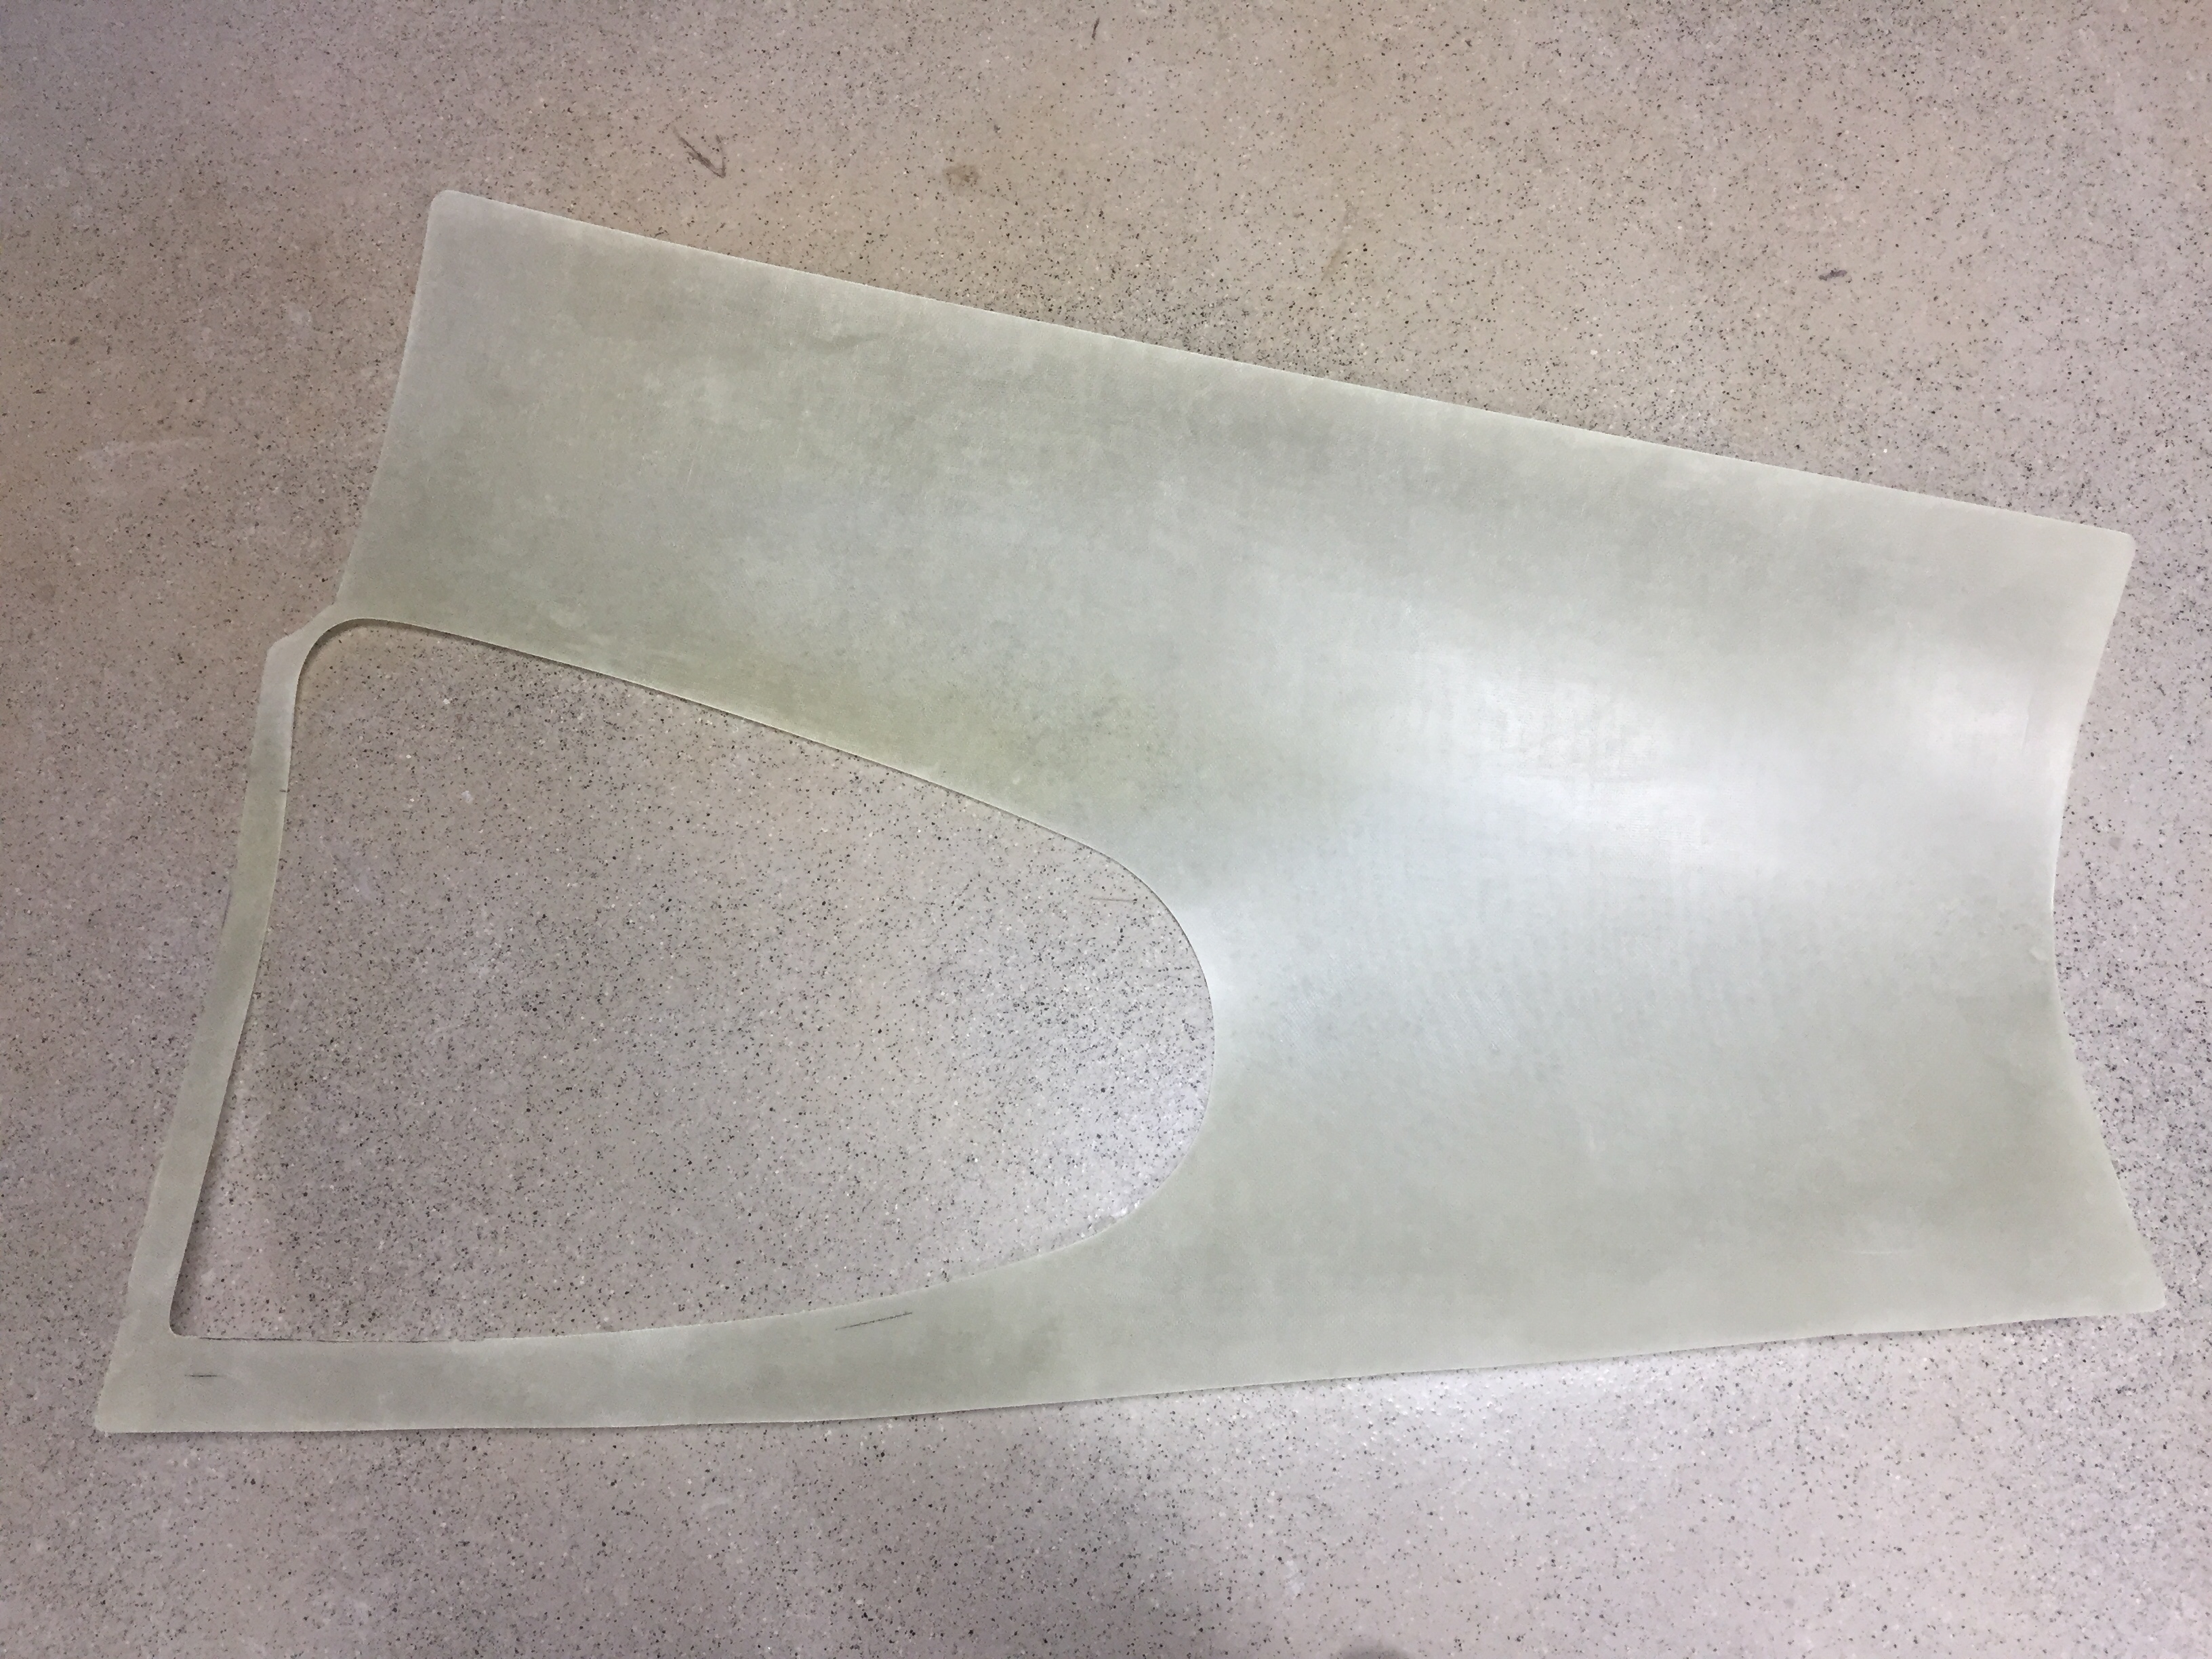
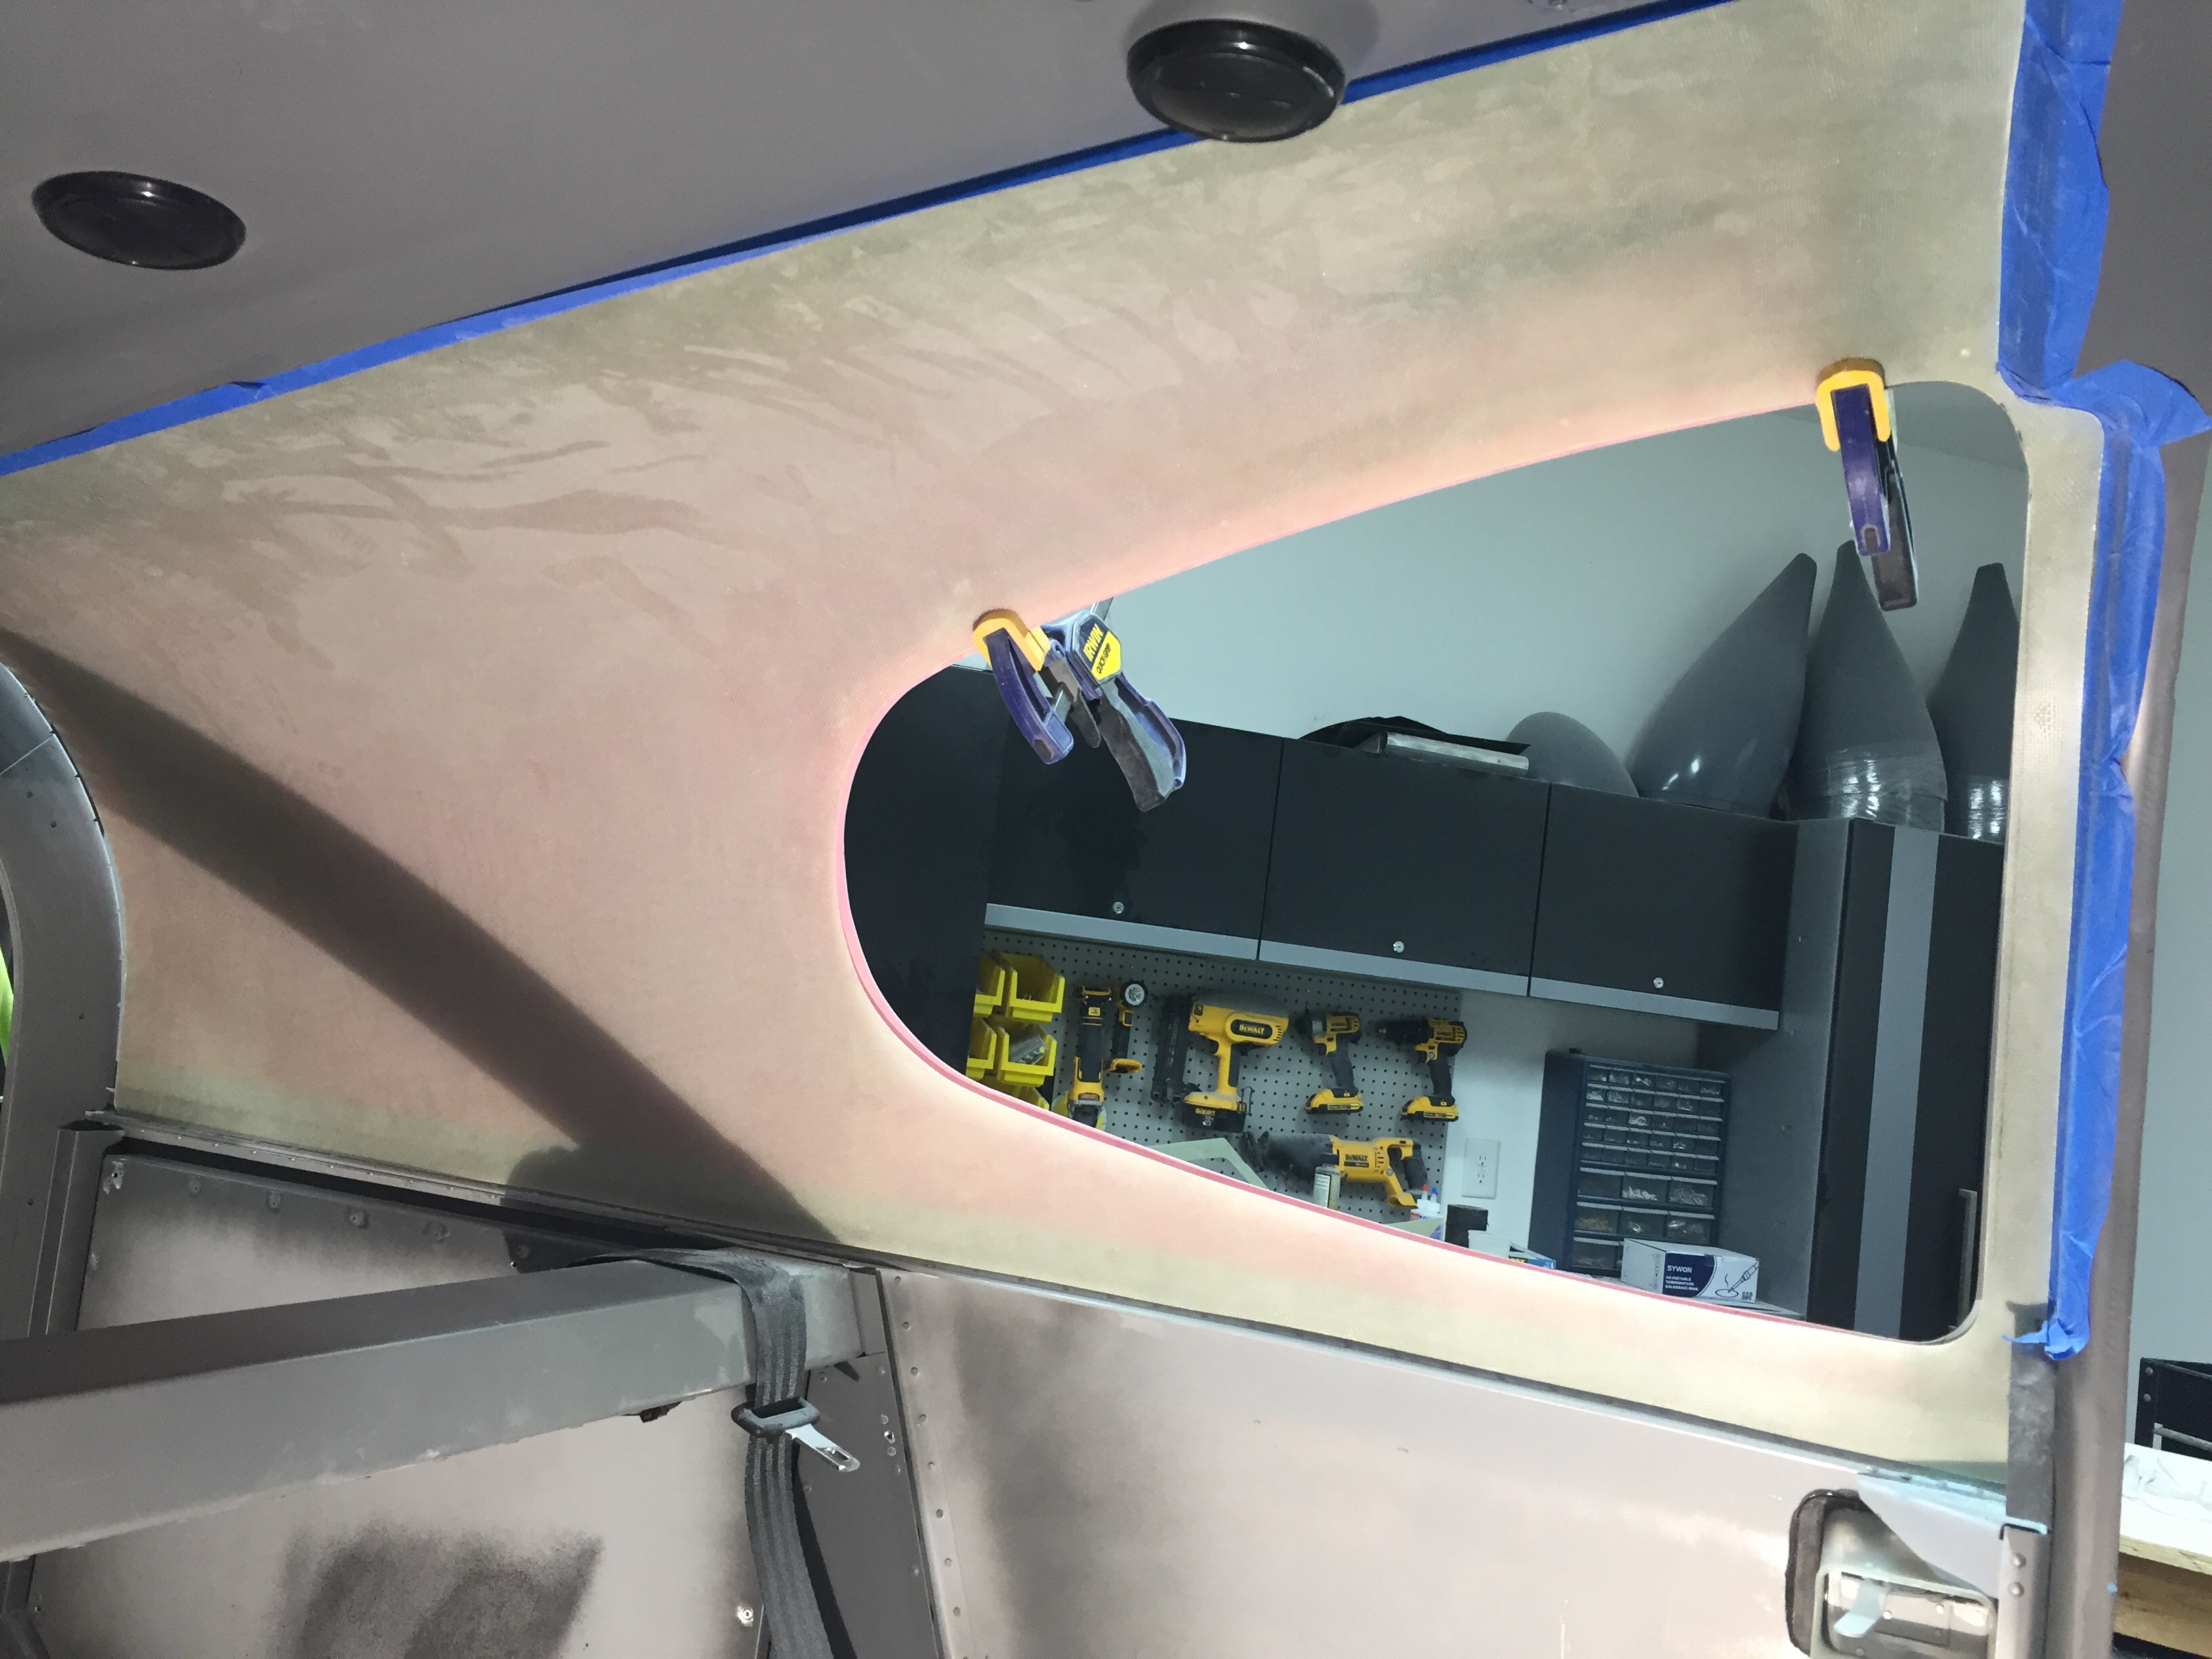
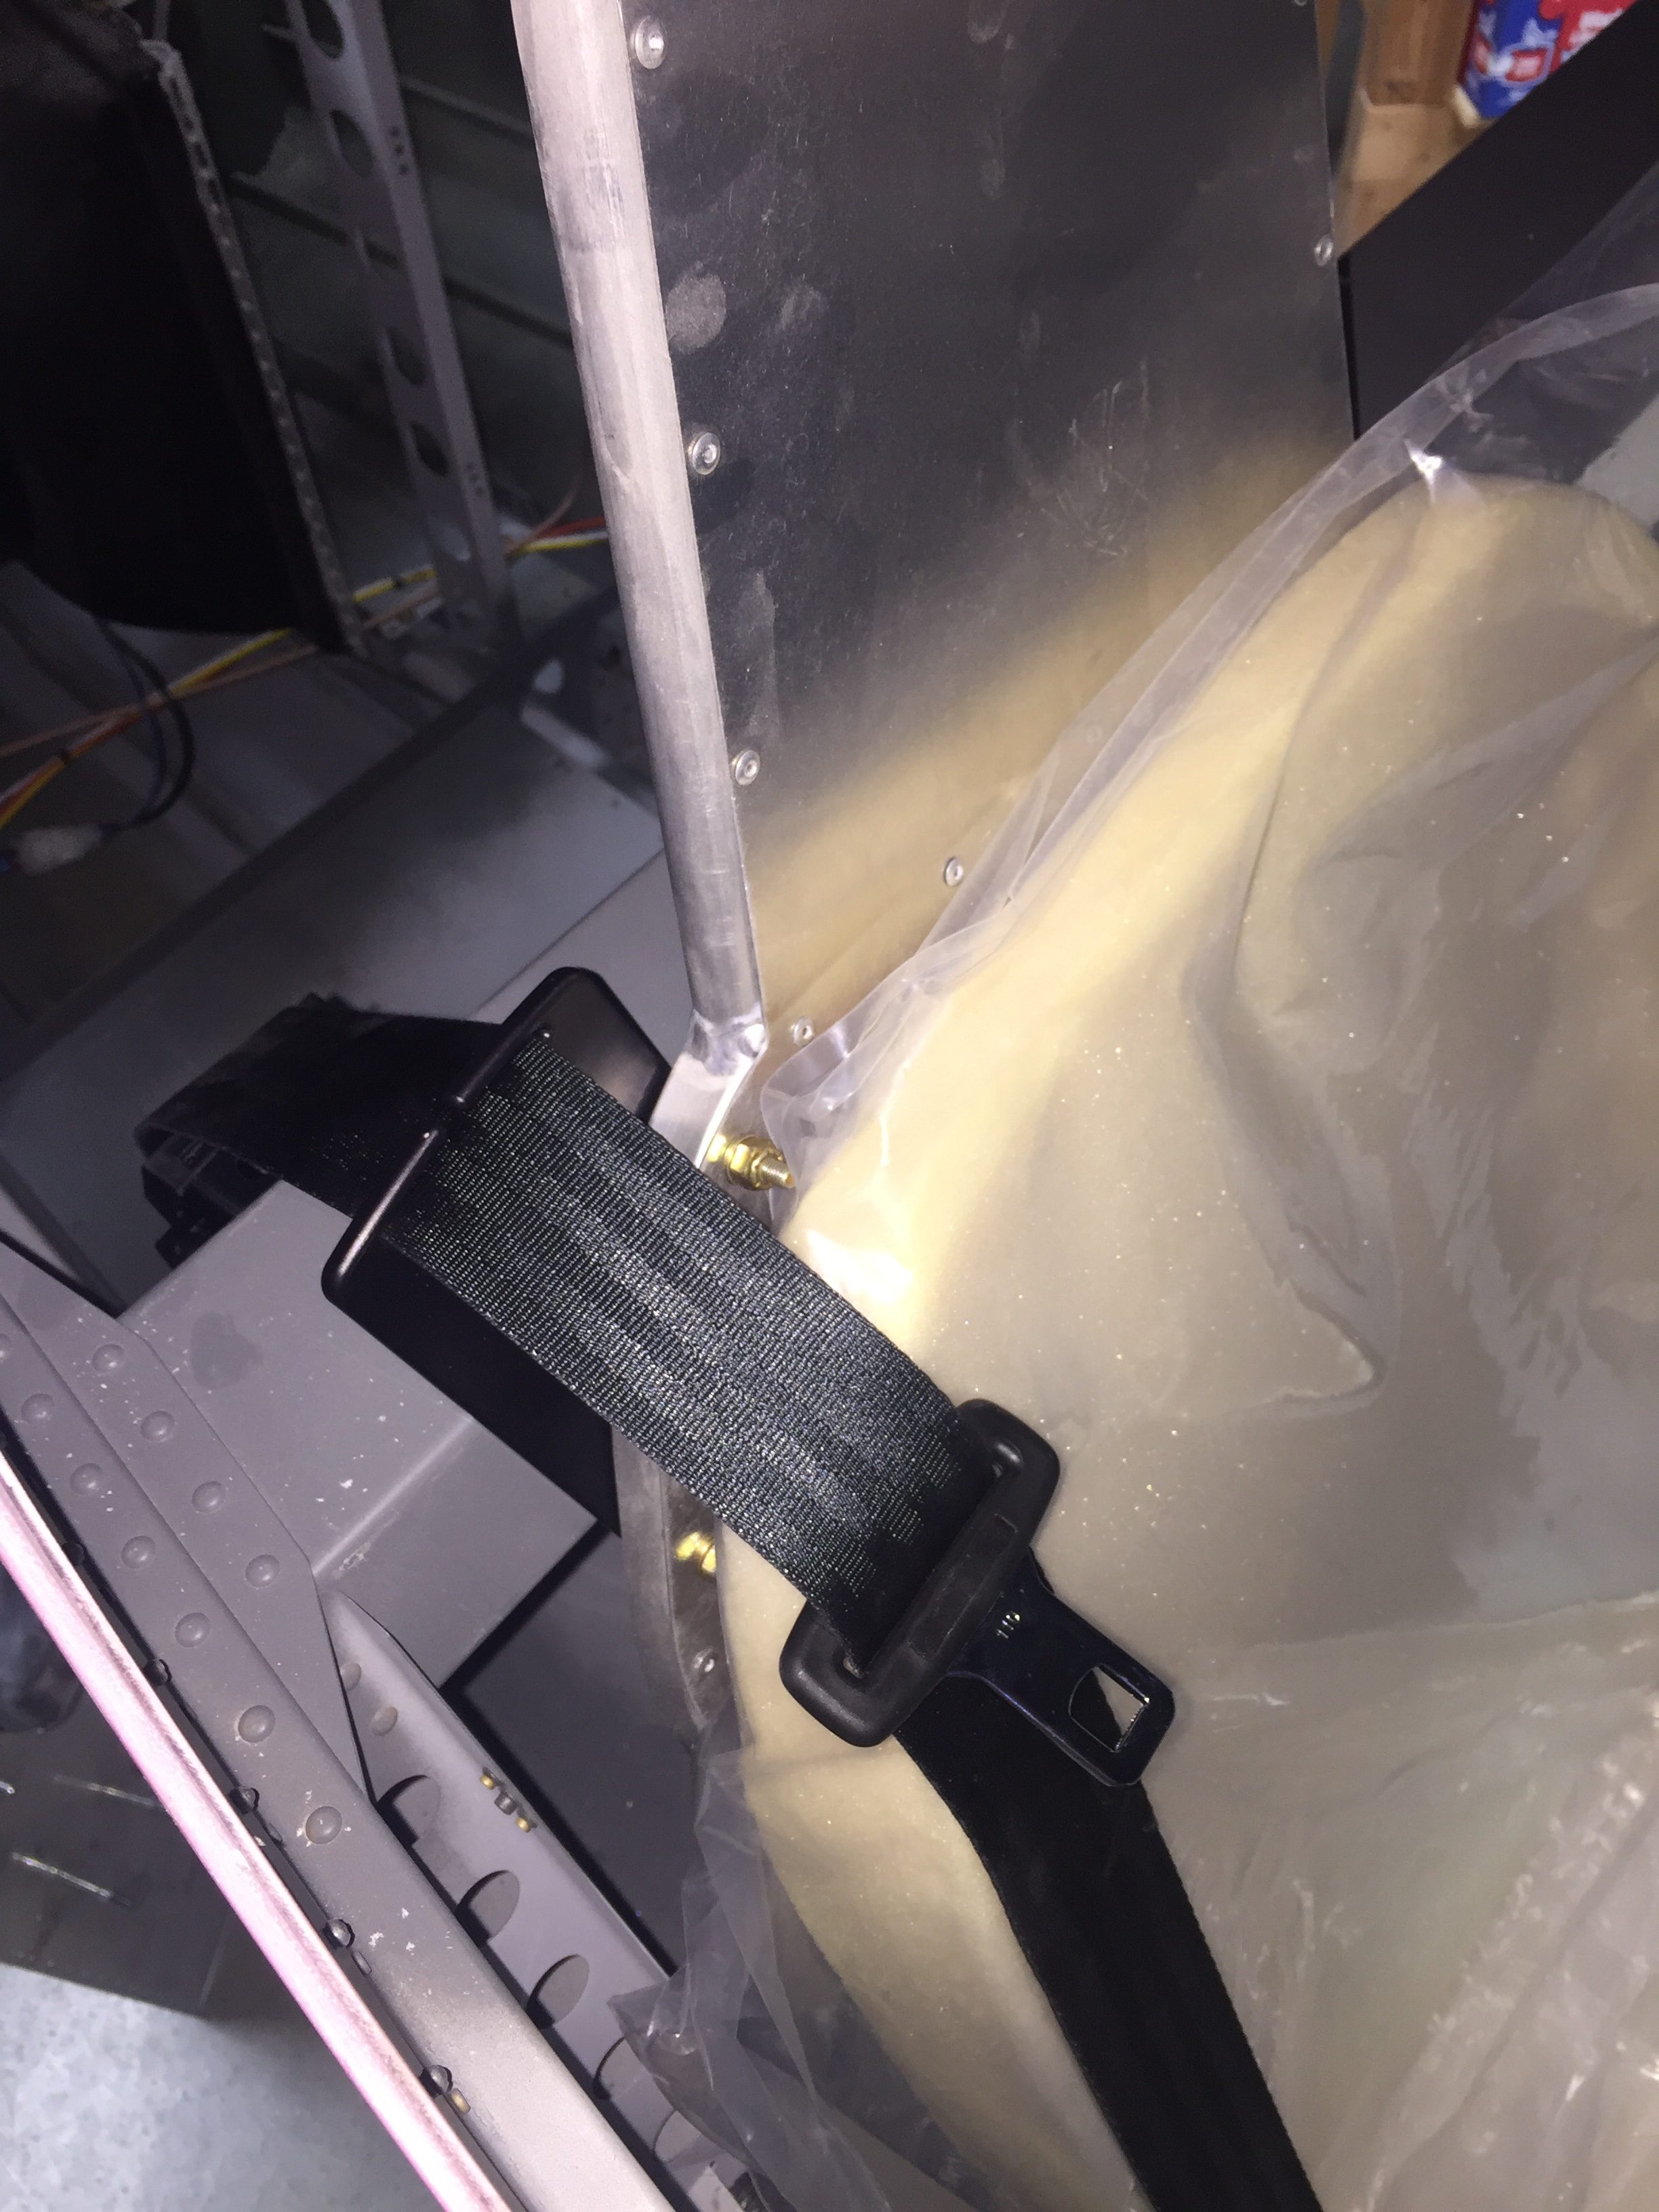
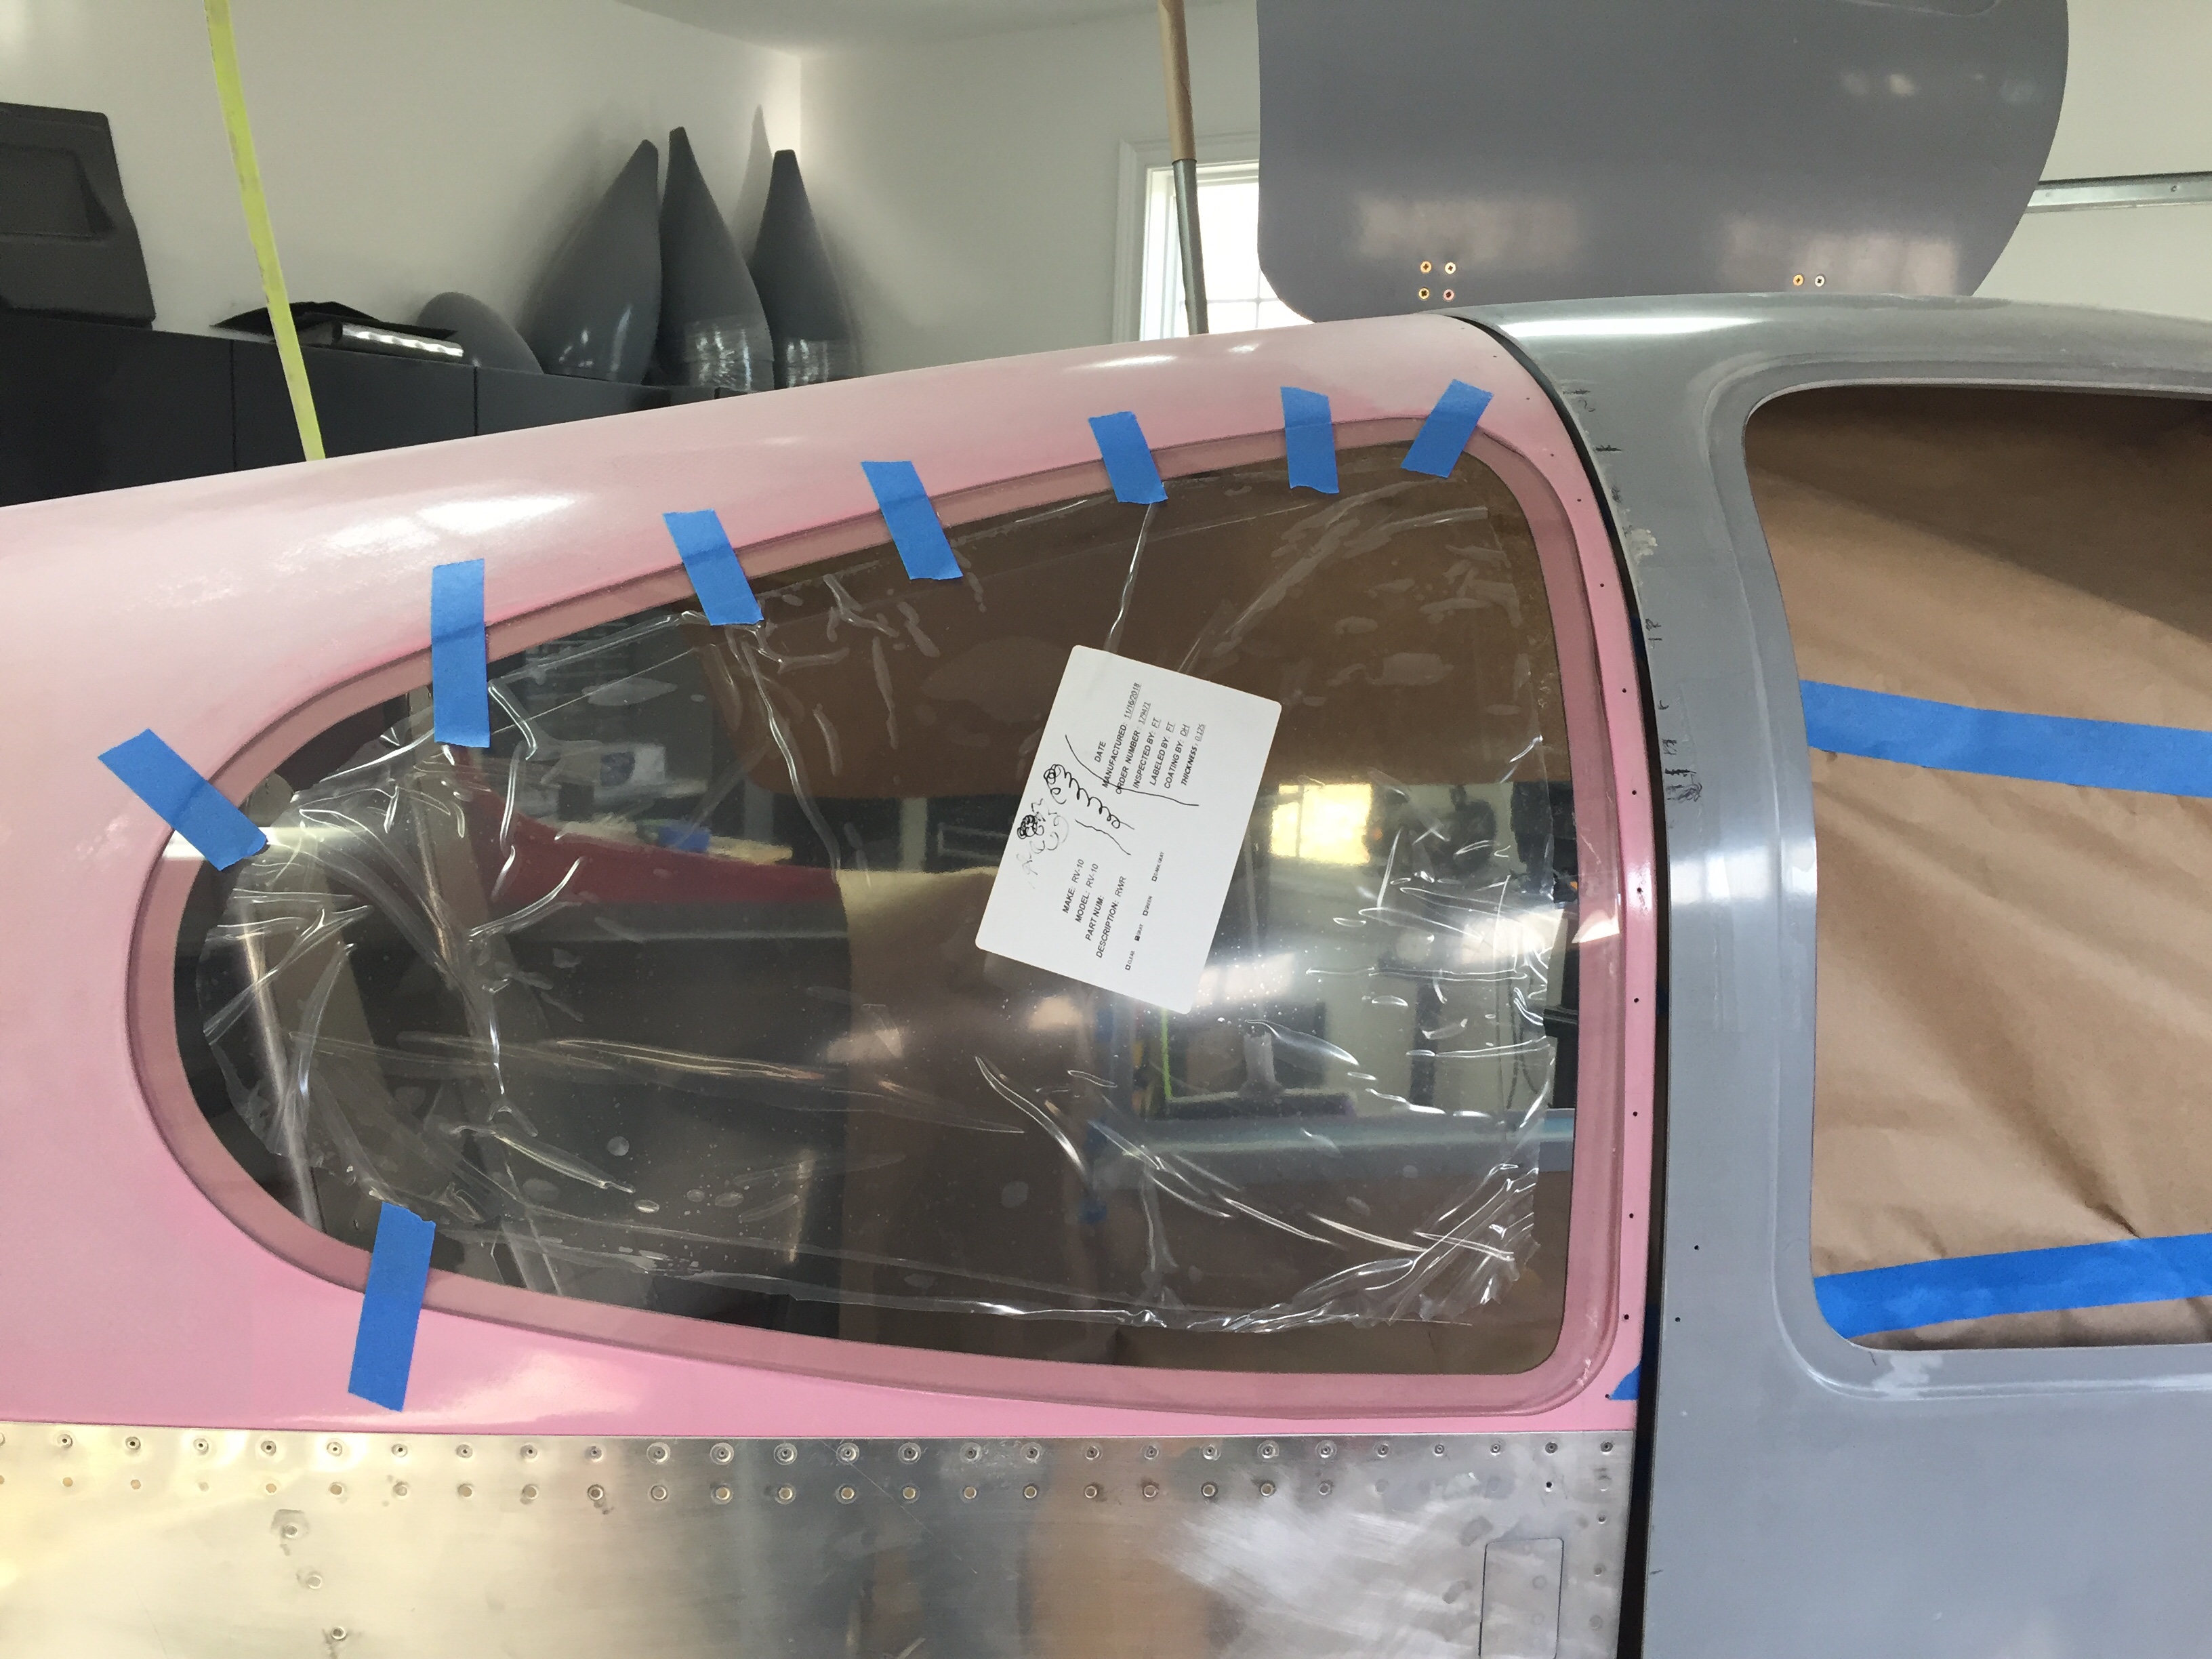
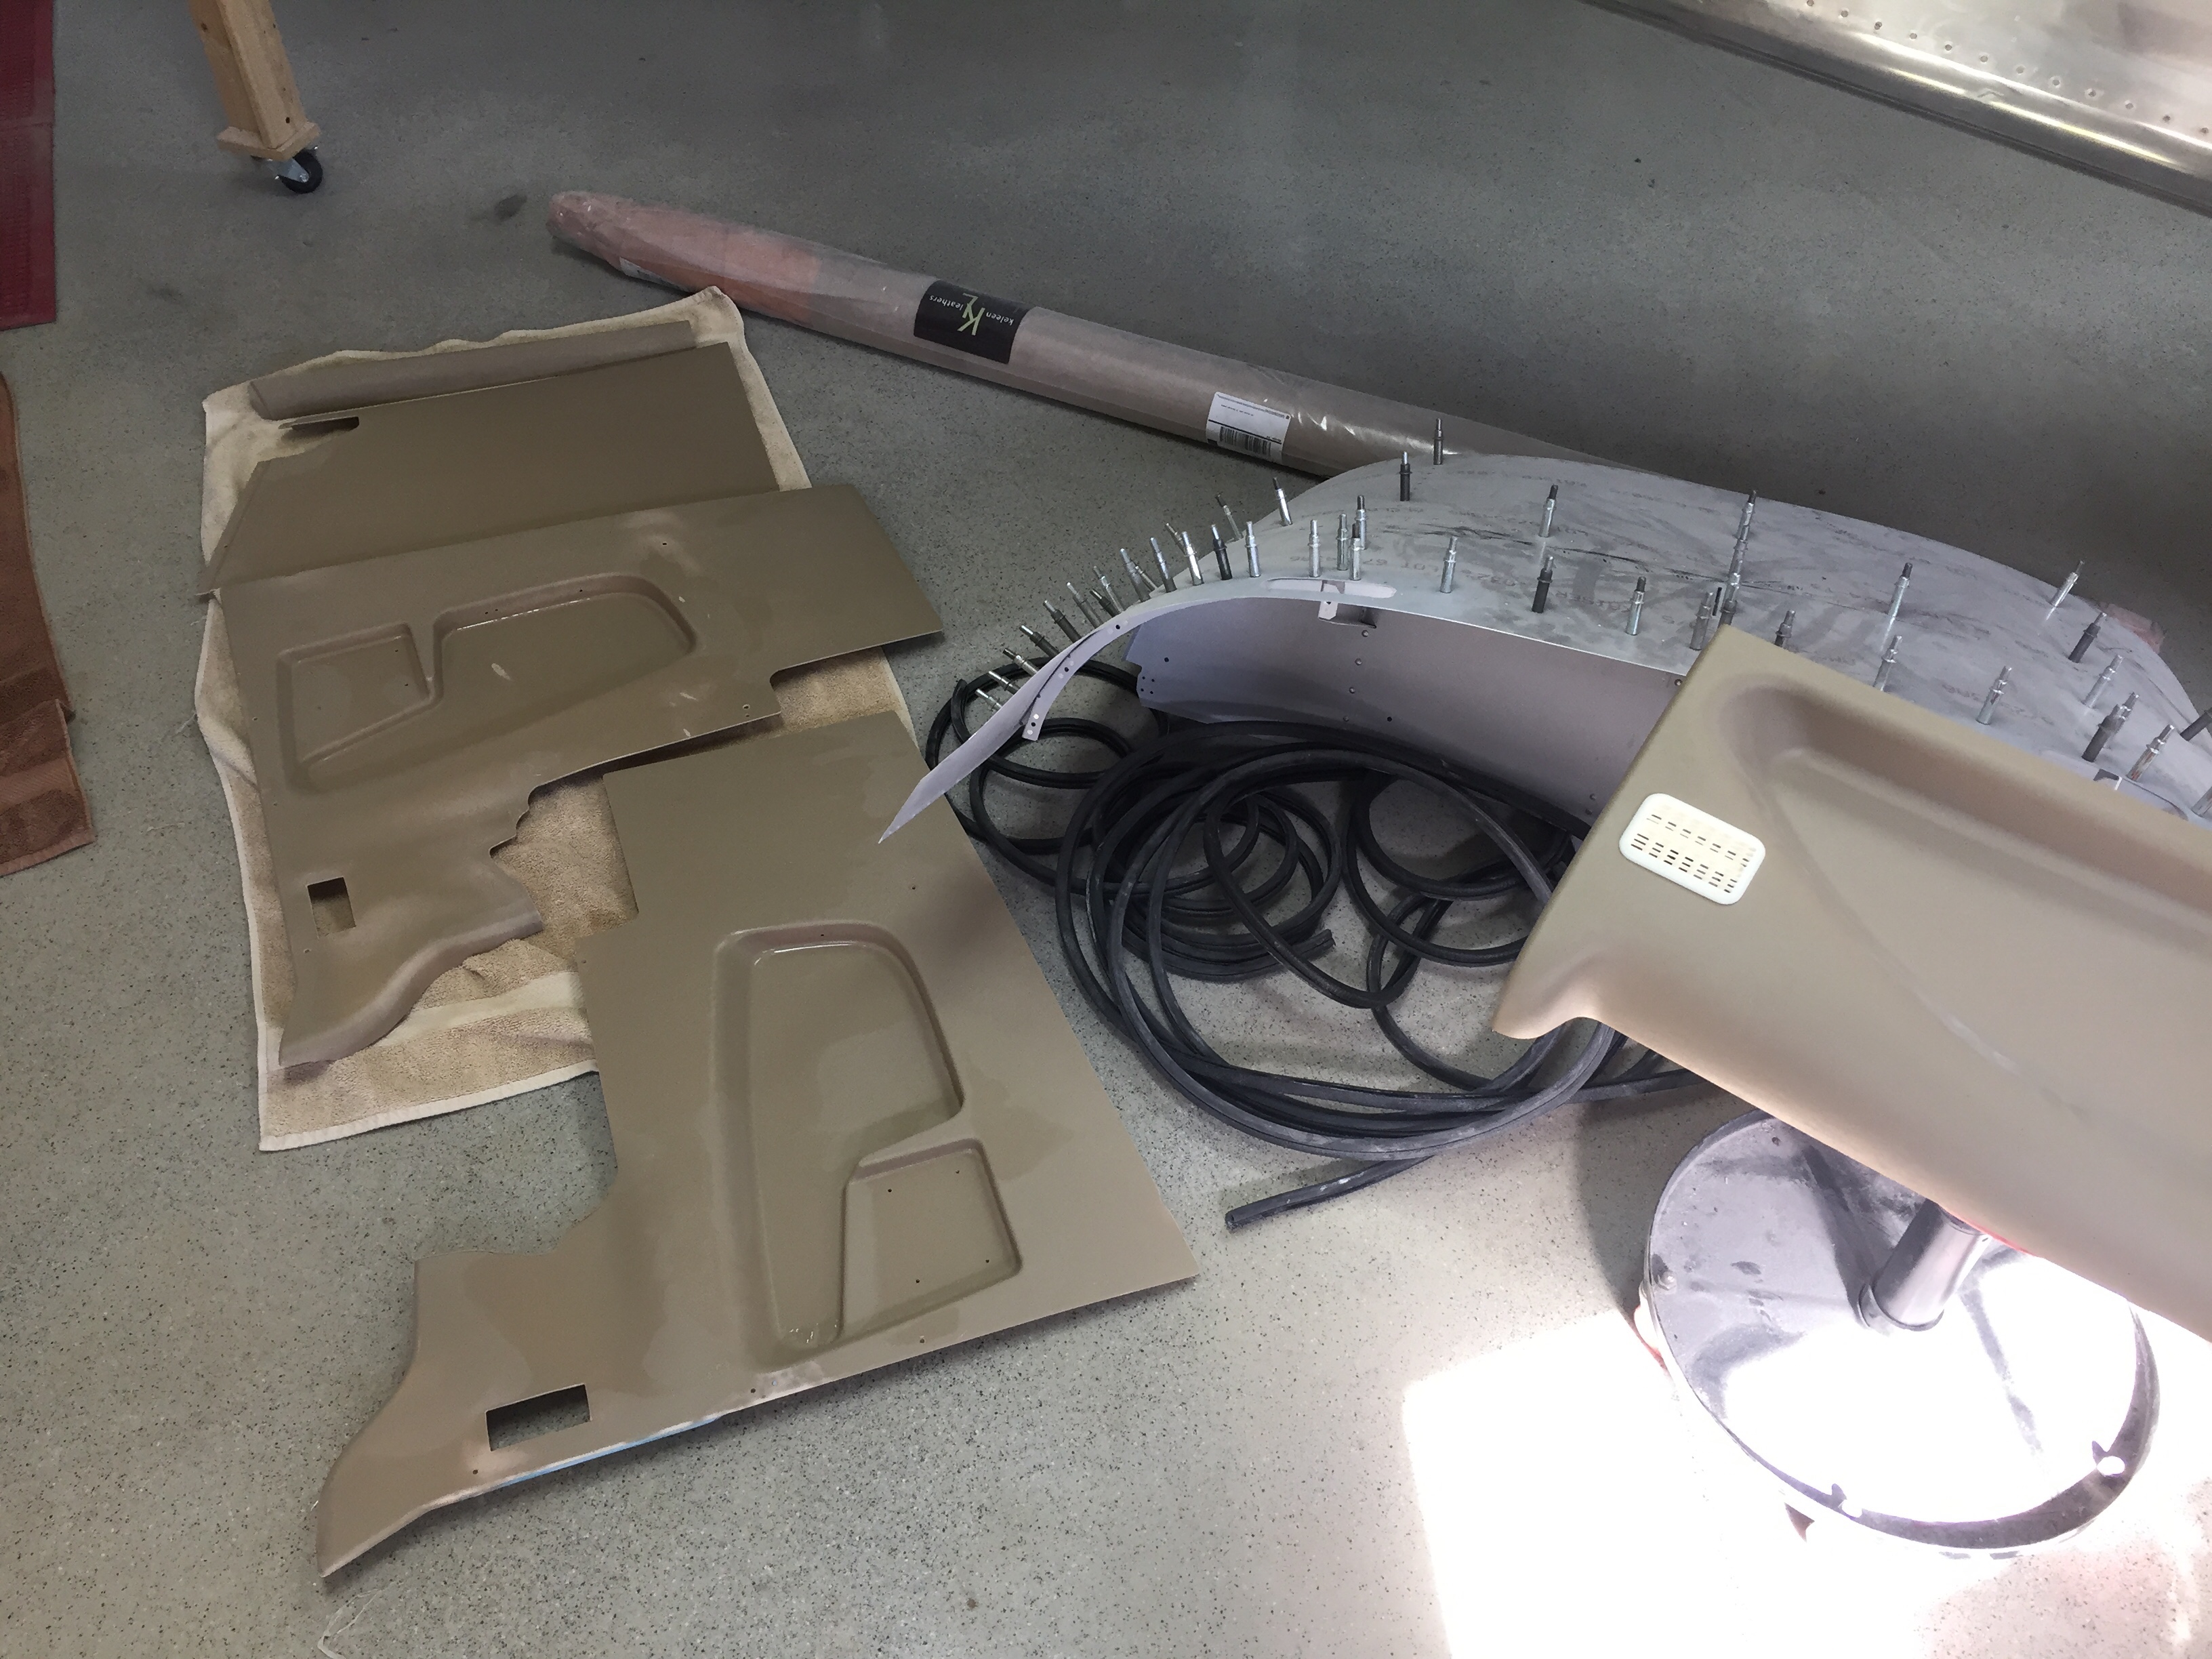
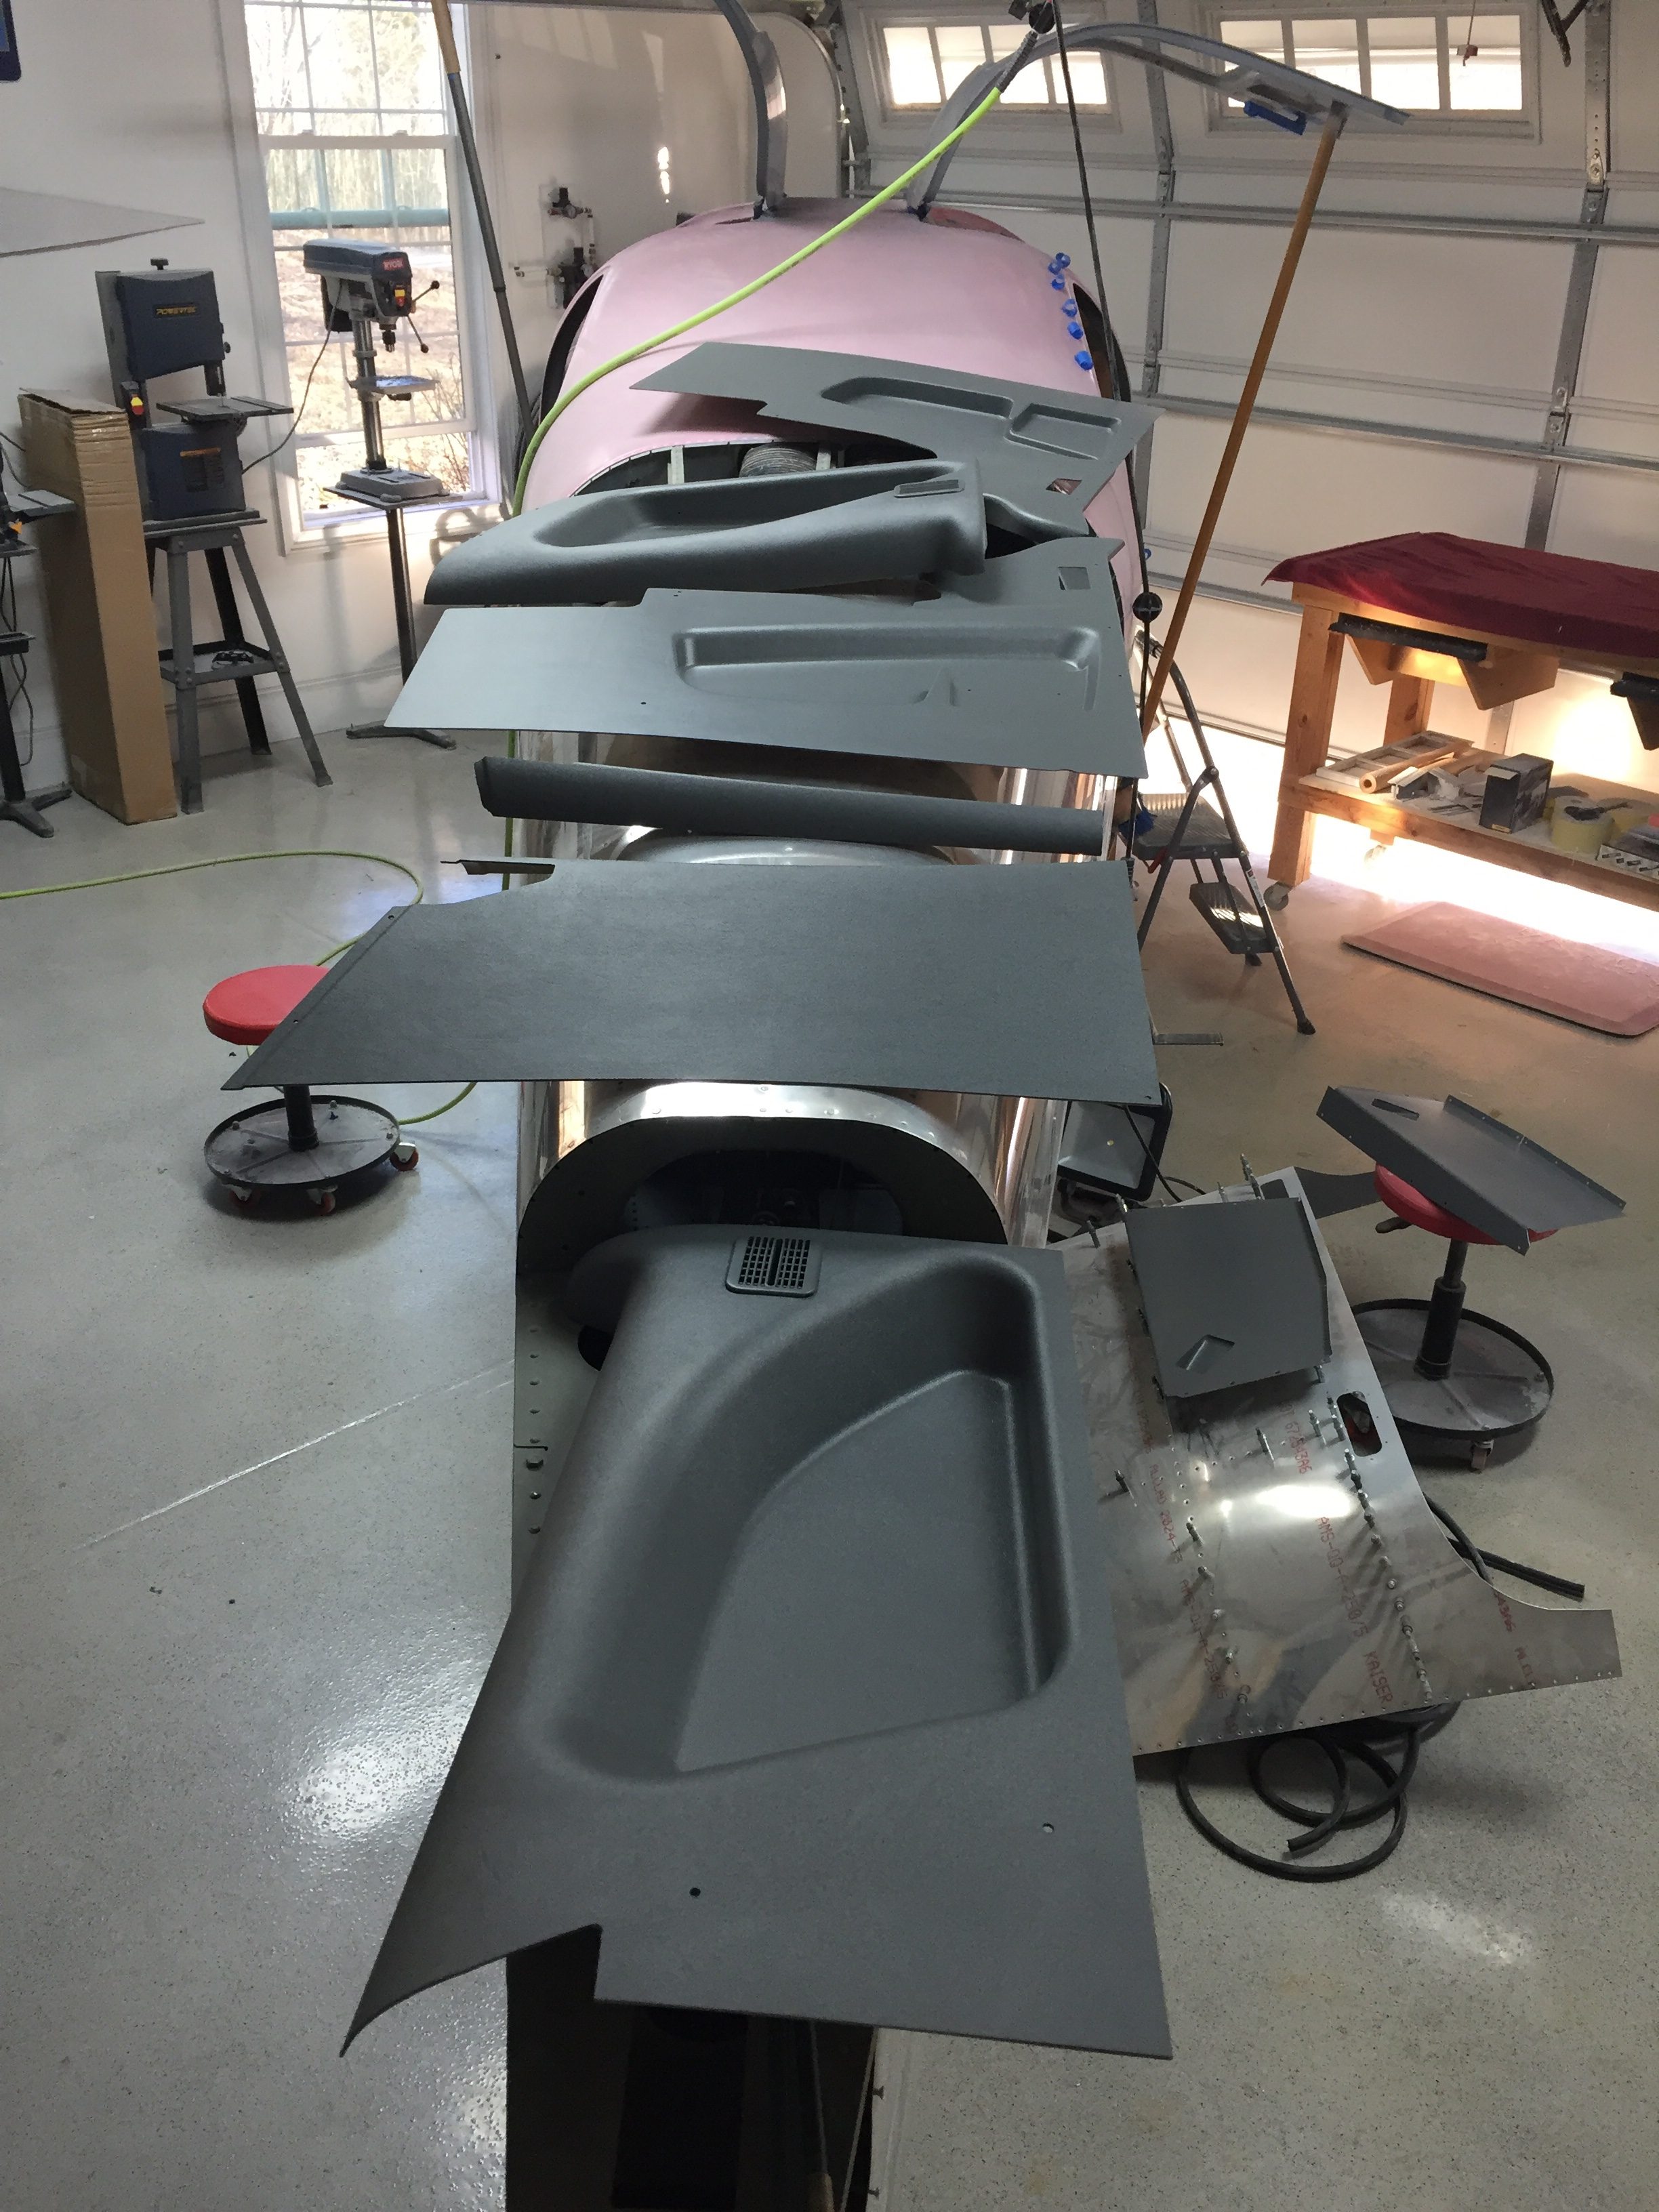
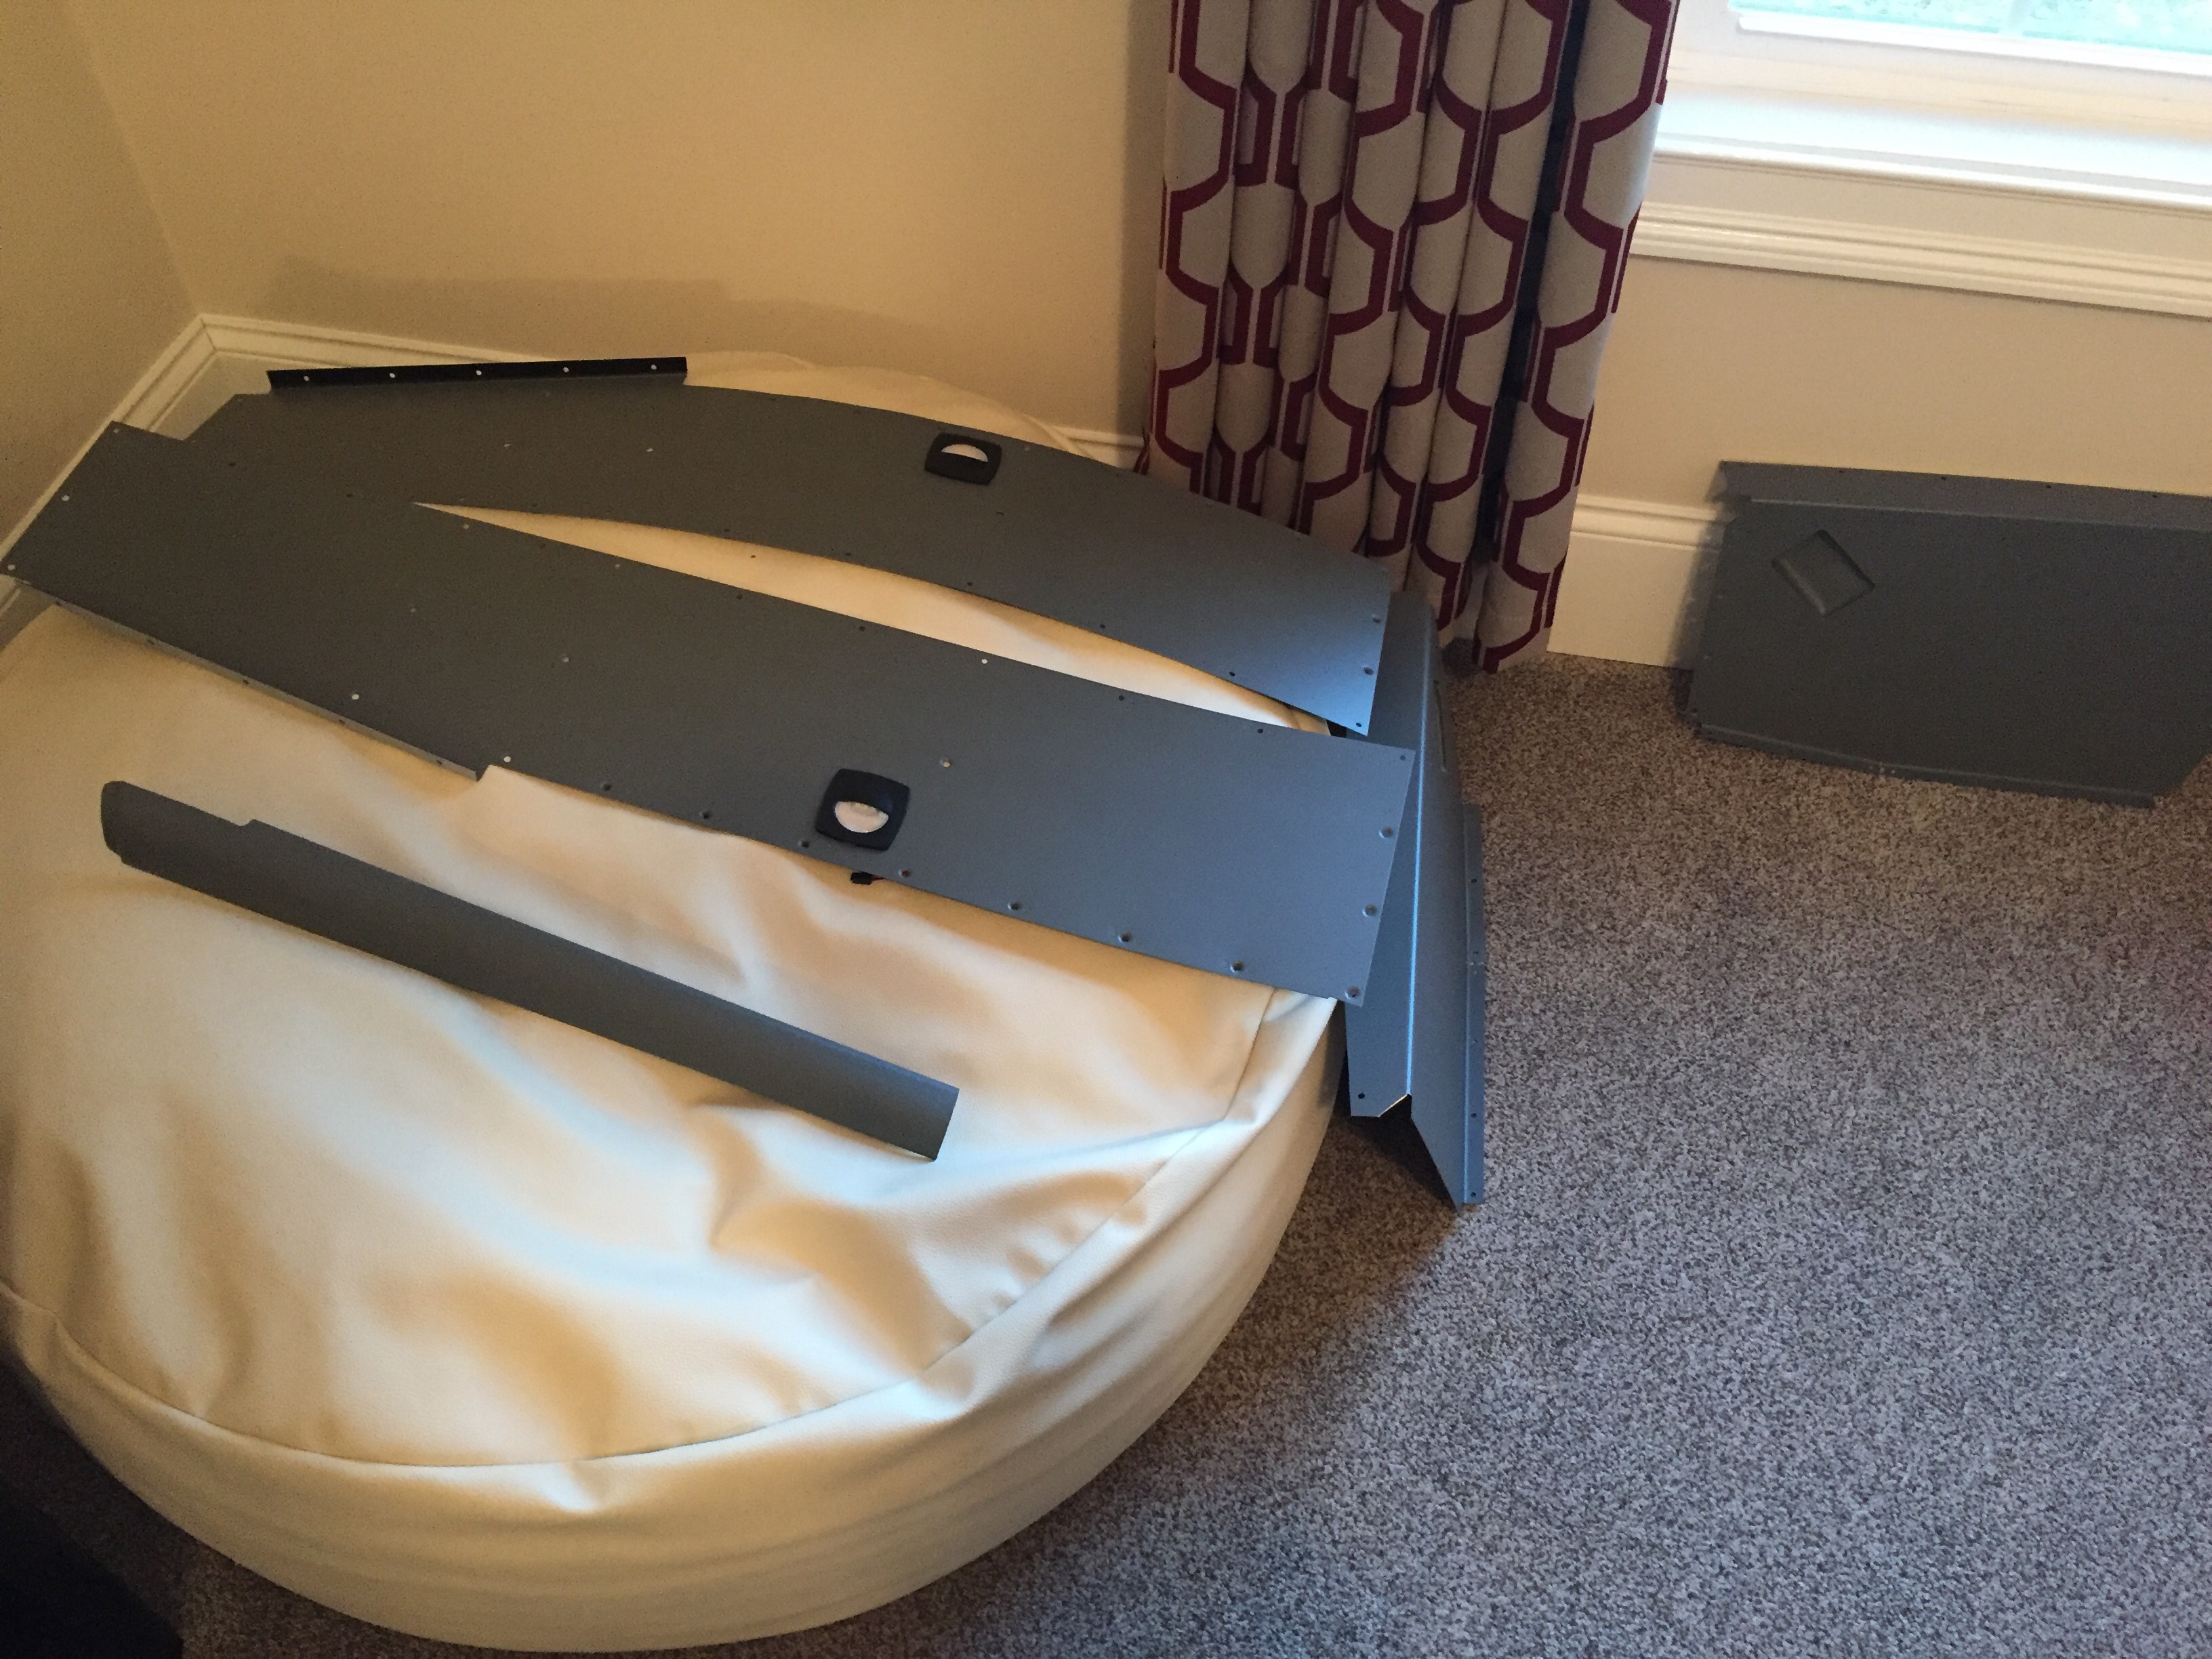
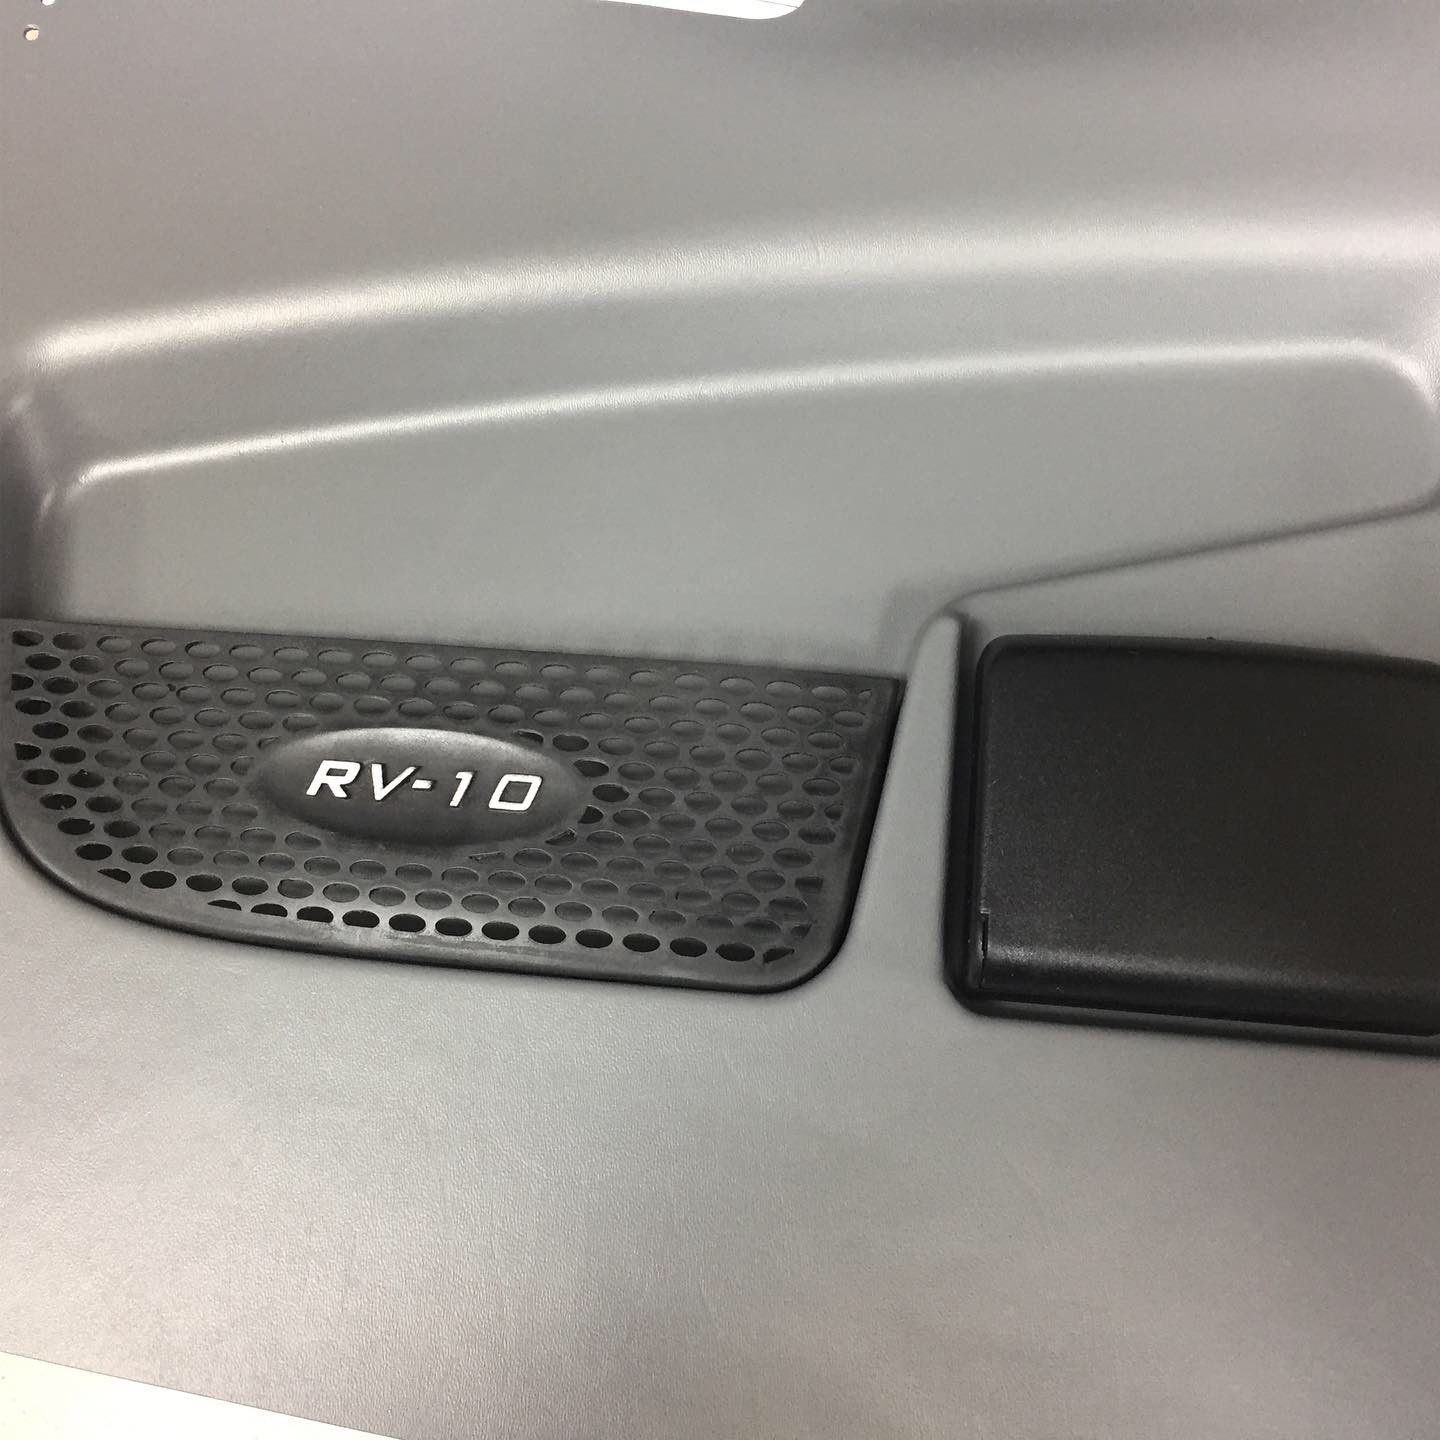
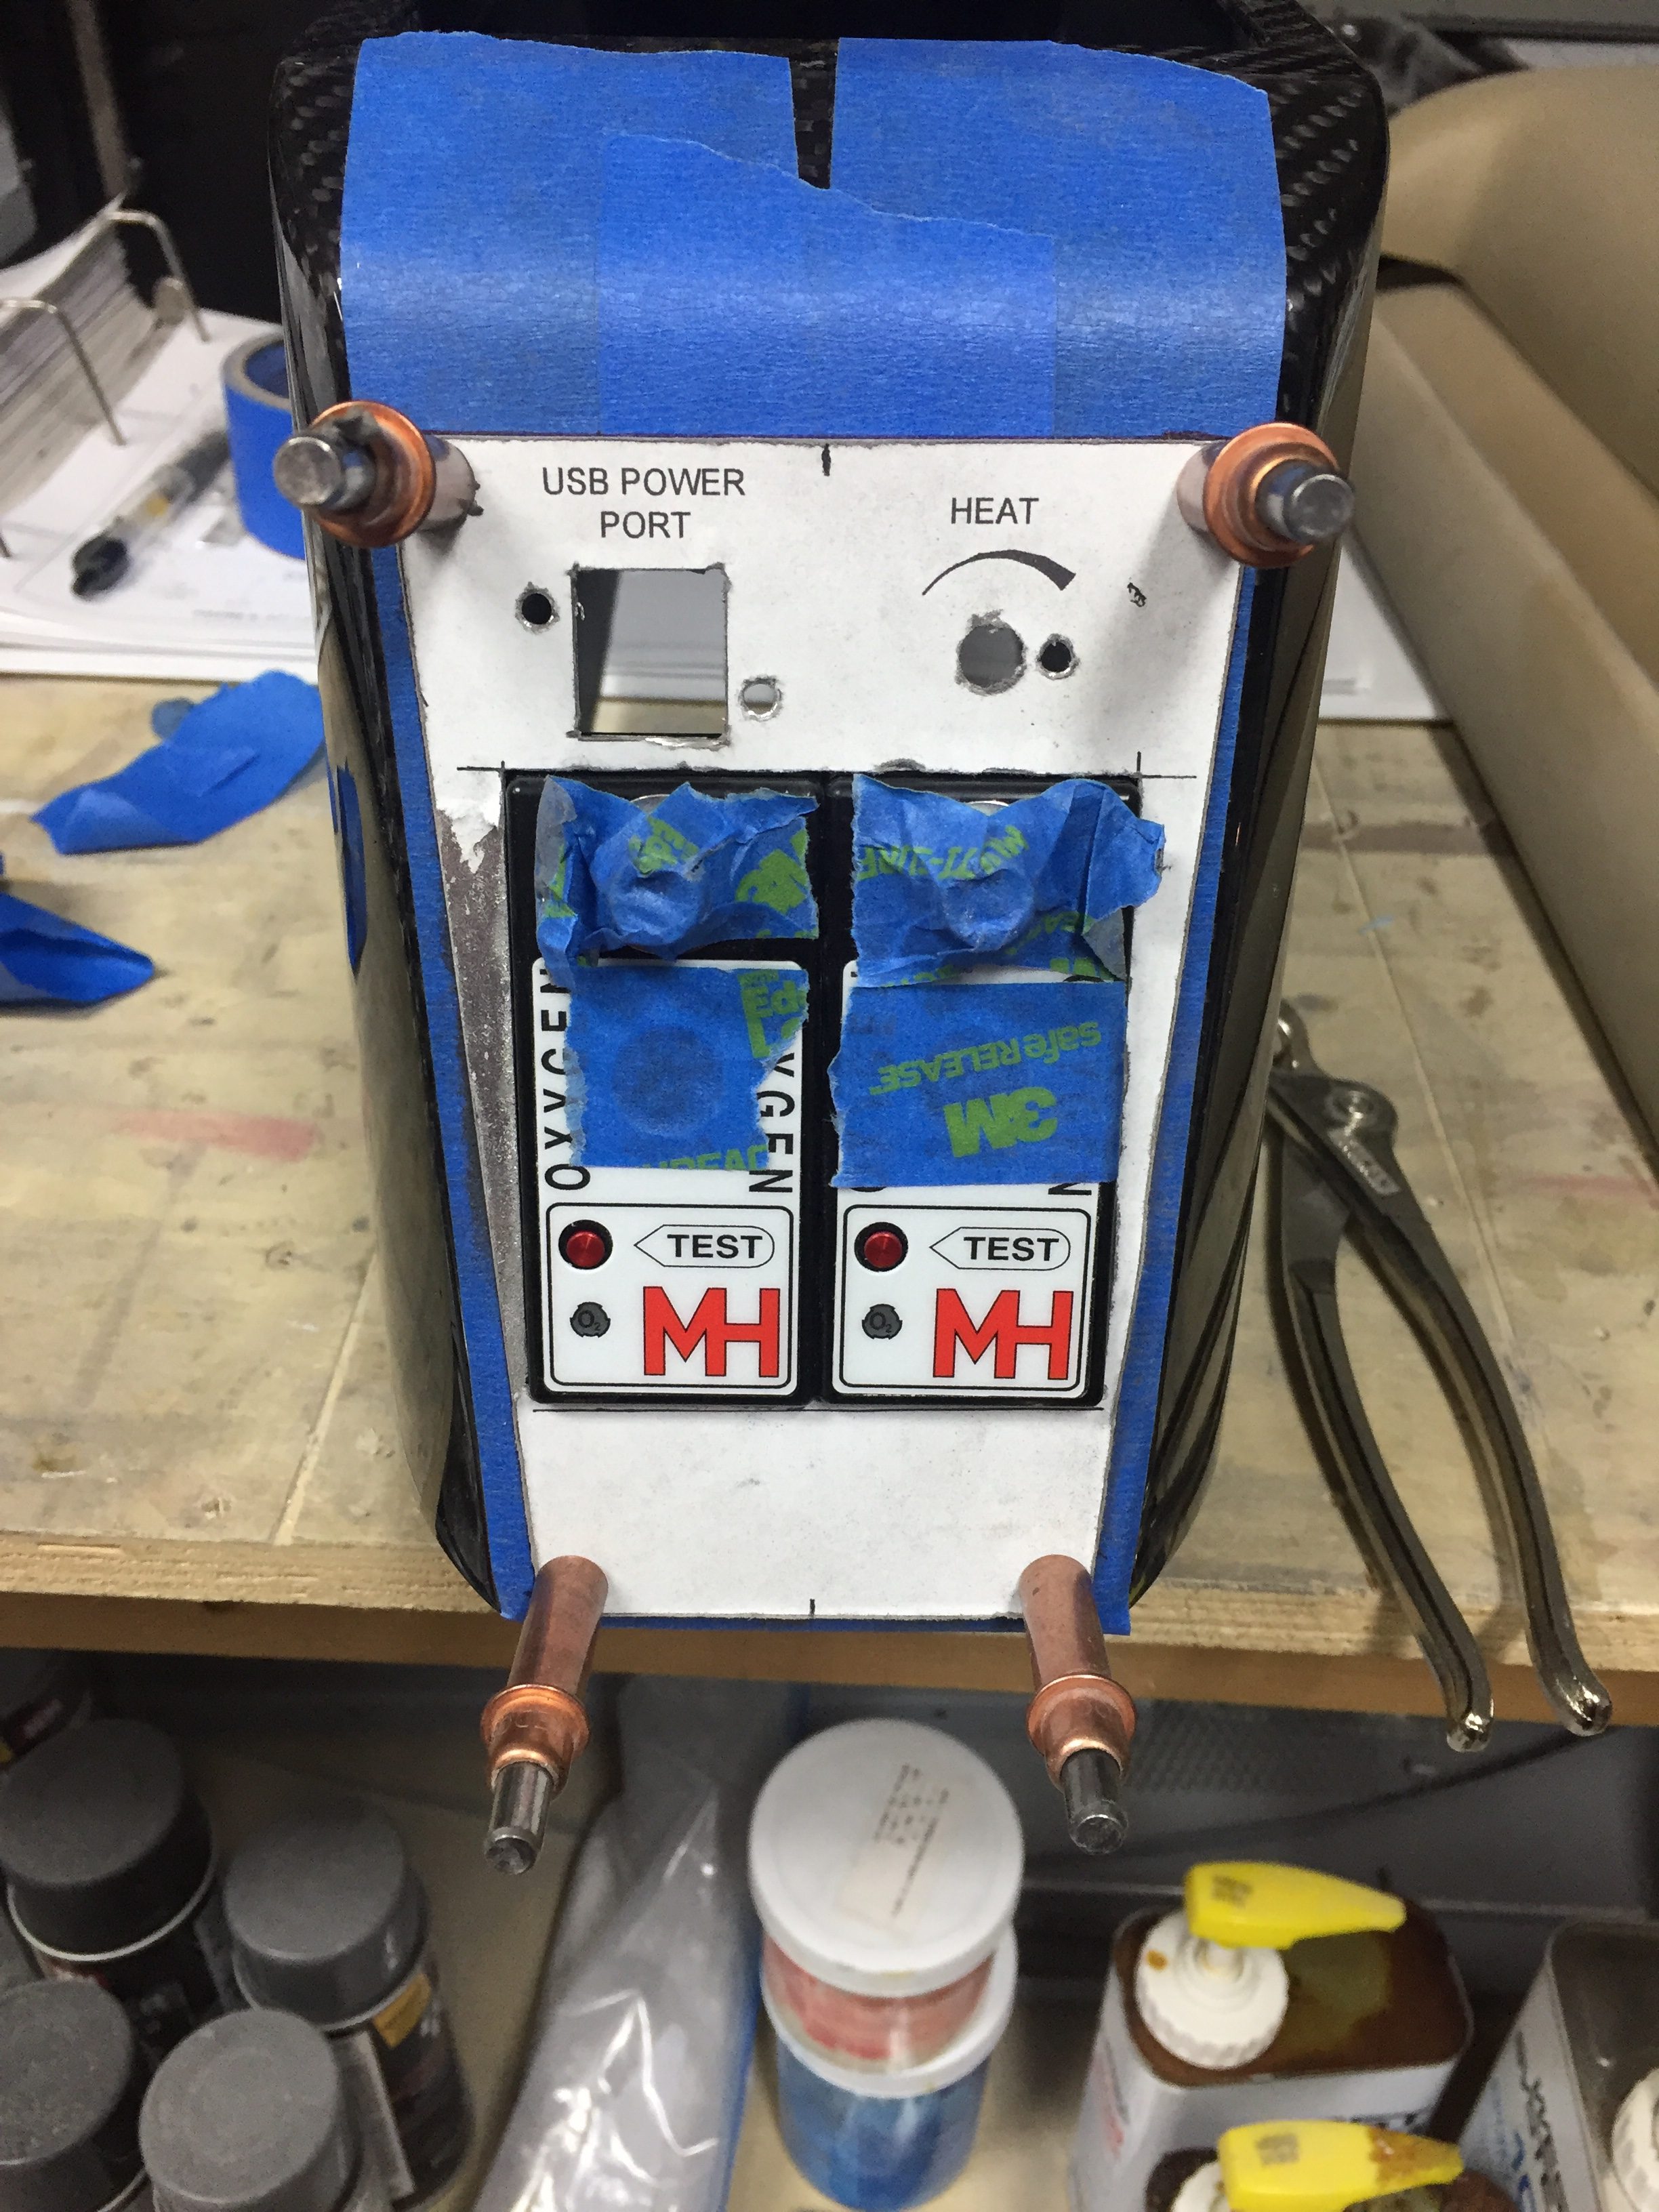
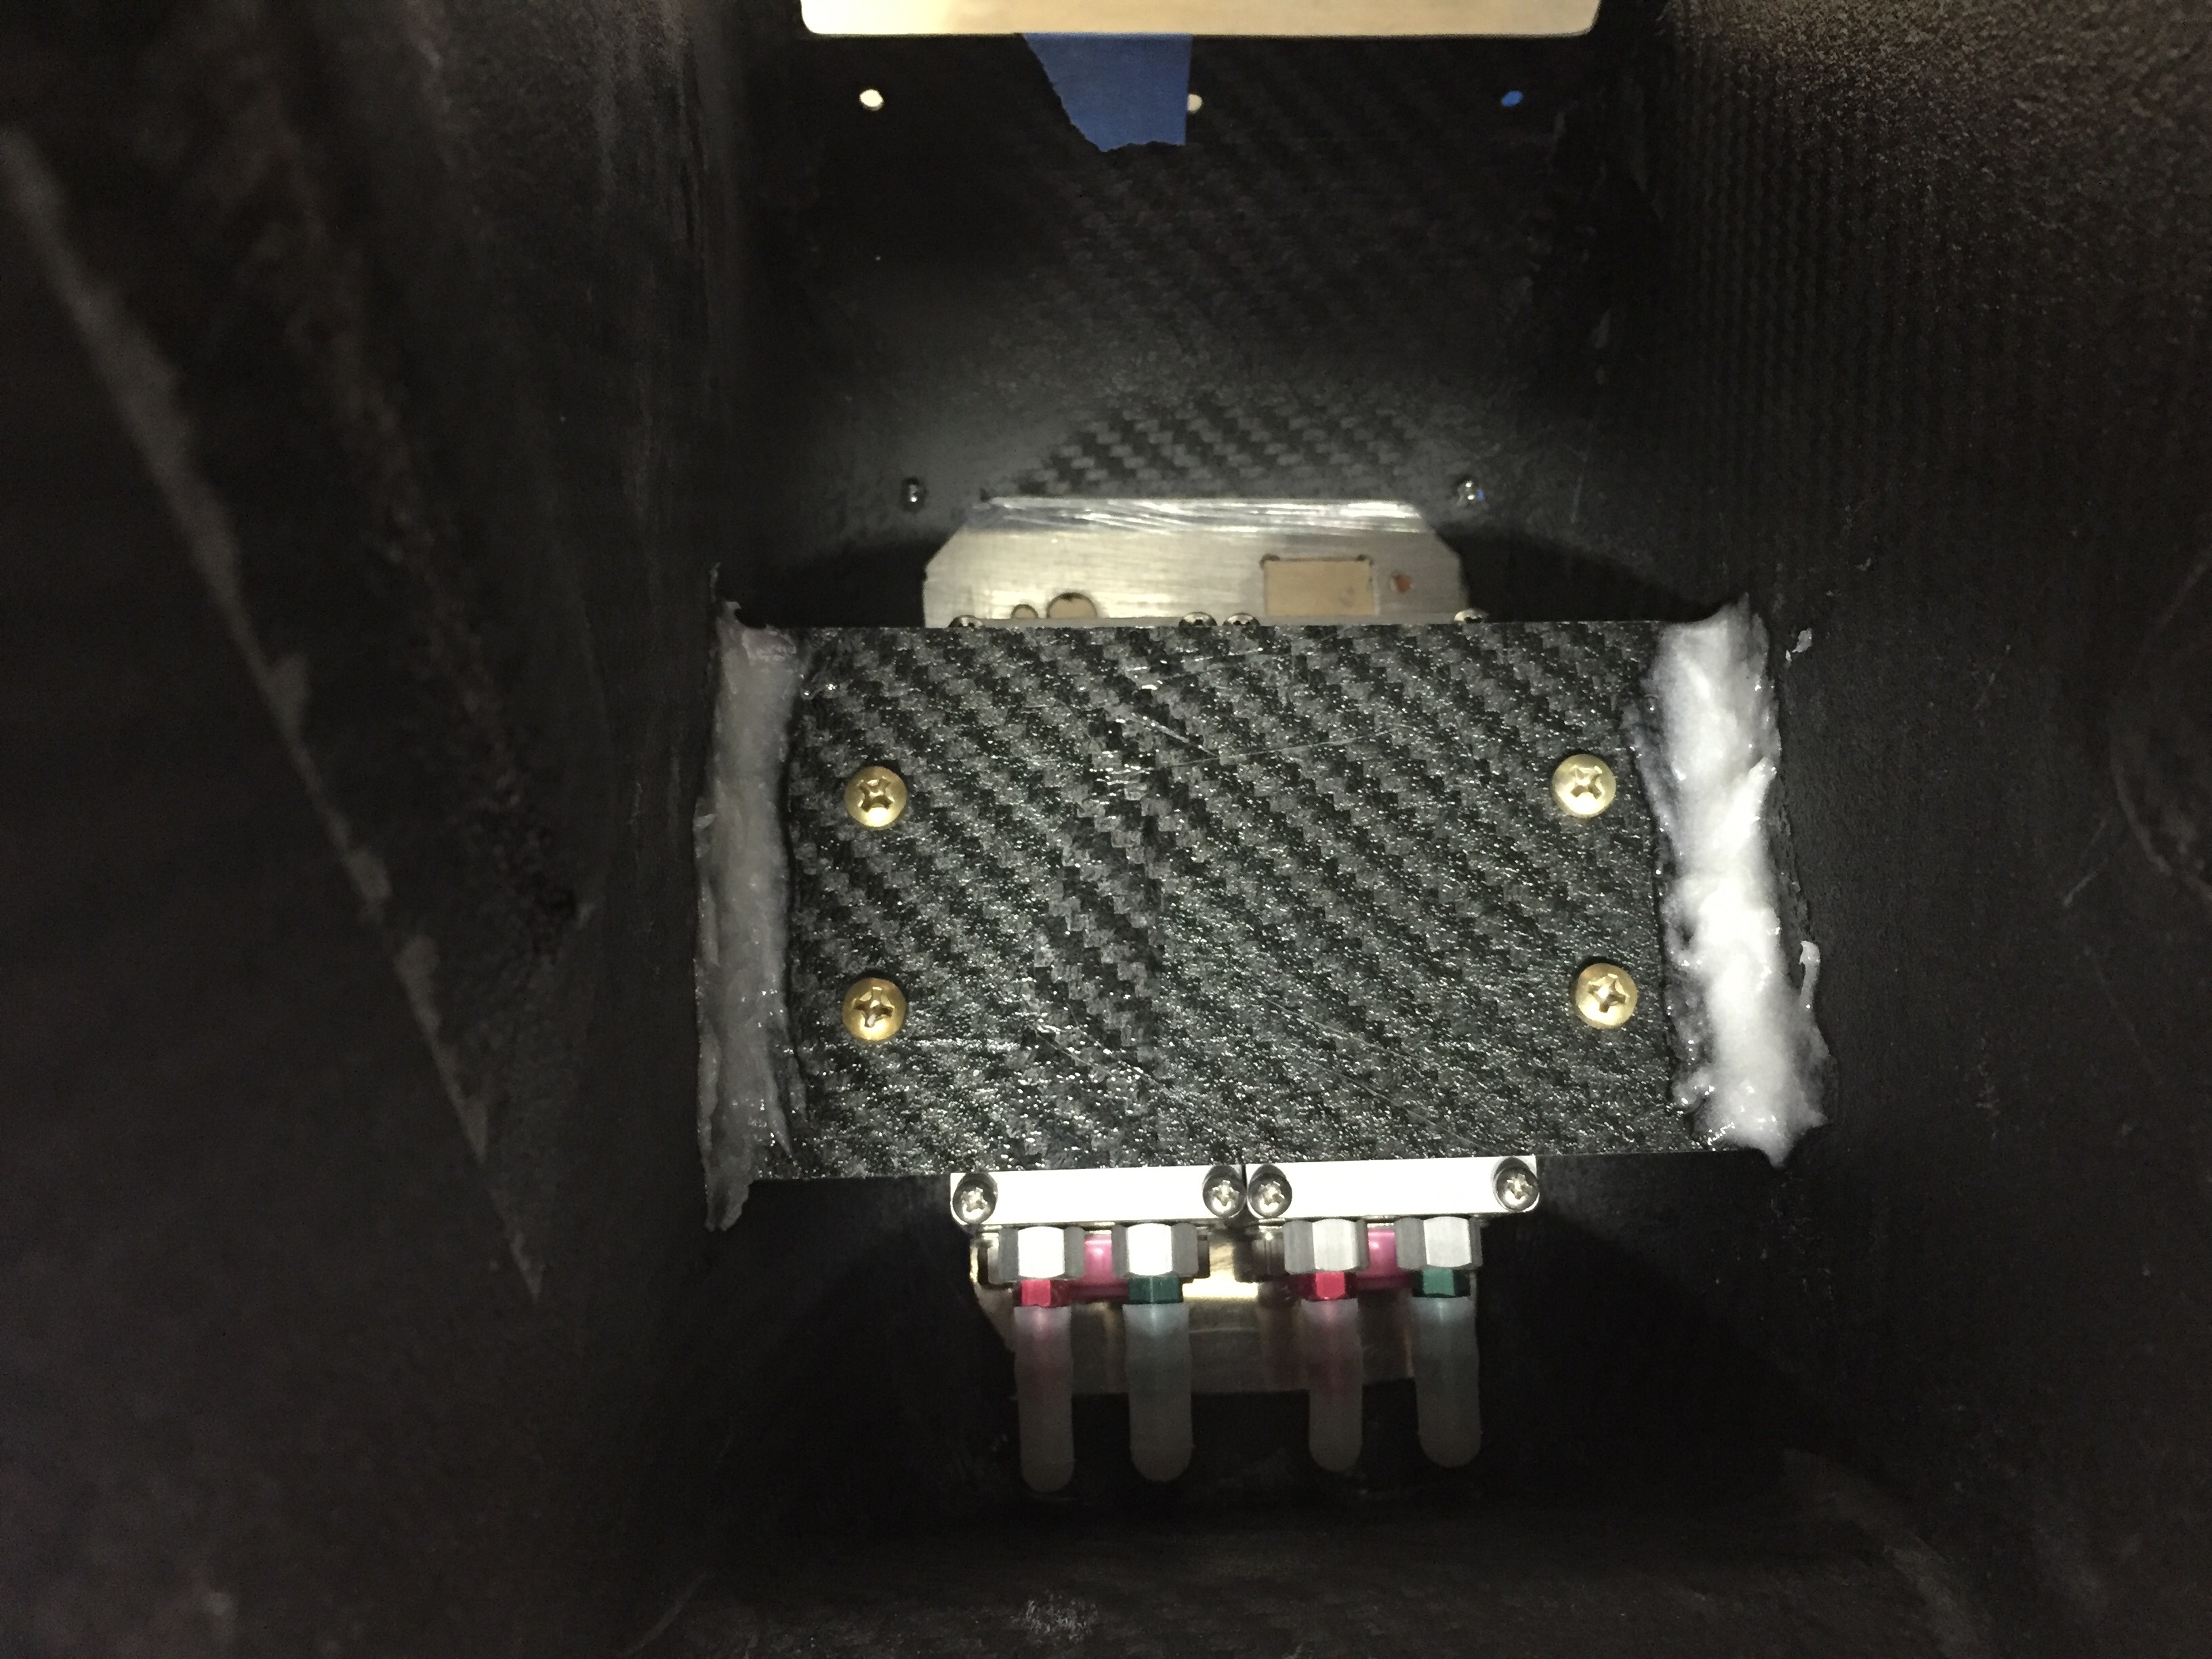
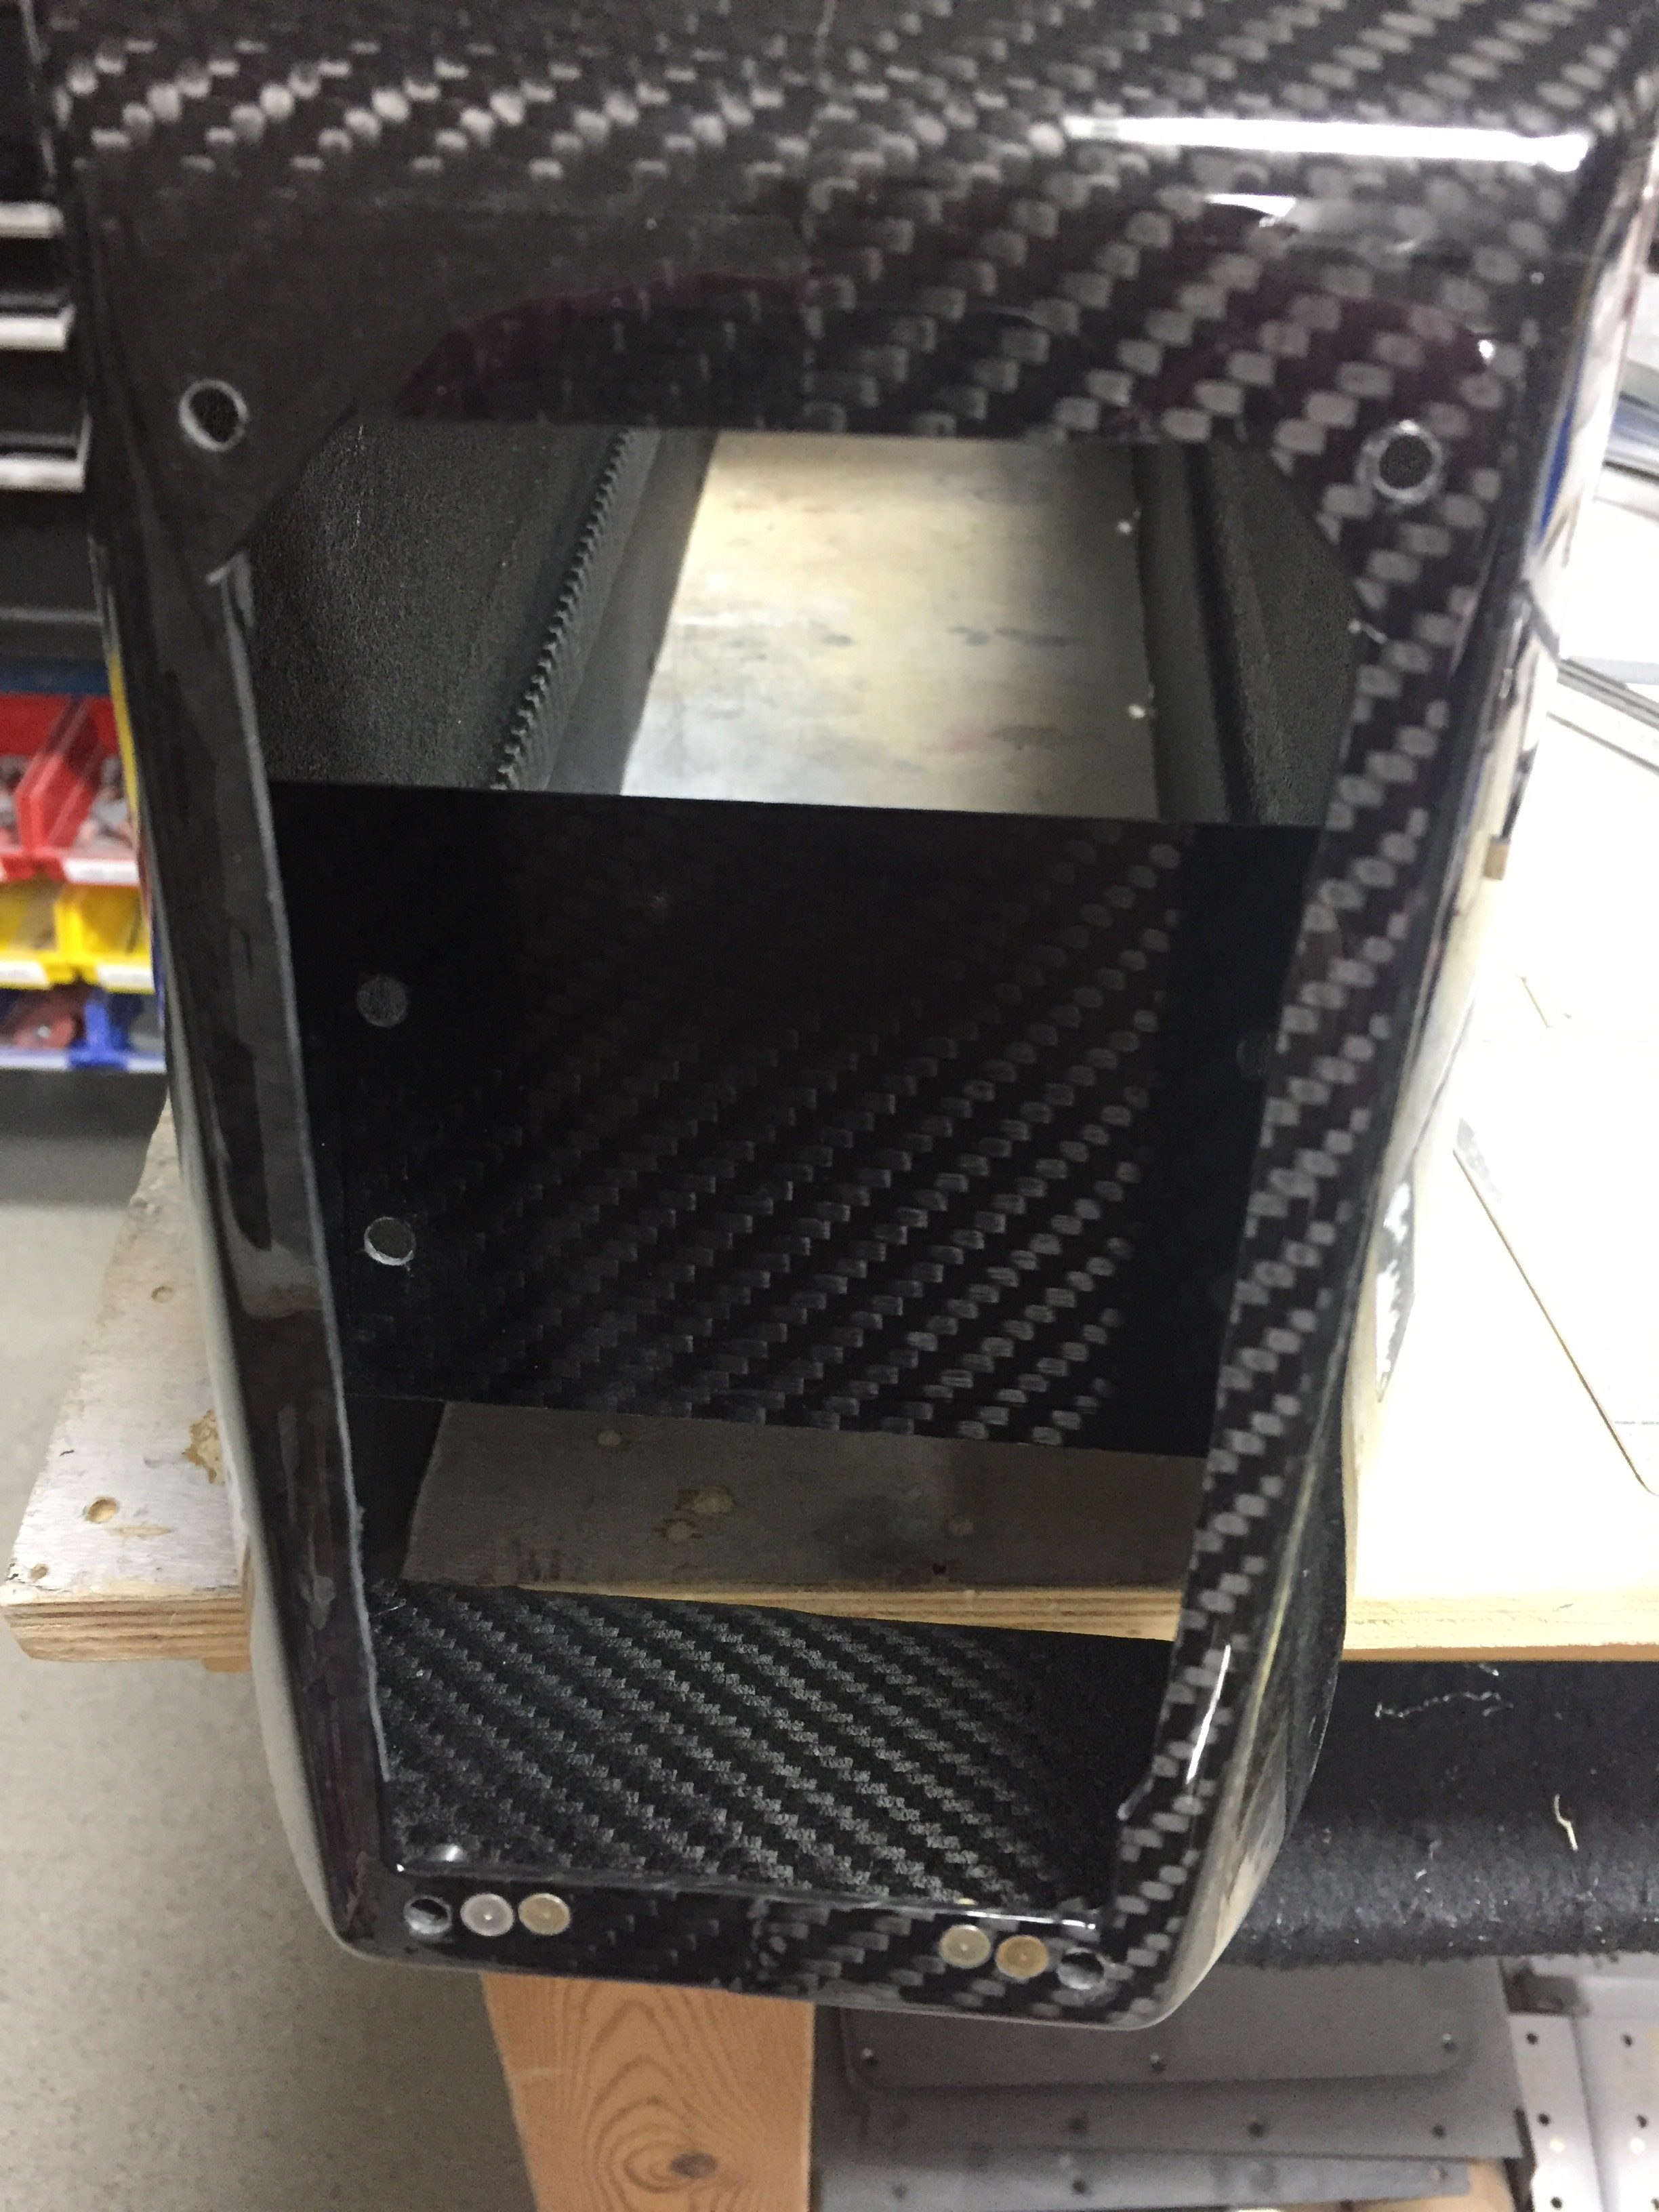
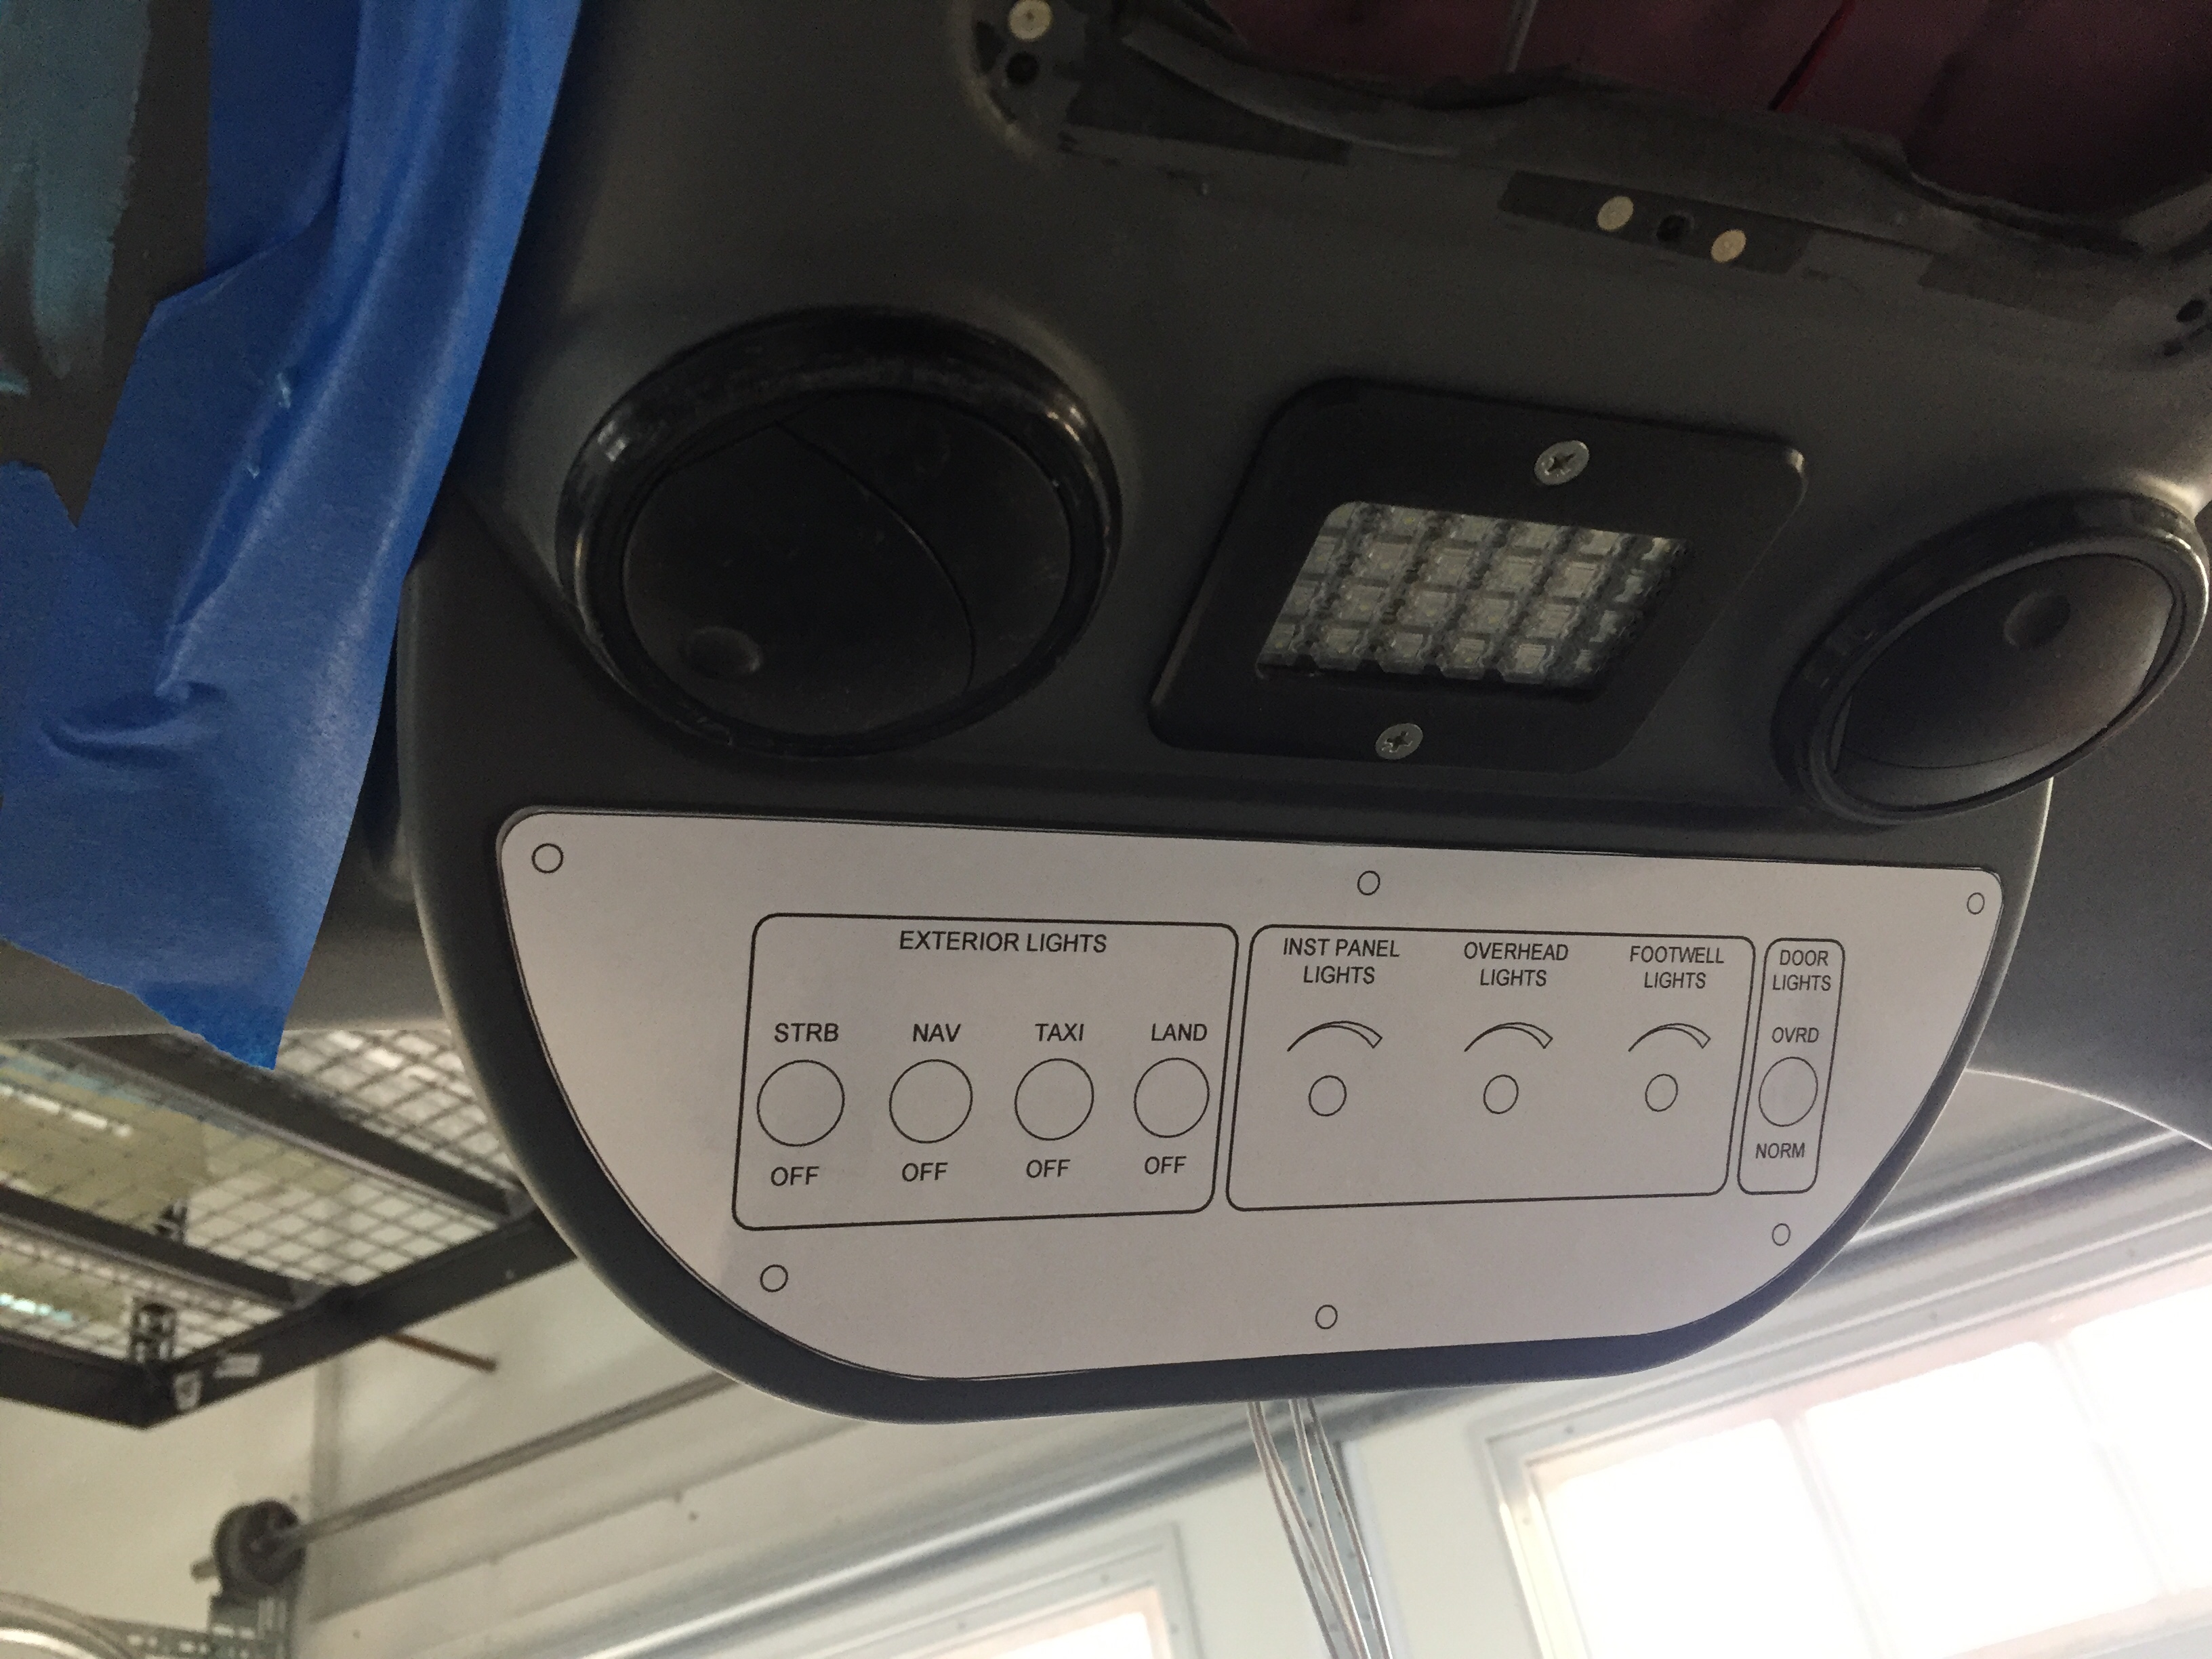
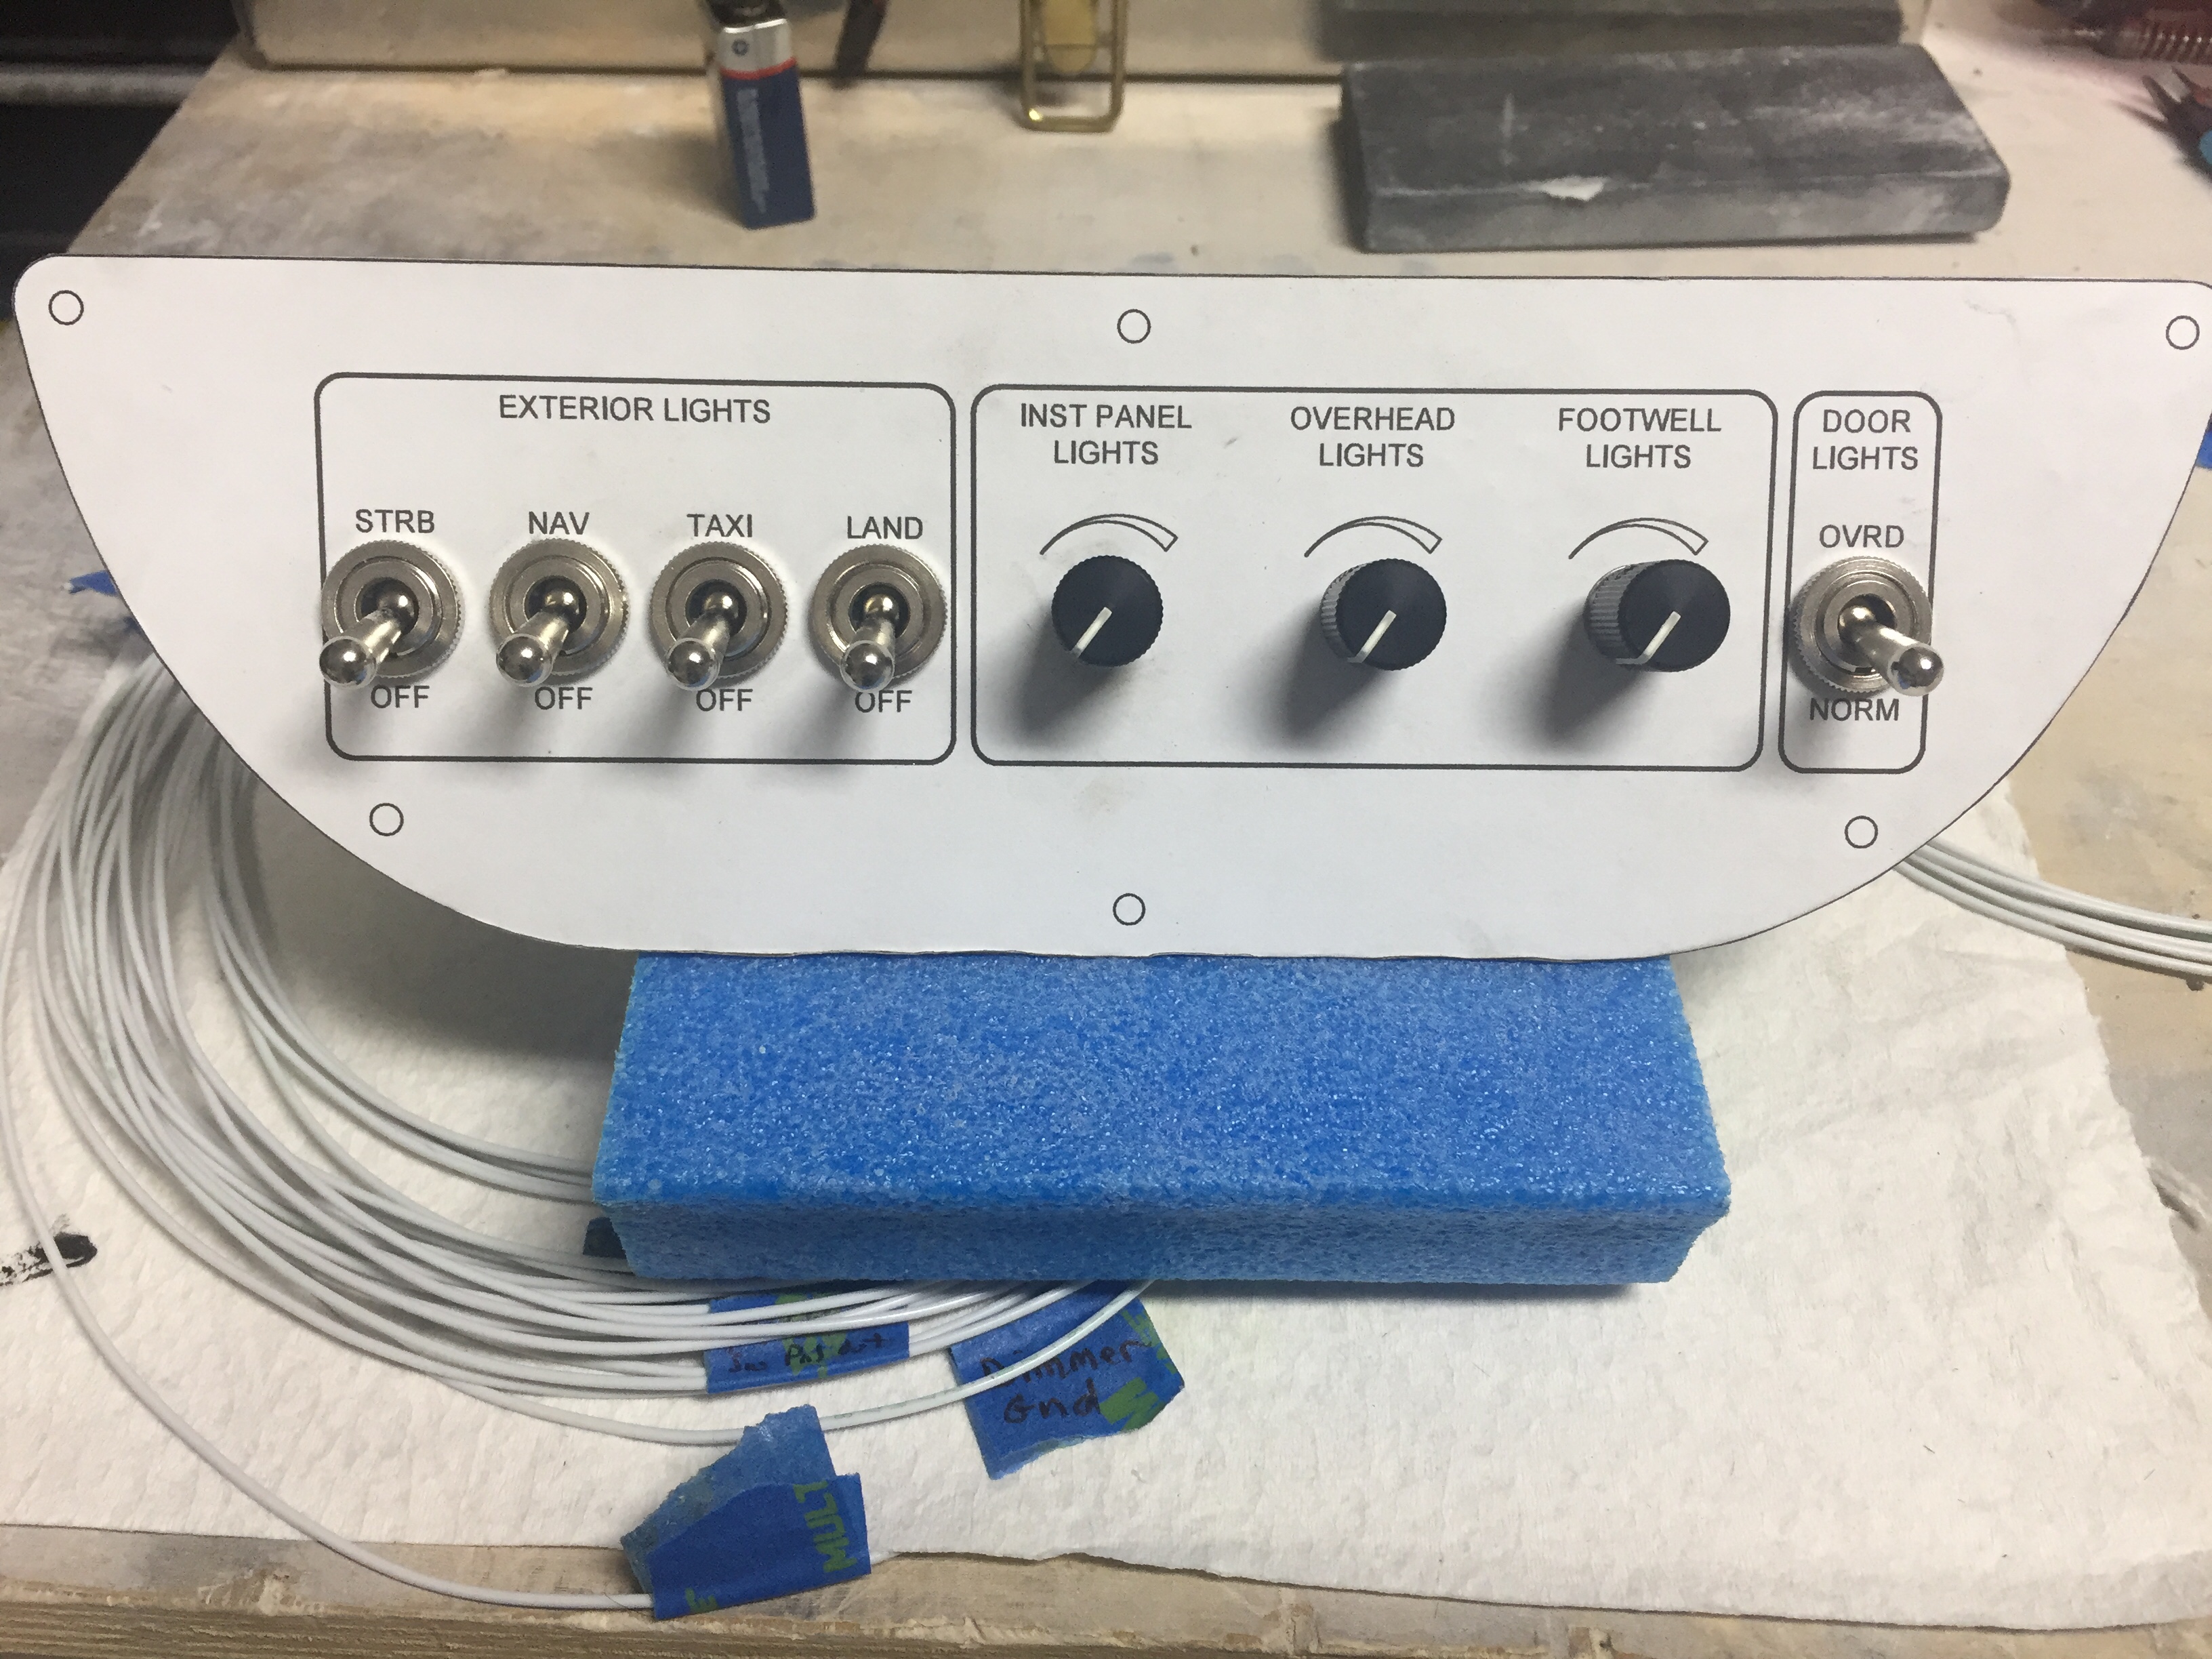
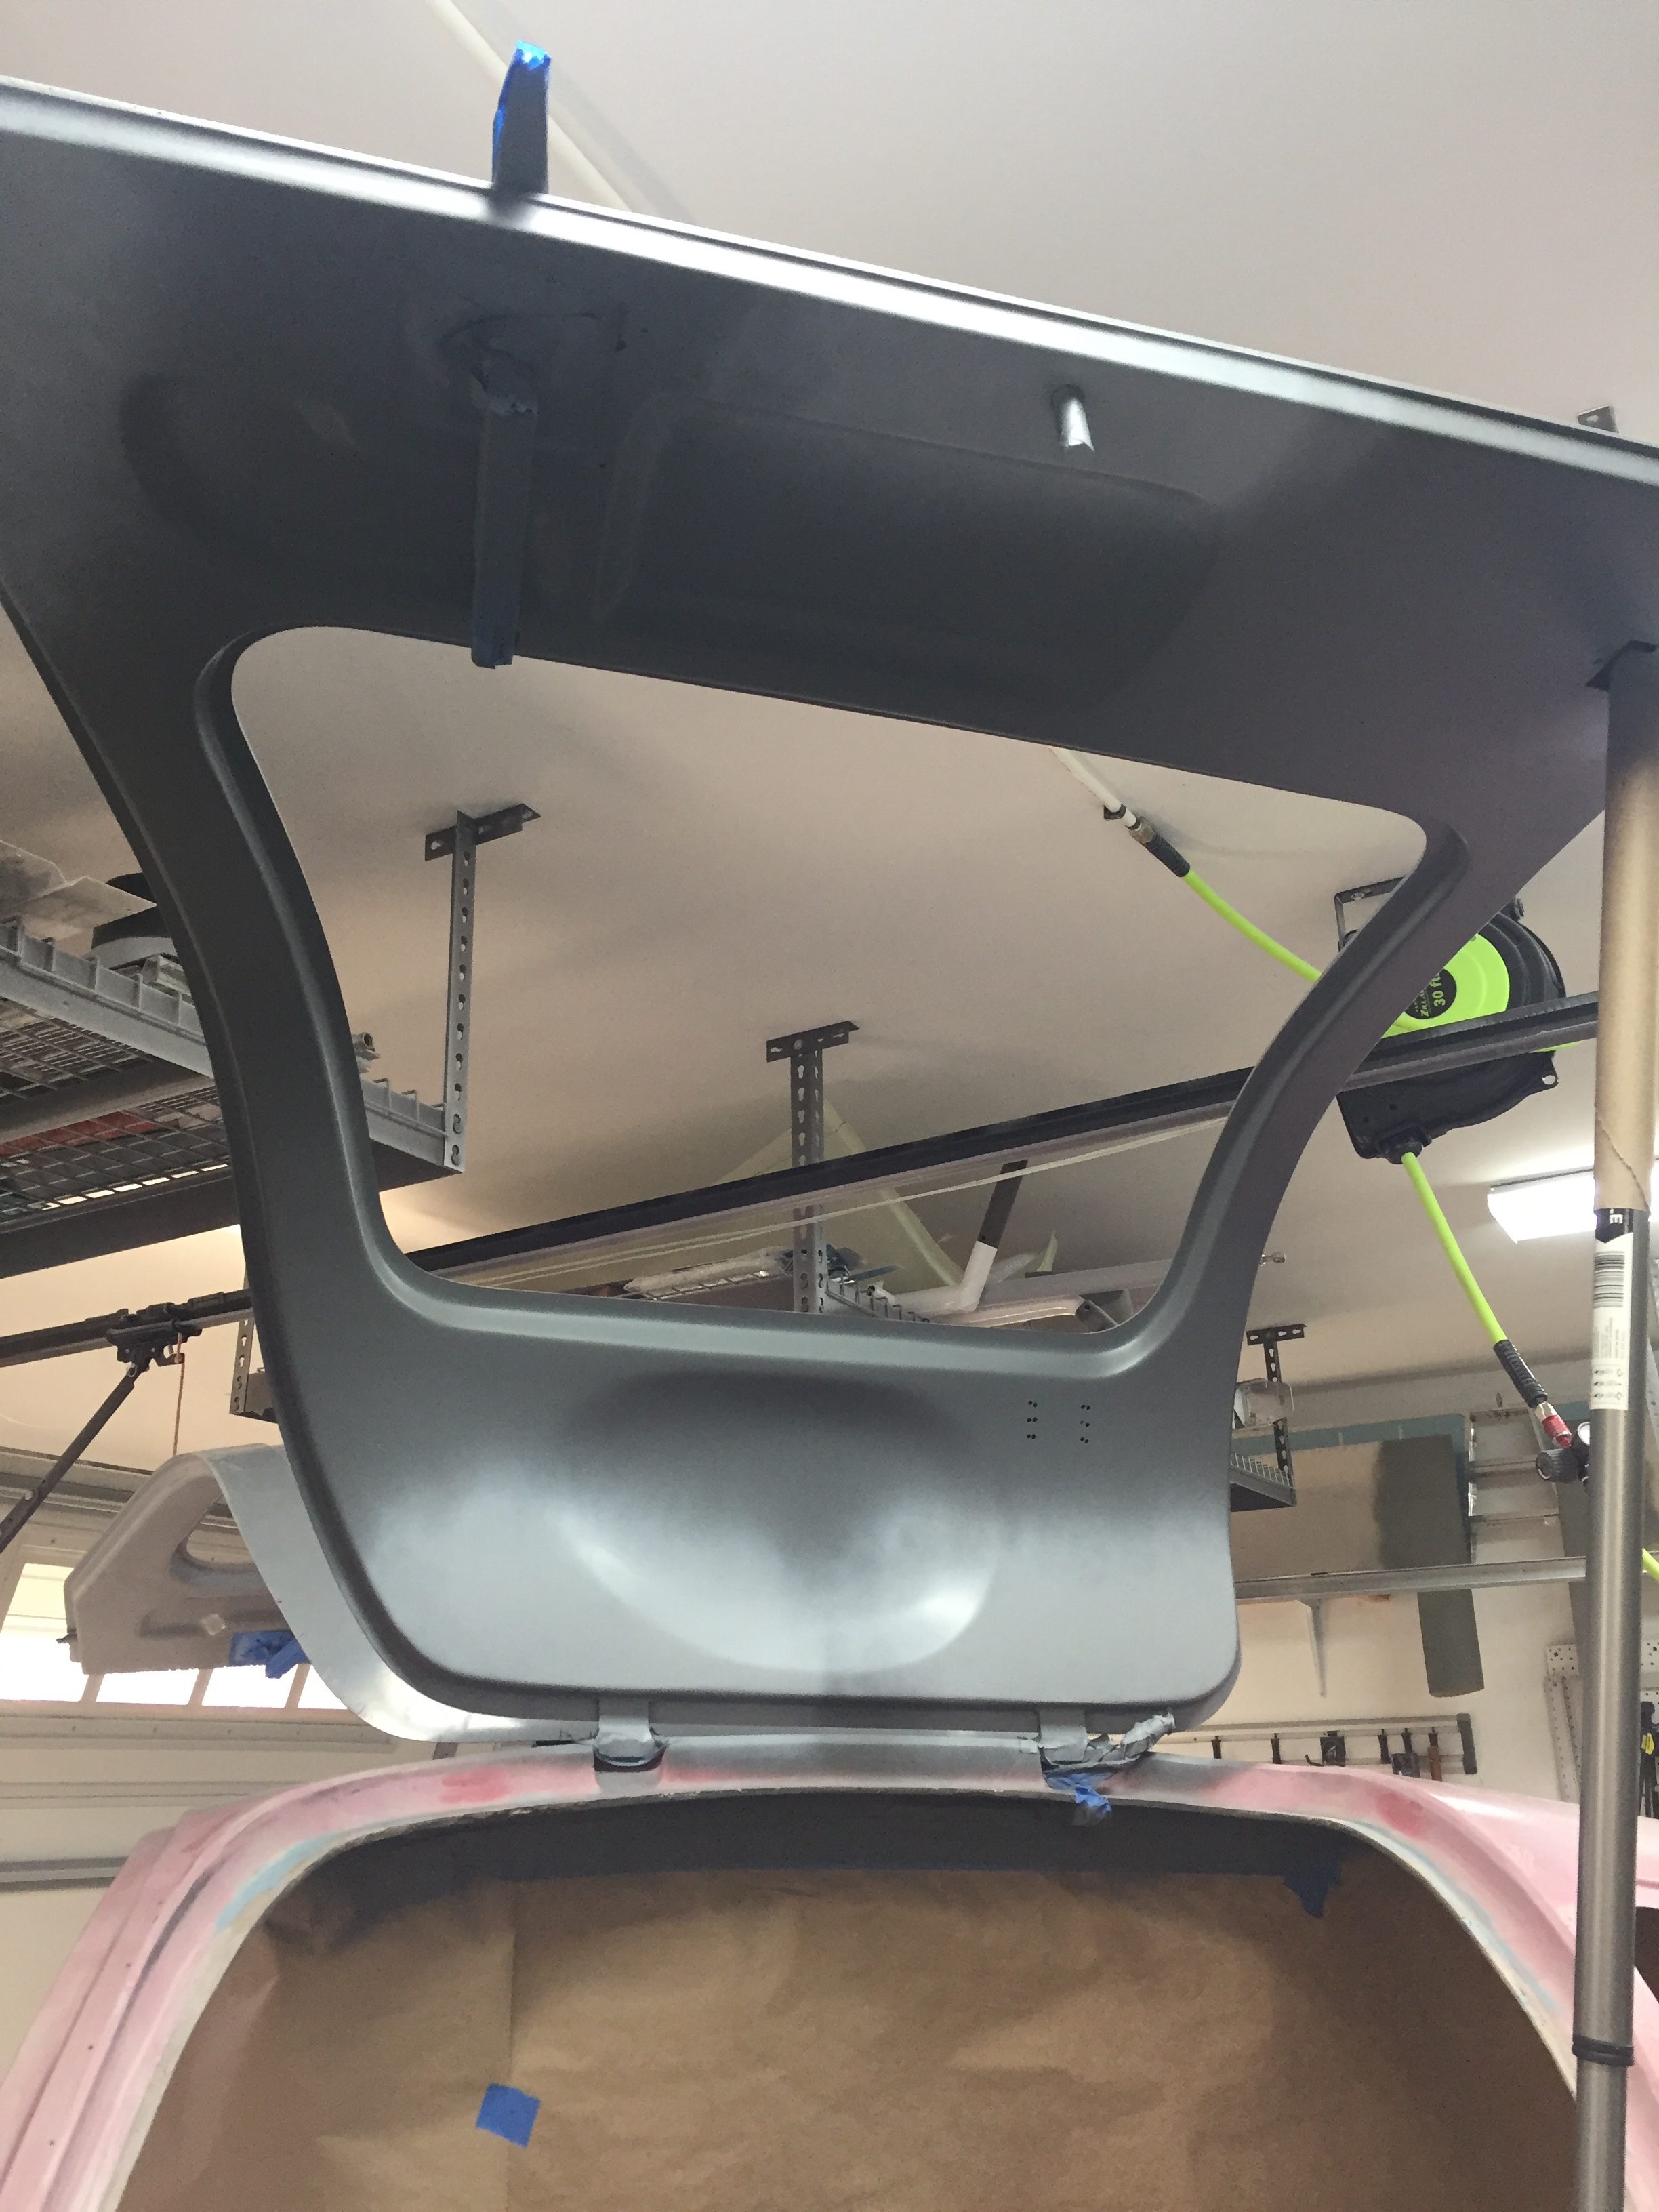
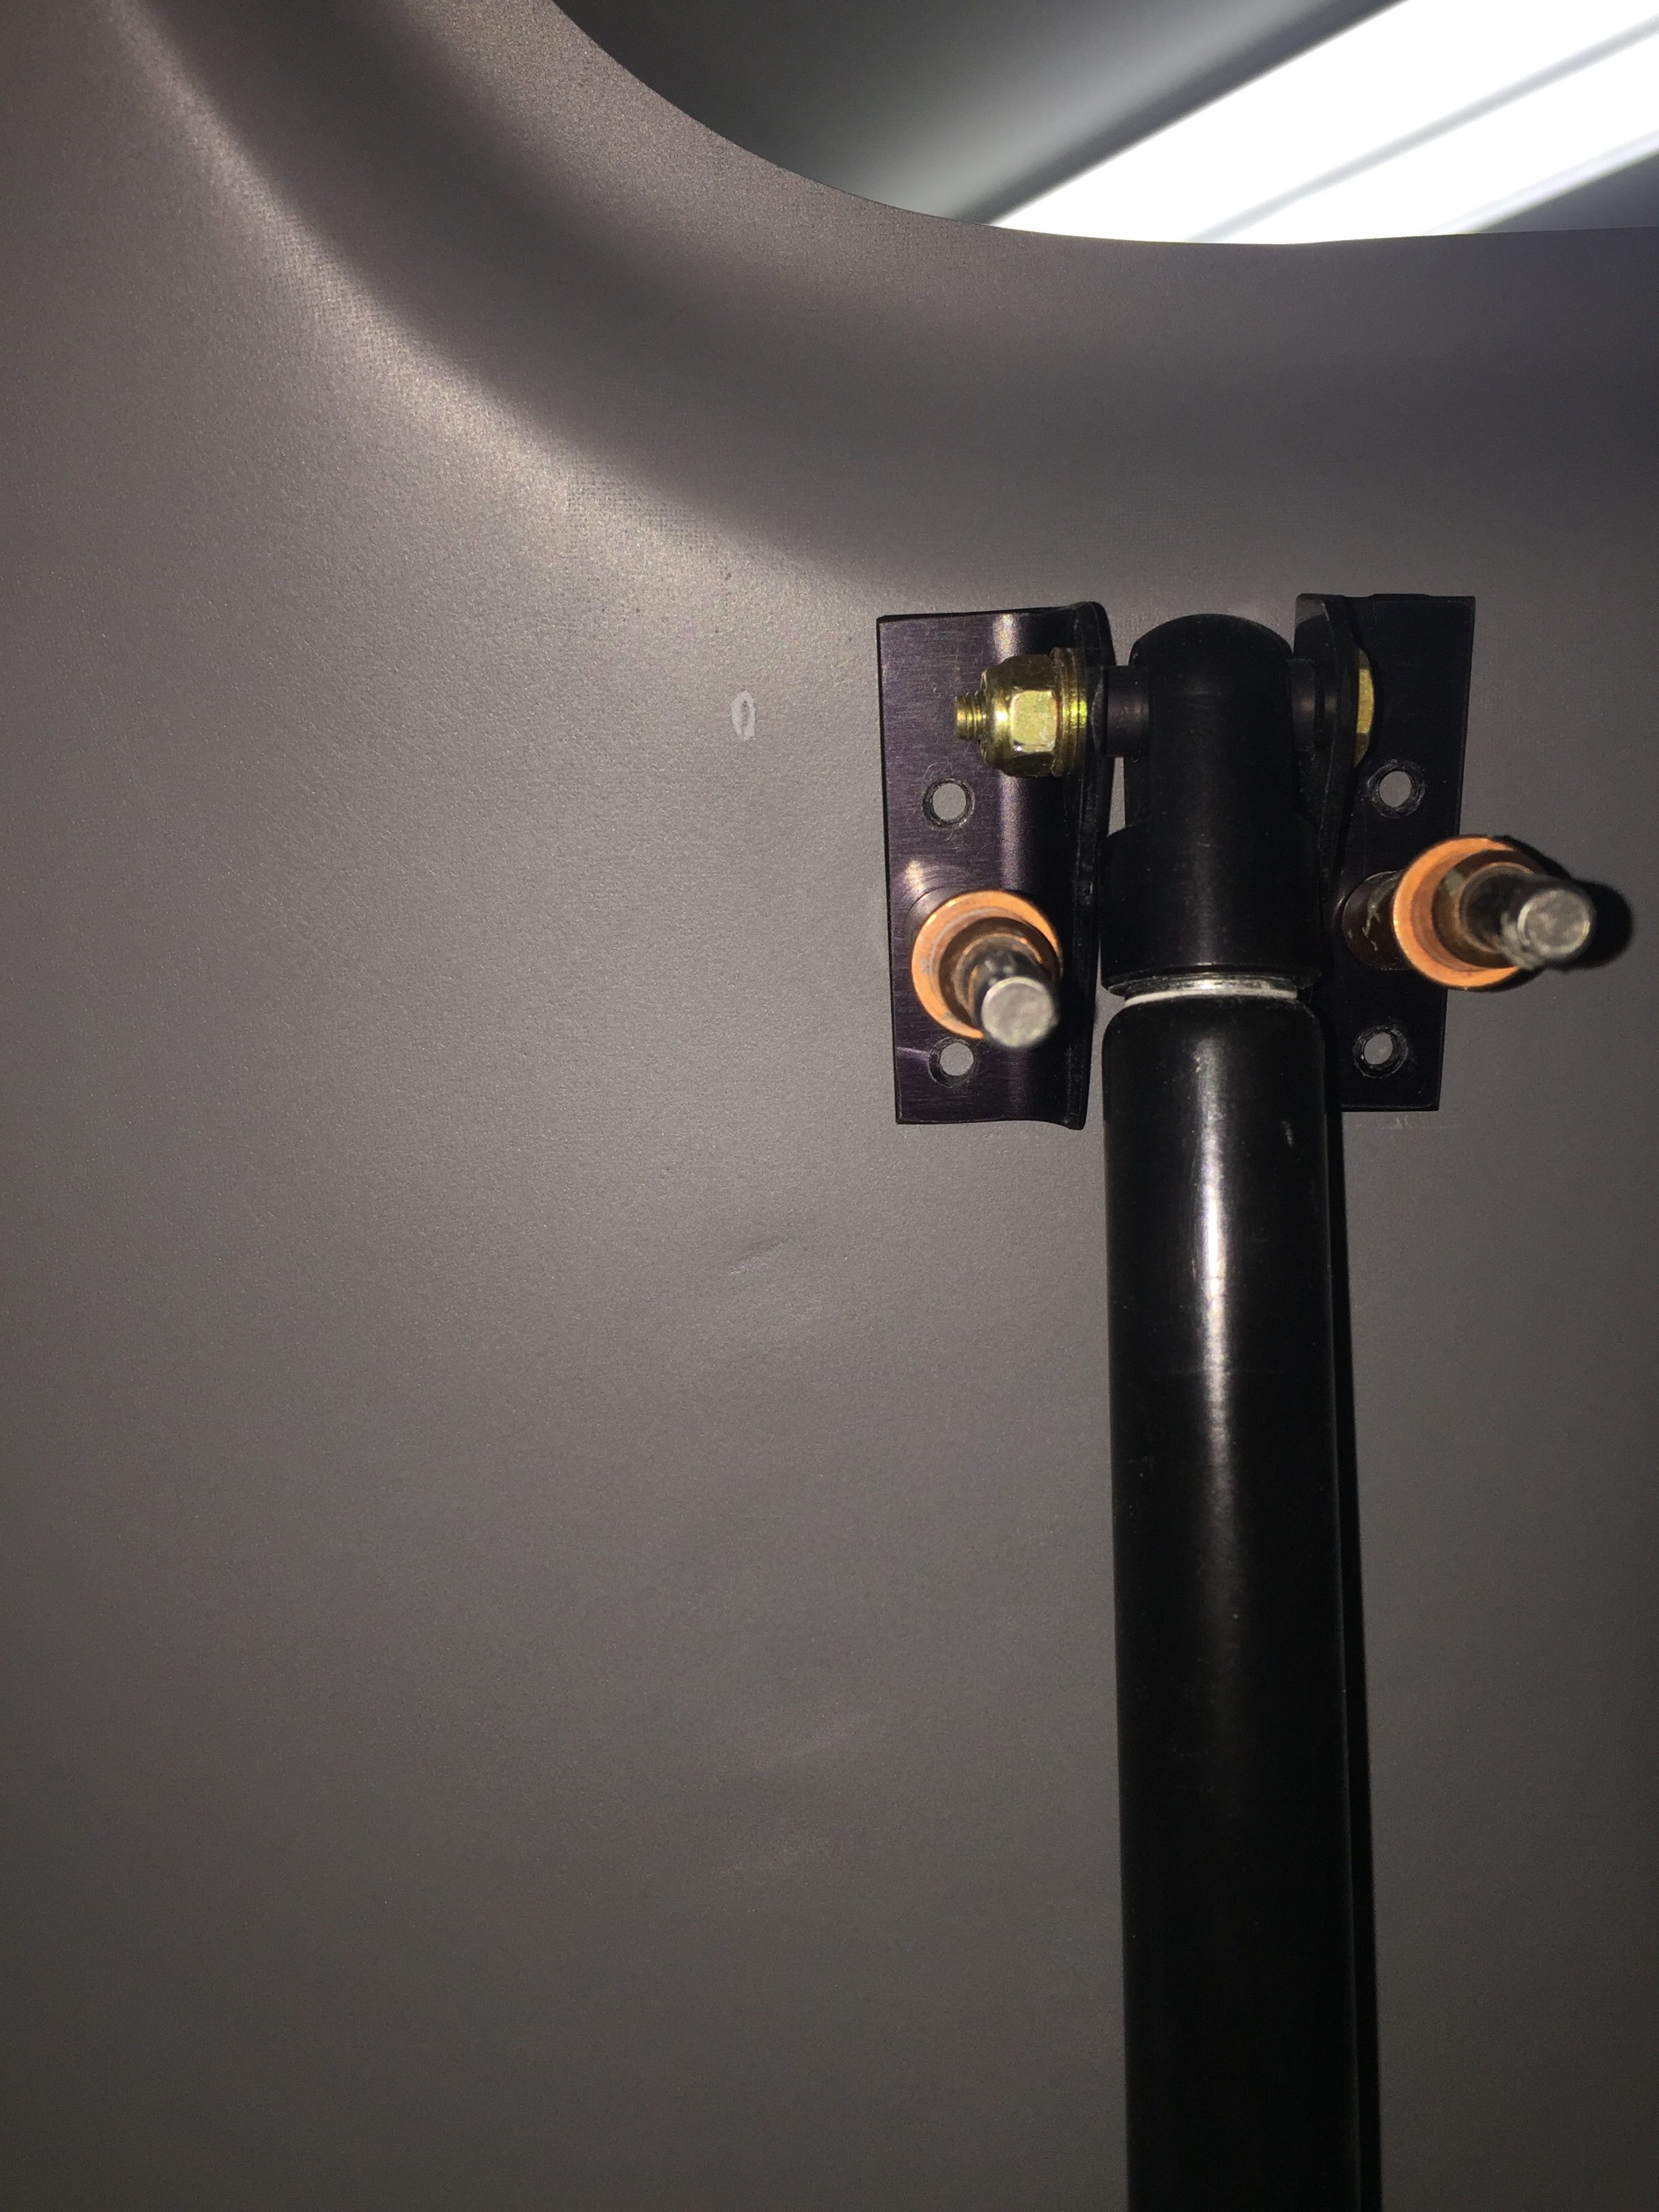
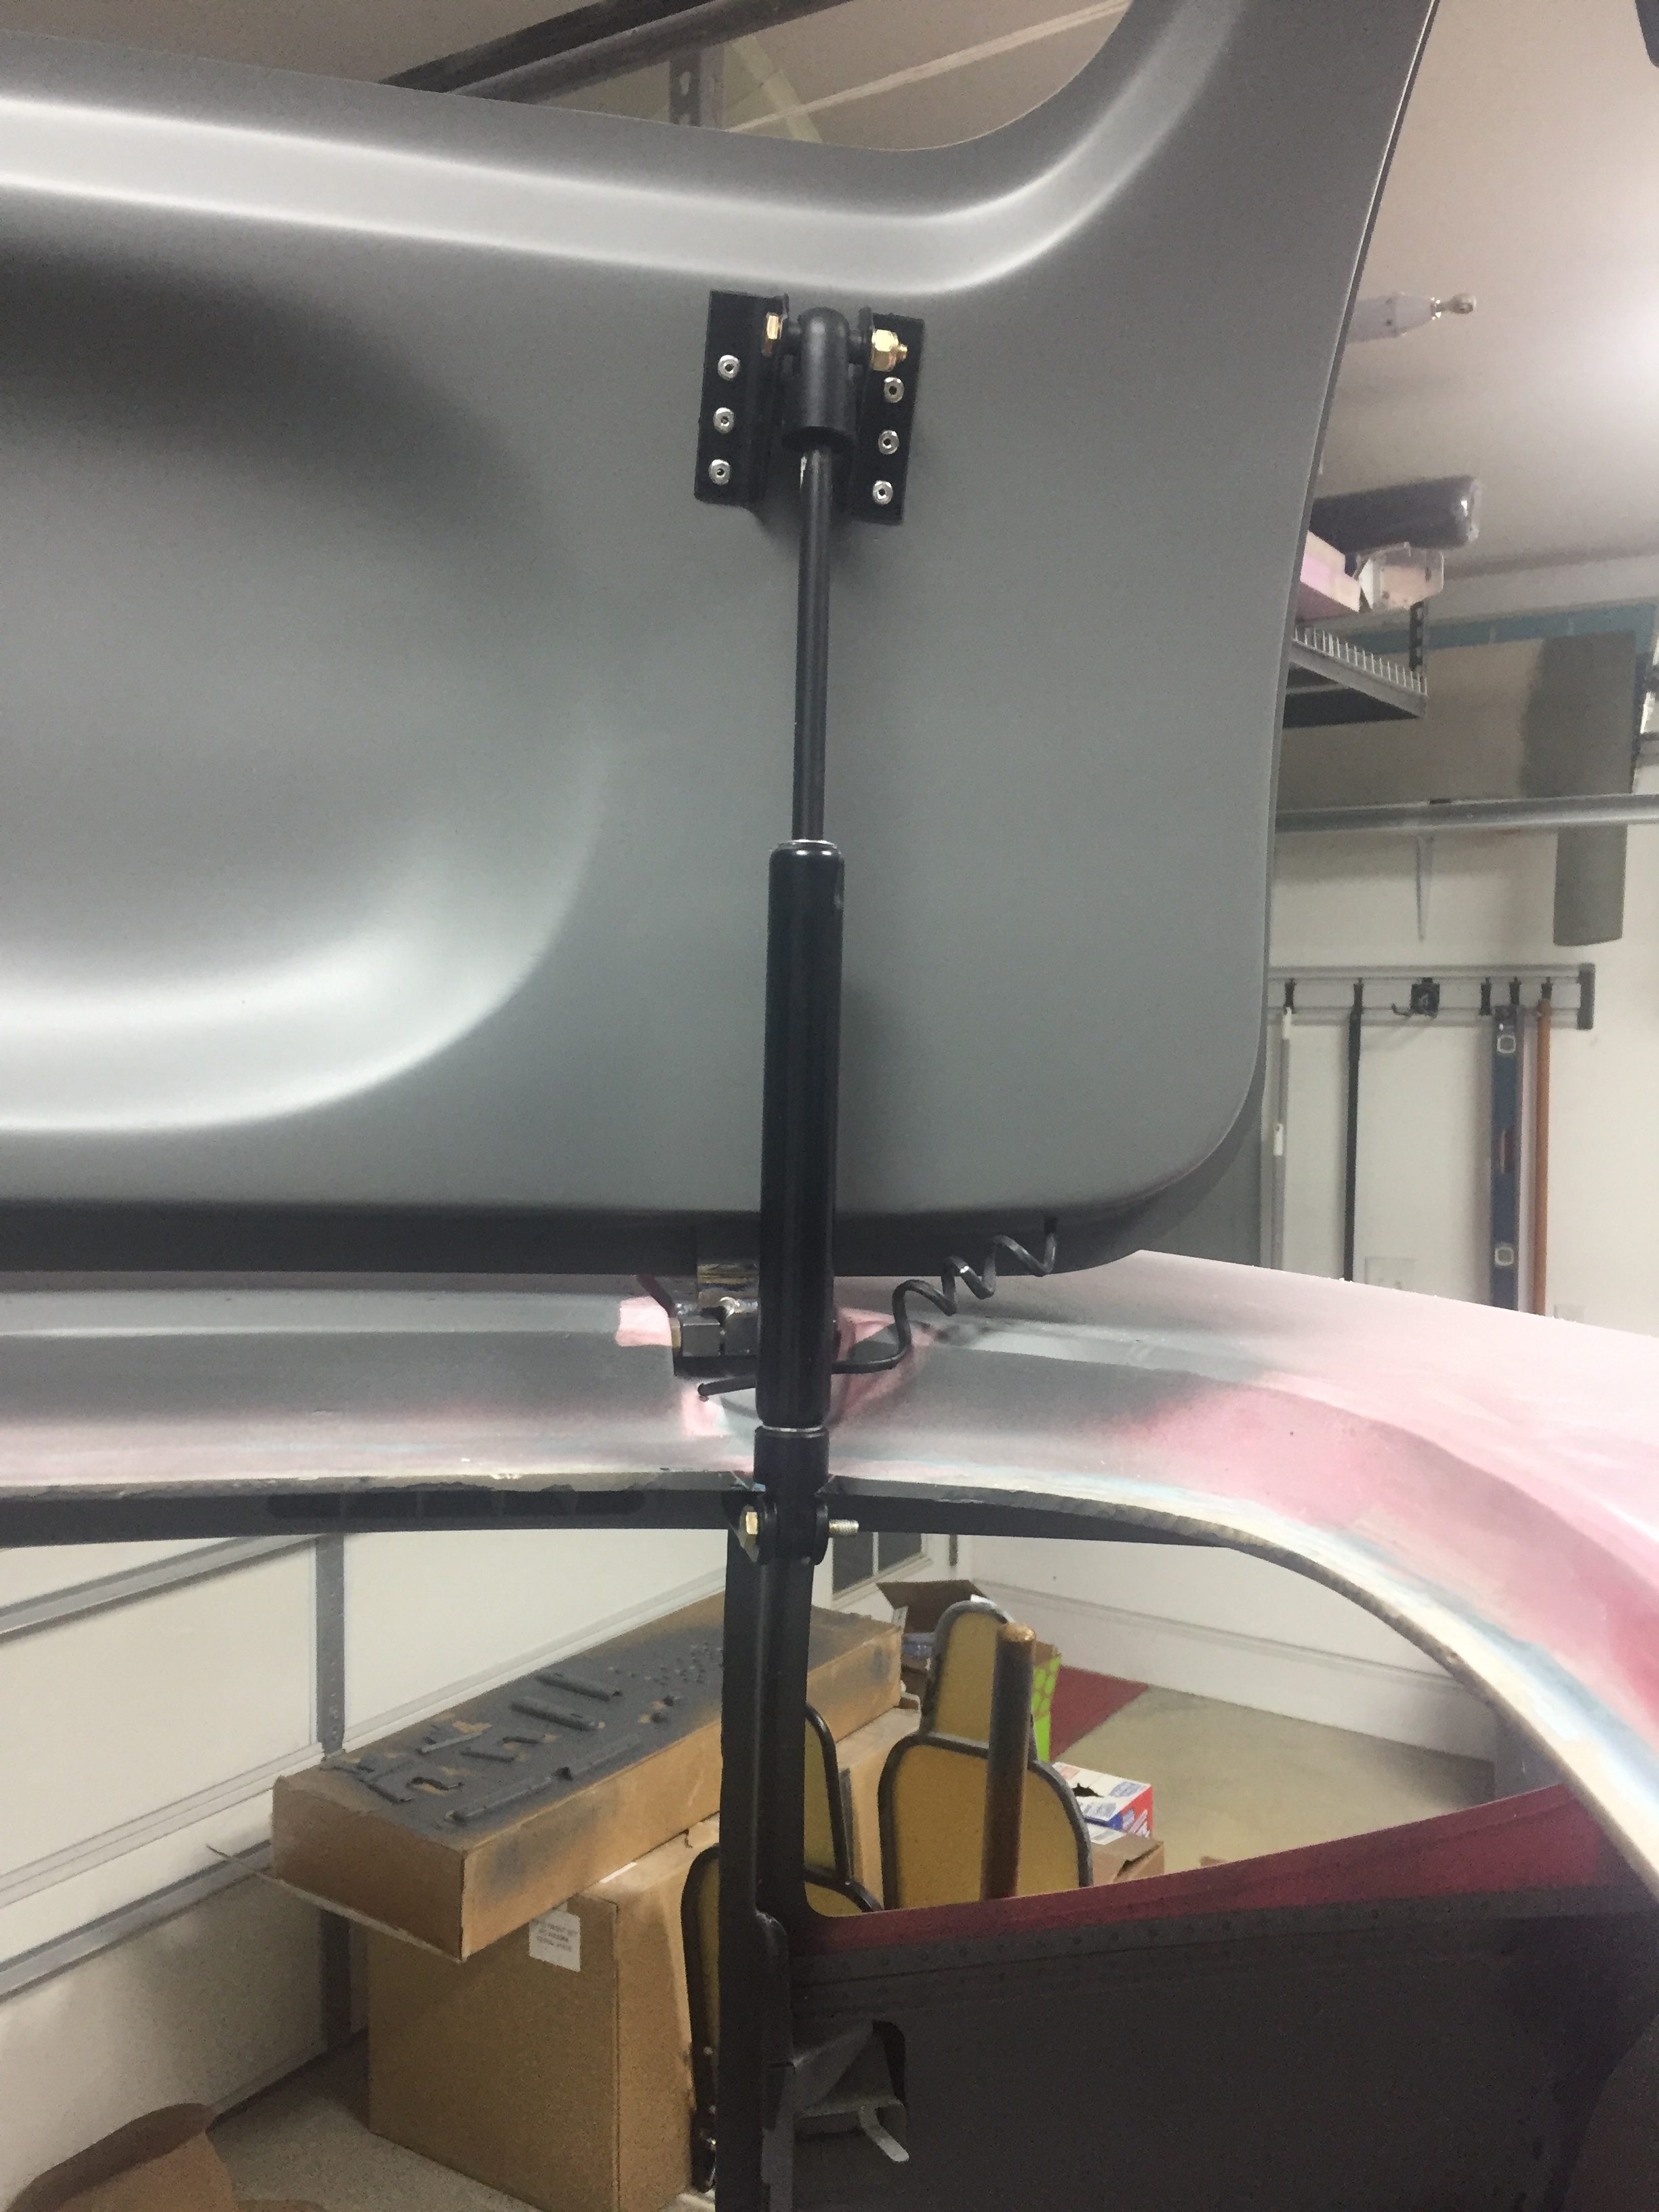
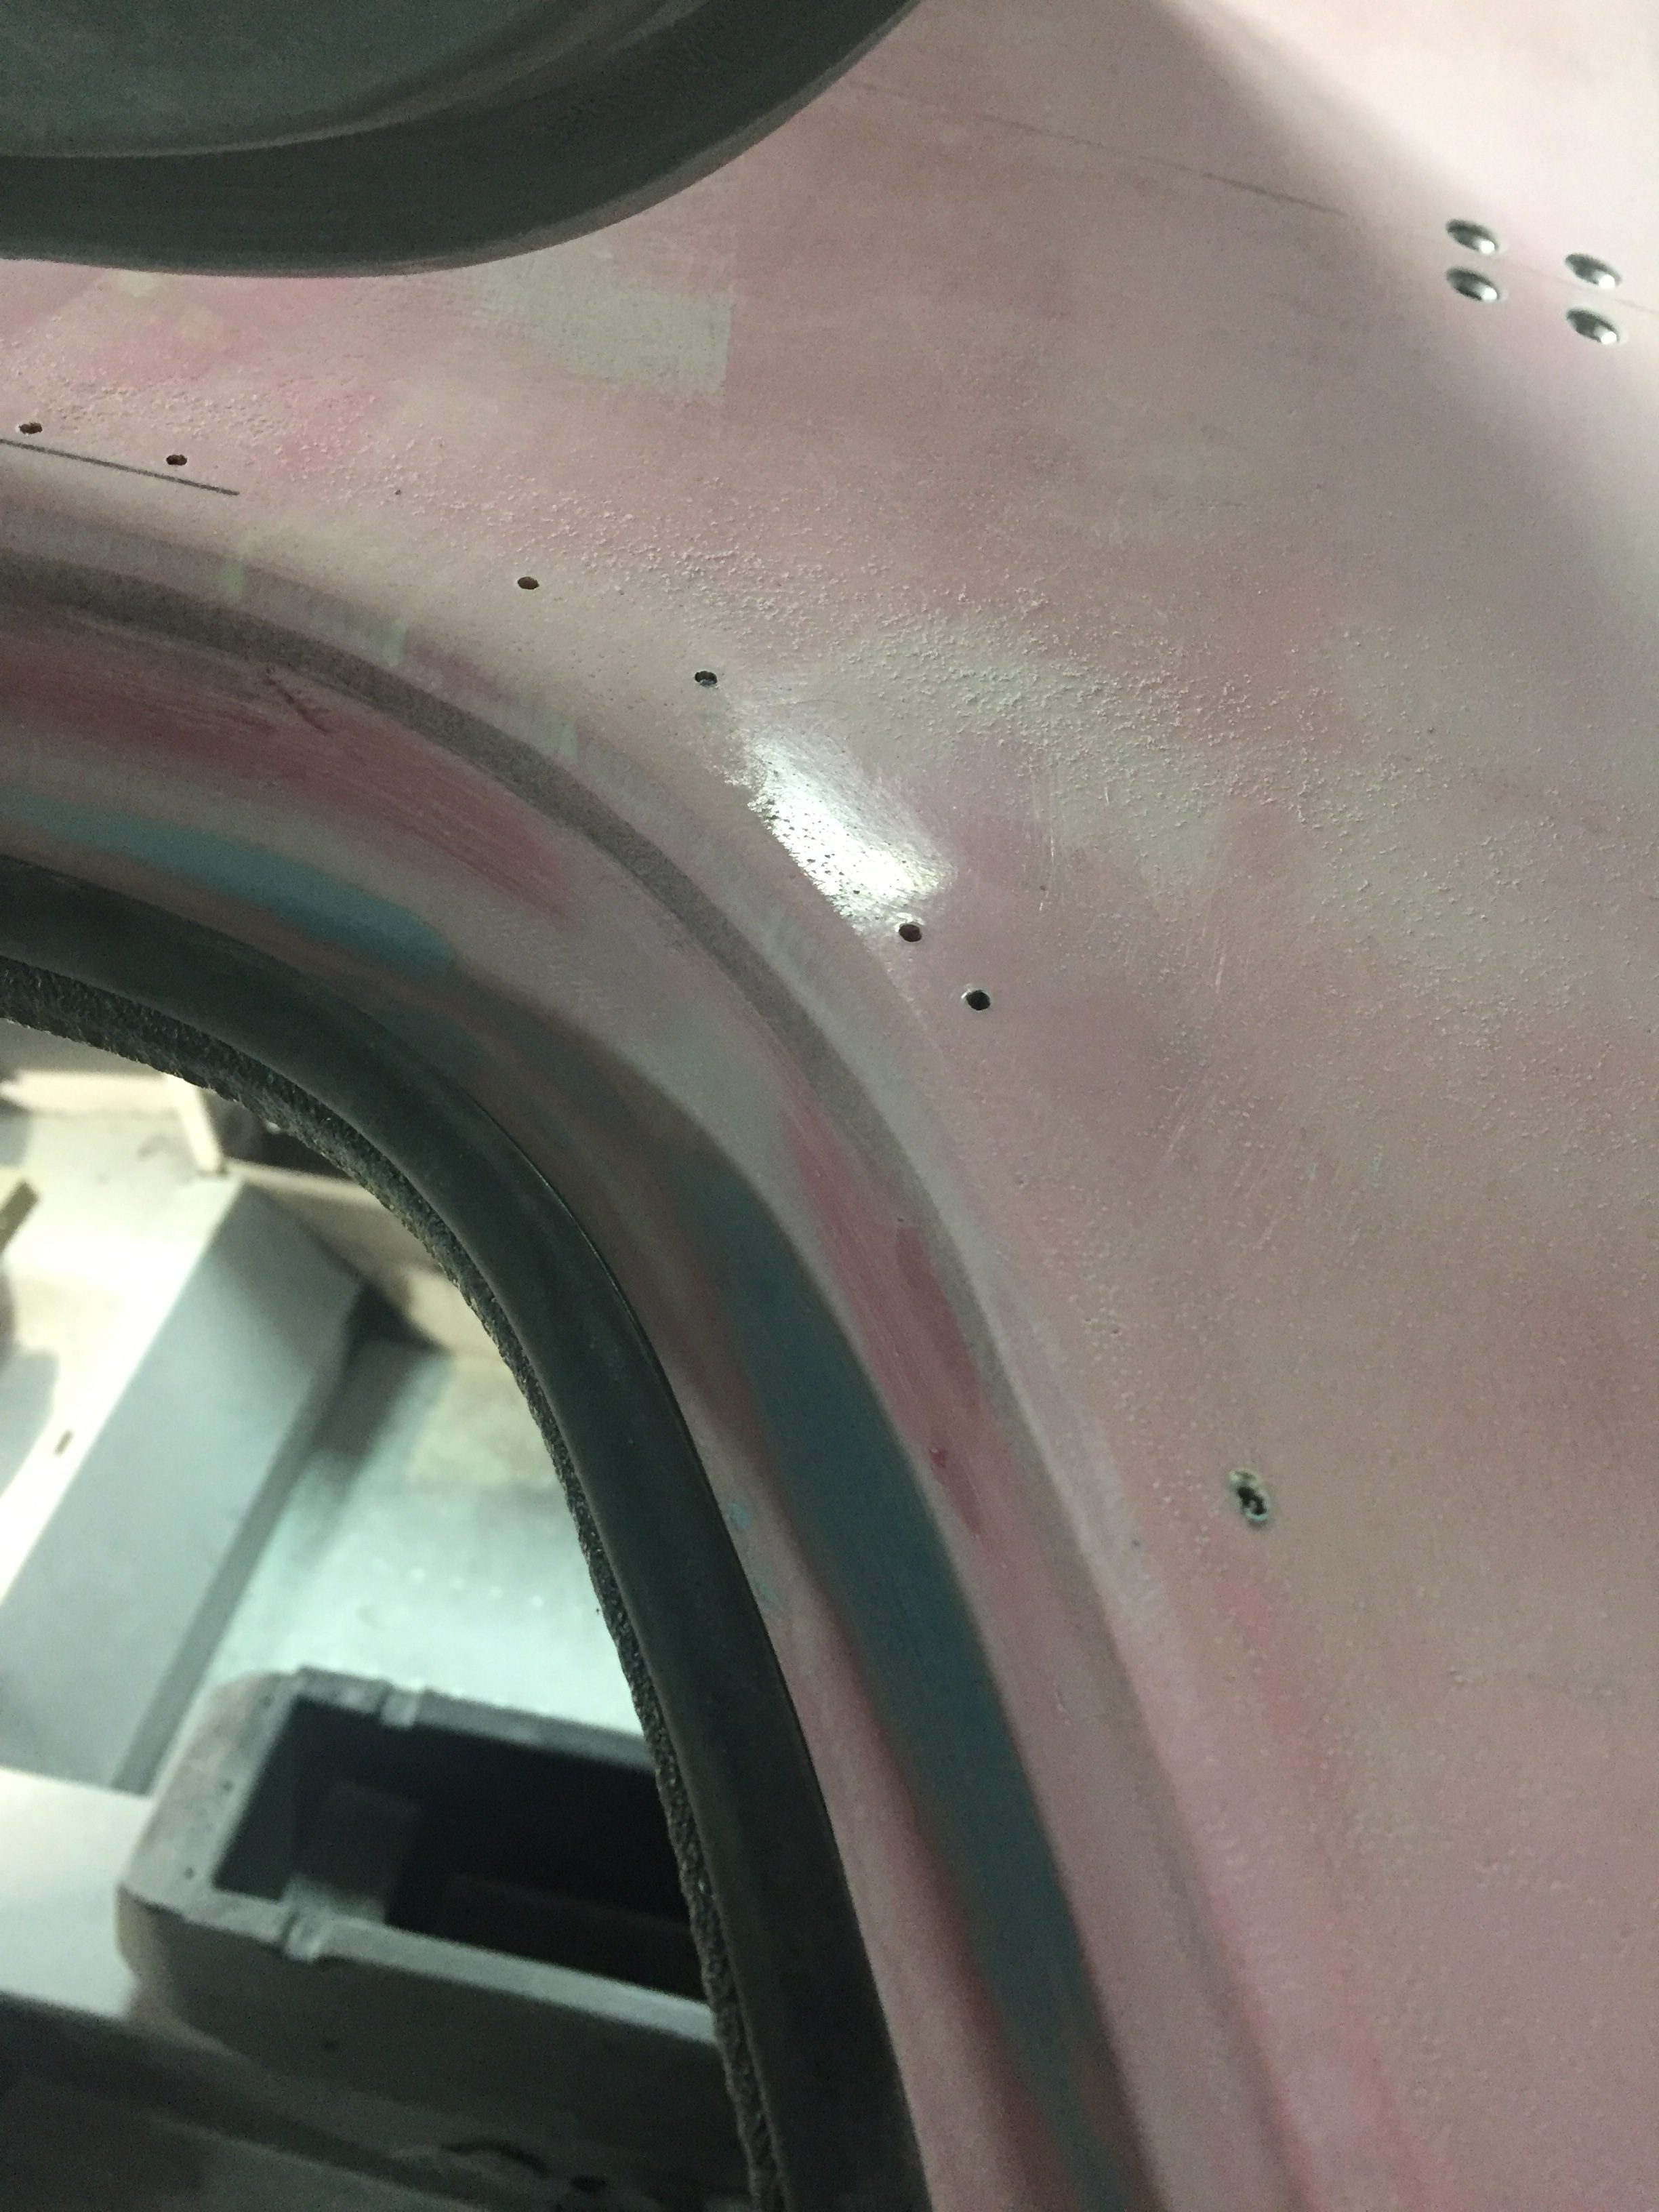
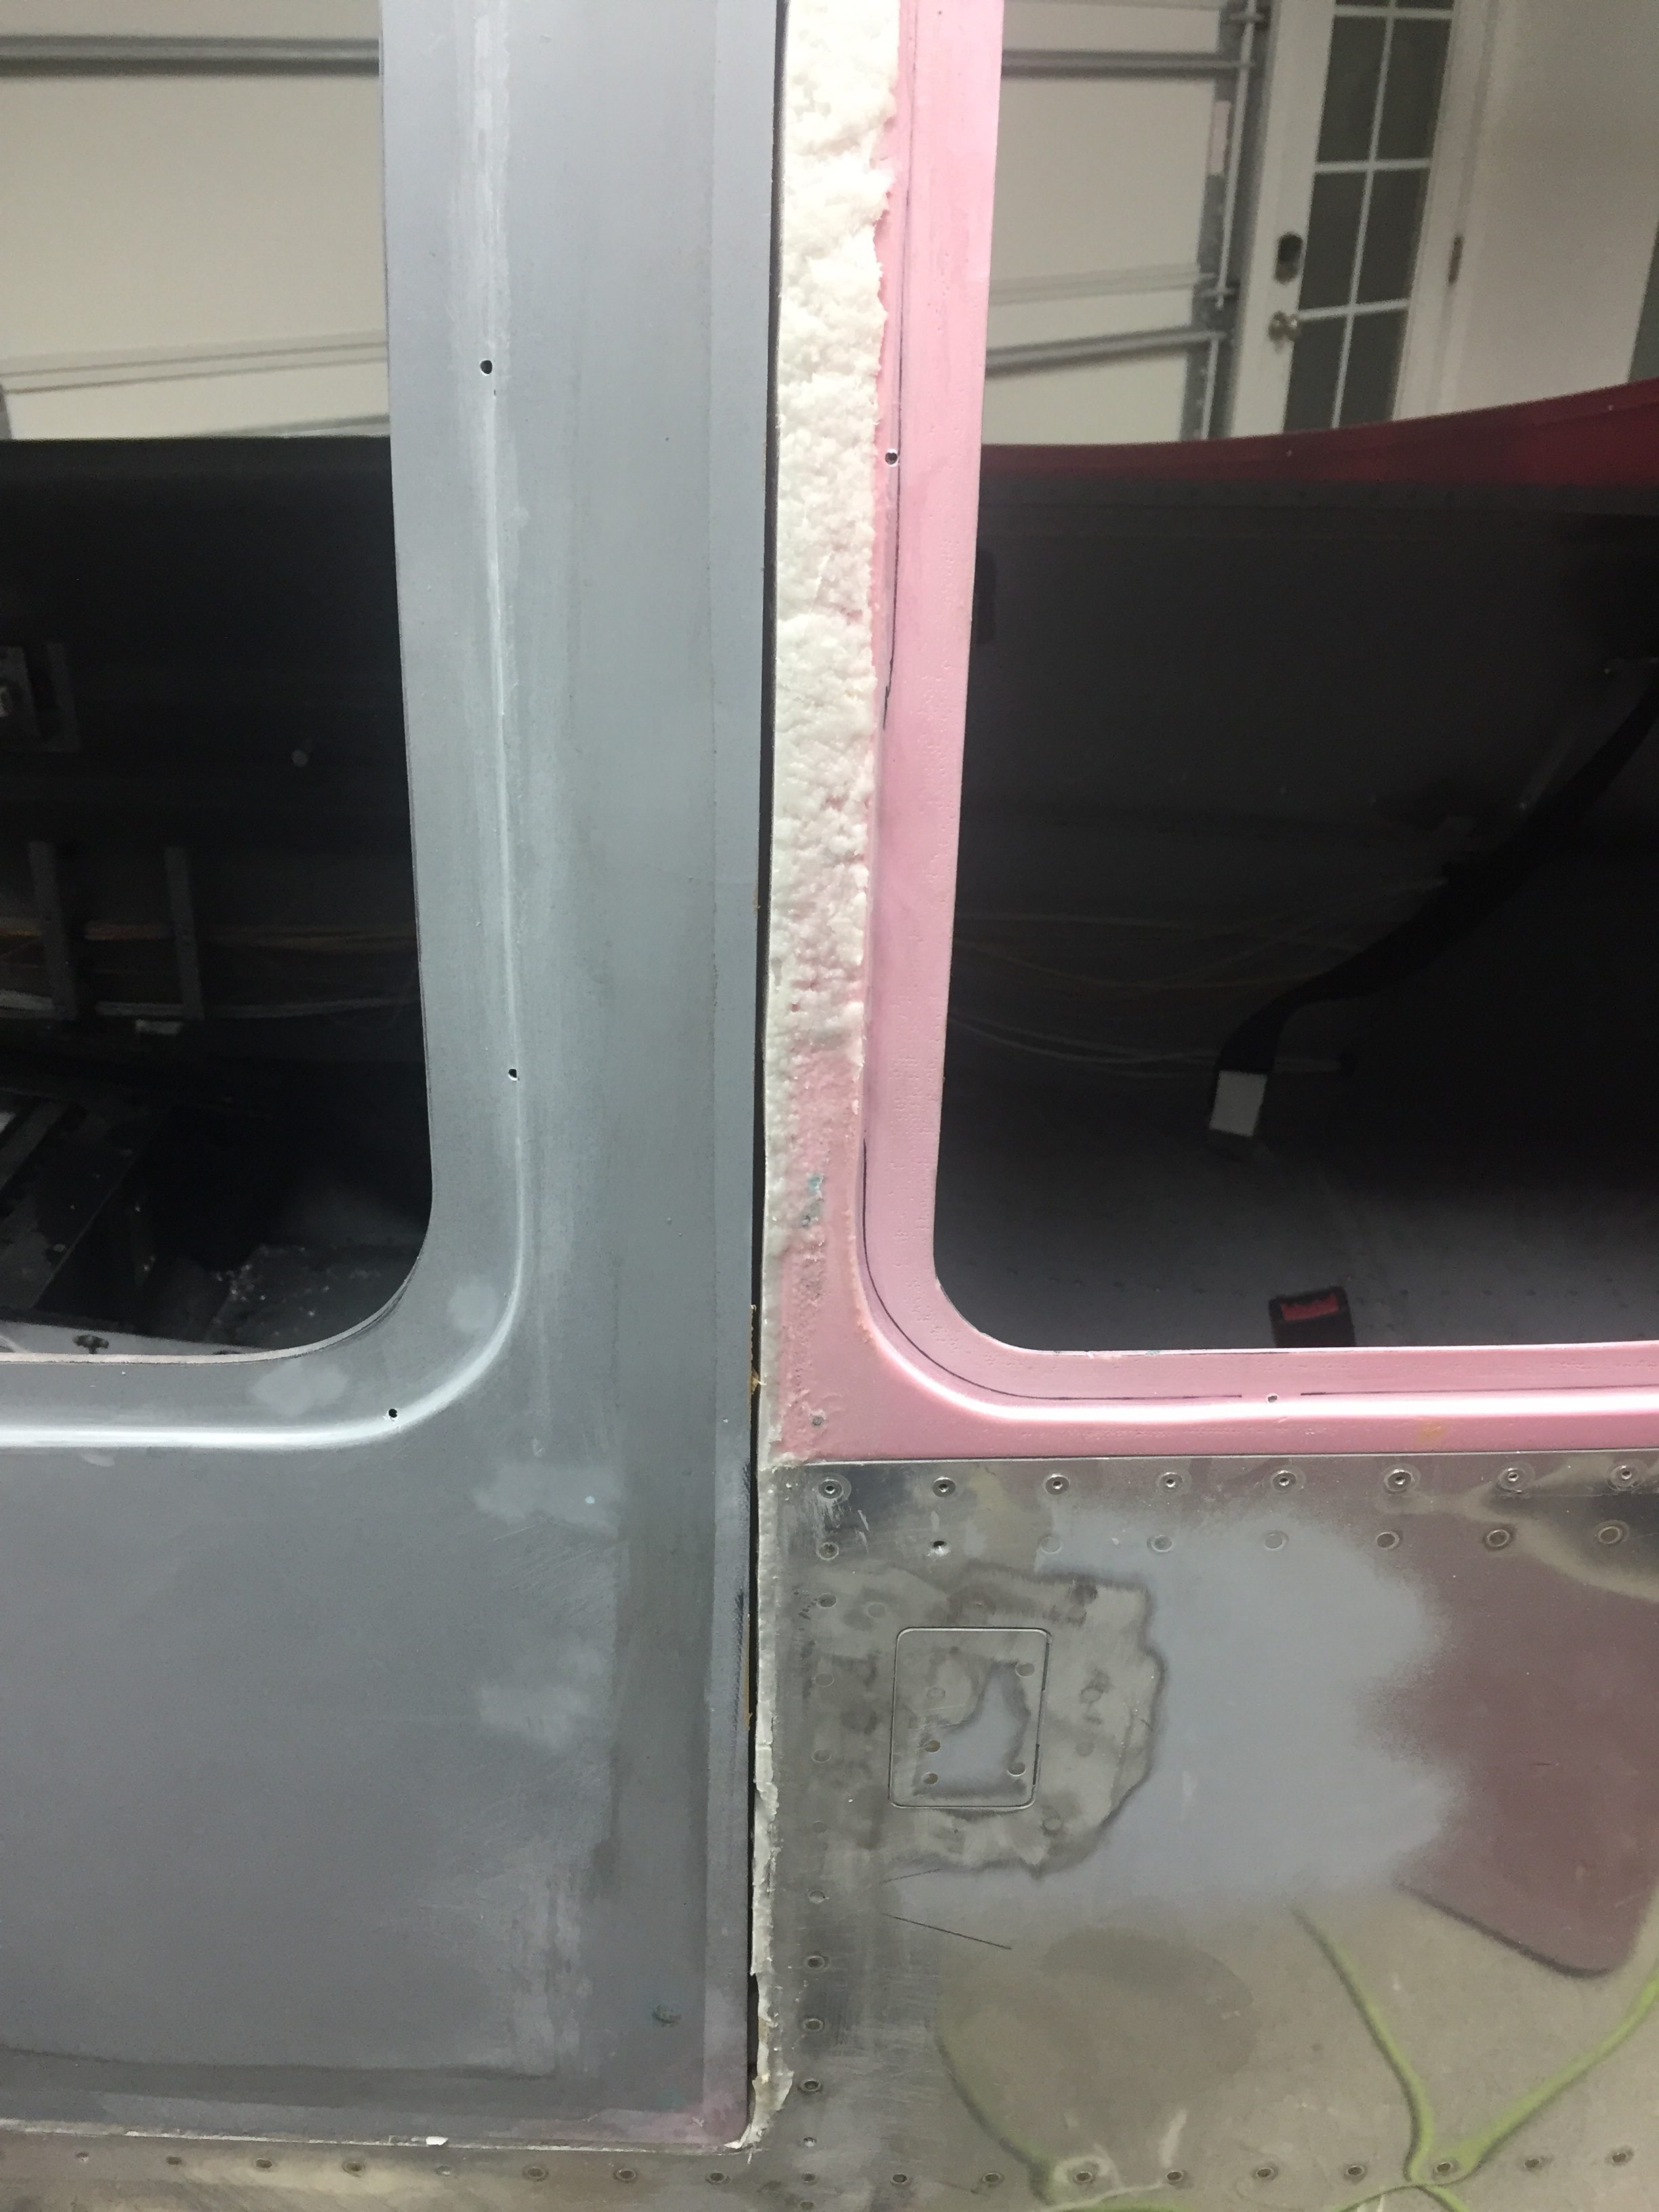
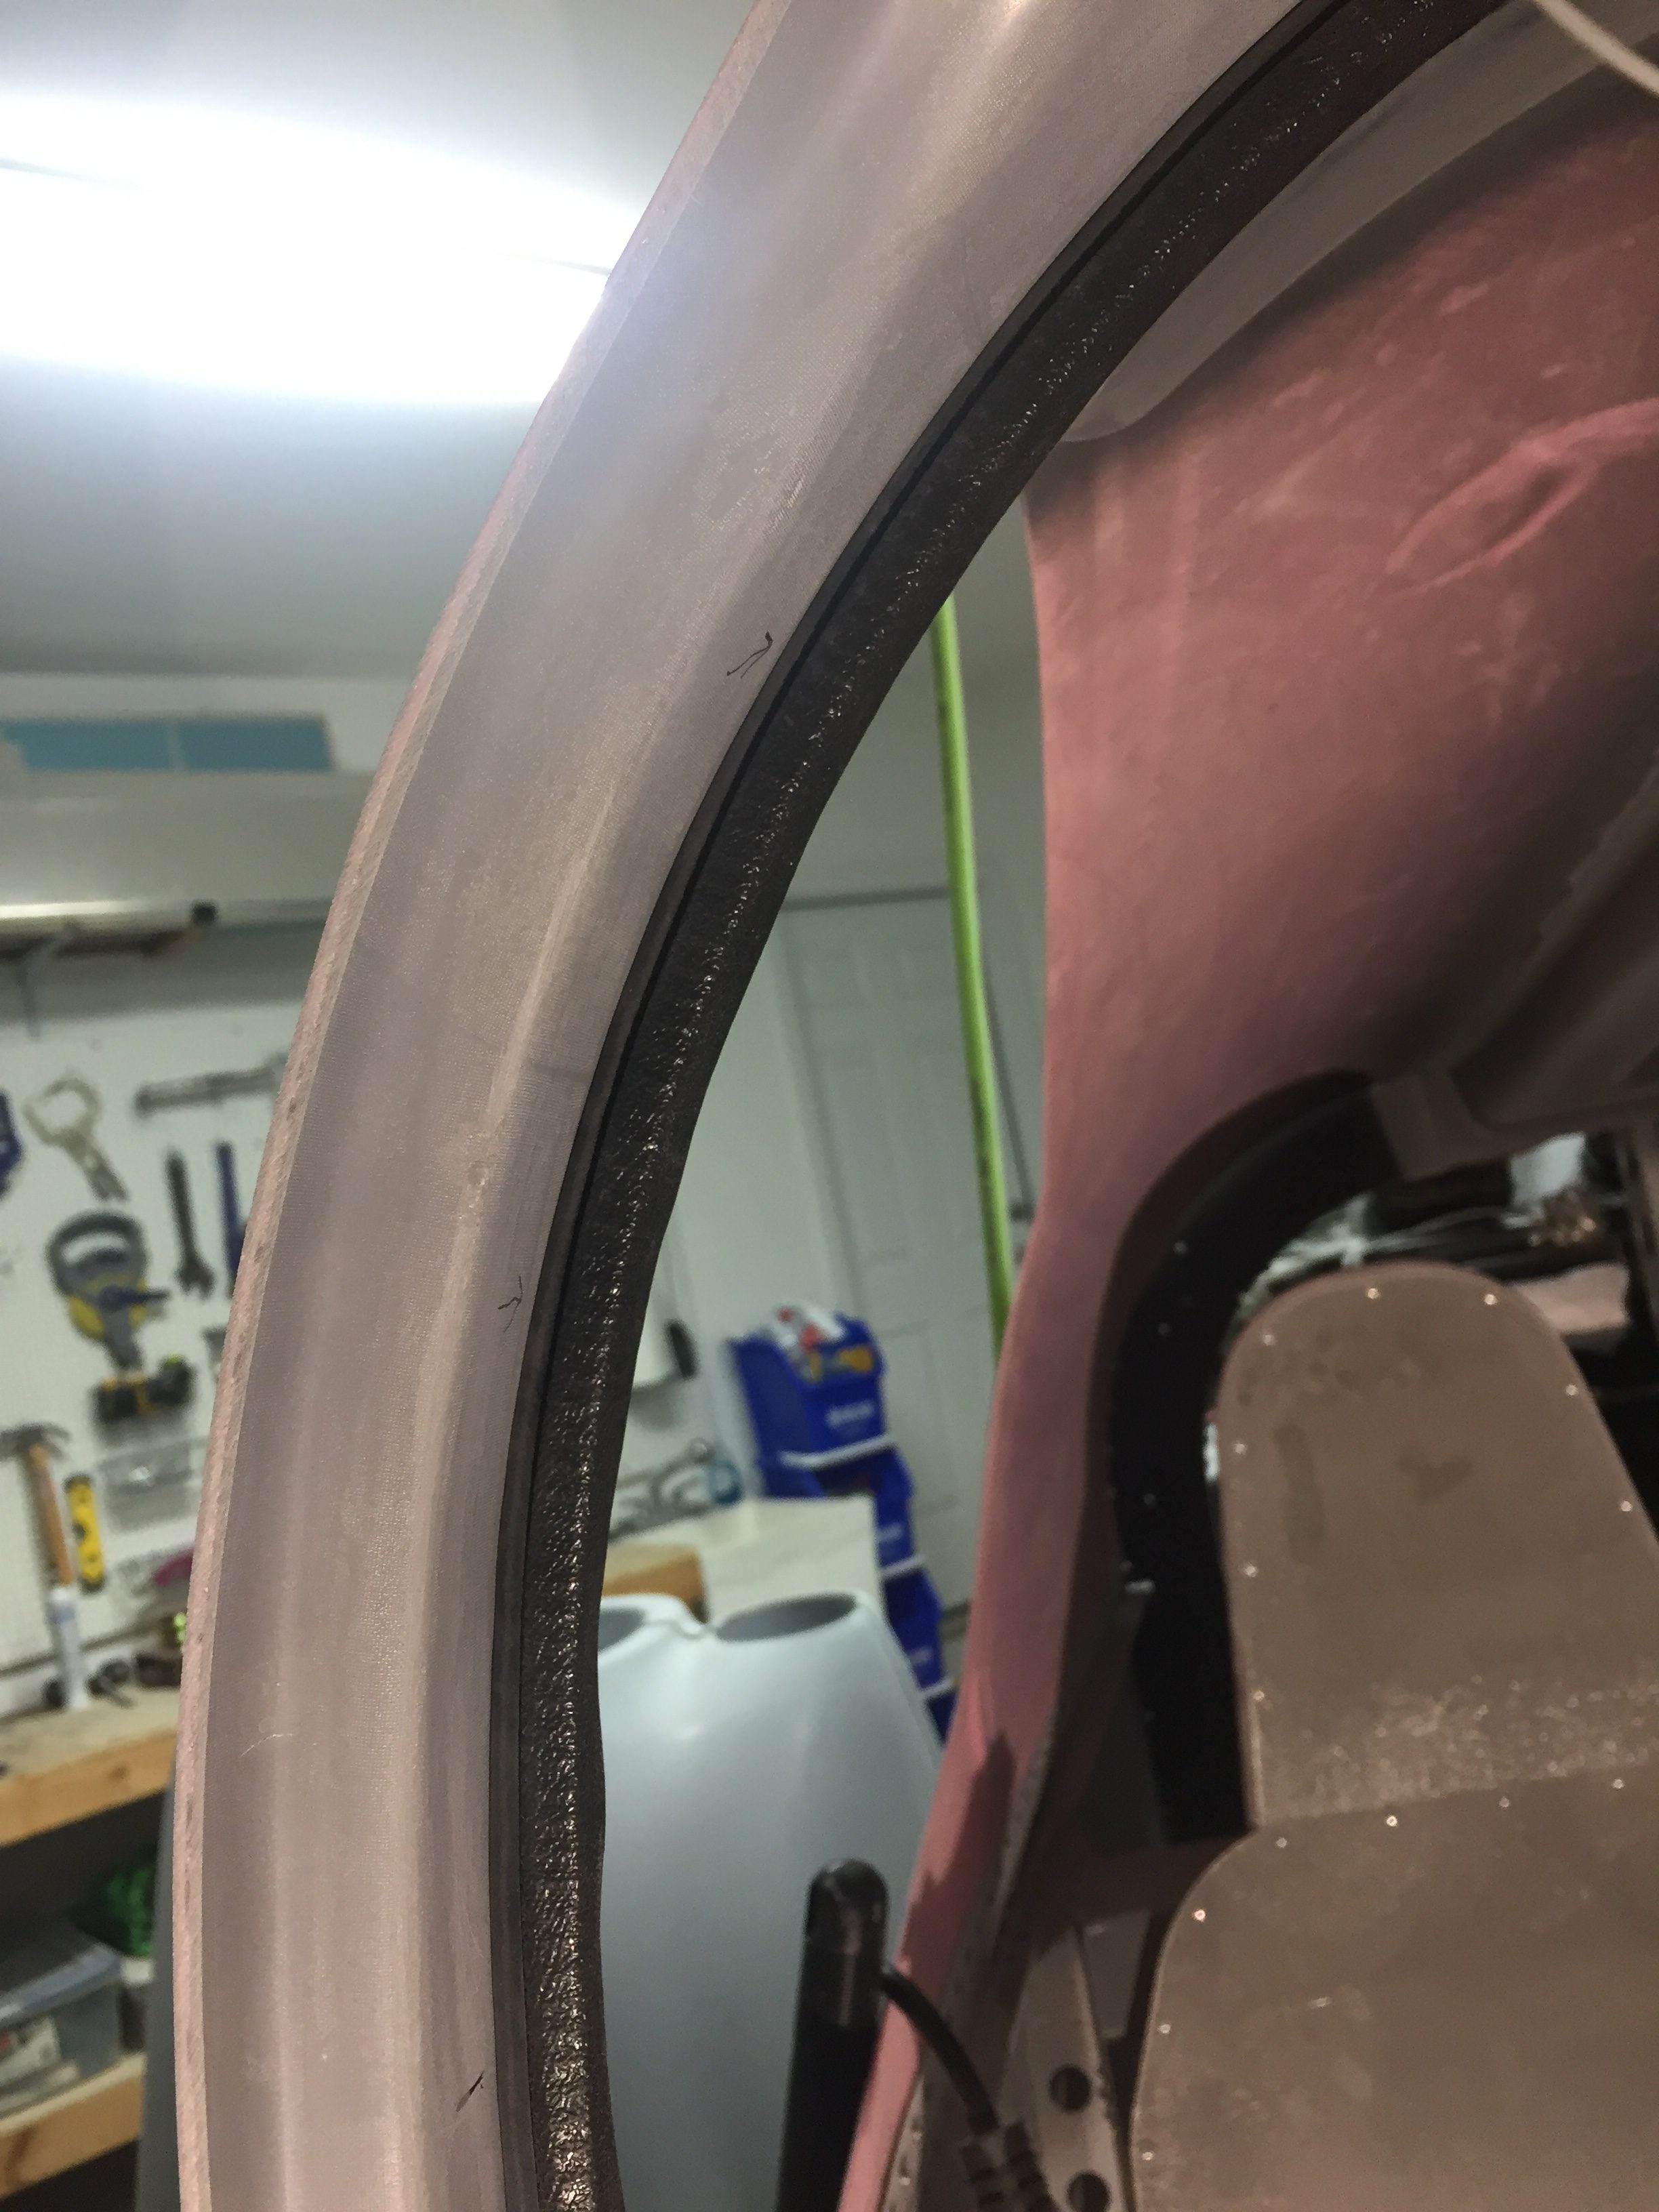
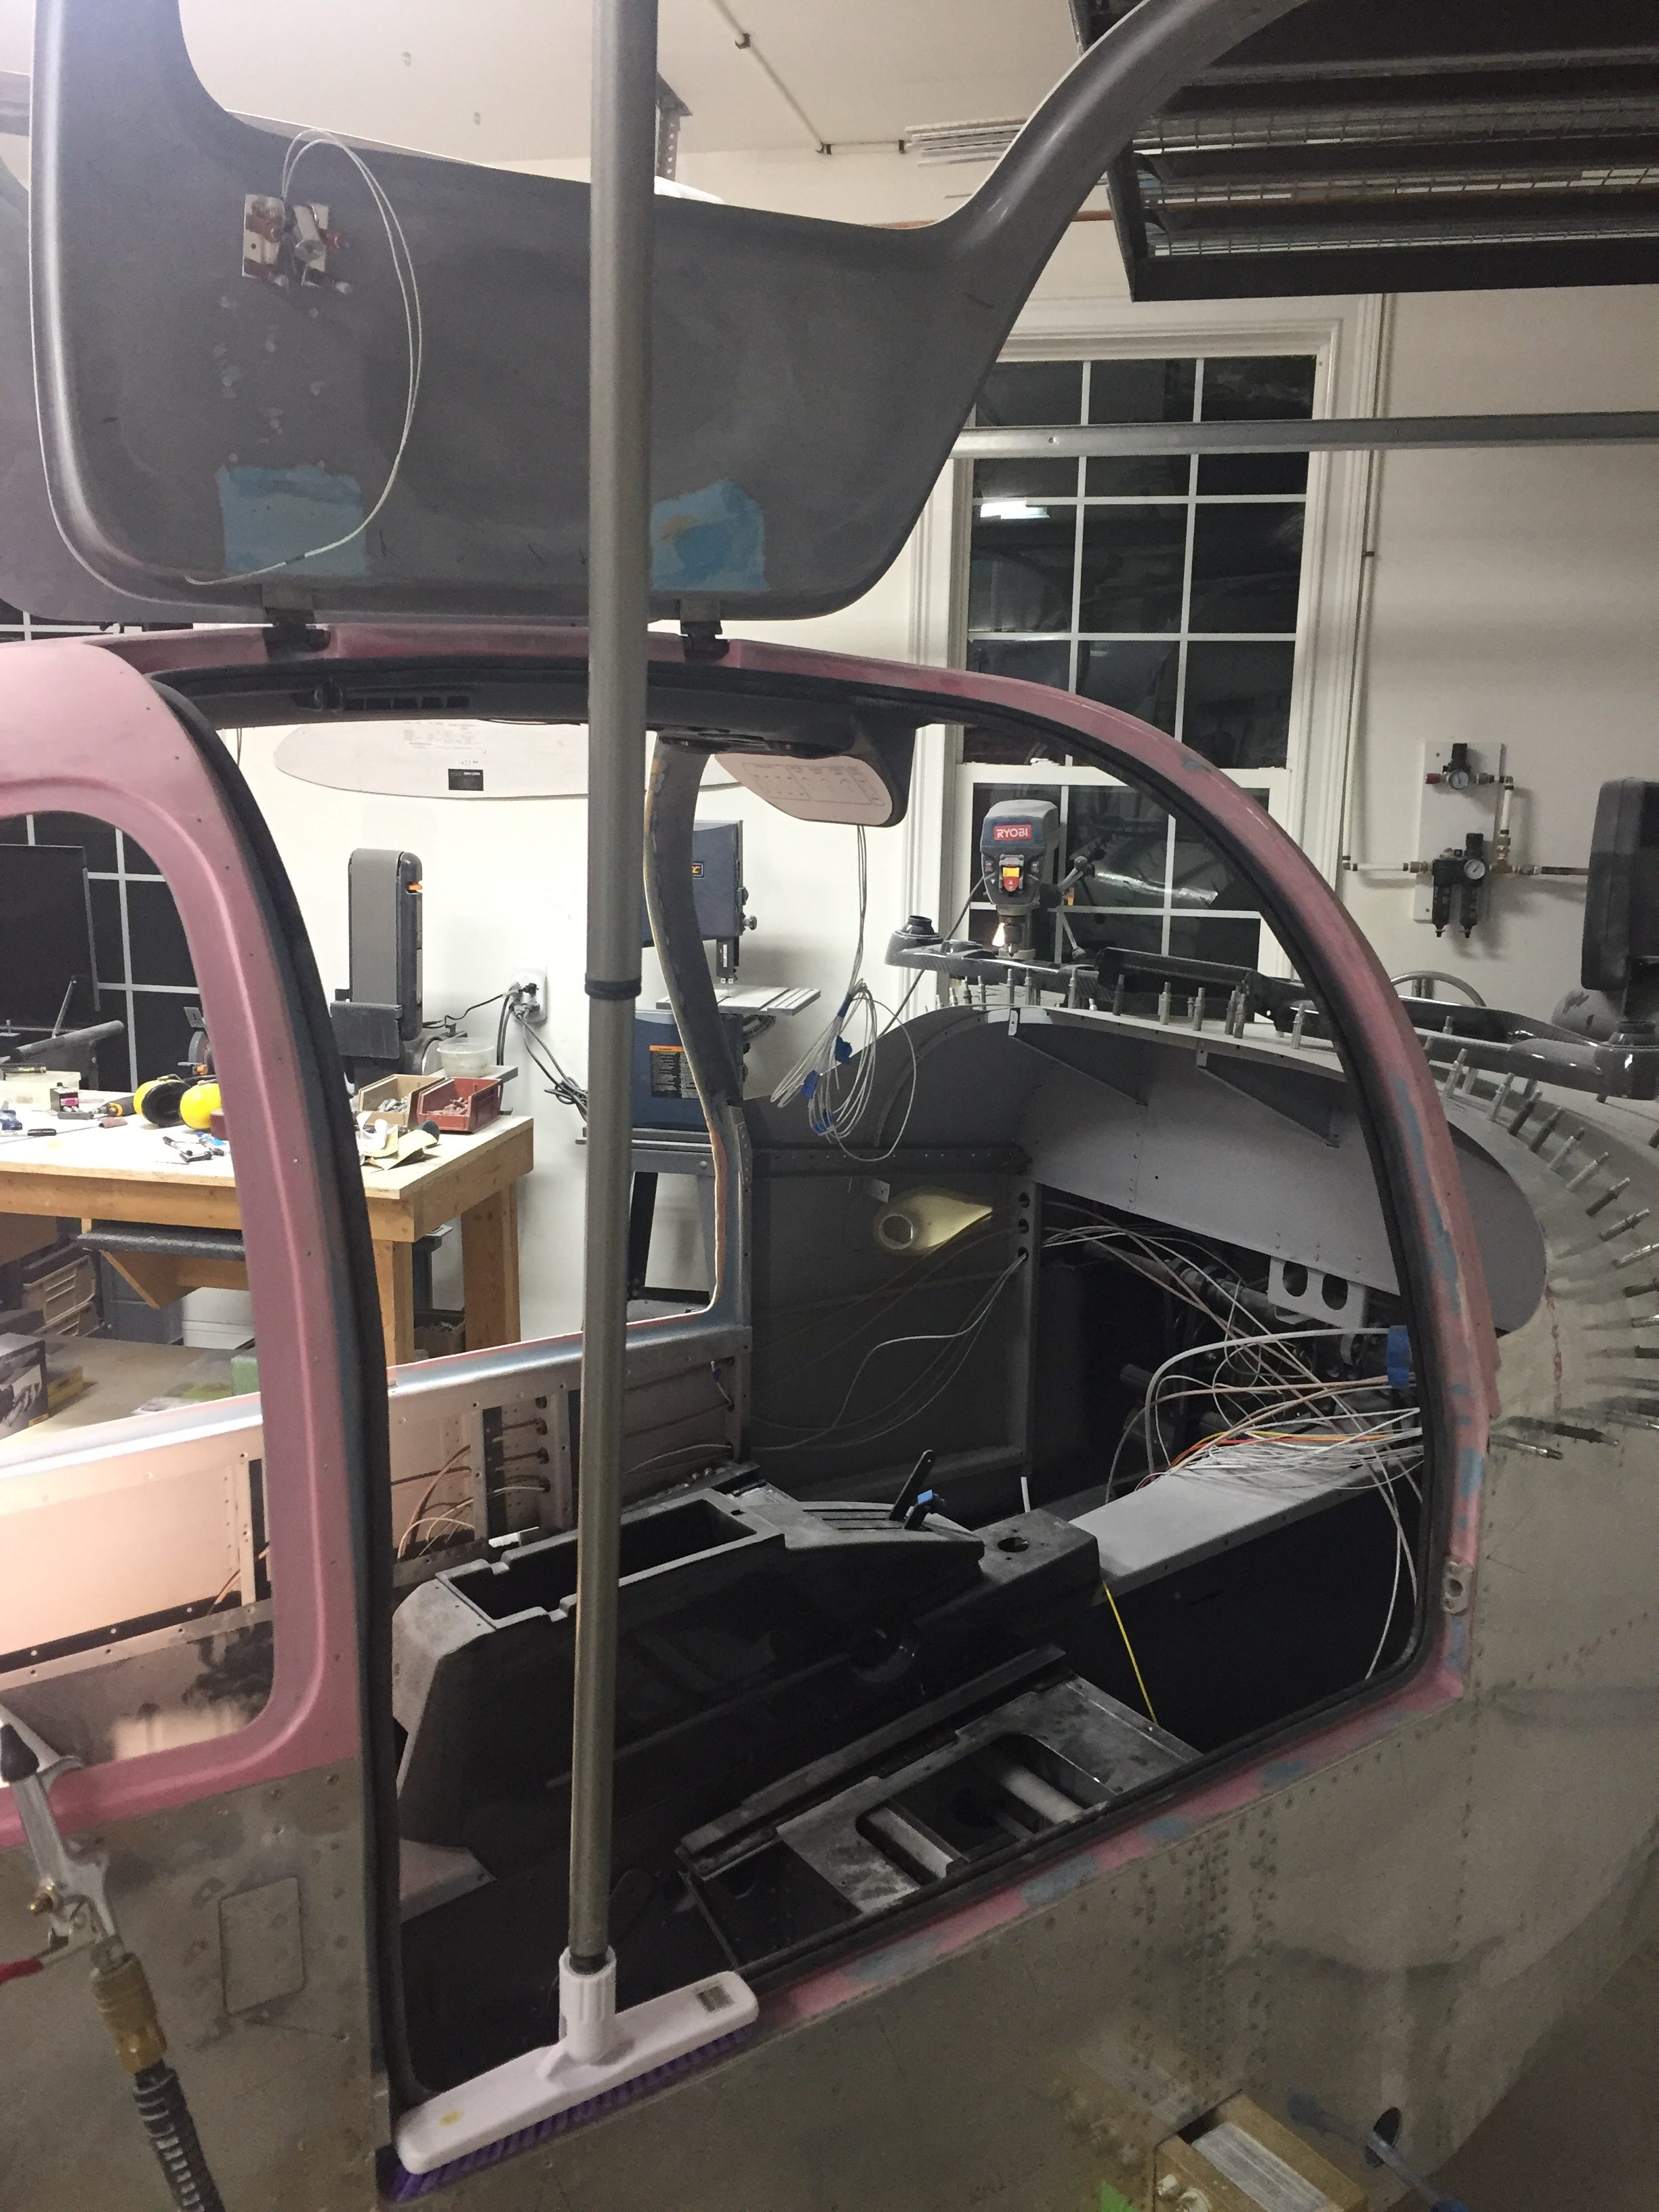
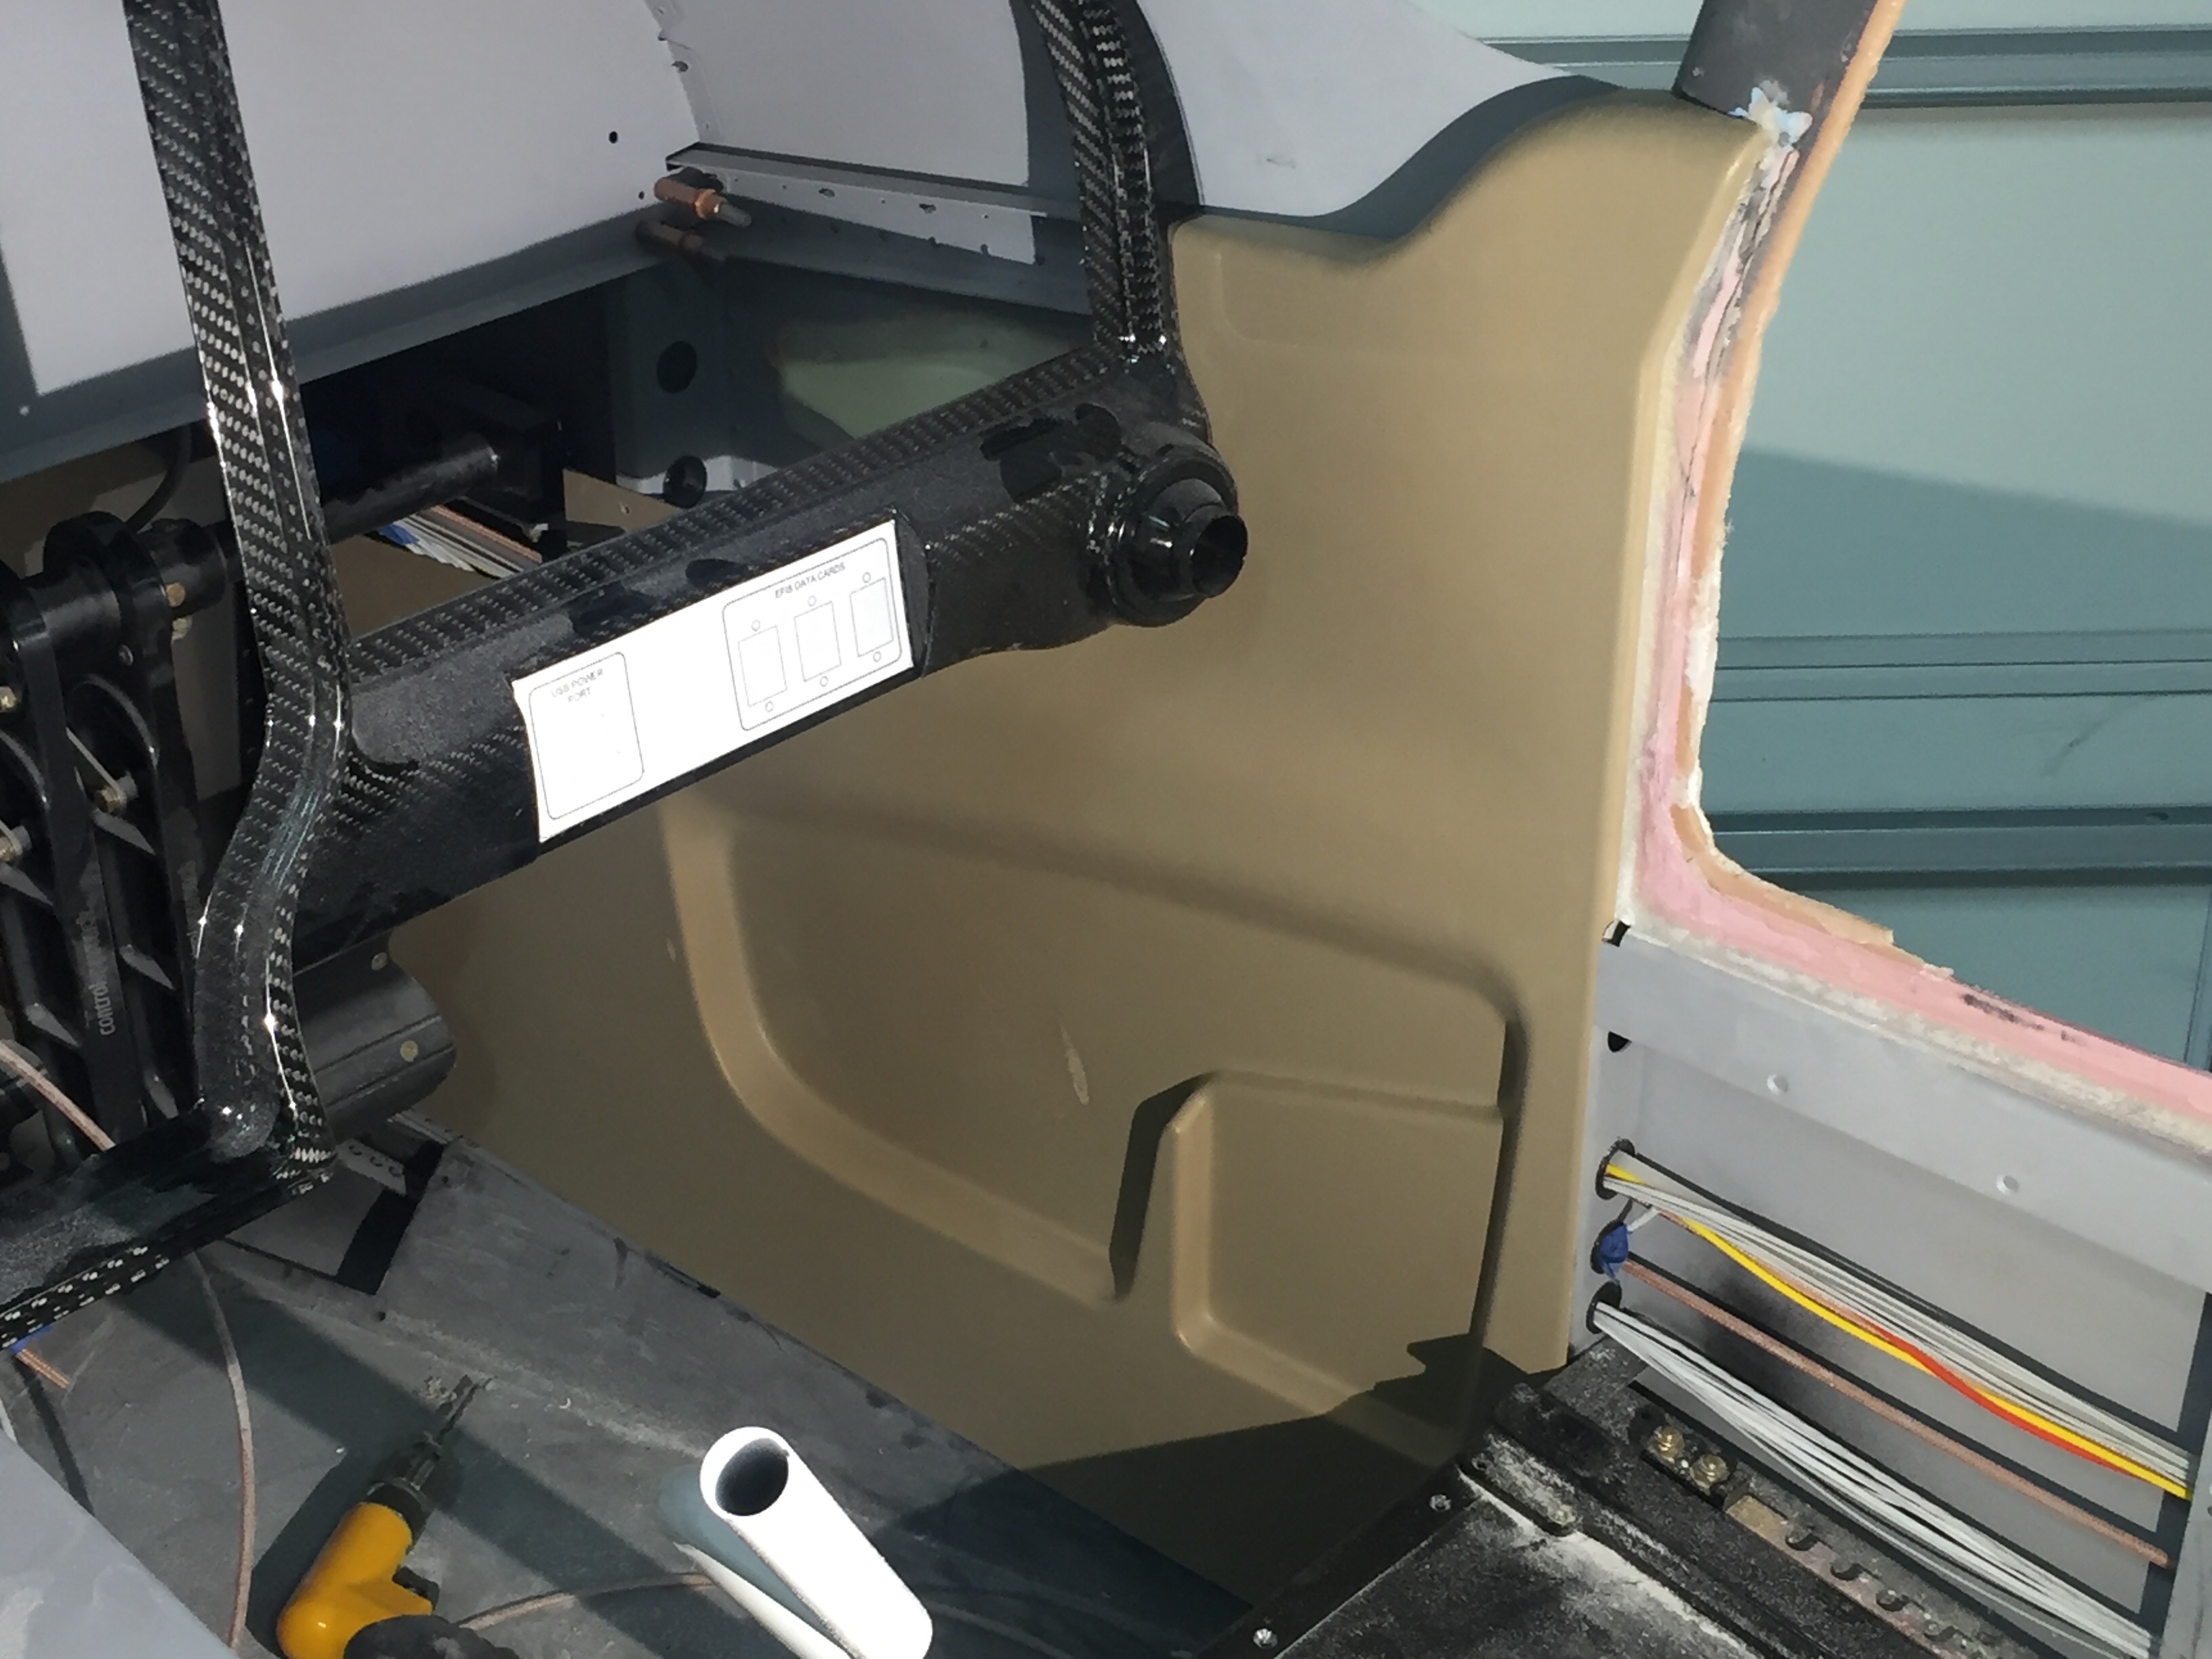
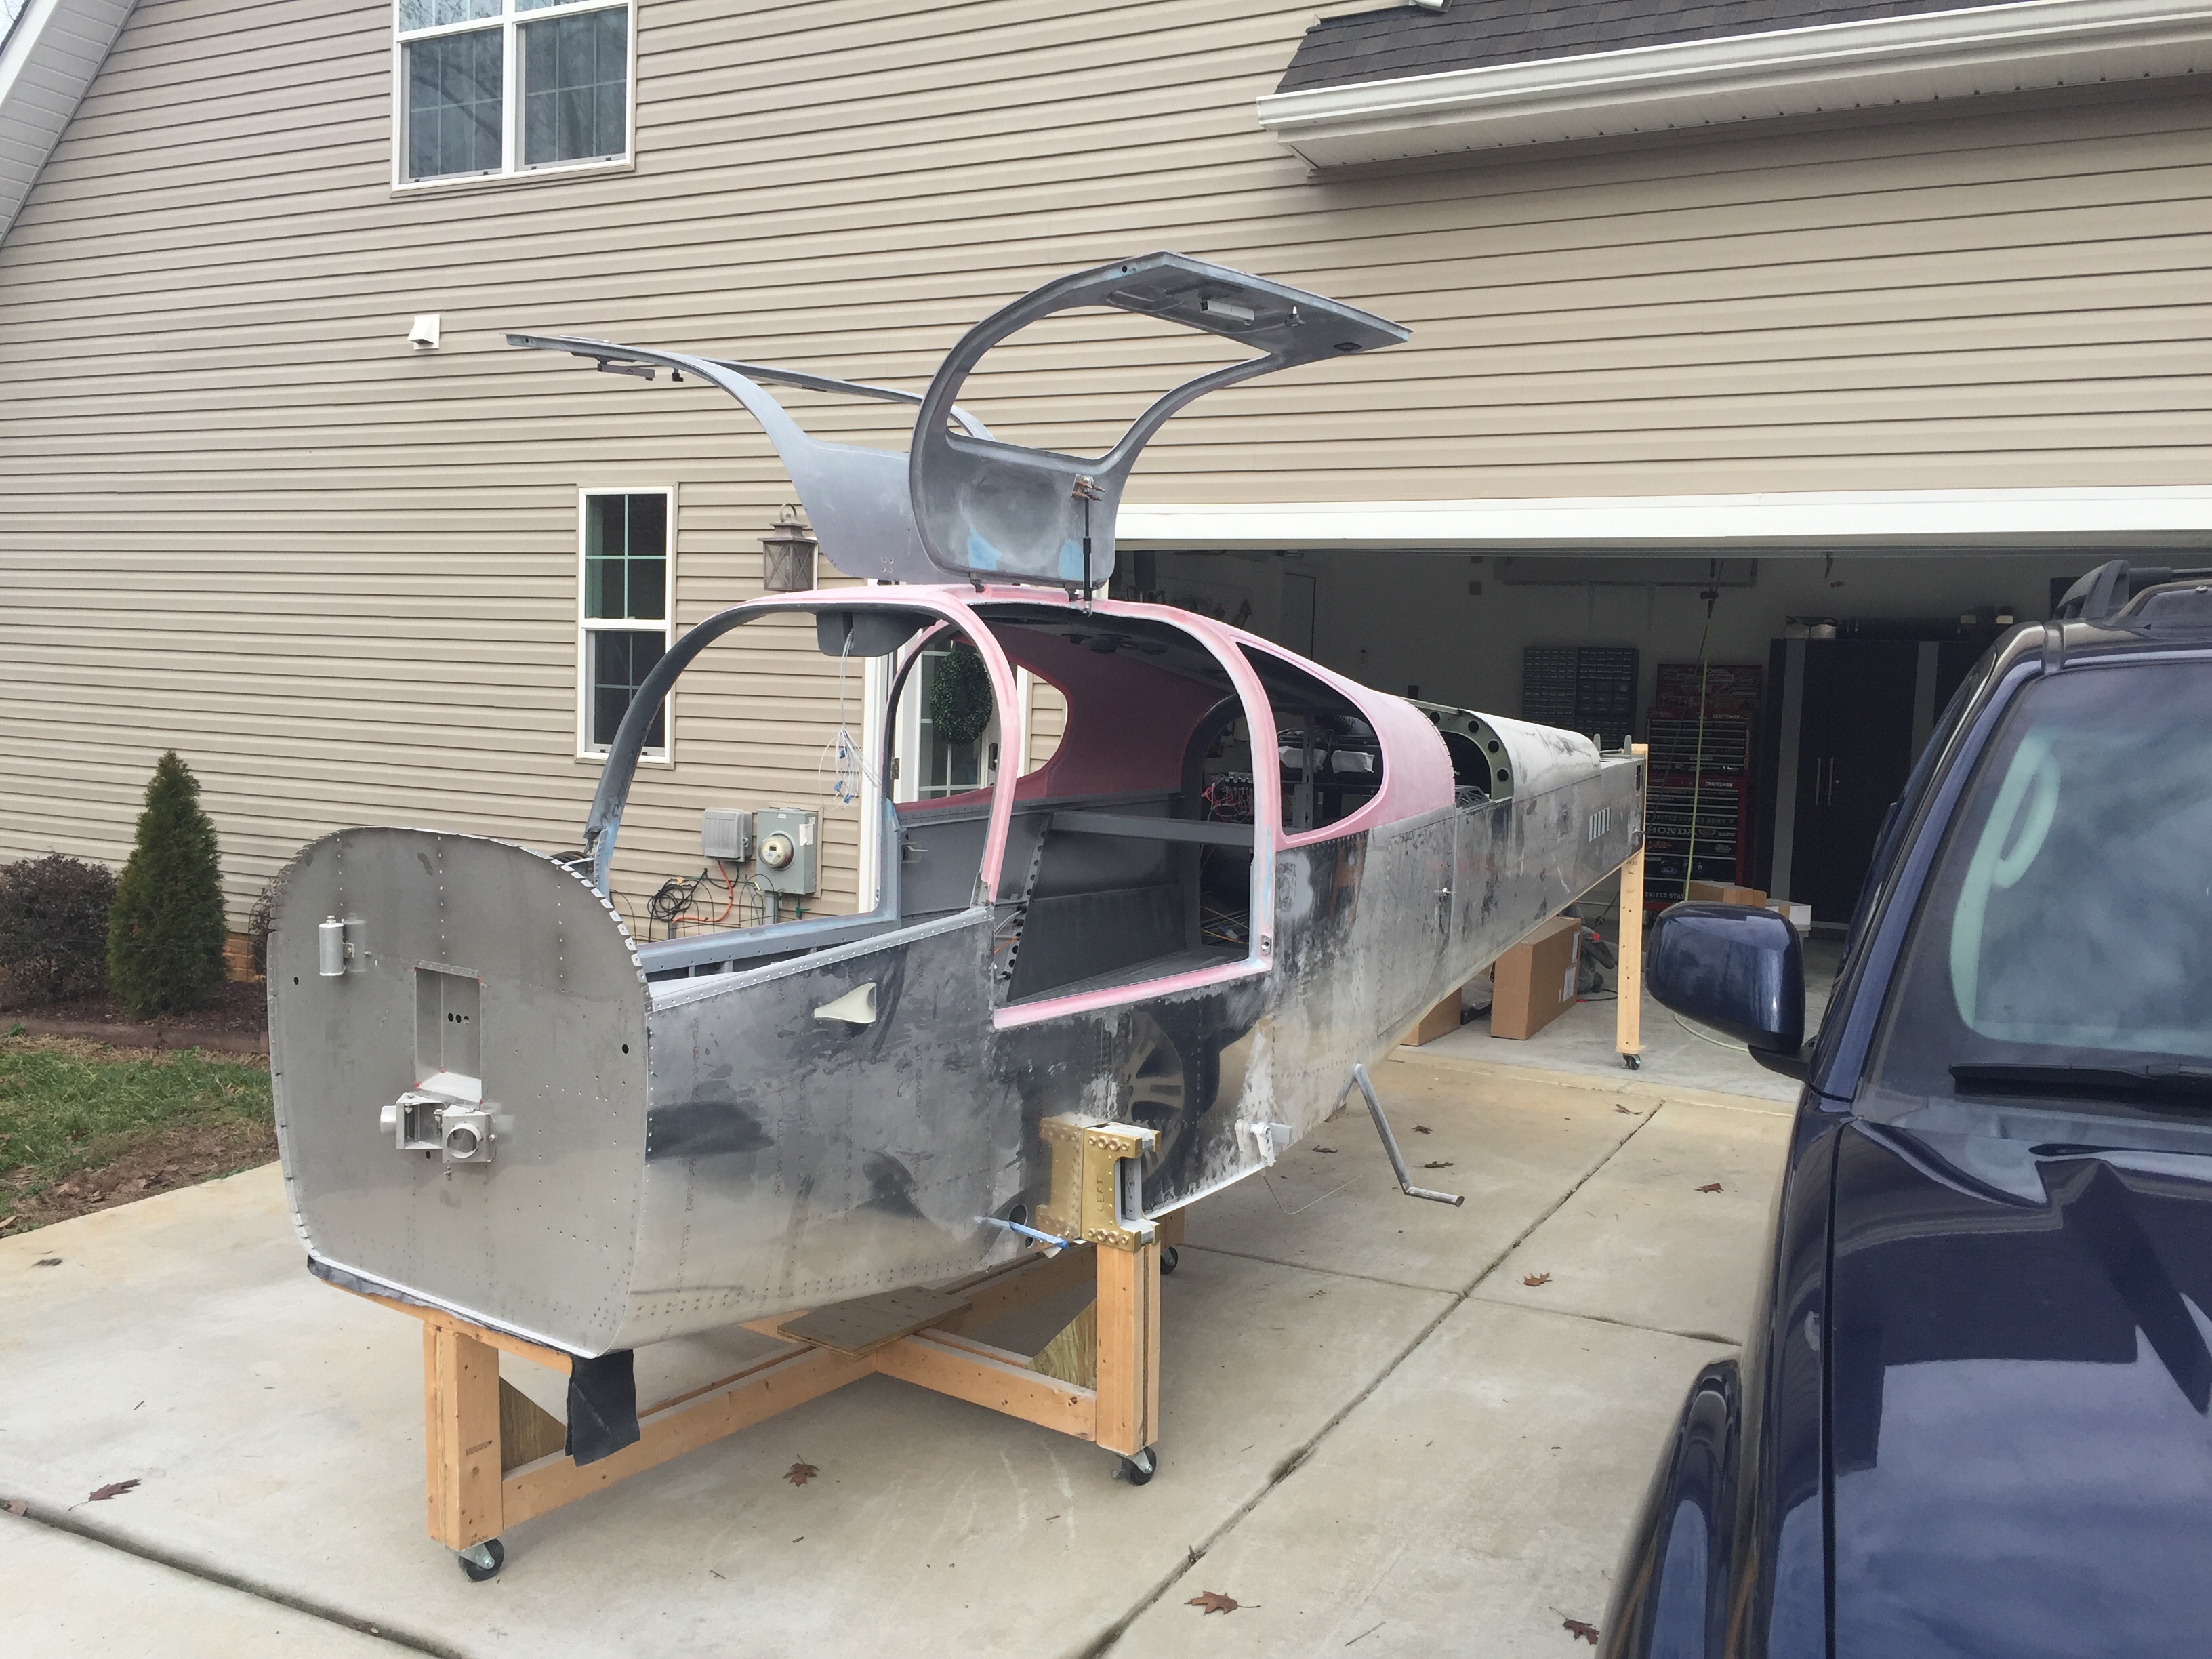
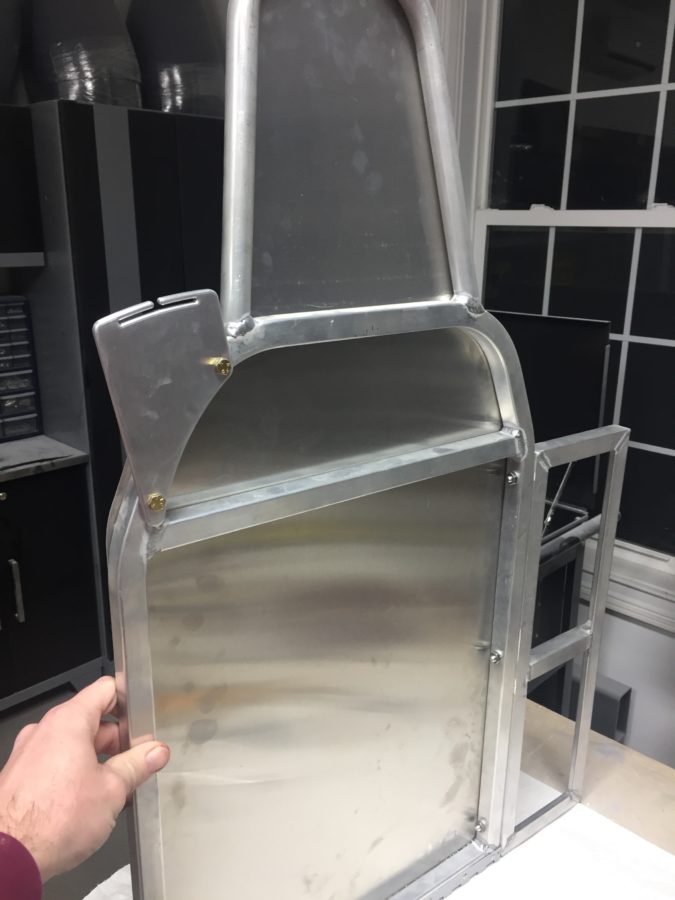
Just when I thought I was nearing the work on the inside, all hell breaks loose. As I had put masking tape on the overhead console to protect the paint from scratches caused by fitting the headliner base, I wound up setting myself pretty far back by ripping off chunks of paint with the tape. Now we all know it’s probably not the paint’s fault. It’s mine. Why do I do stupid things like not properly prep the surface and not prime? Seriously. WTF Tim? Get your crap together.
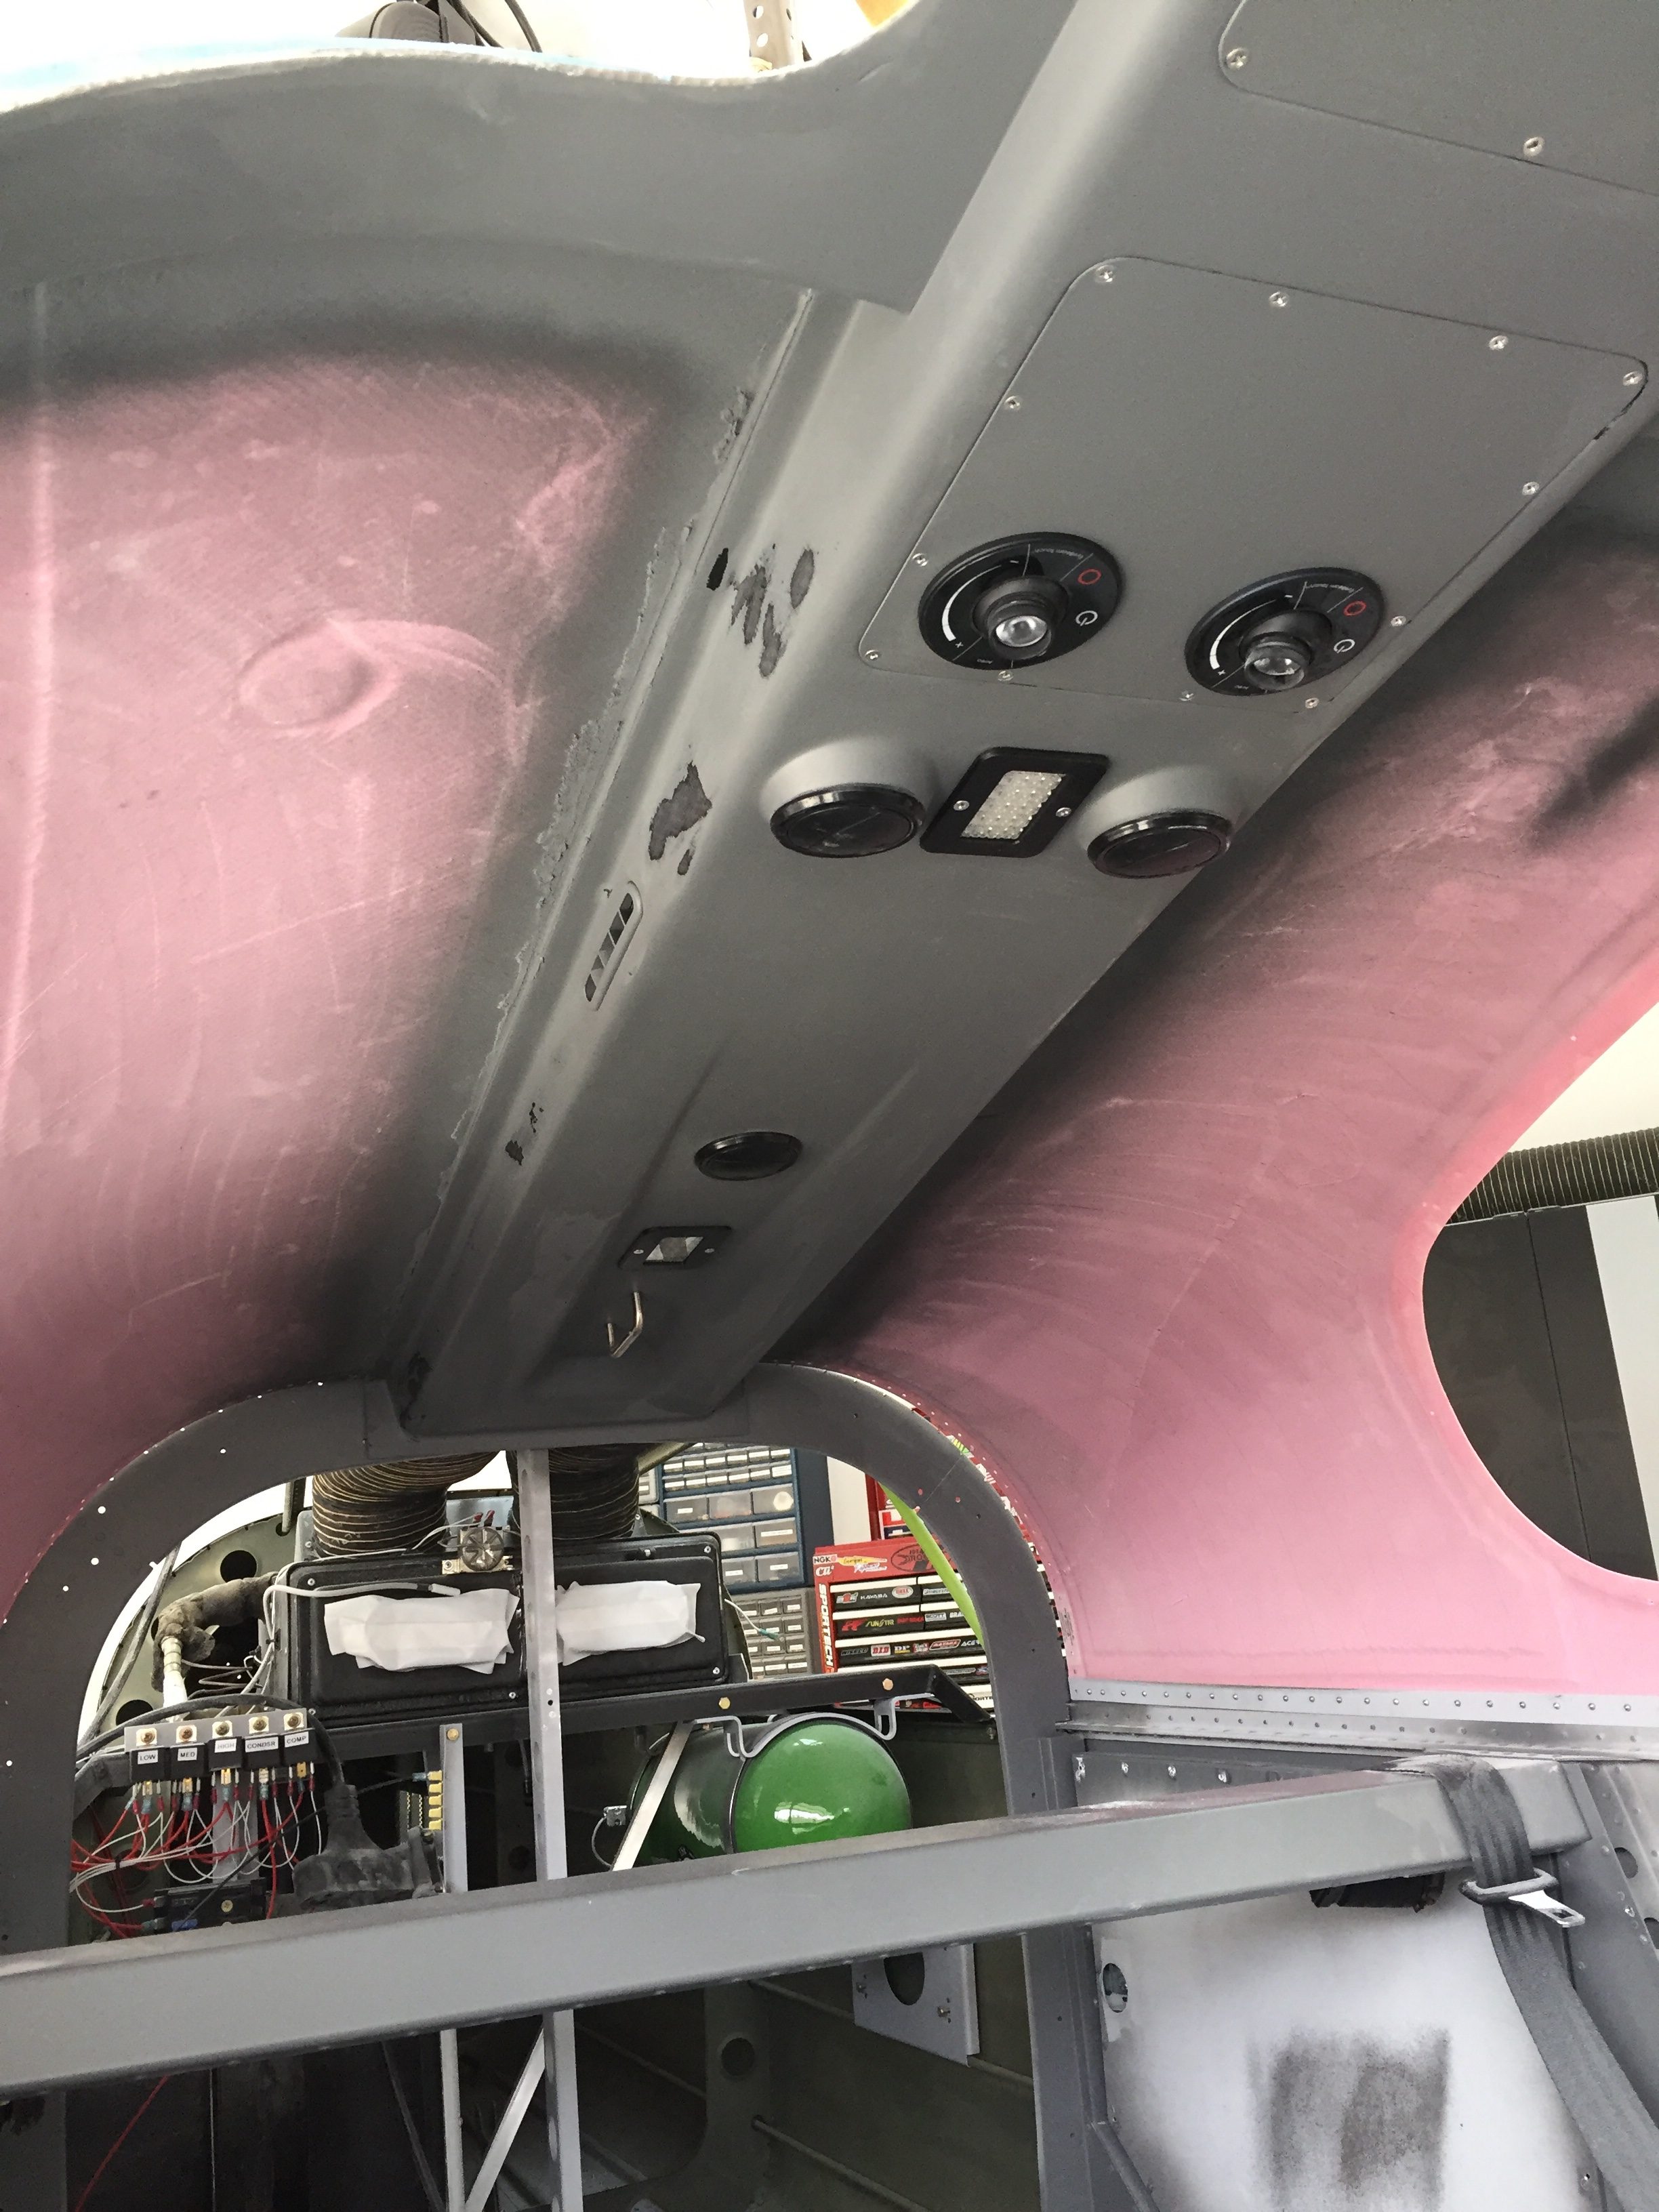
Bottom line, I knew as soon as I painted the overhead it was fragile. The paint had already chipped off a few spots around the metal insert panels and I was concerned that it wouldn’t hold up to normal wear and tear. I chewed on having a professional painter take it and strip the entire interior but then decided against it, not wanting to give up control. On the surfaces where I properly prepped and applied the paint, I was very happy with it. I like the idea of being able to do spot touch ups with a spray can down the road. All of the interior matches. All those plus the thought of someone inadvertently sanding through filler while trying to remove the current paint helped me climb in with a razor blade, pile of sand paper, and a neck brace to start working overhead.
After about three hours of work, all the paint was off the overhead and everything had been sanded down with 120 grit. Even though Aerosport says 320, I found that it wasn’t really marking the surface much, and I want the paint to stick this time! I took my time around the vents and areas of the cabin top where I knew the paint/primer was strong such as the door frames and switch panel. As I was removing the paint, I could obviously tell where areas were better than others. Around the door frames that had been scuffed and near the switch console where I had primed, the paint was a real bear to remove. That gives me hope I can do it right.
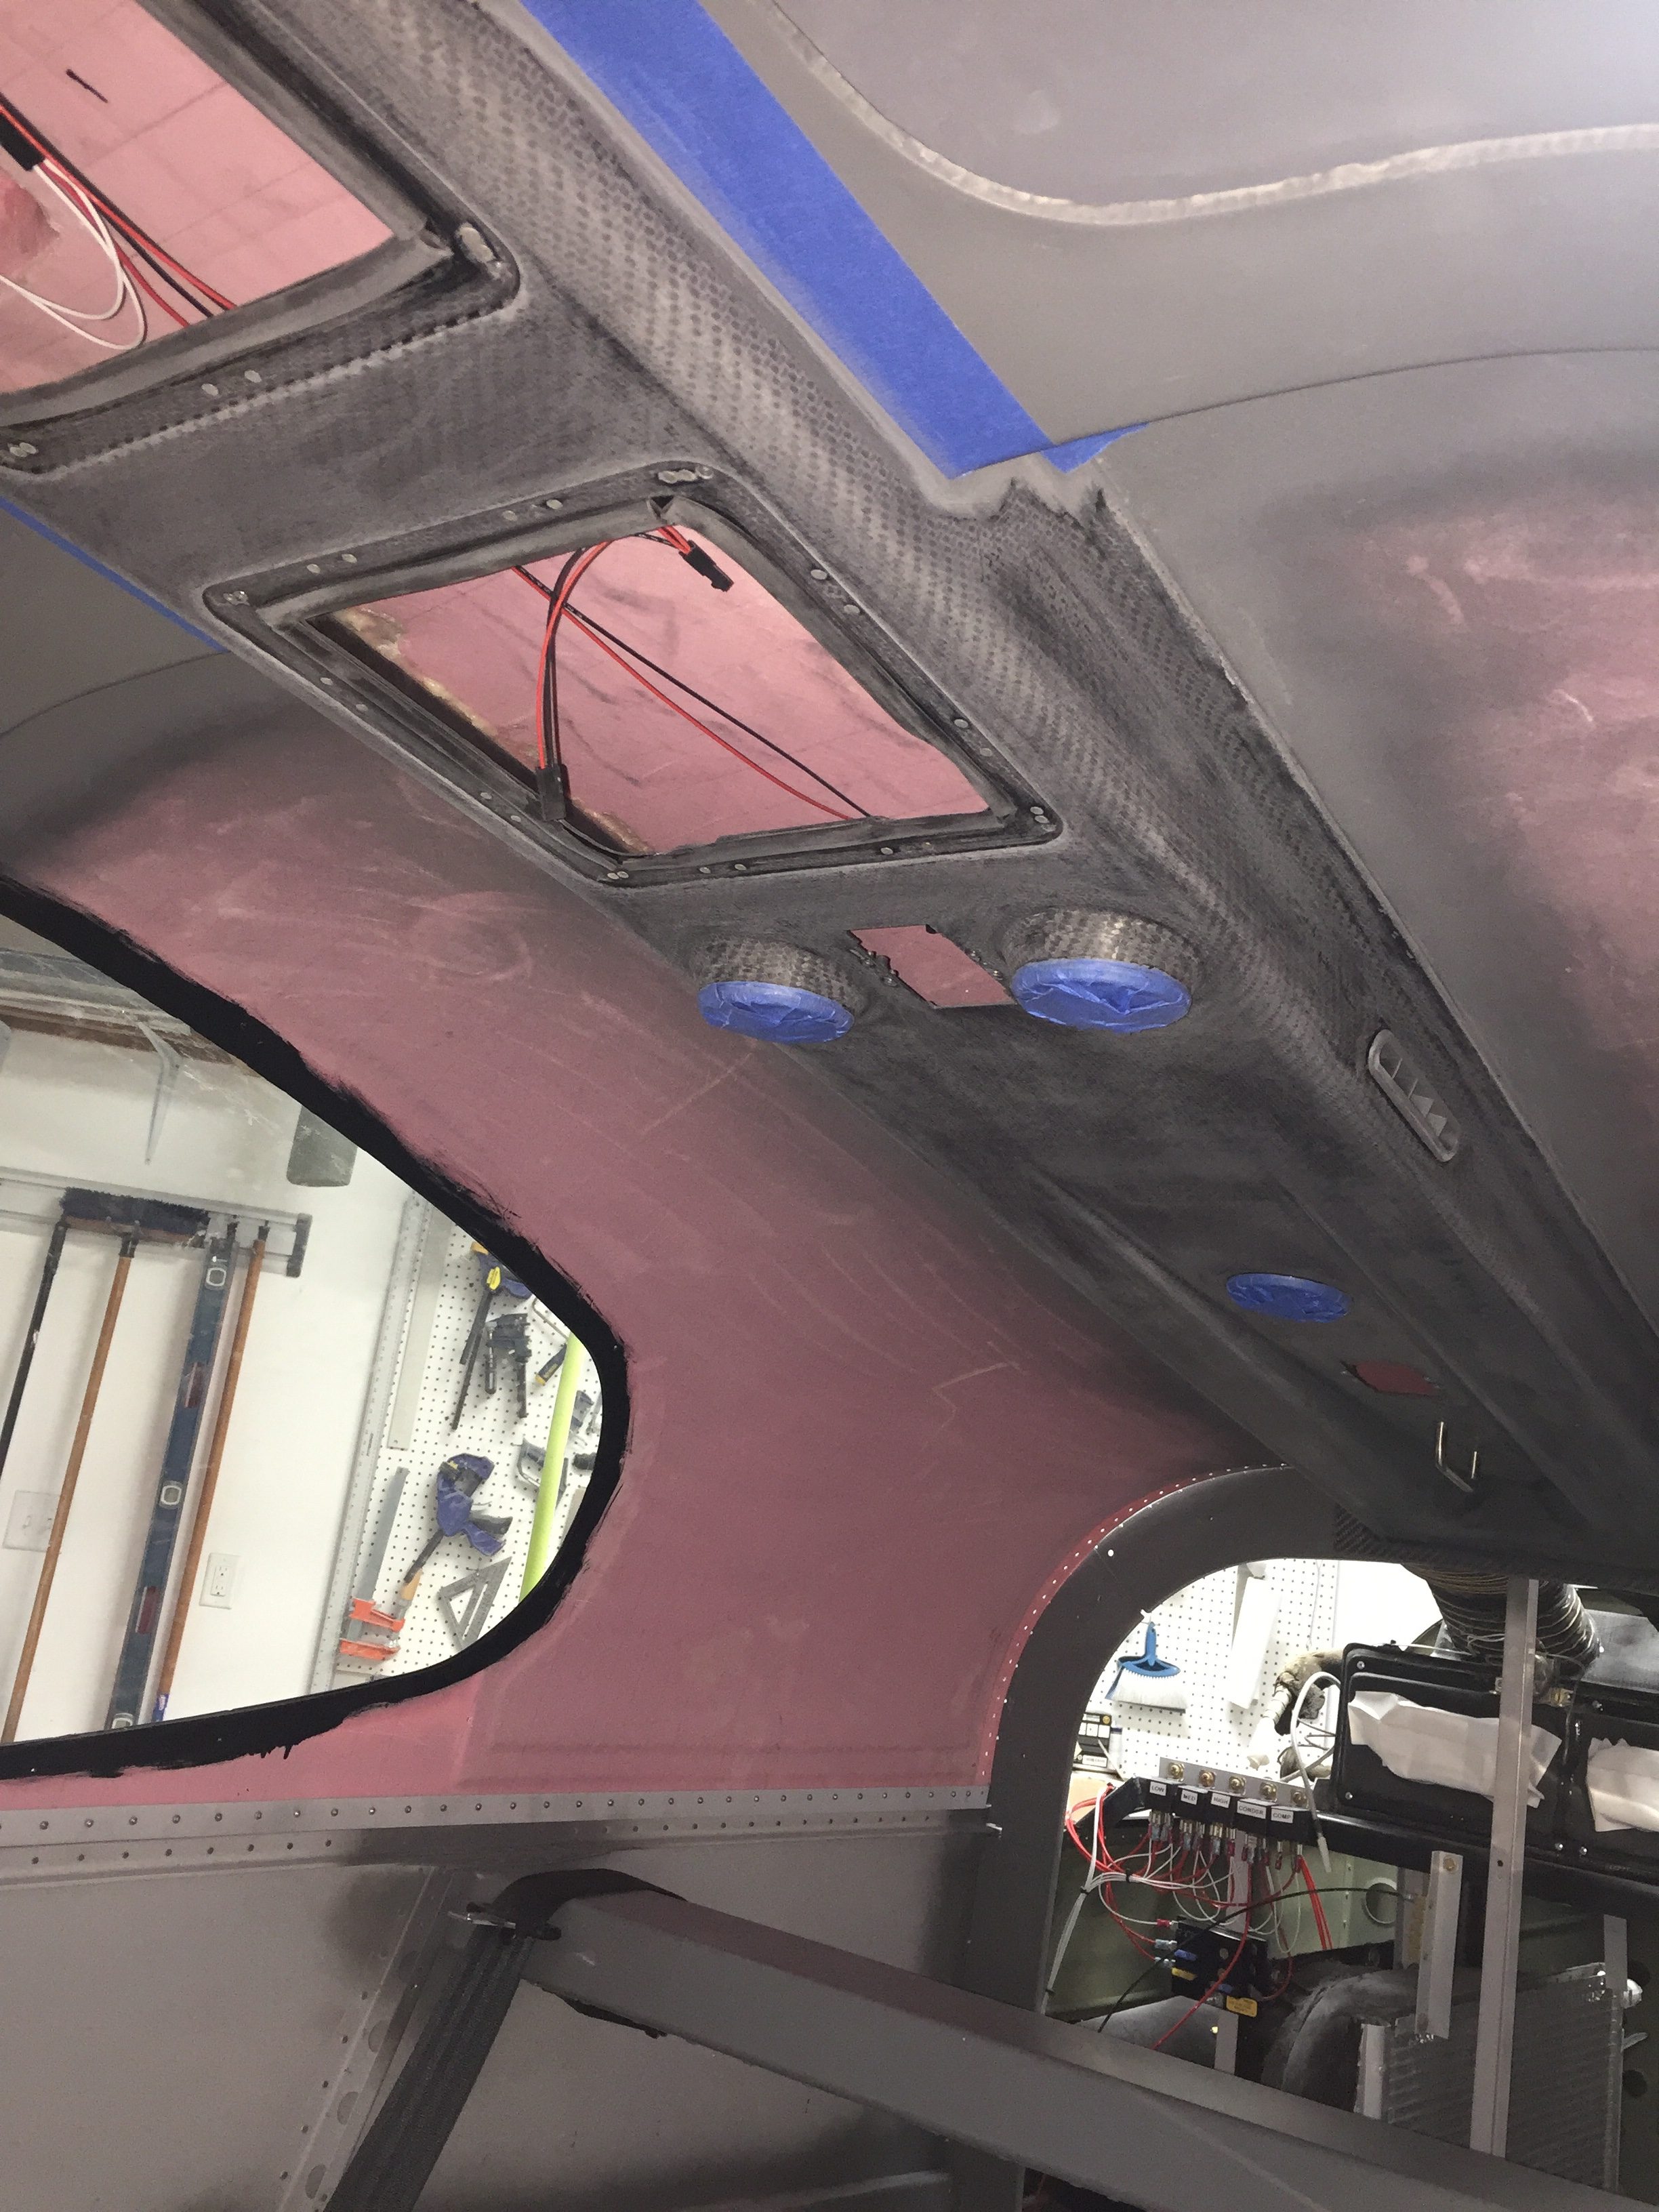
This time, I’ll use tack-free to wipe down the entire surface very well and remove any contaminants (something I didn’t really do before) then use an adhesion promoter while putting the primer on. I have the fuselage all cleaned out from dust (again) and need to finish the touch ups on the door at the same time. I’ll also spray the baggage door panel. I’m not going to jinx myself and say that will finish the interior this time.
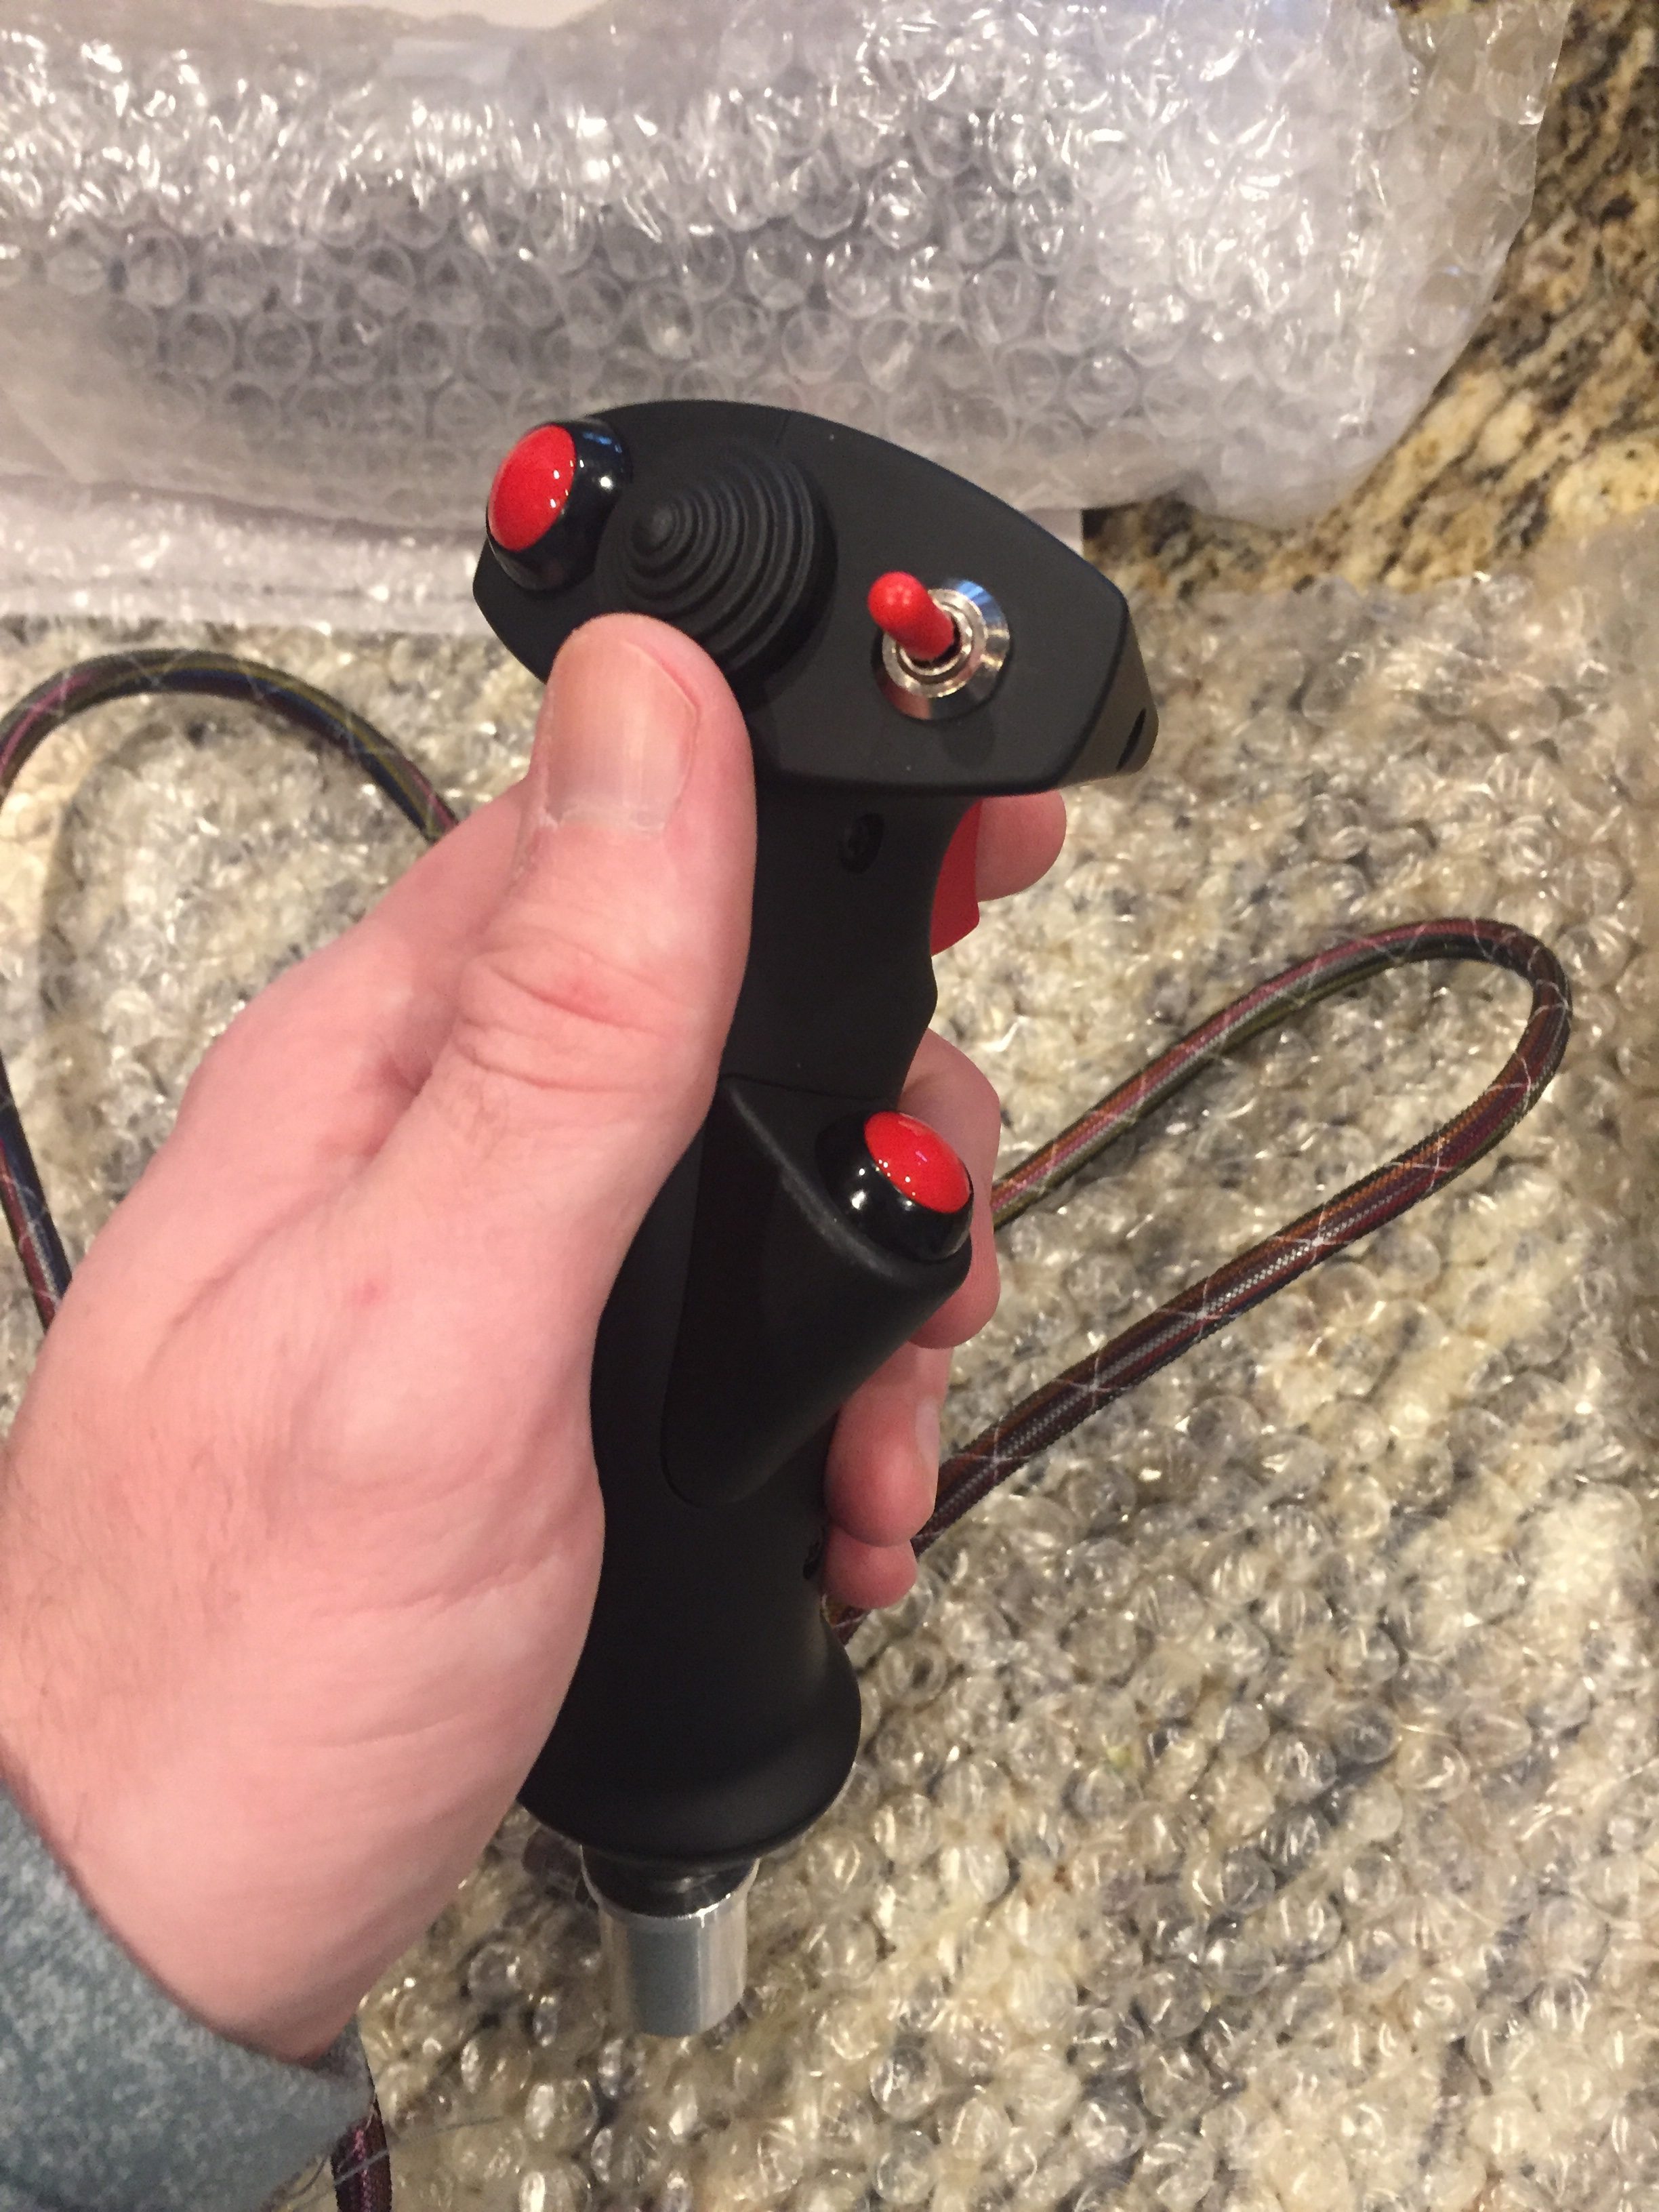
Meanwhile, my first two very expensive boxes of avionics have arrived! The lesser of the two from Tosten had my two stick grips in it which led to lots of button pushing, trigger pulling, couch flying while making airplane, gun, and missile noises! I’ll try to get a video sometime.
The big box was from Advanced Flight Systems as a prelude to the full panel being shipped in a week or two.
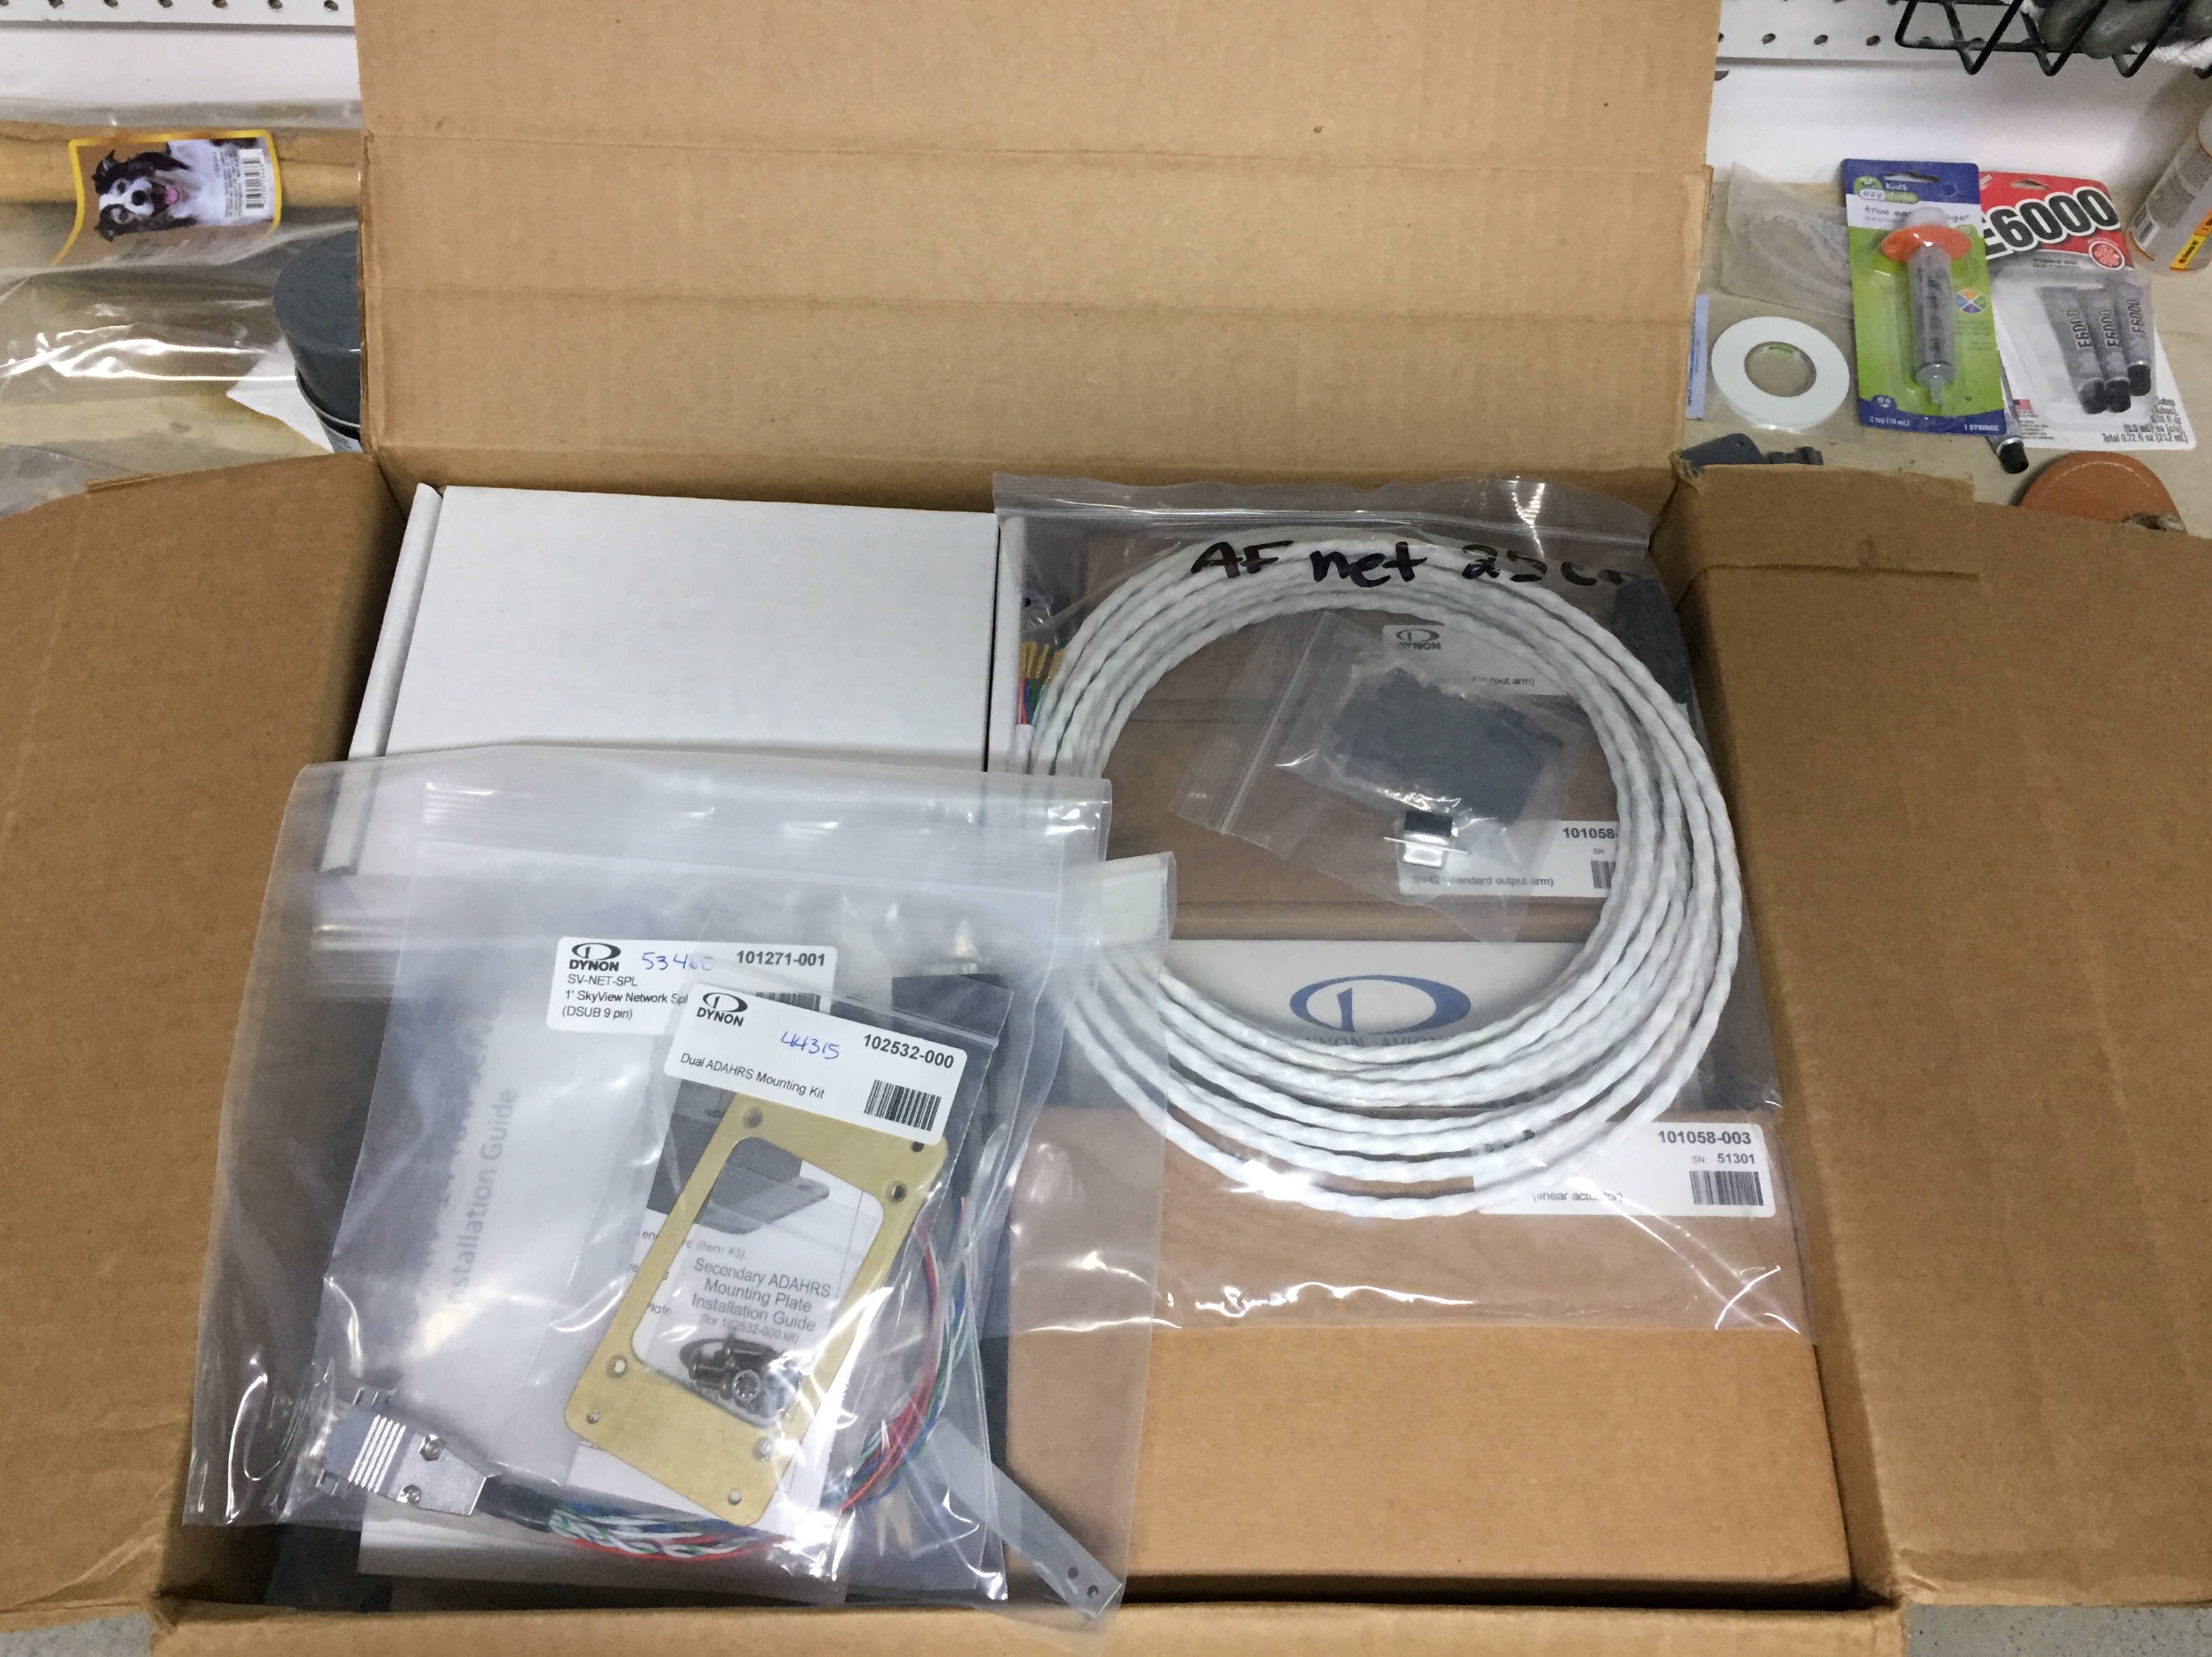
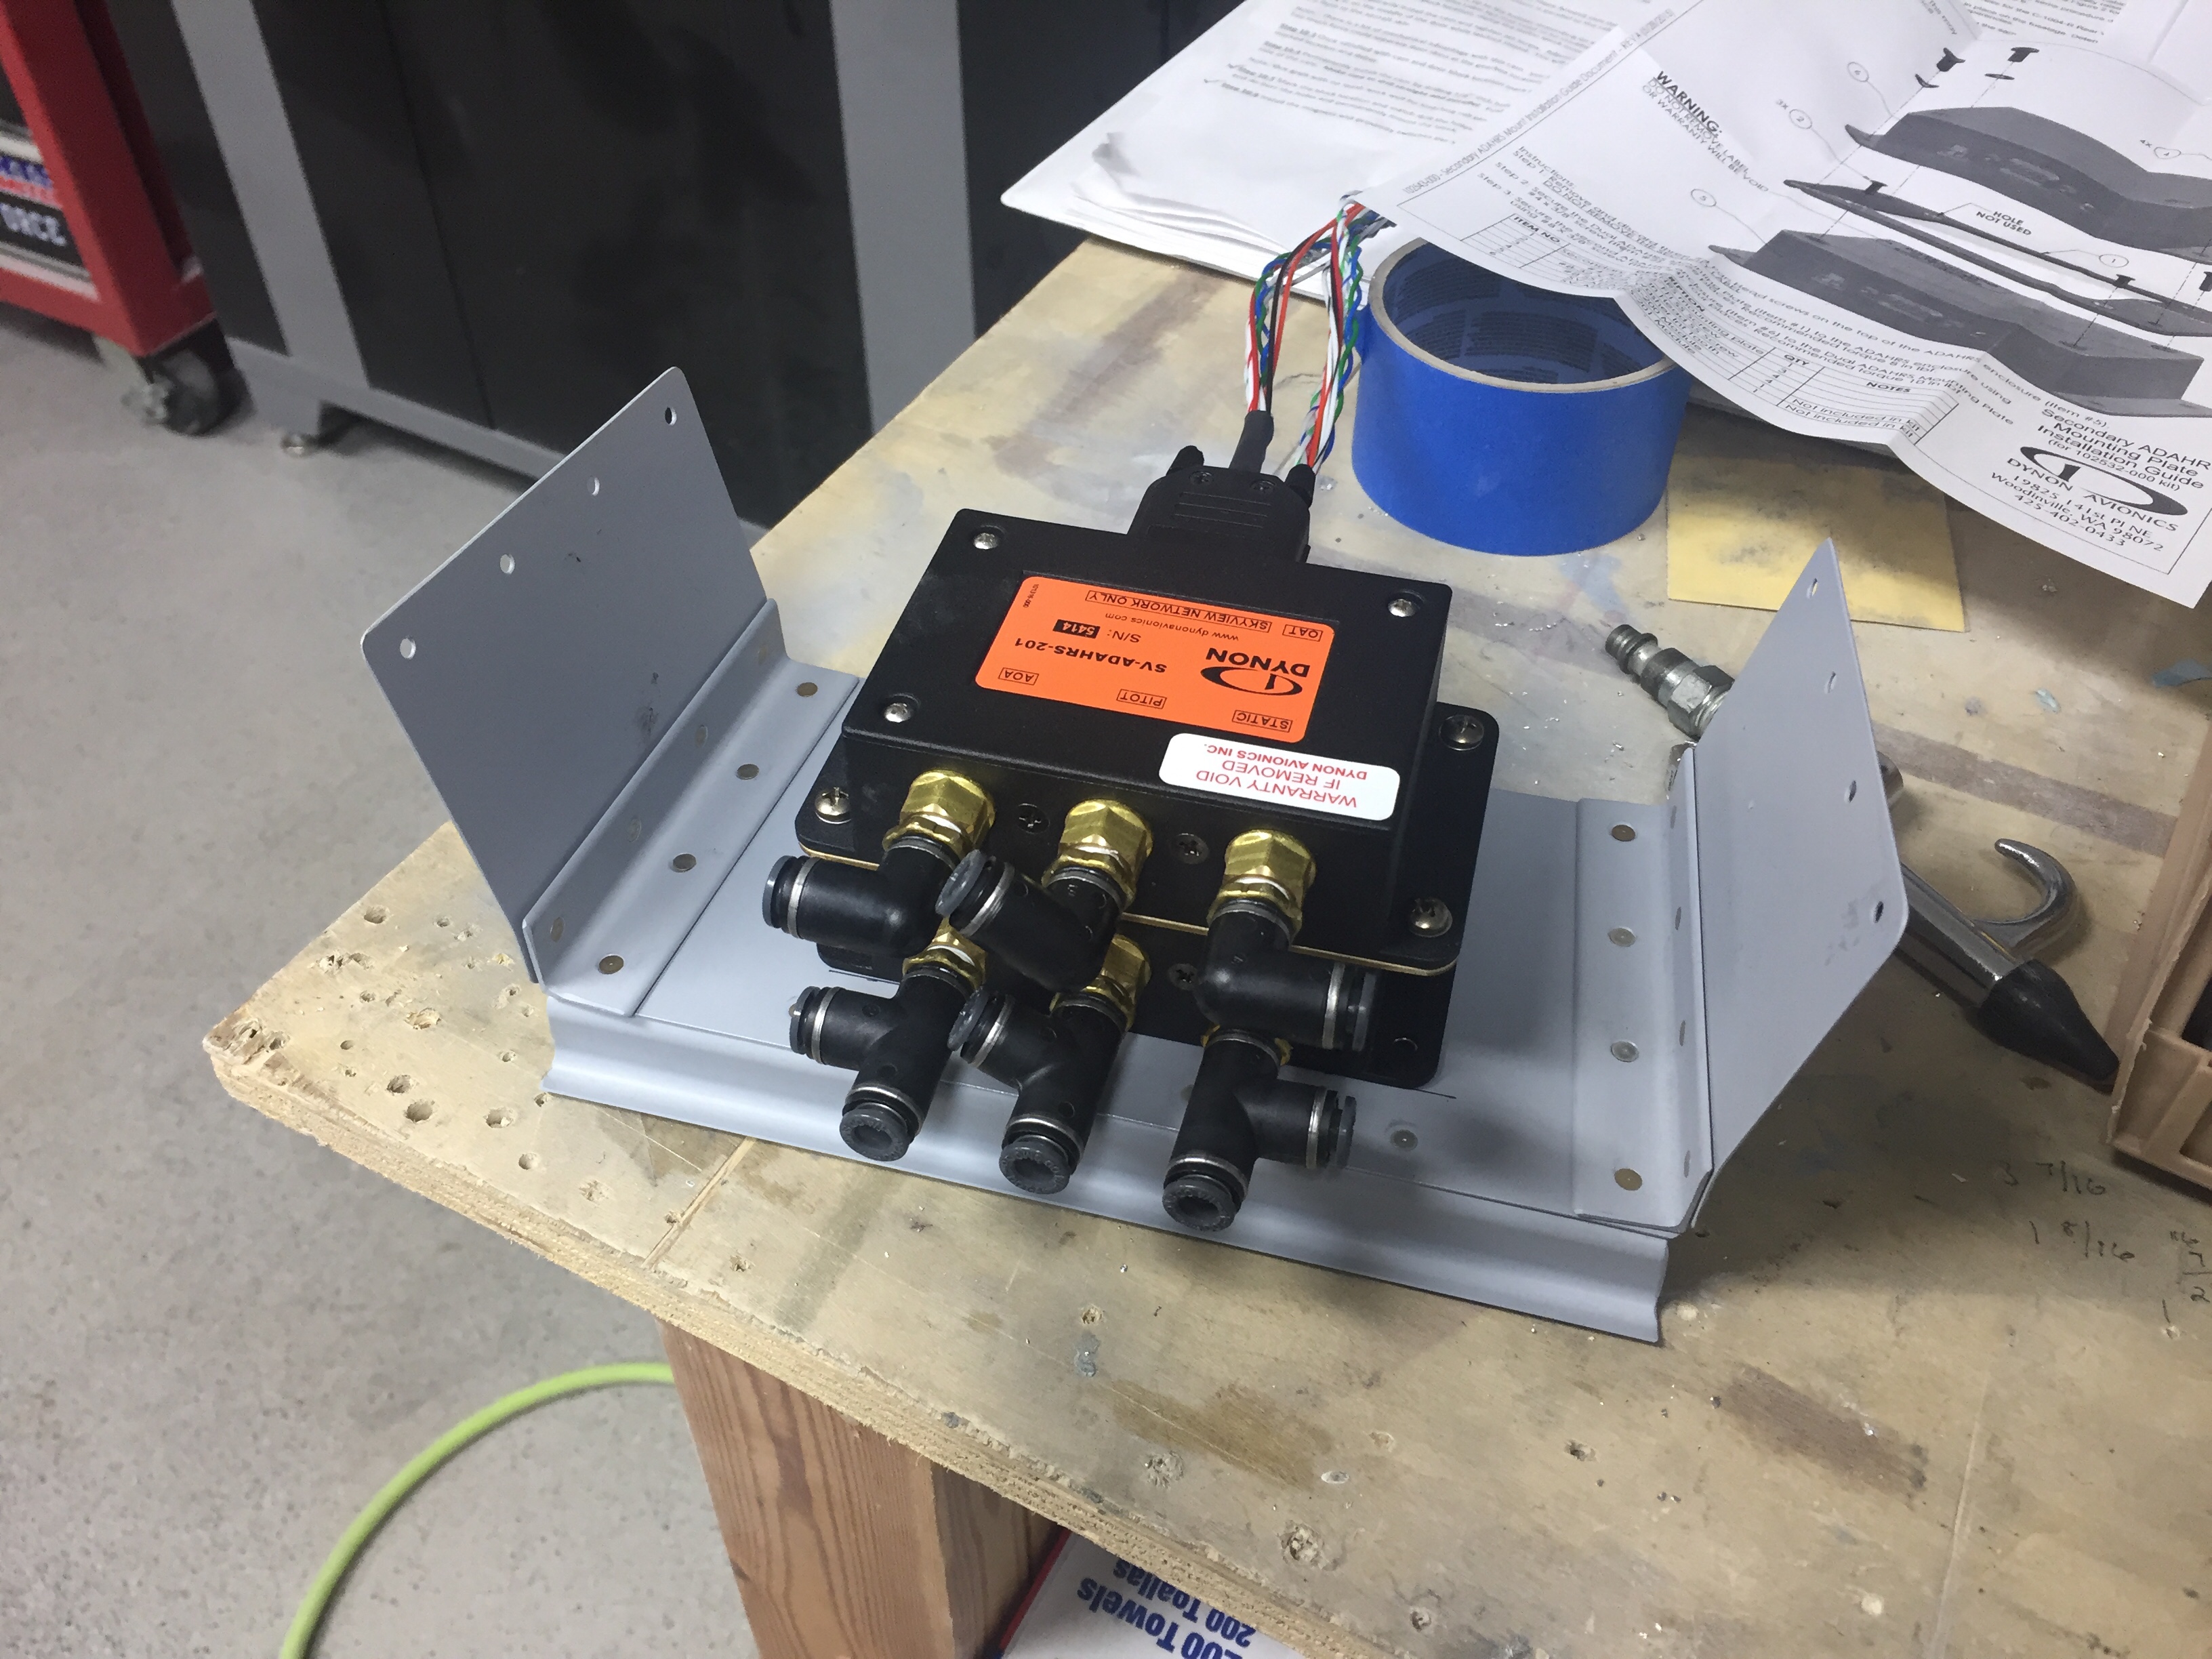
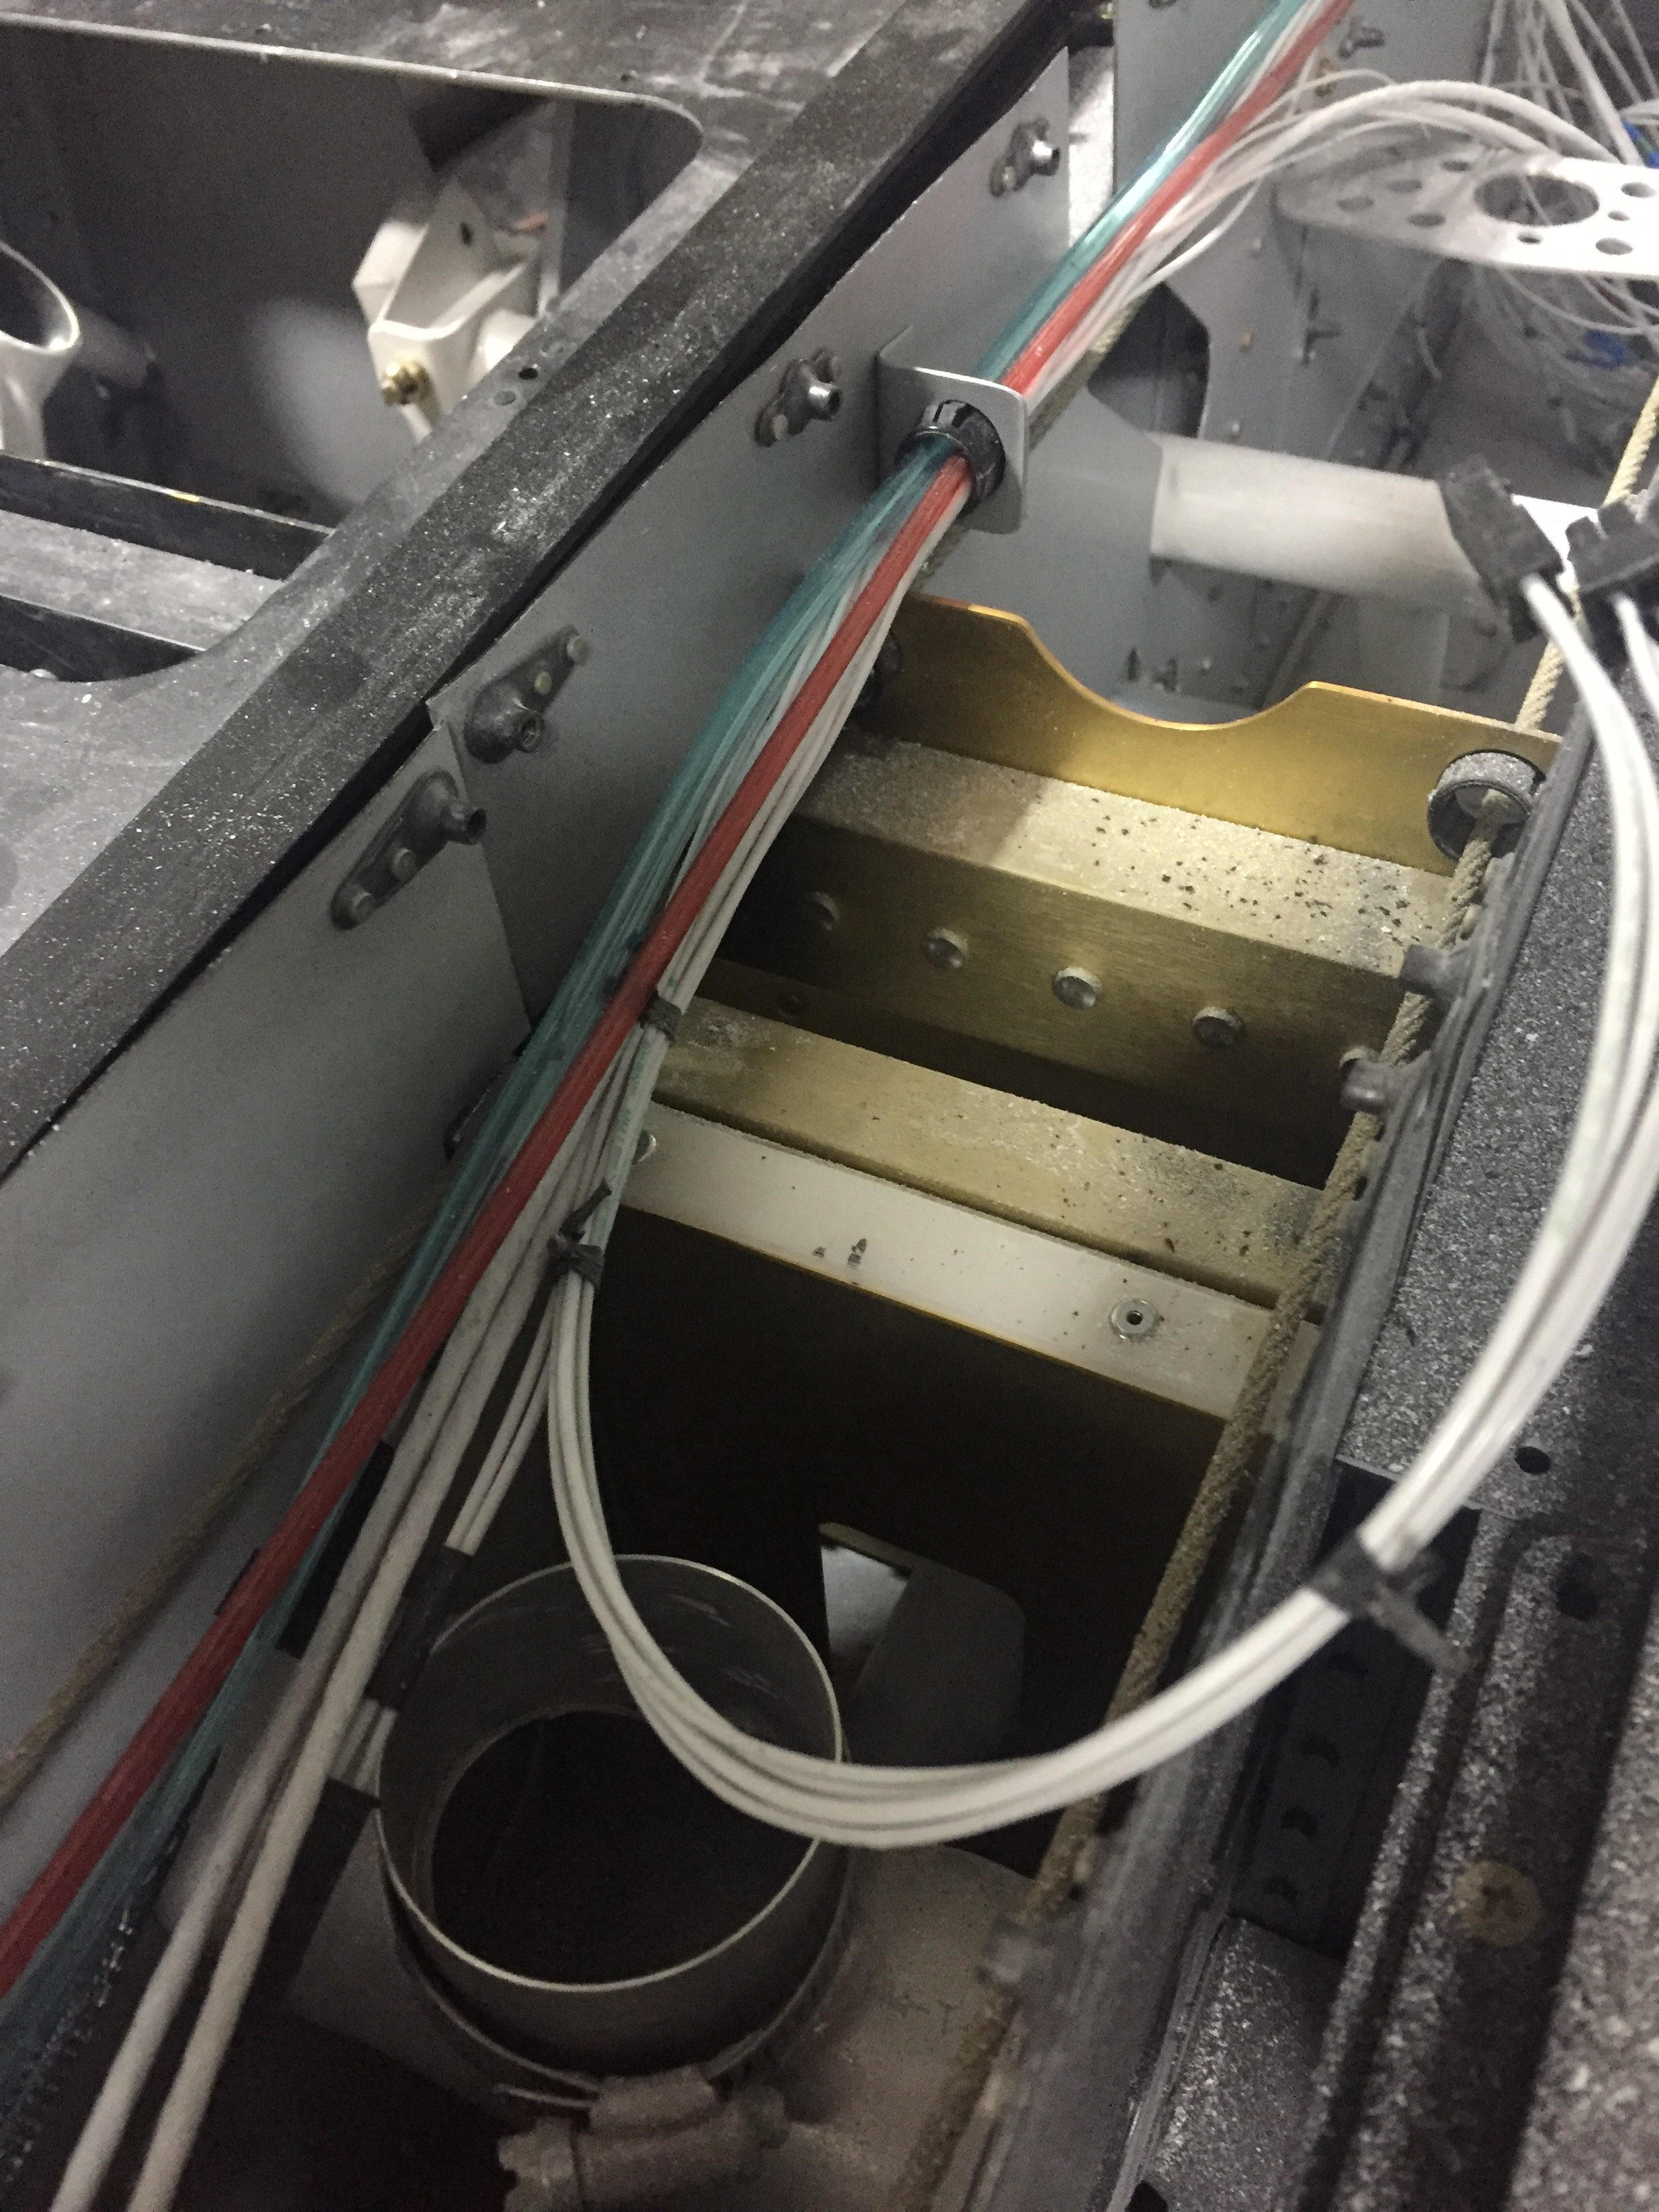
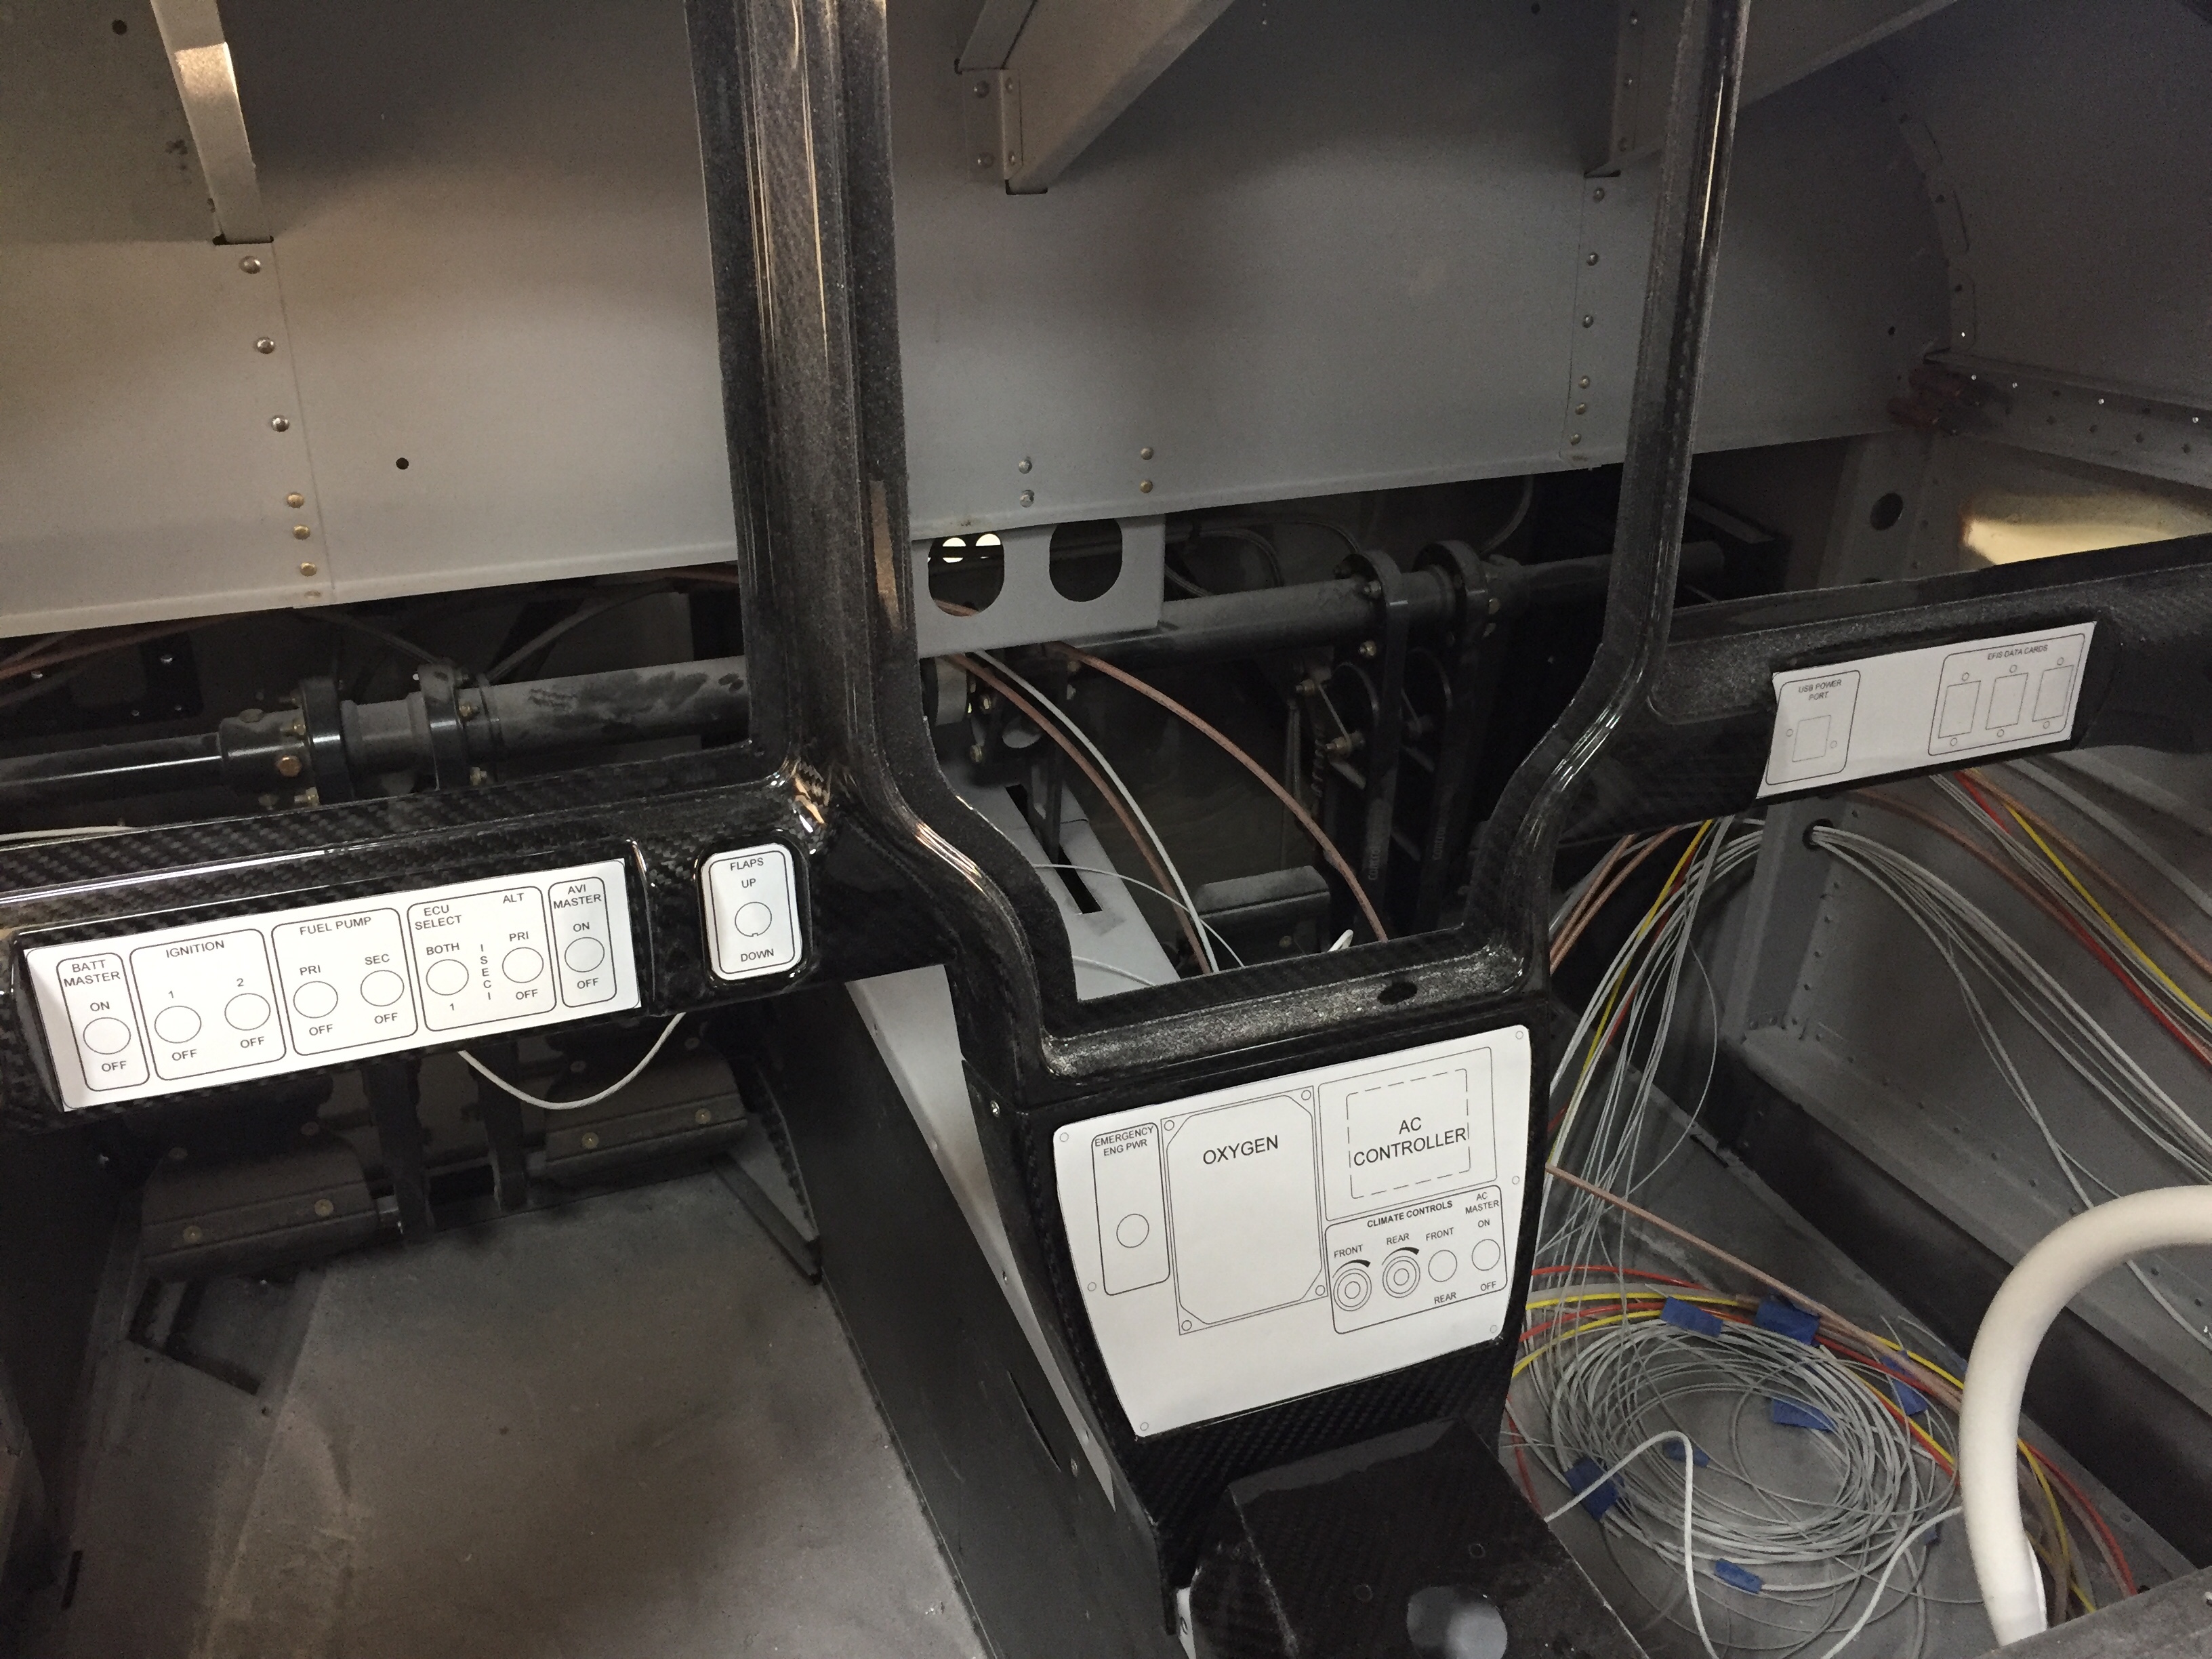
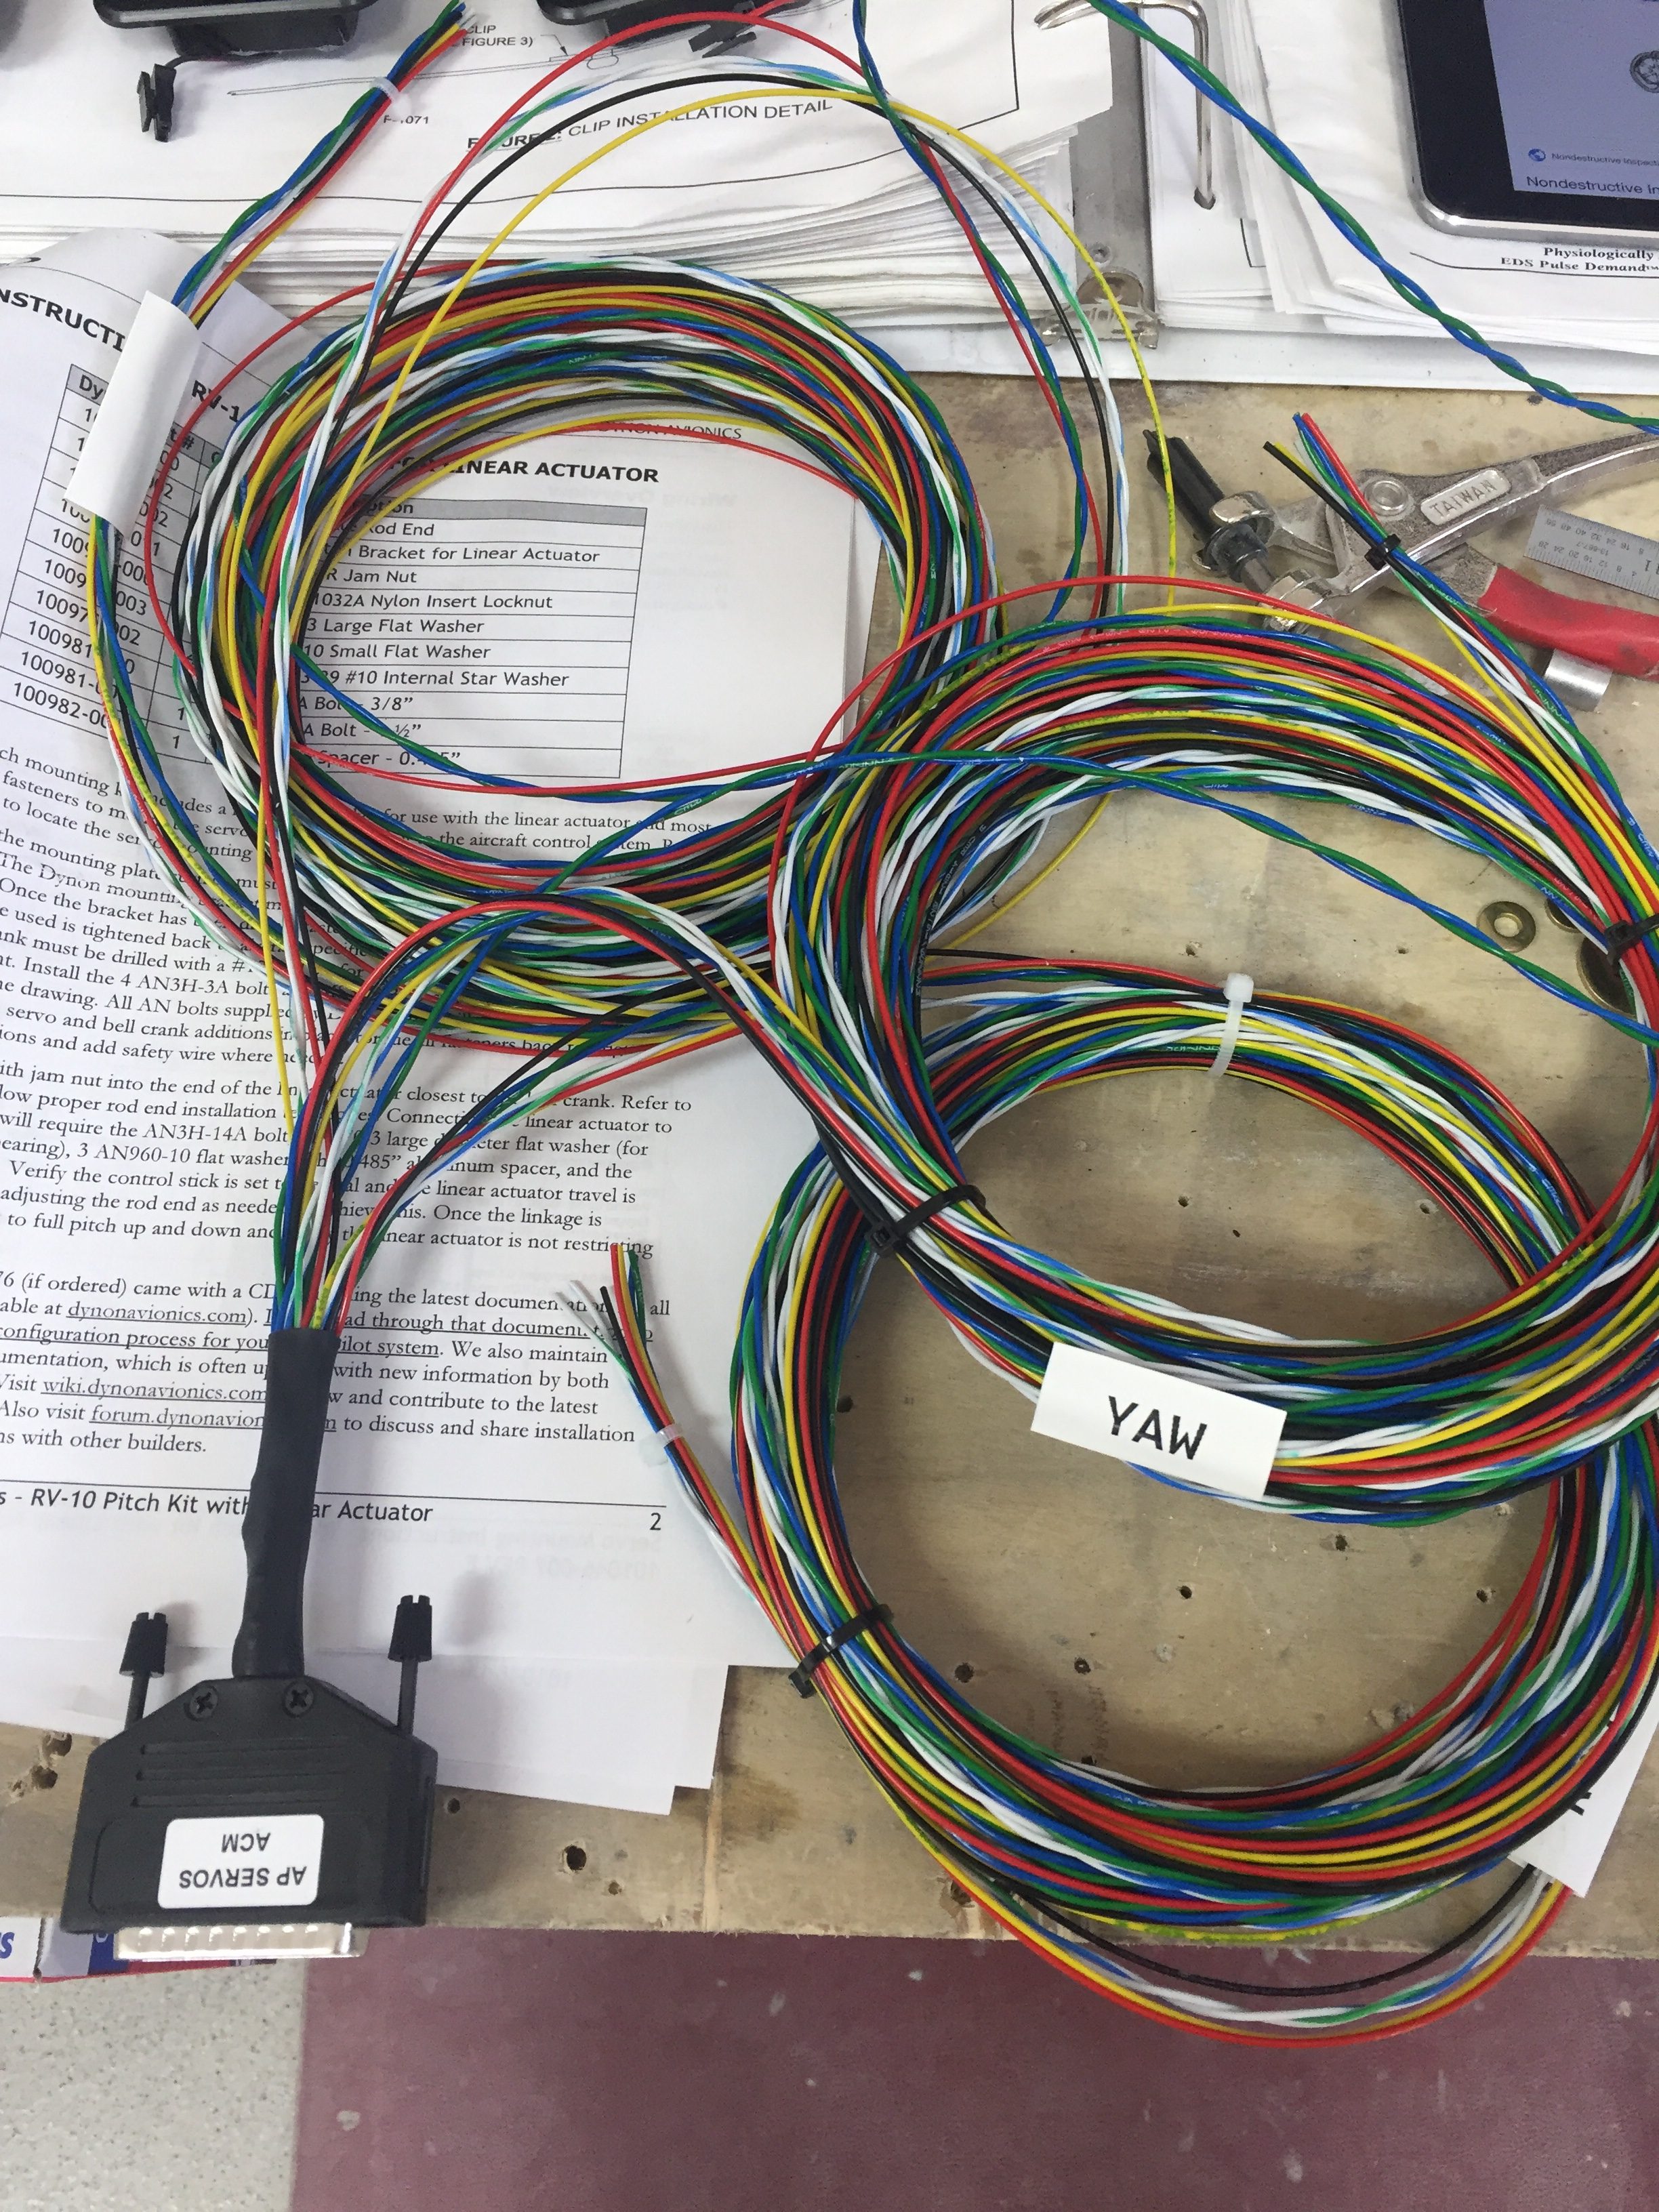
They were nice enough to ship me some advance components and harnesses such as the ADAHRS, servos, and EMS among a few other things. I first ran the autopilot servo wire harnesses and already appreciate the value of having AFS wire the majority of the avionics. I pulled 21 wires in about 10 minutes that are already pinned on one end. That task alone would have taken a day to measure, cut, label, pull, and pin all of that. Once the servos are in place, I’ll use the supplied pins to finish the connections. I also pulled the SV network cable that will run to the ADAHRS in the tail cone. I essential tripled the amount of wiring in the aircraft in less than 30 minutes!
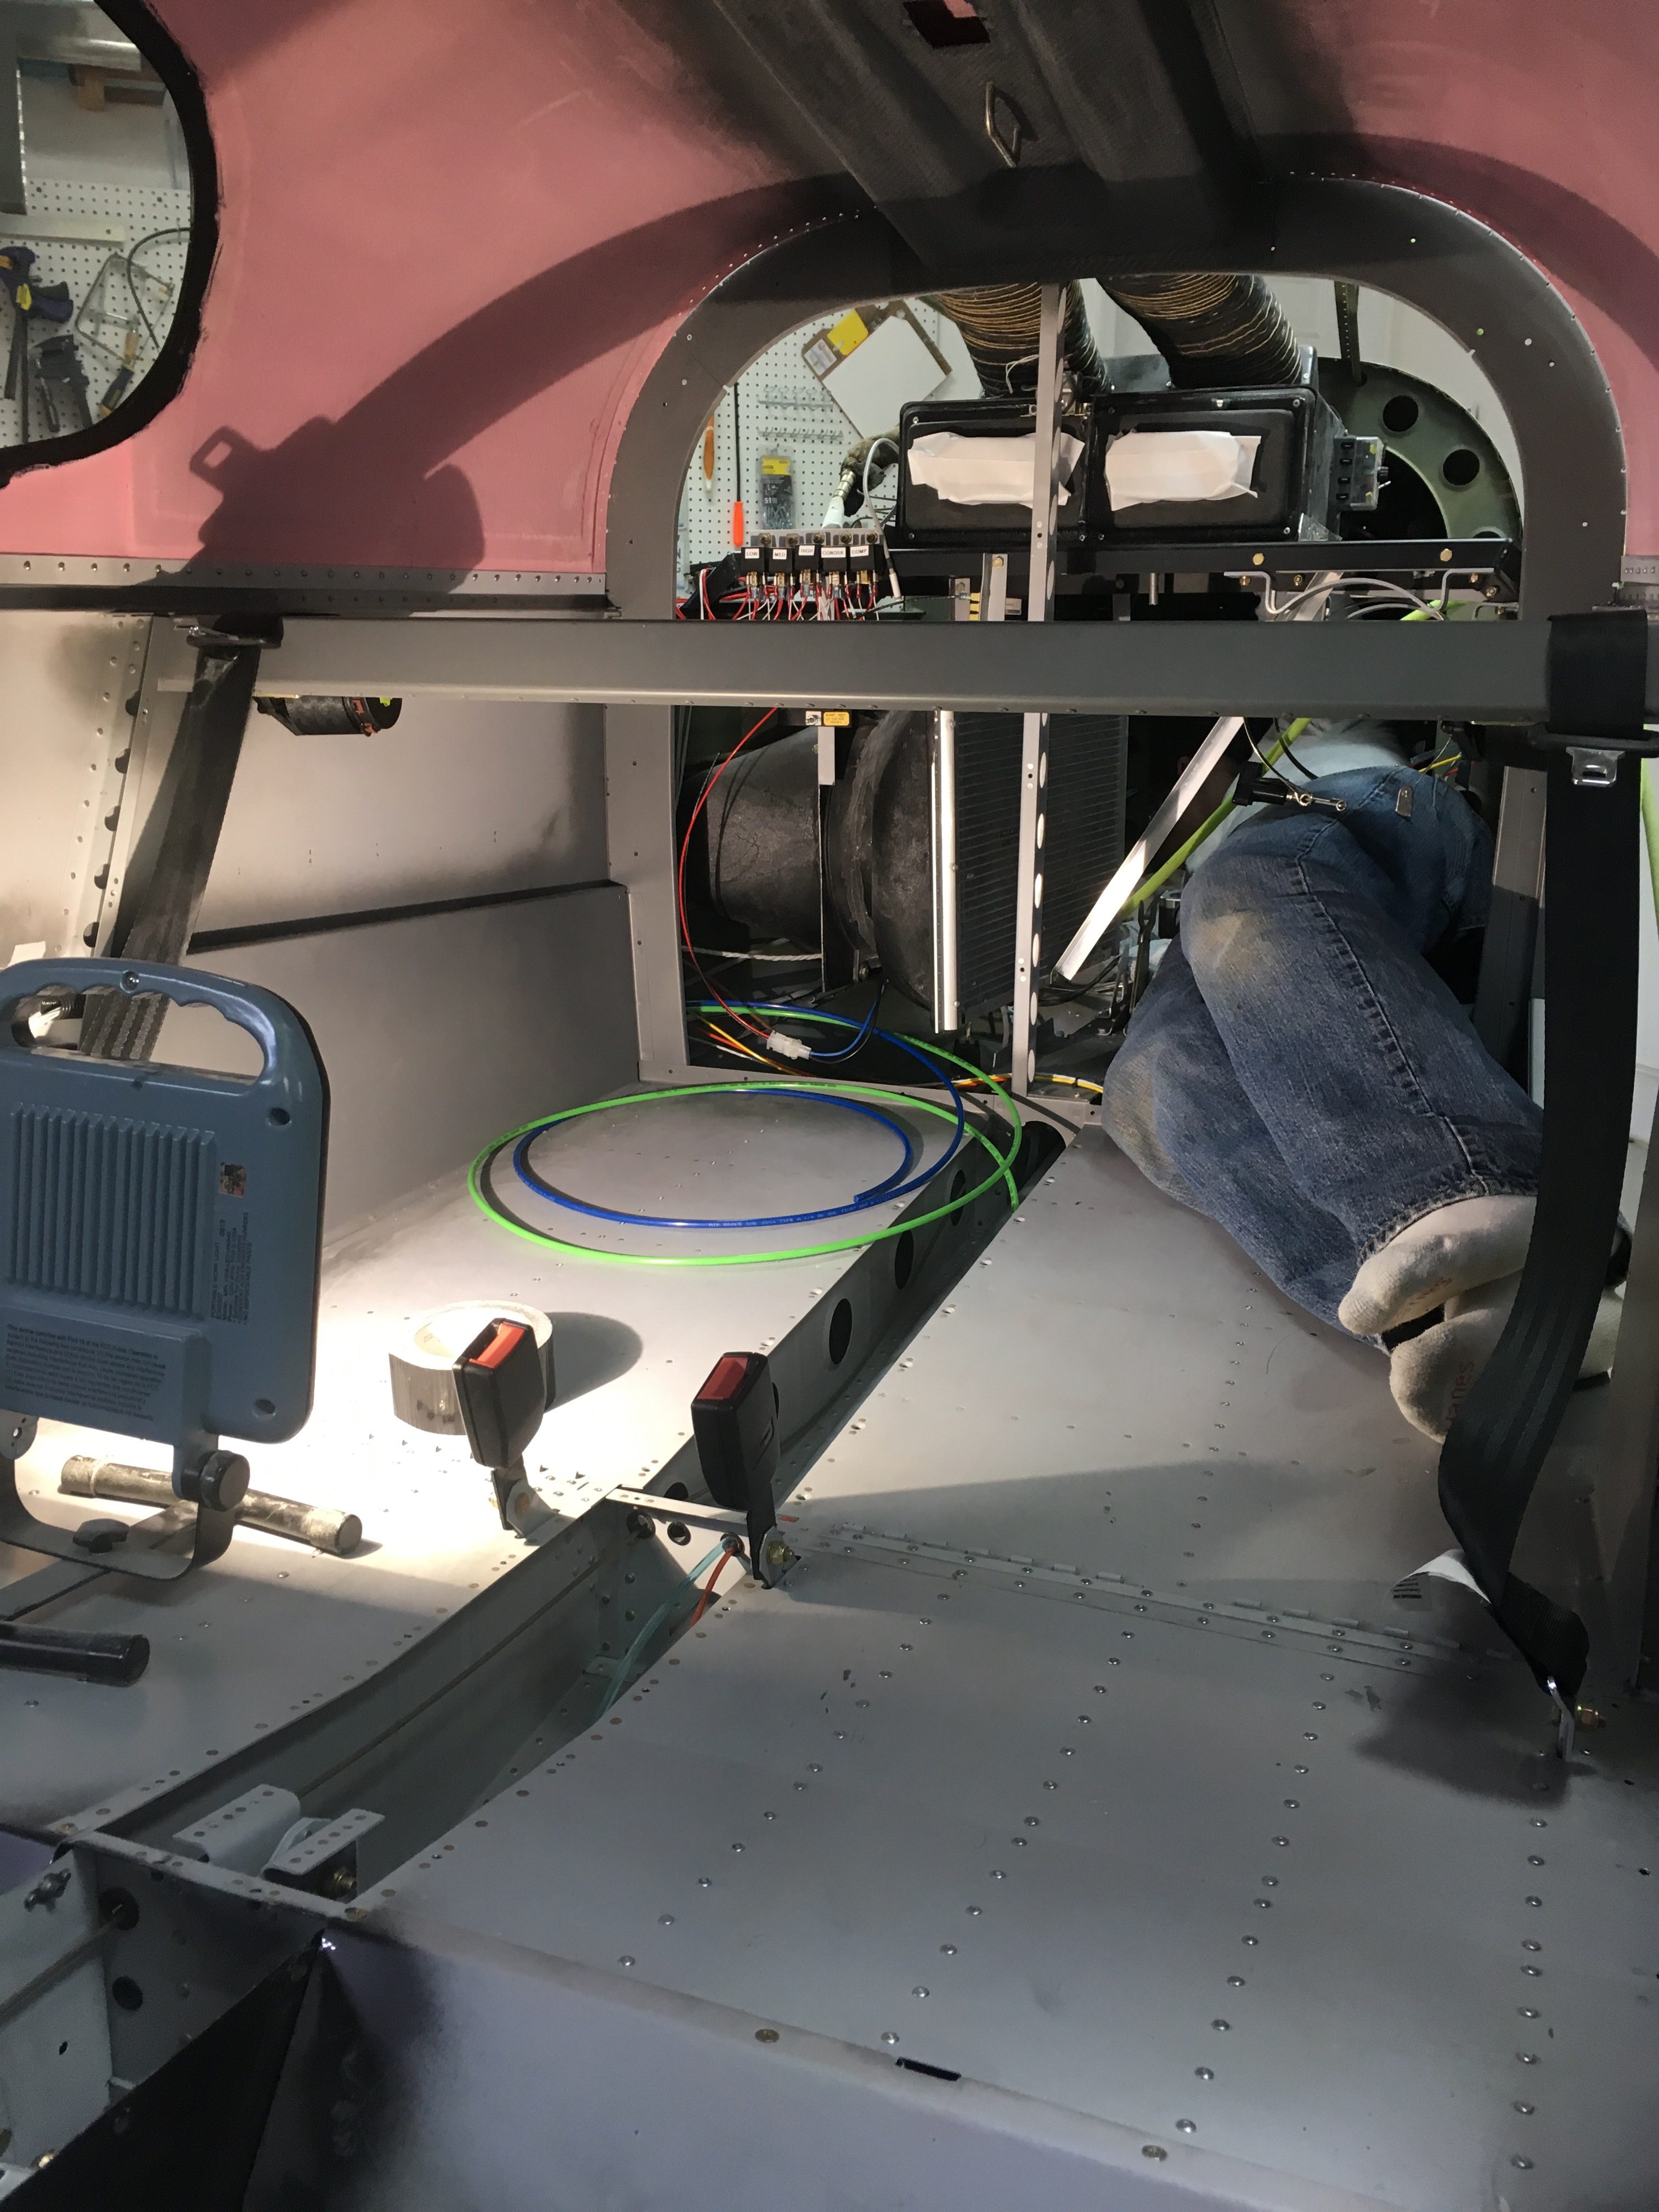
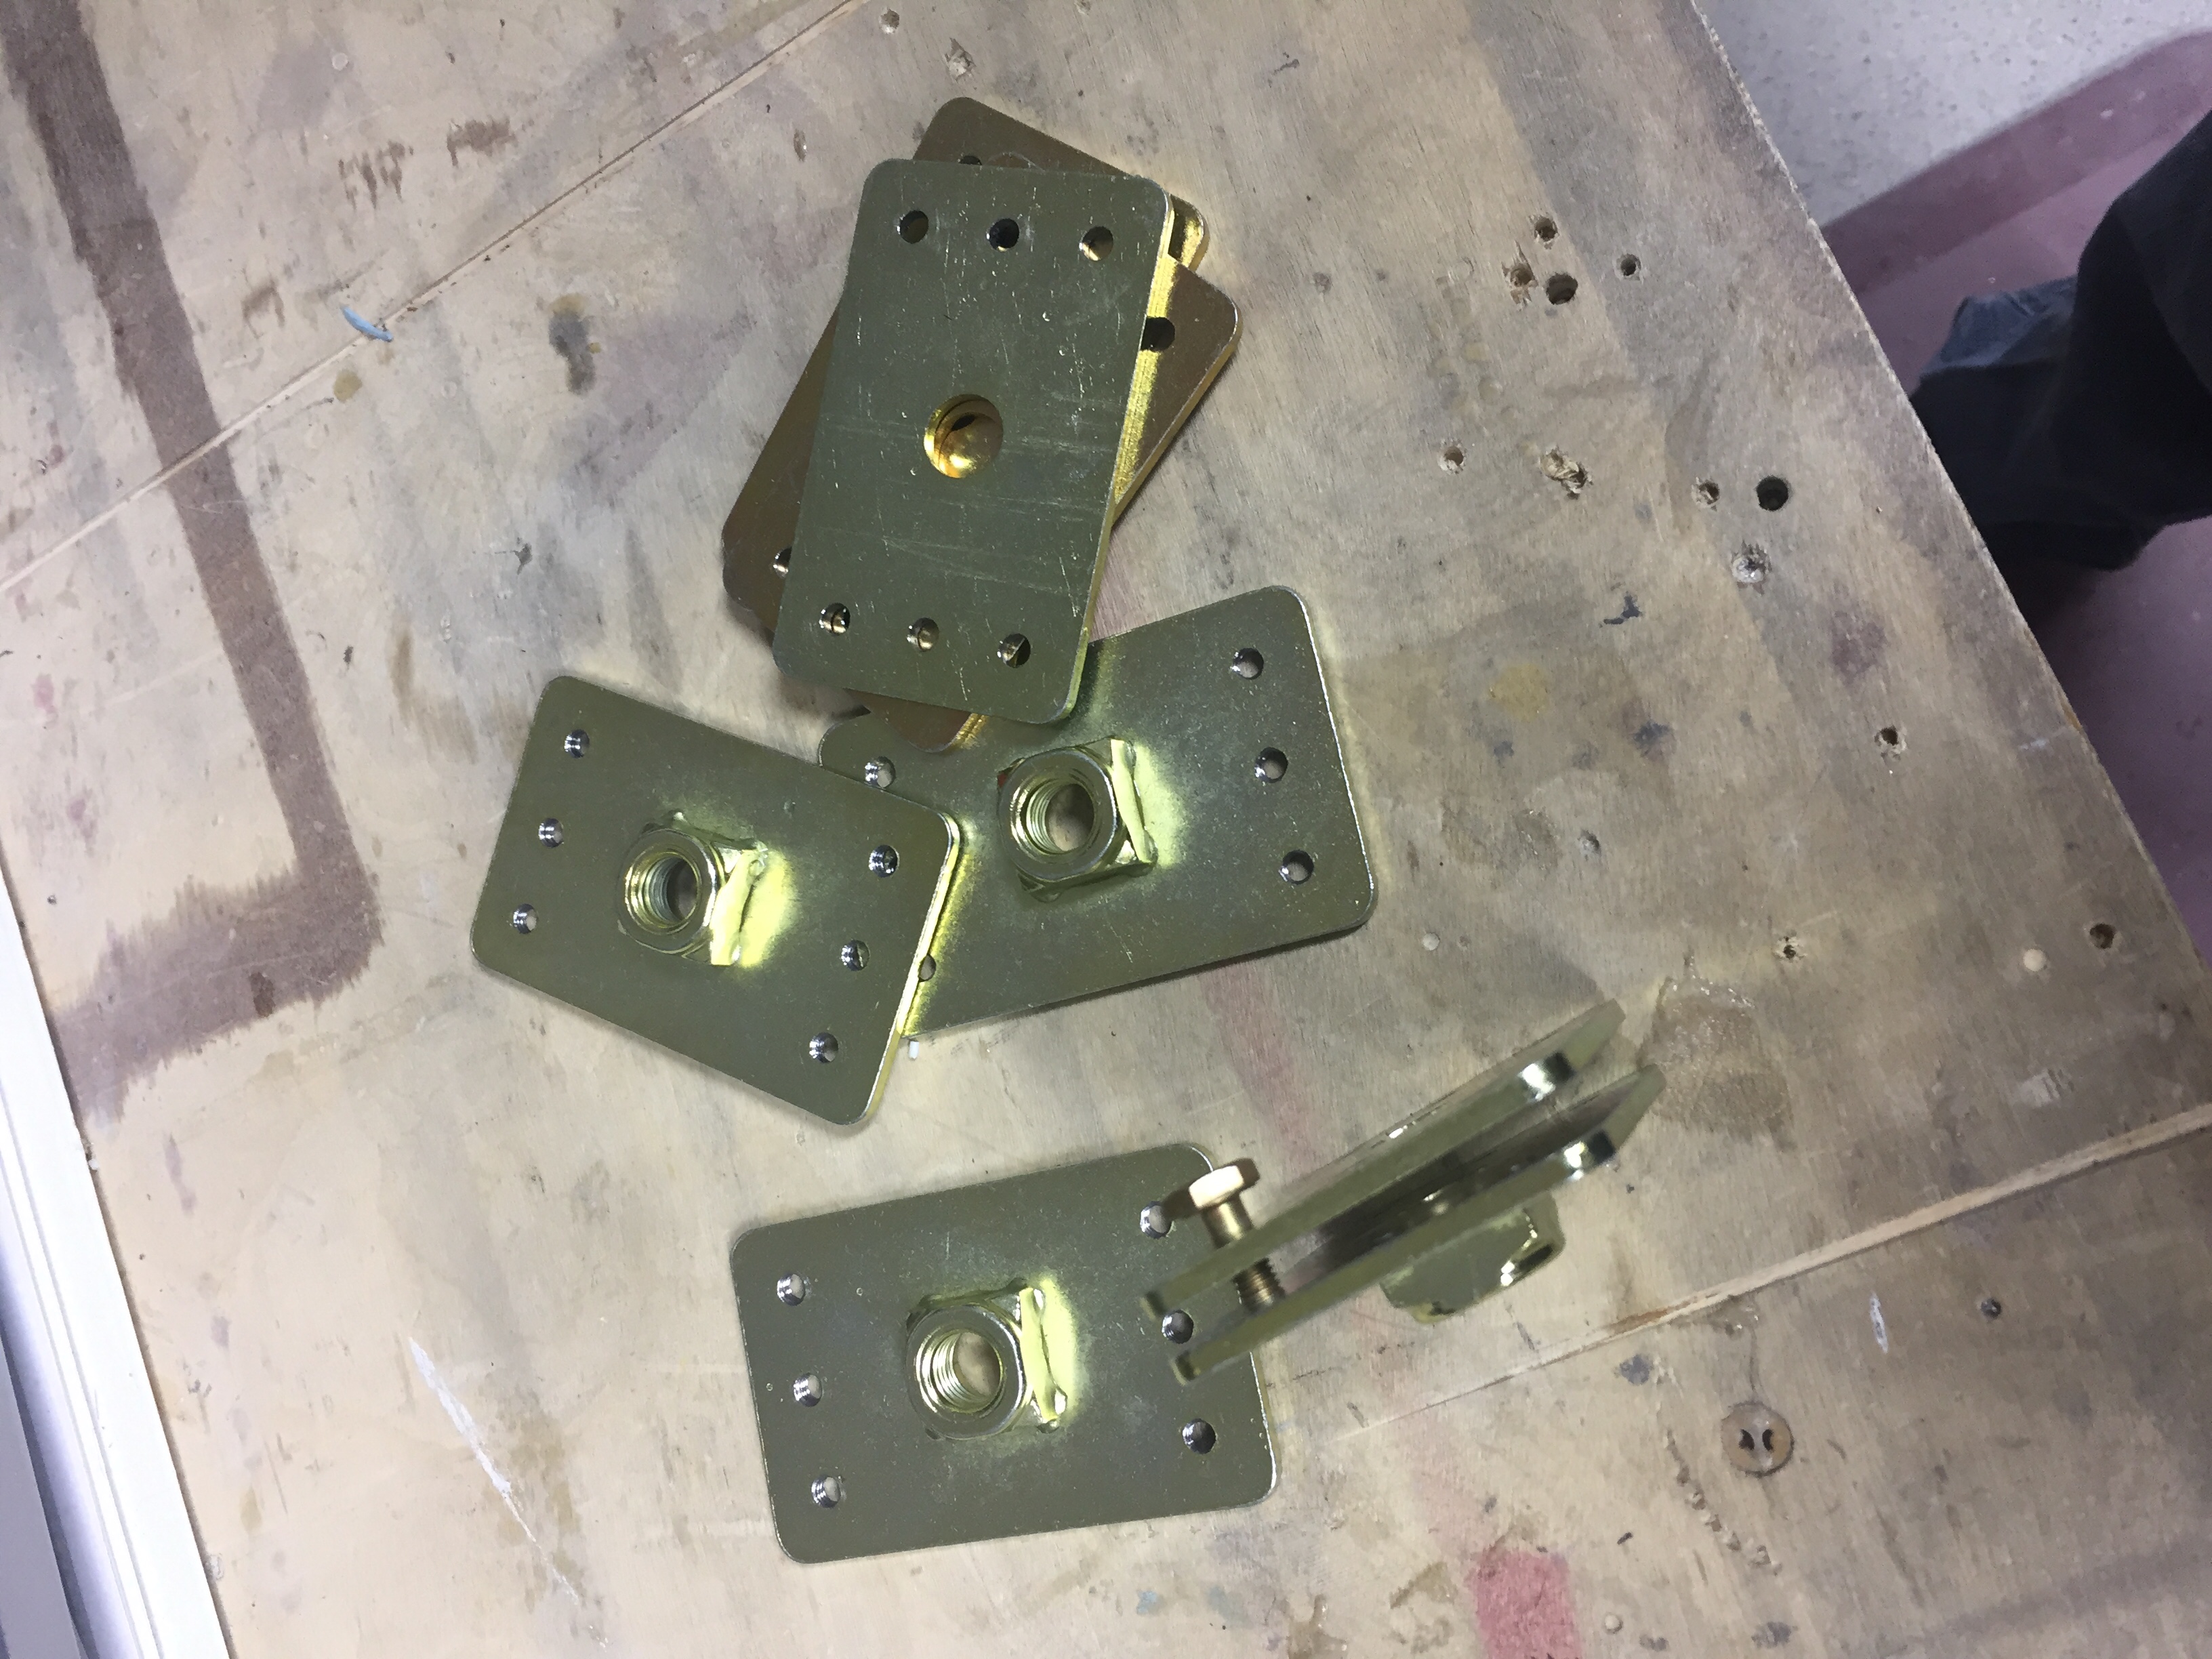
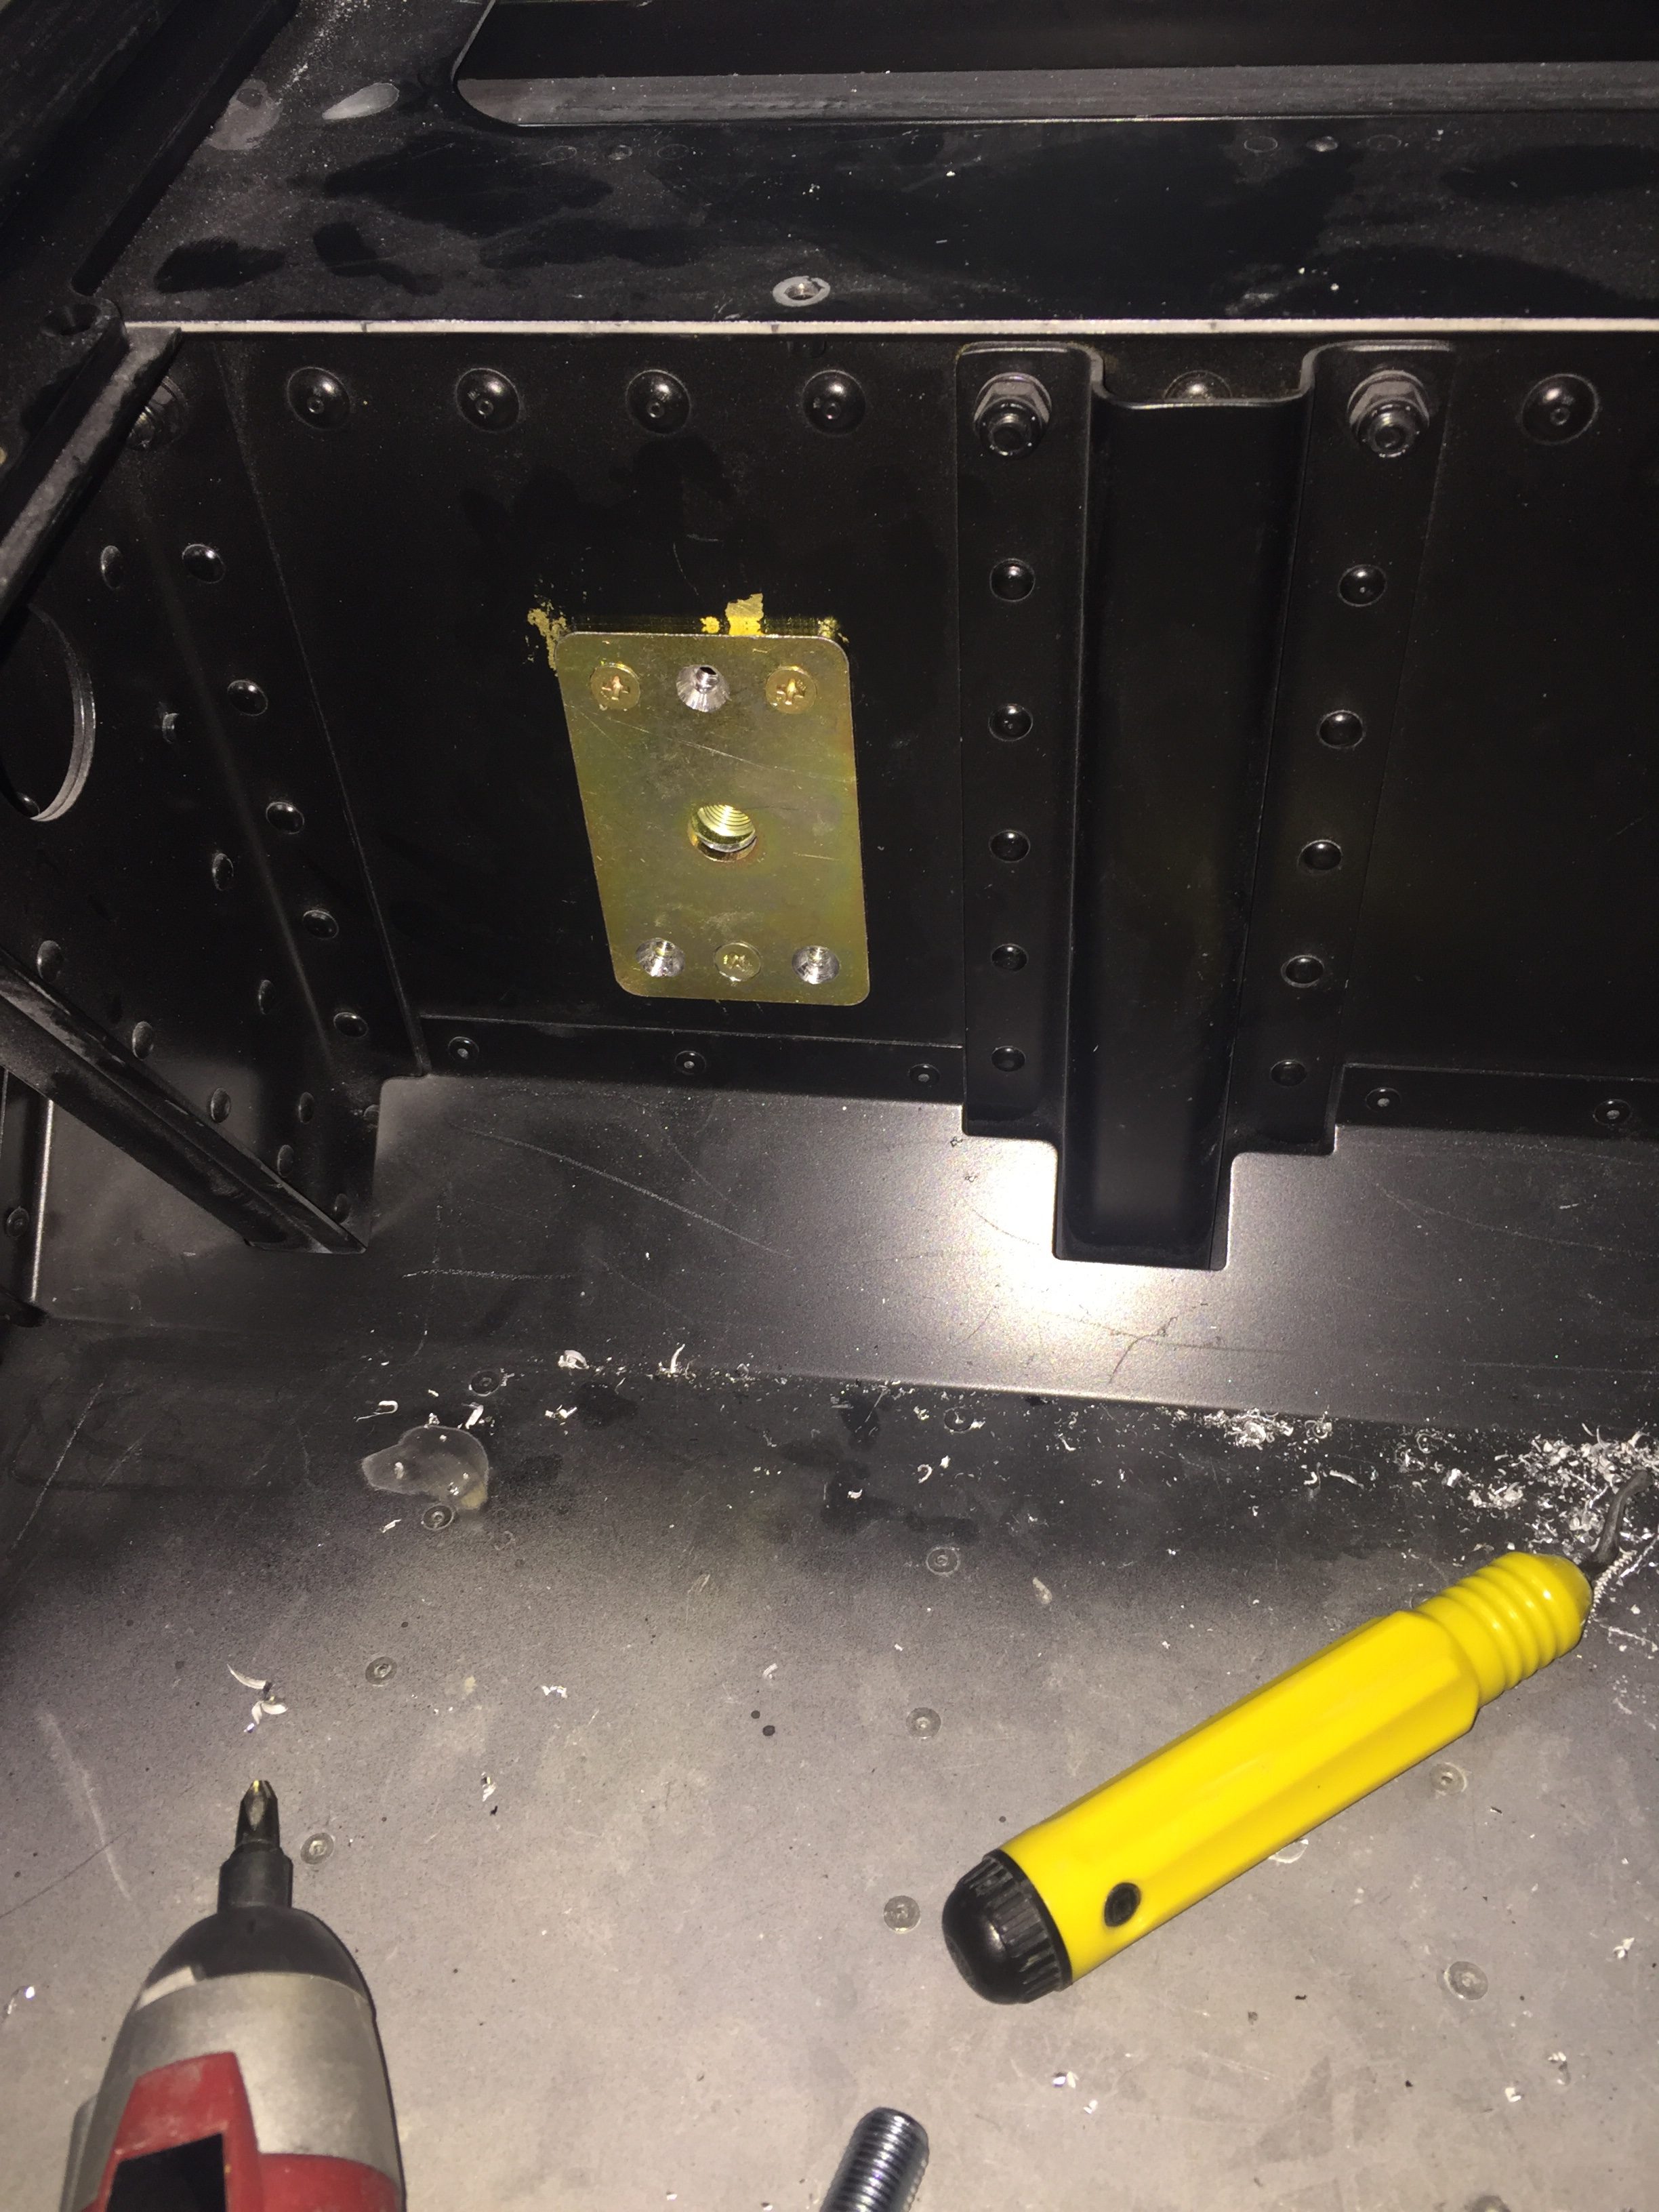
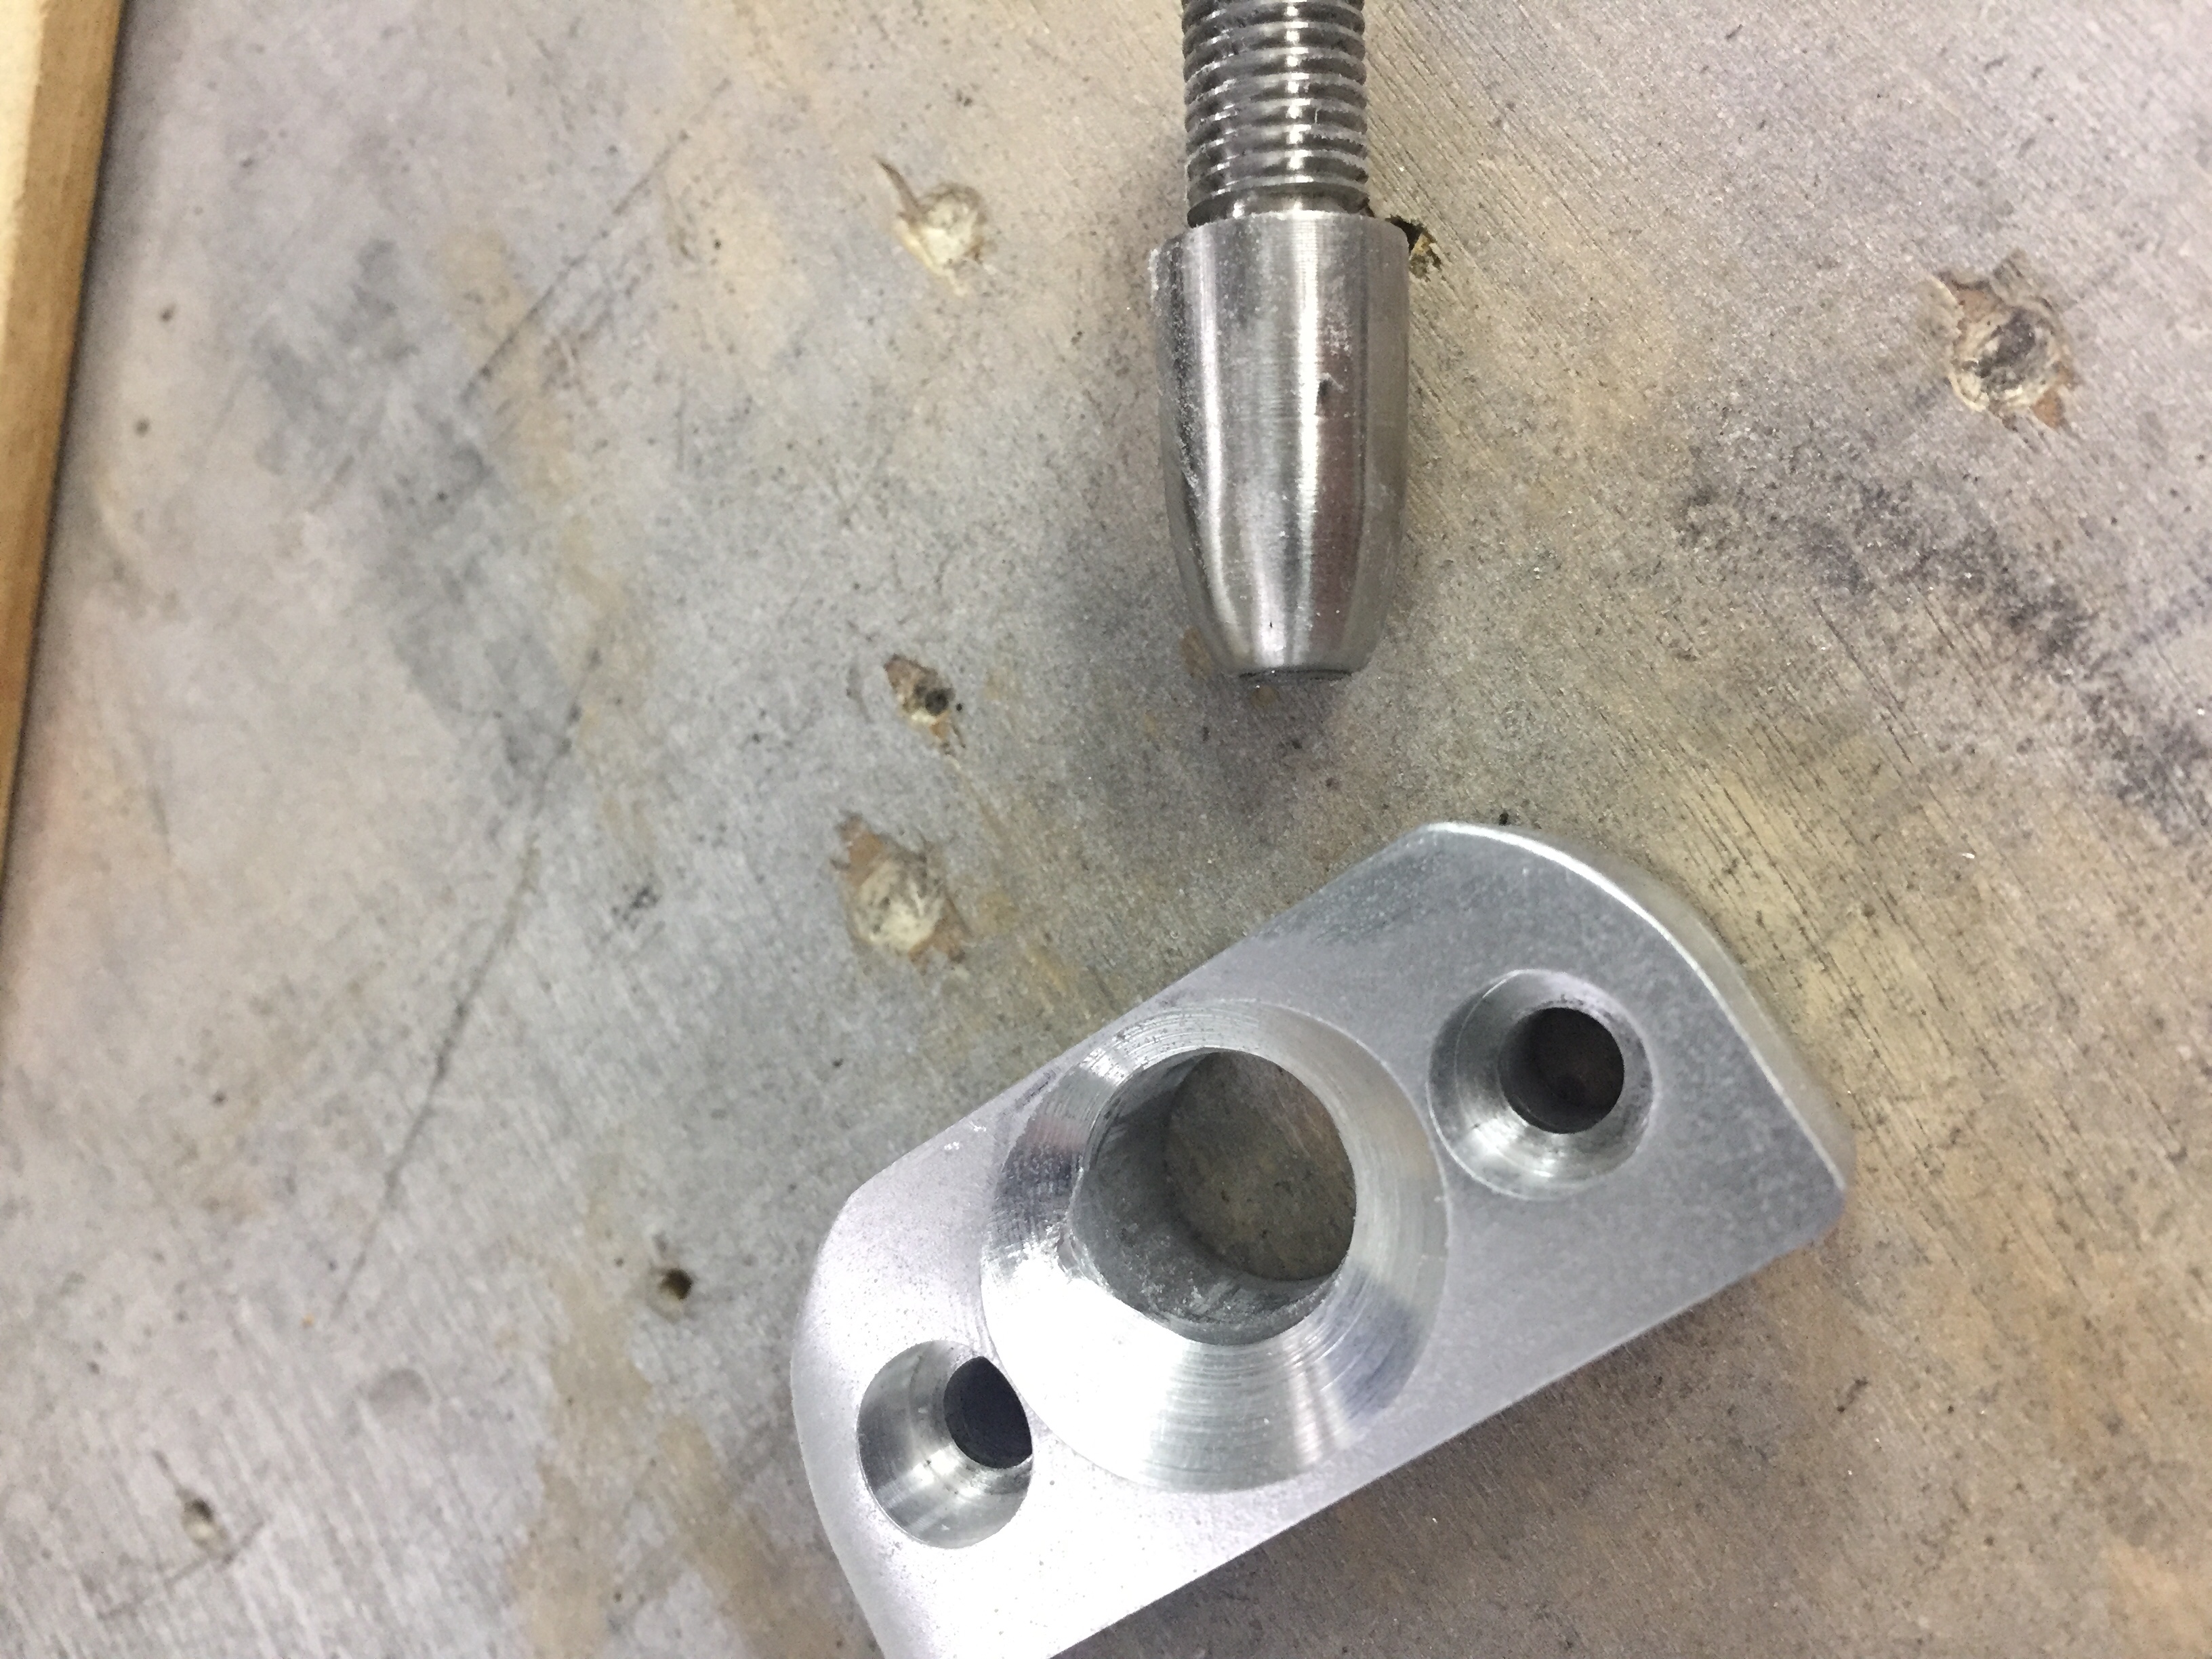
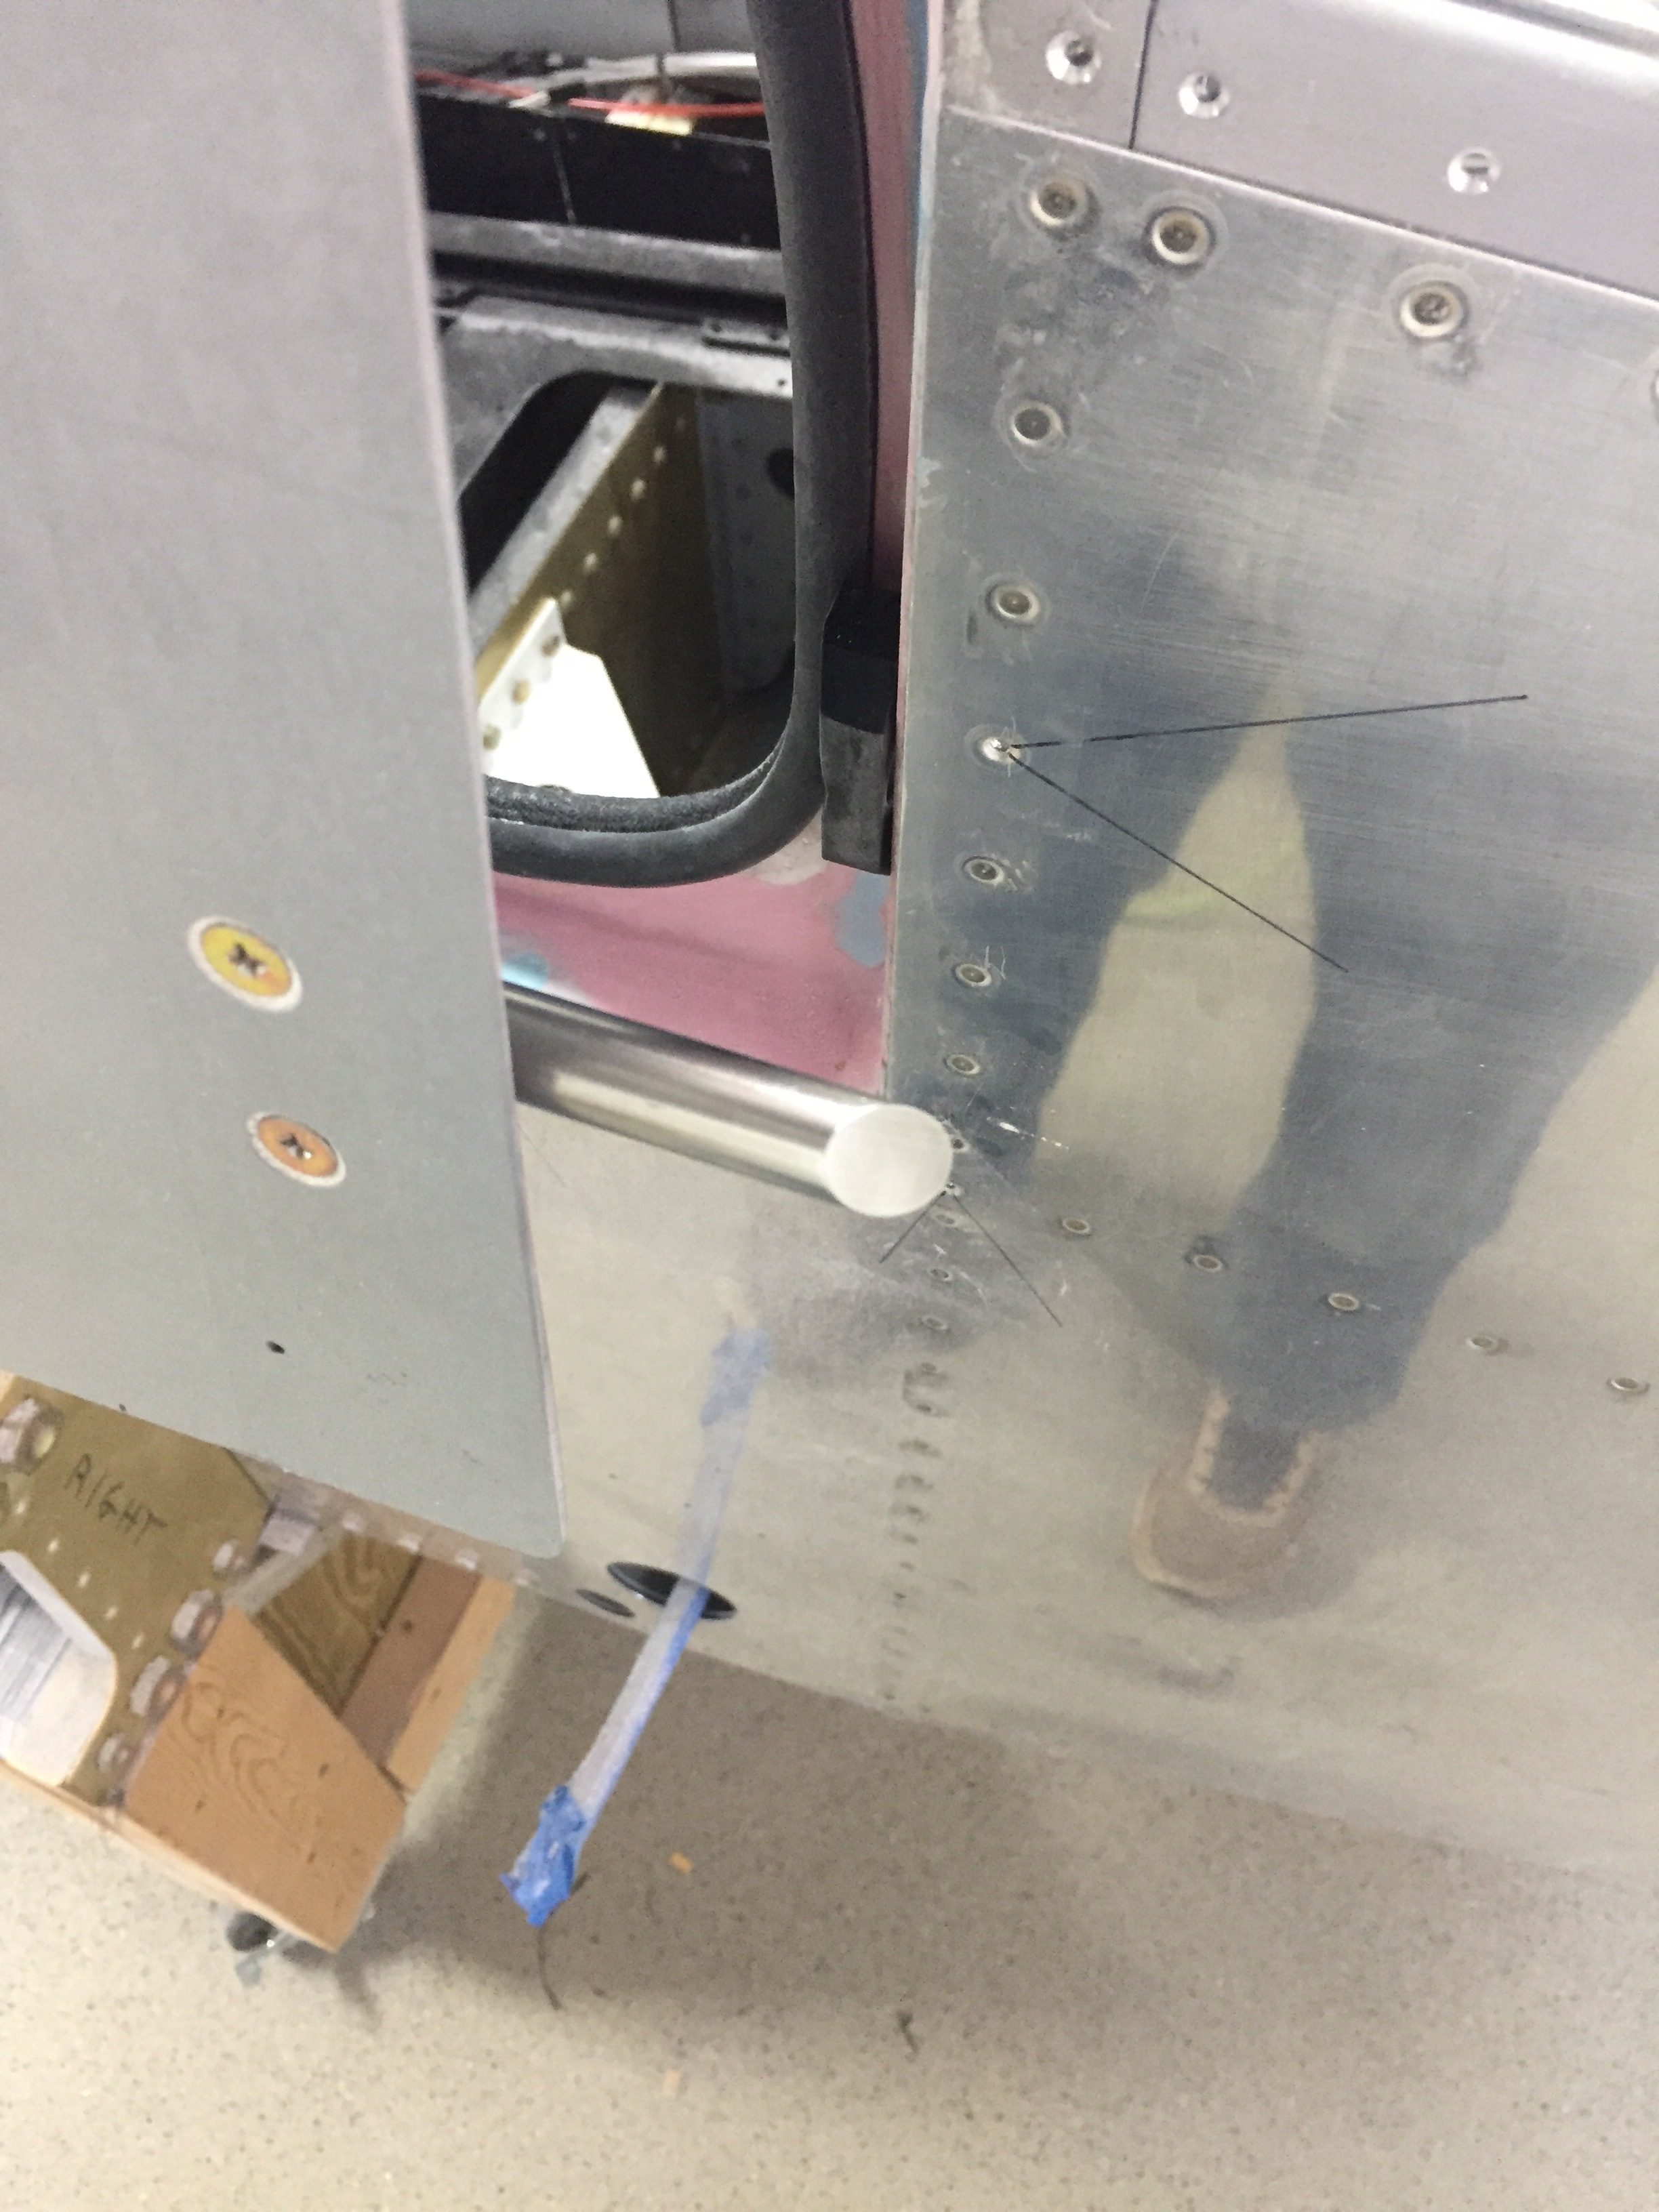
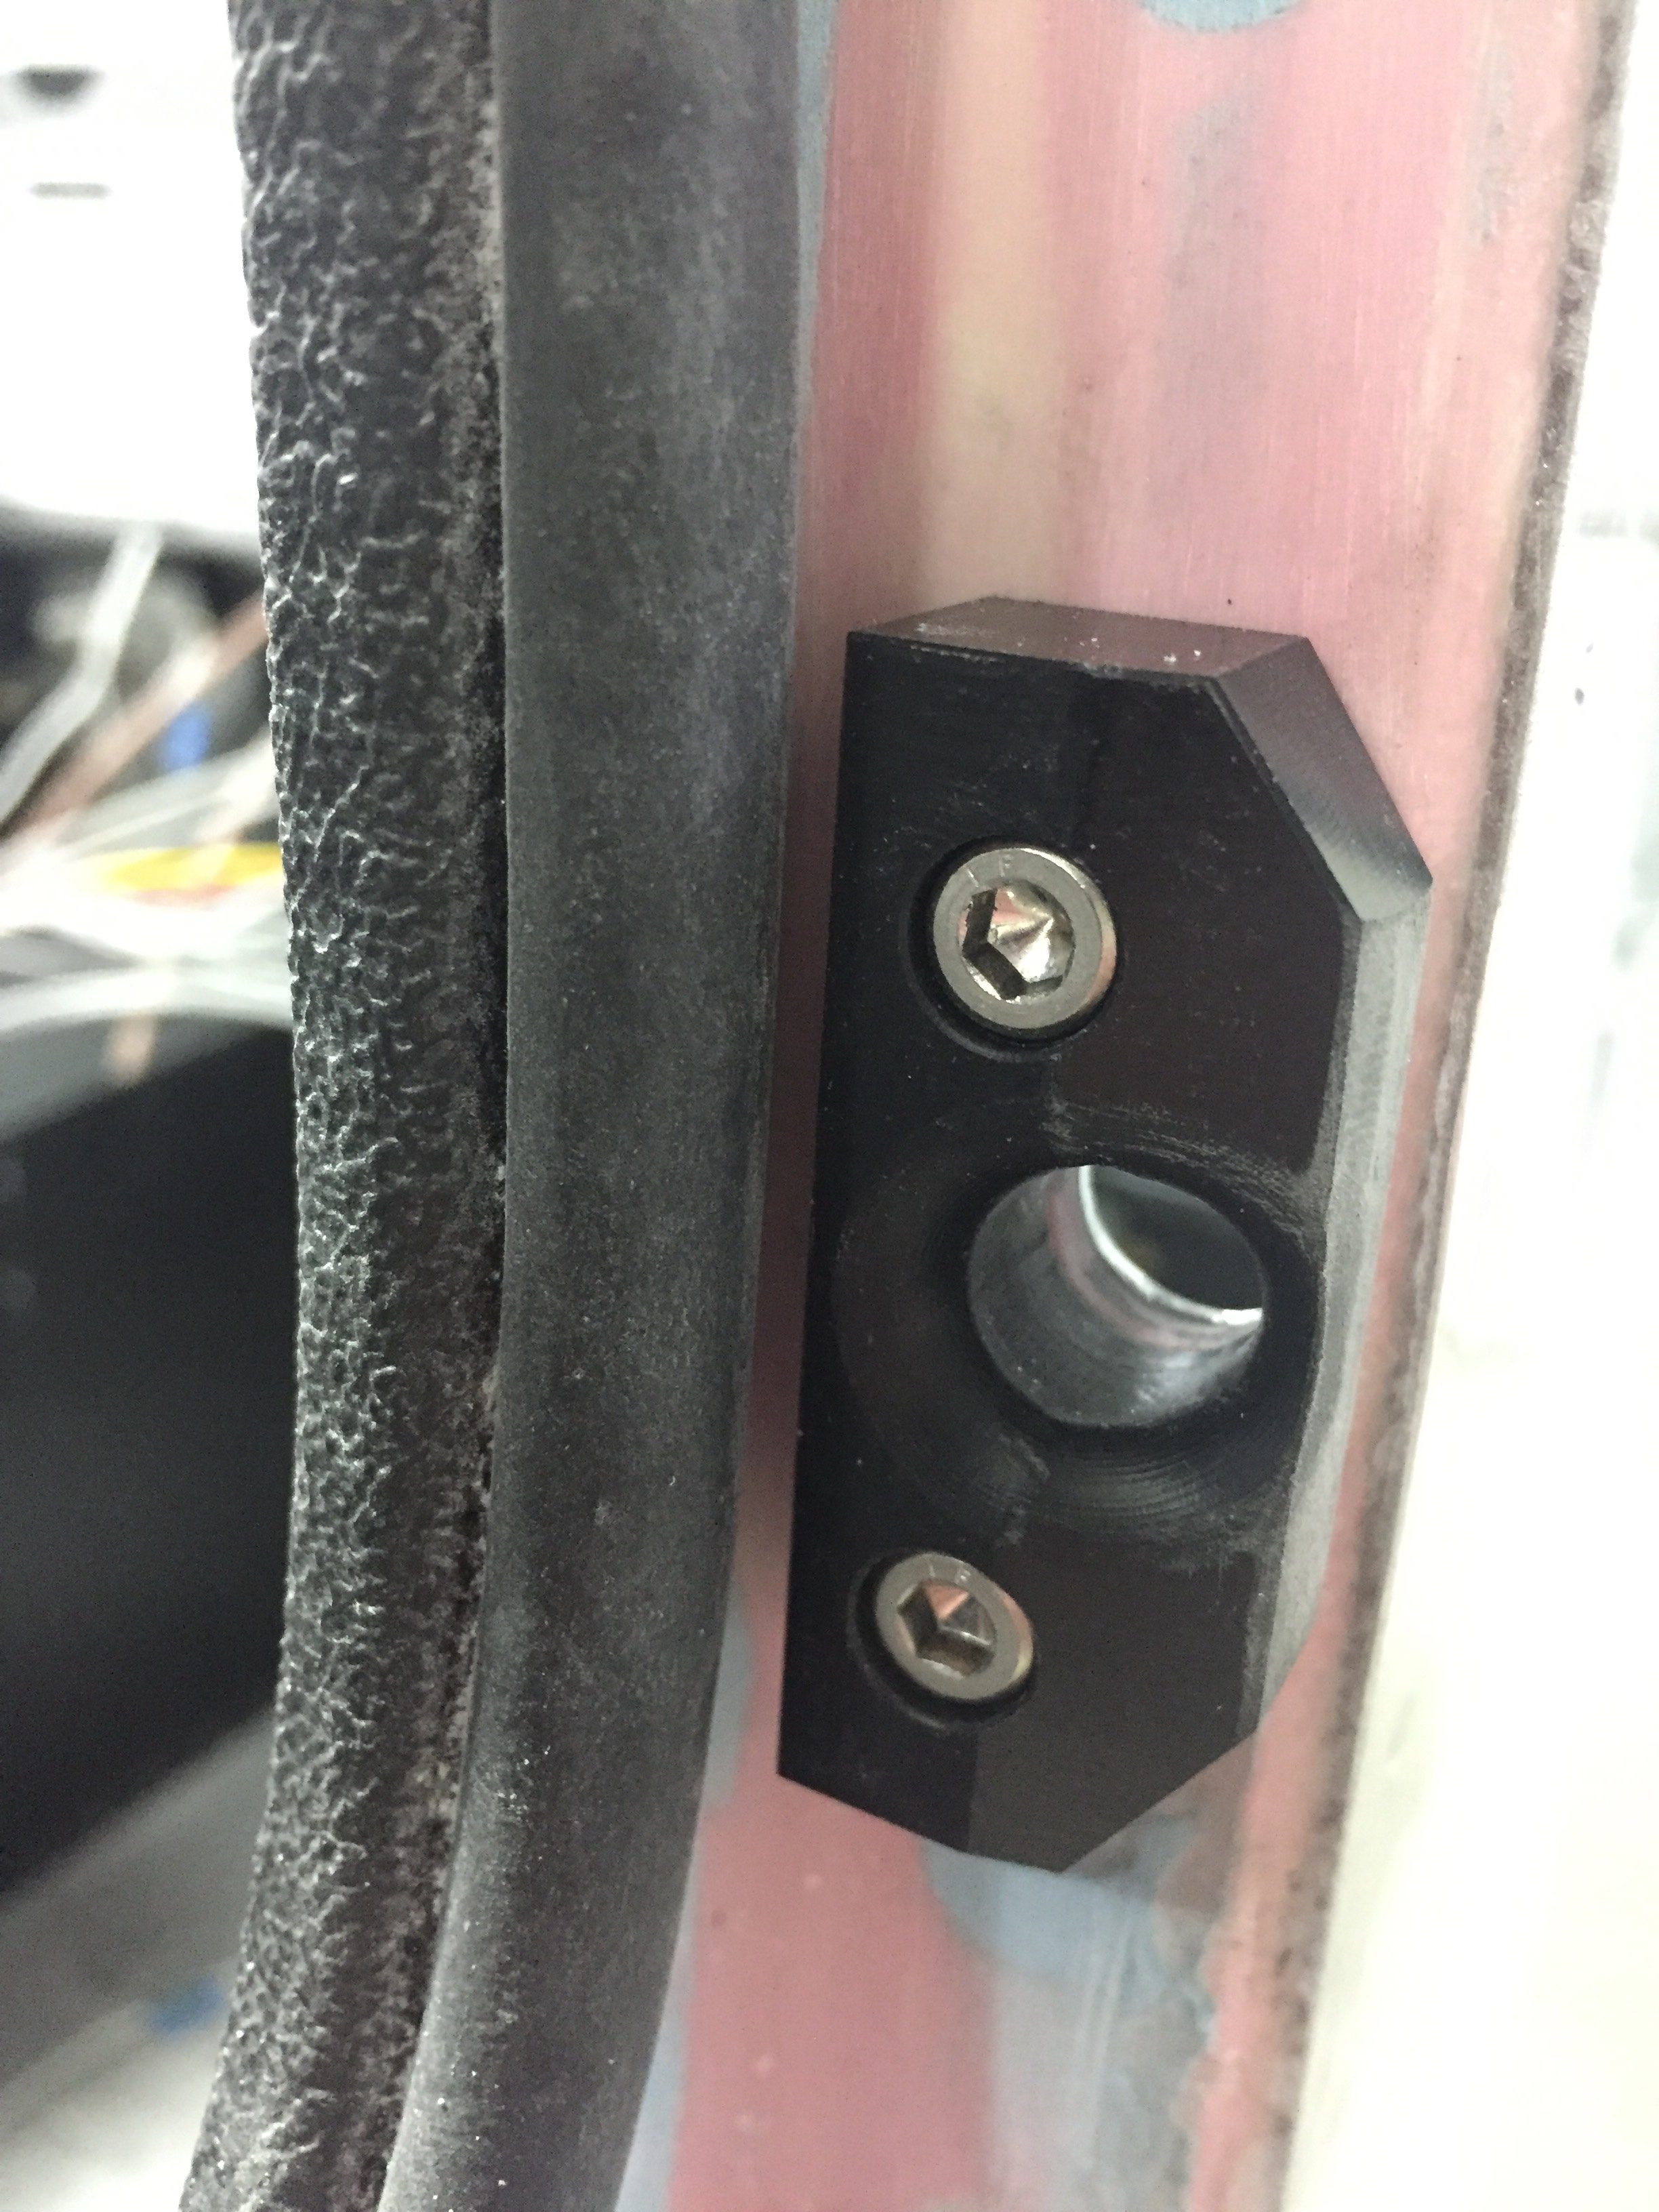
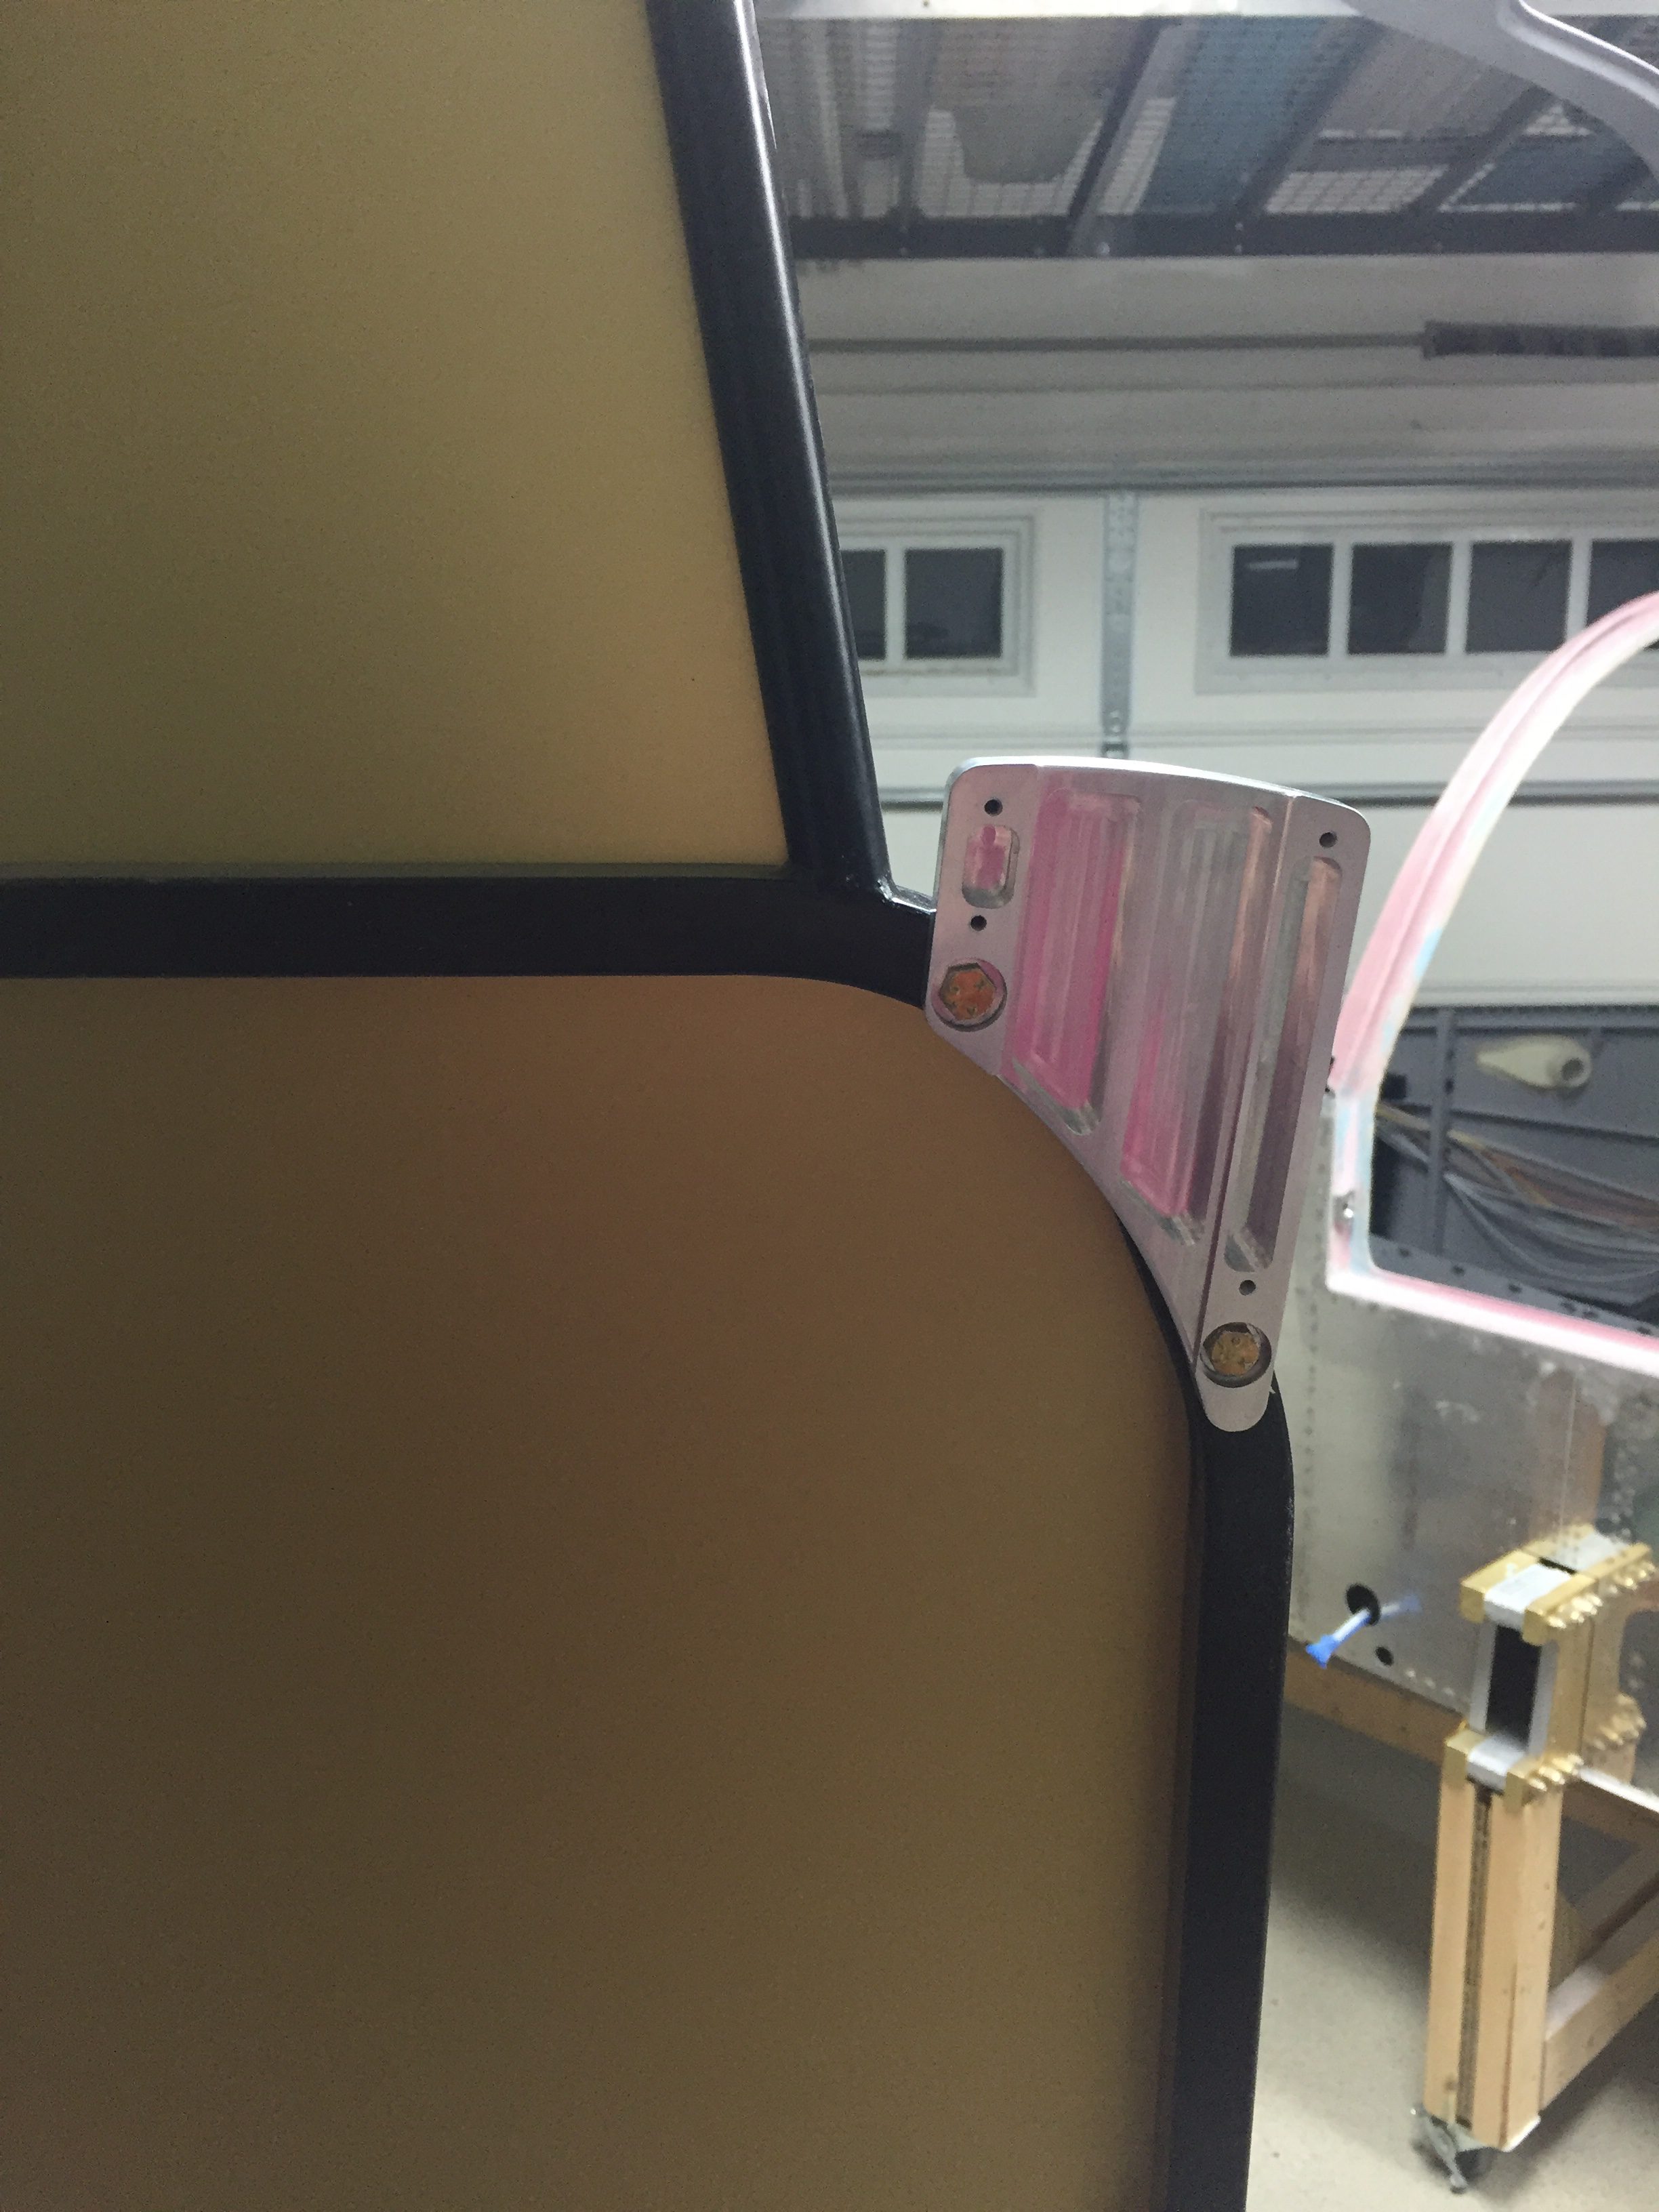
My yaw damper mount arrived from Van’s so I set about installing the pitch servo mount and yaw servo mount back in the tail cone. Woof, what a pain in the ass to get to at this point. Future builders, buy this stuff early and put it in when building the tail cone! By sheer luck or divine intervention, the AC condenser clears the pitch AP servo by about 1/8″. I really lucked out, because I had no idea how it would all fit when I redid the AC.
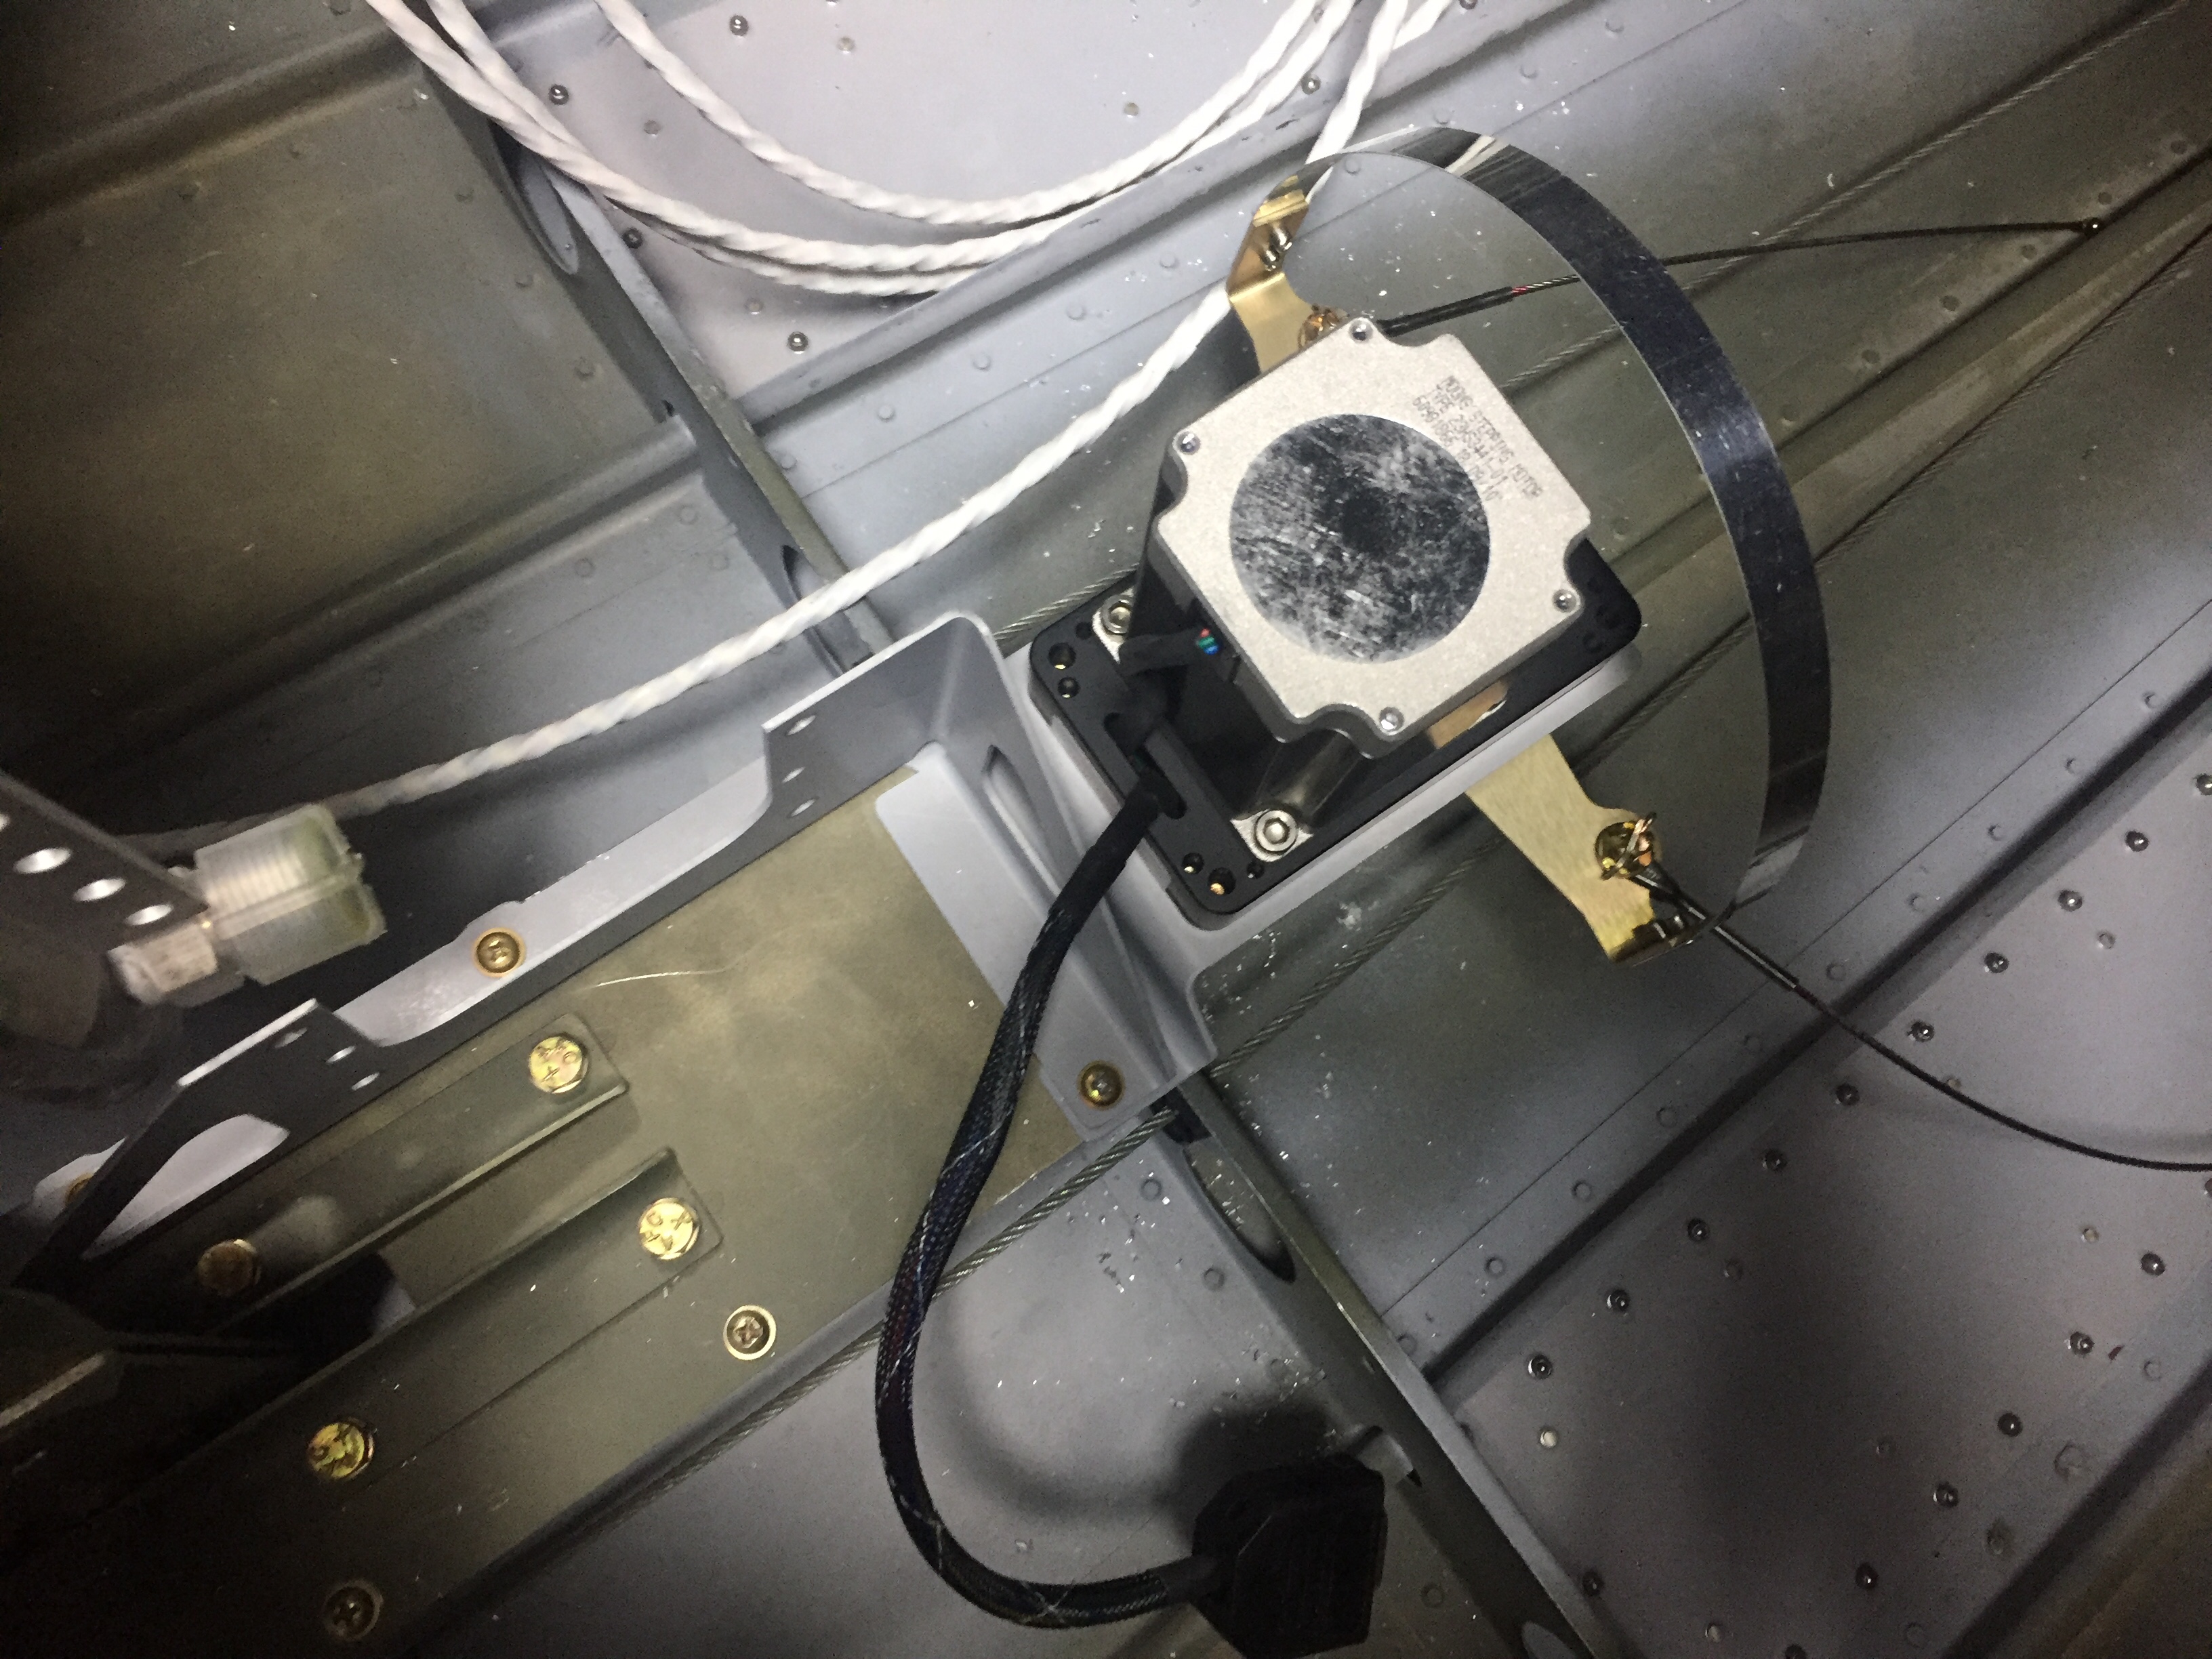
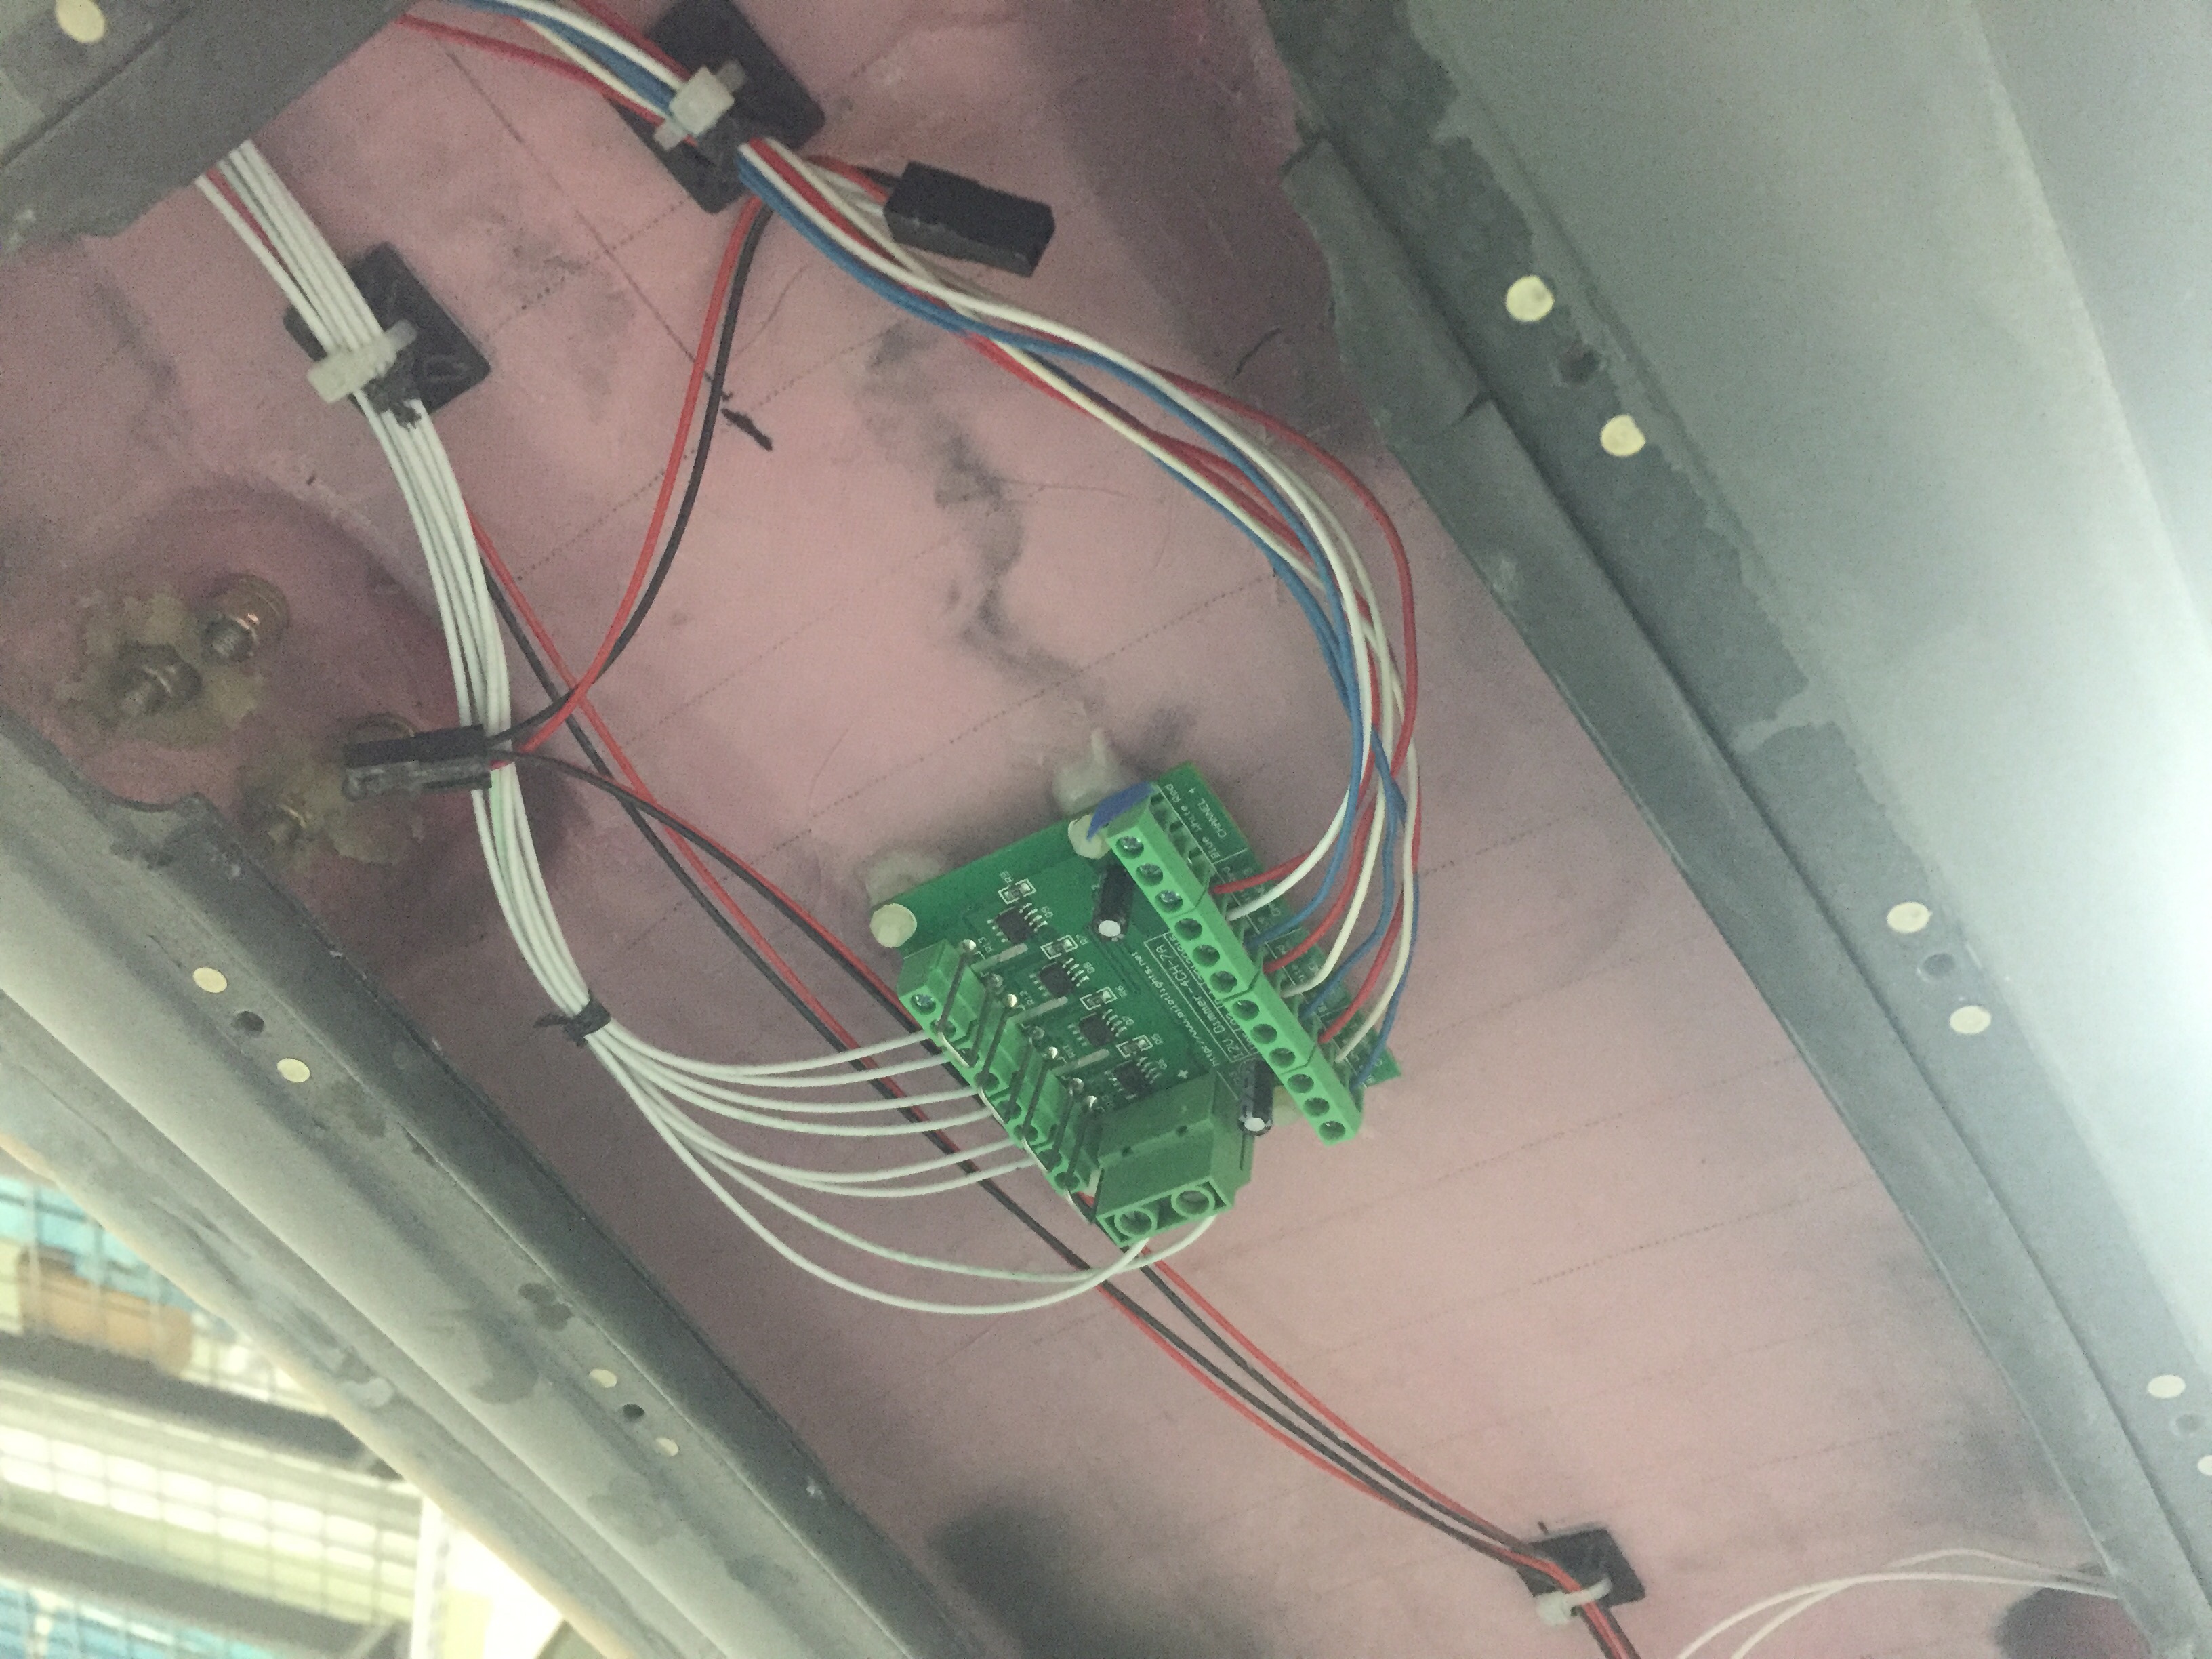
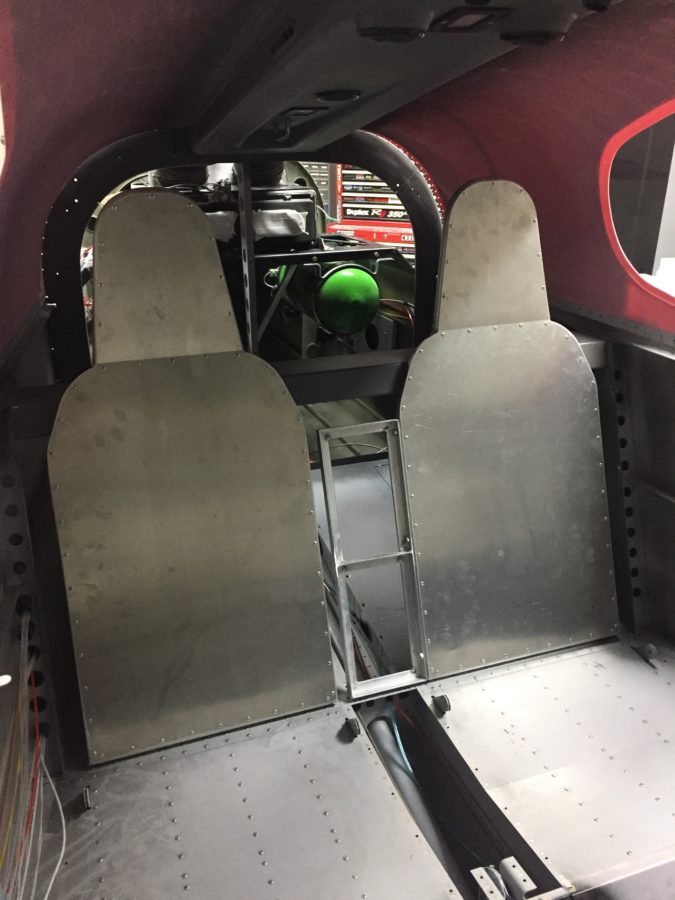
I do not enjoy laying in the tail cone so I made a list of everything needed to be done for the next and final time during the build getting back there. I decided to remove the O2 tank to make more room and was able to mount the ADAHRS tray fairly easily. I managed to get it within .75 degrees on all axis by sheer luck, again, but I’ll take it. I routed all the tubing and installed the pins on the wiring to hook the splitter up to the harness from the front. I took the time to lace all the wiring and installed a few grommets back there. It all cleaned up very nicely in the end and I’ll just need to shimmy back again to hook the rudder cables up to the yaw servo once the tail is installed.
