The cart before the horse

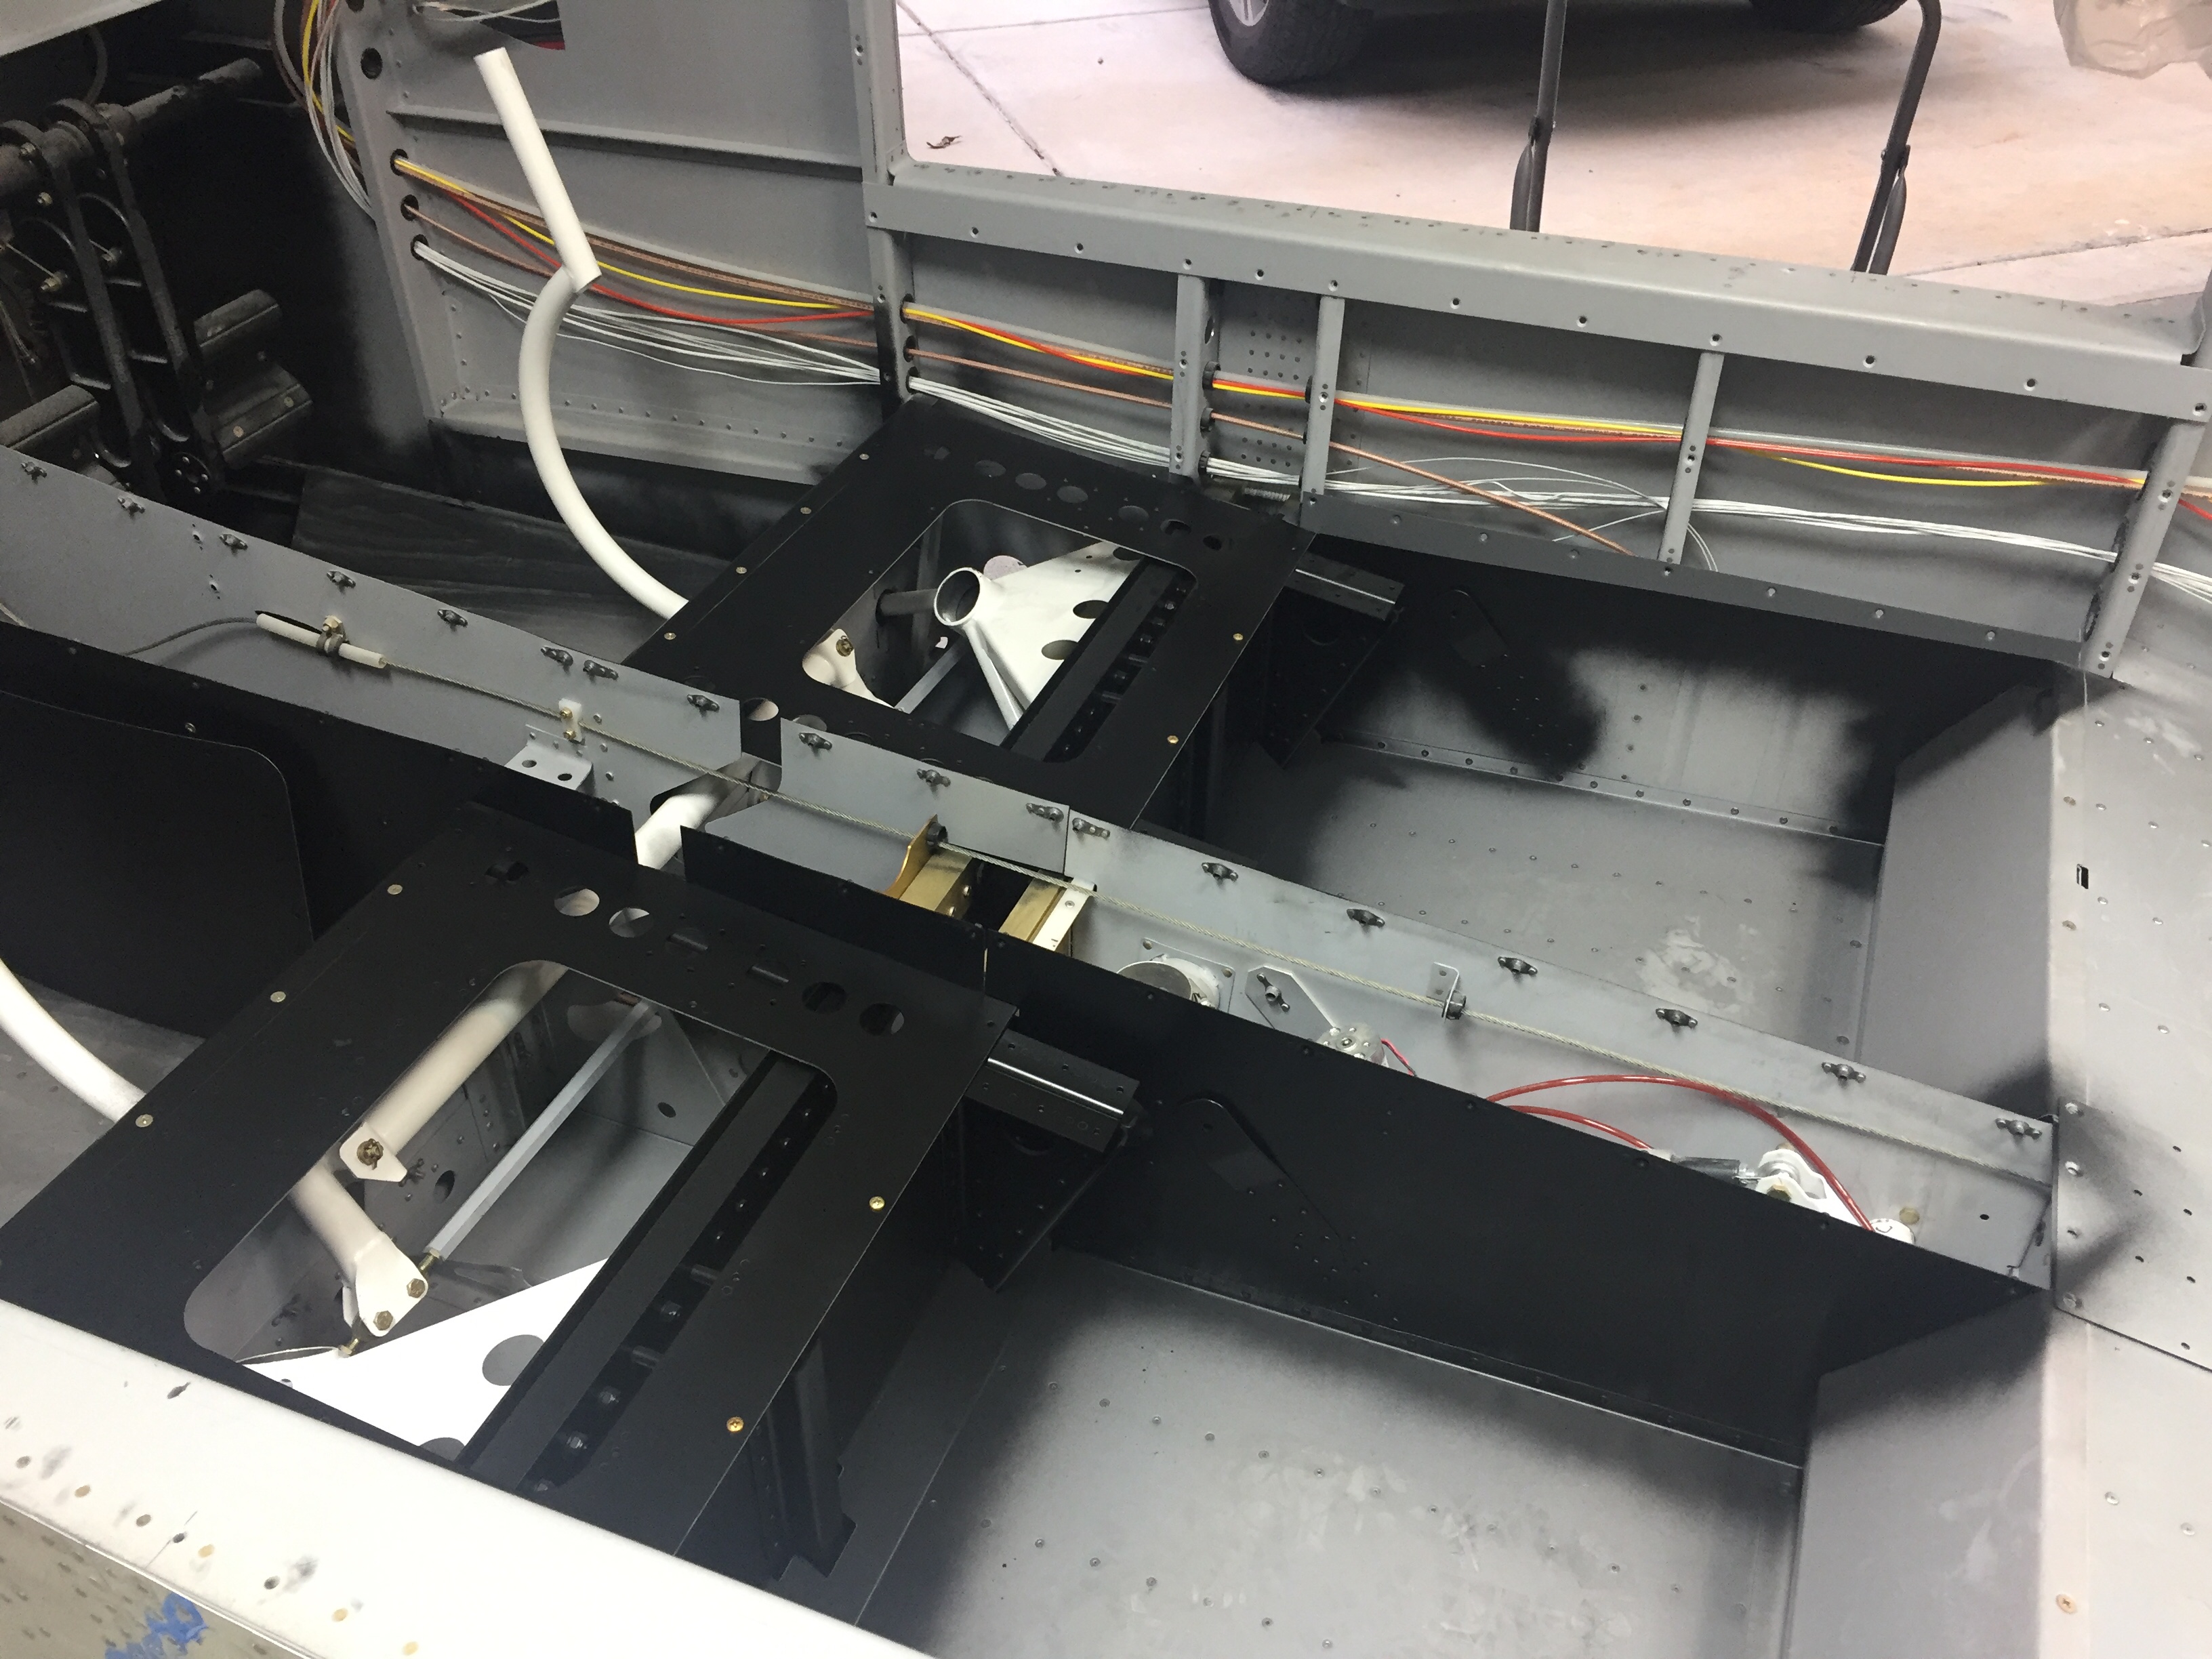
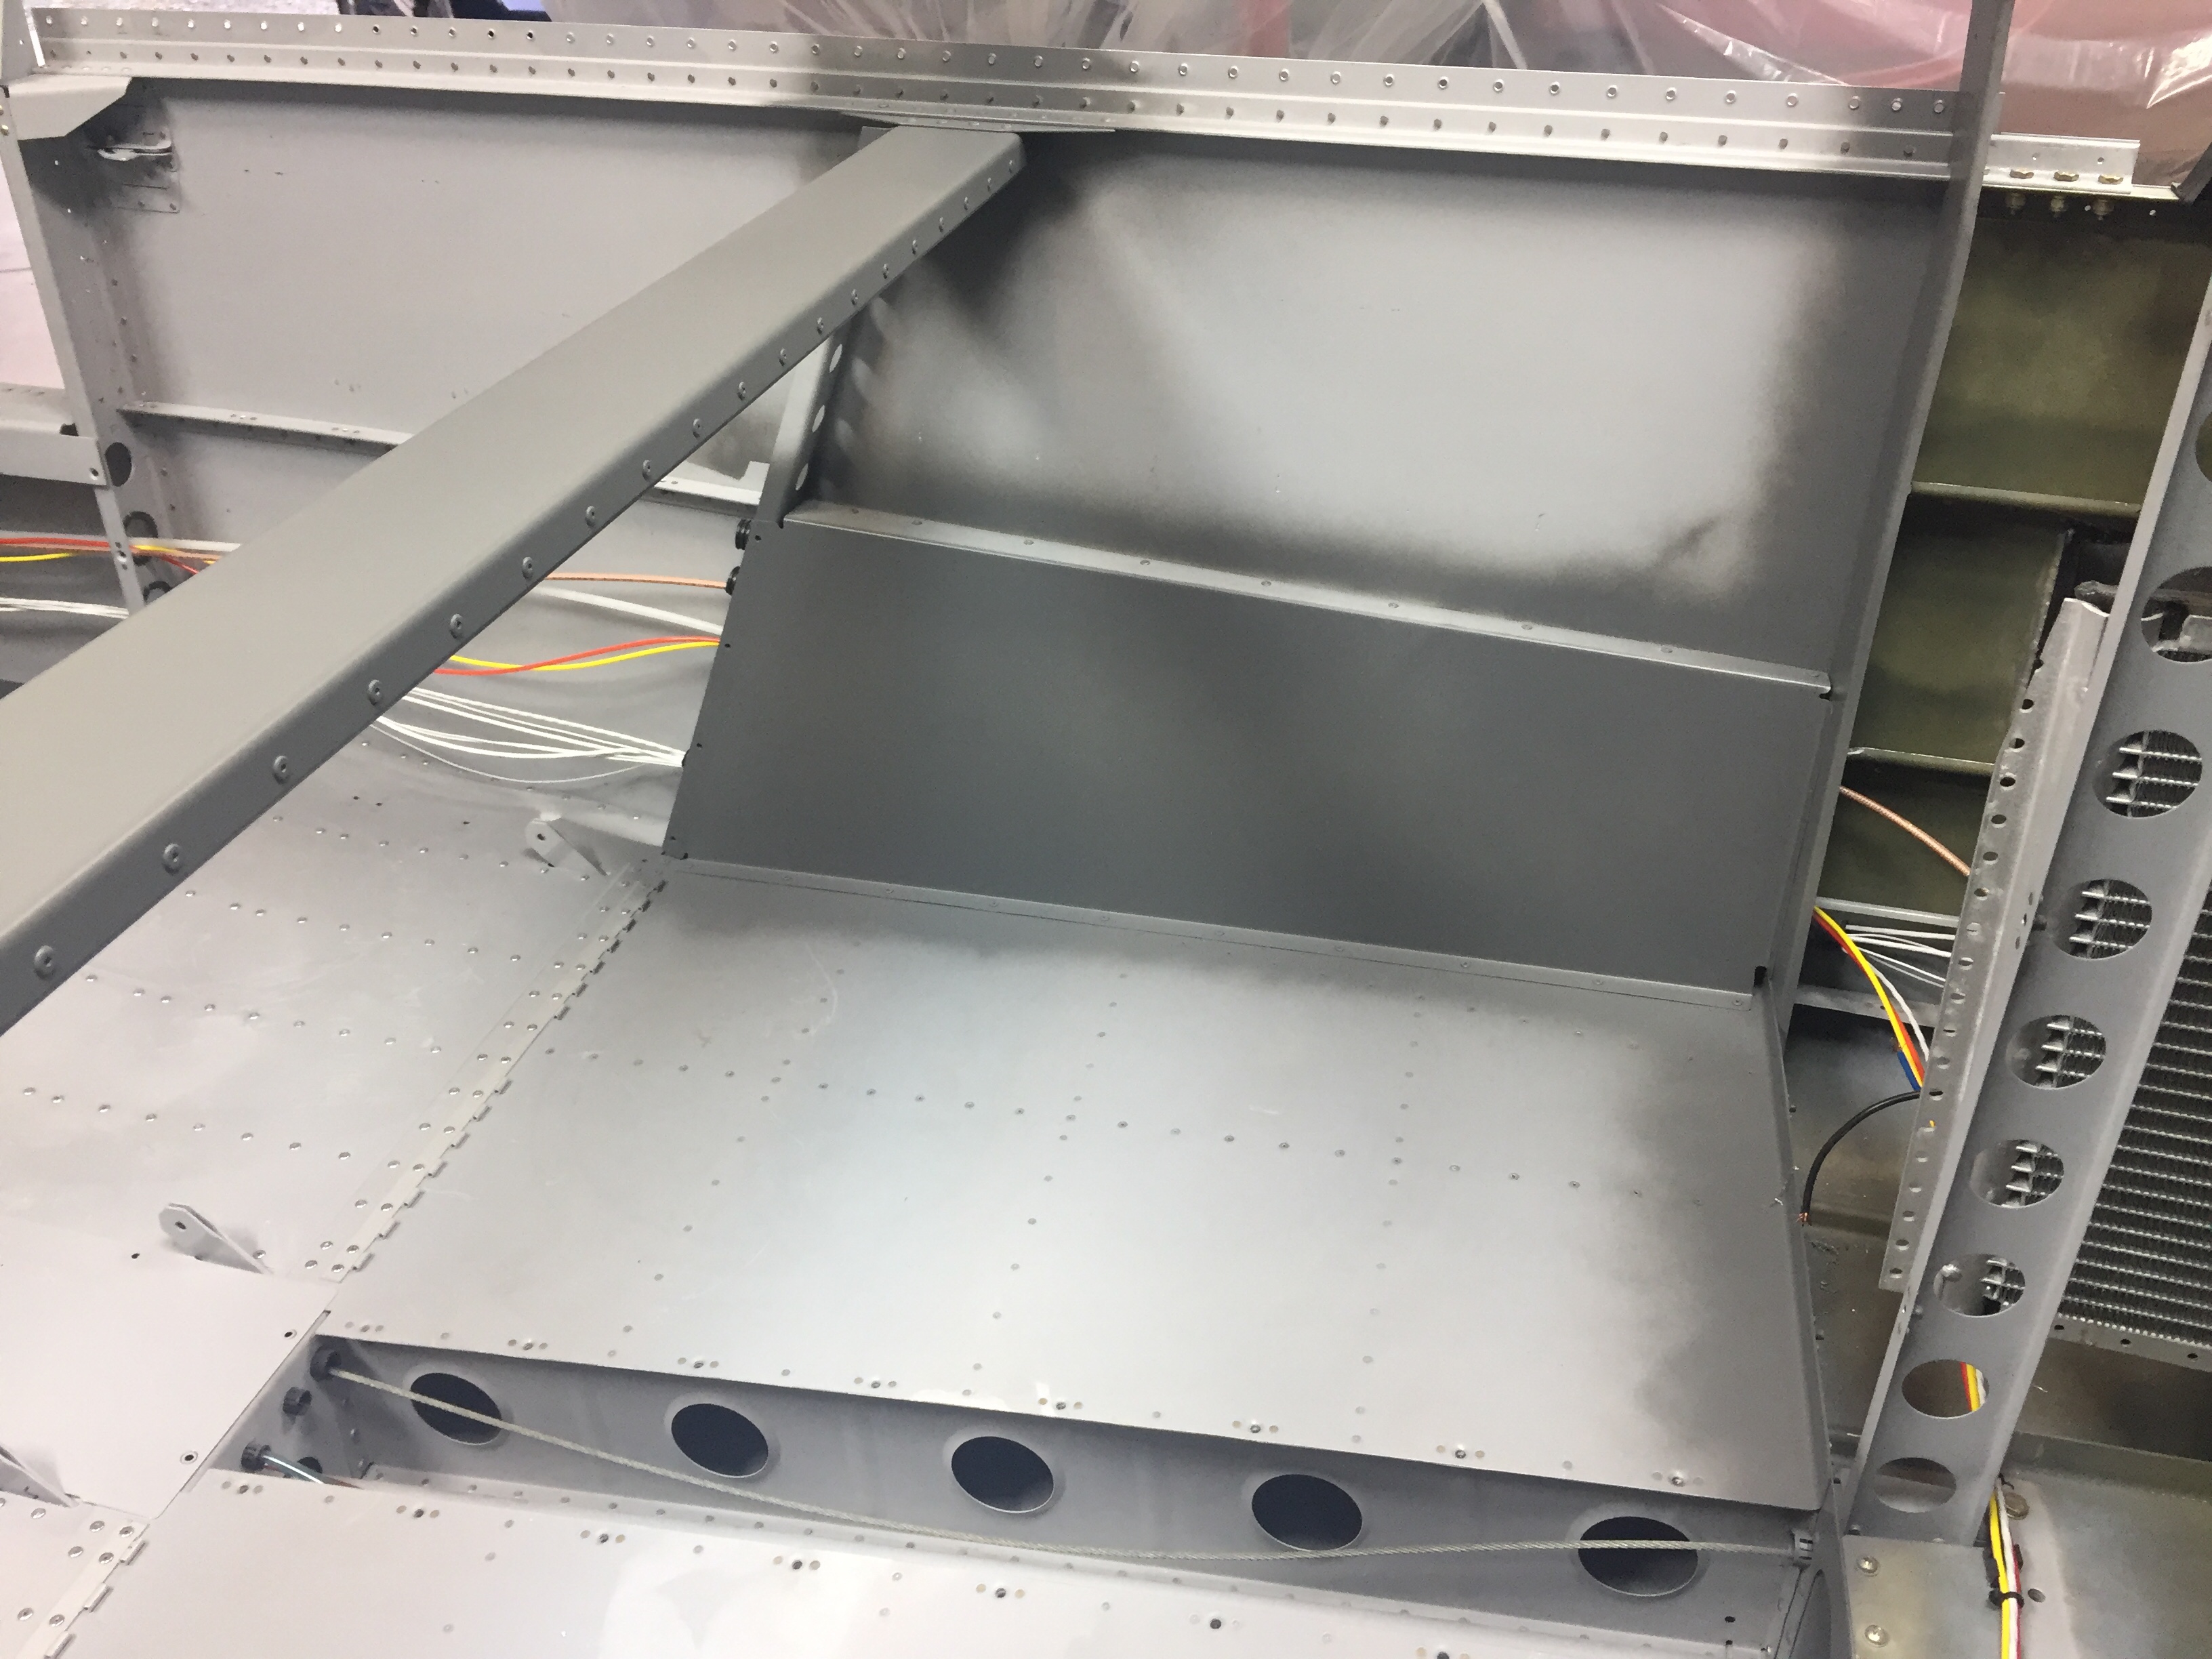
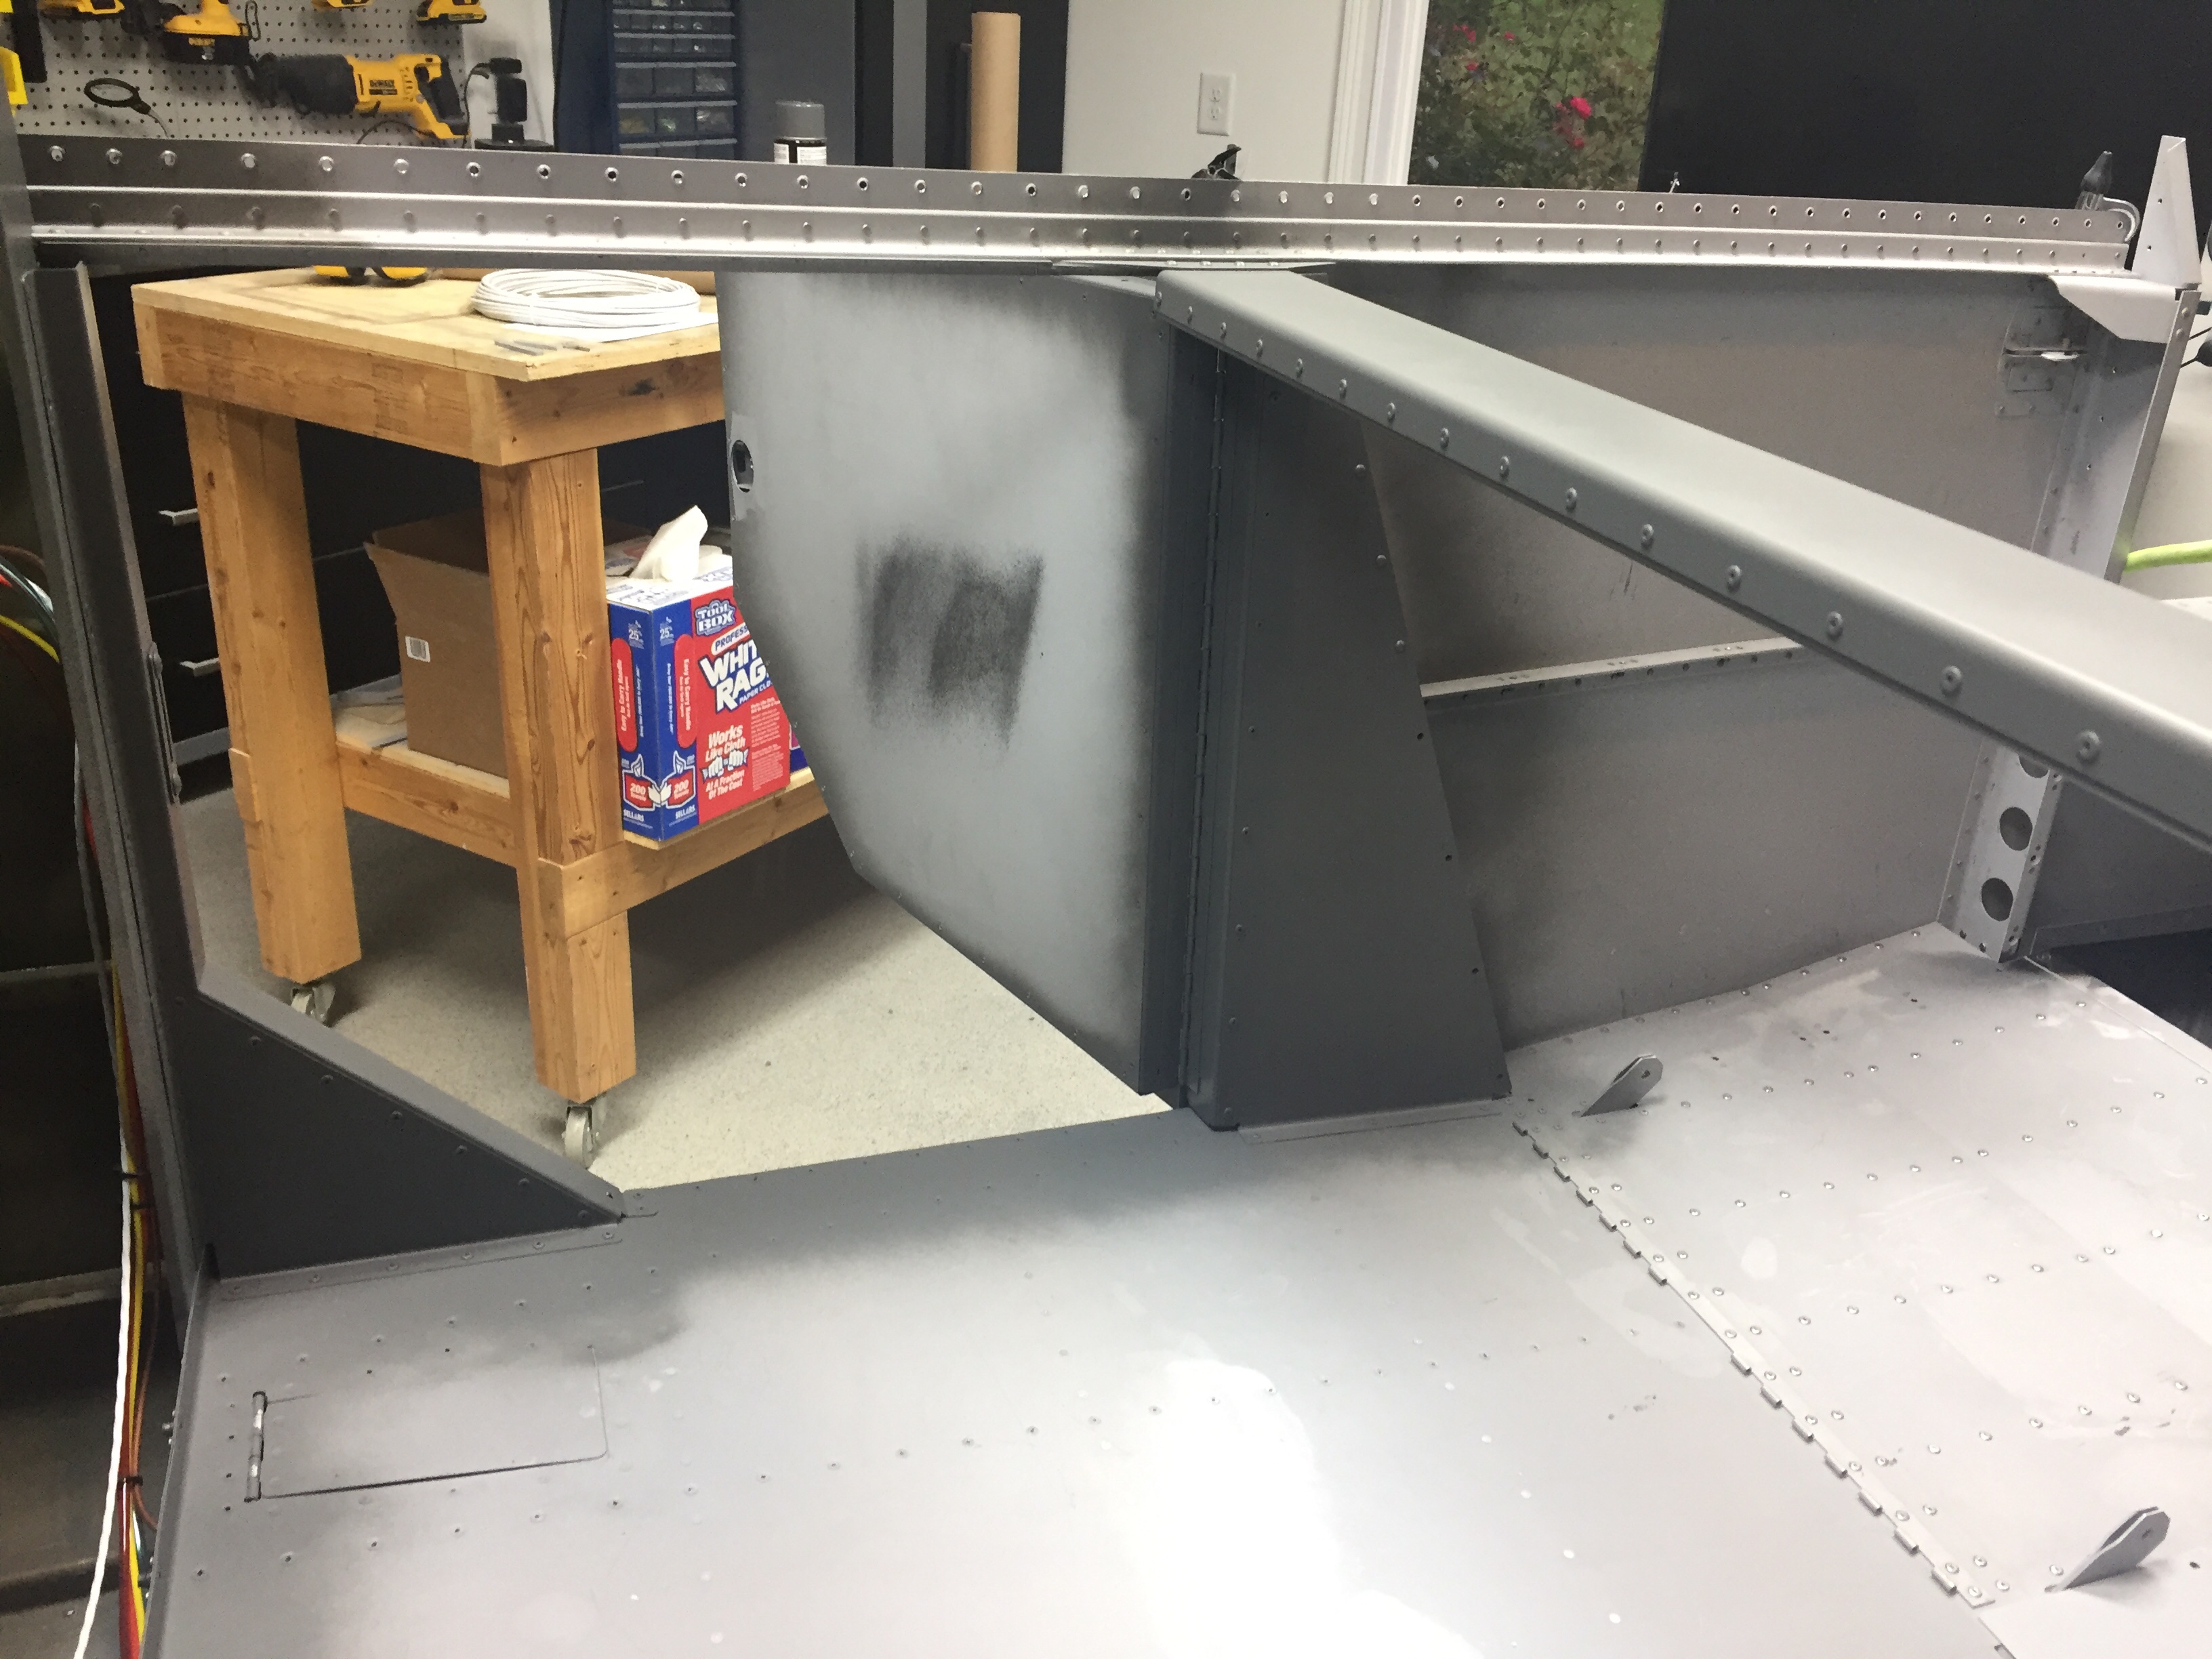
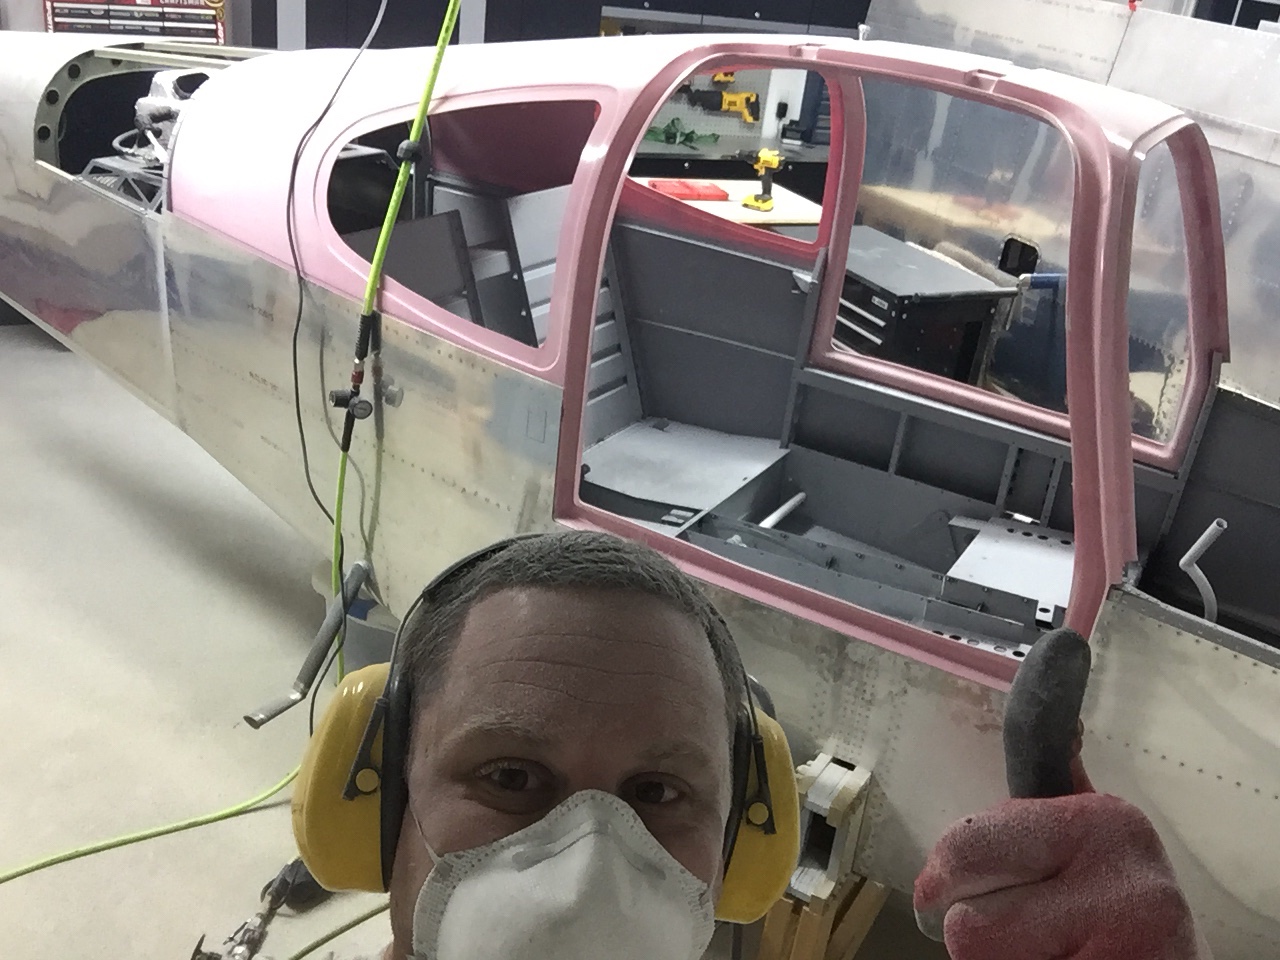
Finishing the interior now consists of painting the remaining surfaces not covered by the Aerosport panels and painting the panels themselves.  The doors, door frames, and a few other areas needed the Presido gray applied and I wanted to get that complete so I could turn full focus onto the outside.  I took my time to prep the areas needing painting with paper and tape and then set to work ruining my index finger with four cans of spray paint.  I used the SEM sand free to wipe all the surfaces down after a good cleaning with a wet rag to get rid of dust.  I then primed a few spots that had the bare filler / metal exposed.  I then put three coats of color on it, letting it flash in between coats.  Finally it was two coats of clear on the doors and door sills.
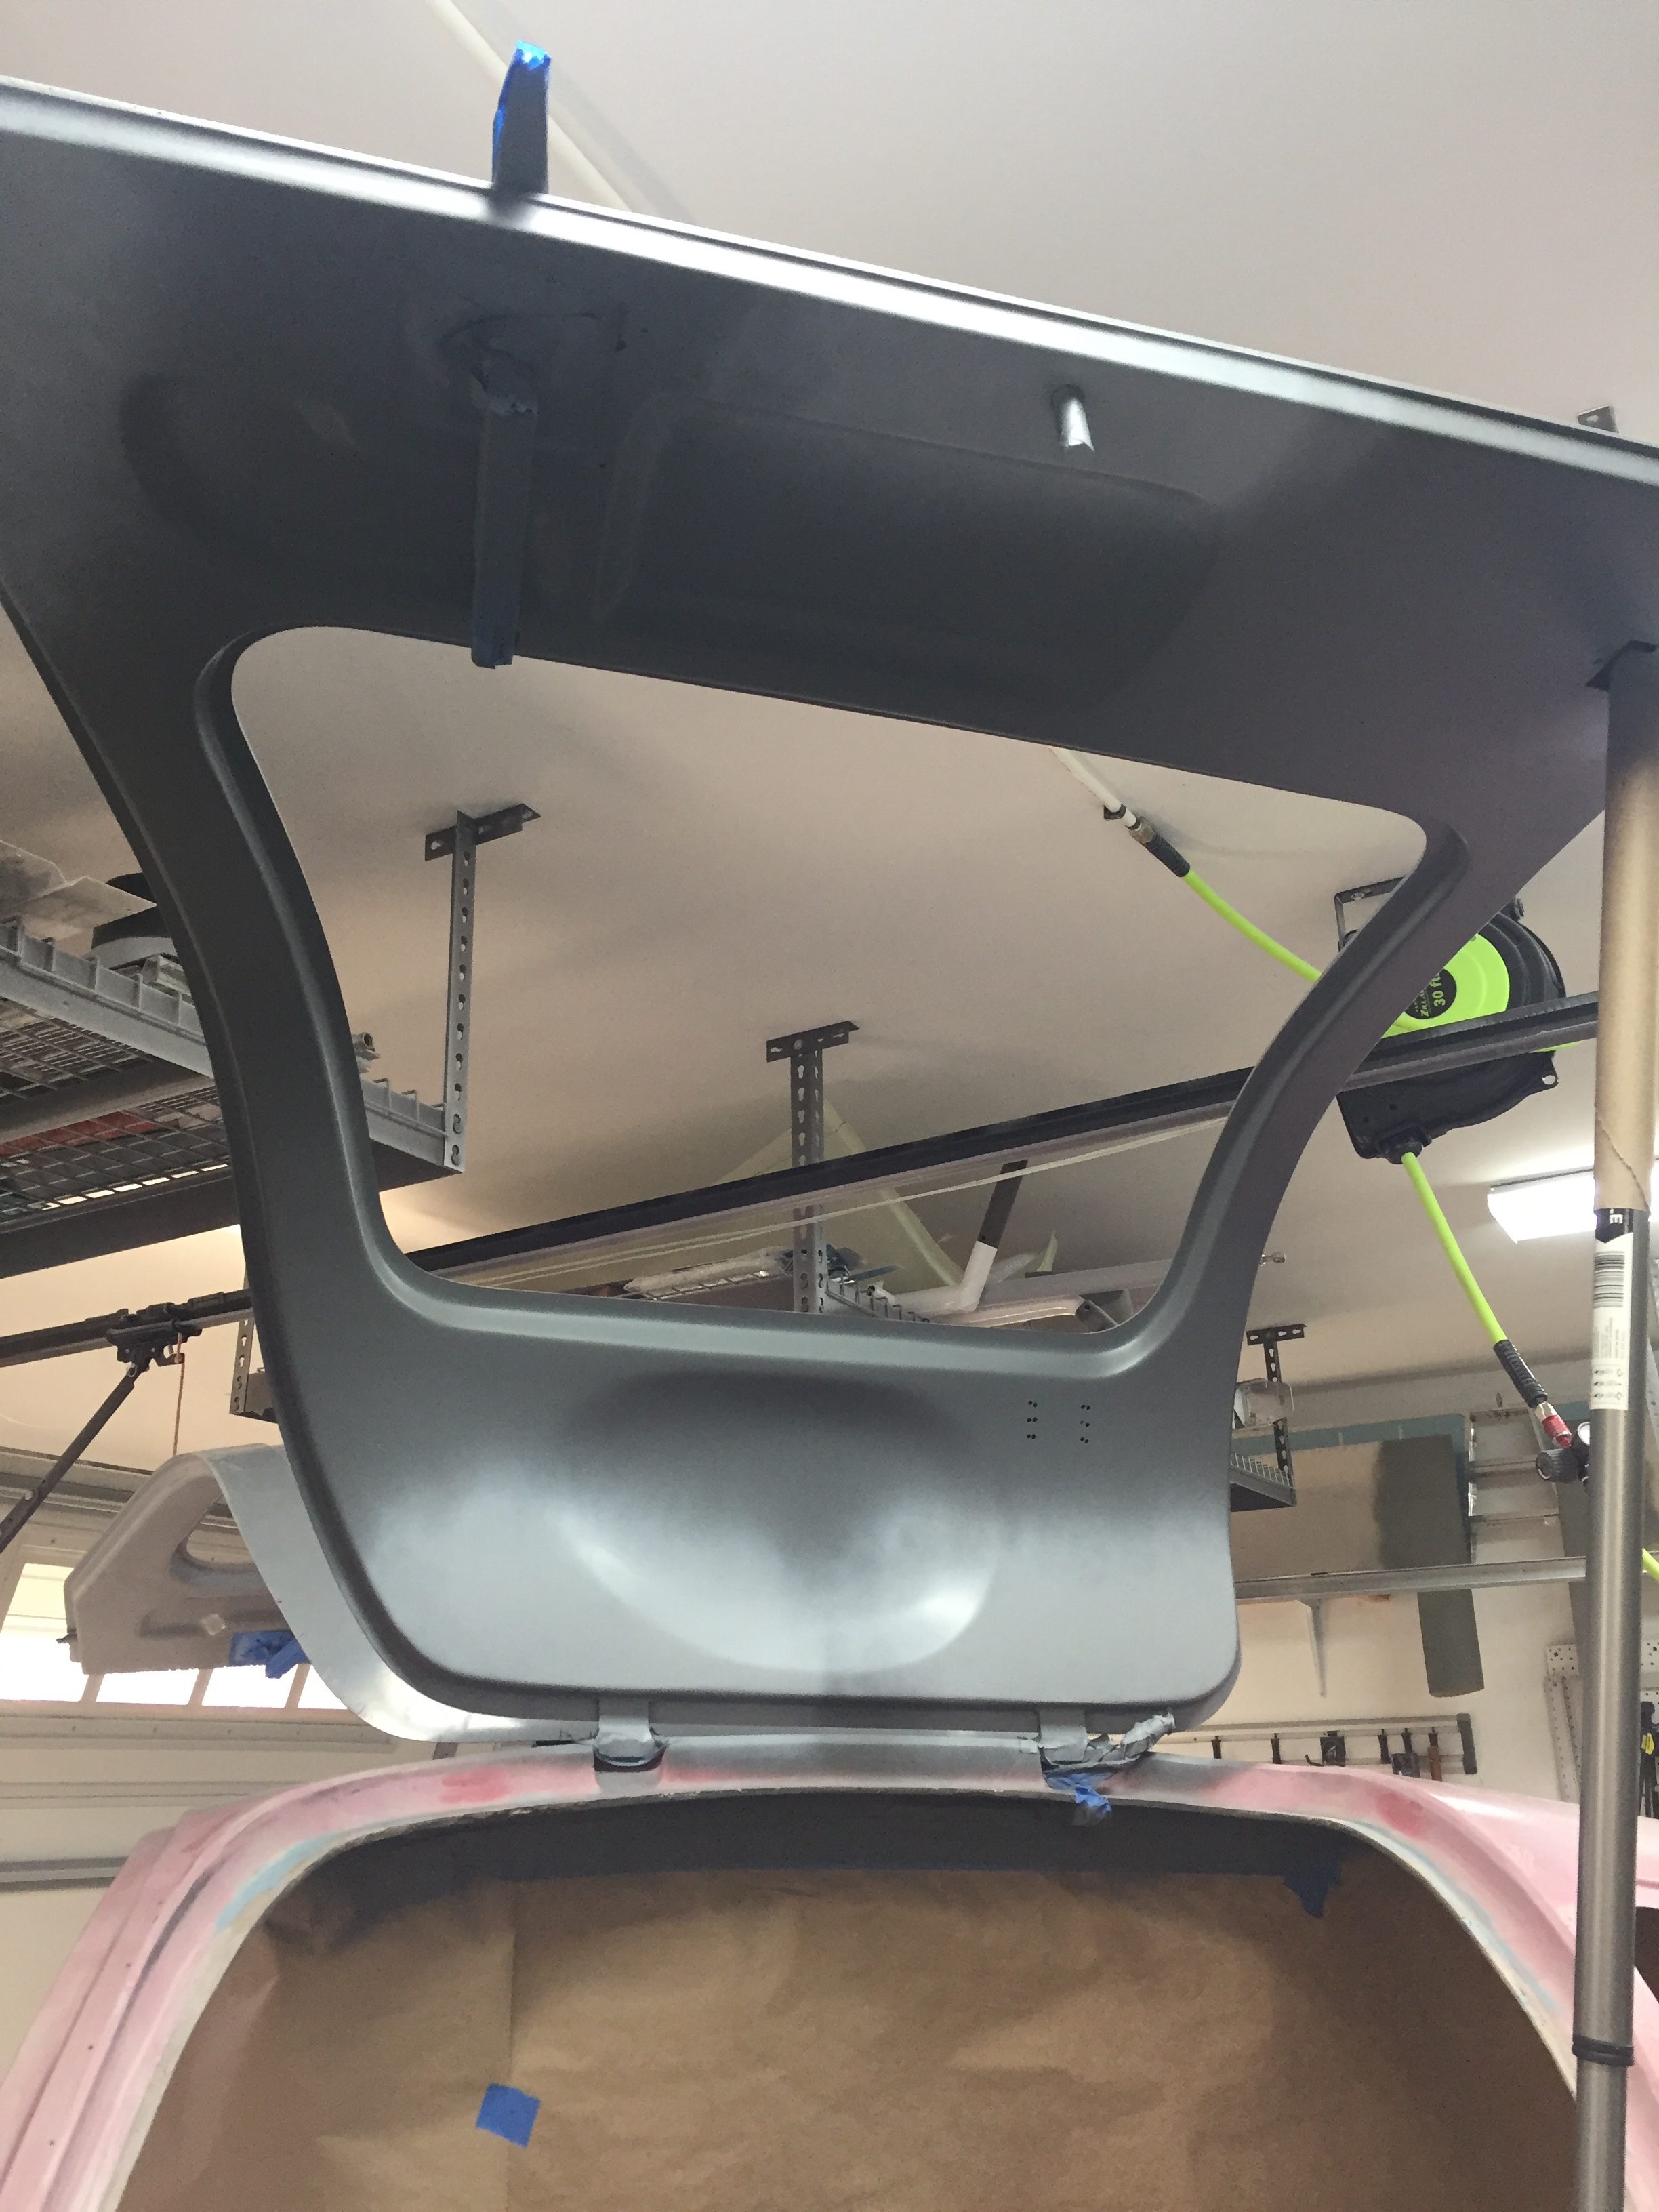
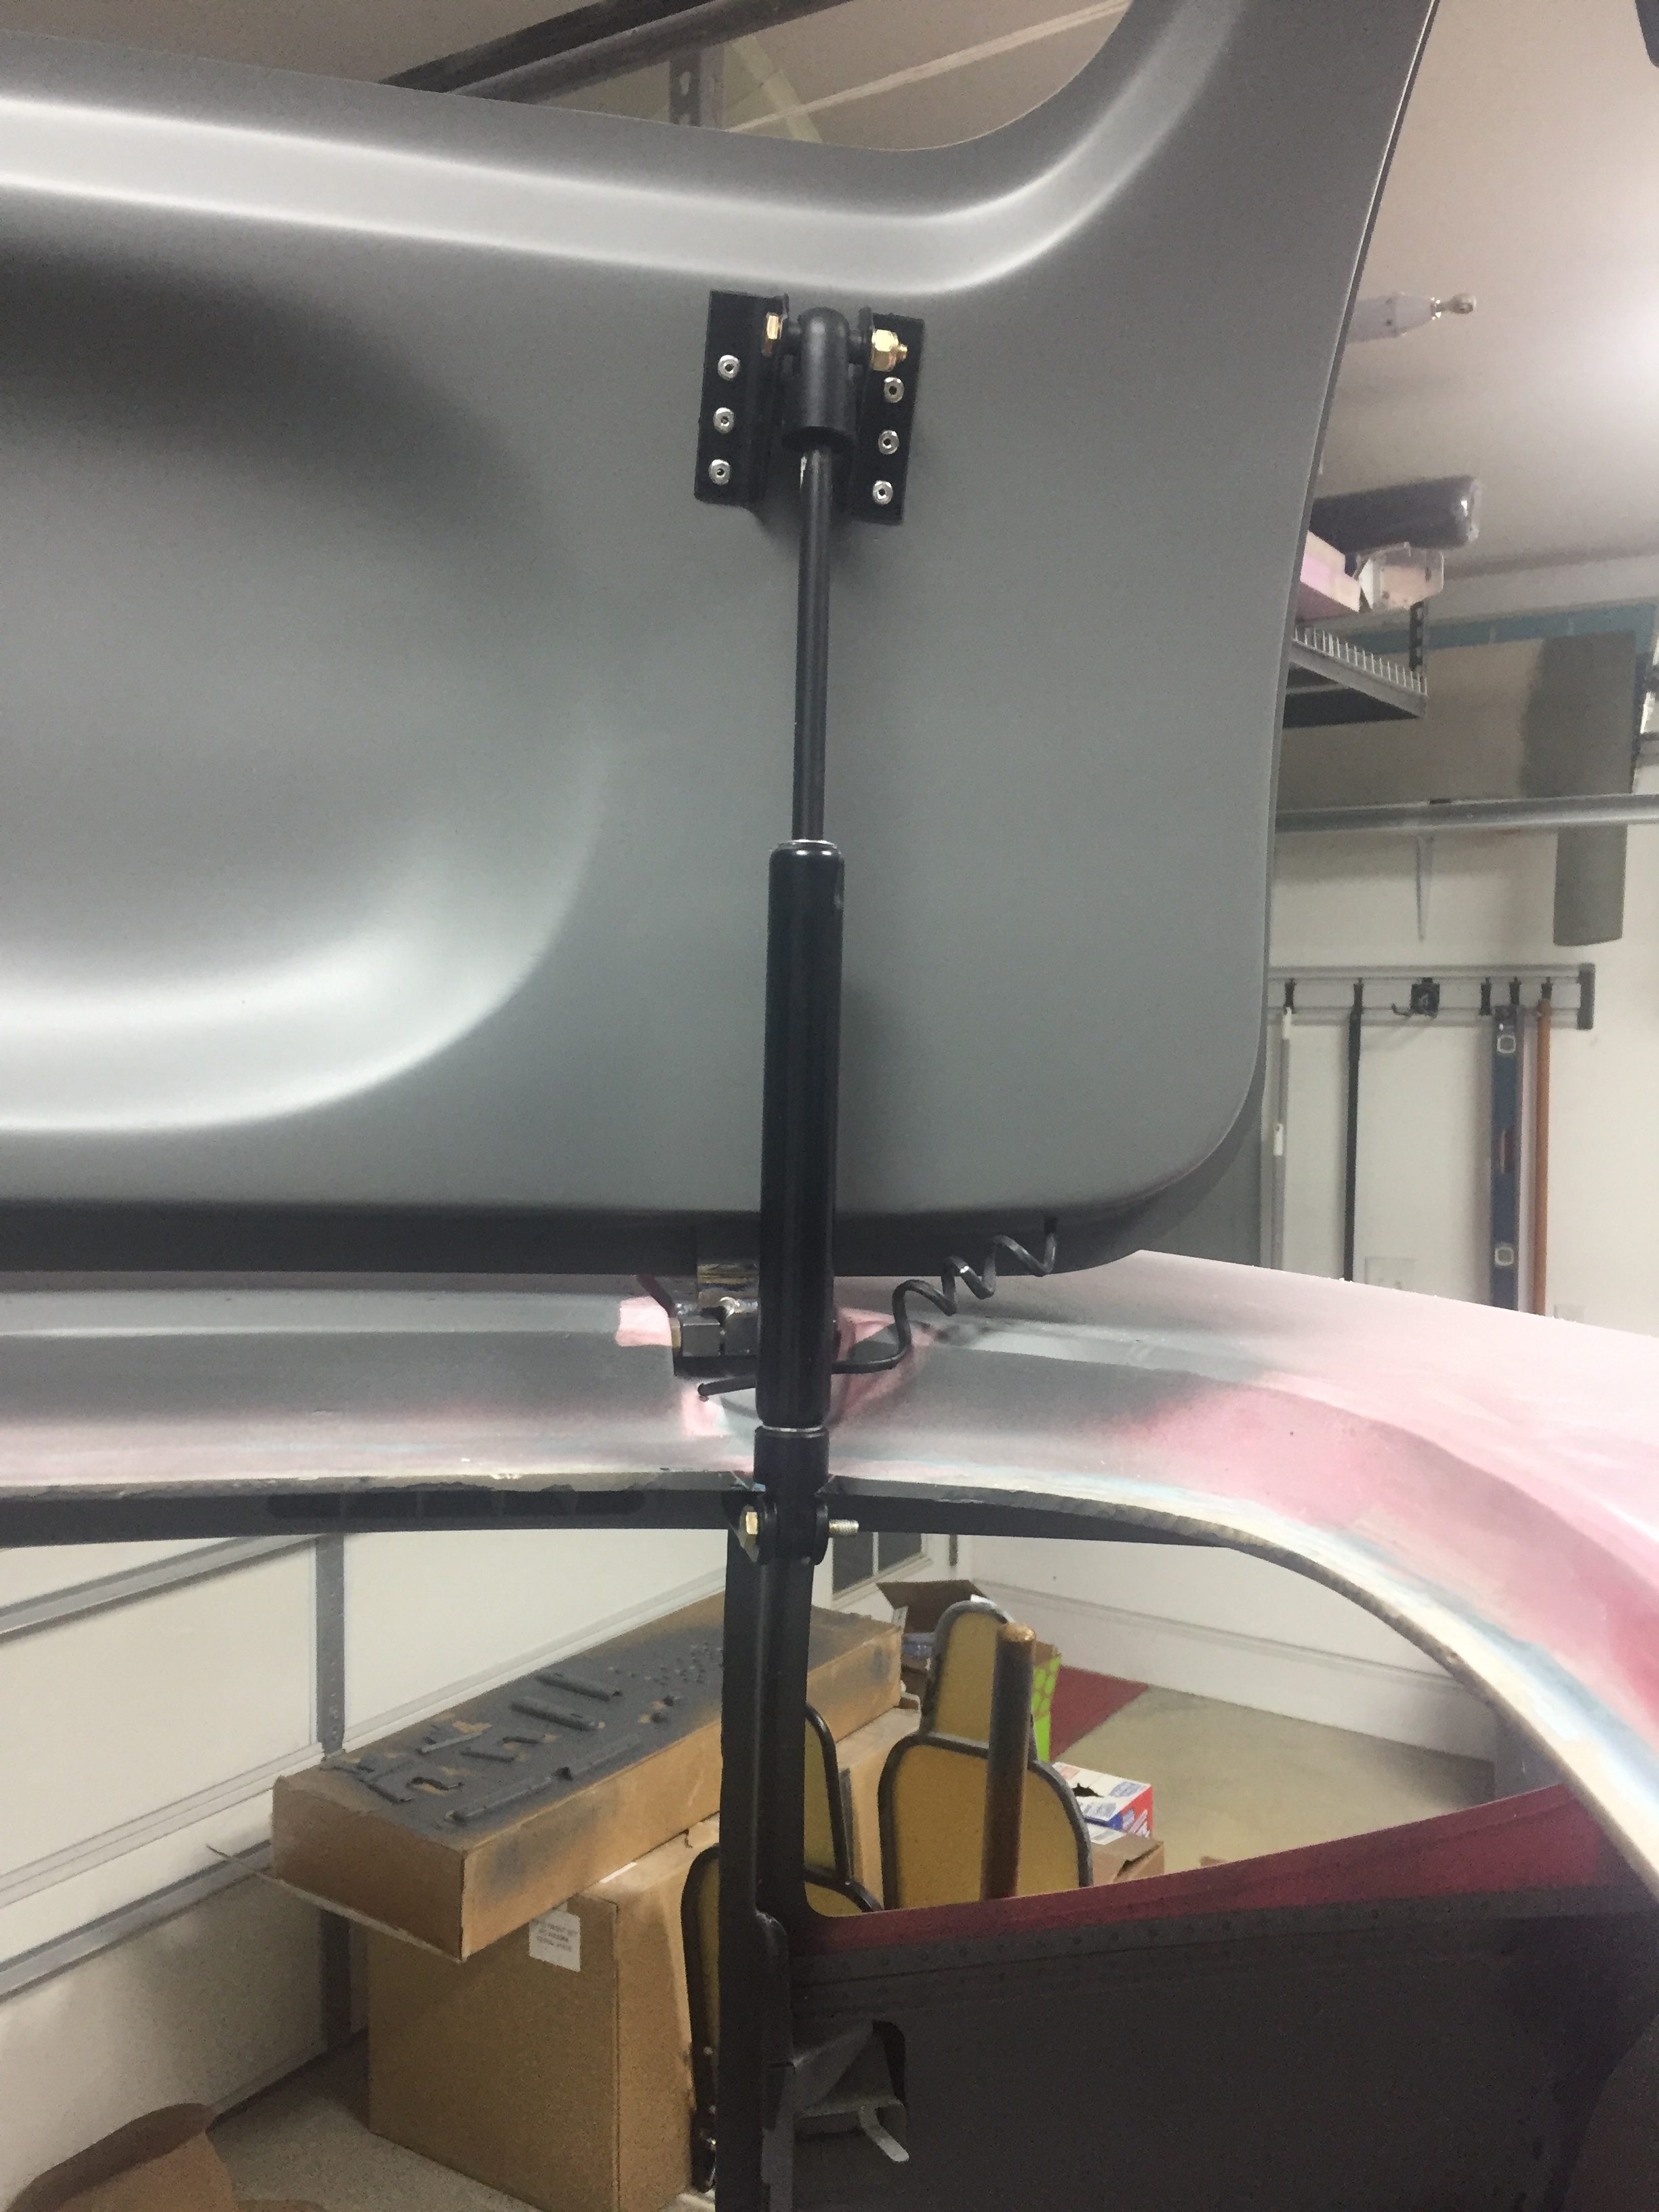
I was excited to put the recently anodized hardware back on the doors to get the struts mounted for good.  The anodizing came out really nicely.  I had a few “trinkets and trash” done but the main parts were the seat belt brackets that I needed complete so the seats can be sent off for covering.  While installing the bolt holding the strut to the brackets, I managed to scrape off some of the newly applied paint.  I then proceeded to scream at the top of my lungs, collapse on the floor in a heap of fiberglass dust, and cried like a little school boy.
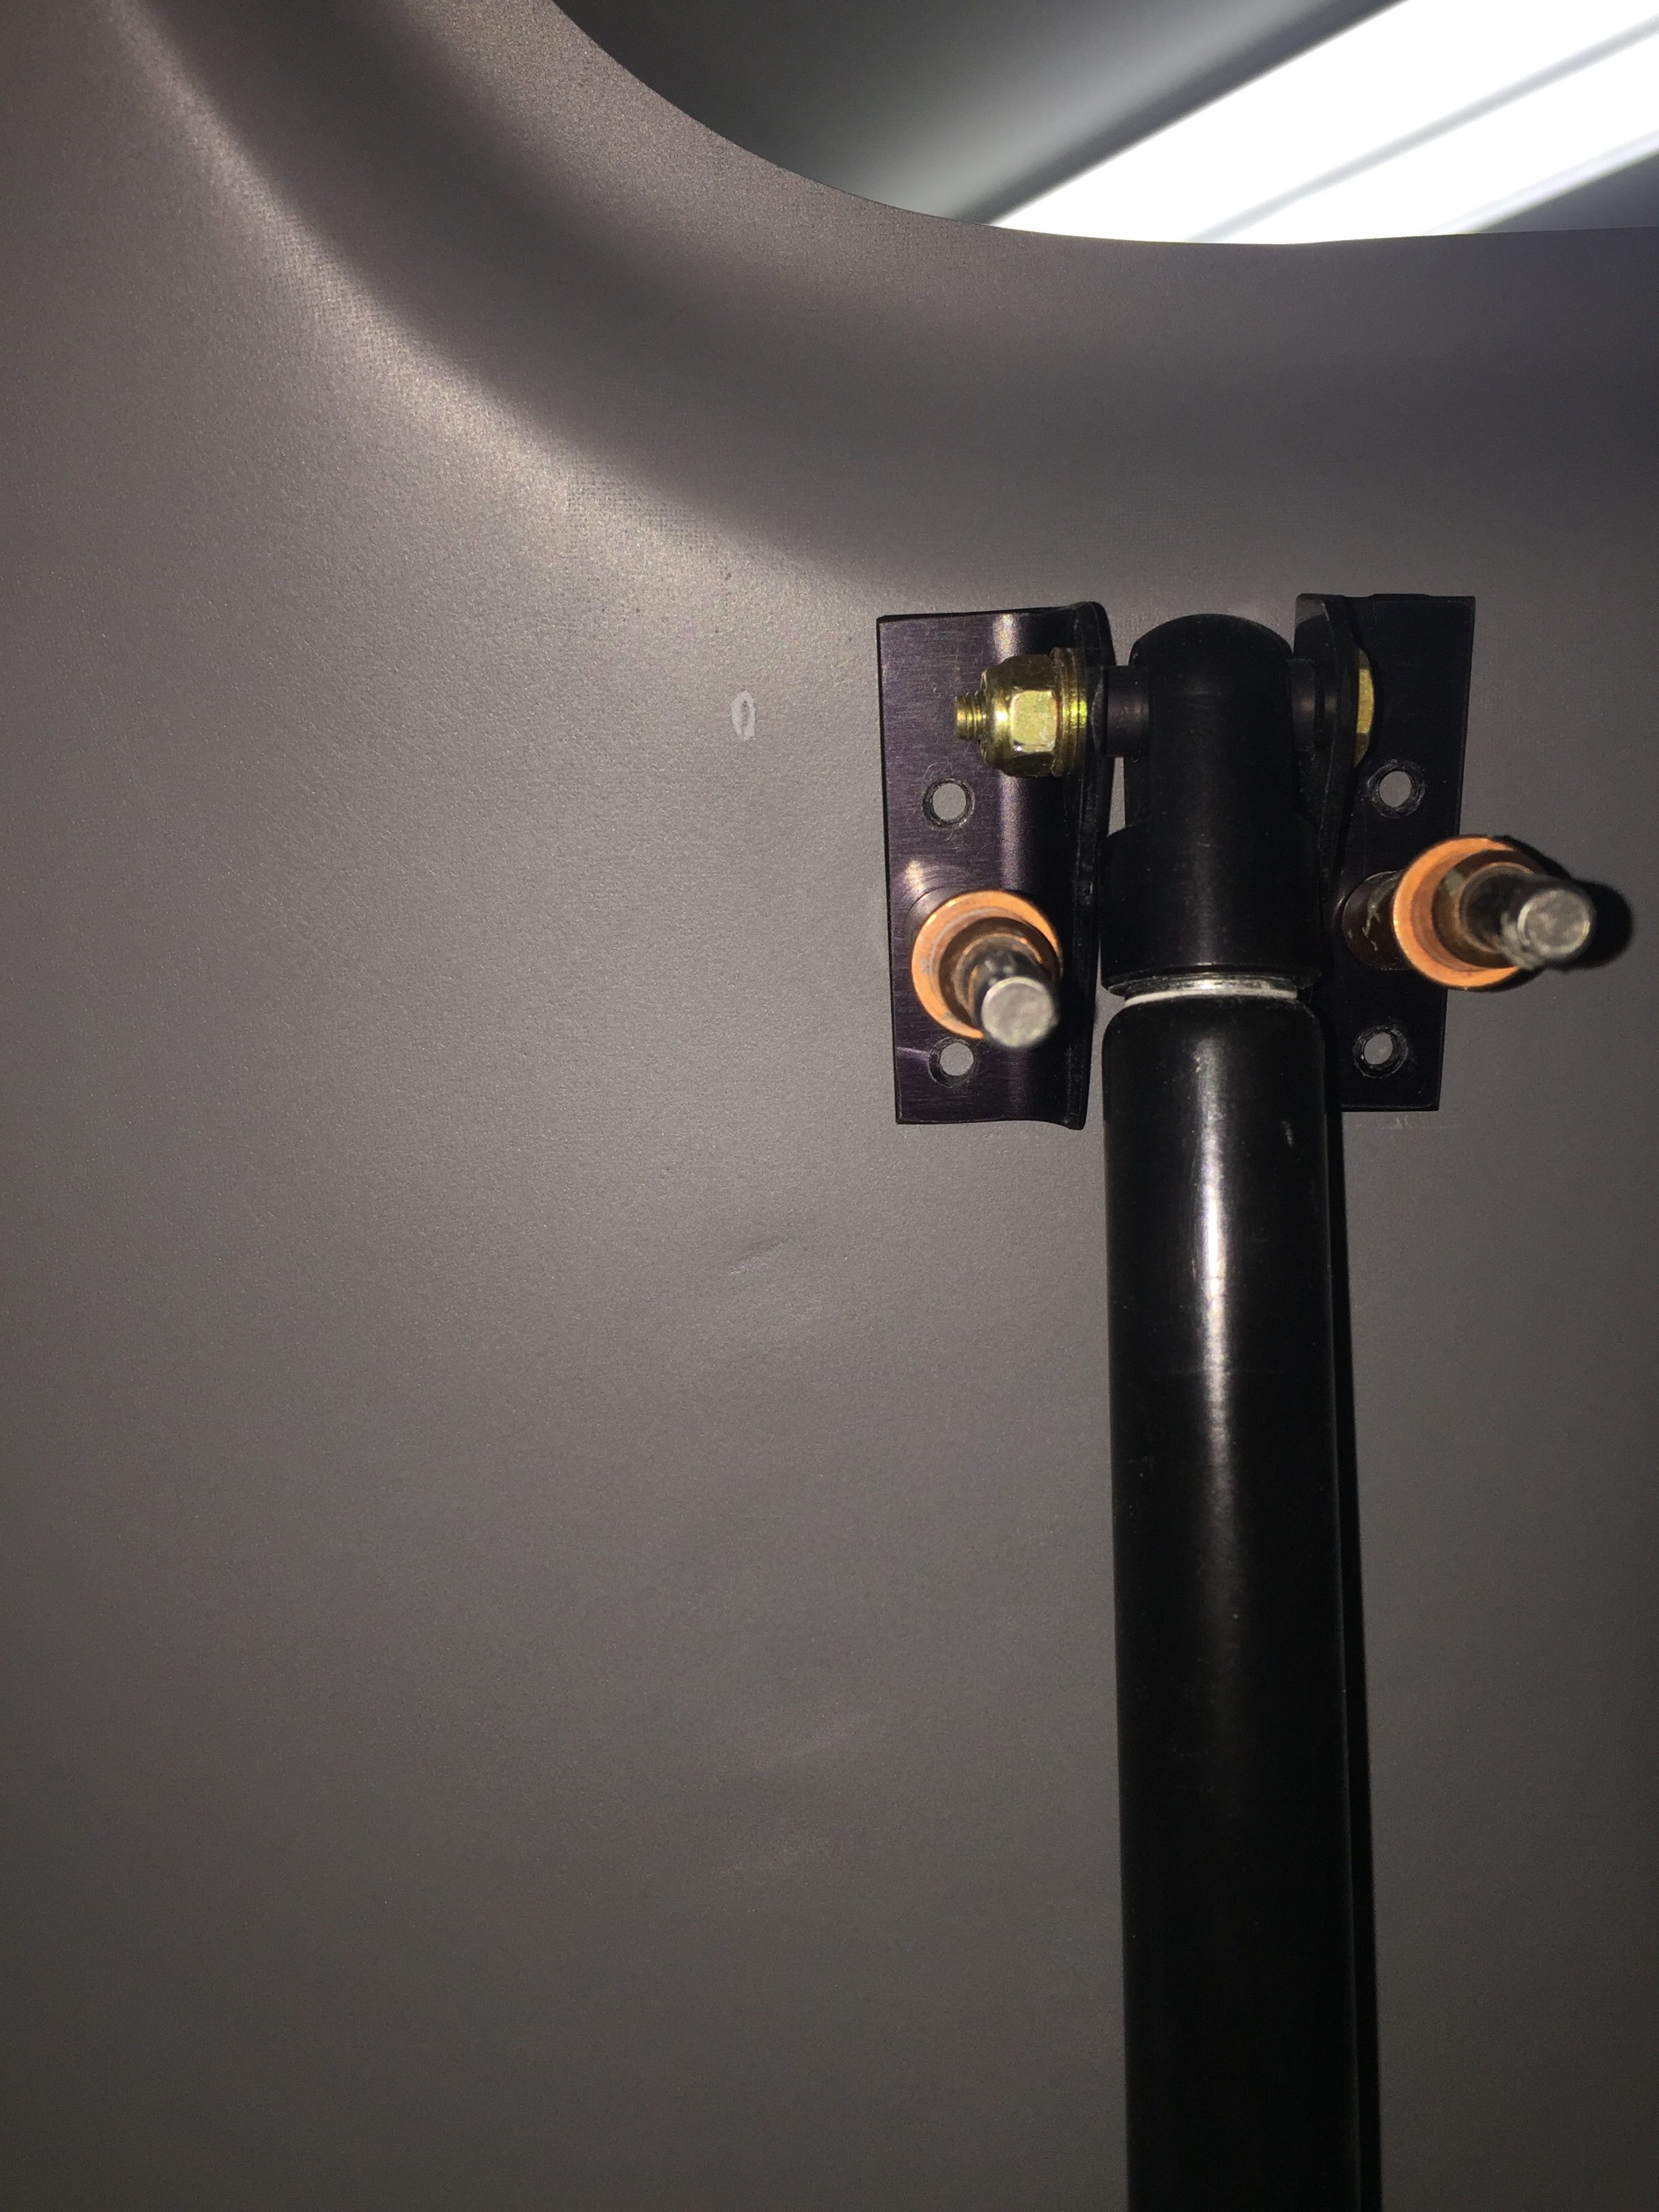
After that, I picked myself up and started asking questions.  SEM is advertised as a flexible dye, not a spray paint, for plastics, vinyl, and leather.  I know others had used it on their interior with good results so I was pretty confused.  I do have some spots on my carbon fiber overhead that have flaked off, but I attributed those to poor prep on my part, mainly not enough scuffing for it to properly adhere.  After a few dire nights thinking the entire interior may need to be stripped, I called their tech support and got reassured that the Color Coat is adequate for all substrates.  They did say it’s not going to be as durable as a two state professional coating, but it should be just fine and touch ups will be easy.  Sure enough, the areas I saw flaking was poor application on my part.  I tried pretty hard to scuff and scrape over an area I know I applied it correctly and the finish help up very well.
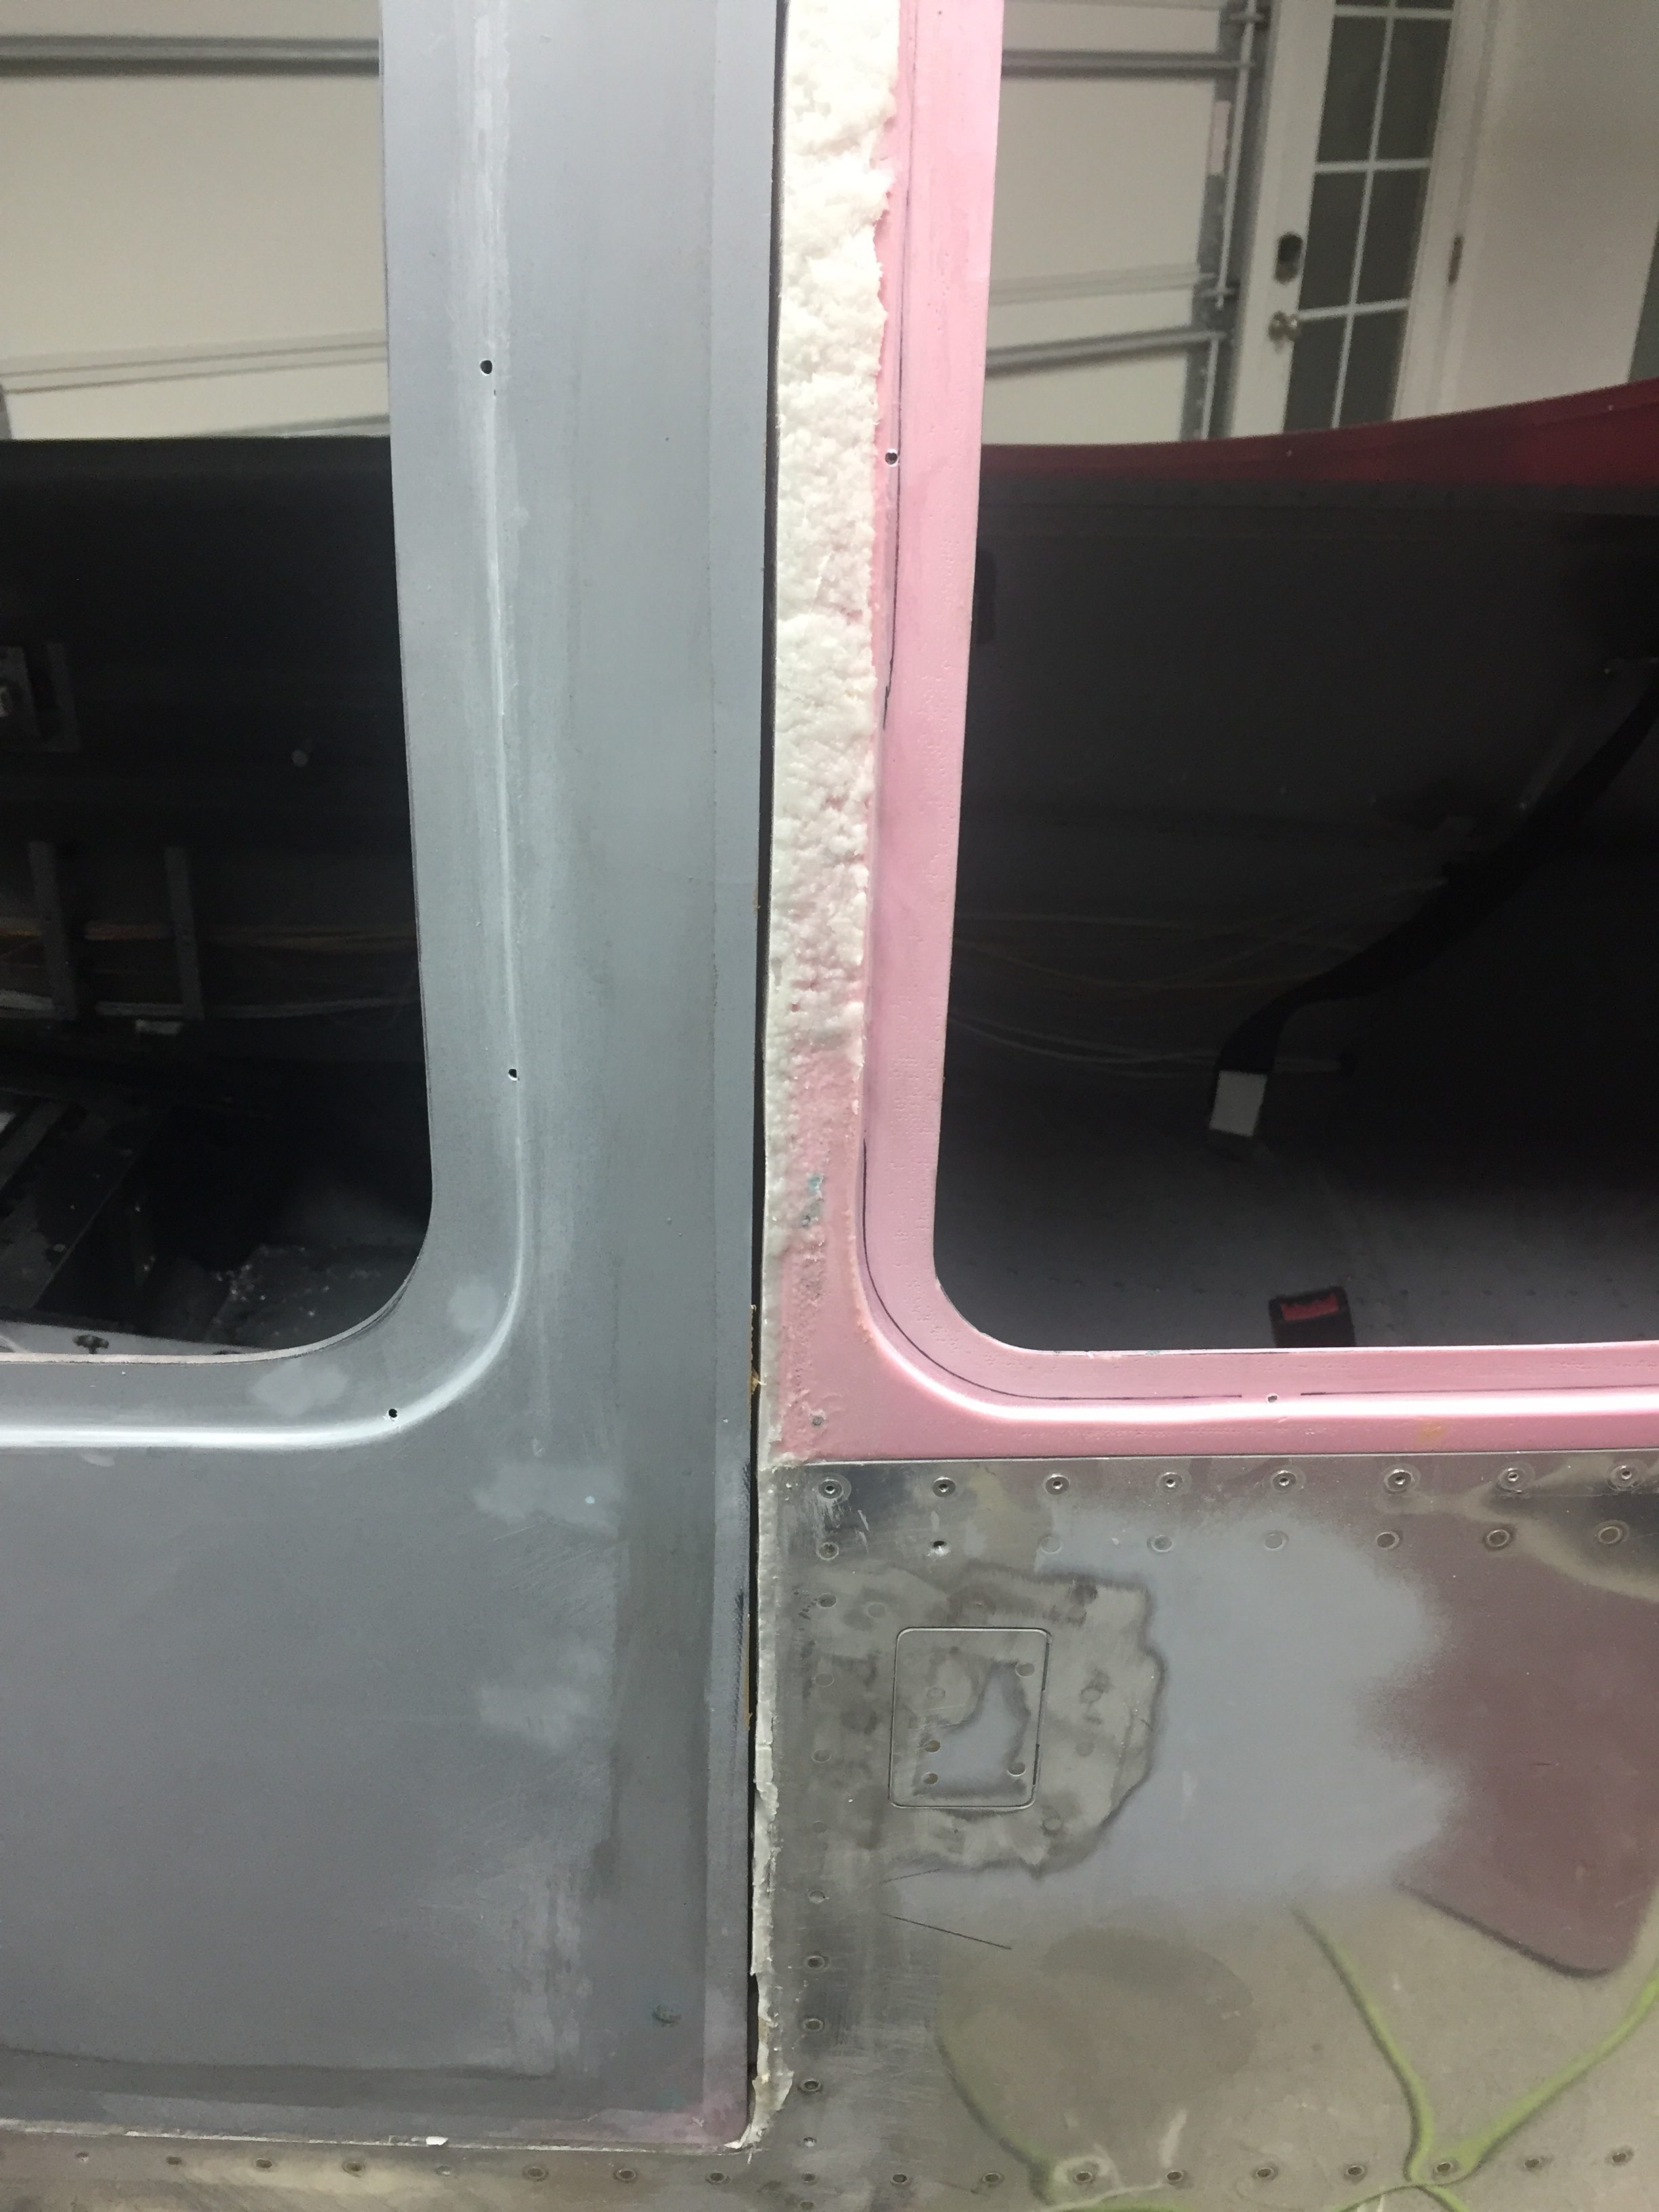
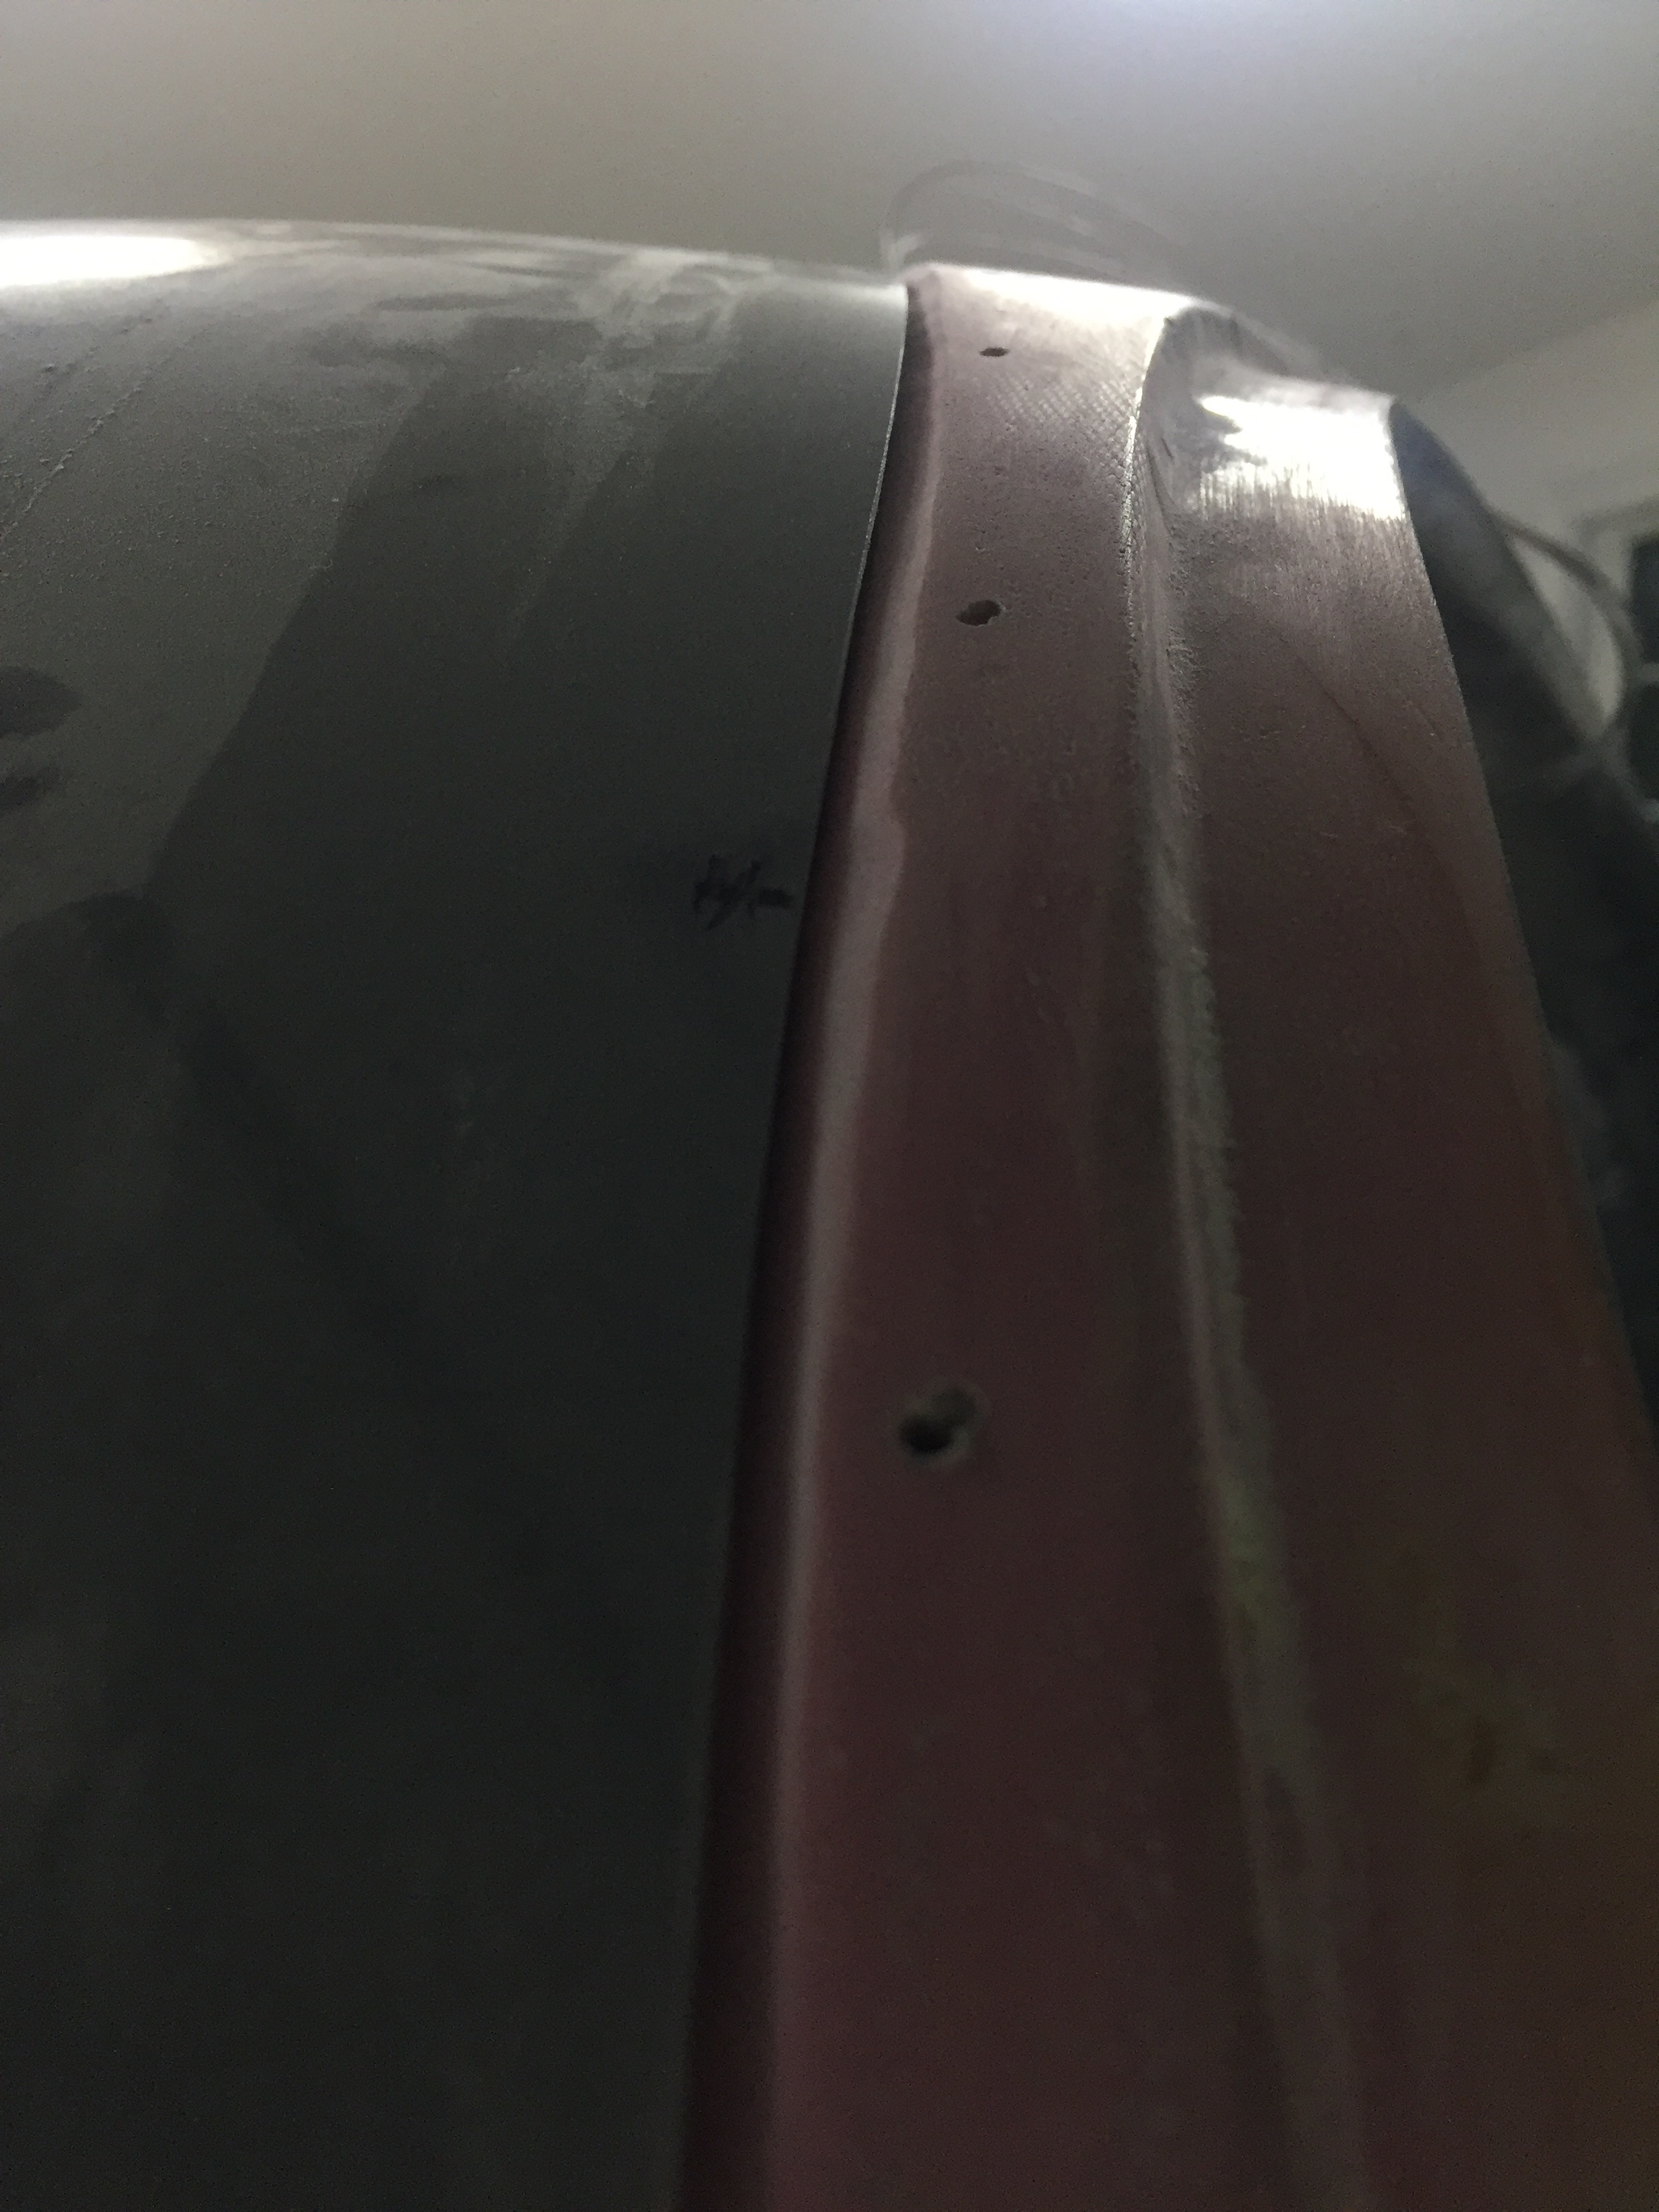
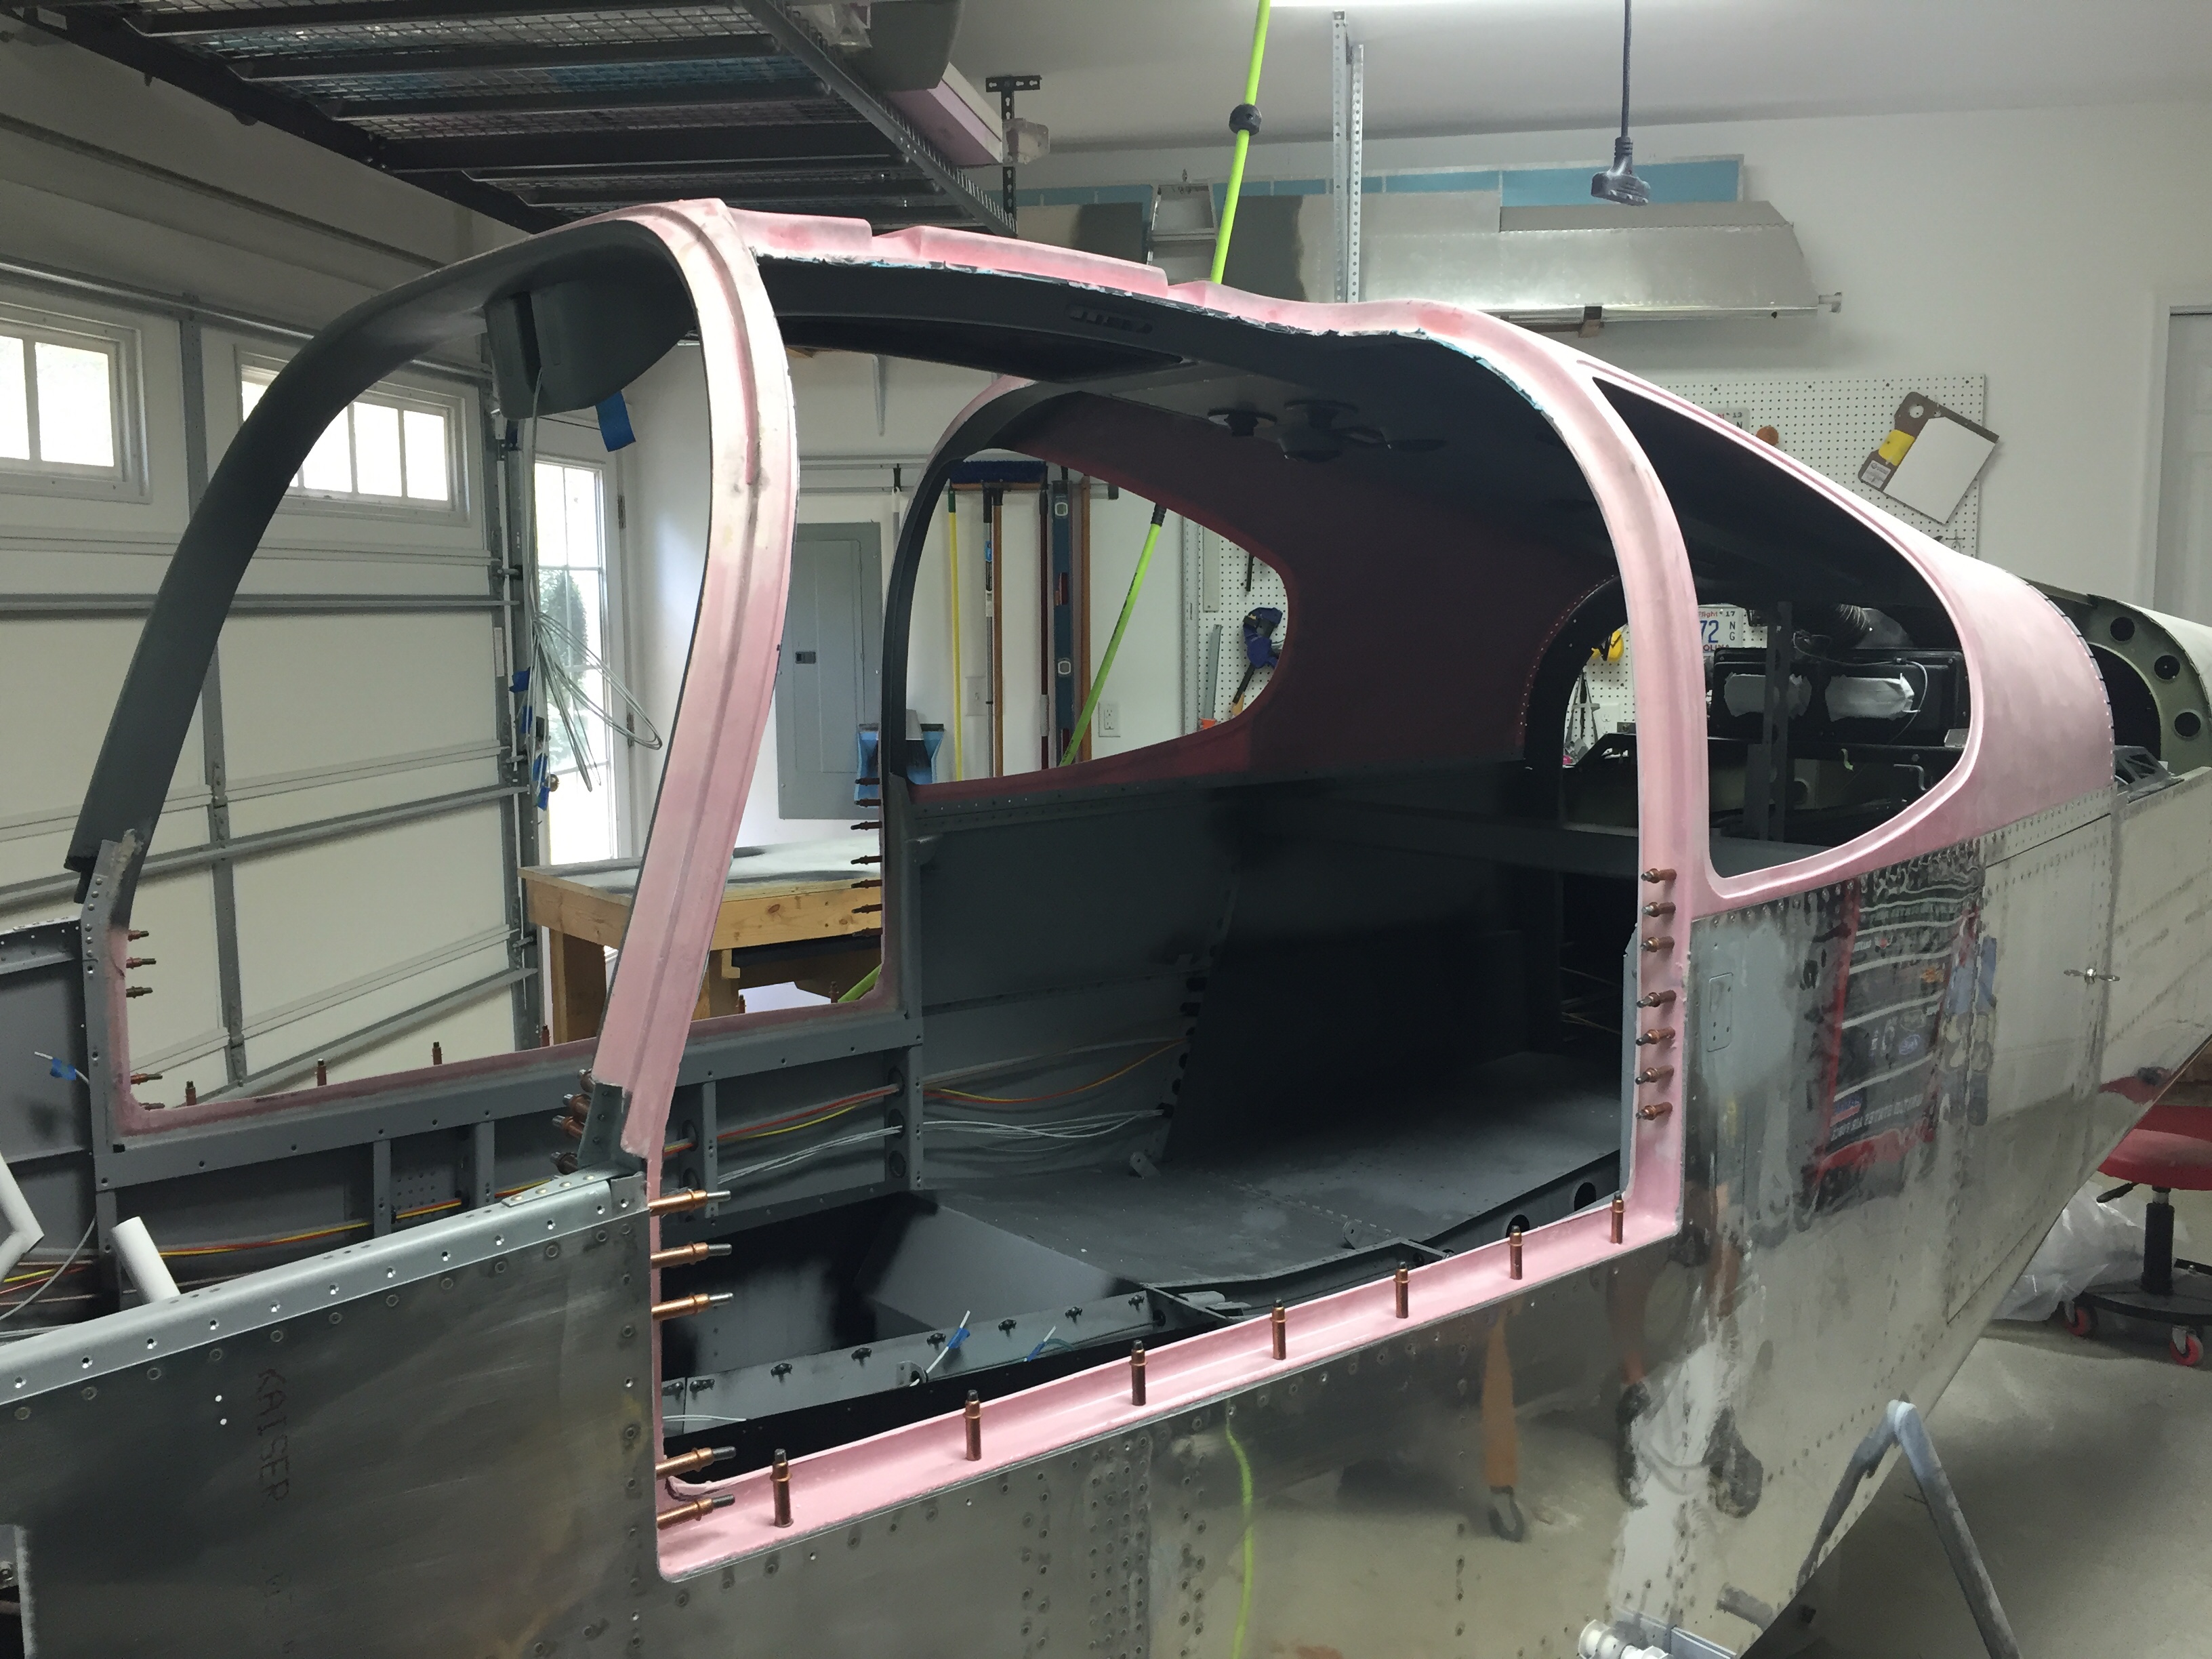
The need for a few touch ups is just as well, because I but the cart before the horse on painting and still needing to sand.  The external door gap was the next hurdle to tackle and I knew I really made a mess of it when fitting the doors originally.  While I used the cleco to cabin top method, I originally started with the plans directed 45 degree bevel before turning to square the door edges off so paint will stick better.  That left me with a large and unsightly gap between the cabin top and door edge seen from the outside.
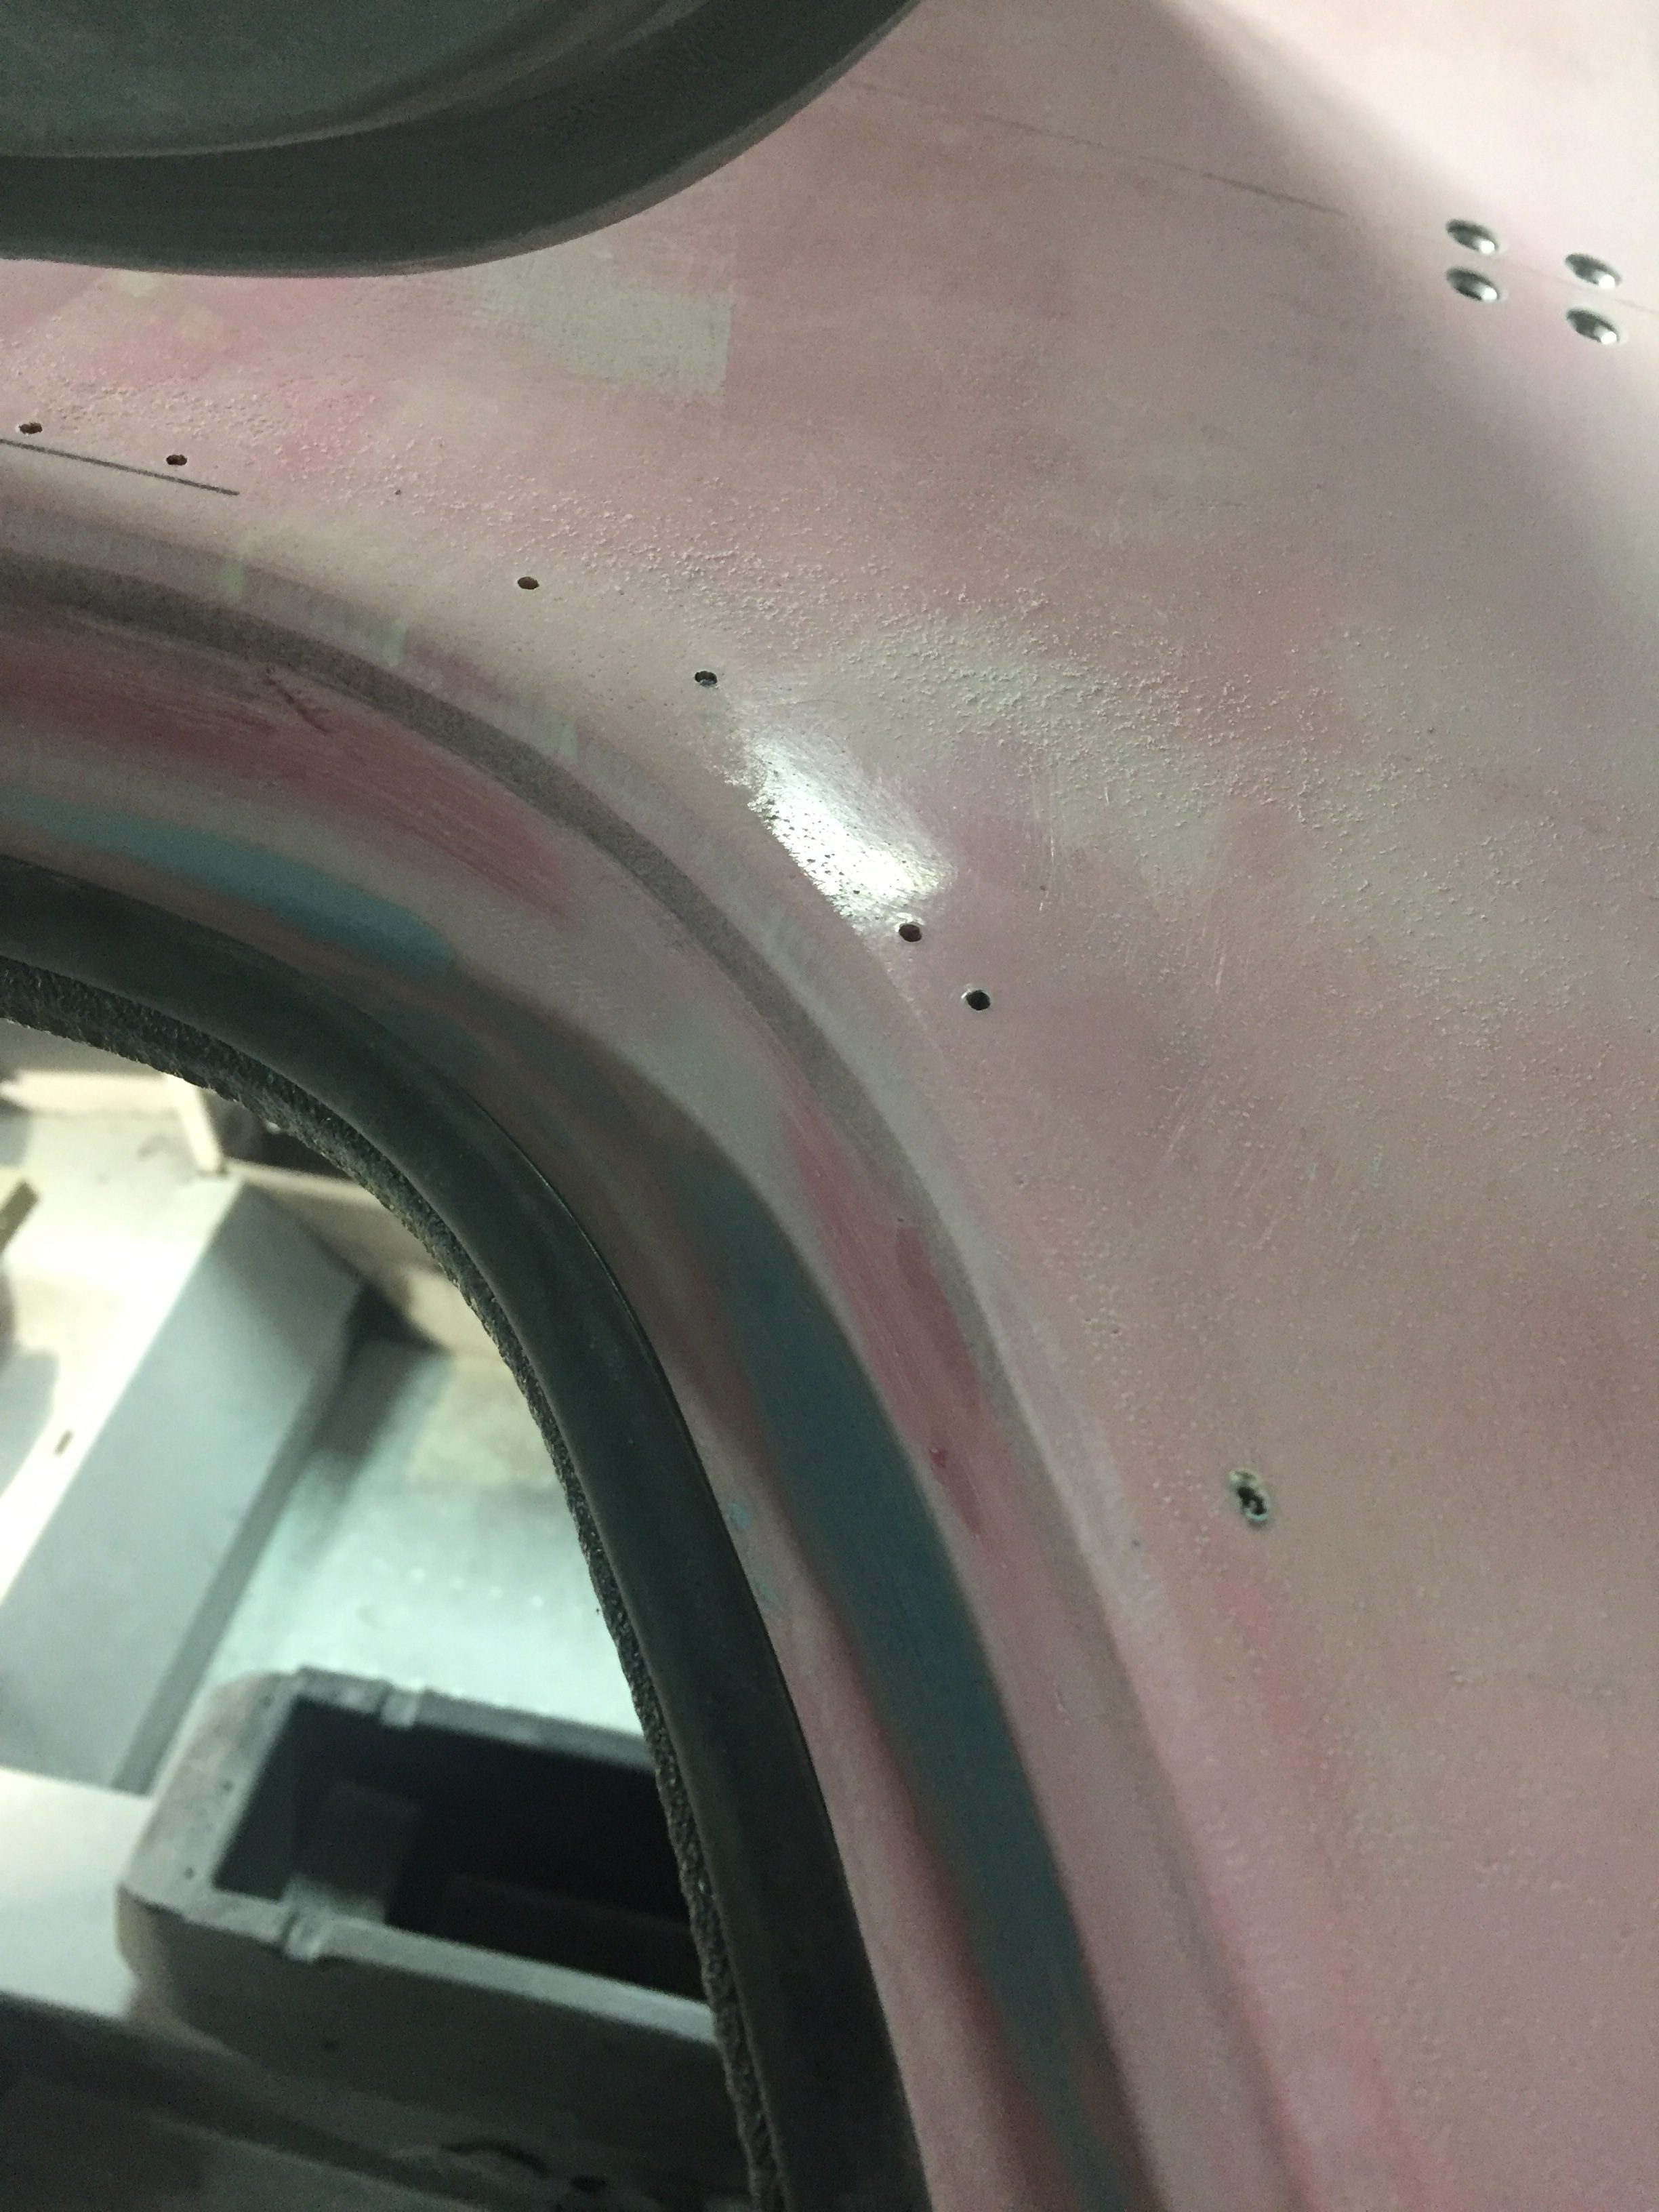
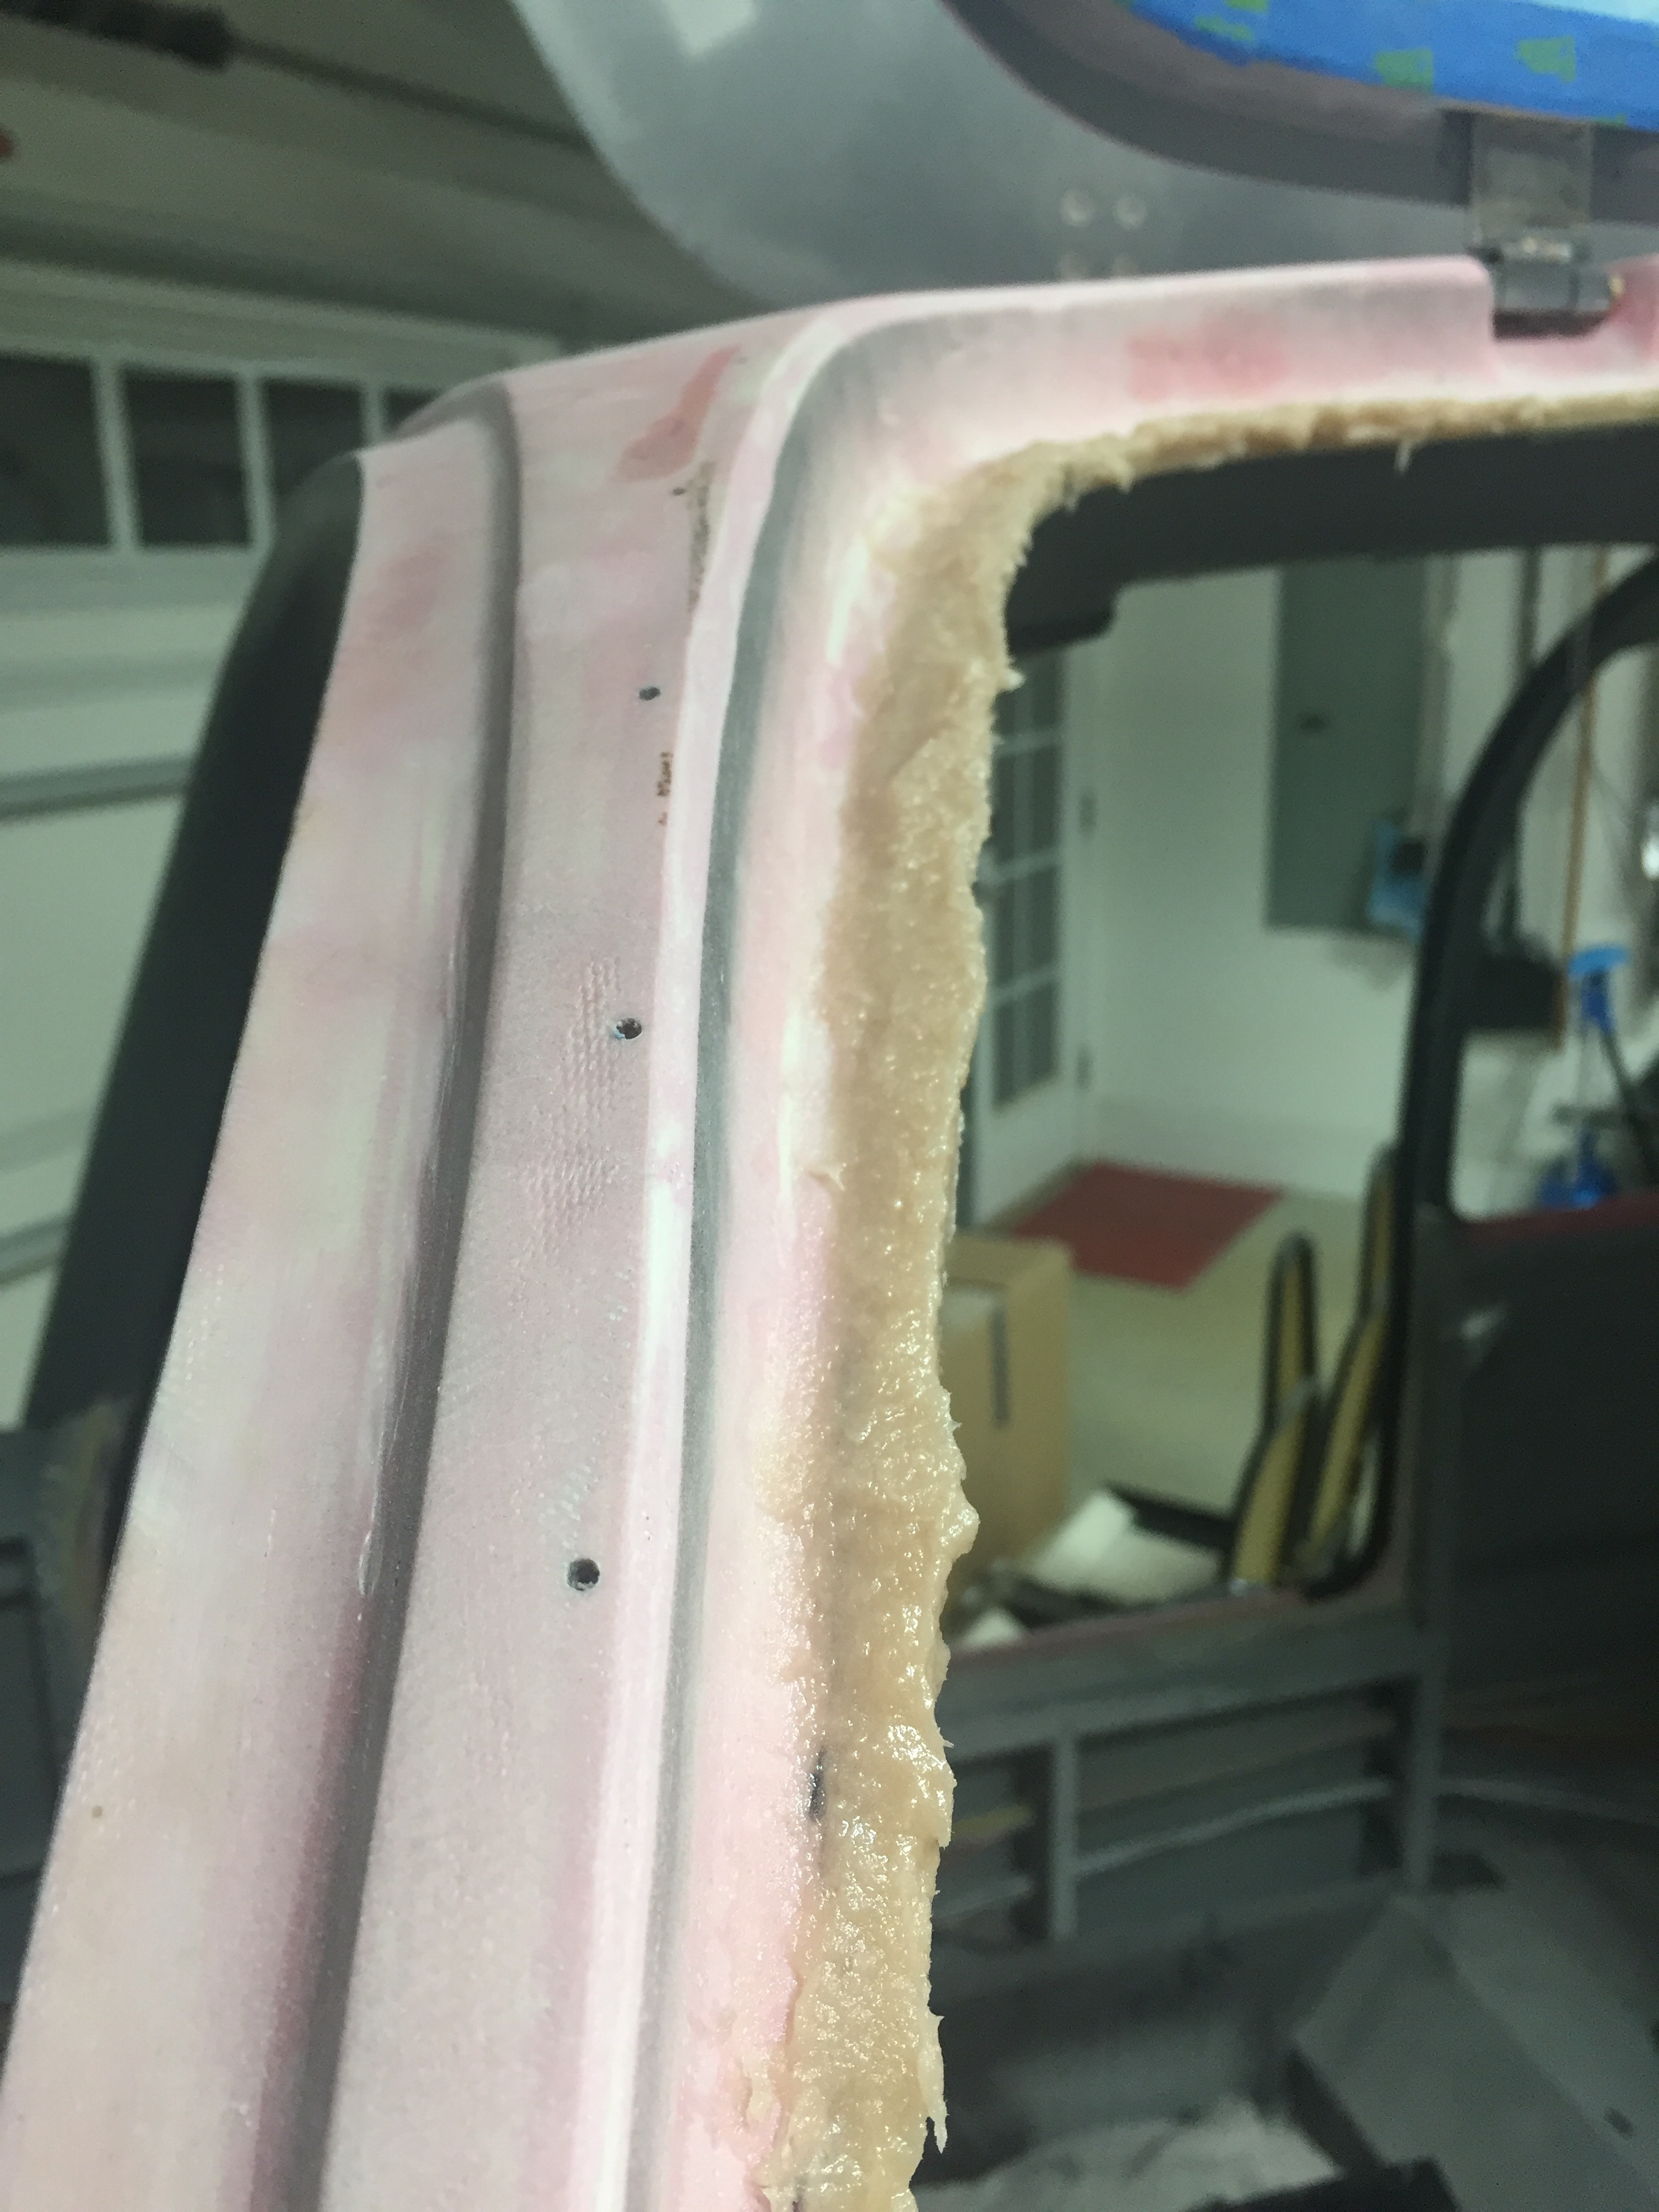
Thinking smarter but not harder, I decided to put globs of filler on the top and then prep the doors to simply close and latch, creating a nice even gap all around.  I had seen others do this with layers of tape.  Now where they got that mystery tape, I don’t know.  I can’t find any tape thicker than about 20 mils and it’d take 200 feet and 10 layers to create a nice 2mm gap around the door edges.  So, I compromised and kept the globbing plan but simply wrapped the door with brown packing tape and shut it.  I then monitored the epoxy flox mix during curing to start working it as it hardened.  I just used razor blades to go back and cut by hand an even gap in the curing epoxy.  It was really easy and very clean.  The trick is to catch it at the right time.
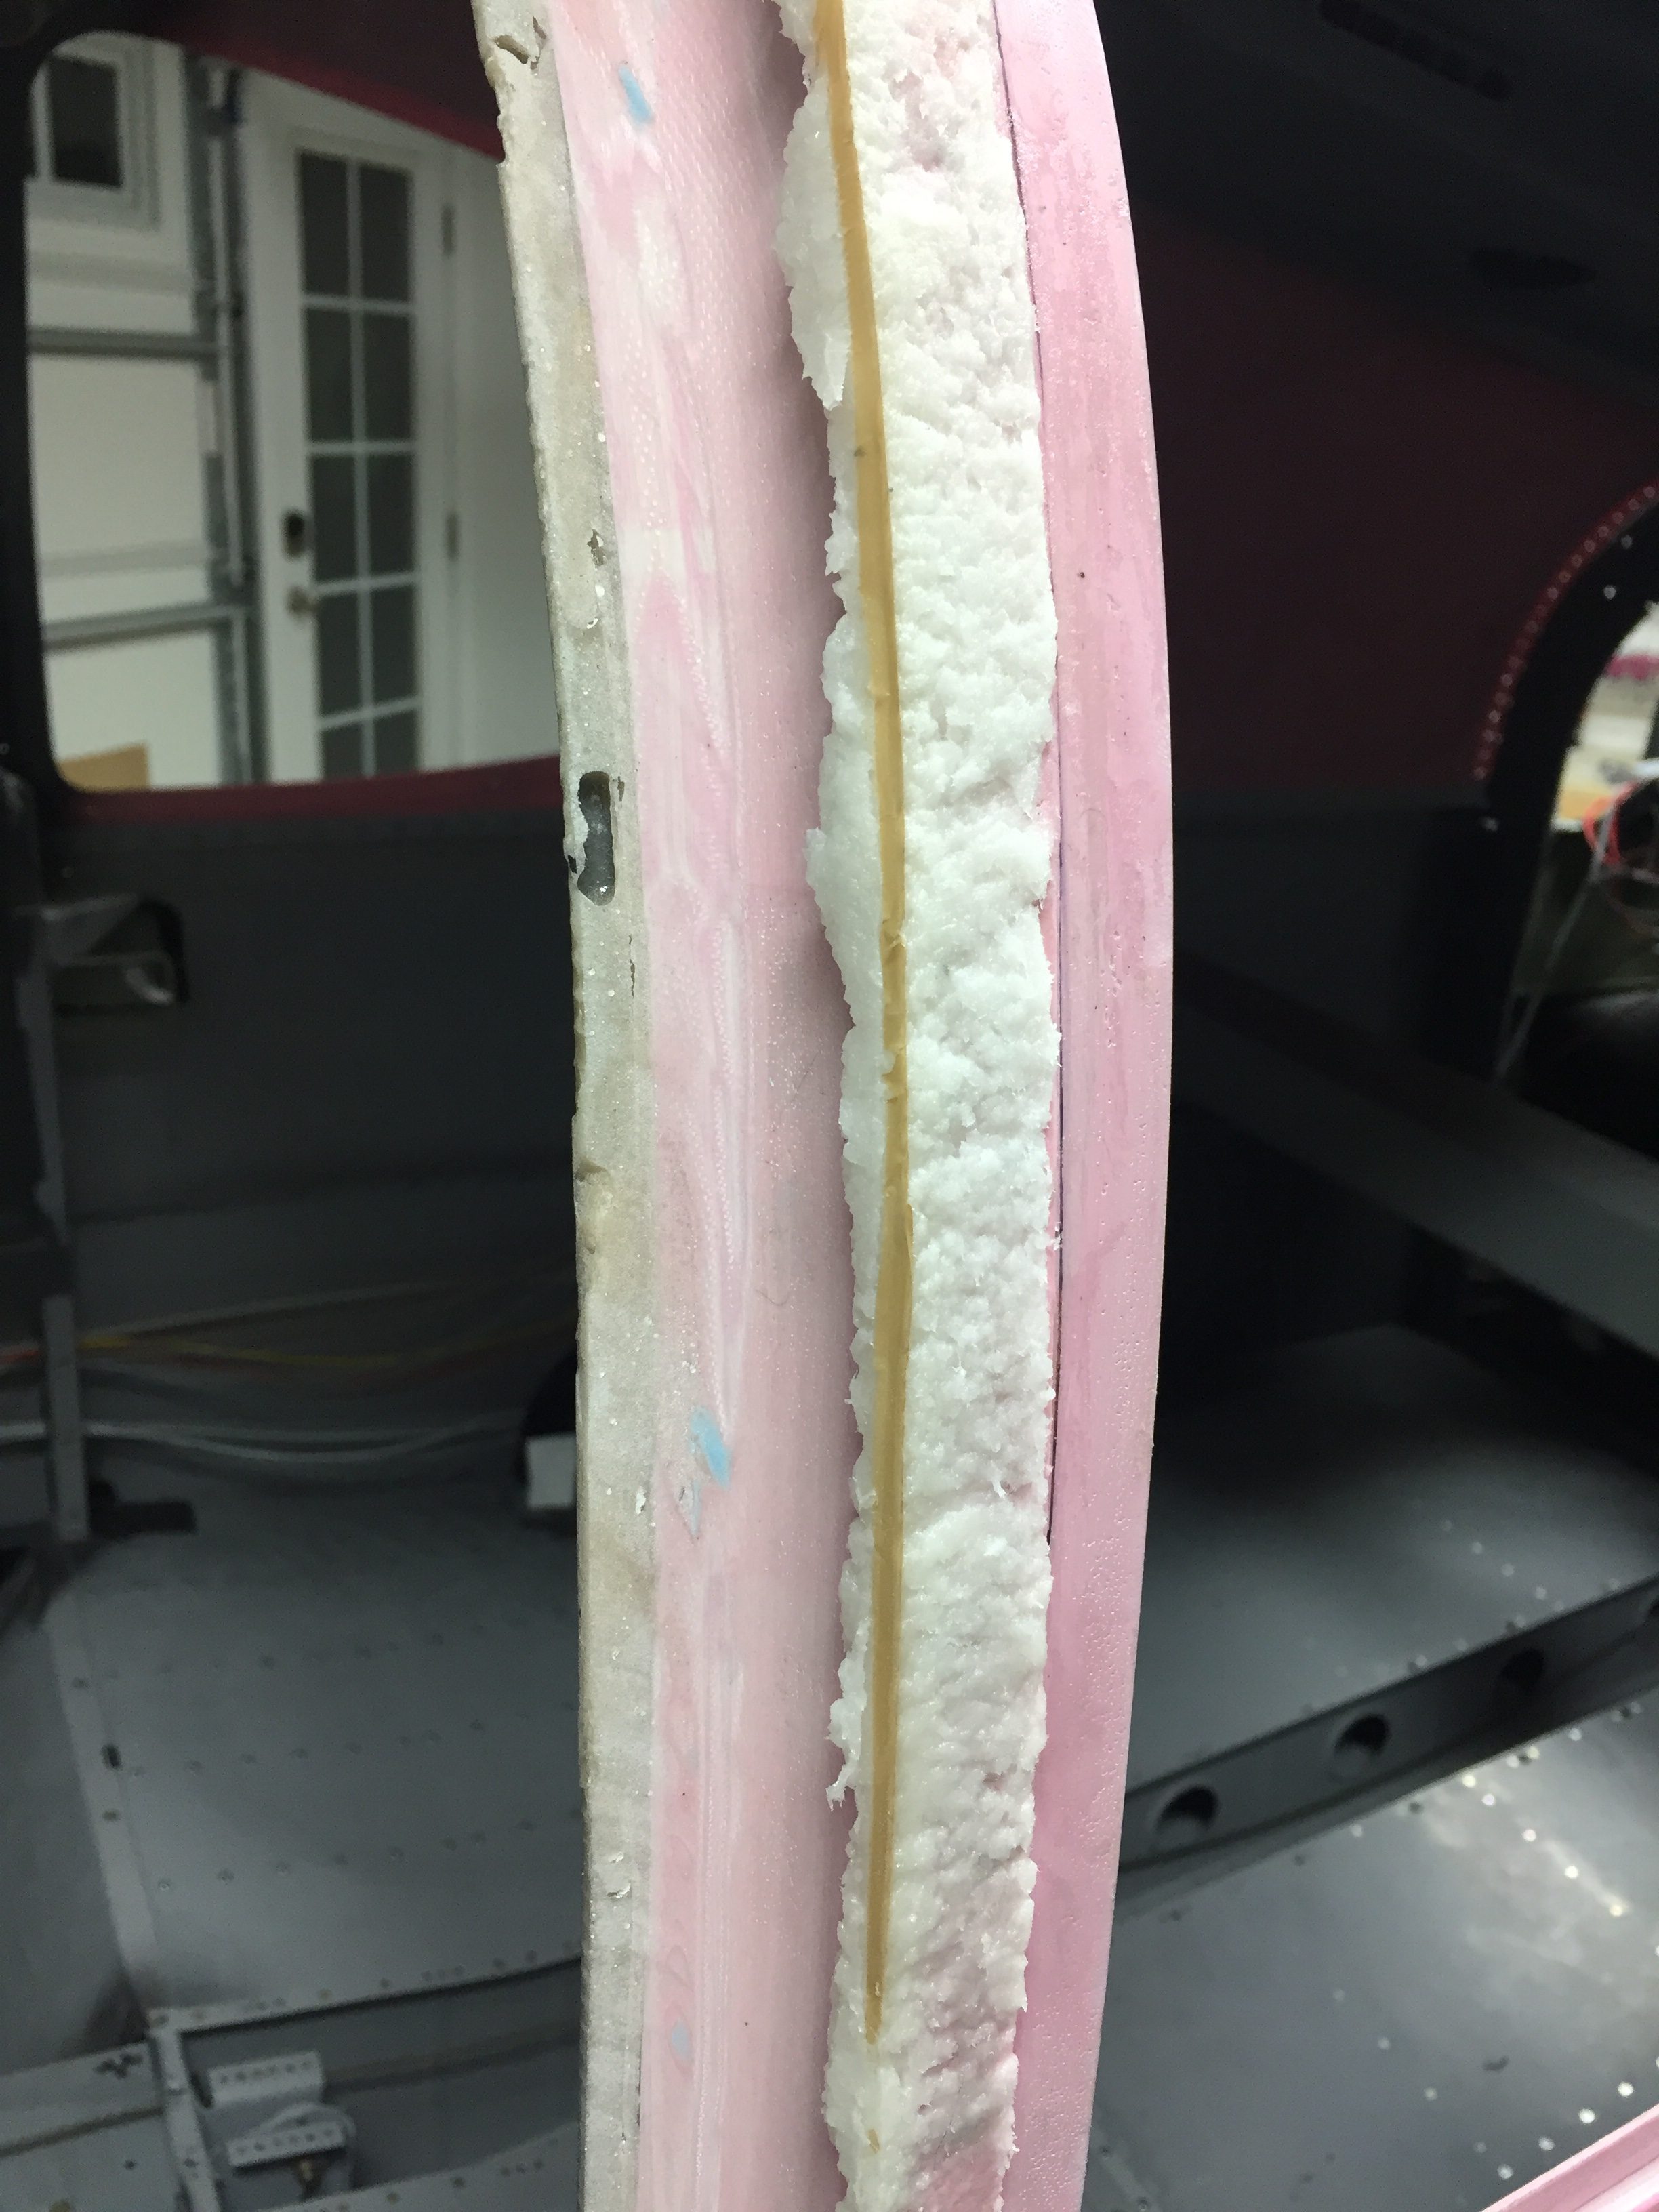
I cleaned up the tape residue and a few areas of the flox and was really happy with the results.  It was a good base for poly fill to smooth everything out nicely.  It’s also a lot stronger than just the poly fill.  I rough sanded the epoxy to get an even more consistent gap and then put the first coat of poly fill on to dress it up.  Another sanding, this time with a lot of fine tuning pretty much finished it up.  A few spots have some pinholes or voids that will be filled in after an initial prime coat is applied to highlight any last defects.  It wasn’t nearly as much work as I thought it’d be and I’m happy with the outcome.  Now, on to the co-pilot’s door!

It’s not easy being pretty

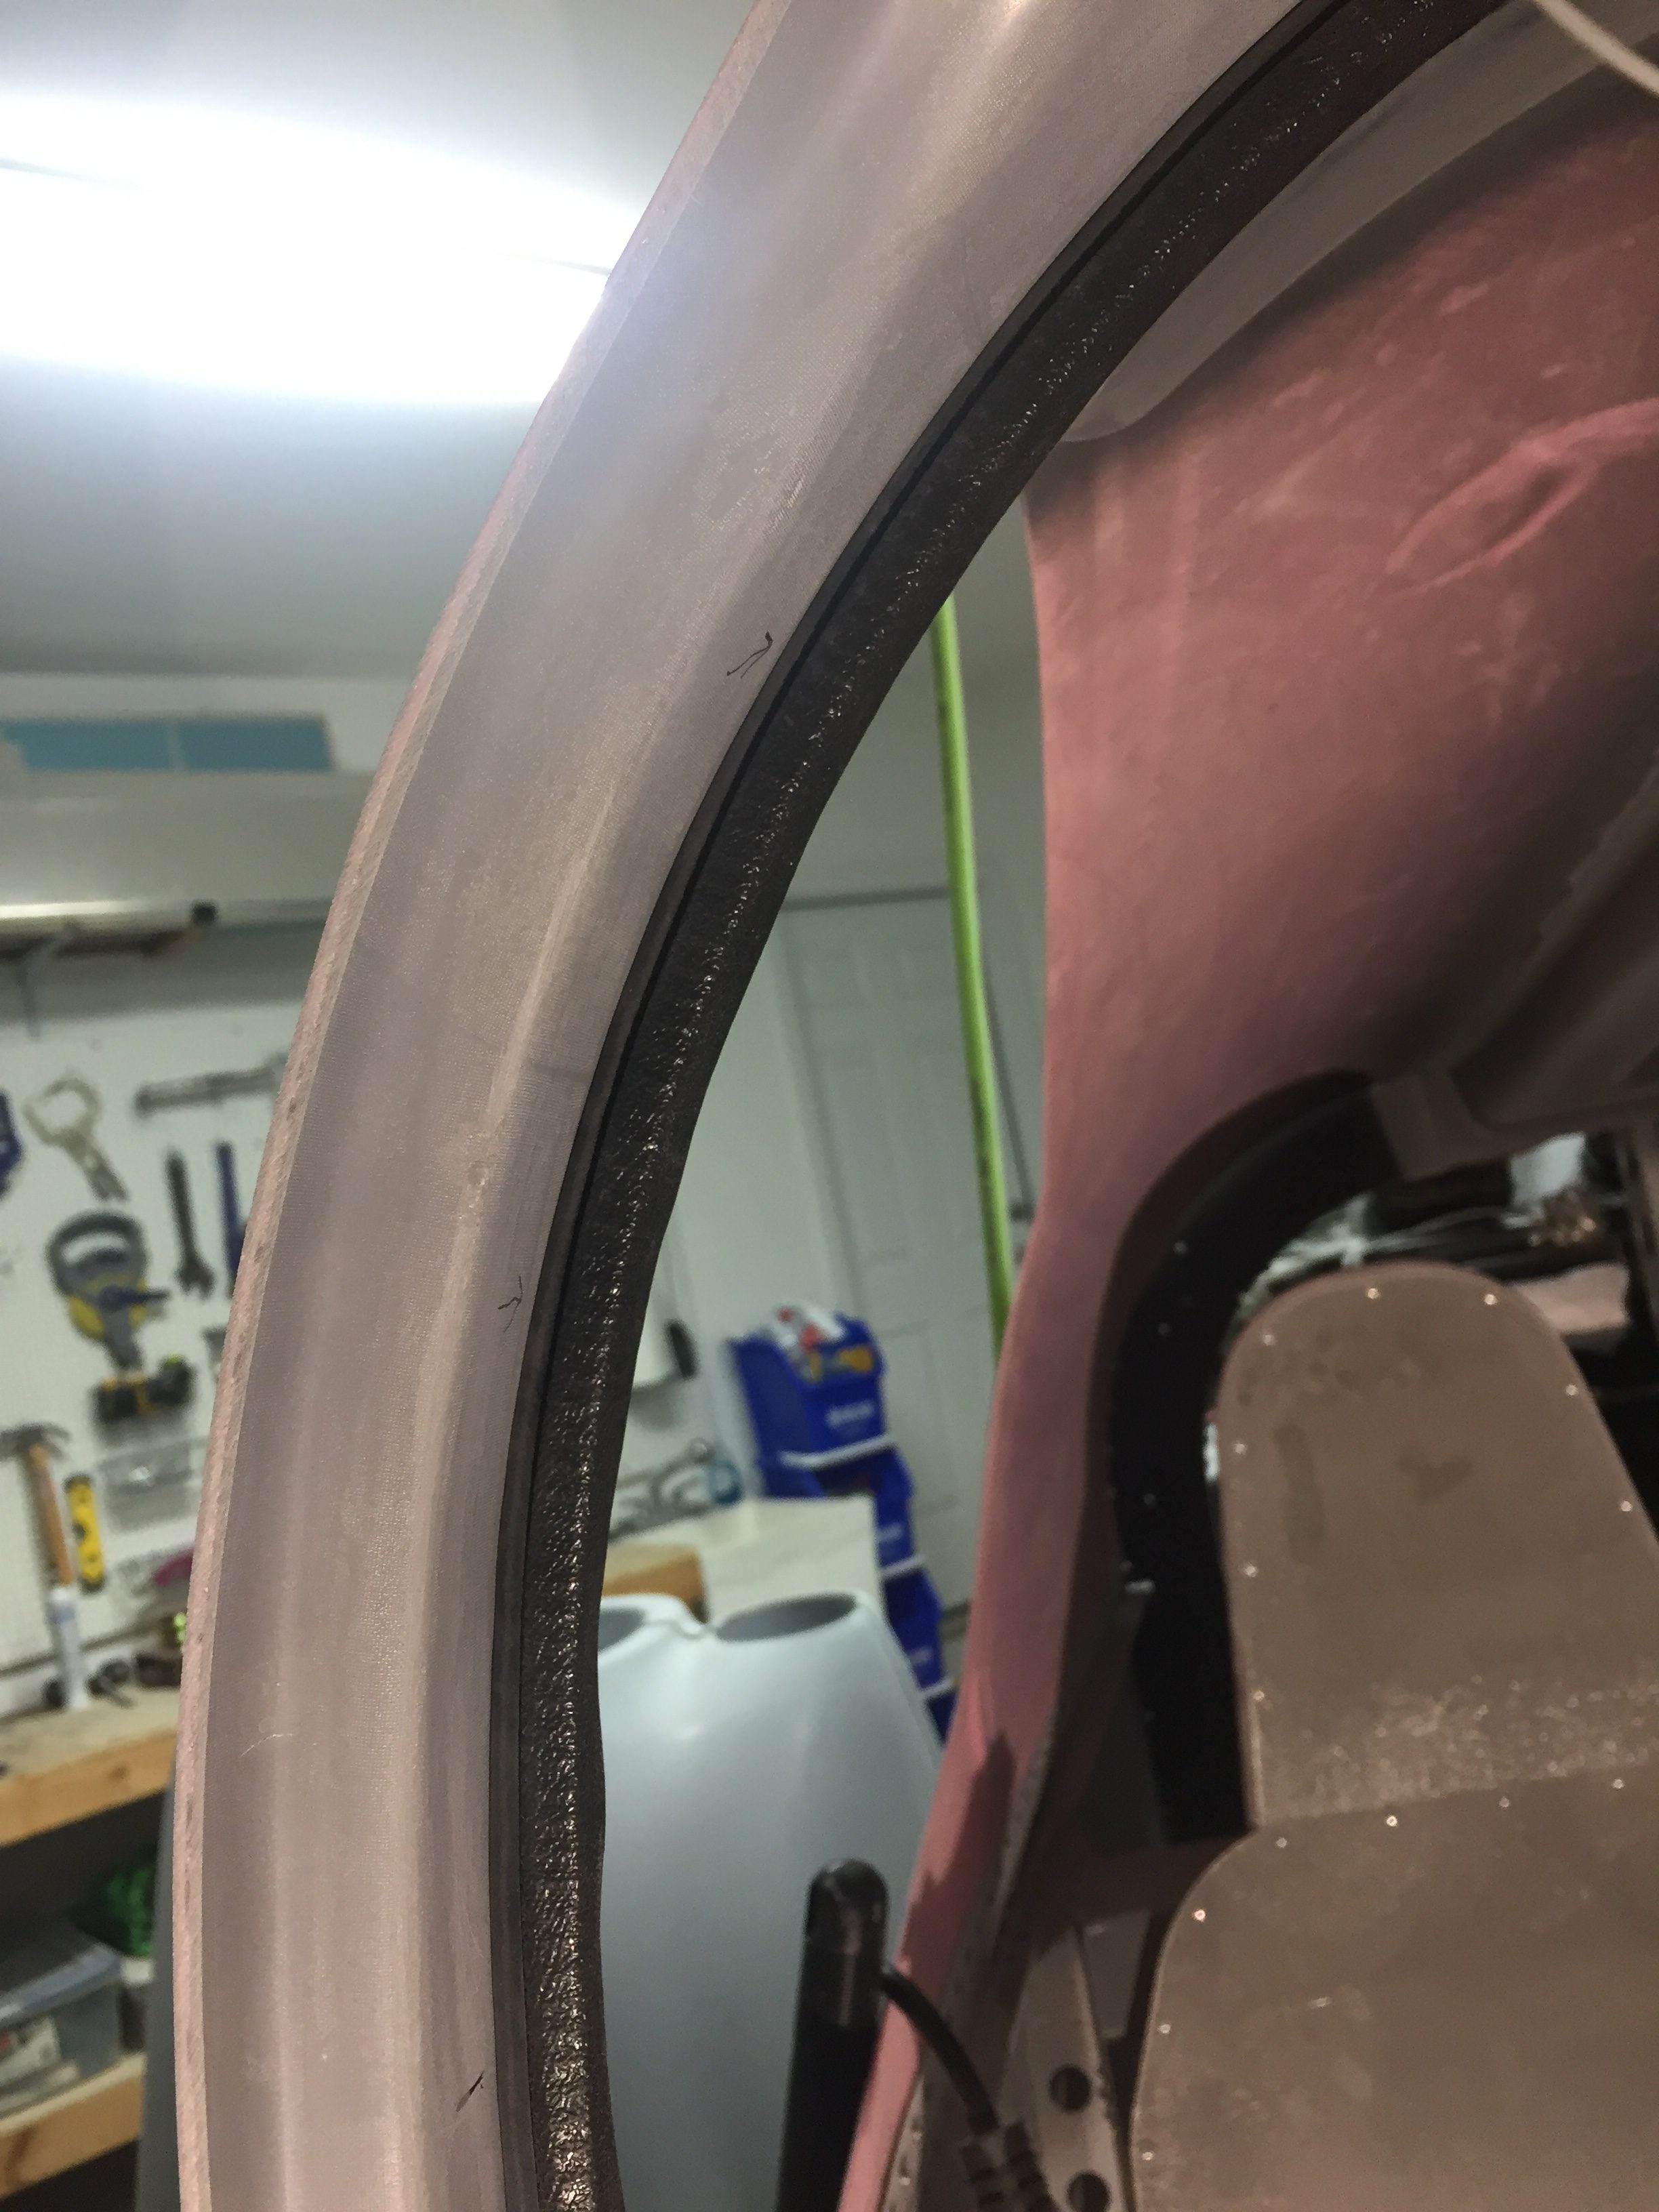
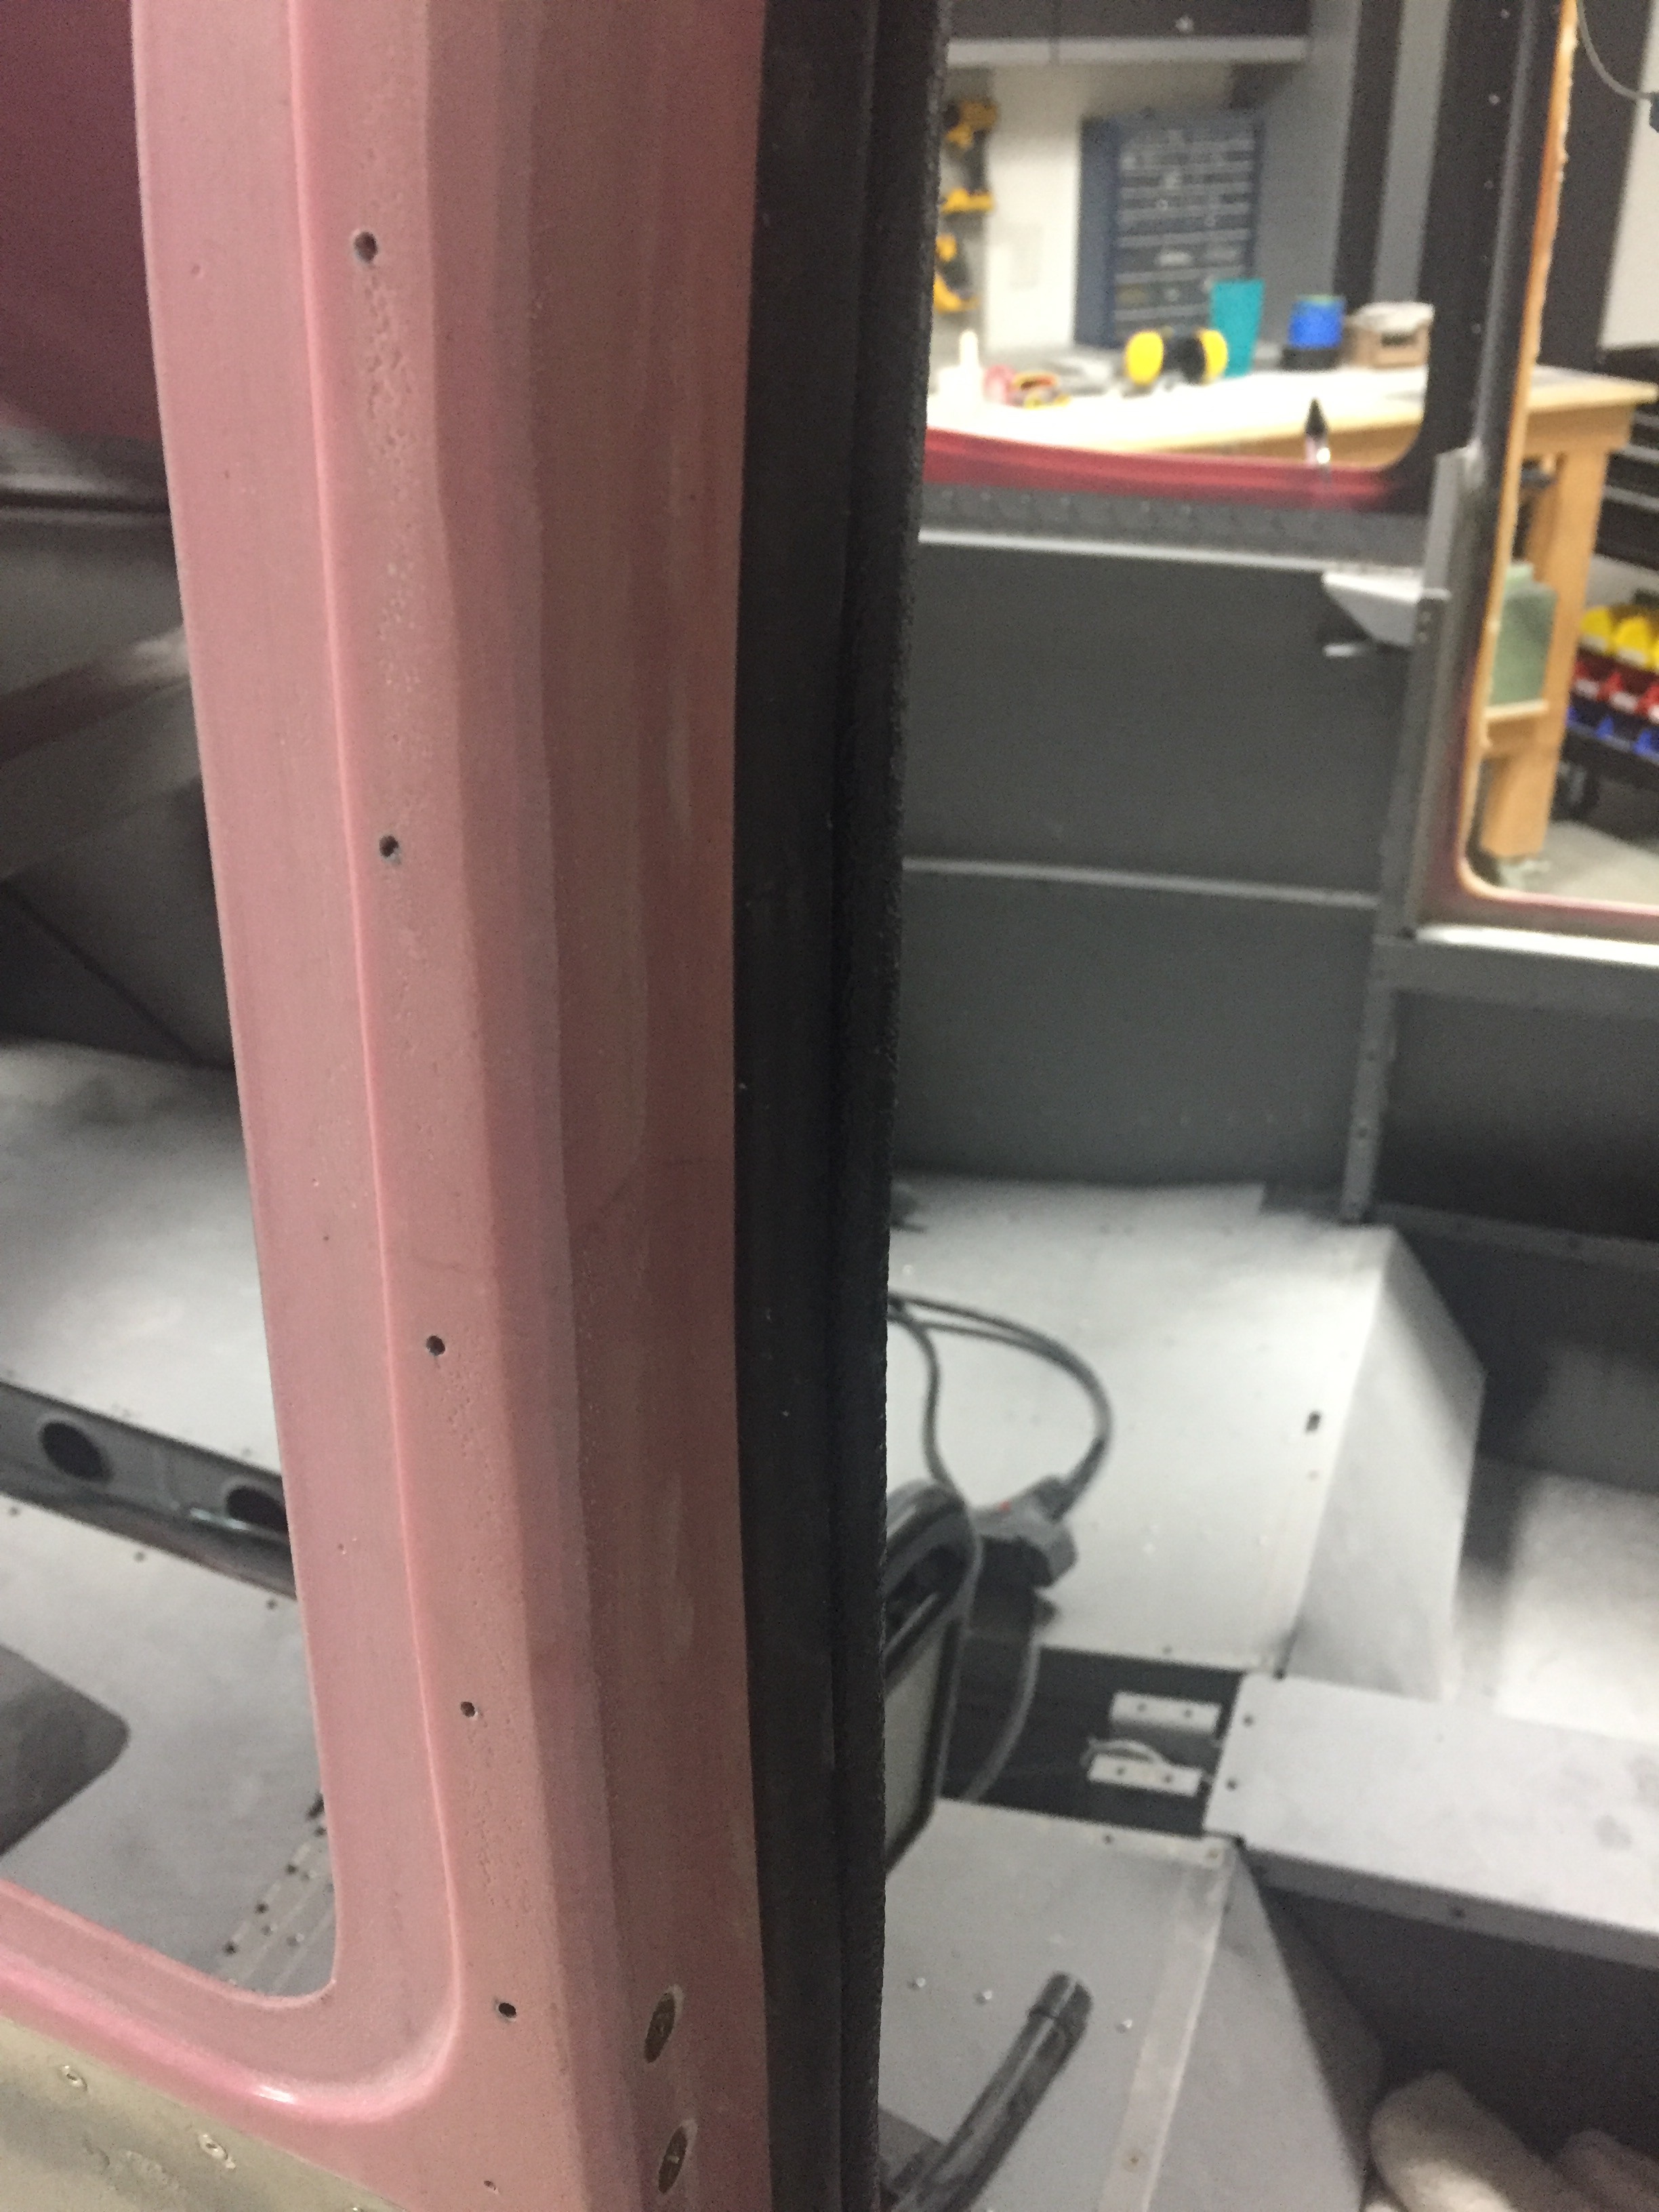
I realized I forgot a post about installing the door seals after building up the door frame lip.  As always, it took more effort and involved more frustration than I had originally imagined.  To sum it up, my problem was not having a consistent gap between the door frame lip and the interior of the door.  I had some tight spots and some just right spots.  The issue are the tight spots that take a lot more force to squeeze the door seal bulb than you want to put on the door.  Basically, I had to start again with fitting once I got the seals.

My first idea to make the seal fit with less squish was to remove a lip on the u channel of the seal.  It’s designed to help hold the seal onto the door frame lip but it also added about 1/8″ of bulk.  While that did help, it wasn’t enough.  I tried different combinations of seals, but due to the uneven gaps, the smaller seal wouldn’t actually touch both surfaces in a few spots and adding filler would have required re-sanding and contouring the inside.  That wasn’t a viable option, so it was back out with the angle grinder and Scotchbrite pads to go to town on the door frame lip.

I was shocked at how much had to come off in some areas.  I determined this using a marker and template, acting as a scribe to measure the proper gap.  I used an area that had a nice amount of squish on the seal but not too much as a gauge for the entire door gap.  It worked well and after making a lot of dust all over the just cleaned interior, I was getting a nice fit on the door seals.  I know I’d have to add some filler on the door jams anyway to get them looking nice, I wasn’t too concerned about my grinding methods.  I mainly wanted a good fit, cosmetics will come later.

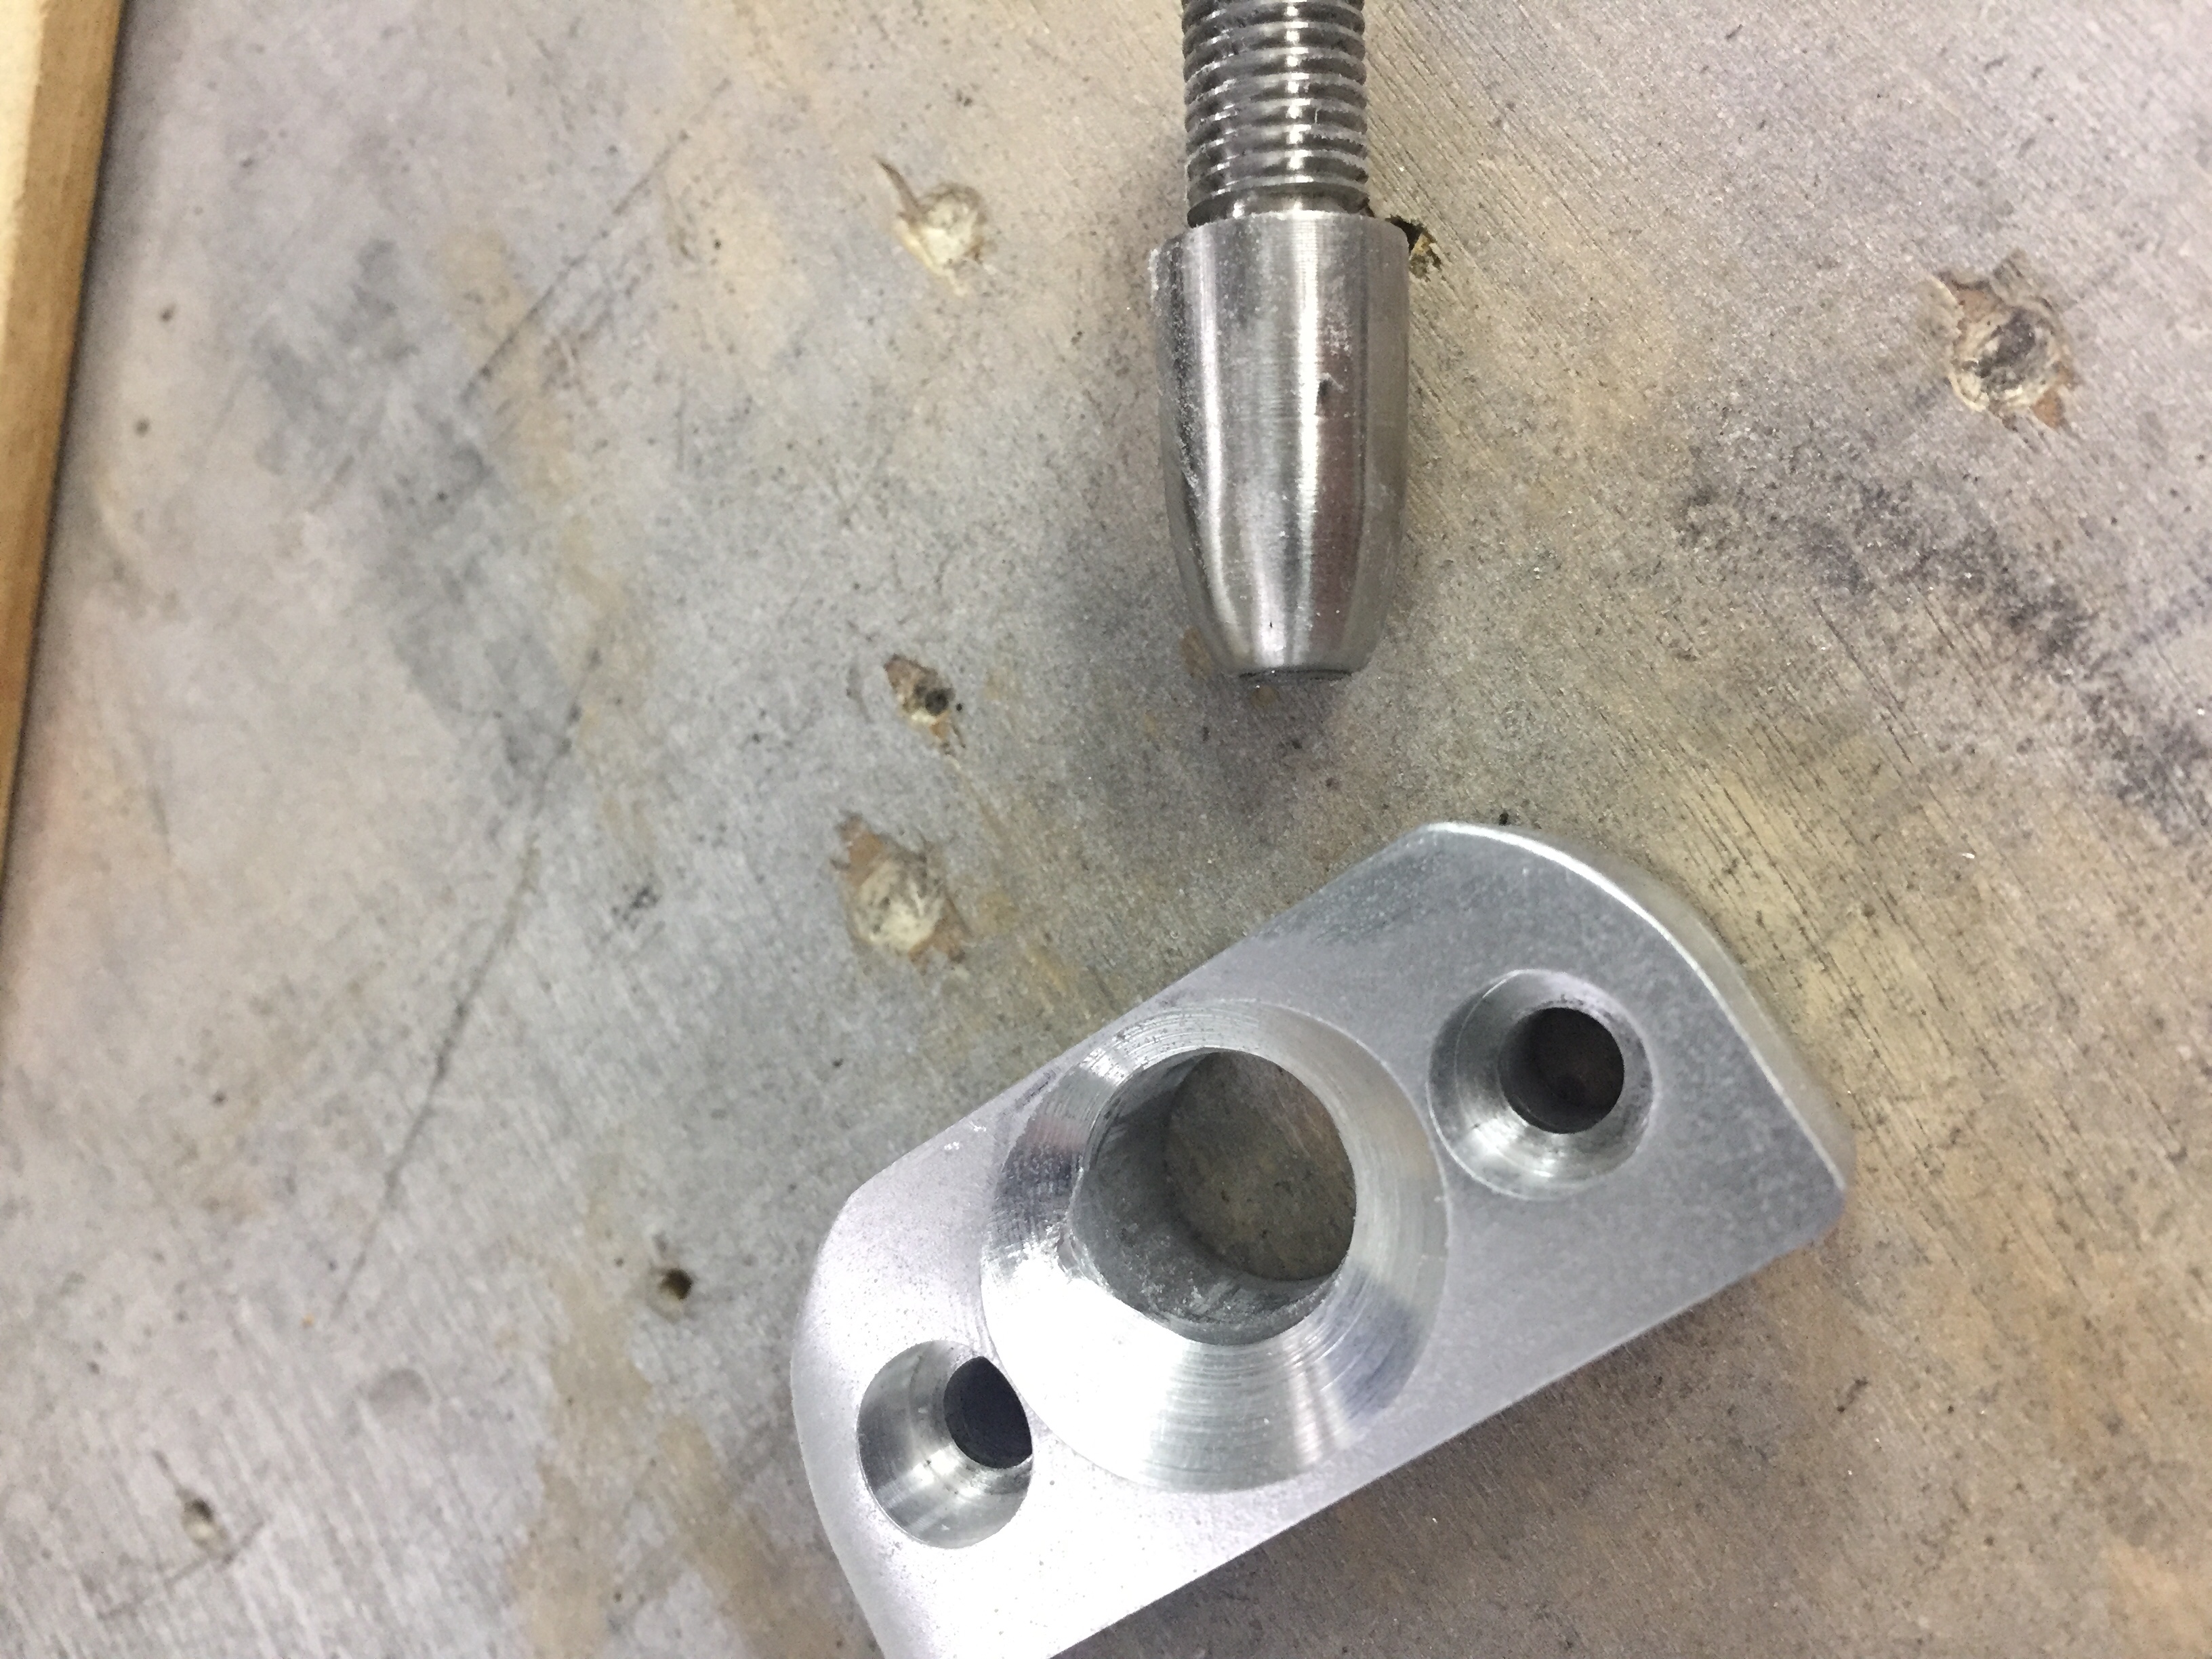
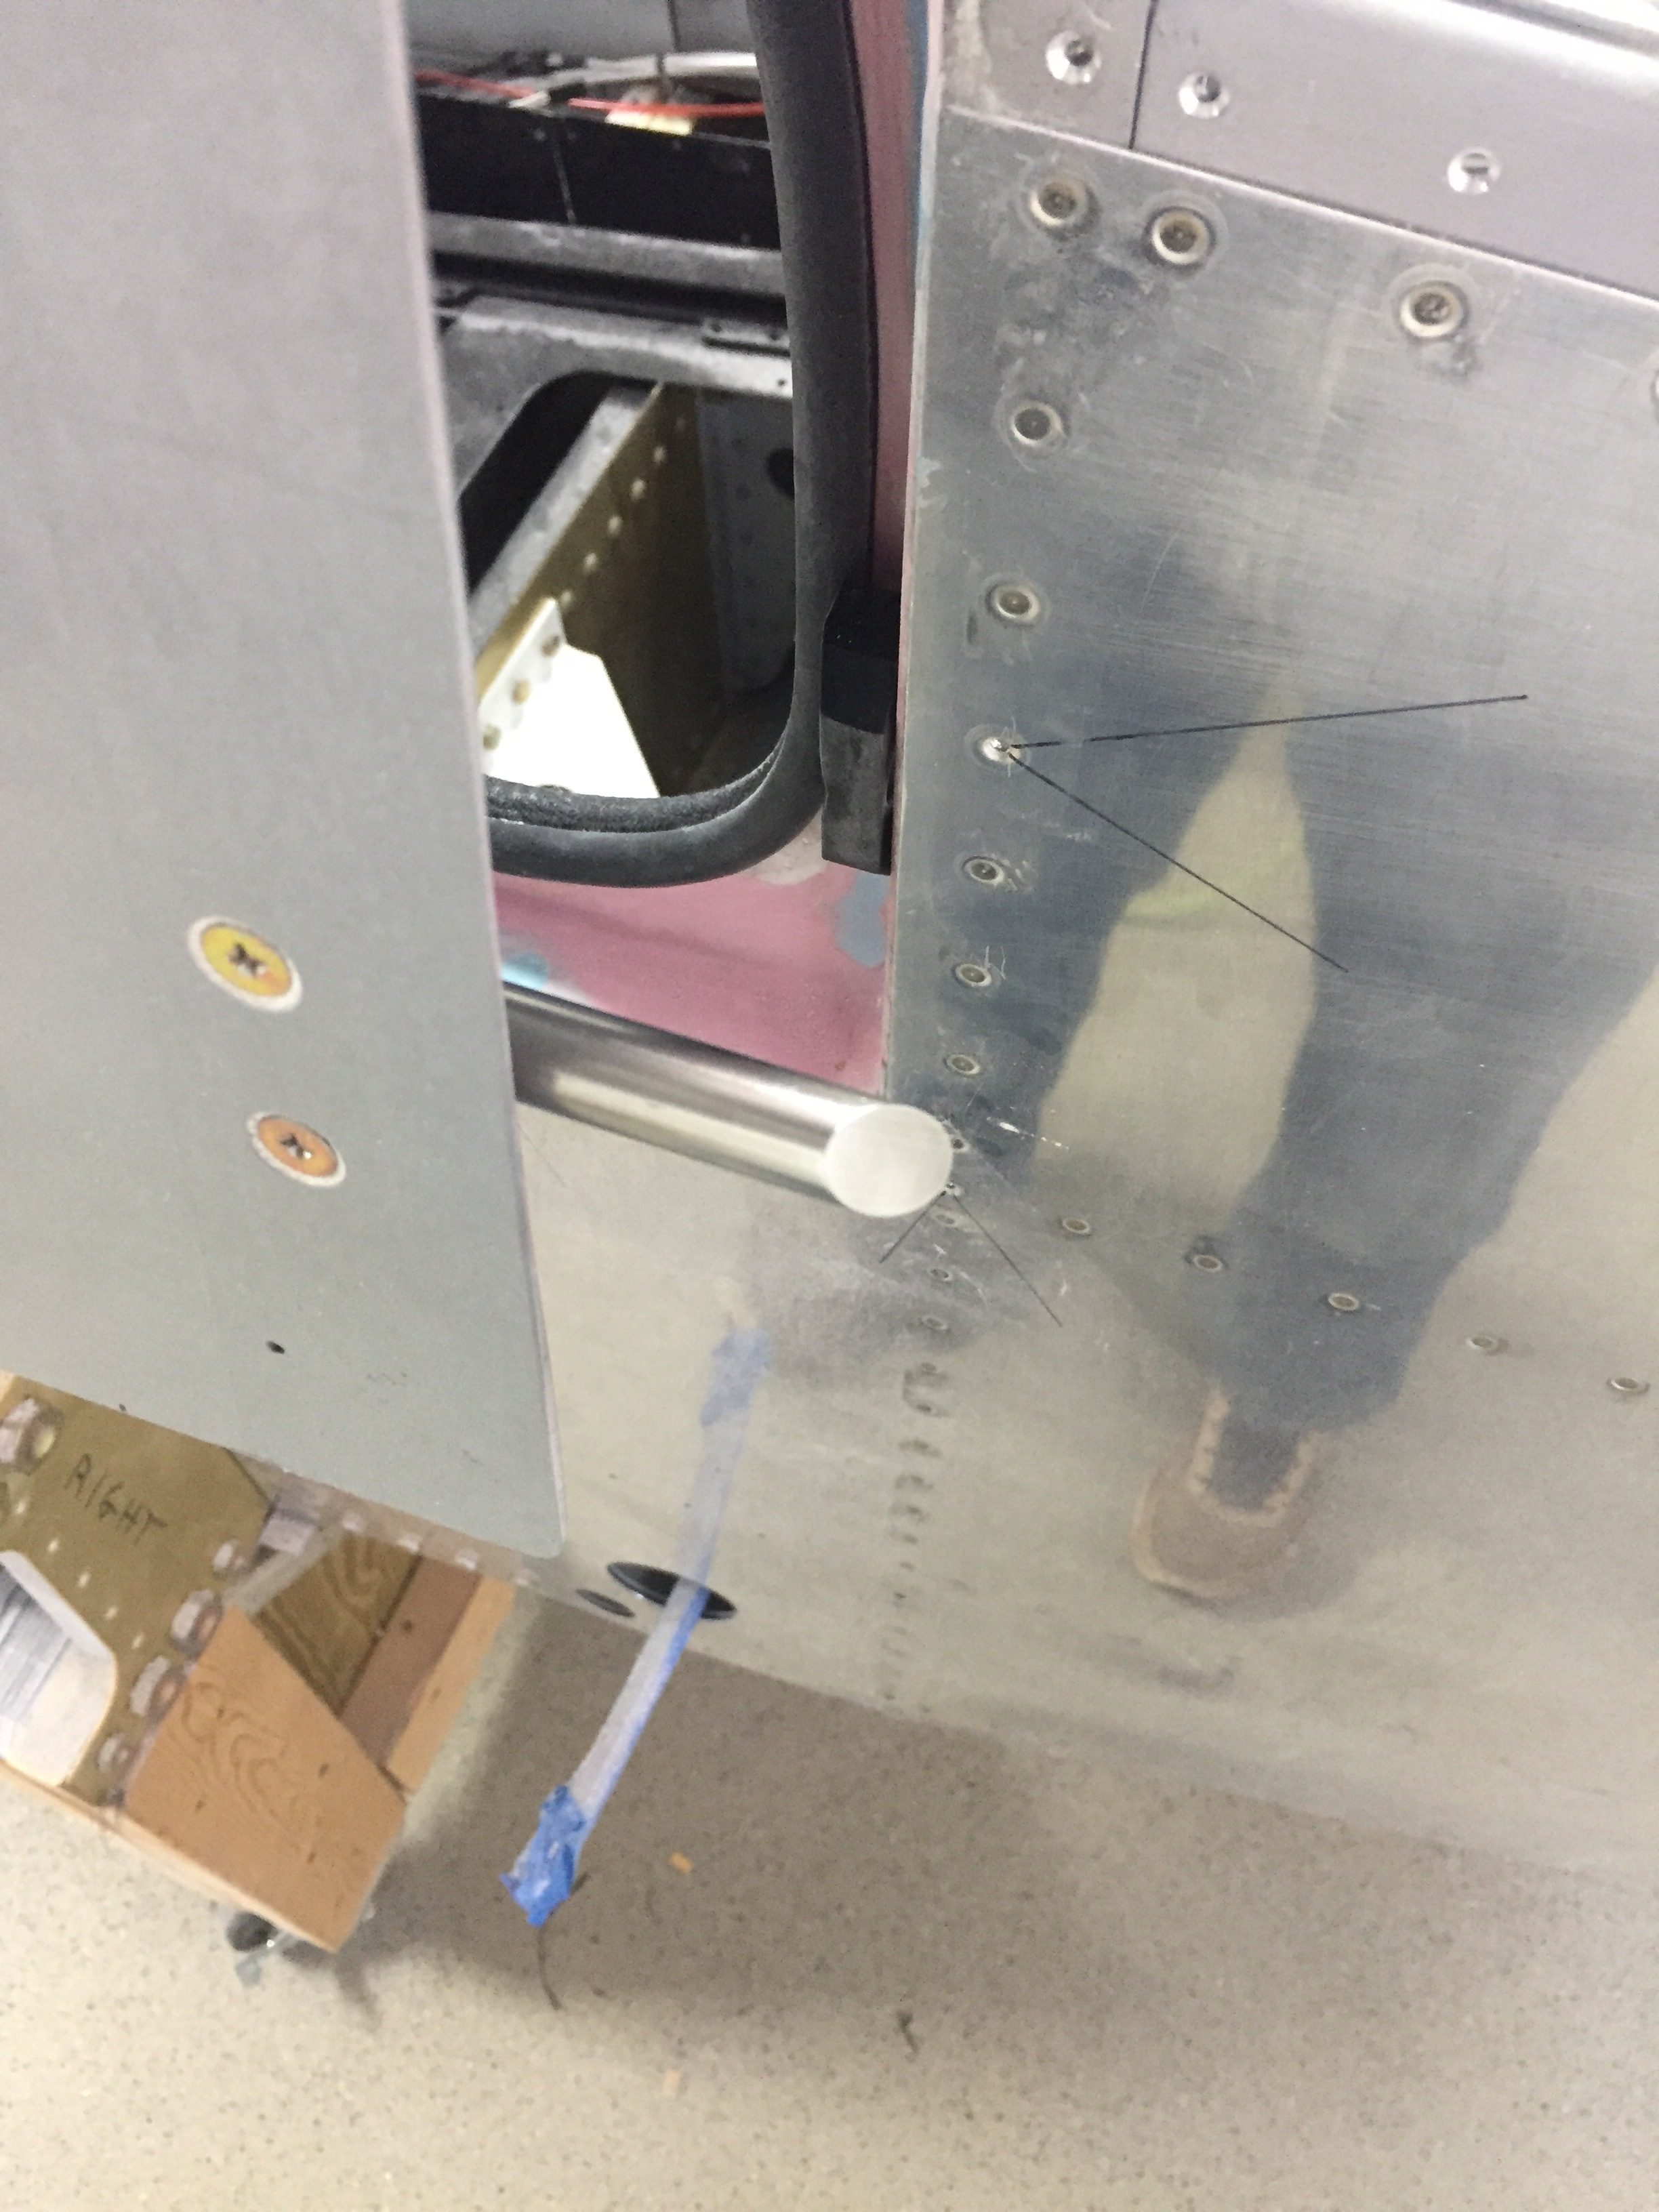
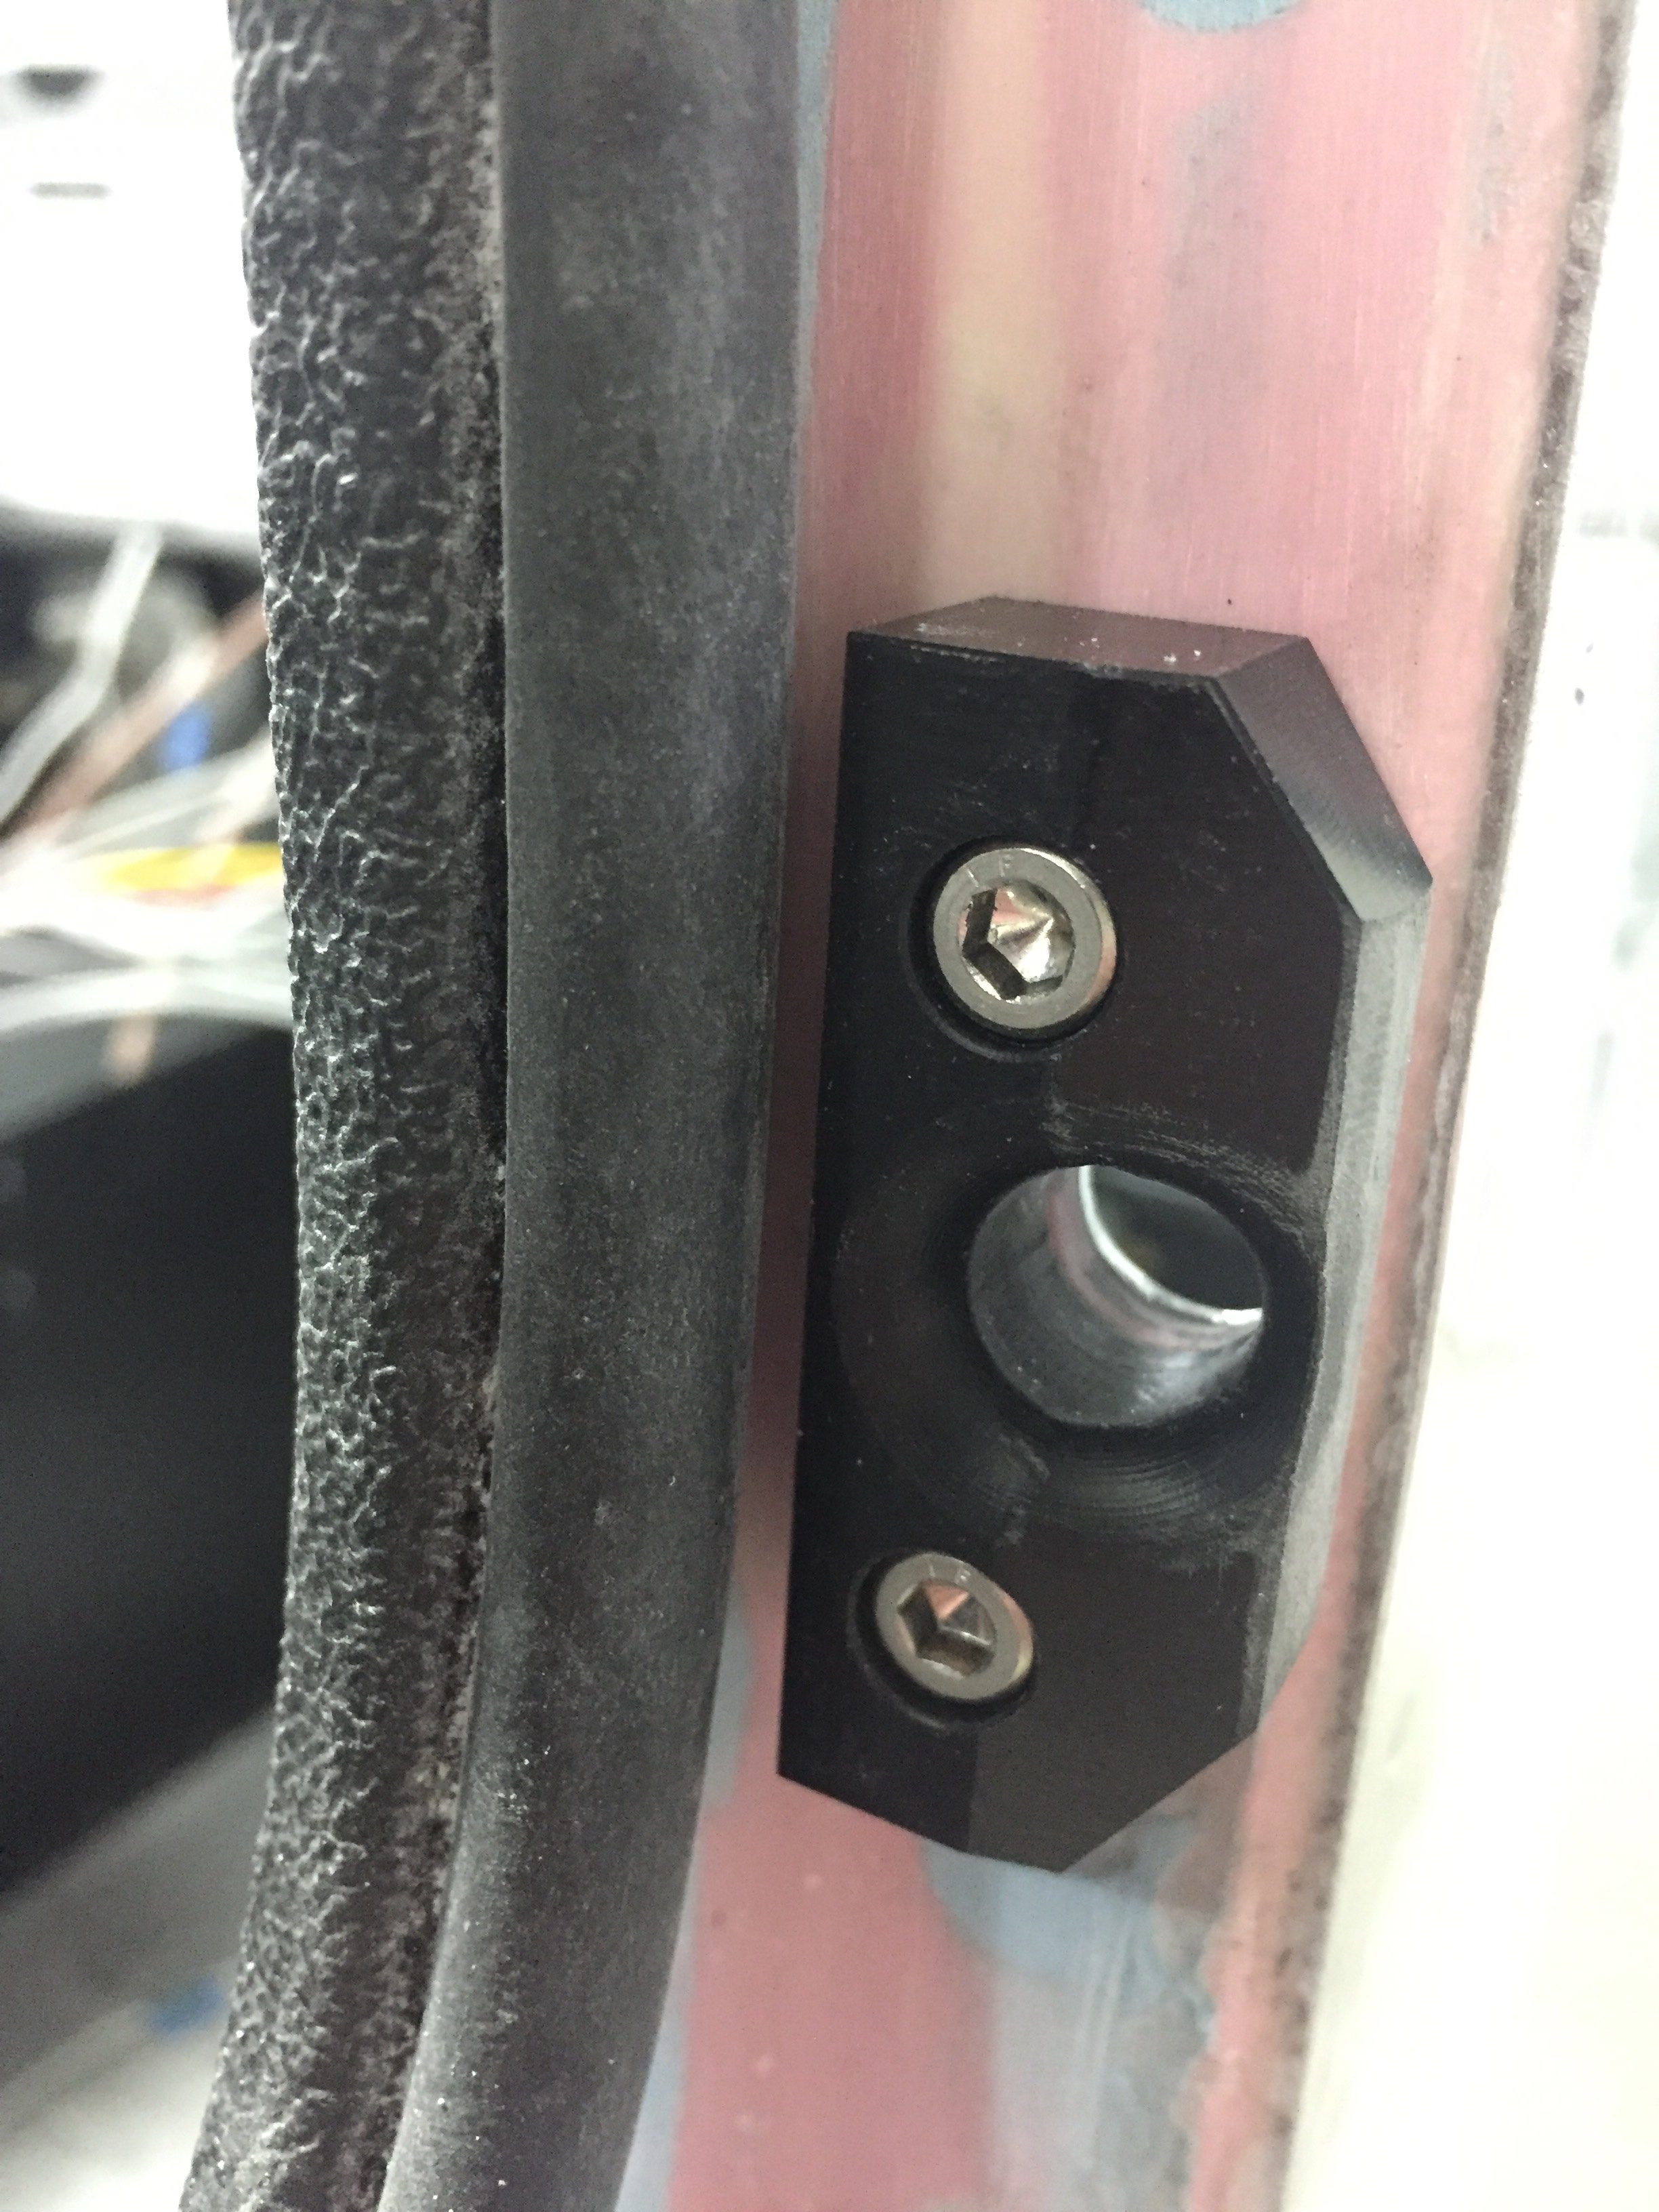
After a few evenings and a lot of opening and closing the doors, I had achieved a good consistent gap for the seal and was happy with the fit and function of the door seal.  I noticed that even after two nights of the door remaining closed, the seal was already getting broken in, making it easier to close the door.  Folks say these seals need to be replaced as they wear down, so it will be a maintenance item every other year or two,, I’m sure.  What I wasn’t happy with were the pins that held the doors shut.  The Plane Around latch was doing its job of pulling the door closed, but the back pin still needed to do some work to align to the block.  The pins I have are stainless with epoxied magnets in their tips and are shaped like bullets.  That sounds great if the doors are almost perfectly aligned, but they did a poor job of any movement into the aluminum blocks that I also had.  Even after a few weeks of working, the blocks were gouged and the bullets were wearing scars.

Luckily, a call to Sean at Plane Around solved my problem.  He had a set of angled stainless pins, much like the shape of the stock pins, that were hollow for a magnet to be dropped into.  These use setscrews to attach to the rods and can be positioned to most efficiently capture the blocks and align the pins.  He also has Delrin blocks that are machined to have a nice rounded funnel shape.  The stainless glides effortlessly on the Delrin making the closing and opening of the door handle a seamless effort compared to the rough metal on metal that I had.

It took some time to fit, because I had to cut the rods and machine the pins to orient them just right but the effort was worth it.  My doors now close perfectly with the seals and have a firm but easy motion in the handle.  I fine tuned the blocks’ alignment with shims which allows the pins to insert perpendicular to the block, reducing the friction along the way.  This has been a huge burden lifted, because while the doors were functional and airworthy, they weren’t easy or pretty.  Now they’ll be both.

Hold the door, Hodor

Any big cut or drilling job comes with some anxiety and the door pin hole is no exception.  Now that the door handles and pins are all installed and working like a fine oiled machine, they need a home to rest in.  I removed the magnetic tipped pin inserts and used two ground down bolts threaded into the rods to locate the exact spot to drill into the door frame and fuselage bulkheads.   This worked really well as I was able to position the door flush with the fuselage and locate the drill placement without worrying about future misalignments.
I have some fancy aluminum pin guide/blocks from IFlyRV10 that go along with the magnetic pin inserts.  These help guide the pins in and just make closing the door that much easier and smoother in coordination with the PlaneAround center cam.  I polished the holes with some light sandpaper to get a smooth action and am really stoked to say all four holes are in the perfect position the first time!
The next project is to prep for the door seal.  As most have done prior, I am going with an aftermarket seal that affixes to the door frame rather than the door itself.  Since the frame isn’t designed for it, a little prep work is required.  I needed to build back material for the seal to mount on that will put the bulb nicely against the door.  I purchased twice as much seal as needed so I could use half of it sacrificially to form the new lip.  I mixed up a big batch of epoxy and flox and used a baggy to fill the seal.  Then I took my time to press on just enough to hold onto the frame.  Once dried, I pulled the seal off which left a nice new structure all around the door opening.
With the door on, I marked the areas that needed to be sanded down or built up a bit with filler to get a nice consistant gap all along the door lip.  Despite all the dust, it was a pretty easy task and soon enough I was ready to put on filler to smooth things out.  I did both the inside and outside.  I’m a little bummed that I’ll have to re-shoot some paint on the inside, but I can mask of the overhead console so that will make it a bit easier to blend.
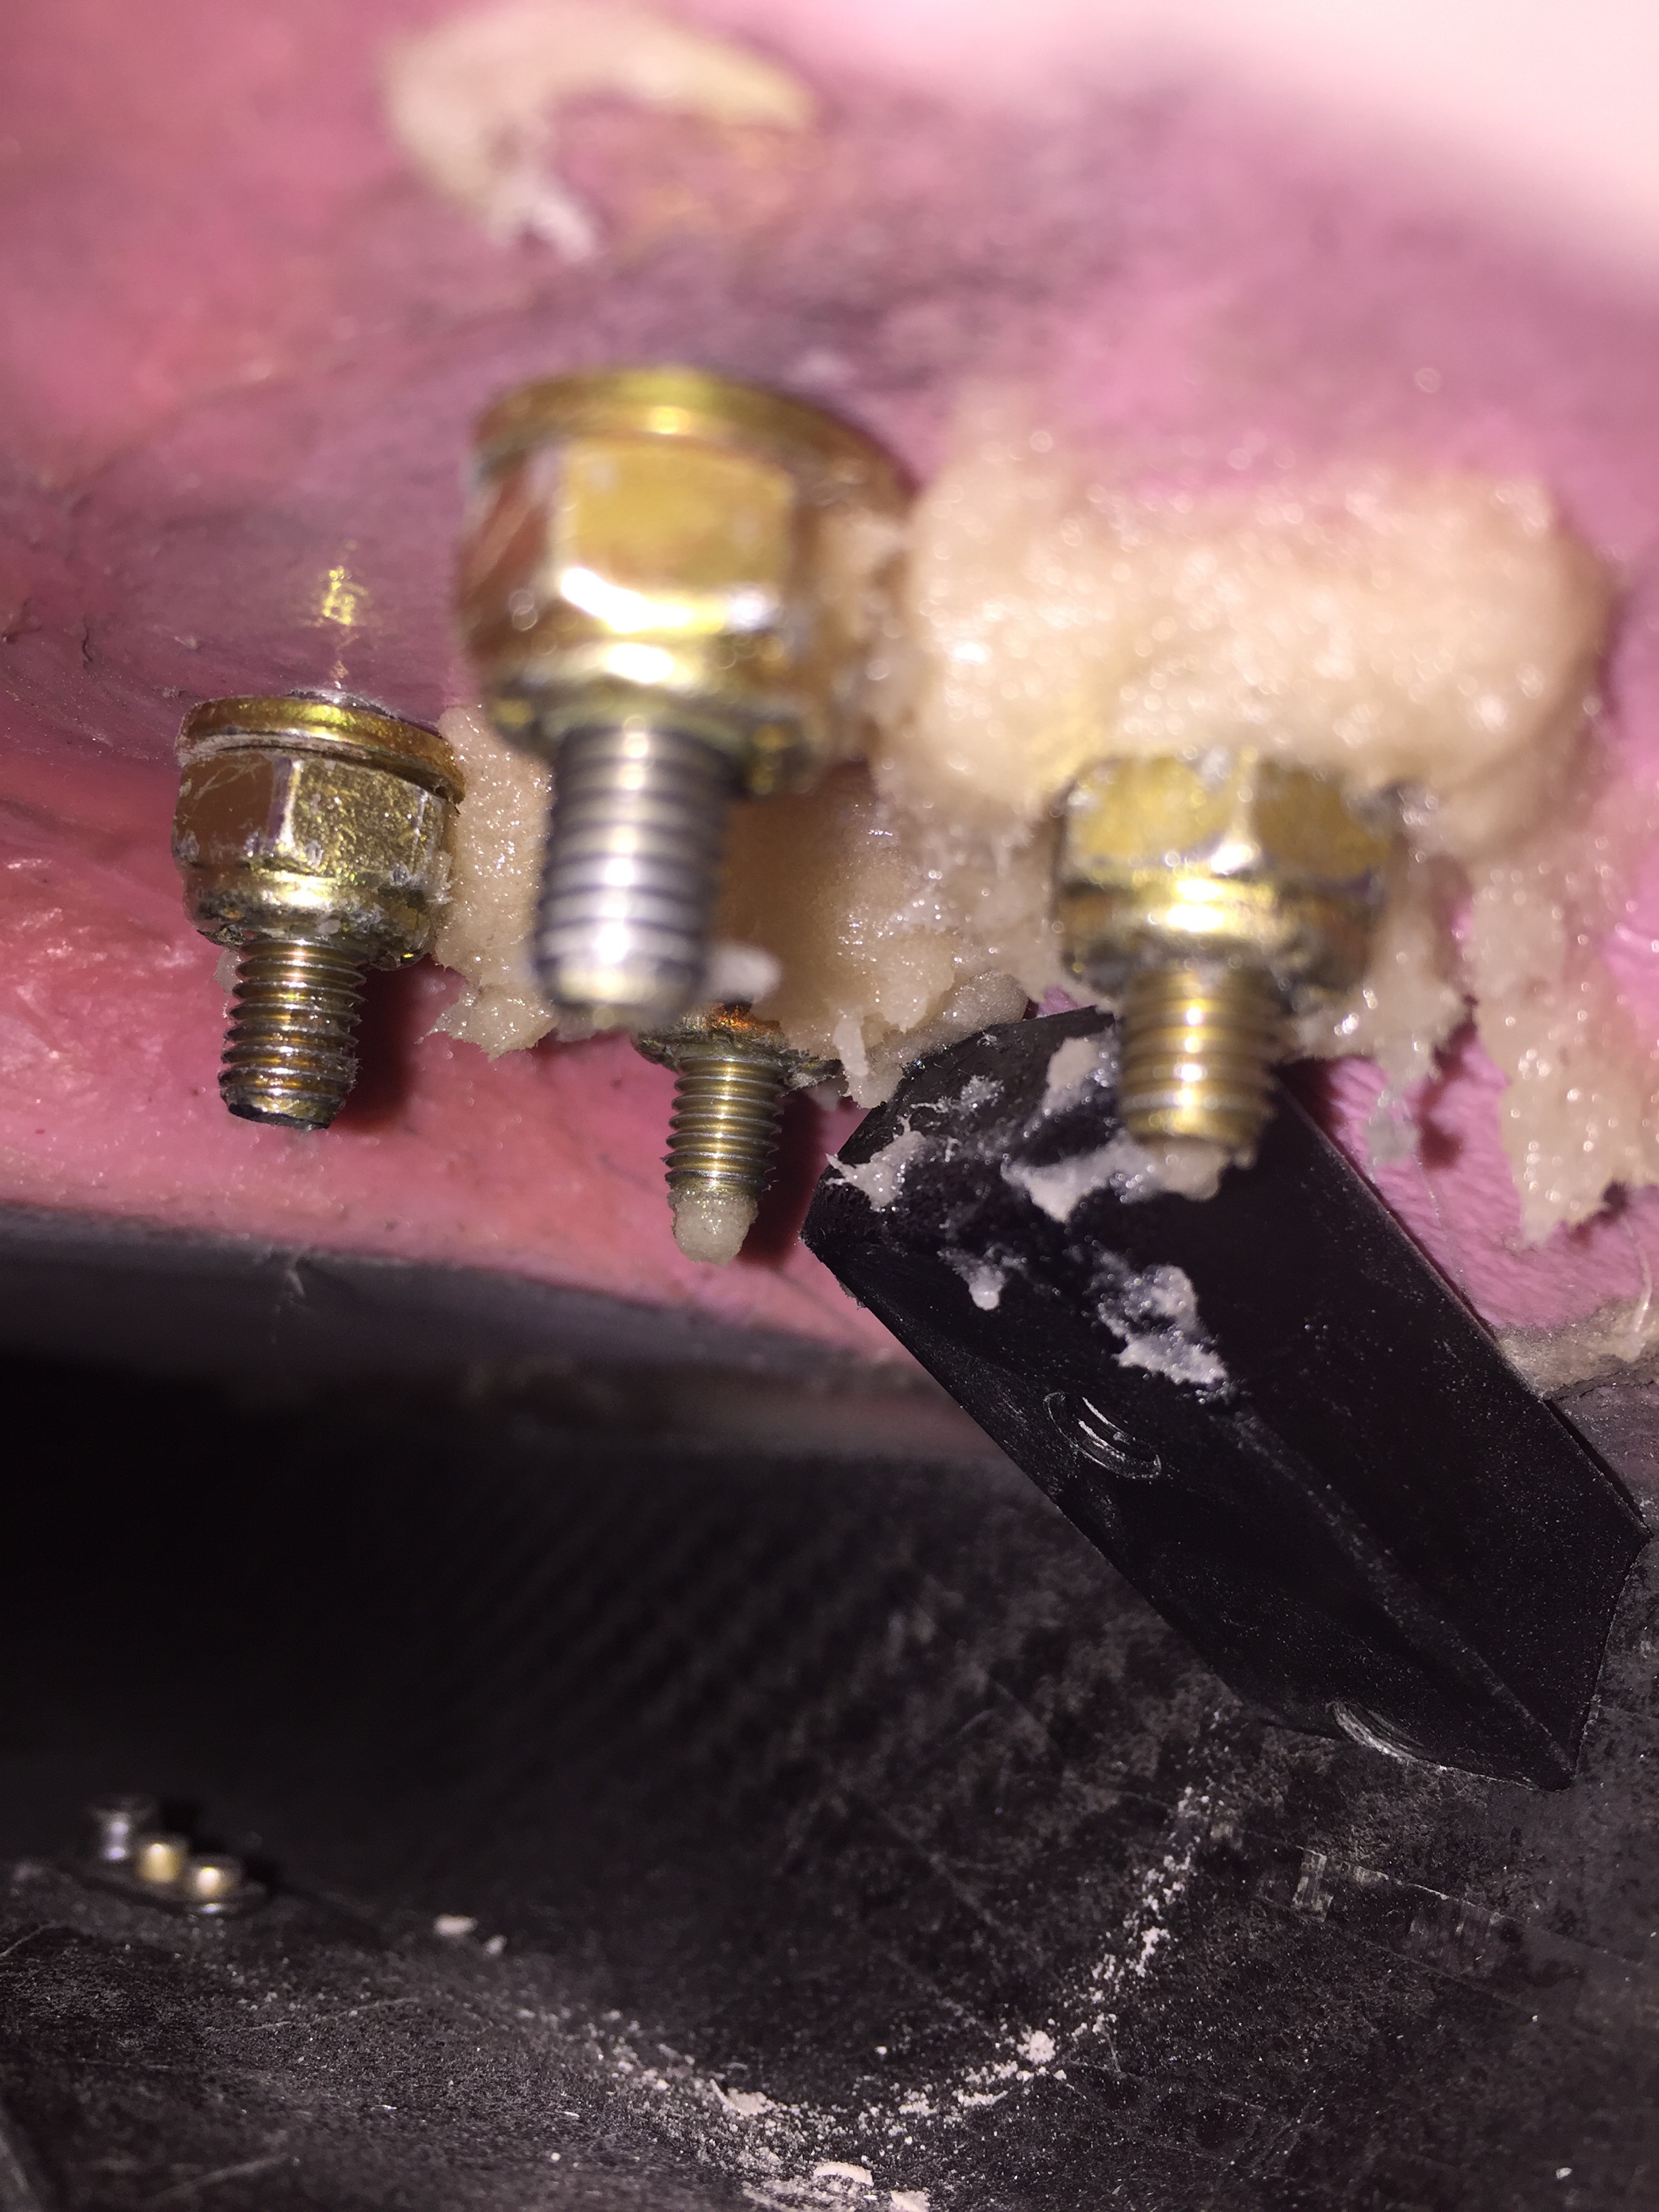
Meanwhile I built a bed up of epoxy and flox on the hinge mounts since a few of the washers and nuts didn’t sit flush with the cabin top due to the contour of the inside surface.  This allows the torque to be spread properly over the newly built up area.  I let the epoxy cure about 75% then put the washer and nut on so it compressed the fill into place.  After it cured I finally torqued them to spec.
A few evenings of sanding and filling later, the left door frame is ready for paint on the inside and the seal to be installed.  The right door is coming along with initial sanding and filling happening now.  Once the windows are in, I’ll fill the final door gap and finish the rest of the door frames.

Hey don’t forget

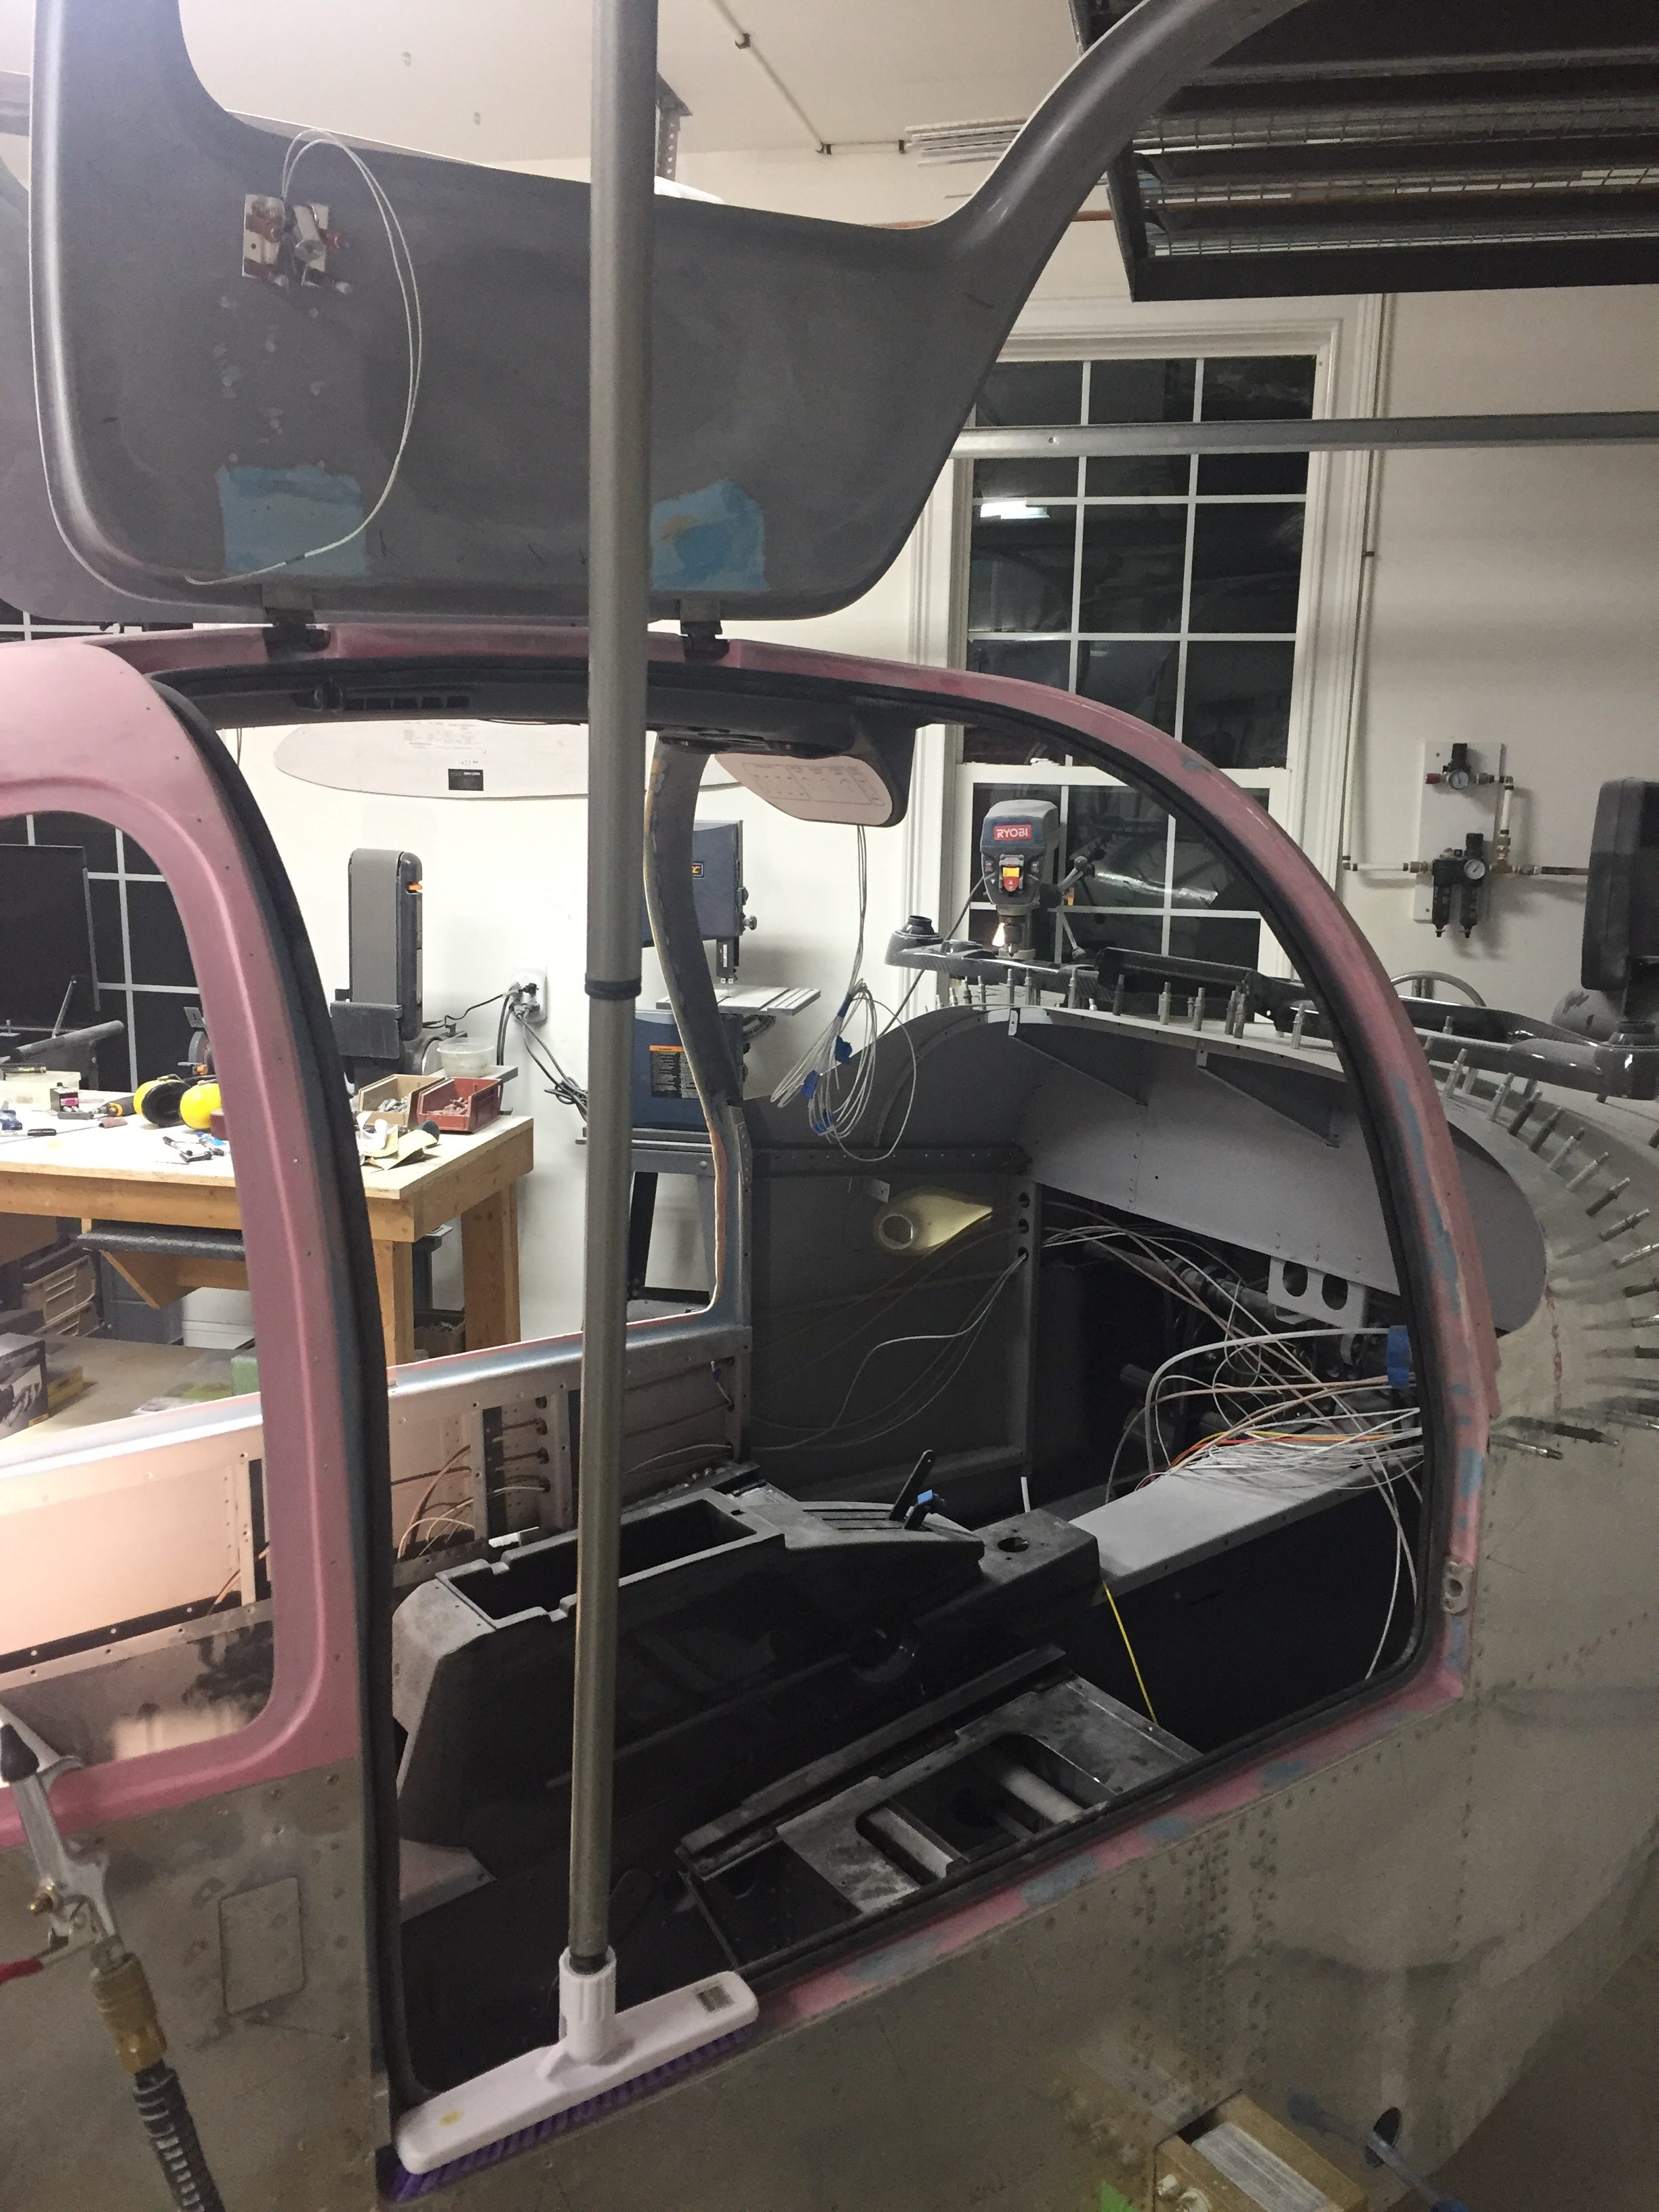
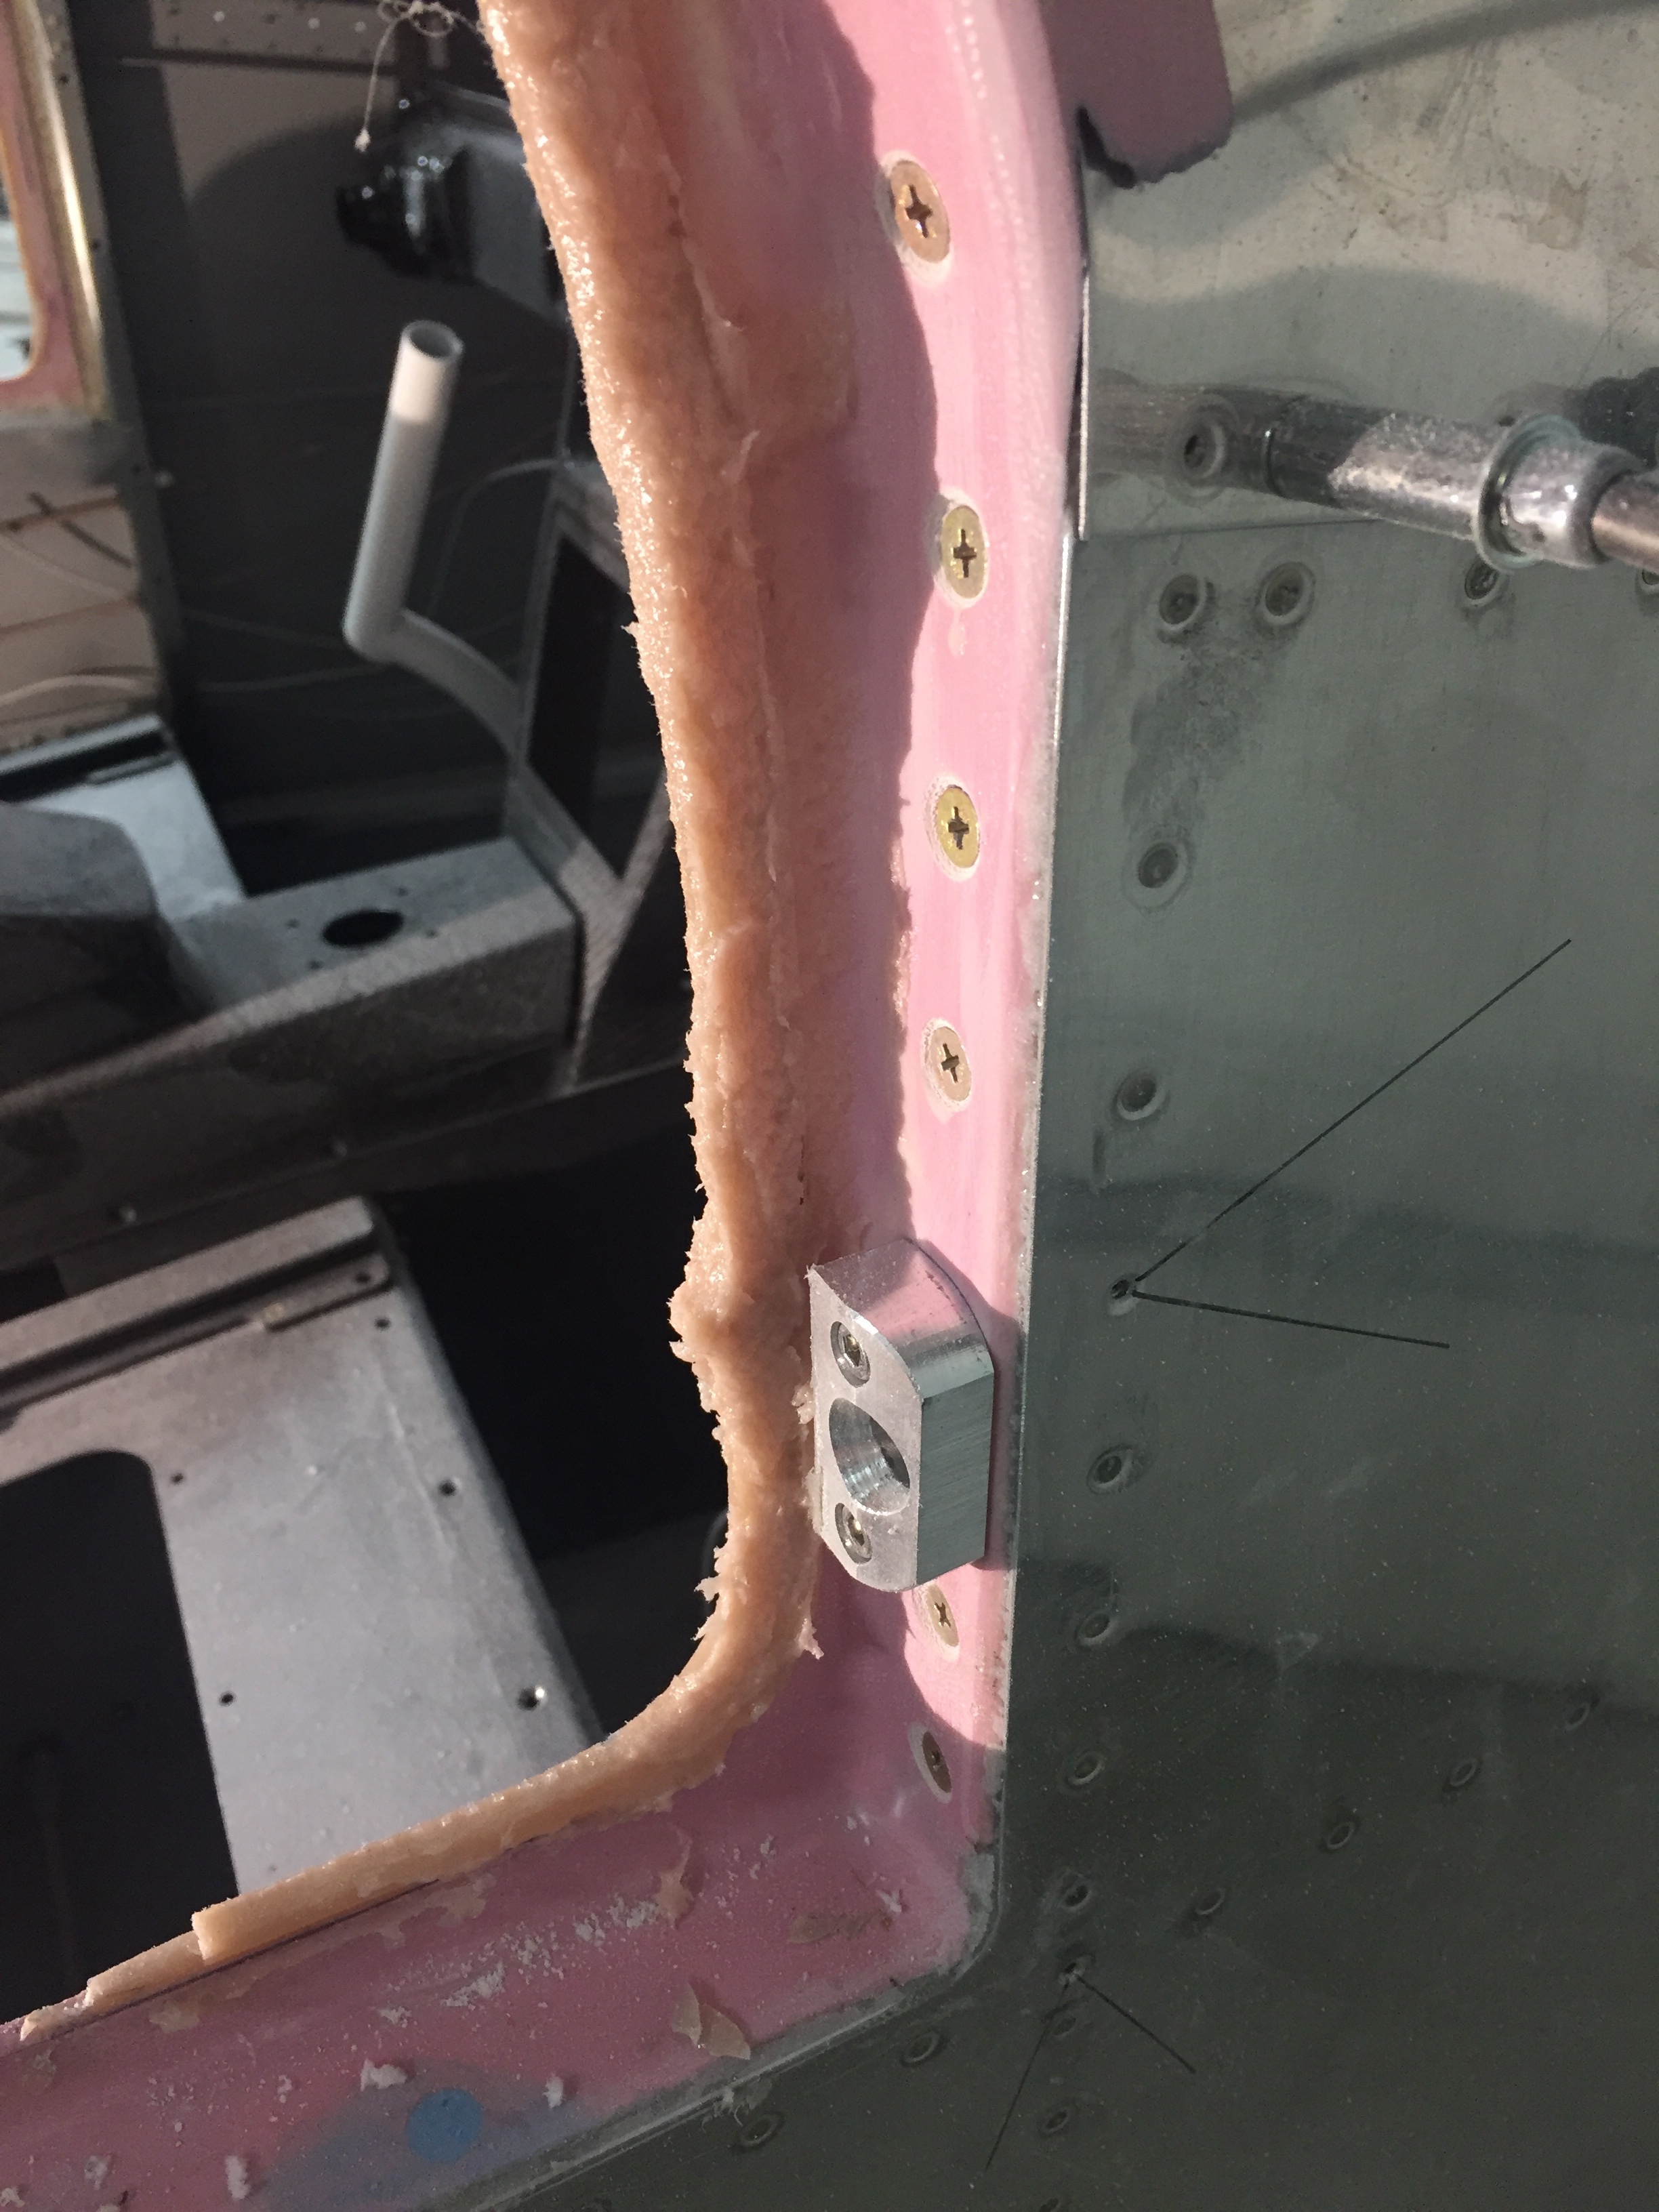
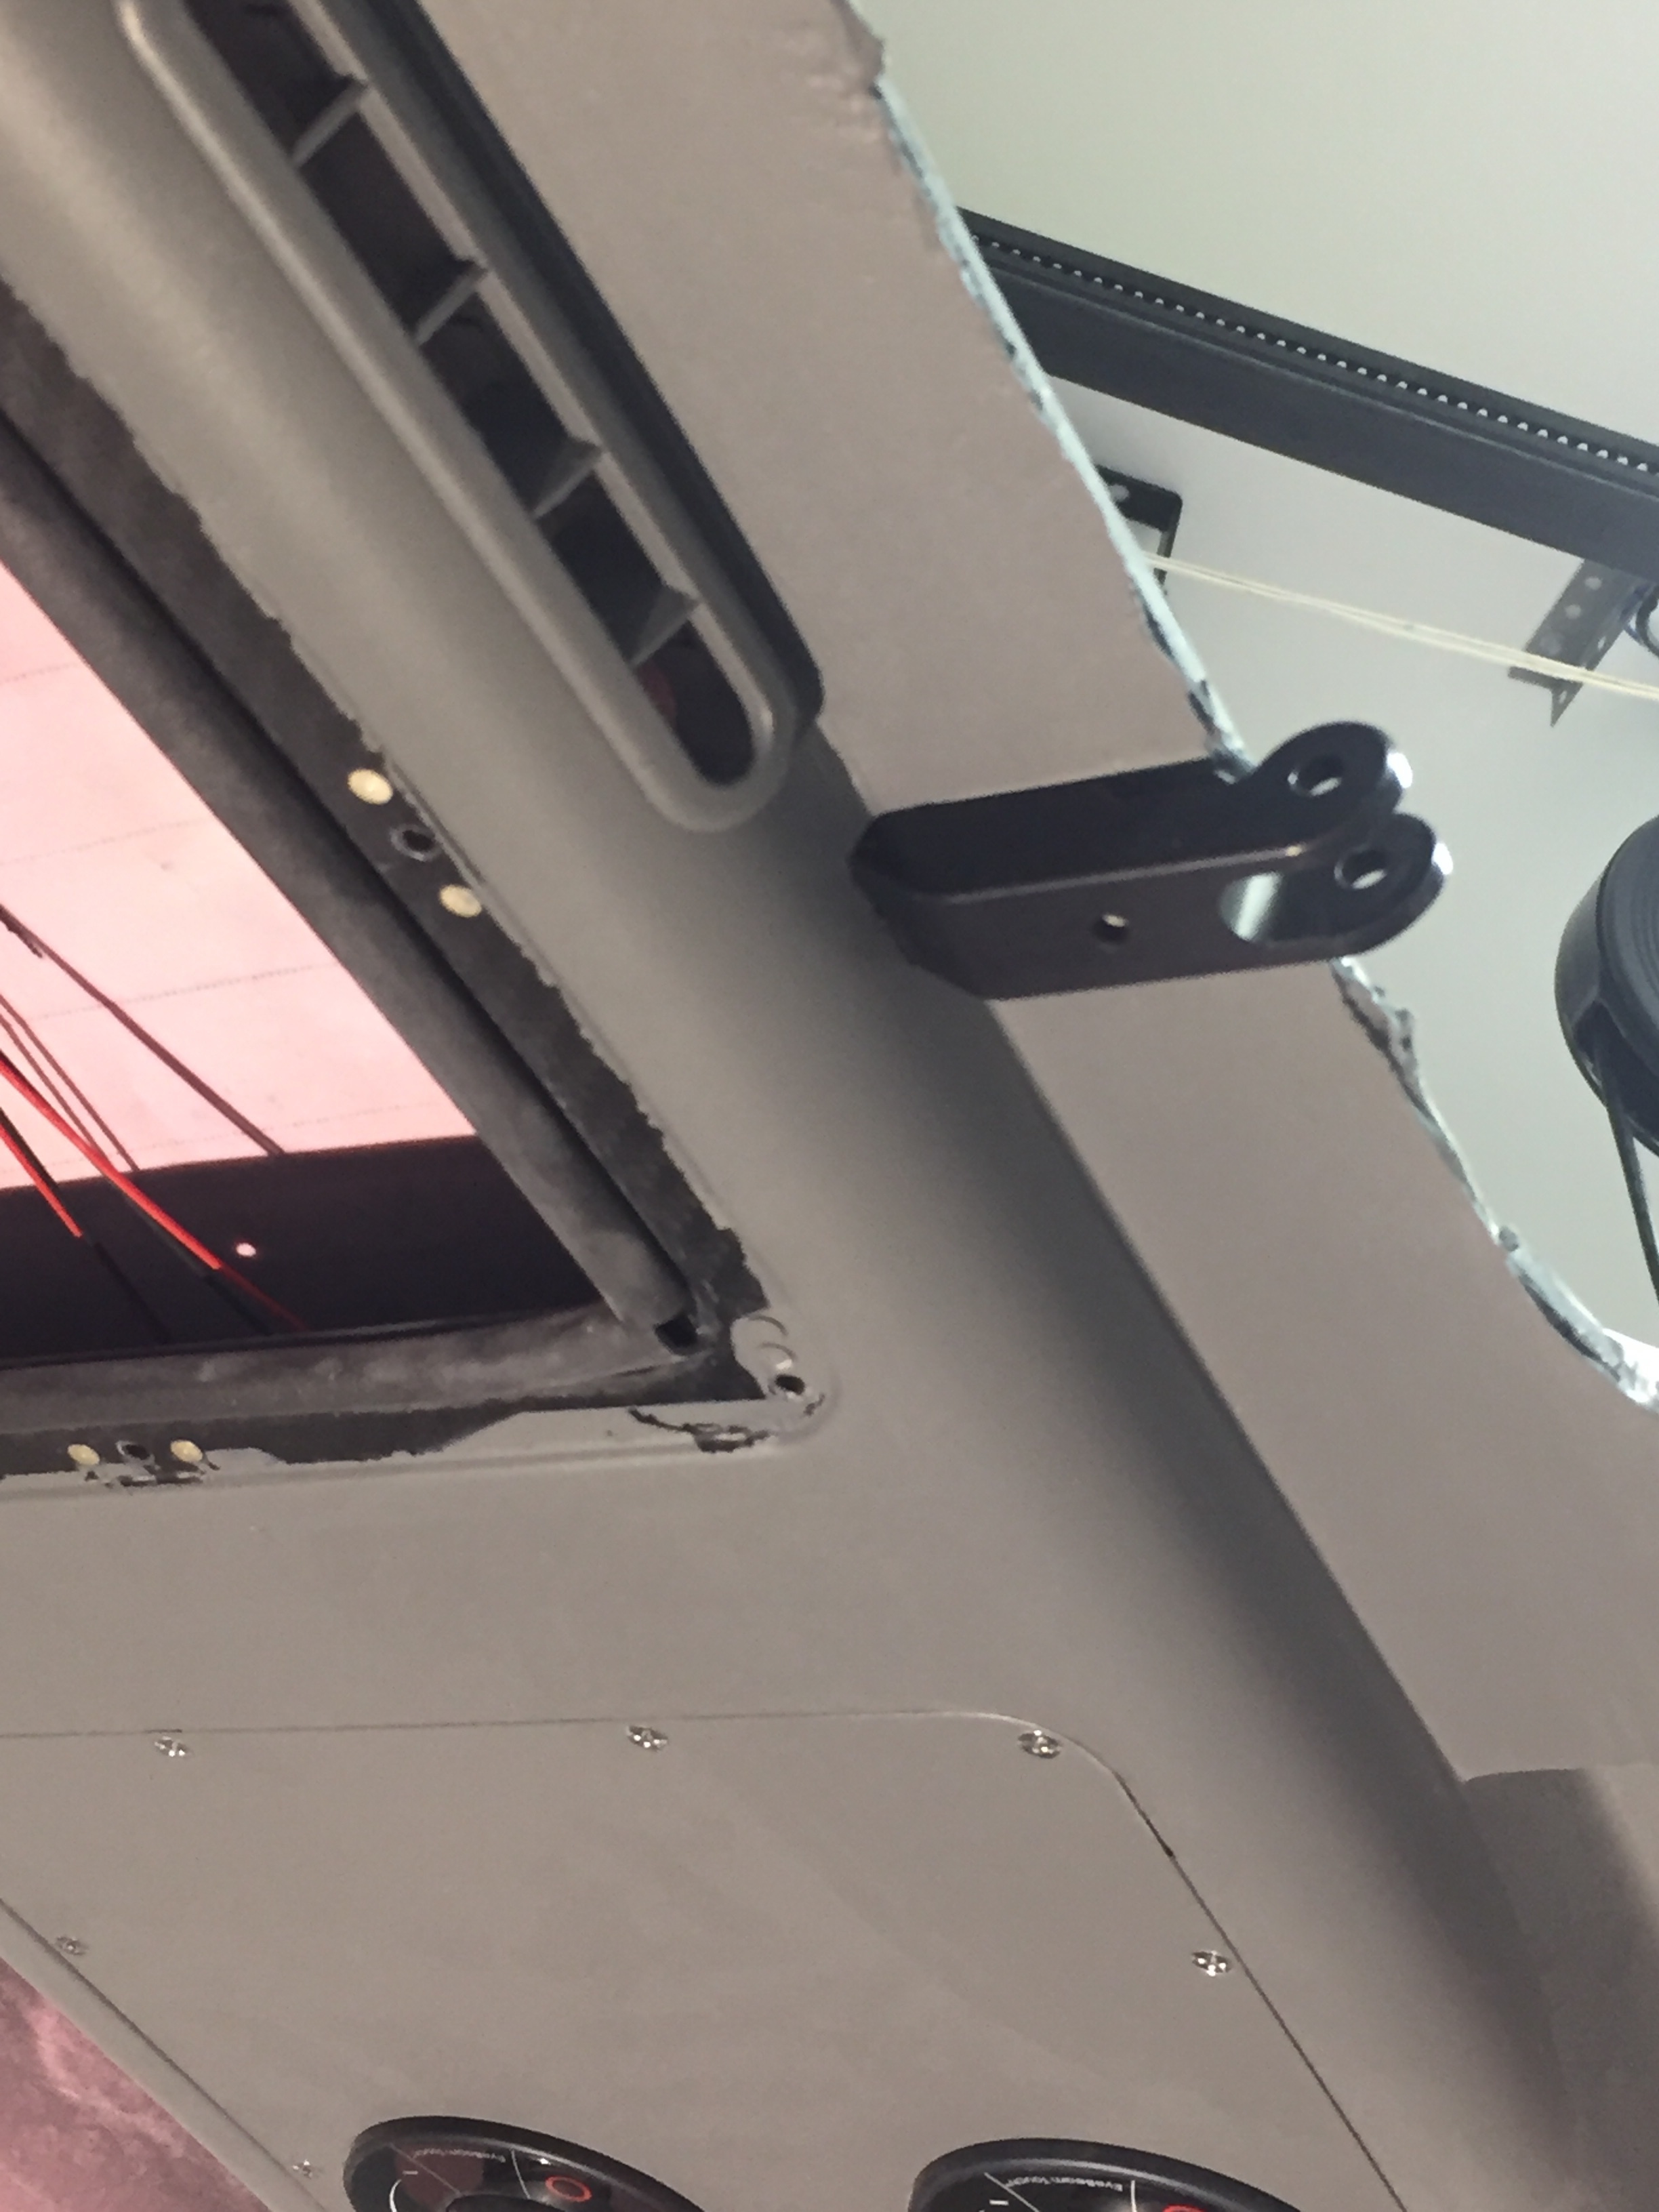
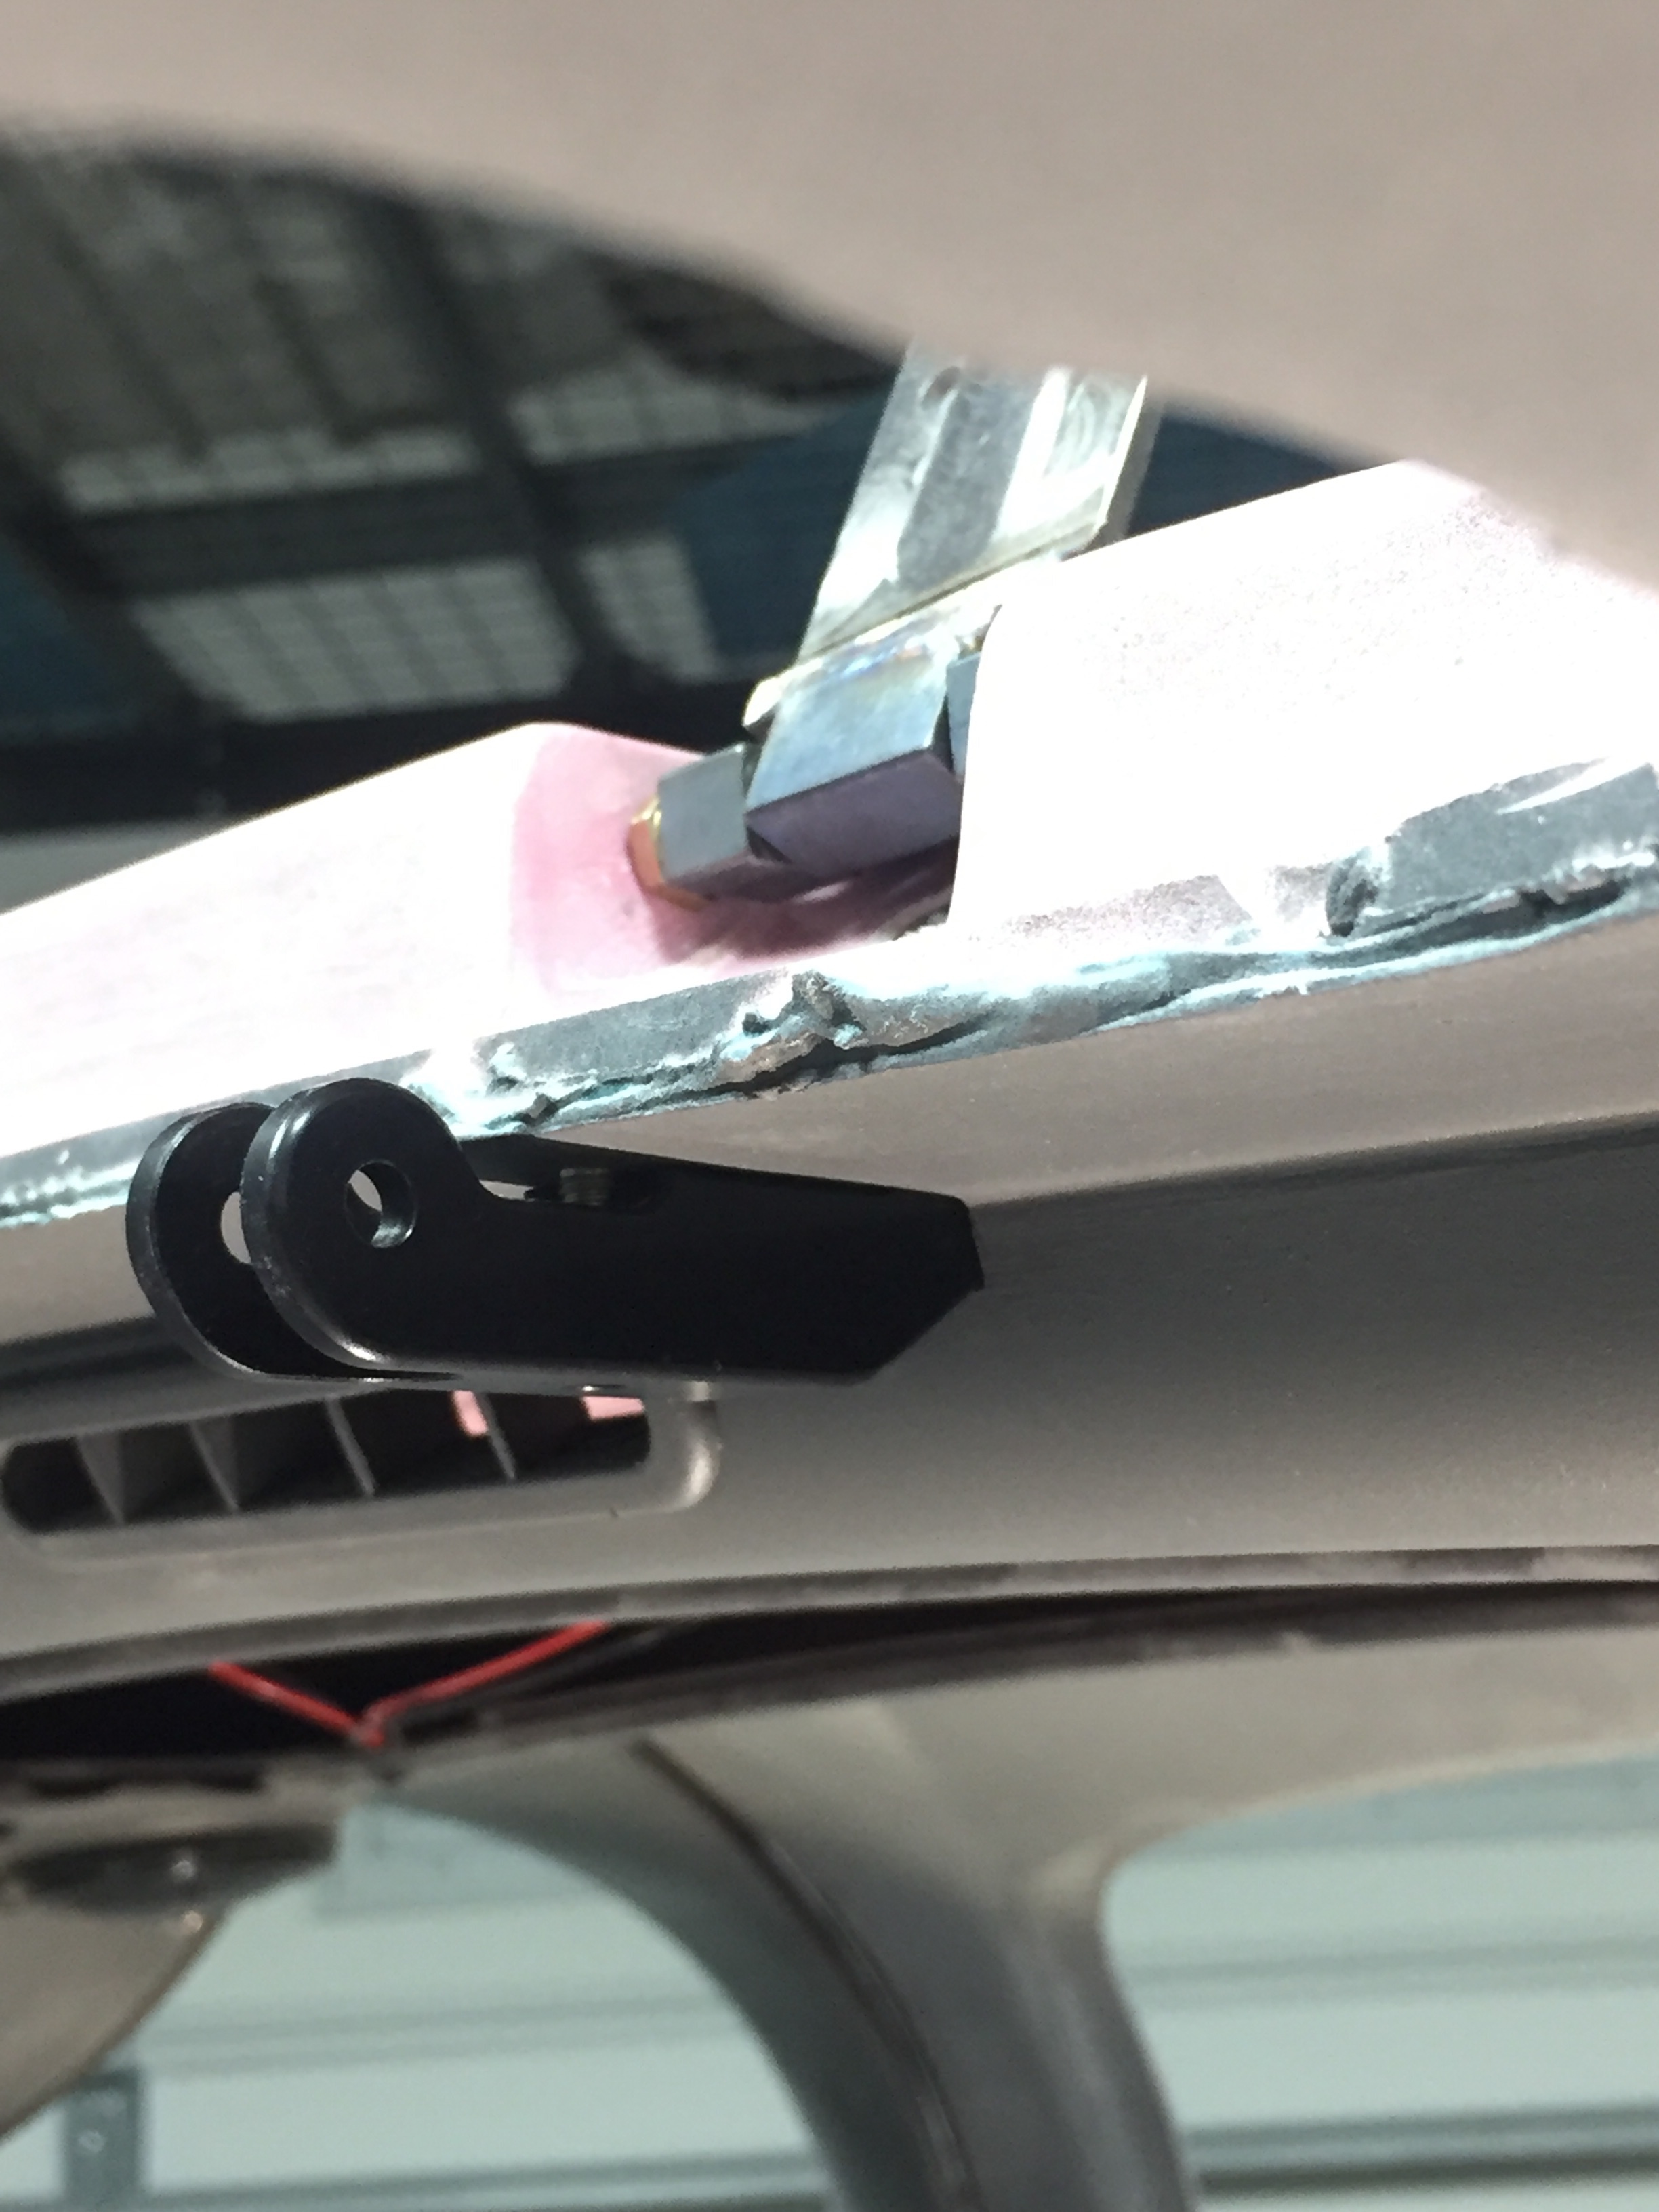
Tip for other builders.  Don’t forget to follow the steps that aren’t in the plans that you don’t know about but absolutely have to do in order even though nothing says to do them in order.  For example, the door strut bracket that attaches to the top of the cabin.  Yup, I forgot that.  I realized that in a moment of sheer panic and terror about 3 am one morning.

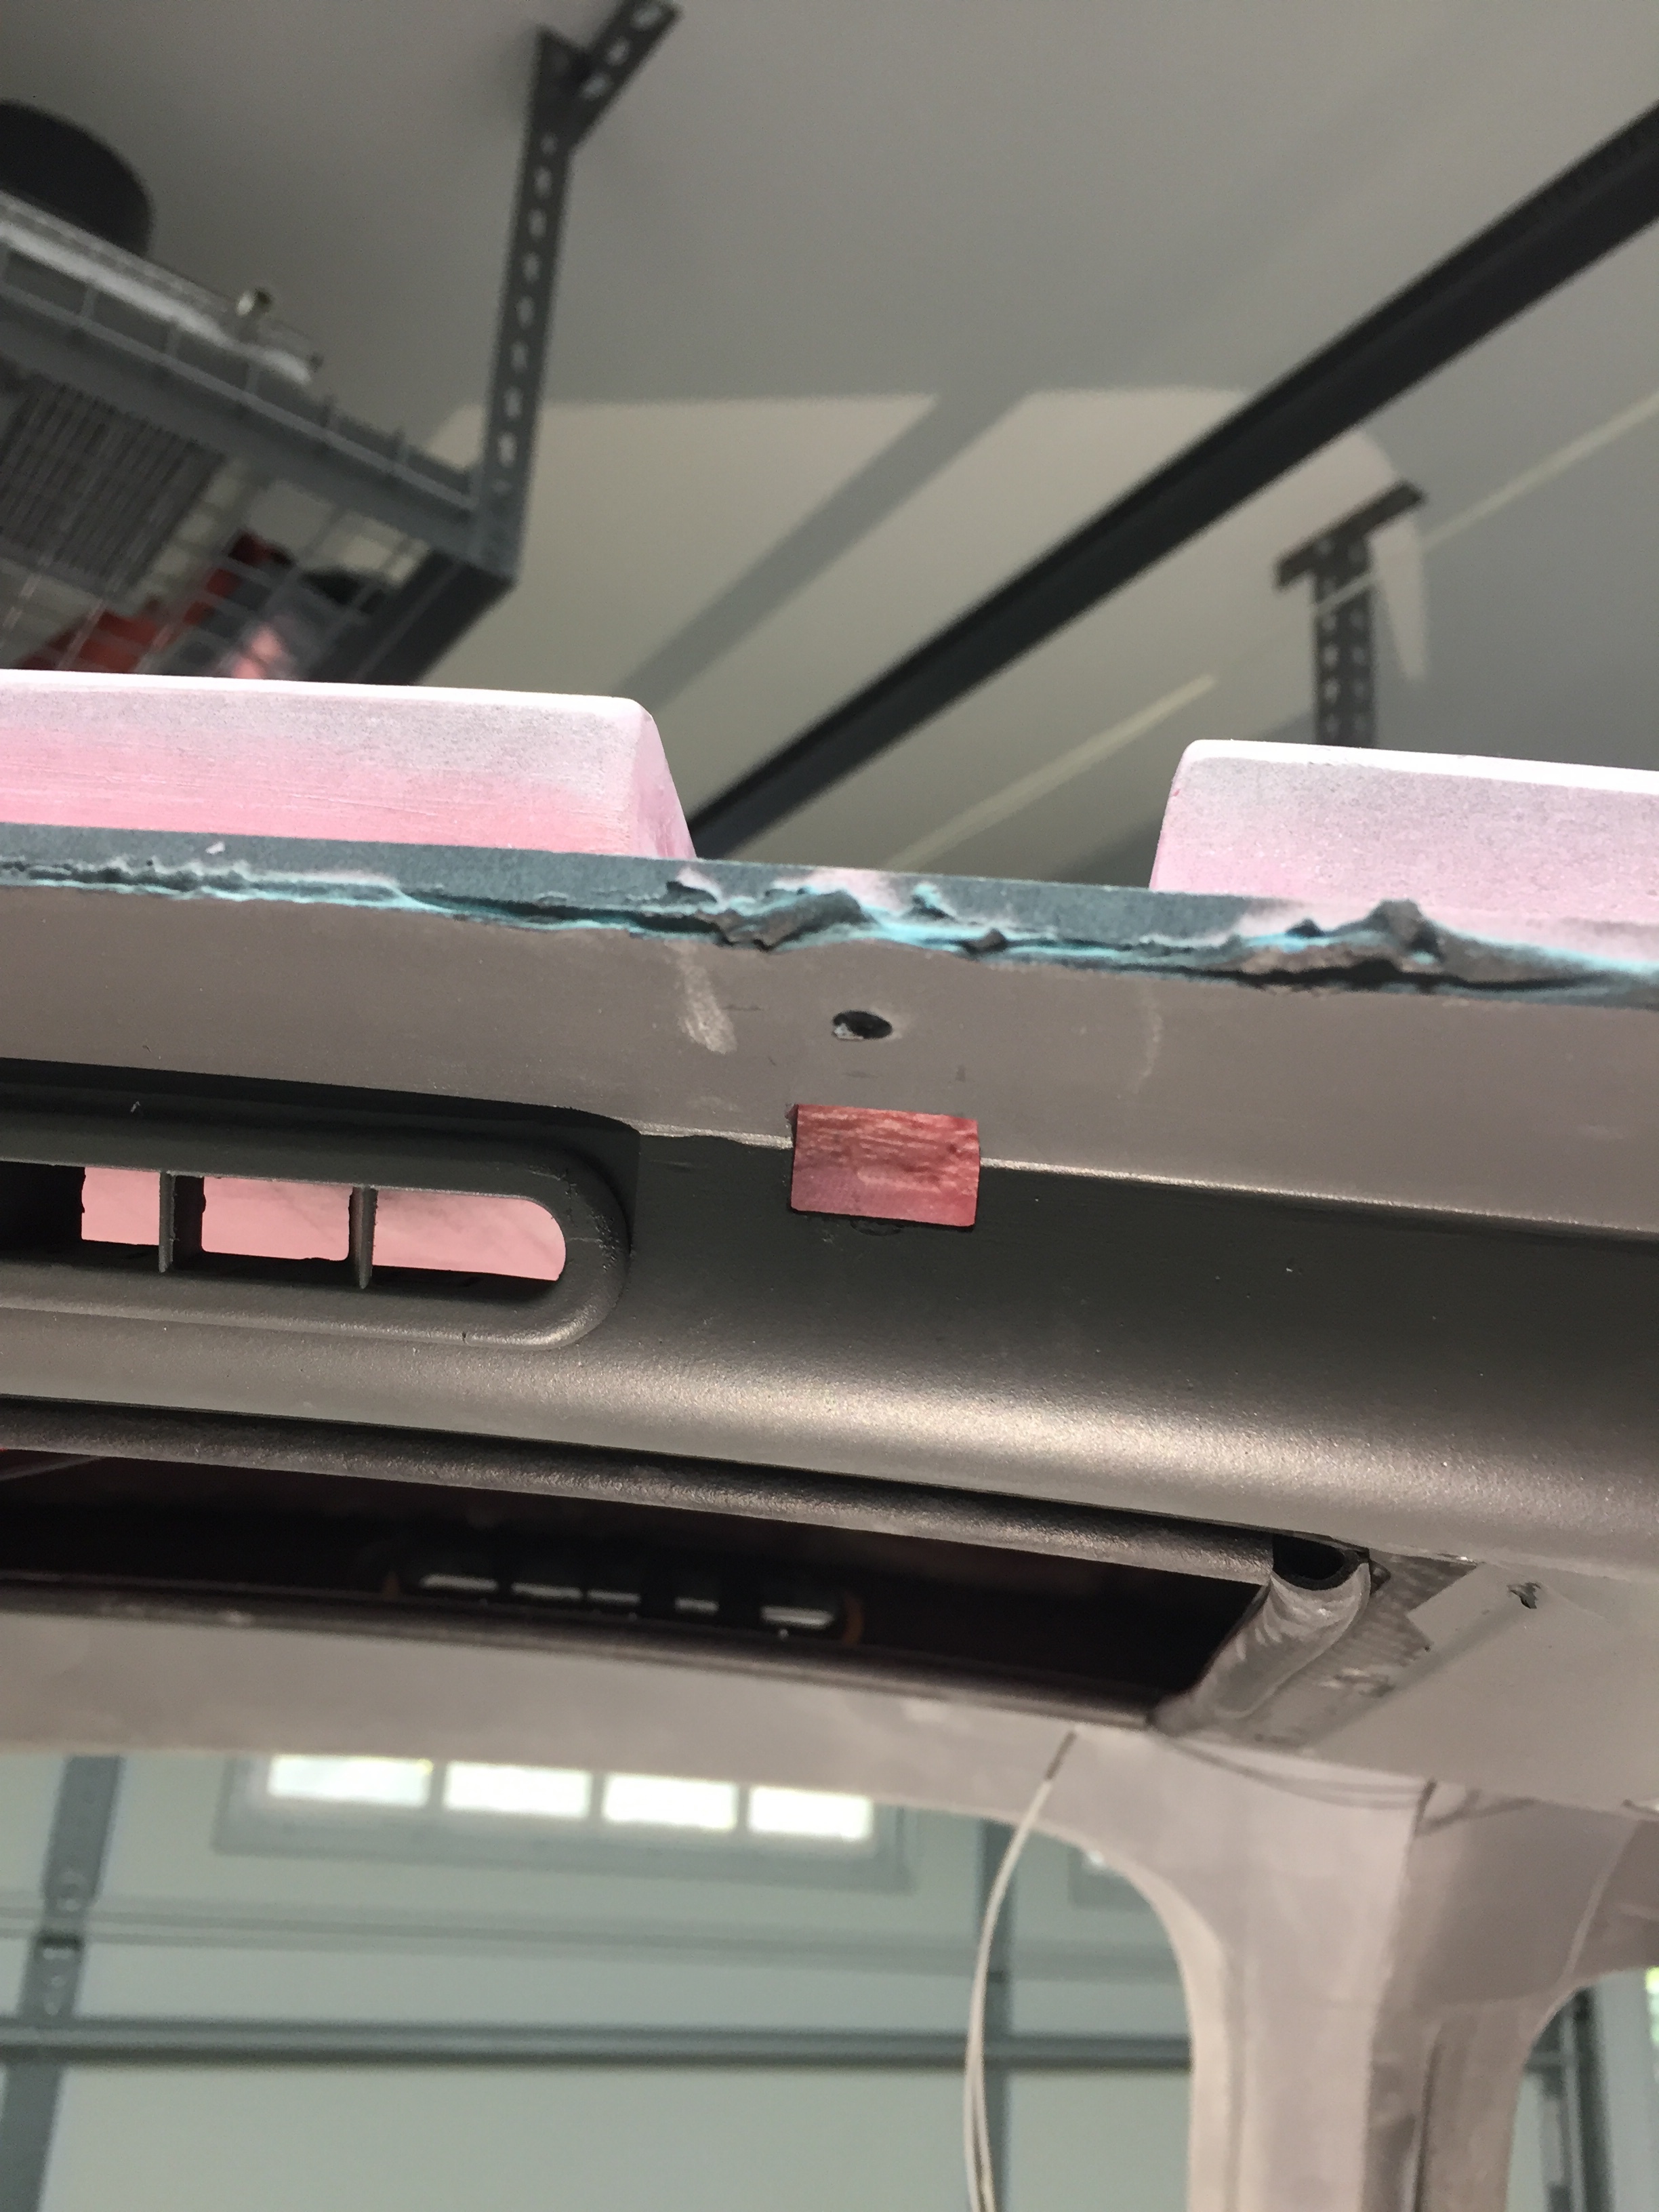
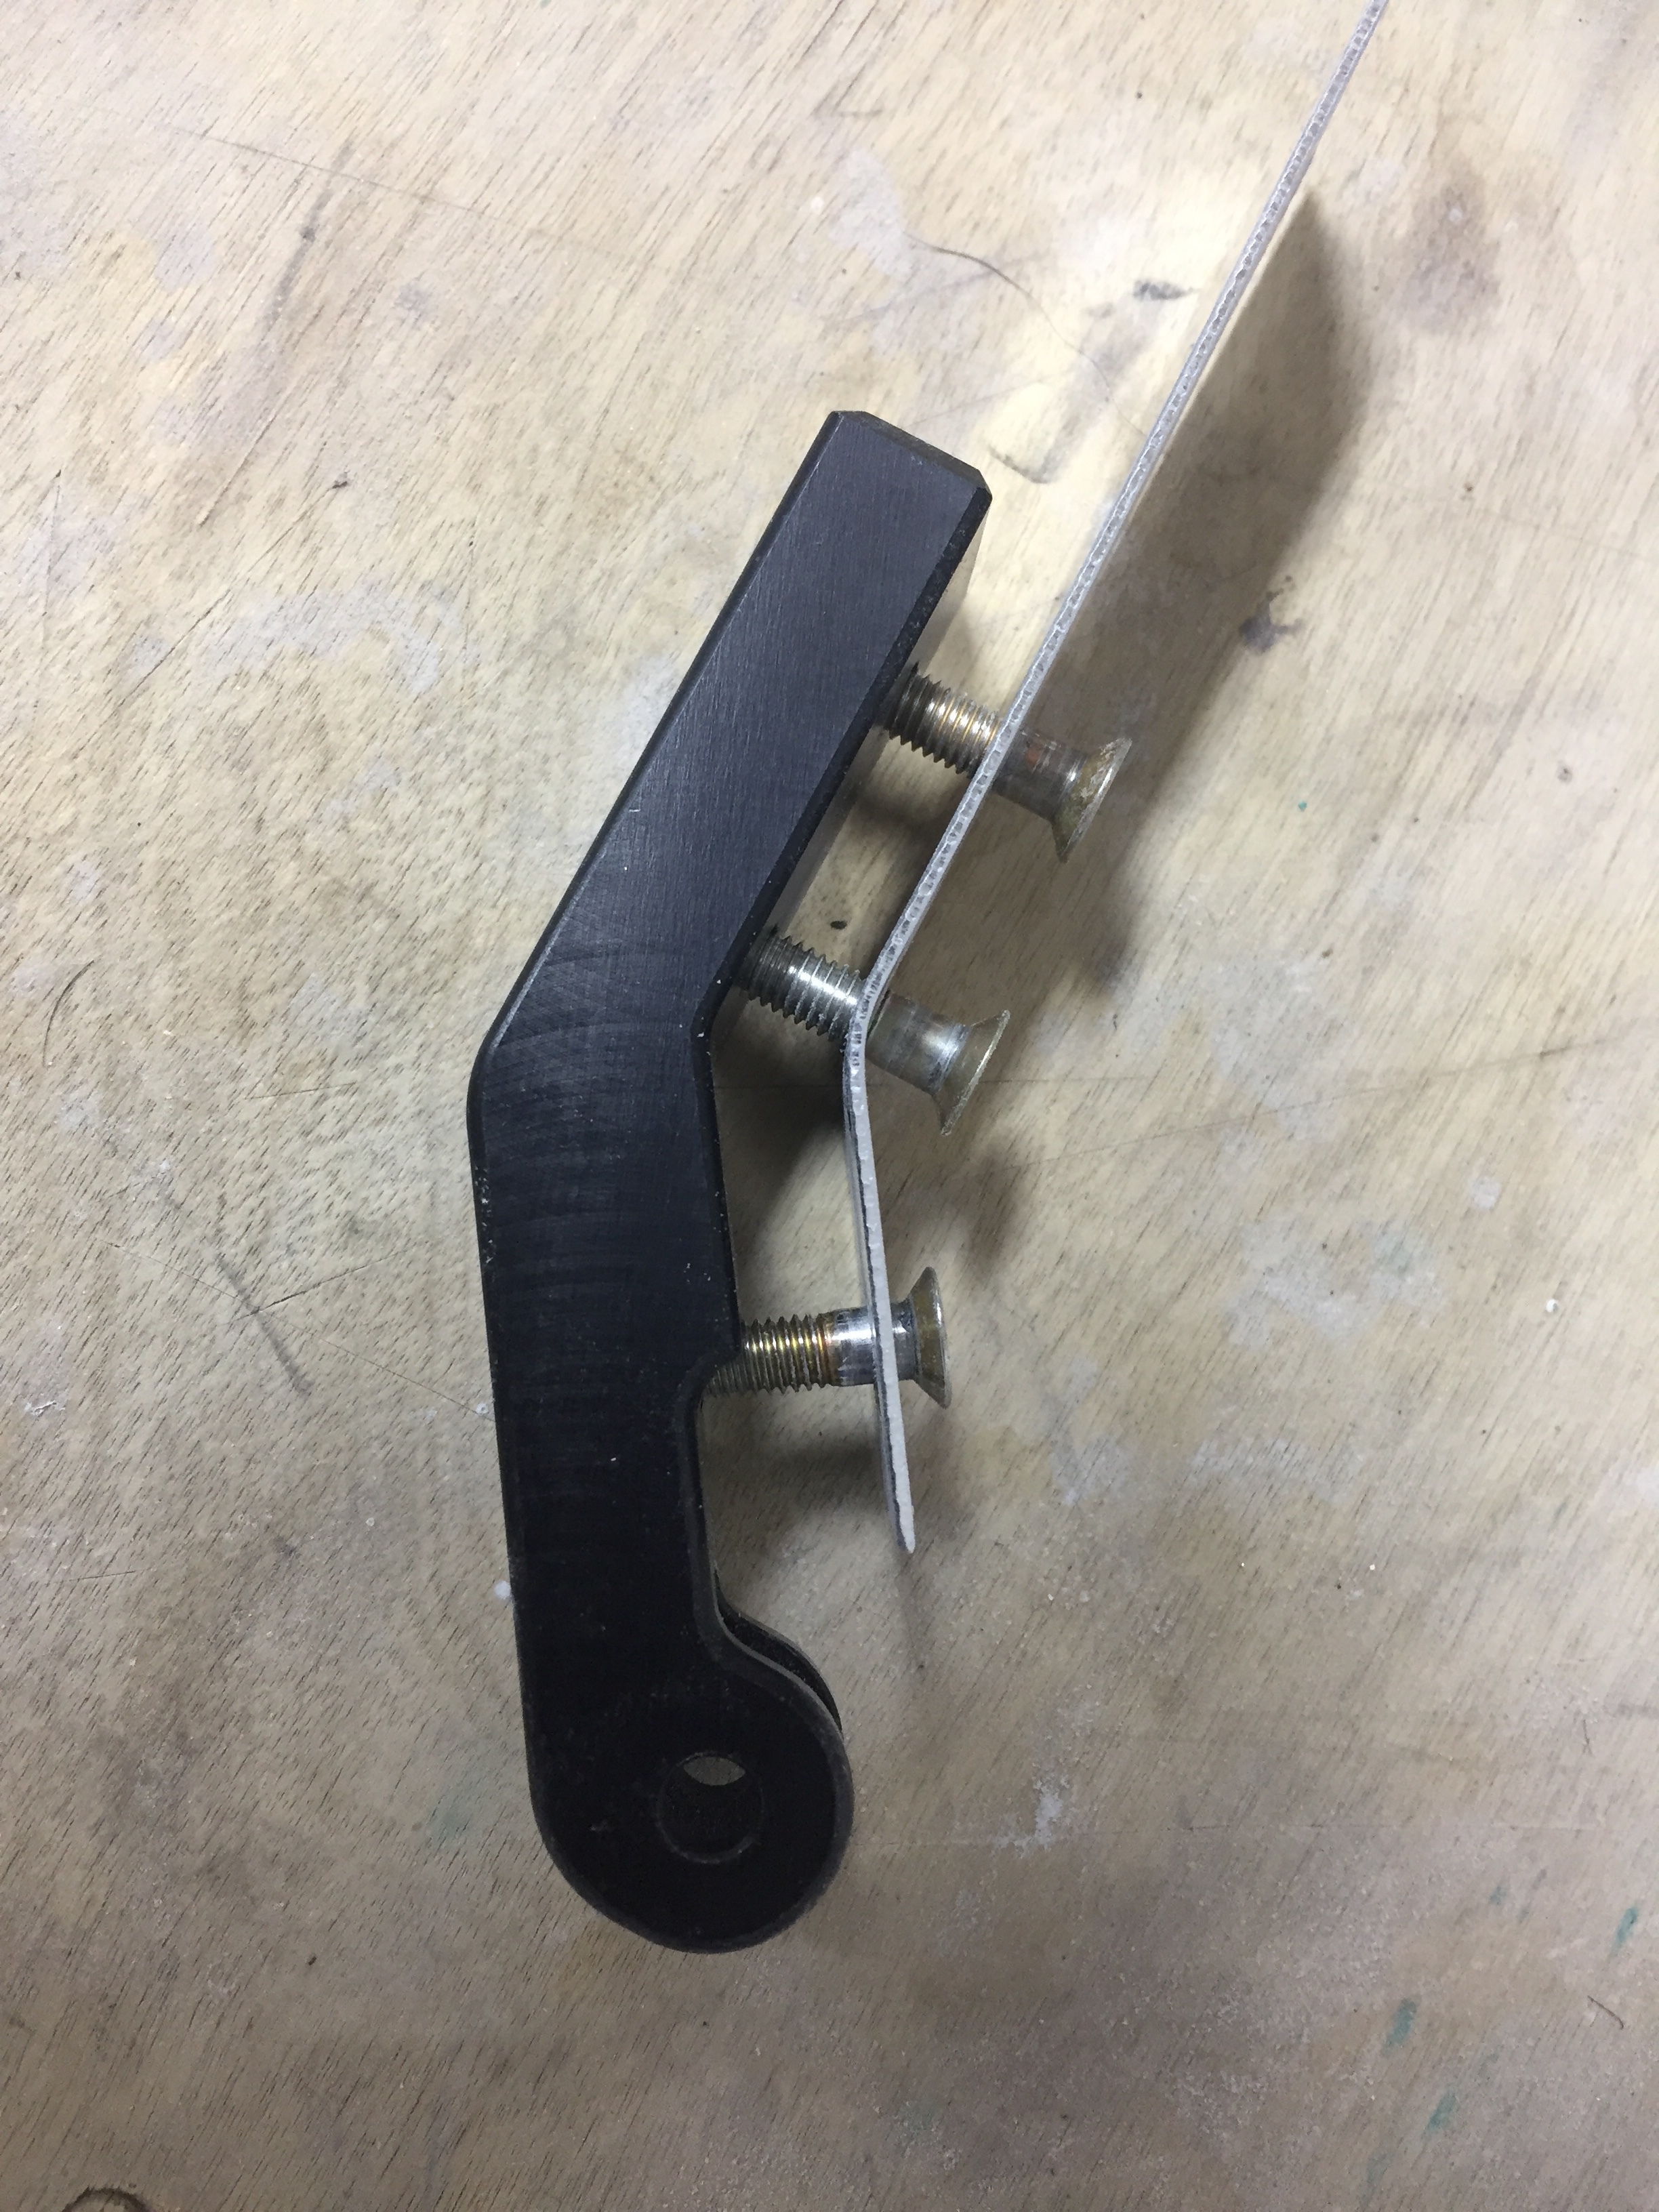
The strut bracket is a bit rudamentary from Van’s so I had ordered a very nicely CNCed version from Sean at PlaneAround.  Those have been sitting in my parts bin for two years now and despite all my hard work at the overhead console and finishing the interior of the cabin top, I forgot to install them.  It would have been a five minute job had I remembered.  It turned into a five hour job.

I would have to cut a hole in the overhead console and grind away part of the filler on the cabin top without screwing anything up to make this work.  Fortunately, I took my time and went at it very methodically.  I located the exact position it needed and drilled a few holes to start opening up the rectangle for it to slide in.  I got pretty luck and it proved to be a nice finished fit once all the filing and trimming was completed.

I then made up a jig to locate the screw holes since I couldn’t drill or mark from below due to interference of the console.  The jig allowed me to drill pilot holes from the outside and then enlarge to get the proper alighnment.  Worked like a charm and in no time the first bracket was screwed on.

As with everything, the second one goes quicker and easier so in one evening I corrected a big mistake with really nice results.  I doubt anyone could tell that they were installed out of sequence and looking back I wager it was even easier this way vs trying to sand and sculpt the filler around them while filling in the console.

Let me get that door for you

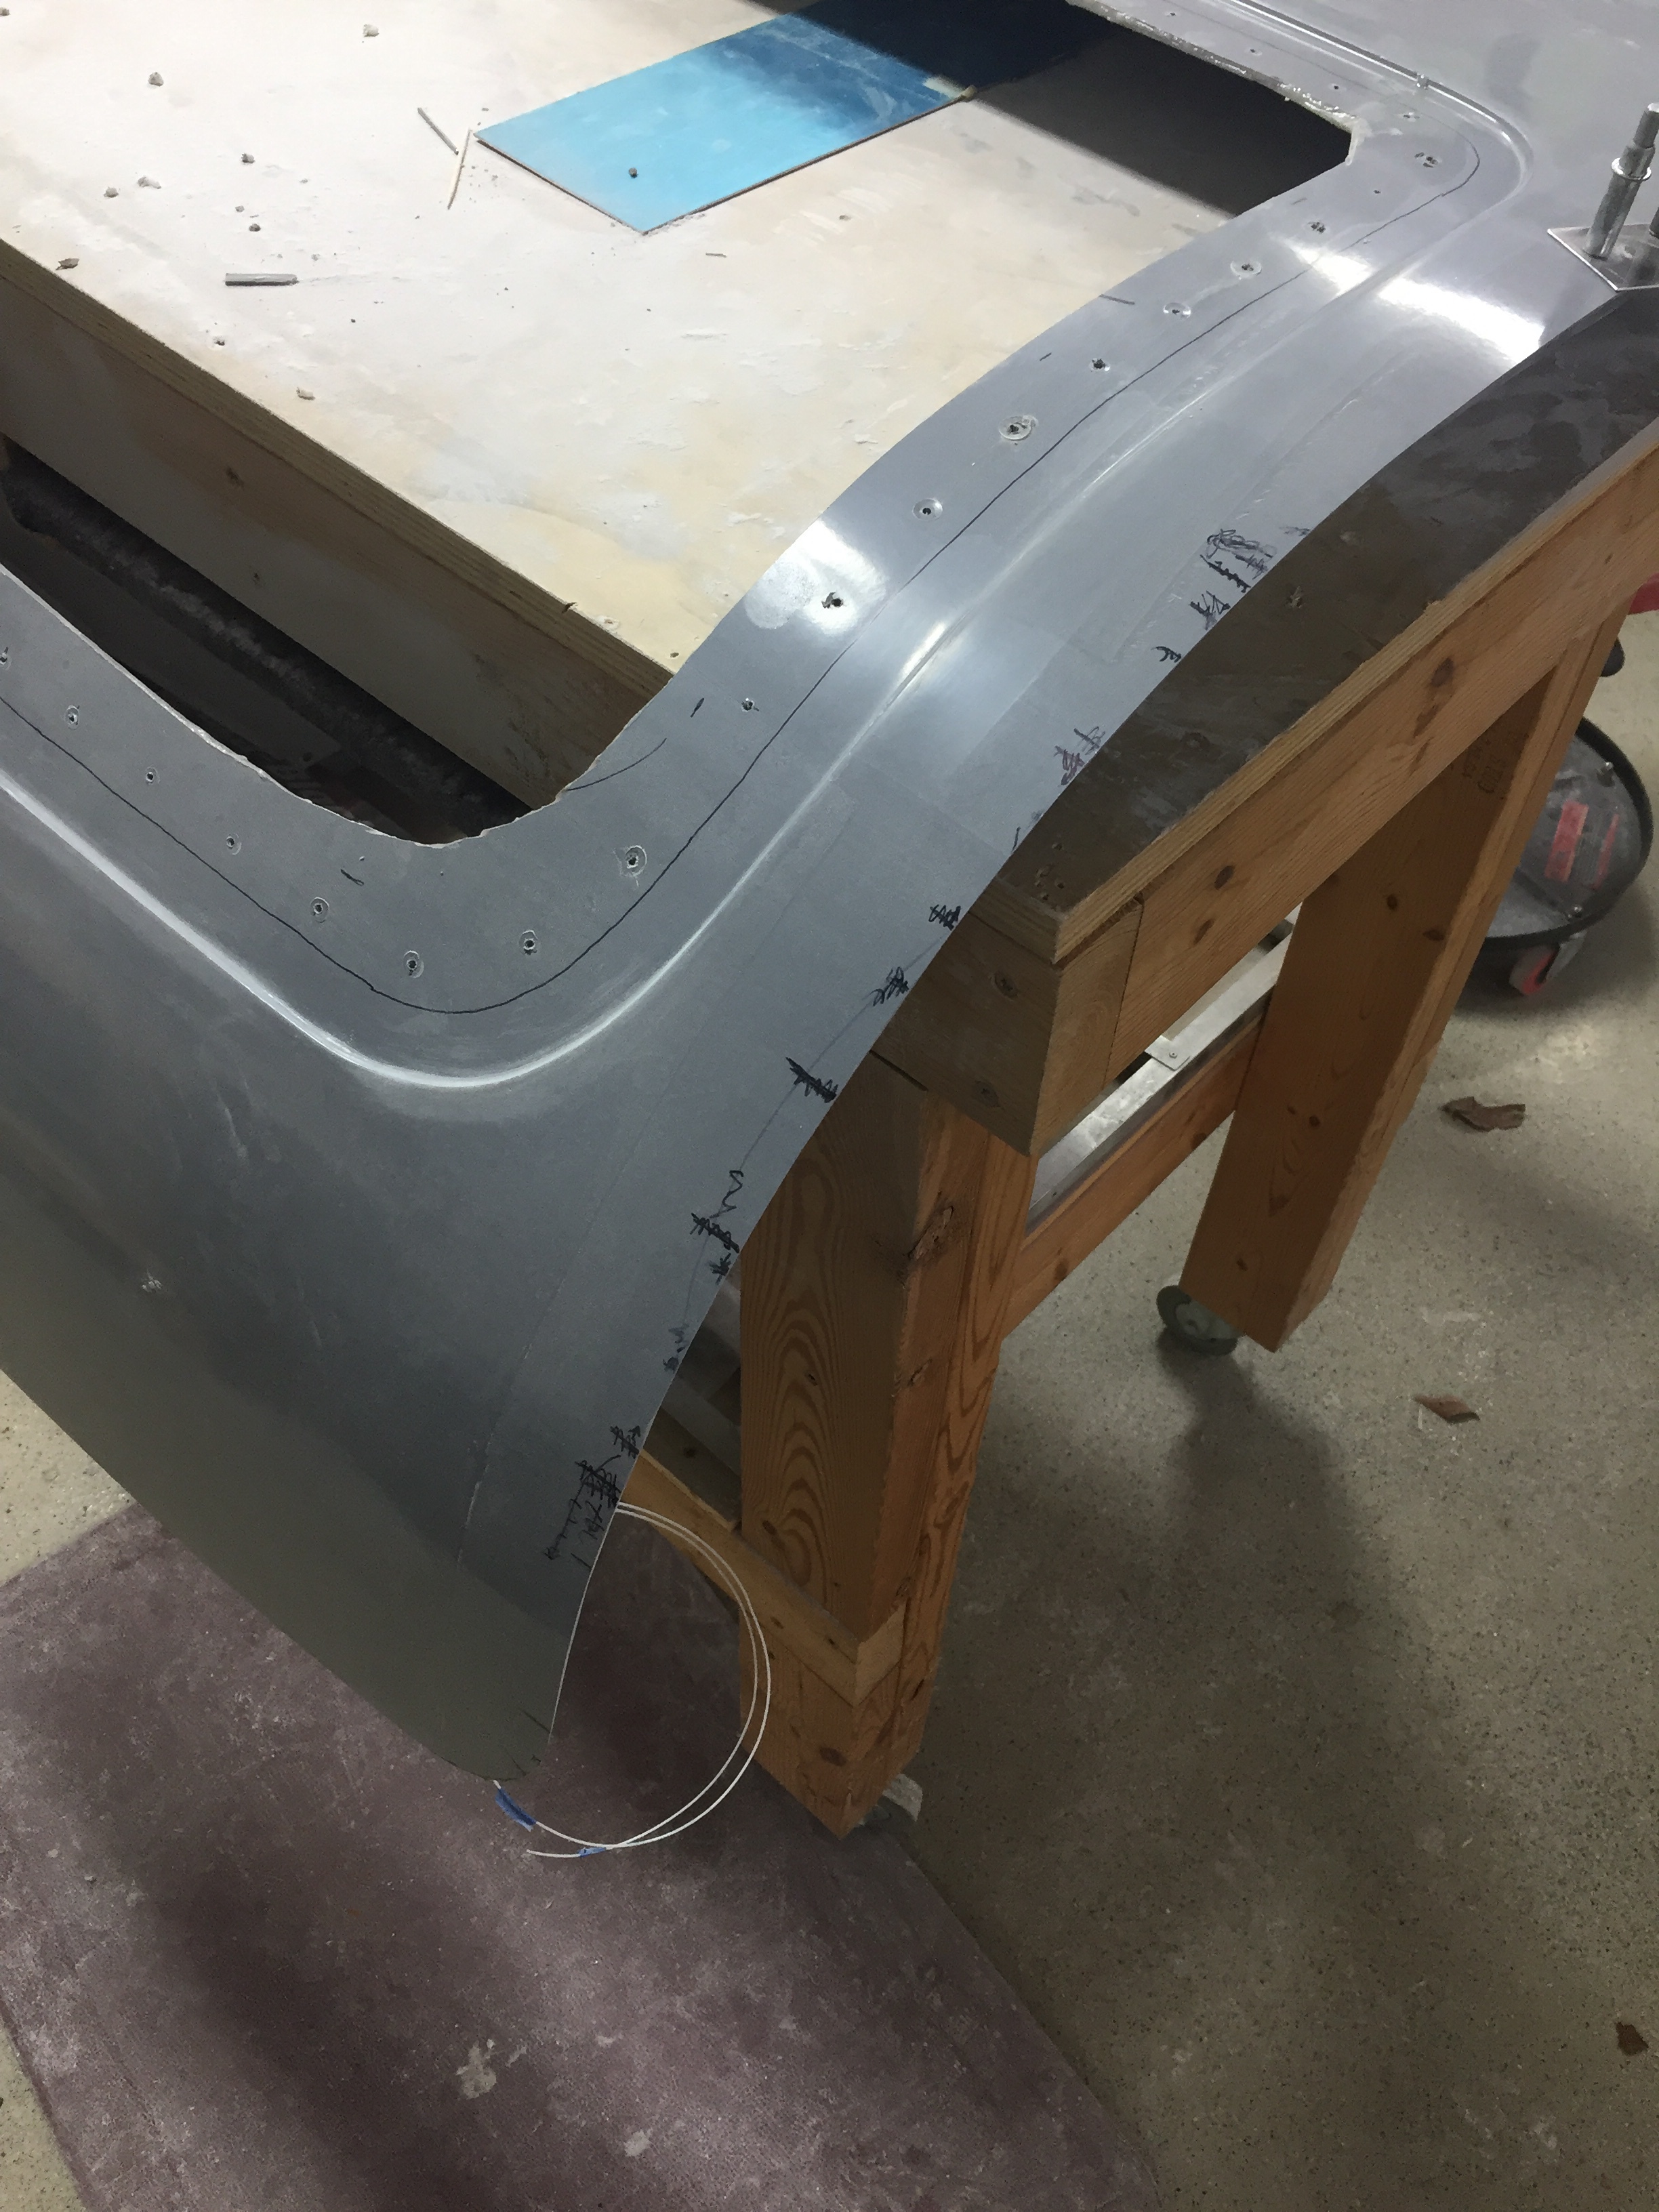
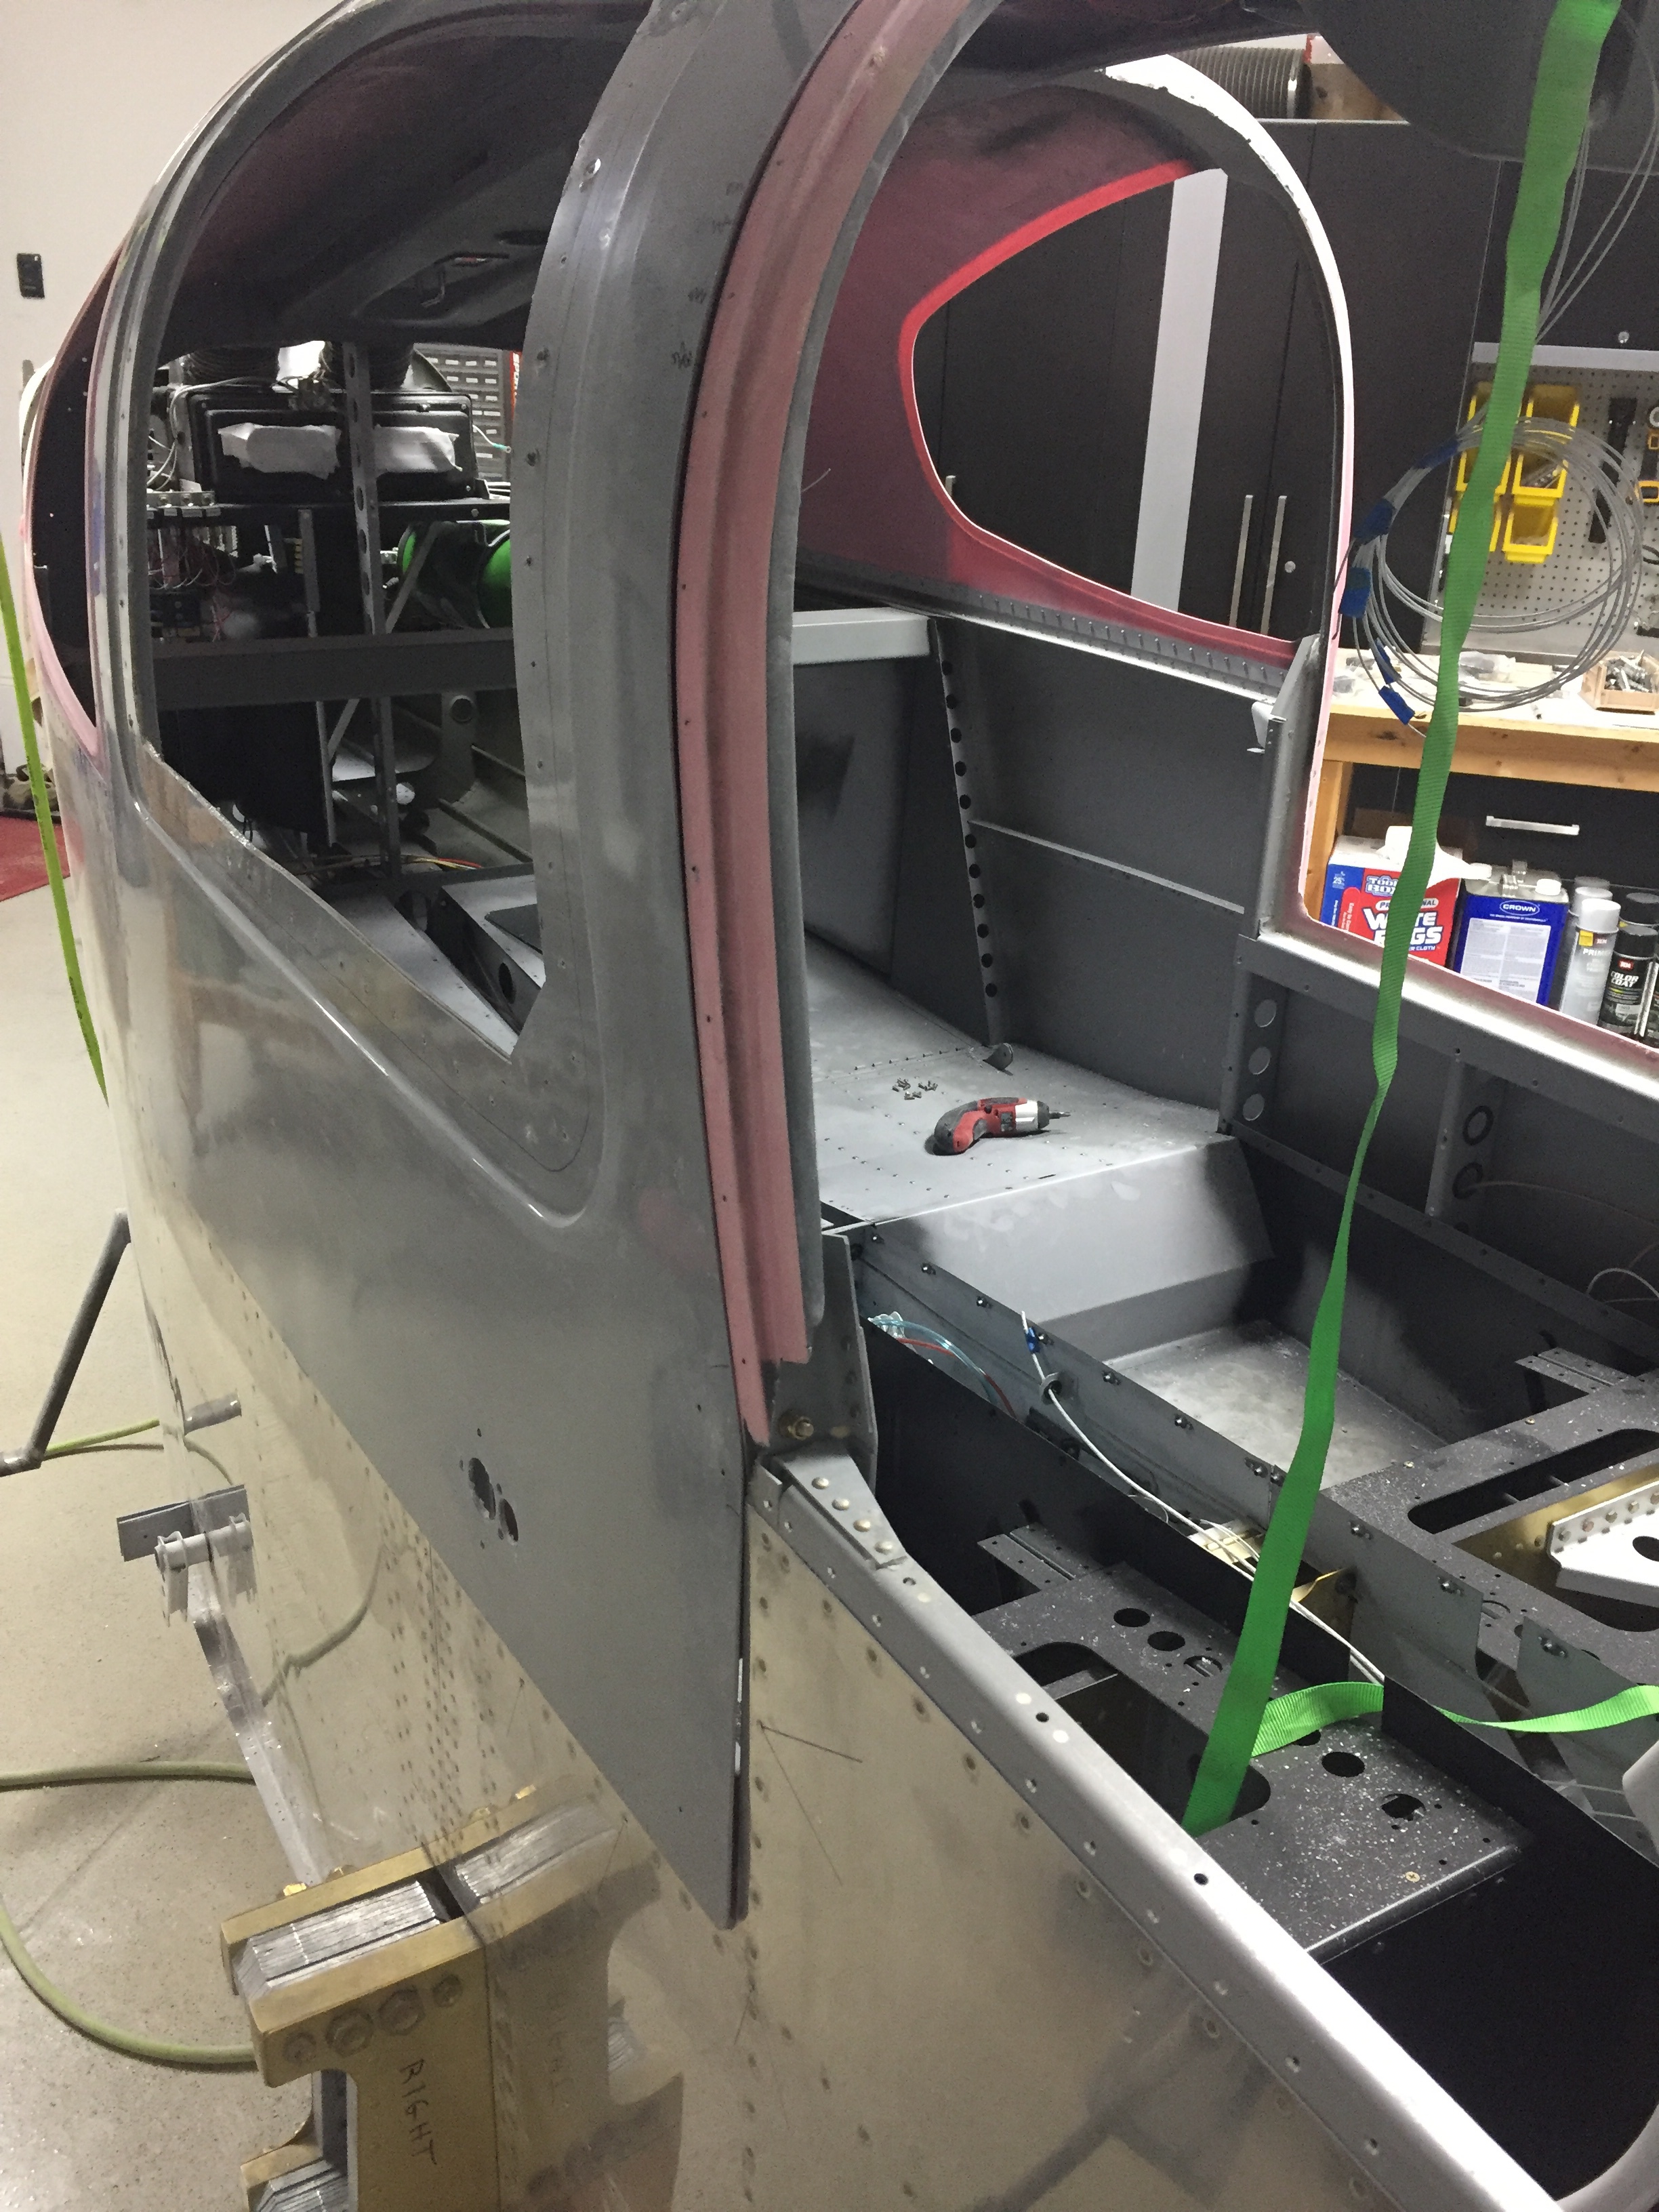
The epoxy dryed overnight and the next morning I was ready to start cursing clecos as I pulled them out of the cured doors.  A few were kinda tough and I ruined some clecos, but eventually all of them were out and I was left with two doors!.  The next step is trimming the outer flanges to fit flush inside the cabin top and fuselage.  It’s a tedious task as you really need to trim them to fit but they need to fit to see where they need to be trimmed.  I took a tip from another builder and created a template to cleco on the door and fuselage instead of leaving tabs on the door flange itself per the plans.  This allows the door to slide into the frame but ensures it’s held in the same place when test fitting it.

Slow and steady wins the race here, with a lot of sanding/grinding/fitting/repeat to get it just right.  I am neither slow nor steady.  So after about 15 times of test fitting and removing, I went to town with the die grinder and poof, too much gone.  Cardinal sin of building a RV10 door.  When all the dust settled, I realized that the doors themselves weren’t too small but I just didn’t take my time to fit them.  My scribe lines from the factory were WAY off and oversized.  I was shocked at how much material I had to remove to get the doors to sit flush.

In the end, I put a chamfer on the cabin top and the door flanges to get a nice fit that was a complete waste of time.  Since I’m using the McMaster Carr seal, I don’t need a beveled edge on the door and frame and will need to build the cabin top / door up in several places anyway to make the two surfaces flush.  Oh well, I knew doors would be a pain so par for the course.  Nothing was too bad that can’t be fixed, so I still looked at it as a success.

Once I calmed down, I got to work on the right side hinges which went on quickly and easily.  Wouldn’t you know it, I was ready to open the door for my lovely wife to get in her side of the airplane.  Except she wasn’t there and there’s no seat and it’s really dusty and I don’t want her touching anything yet since it’s not finished anyway…..

Coloring outside the lines

Painting the inside of the cabin is much easier when the cabin top is removable, and with only a few items left to do before permanently installing the cabin top, I took the opportunity to put some color on the project. As mentioned earlier, the cabin interior will be a dark grey and black. I started by cleaning and prepping the tunnel walls and footwells. Most of this will be covered by the black carpet, but I wanted to make sure any areas not covered would be black. The SEM is really easy to work with and two nice coats provided plenty of coverage. I then used a low luster clear to help provide some further protection and sealant. I didn’t worry about overspray since the carpet will hide the imperfections.

The rest of the interior is the dark grey so I prepped again and sprayed the remaining parts of the cabin which will not be covered by Aerosport panels. I’m not a huge fan of painting because it’s so much prep work, but the results are rewarding. It’s nice to see a finished surface finally.

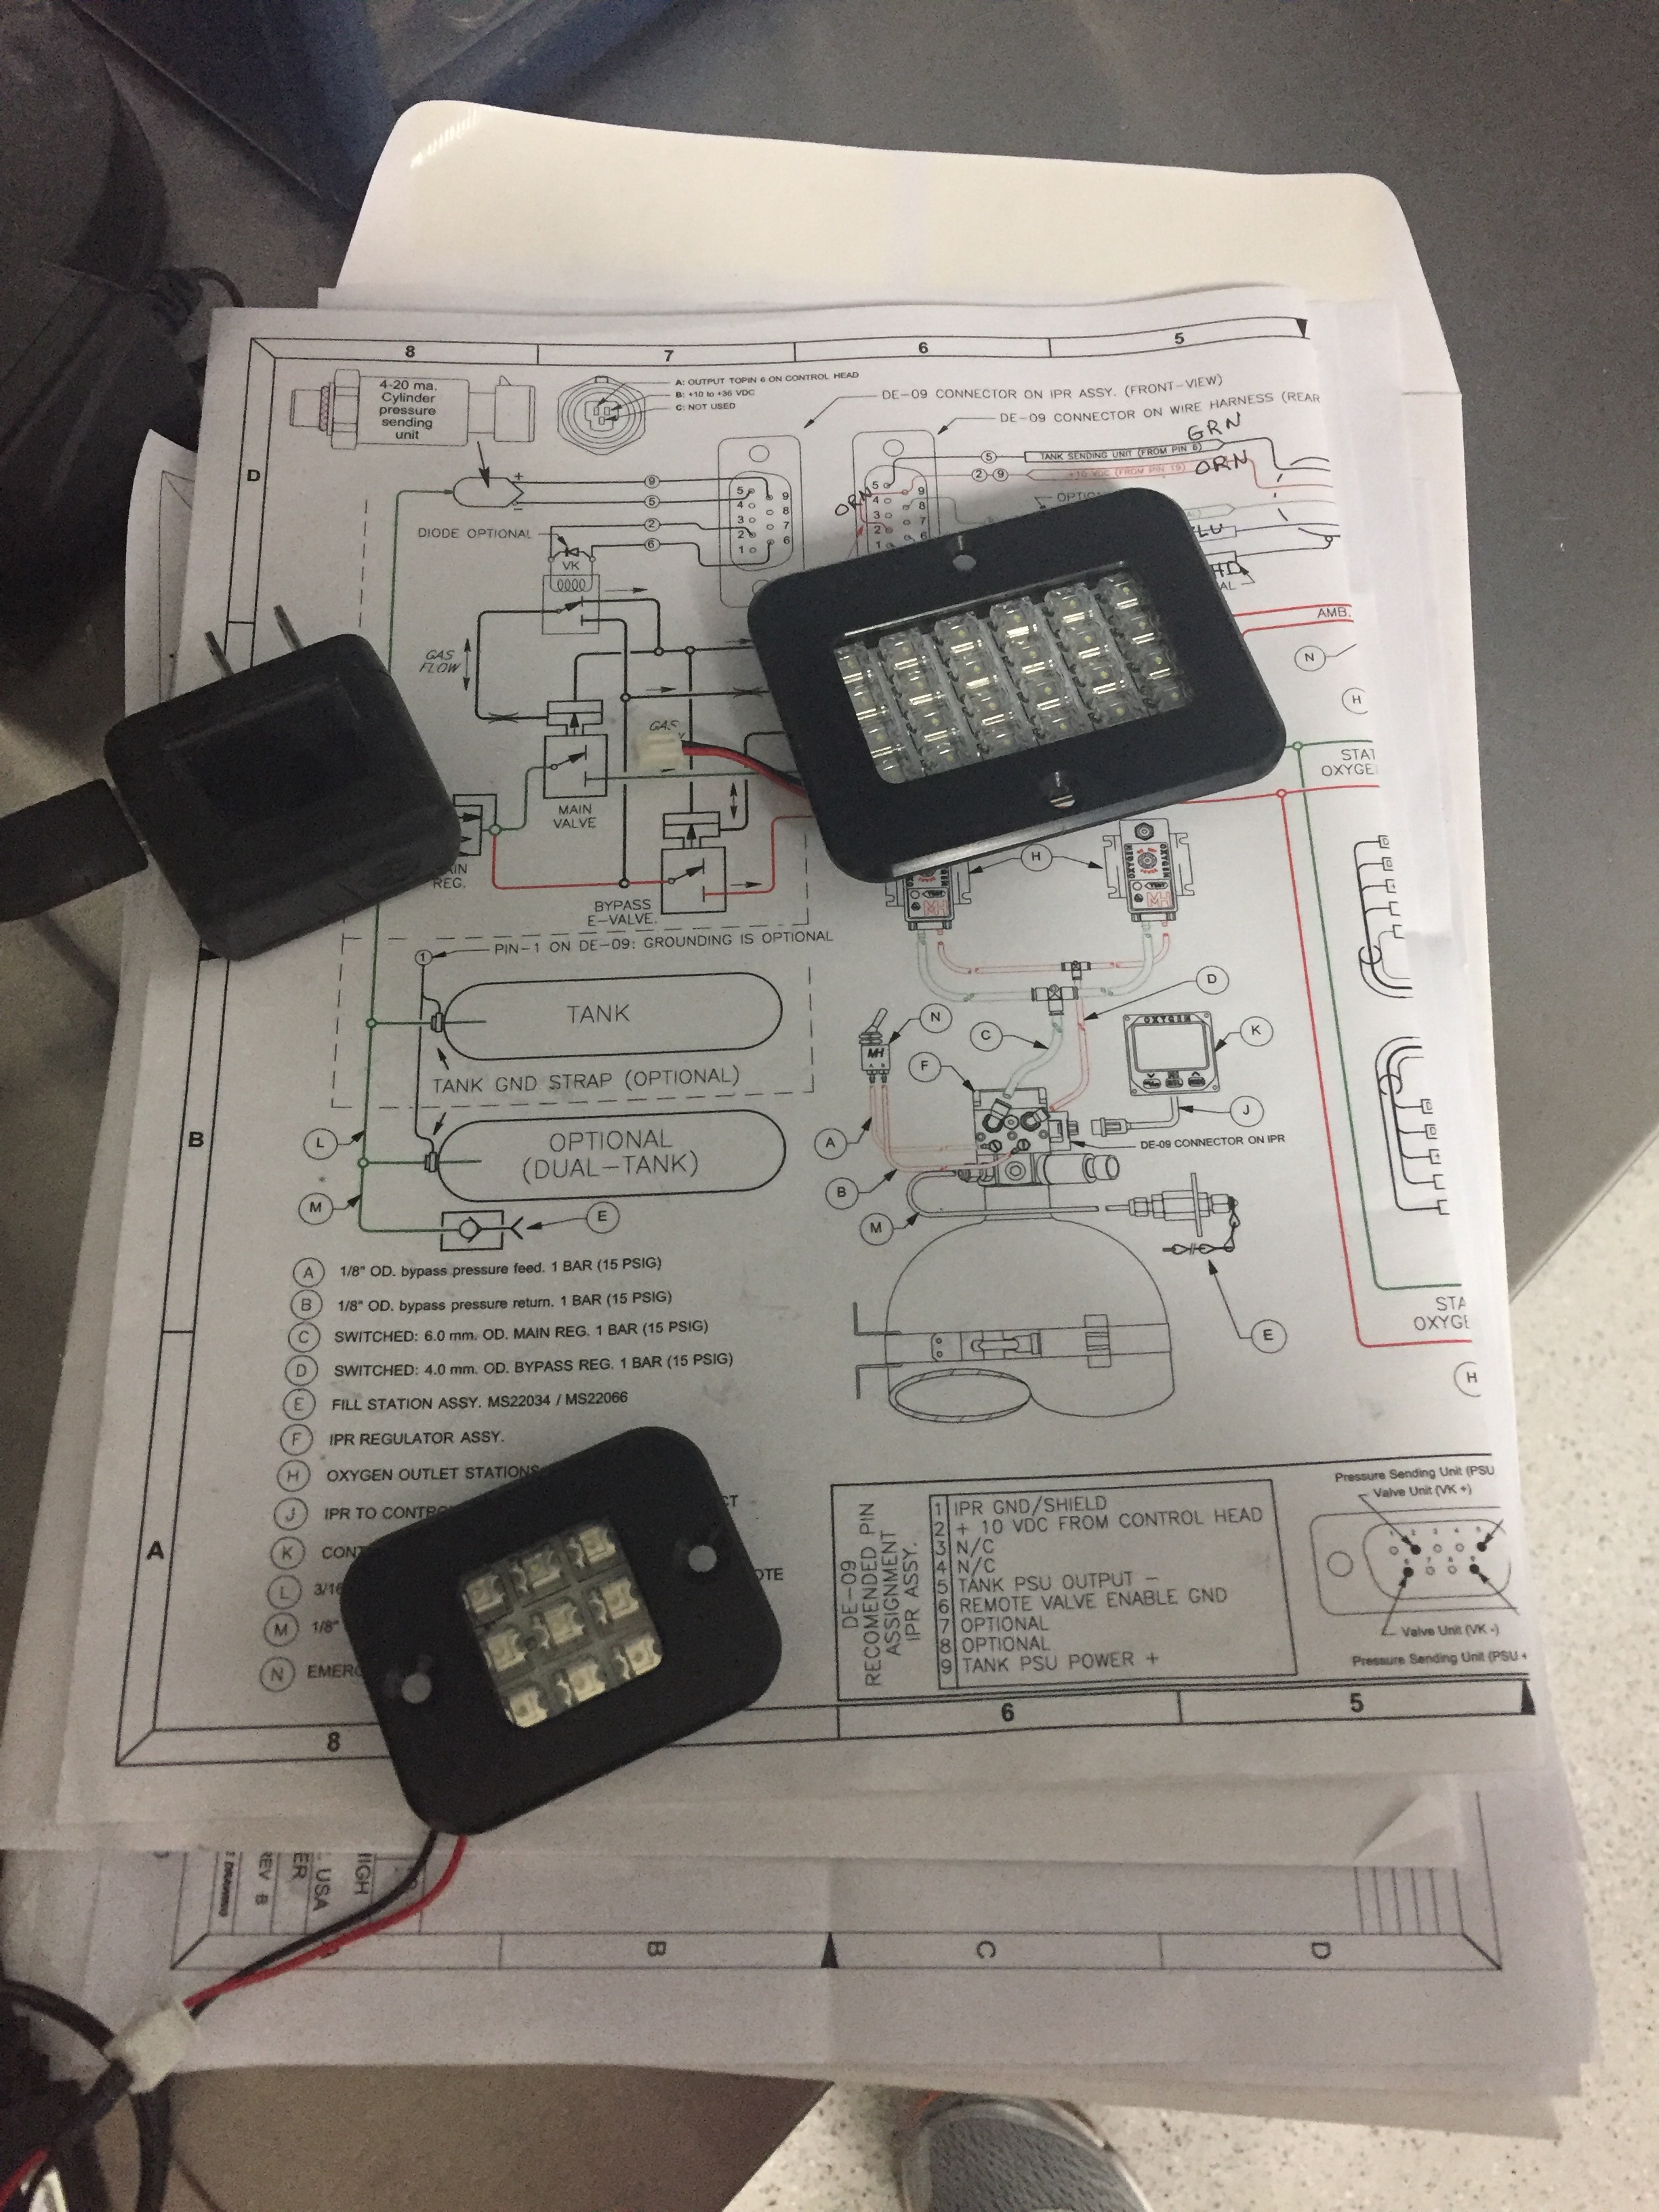
Sean also sent me his updated LED lights for the overhead so I got those wired up and installed using nutplates and the standard micro-Molex connectors. I really appreciate working with fellow builders as vendors because they provide great support. Upon receipt, there were a few LED boards that didn’t work properly. I gave him a quick text and new ones were on the way in a few days. He later did some troubleshooting and found out the wire used to secure the boards was shorting them out. So I pulled the wire and simply filled in the back with black silicone and had no other issues. The lights are great quality and very bright, providing a nice pattern of light. Night loading should be very easy with these on the overhead and in the doors.

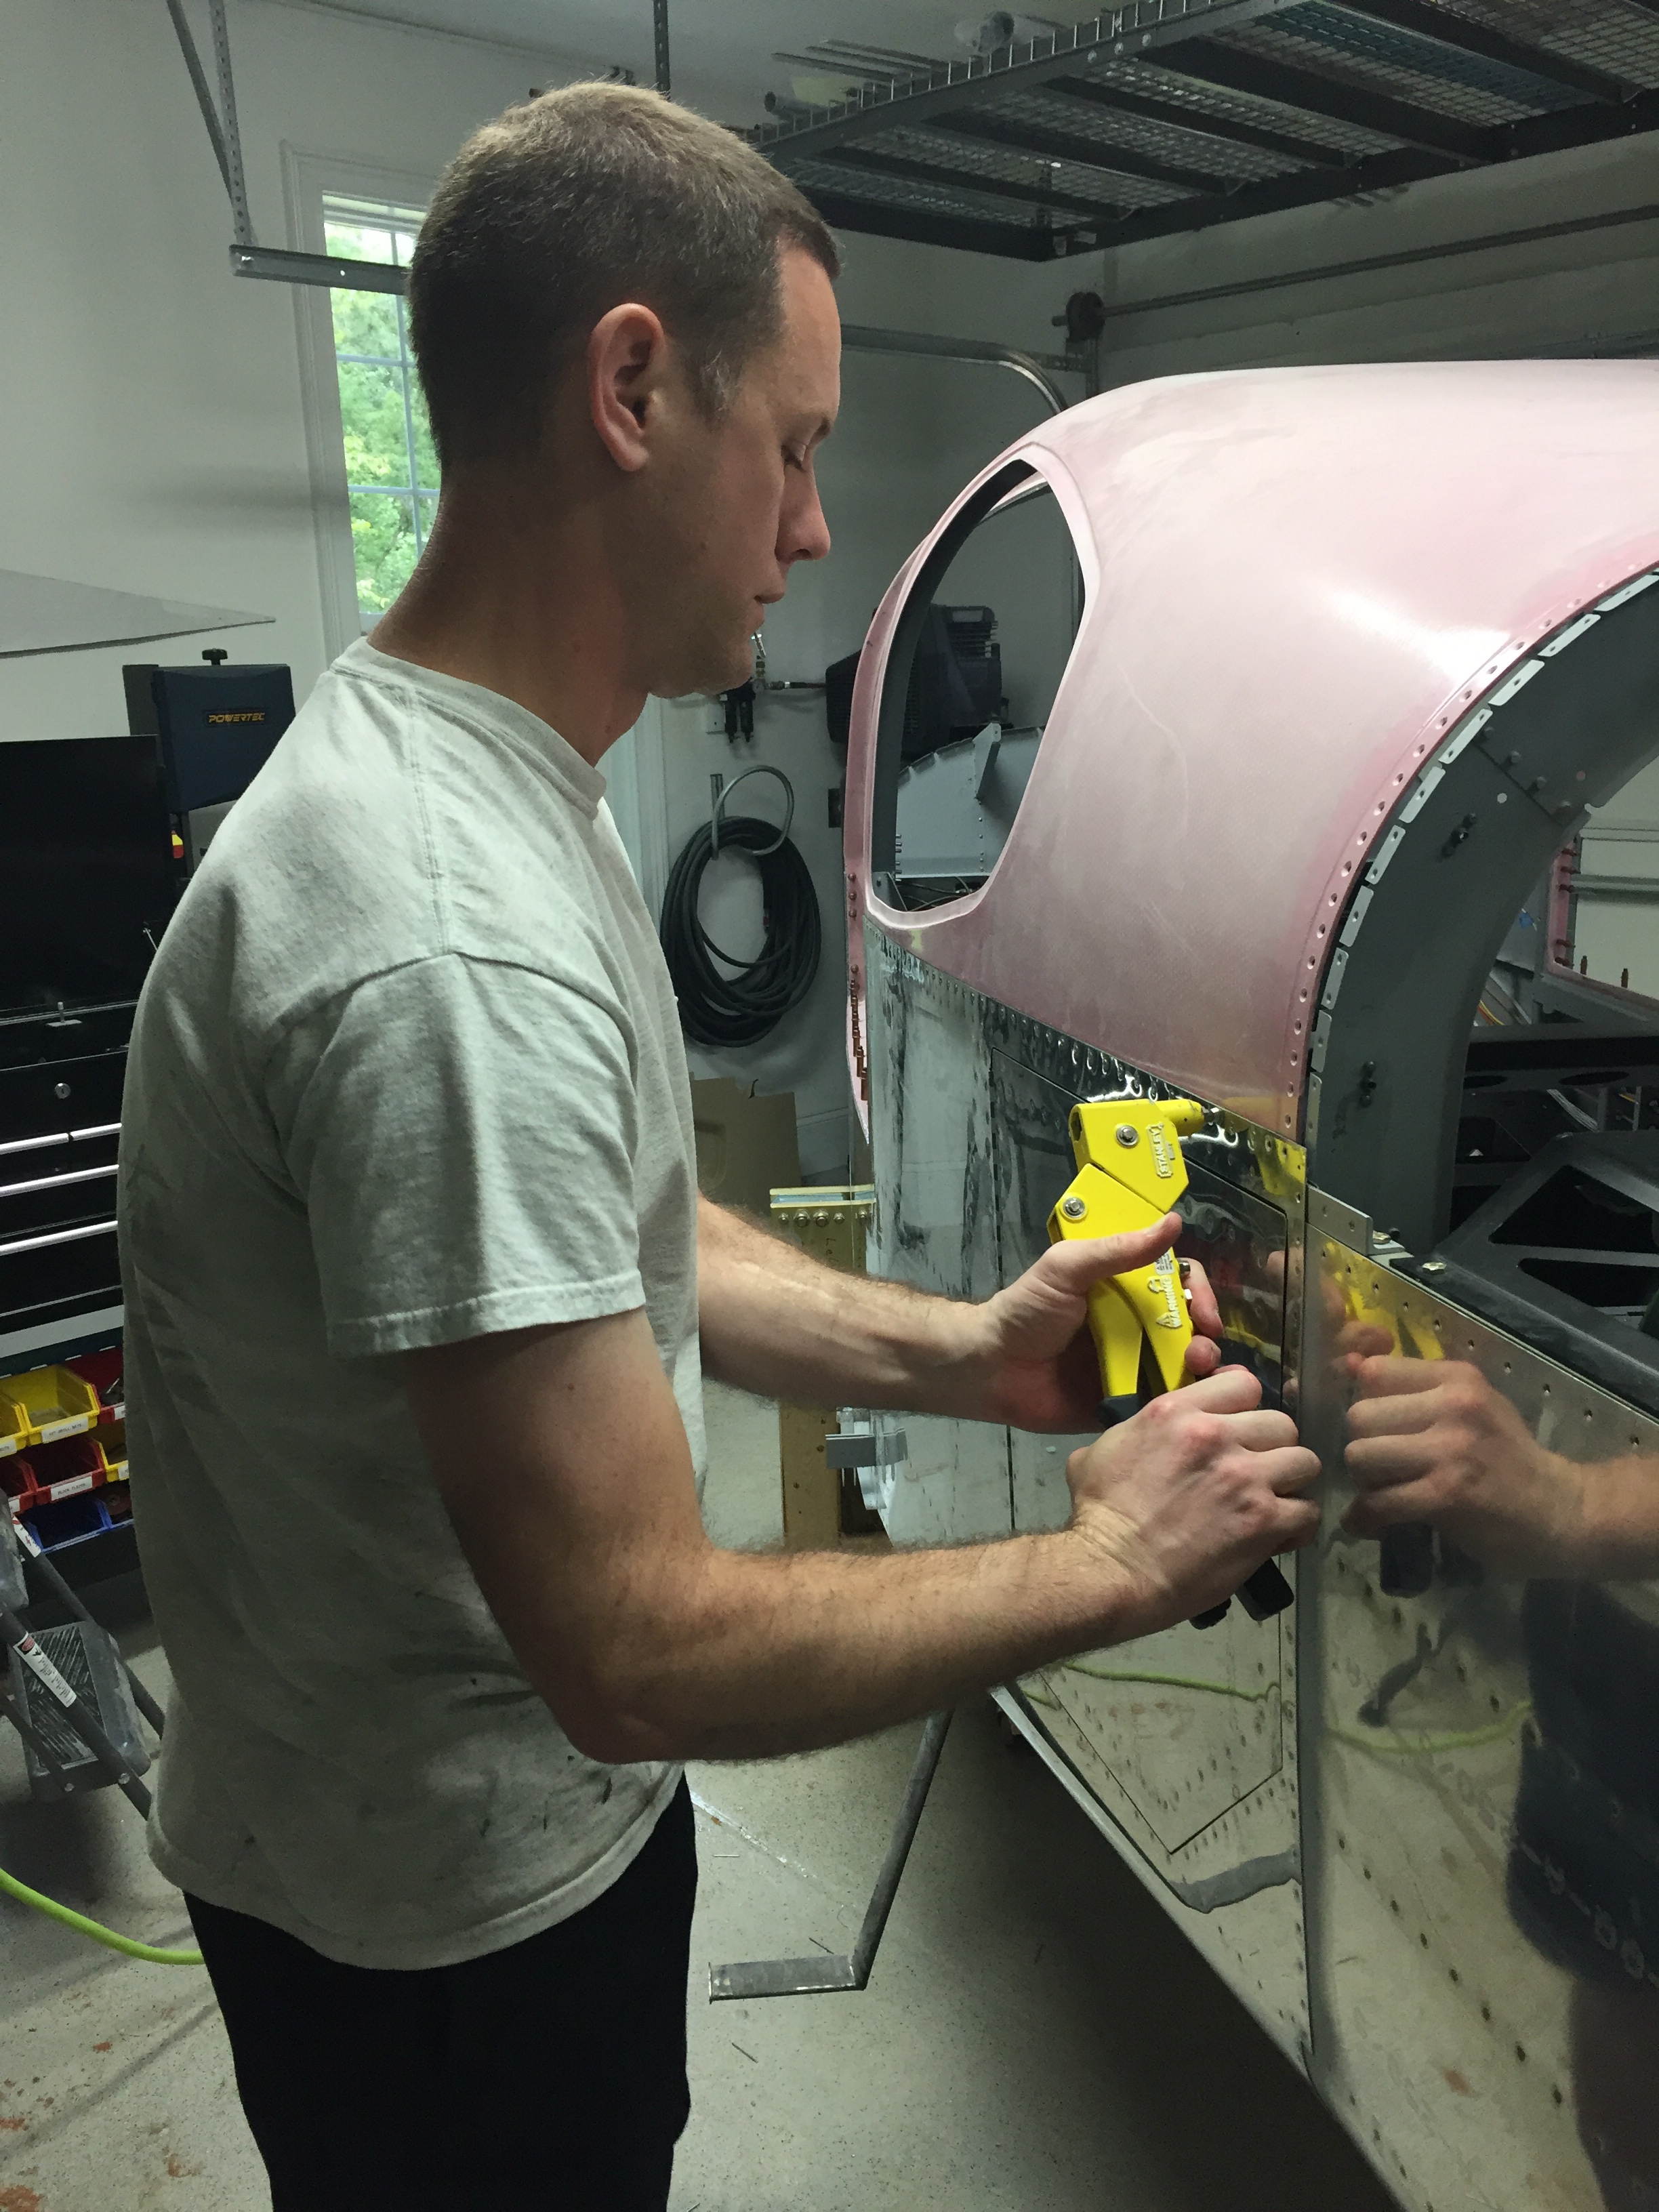
As typical, the big moment of putting the cabin top on for good was somewhat anti-climatic! I am glad I won’t be Atlas-ing the thing on and off anymore, as that was getting a bit tiresome. It is secured with a ton of pop rivets on the rear and screws up front. The challenge to it, however, is setting the frame in a bed of flox all around the door areas. I had the Mrs. come out to help mix epoxy and spread it on the fuselage. Even with slow hardener, we were pushed for time getting it all mixed, applied evenly, and positioning the top on just right. I chose not to drill the screw holes yet and clecoing the cabin top was much quicker and easier at this point.

I cleaned up the remaining flox from inside and and put the rivets in. All in all, a bit stressful for us but a rewarding step seeing the canoe form finally disappear! The finish kit is coming next and I’m pretty pleased with the amount of progress I’m making this year.
Meanwhile, overhead

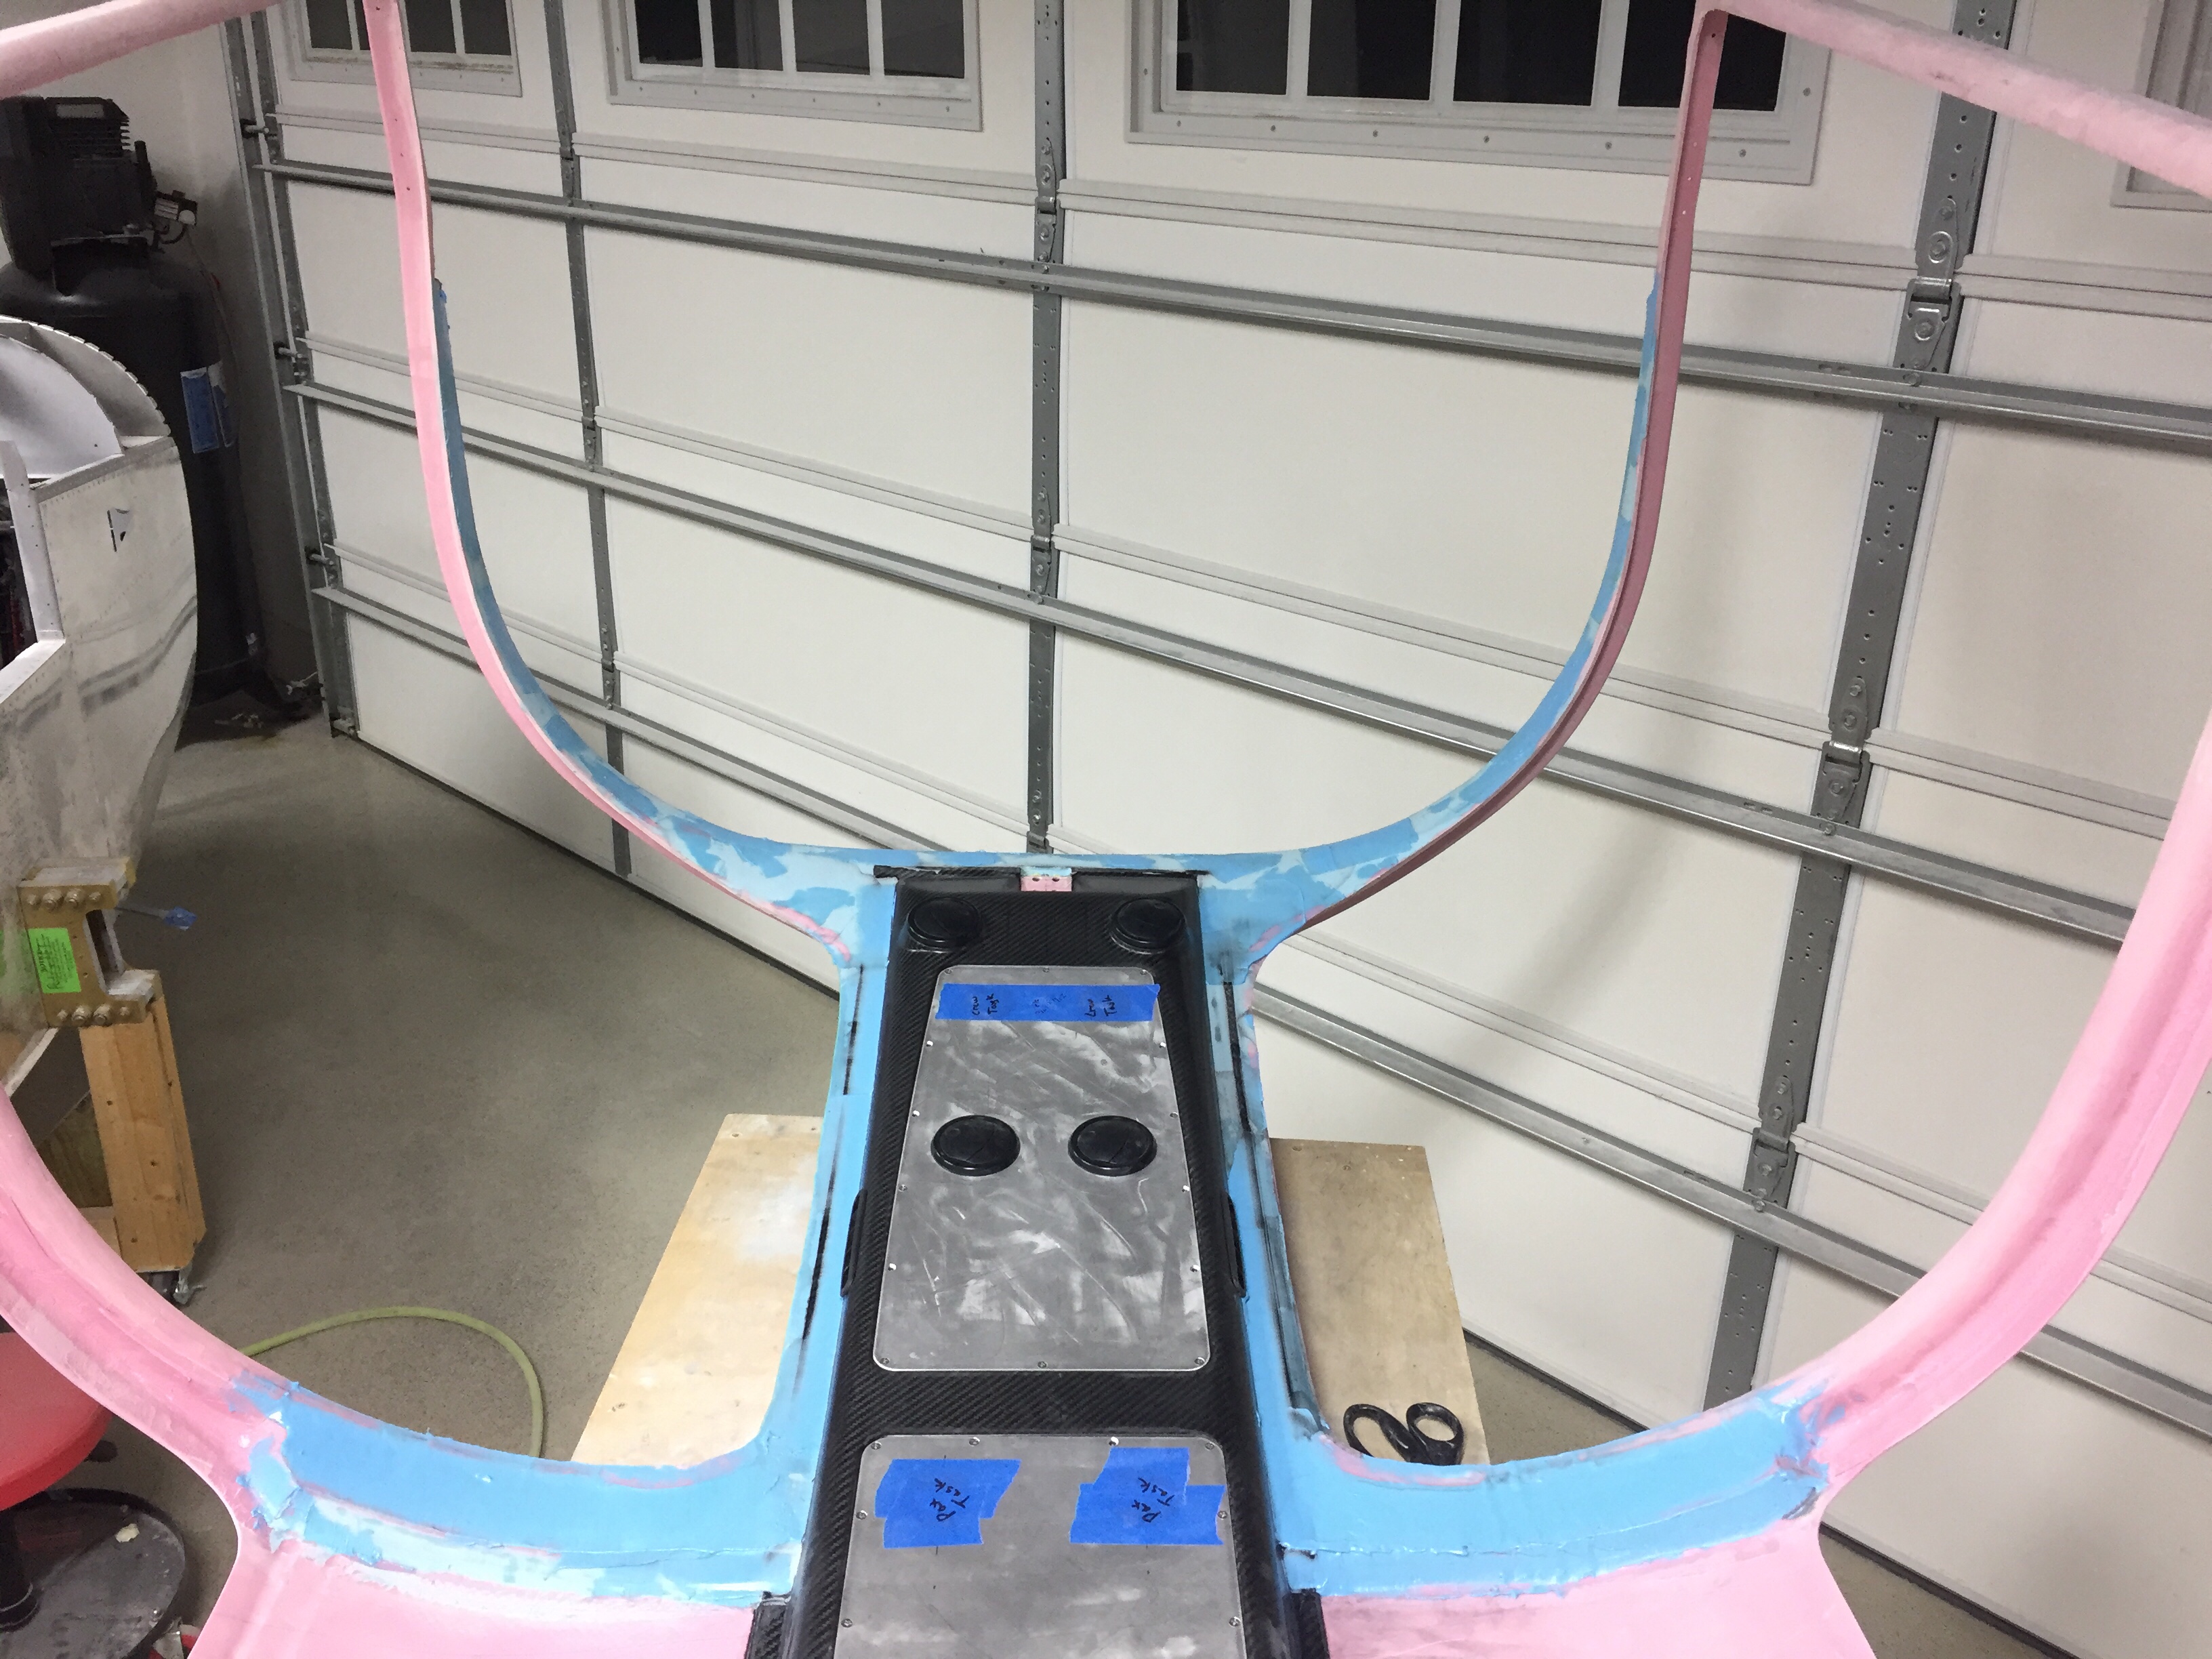
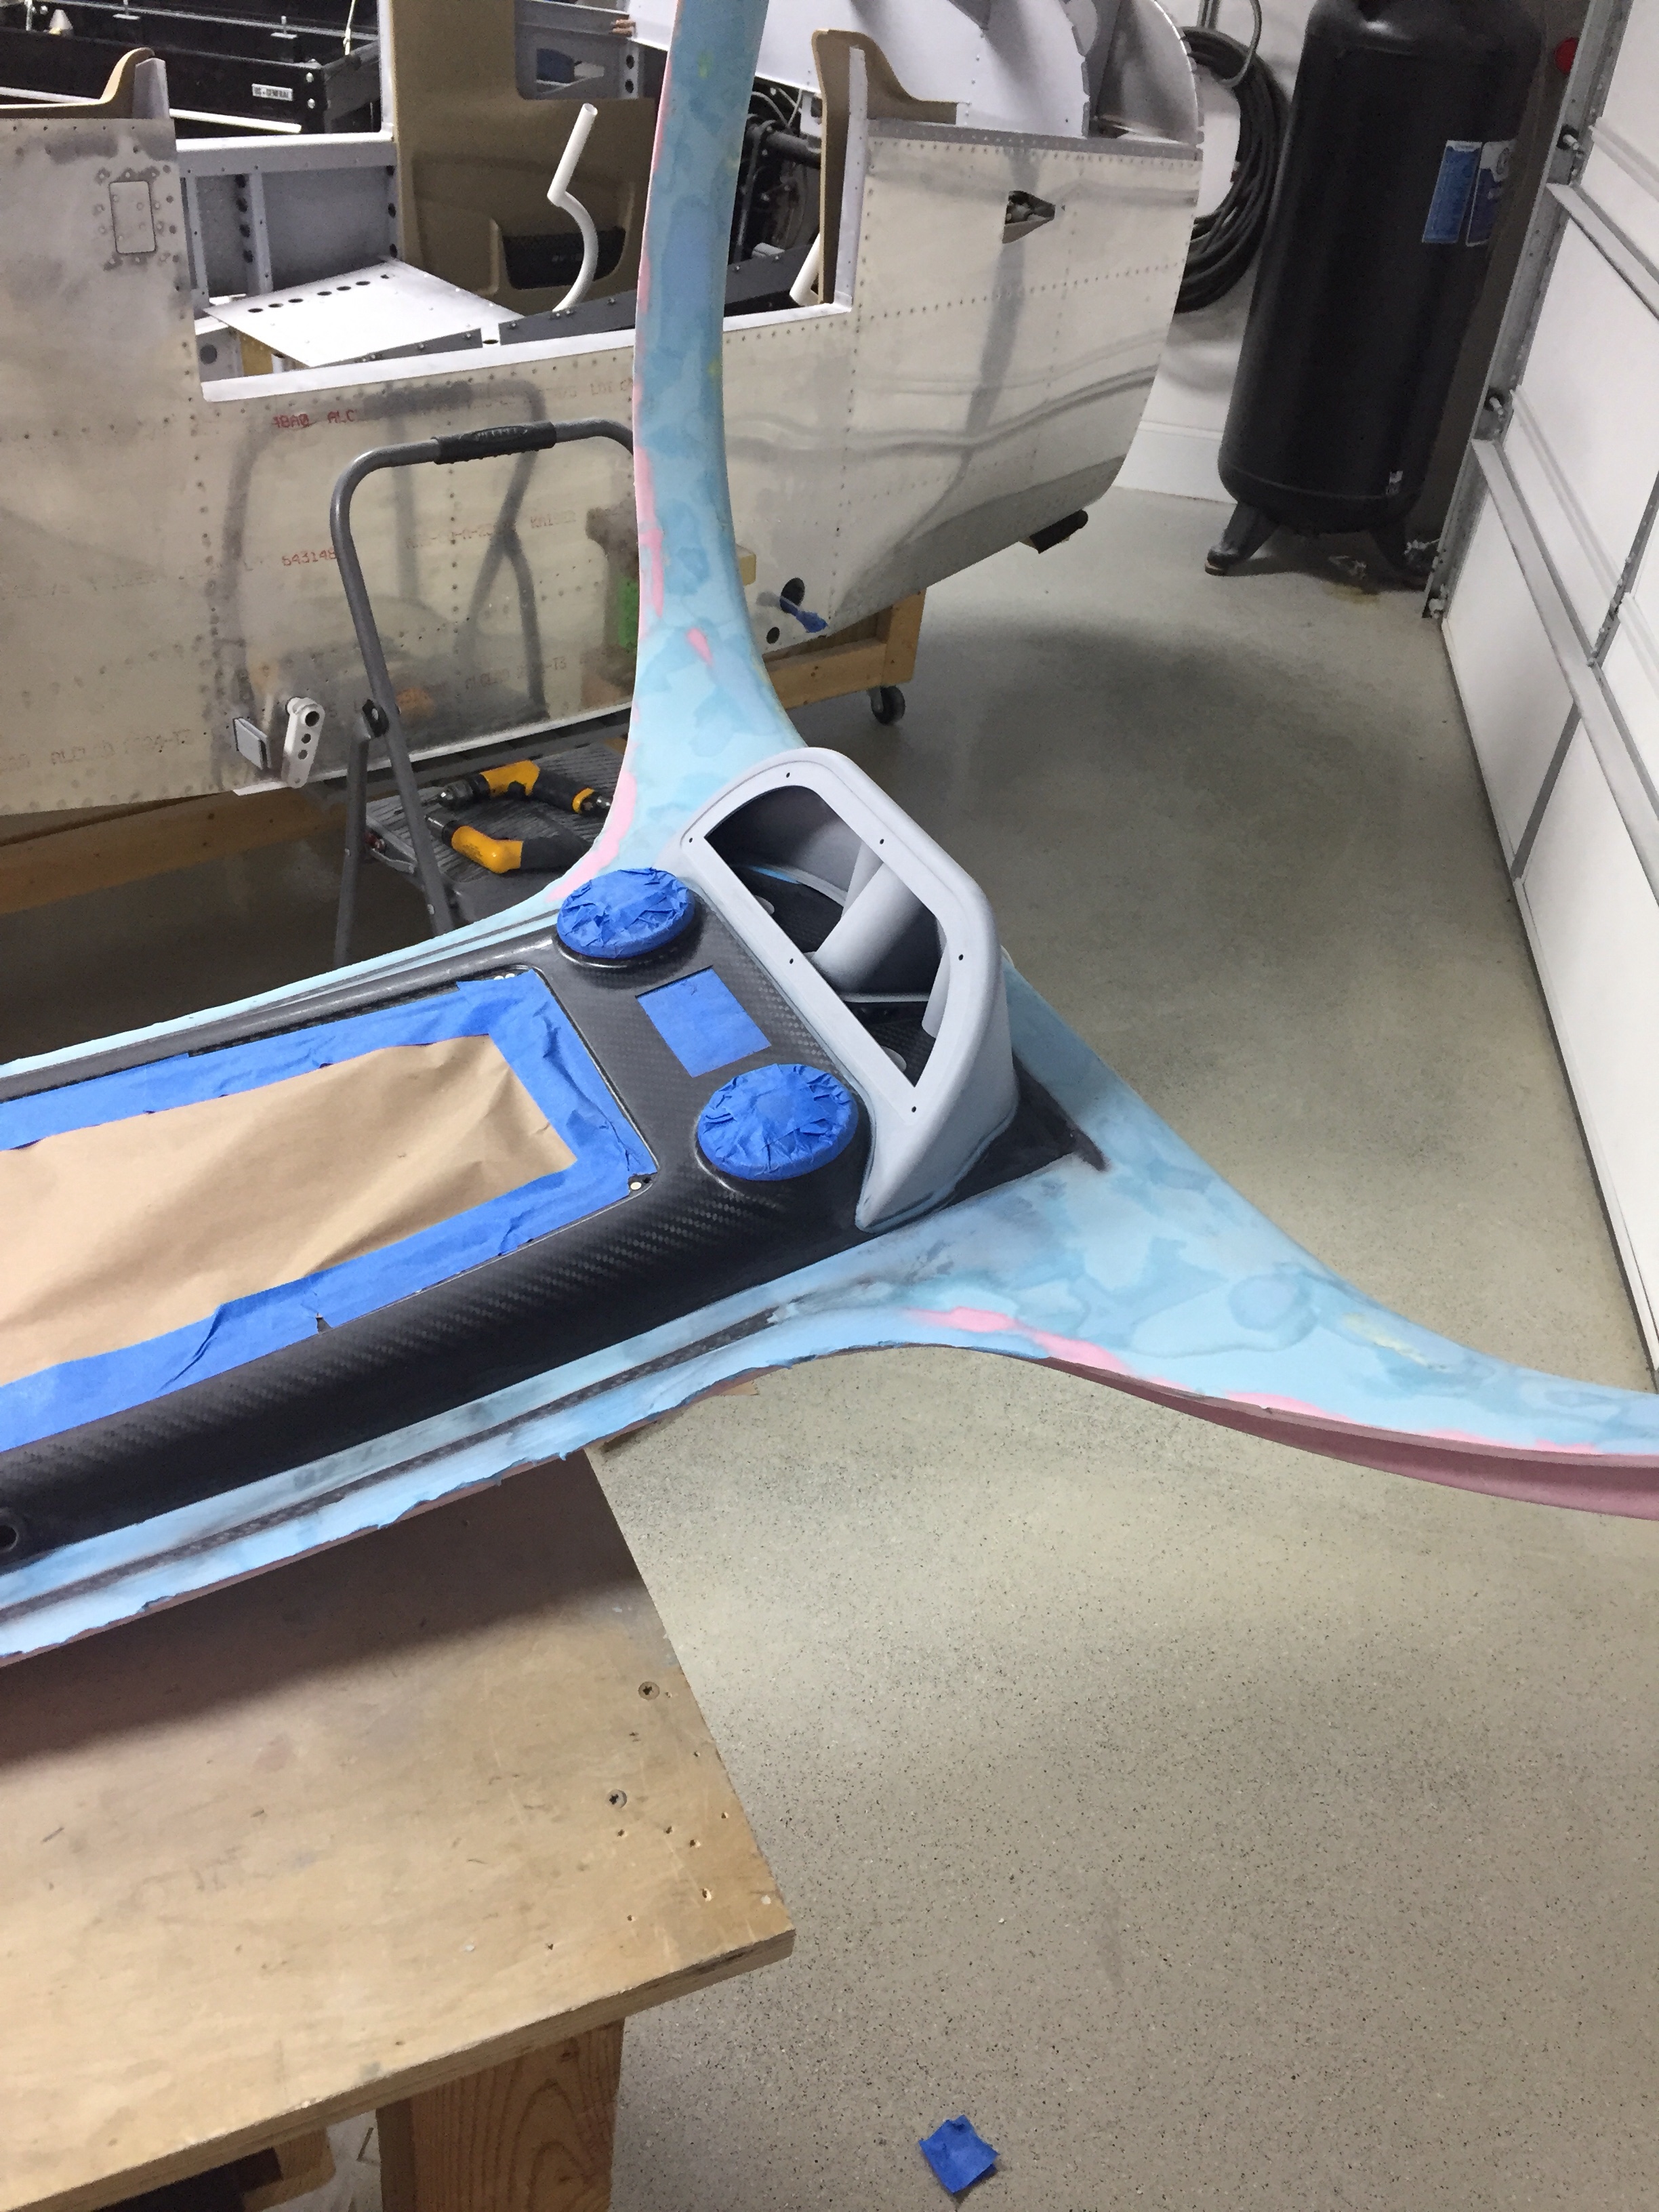
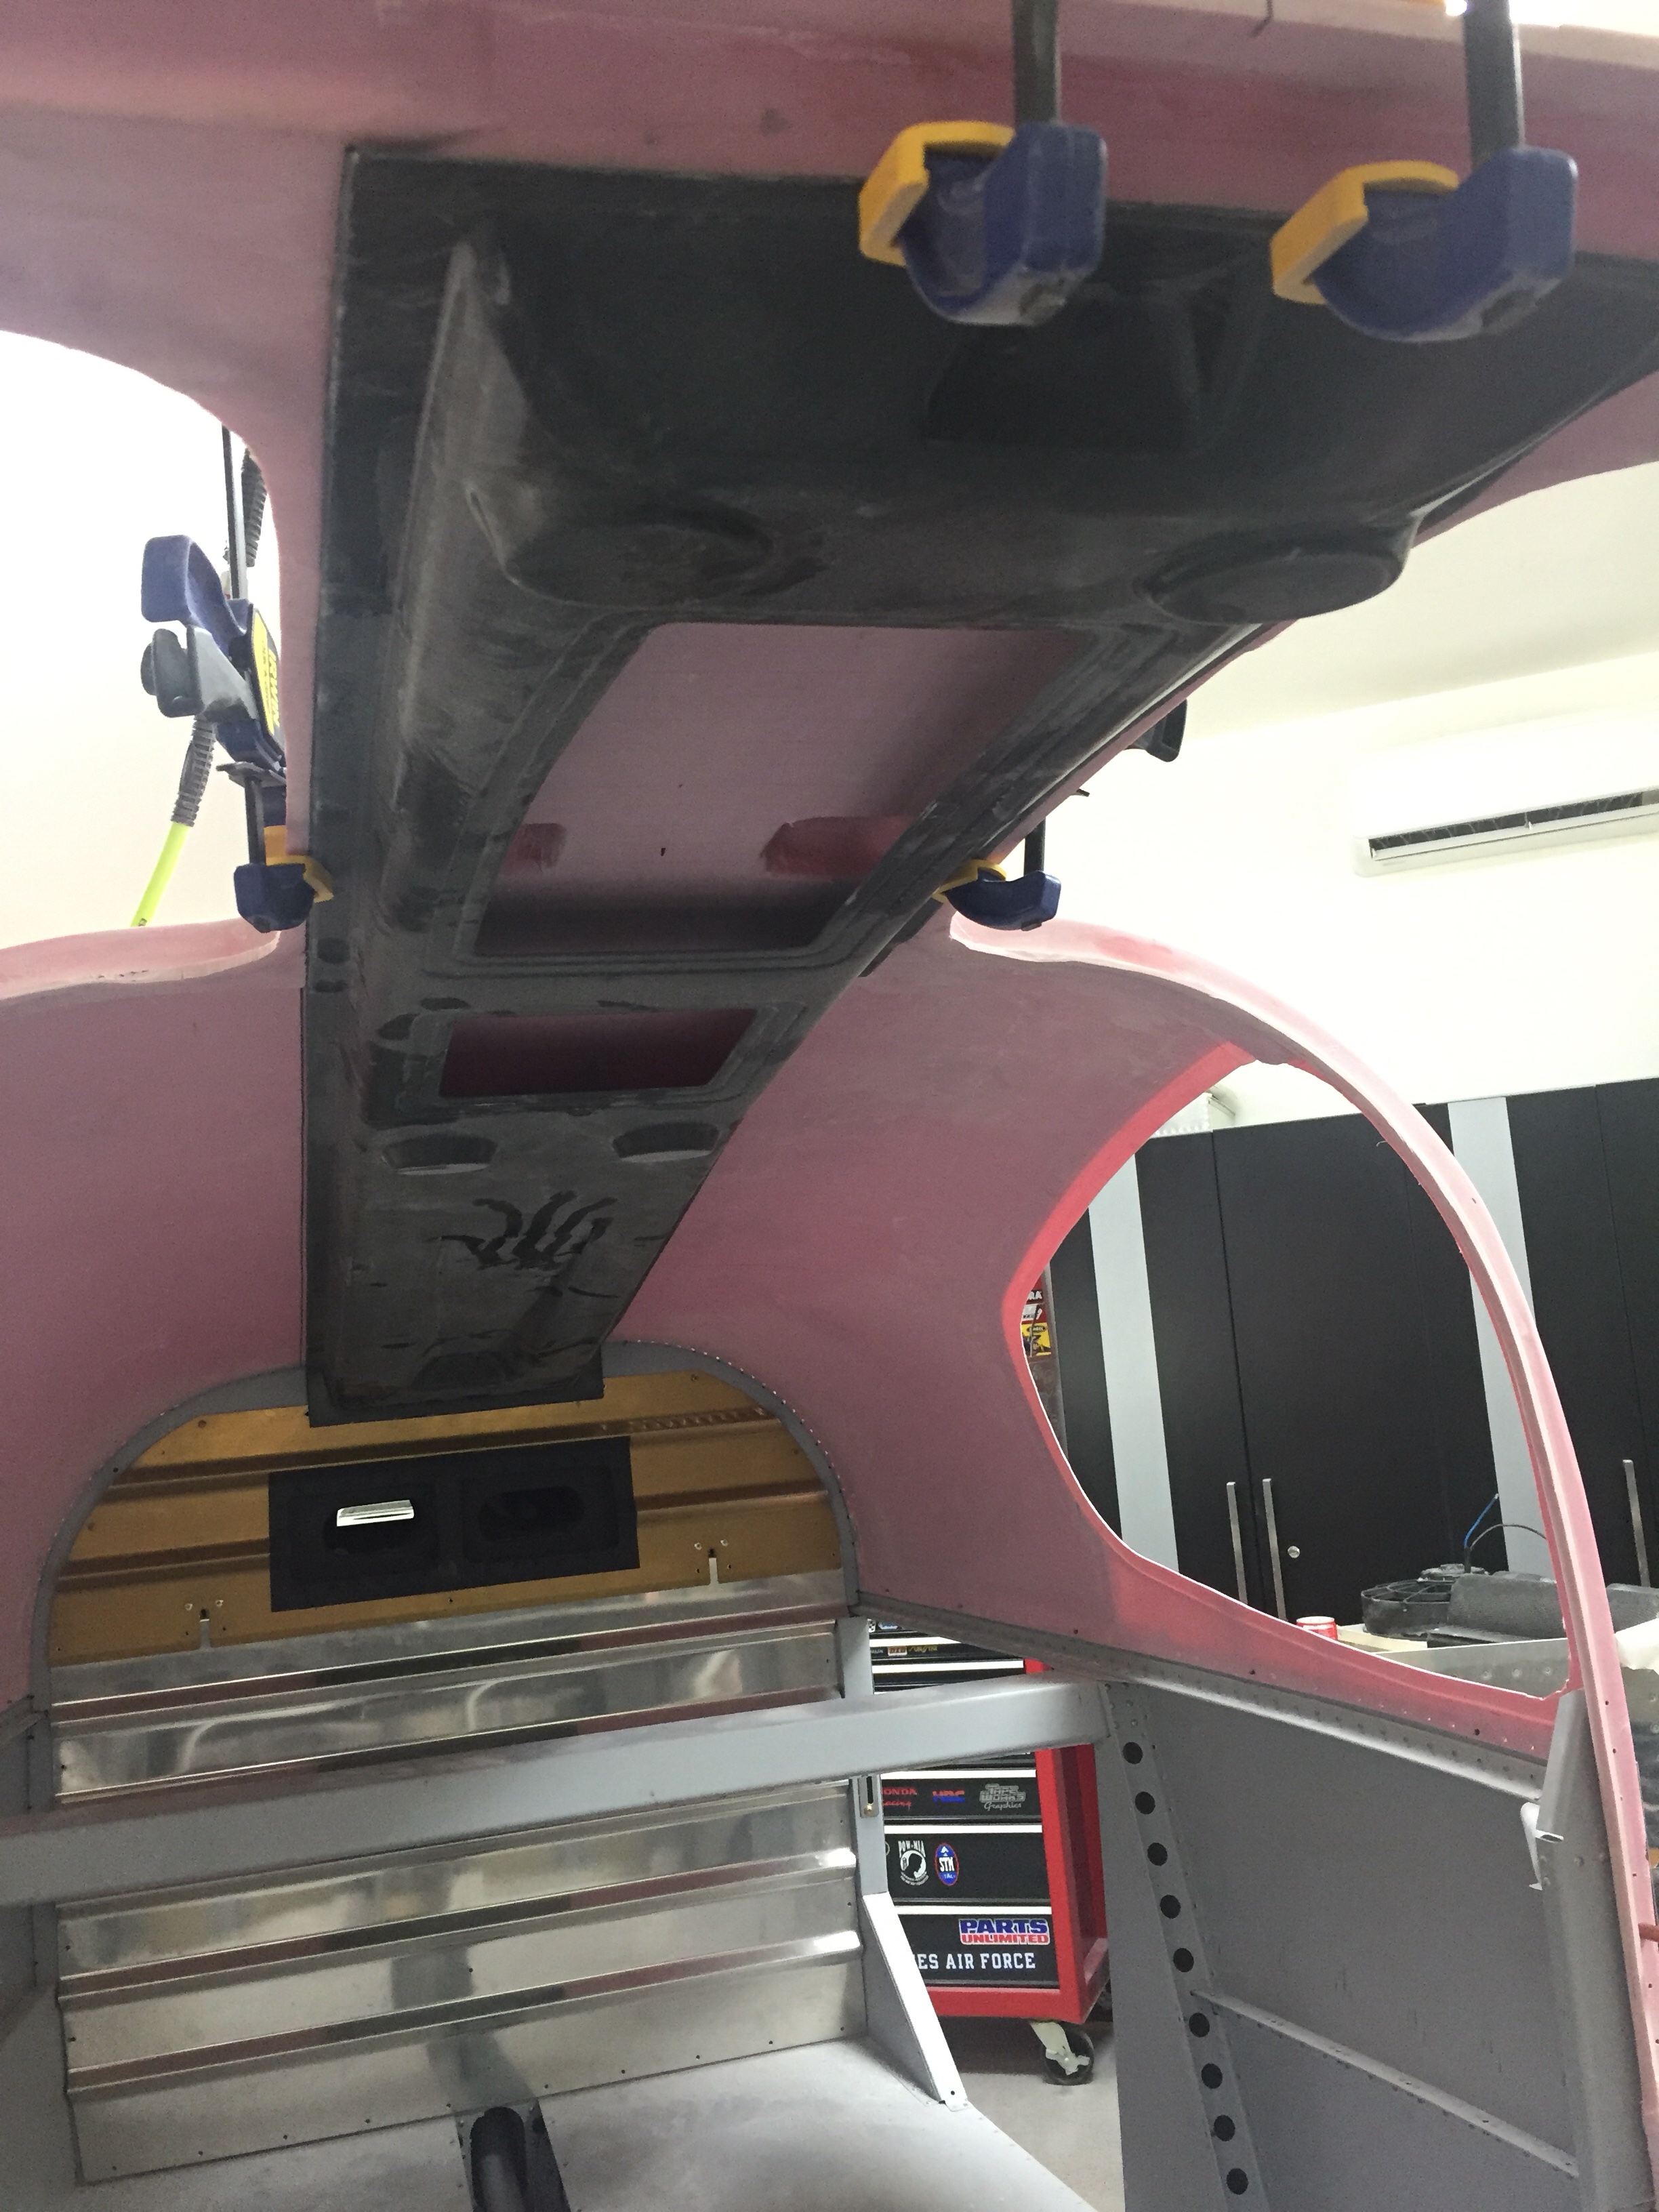
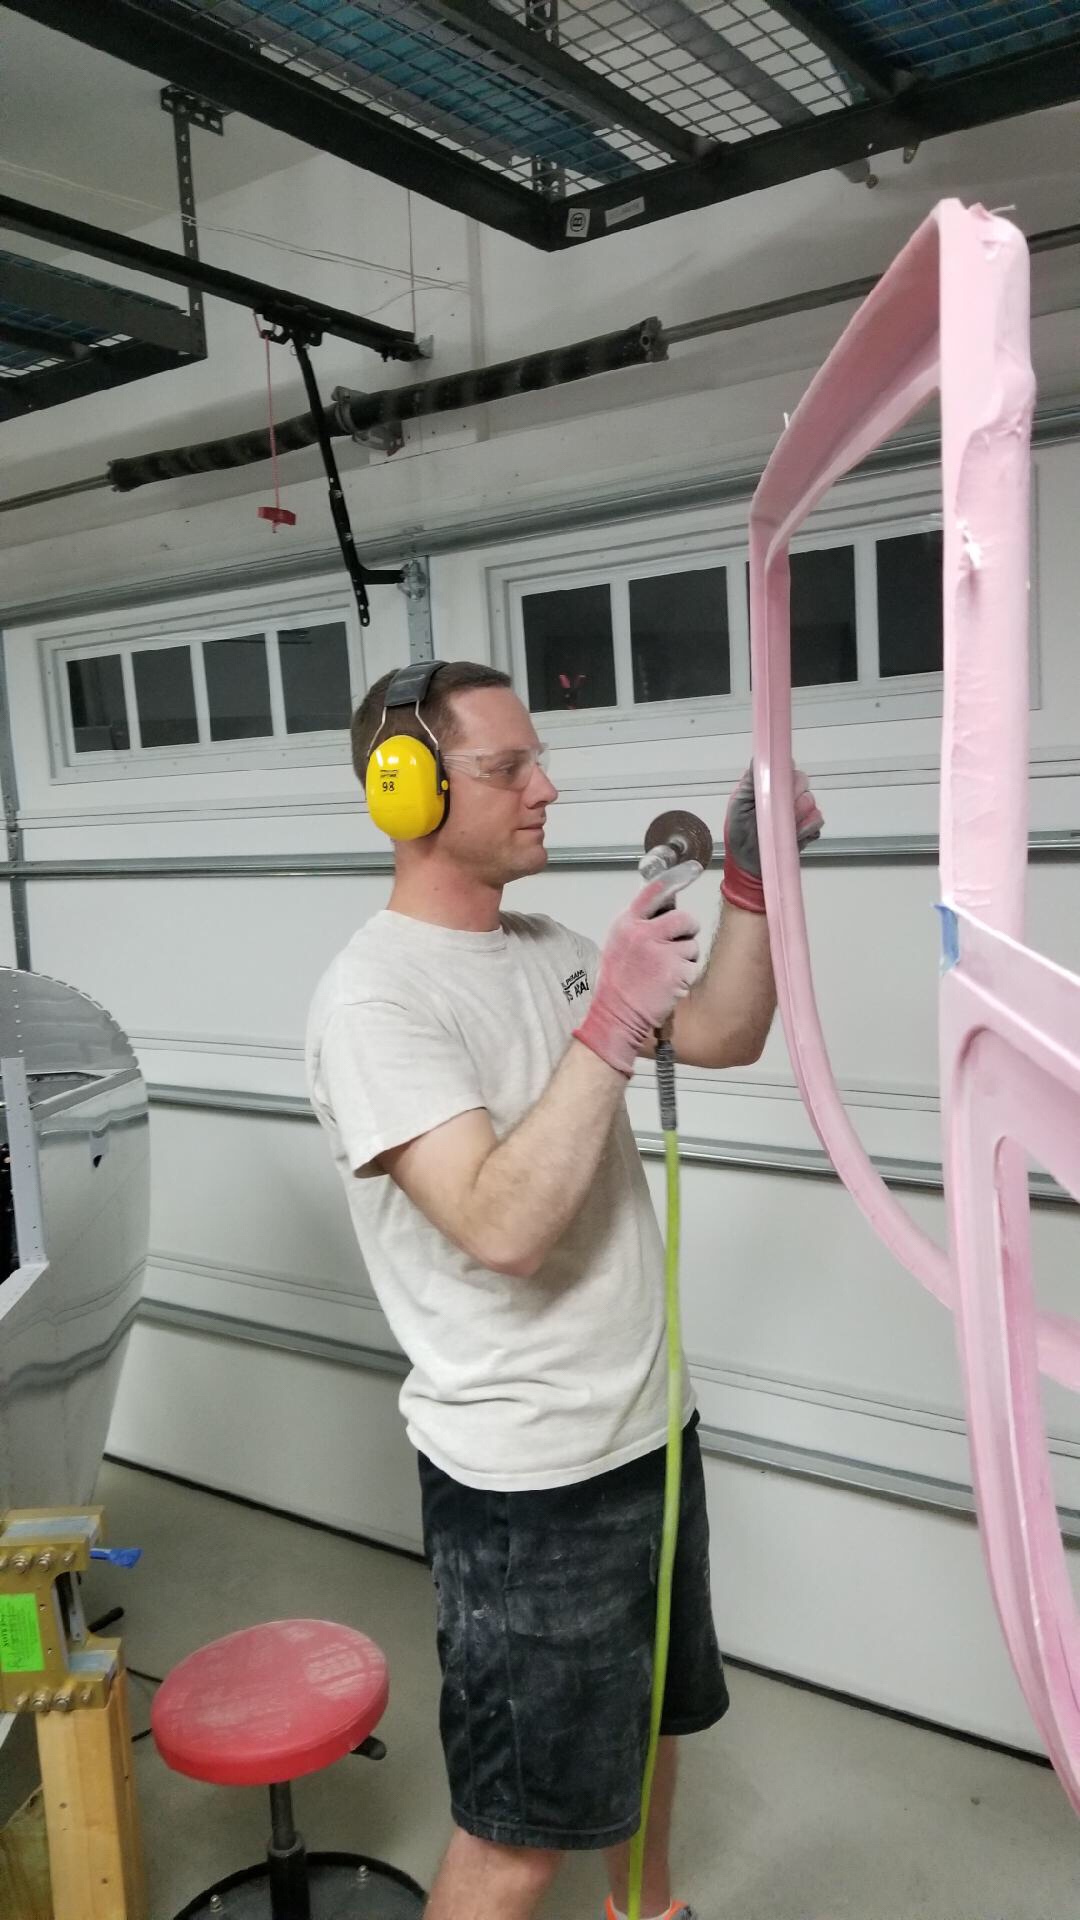
While the air con project was underway, my time was split between it and the cabin cover. After rough fitting the overhead and wiring it for the lights, I had to start the cosmetic work. My first task was to contour the forward door / windshield supports. Others have left these and just cleaned them up while some have filled it in to make it look just a bit cleaner. A few folks will run conduit in the jog and then fill over it to route wiring to the overhead. I chose the middle option, just wanting to fill them in for a fuller, more finished look. My wiring will be going through the center post so no need for conduit.

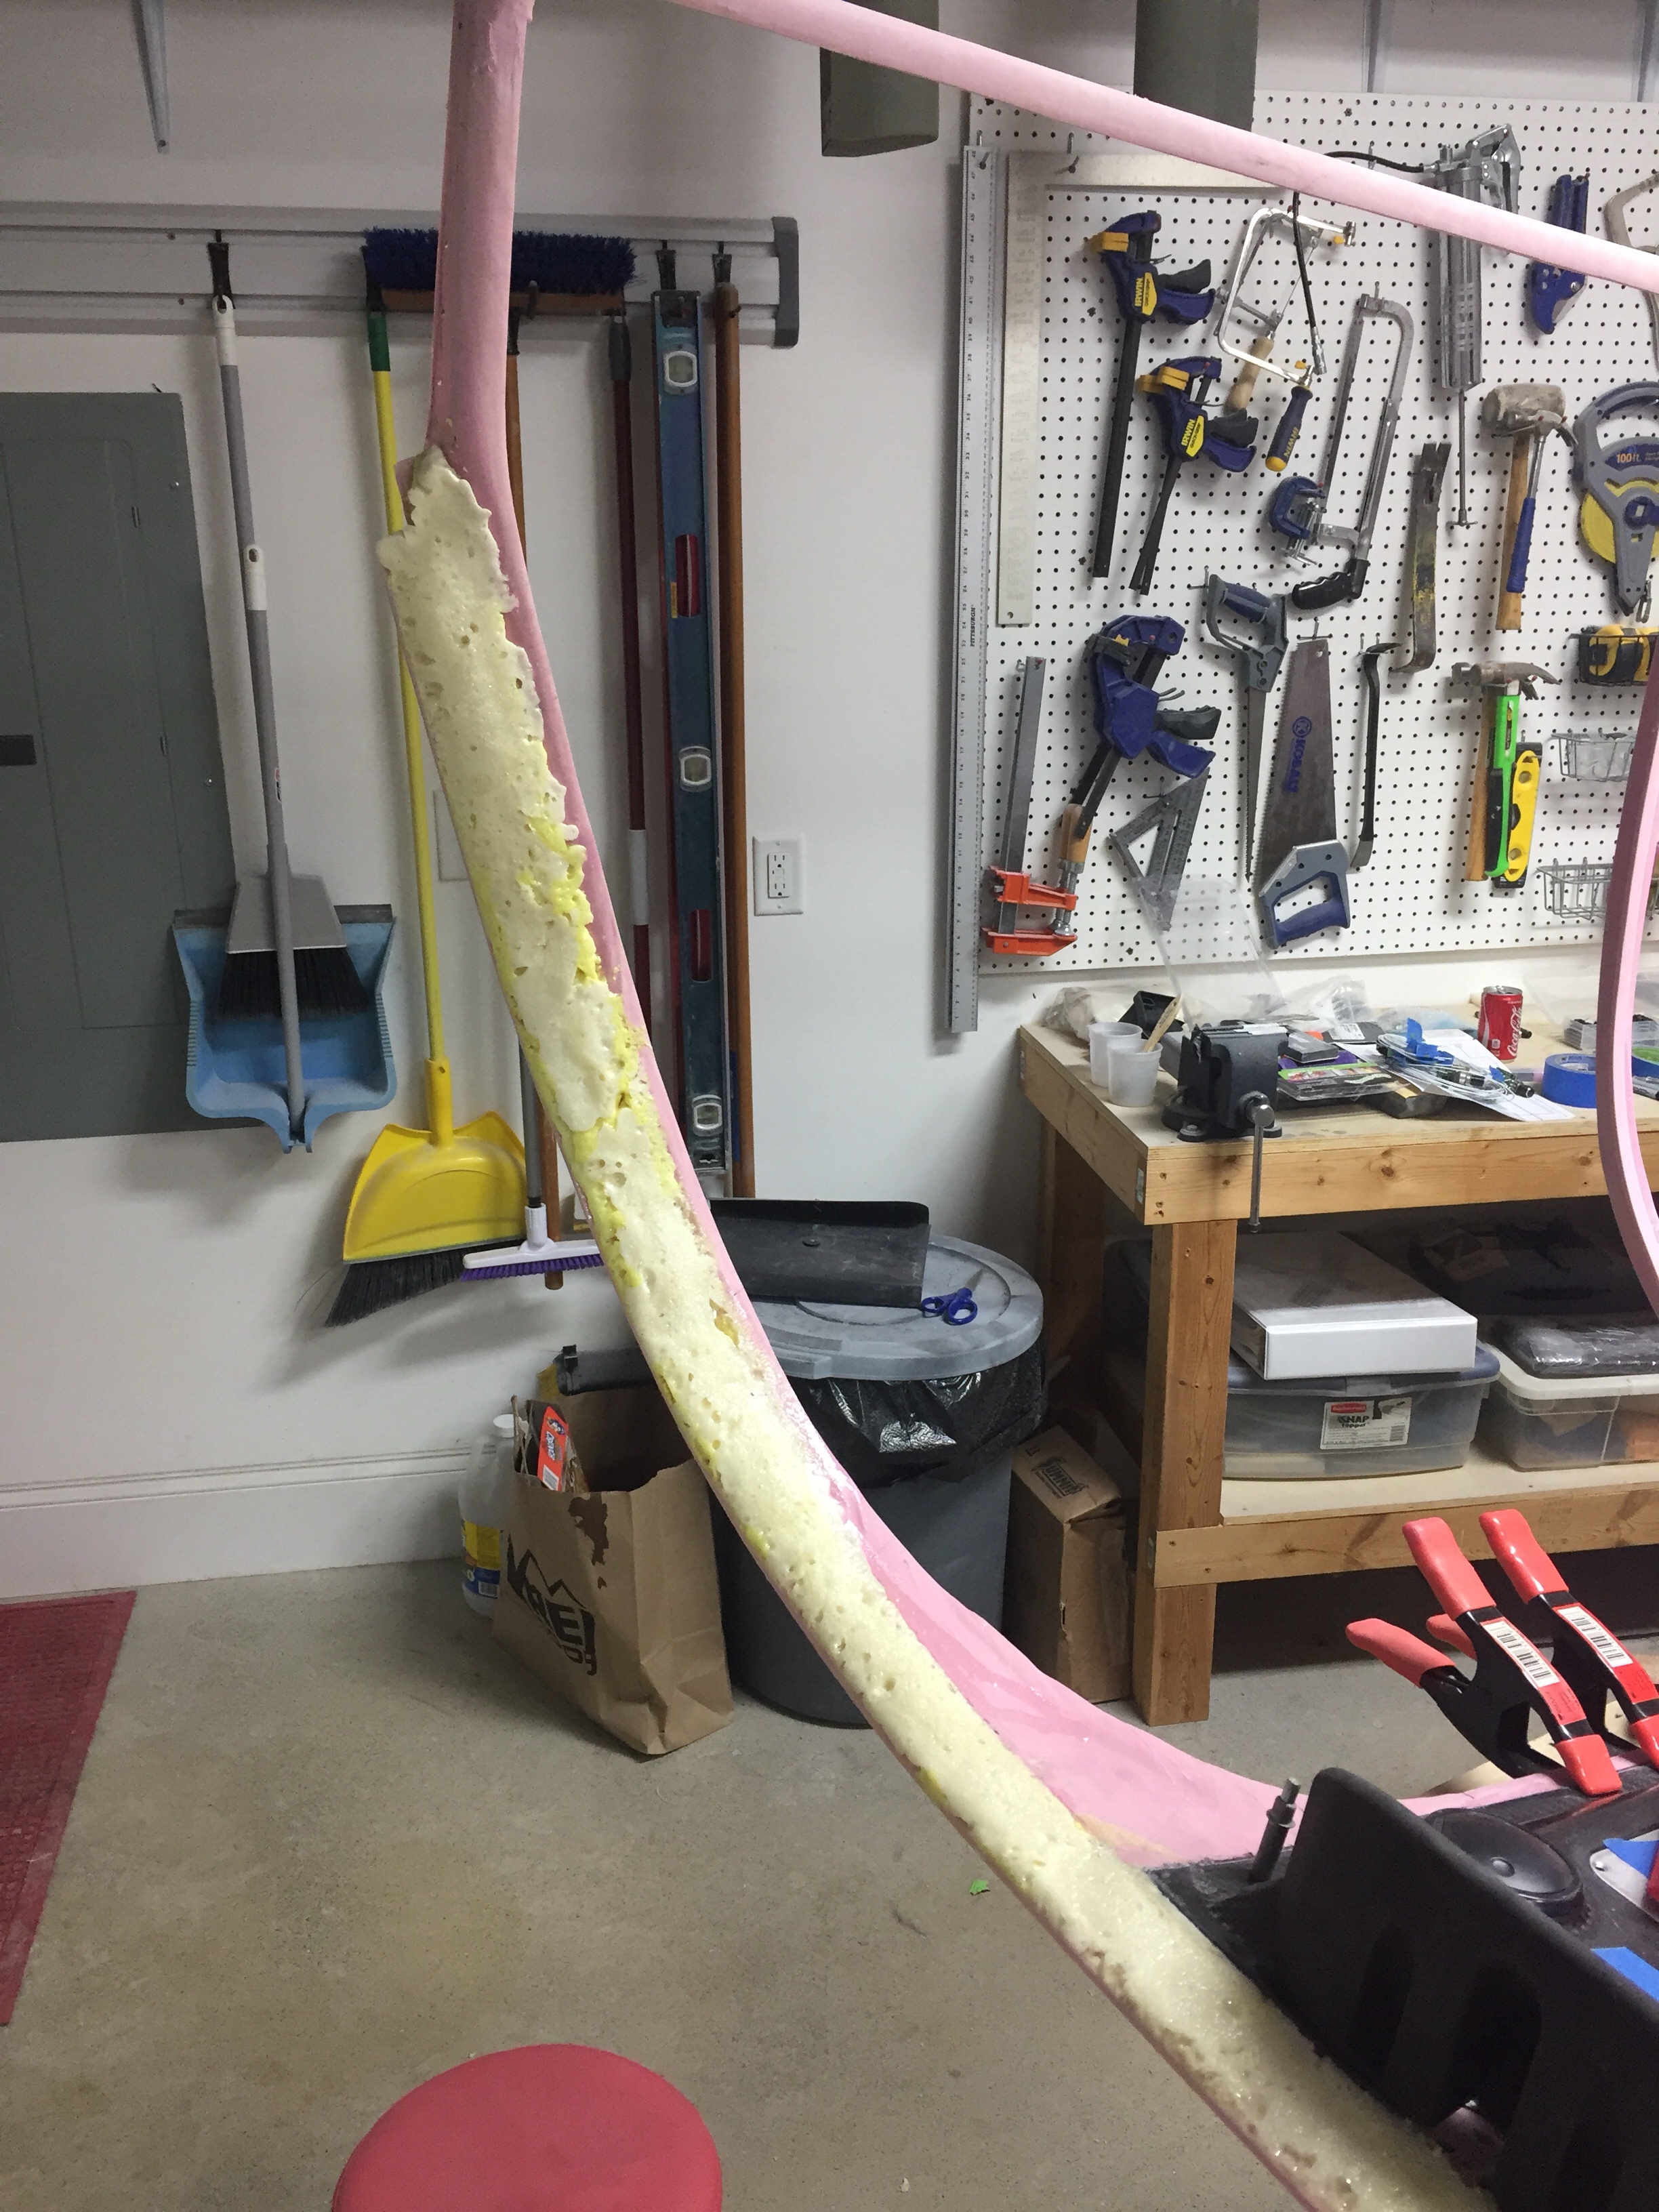
I used the closed cell spray foam insulation and piled the stuff on. It’s a messy job and I had to use quite a bit since it’s not exactly sticky and wanted to run off on the more vertical surfaces. After it cured for a day, I used a flexible saw blade to do a rough cut. There were a few low spots and a lot of holes that needed filler. I also floxed on the overhead console after a good pause to make sure I’m not getting ahead of myself. It was a straight forward process and is super solid now.

Now that the overhead is in, it’s time to start making it all look good. Out comes the Super Fill and the mixing board. I really like this stuff, it’s easy to measure (2:1) and easy to mix up. Best of all, it’s simple and easy to apply and pretty forgiving. The sanding is trouble free as well and it’s very light. Really, it’s just the best and I regret not using it before on the fiberglass tips, etc.

I mixed and applied for a good hour the first night and got the overall shape done along with filling in the overhead. I’m not worried about the areas covered by the headliner so that saves a lot of surface area that I can essentially ignore. I cleaned up the aft door supports as those will stay as is. I also installed the switch console and filleted the seam between it and the overhead. This seam won’t be perfect but it just makes it look a little cleaner, albeit not one solid piece.

And so it went for four or five evenings. I start by using my sanding blocks to clean up the now cured filler. After it’s all smoothed out and I can tell where additional filler is needed, I mix it up and apply. Then I moved onto the A/C or whatever other project of the evening is. It really hasn’t been a bad project and it’s rewarding seeing it take shape.

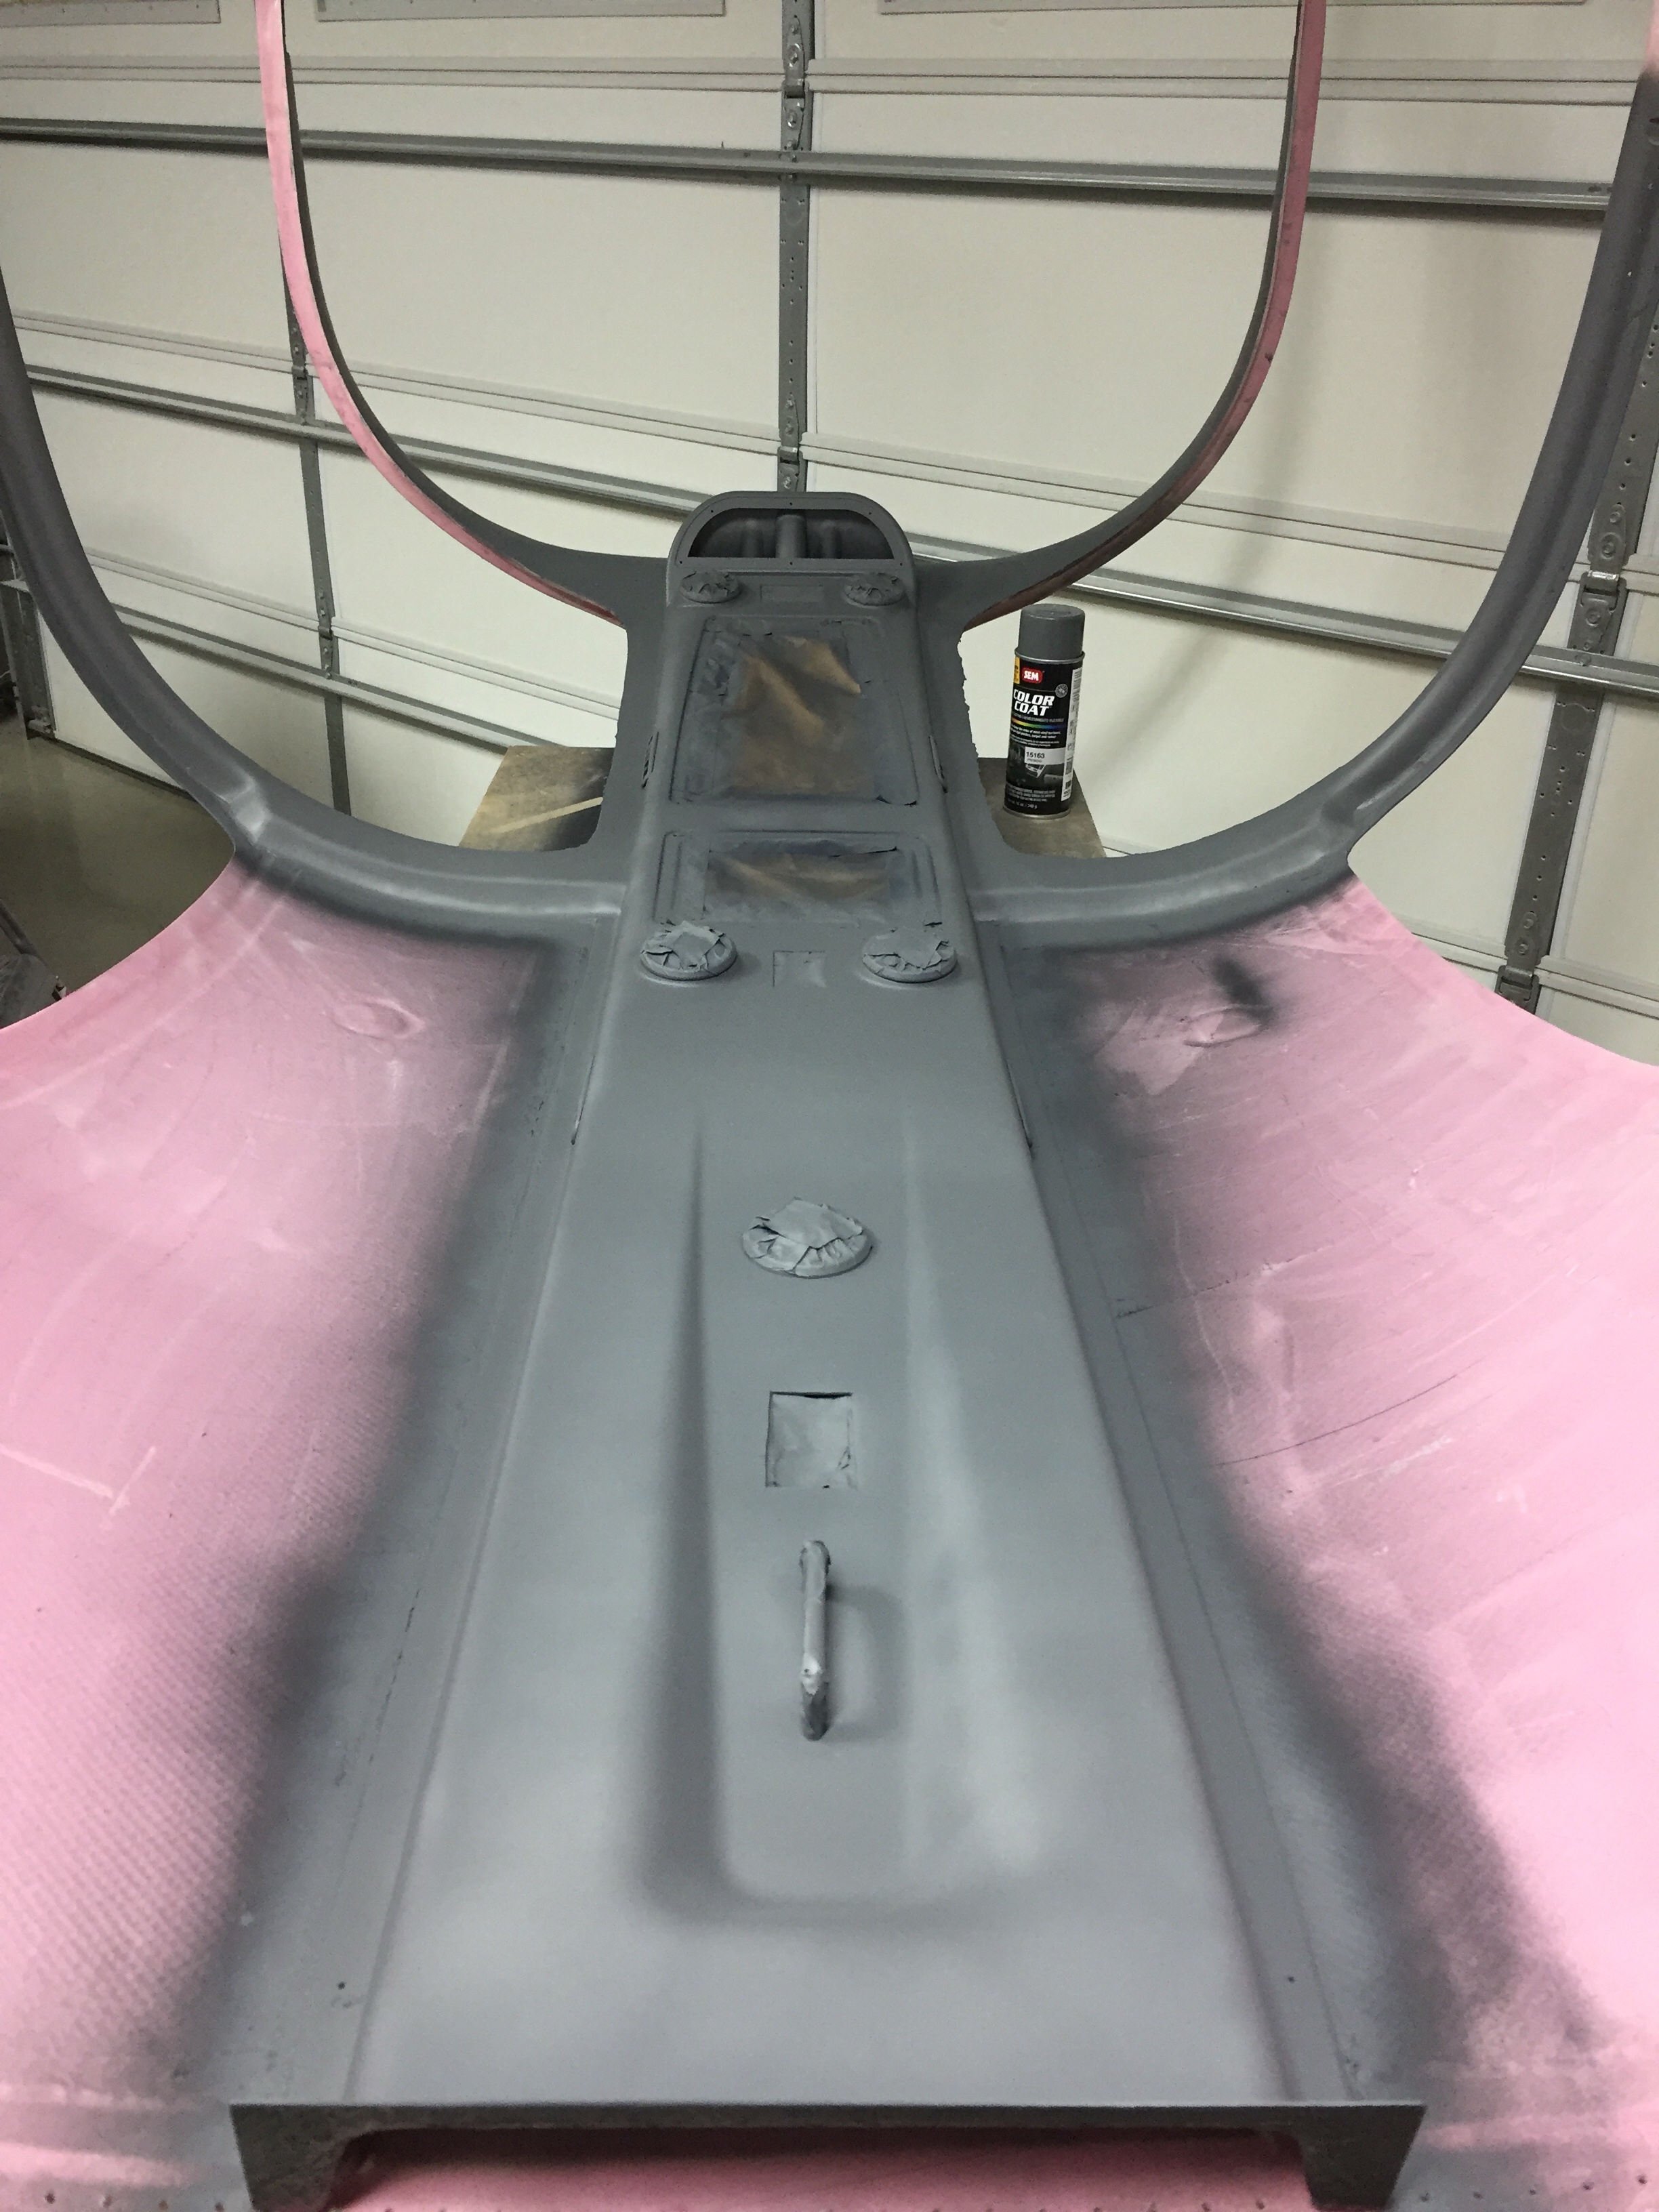
Finally, it was about as good as it is going to get, so I used the SEM high build primer to highlight any pins holes still hanging around. I few touch ups with some glazing compound made it all ready for the first coat of paint.

I sprayed a few coats allowing each one to flash and as always, the Color Coat provided good coverage. I am somewhat concerned that I’ll have some adhesion issues, as a few spots that will be covered by the headliner chipped pretty easily. The carbon has a very hard epoxy and even though I scuffed it, I’m not sure I did it enough. I should have also used an adhesion promoter looking back. I’ll use that for the rest of the carbon and the panels. Overall, I’m pretty happy with how it turned out and while it is not perfect, it is more than good enough for me.

Controlling the overhead

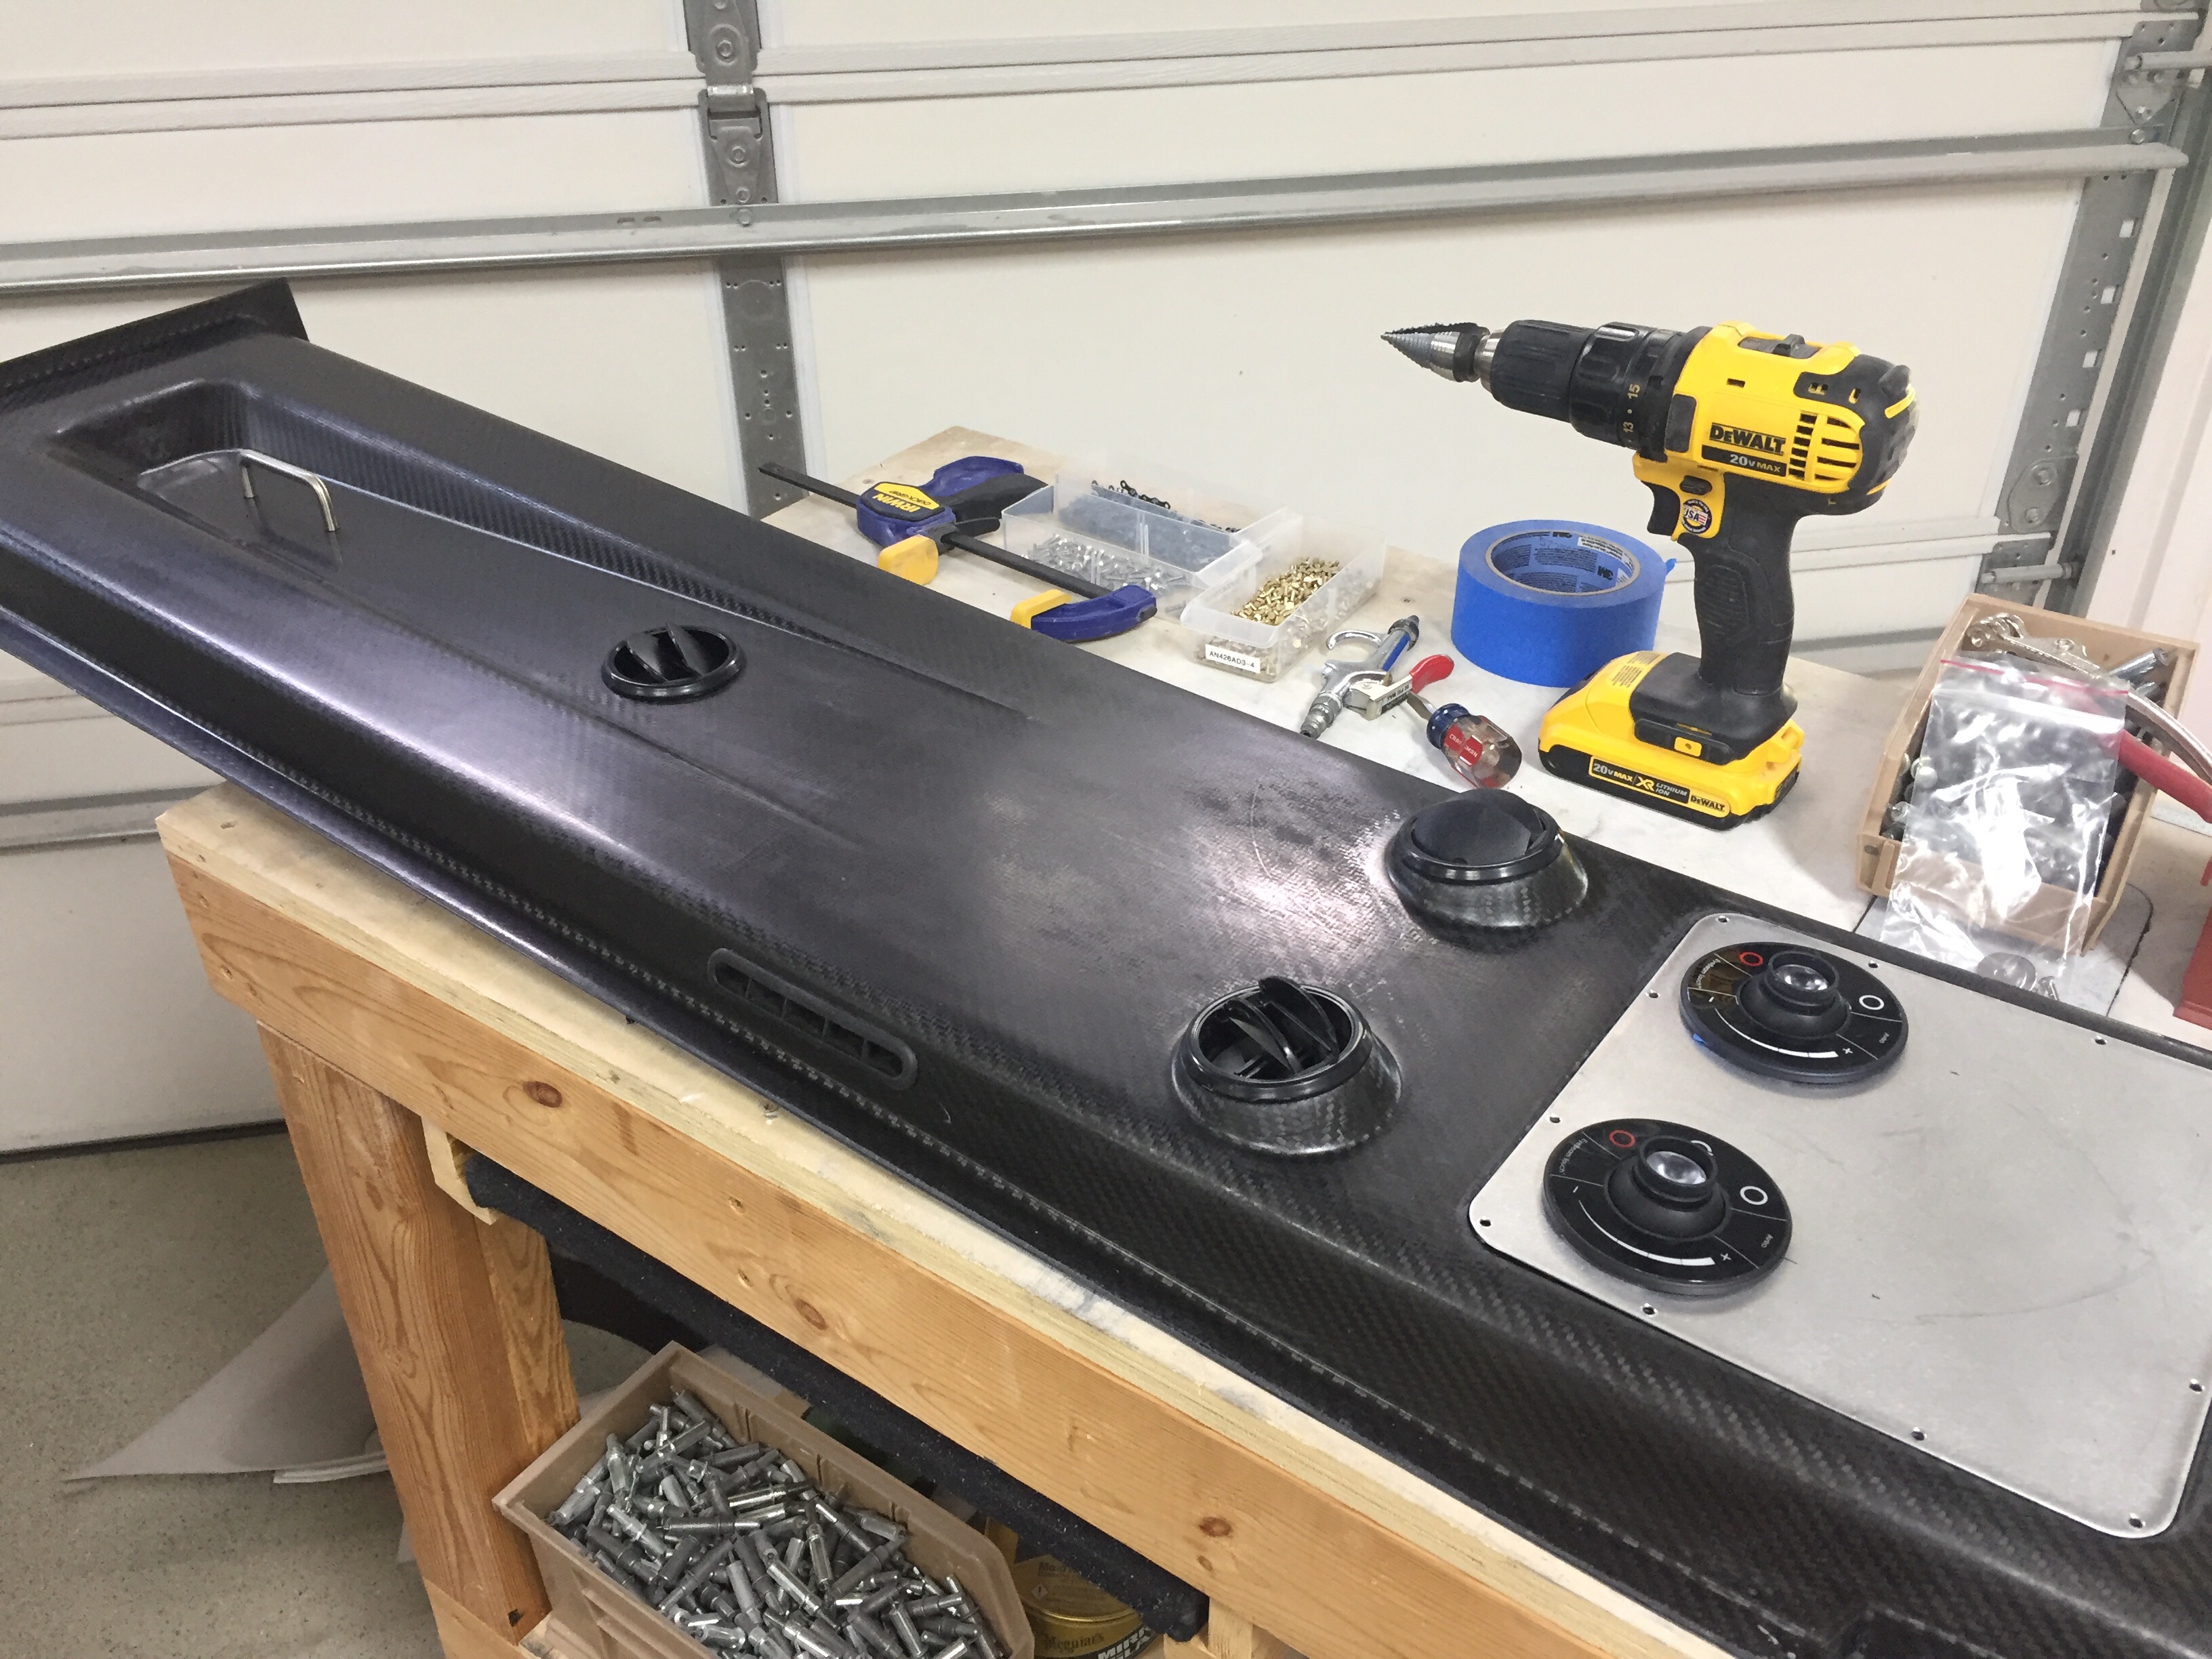
One huge task to complete before the cabin top can go on for good is the overhead console. This piece of art comes from Aerosport and allows the vents for the air conditioning and the lights to be mounted on the cabin top. I also have one of the first production examples of the overhead switch panel that Ed Krantz molded up.

The first step is a rough fit and trim to get an idea where the interference points are. The mold they use is pretty accurate but has a few spots that needs adjustments. I didn’t have to cut the joggle around the step in the cabin top, however, there were a few spots up near the windshield that were too bulbous and had to be ground down. Overall, the initial trim and sanding was a pretty quick and painless job.

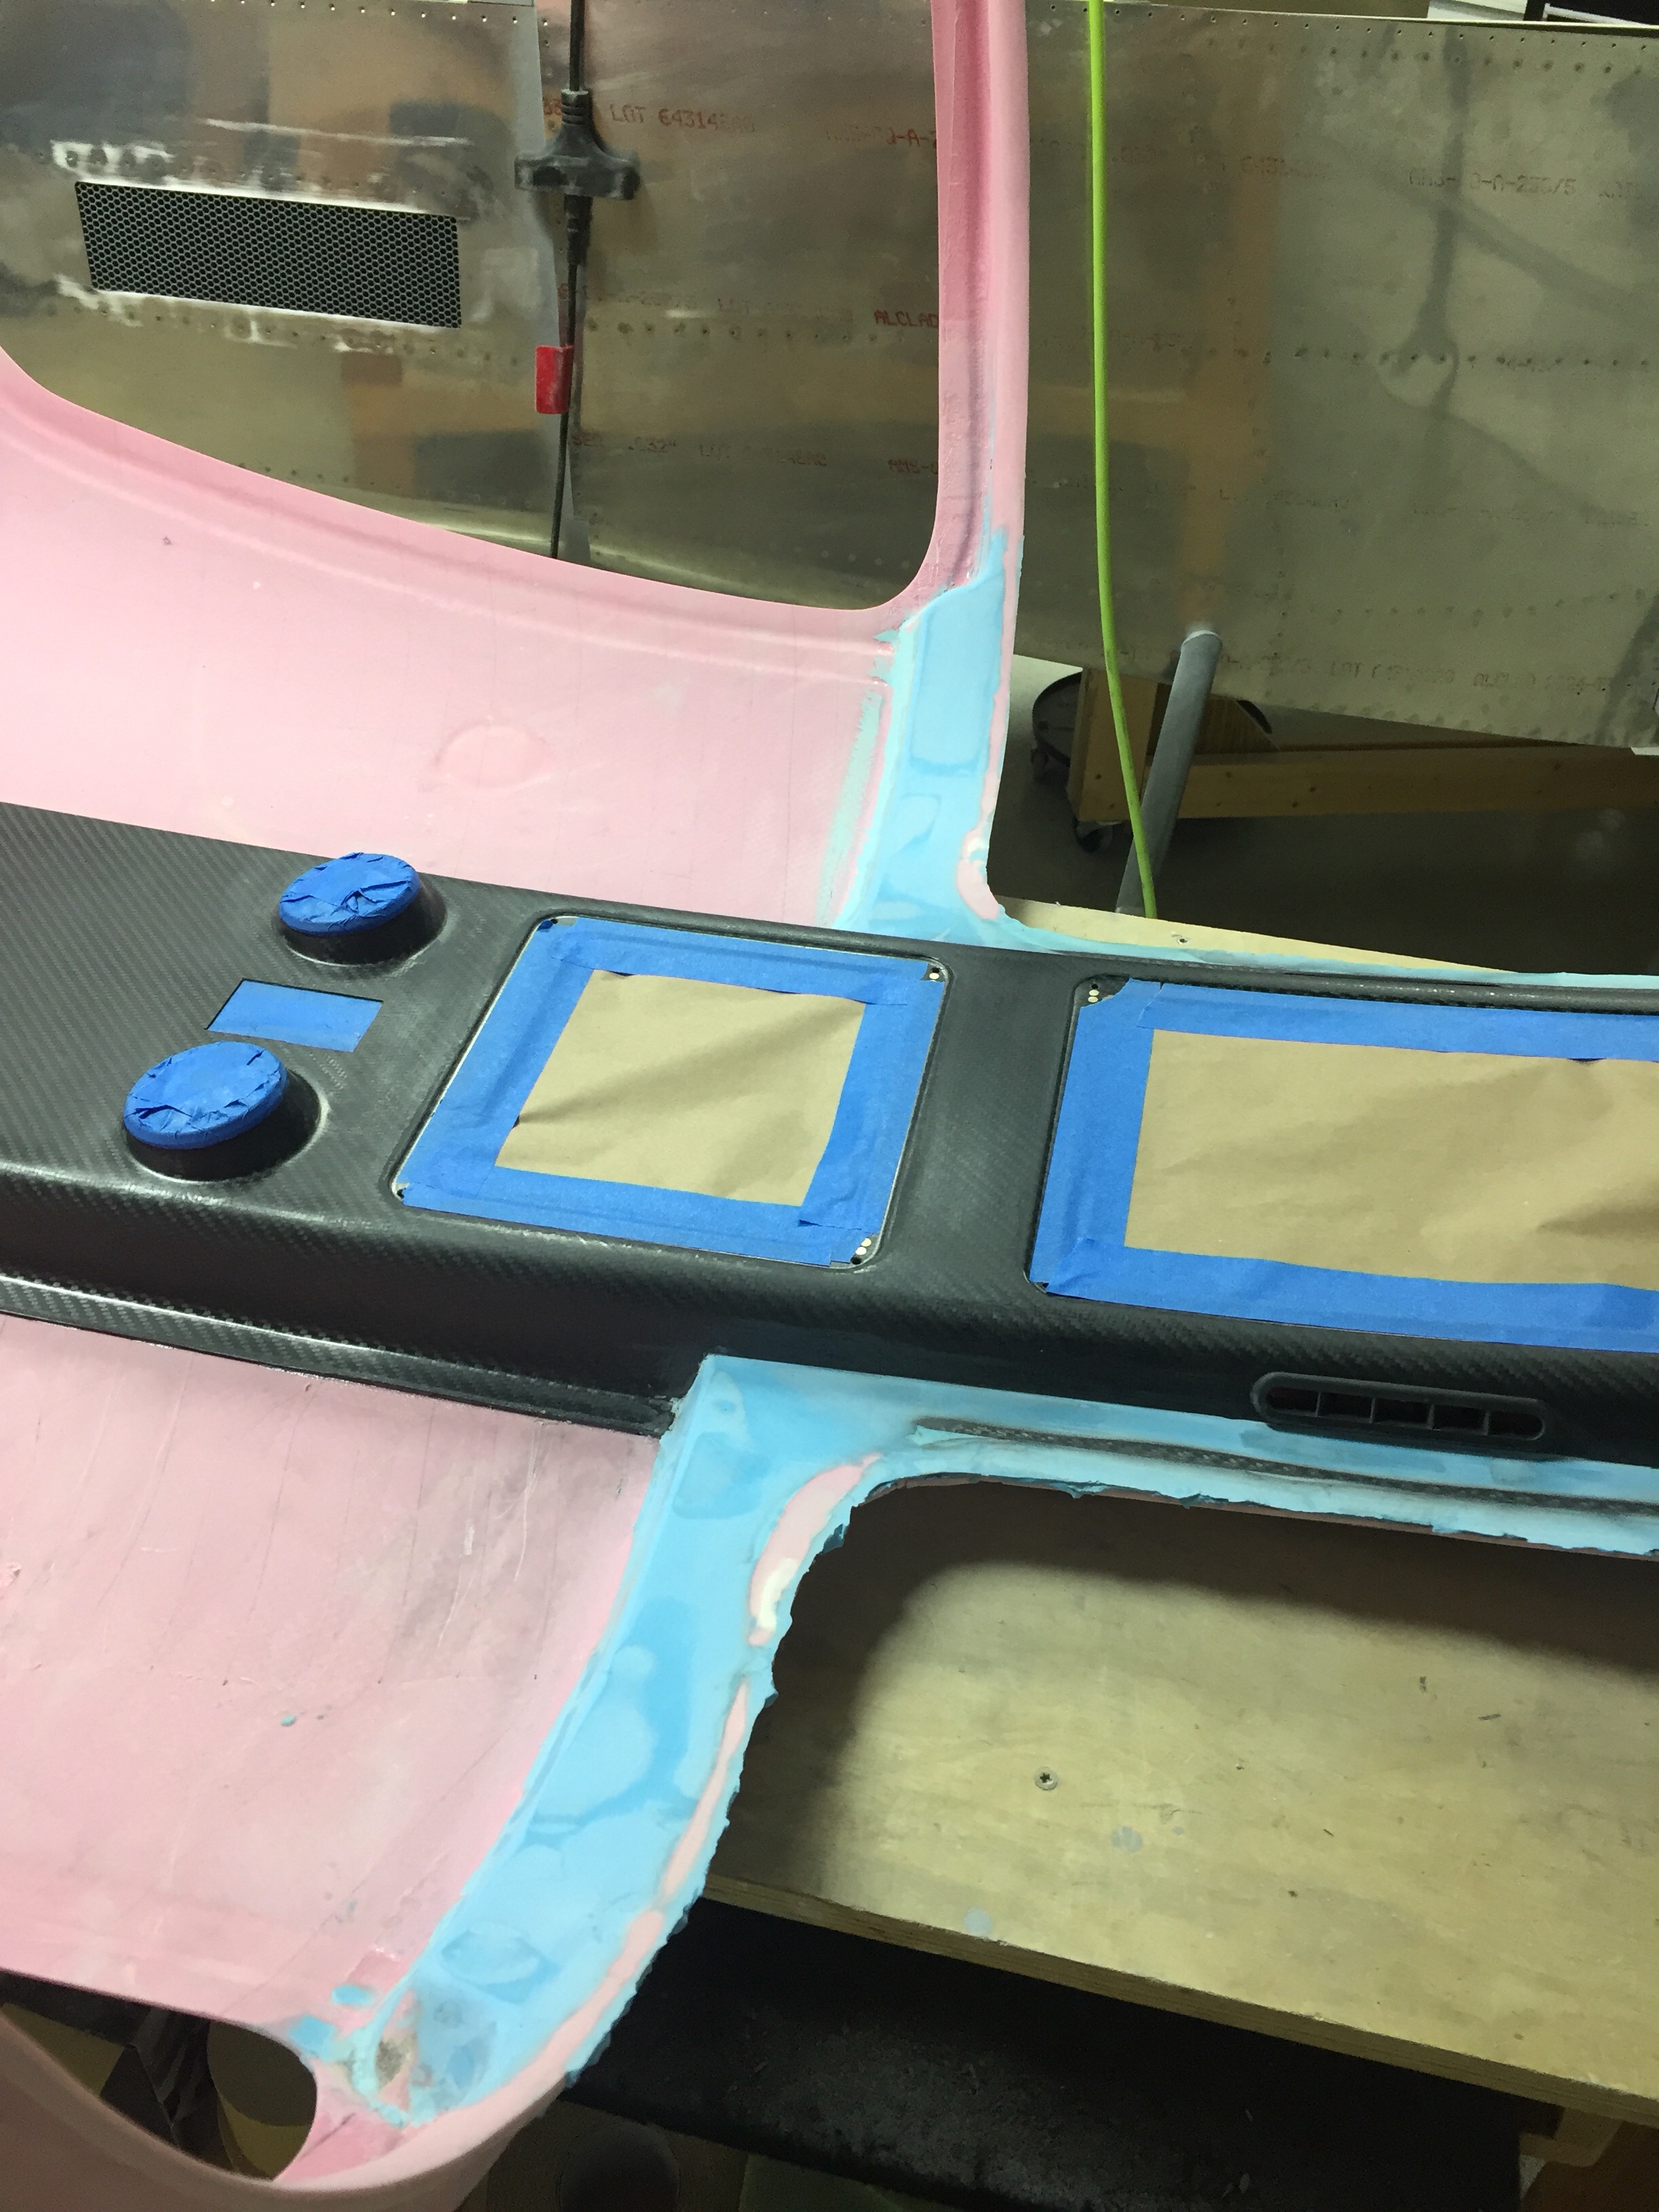
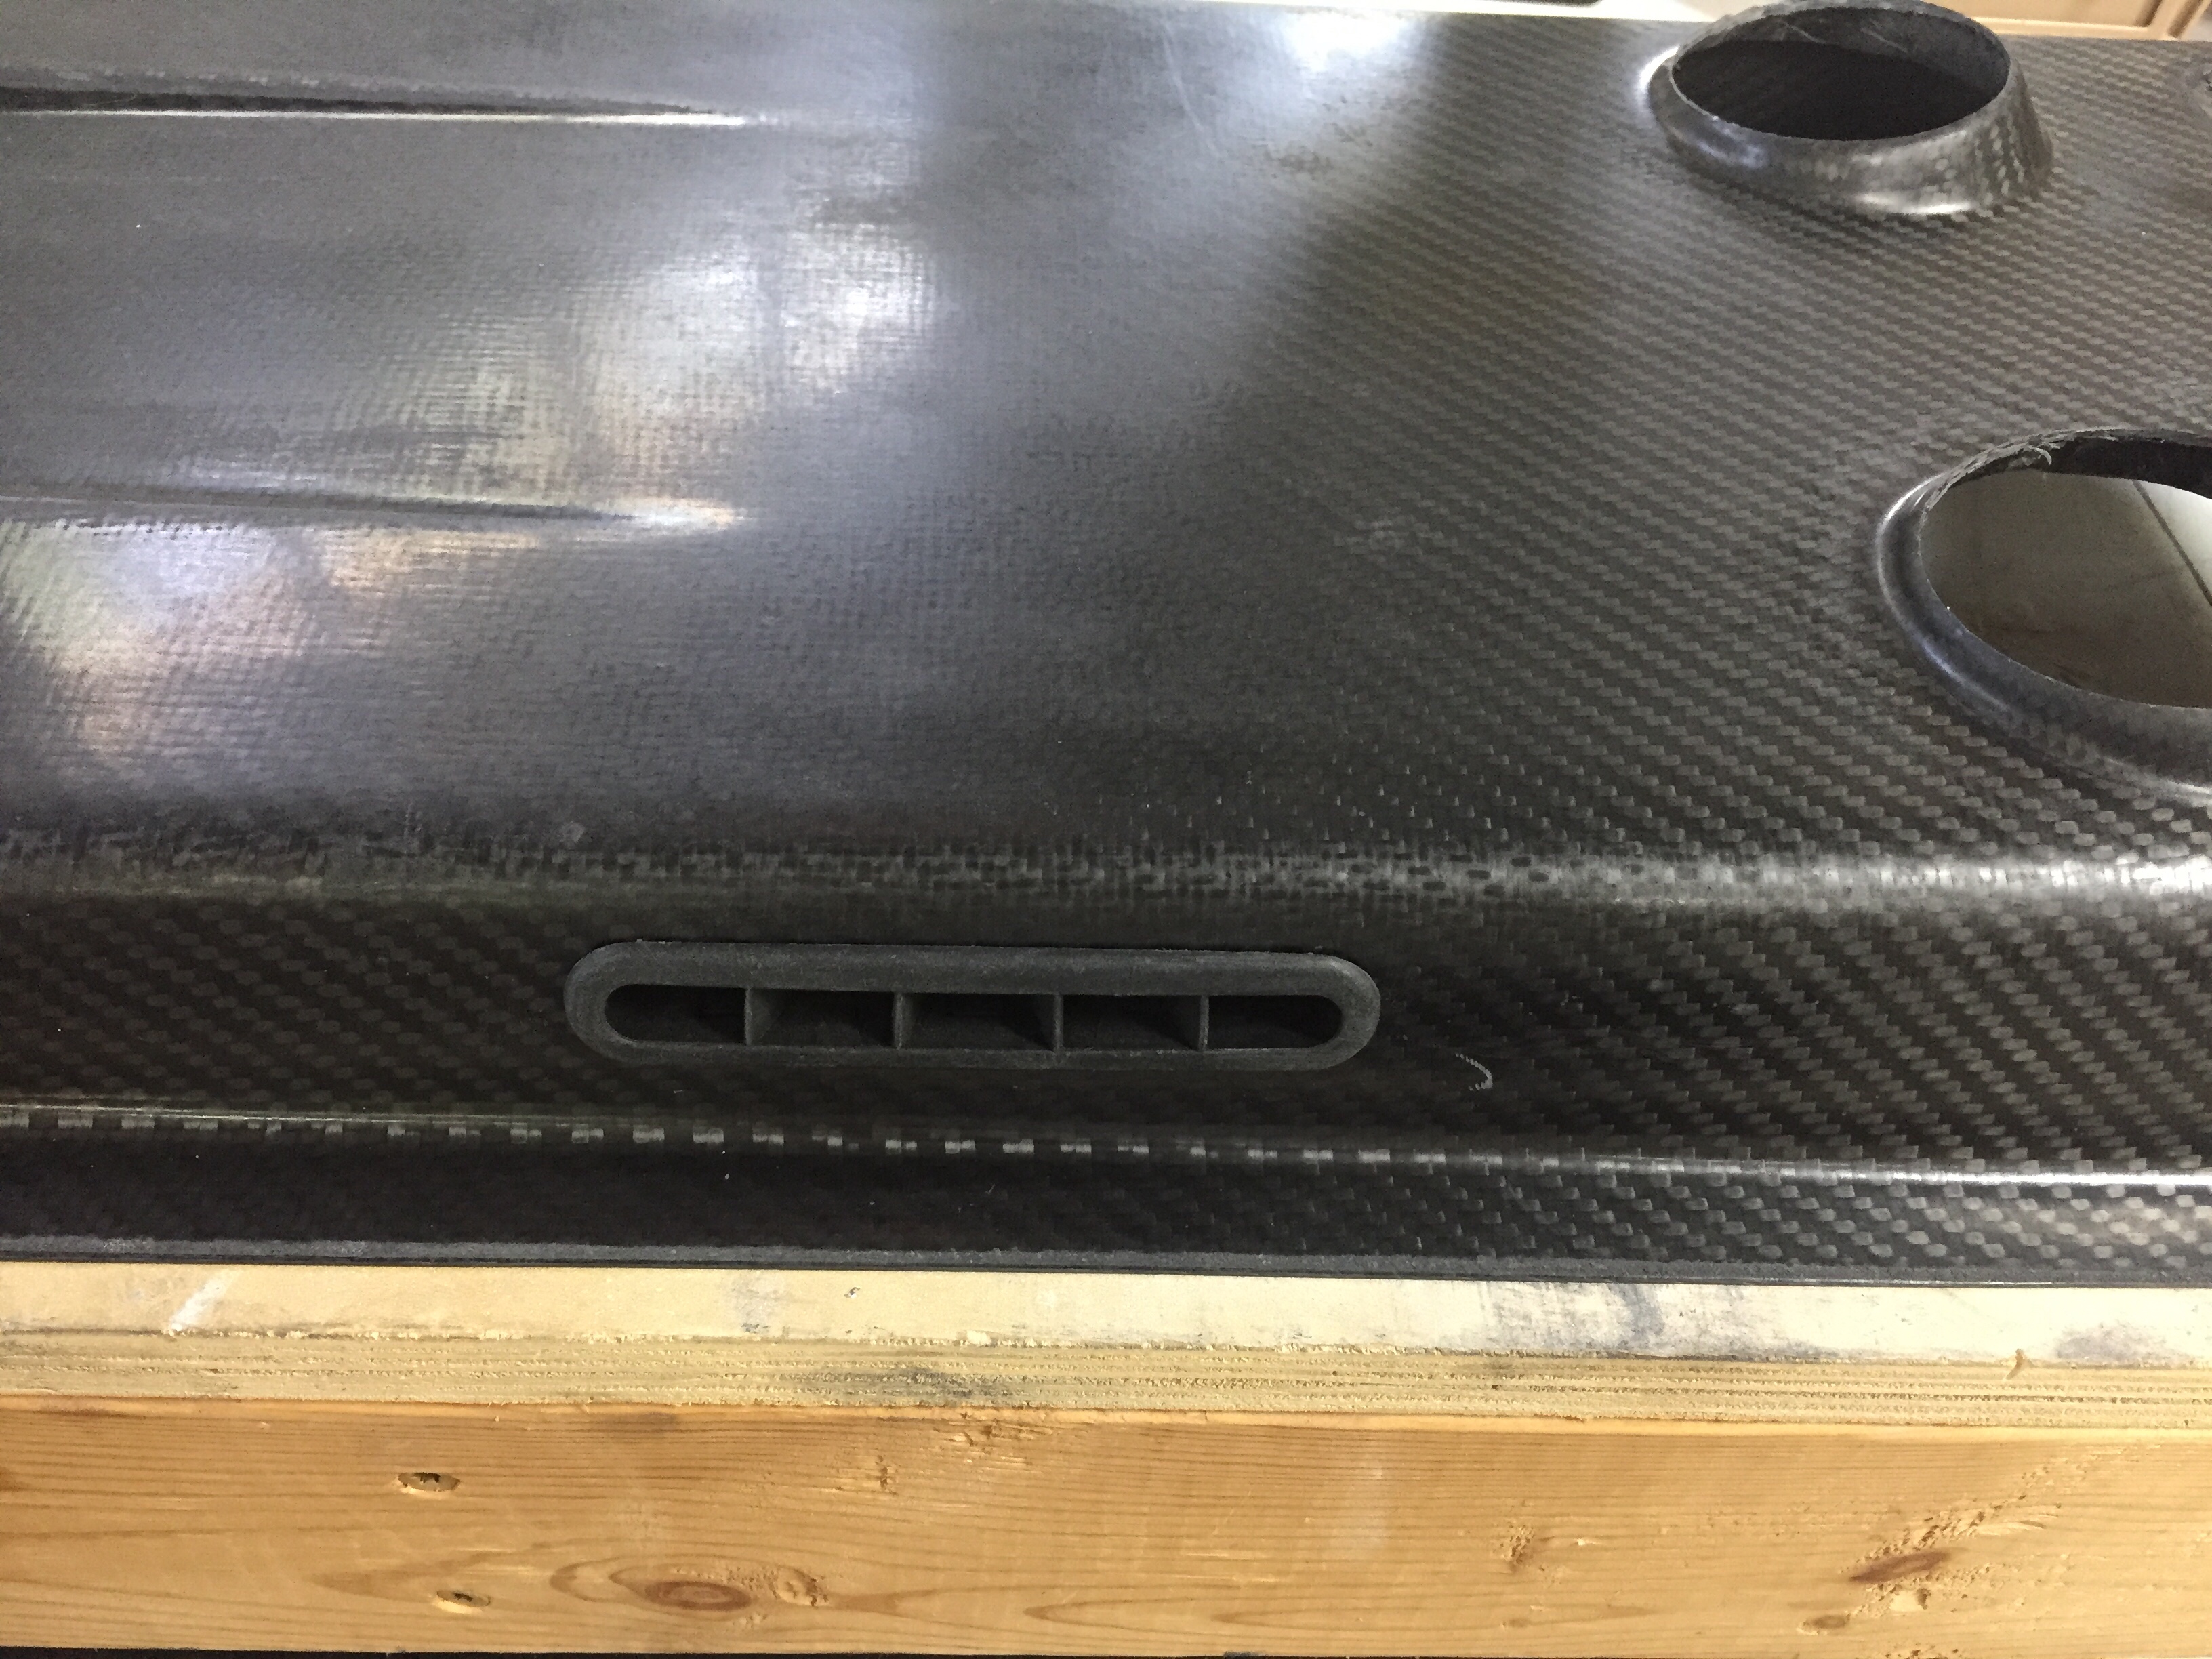
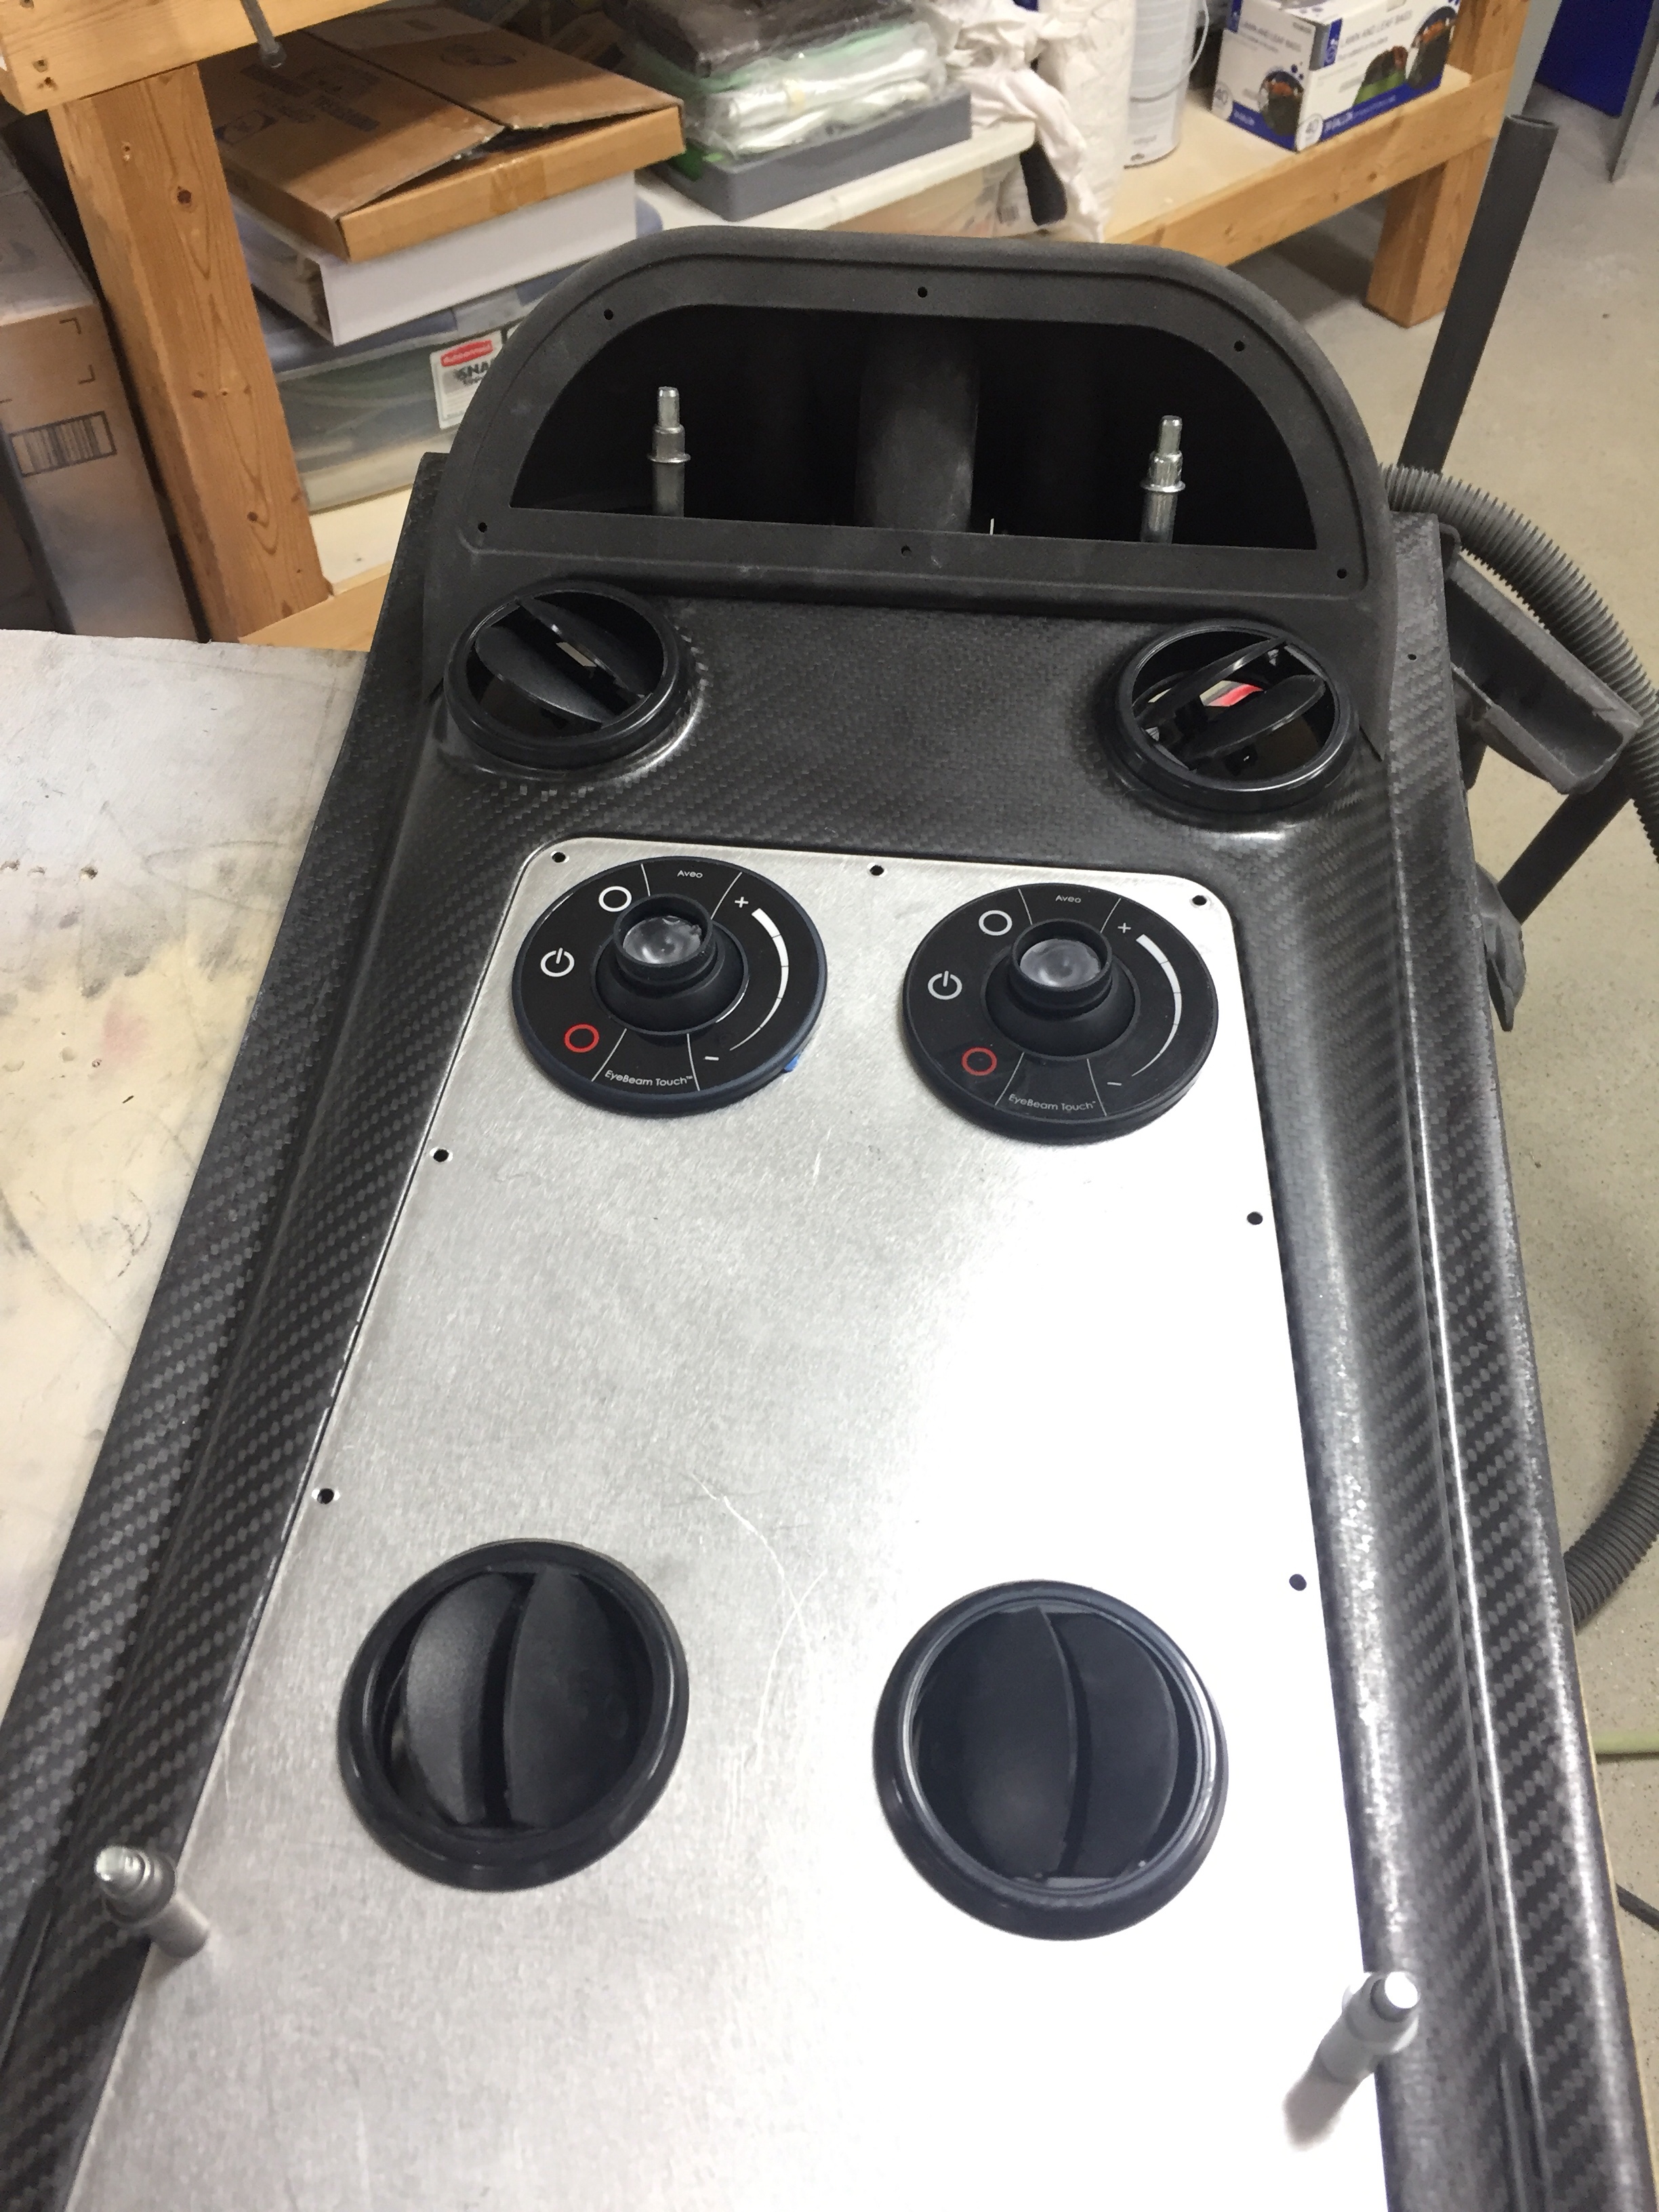
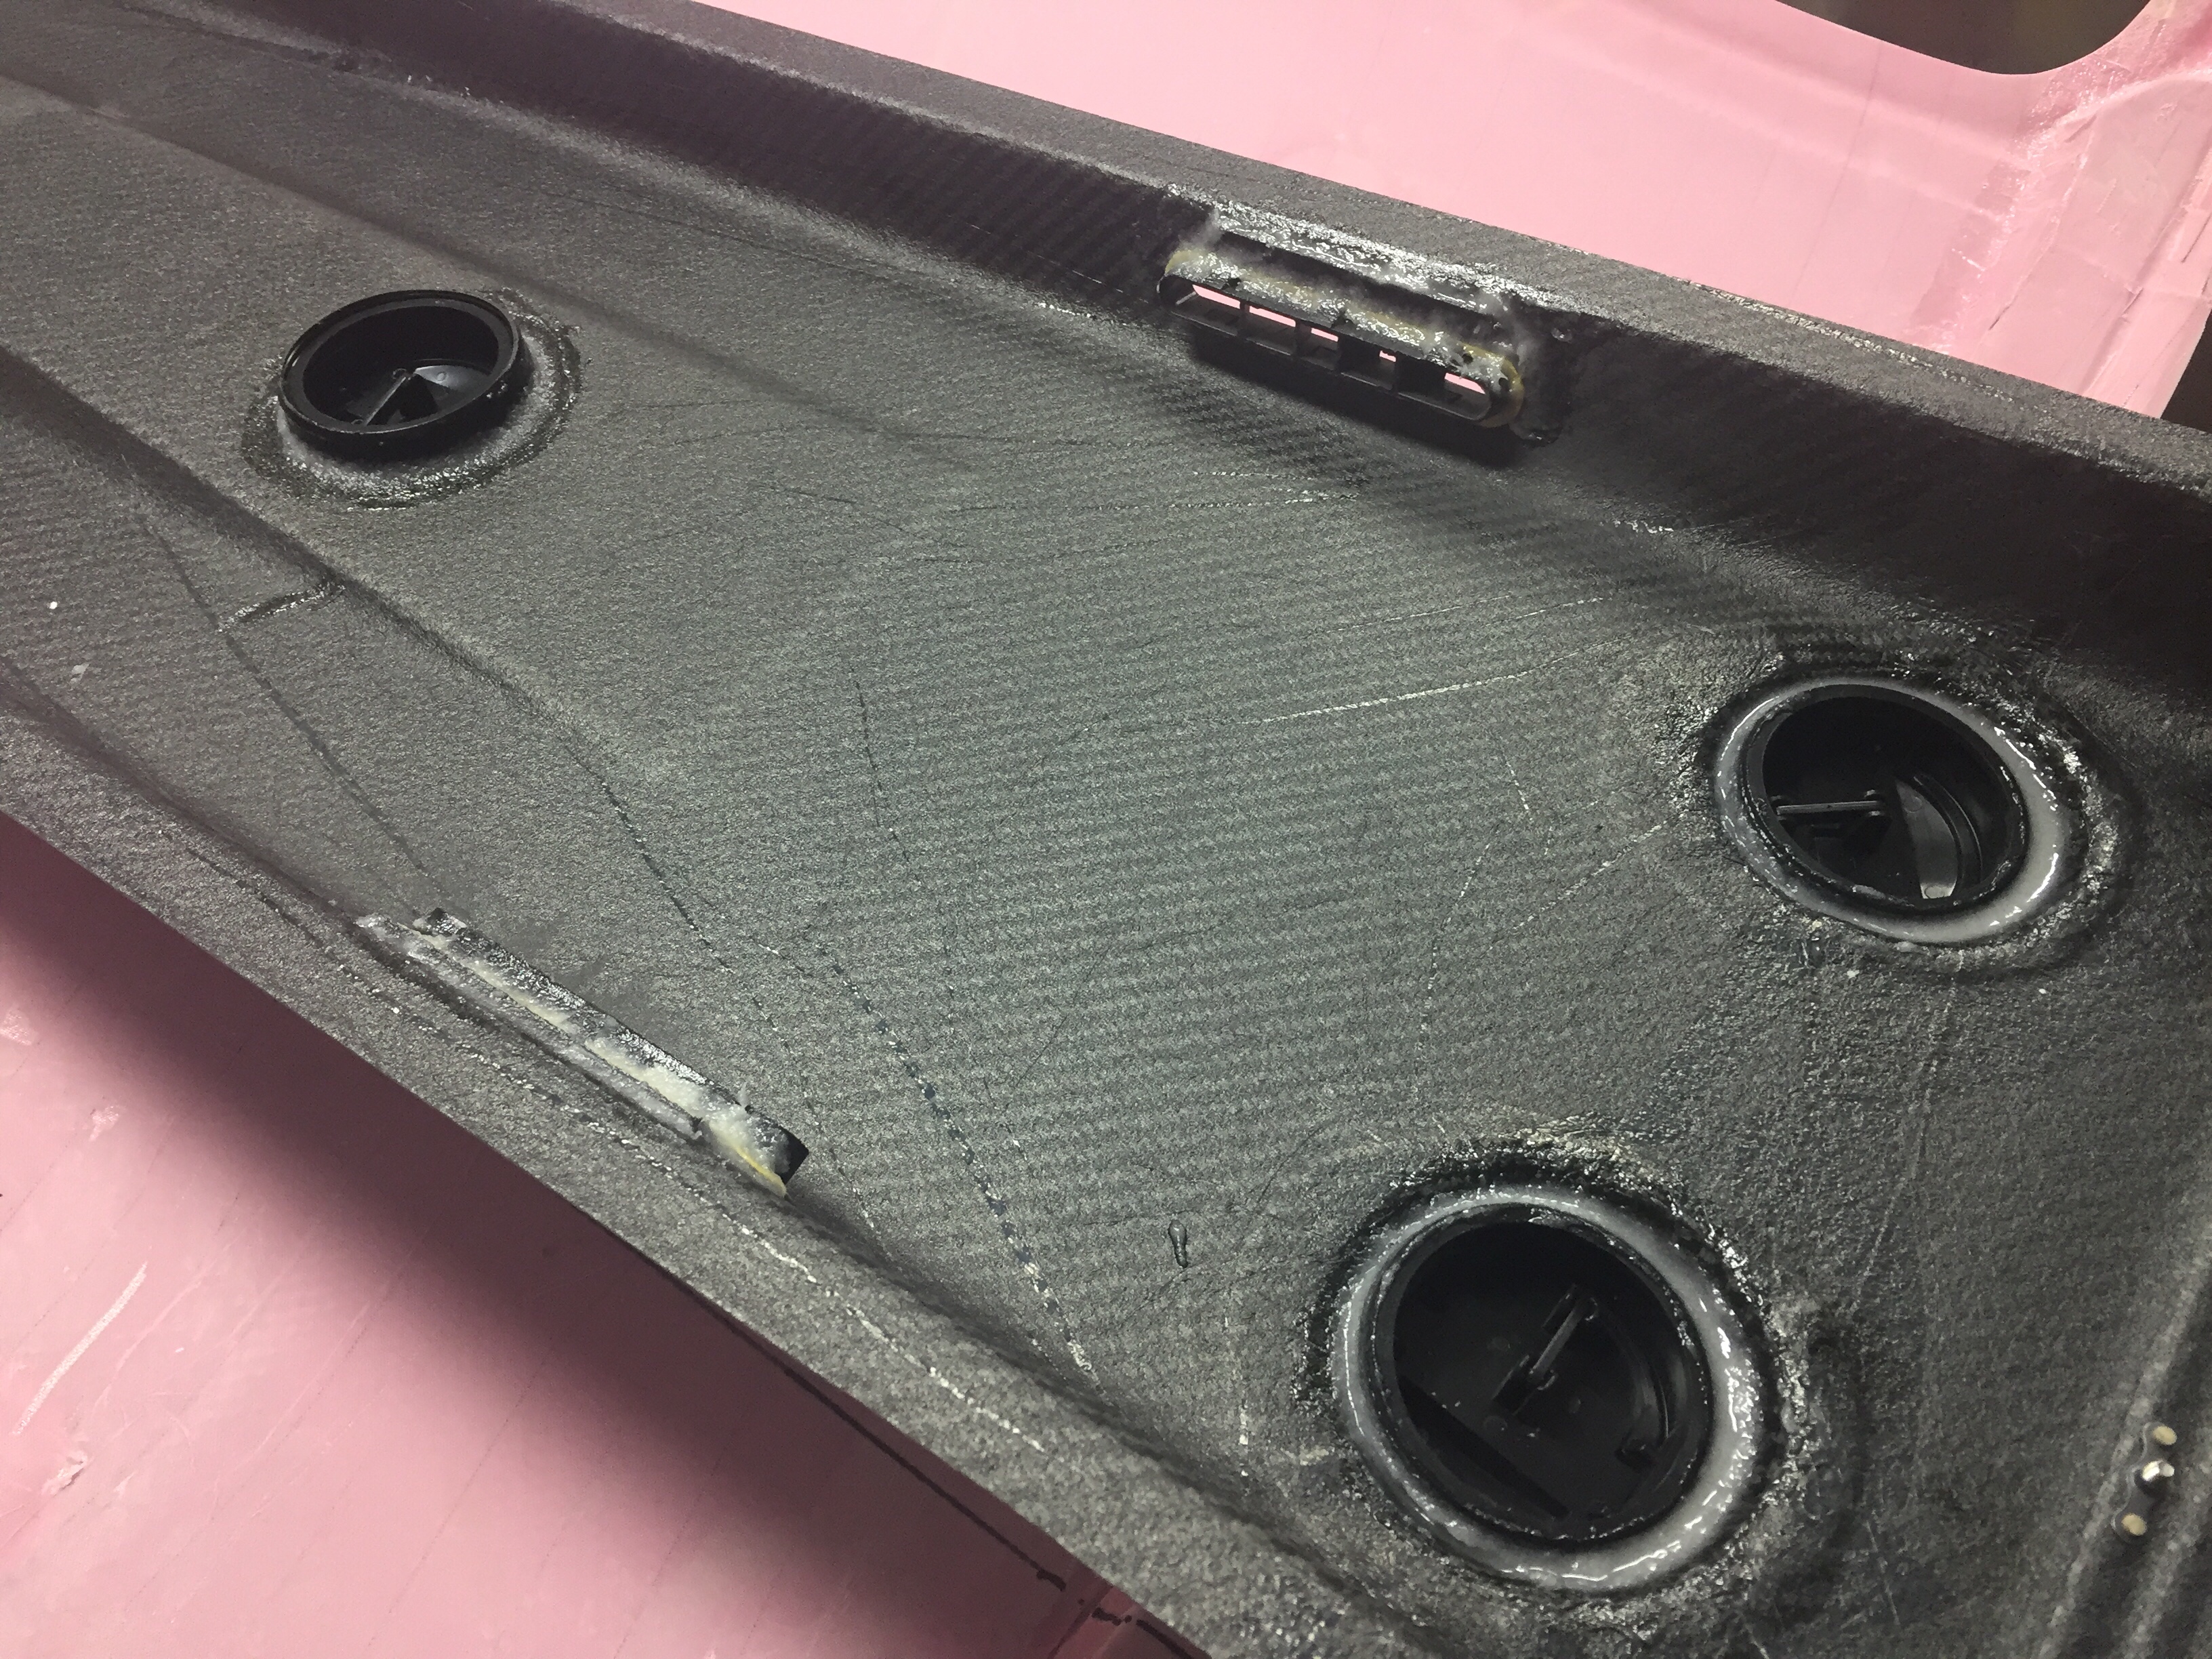
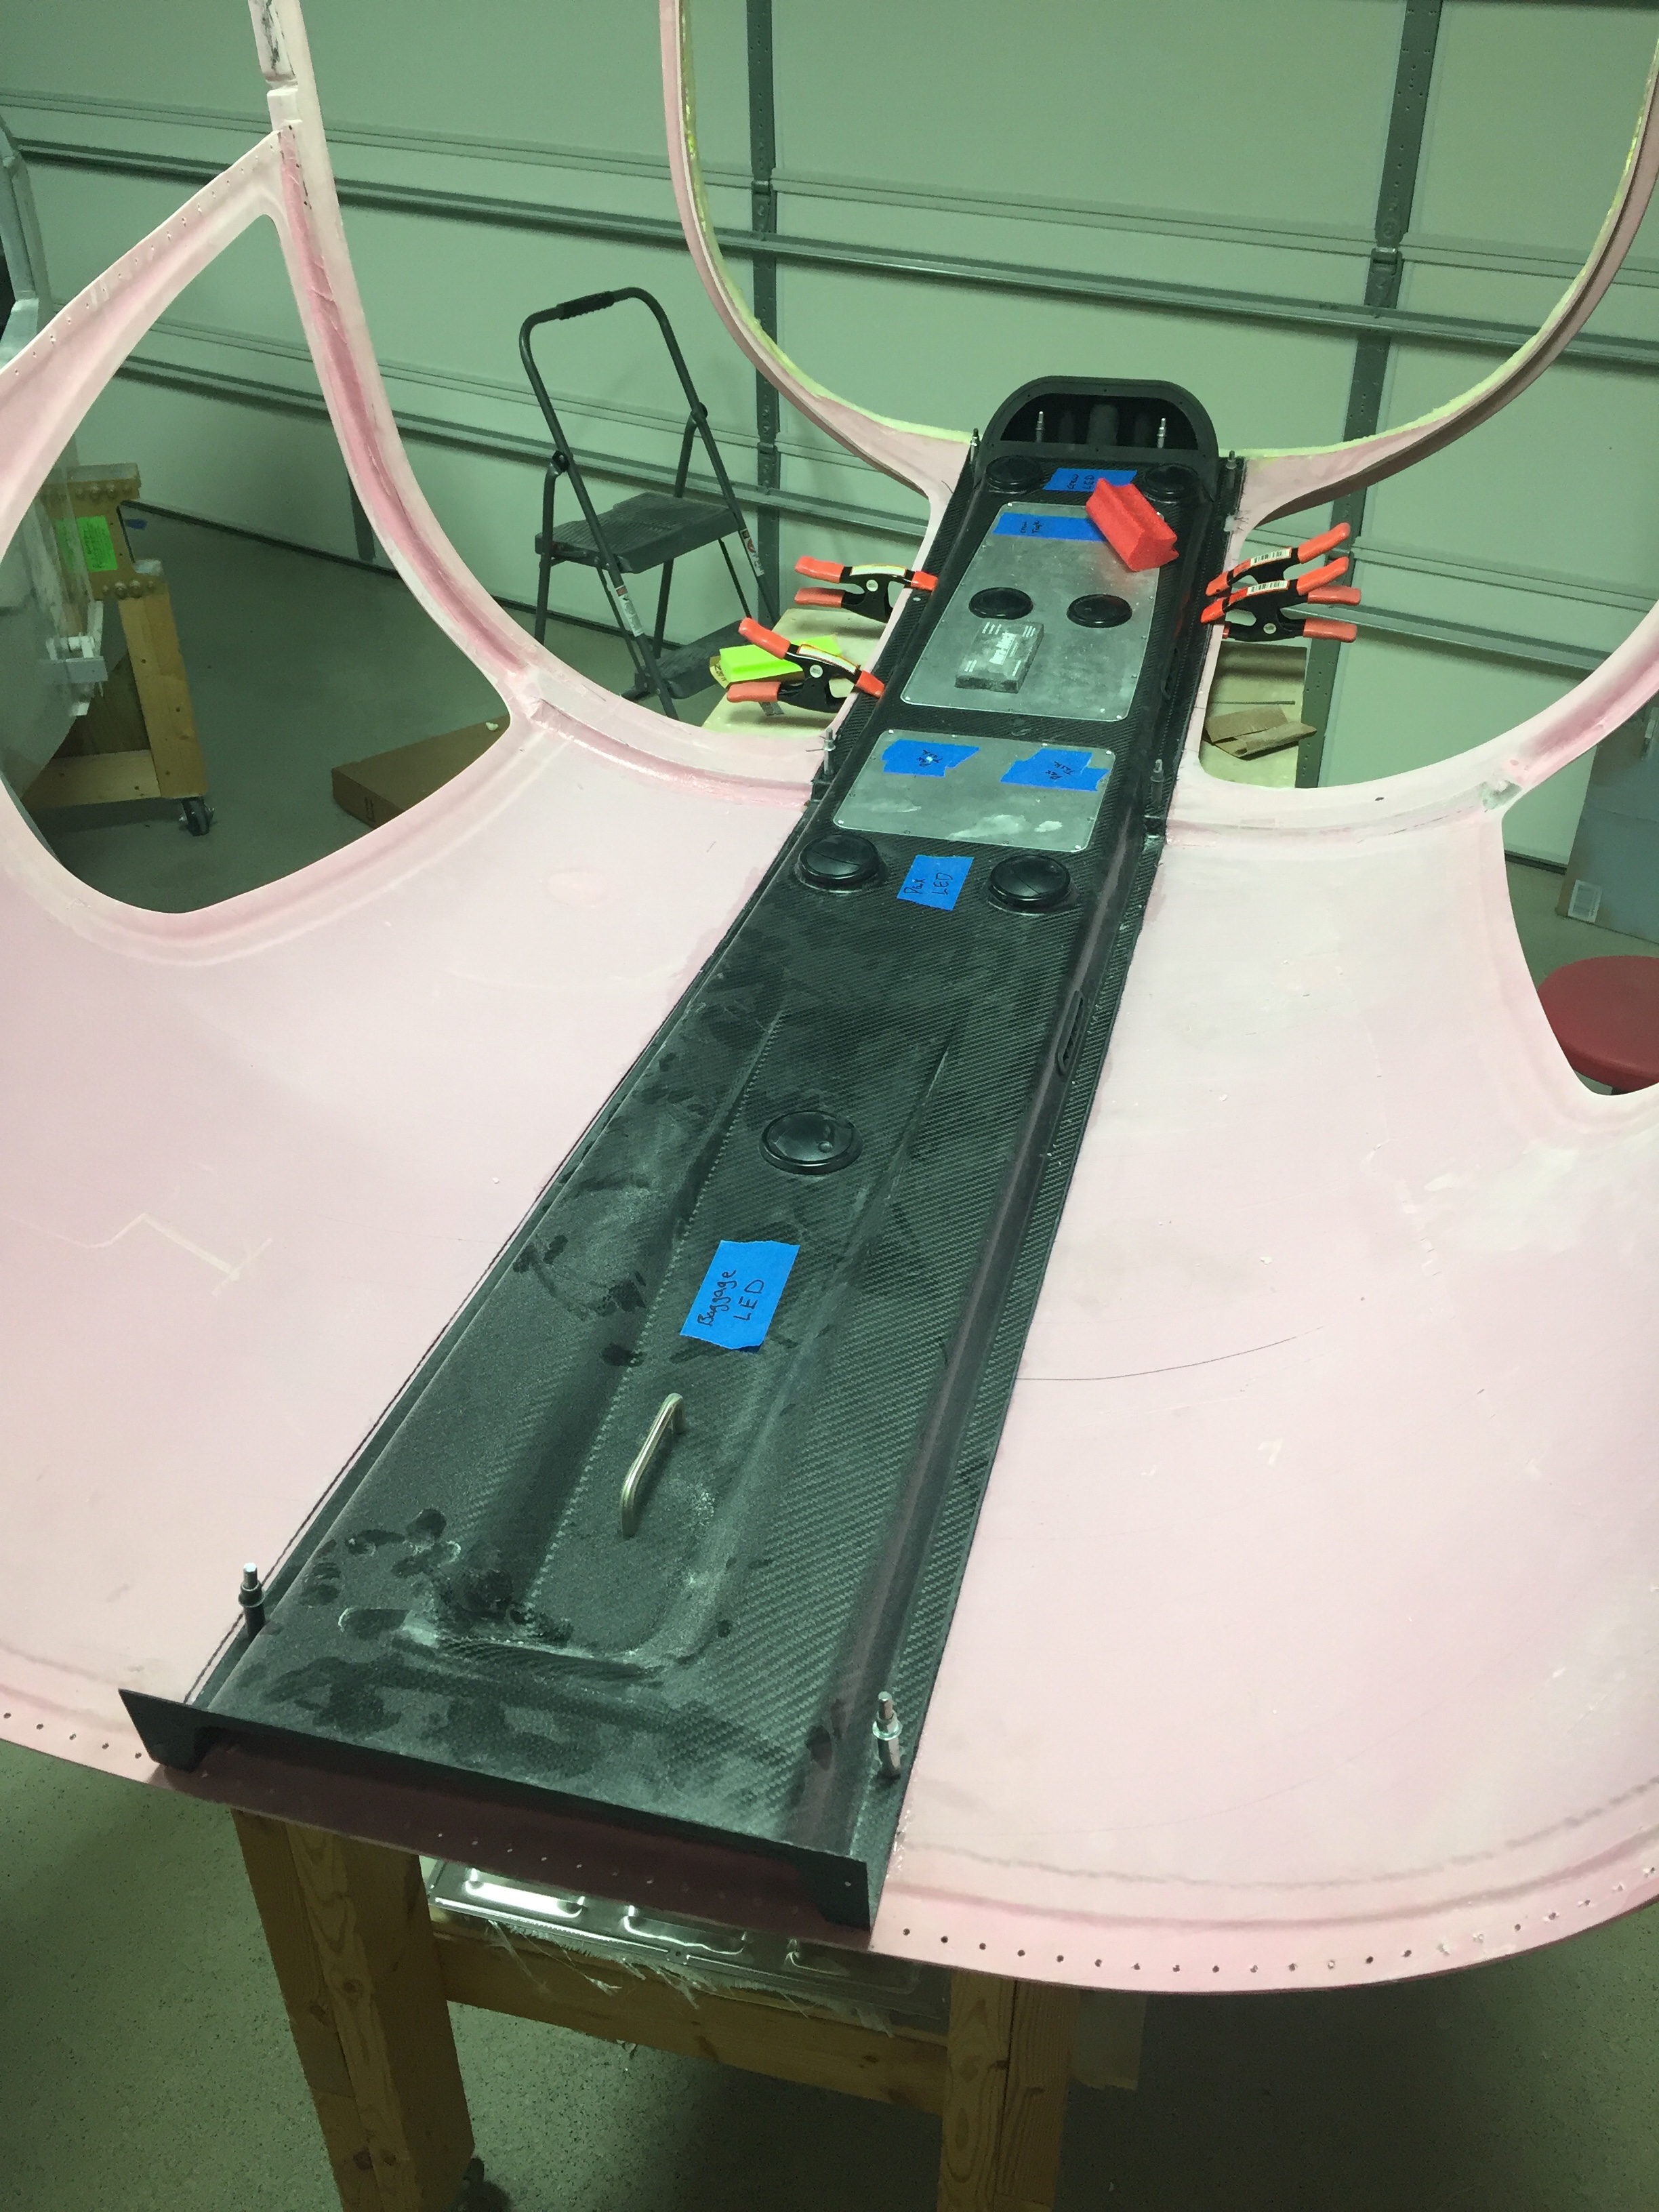
The overhead has two large aluminum panels that can be used for lights, vents, etc. but need nutplates installed to secure them. Pretty quick job to set it all up including countersinking the panels for flush screws that came out very nicely. I also decided where to mount the four curtain vents that I got from South Florida Sport Aviation. They are using the Airflow Performance set up on their own interior and despite my best efforts, I couldn’t find any vents like these online. I like these because it allows good airflow along the windows as well as alternate airflow if one or more of the vents are closed, keeping good flow through the cabin and over the evaporator which is key to efficient performance of the air conditioner.

I also used the four molded spots to mount air vents in as you can see the cutouts above. Most have used either the eyeball vents or a universal car vent. Based on feedback from others and the astronomical price of eyeball vents, I decided Summit Racing vents would work better. They were $20 each instead of $120 each and I think will allow a lot more air to flow while being easier to use. I simply used epoxy/flox to secures them to the overhead taking care to not have any leak on the vents themselves. I also put two vents in the metal panel so that the pilot and copilot each have two vents, hopefully keeping me cool up front with all the glass. The panels will also hold an Aveo Eyebeam Touch task light for each seat.

Lastly, I installed the coat hanger in the rear which will probably rarely be used, but hey, it’s part of the kit and looks good. I can also use it to call this a business aircraft!
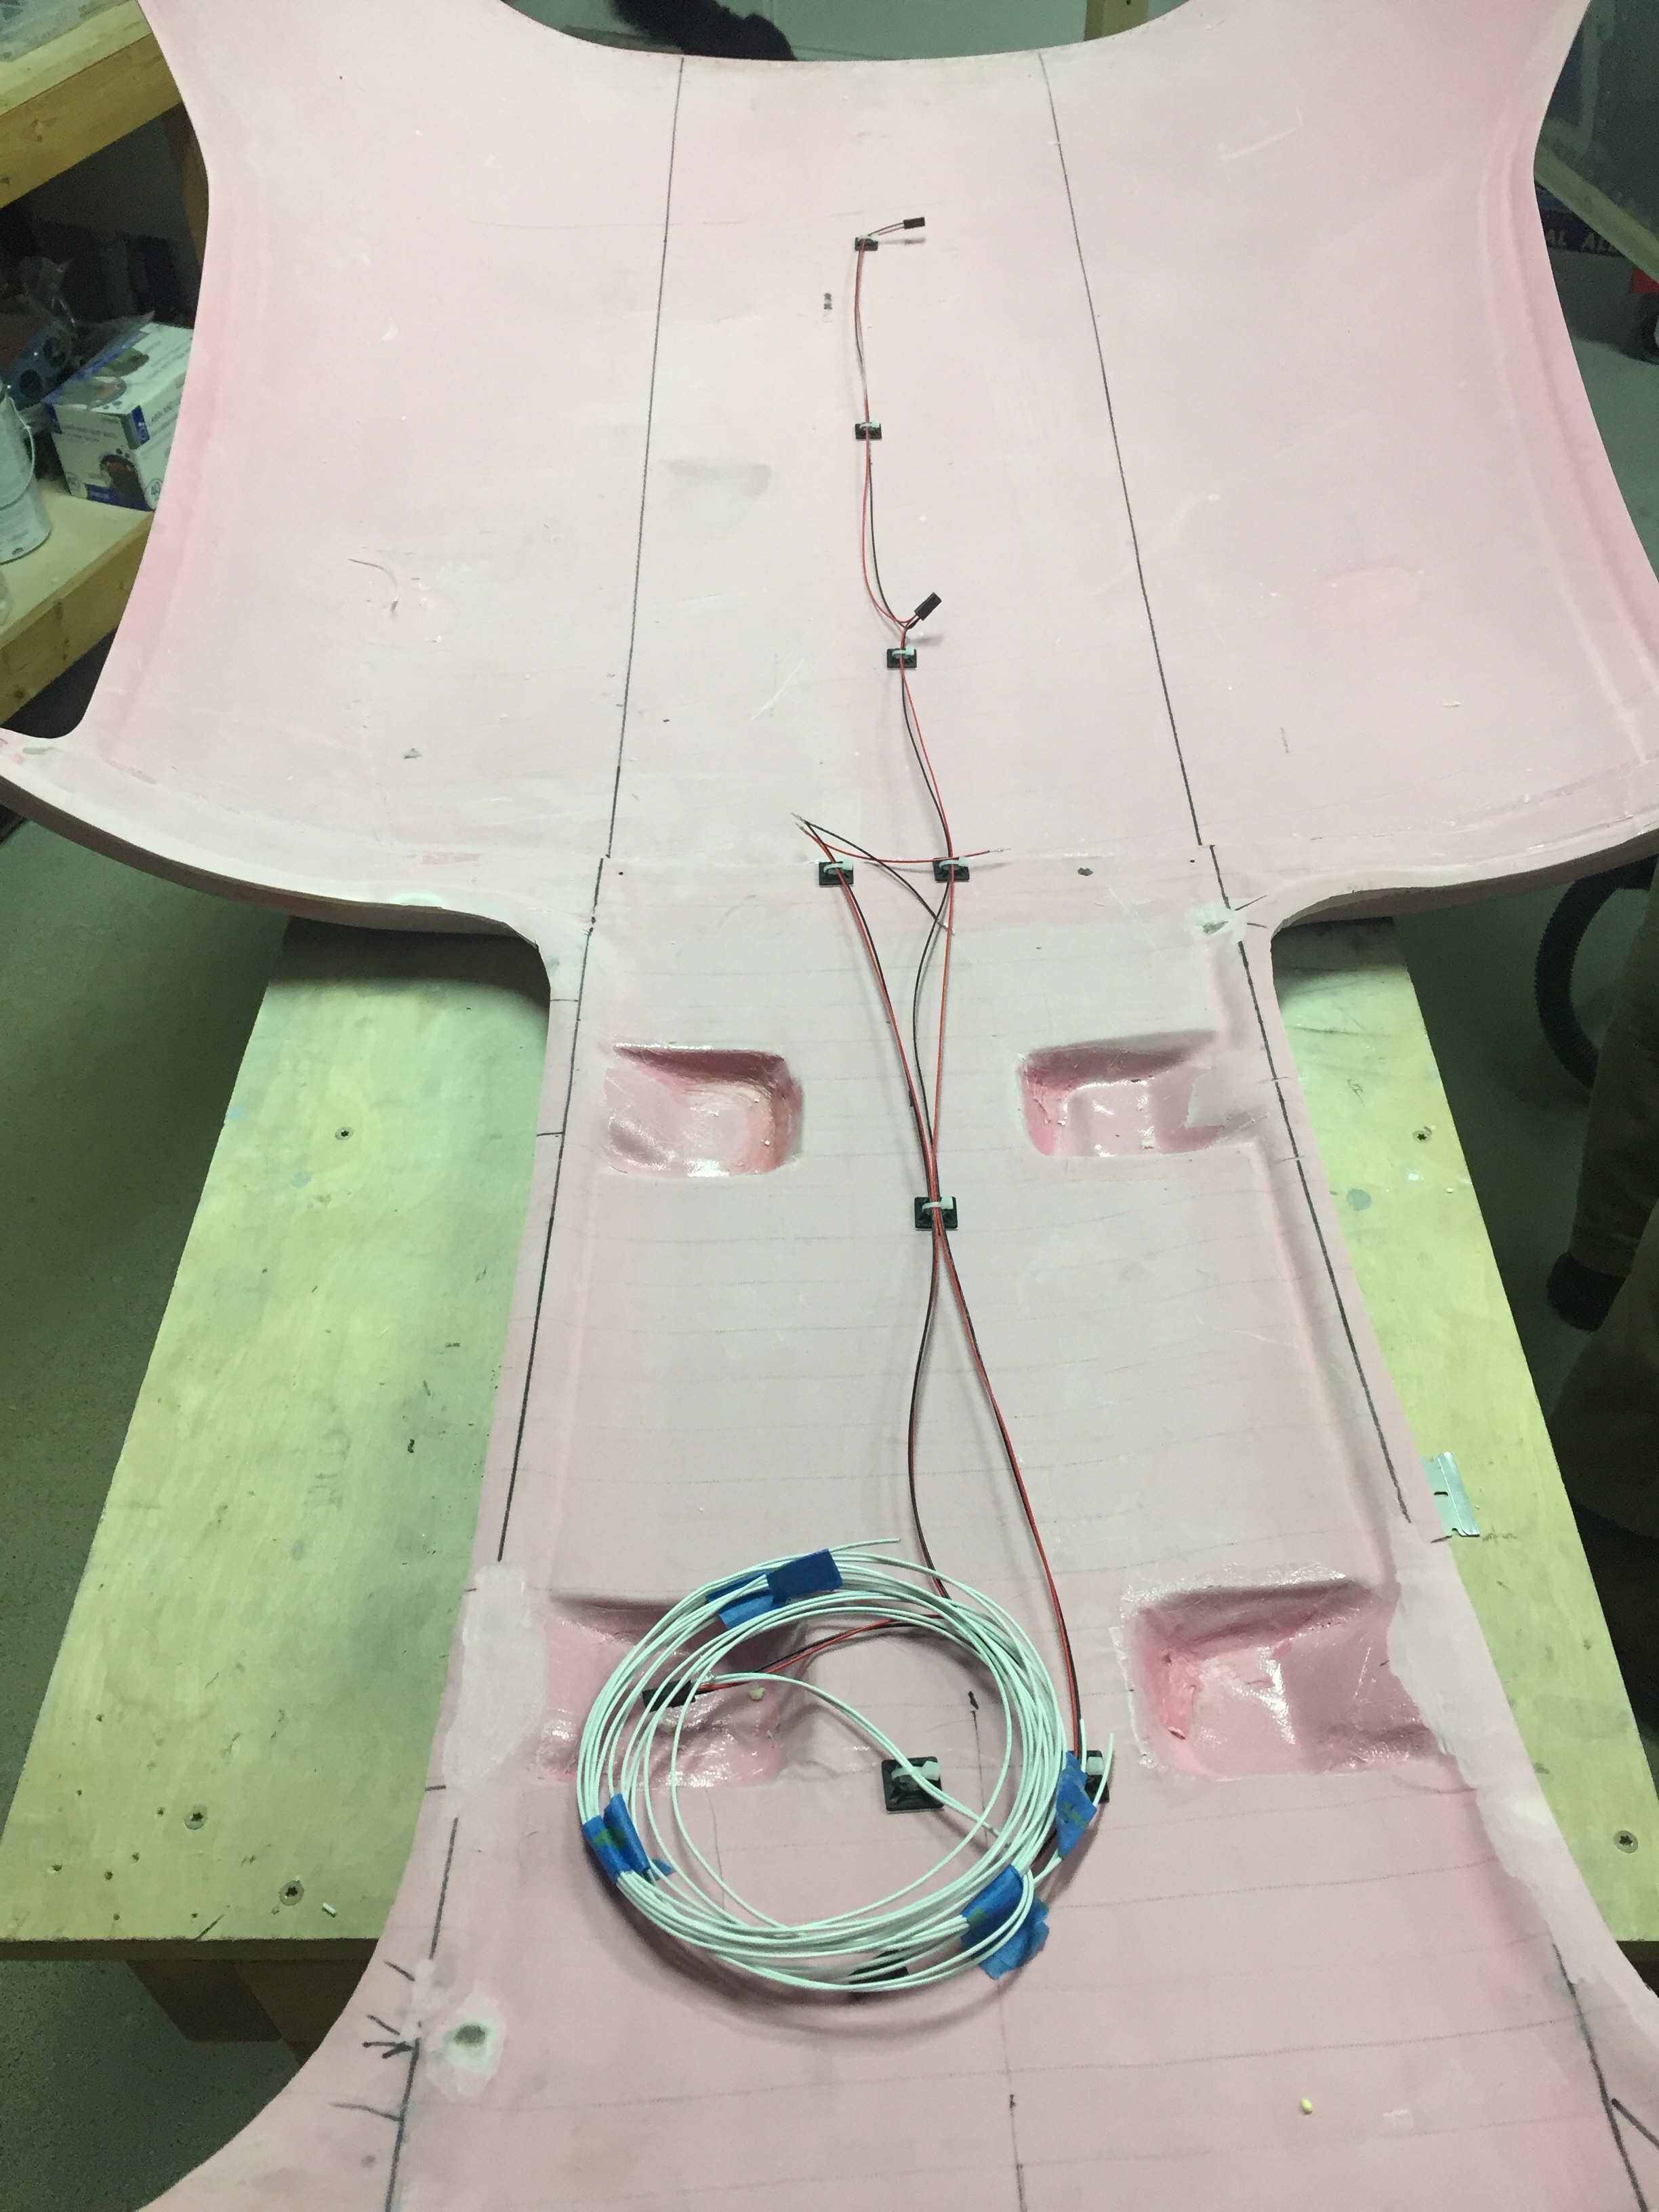
I will be running the wires for the switch panel and the task lights up through the center post so wanted to get the wiring that will be in the overhead completed. I went ahead and made up the wiring harness for the four task lights as well as the three overhead dome lights that will be used for general cabin lighting. The pictures show bare contacts, but after another order from Mouser came in, I installed the Molex connectors so that everything is line replaceable without cutting wires. I also cut the three holes in the overhead for the lights.

Finally, after one complete evening off of the cabin top to clear my head and make sure I’m not forgetting anything, it was time to epoxy it on for good. I mixed up a healthy amount of epoxy/flox and fortunately had a friend to split the task of spreading the mixture and setting it in place. With a couple of clamps and clecos, it fit well and made a secure bond to the cabin top.

Next up will be shaping and filling the assembly to get it all prepped for paint and final instal.

Removing museum pieces

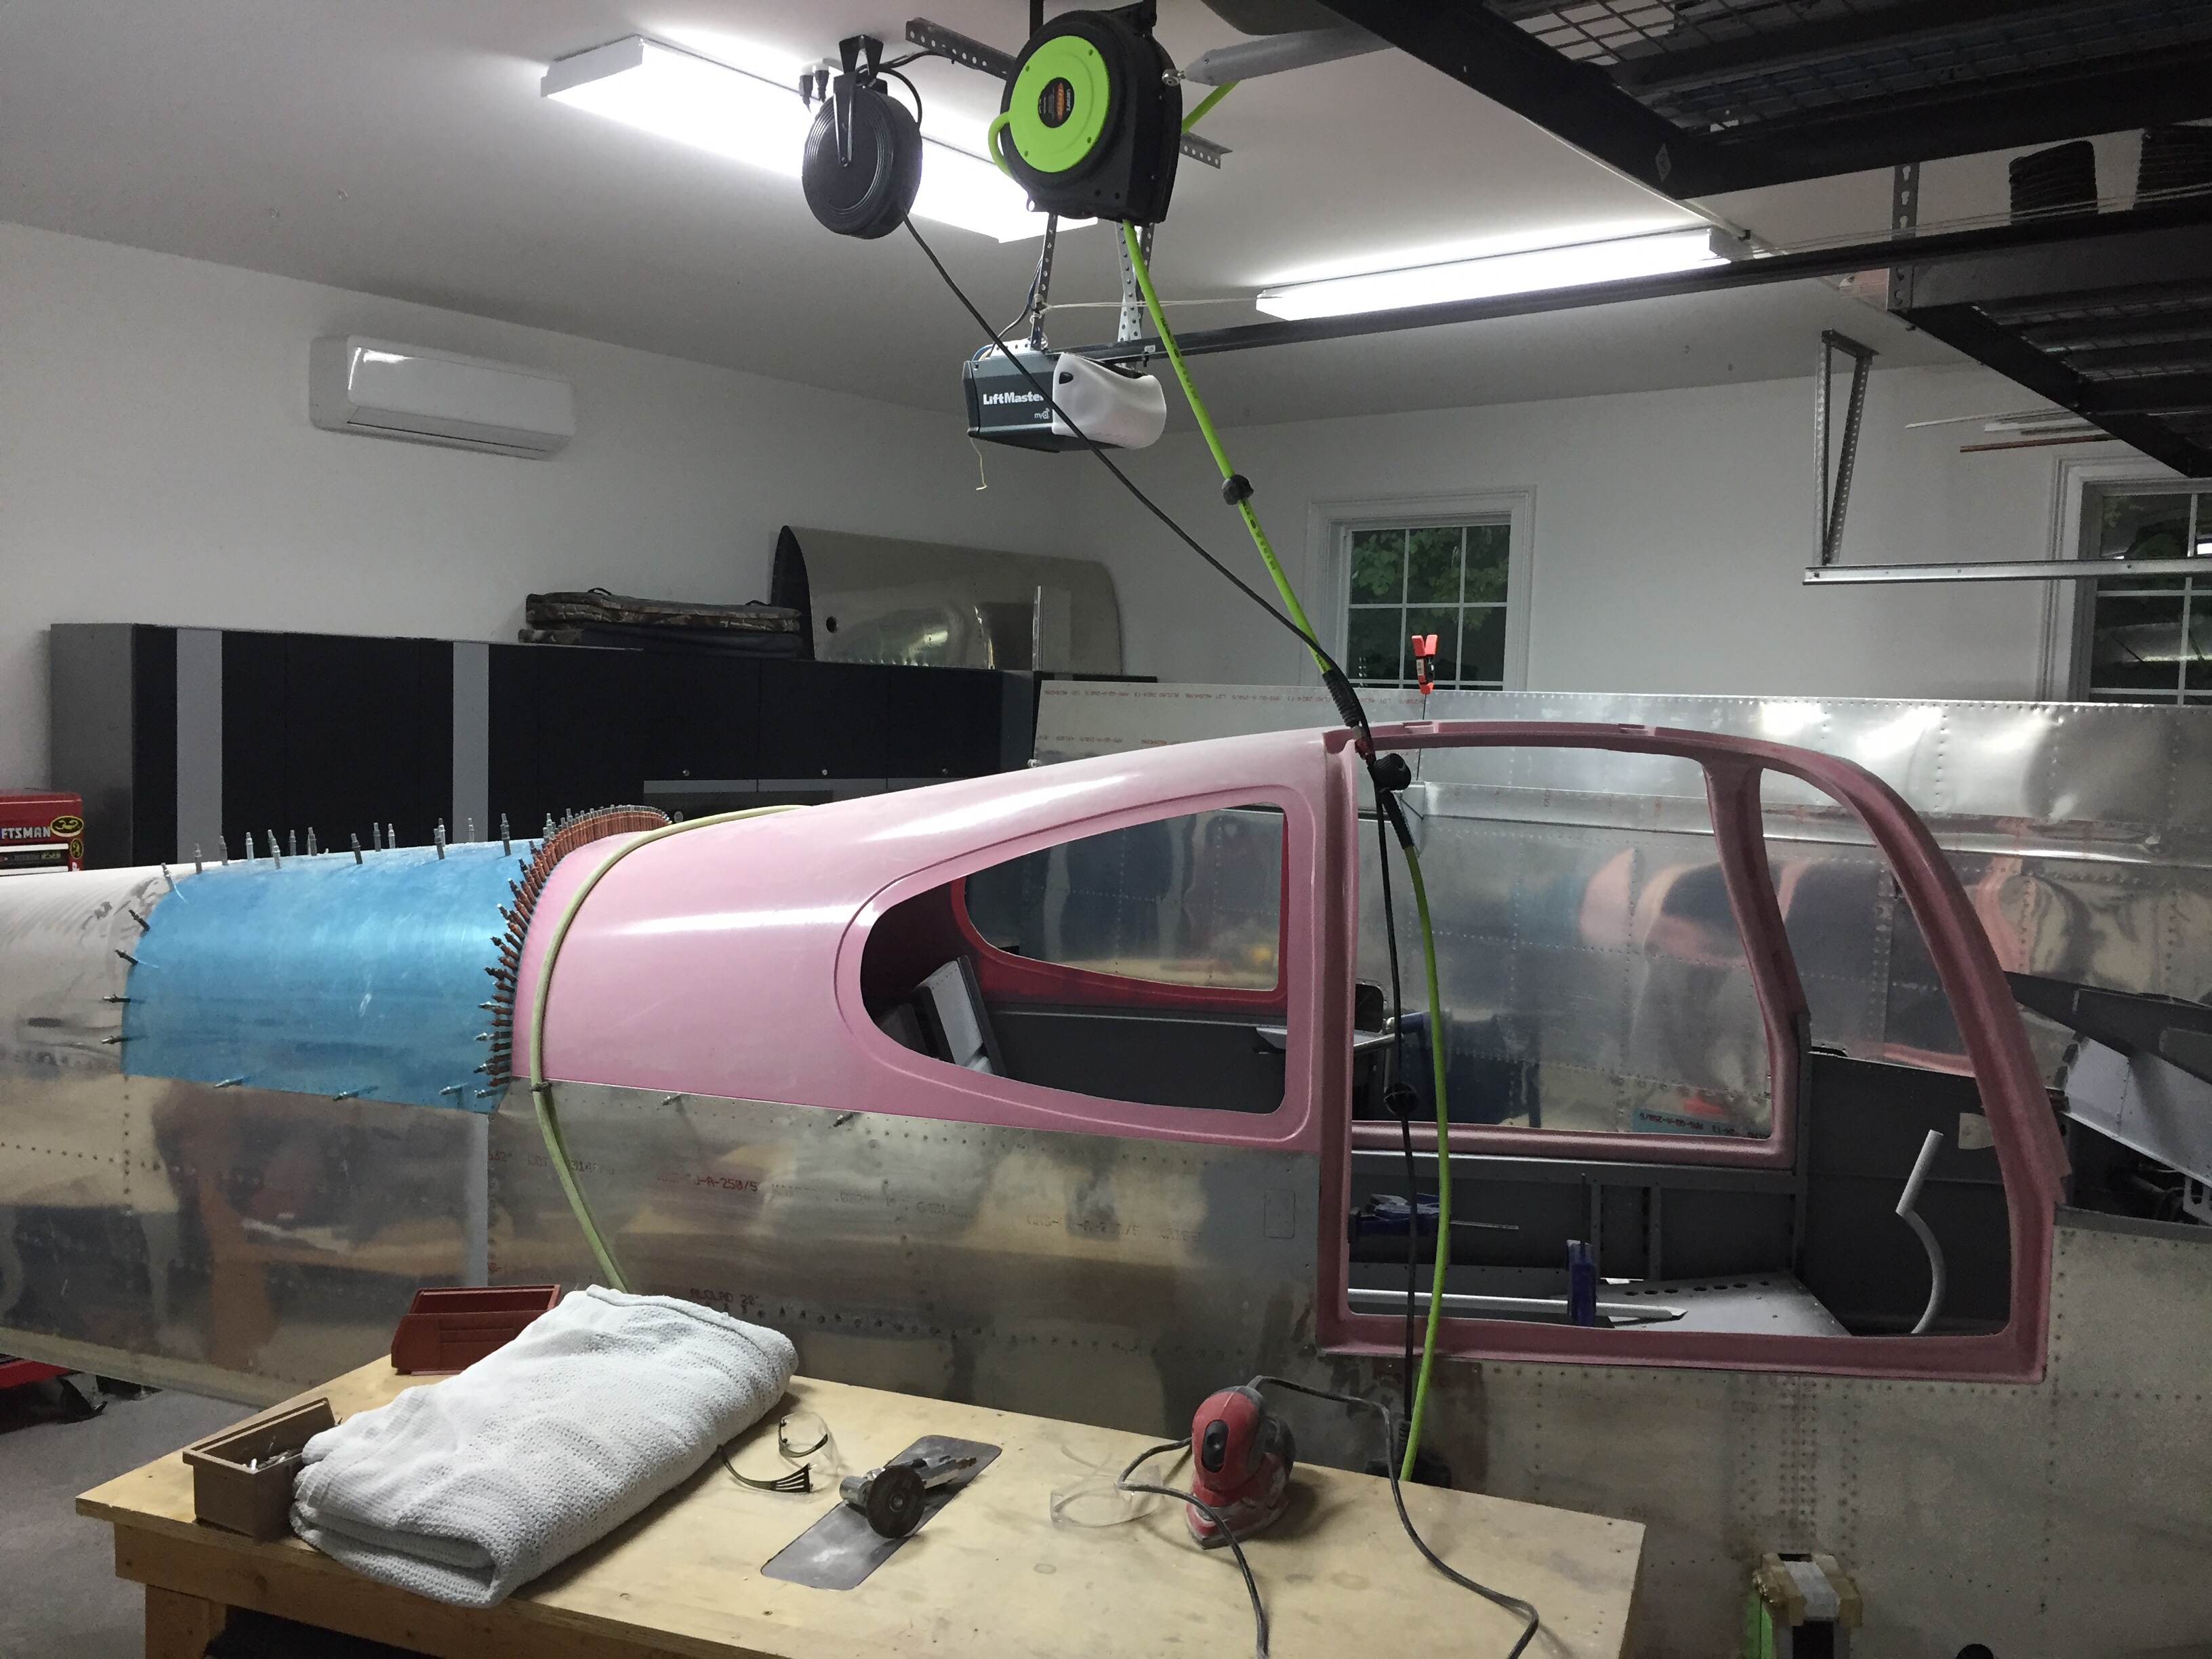
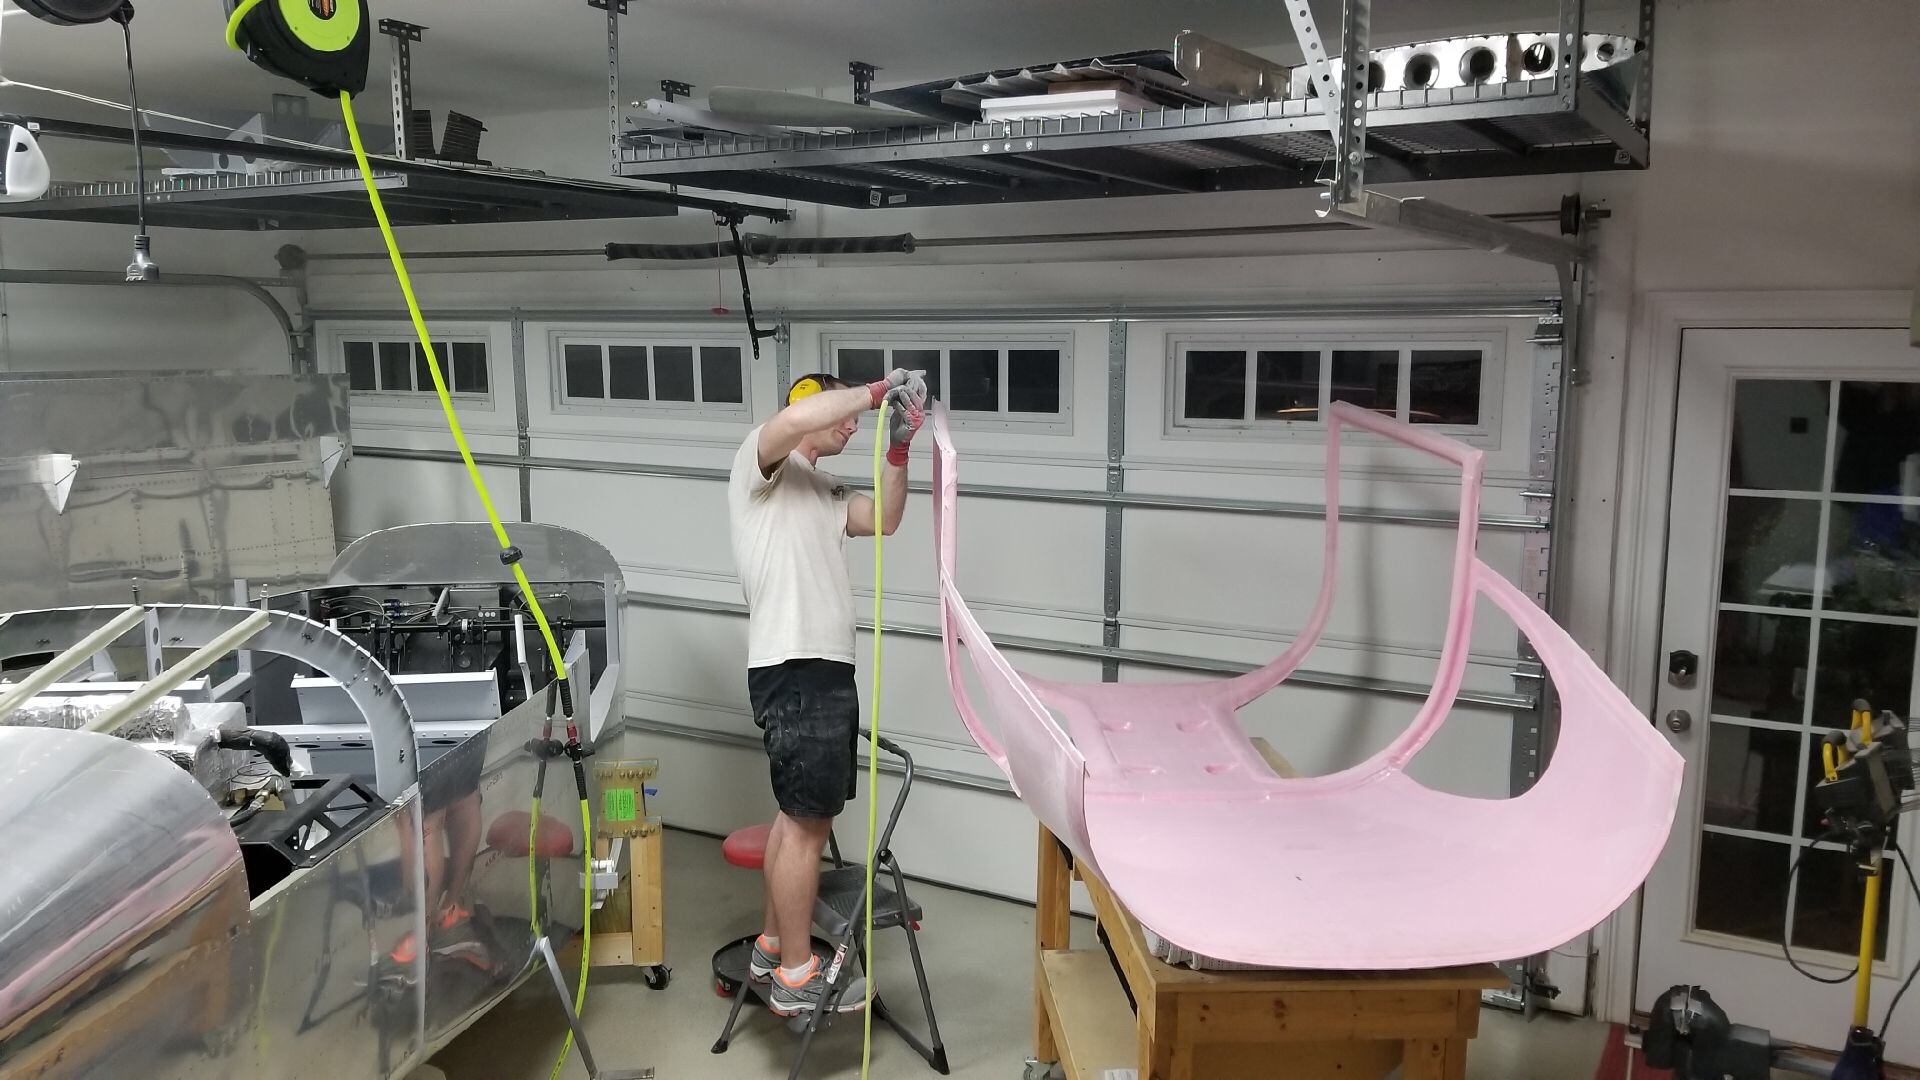
Parish came over for a pizza dinner with the wives and we managed to extract a museum piece off the ceiling.  The big pink thing that folks have asked about for the past three years is finally part of the airplane!  With his help, I did the initial trimming of the door frame and longeron area using the cut off wheel on the die grinder.  While it did produce some dust, we were outside and it really wasn’t a bad process. The scribe lines were pretty accurate where they were visible, but there were quite a few places the line was way off or missing all together.

I initially trimmed the side skirts and door frame area just to get it on the fuselage. I had to take it on and off a few times and looking back, I wish I had thought out the process a bit better. You could measure the frame and make your own marks then do a final trimming. Fortunately, the top is mounted in a bed of flox so other than some sanding and contouring, it will be fine to have some gaps such as mine around the frame.

I had considered doing an overhead pulley system since I knew it’d come on and off, but really it’s not too heavy and I’ve found a good system of crawling inside and lifting the top up with my shoulders. Then I can put it on the seat rail and spar while I get out of the plane to lift it through the door frame onto the table. All in all I think I took it off about 10 times before it was all trimmed up.

It’s really cool to see all of this together. The thing actually looks more like a plane (or at least more of a plane) than it ever has. The back seats are really roomy! Next up is trimming the window openings, door flange, and windscreen flange.