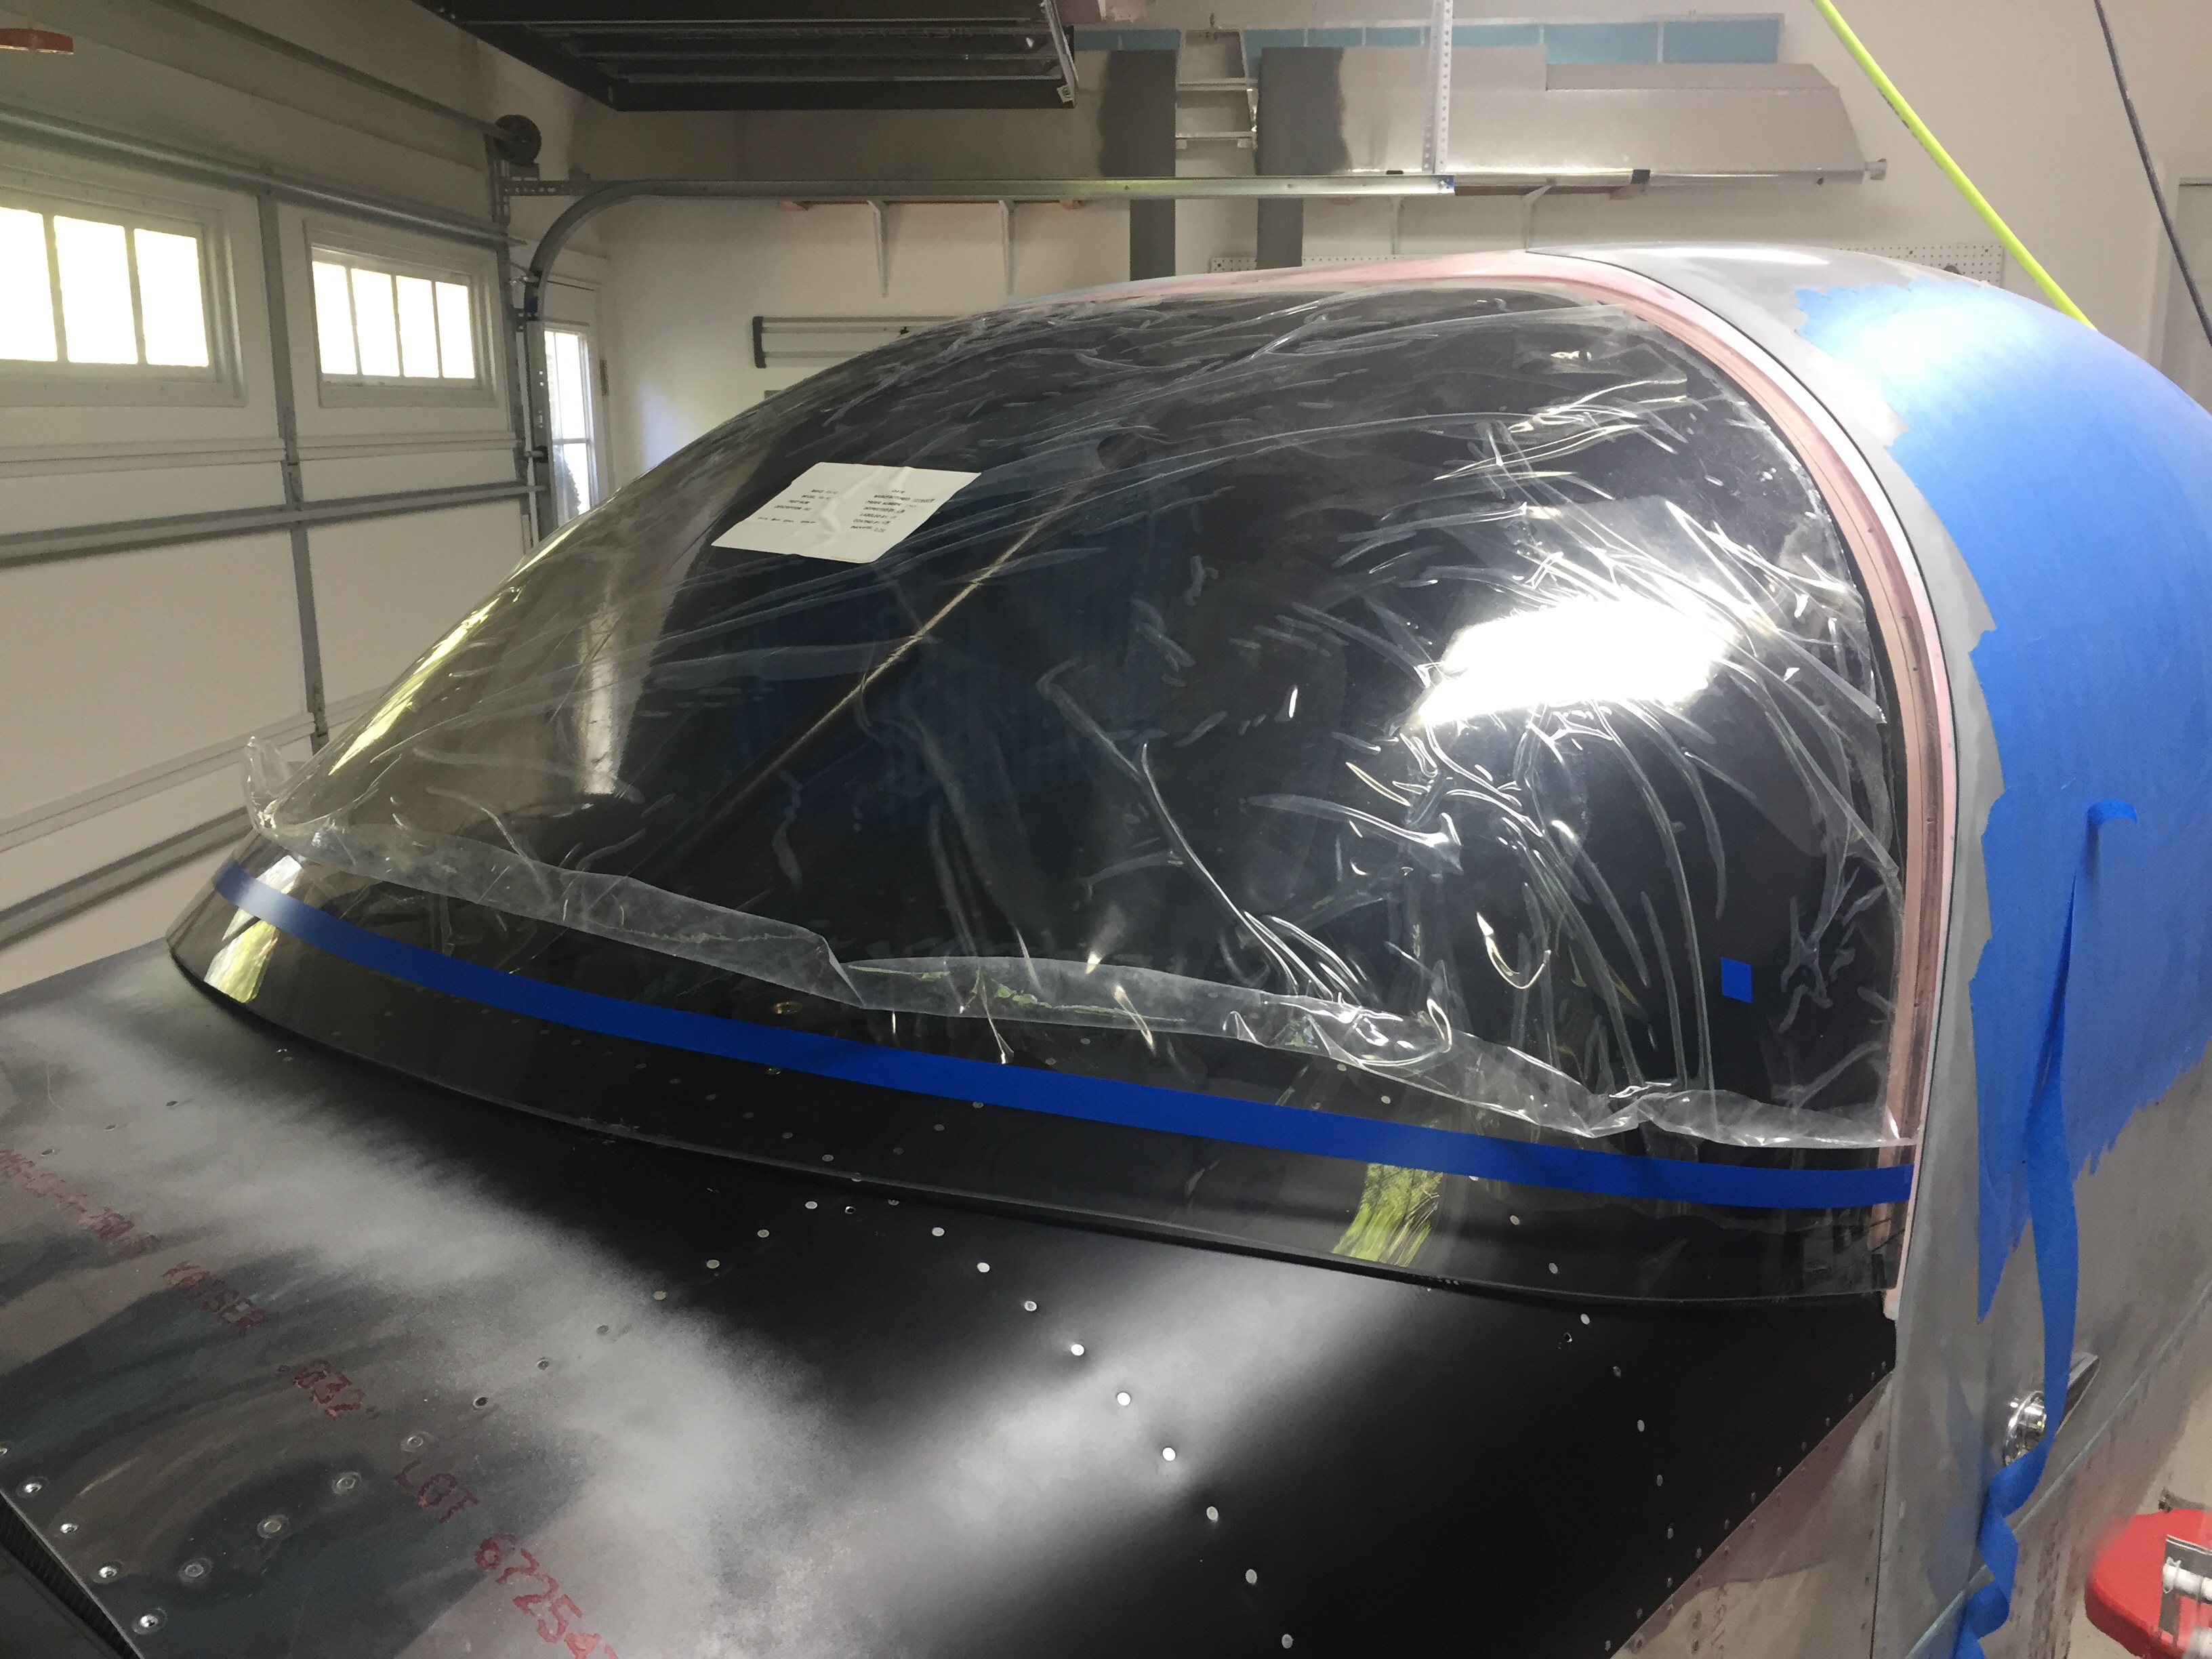
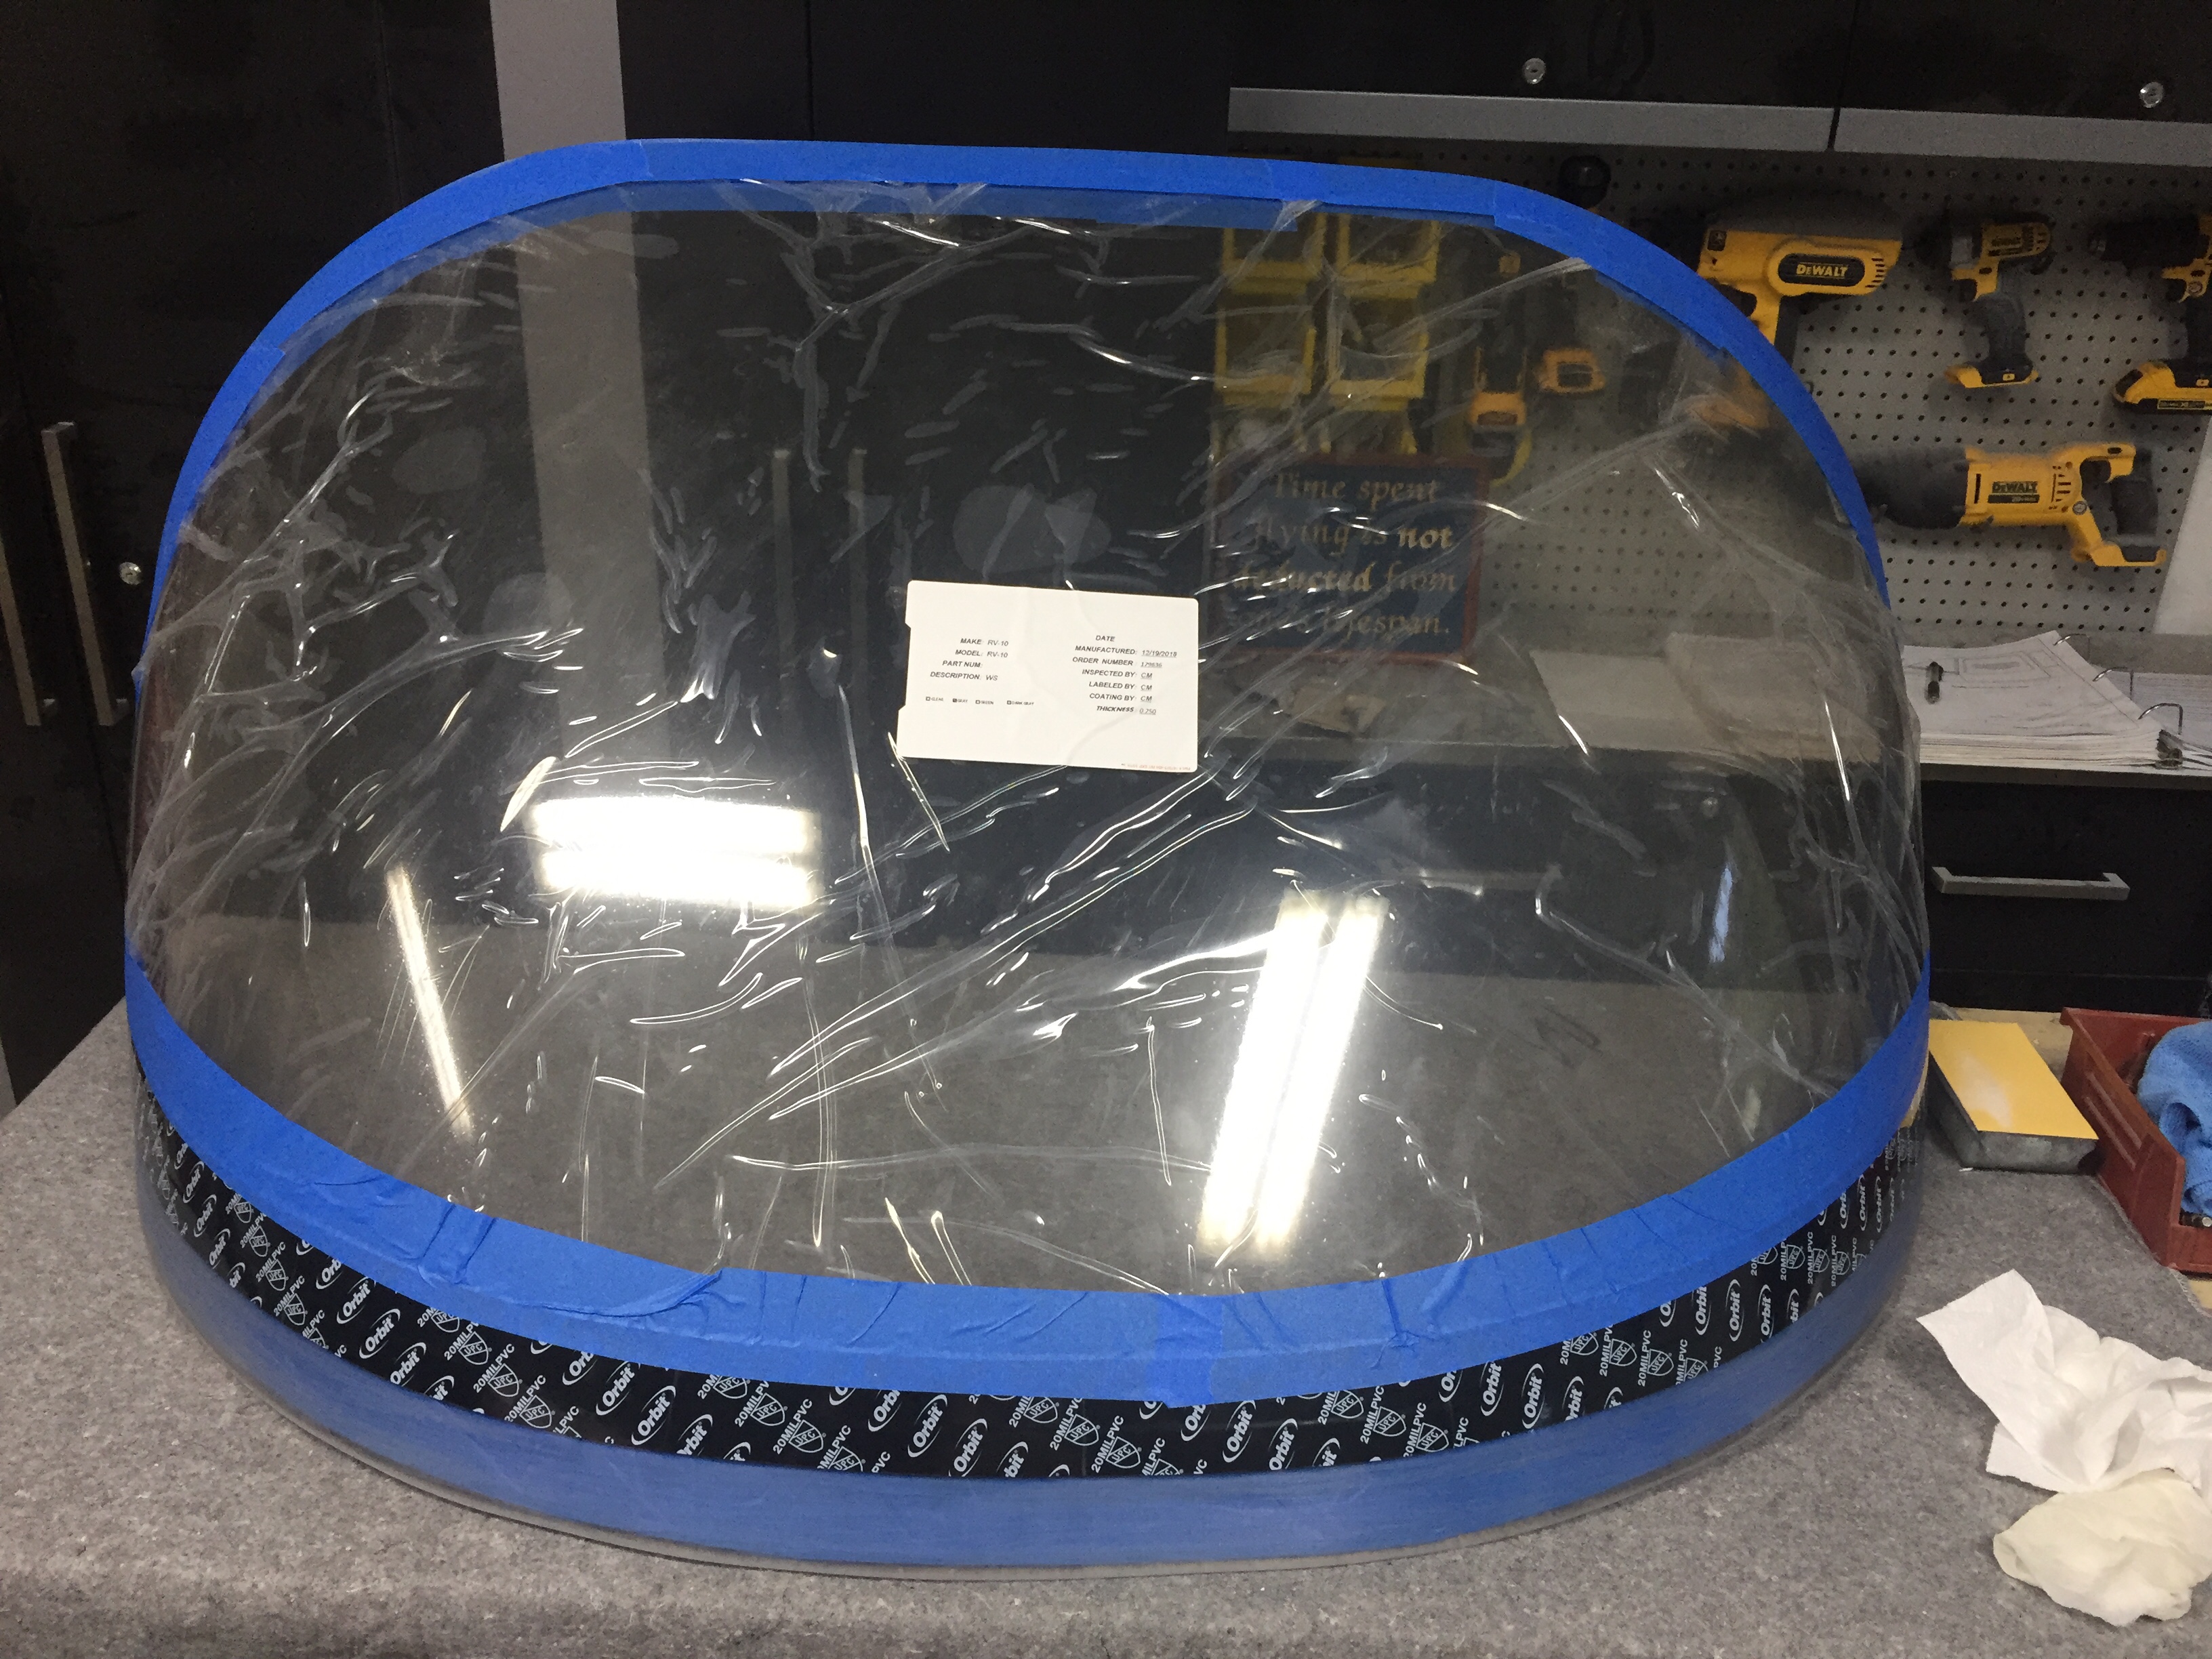
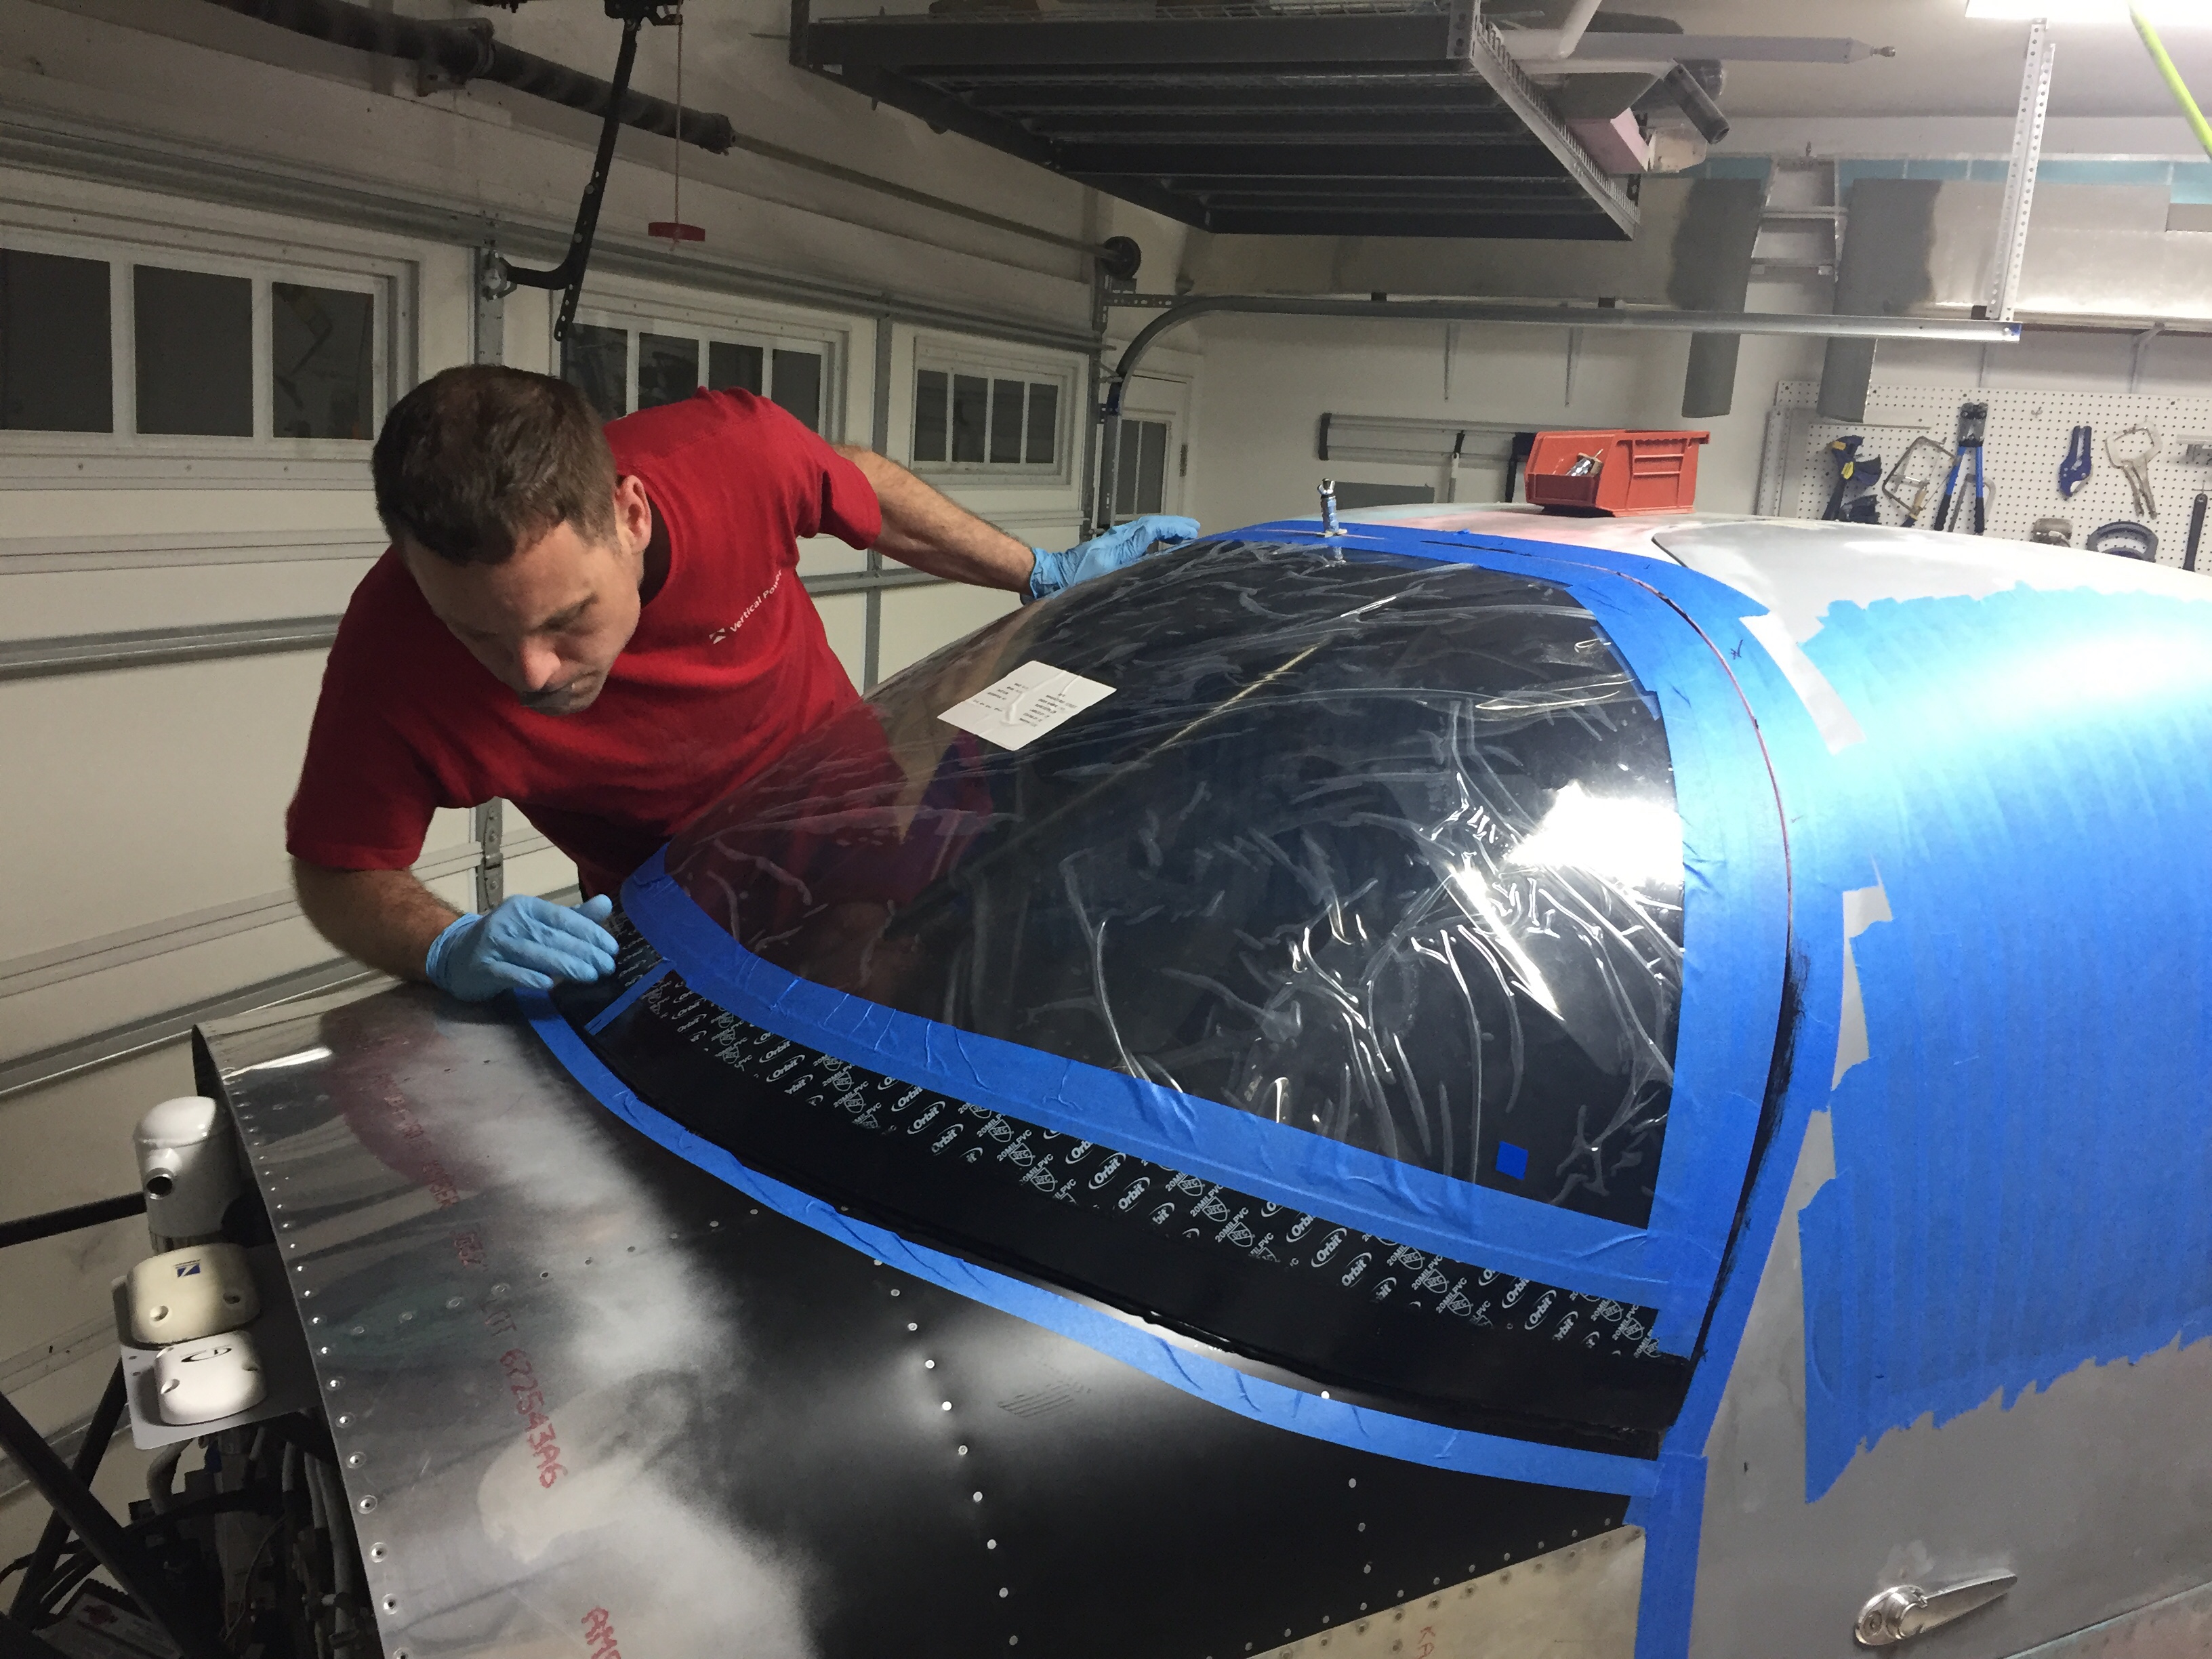
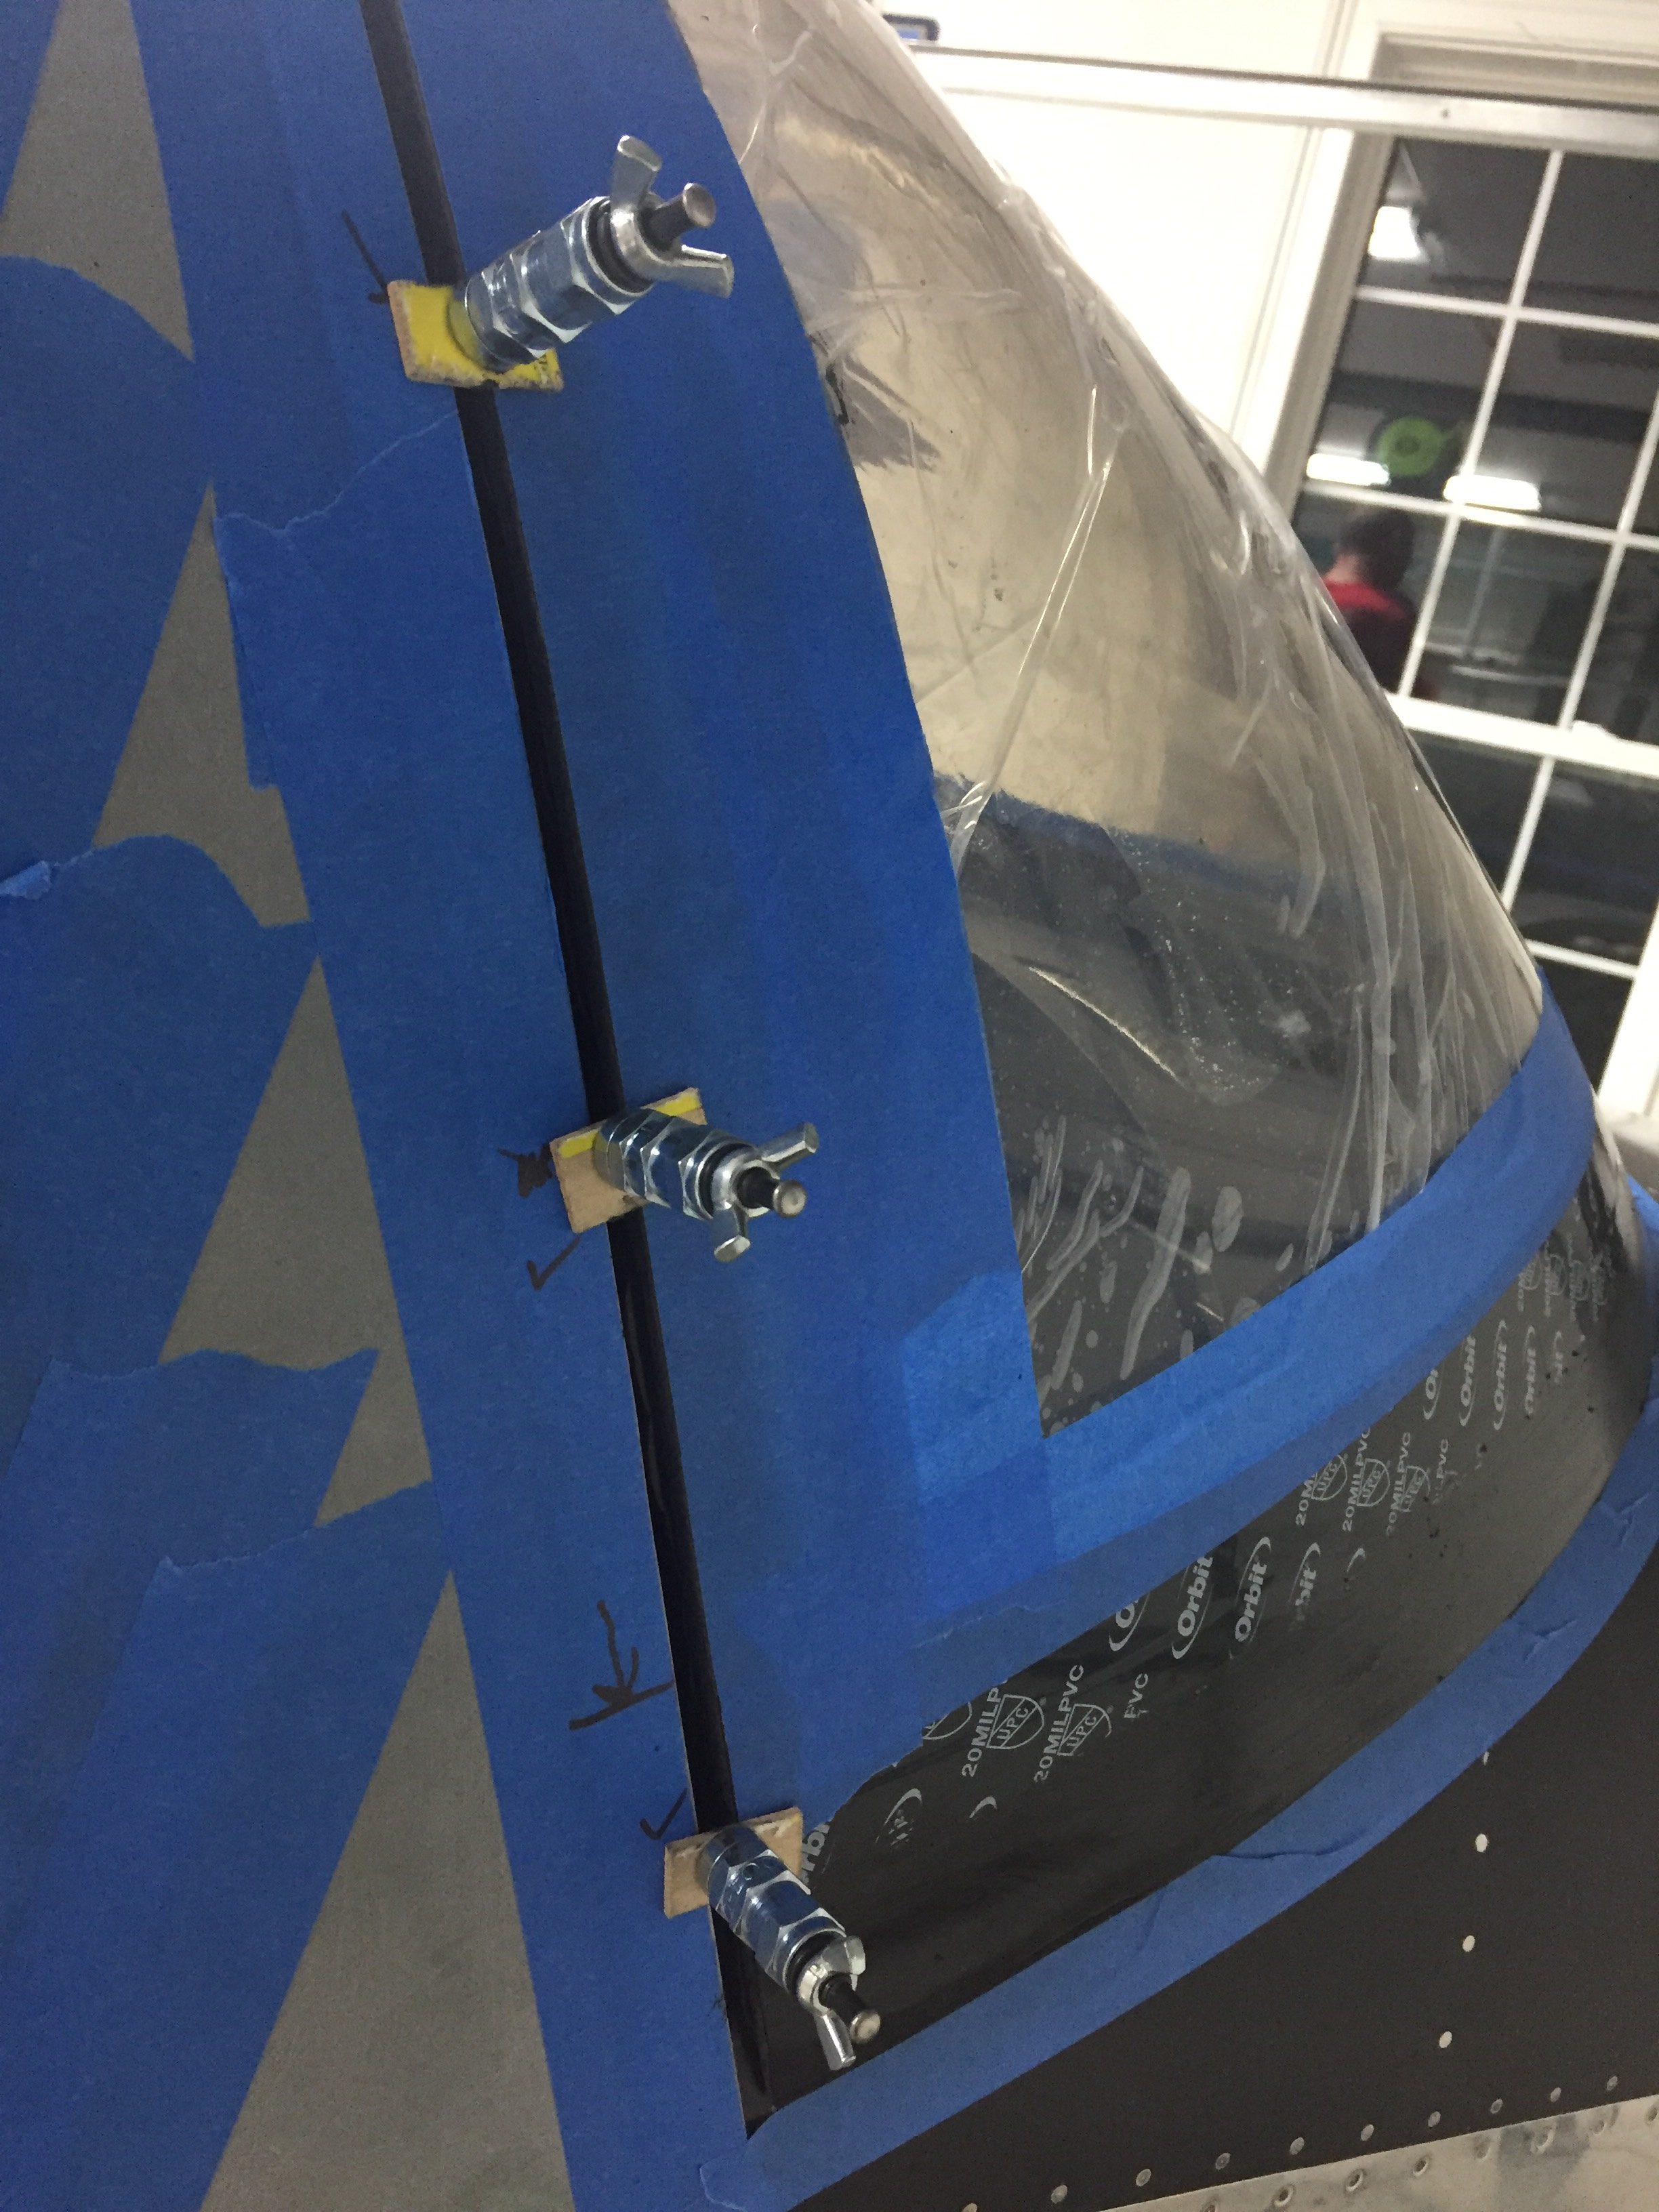
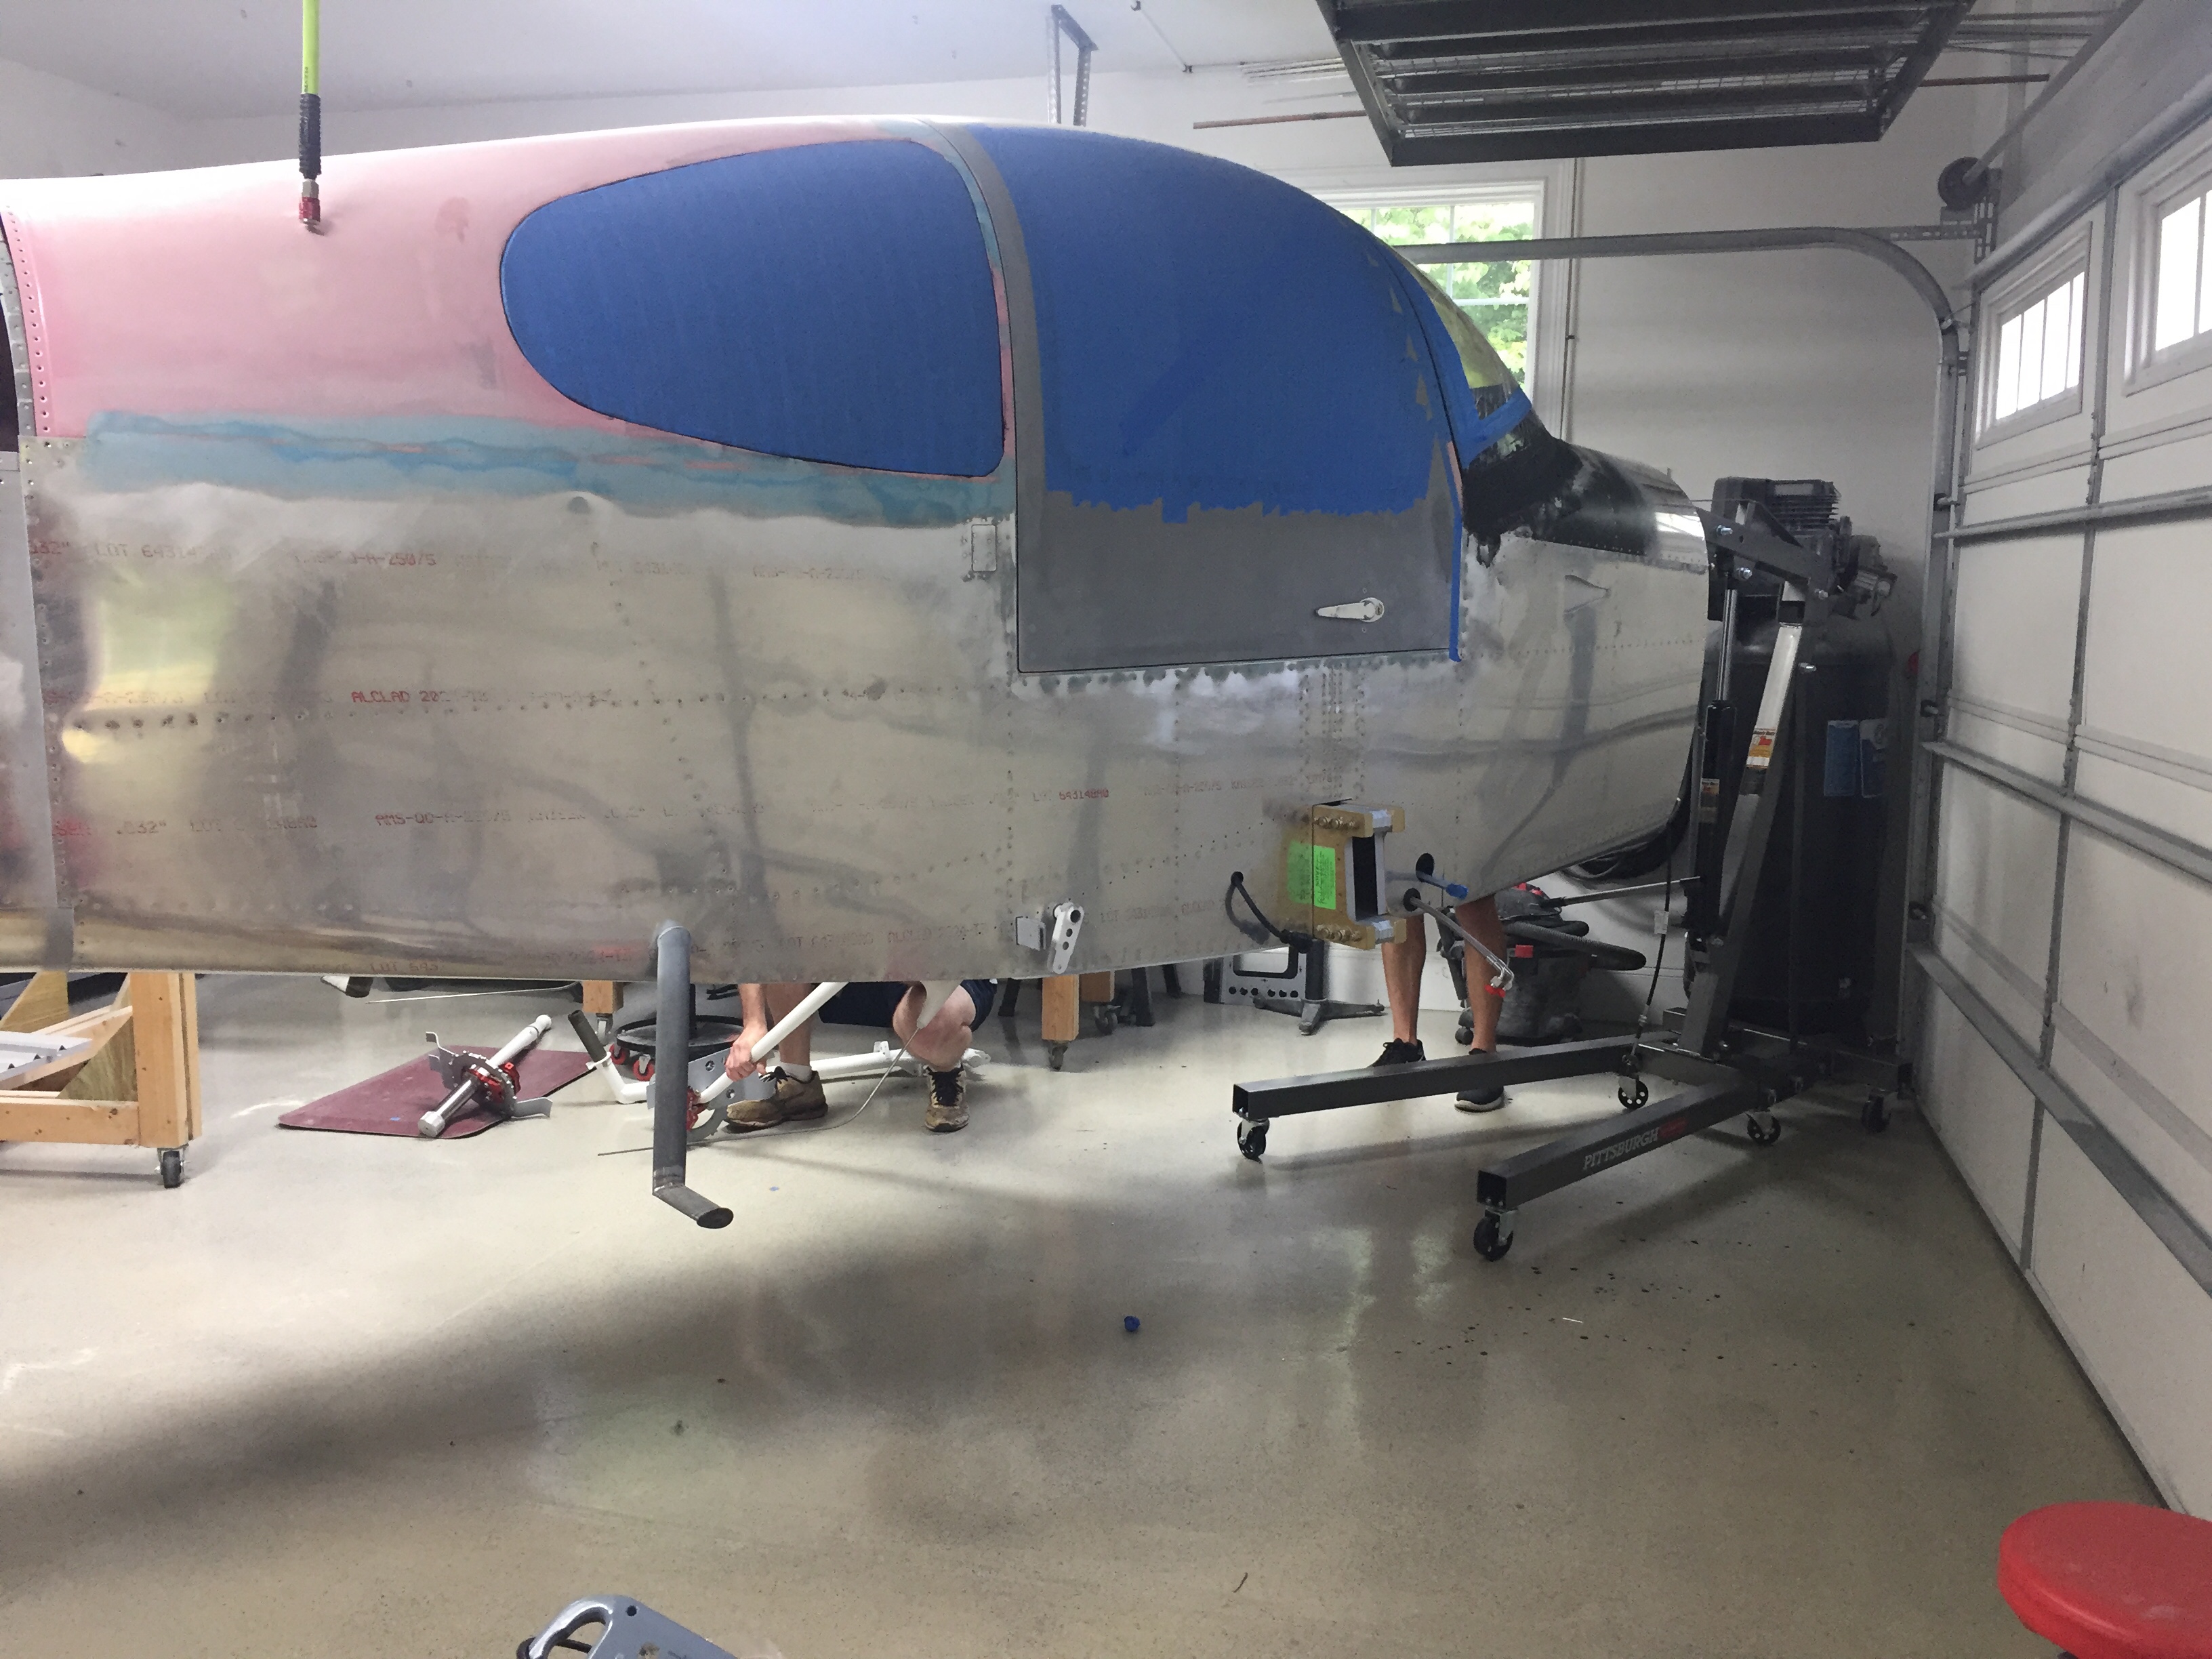
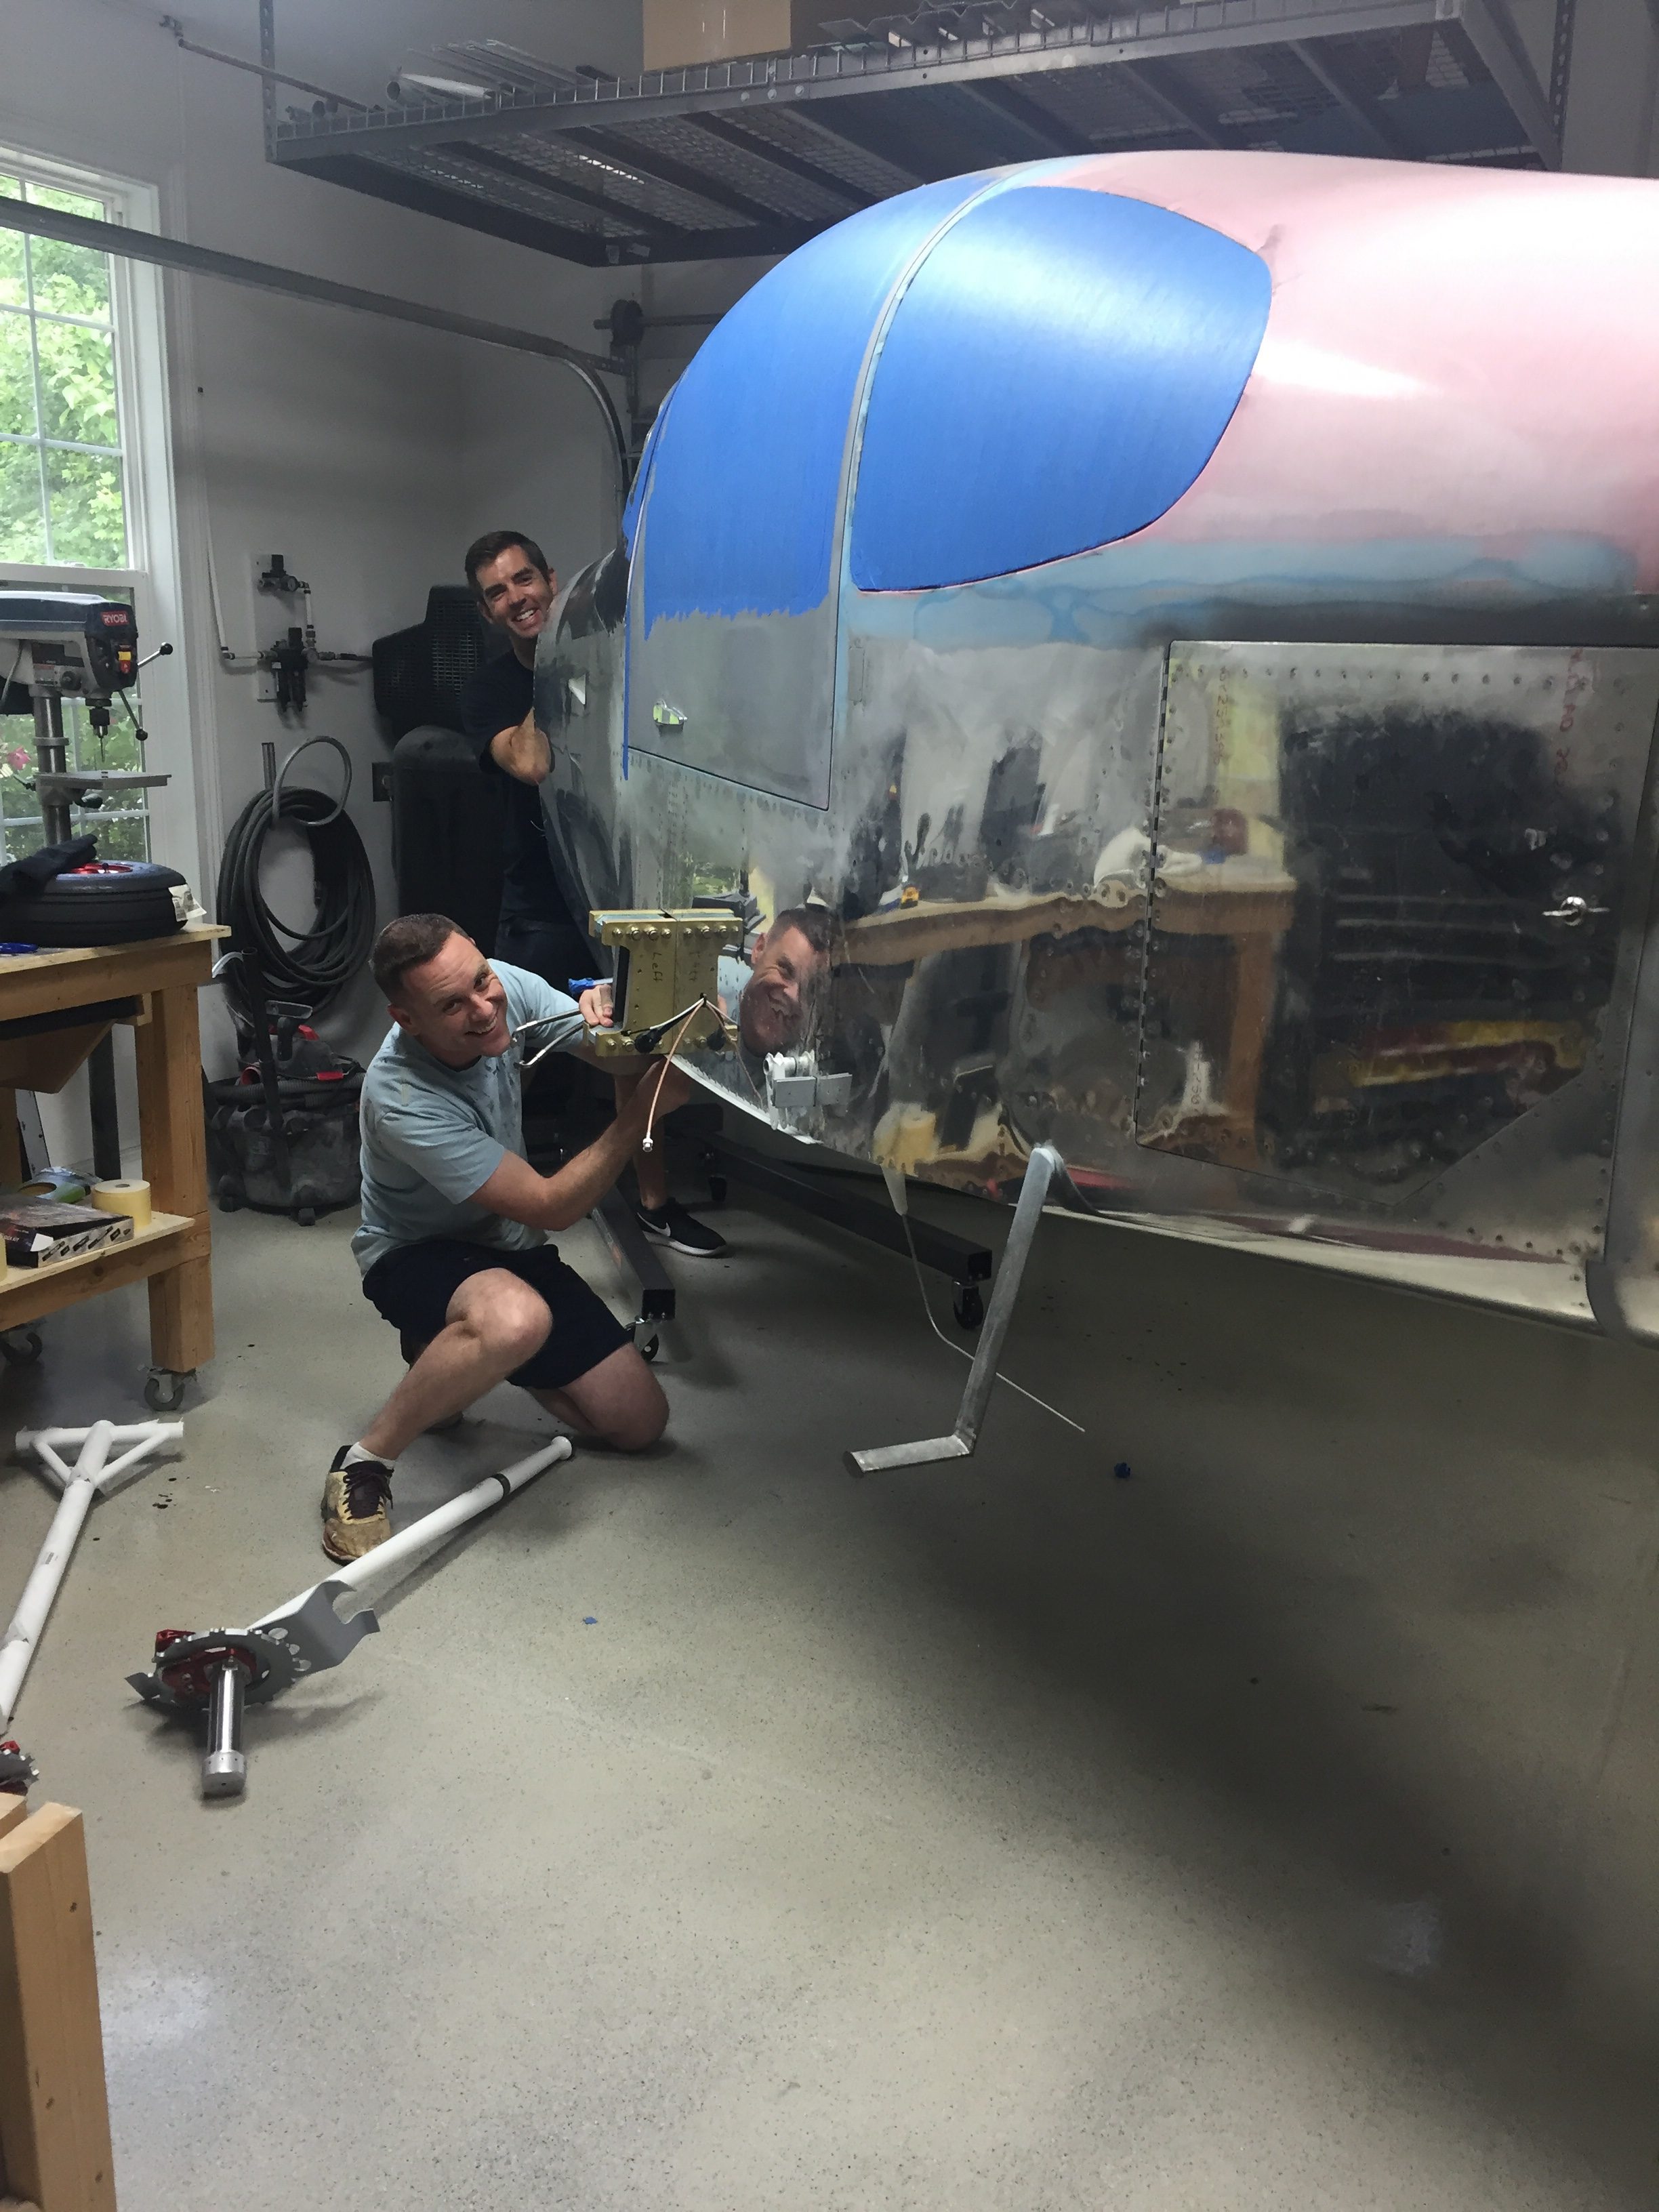
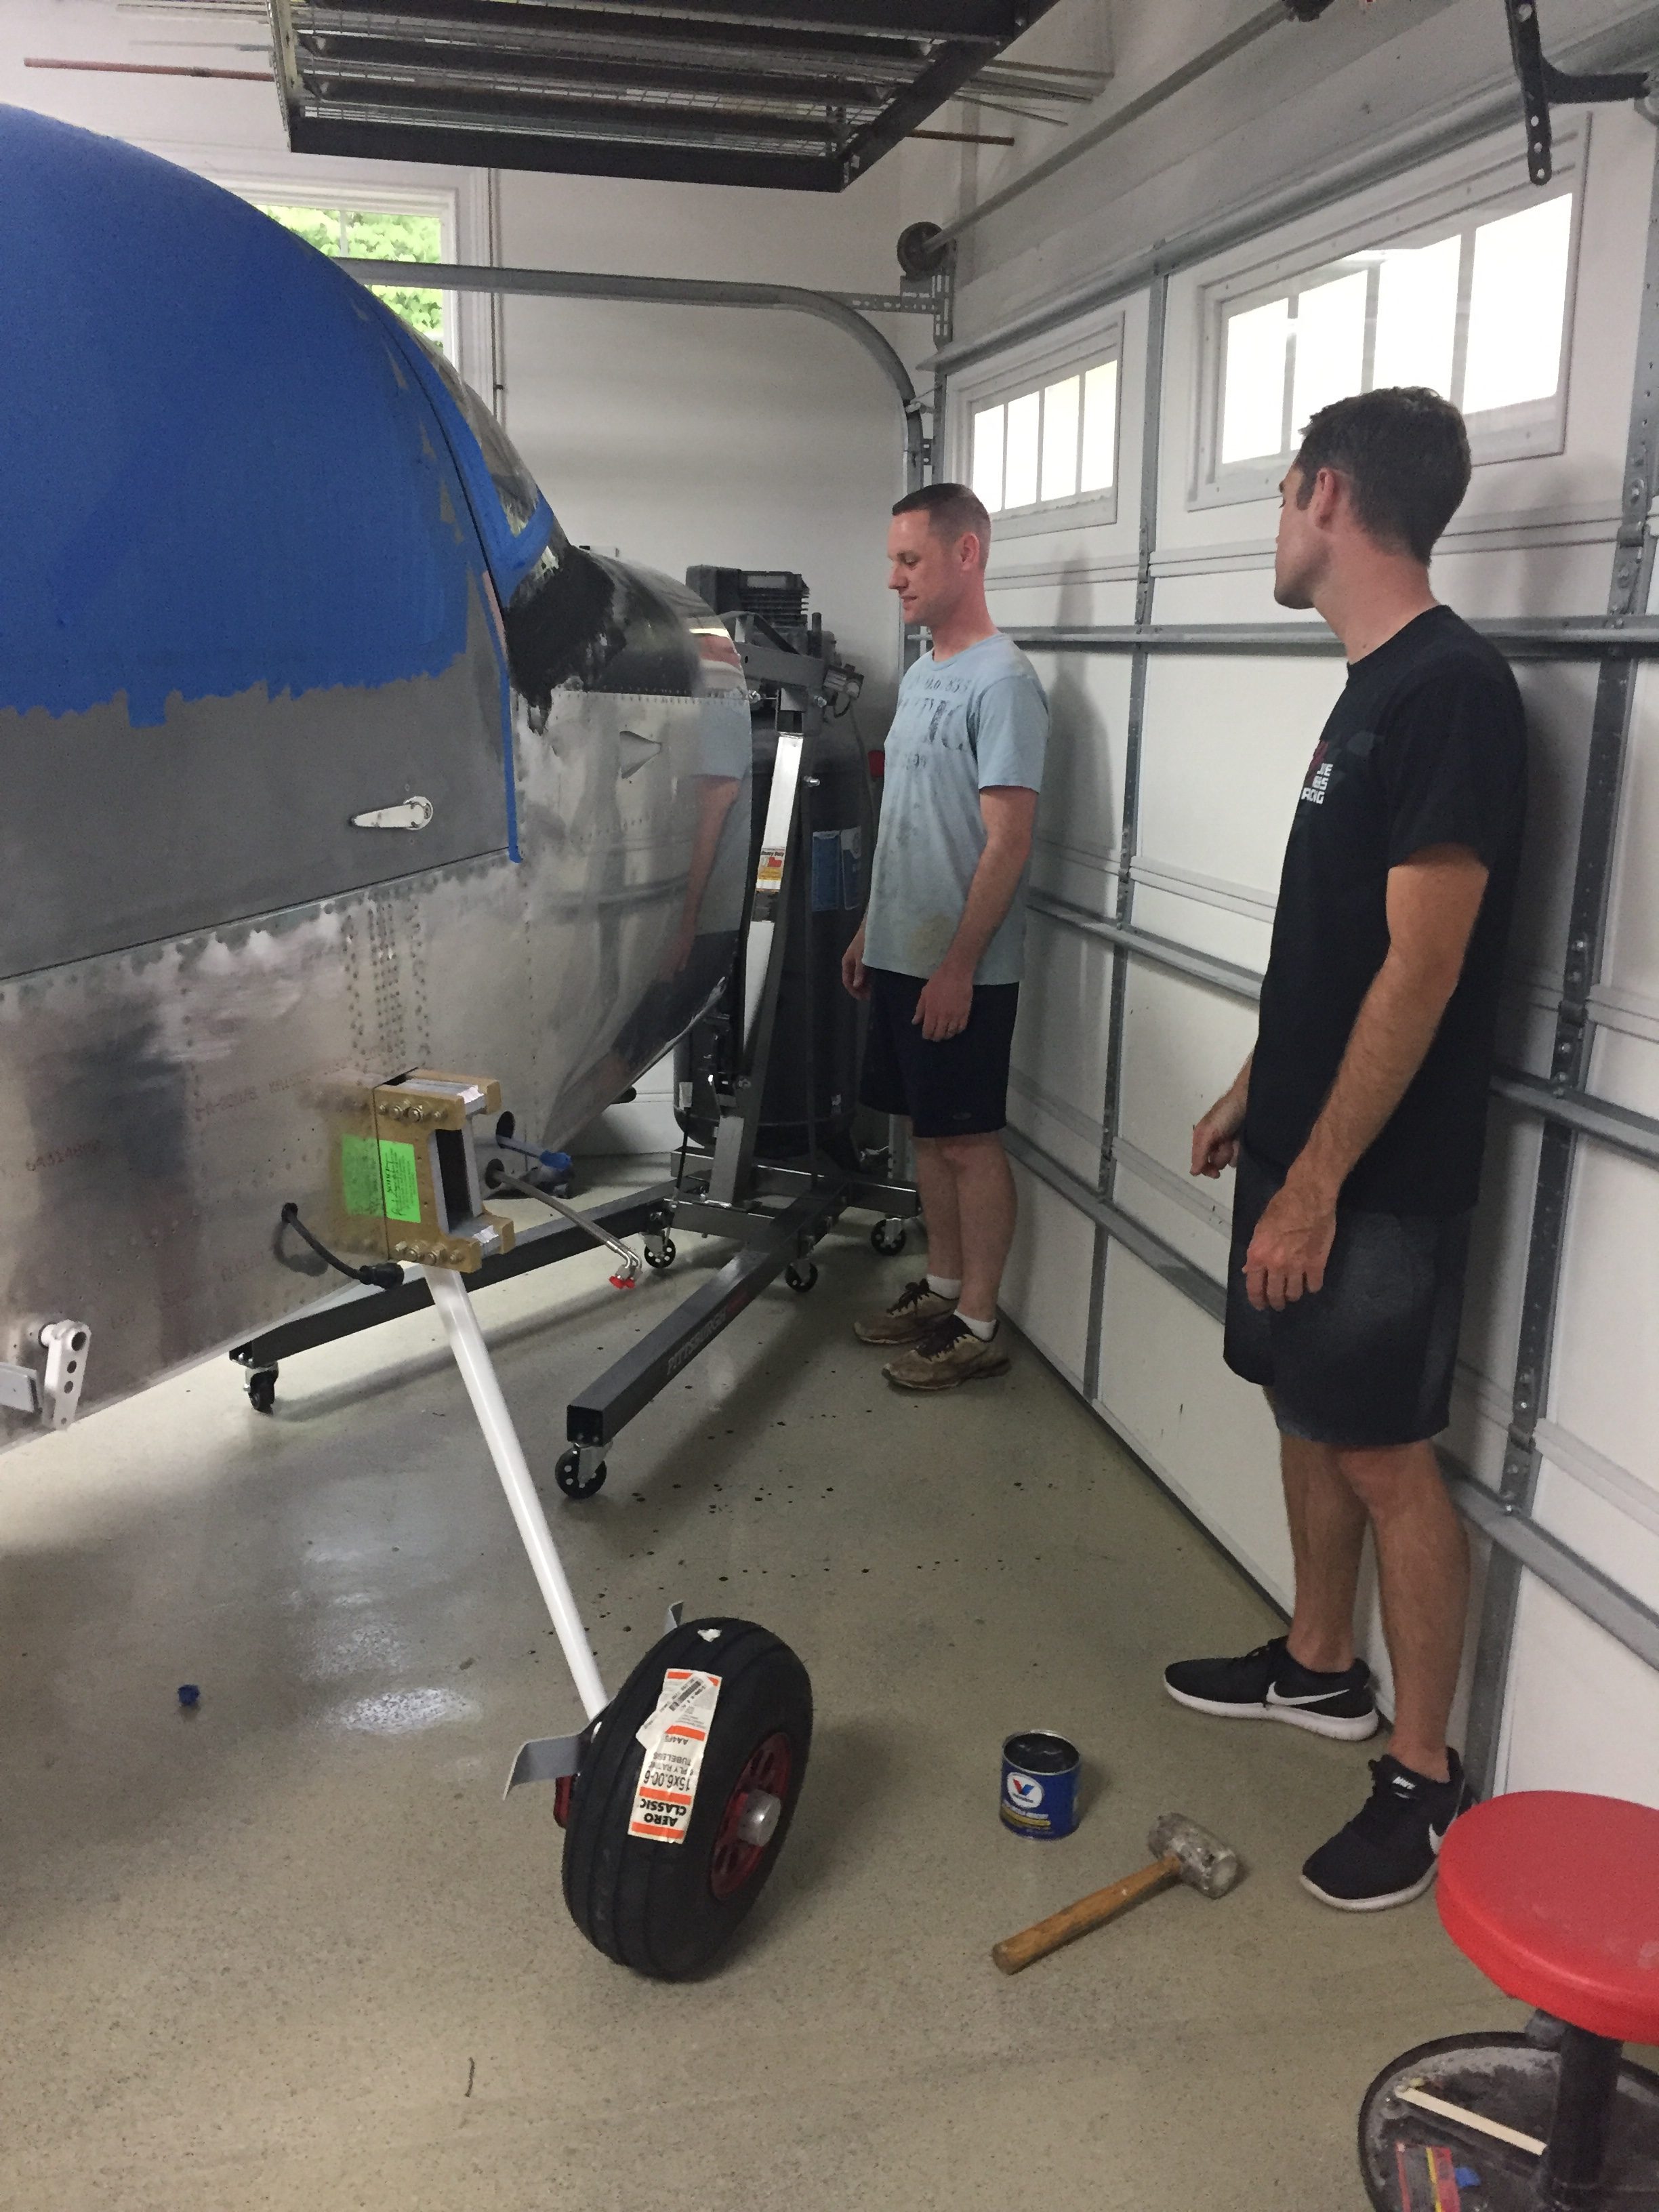
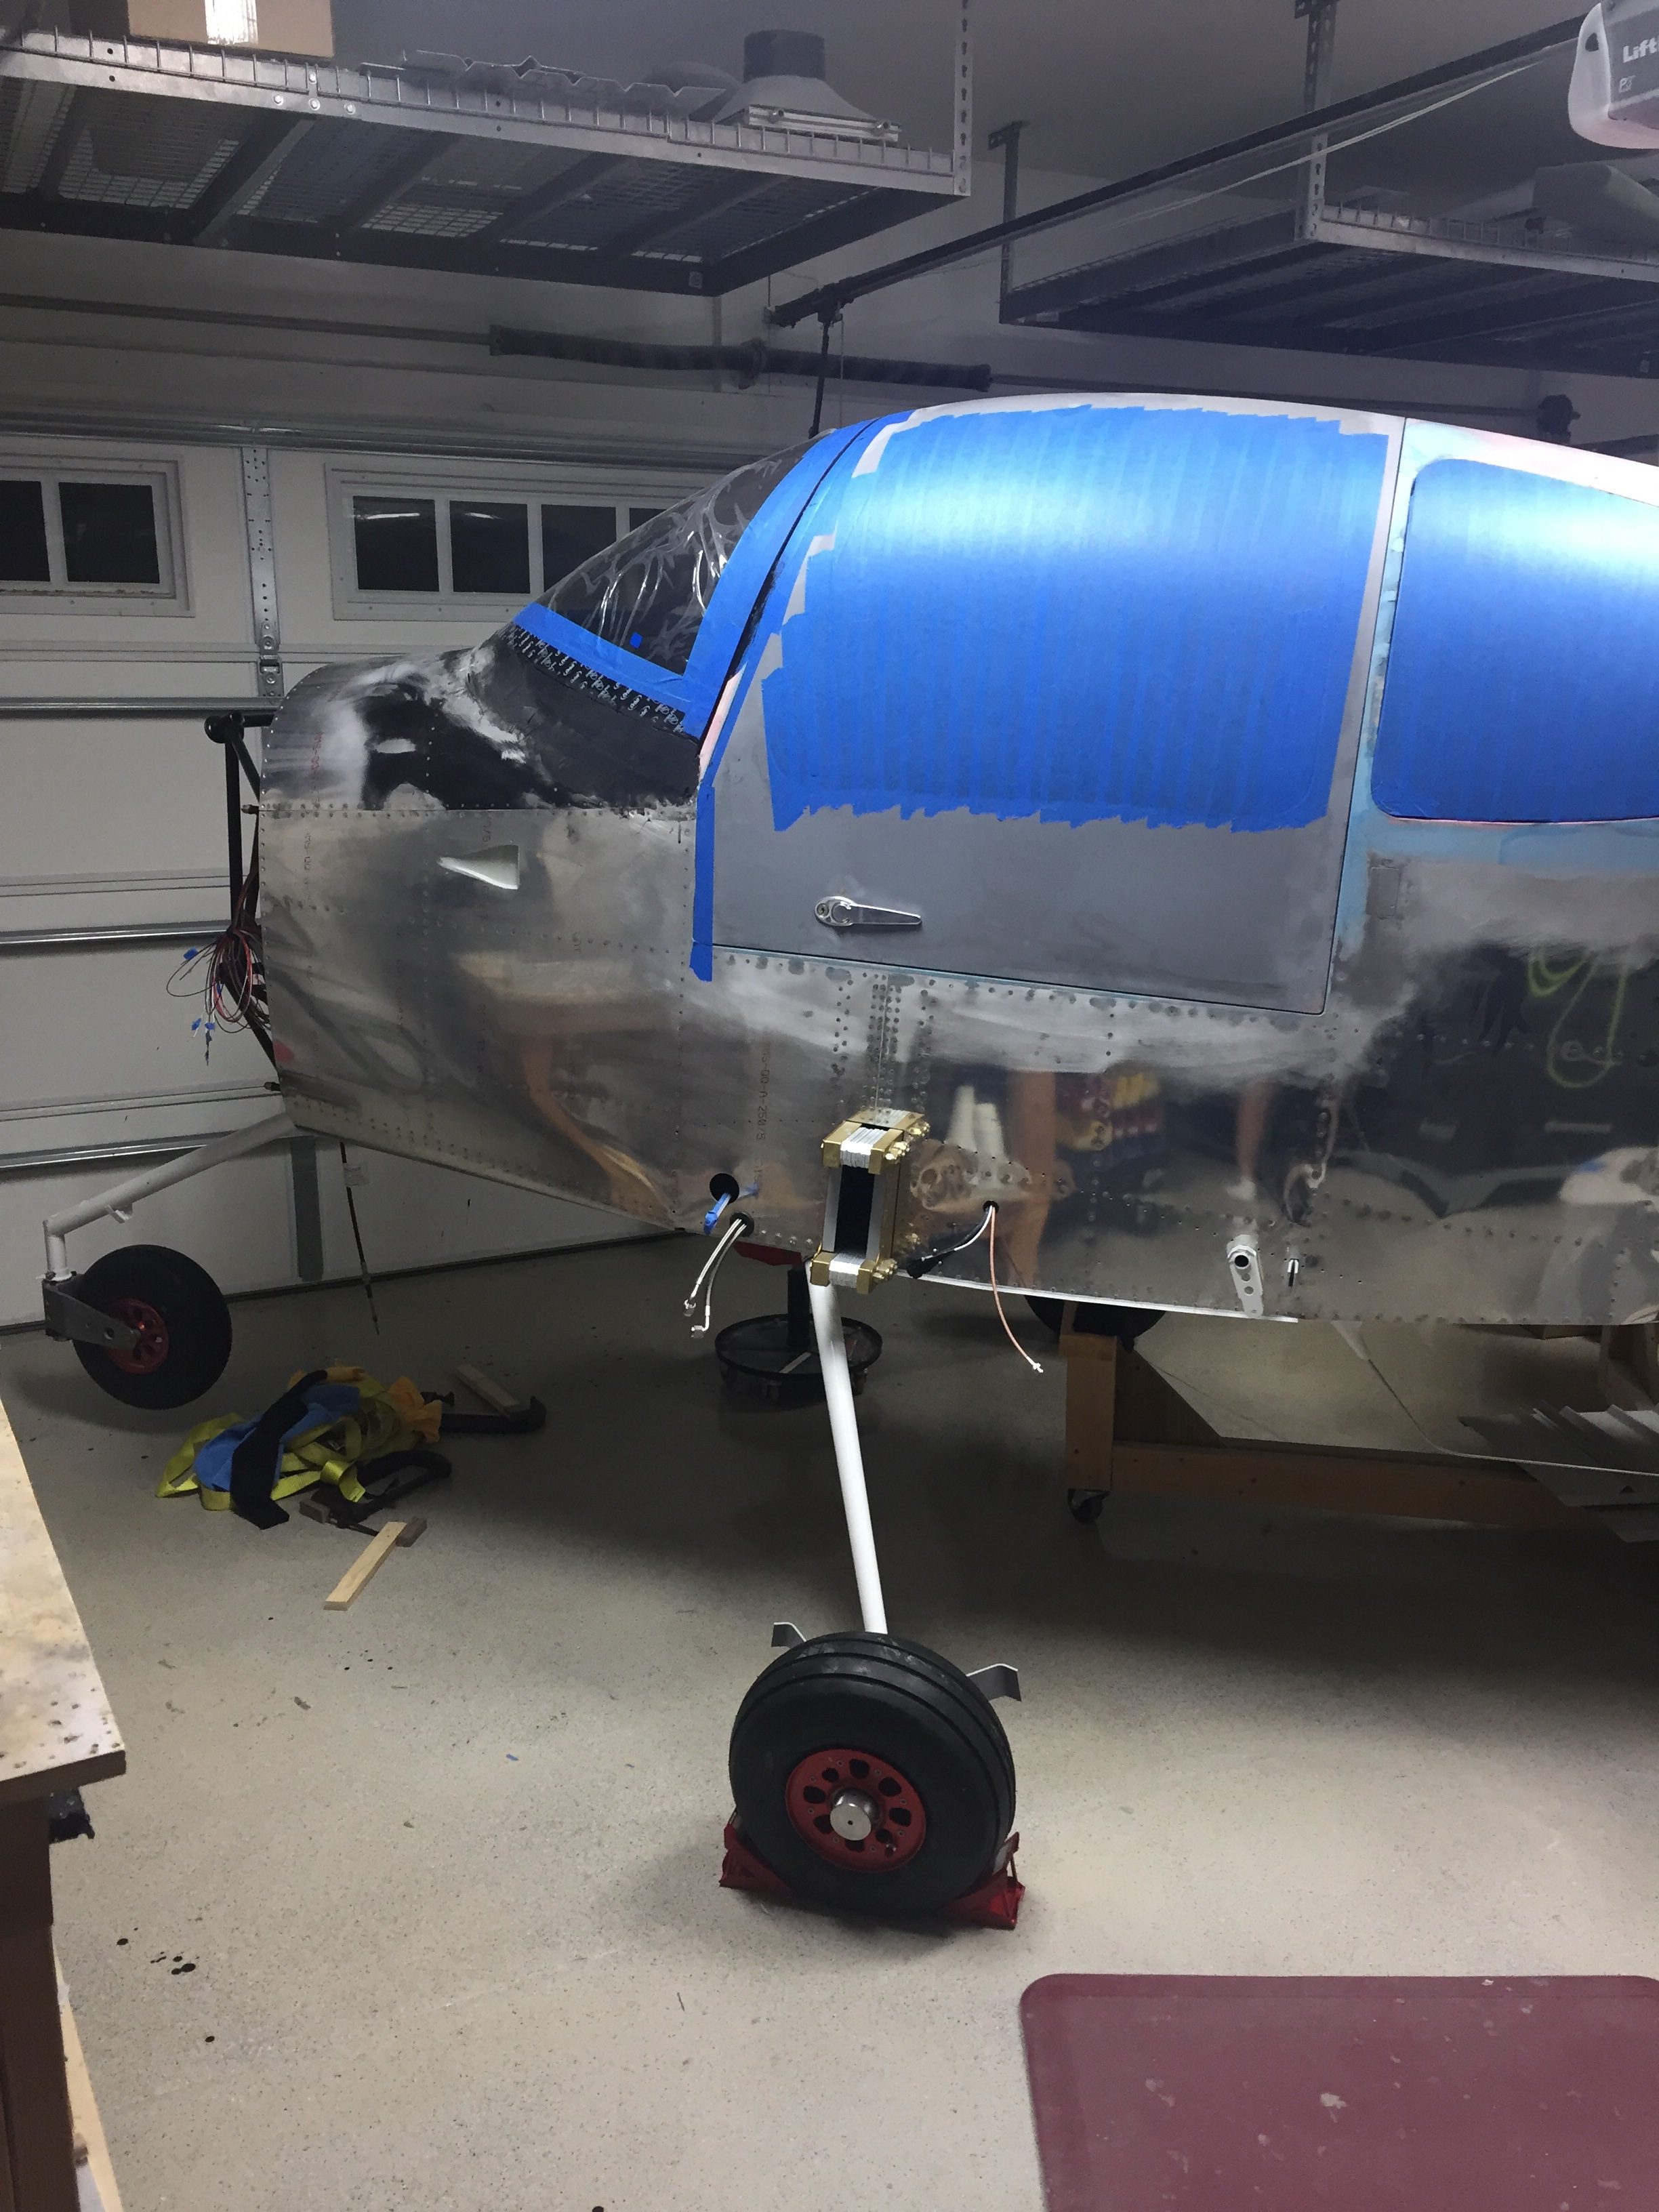
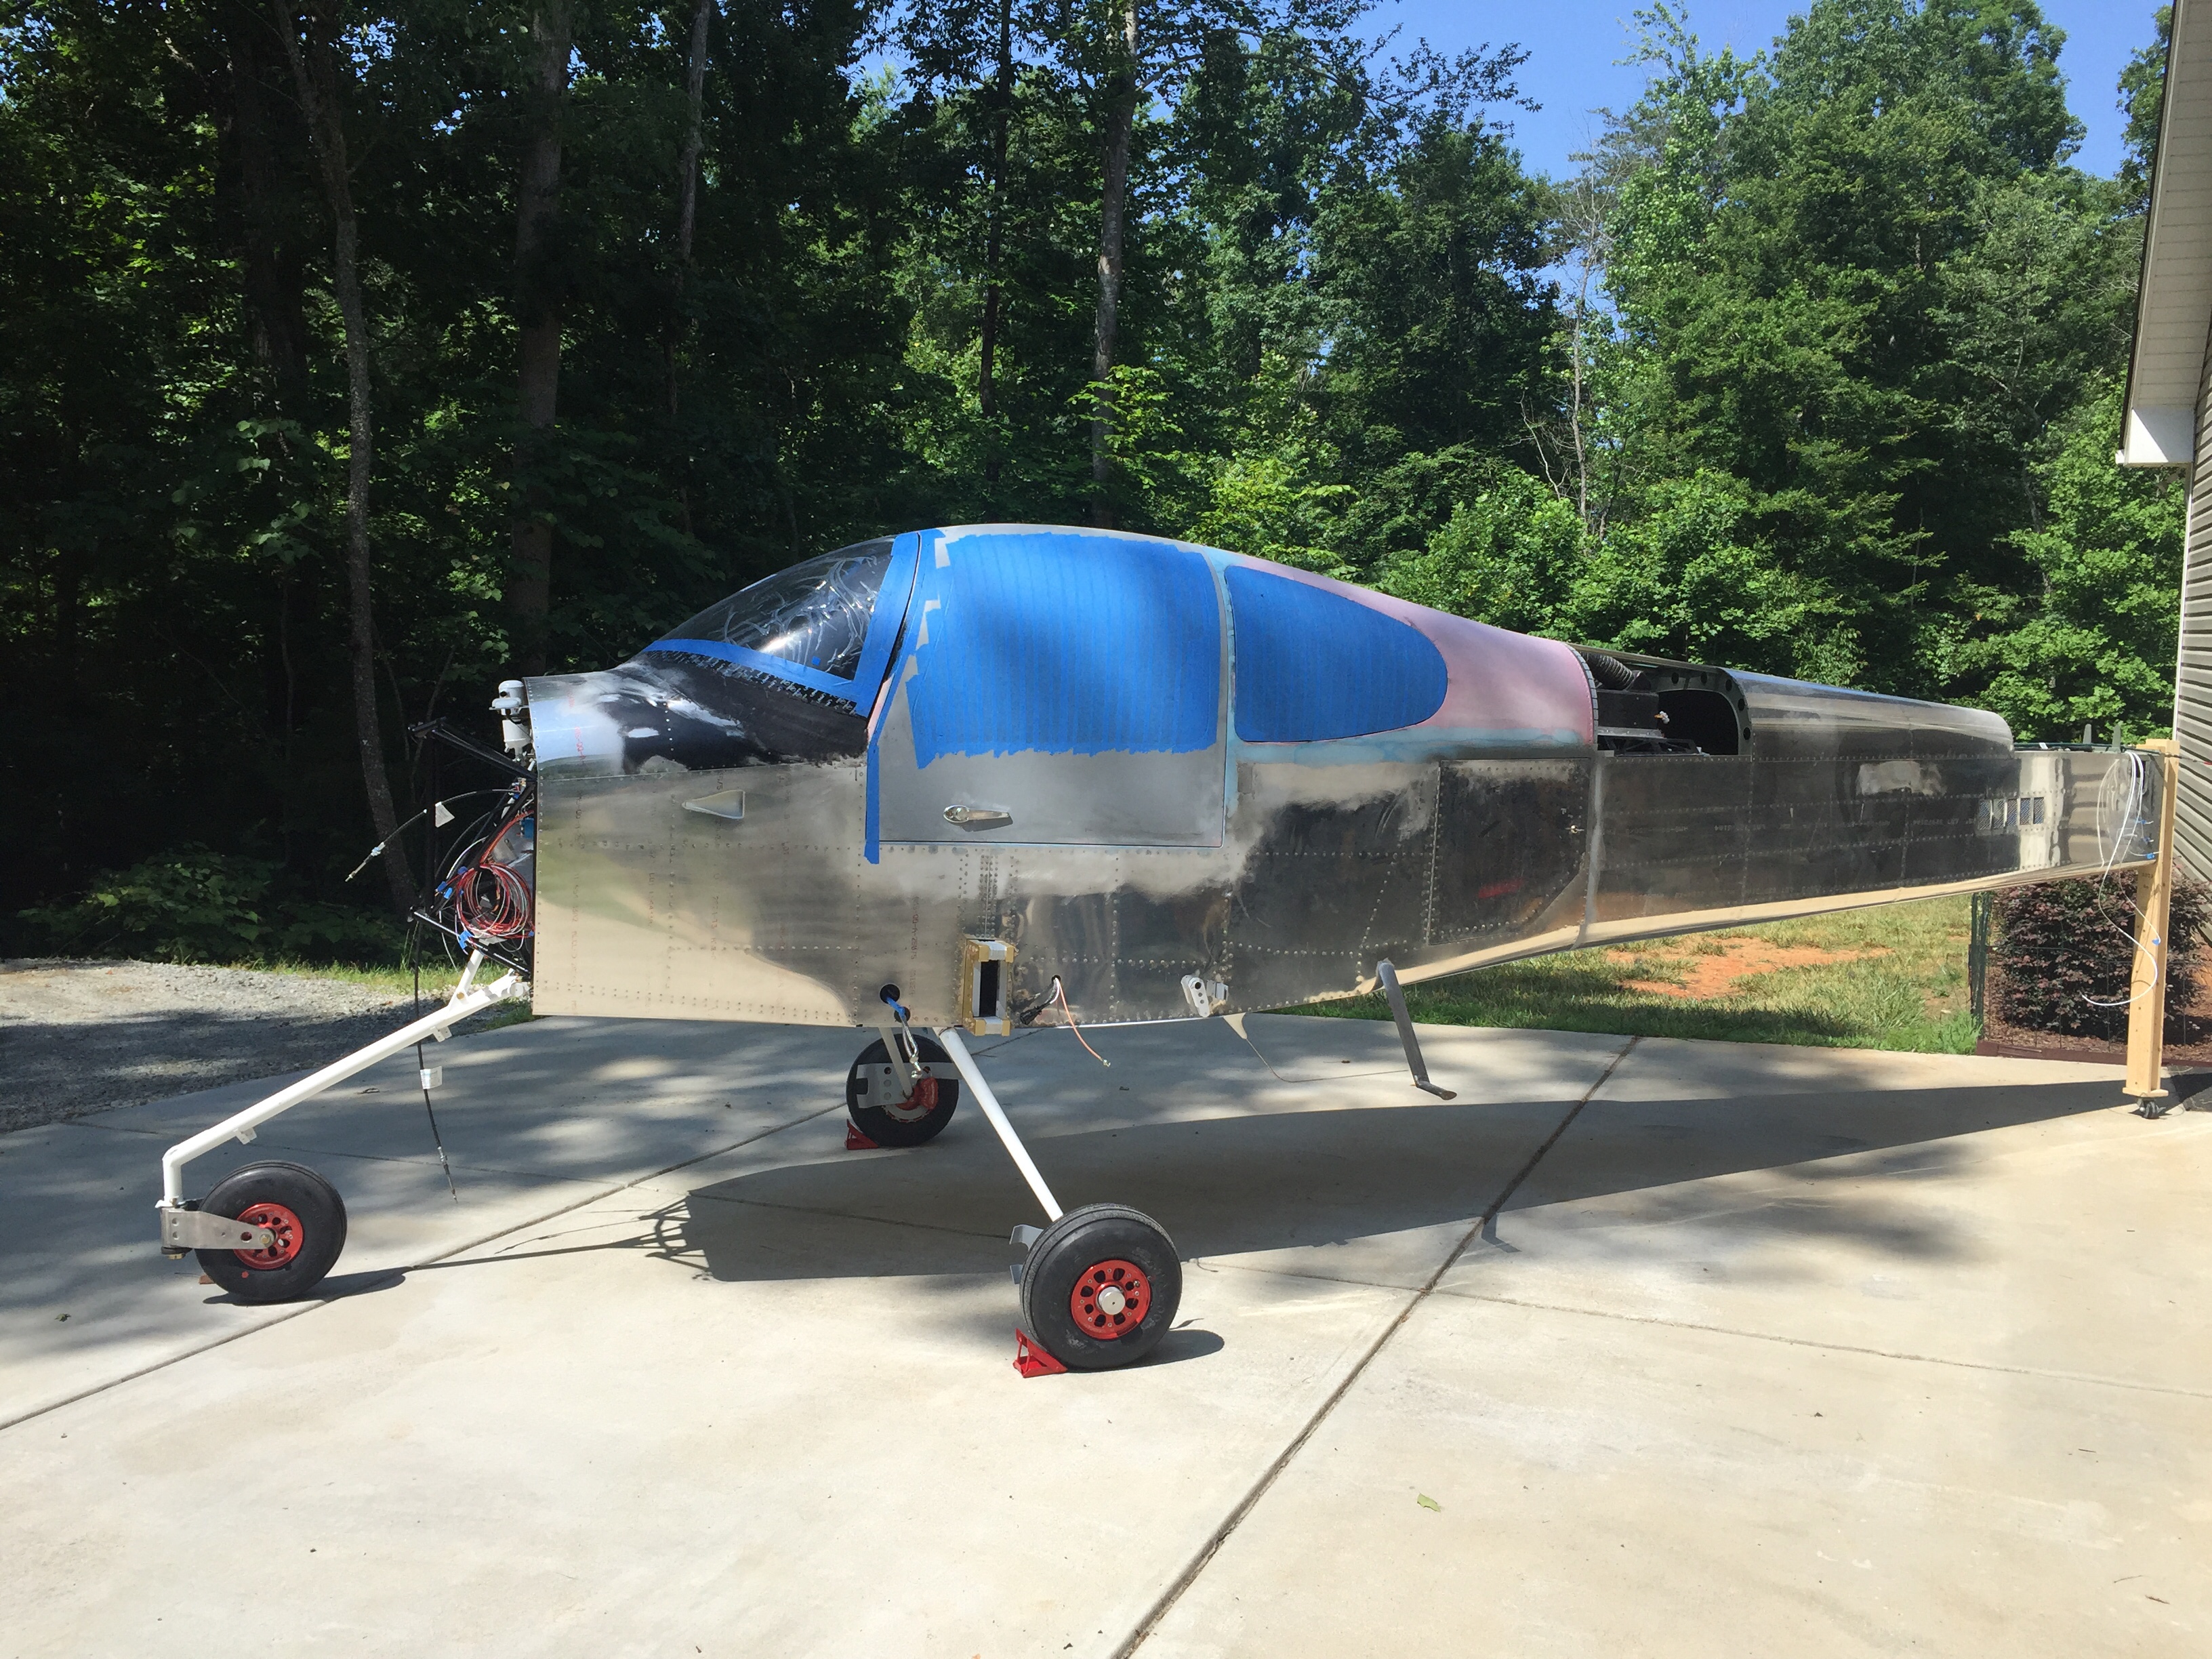
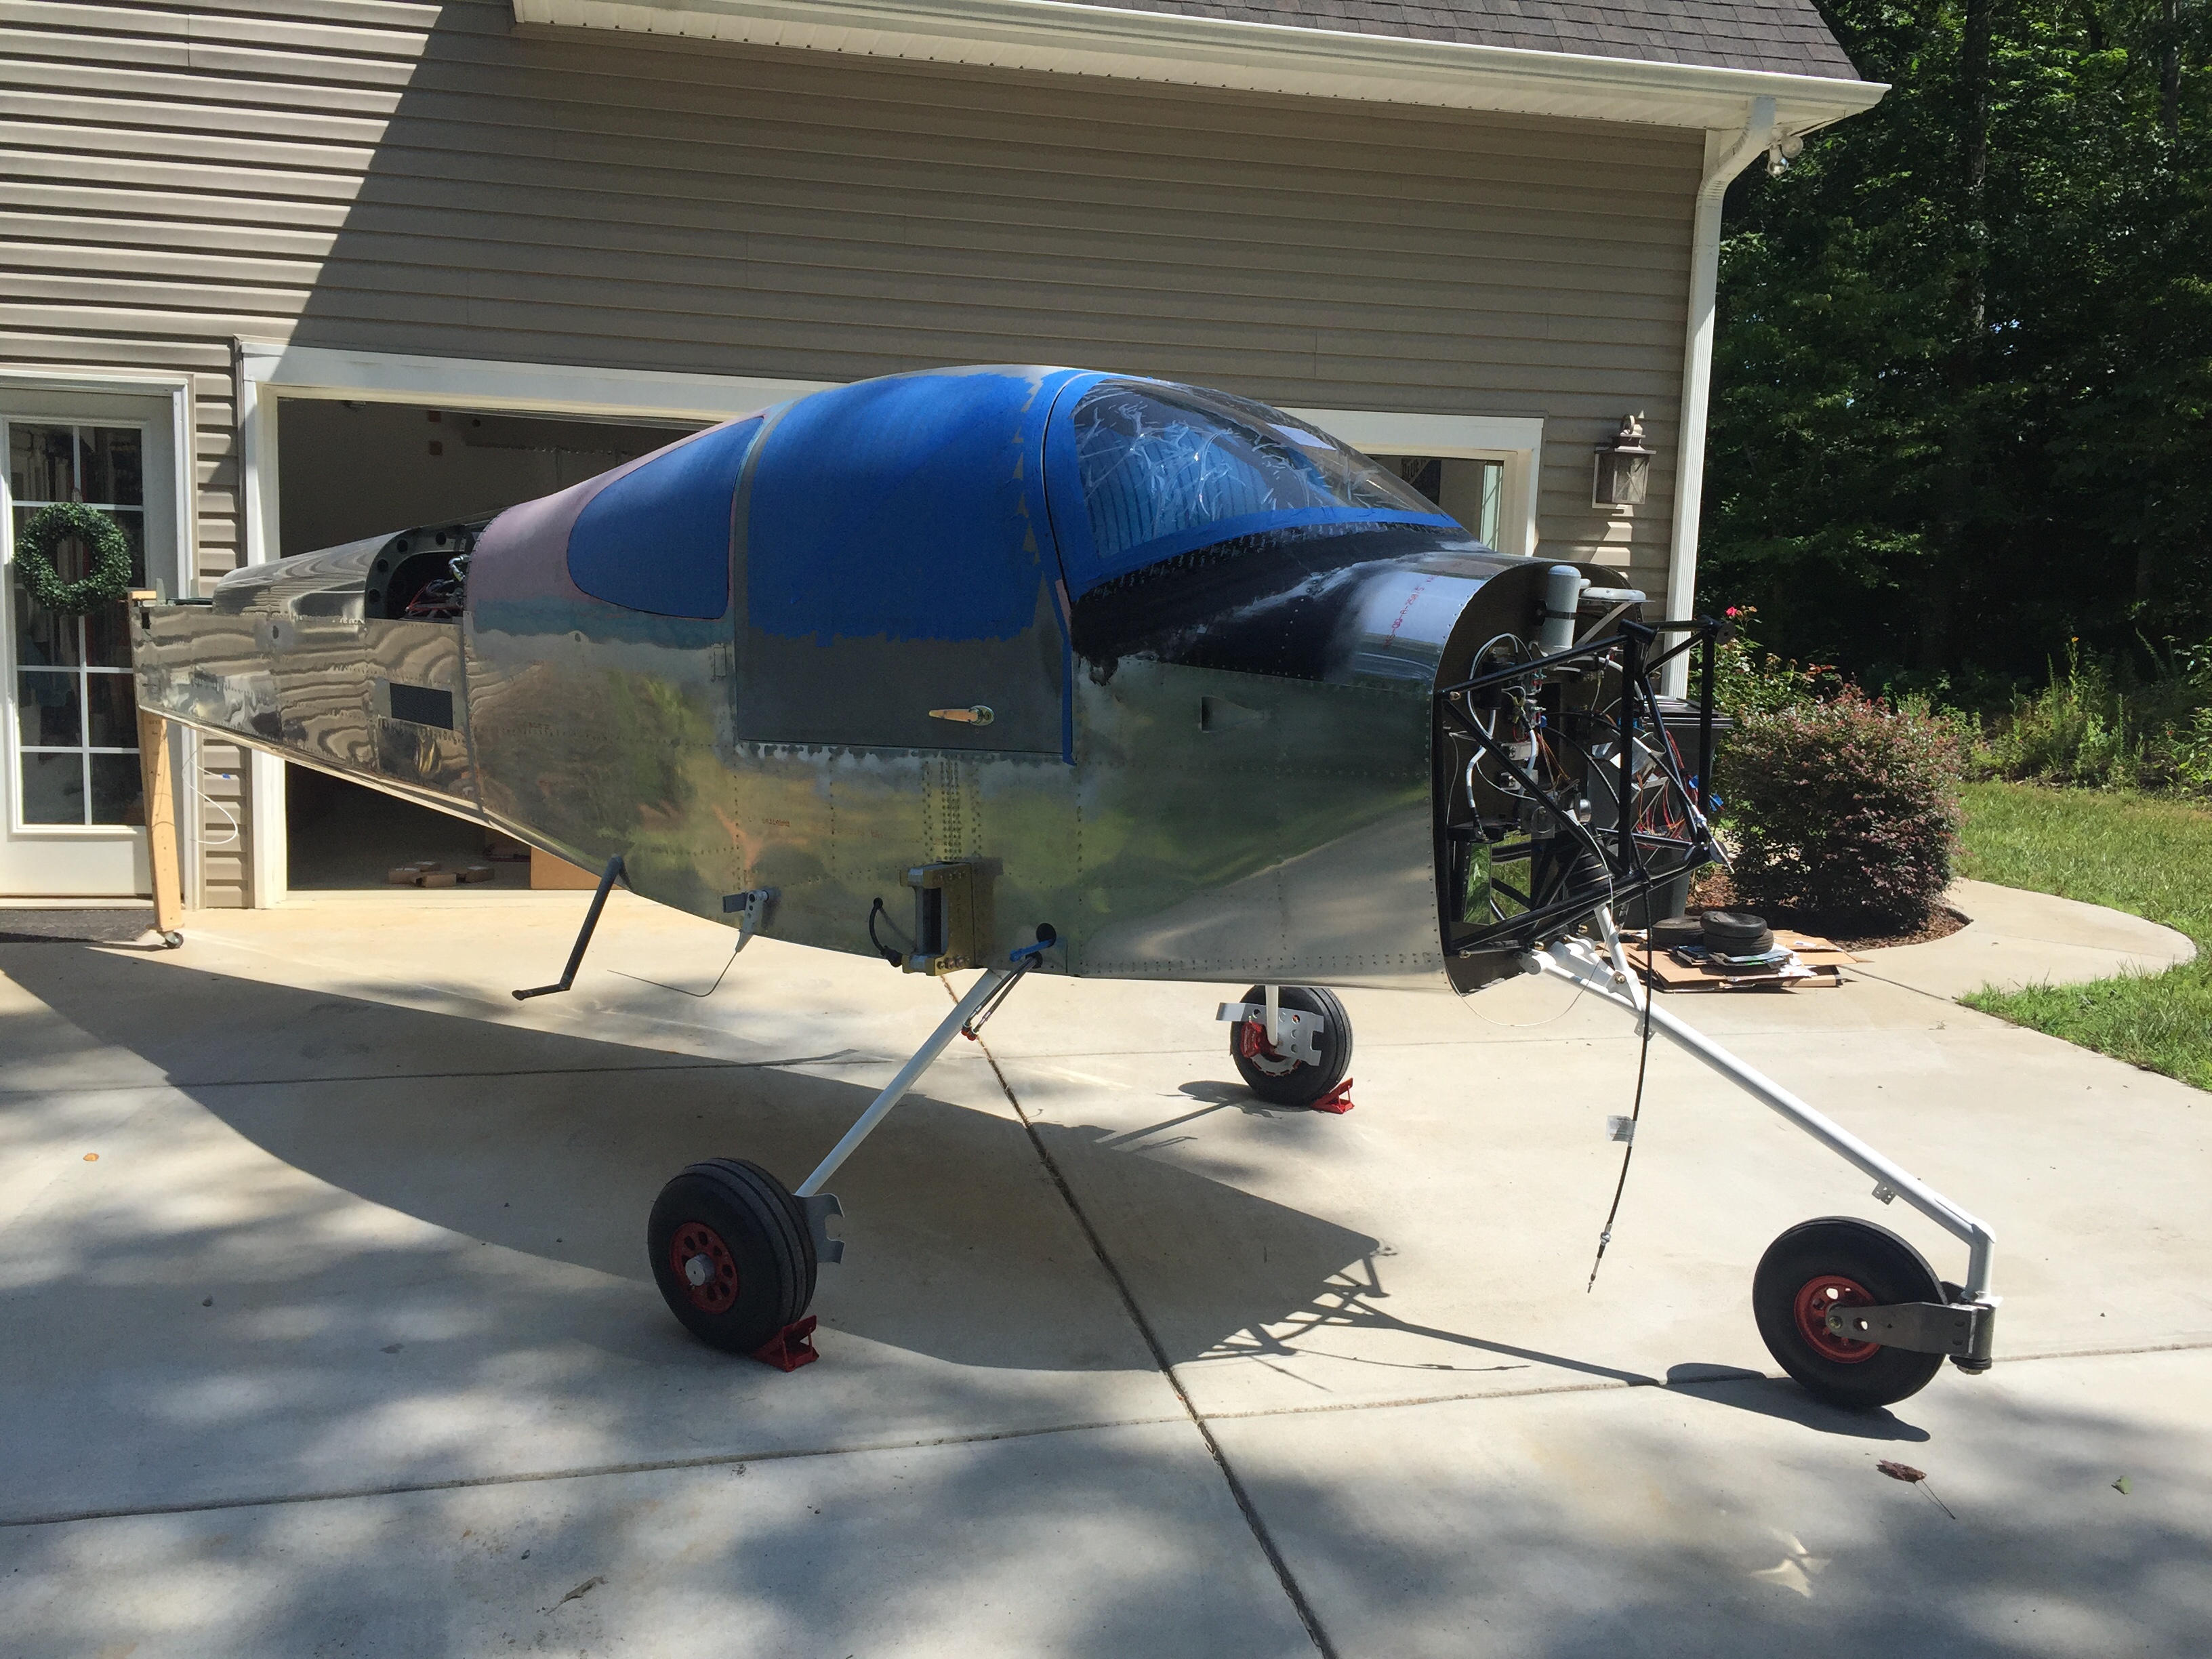
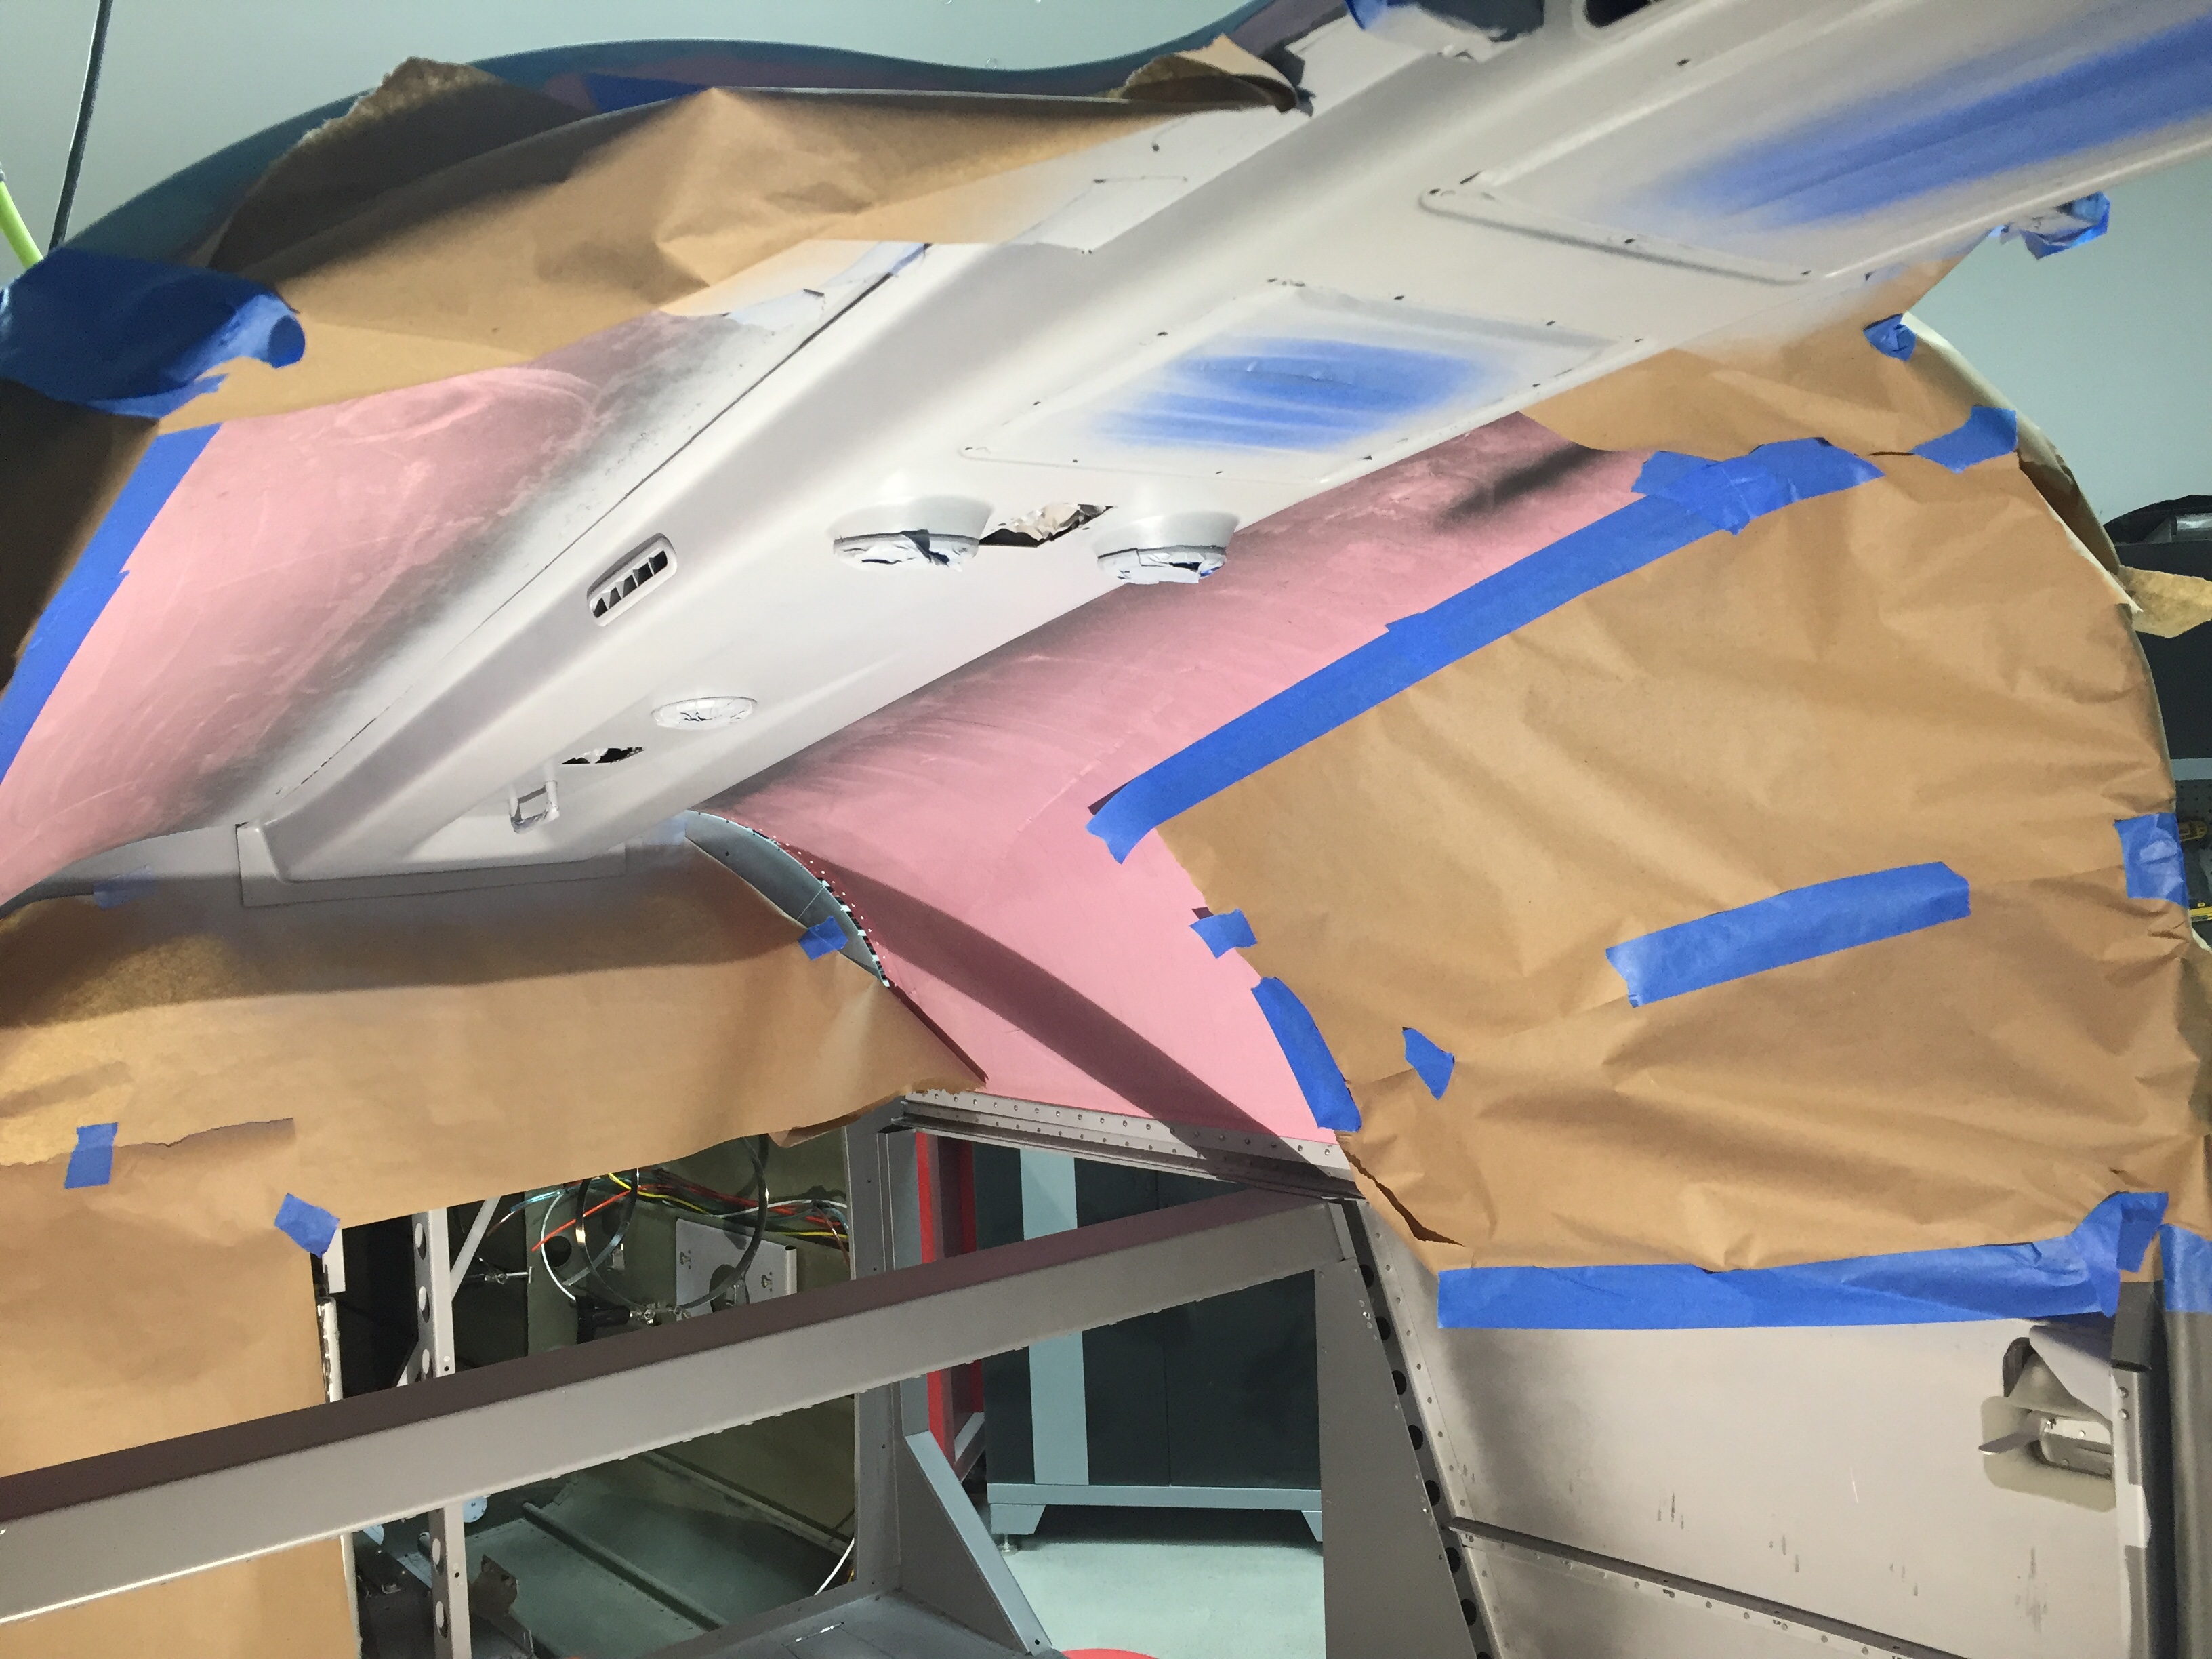
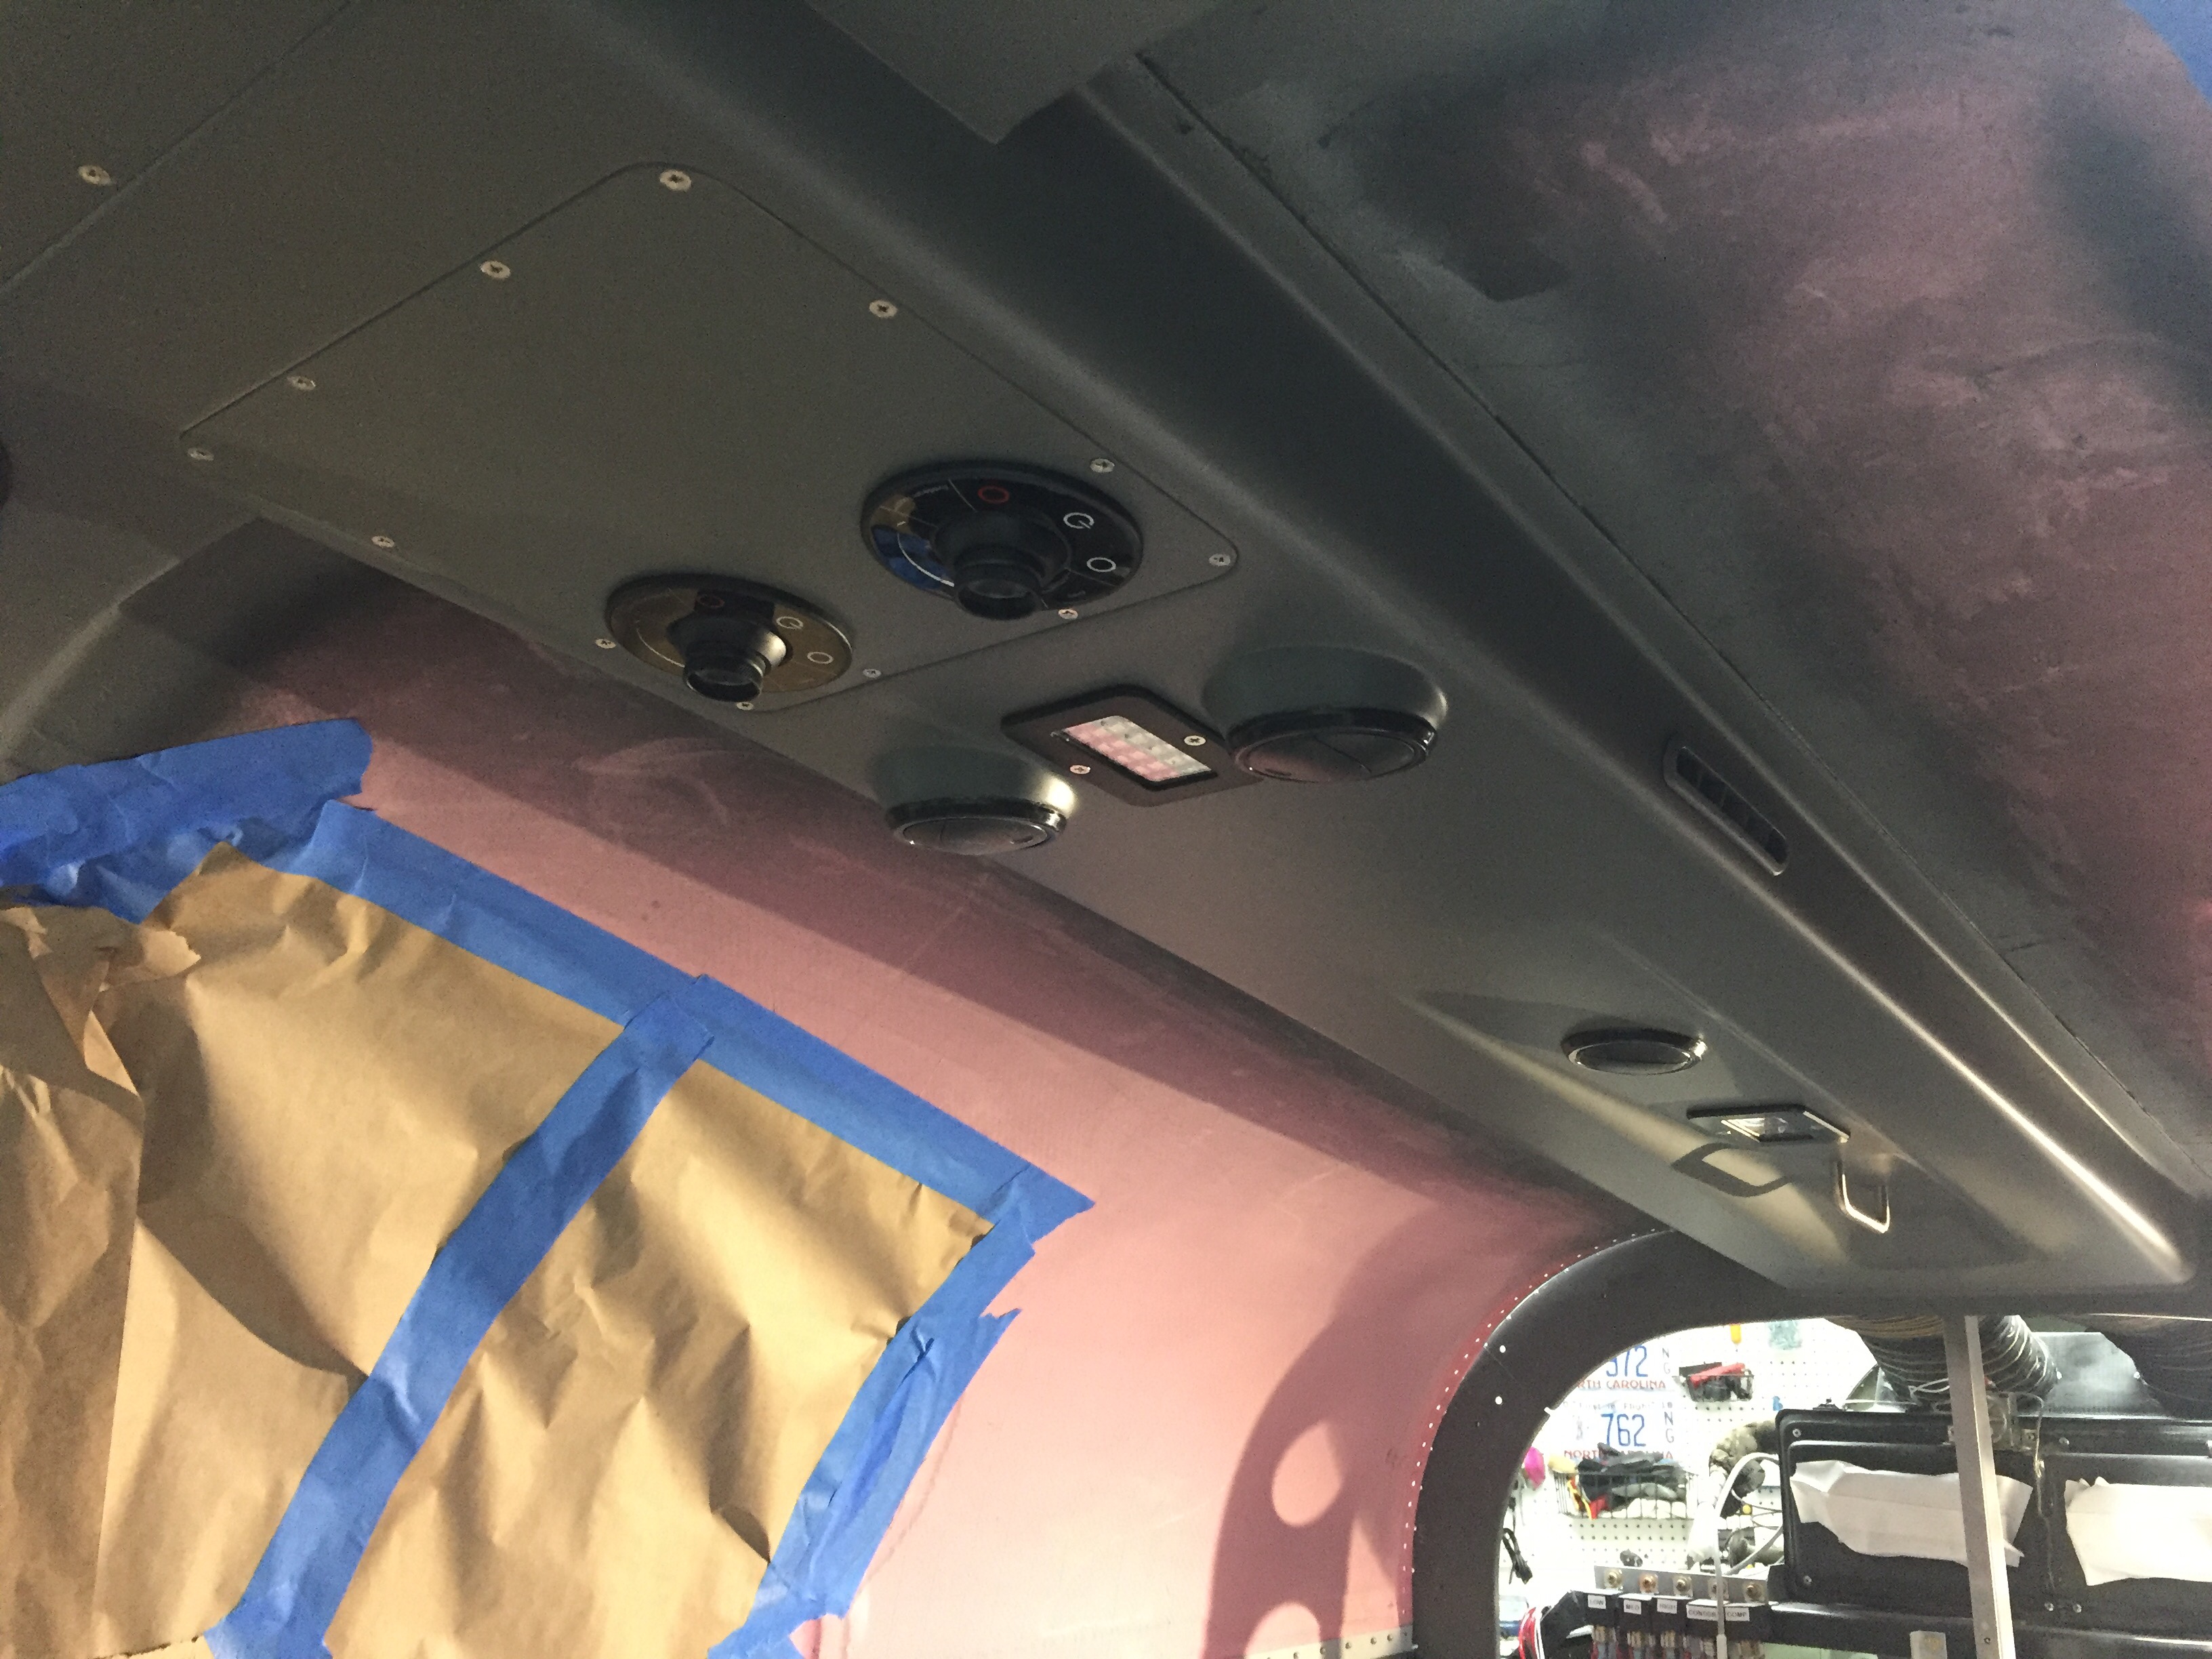
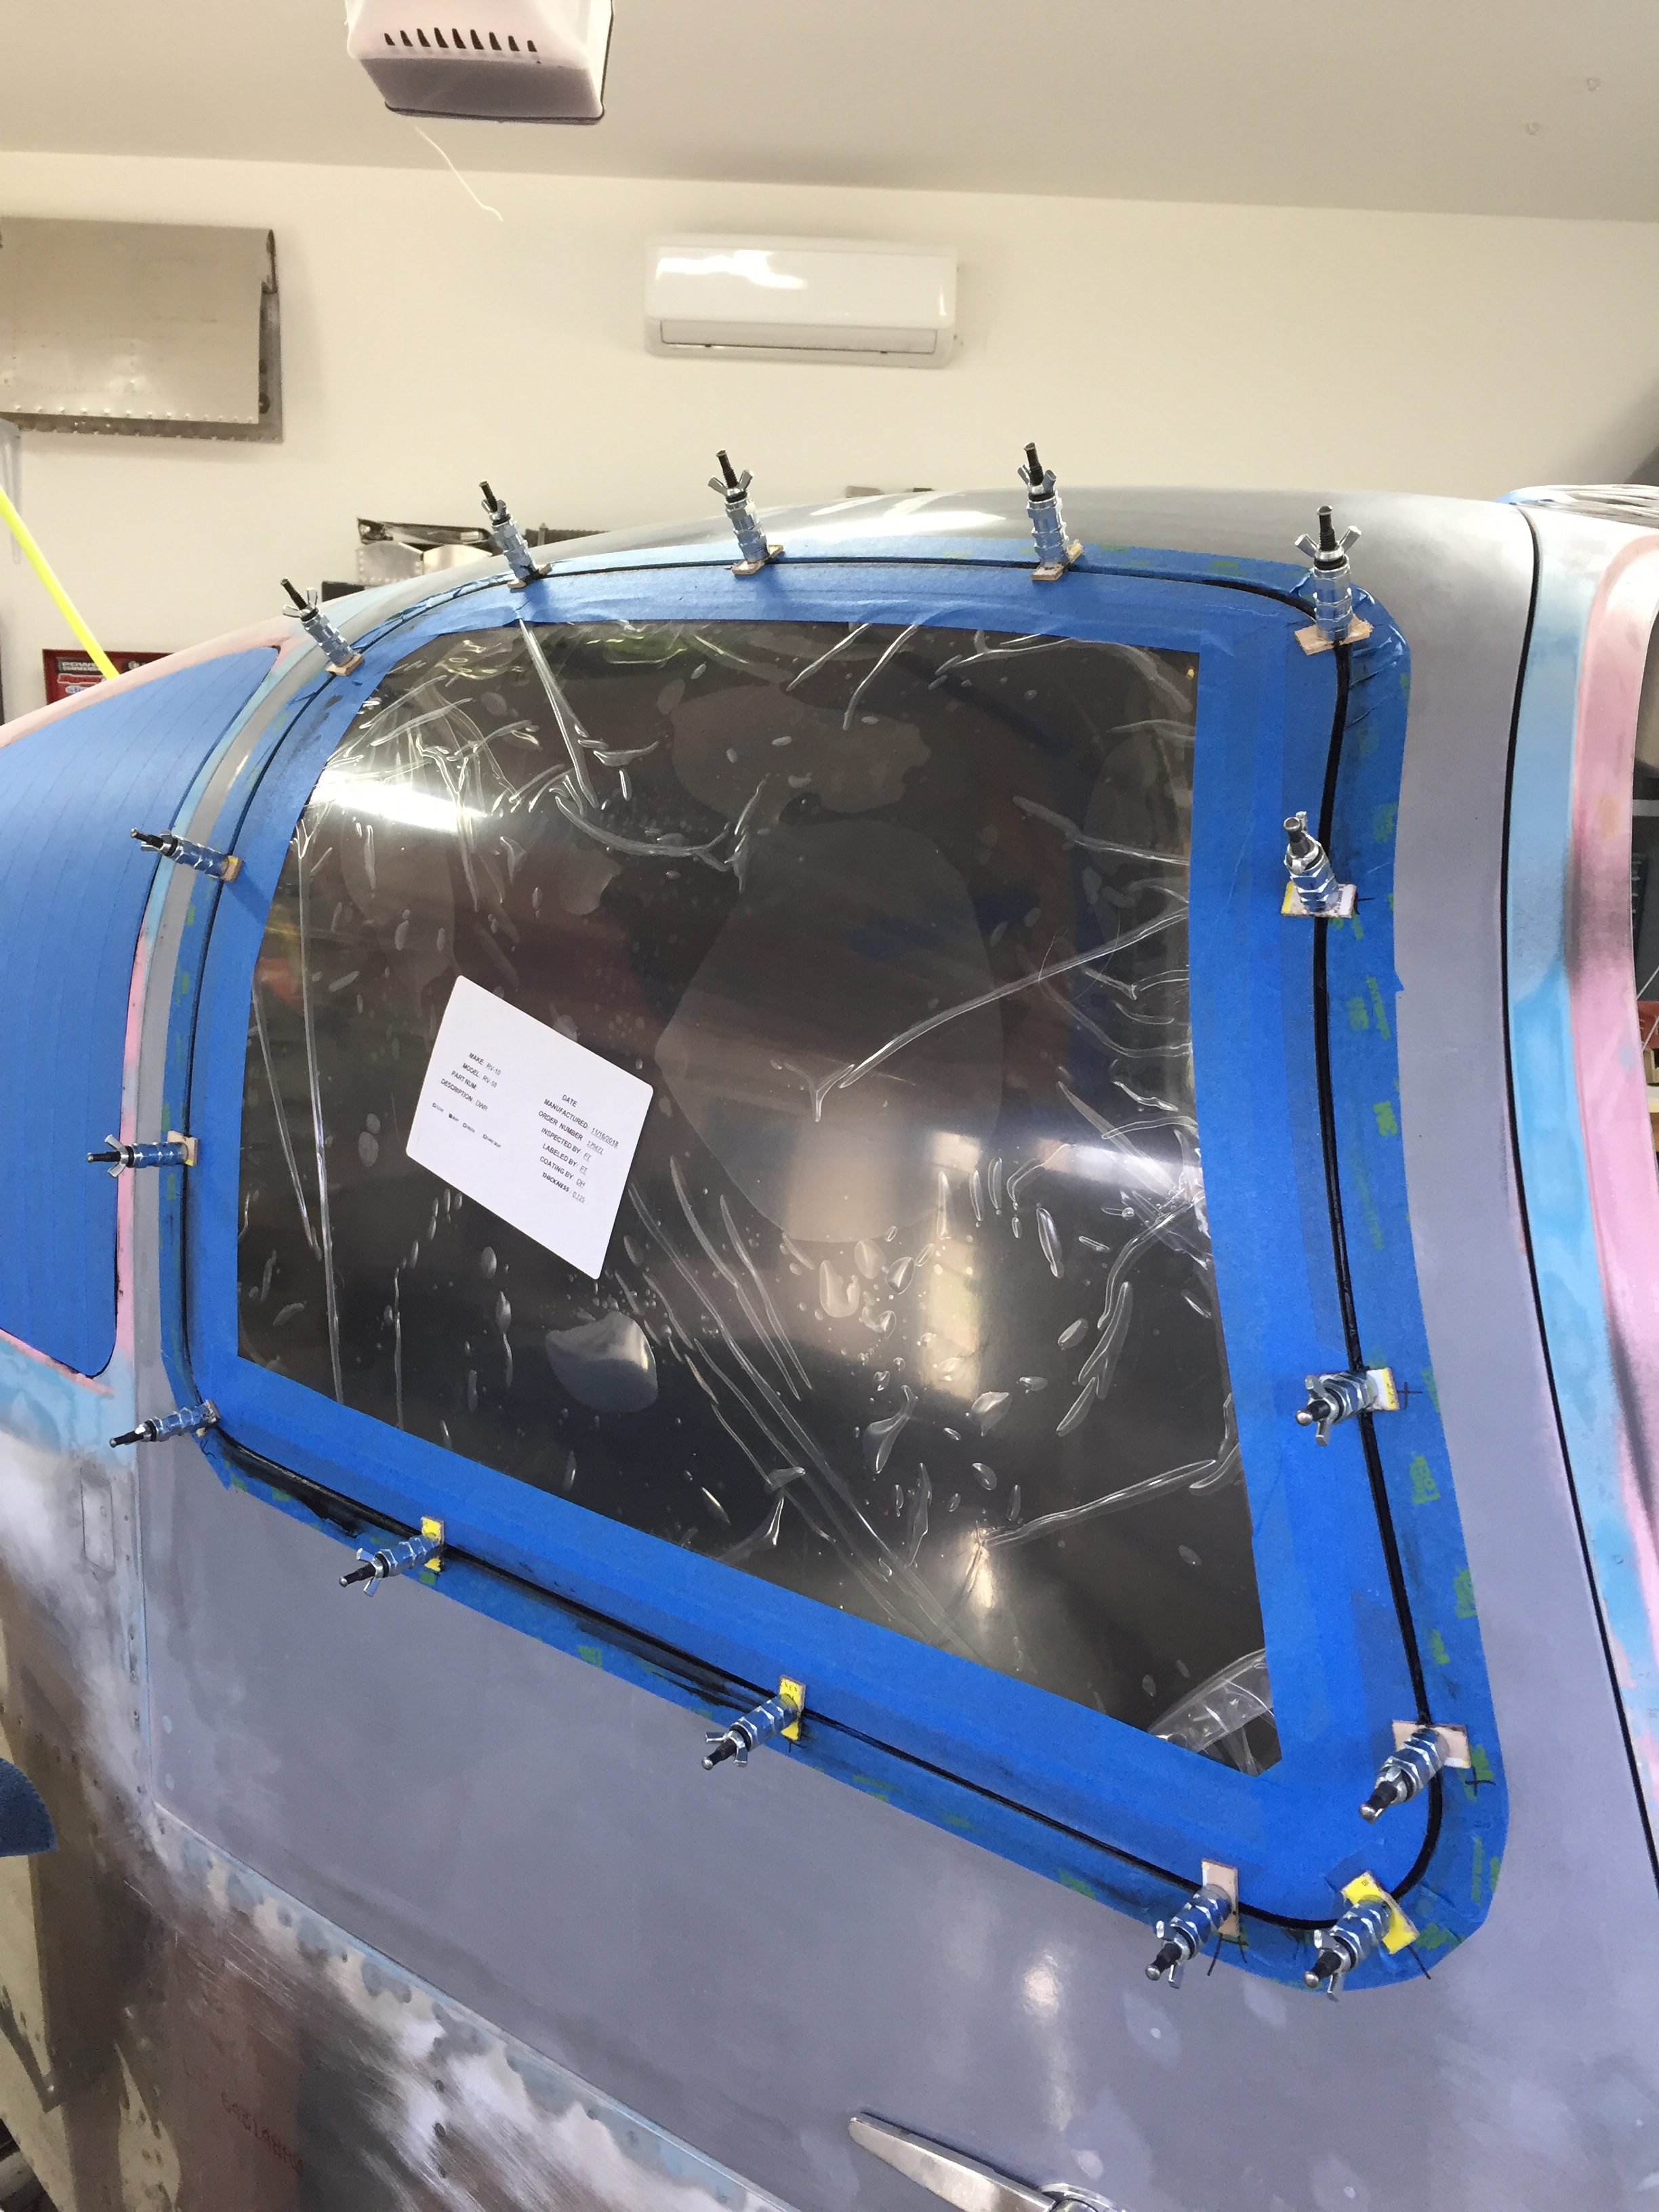
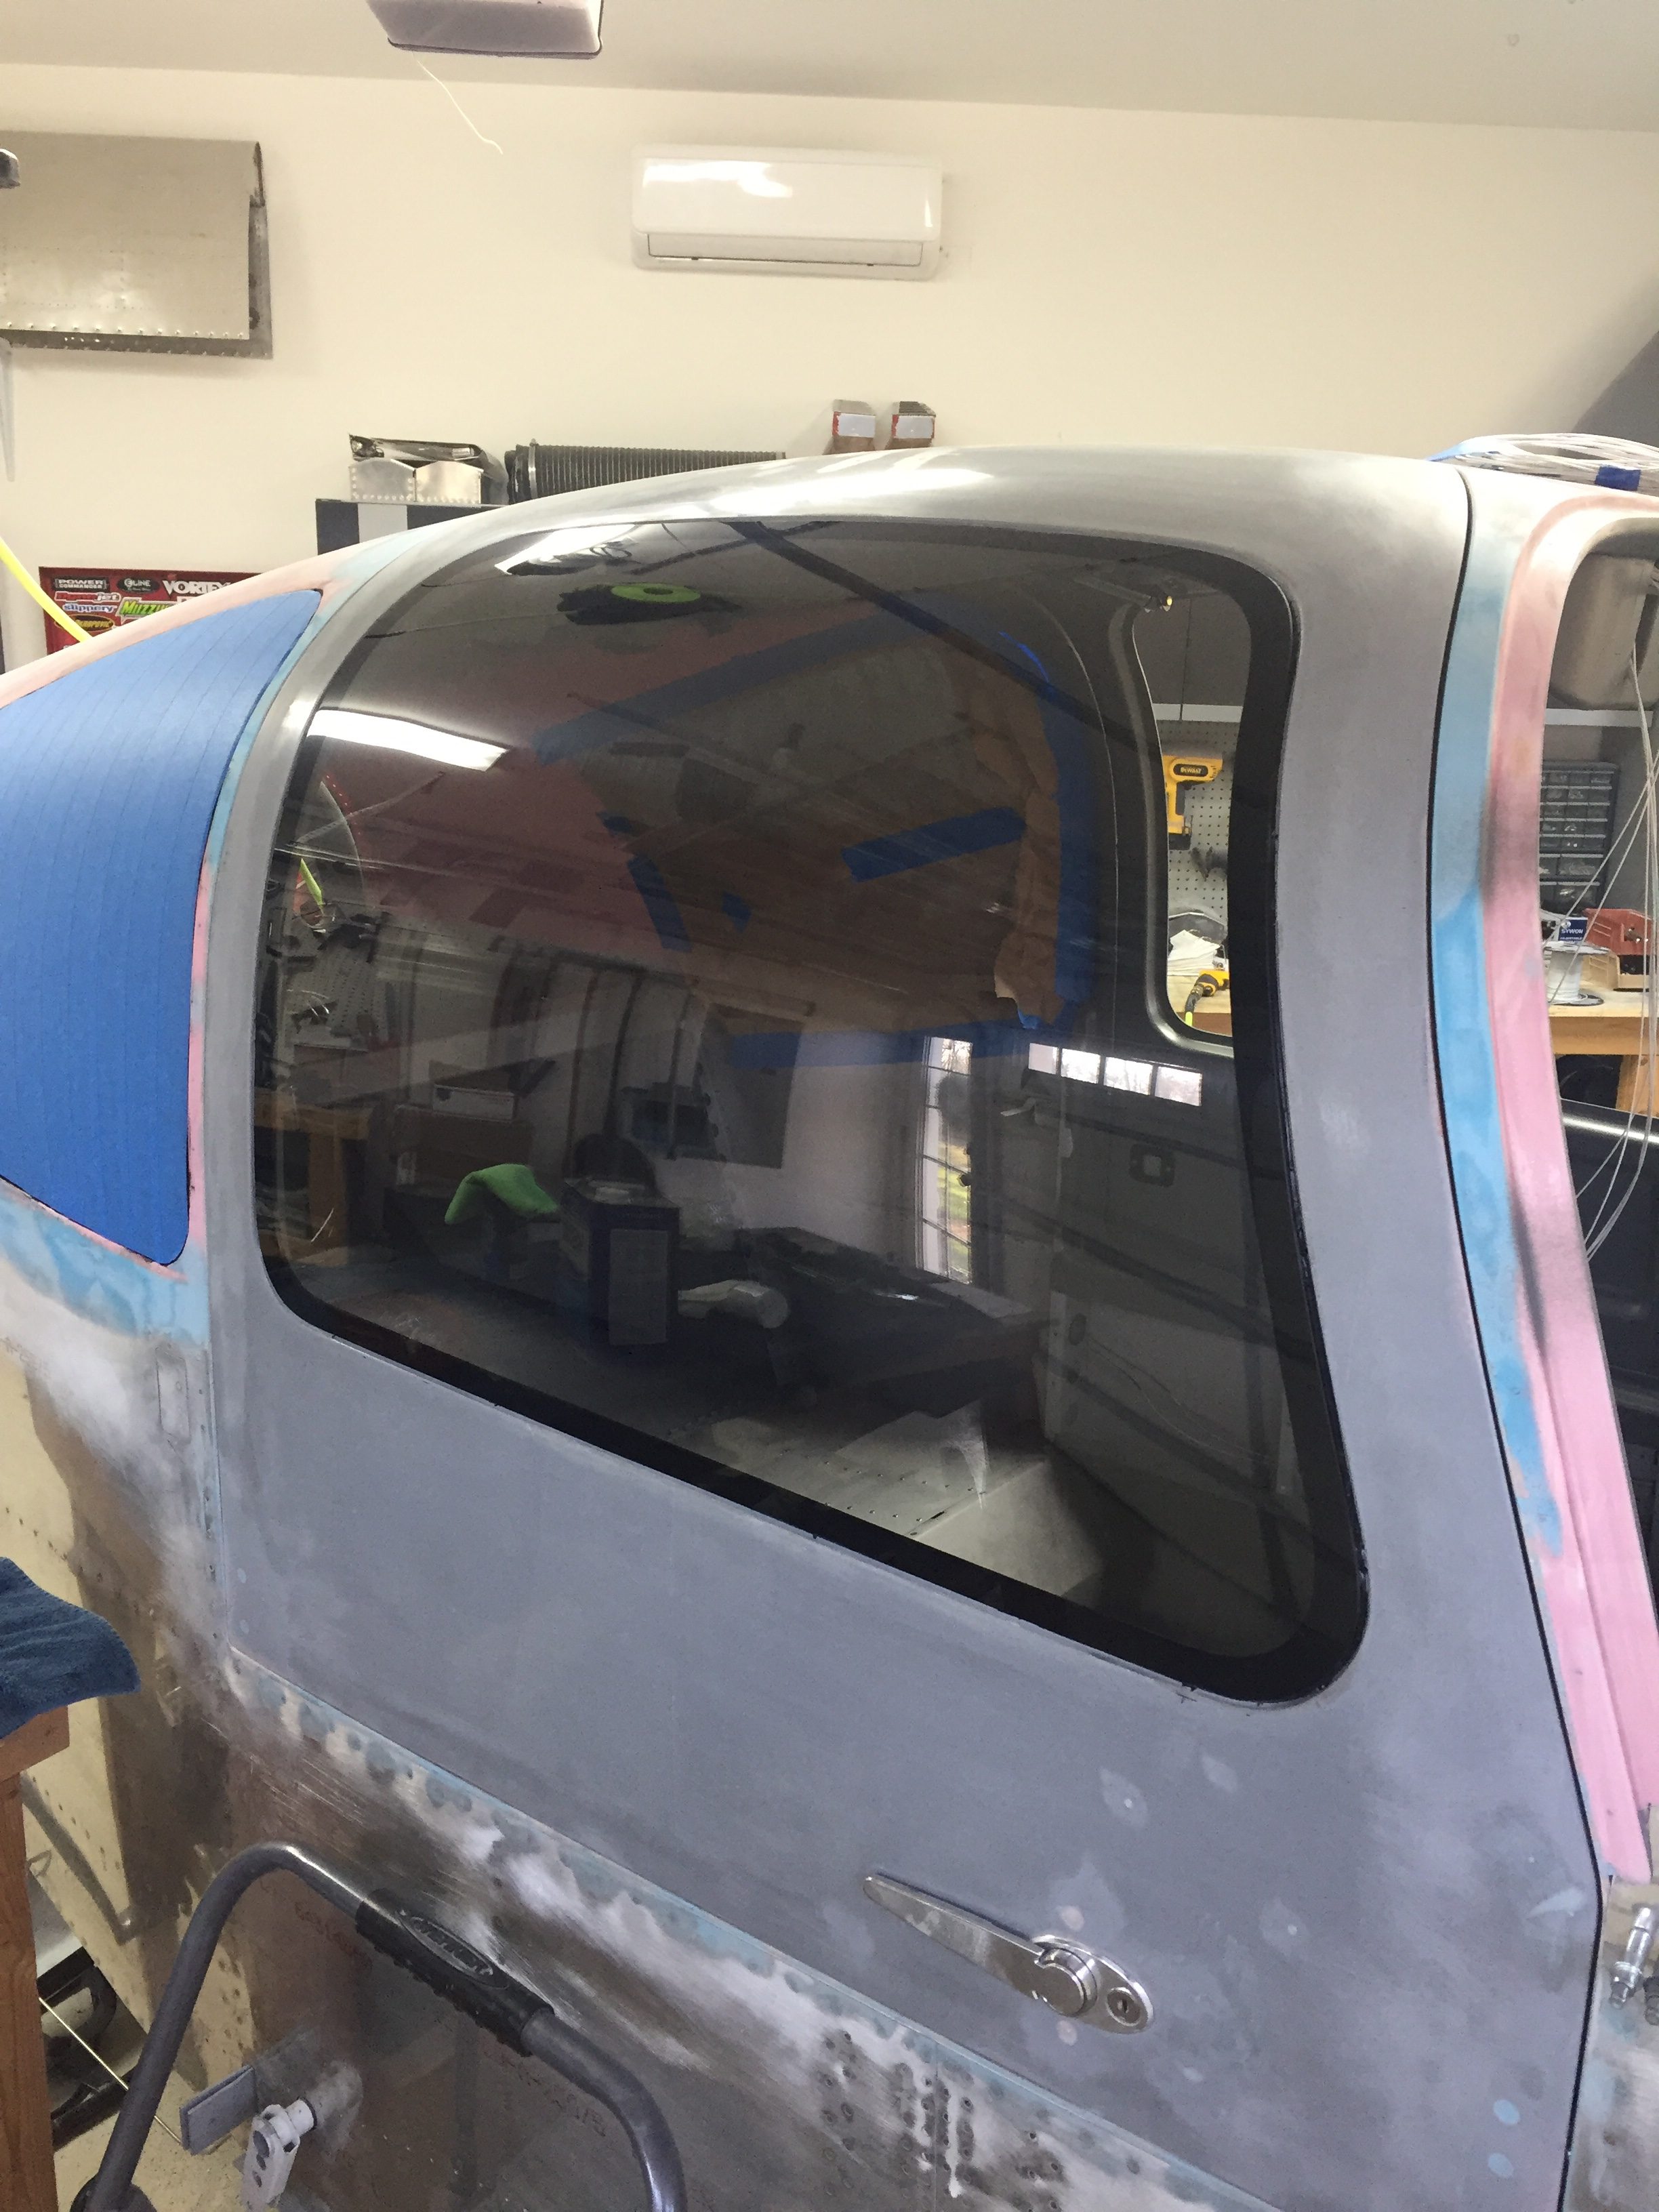
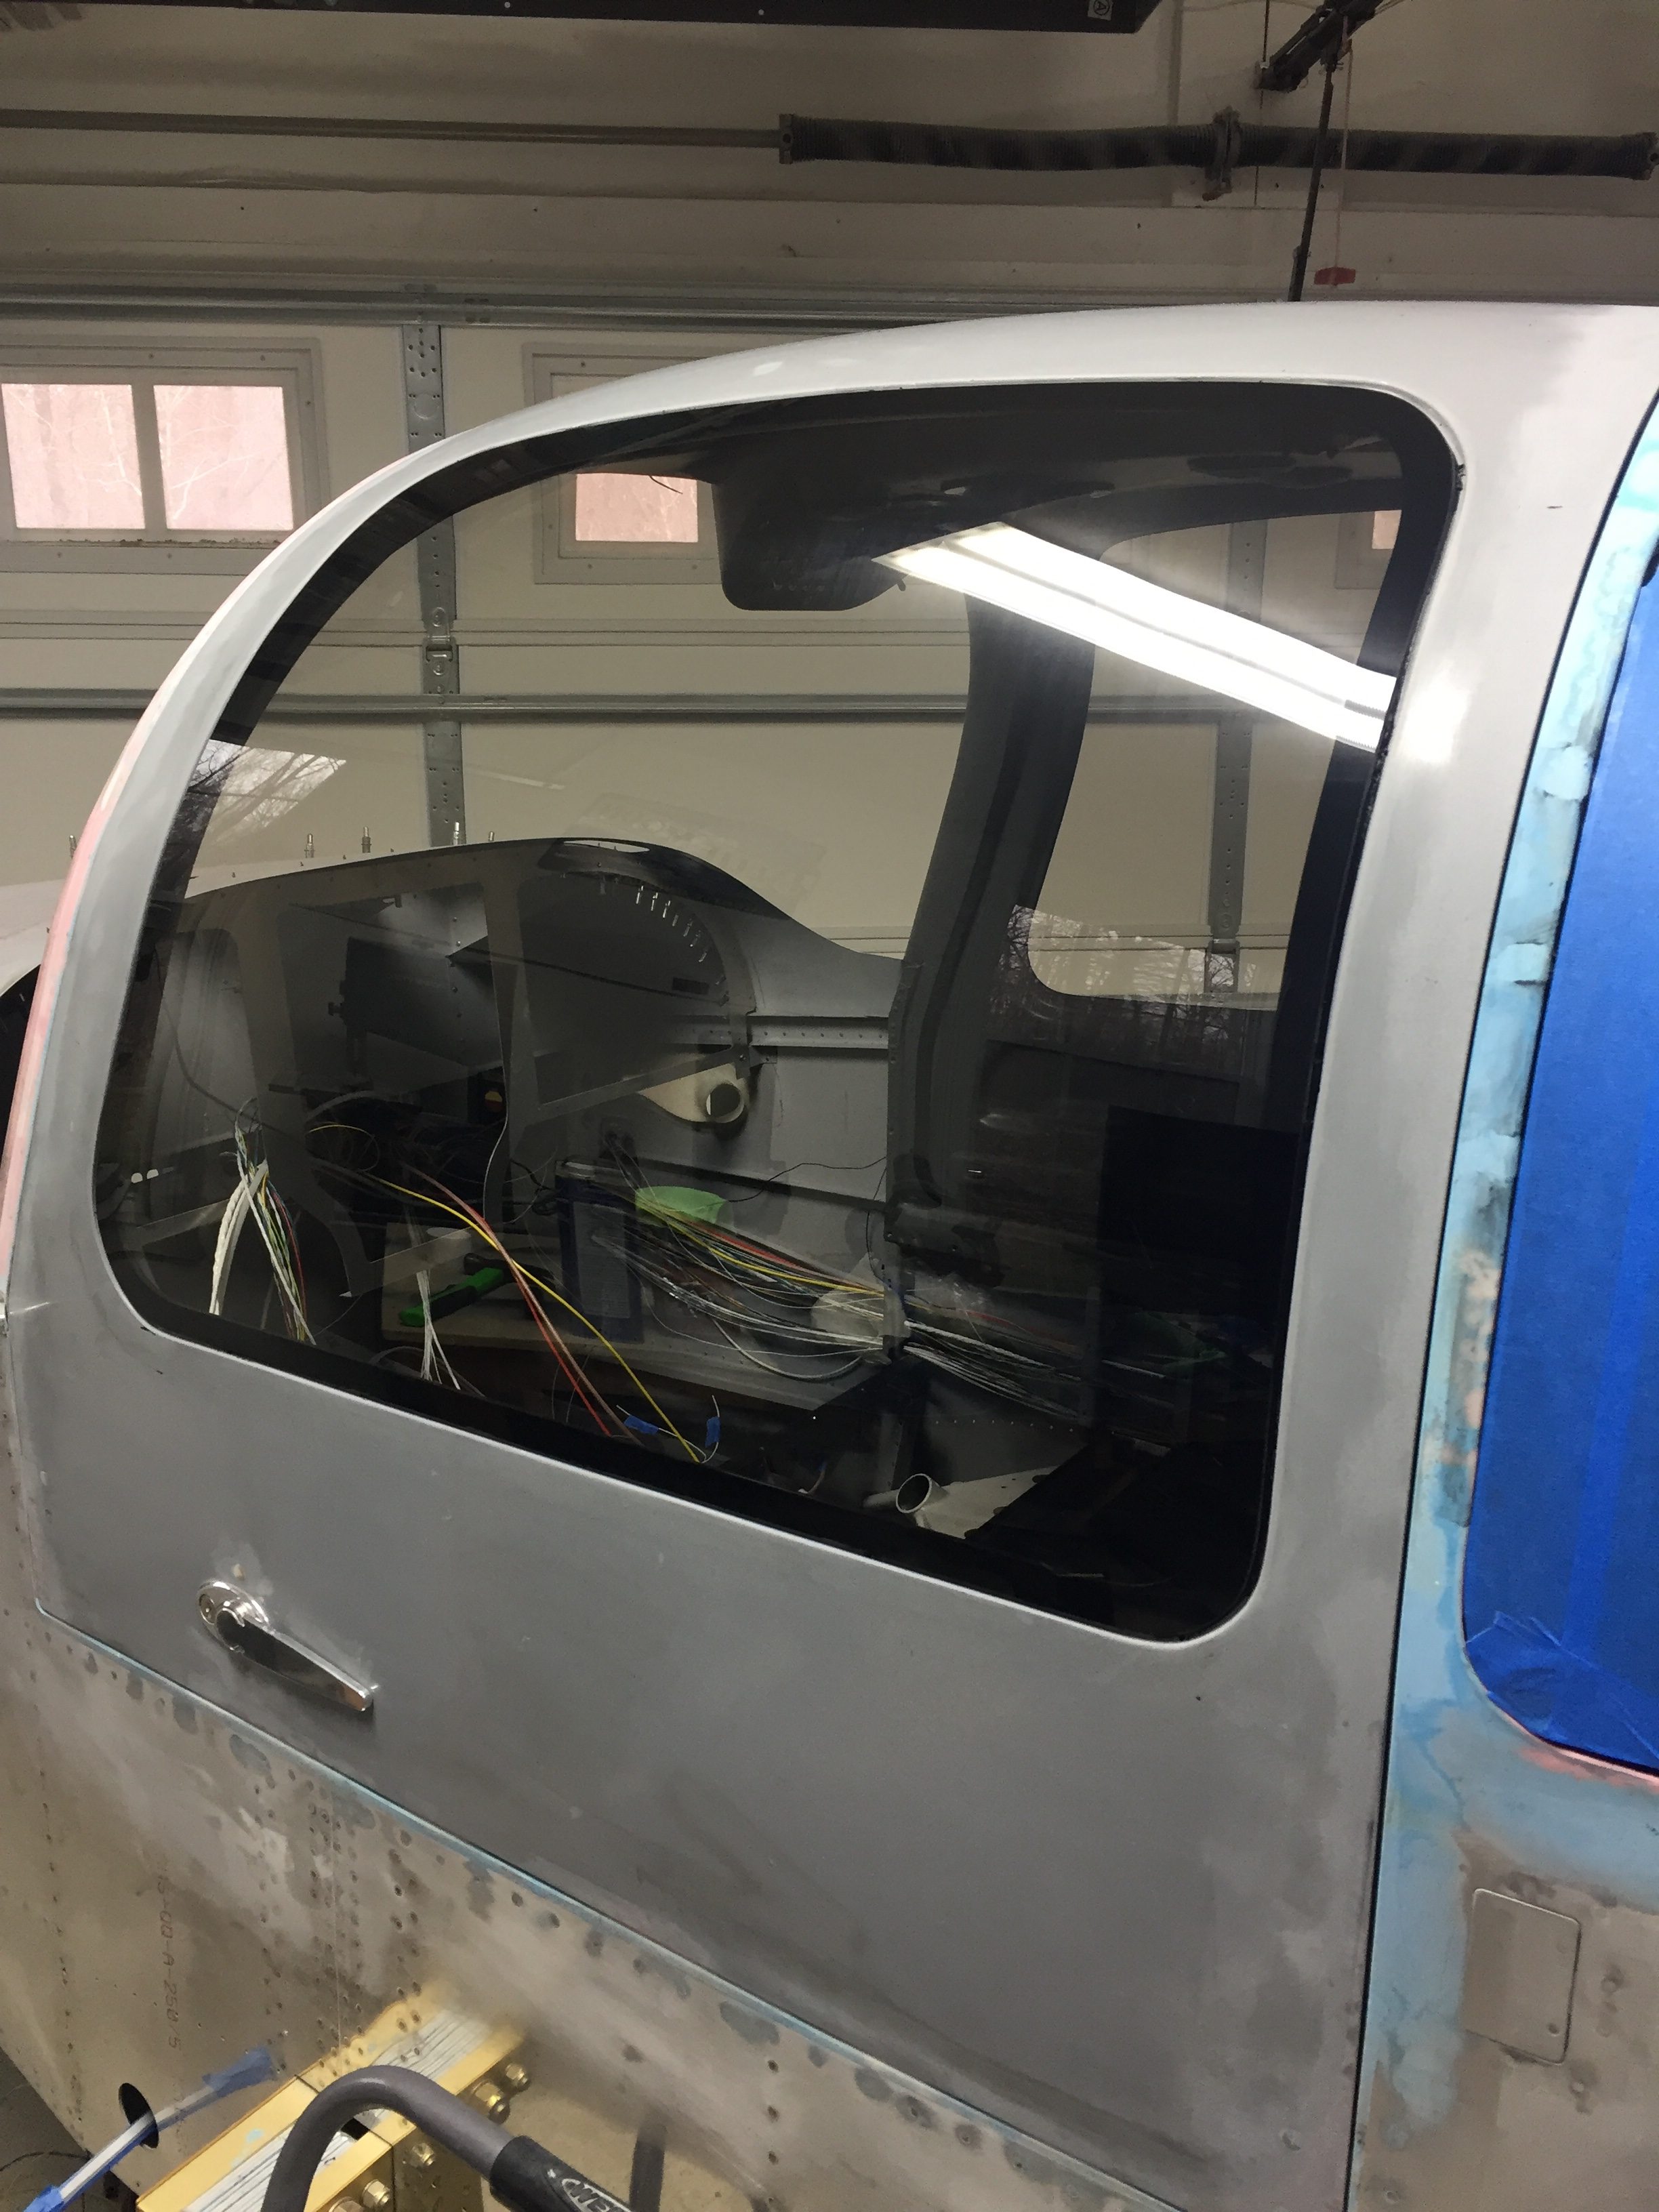
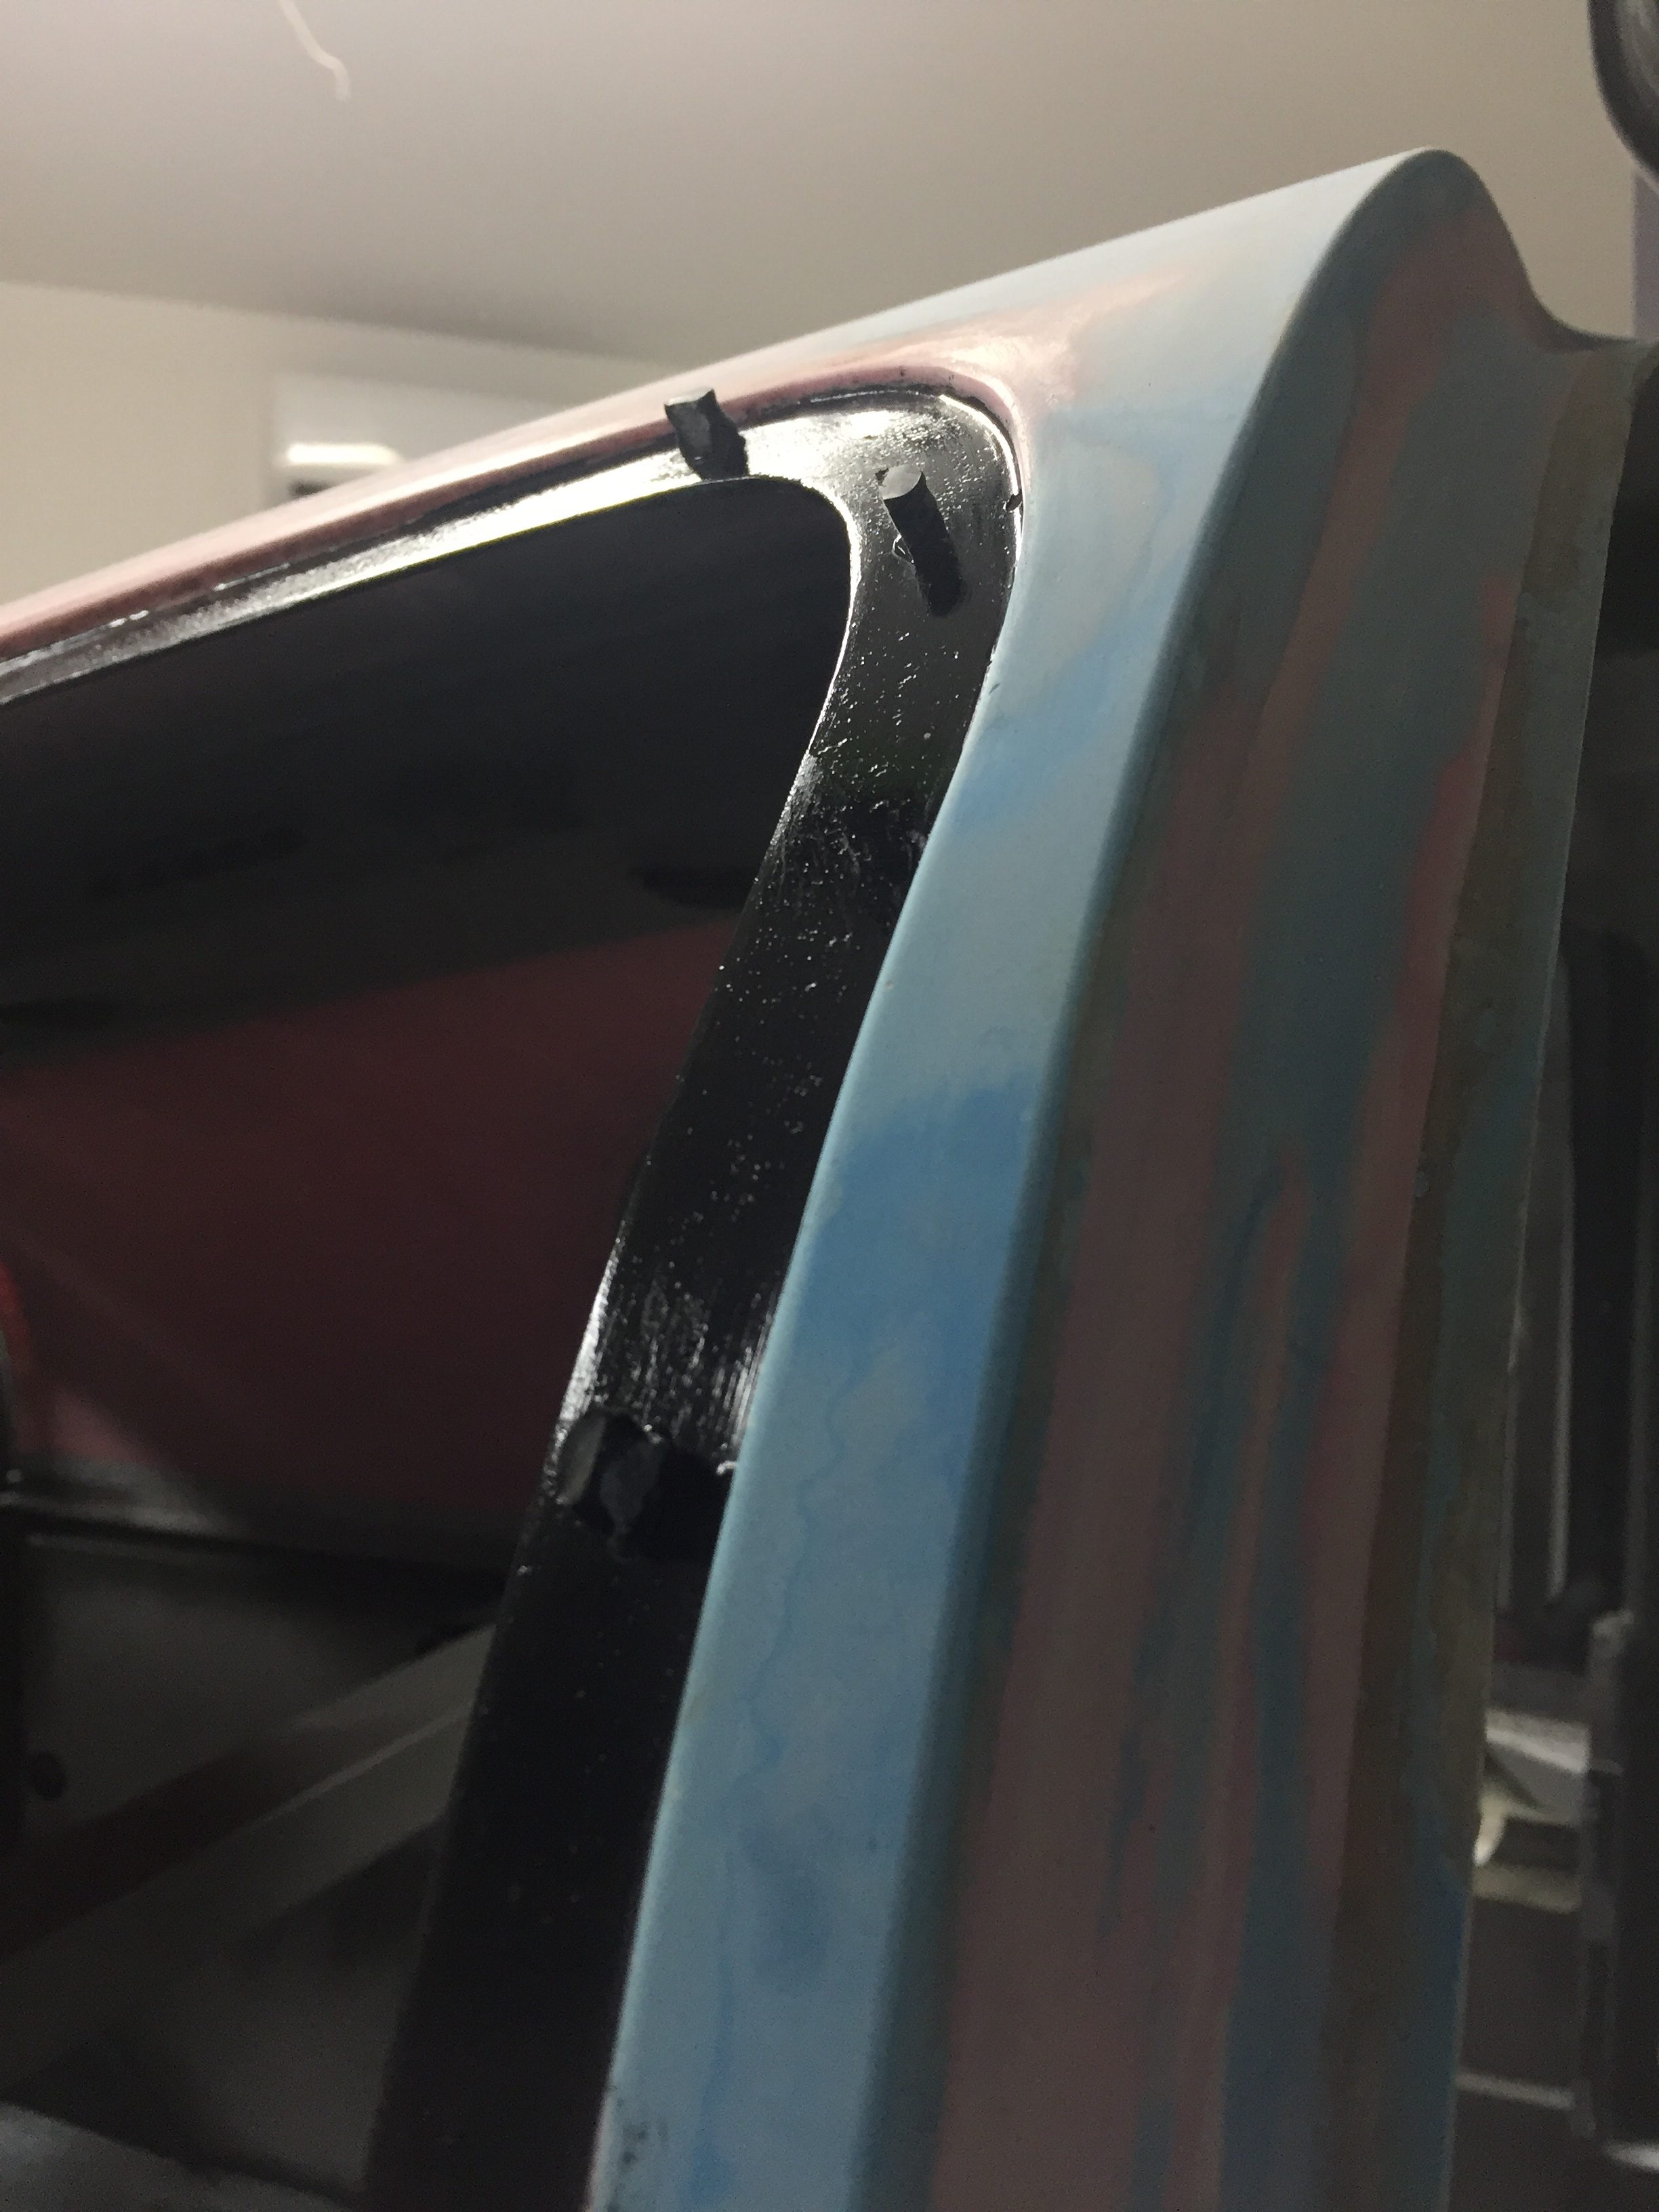
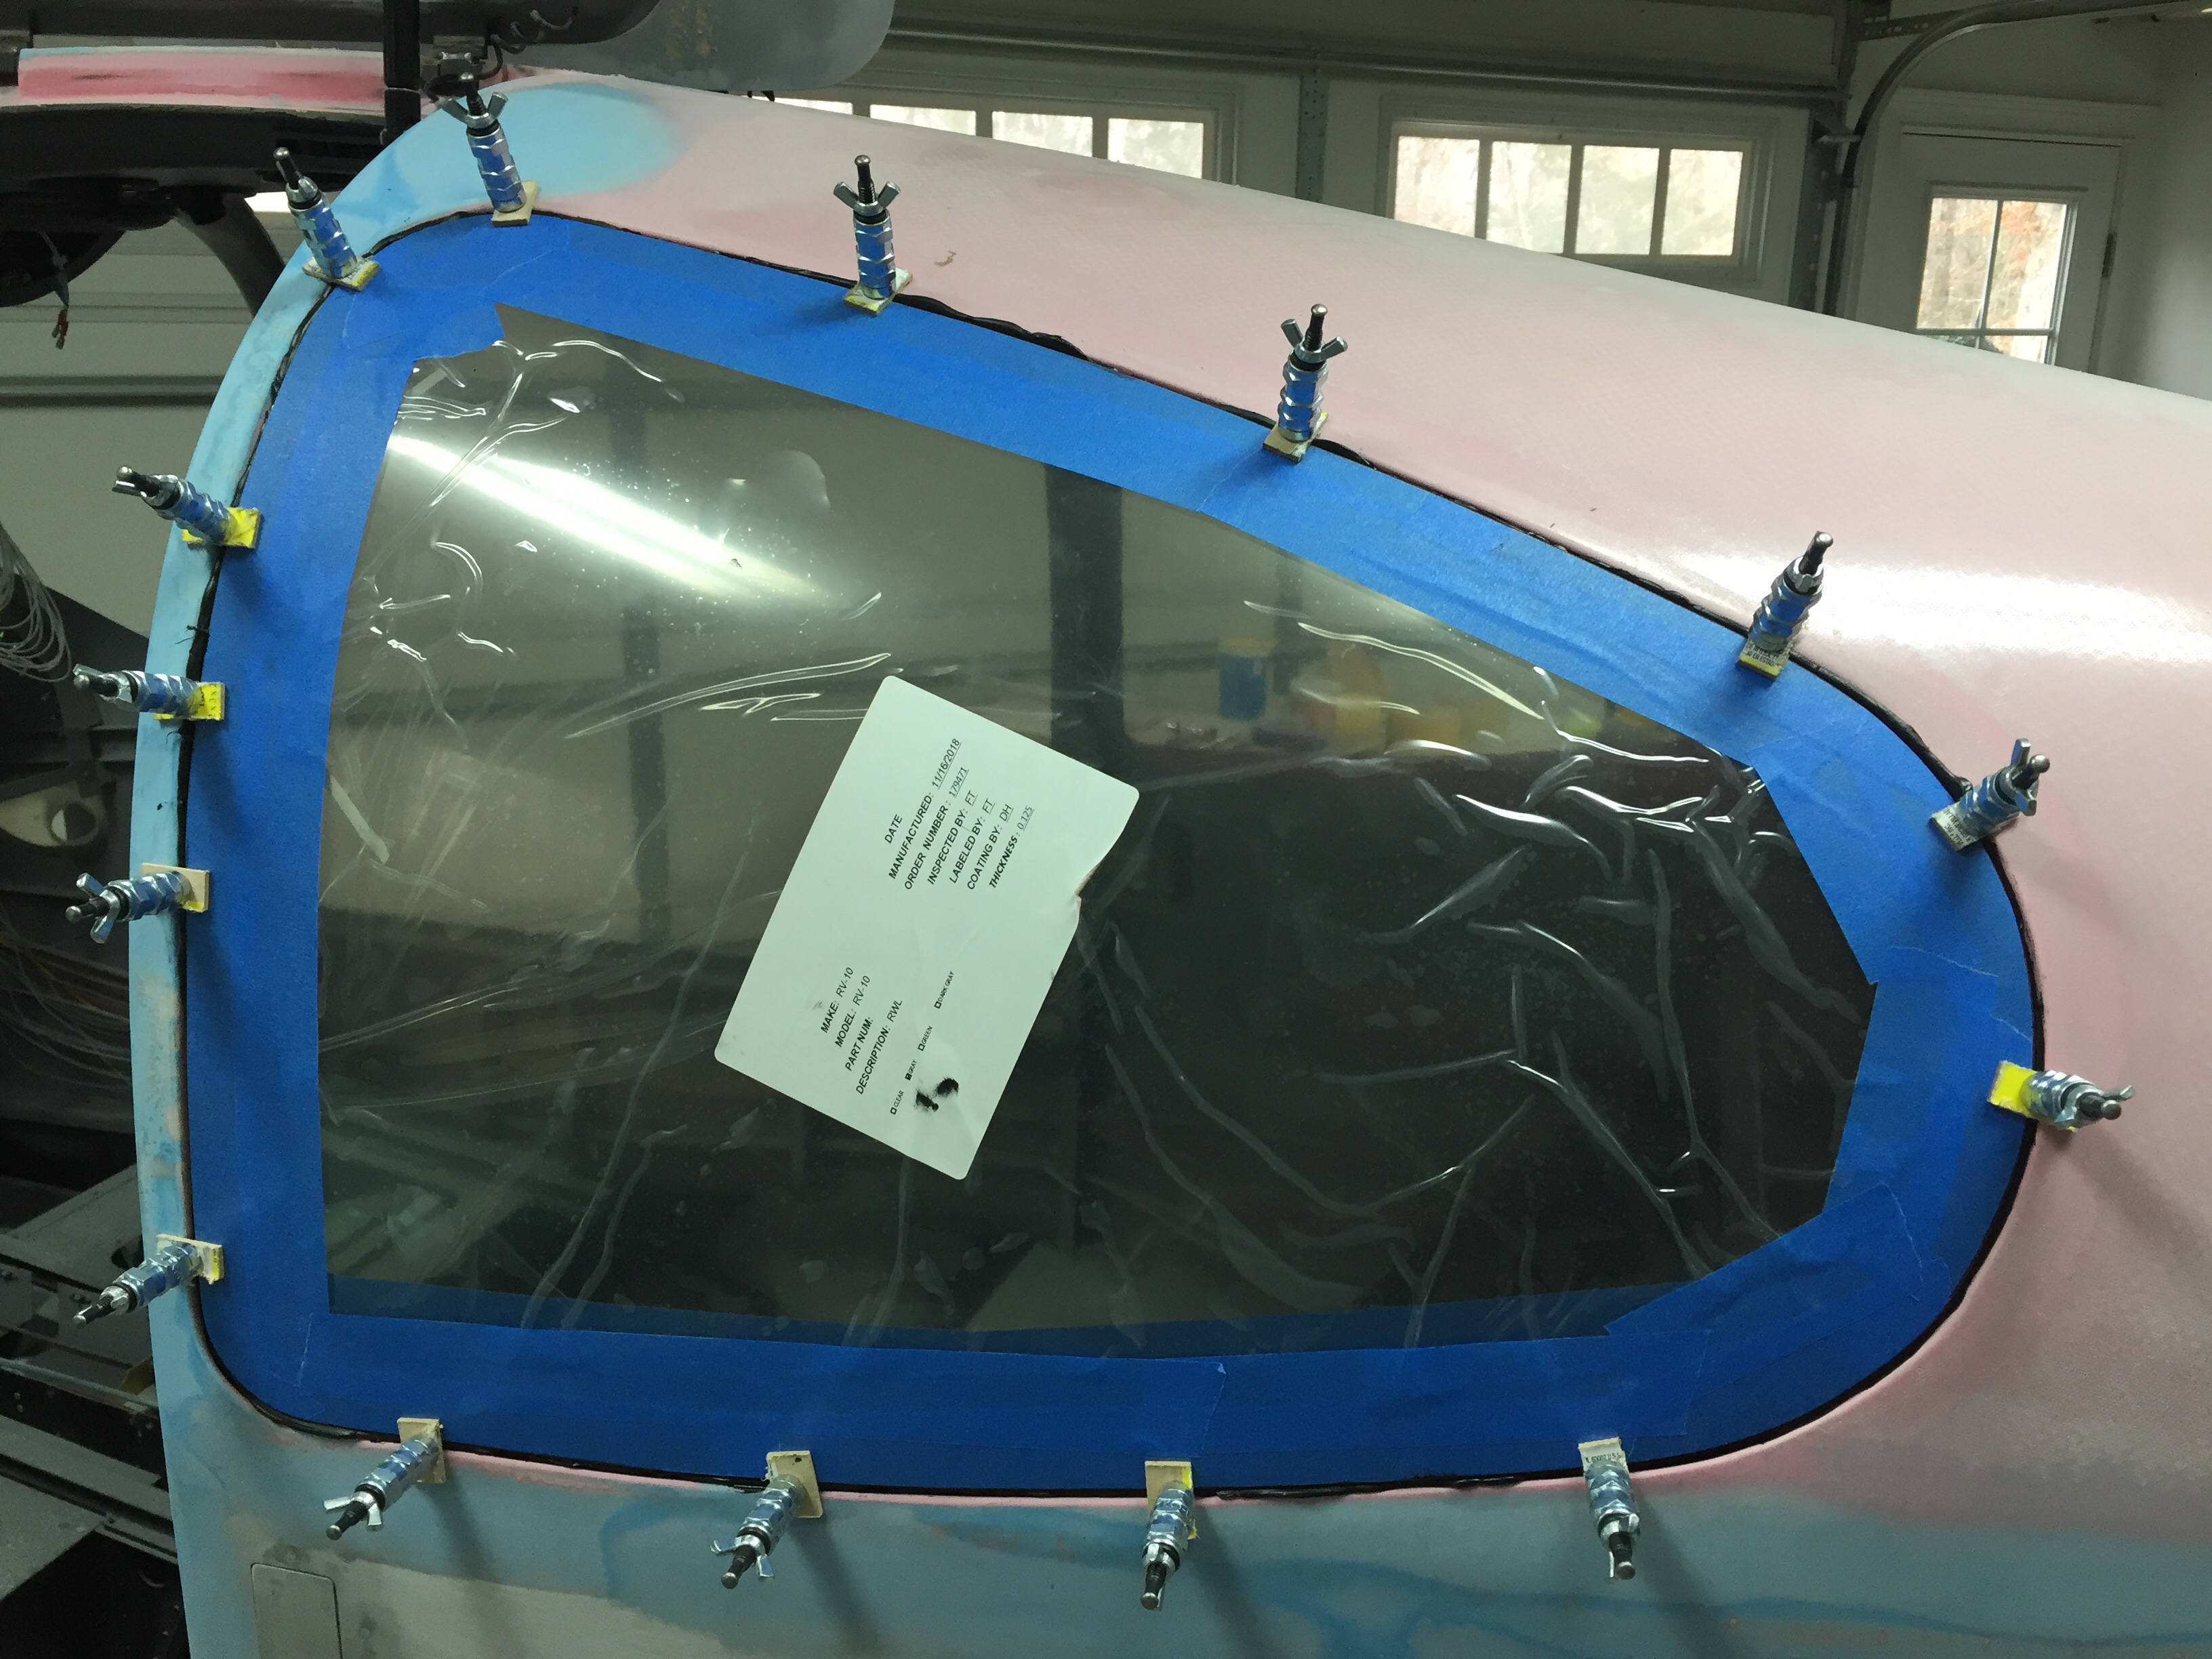
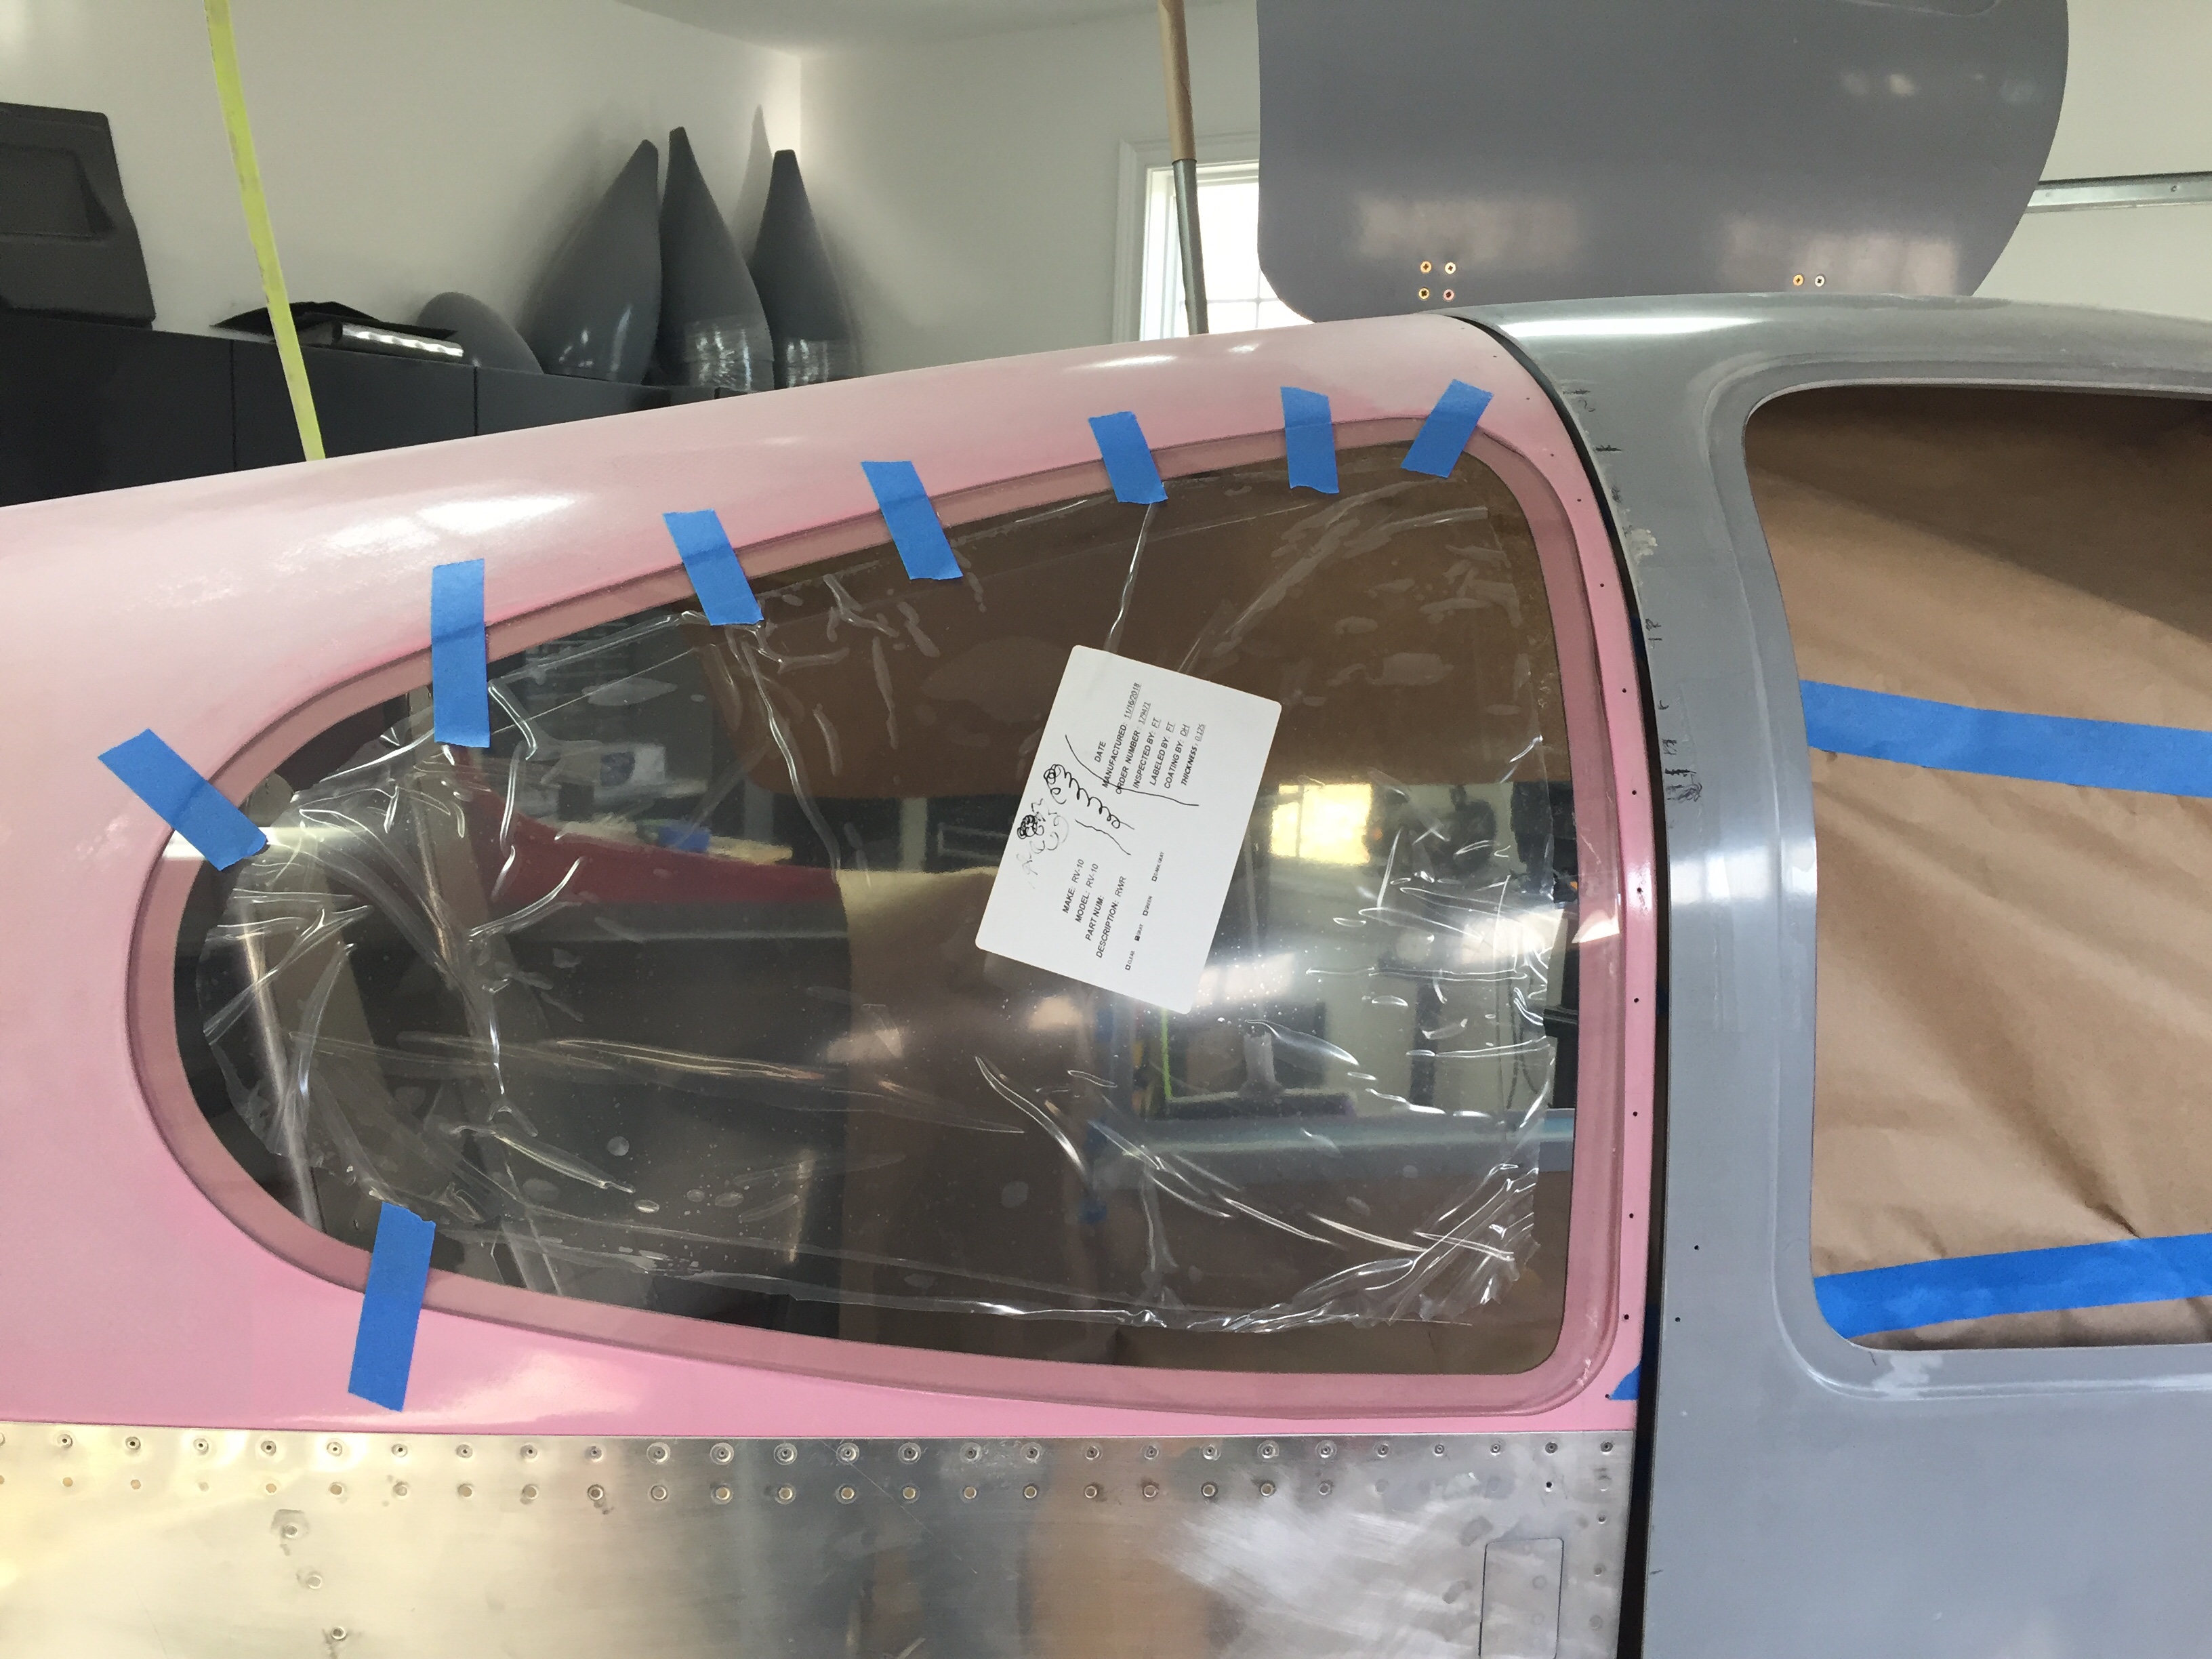
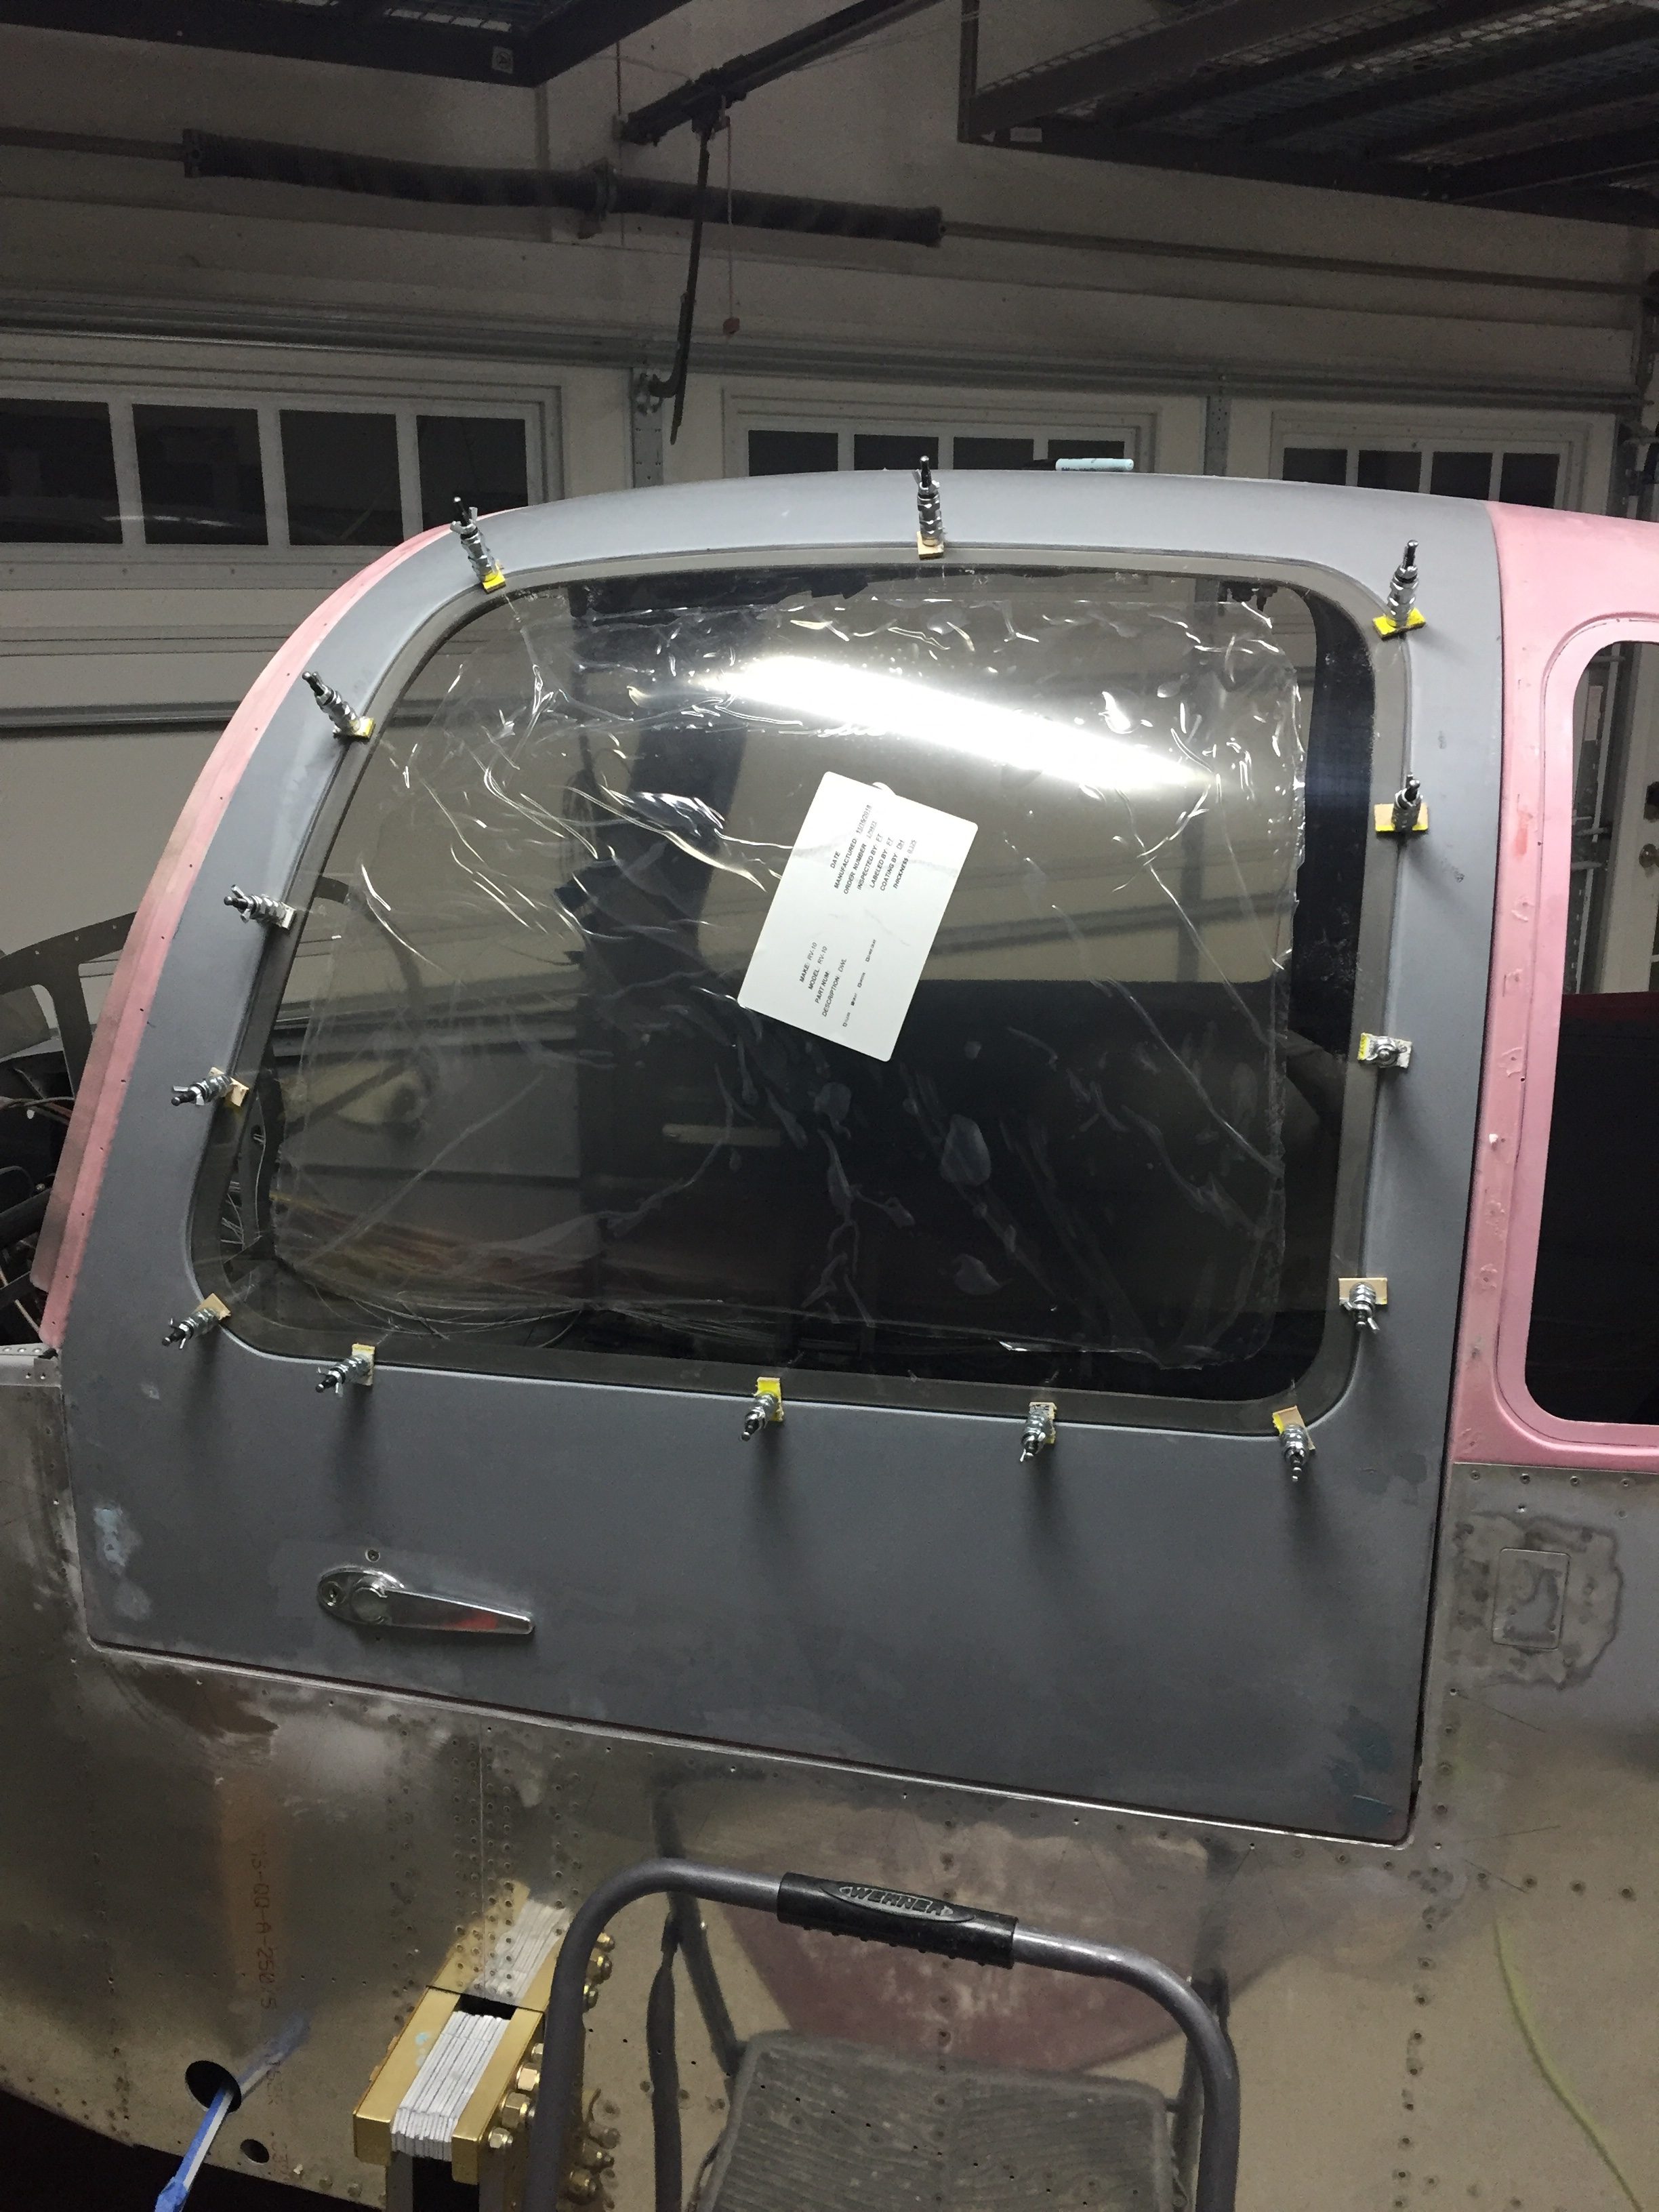
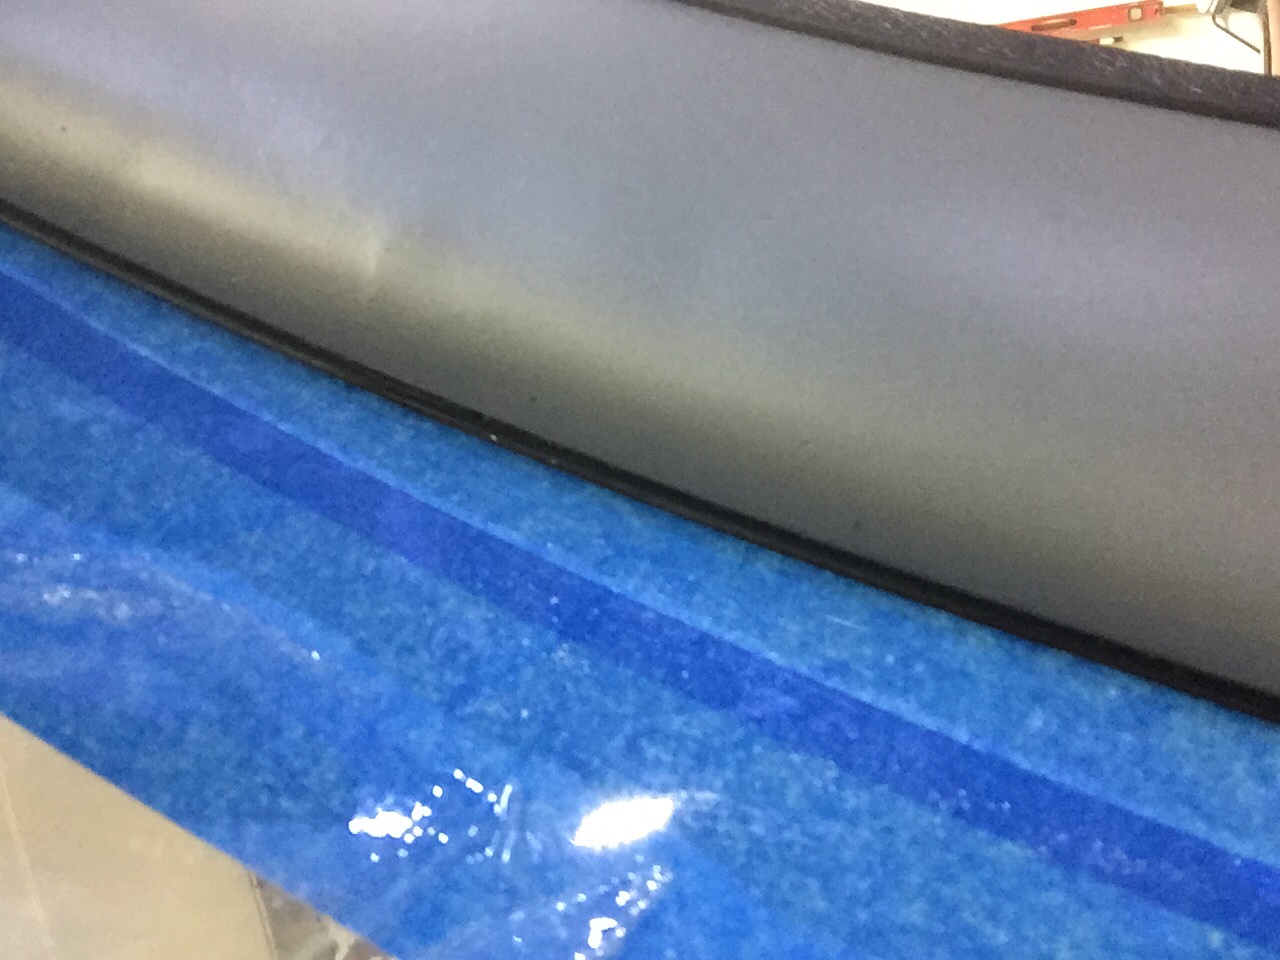
One of the last big fiberglass tasks is to layup the windshield fairing to the upper forward skin. It’s a involved process with 10 layers of varying width glass strips followed up by a few coats of filler and epoxy to get it all nice and smooth. I used cardboard to make a 7″ radius template and cut all of the fiberglass in preperation to layup the fairing. I took other’s advice and died the epoxy black that will help create a nice finish from the inside with the Sika primer painted on the plexi. This avoids unsightly views of the fiberglass from inside the cabin. No pictures of the process as I had epoxy and fibers all over me, but it was a long afternoon with a lot of mixing. I found that it was difficult to keep the layers precicely on top of each other and wound up with a few lumps and bumps along the way. All were under the template radius, however, so could be fixed with filler.
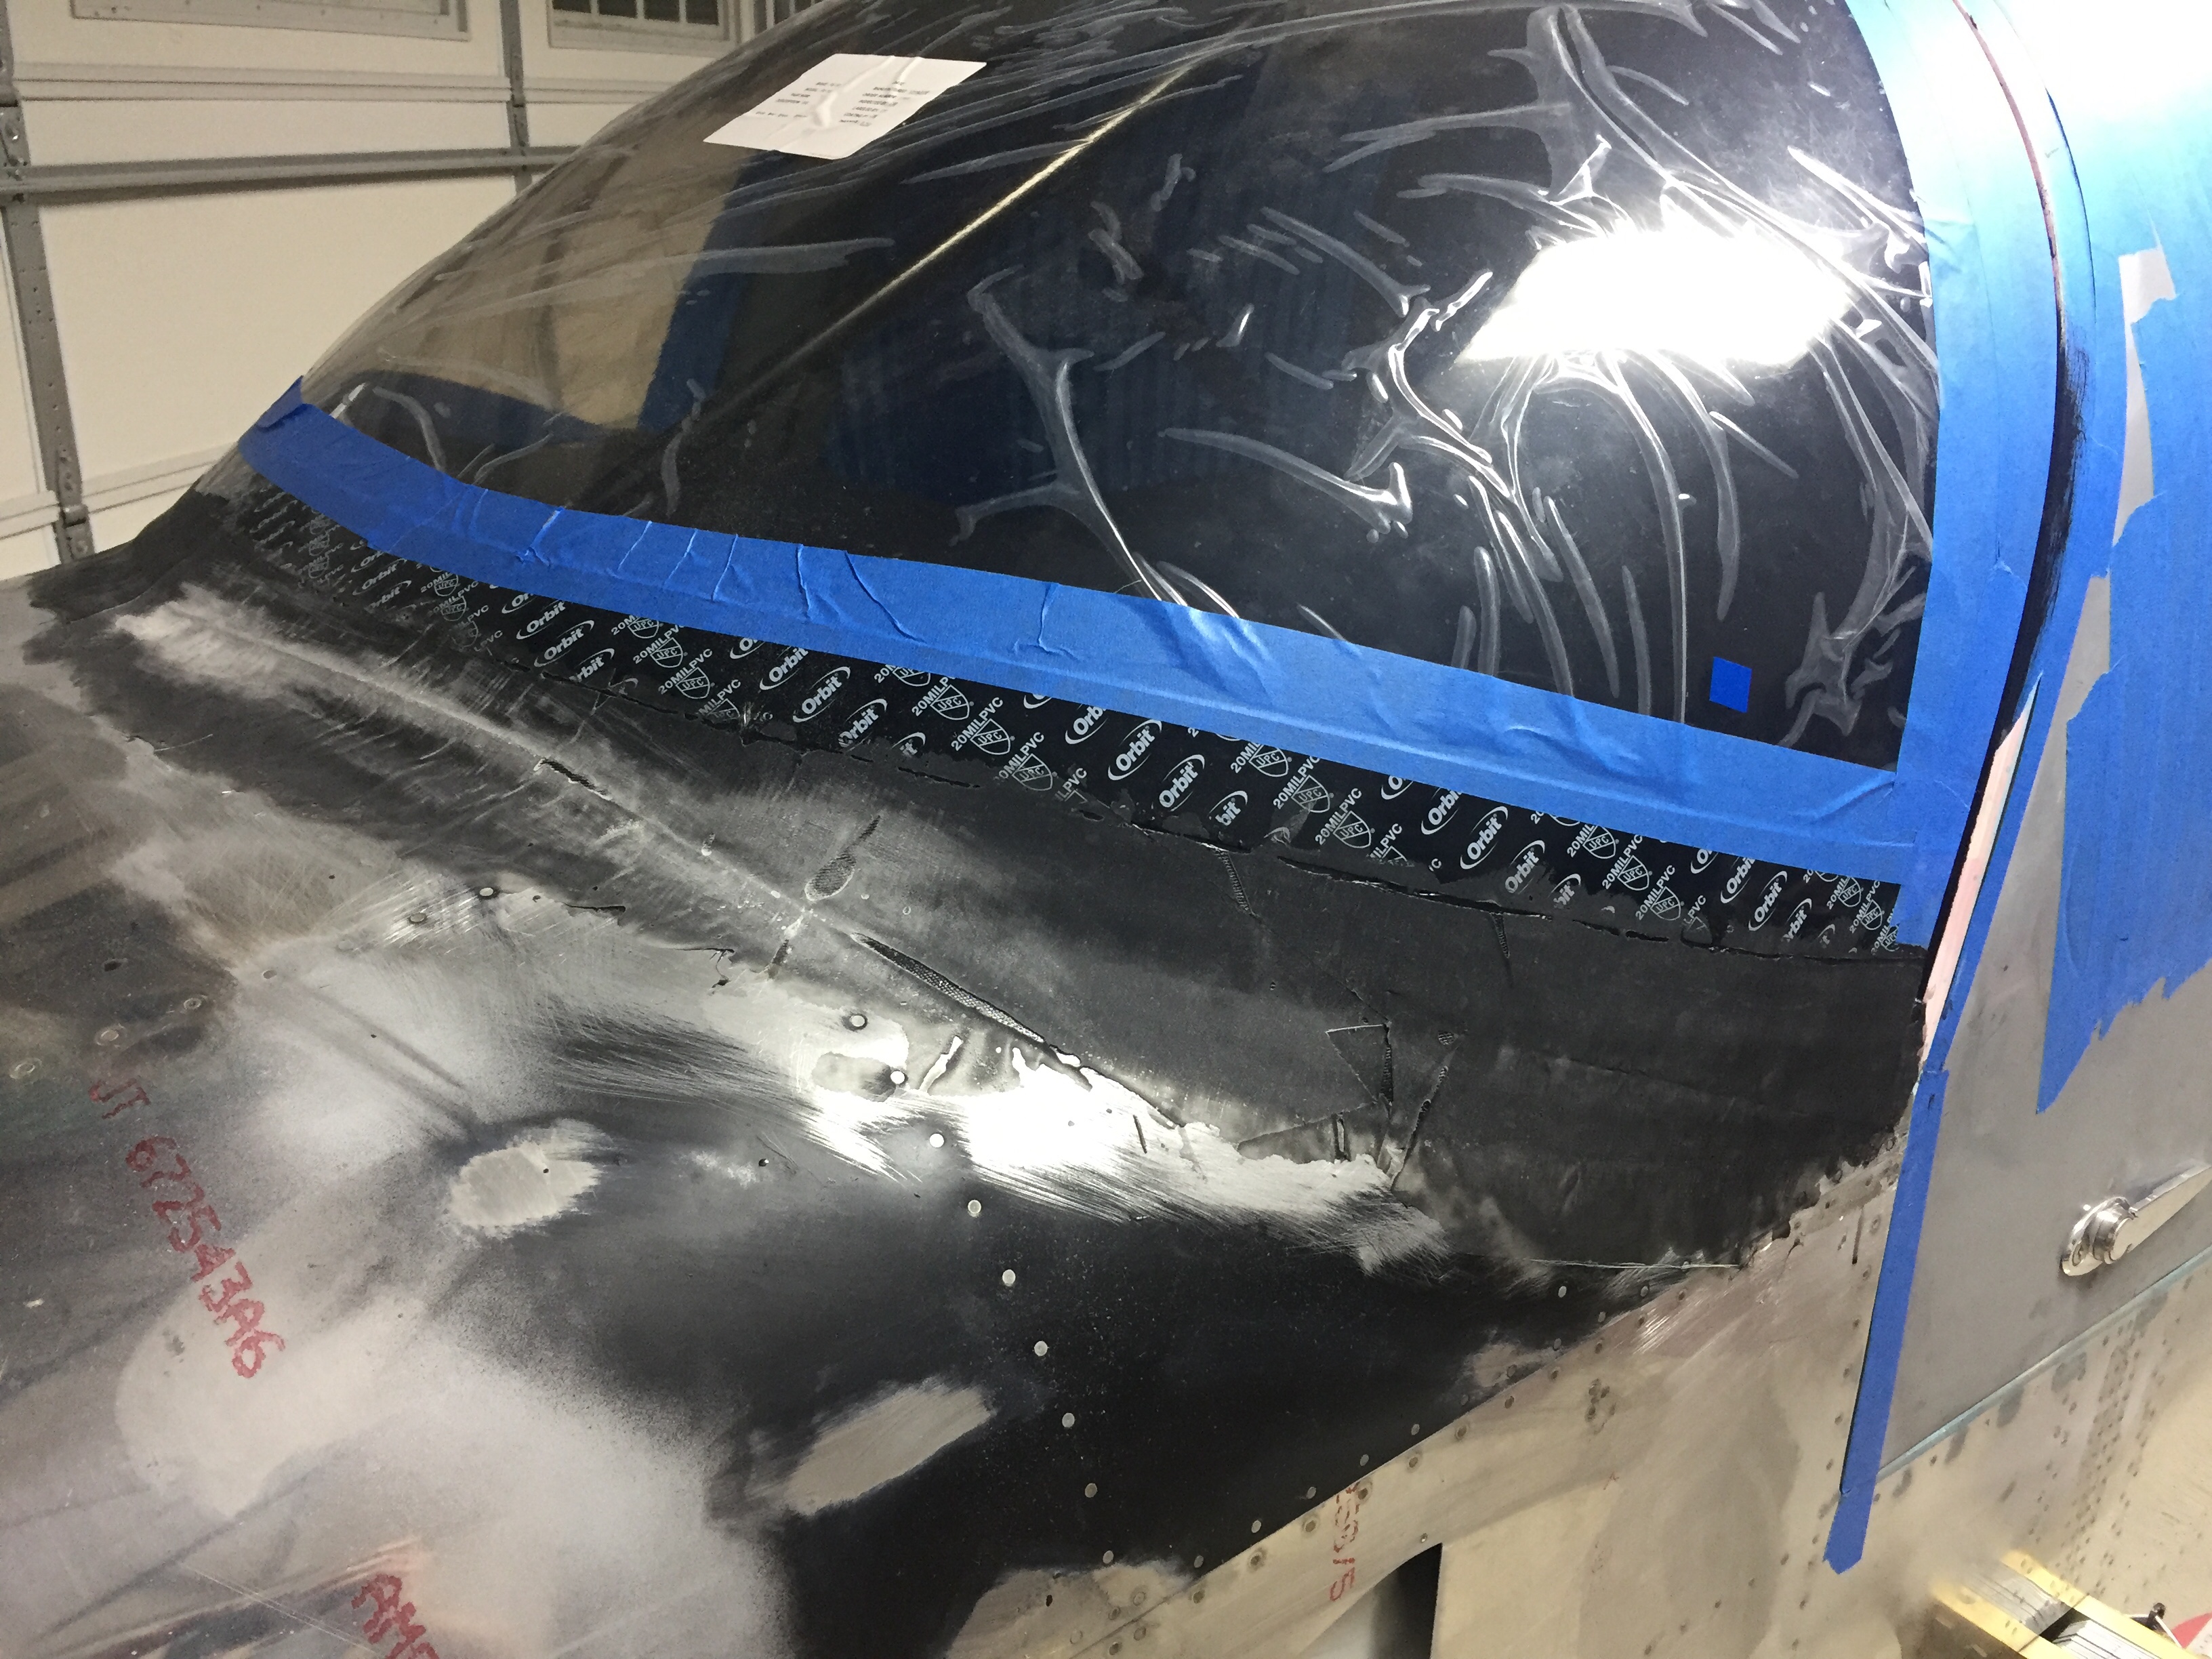
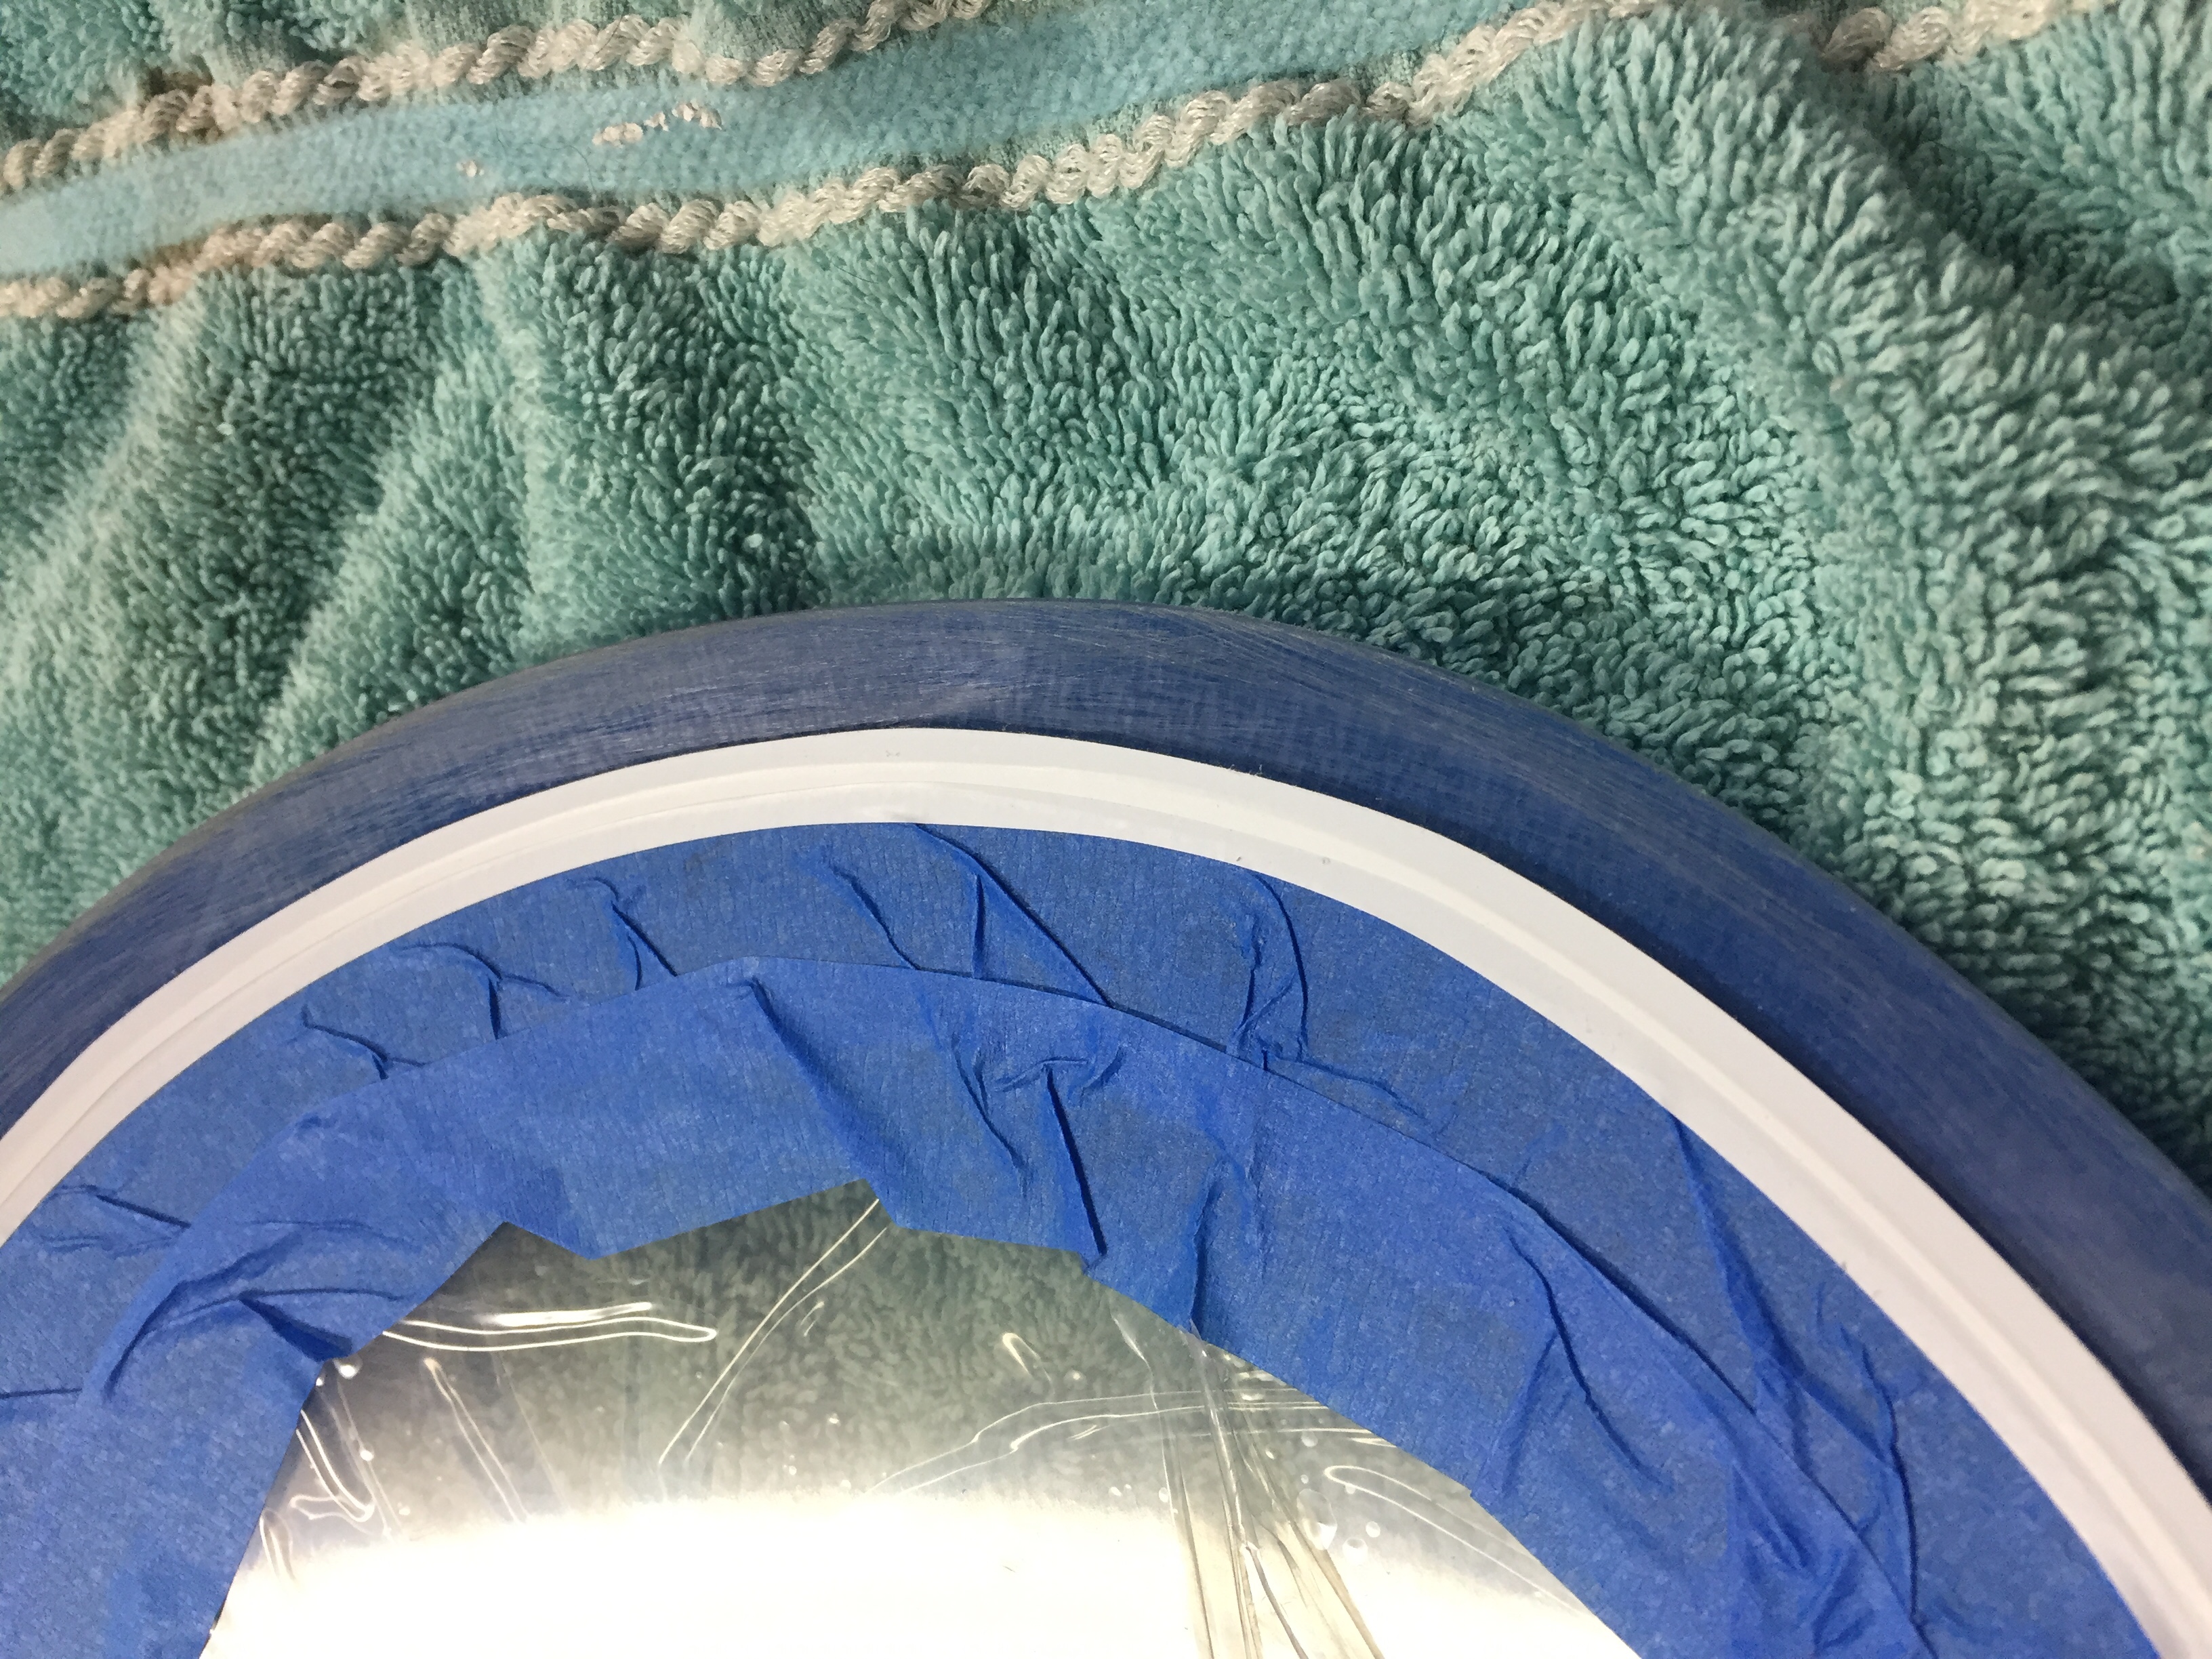
The layup turned out pretty well and the next step is to apply filler. I ordered a 2 mil vinyl plumping tape from Amazon Officially Approved Totally Legit Aircraft Supply Company and applied that over the electrical tape that marked the edge of the fairing. This is probably the hardest aspect, as getting a nice smooth and even line is a bit challenging. In the end, I did a lot of measuring and then eyeballing to get it good enough. It probably isn’t perfect, but it looked good to my discerning eye.
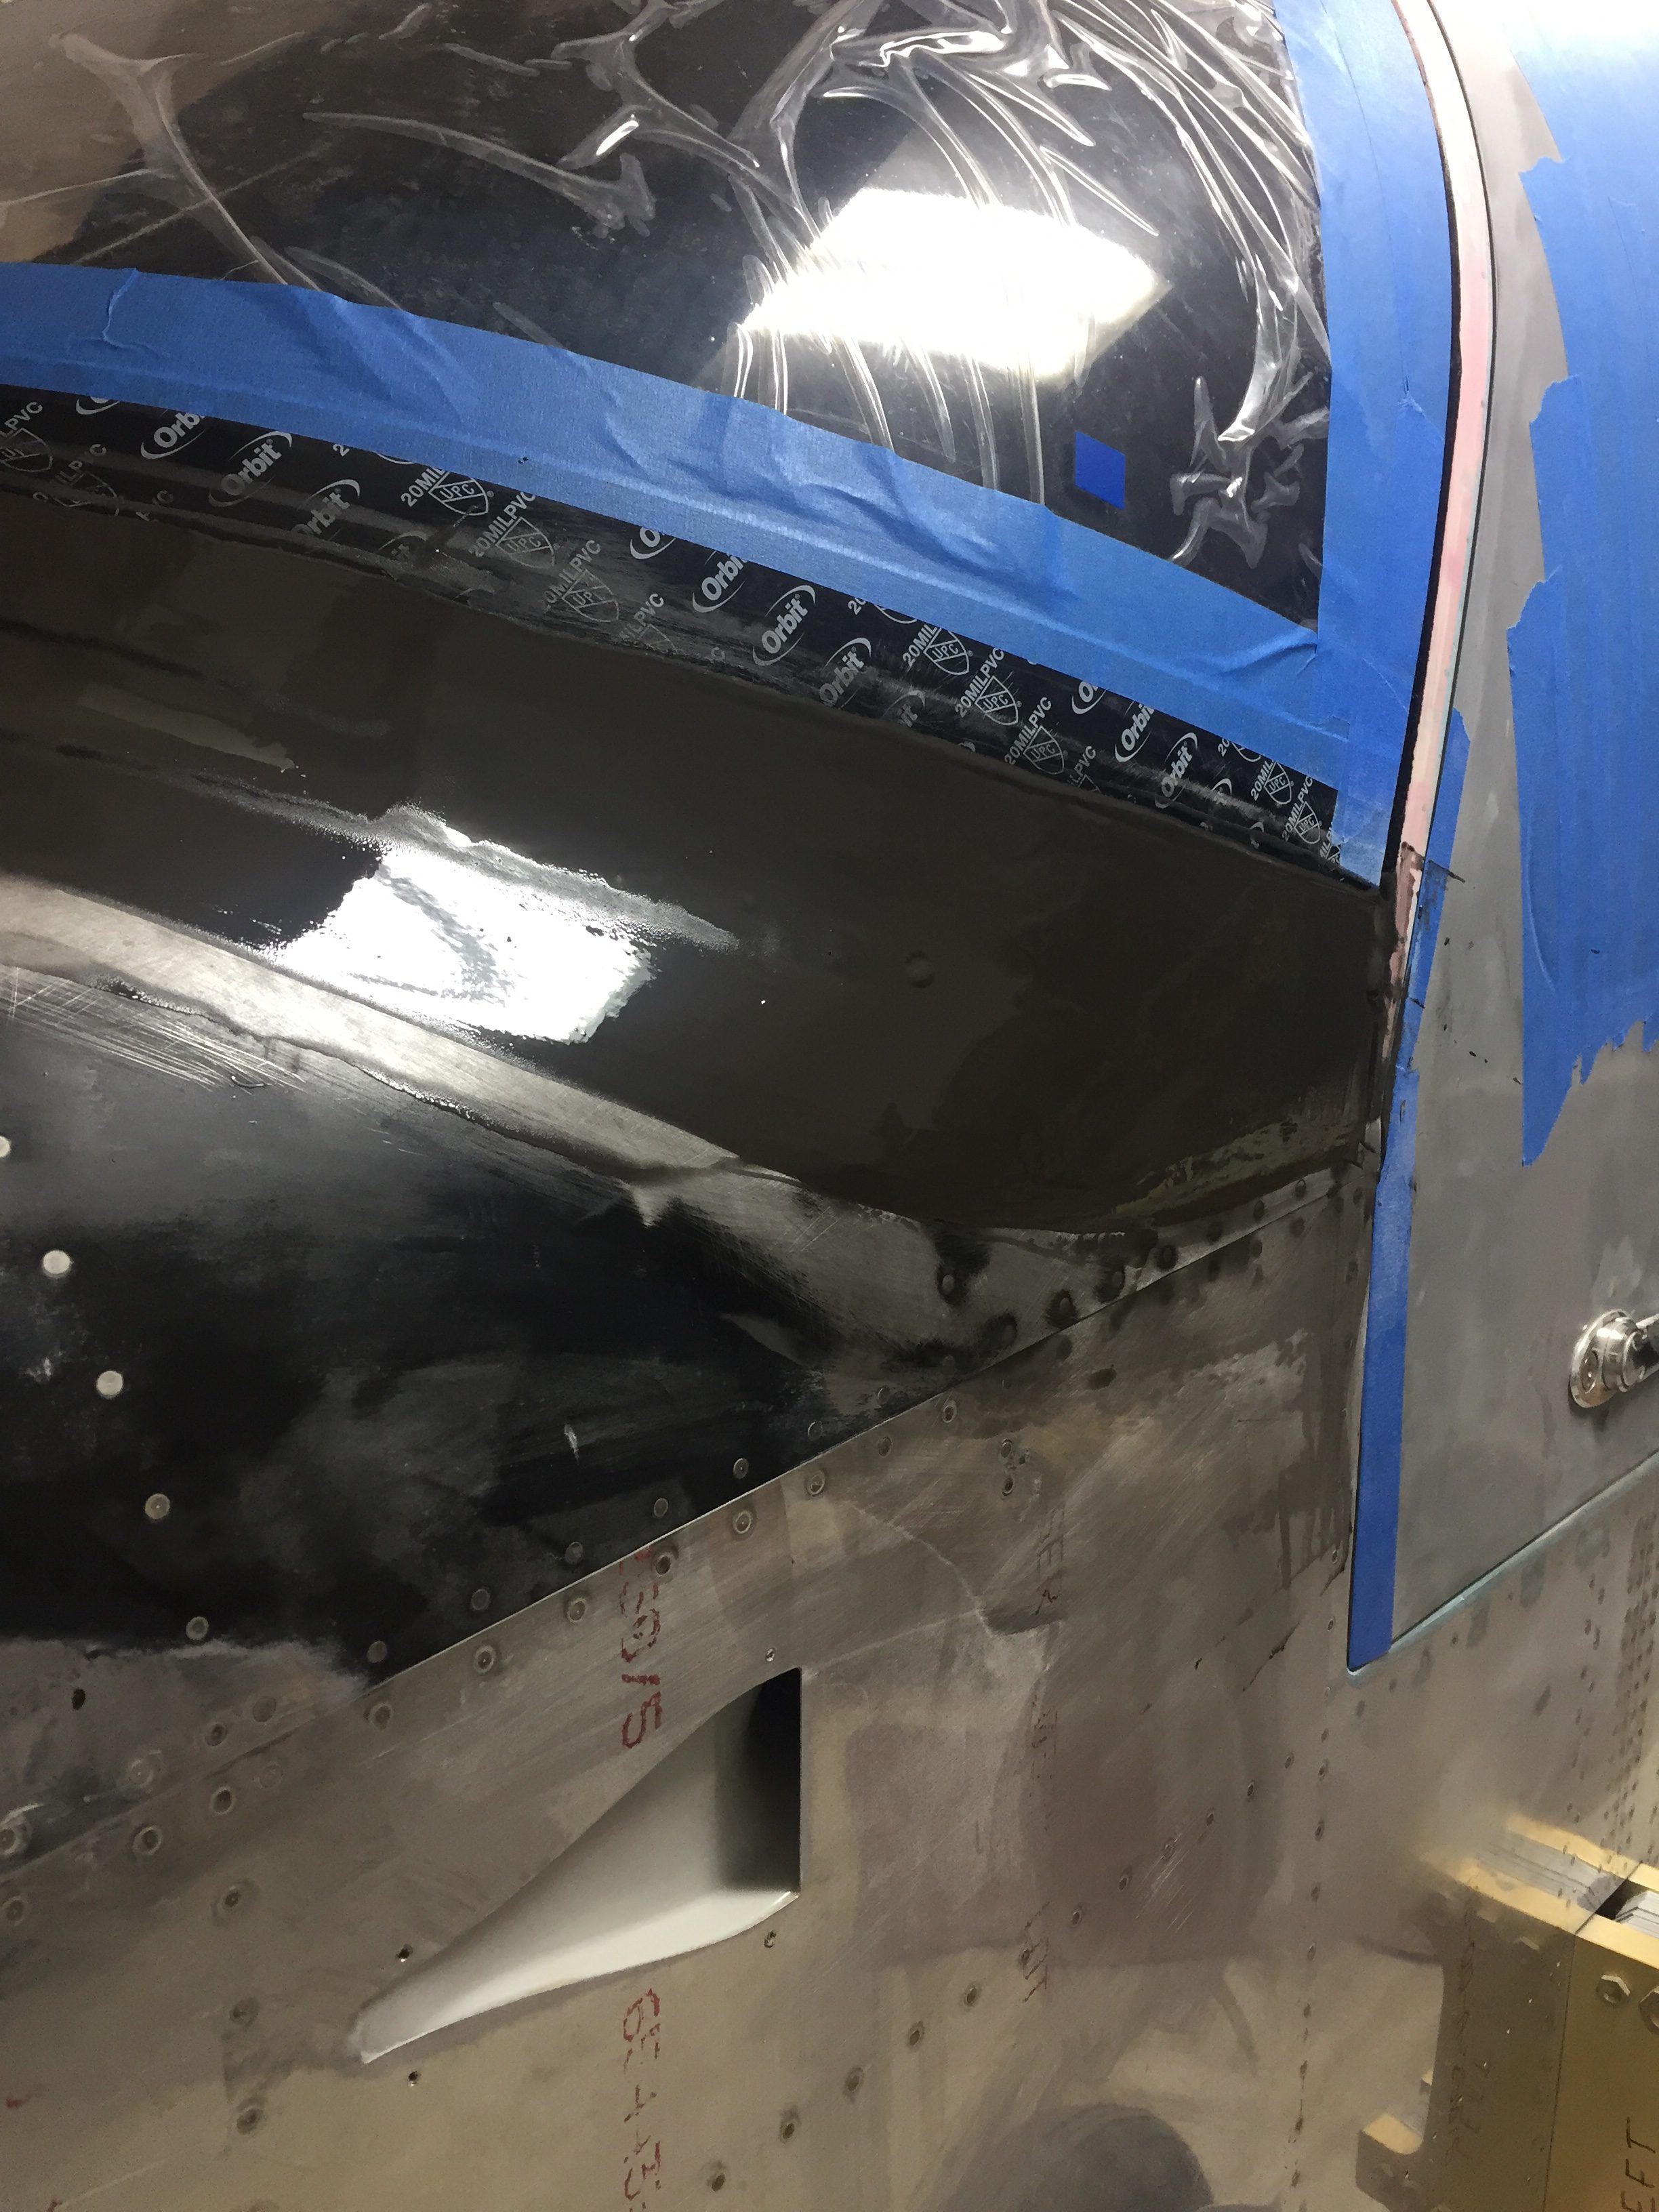
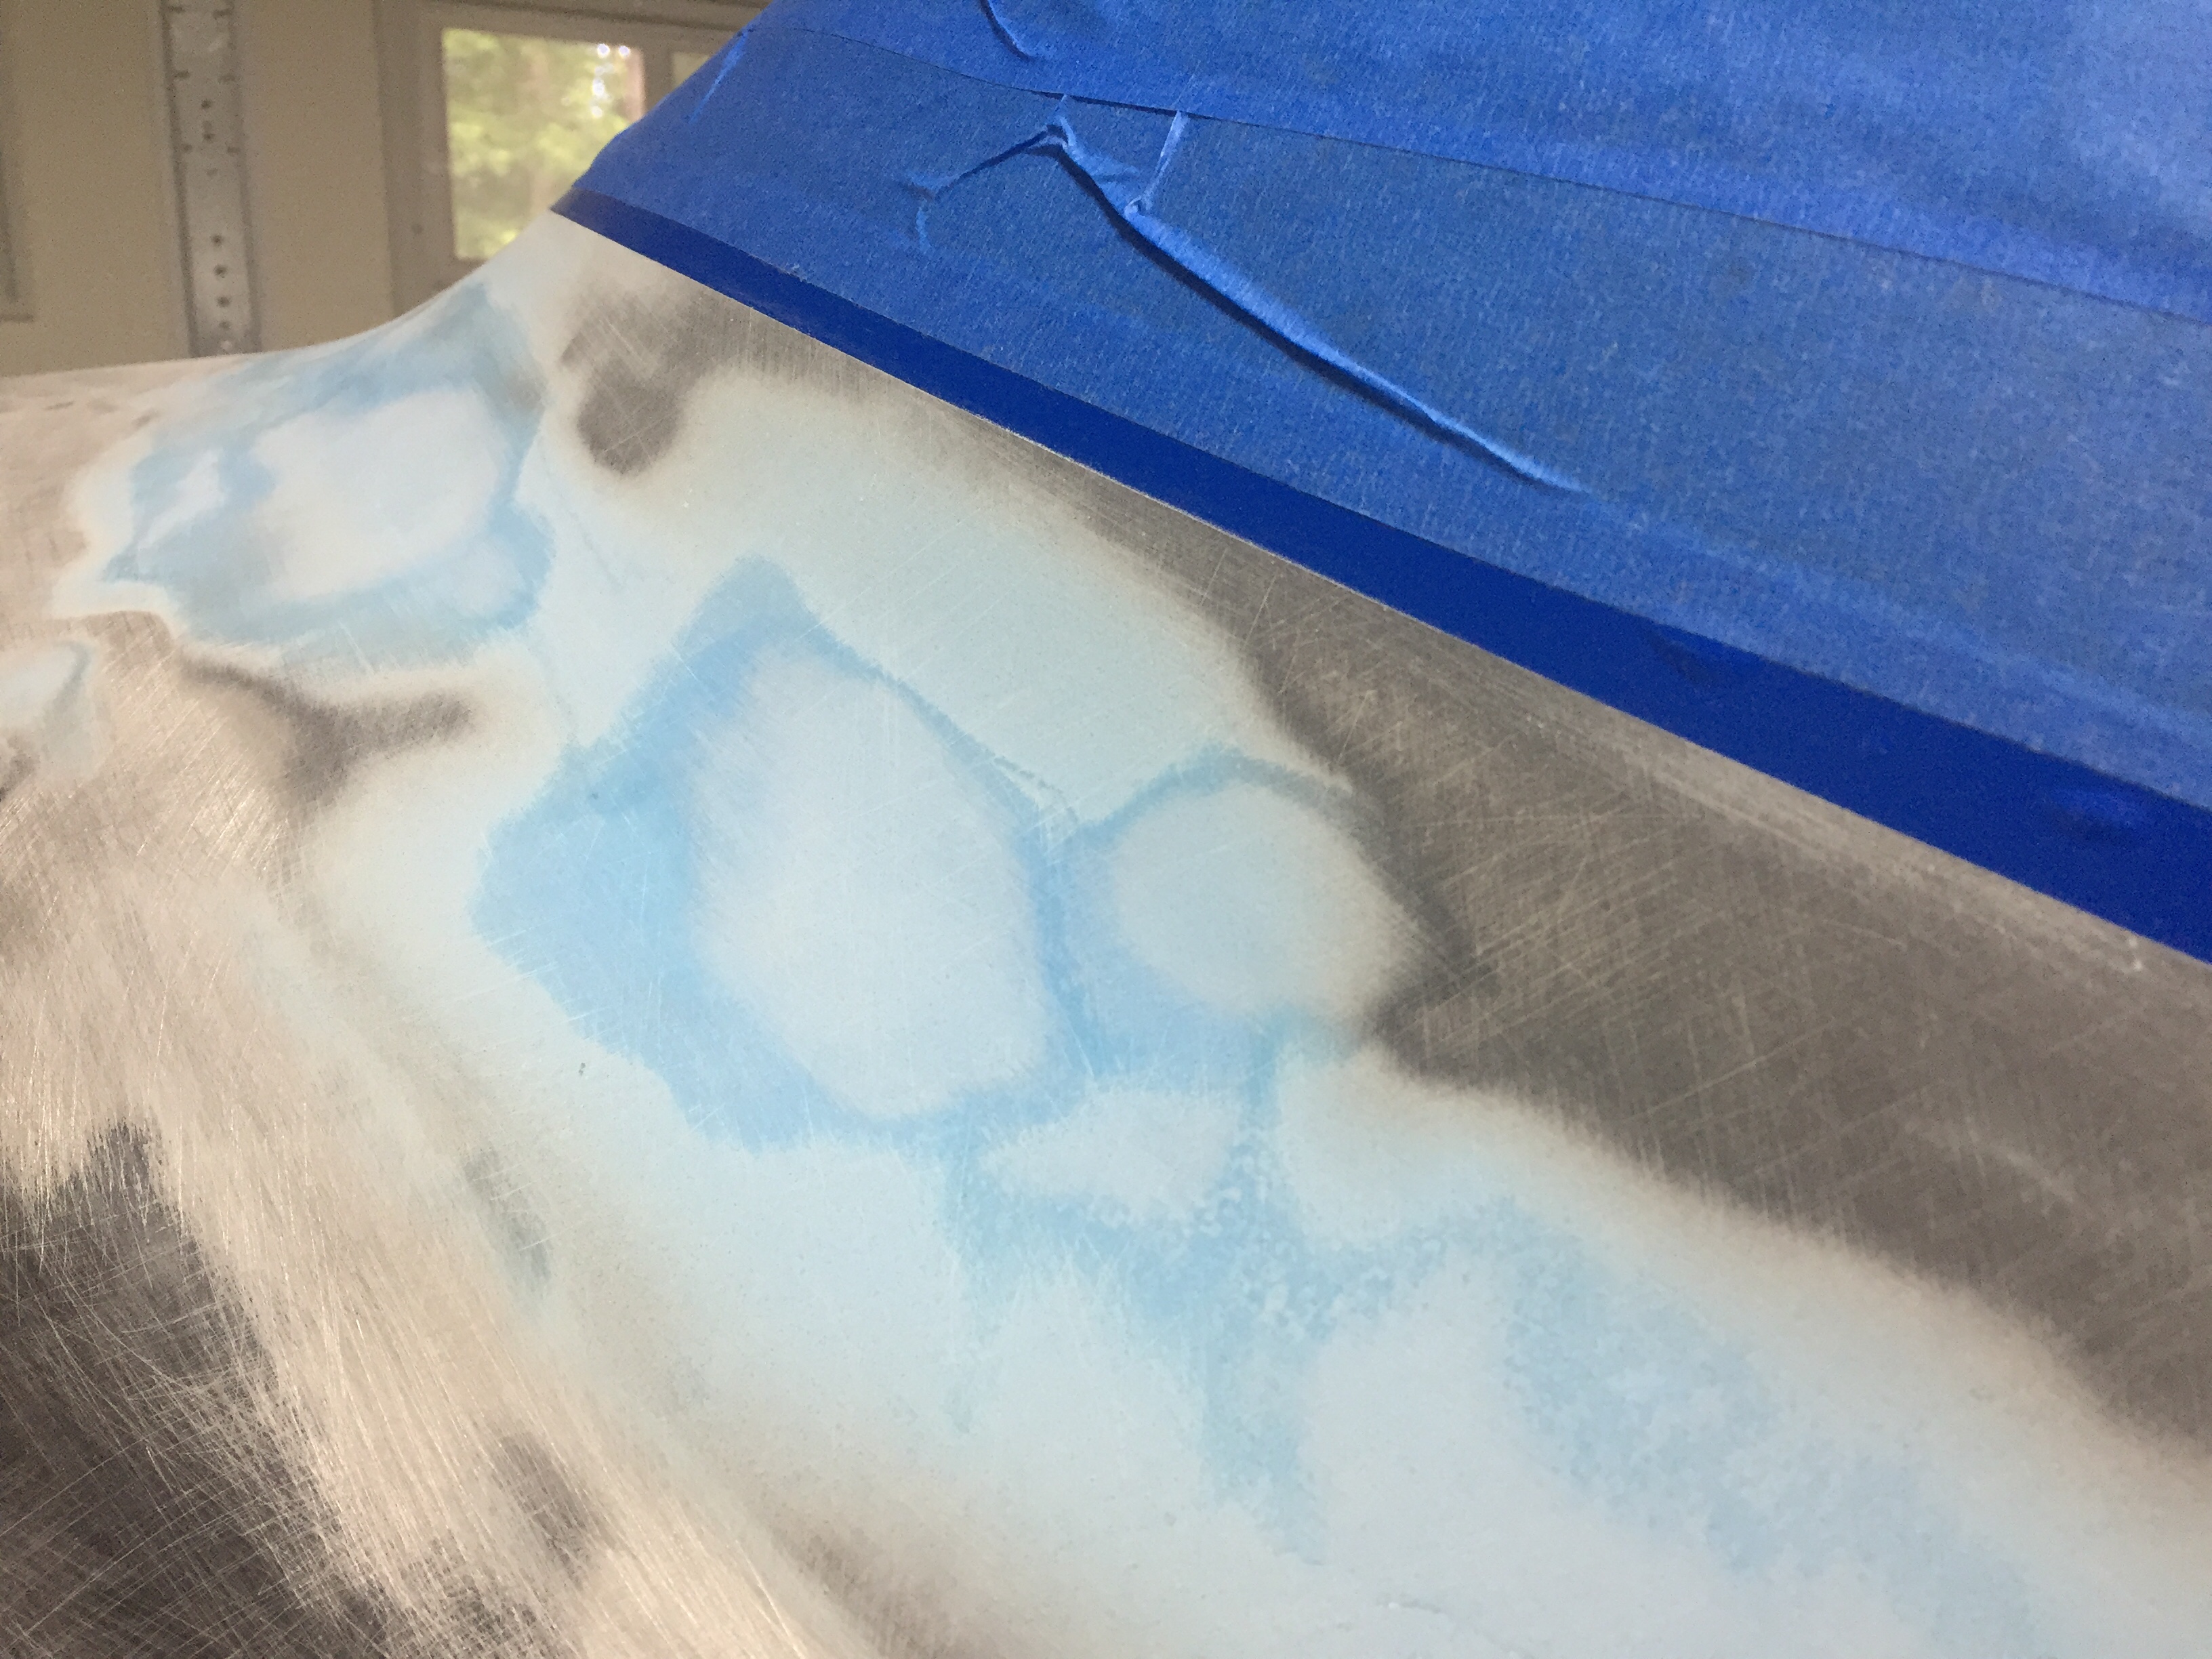
My first coat of filler was the West epoxy mixed with micro to give some good ridgity over the layups. I died it black just be be sure a good coverage again and made it good enough under the template. After a quick sanding once dry, I used SuperFil to complete the curve which is much easier to apply and sand. All in all, it took about five applications to get everything just the way I wanted it. I used my favorite soft curved sanding block to sand and just judged by feel any high or low spots. I’m happy with the turn out and I’m sure Jonathan will touch it up when he takes the plane for paint next year.
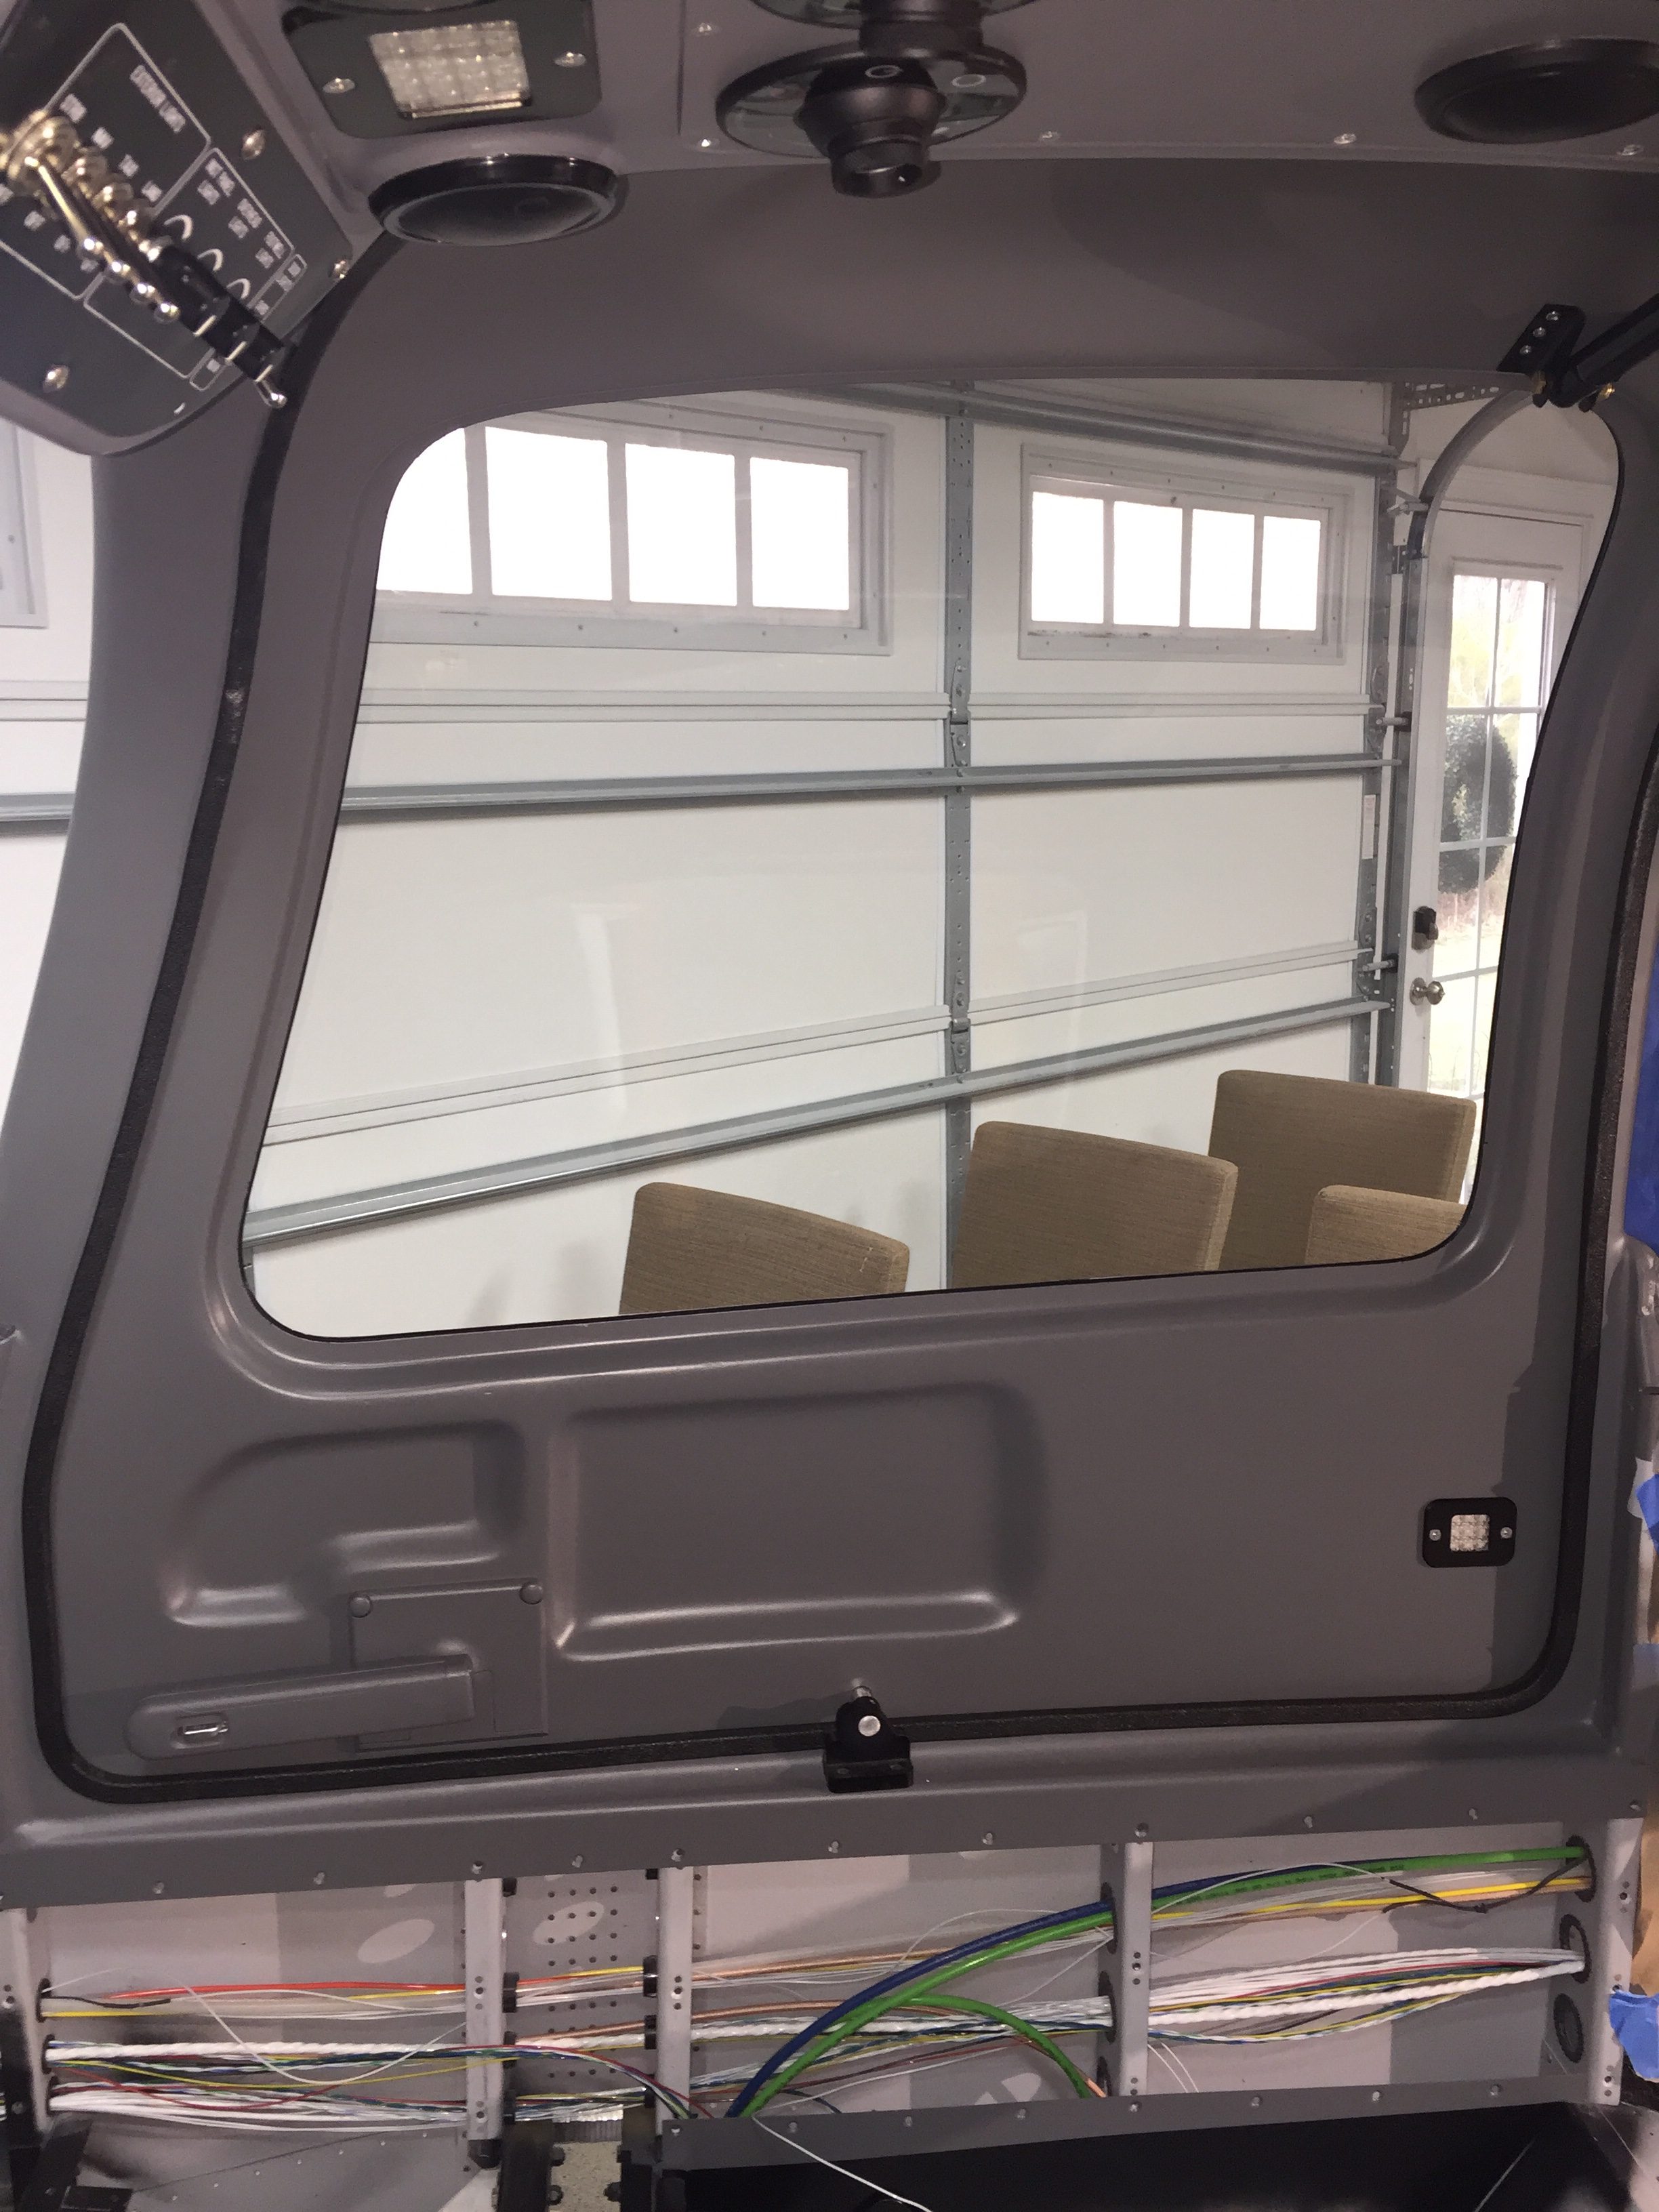
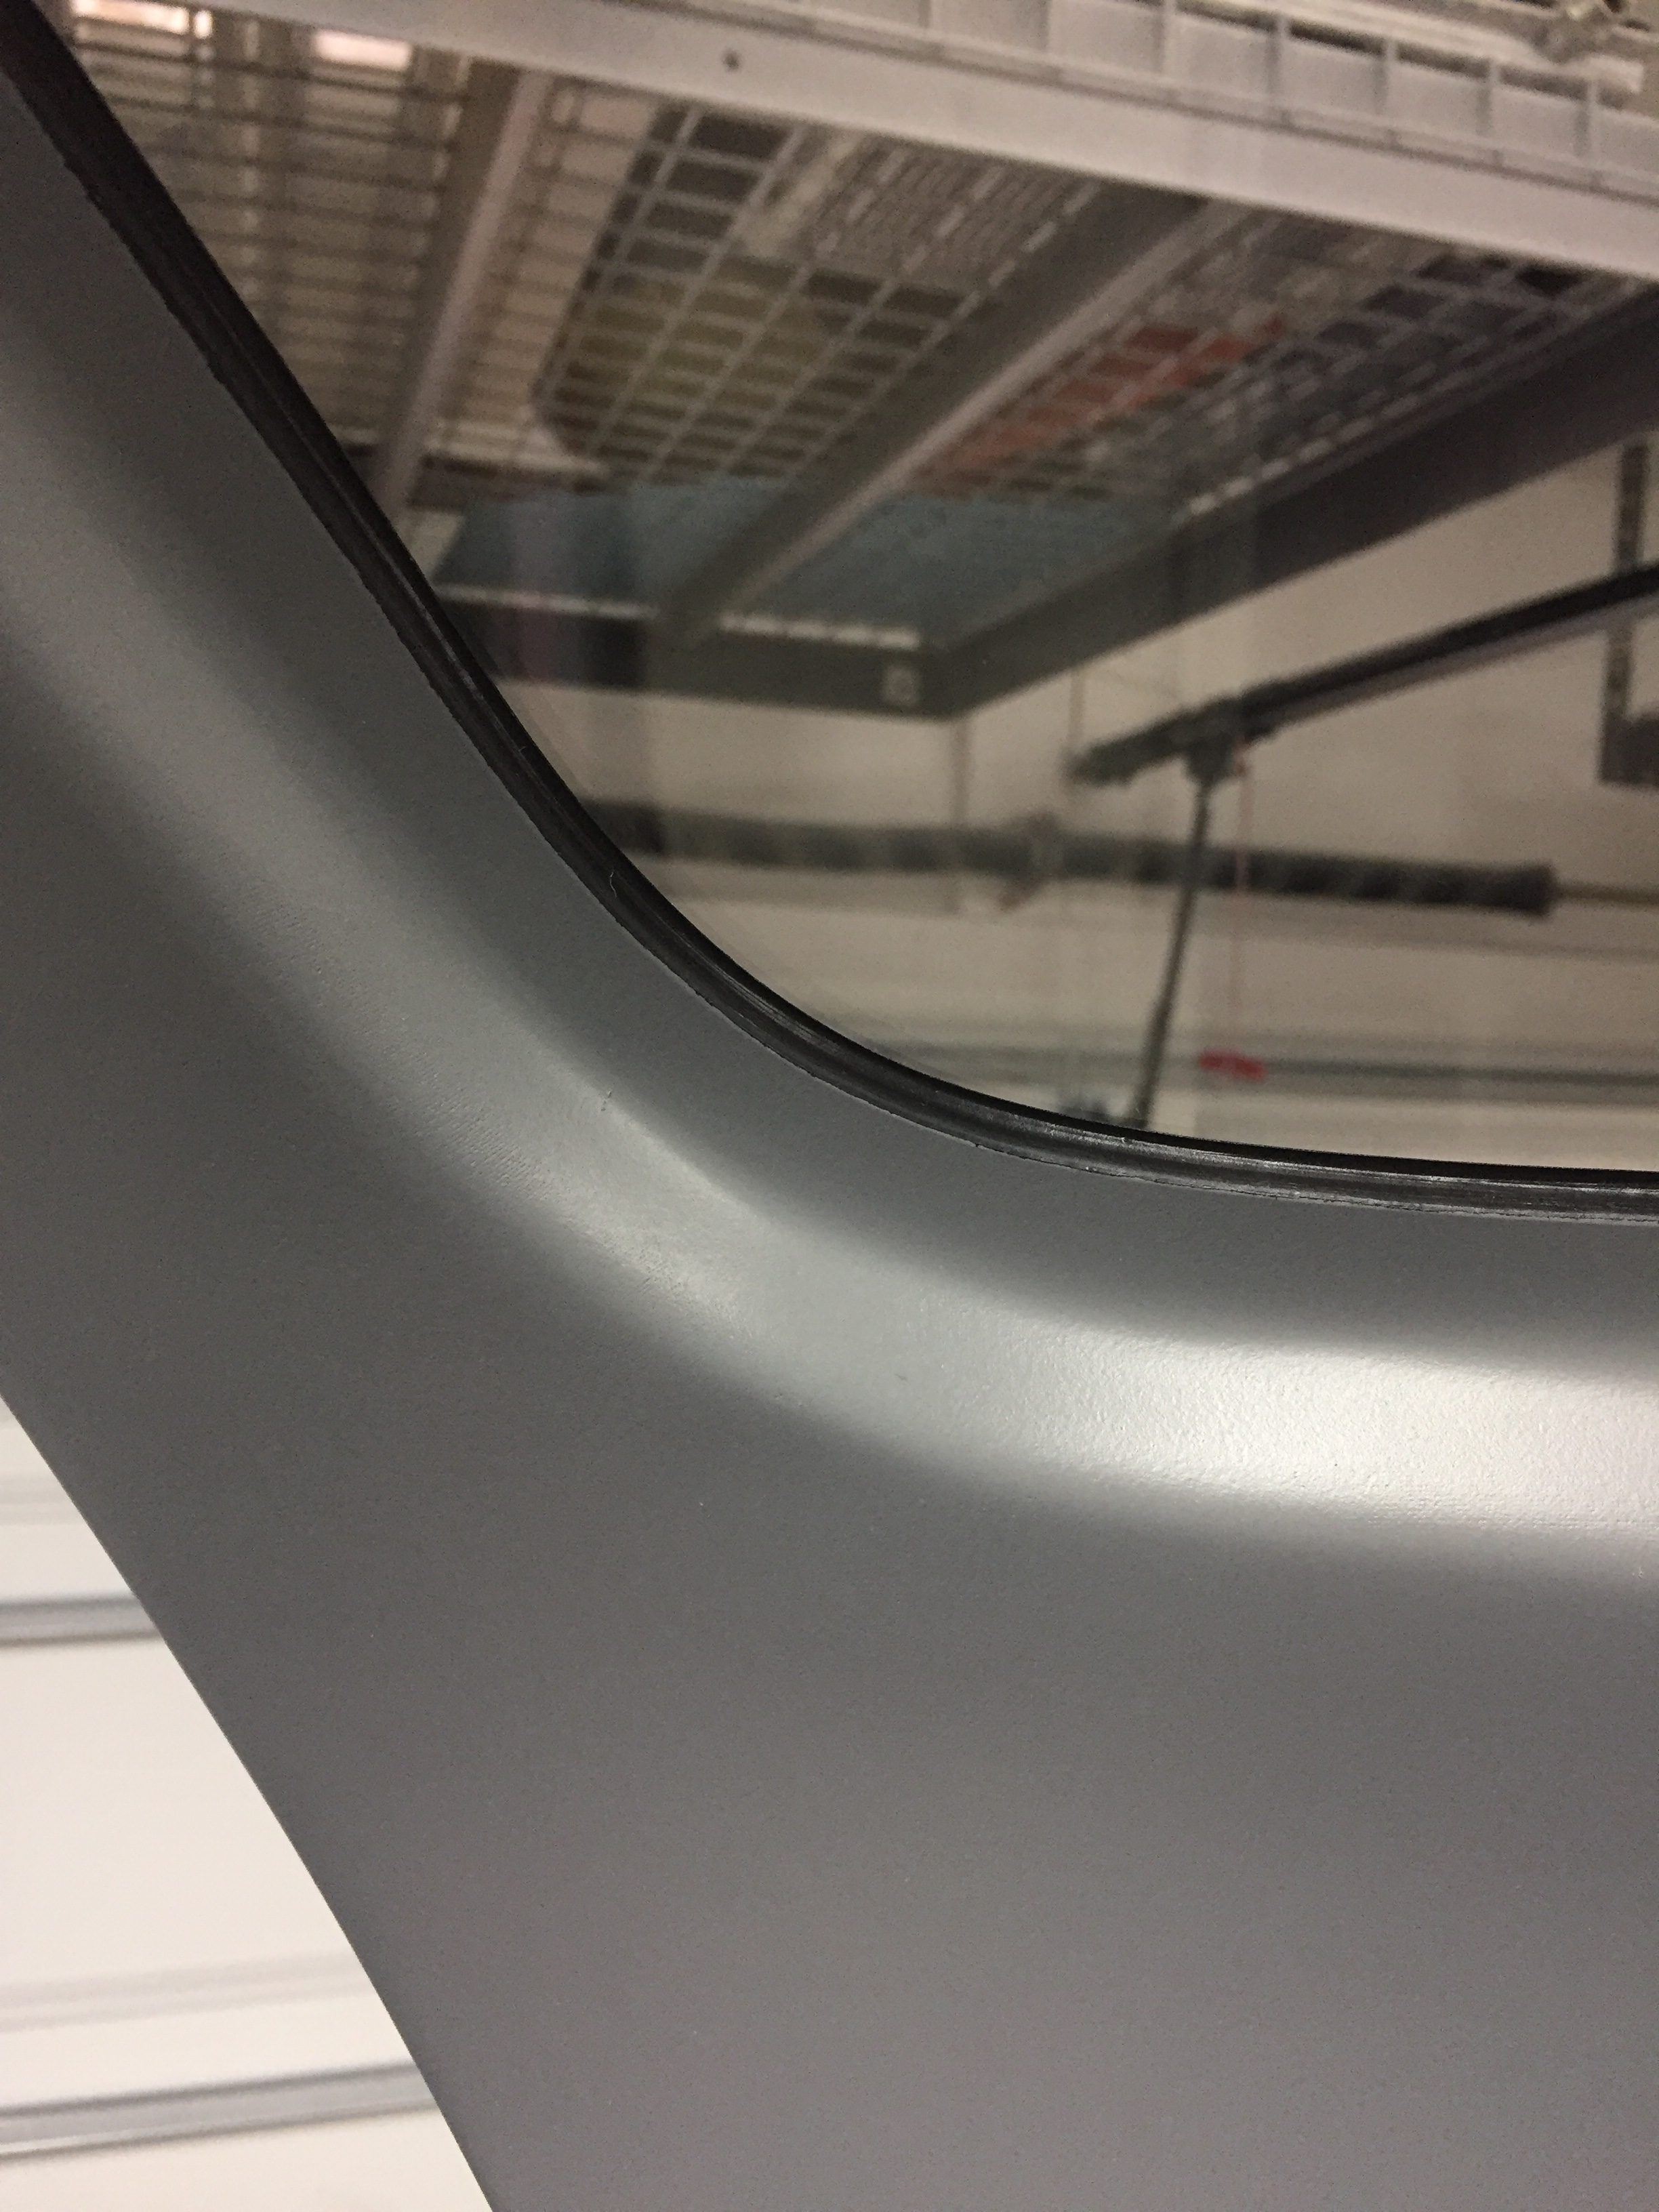
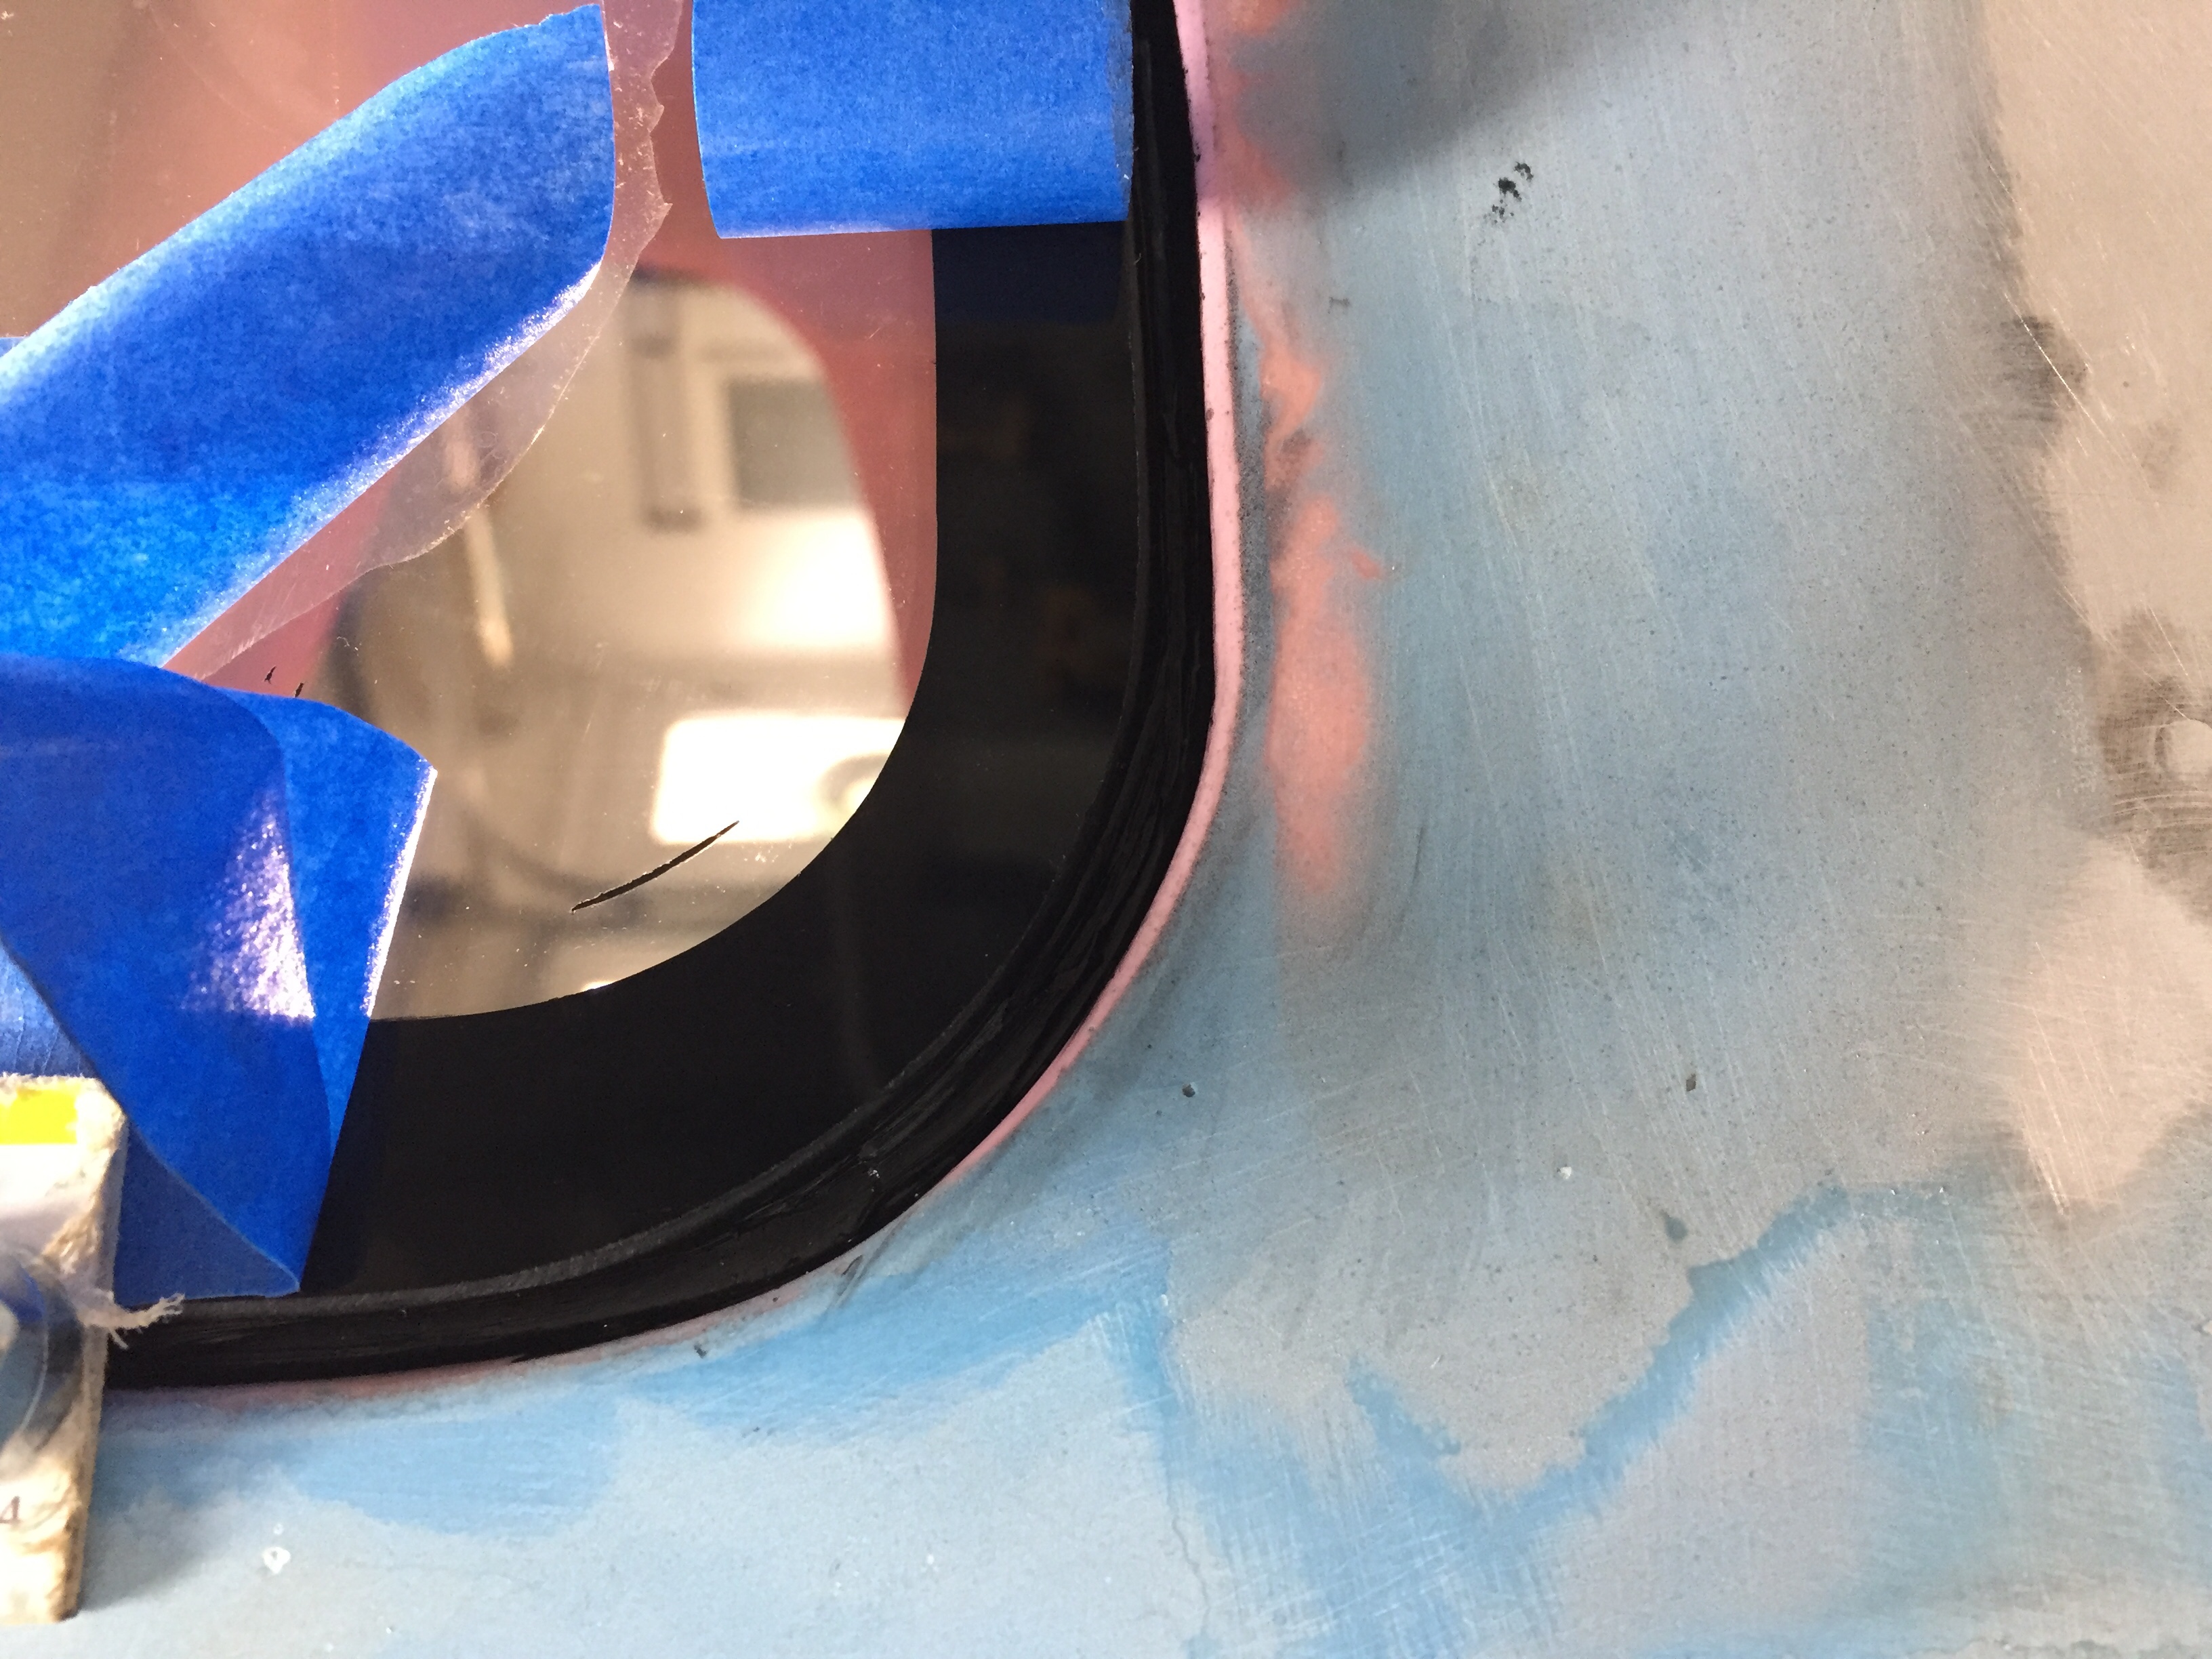
On the inside, I have one little streak of white from the tape which is a bit aggrivating, but nothing I can do about it now. It may be covered by the side panel and glareshield, so not too worried about it, but it just annoys me. The rest of the windscreen interior turned out absolutely perfect. Again, the Sportsman method of taping and using Sika was a huge aspect of getting a clean finish. It’s really cool to sit in the cabin now and look out through the windscreen! It’s also nice having the cabing almost entirely closed in to keep it clean.
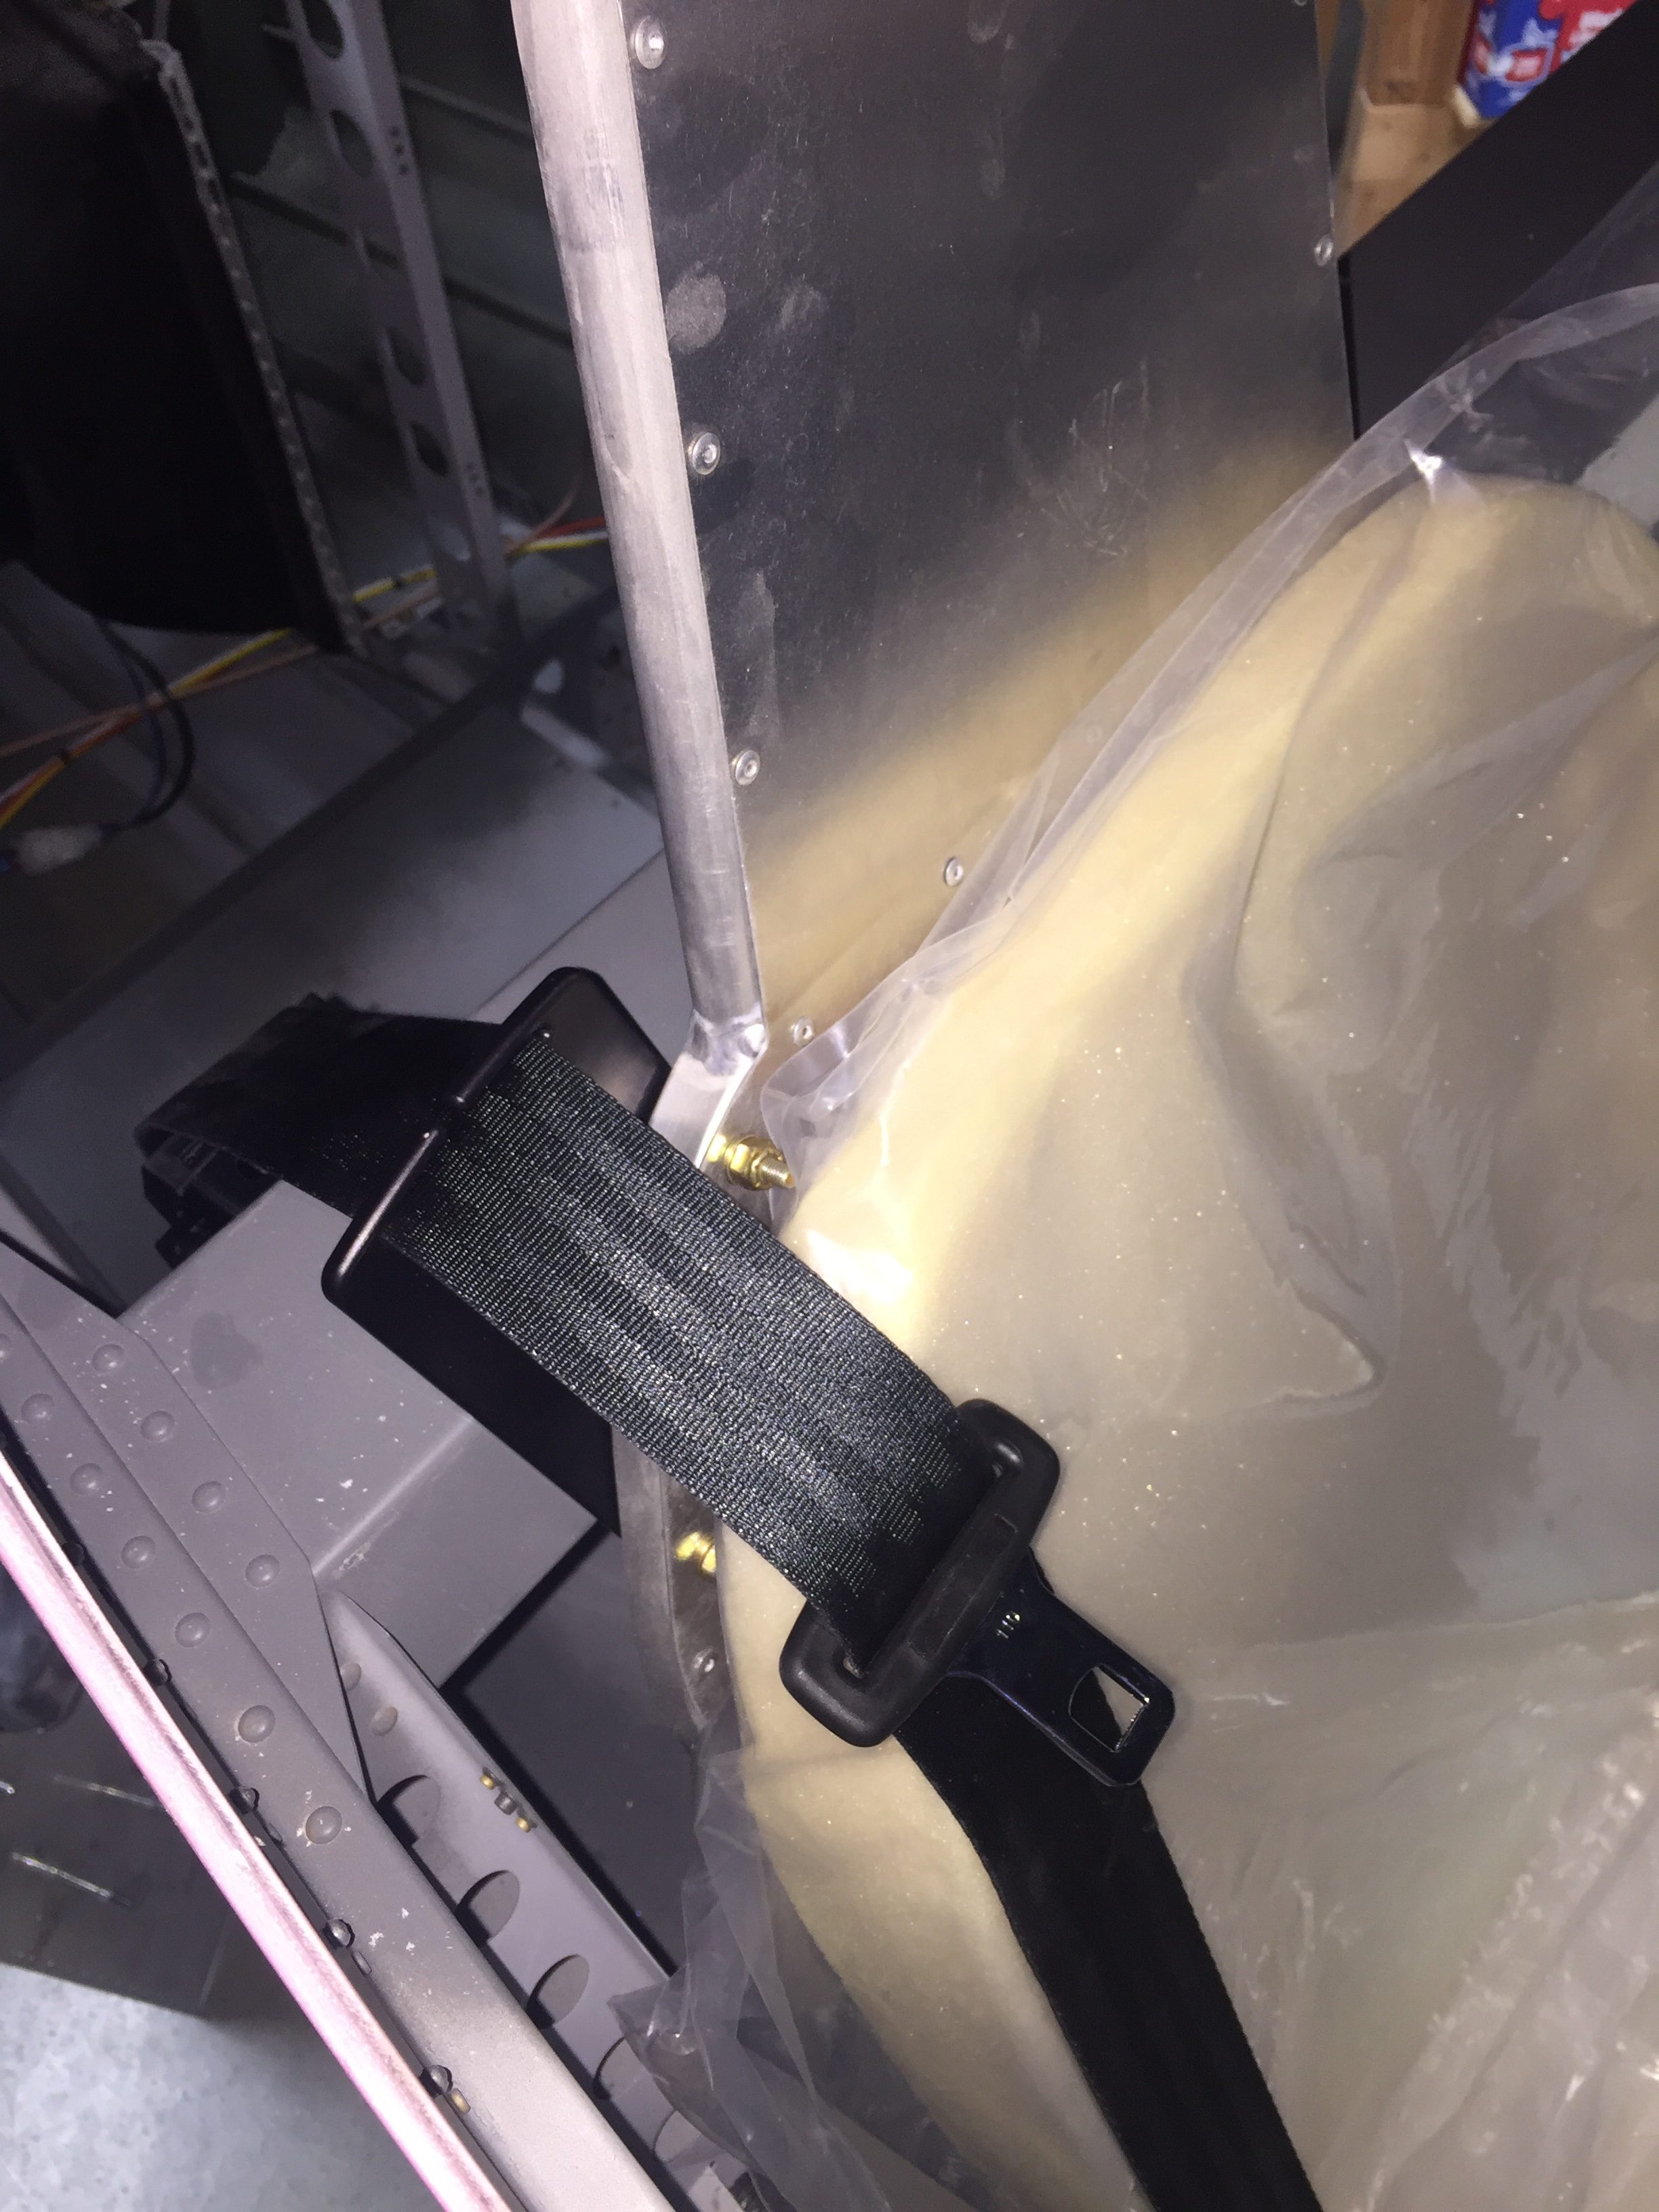
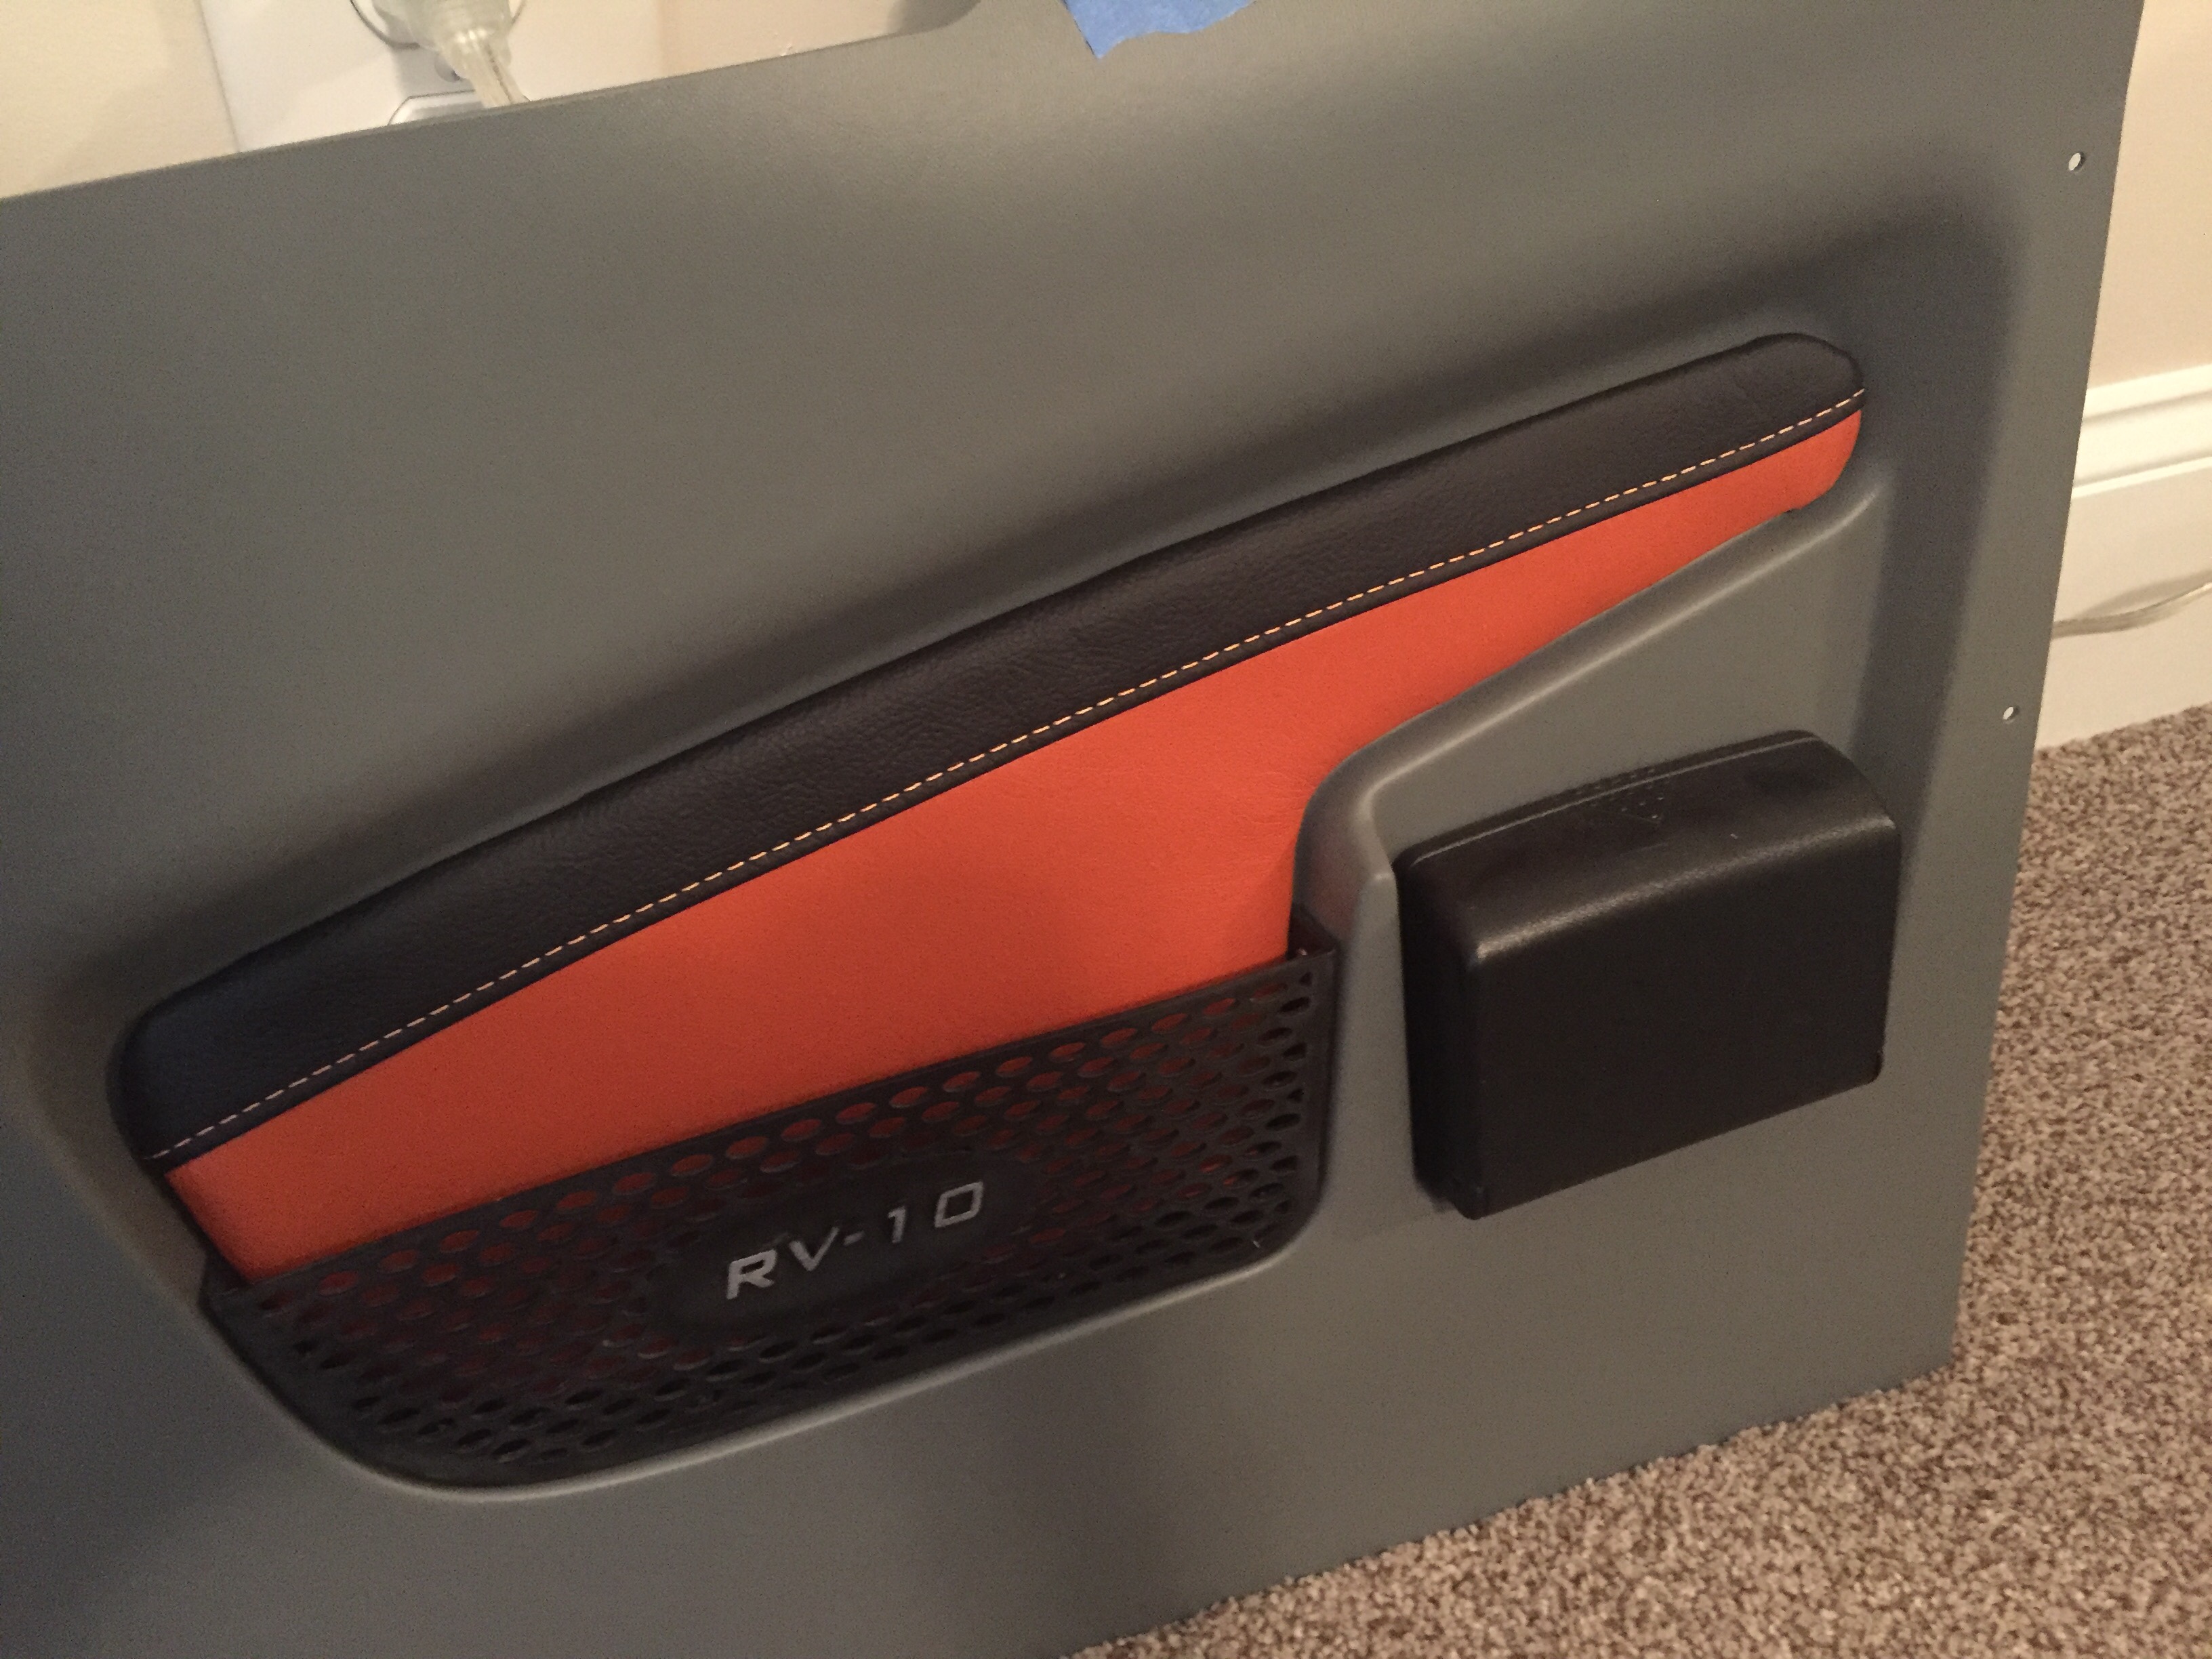
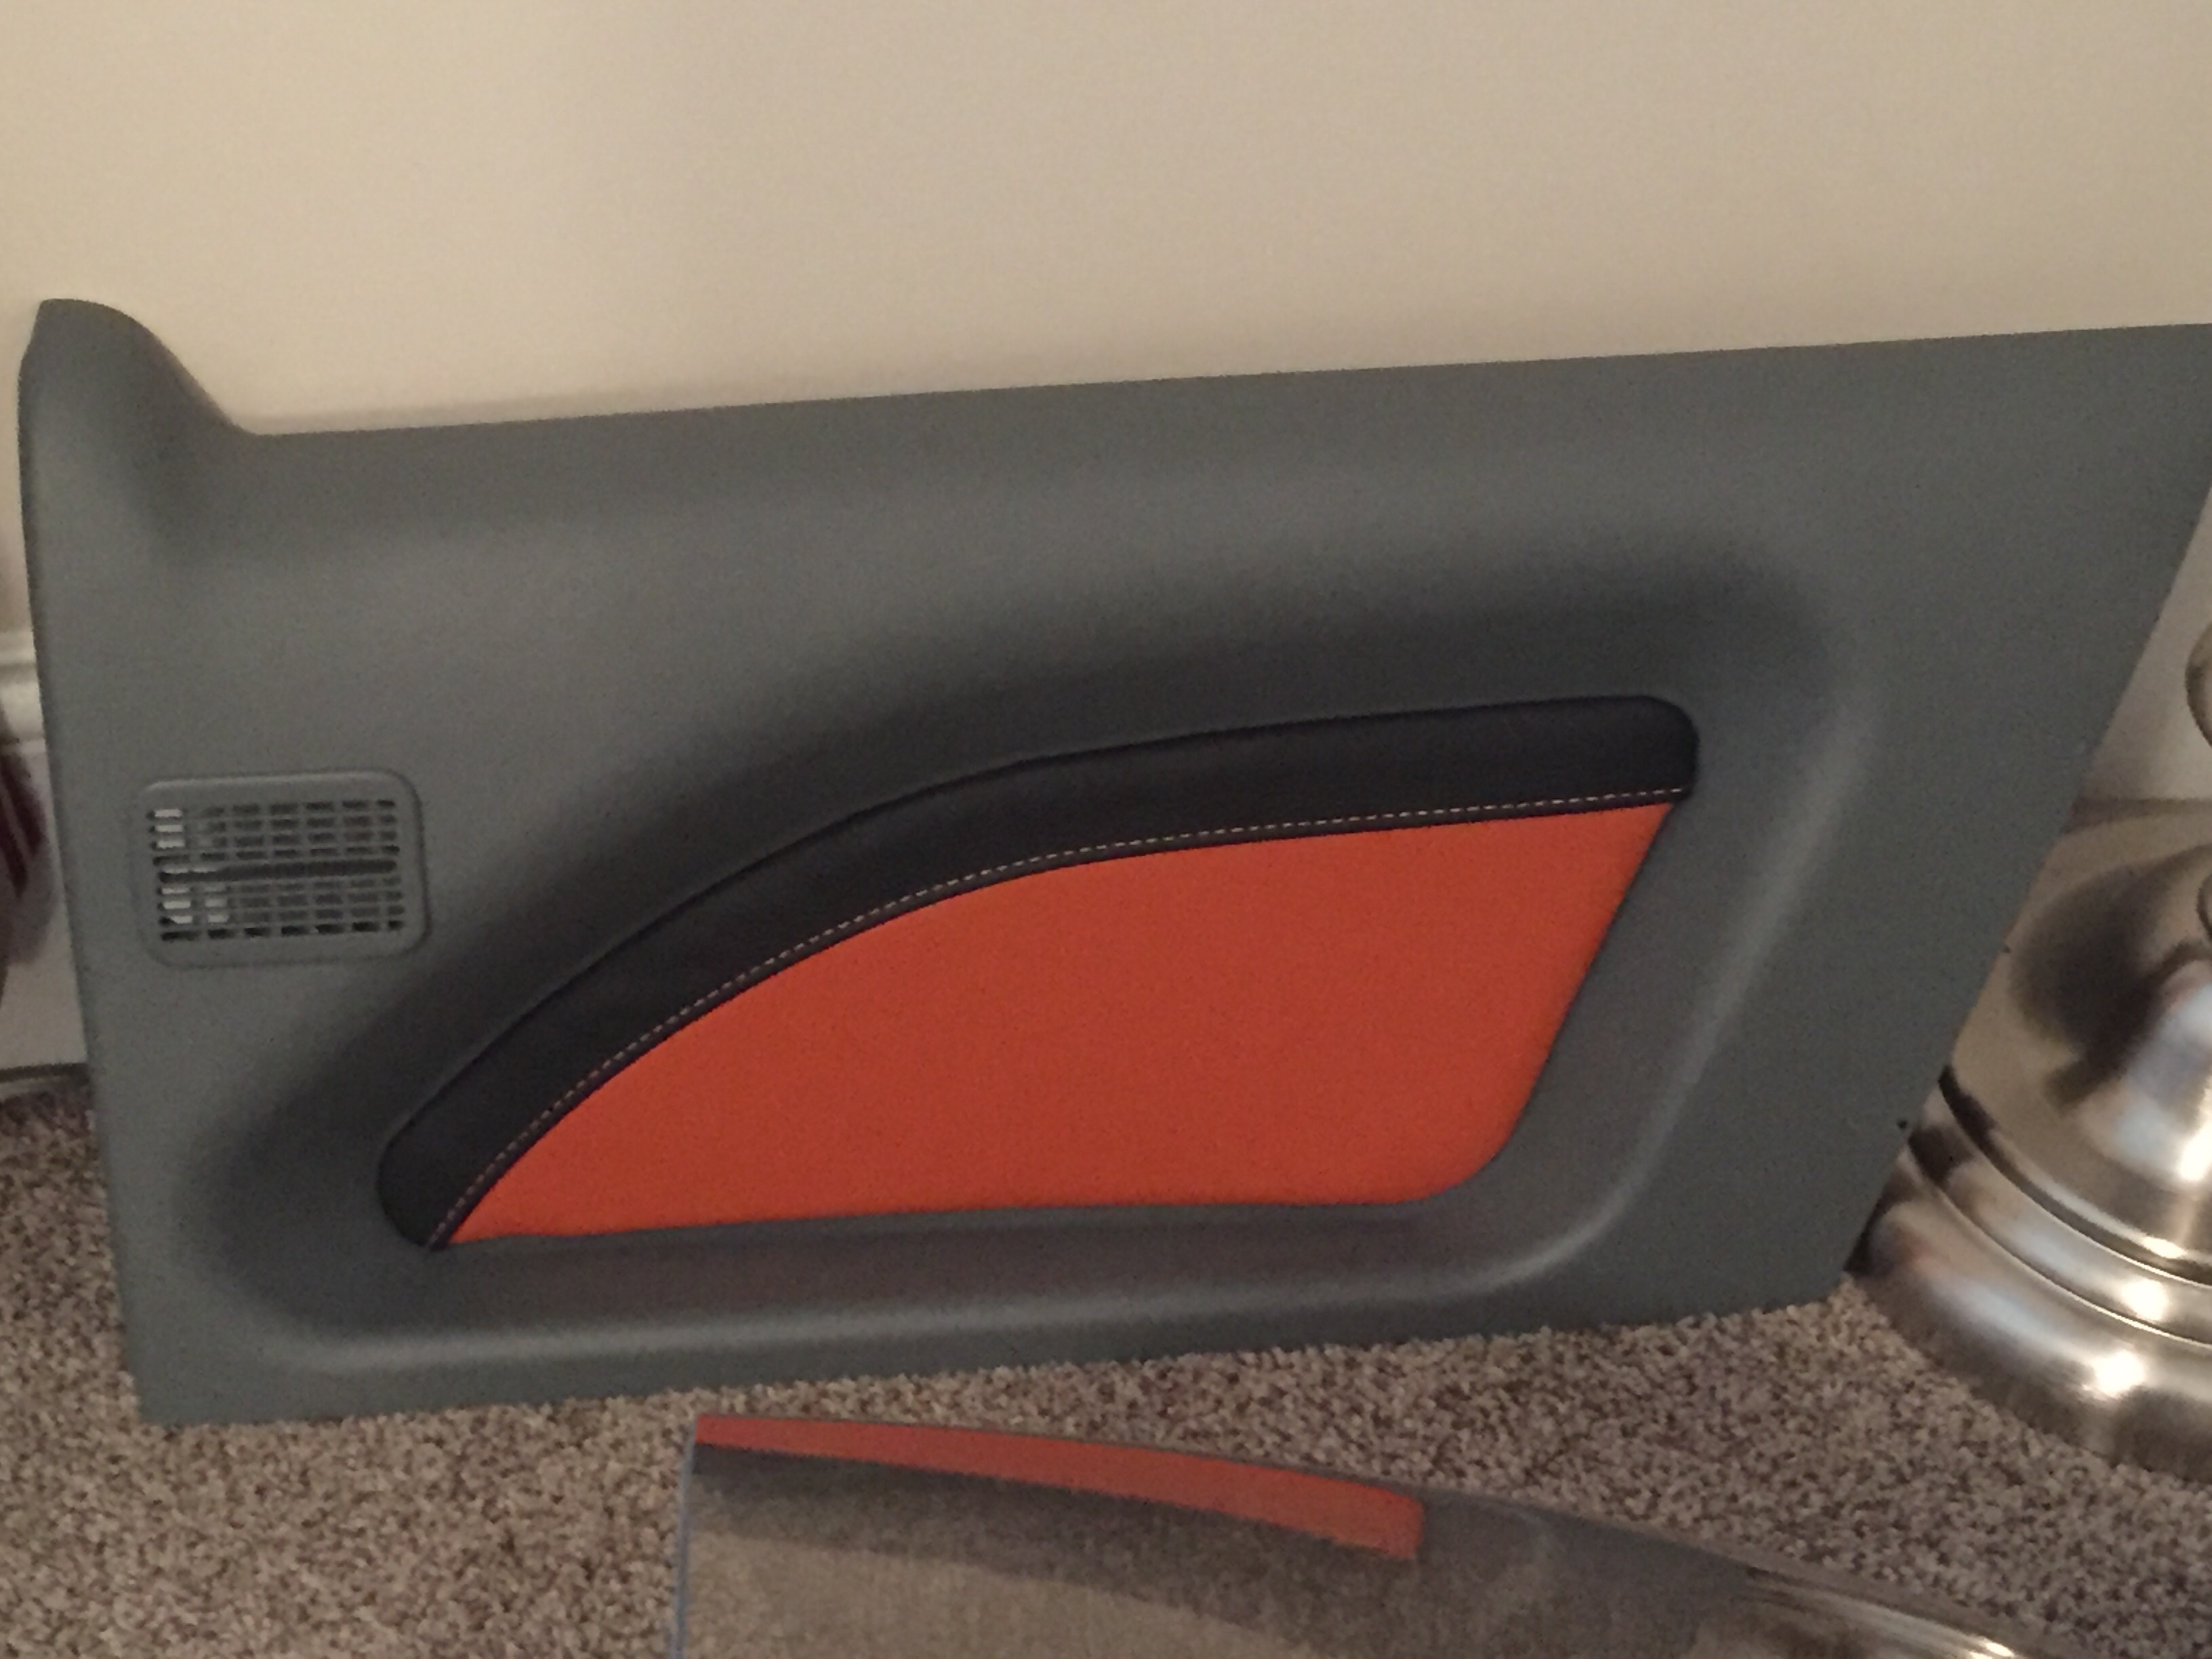
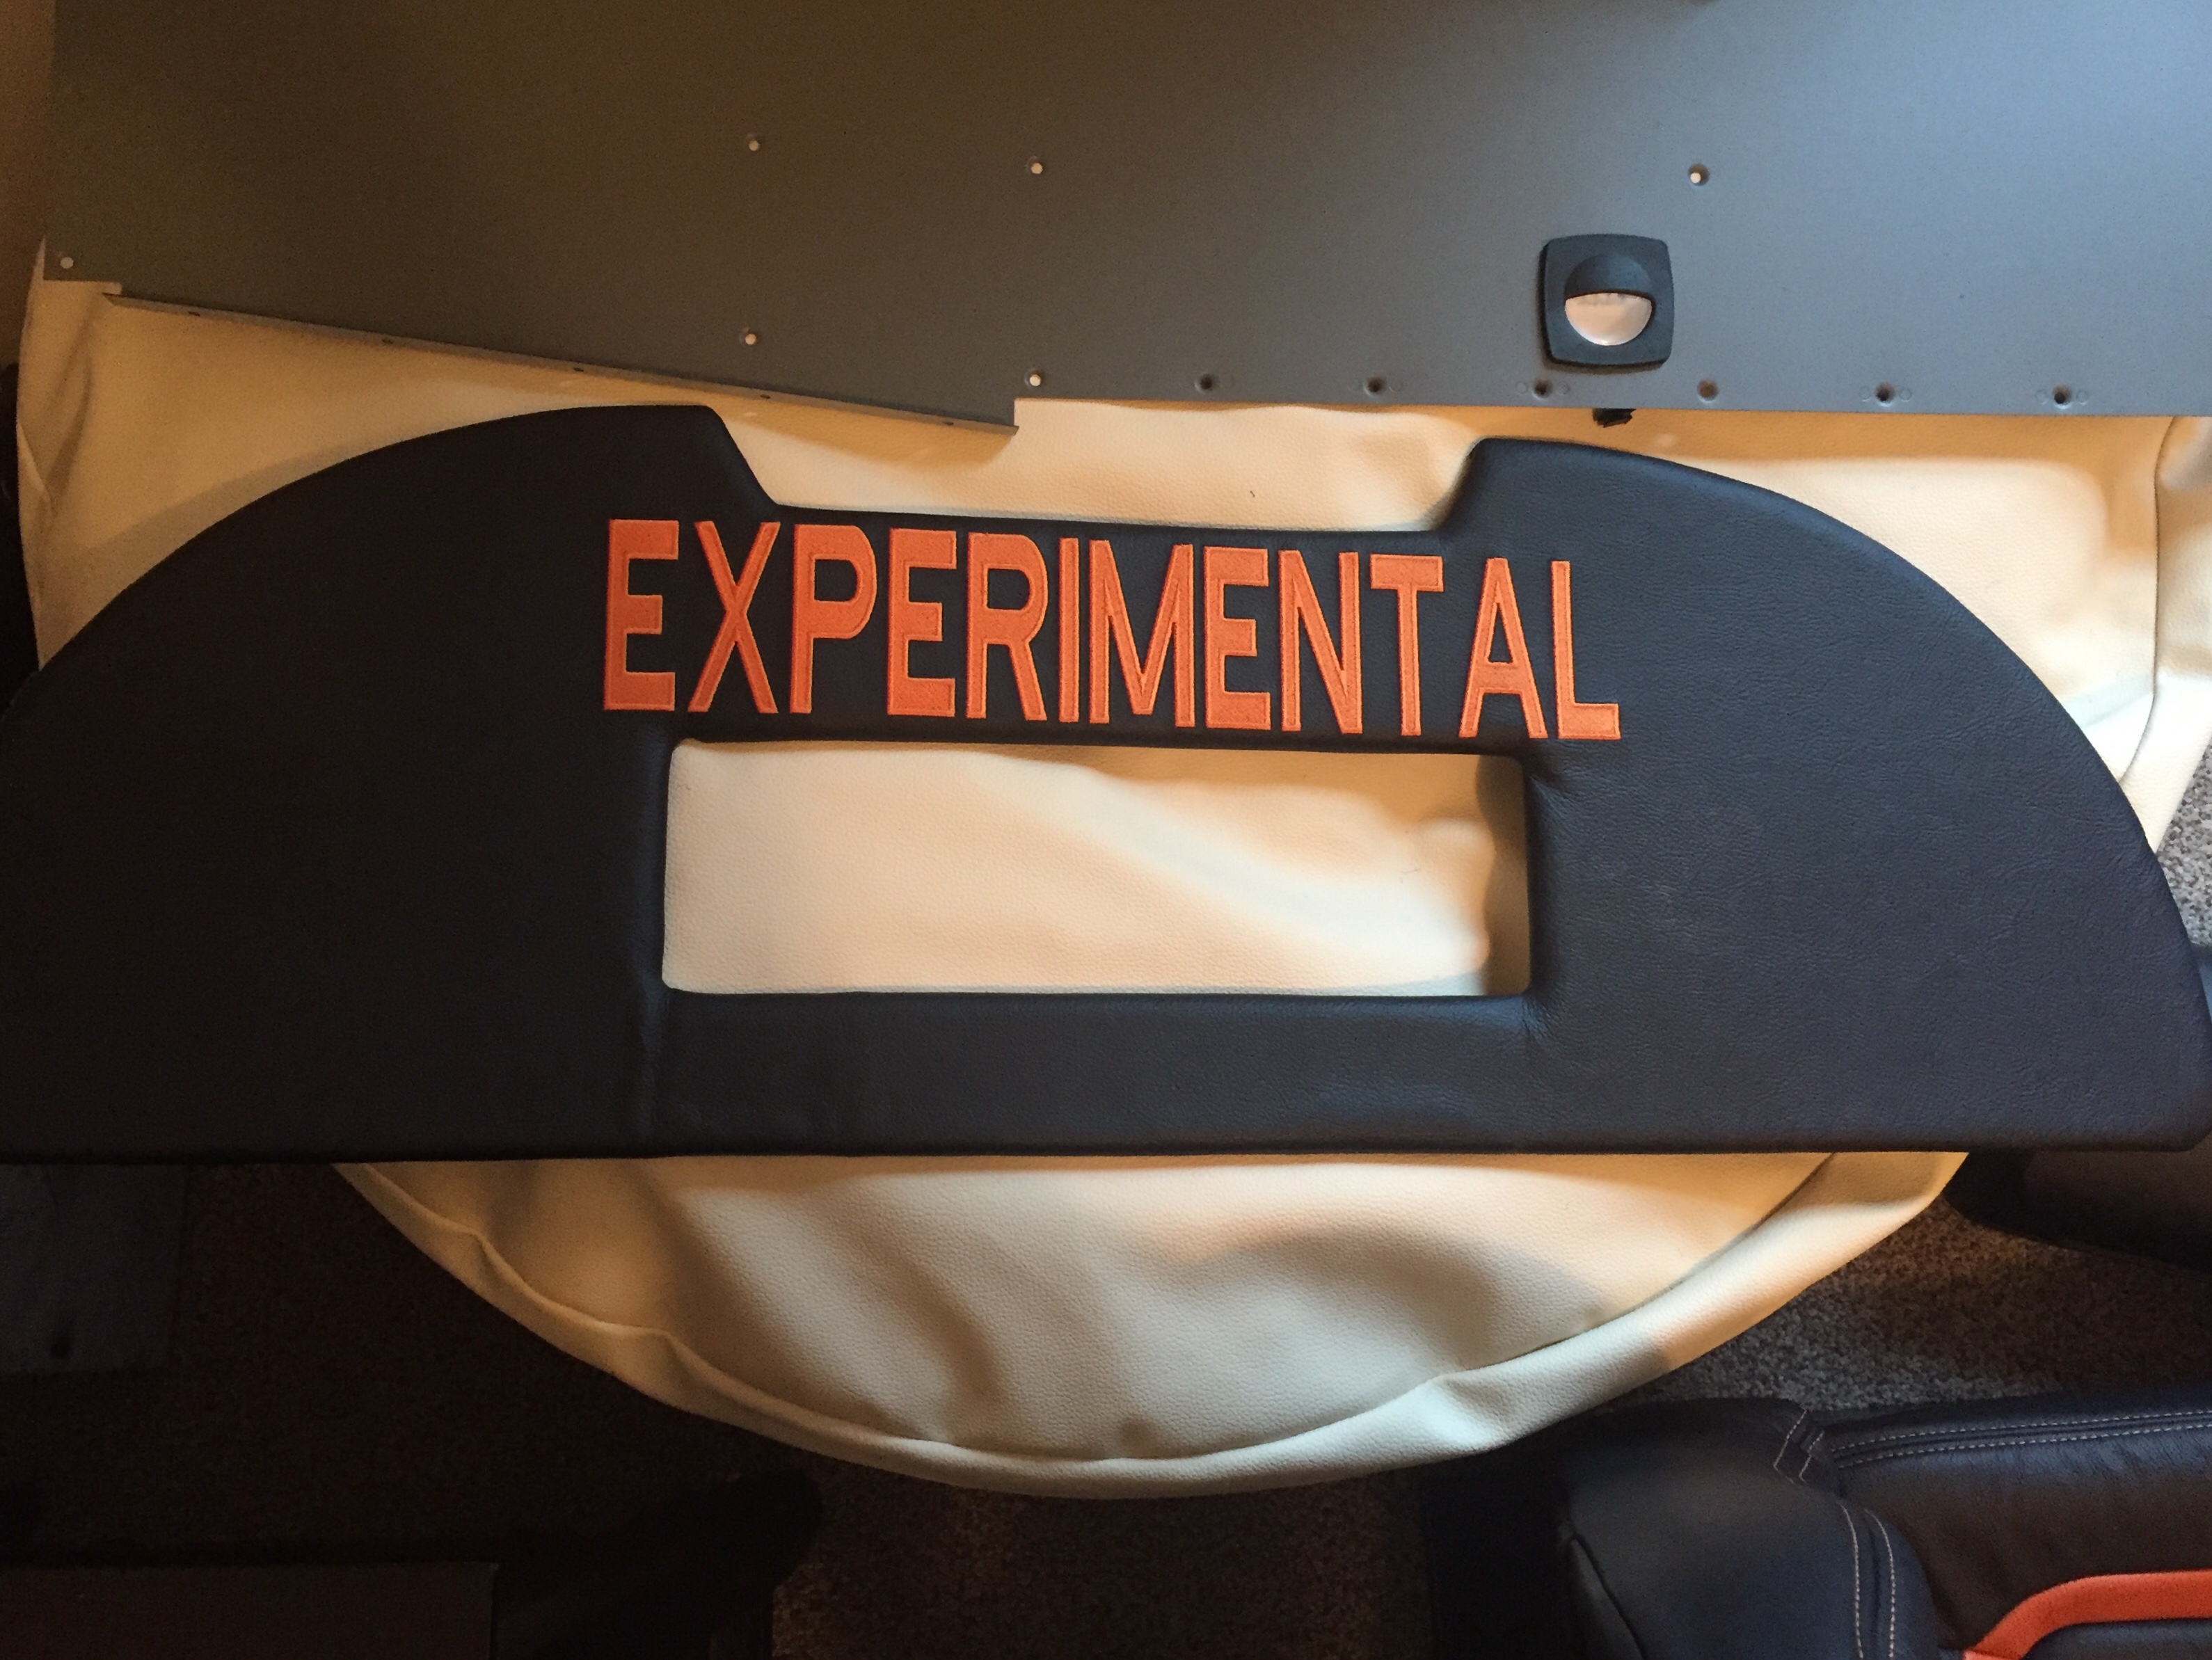
I am getting the last bits of interior from Aerosport and putting them in place as I go. The panel inserts came with the seats and turned out great. They are easy to install and really add a bit of class and color to the interior. The baggage bulkhead looks great as well with the EXPERIMENTAL embroidered on the leather. I’ll be putting a mesh grille in the cutout for the aircon return vent.
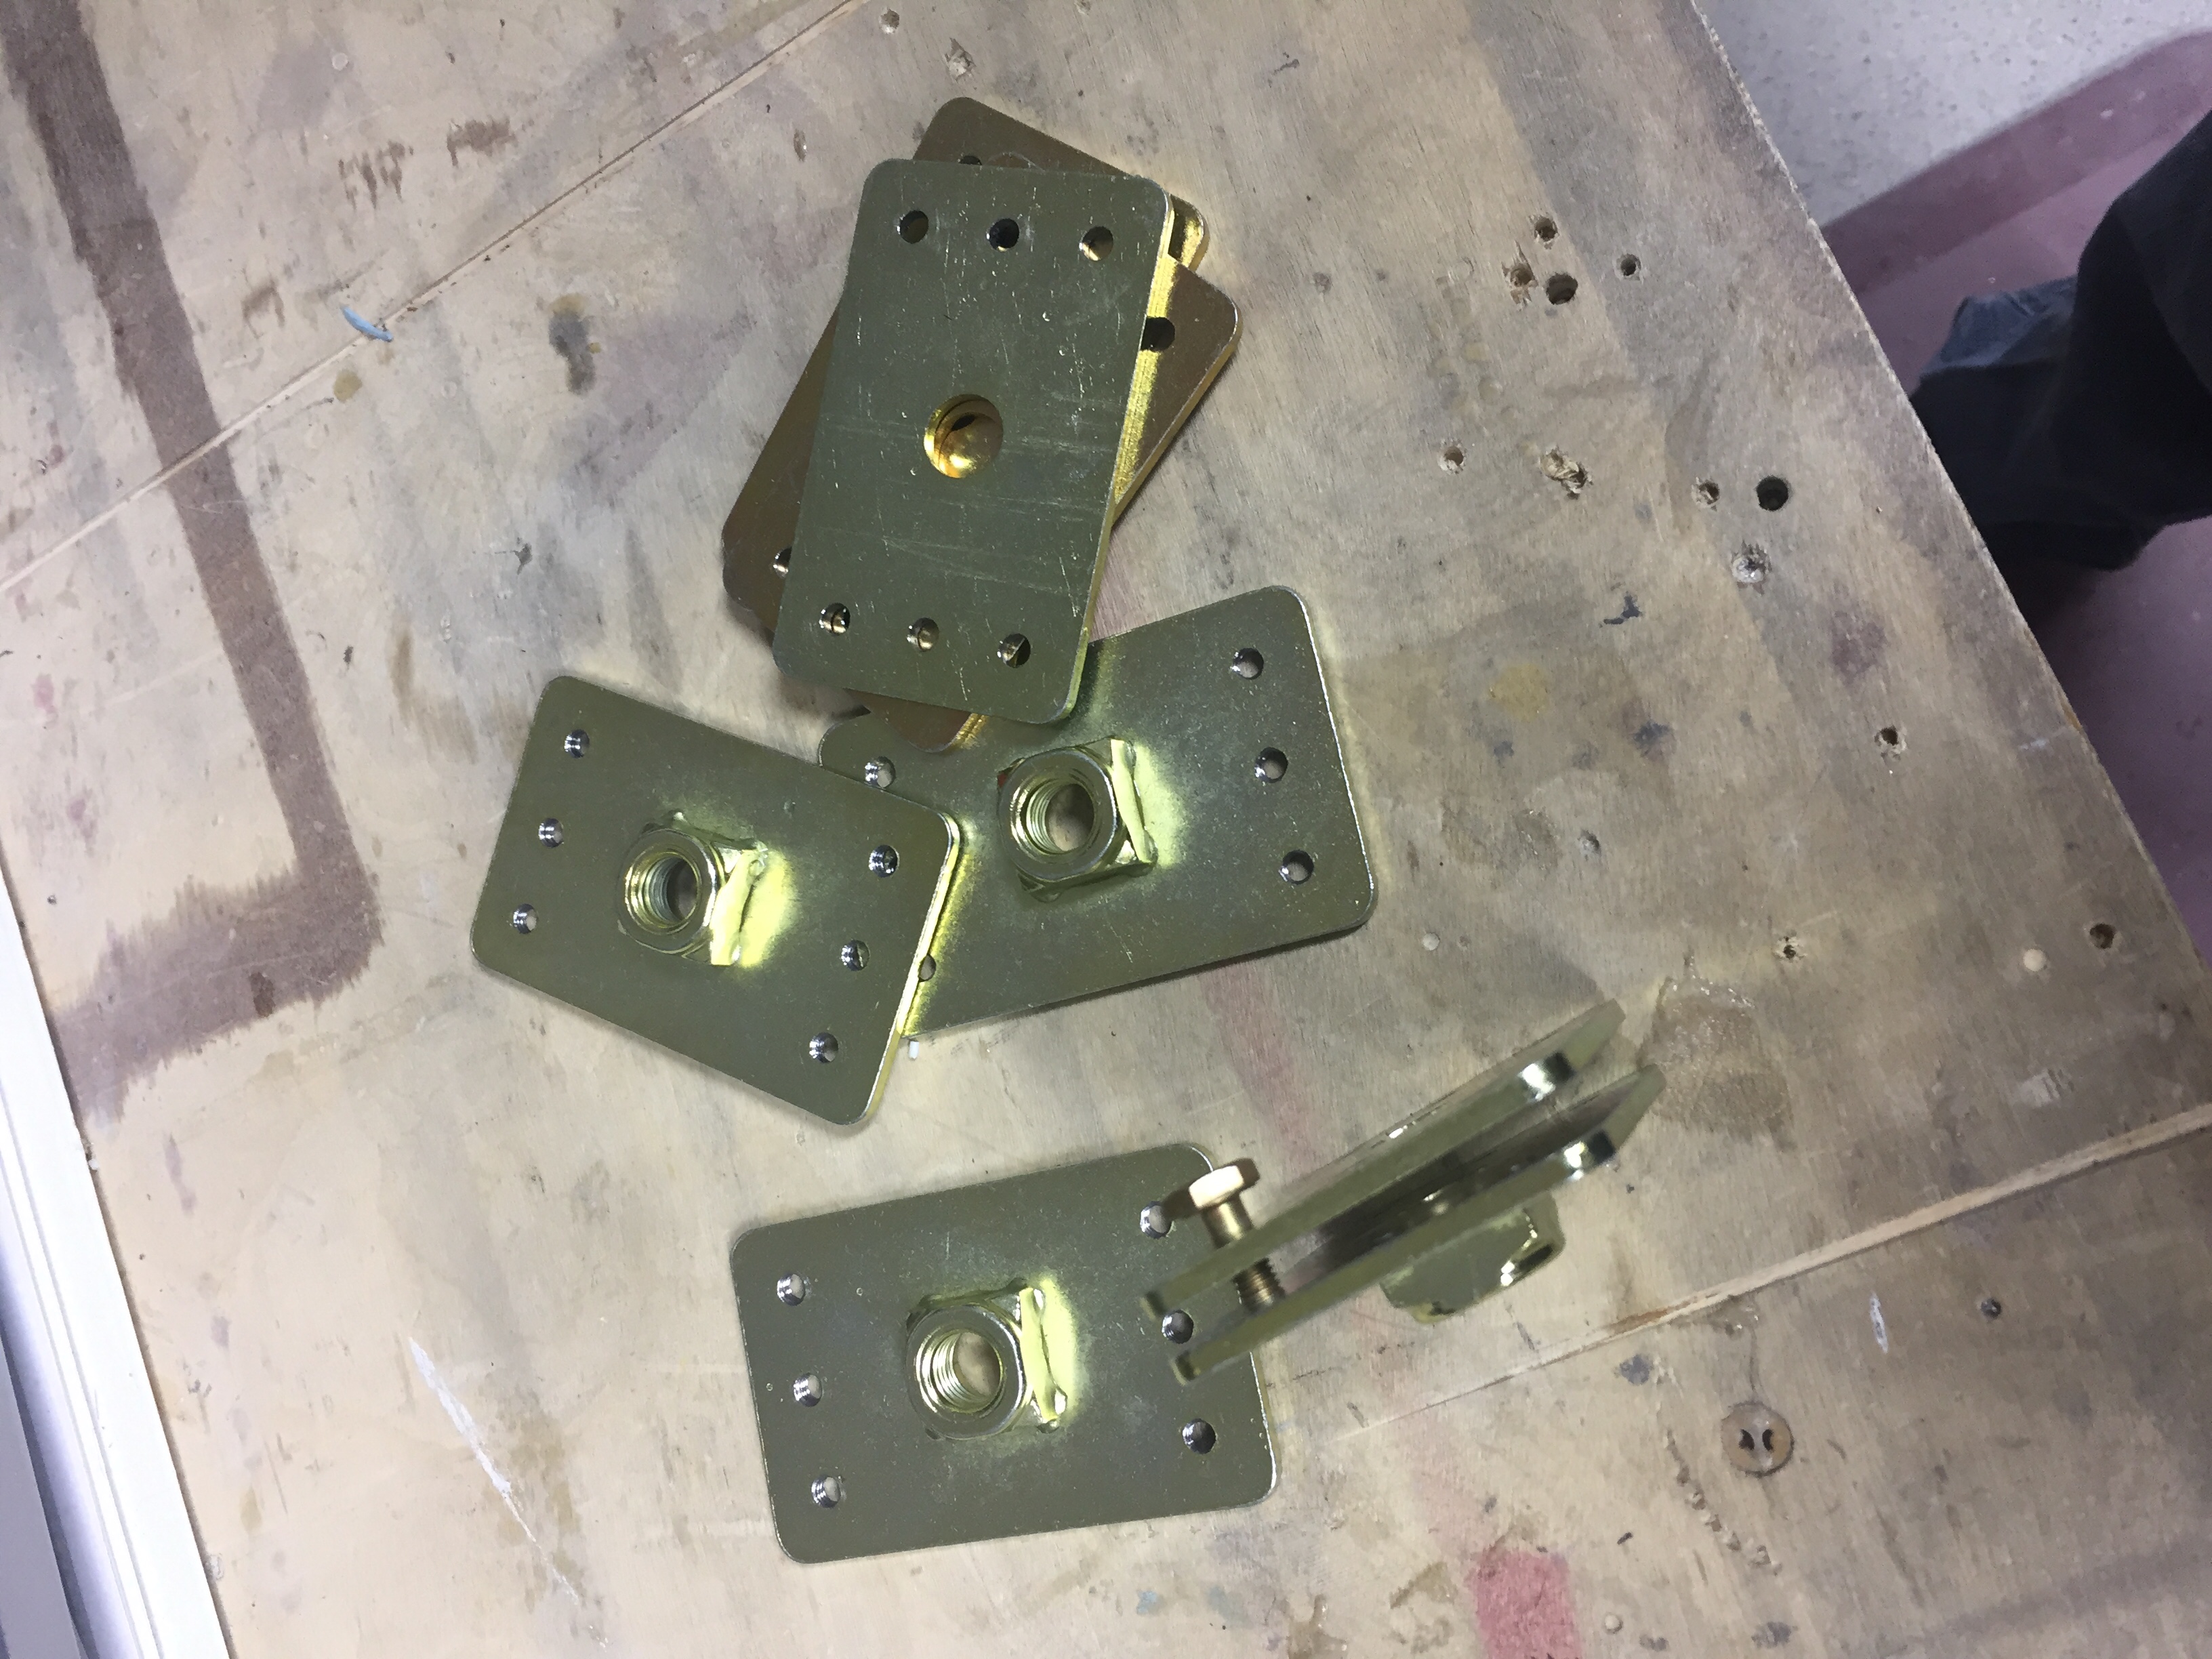
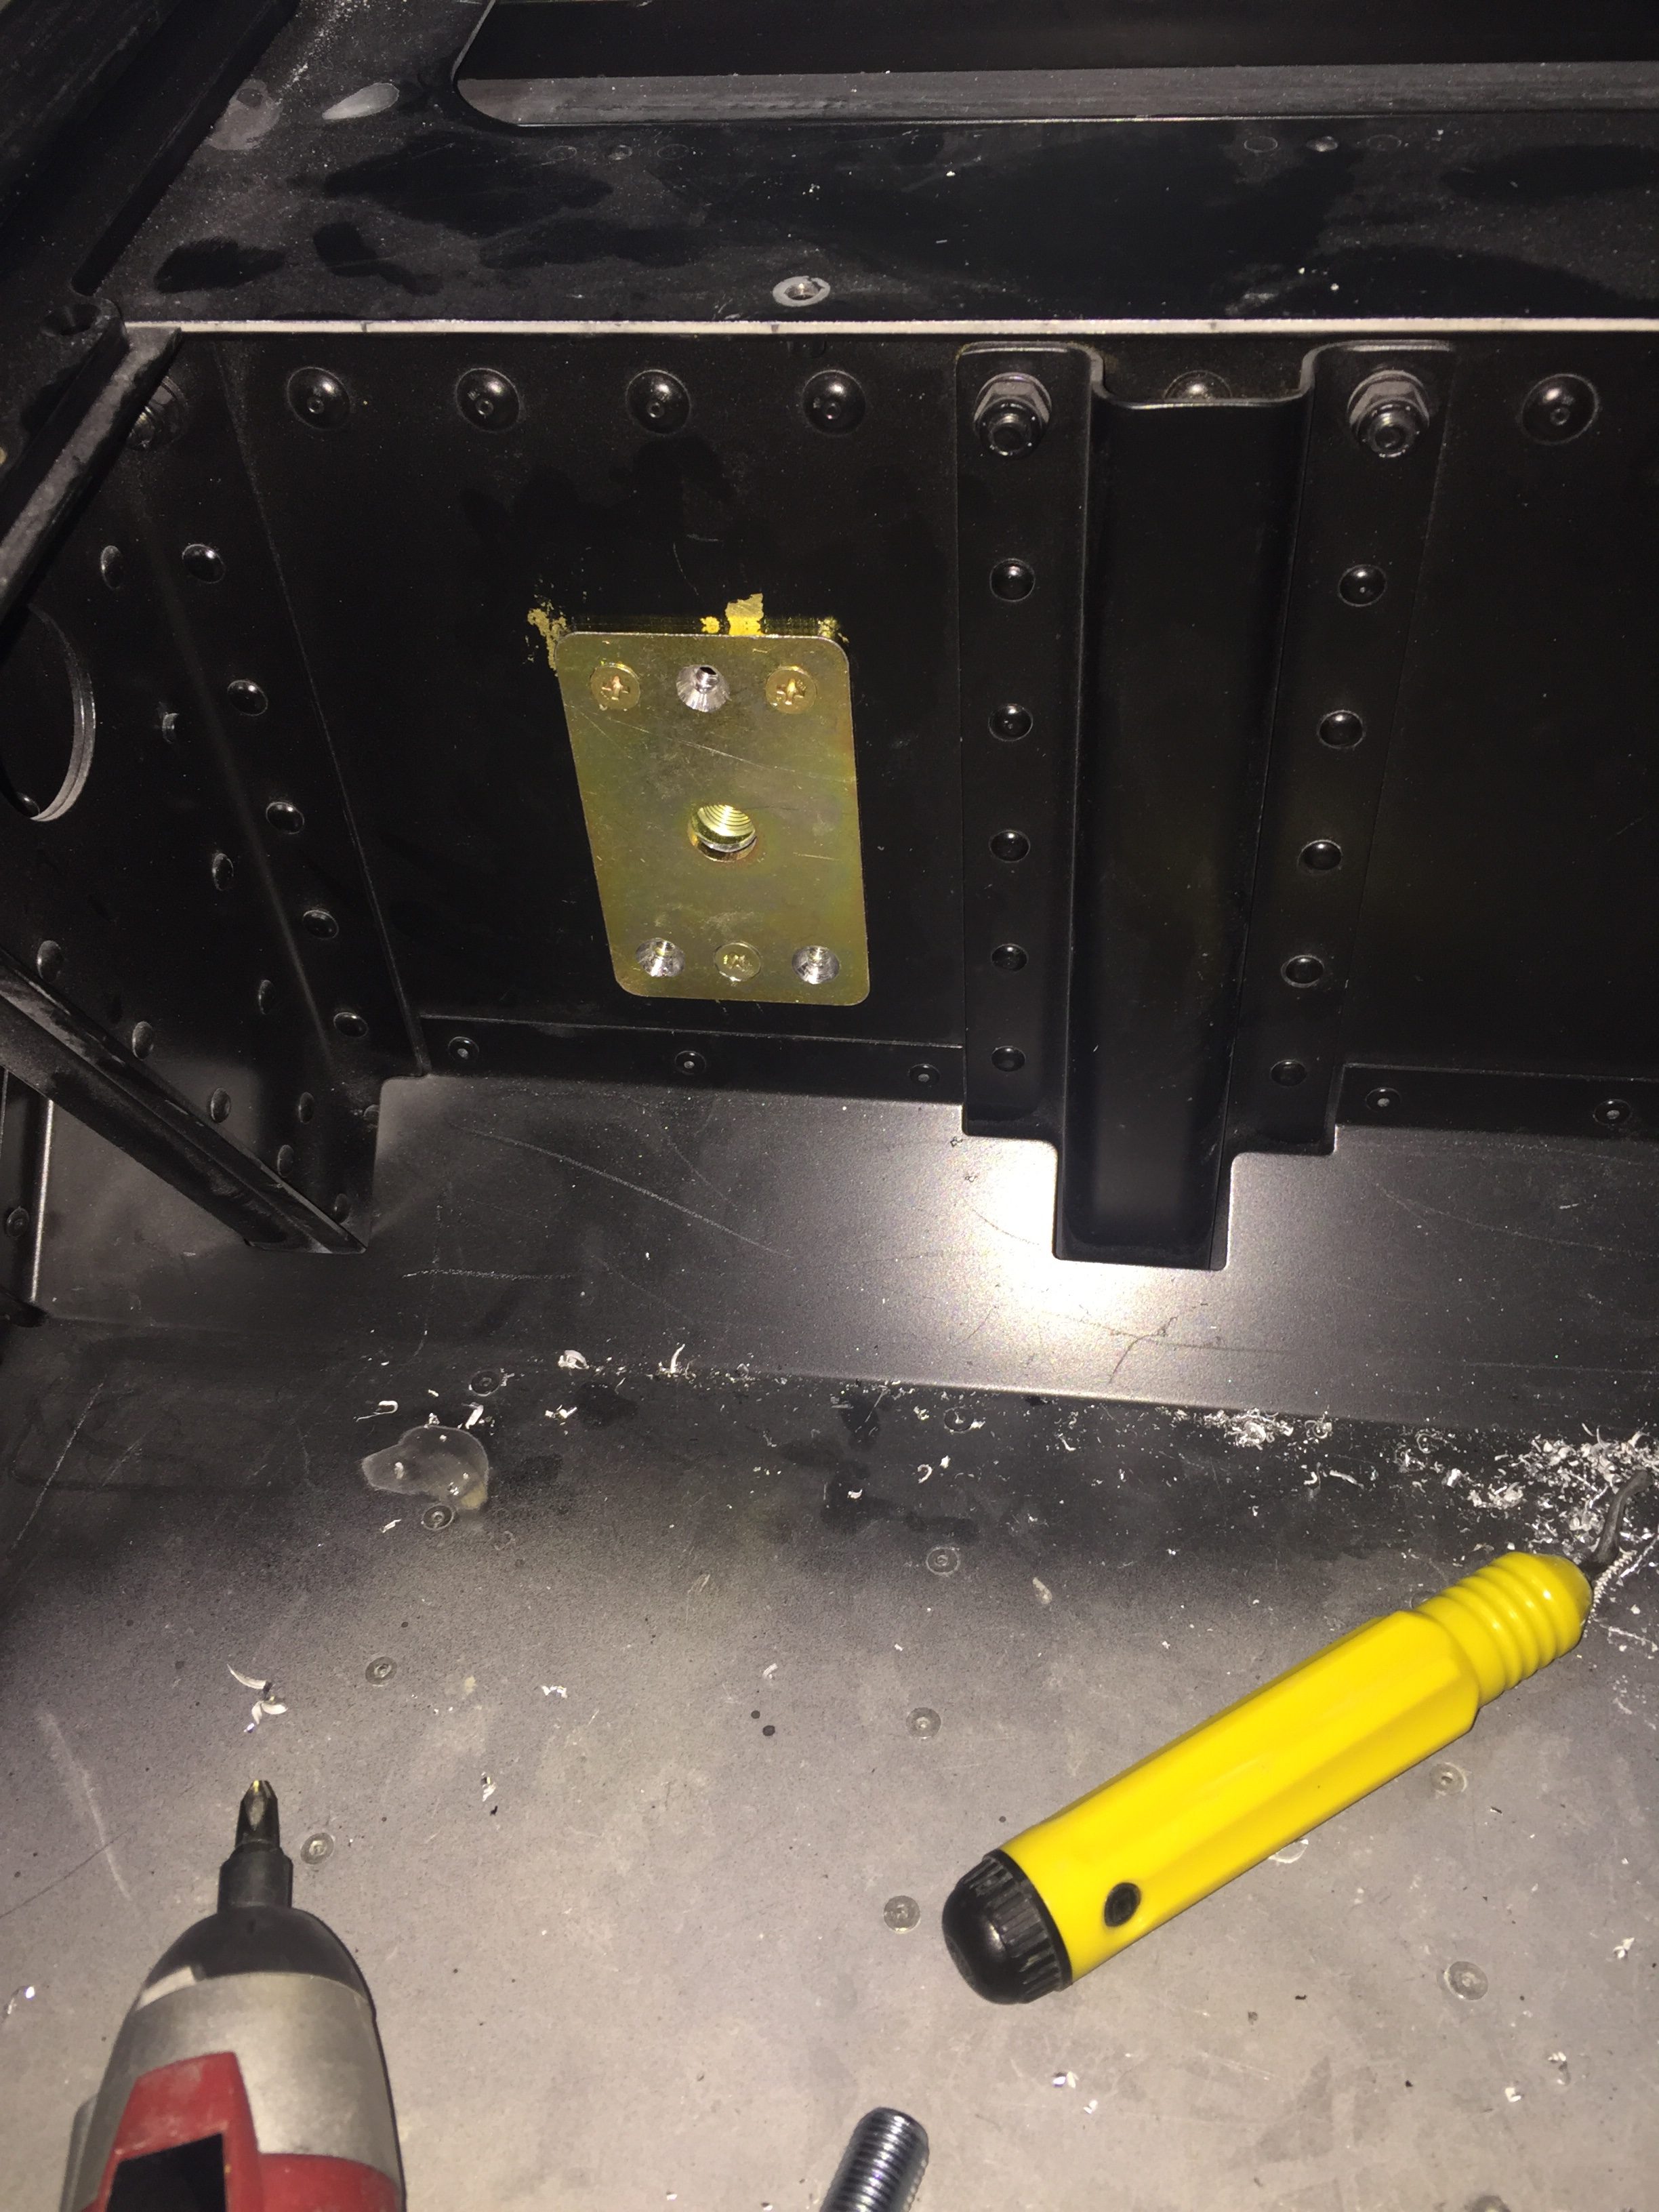
I finally got started on the wheel pants as well now the gear is on and it’s exciting pulling more parts down from storage. I really want these pants to be finished well and have a nice fit, so I’m taking my time prepping the seams and mounting points. I’m going to use SkyBoltz instead of traditional nutplates to allow quick removal and installation of the pants. I don’t plan on having access doors for the valve stems because I just don’t want to do the fabrication neccessary. This way it forces me to have a good look at the tire and brake while checking pressures monthly. FYI the SkyBoltz are far cheaper direct than from ACS.
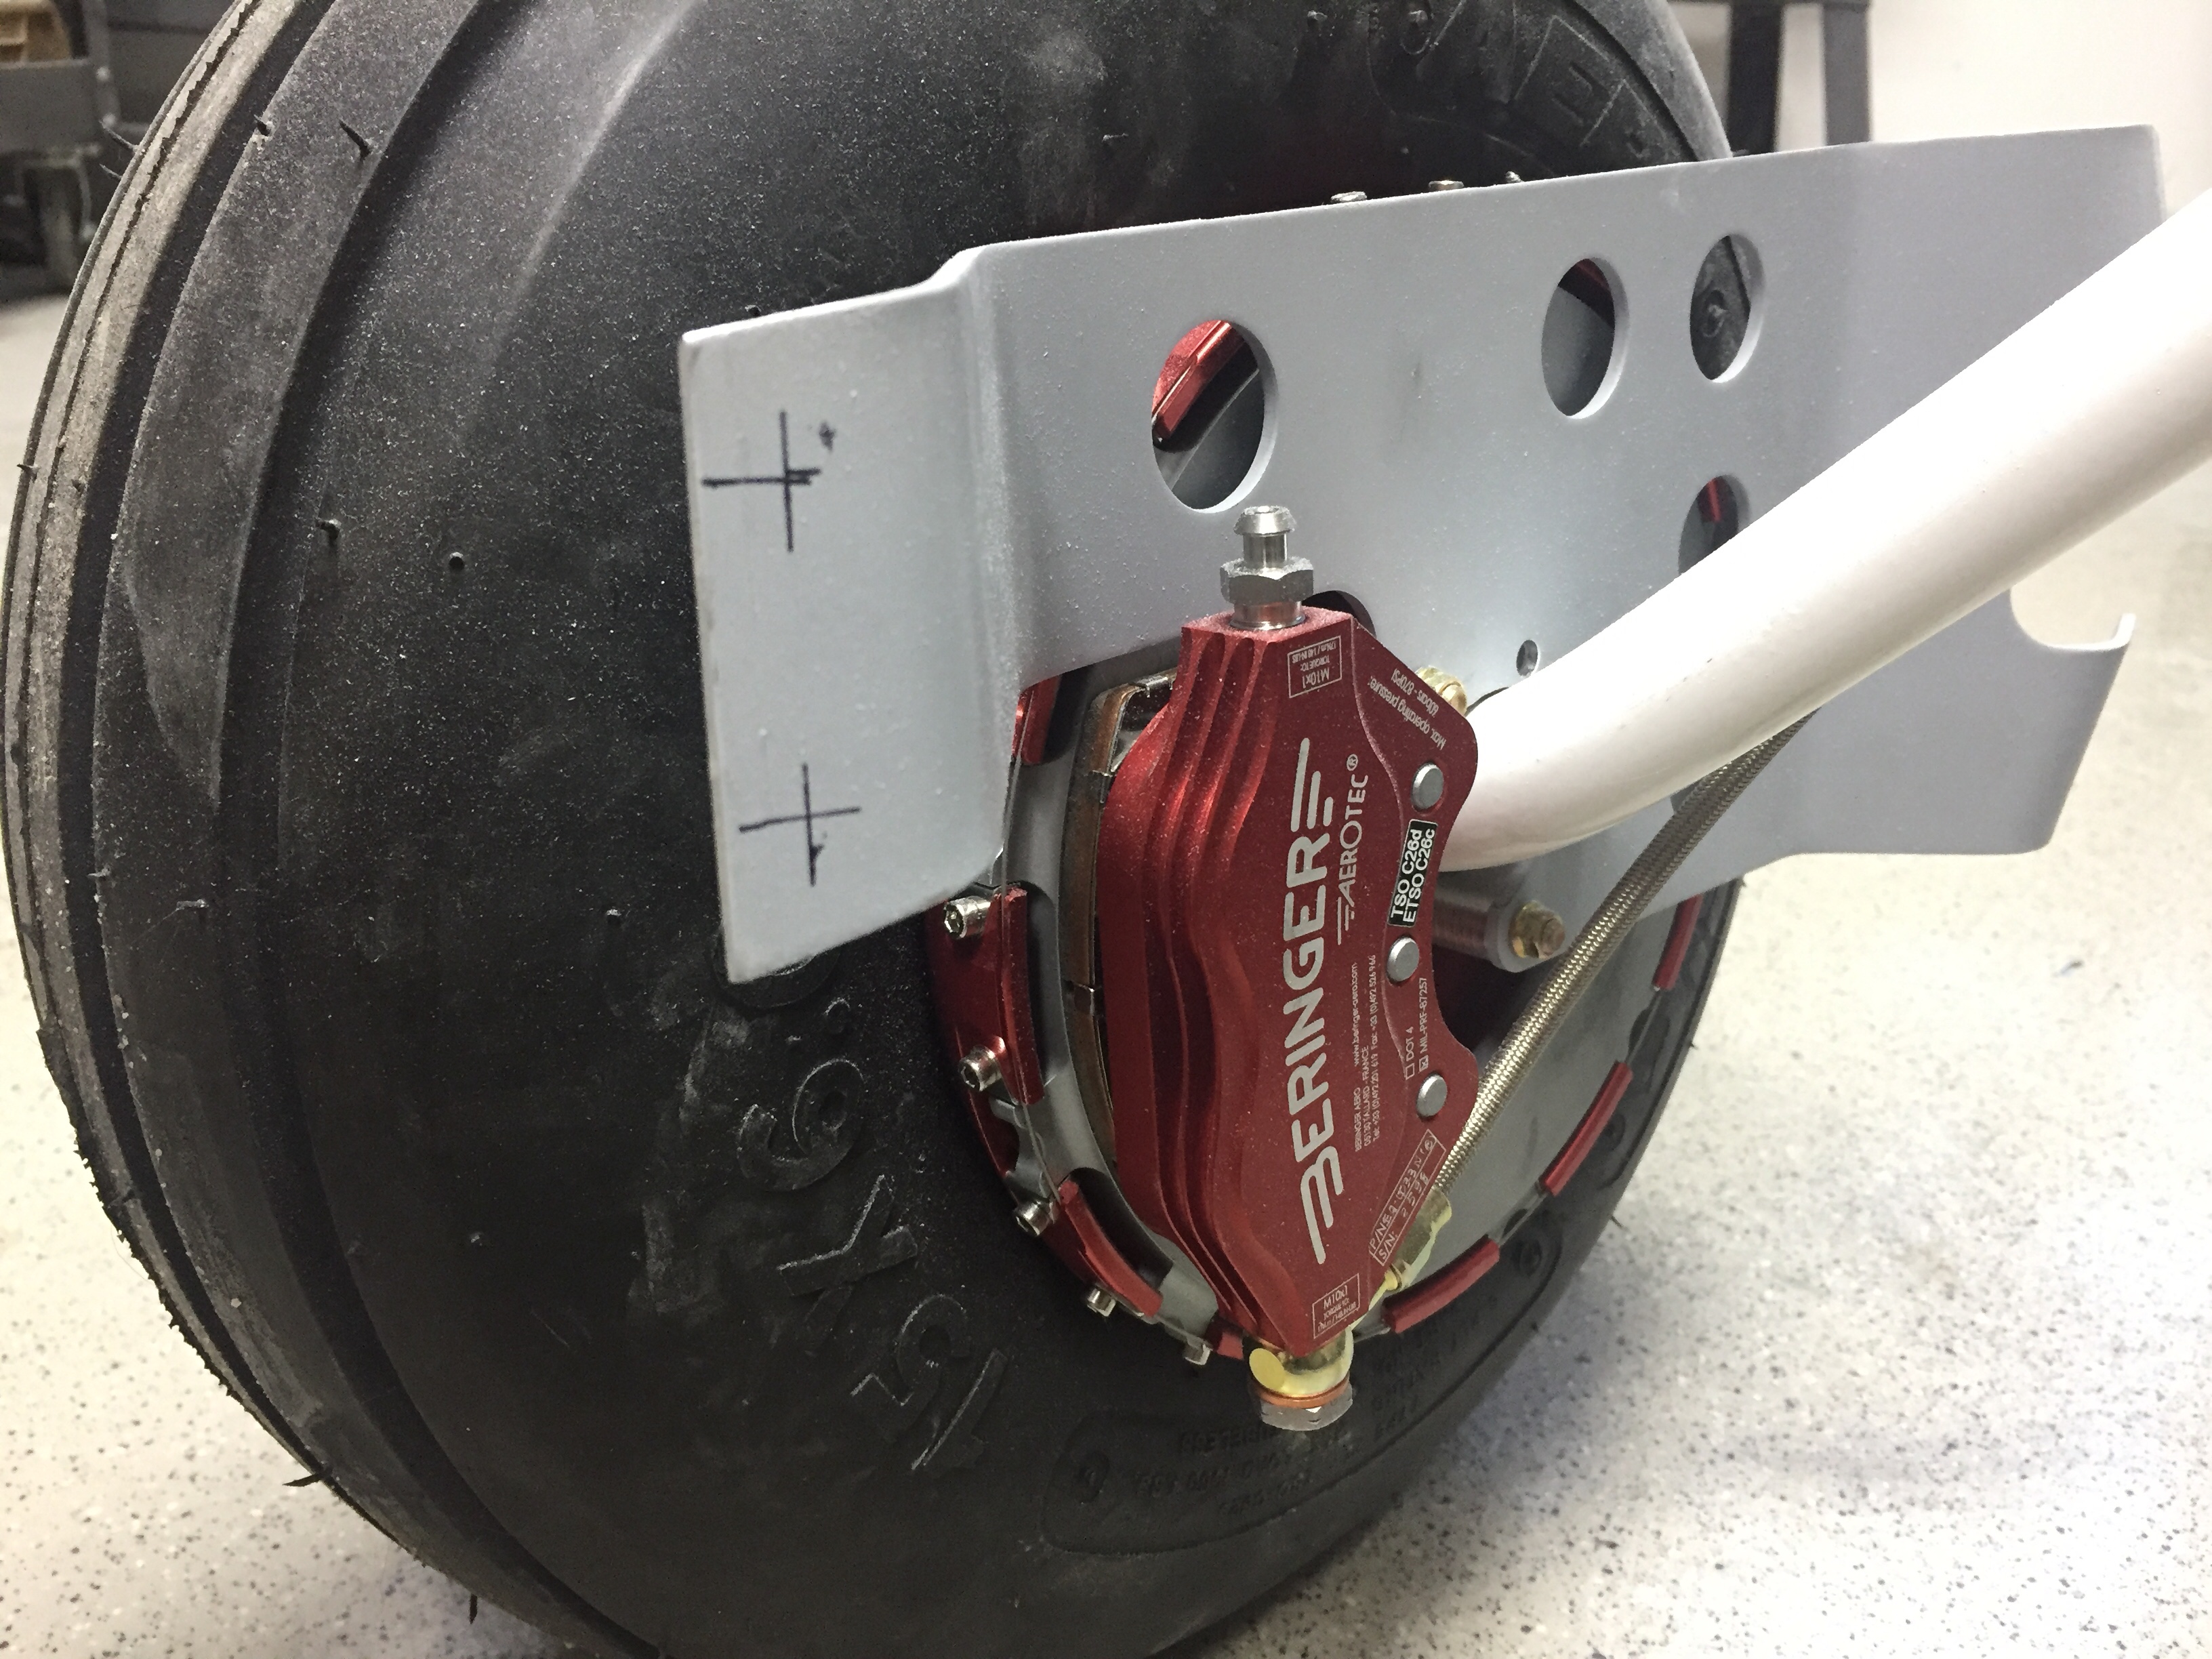
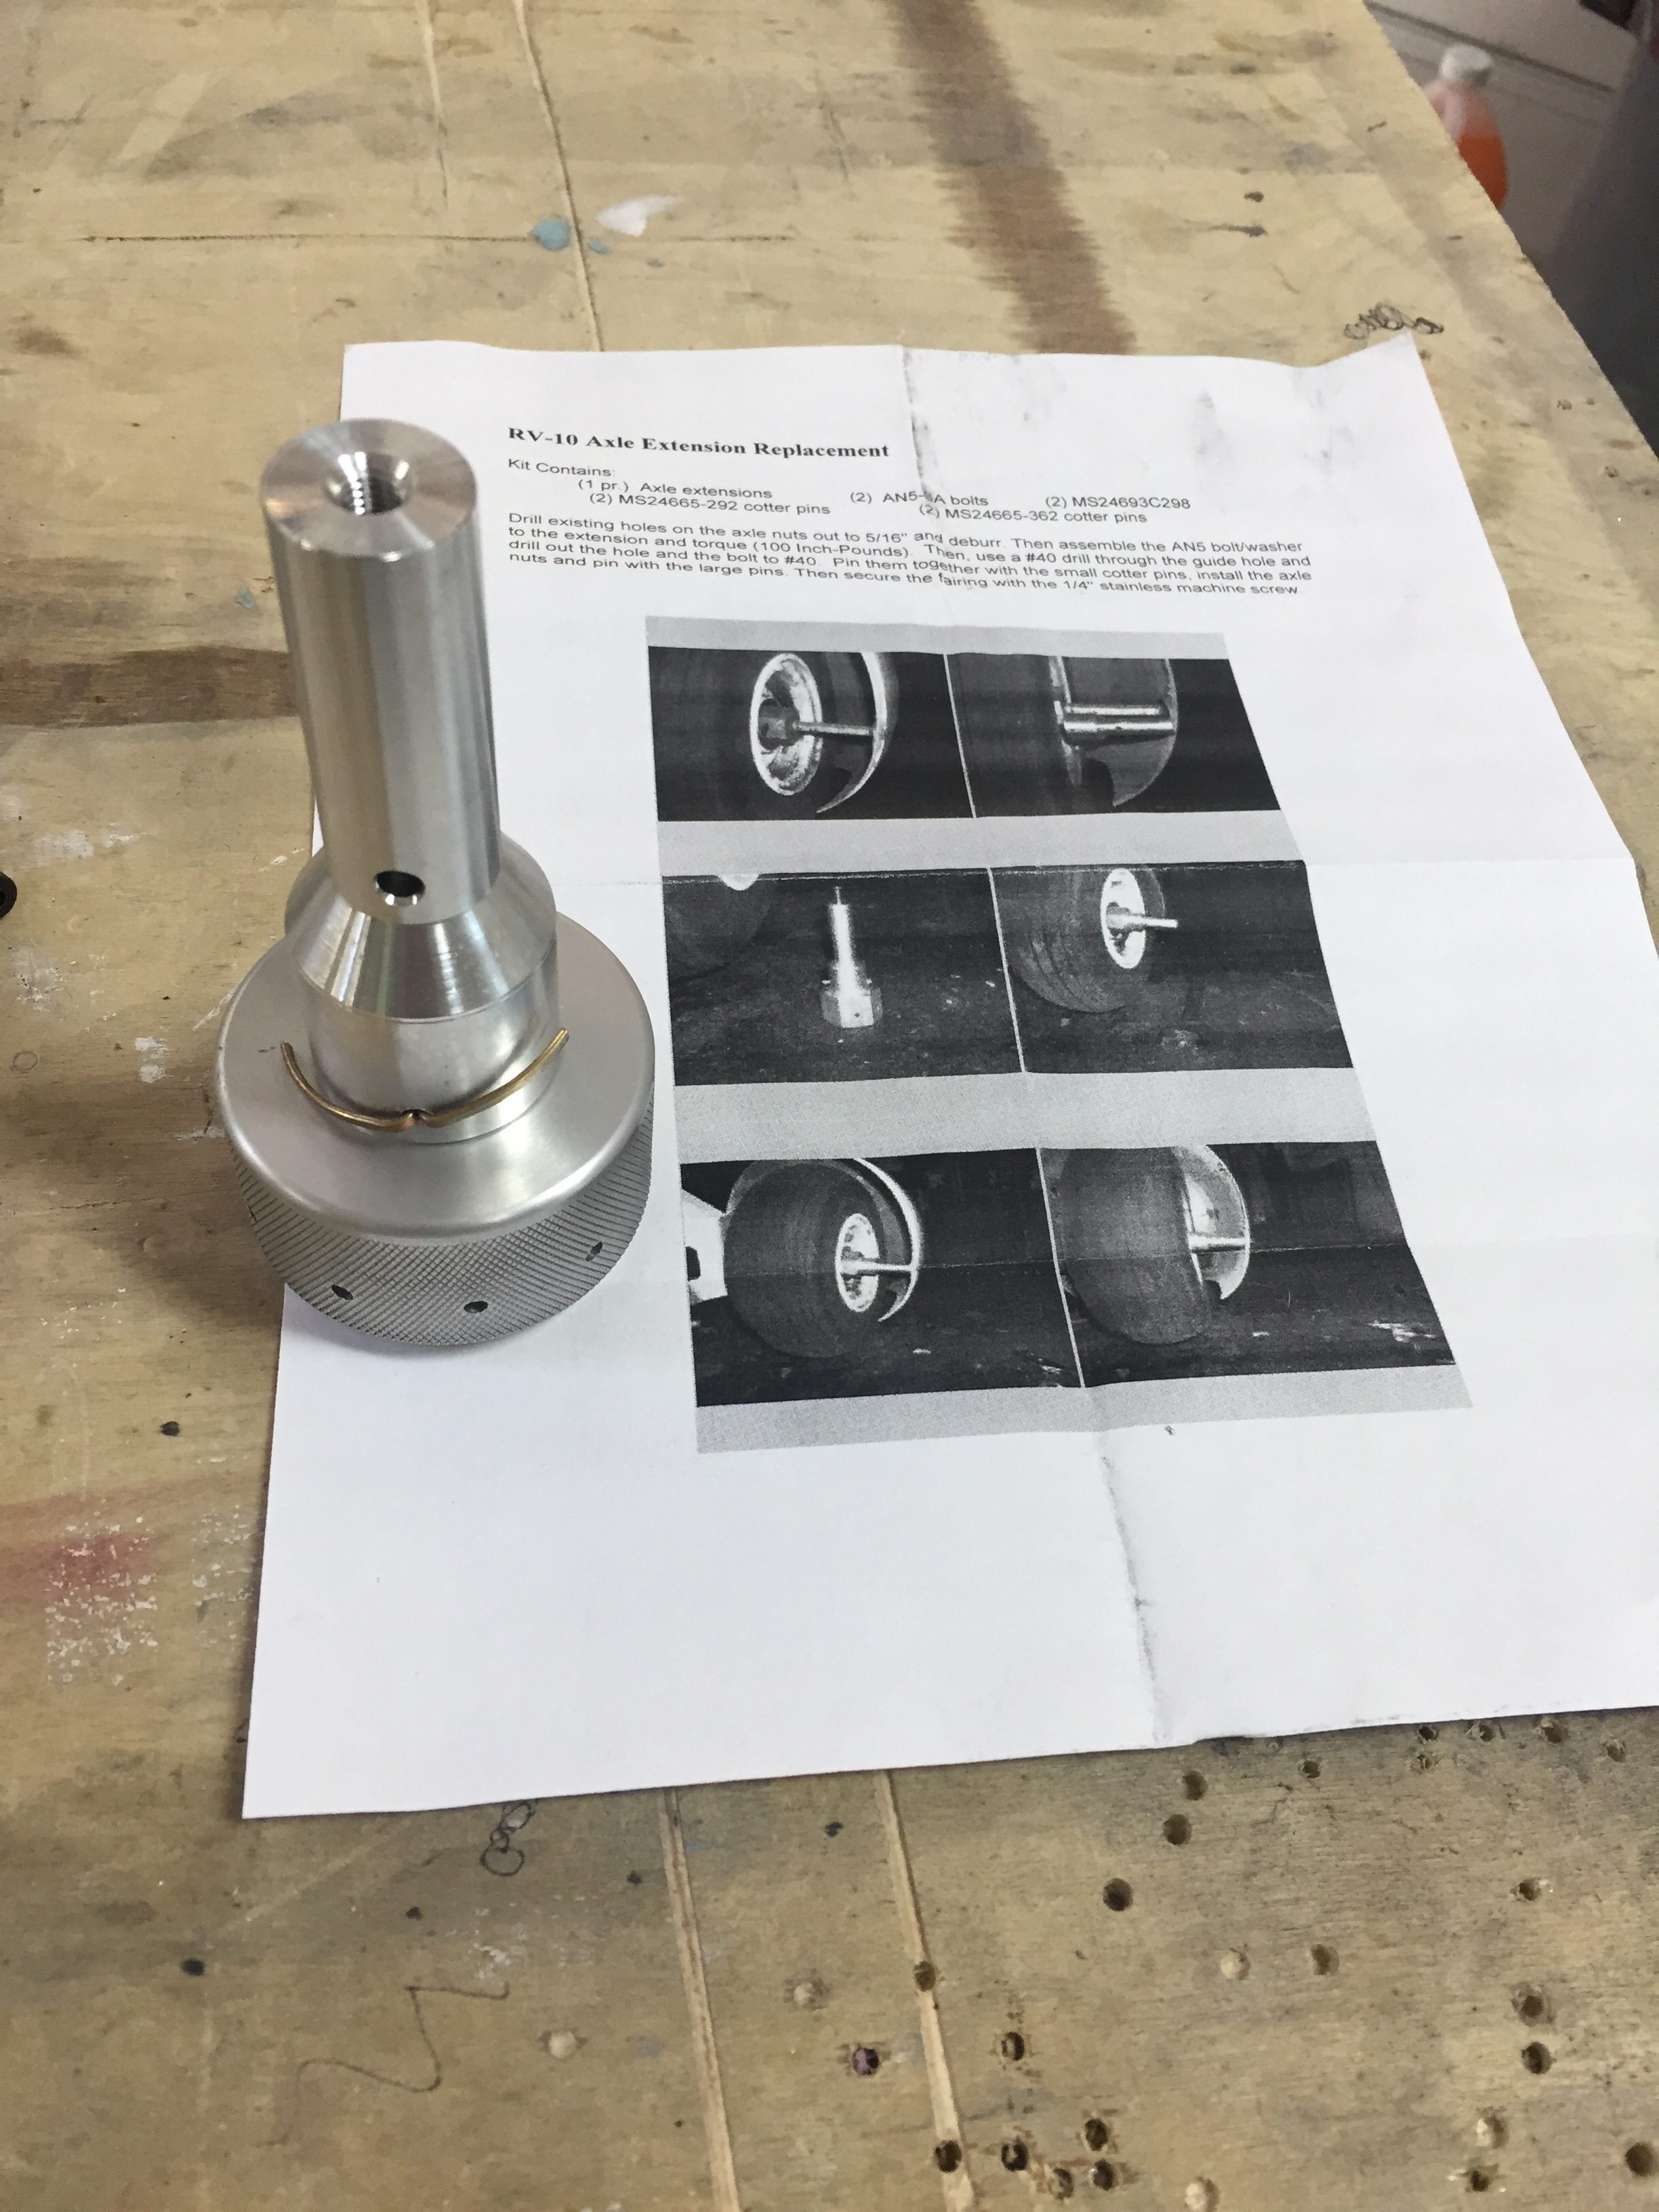
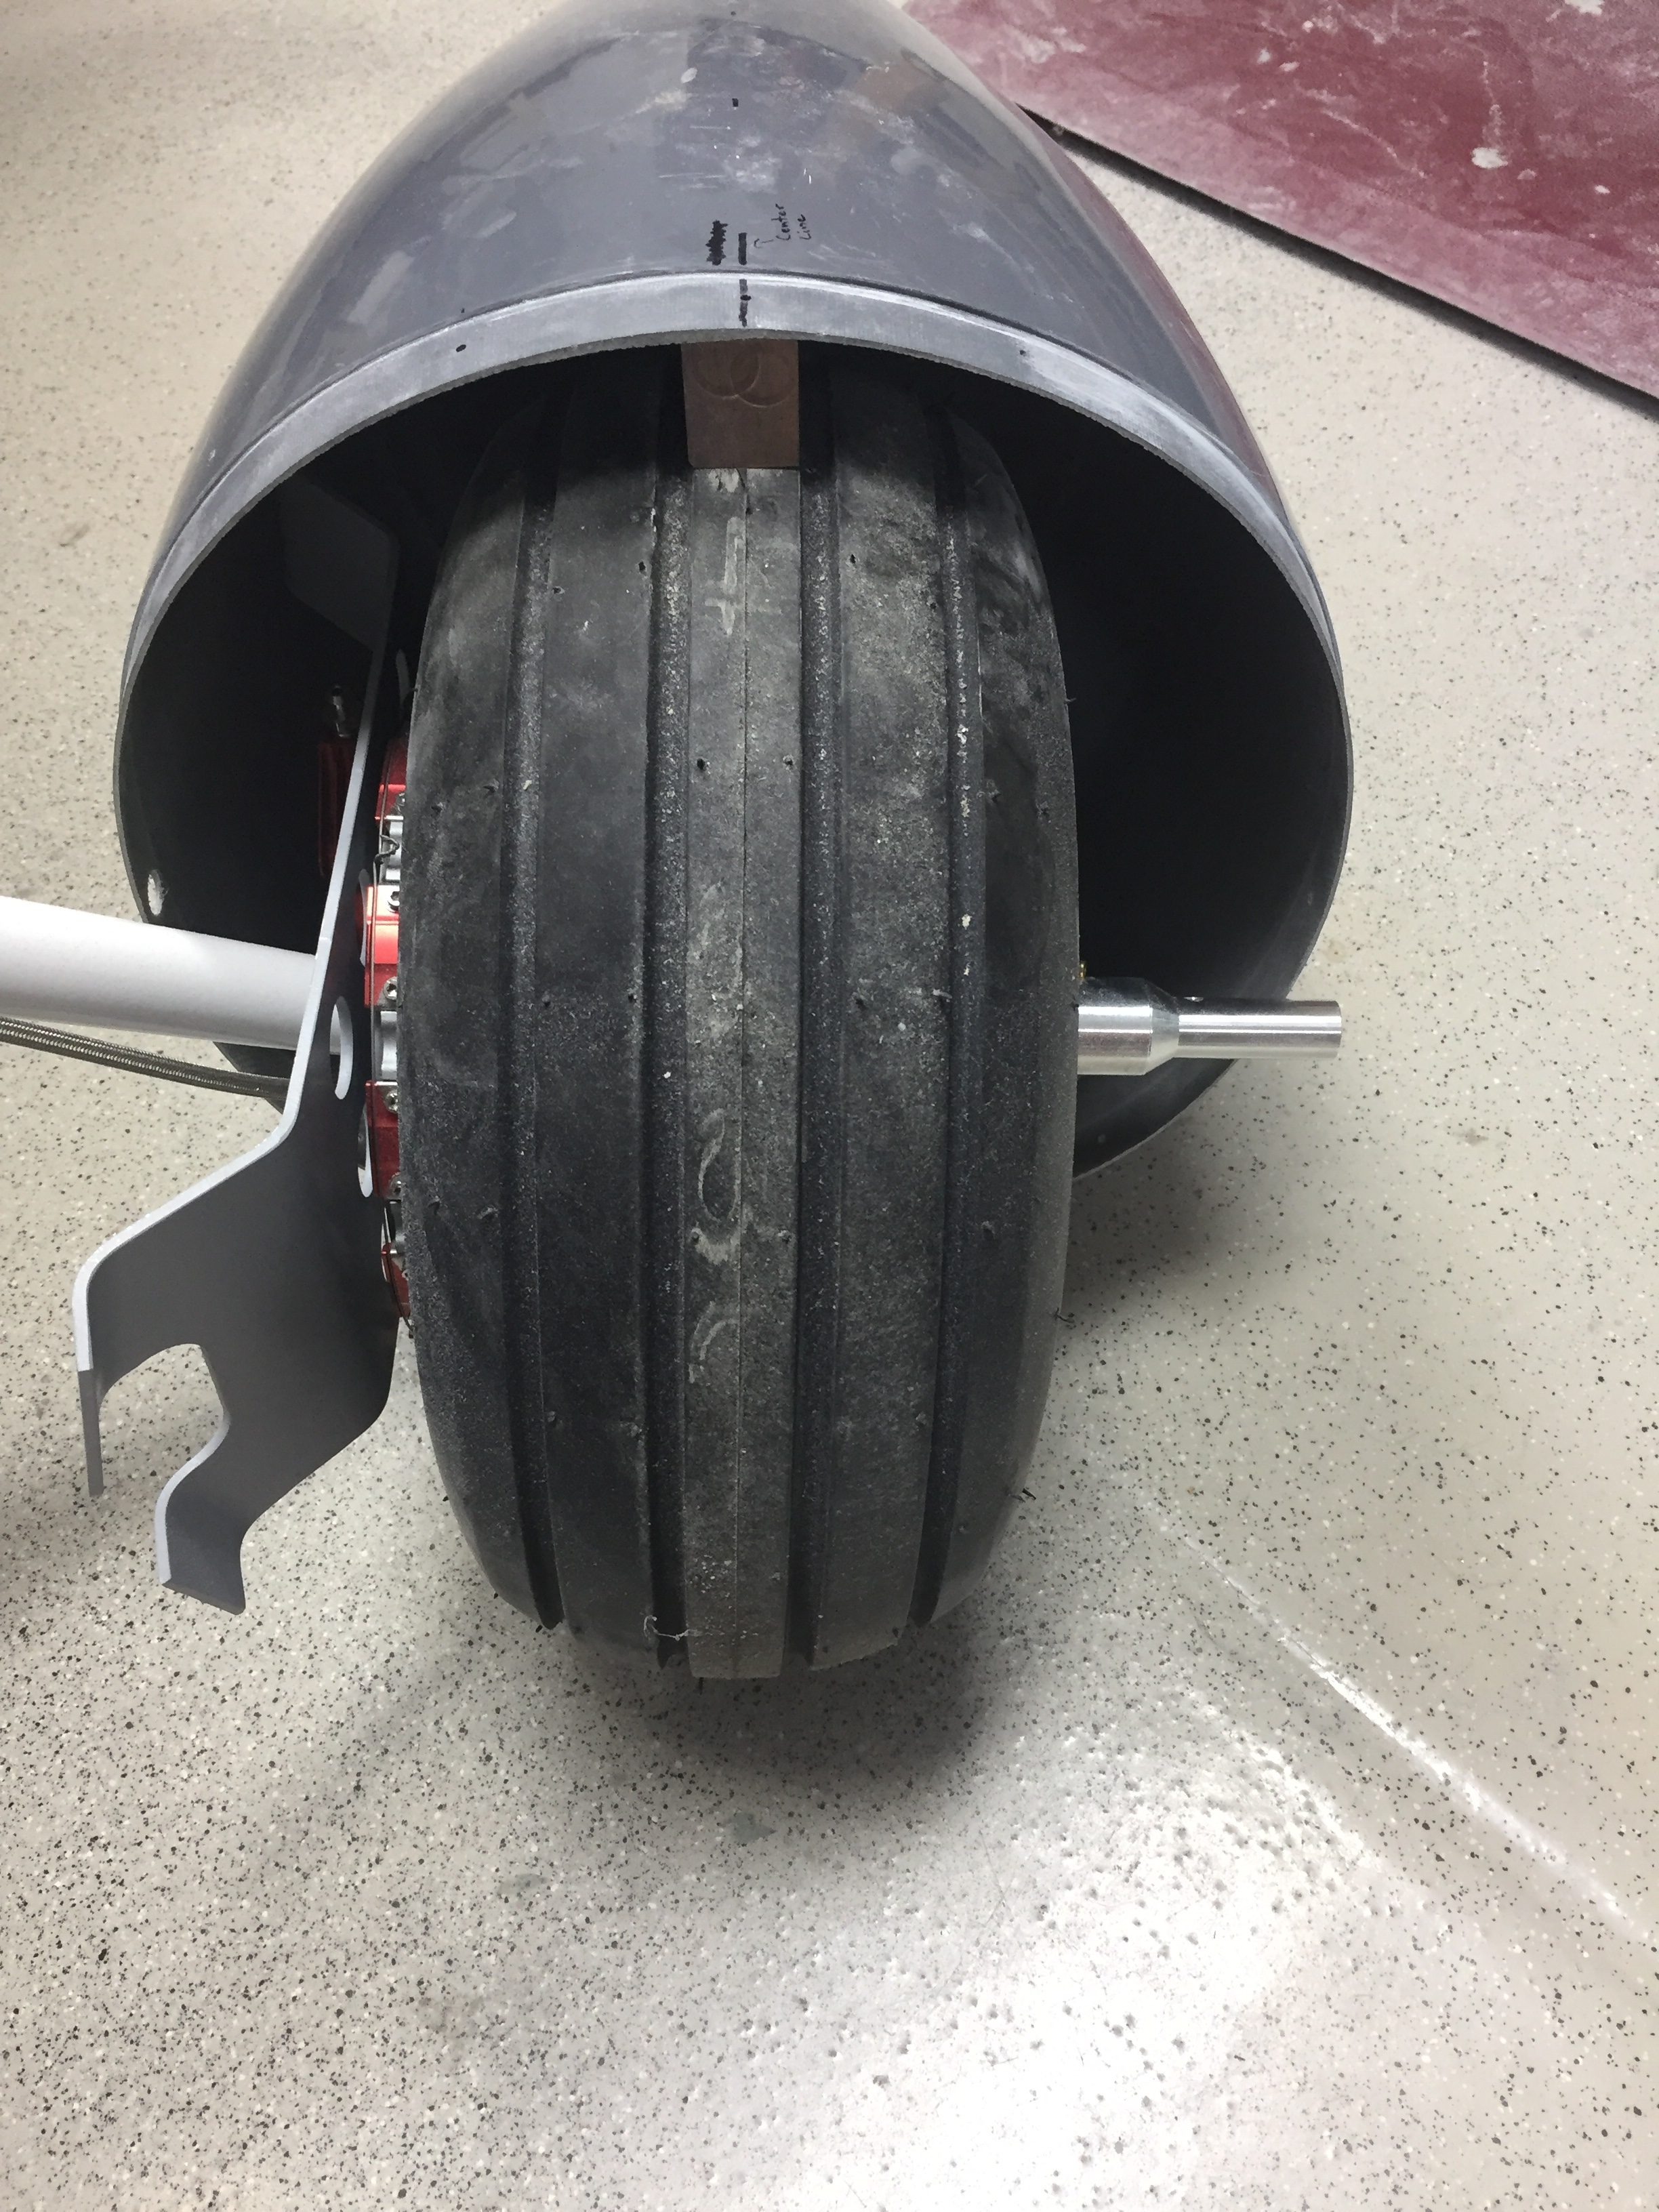
One issue I had to pause on and get some help was the wheel pant spacer that bolts onto the wheel nut for the main gear. On initial fit, it’s proving to be way too long and I was hesitant to cut it allowing the rear portion of the pant to fit. Beringer says trim away, however, so I think it’ll actually save me a few steps later in the process since I’ll be able to trim at a precise angle to match the pant and avoid using flox to build up a flange on the inside of the pant.
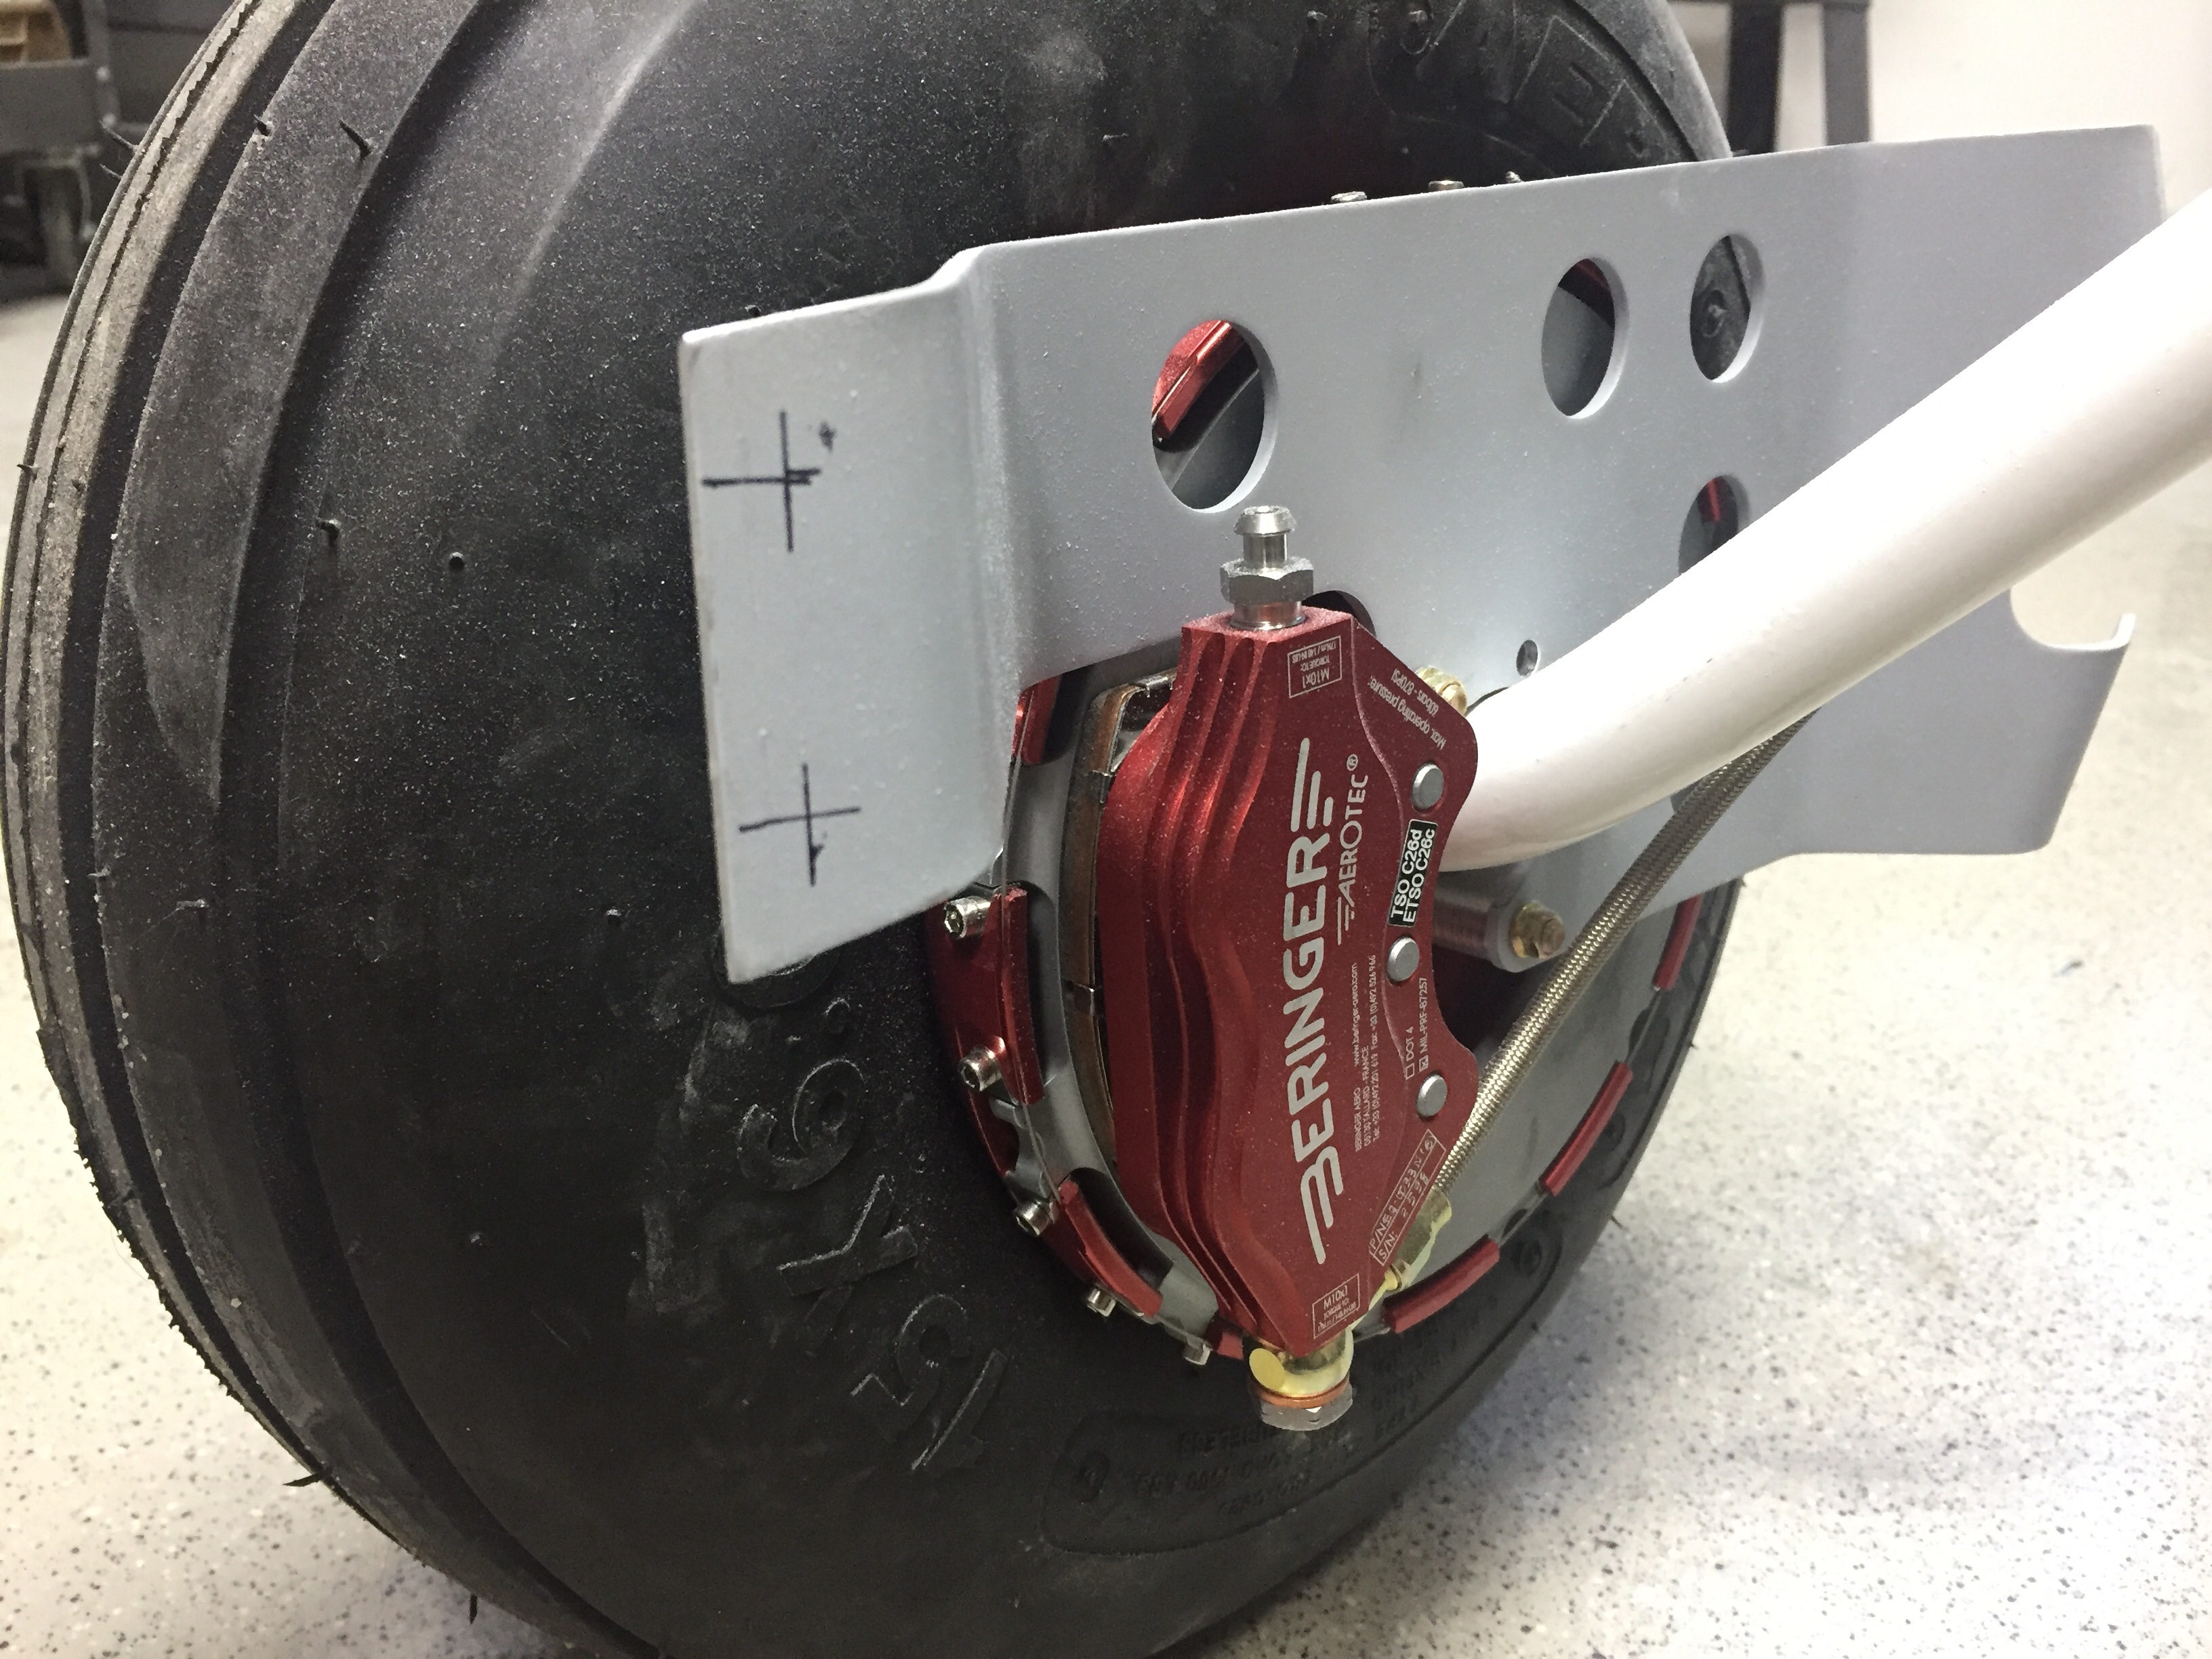
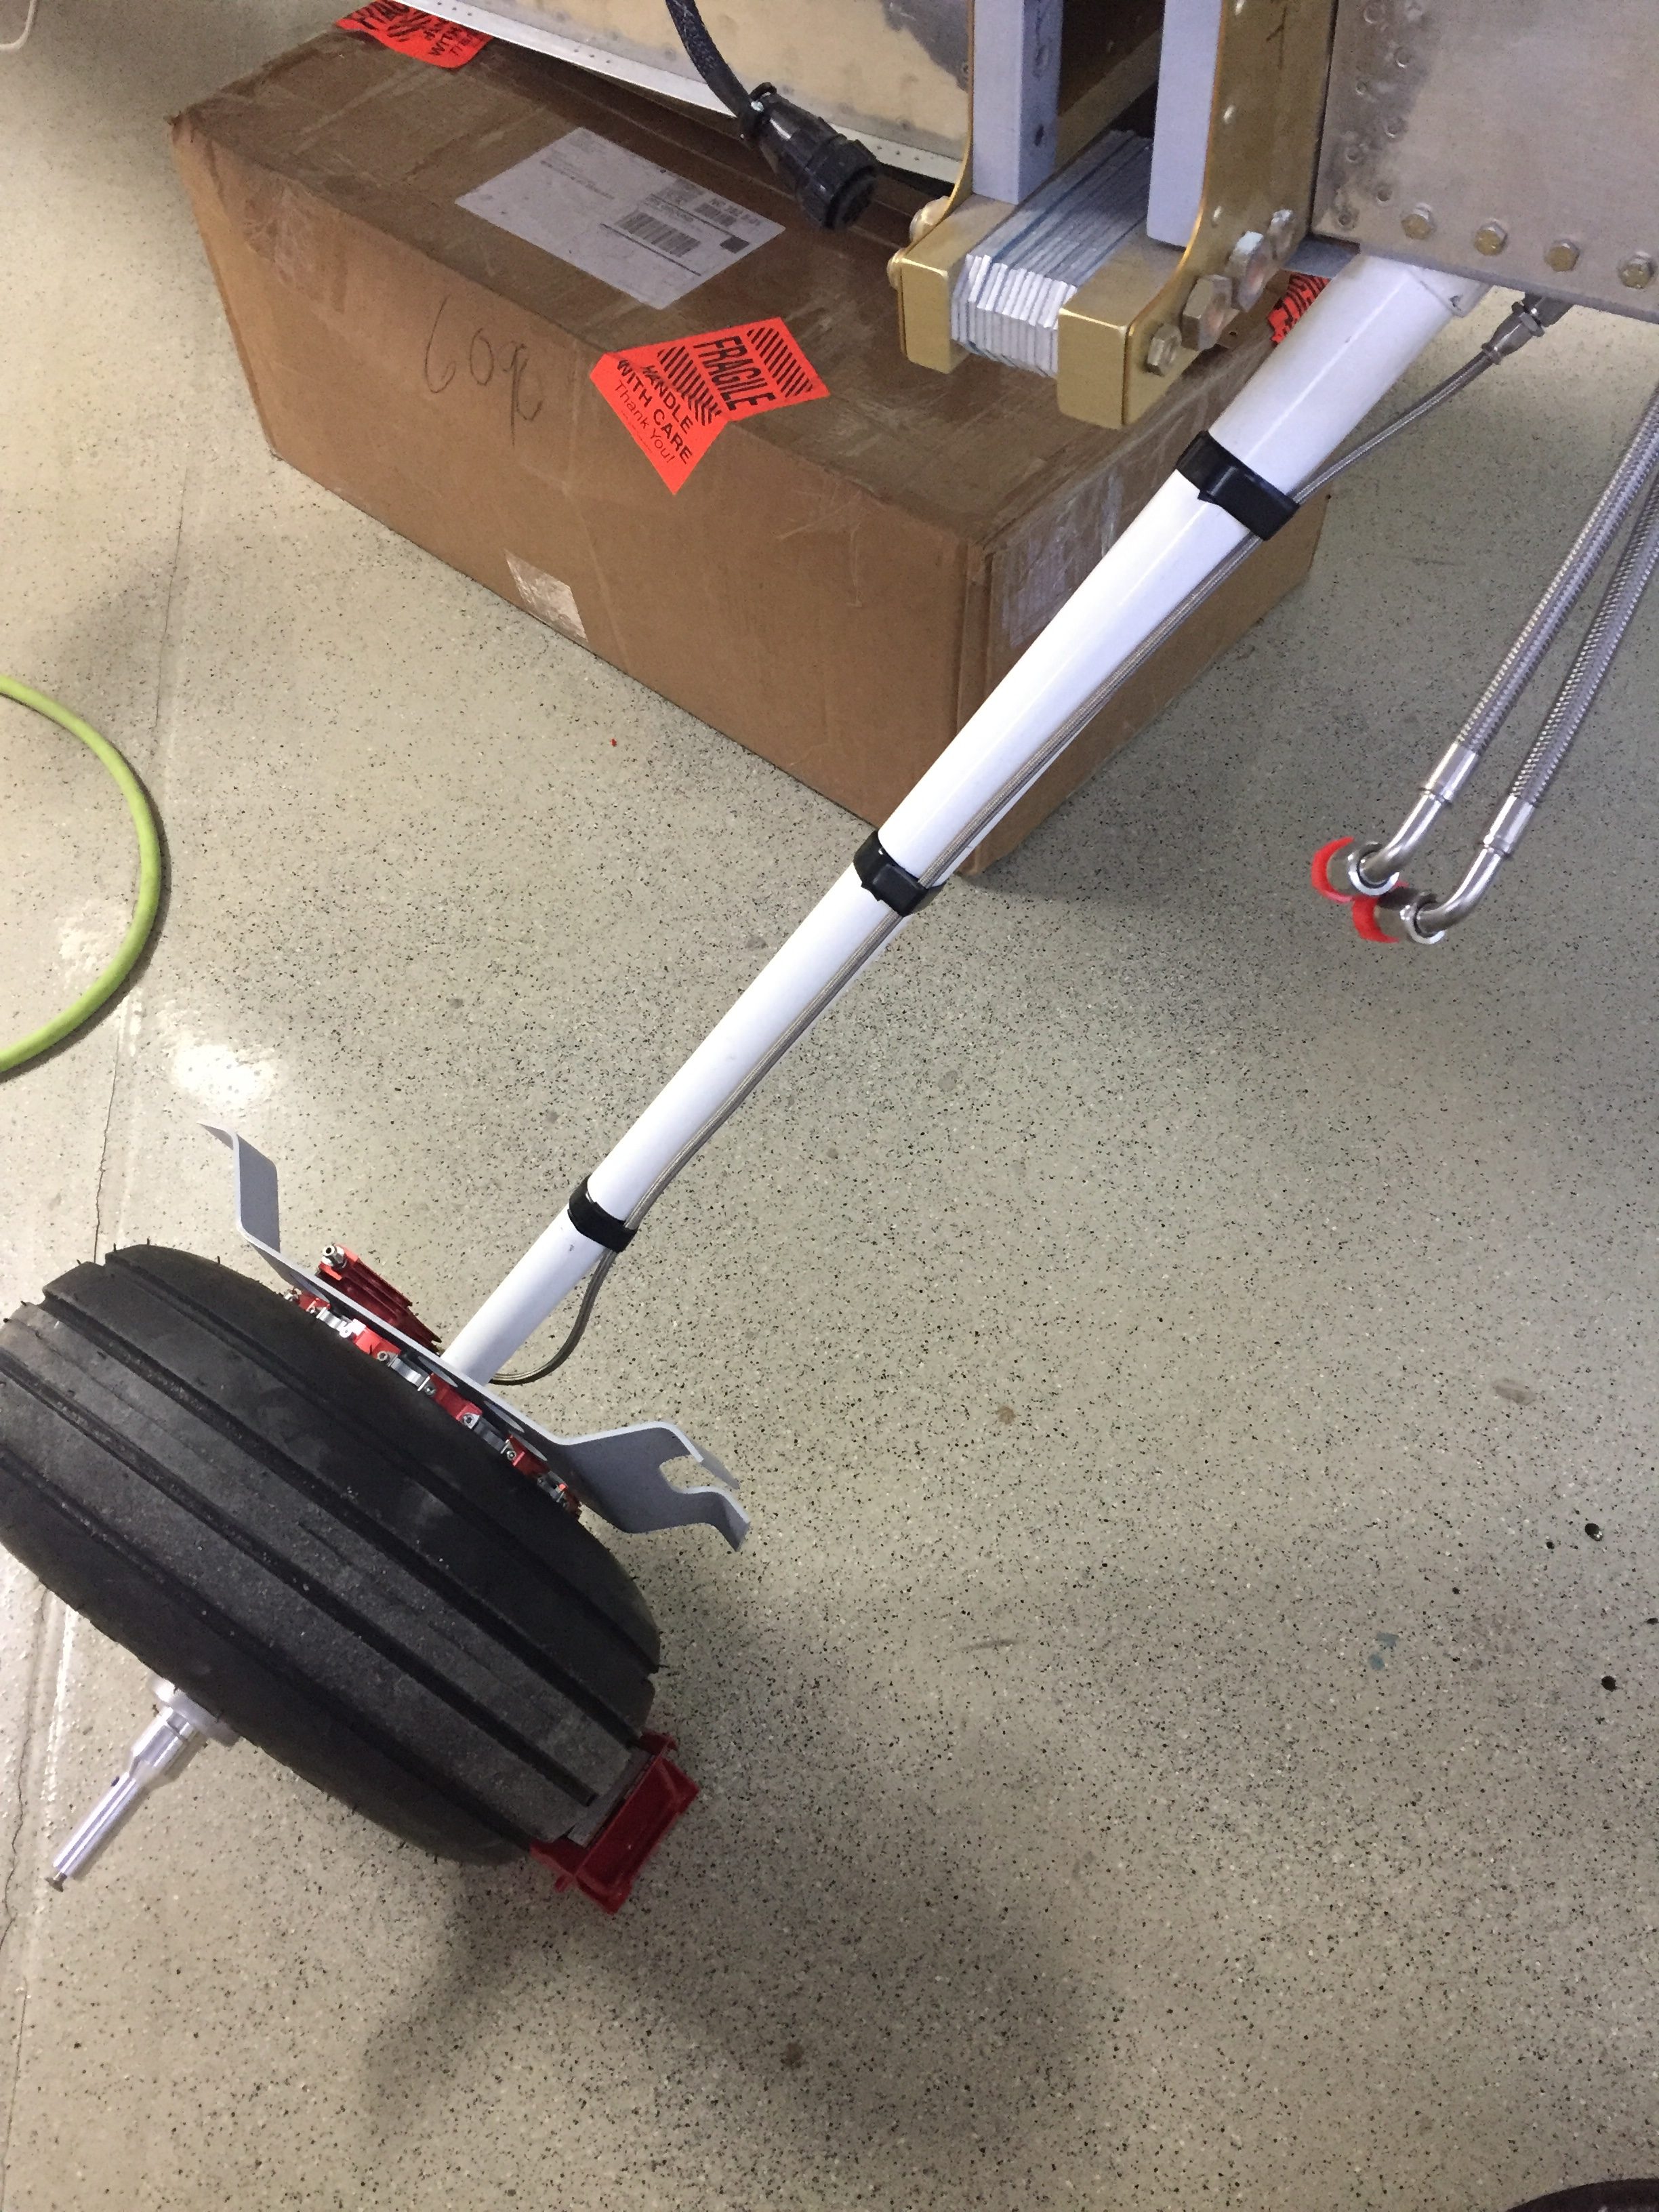
Meanwhile, I fabricated the last of the stainless steel brake lines and installed them to the calipers. I am now considering swapping the calipers from side to side which will put the bleeder nipple on the bottom. I’ve always had the nipple on the top of the calipers, but using a pressure bottle to bleed the brakes from the calipers up will allow the air to be pushed up naturally instead of forcing it down and the nipples should be the lowest point in the system for this. If the lines can still be used, I’ll swap them.
Next up is some exciting stuff as we jet off for vacation and engine build school in Kamloops, BC. Stay tuned for details!

