Spring cleaning: cobwebs and corrosion

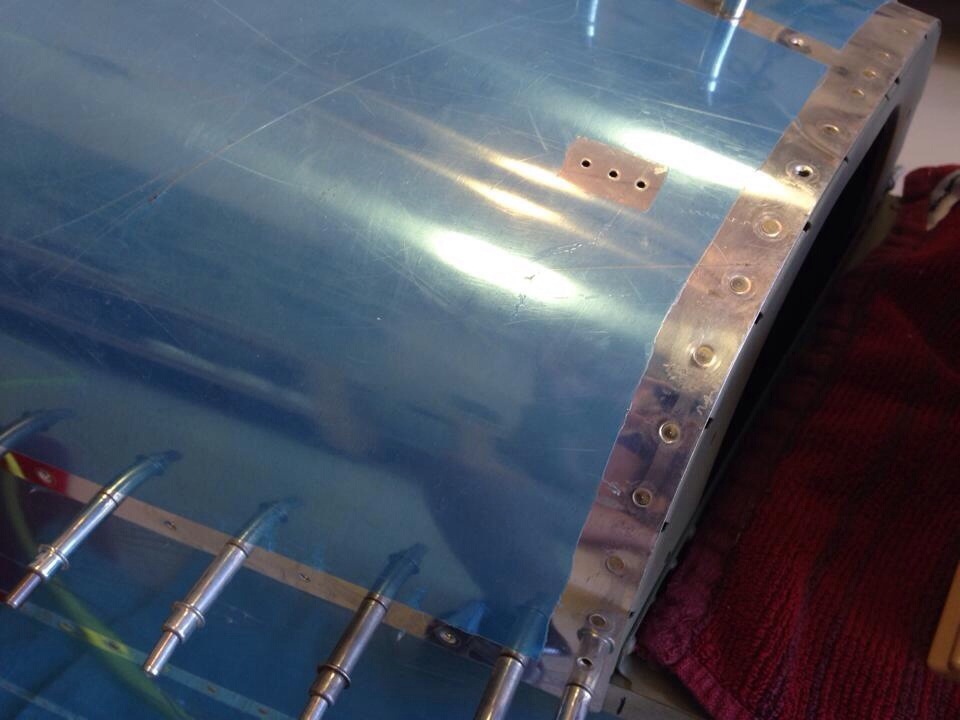
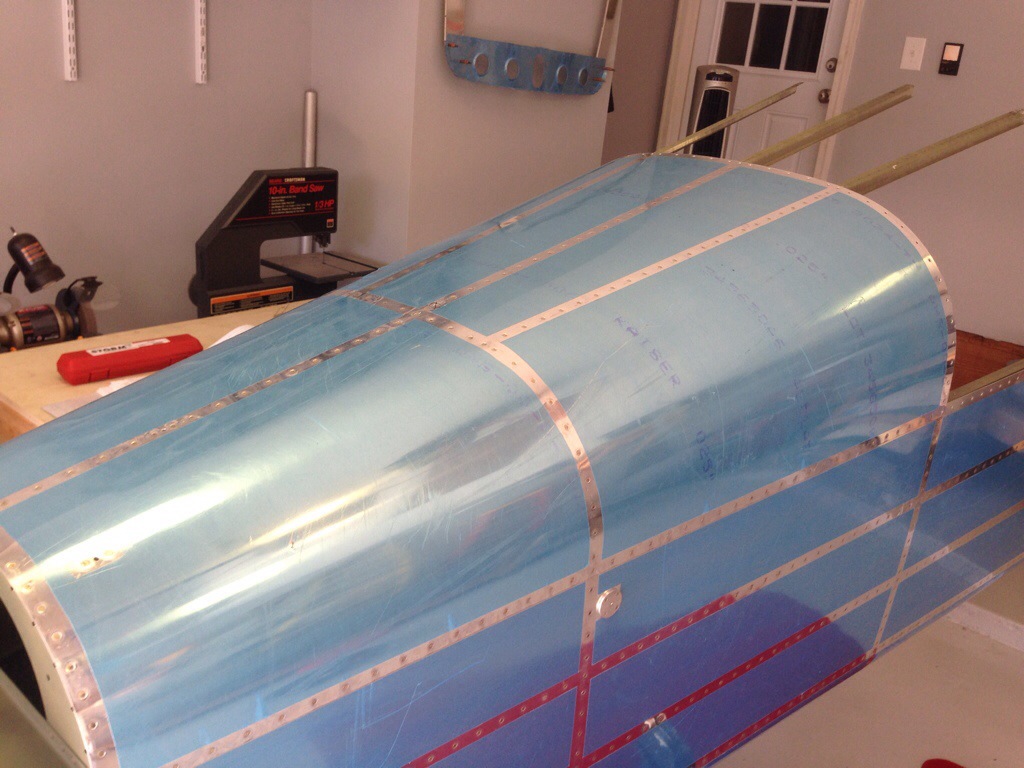
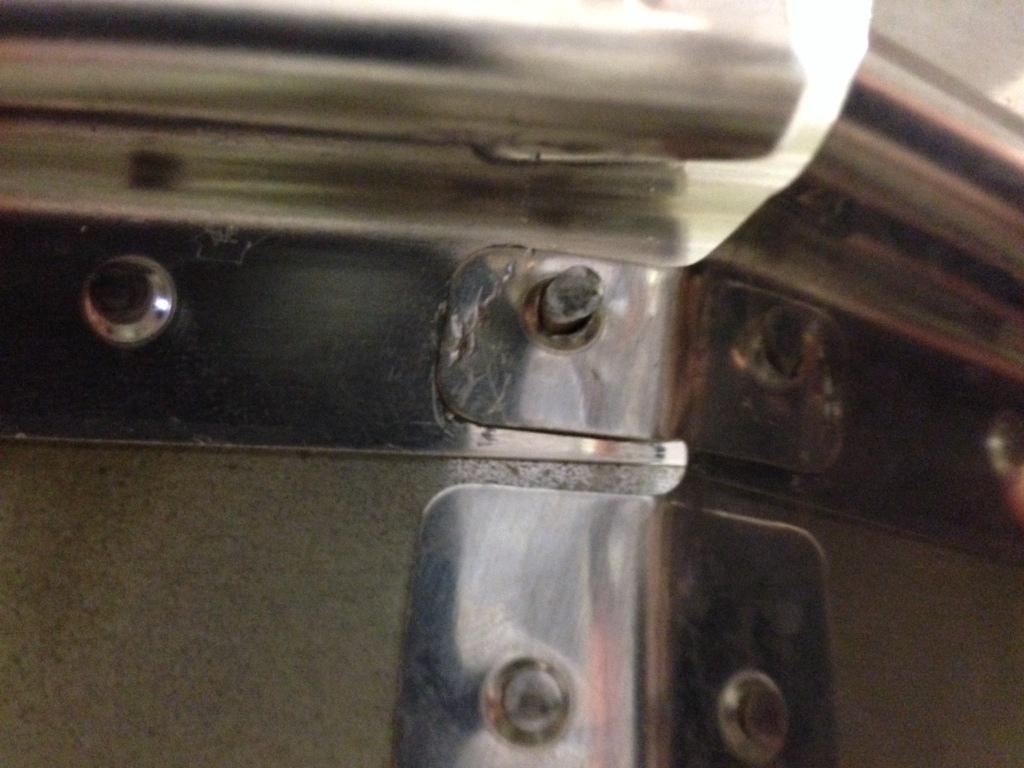
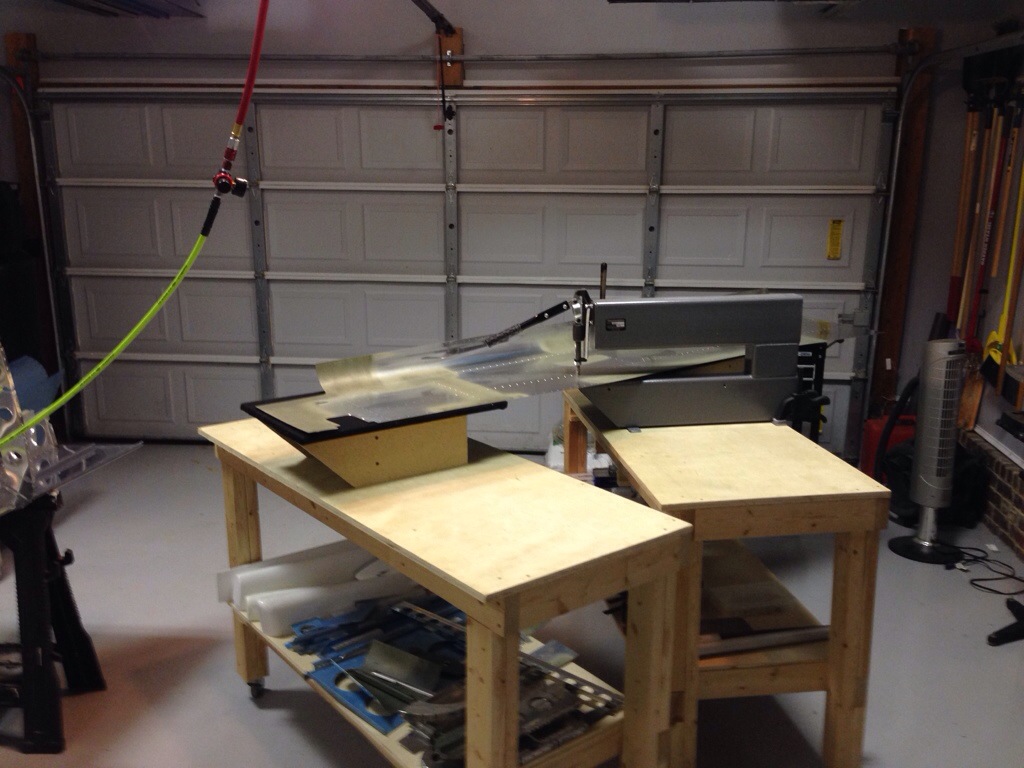
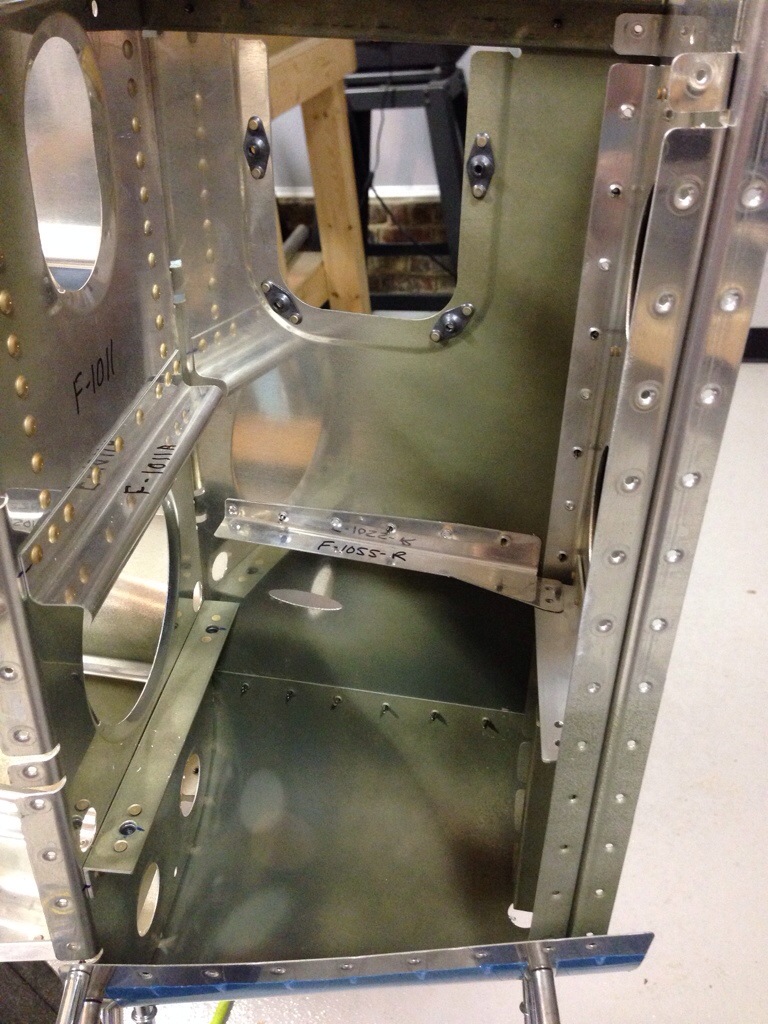
It’s time to attach the tail cone to the fuselage which means a museum piece can be ceremoniously lowered from the ceiling and brought back into production.  The last work was done over two years ago on the tail cone and it’s been in storage, basements, and garages since then.  Unfortunately, moisture left its mark with some heavy filiform corrosion on the bulkhead and bottom skin.
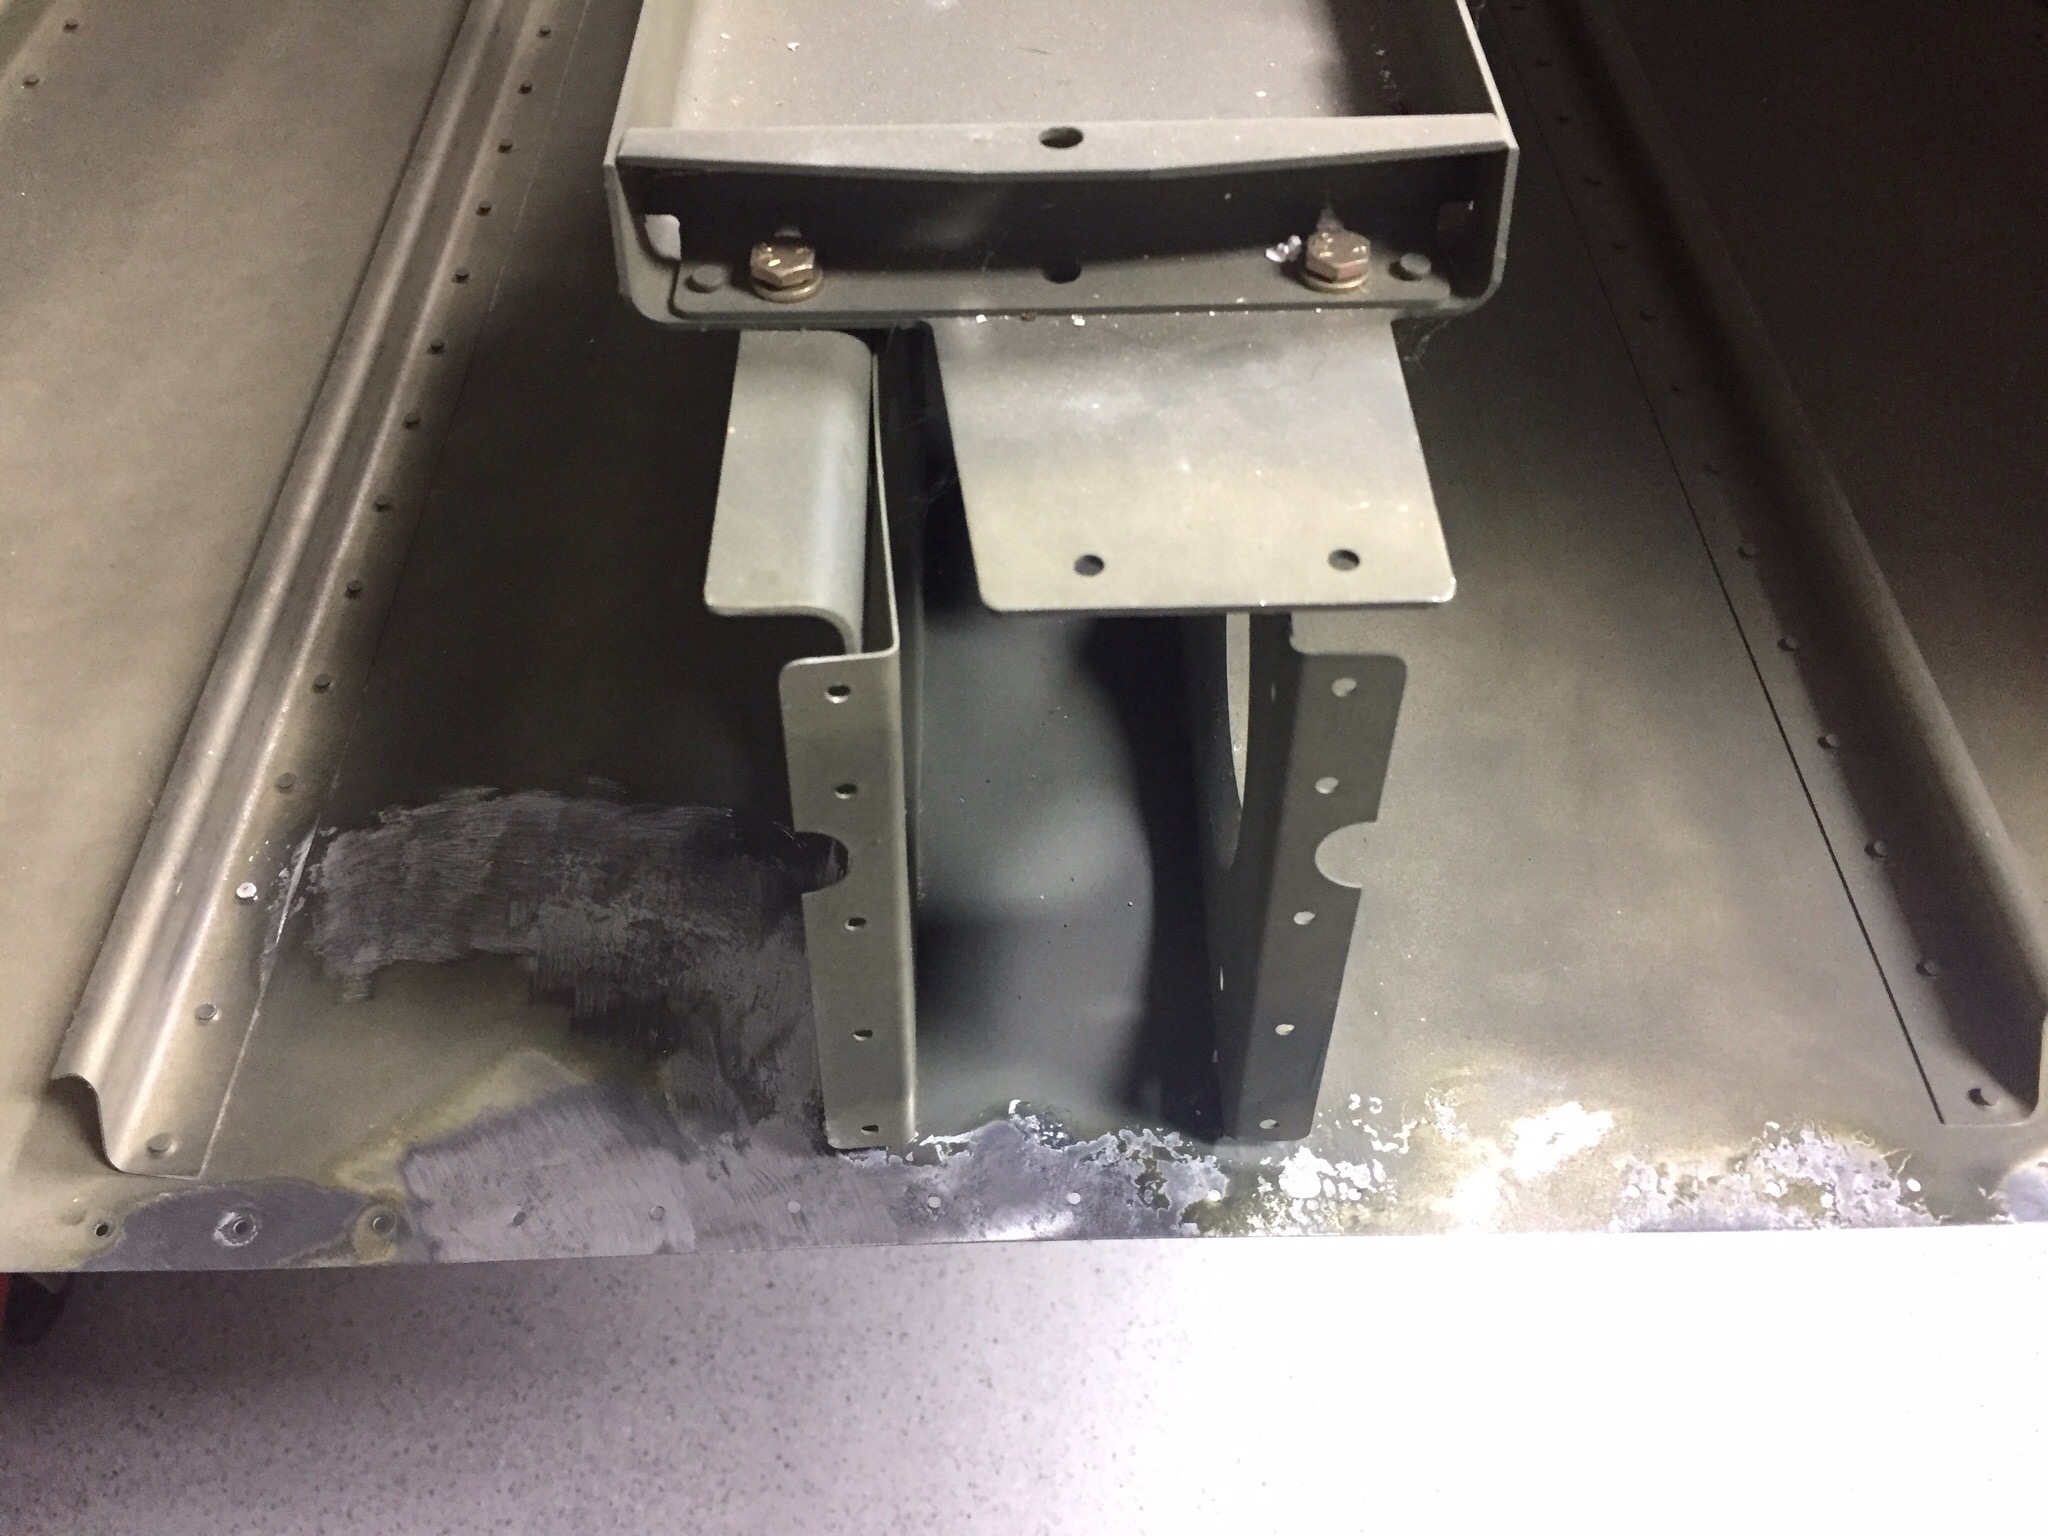
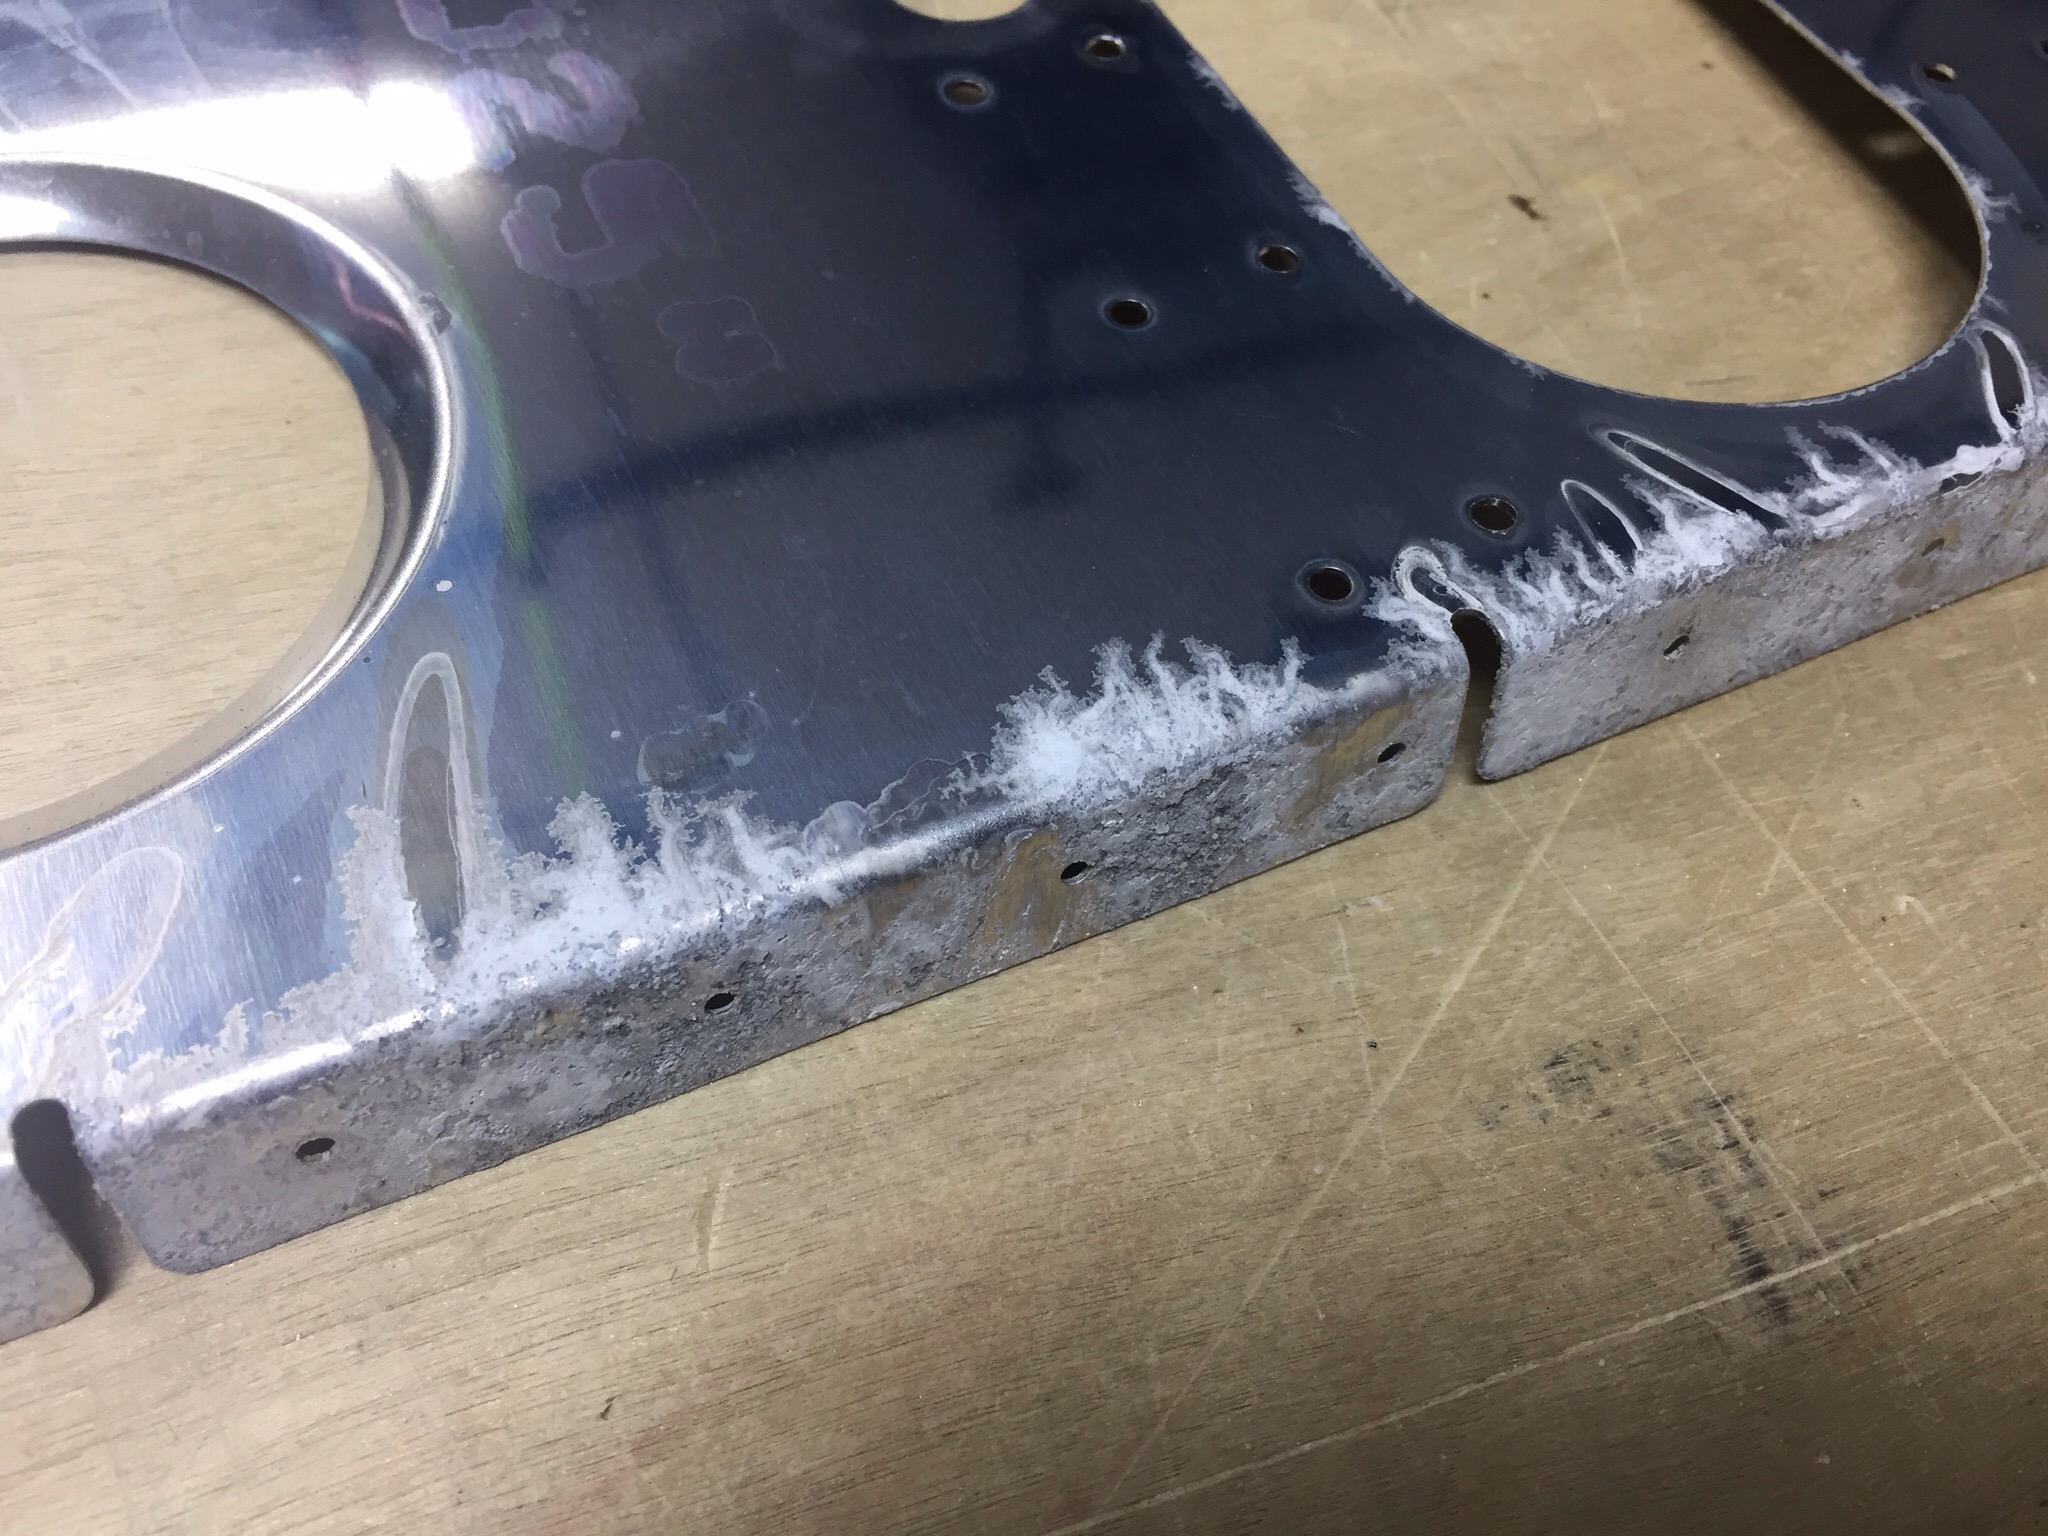
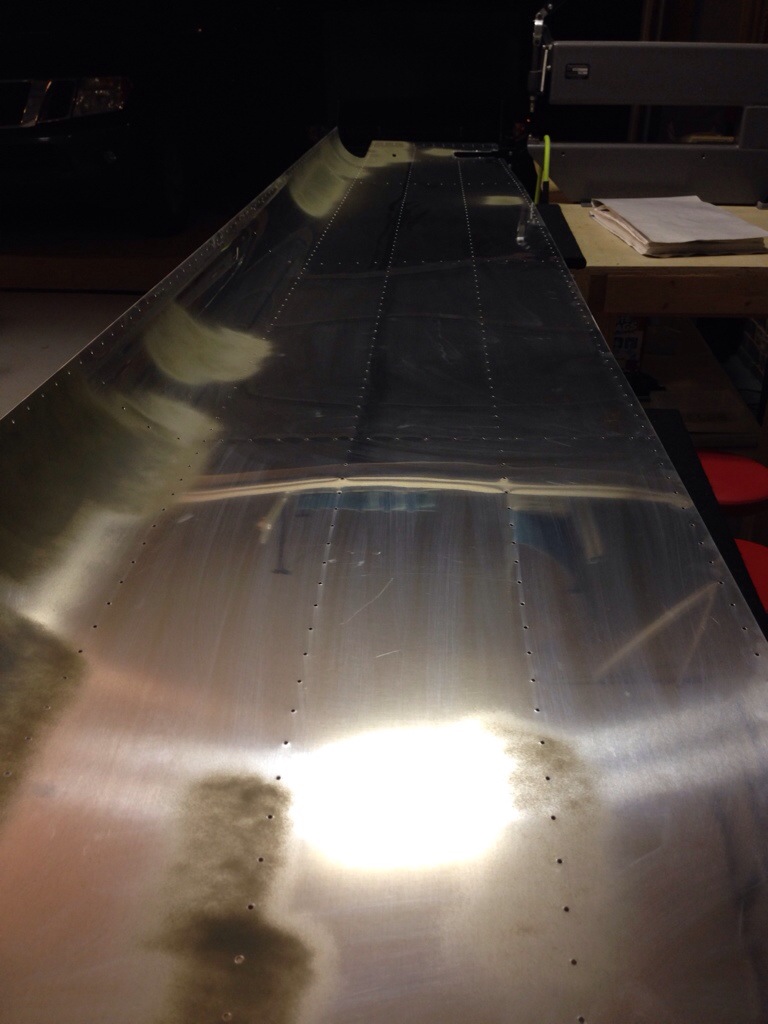
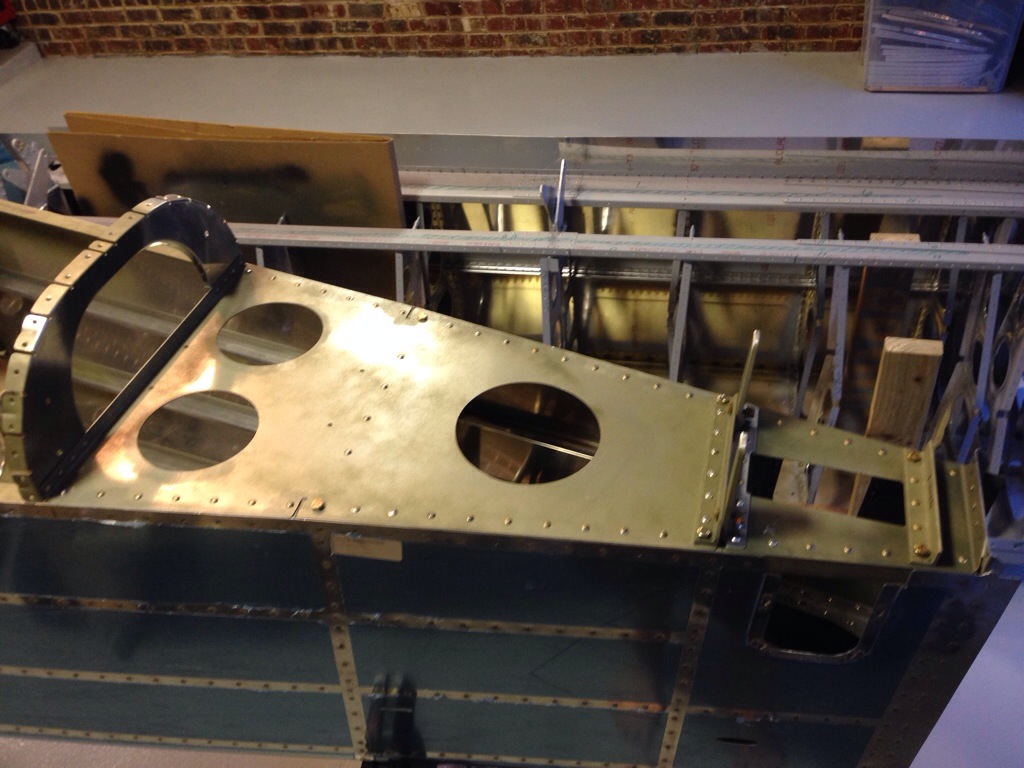
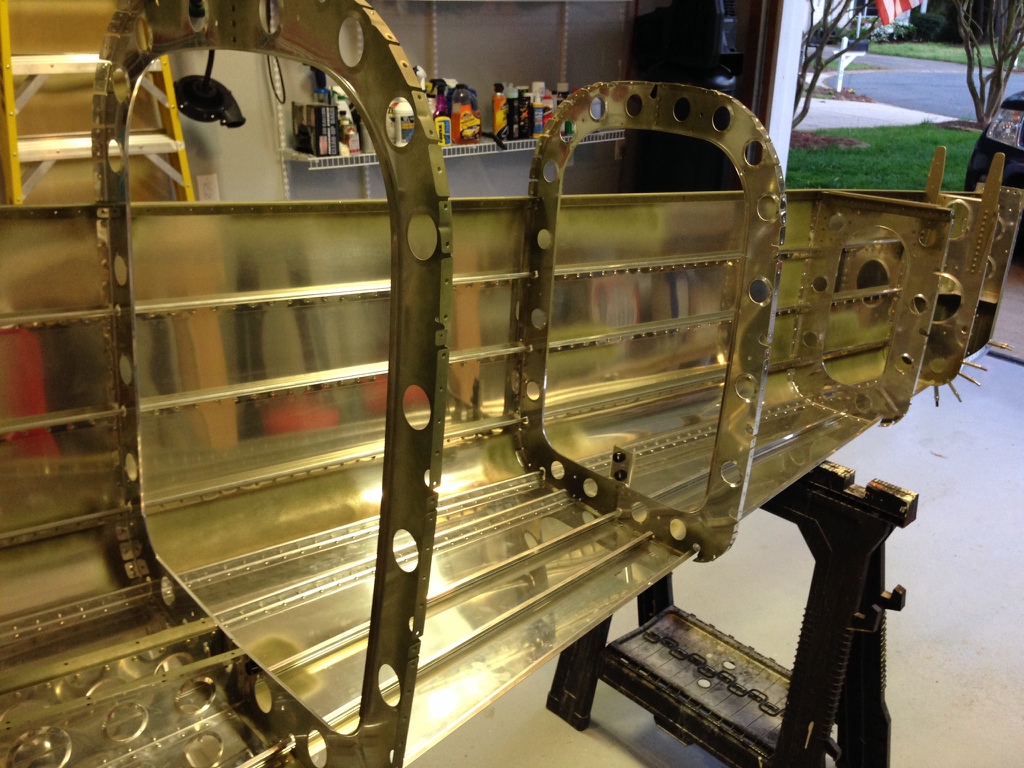
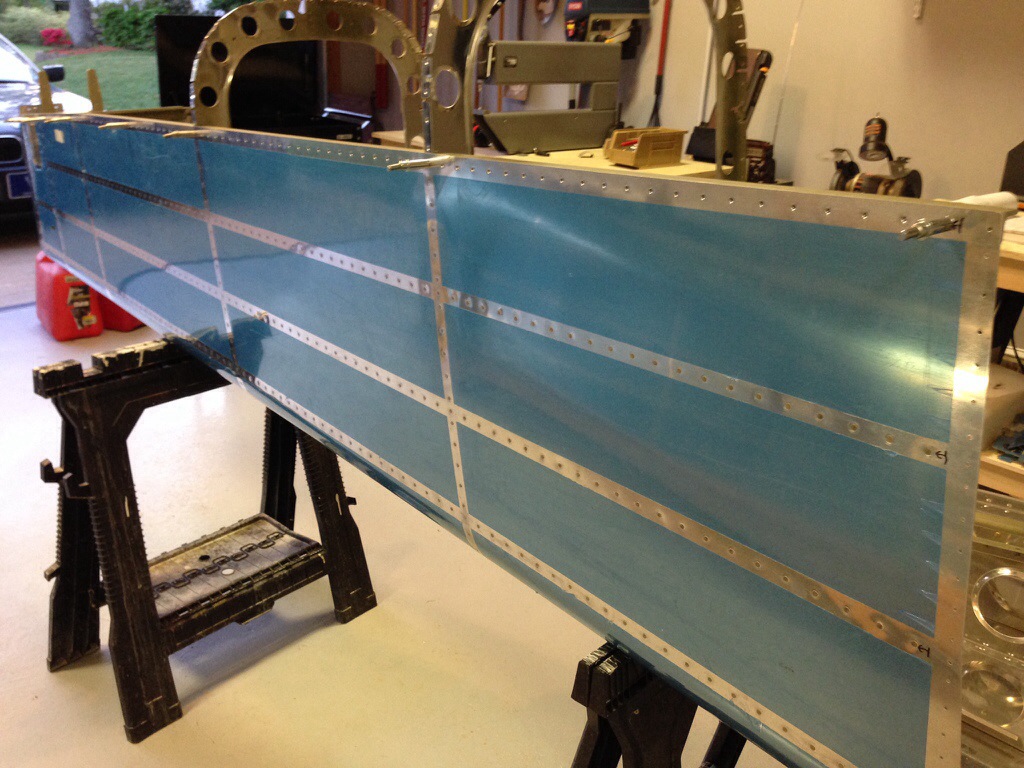
The tail kit components had this elsewhere when I purchased it, but never this bad.  On the bulkhead, I dug in with the angle grinder and 3M pads and made quick work of the nasty stuff.  Fortunately, it wasn’t too deep in the metal and it all came off easily.  The bottom skin is a bit trickier with the DuPont primer on it.  I didn’t do a great job priming this and did it after assembly so there were areas the corrosion was actually underneath the primer.  I’m not quite done getting that part cleaned up, as evident in the picture.

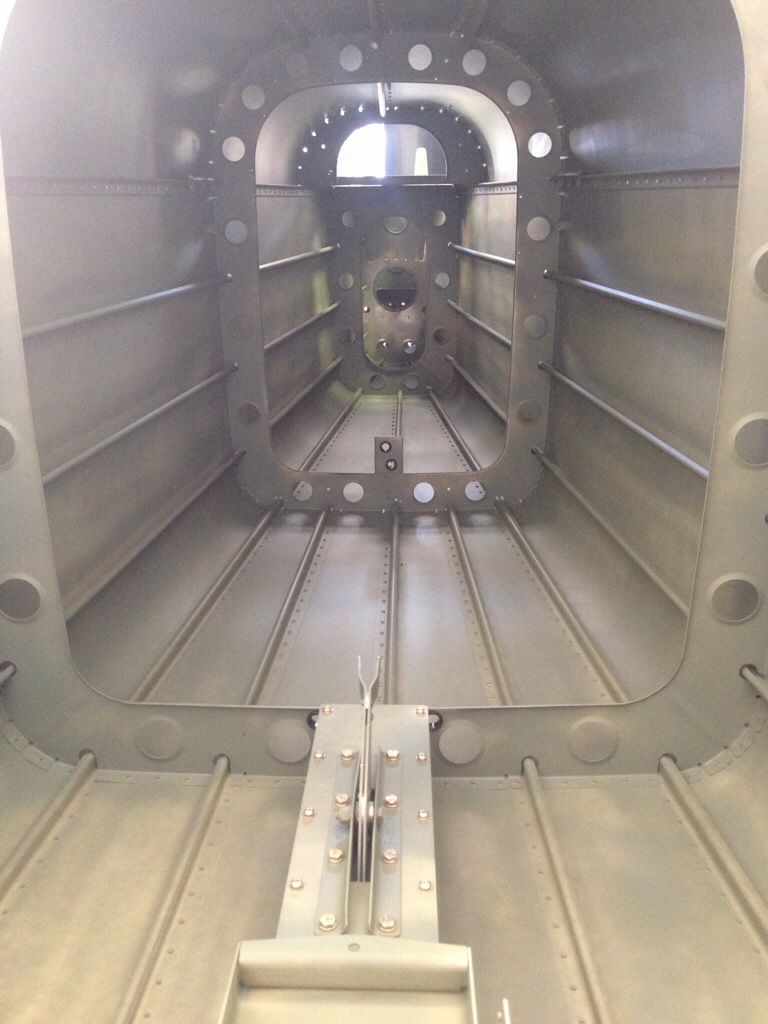
The biggest concern, out of it all, is the thin line of white corrosion along the ribs holding the battery tray (ignore the white flakes in the background, I haven’t finished vacuuming).  The surfaces between those two parts aren’t primed and I’m suspicious that there is corrosion between the two.  
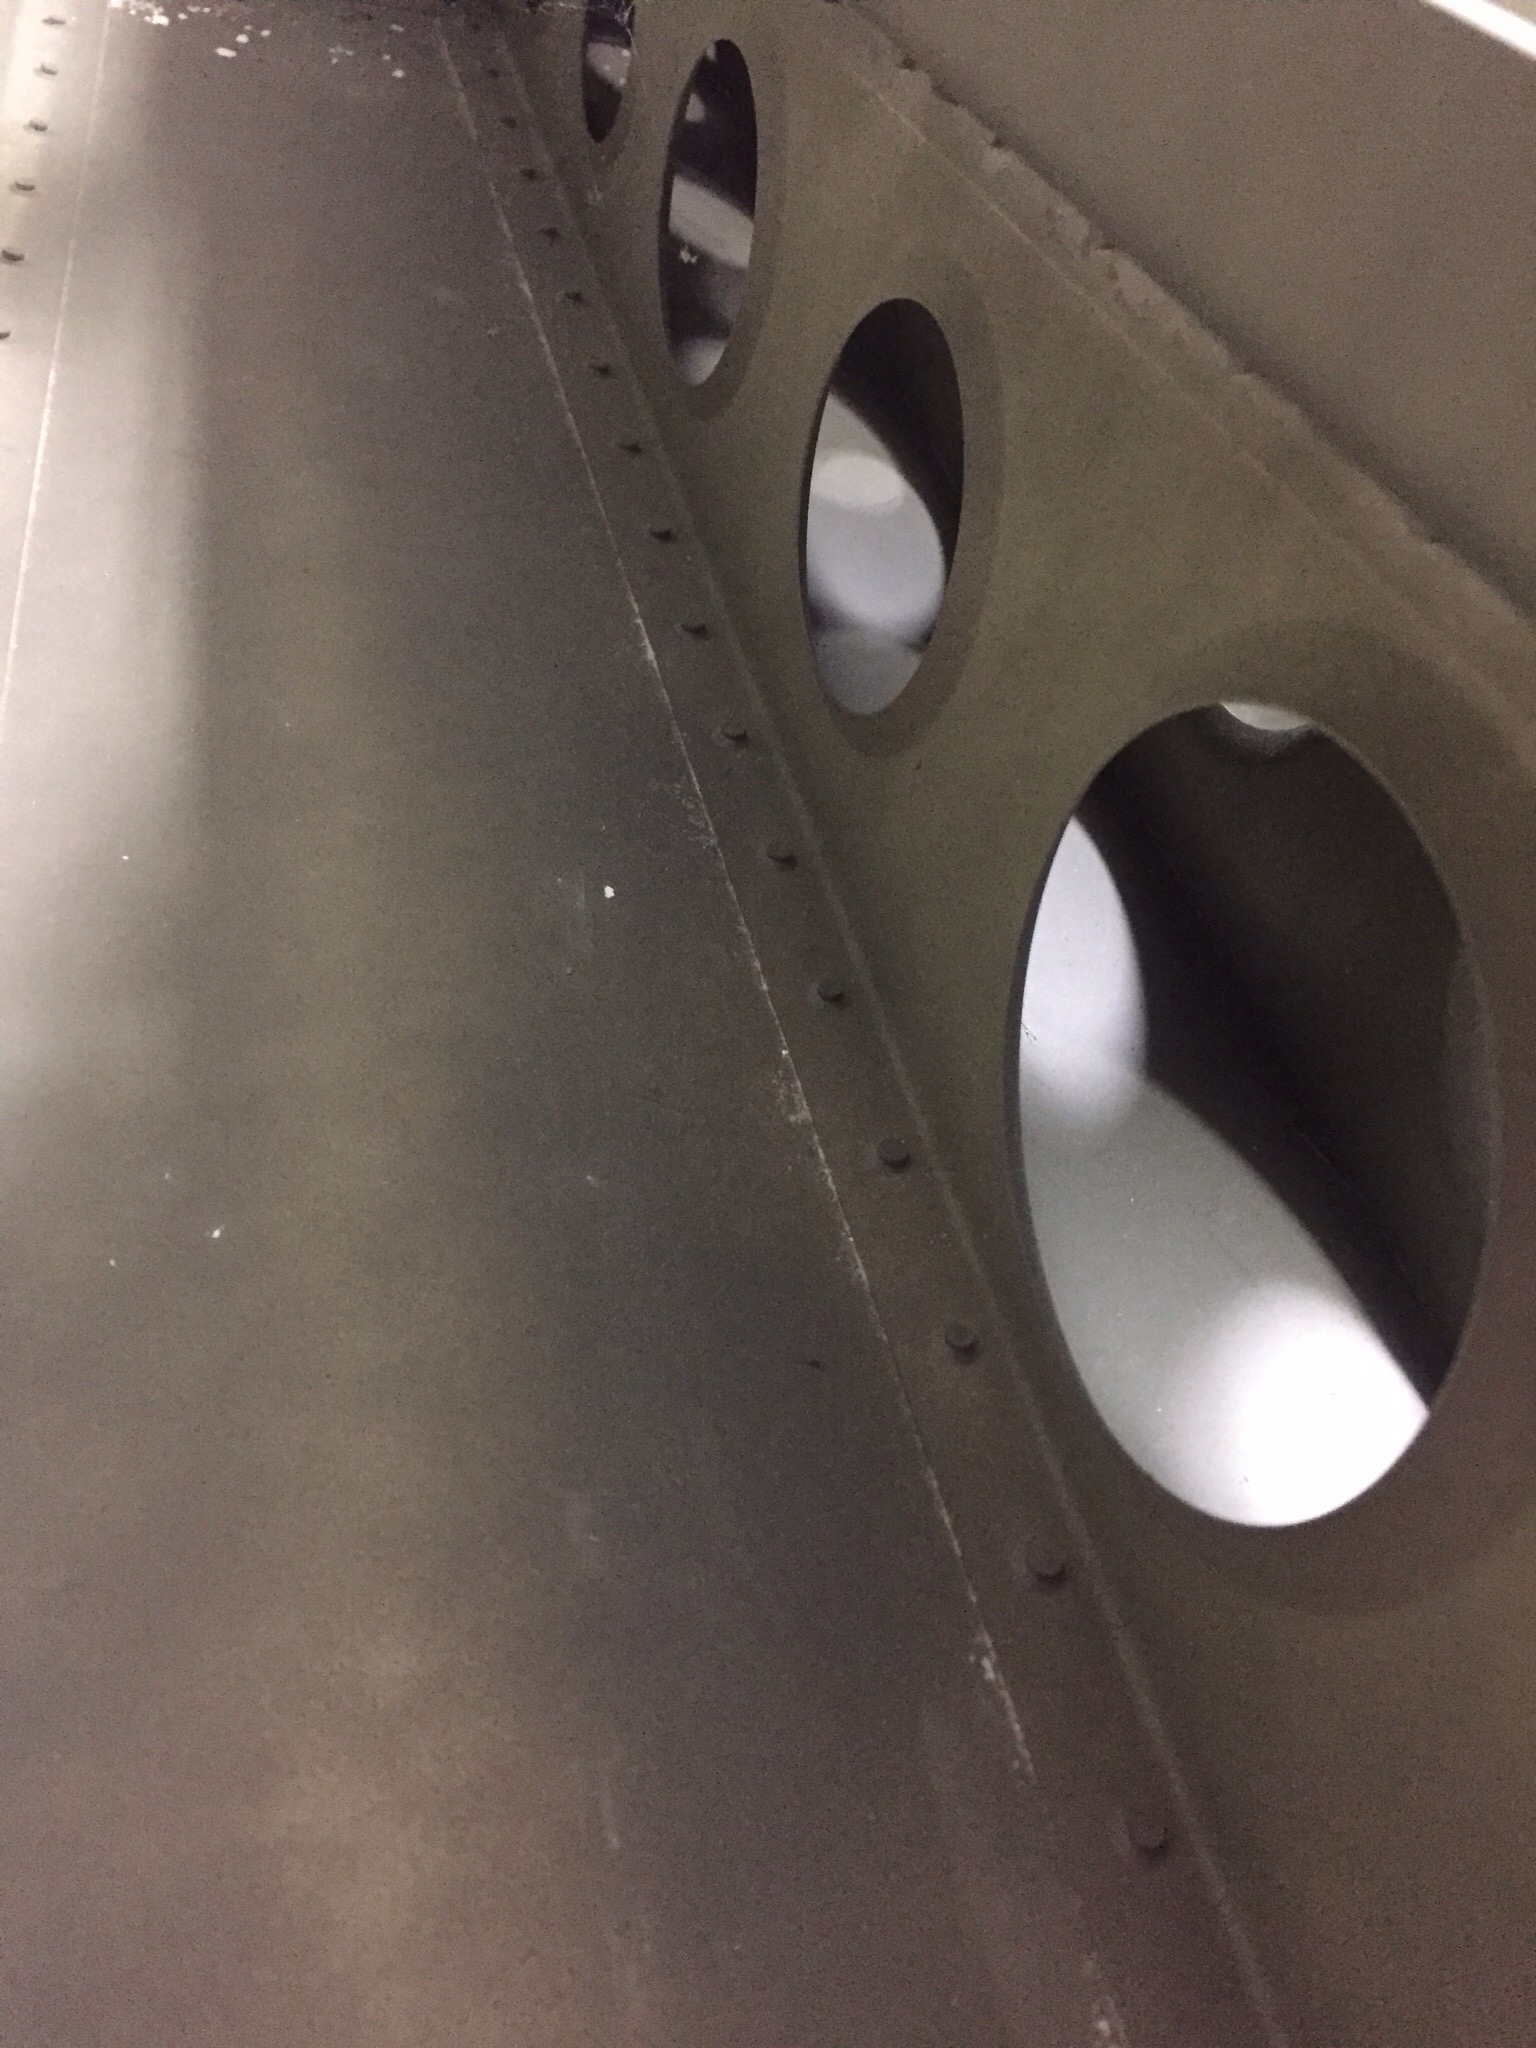

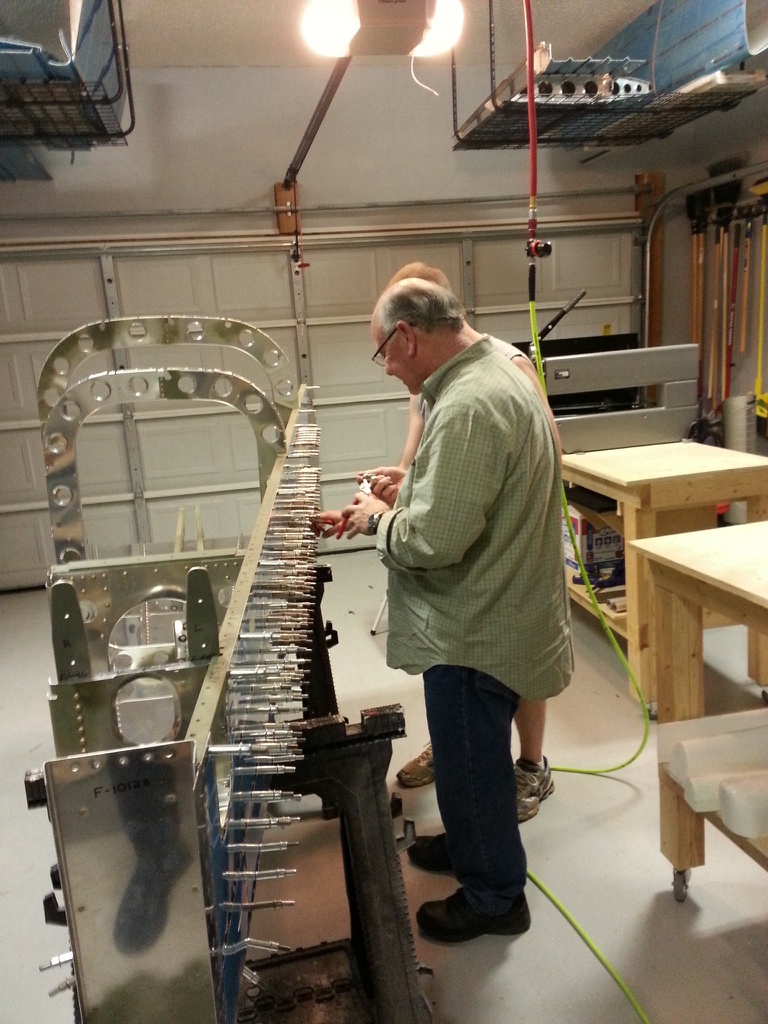
I spent a good amount of time with a flash light and inspection mirror going over the rest of the tail cone.  It’s the only area like this and I don’t want to risk long term issues.  I concluded that the right thing to do is to drill out the rivets and clean these areas up properly.  It’ll be easy to do now and I’ll combine this with the custom equipment tray that I’ll be putting in to replace the battery tray.  Once this is complete, we’ll move on to attach the tail cone.

Service Bulletins

While having some down time at home that I can’t do much productive anything with, I decided to research quite a few things while lying in bed after surgery.  One of those was service bulletins.  There are a handful out there for the RV-10 and are a lot like AD’s issued by the FAA, but they are not mandatory by law.  Highly recommended, however, so in the home built world, you comply with them.  With this being a build log, I wanted to document them here and then I’ll make the associated entries in the air frame log book once I have one.

The empenage kit (oldest original kit) was delivered in October 2005 to the original builder, thus I have only addressed those SB’s relating to the dates affecting our kits.

SB 06-2-3 is for the vertical stabilizer rudder mount.  This SB was completed by the original builder and complies with all aspects of the SB.  I could not get a good picture inside a tiny access hole, however, visually confirmed the doubler plate is in place inside the main spar of the VS.

SB 06-9-20 is for the trim cable anchor nut on the elevators.  While our kit does have the double welded nut, I chose to upgrade to the CNC machined piece by IFLYRV10.com.

SB 08-6-1 is for the F-1010 bulkhead near the vertical stabilizer in the tail cone.  My kit came with the SB contents and I completed it as part of the original build of the tail cone.
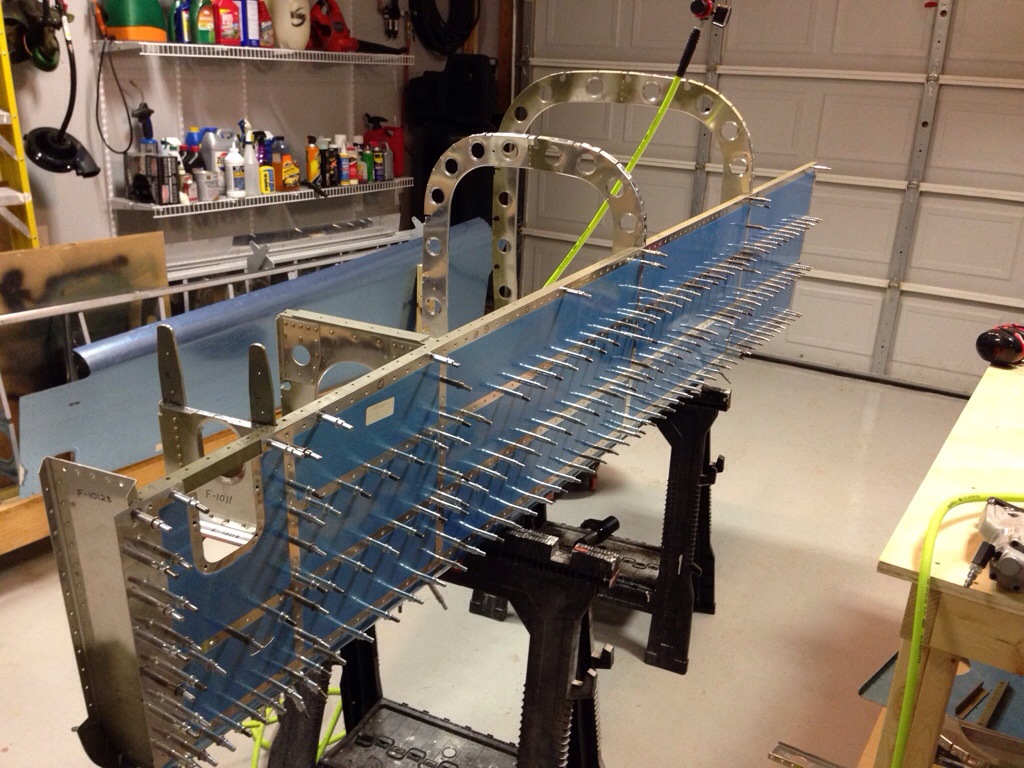
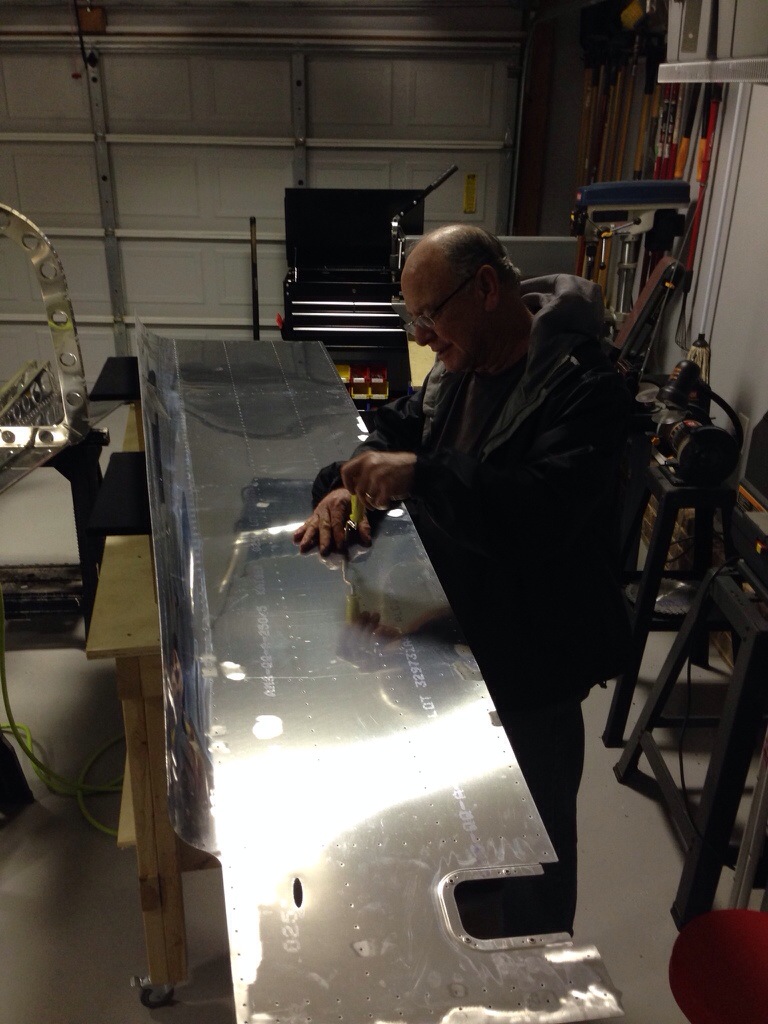
SB 16-03-28 is for the aileron hinge brackets possibly cracking on the inboard aileron mount.  I have removed the portion of the gap fairing to allow future inspection and no further action is needed until flying, at which time an annual inspection of the bracket must be made and noted in the log.

There are other SB’s that will affect our build, however, I have not gotten to that stage of the build yet, so will cover it in another post.

Hang in there…

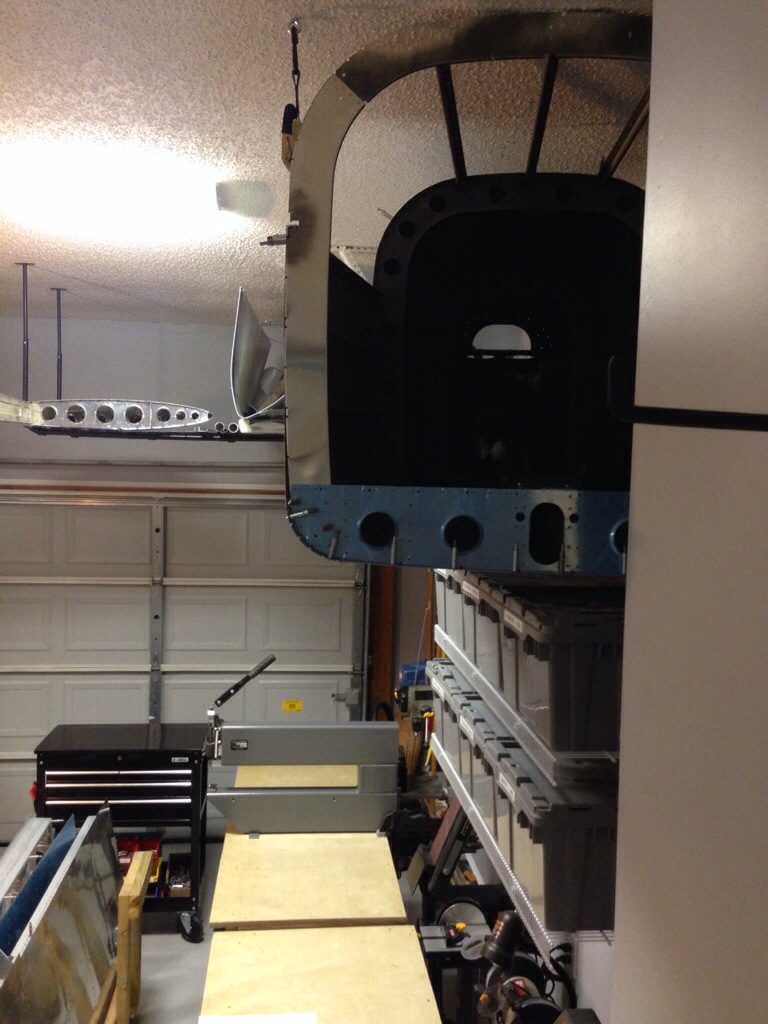
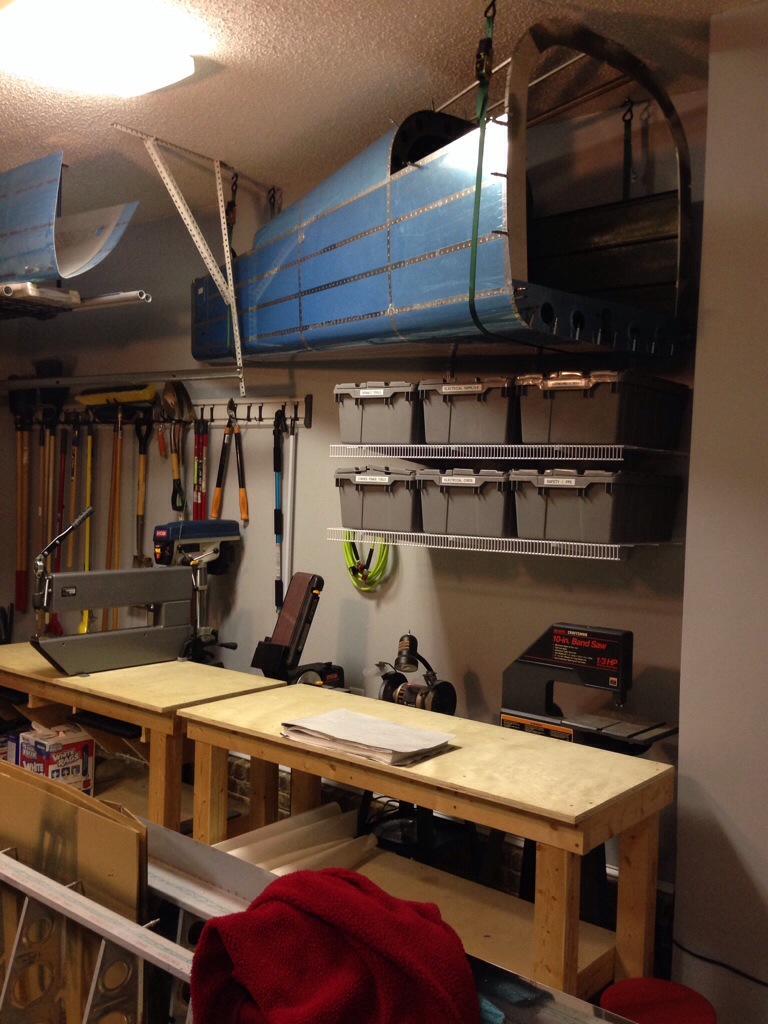
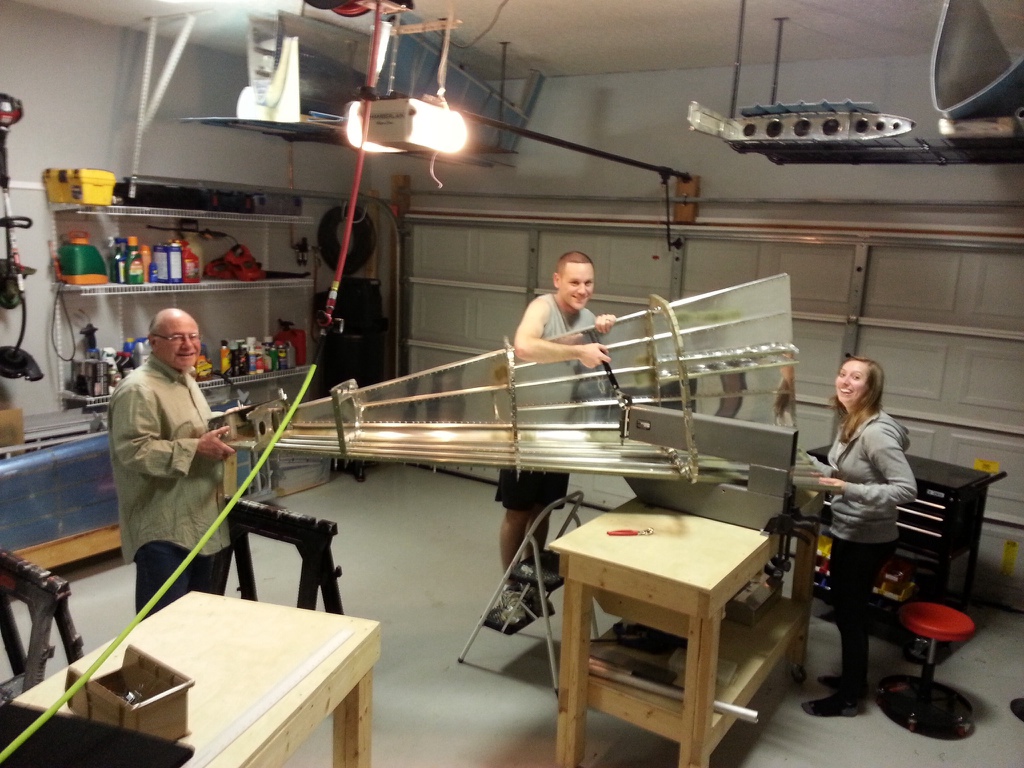
We took this evening to install the eye bolts and ratchet straps to hang the tail cone from the ceiling. I had a couple of different options on where to put it, and I’m glad this worked out as it keeps it high, safe, and out of the way of the lights. My wife was able to help me lift it up and we secured it with the straps. Pretty simple and now I have even more airplane parts hanging from the ceiling!

I also cleaned up the garage a bit and got organized for the next project of installing and prepping the empennage fiberglass tips. Time to get dusty. 20140708-234434-85474641.jpg

20140708-234433-85473947.jpg

She’s getting pretty damned good at this.

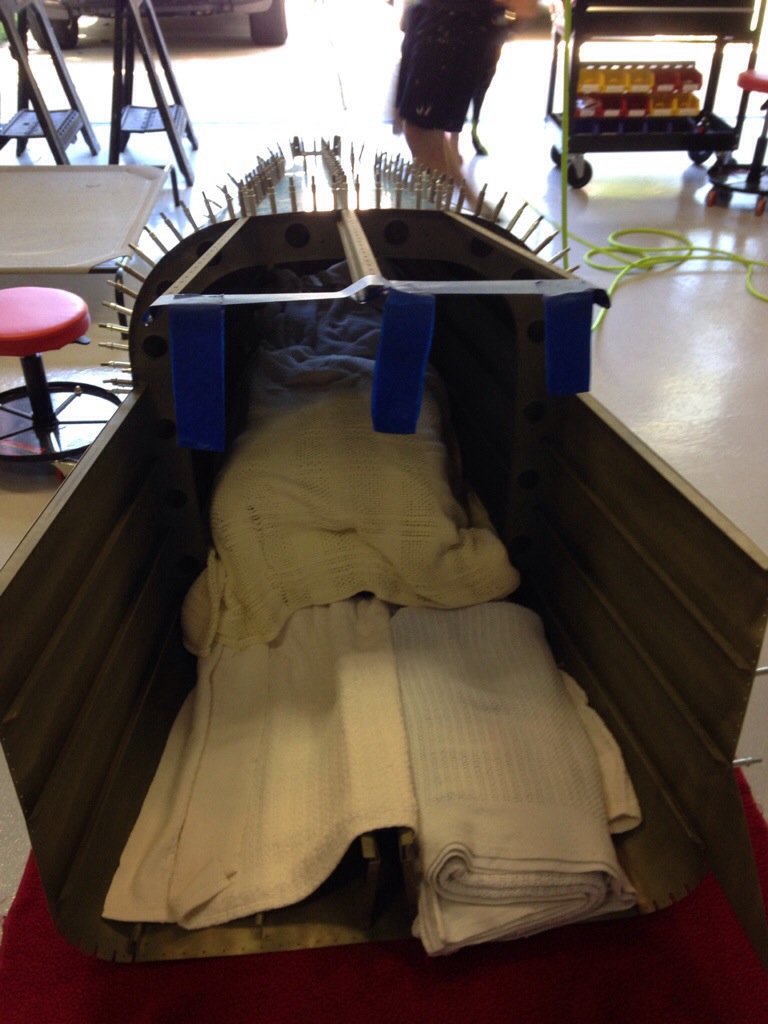
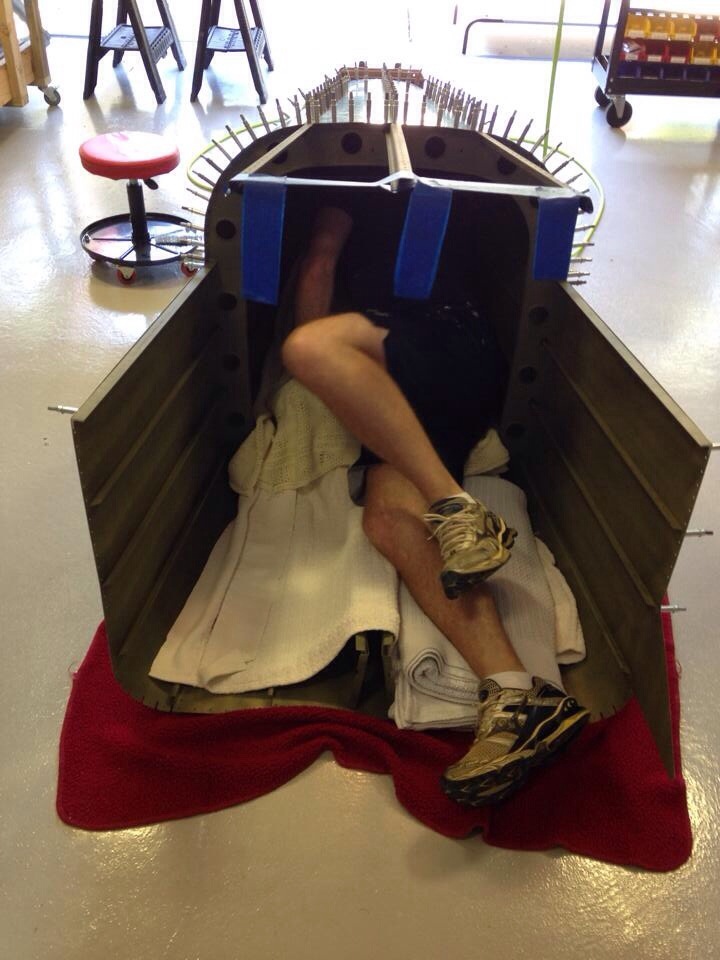
We had a date this morning in the garage to rivet the top skin on the tail cone. Lucky that it was only in the seventies not the nineties so very good working conditions! I emptied our linen closet and all the guest beds of pillows and blankets to build a fort inside the airplane. This was needed to protect the bulkheads that are about three inches tall as well as the rudder cable bracket which sticks about six inches right in the middle of your back! All things considered, it was quite comfortable and worked very well.
20140705-233048-84648659.jpg
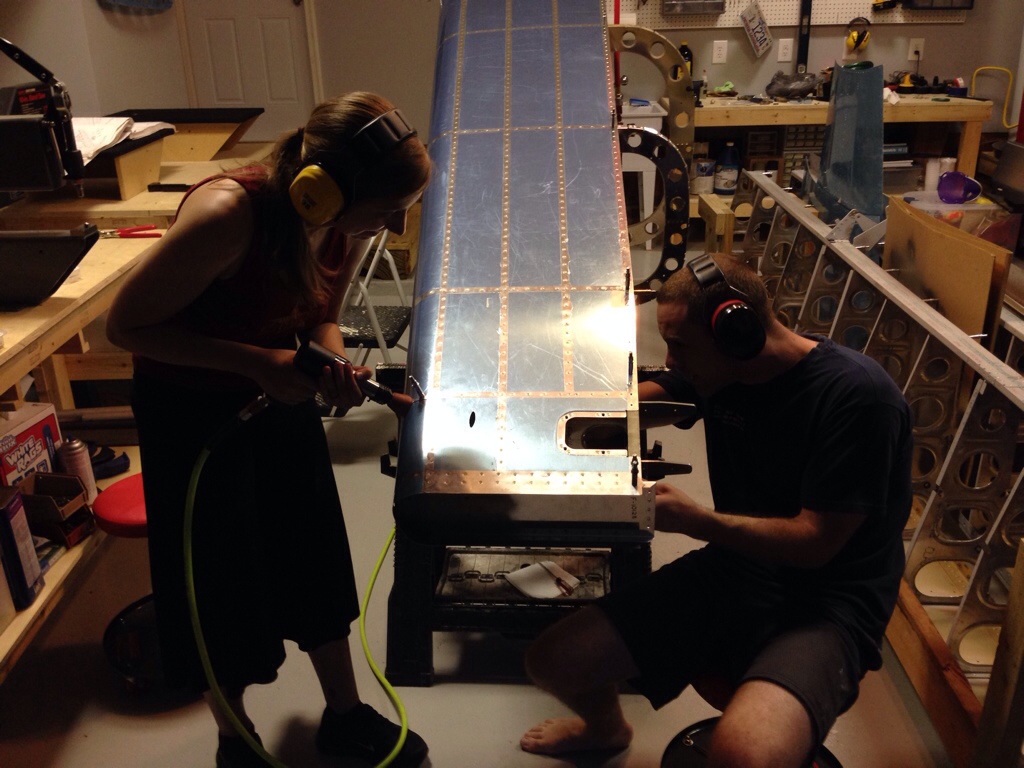
I crawled inside and got the headlight, ear muffs, and bucking bar ready while Laura did the majority of the work from outside. I wrapped the bucking bar with duct tape which did a great job of protecting the new primer and preventing scratches. Laura has a great touch with the rivet gun and has very consistent trigger pulls which makes bucking rivets go very quickly. We breezed through the project in about two hours without having to drill out a single rivet. I did have one hole that had to have an oops rivet installed since it was drilled out too big.

20140705-233236-84756054.jpg

20140705-233320-84800884.jpg
I installed the nut plates for the fairing and bolted on the seat belt brackets and temporarily installed the completed battery tray. I plan to go back and mark all the bolts with paint that I’ve torqued with the new torque wrench, as a few bolts are not final set since they will have to come out in later steps.

20140705-233406-84846610.jpg
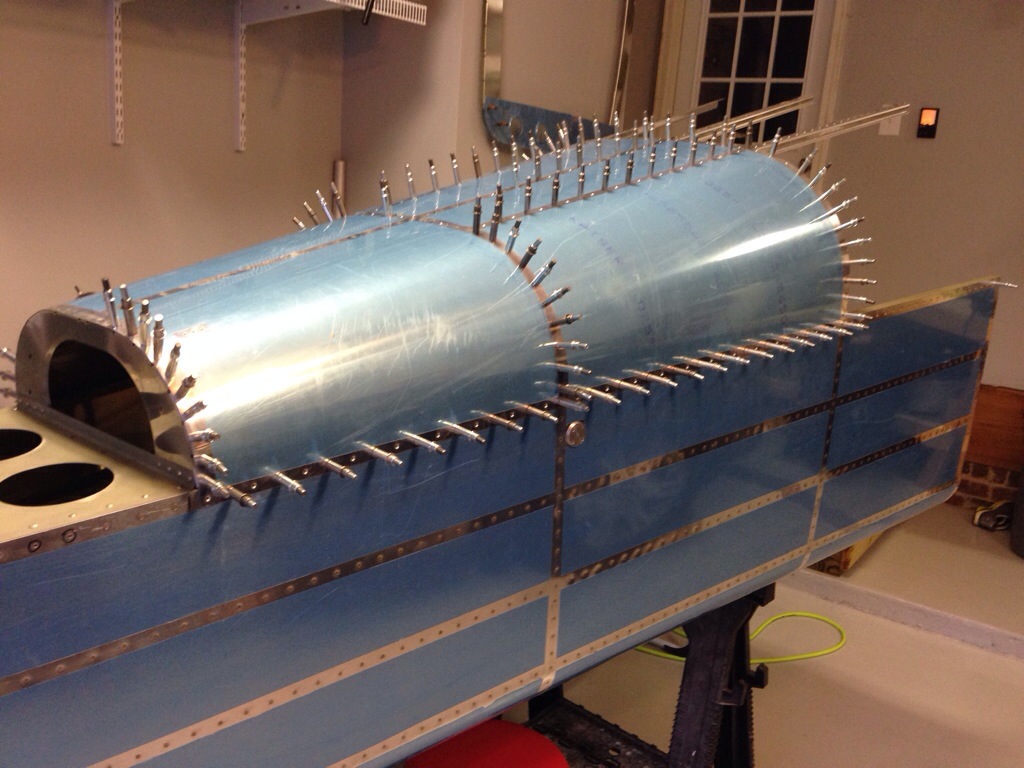
This is as far as we go with the tail cone now, as I won’t be attaching the stabilizers until much later in the build for storage reasons. The tail cone will get tapped up to help keep bugs out and then hung from the ceiling in the garage to keep it safe and out of the way. Next project will be some fiberglass work on all the stabilizer and control surface tips.

Stop! I changed my mind….

About priming! Over the past few weeks of inactivity I’ve been rethinking the issue of priming and decided there is really no reason not to do it. It was either now or never for the tail cone (some would say too late) so I went ahead and started shaking up rattle cans. It took about fifteen minutes to drill out the few rivets that I had put in the top skin and remove it. Moving the cone outside, I was able to get in pretty much everywhere to put a light coat of primer on all exposed surfaces. I also sprayed the top skin interior, j channels, and a few odds and ends that will be bolted on. 20140705-230819-83299875.jpg

Really showing some skin

No updates in a while, so this will be a big one.  I finished up the left side skin following the usual procedure of removing the film, scuffing and priming as needed, deburring, and dimpling.

20140701-154812-56892695.jpg20140701-154814-56894455.jpg

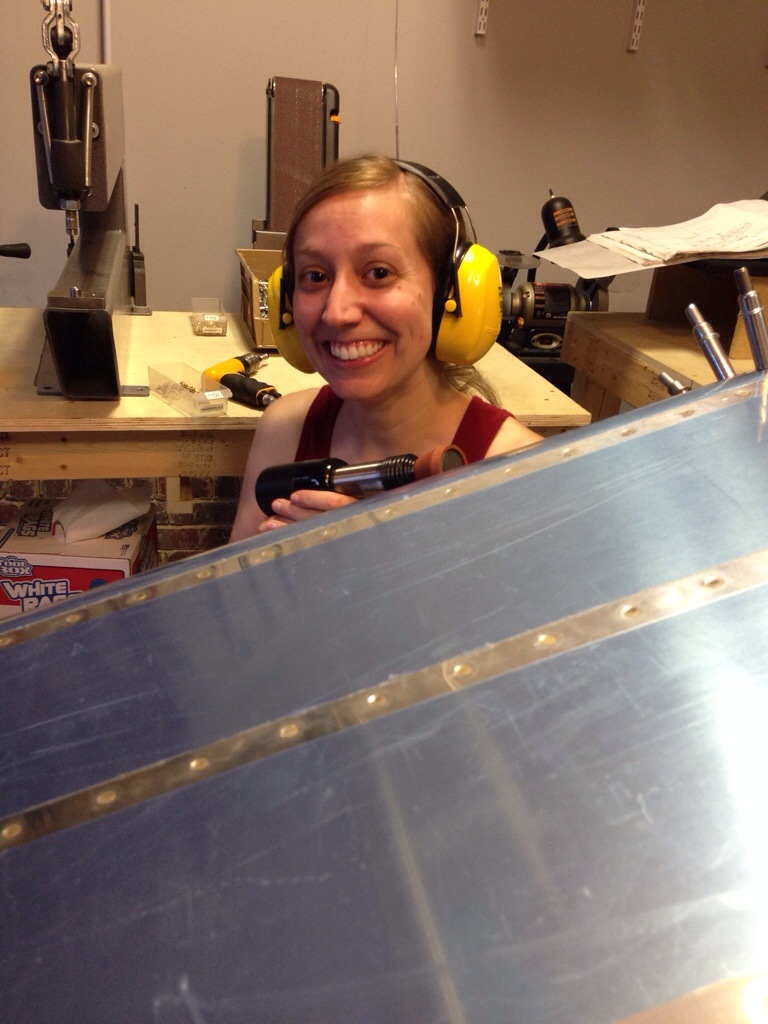
My wife came out to help on this skin with her first attempts at riveting on the actual project.  I’m happy to say that women are just as good at building as they are at flying the first time!  She was a natural and after some practice, we got a good rhythm going.  She’s much more comfortable behind the gun, which works well as I can control the bucking bar and shop head of the rivets.

20140701-154815-56895346.jpg20140701-154816-56896172.jpg

I moved on to the aft tail deck and got the structure all put together.  This really stiffened up the cone and I’m happy that I only had to drill out one rivet despite some really interesting poses to get the bucking bar inside the frame!

20140701-154817-56897007.jpg

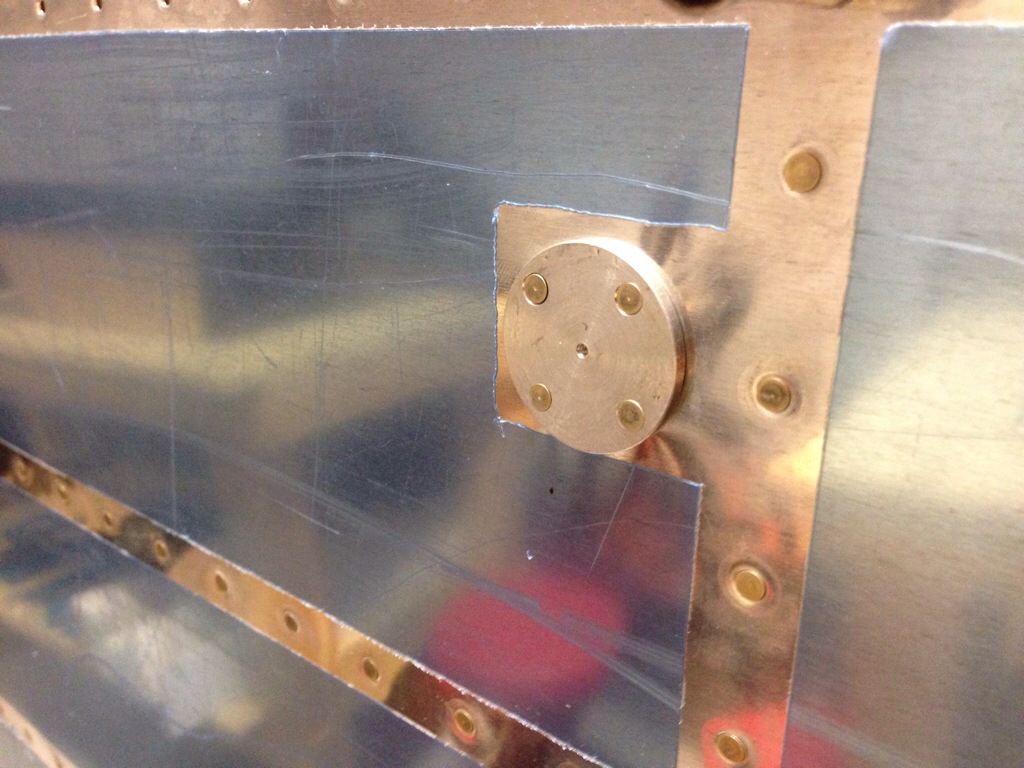
The systems side of me kicked in and I couldn’t resist holding out on putting my static ports in which had been sitting on the “accessory” shelf for a while now.  I drilled out the prepunched hole to accept the ports and marked for flush rivets.  What I didn’t do in my excitement was to create a doubler plate for the interior of the skin.  So, the end result will not be the final result.  I’m unhappy with the look and the lack of contact between the skin and back side of the port.  I plan on picking up a Safe Air static kit at Osh Kosh and will replace these later on.

20140701-154817-56897869.jpg

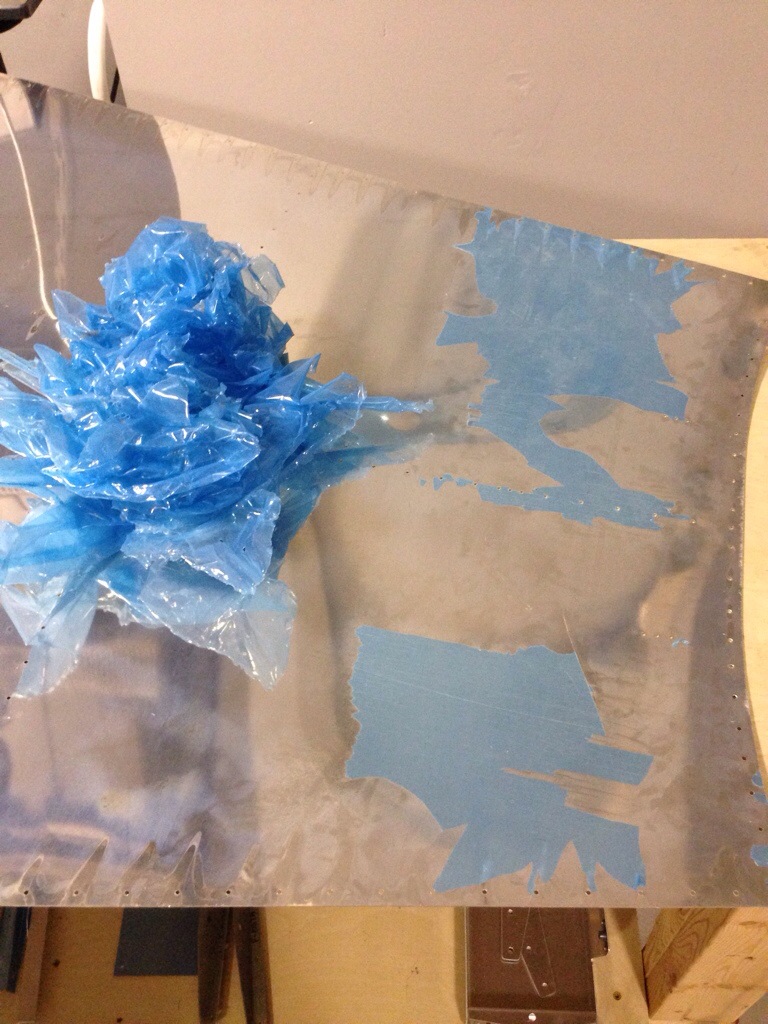
The top skin interior proved to be a test of my patience with removing blue film.  I think it was too thinly applied and would not come off in pieces any bigger than a sliver.  I’ve heard of others having this issue but was fortunate up to this point in not coming across this incredible frustrating set back.  So a ten minute job turned into an hour and some sore fingernails.

20140701-154818-56898750.jpg

Alas, it did come clean and I scuffed, primed, deburred, and dimpled as normal.  I set about riveting as much as I could solo and quickly found it’s not worth trying much without my beautiful assistant.  So, we are planning a riveting party (get it?) over the July 4th weekend.  I’ll be piling a bunch of blankets inside the frame and see how contorted I can get my body as she sits outside with the gun.

20140701-154819-56899706.jpg

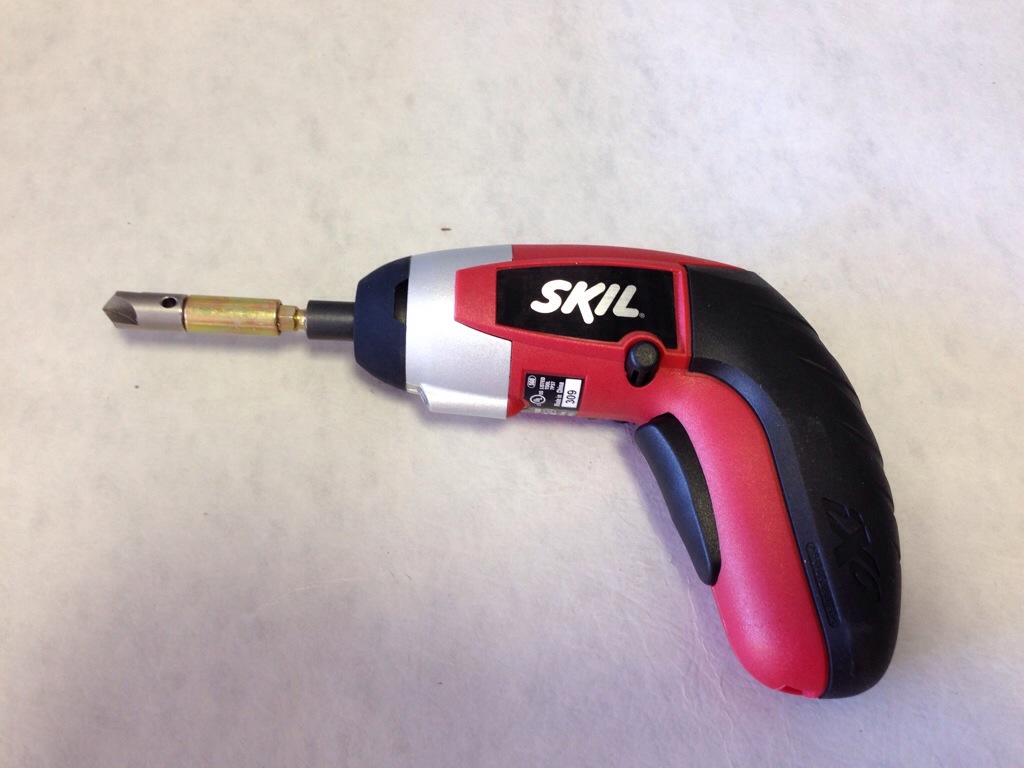
A couple of follow up notes, I fixed the buggered rivet in the right side skin/bulkhead/j channel with a larger rivet after the 1/8″ die came from ACS.  Worked like a charm and makes me feel better to sleep at night.  I also have a torque wrench coming for the AN hardware that is currently installed finger tight on the frame.  Finally, here is a picture of the greatest thing to save my wrist since sliced bread:  an electric deburr tool.  I ordered an extra deburring bit from Avery Tool and cut the hex side down a bit.  This spins slowly, which is perfect for hitting the holes without taking too much material off.

20140701-154813-56893566.jpg


Clearing out the clecos

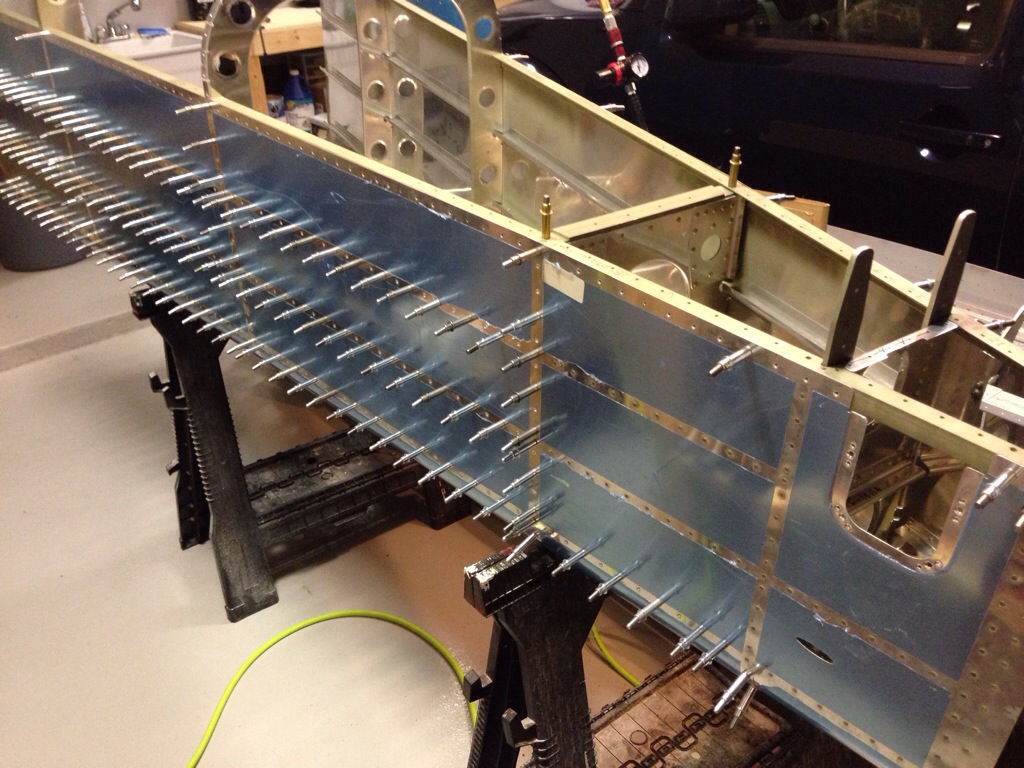
With all of my assistants busy this evening, I tackled the last two lines of rivets on the right skin solo. It went smoothly albeit a bit longer. I took my time with some of the curved spots since it’s a stretch to reach everything. I’m amazed at just how light the structure is once the clecos are removed. It’s also getting stronger and stiffer by the rivet. I also love to watch the skins close up nicely when riveting vs the temp fasteners. It’s old technology but still extremely efficient and effective.

Next up will be prepping the left skin.

20140425-205226.jpg

20140425-205232.jpg

Emergency, call the Guard!

I called in the National Guard (I am the National Guard) on this mistake. I somehow missed drilling four holes in the stiffeners and didn’t realize it until getting everything put together. So my wife, dad, and I got creative on getting the whole structured positioned in the dimpler so that I could hit those four holes. I tried my pop-rivet dimpler but the double layer of aluminum proved too much and the finish nails just pulled through without getting a good dimple. With the right planning, twisting, and enough hands, this was a pretty quick fix.

20140425-204502.jpg

Dad and I started working on the rivets and proved again how efficient it is to have help. My wife didn’t like to hear that news, but she may be helping more now that I know what can be done! I manned the gun and bucking bar while dad popped in the rivets and helped remove clecos. We were able to get the top two stiffeners completely riveted in no time.

20140425-204611.jpg

We ran into one issue with a frame which has three layers of aluminum to rivet. The last hole was drilled out too big which I think resulted from the metal bouncing on the drill bit during initial assembly. We tried a few different ways with no success, so I’ll be drilling it out and using a larger rivet. I had to order a 1/8″ dimple die for the pop rivet gun and also got bucking blocks that will accept dimple dies. They won’t be used often, but will work perfect when I do need them.

20140425-204228.jpg

Put your skin on

The right side skin was all prepped minus dimpling, so I put the mobile work
benches to good use. I really can’t stress how amazing these things are being able to roll them around and configure them however I need to get the piece in the dimpler. The challenge with the side skins are the rolls at the bottom which necessitated putting them at an odd angle to clear the handle on the dimpler. Other than having to move tables around a couple of times, the job was easy and quick.

Next was putting it on the frame for the last time. Except it wasn’t the last
time. It was the next to last time. Because I somehow got the stiffeners in
the wrong order and the holes weren’t lining up. Fortunately only a handful
of clecos were in, so it was a quick fix. Good thing the kits are designed to
be fool proof, right?

I decided to start with the rear VS structure frame since there were a lot of
pieces sitting around. That was a three attempt assembly as well. The rear
bottom skin needs to go on first, which I knew, but tried to slip it in
between the side skin and frames. That didn’t work. So I took the frames all
back off and put that “sub-assembly” together then put it back on the main
structure.

I also fixed an earlier error on the rudder stops, drilling them out with a
#40 drill to accept the rivet instead of the #30 that I originally did. I had
enough energy to squeeze the easily accessible rivets at the rear end before calling it a night.

20140425-154924.jpg

20140425-154940.jpg

20140425-154934.jpg

Hired some decent help

Well, I enlisted some help. My dad came in for a couple weeks to visit and I
was quick to put him to work. I managed to get all the rivets in on the
bottom skin without having to drill out more than a handful. It’s a lot
different riveting now that you can’t easily check the shop head of the rivets
easily. I have gotten much better at “feeling” them go in and knowing when
enough is enough.

Dad helped me deburr the right side skin after I trimmed off the triangle
according to plans. While he was finishing up, I hit a few more surface
corrosion spots (typical of this kit as old as it is I guess) and spot primed
them. I then got ambitious and put an extra bur cutter into my power drill
and started experimenting. Long story short, I went to Lowes the next day and bought a small, handheld cordless screwdriver and ordered a hex adapter from Avery Tools. It’s so much faster and easier than having to spin the manual driver and with the lighter tool, I’m expecting less fatigue and sore wrists the next day.

20140425-152412.jpg