Research, Research, Research

While physical progress has been somewhat slow, I’ve been doing a ton of research every day for well over a year and the past couple of weeks are no exception.  It is the biggest piece of advice I can give anyone wanting to build a plane; Research.  Everything.  Even stuff you think you know.

Lately, I’ve been looking into electrical system components to prepare for the wing kit coming next month.  Everything from lights, pitot system, trim, auto pilot, fuel, and even avionics goes into these early stages of the build.  I also have learned a lot from reading VAF and other build logs so will be capitalizing on their lessons learned.

I’m updating a lot of the other pages of this website with links and info on my preliminary plans.  Things are changing quickly so this is a plan on paper that can change, but will give me a good target to fly towards.  It also helps you think about total system architecture instead of just the aluminum pieces in front of you.  For example, the tail cone will hold the battery, starter relay, antenna, wires, and lights.  Planning ahead with conduit or wire runs will help avoid a tight fit crawling in the fuse a ways down the road.

Everyone says to do something each day on the plane to keep it progressing.  I haven’t been good on putting my hands on aluminum every day, but I am learning something every day.

Tail Cone Takes Shape

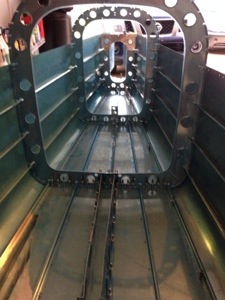
It’s exciting to move to a new section of the plans!  The tail cone is the first part of the fuselage to be built and looks pretty fun to complete, with some easy tasks and more advanced stuff when mounting the HS and VS.  It will also hold electrical and AP/Trim components down the road.

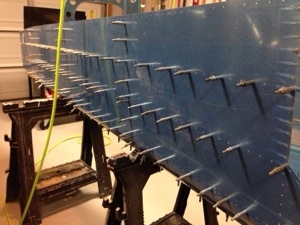
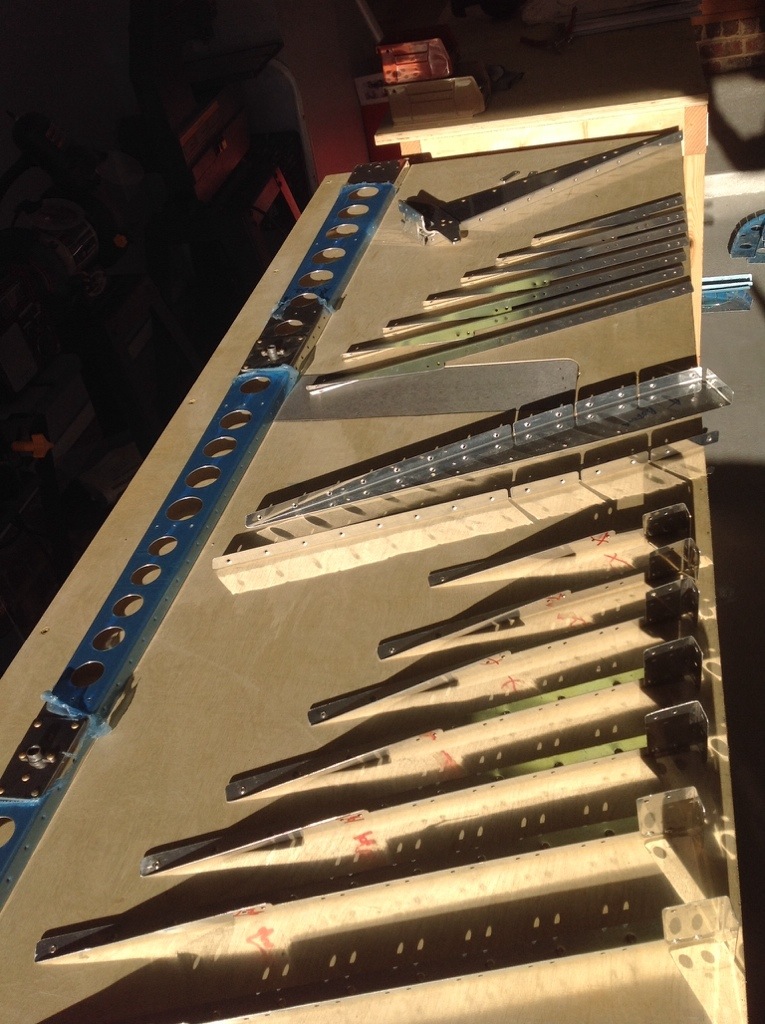
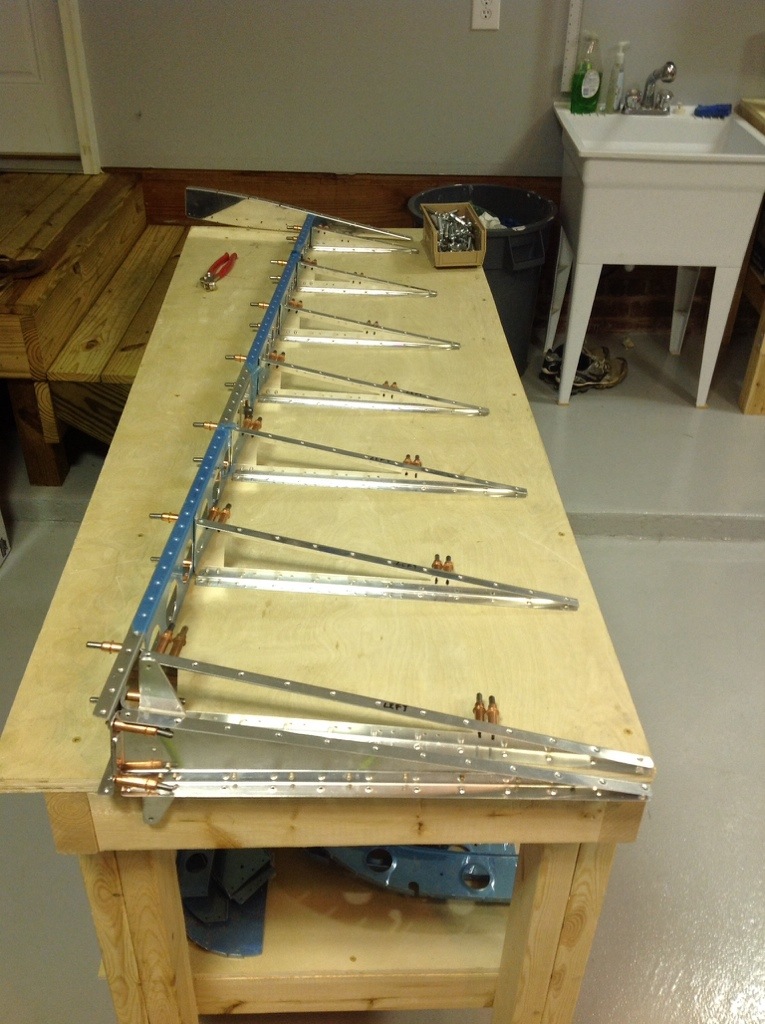
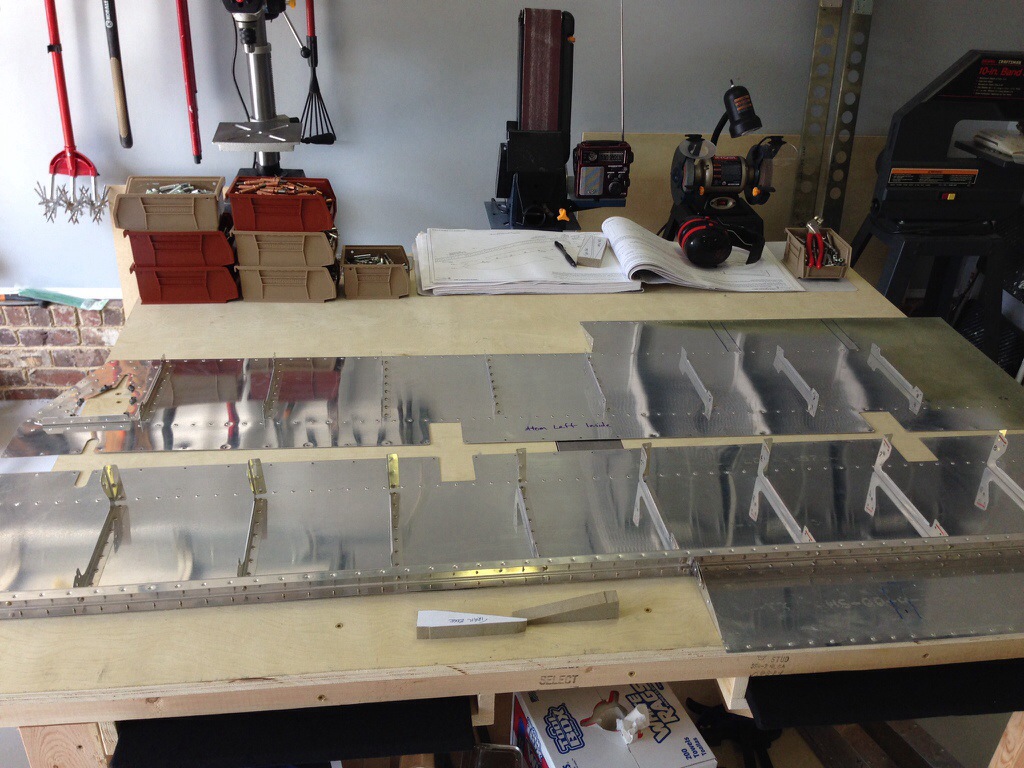
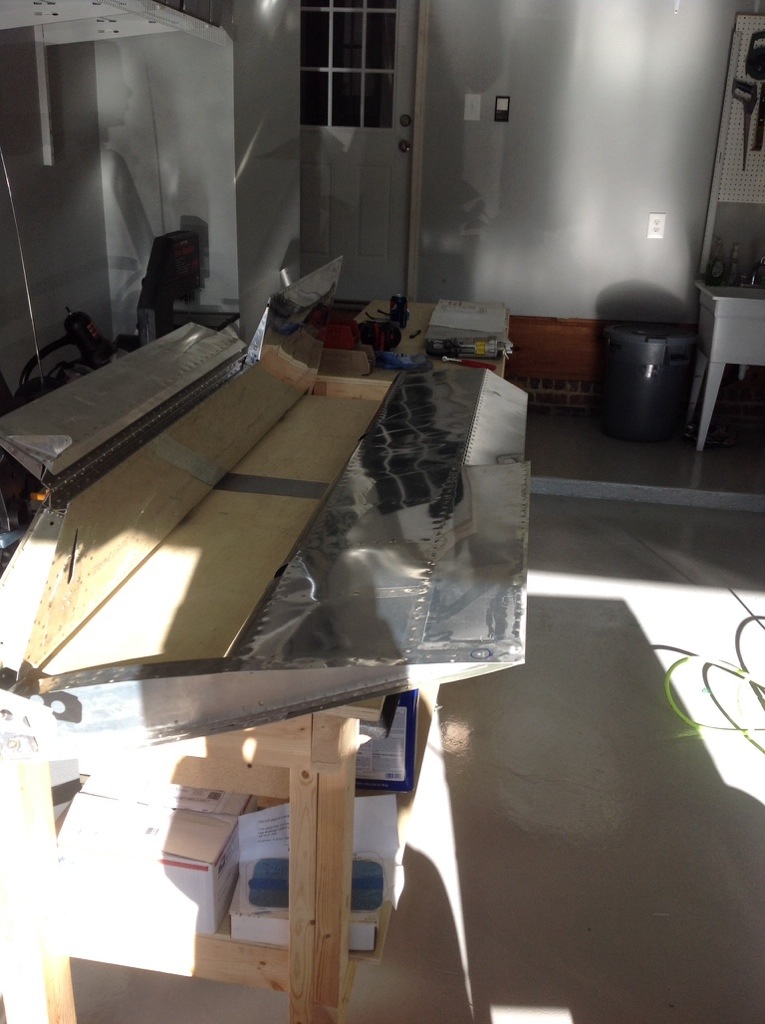
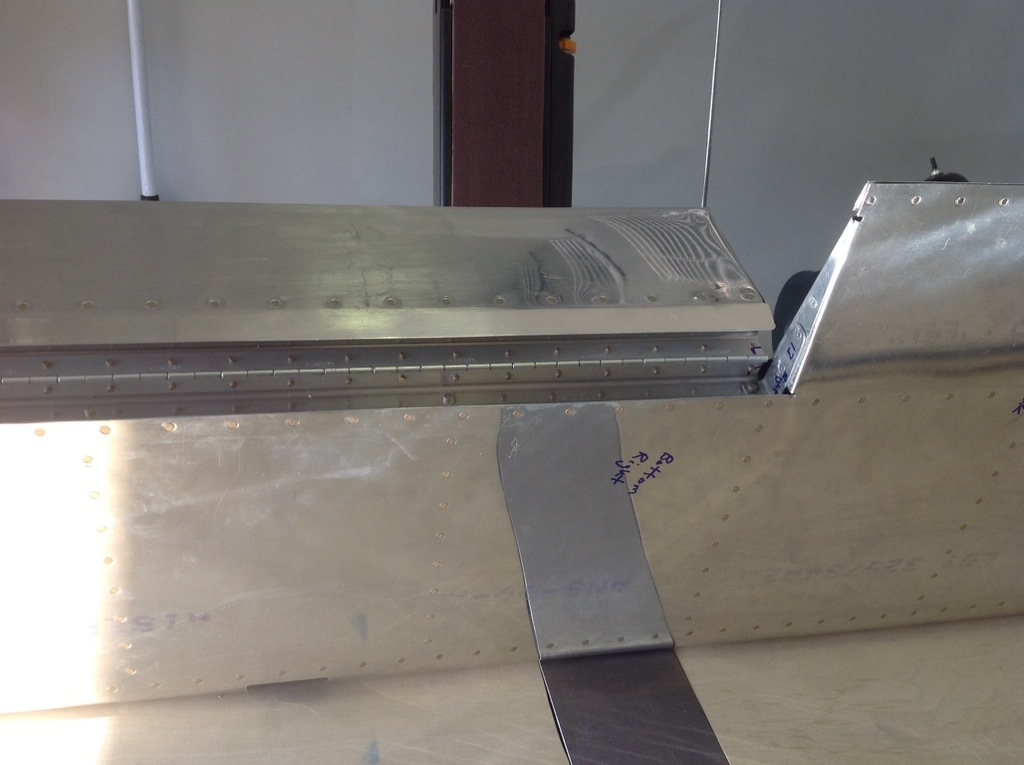
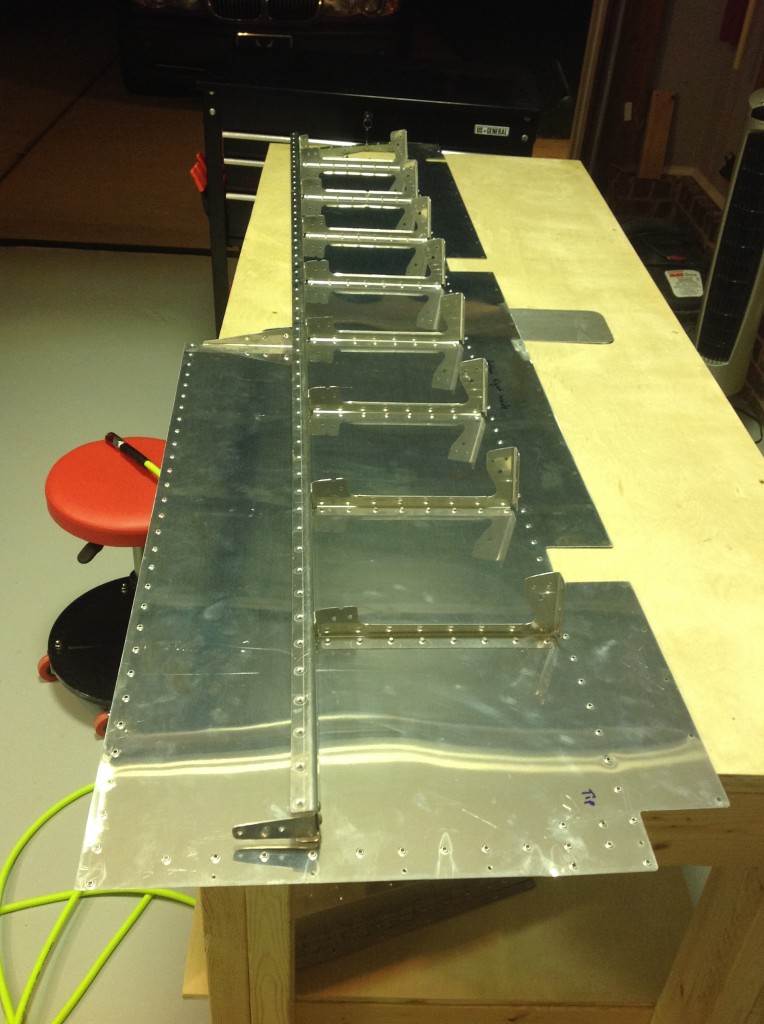
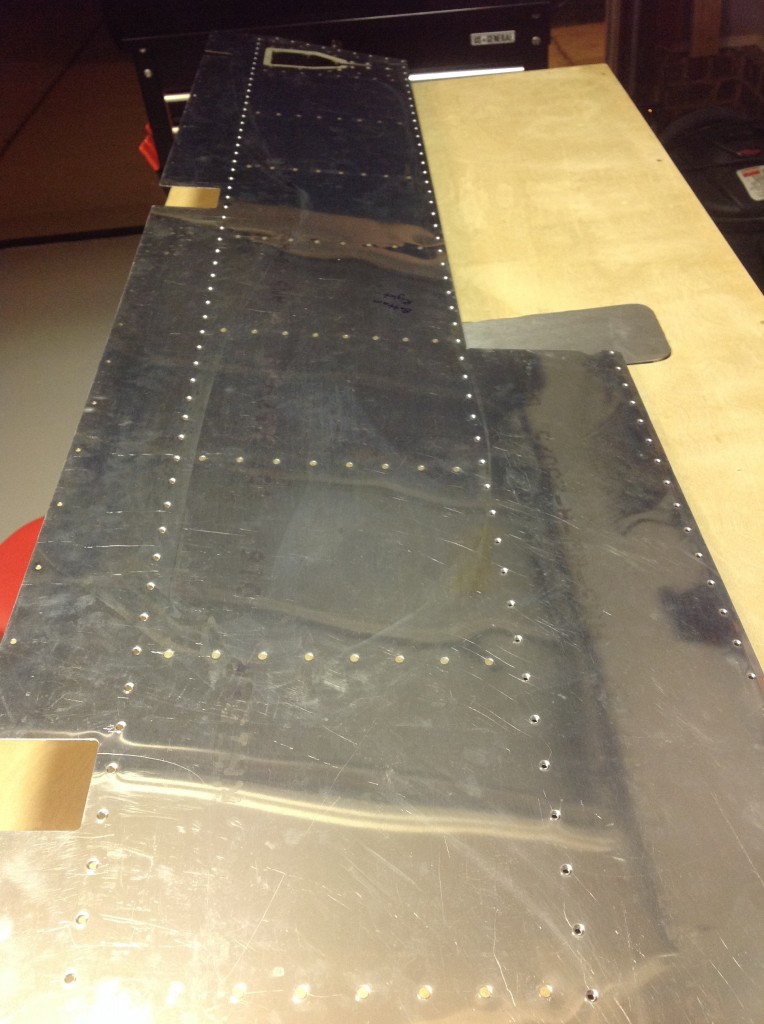
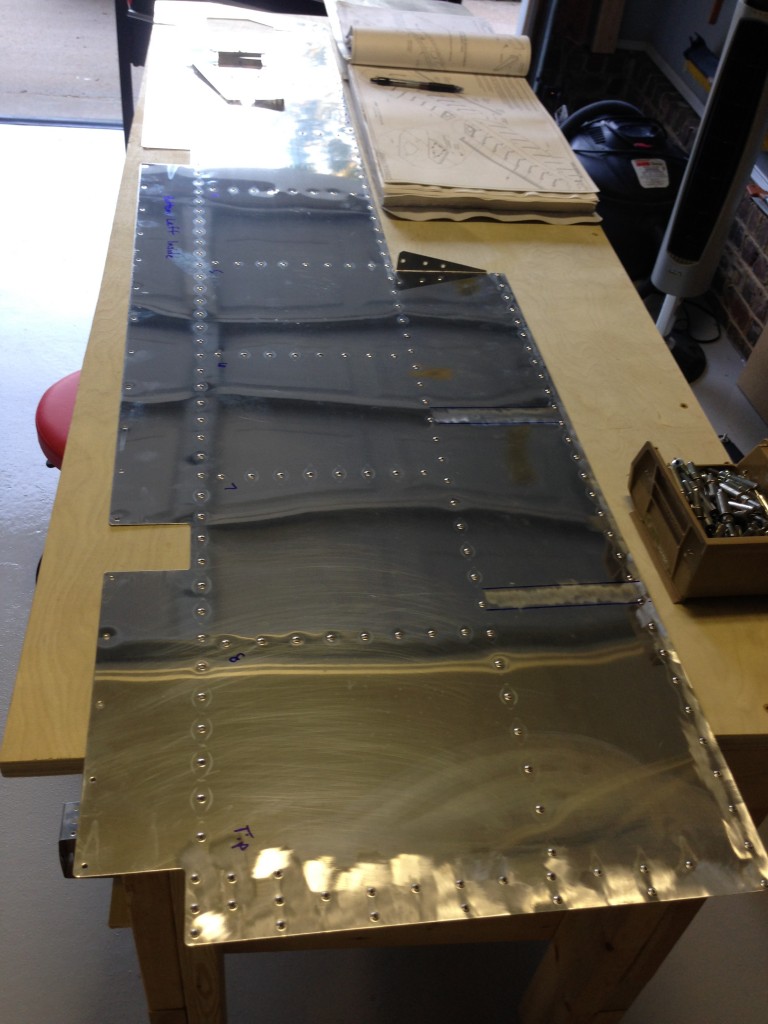
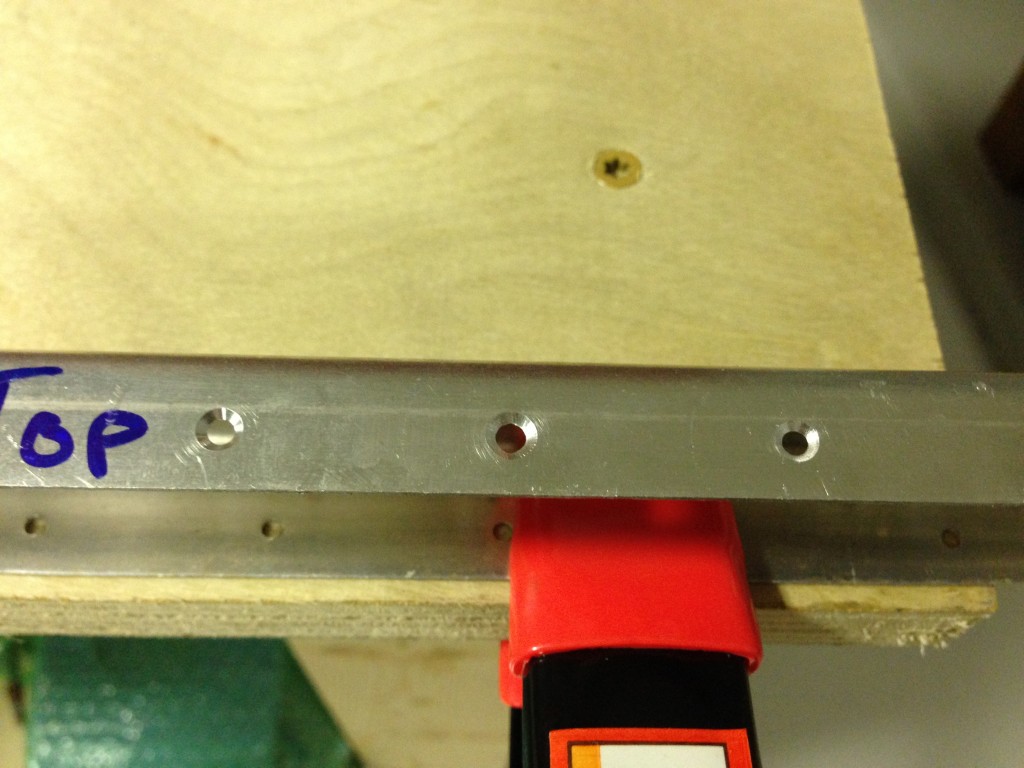
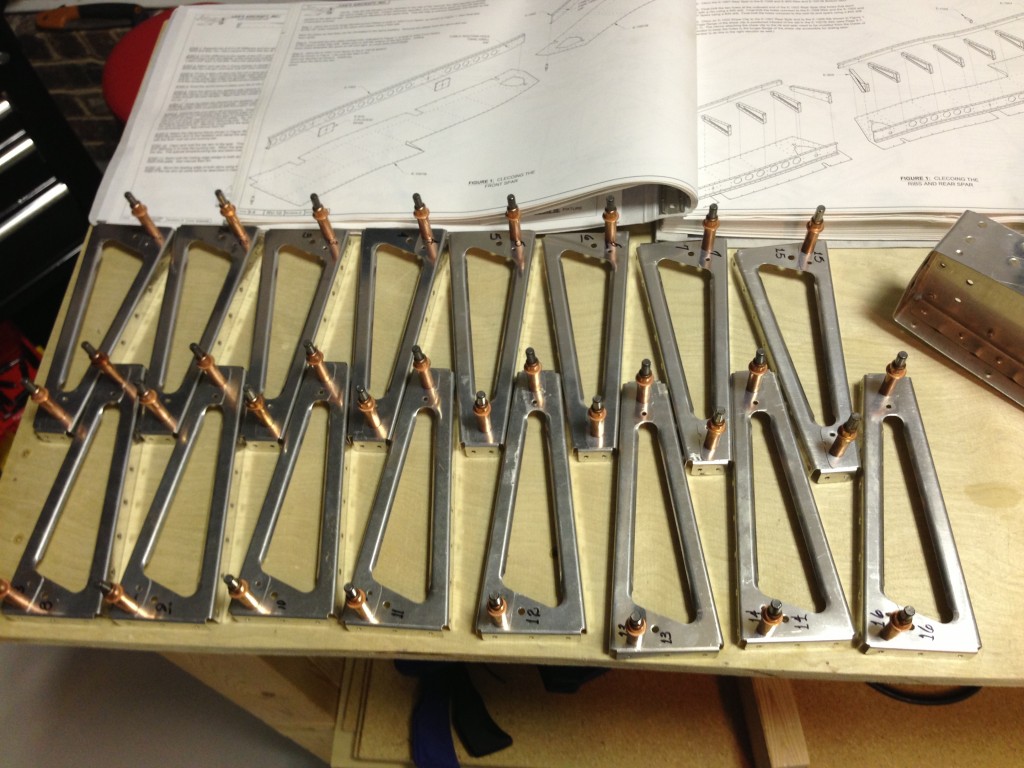
The first step is to cut the stiffeners to specs and shape the ends.  Not a hard task, but time consuming as each piece needs to be trimmed, ground, and deburred from the band saw.  Once those are complete (9 total), they are labeled and then the ribs are clecoed together.  Lot’s of drilling on this, as the stiffeners are put together temporarily with the ribs and skins for the tail cone.  You then use the skins to match/final drill the stiffeners on a center line marked earlier.

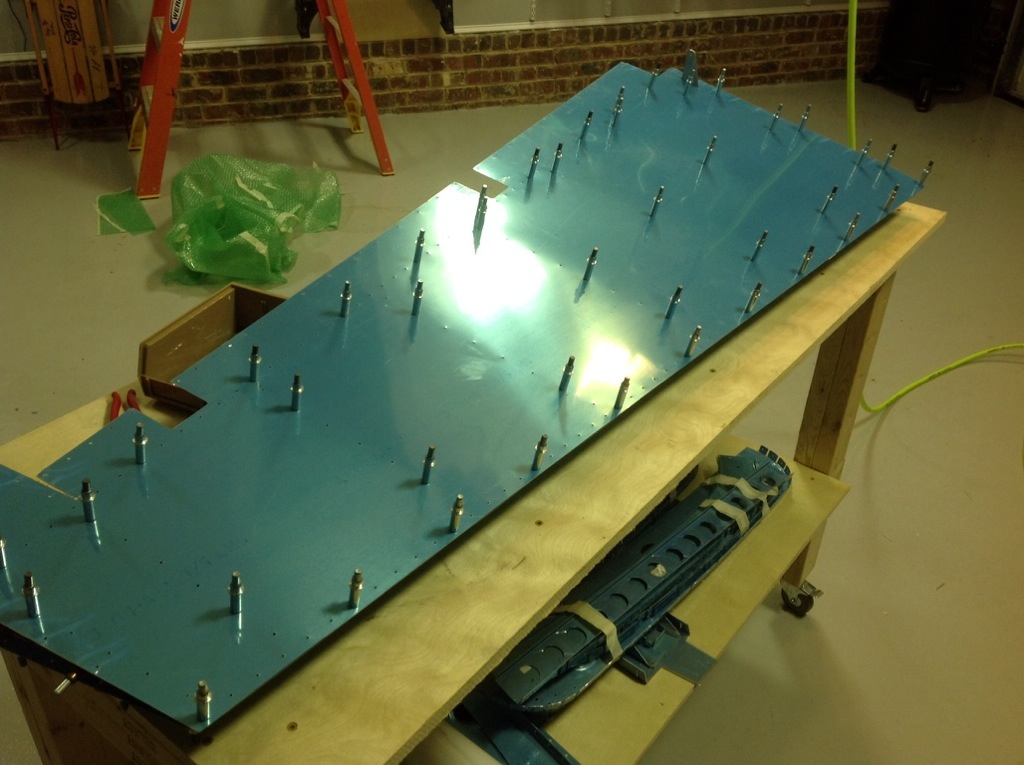
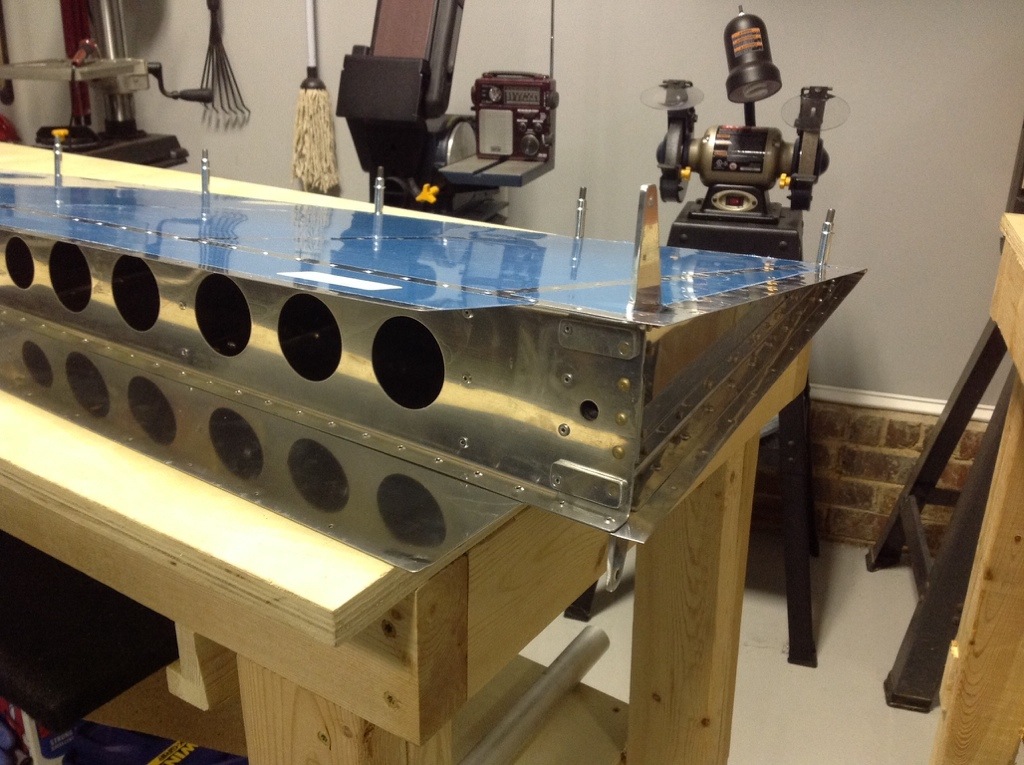
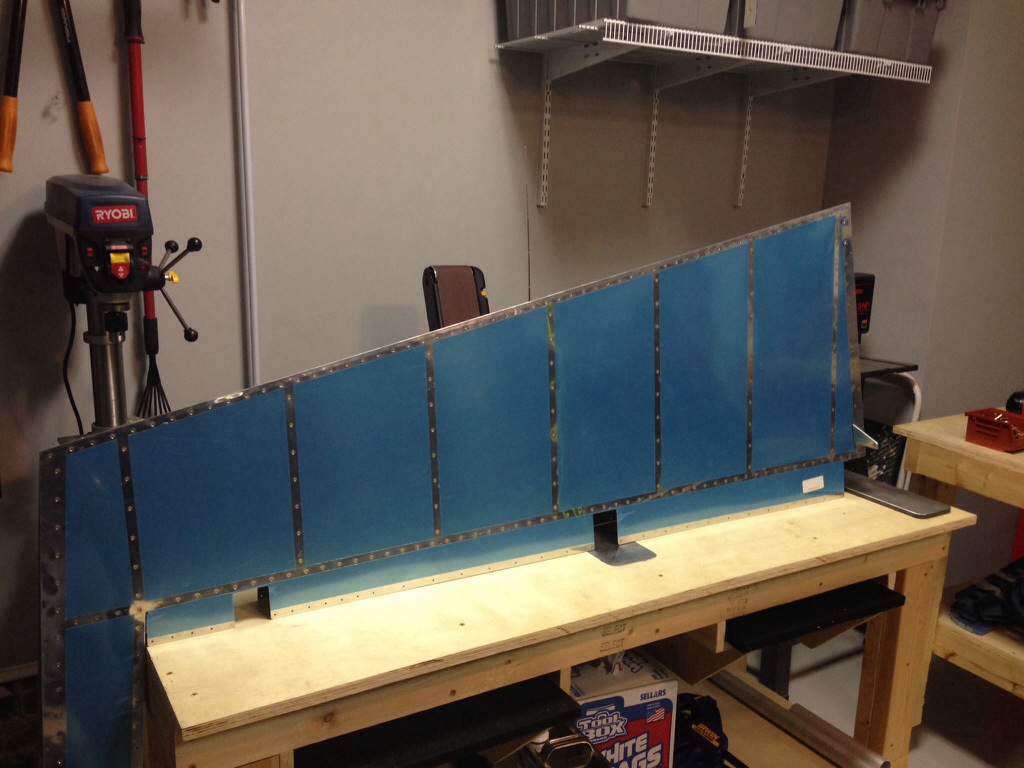
I’ve finished drilling all ribs, stiffeners, and skins but failed to read ahead enough in the plans before disassembling an entire side skin.  Not a huge set back, but that’s a lot of clecos to put back in place.  The tail kit is basically mocked up completely before taking it all apart and preparing it for riveting later on.

20131227-160950.jpg

20131227-161003.jpg

20131227-161010.jpg

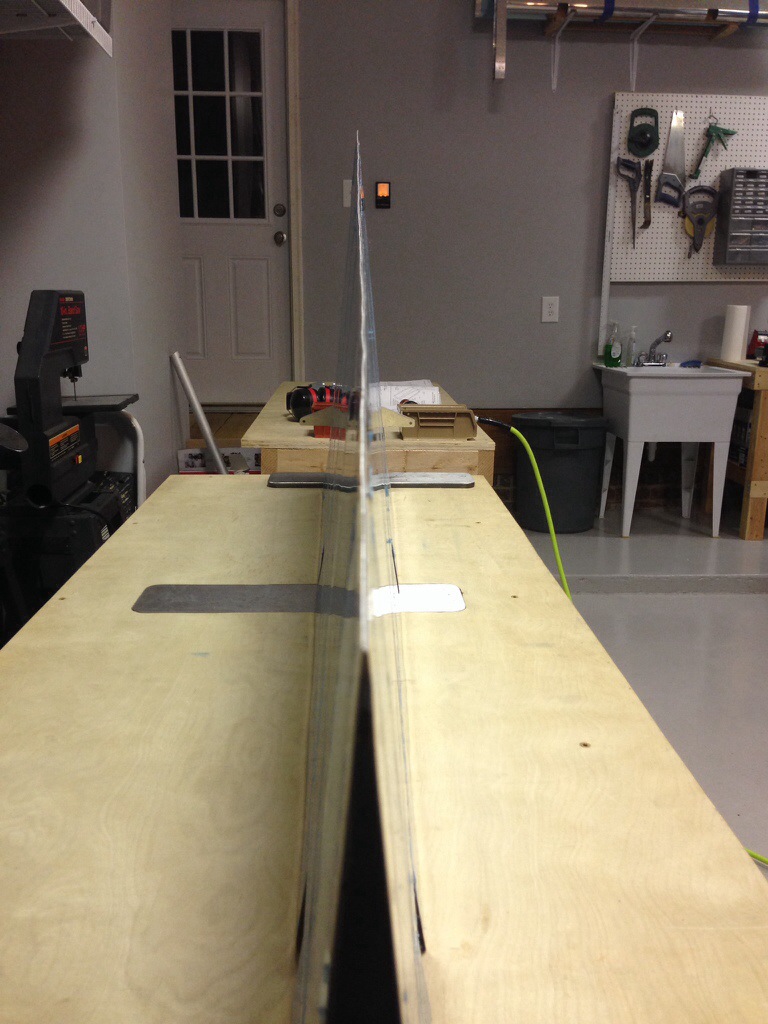
Rudder is all closed up

20131204-212210.jpg

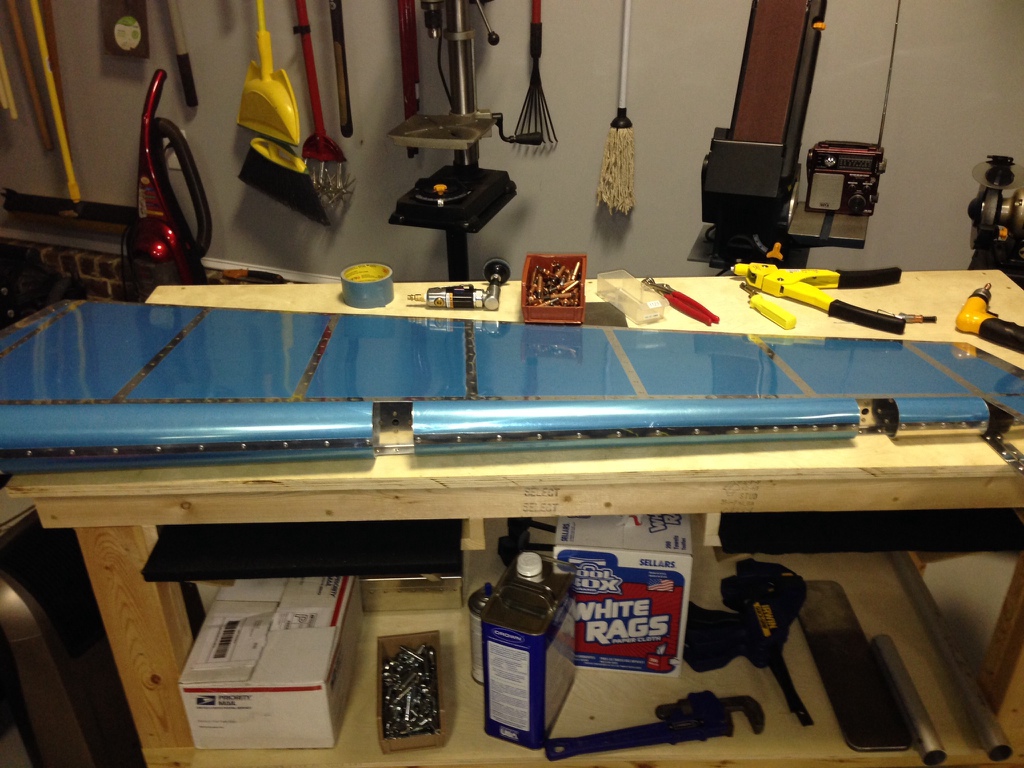
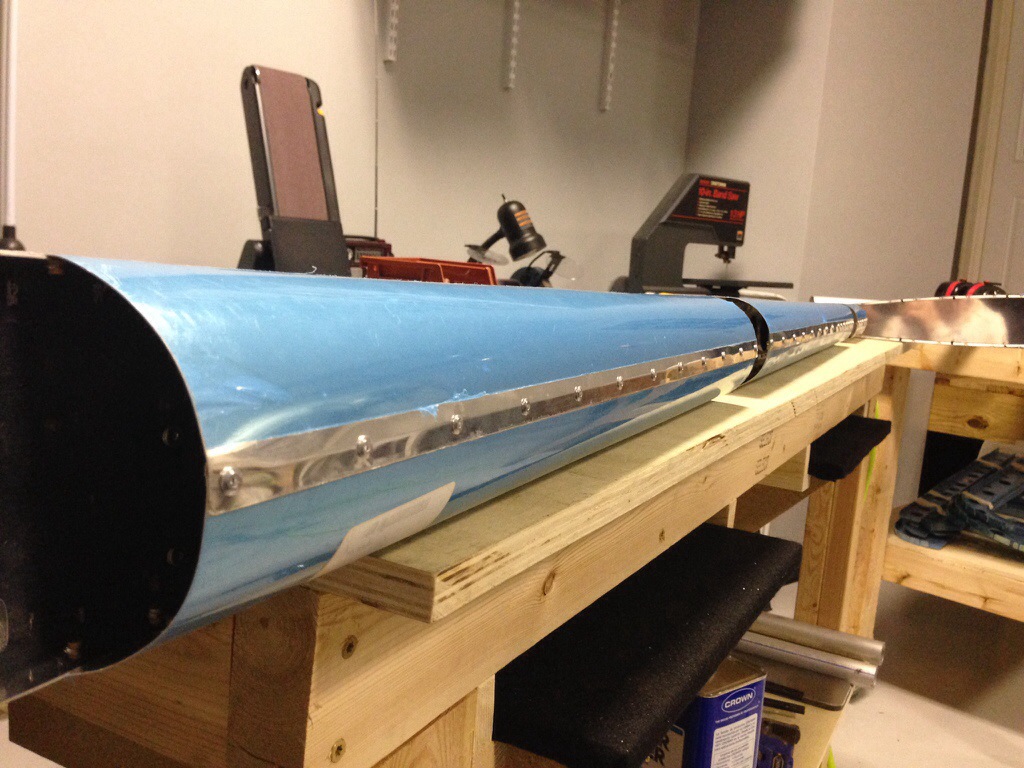
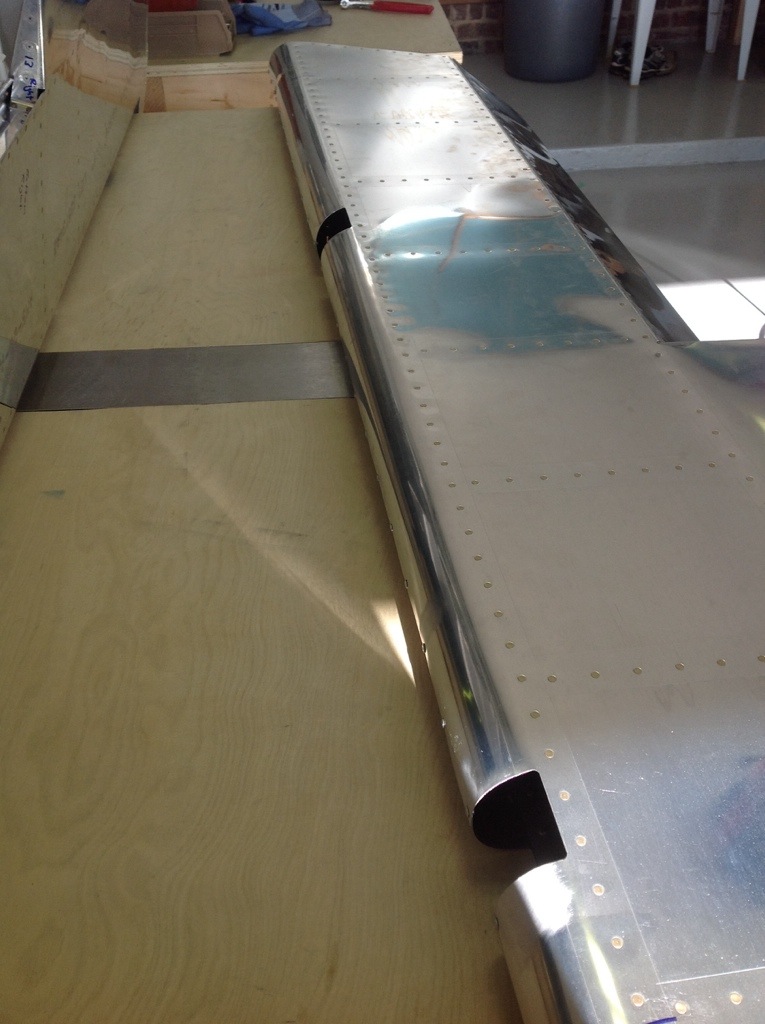
I spent tonight rolling the leading edges for the rudder. Didn’t I say to roll the edges before final assembly? Yes, I did. I’ll have to remember that next time! The process really isn’t too bad. I use duct tape and an aluminum pipe cut down to just longer than the section of skin (I have three different lengths that work well). Once I have it rolled, I use an edge roller to bend both skins inward. I find bending both vs just the top as the plans call for, helps the skins sit flatter once together. Putting them together the first time is the hard part, but is manageable for one person but easier with two. Once clecoed, final drill then uncleco to deburr. Then back together and finish off with the pop rivets.

Despite putting good bends and slight pressure on the rivet tool when setting them, I have a few that still show a space between the skins. I’m thinking about ordering some extra rivets to redo those few and see if I can get a better result. But, overall I’m happy with it.

One thing I continue to be proud of is keeping the shop clean. I replace tools after I use them and be sure everything is put up before calling it quits for the night. Not only does it keep the garage looking good, it keeps me organized and let’s me work a lot faster not having to sift through junk to find what I need.

20131204-212218.jpg

Rome wasn’t built in a weekend, but my rudder was

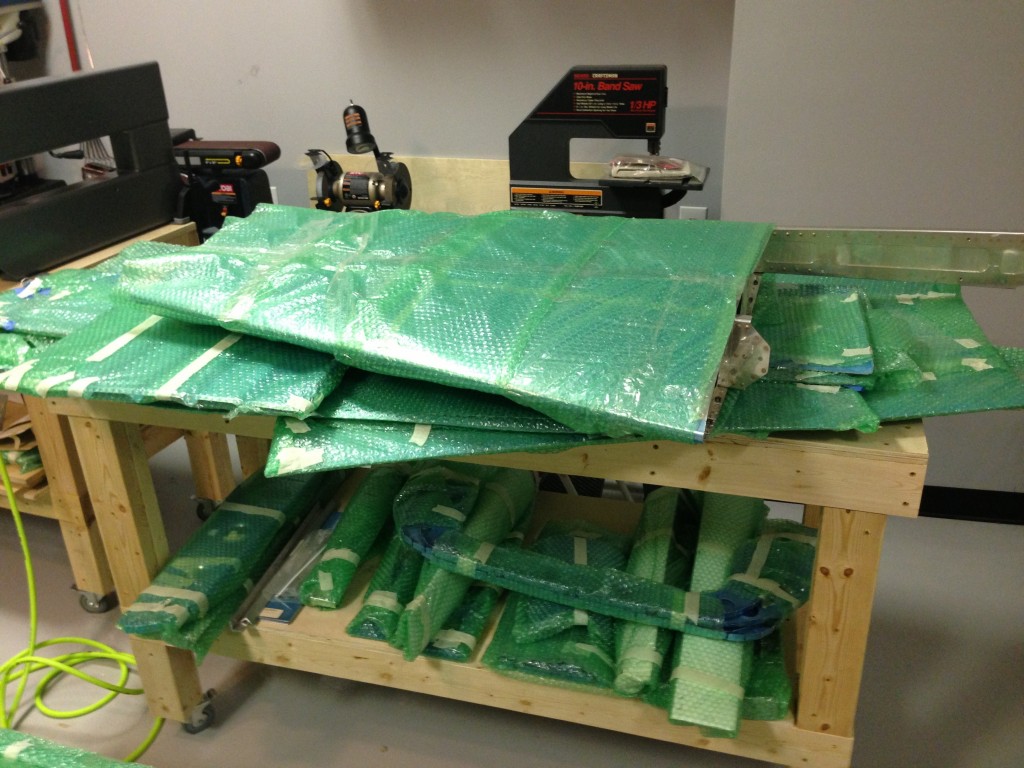
Well, almost. The holiday allowed me to really make headway. Most importantly, I had a blast working in it. I pulled the parts out of bubble wrap and got to work cleaning, organizing and labeling the components of the rudder. Again, all of the ribs were drilled and dimpled, saving me time. The skin, however wasn’t. So I set about match drilling and dimpling. Deburring is my least favorite part, but at least it goes quick. I also used a soldering iron and word burning tip to cut away only the blue film over the rivet holes. This will not only help with working in the pieces, but also storage and preventing scratches like on the elevators.

Back riveting is very easy now, I lowered the pressure on the gun and feel more comfortable. I had a few spots on the spar that I cleaned up and decided to prime the entire thing since it was going to disappear from sight for good. The rudder is fun because it has a variety of rivets and techniques used to make it. The control horn and rib especially have some beefy parts.


Tonight, I focused on the trailing edge. Now I’ve read a lot of horror stories about this. I was somewhat nervous, as I decided to use the 3M double sided tape method in lieu of the pro seal on the TE. I also did not have the angle iron that others have used. Well, the tape was worthless. It is so thin and doesn’t stick well that when you try to peel off the backing, the tape just stretches and comes off the part. I the. Researched it more and saw others who didn’t use any of the above methods and just carefully, slowly, riveted it all together.

What the hell, right? It’s a learning process. Well, worked good enough for me. I placed every other rivet in one side and did a step approach to full setting the rivets, monitoring the straightness of the edge throughout. I did wind up with jus a bit of waviness, it’s not perfect, but compared to others and the Pipers that I fly, it’s above par.

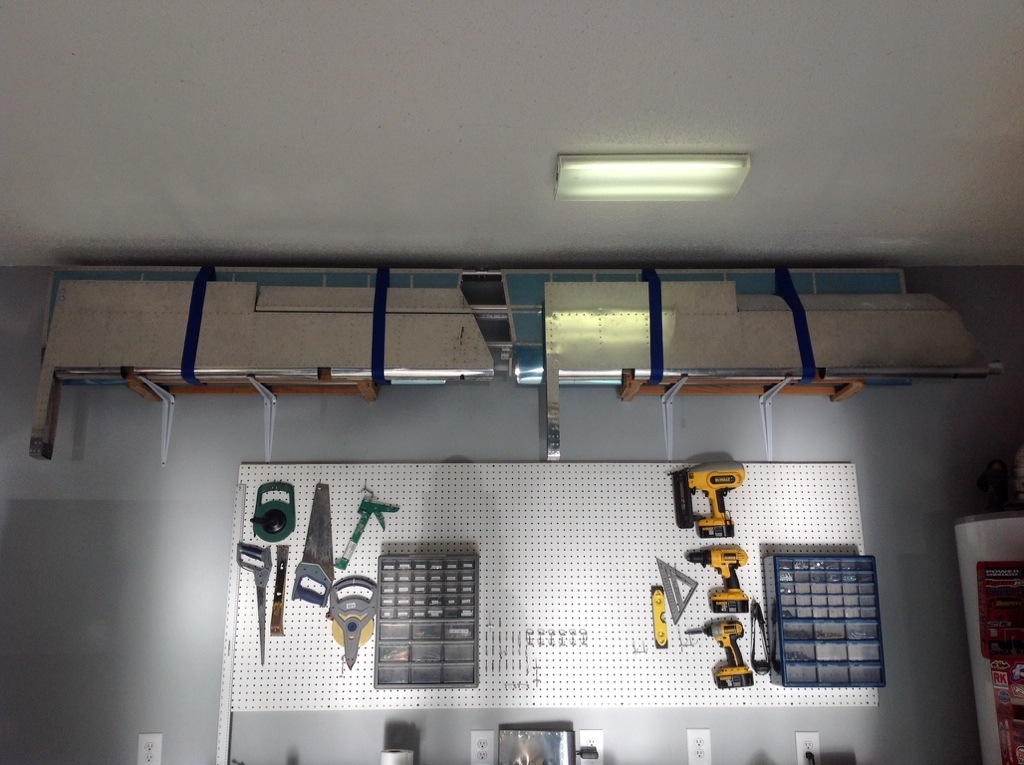
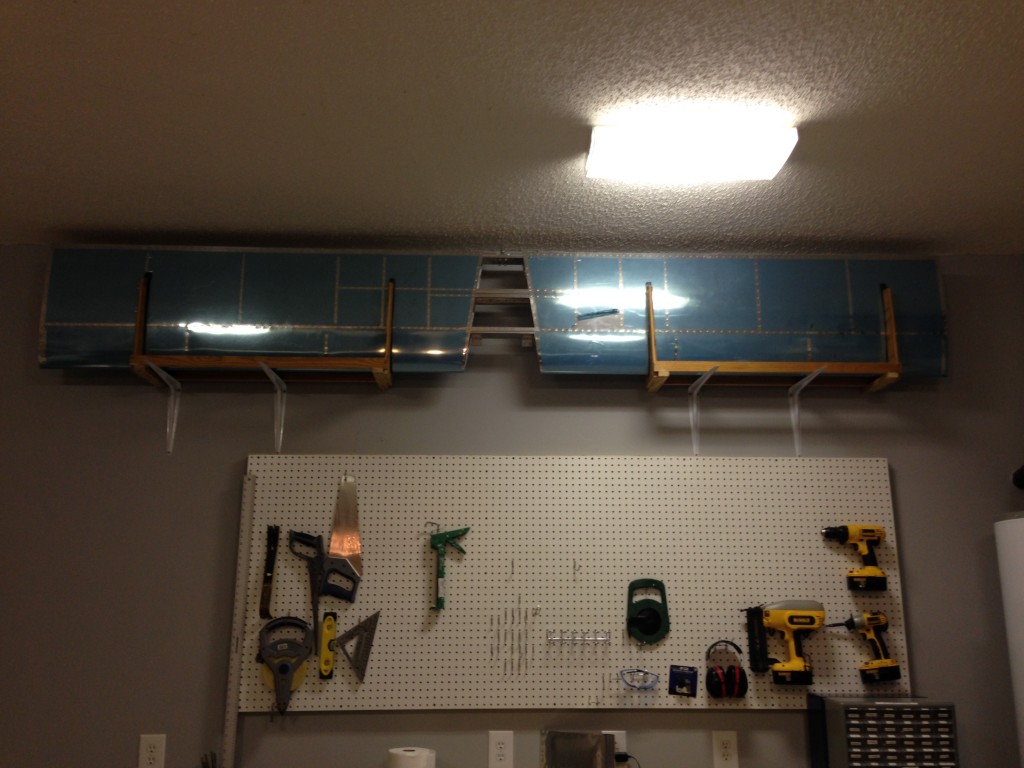
I also put the elevators up with their parents, the HS on the wall for short term storage.

Sorry, these elevators are closed

The project sat idle for some weeks I am sad to say. However, I’m not in a huge hurry and refuse to stress about this fun project so we press on.

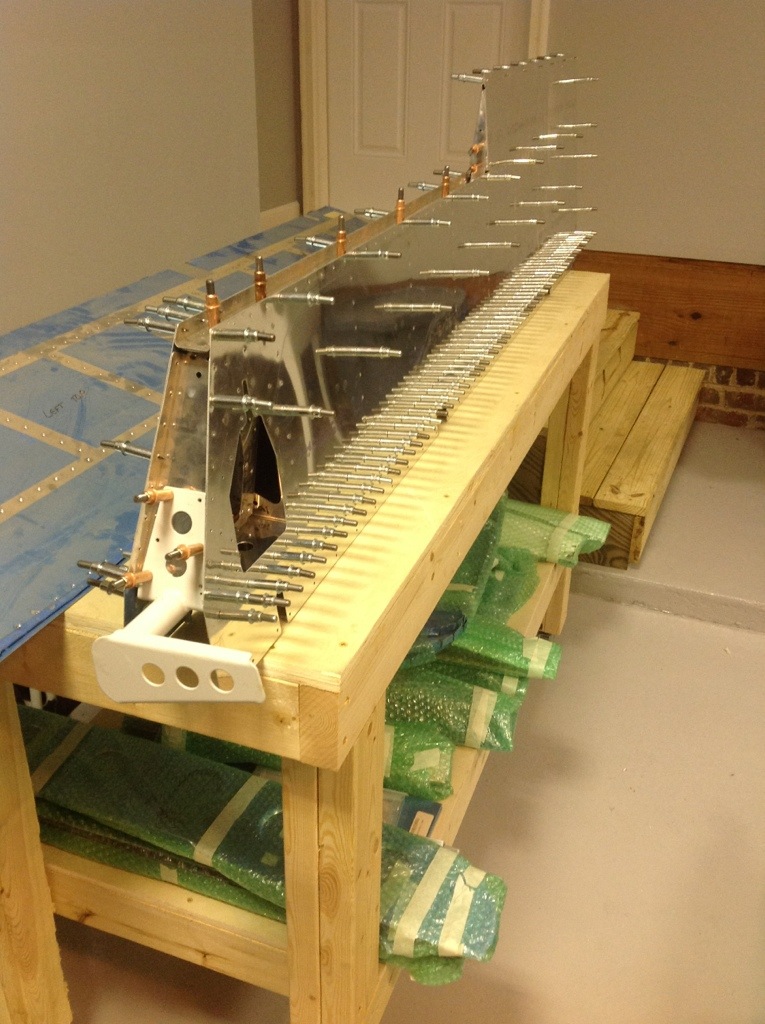
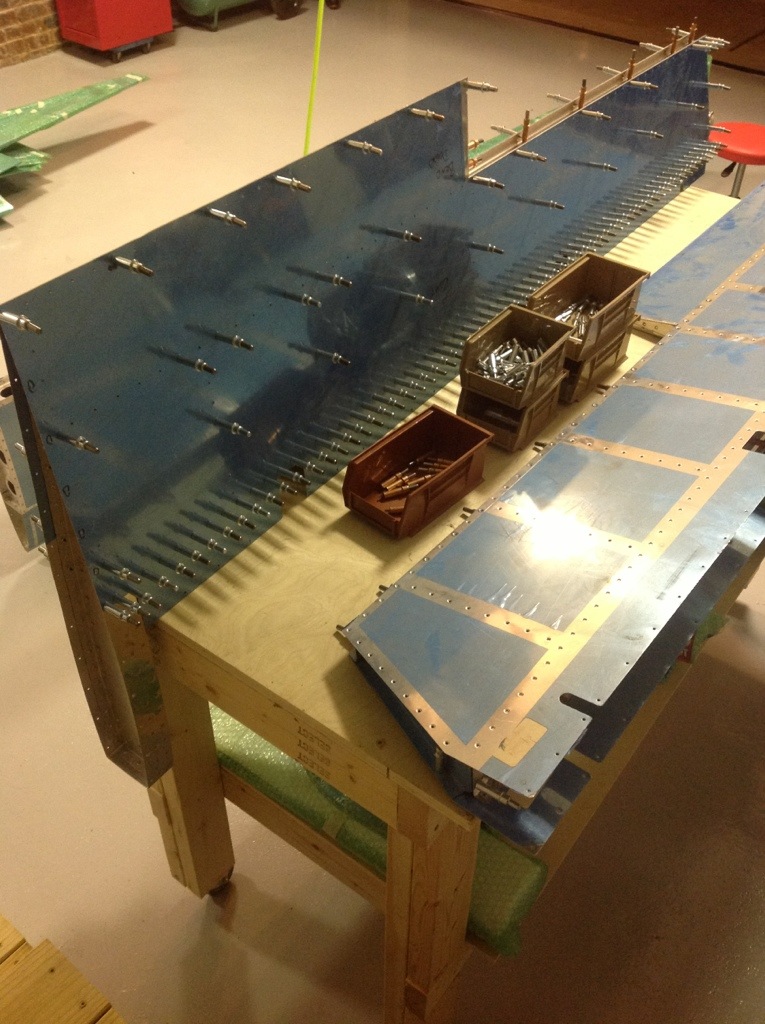
I got back to work on the elevators and made some fast progress. With back riveting now in my “can do” bucket of skills, these smoothly went together with a lot of pop rivets on the ribs to form the internal structure. I even got my wife out in the garage to help assemble the skins and squeeze some rivets on the spar. It’s true when they say you spend weeks prepping and only minutes riveting. It was somewhat of a non-event to actually rivet!

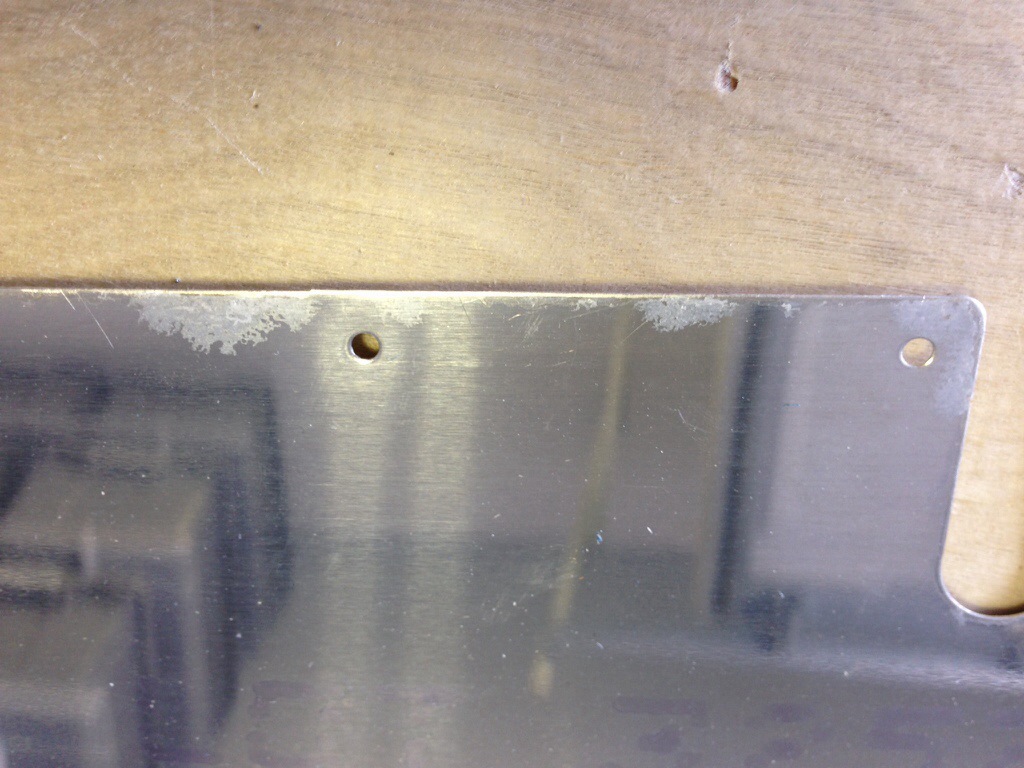
Along the way I’ve been cleaning up what I am pretty sure is surface corrosion. It’s only on the edges and mainly where the blue film had been pulled away or bubbled up. This kit is about 7 years old and sat in a basement, so not overly surprised. I’ve been sanding it out with a 3M disc and then spot priming those areas. I also discovered a 1/8″ tear in the skin between the edge and a punched hole. After getting some advice from VAF, I decided to cut and grind it away and will fill in the void with epoxy when installing the tips.


Rolling the leading edges wasn’t terrible, but I’ll be sure to pre roll the skins next time before assembly, as others have suggested and I forgot to do.

Finally, I pulled the already made trim tabs out of the bubble wrap and fabricated the hinges for them. It was pretty straight forward and the end result was very nice. Something to be proud of.

My lessons learned thus far are: leave the blue film on for protecting from surface scratches, pre roll the leading edges, and not let as much time go by without working on it!

I can see your ribs

It’s fun when you start to make structural progress!  Tonight, I began attaching the small misc. brackets to the main spars for the elevators and also started on the ribs.  I first modified one of my workbenches to hold my back-riveting plate flush with the table (check out the Workbench page for details) to make back riveting a bit easier.  I’m very happy with the results and got the idea from the previous kit owner who had a large workbench with the same modification.

Half the ribs are attached to the skins then they are brought together once the skins are on the spars.  I cleaned the pieces well with lacquer thinner and did a final inspection on all pieces for corrosion, as I had just a few small spots on the spars and skins.  I spot primed one trim access plate but all else were fine.

Pulled out another supply for the first time, the back riveting head for my rivet gun along with rivet tape.  I really like the back riveting, it’s even better than squeezing!  I’m really dialing in my air pressure and have found that 55-60 works perfect for a nice firm hit and consistent result to match the rivet size guides.  I also quickly discovered that one piece of rivet tape can be used multiple times, so no reason to go through an entire roll on one skin.

Once the ribs are on the bottom skin, the rear spar is attached to the ribs and later the skins.  It was a bit tricky still trying to figure out the die head combination needed to get at all the rivets, but everything went smoothly and I only drilled out one flush rivet the whole evening!

Spent some time working on the website as well to update the garage, tools, and links page.  The website is almost more work than the airplane!

I love your dimples….

Good thing too, because this project has a lot of them!  I finished deburring and dimpling the right elevator skin.  Deburring takes forever it seems and is made more difficult with the shiny skin.  I can see why folks leave the film on as long as possible (for scratch resistance as well).  I also buffed out a couple of spots of surface corrosion I had on the skins and a few scratches on the spars.  I’m using the Dupli-color self etching primer to spot prime those spots.  Without going off on a tangent, I’ve researched and read on priming til I’m cross eyed and I am choosing not to prime unless specified by the plans or a condition such as imperfections in the metal.

I ensured all the ribs are labeled and disassembled everything to prepare for riveting next.  The spar needed to be countersunk on certain holes to allow a flat surface for the trim hinge to mount, so I got to use a tool for the first time!  The countersink bit is really neat, but I expericenced some chatter on it so I may need to play with the speed, as it didn’t clean metal chips away quickly at 90 PSI.

 Finally, I picked up some inexpensive L brackets for shelving from Lowe’s and mounted them above my workbench to store the HS on.  It has been sitting on the floor and my lovely wife has been very vigilant to ensure nothing hits them as she parks about a foot and a half away every night!  Now they are safe and secure and most importantly out of the way until needed down the road.

I also organized the pegboard a bit more than pictured, hung up the parts bins and just straightened up the work space.  I’m finding it even more critical to keep the garage clean and tools in their places so I can work efficiently!


Getting back to it

After a busy trip to HI for a NGAUS conference, I’m back in the shop working on the elevators. I finished disassembling both tonight in order to dimple one and remove all the blue film from both skins. The right elevator has already been dimpled but I found a few holes that he missed. I demurred on skin and sanded the edges down a bit to make them all nice and smooth.

I also laid out cut lines for my dimpler table that I have yet to build. It’s absolutely necessary for the skins so I can’t keep putting it off. The table saw is out and ready to go to work in the morning.

Finally tonight, I checked a few toys that came in the mail. The special bucking bar (one of which I already had and forgot about), another 400 silver clecos, and some future supplies. I found a great deal on VAF for the flush door handles, hardened door pins/guides, and a keyed alike flush lock set. At half price and brand new, it was too good to pass up. They will be stashed away for some time in the future. I also received the last of the Aveo Rockrack switches and caps. I heard a lot of folks having availability issues and didn’t want to lose out, so I got all the ones I plan on needing plus a few extra. I played around with the lights on a 9v battery and am really pleased with the way they look.

Hoping to get the table built tomorrow and get the elevators mostly irvine together this weekend.

That’s a lot of clecos

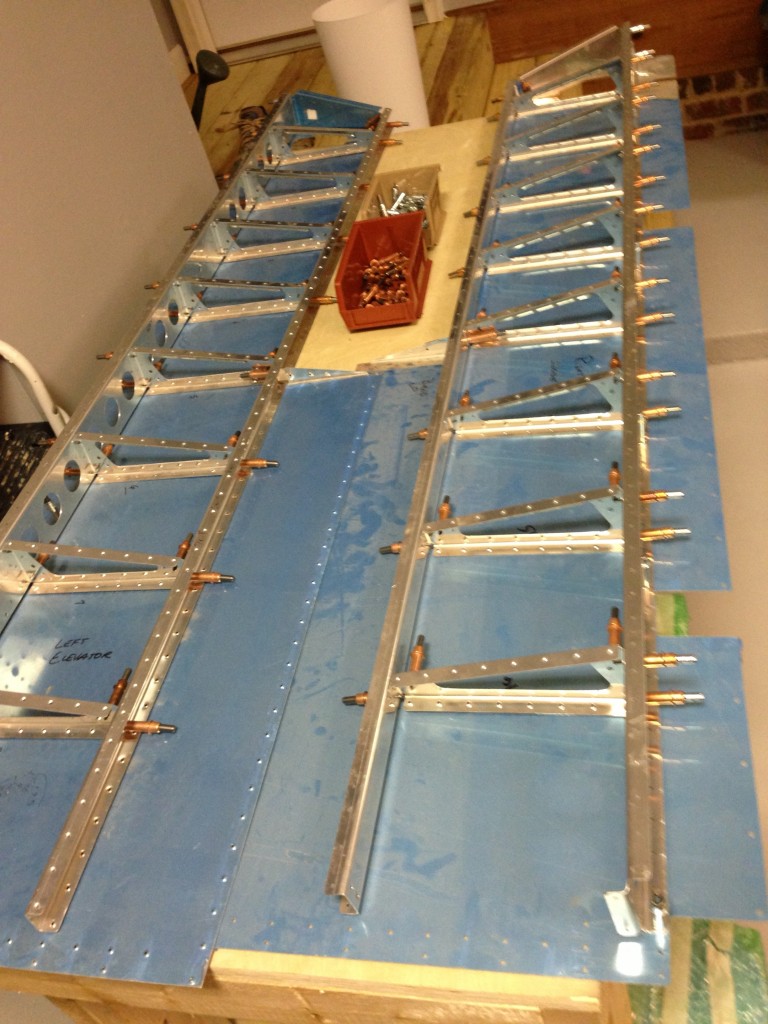
I continued work on the elevators, pre-assembling the right one first. Most holes were already match drilled on the structure but I found a couple that weren’t so I’m glad I double checked everything. I started on the top skin and match drilled everything, clecoing along the way. On the spar, you are to start mid span and work out, clecoing every hole. By the time I was done, I had use a lot of clecos! I’ll definitely need more for the wings coming up. I flipped the unit over and finished the bottom skin as well. Next step is to disassemble, deburr, and dimple the skins. I’ll need to get my dimpler table set up this weekend.

Dusting off the…..dust!

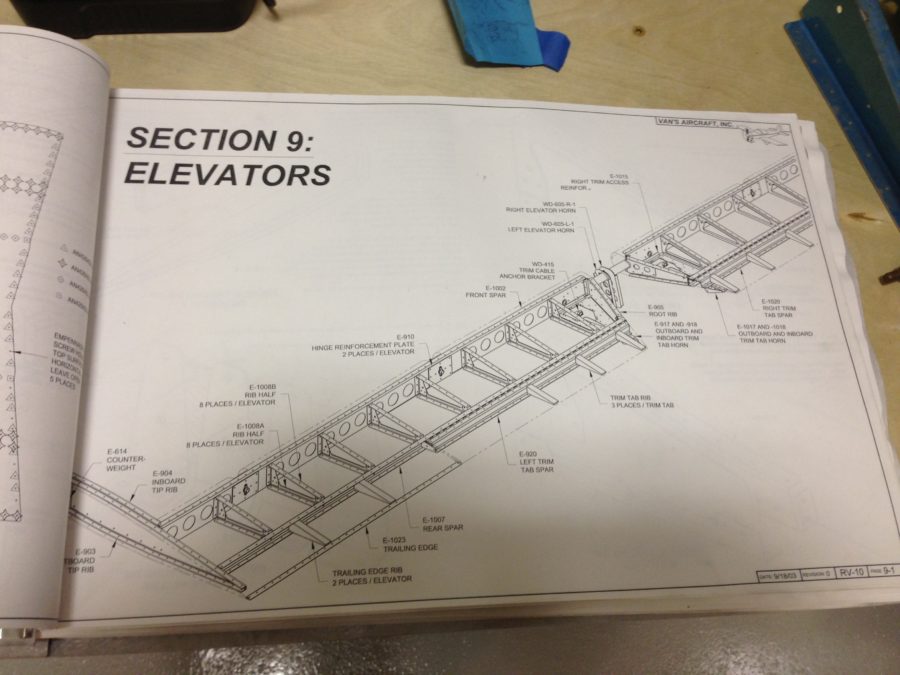
Tonight was the first night I actually got to put my hands on the kit. Having brought it home several weeks ago and inventorying it, I spent tonight reading up on the already completed sections just to understand what’s been done already. The previous owners have completed the horizontal and vertical stabilizers along with some work on the elevators. I verified each step in section 9 as I went along and created a check mark system to maintain accountability on completing each step.

The kit has sat for a long time in storage so it was pretty dusty. I used Simple Green aircraft cleaner to get all the dust and dirt off and was pleased that all the parts are cleaning up nicely. I had a couple of spots that had scratches with a bit of grime. Not sure if it was a precursor to corrosion, I buffed them out and will use a bit of spray can primer on the sections for extra peace of mind.


I picked up on laying out the components for the elevators. I demurred all previously drilled holes and followed the plans to get the spar and ribs laid out on the bottom skins. One skin is already dimpled, but the need for a dimpling table has arose quickly. I have the materials and will get that built tomorrow evening for this weekend’s work.