Now that the carbon fiber bits are cleared, I went to work on the rear panel for the back seaters. My original plan was to mount the oxygen ports, a USB power port, heat control rheostat, and headset jacks into the rear console but it all just wouldn’t fit. The O2 ports had to stay there, as I didn’t want them in the side panels due to lack of room, so the headset jacks got the boot. I drew up a layout based on the measurements of the rear panel area. The carbon is too thick and rigid for the ports to cleanly snap into so I will use AL with a matching acrylic overlay just like the instrument panel up front. I was able to keep the power port and heat control on top. I won’t be back lighting these as there isn’t much room and I figure at night a task light can be turned on easily.
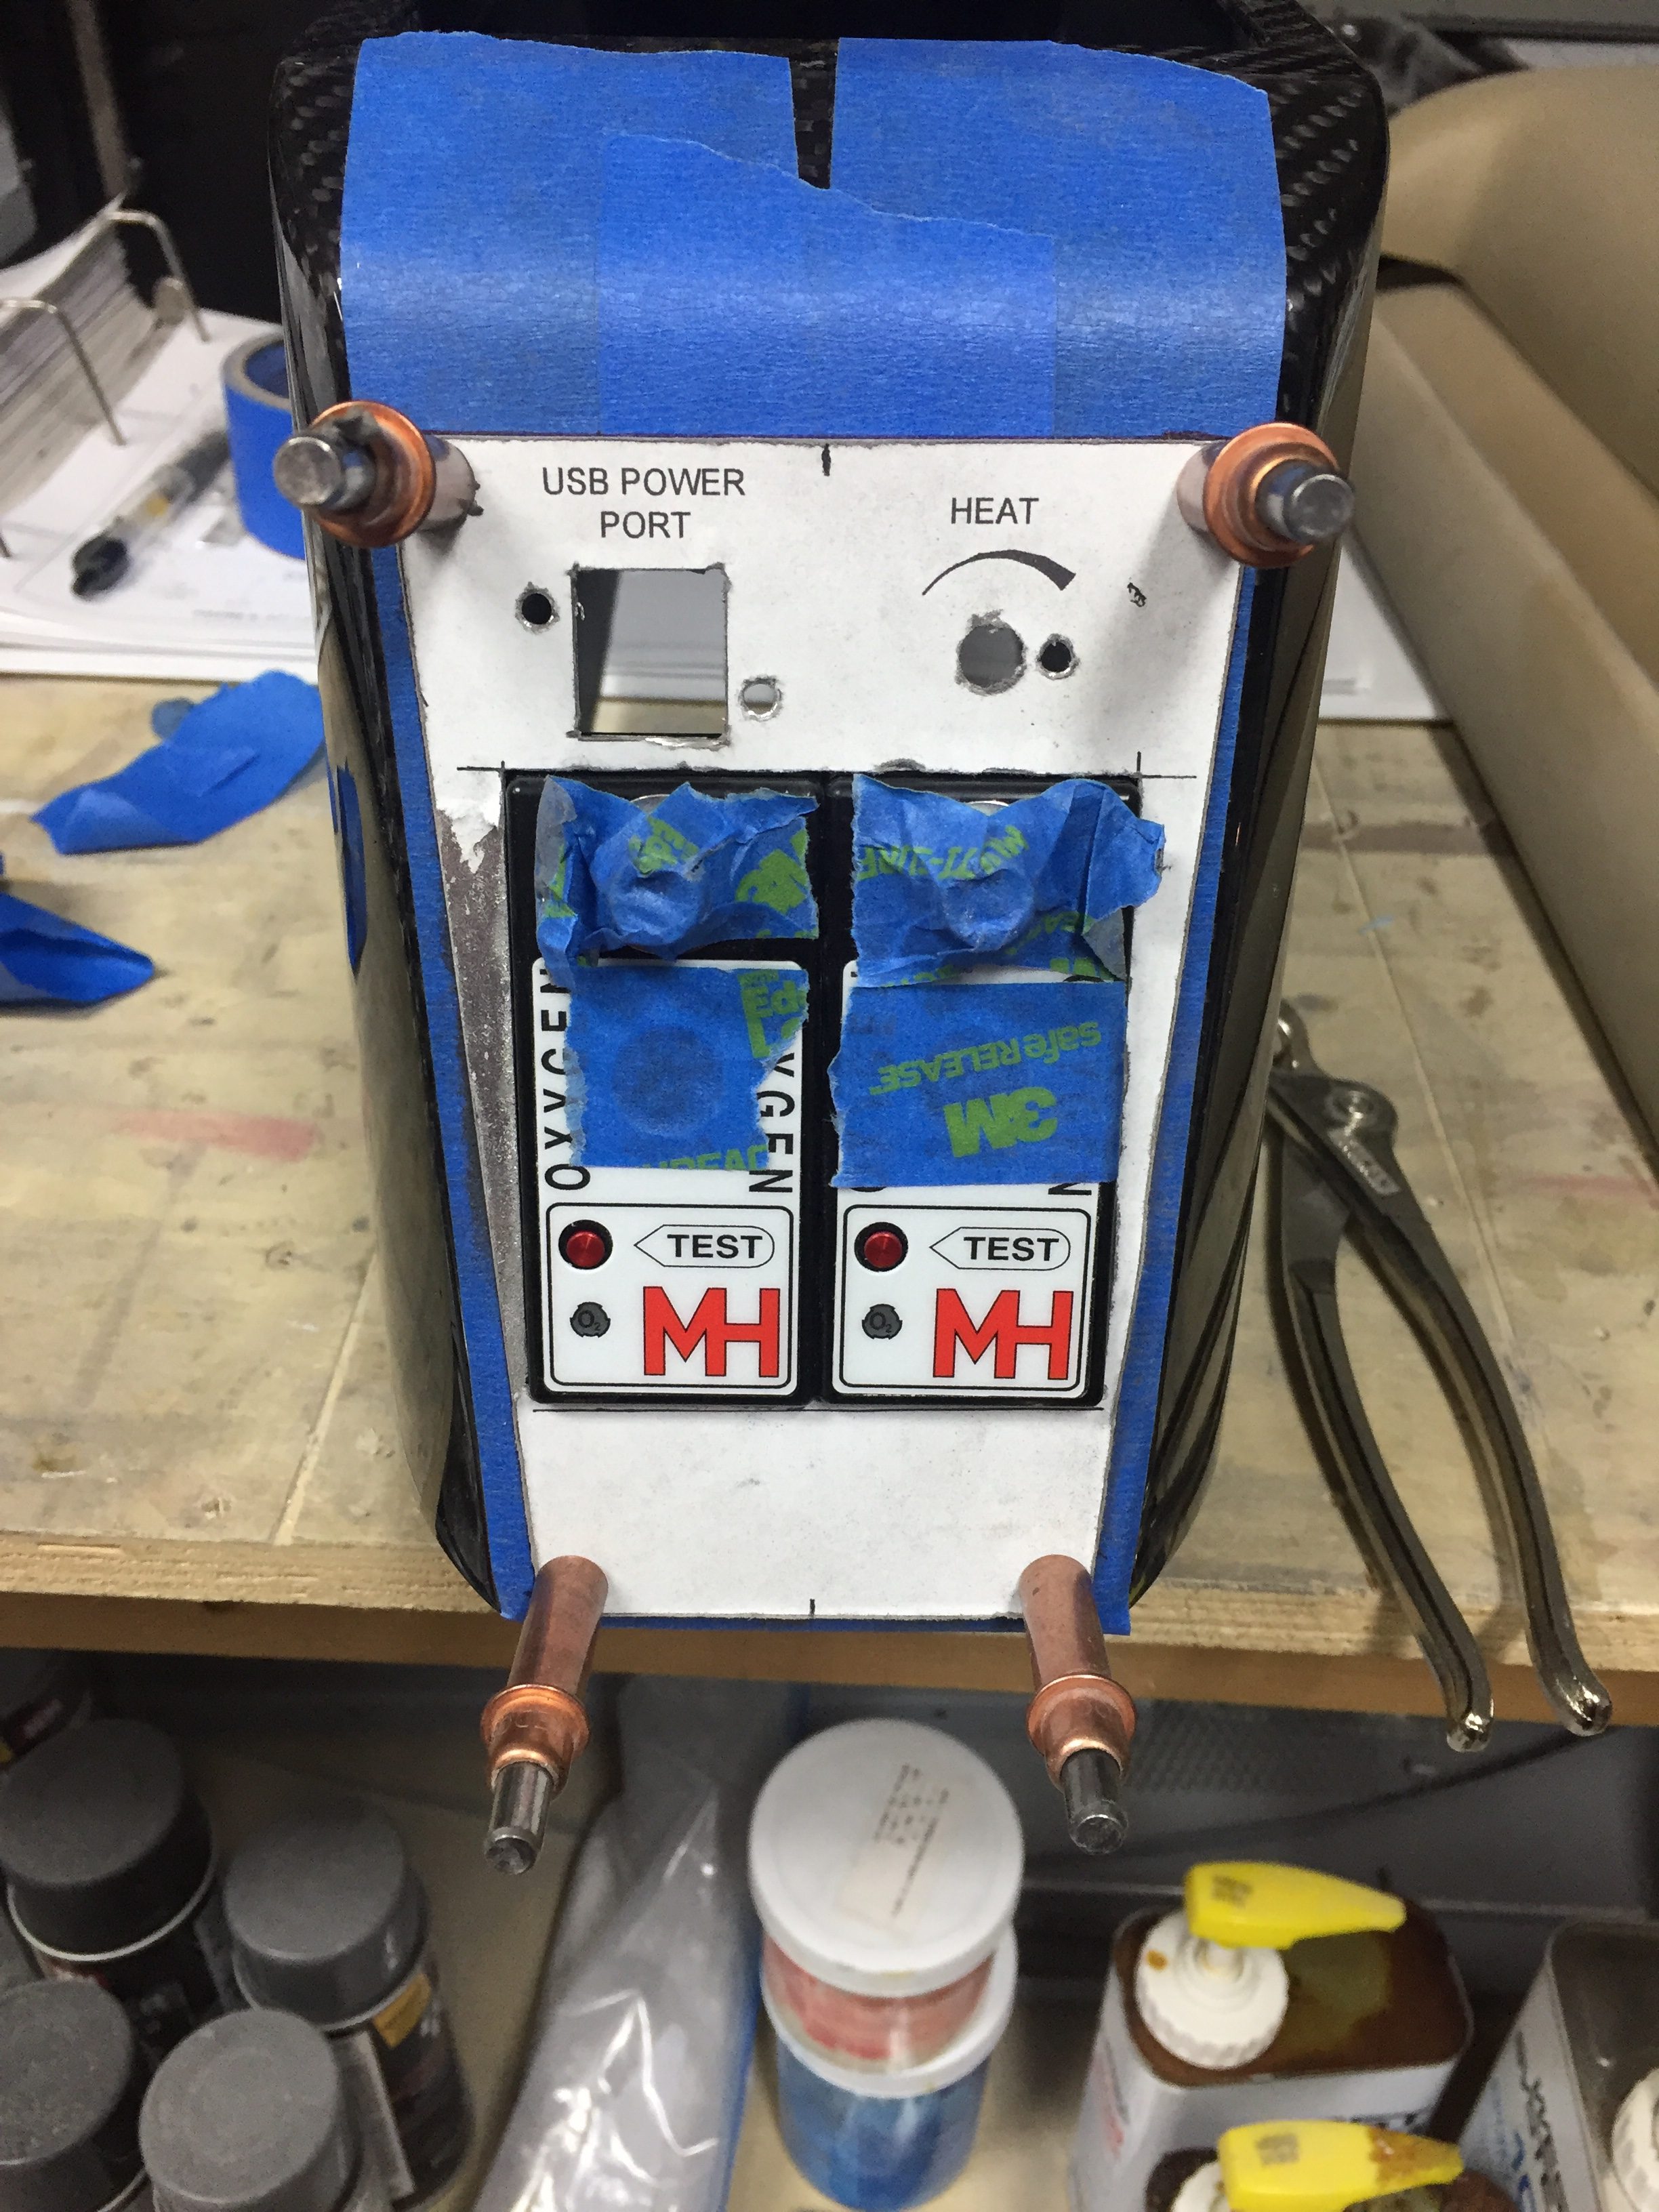
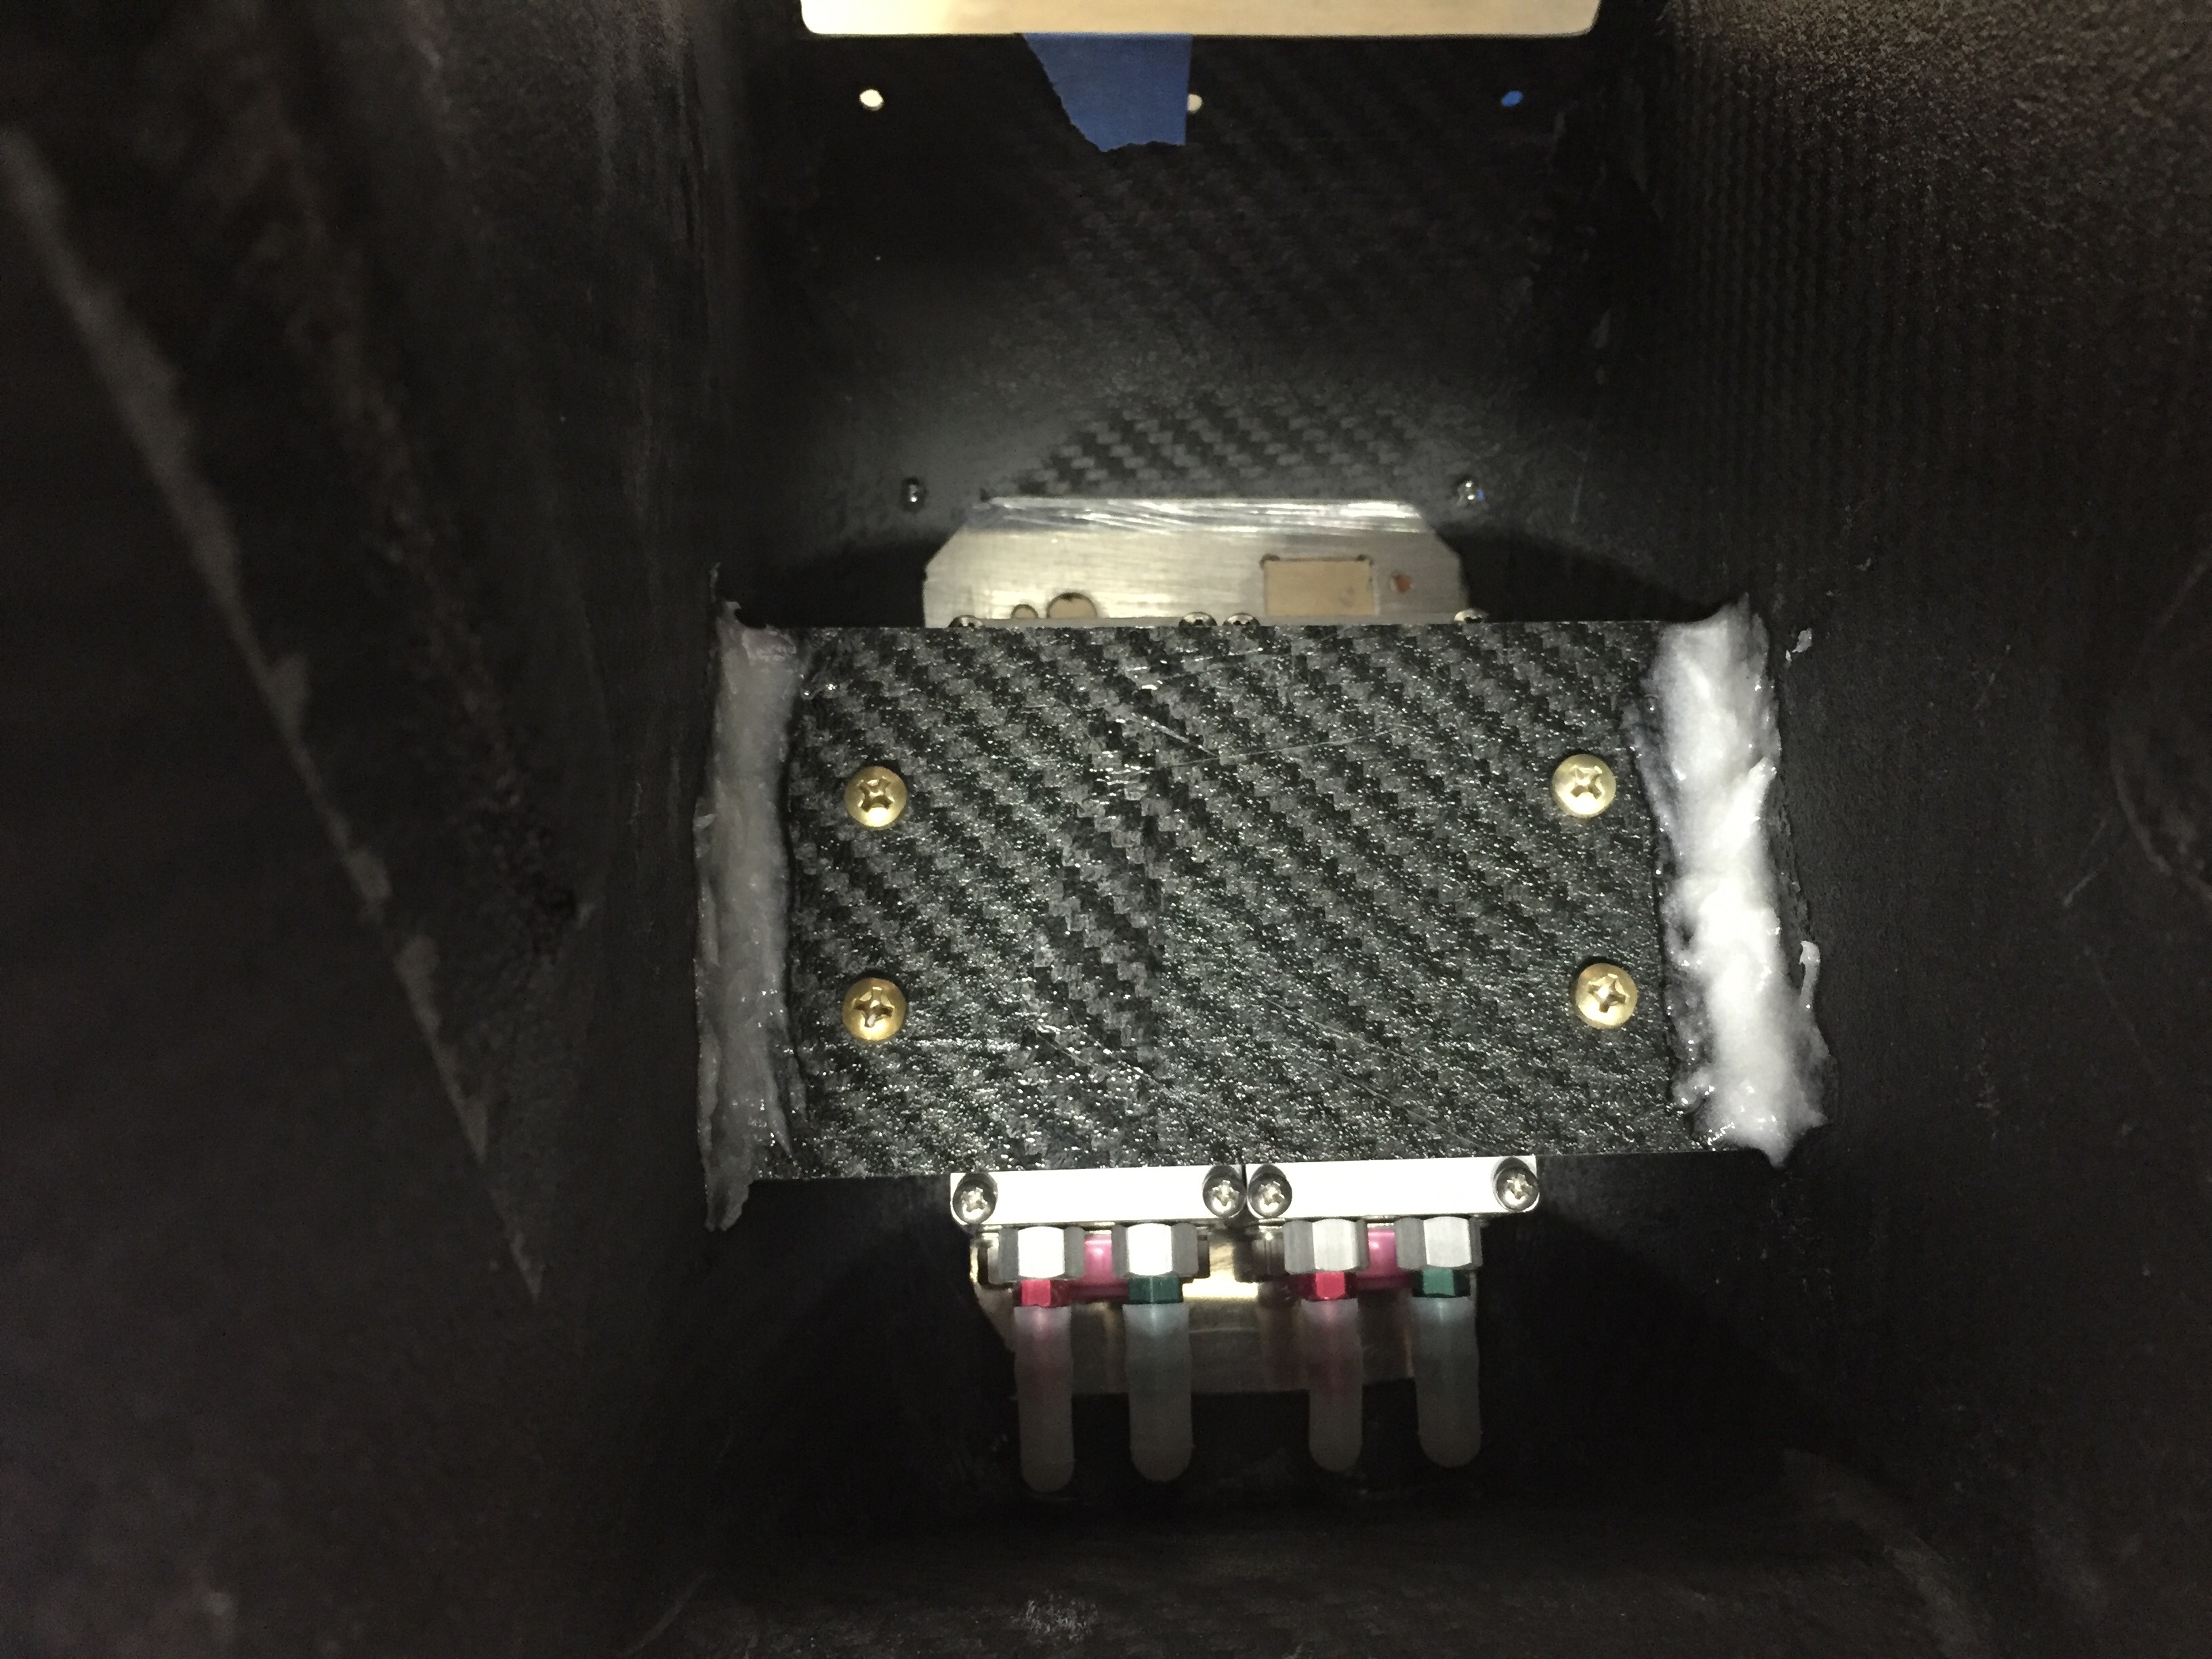
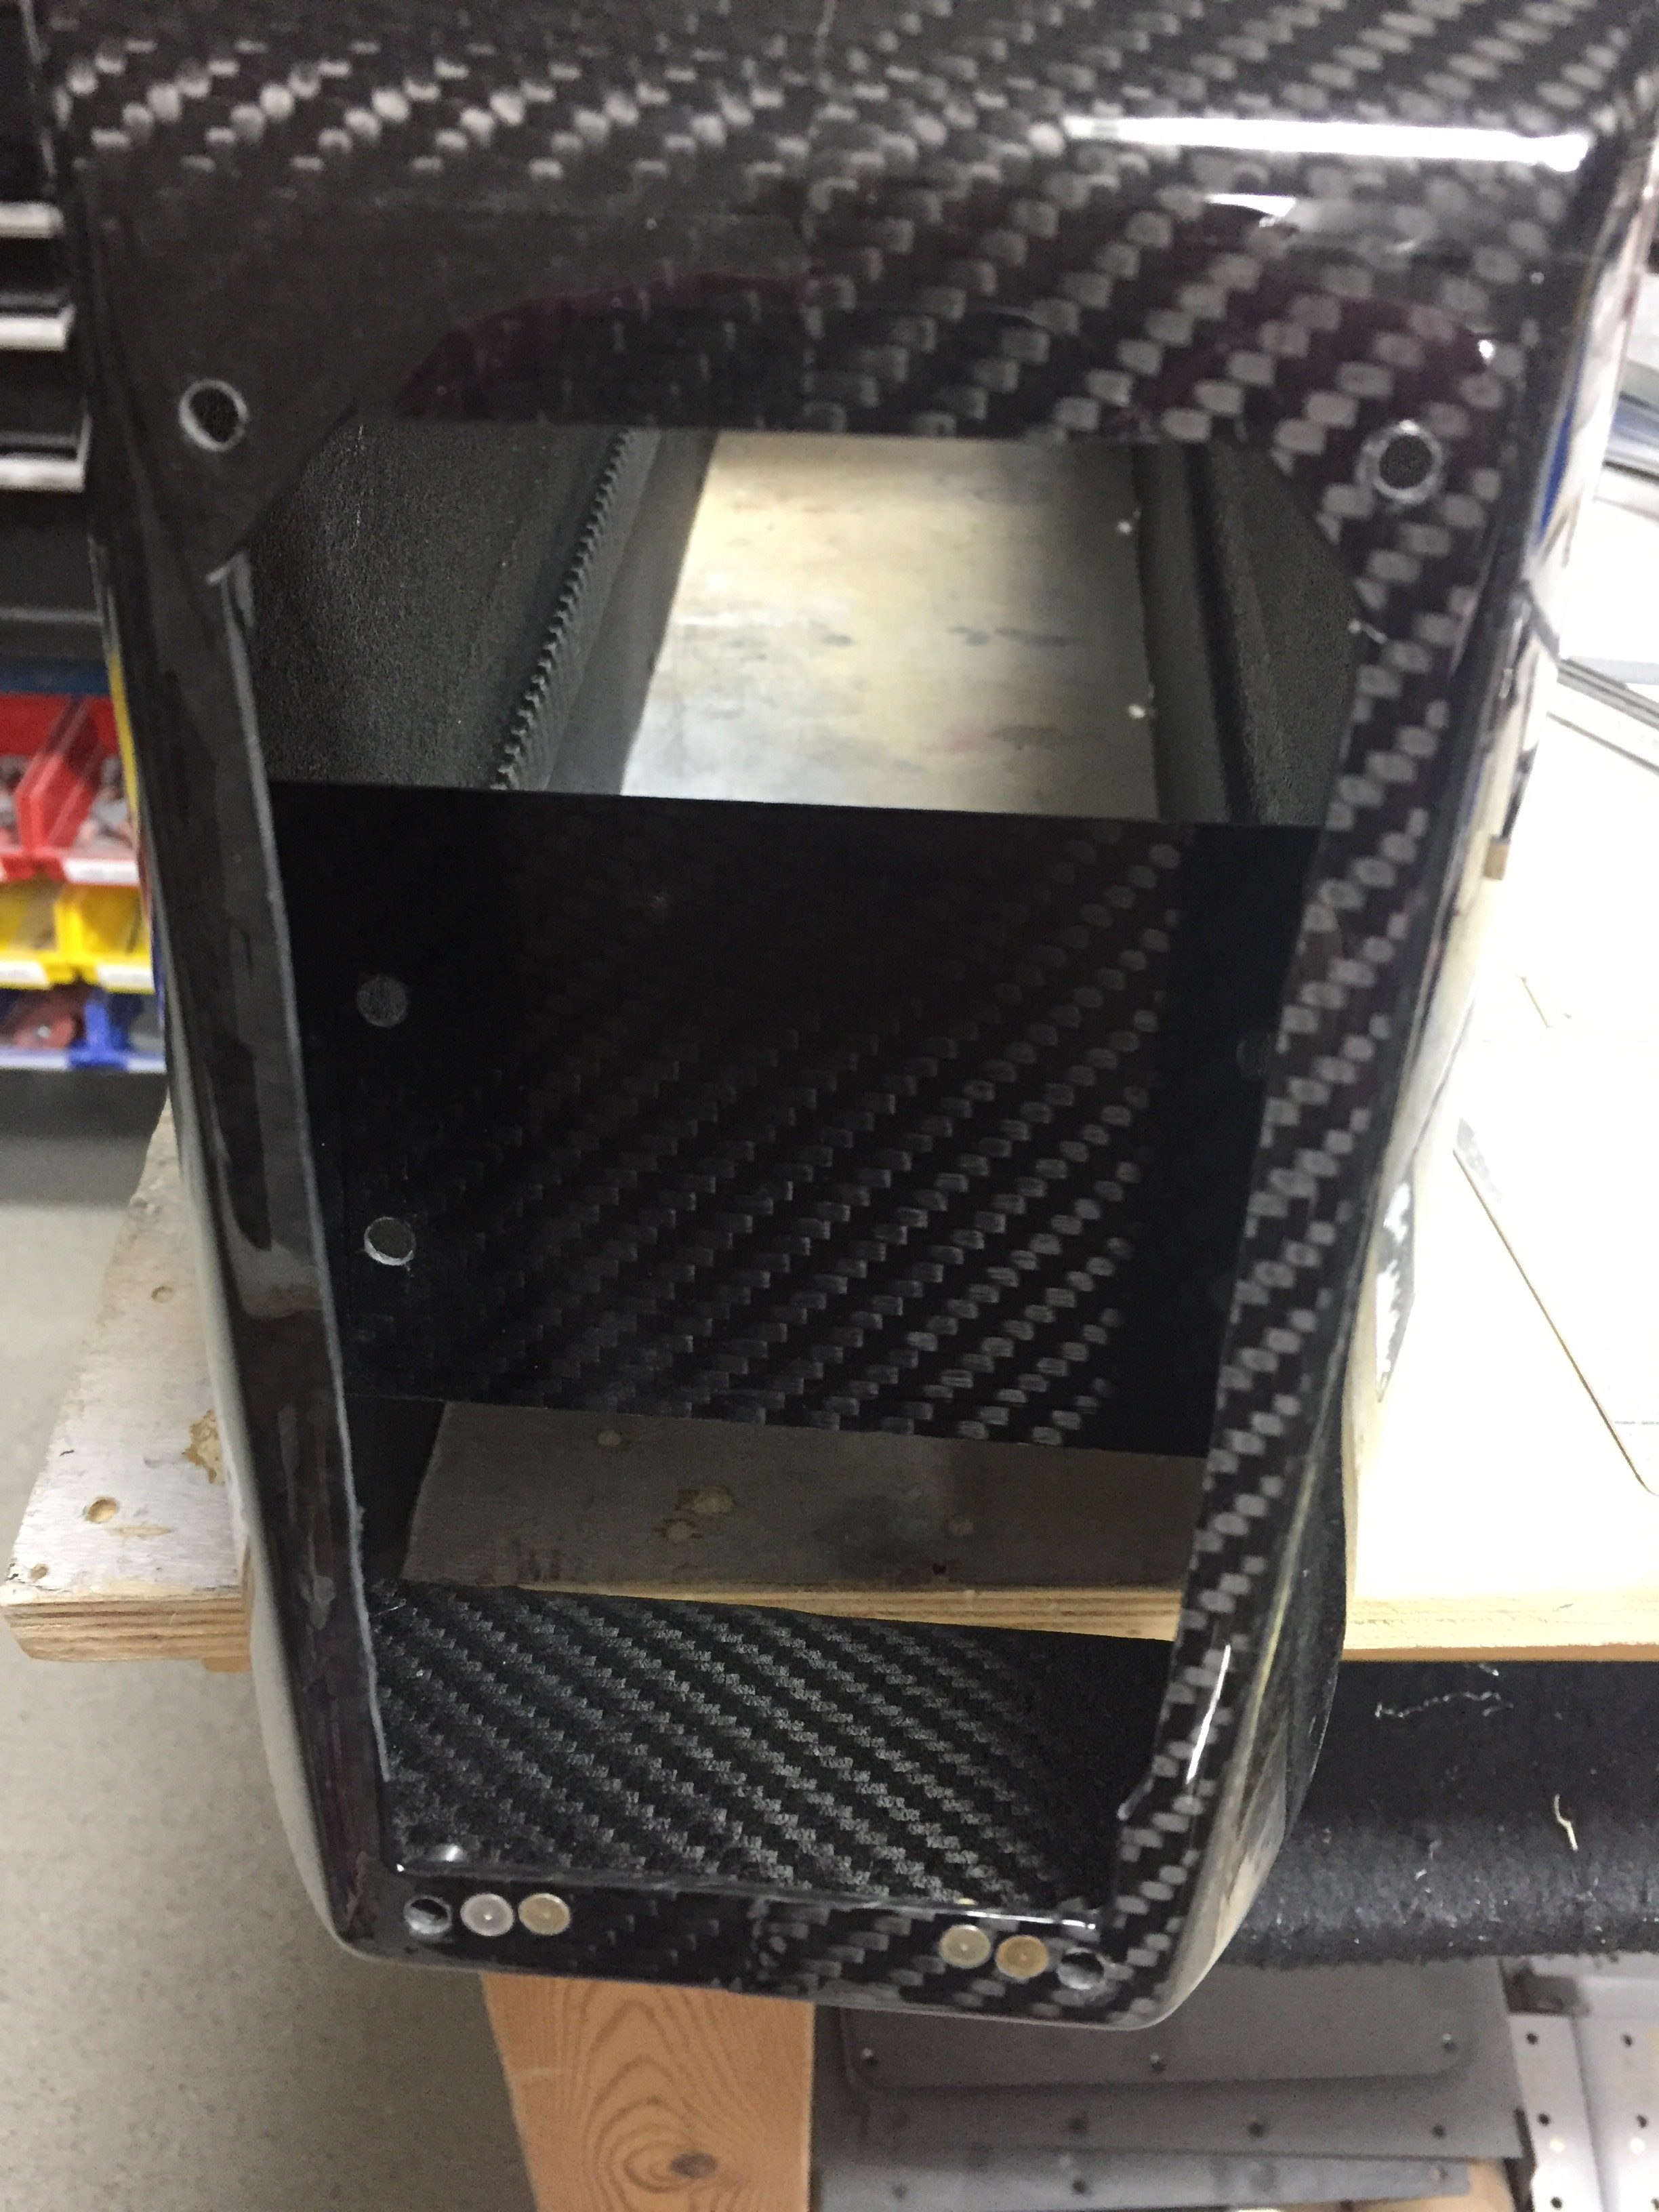
I did need to come up with a way to secure the O2 ports, so I used a scrap piece of carbon and installed a few nutplates before epoxying it into the console. I had to trim the brackets of the O2 ports so they fit side by side as well. In the end, it’s a nice fit and still allows easy removal for maintenance.
I used some advice from TCW Tech folks to add a source selection switch into the controller for the rear heat servo. I had to cut the rheostat off of the circuit board and ordered two matching ones from DigiKey, wiring them up with the control wire going to the switch. This will allow me to control the rear heat using the rheostat mounted up front or give control to the rear seaters. Testing with the multi-meter confirmed the desired function so those were tucked away for future install.
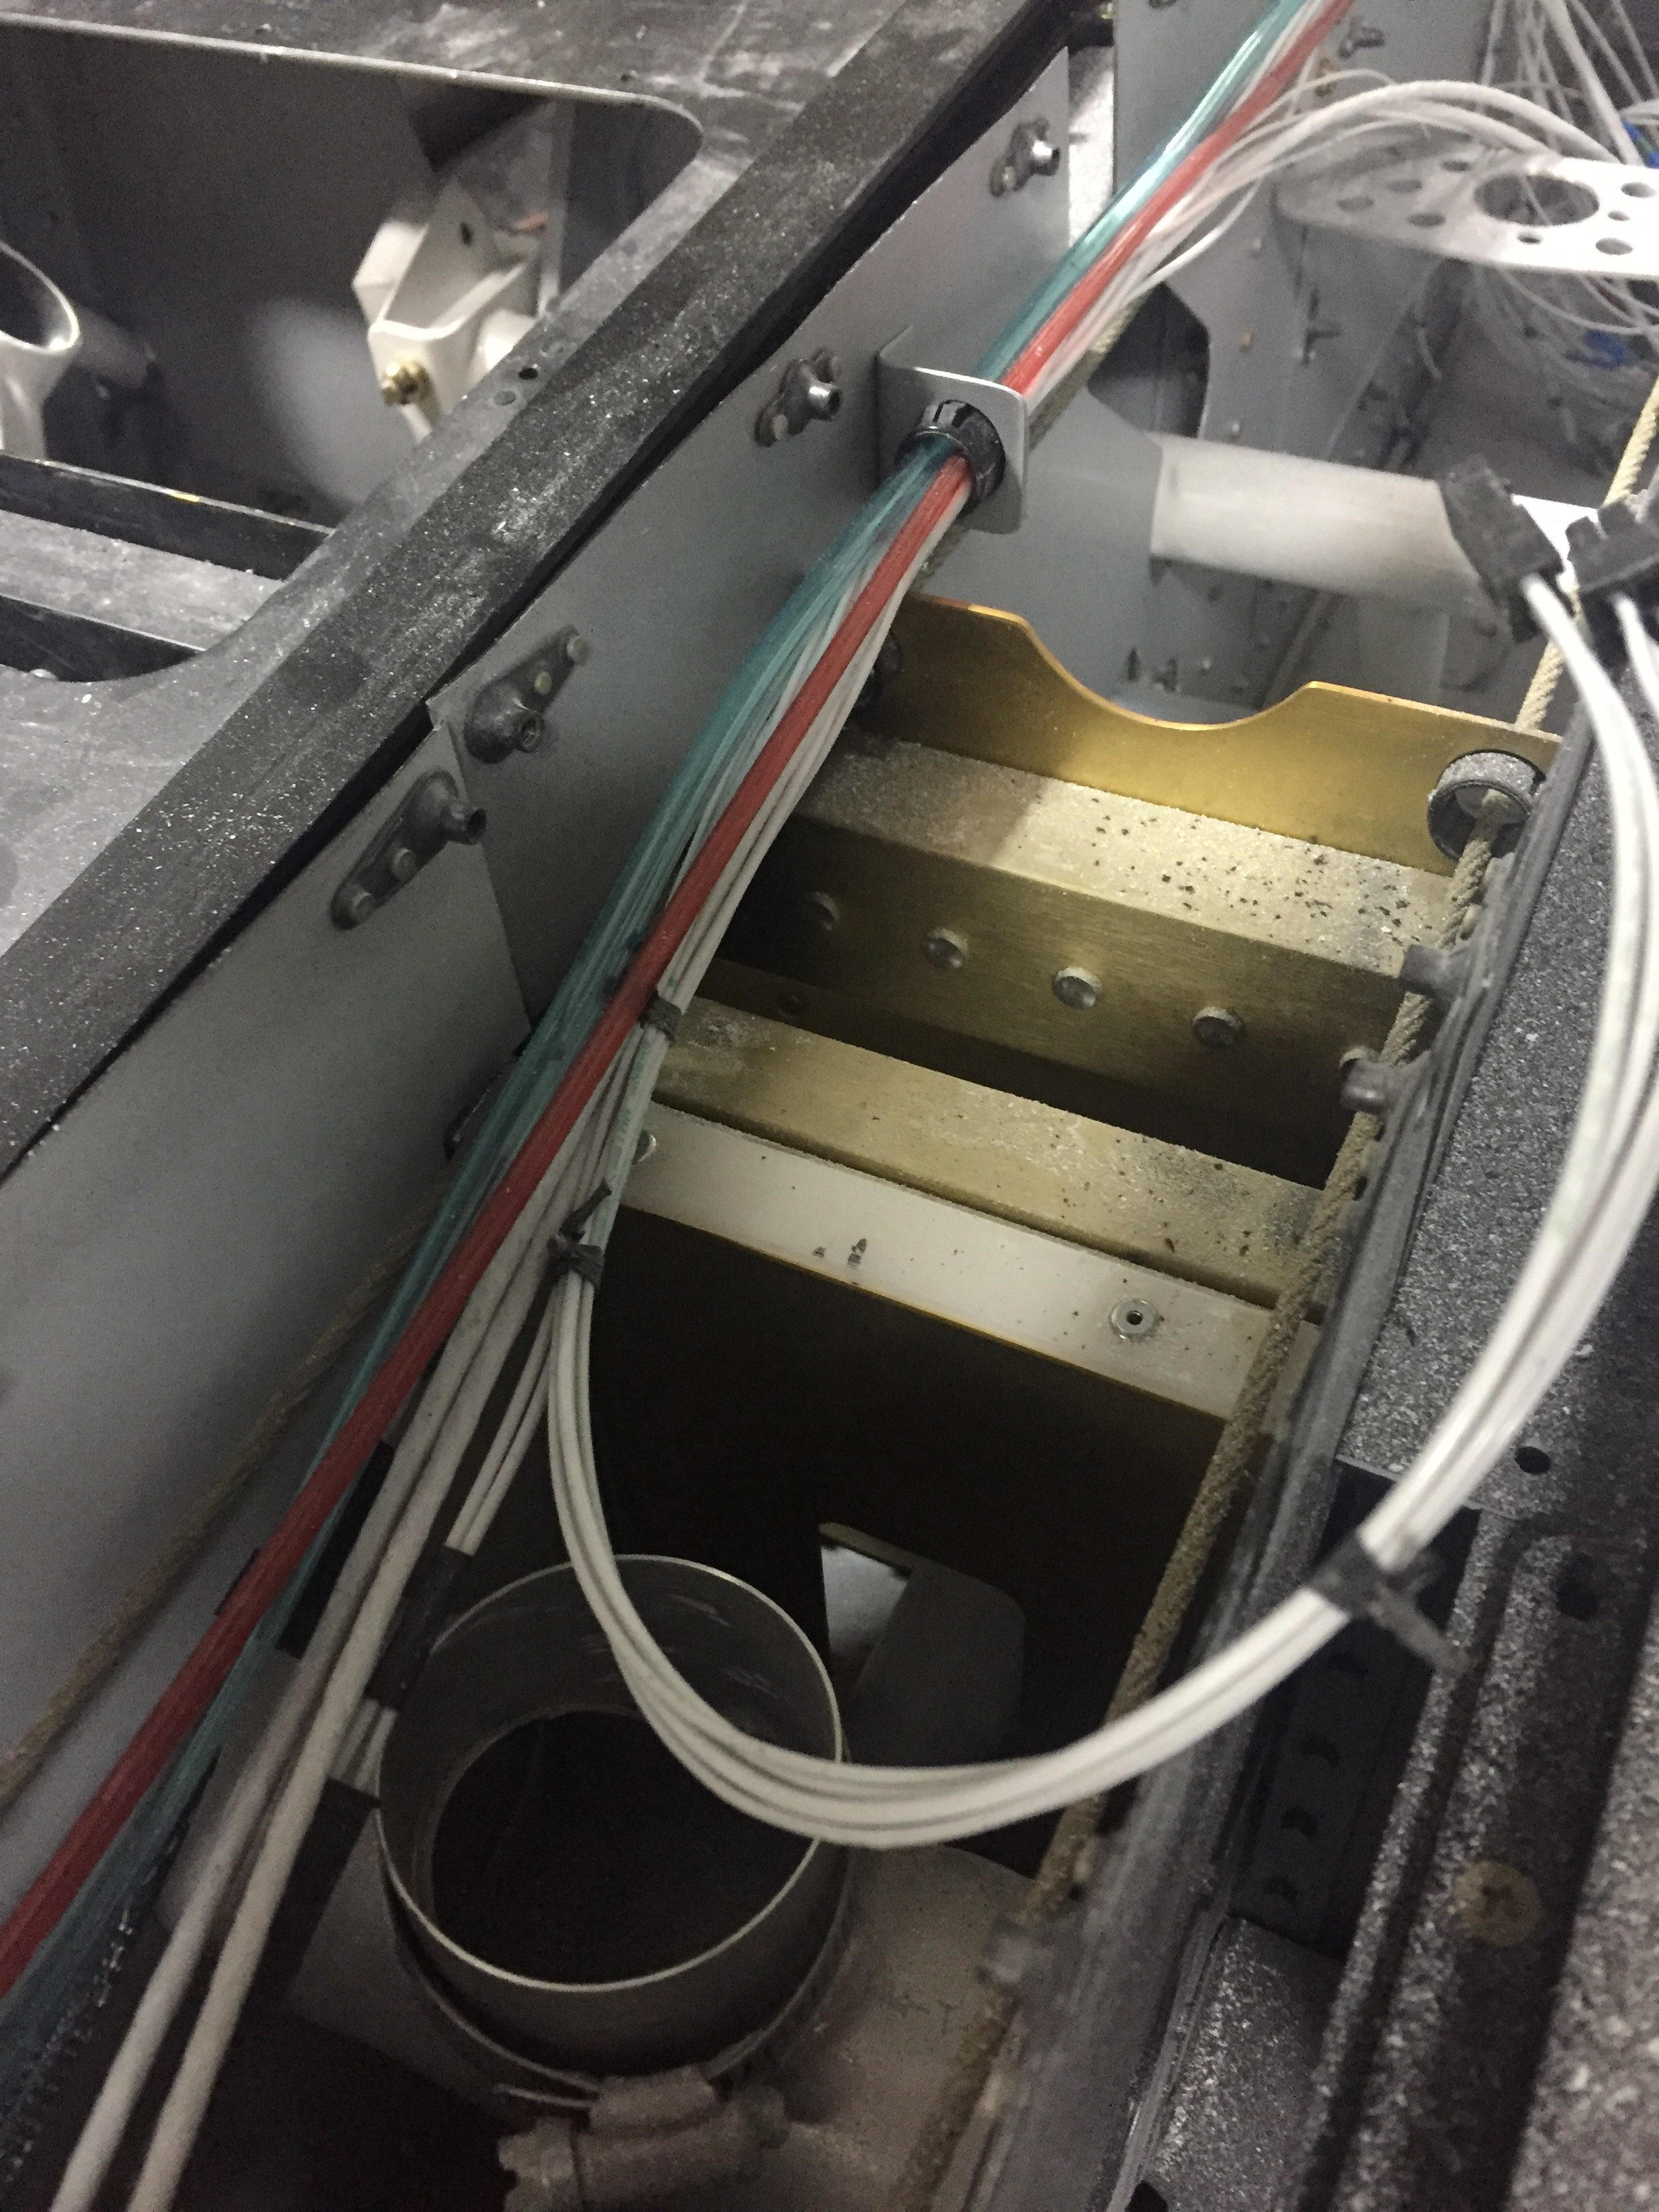
Now that I knew where the rear O2 ports would exactly be, I could continue the plumbing of O2 lines. That also led to running the wires to the O2 ports, power port, and rear heat rheostat. I fabbed up a few bushing holders to attach to the tunnel and ran everything down the left side. The front seat headset jack holes were drilled inside the armrest cubby and the wires will be secured onto the tunnel cover. I placed connectors on all of the wires so that the tunnel cover and center console could be removed for maintenance without needing to remain attached via wires.
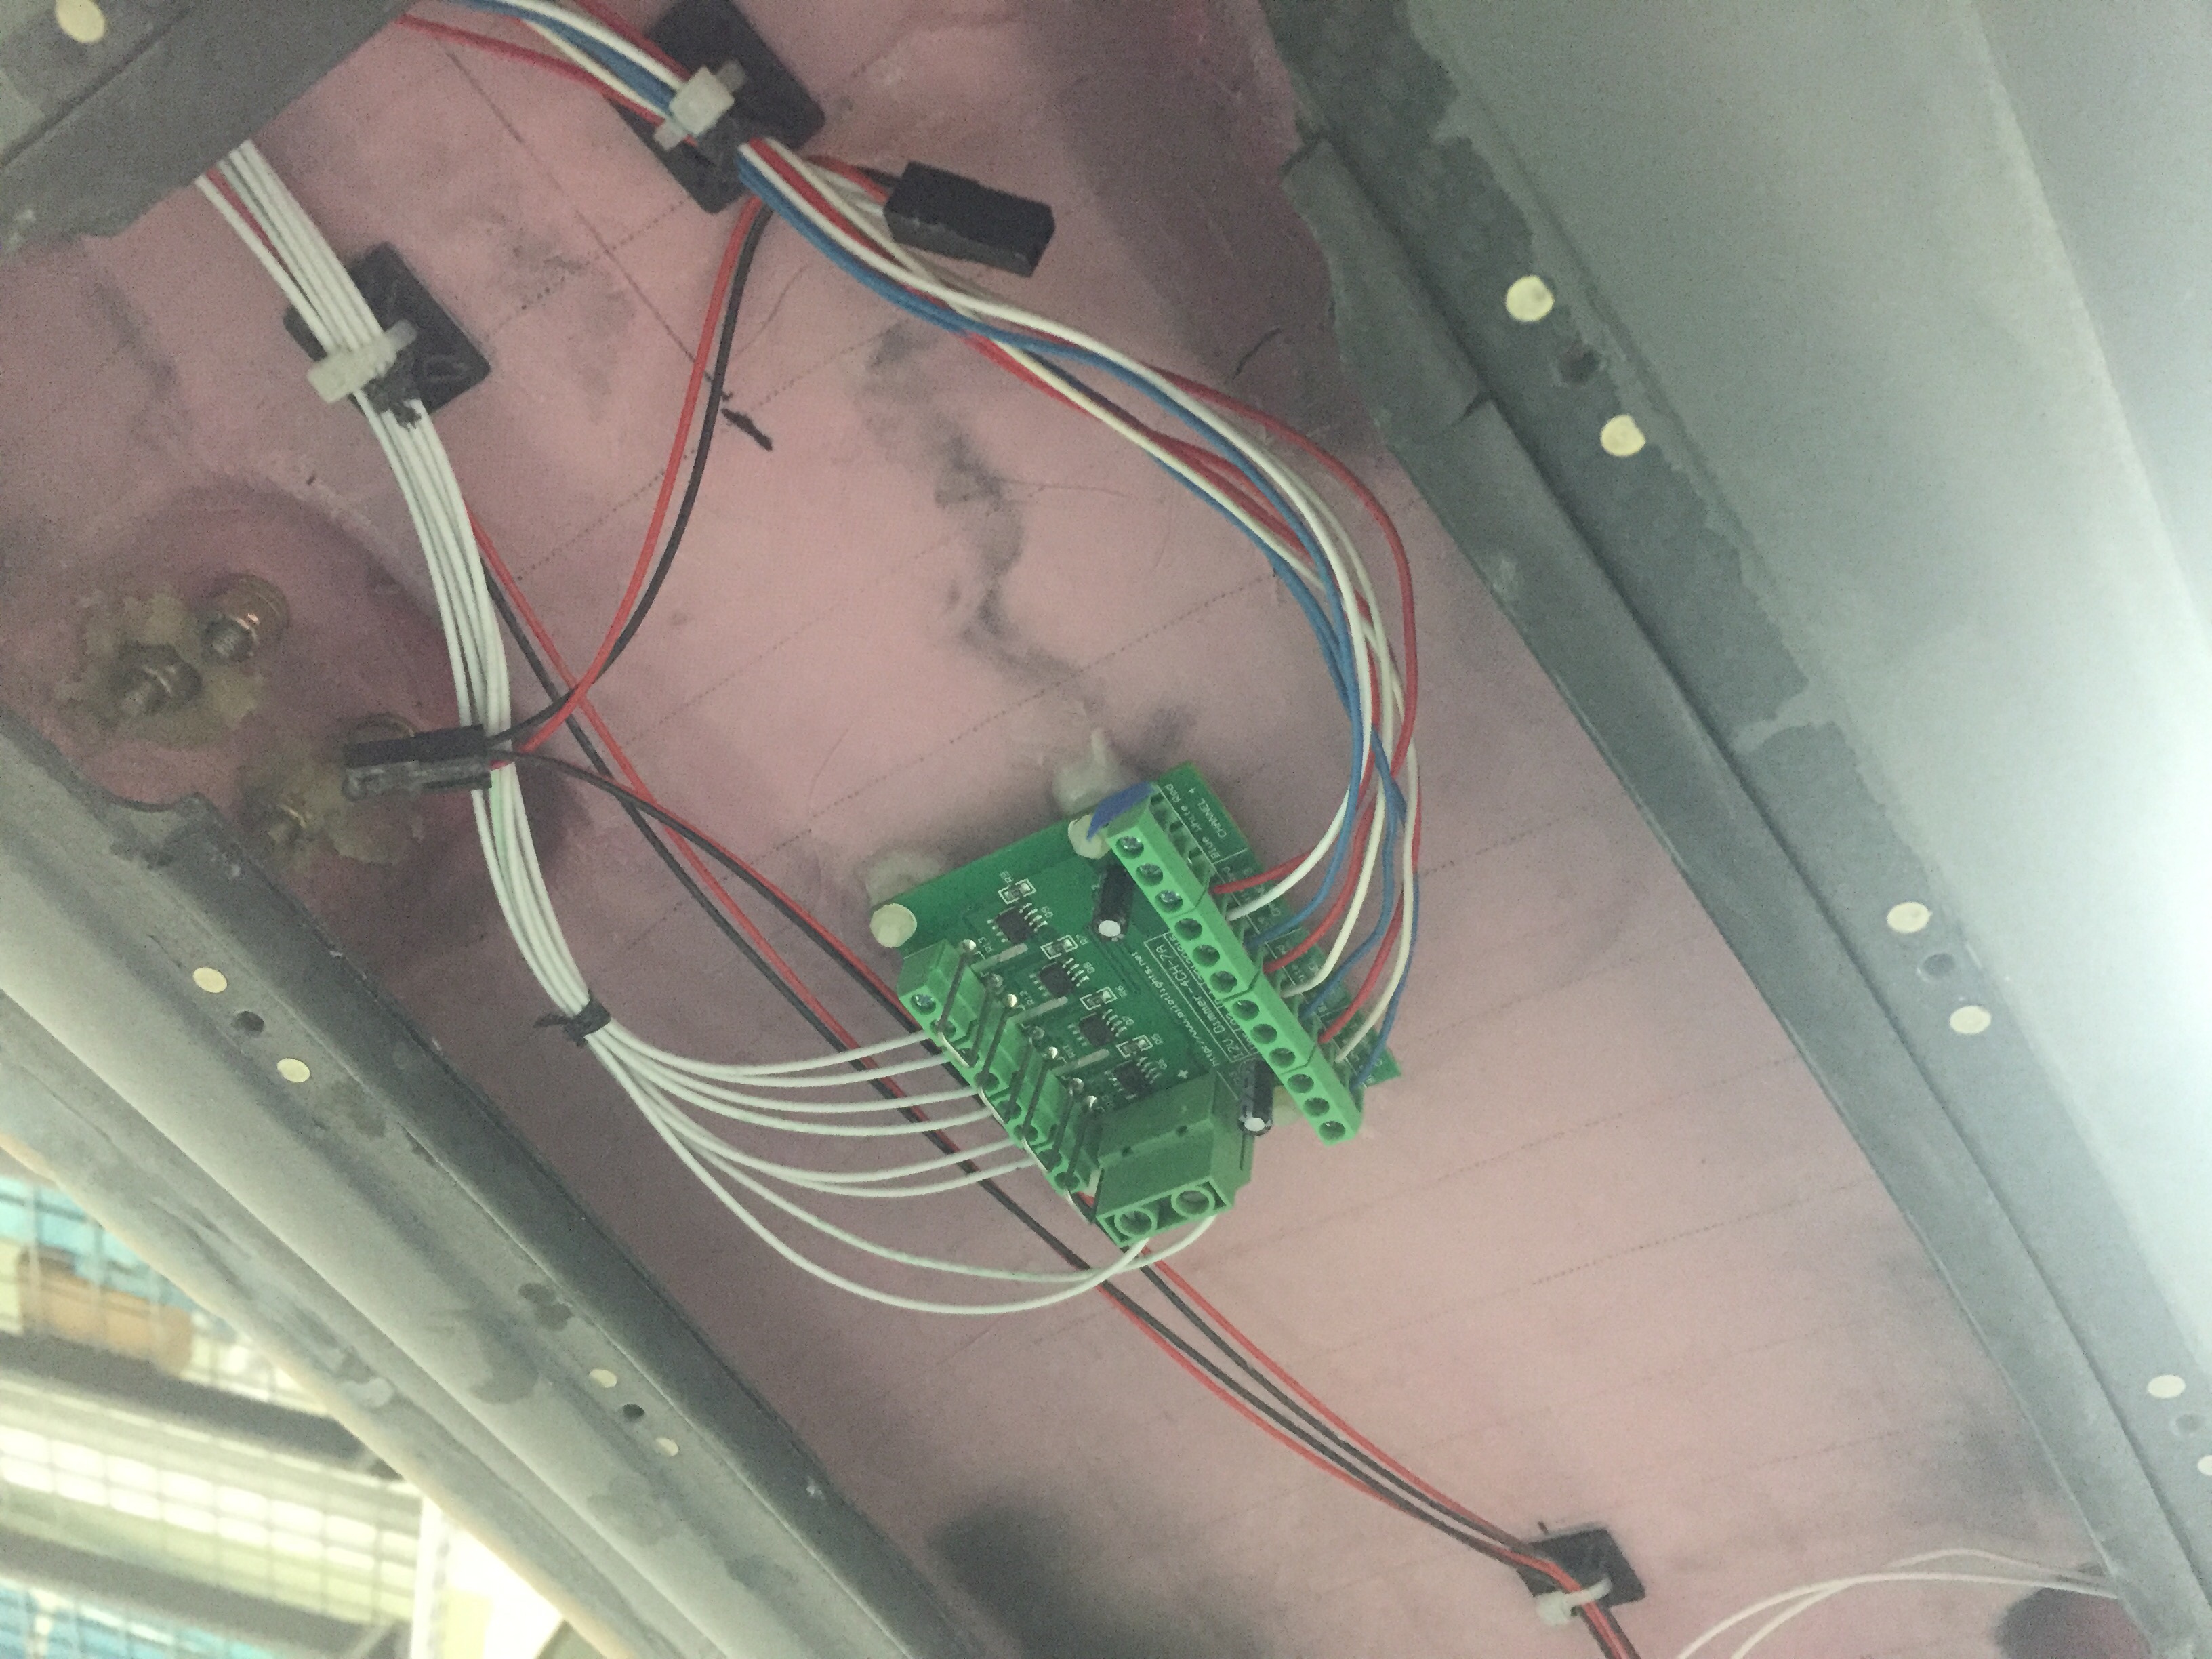
I also ordered a four channel dimmer from Pilot Lights to replace the three single channel dimmers for the overhead panel. They all would fit up there, as space is tight, so this was a good solution. I’ll have a spare channel if I want to add anything later. I chose to epoxy the mounts to the overhead cabin top which kept some of the wiring runs short. All wiring for the overhead will be coming up through the center post from the sub panel. I went ahead and fabbed up the wires for the switches and controls on the overhead so I could ensure it would all fit within the post – no issues there. With that bit done, I was able to close up the overhead console minus the switch panel which is waiting on the back light panel.
Oh yeah, I sanded more on the doors. You know, the same thing I’ve been doing for months now. Gah, the damn things are never going to be done.
