Hanging the engine seemed like a big step, but wiring it and plumbing it is the real work. I knew the connections to the ECUs and sensors would be a big job, but I thought the days of electrical wiring were mostly over. Boy was I wrong!
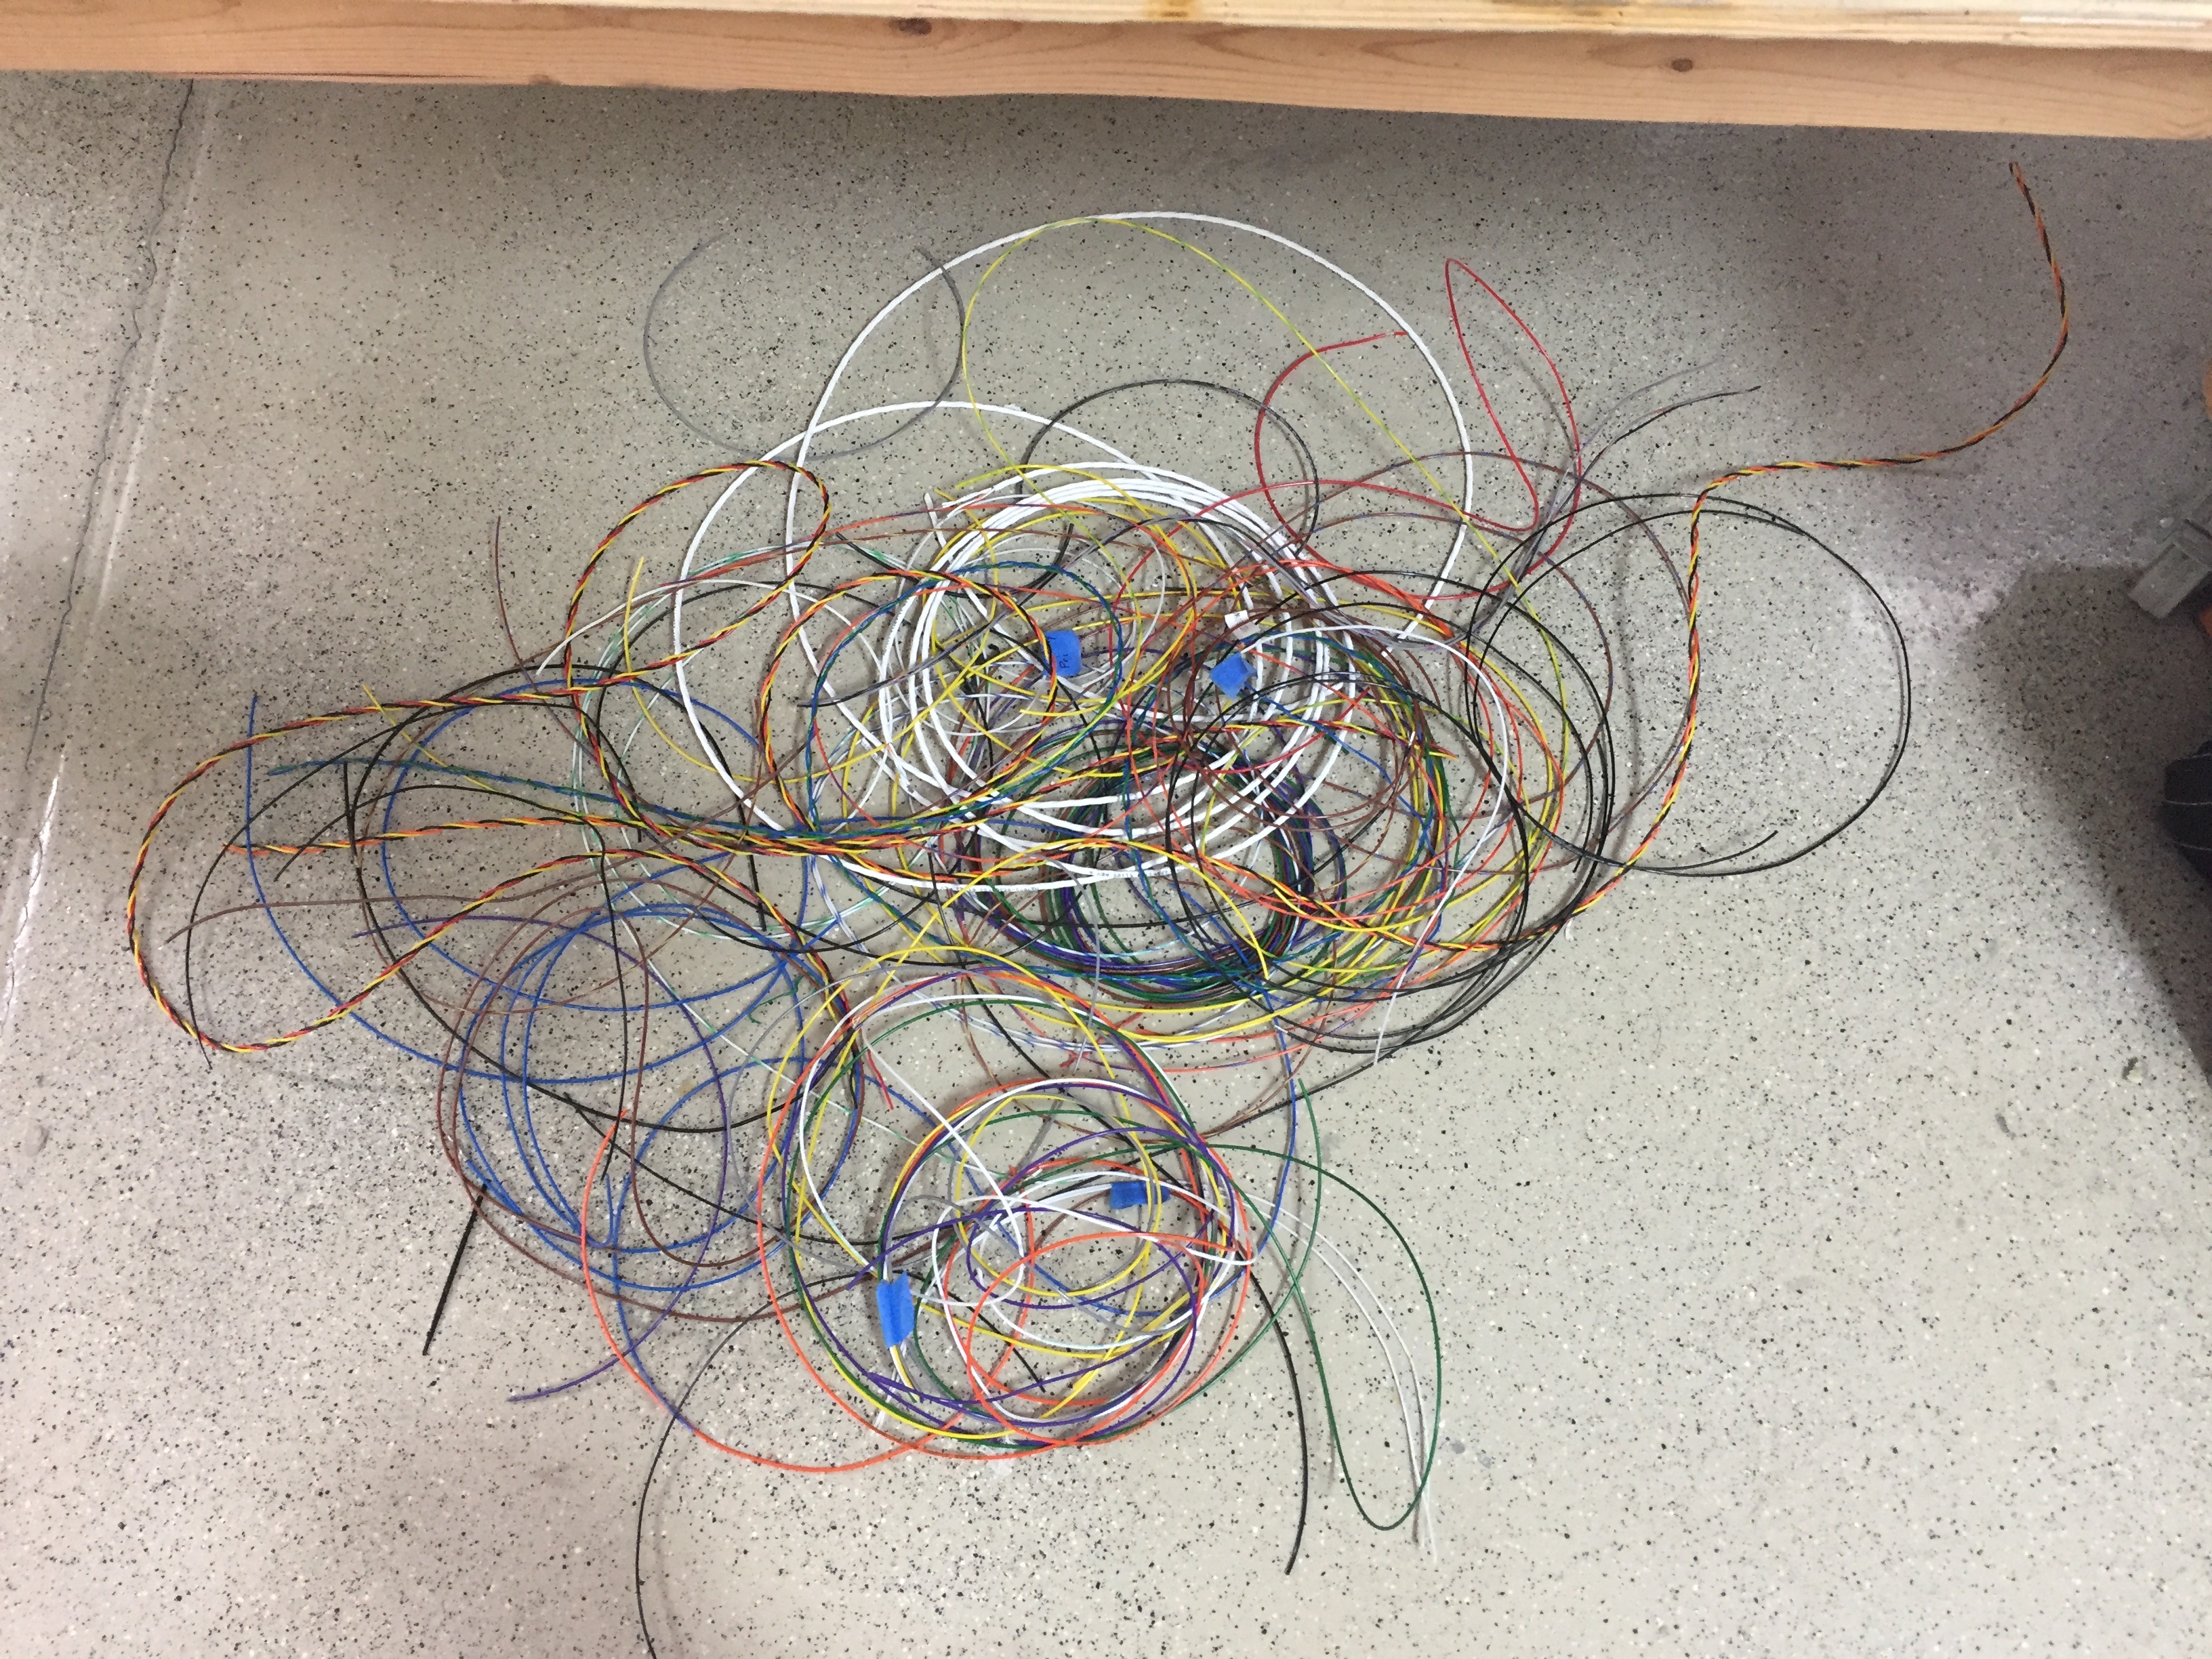
I brought it on myself, really, as I knew using SDS would be deep in a mess of wires resembling an Olive Garden menu. It’s absolutely worth it though, as I’ll wind up with a powerful and efficient (relatively speaking) engine with lots of tuning ability and choice of running LOP with a simple flip of a switch.
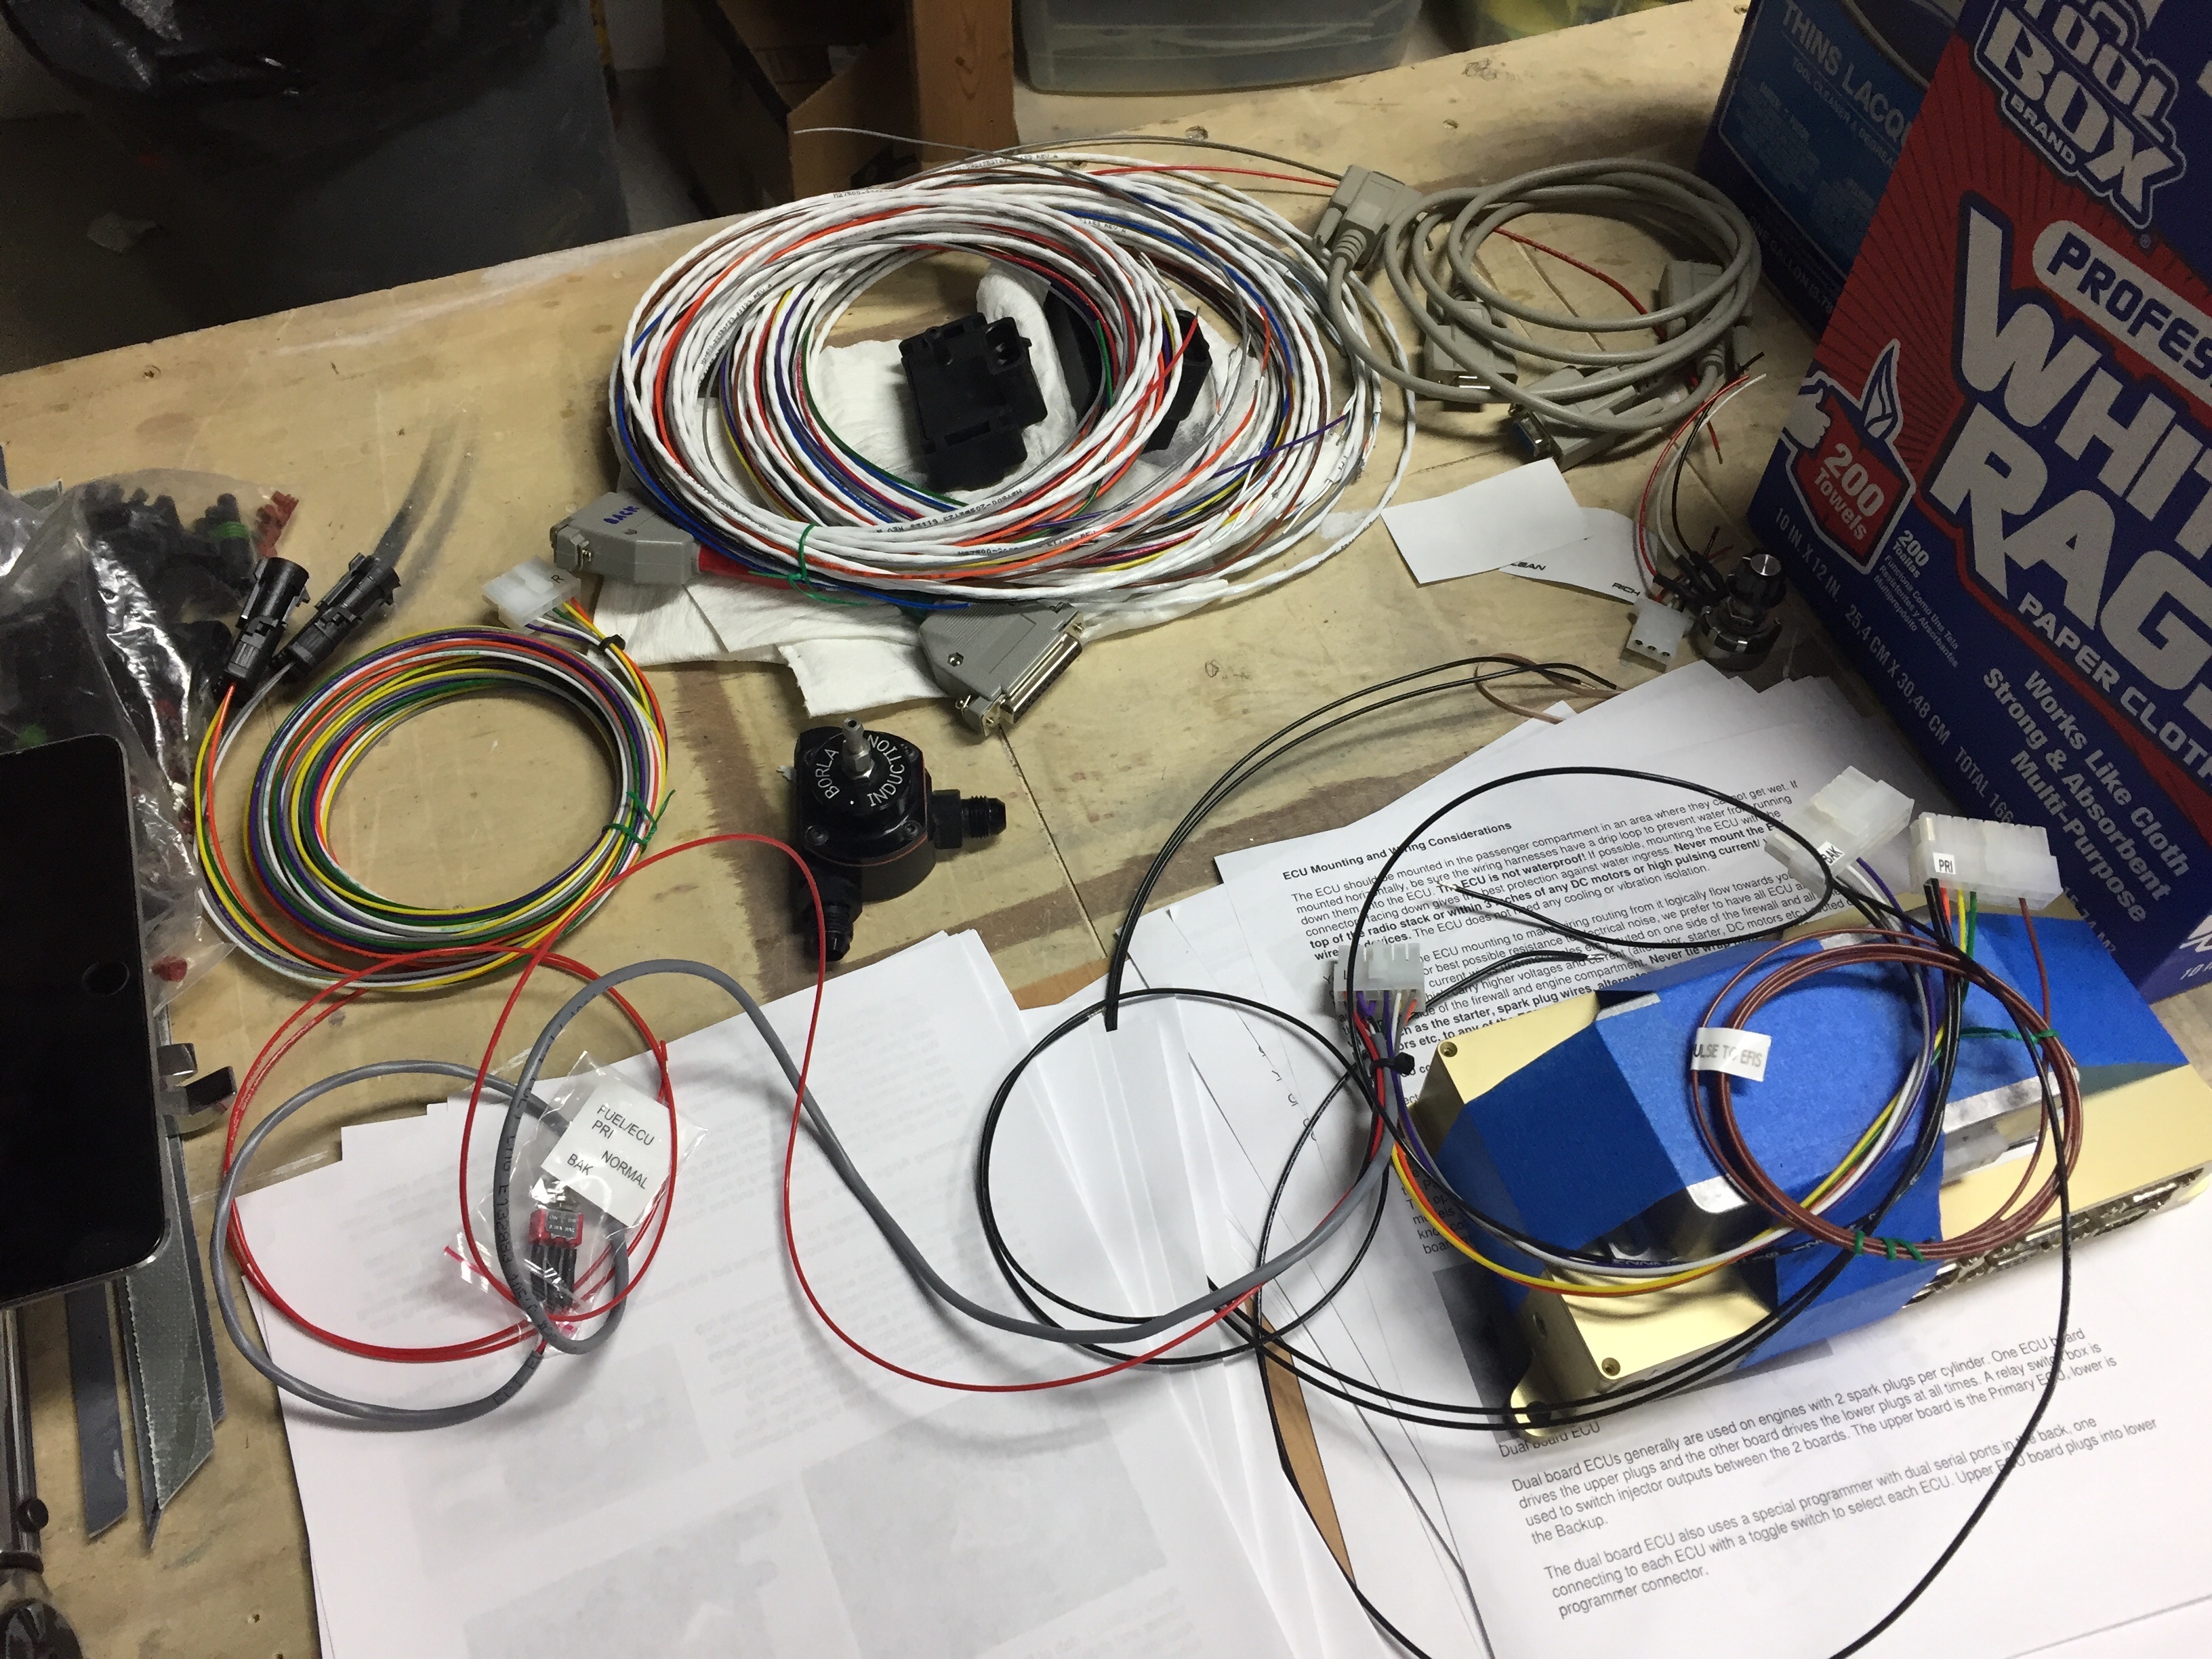
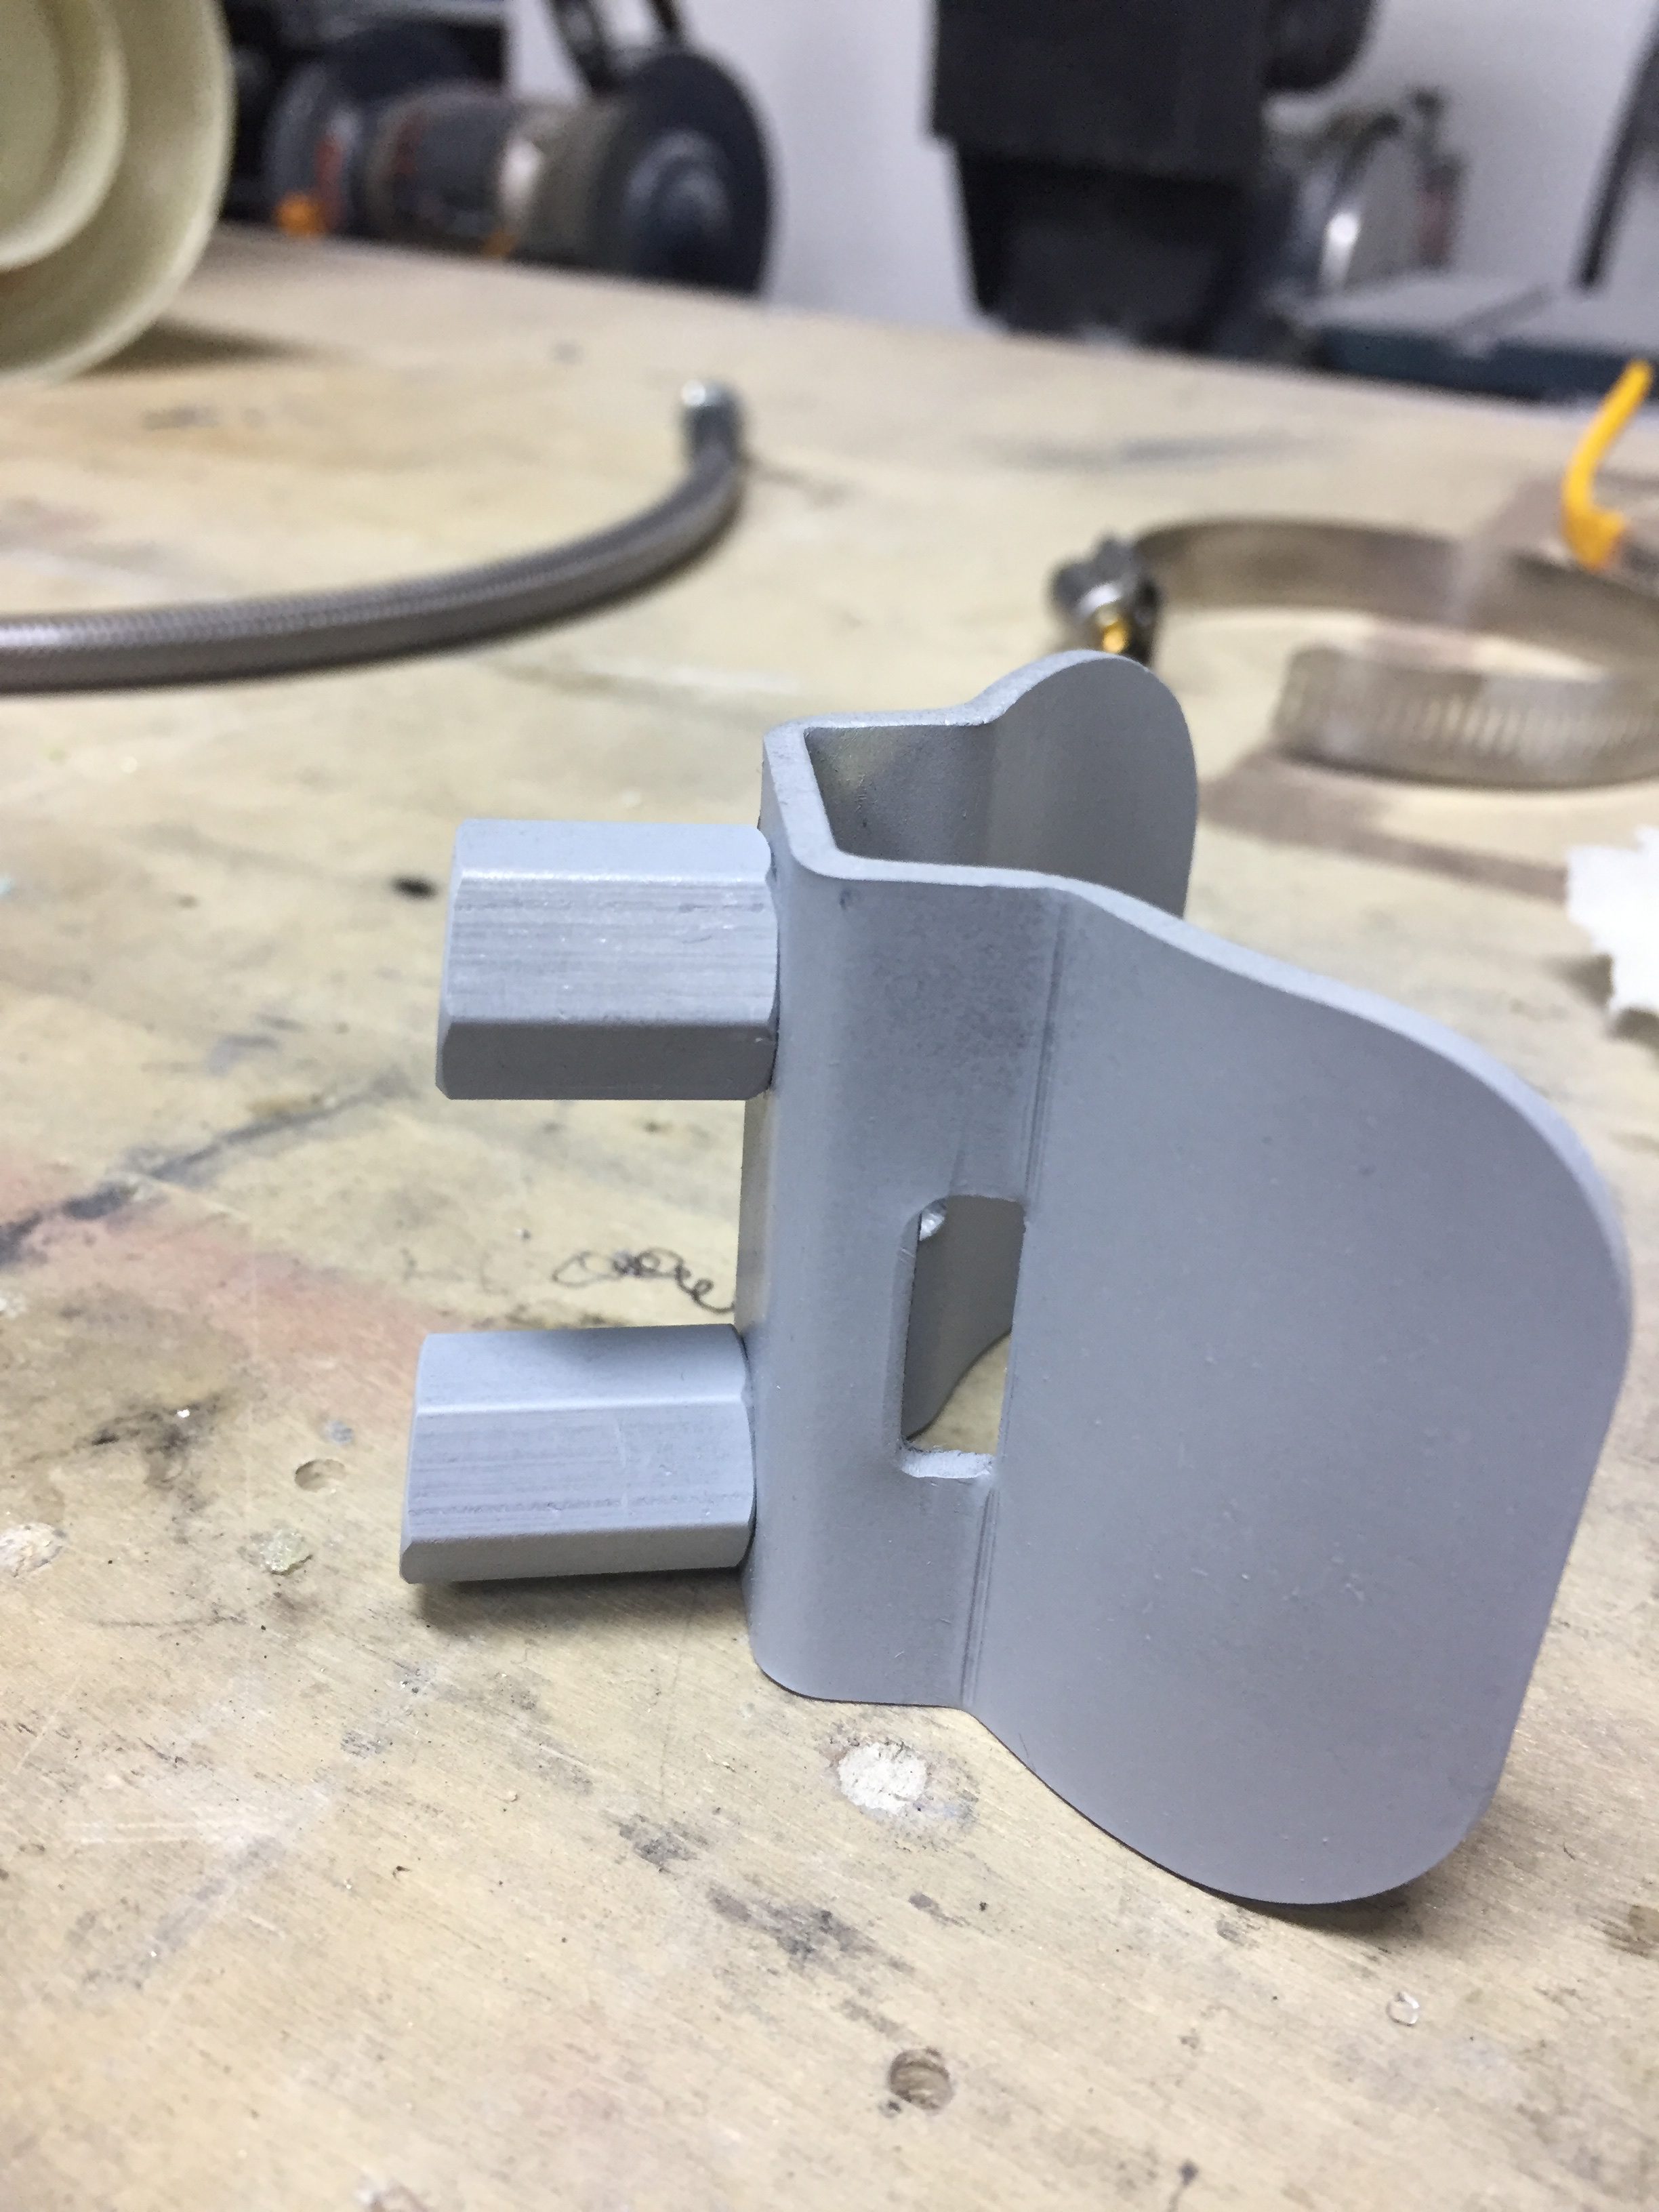
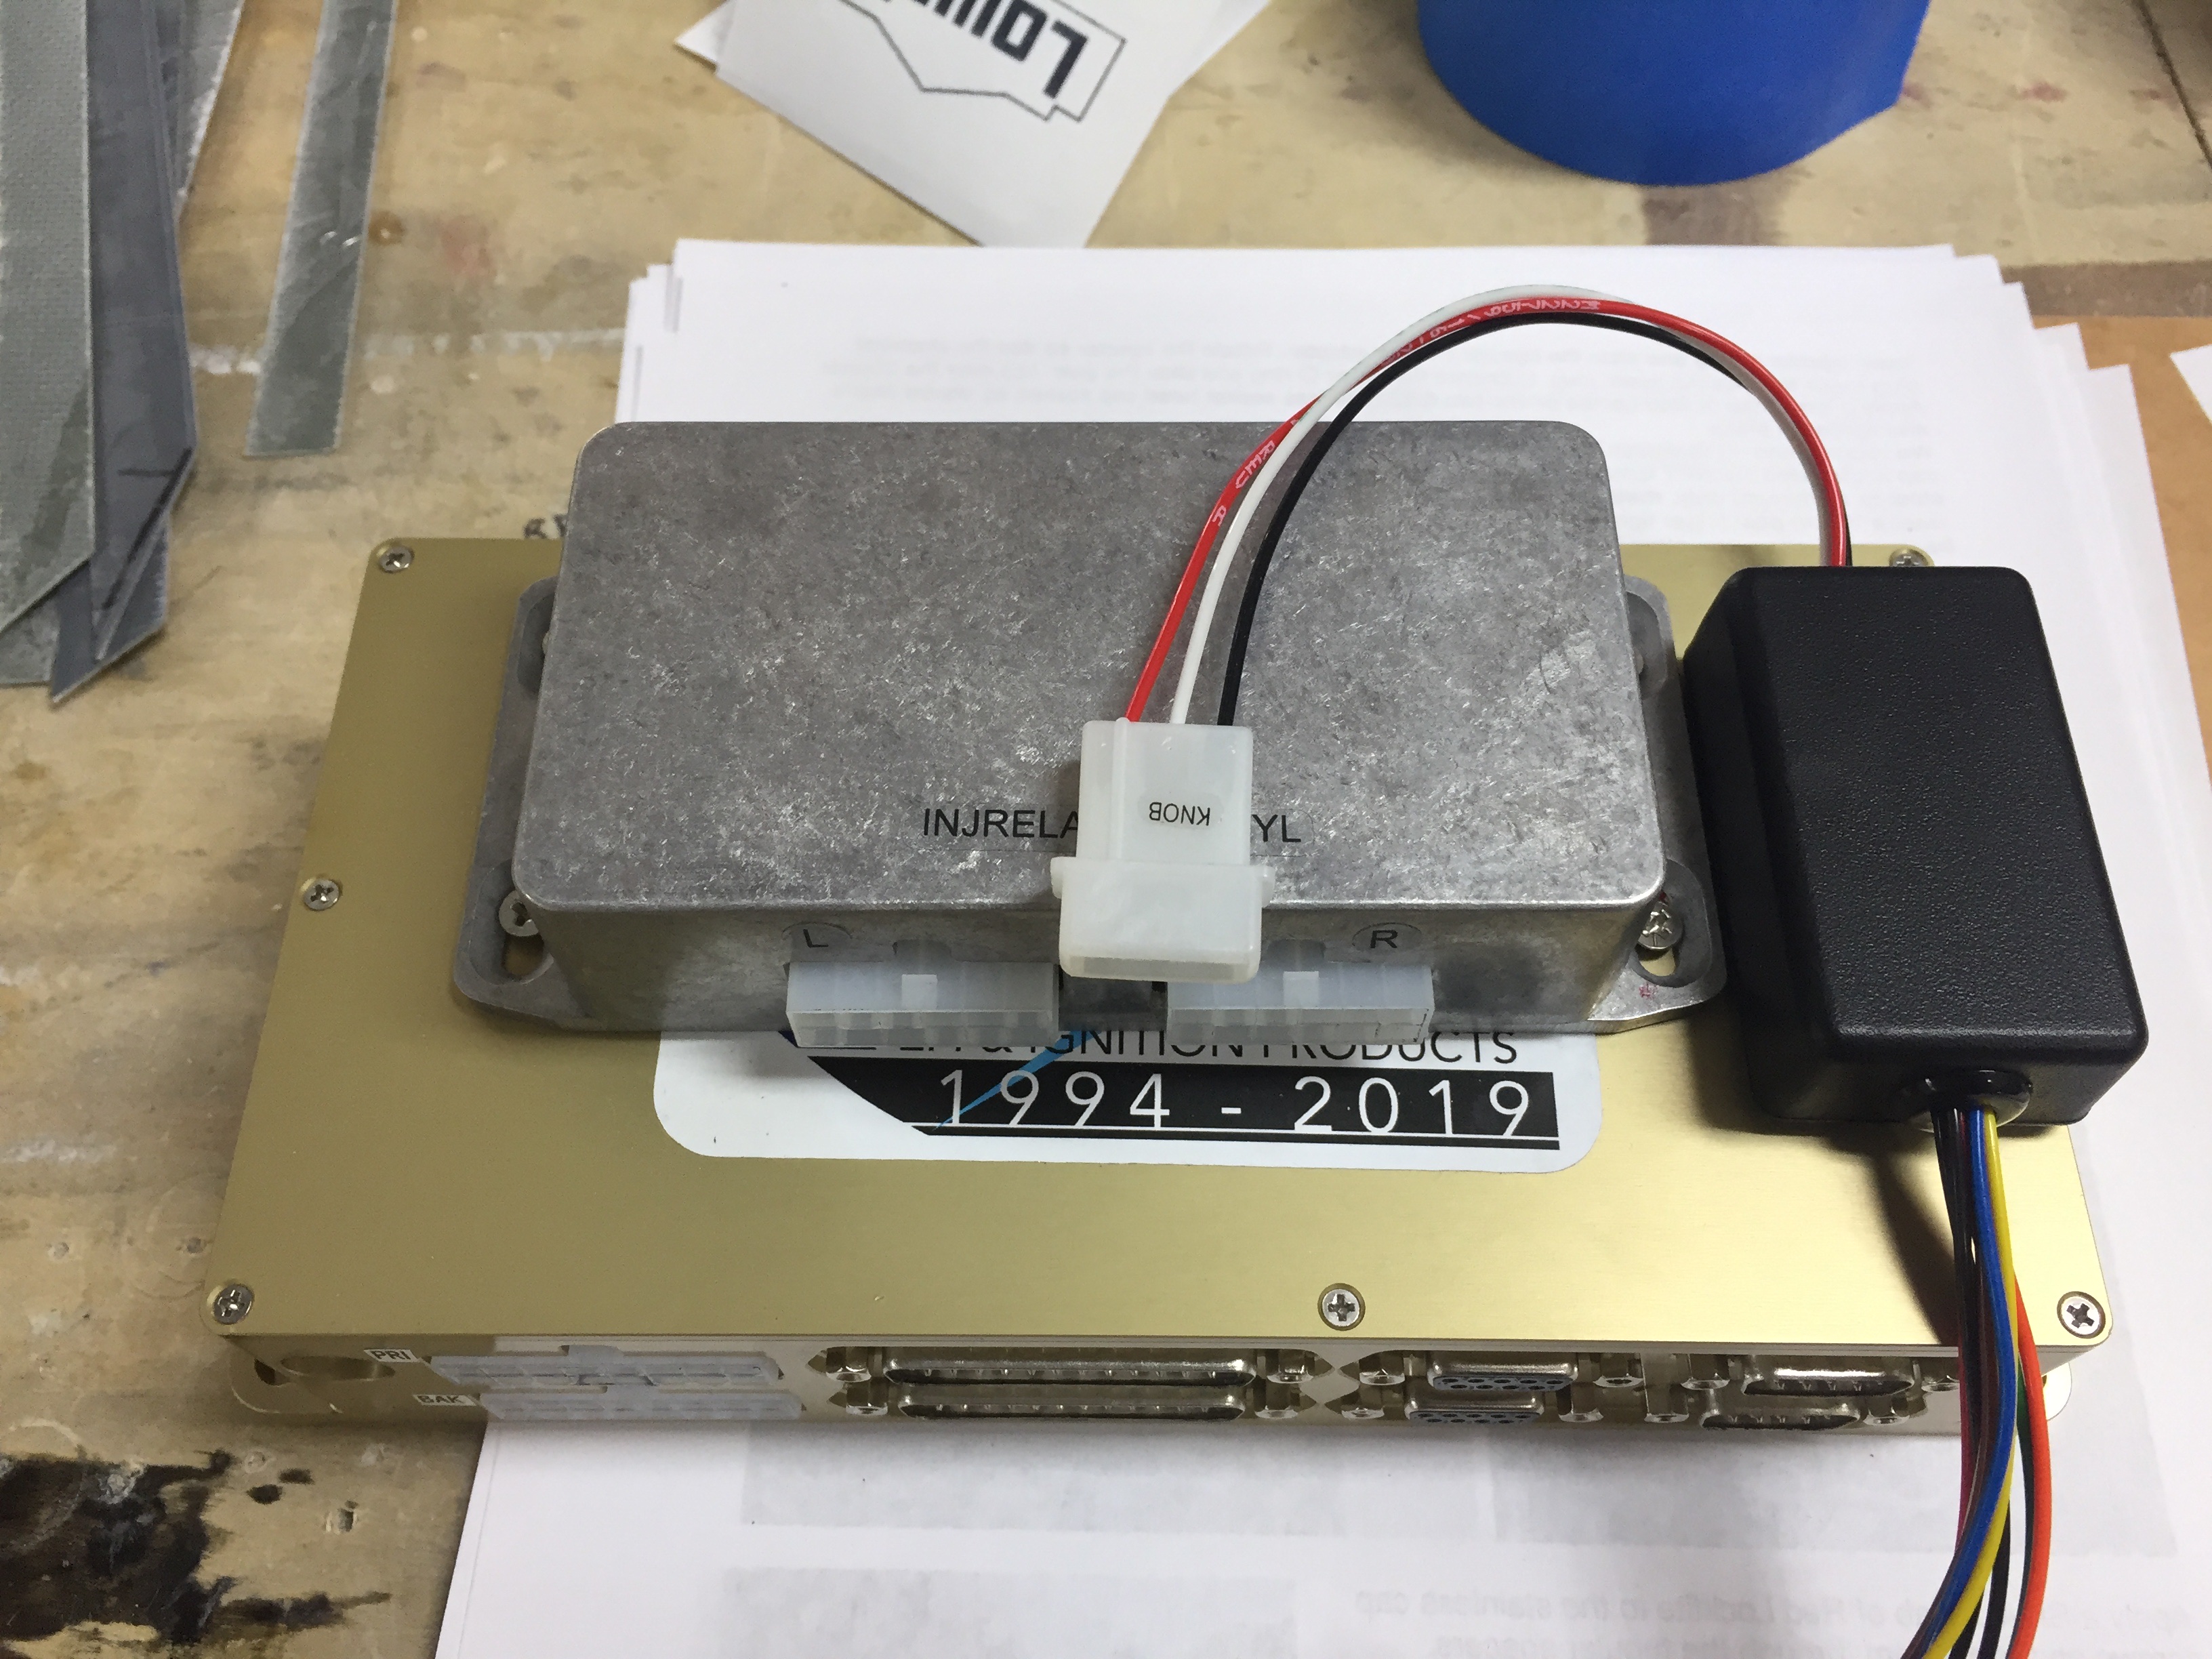
I started by screwing the ECU relay box to the ECU case itself with a few screws tapped into the ECU case. This creates a tidy package that will bolt into the cabin side behind the subpanel. I also put the mixture knob relay box on with double sided tape to secure everything in one palce. I had already mounted rails with nutplates in the subpanel.
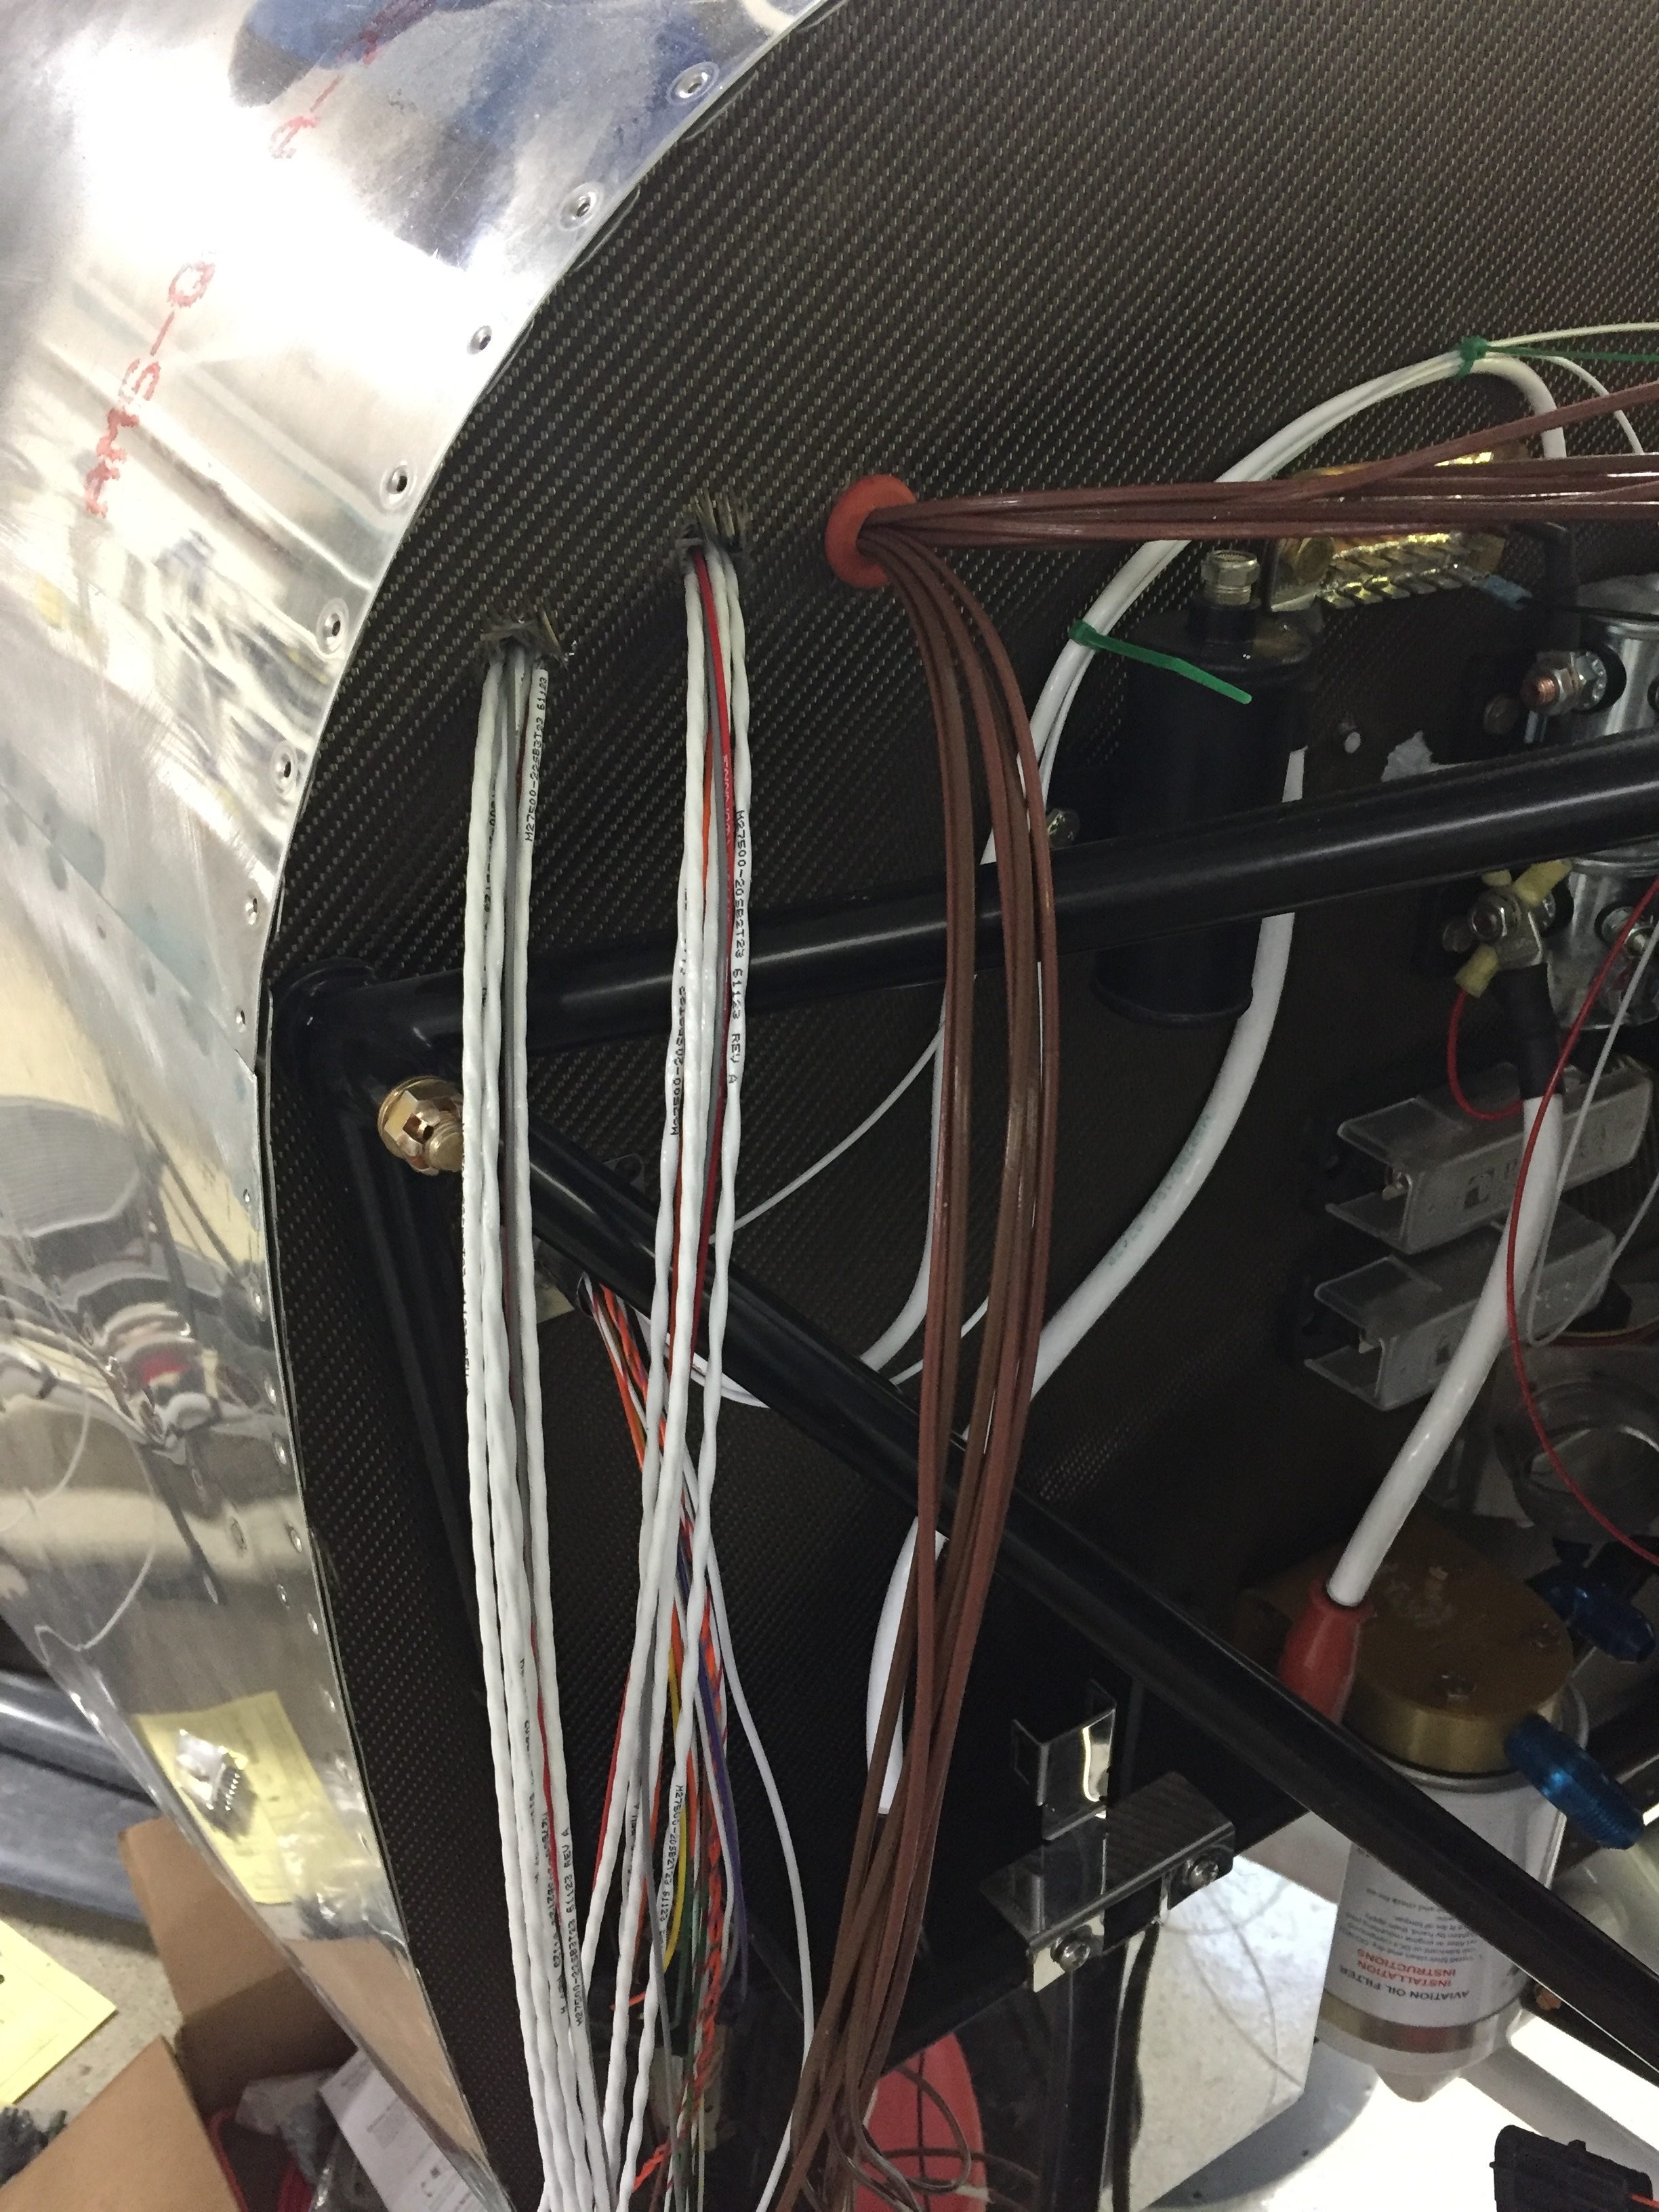
SDS supplies a harness with labeled wires and prefabed Dsub connectors. I fished all the wires that will go firewall forward through the stainless penetration and quickly realized there was no where near enough room to run all the wires. I still had the CHT/EGT and other EMS wires that needed to come through for the AFS EMS plus a few other misc wires. Without regards to symmetry, I decided to scrap more of the expensive firesleeve penetration kits and just run with a silicone high temp grommet and fire stop. The plans call for a plastic grommet and fire stop, so I’m still above minimums here. Two more holes painfully drilled and deburred in stainless steel allowed enough room for the tangled mess.
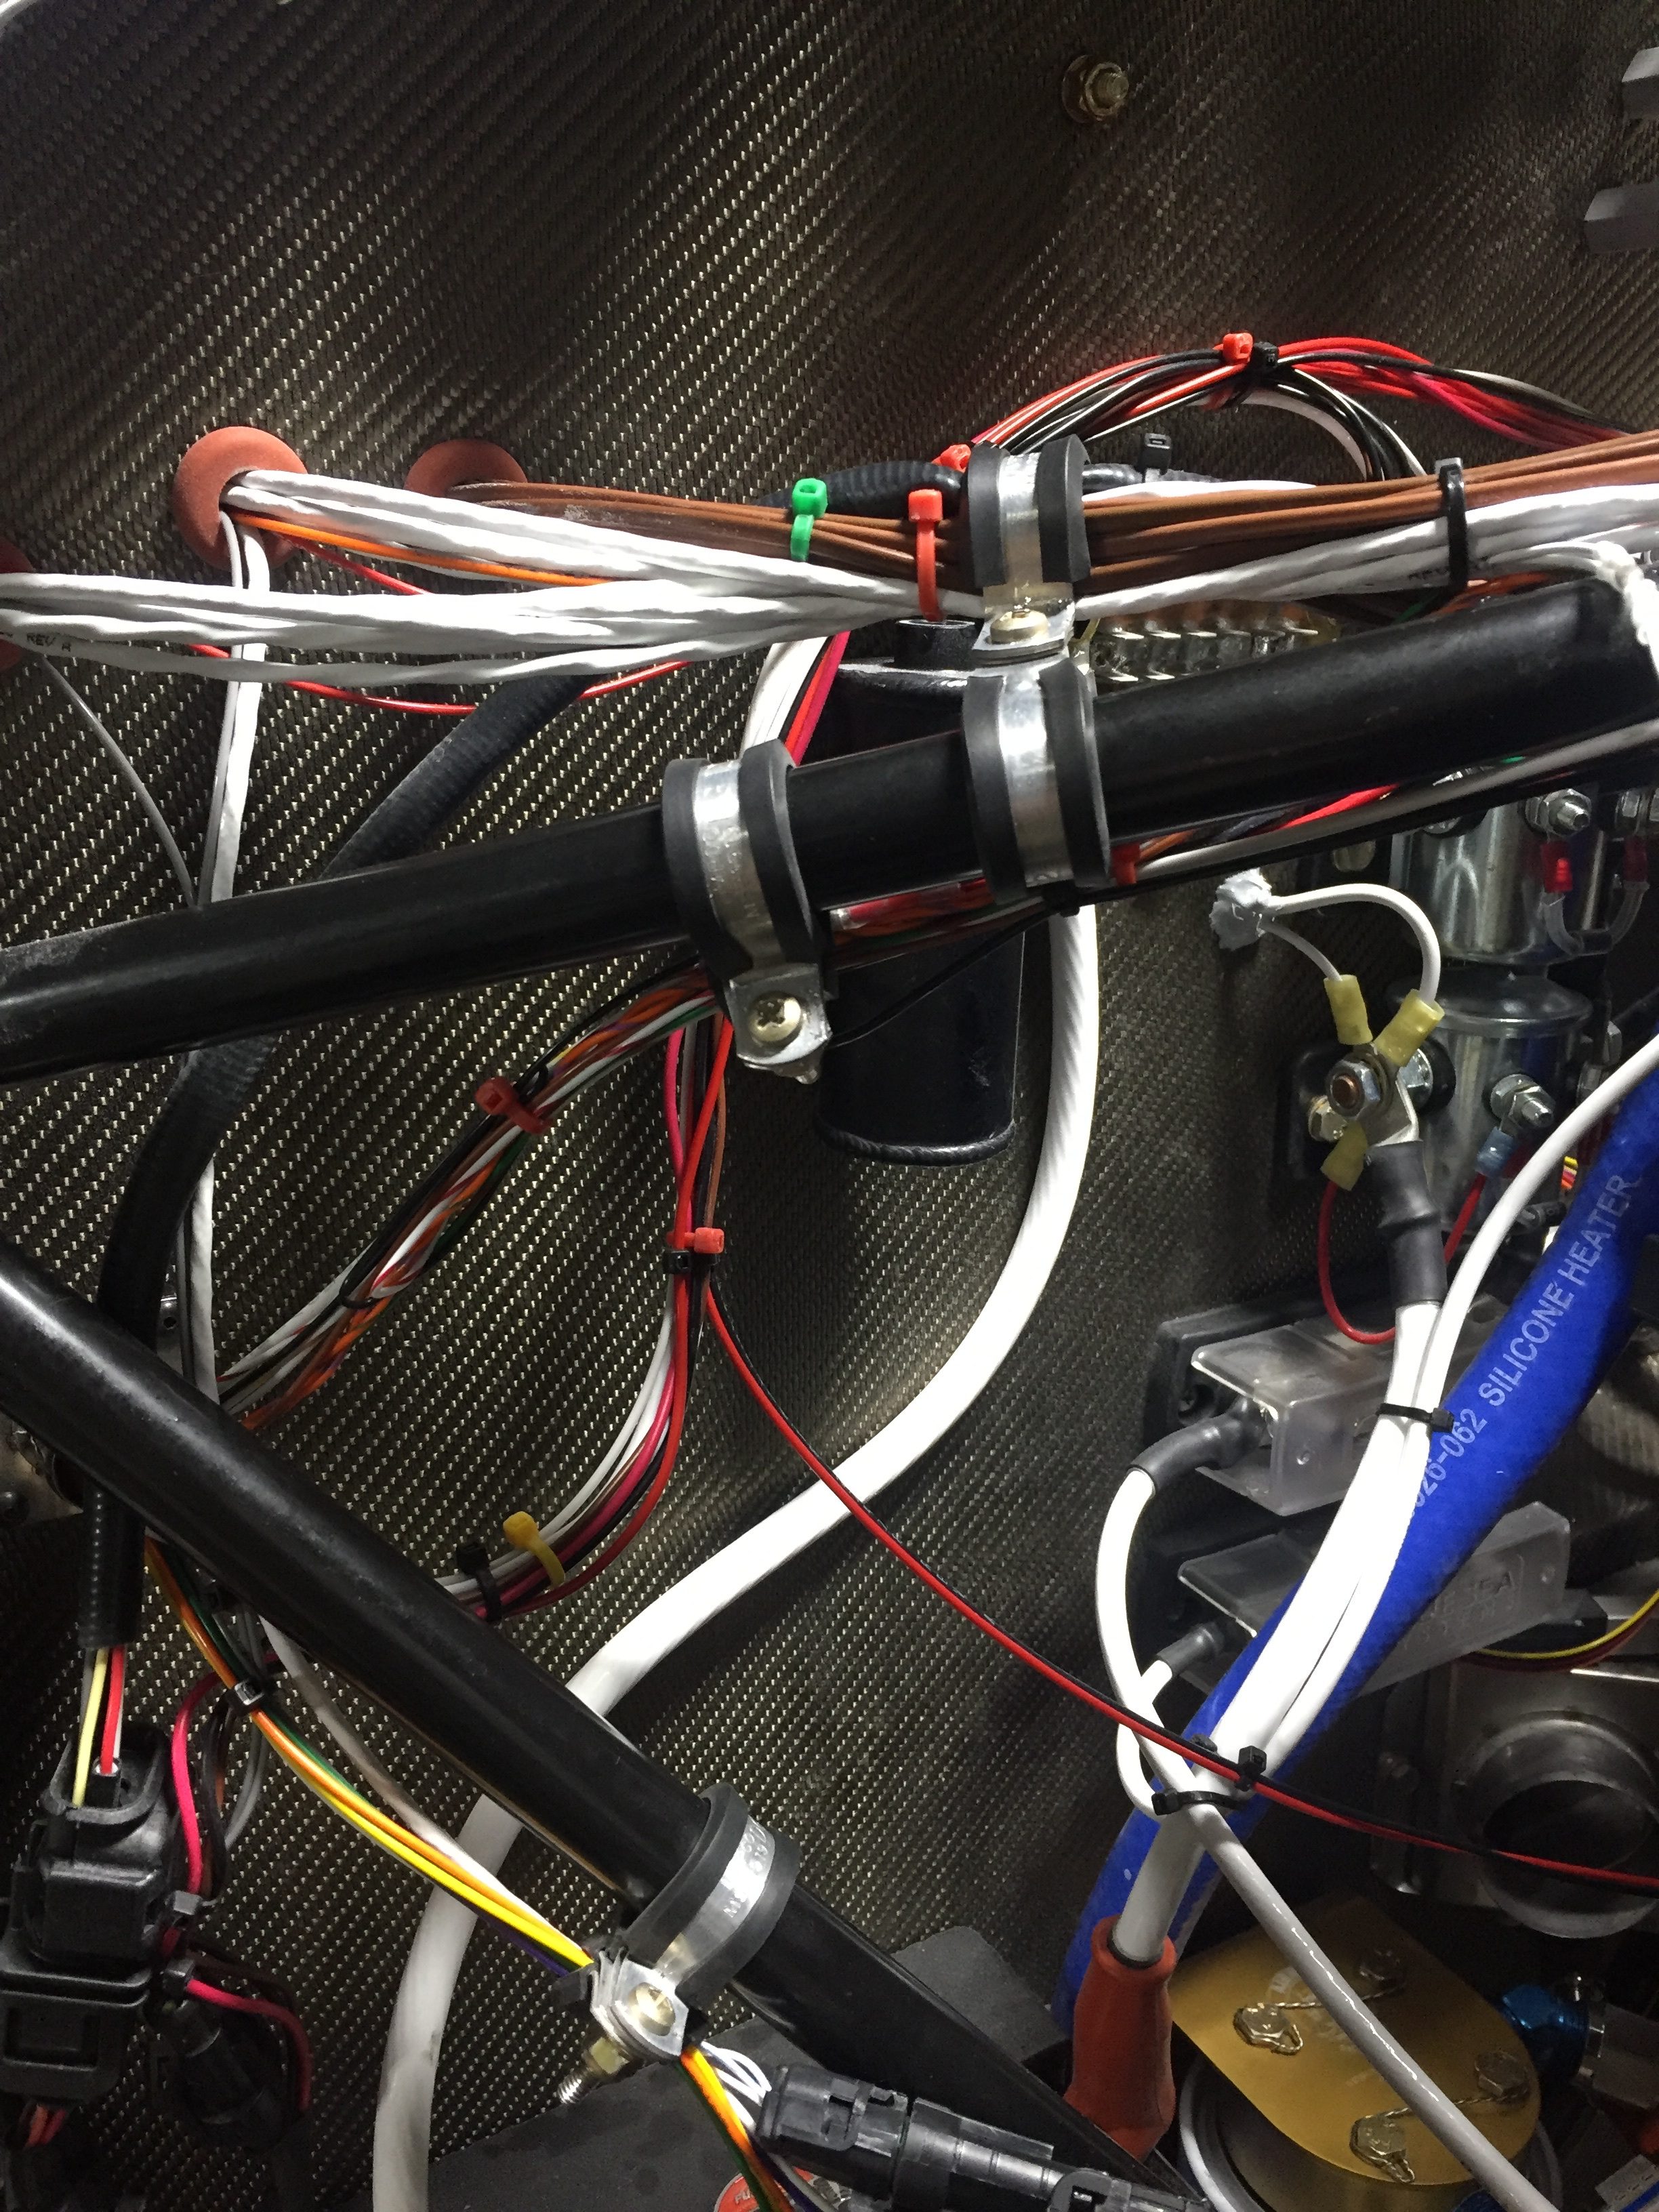
I underestimated the amount of connections and sensors needed for everything! It seemed the wires never stopped and I always had more hanging waiting for their turn in the spot light for a trim and terminal. Injectors, coils, EGT, CHT, hall sensor, TPS, MAP, AFR, oil pressure, fuel pressure, original bell telephone…okay not the telephone. I routed everything as neatly as I could keeping in mind strain releif, heat sources, and interference from other wires. I’m sure someone could do it better or neater, but this is working for me and I’m not really trying to win a neatness contest at this point. I chose to use zipties for now and will experiment with a 500*F rated sprial loom from McMaster Carr to clean everything up a bit down the road.
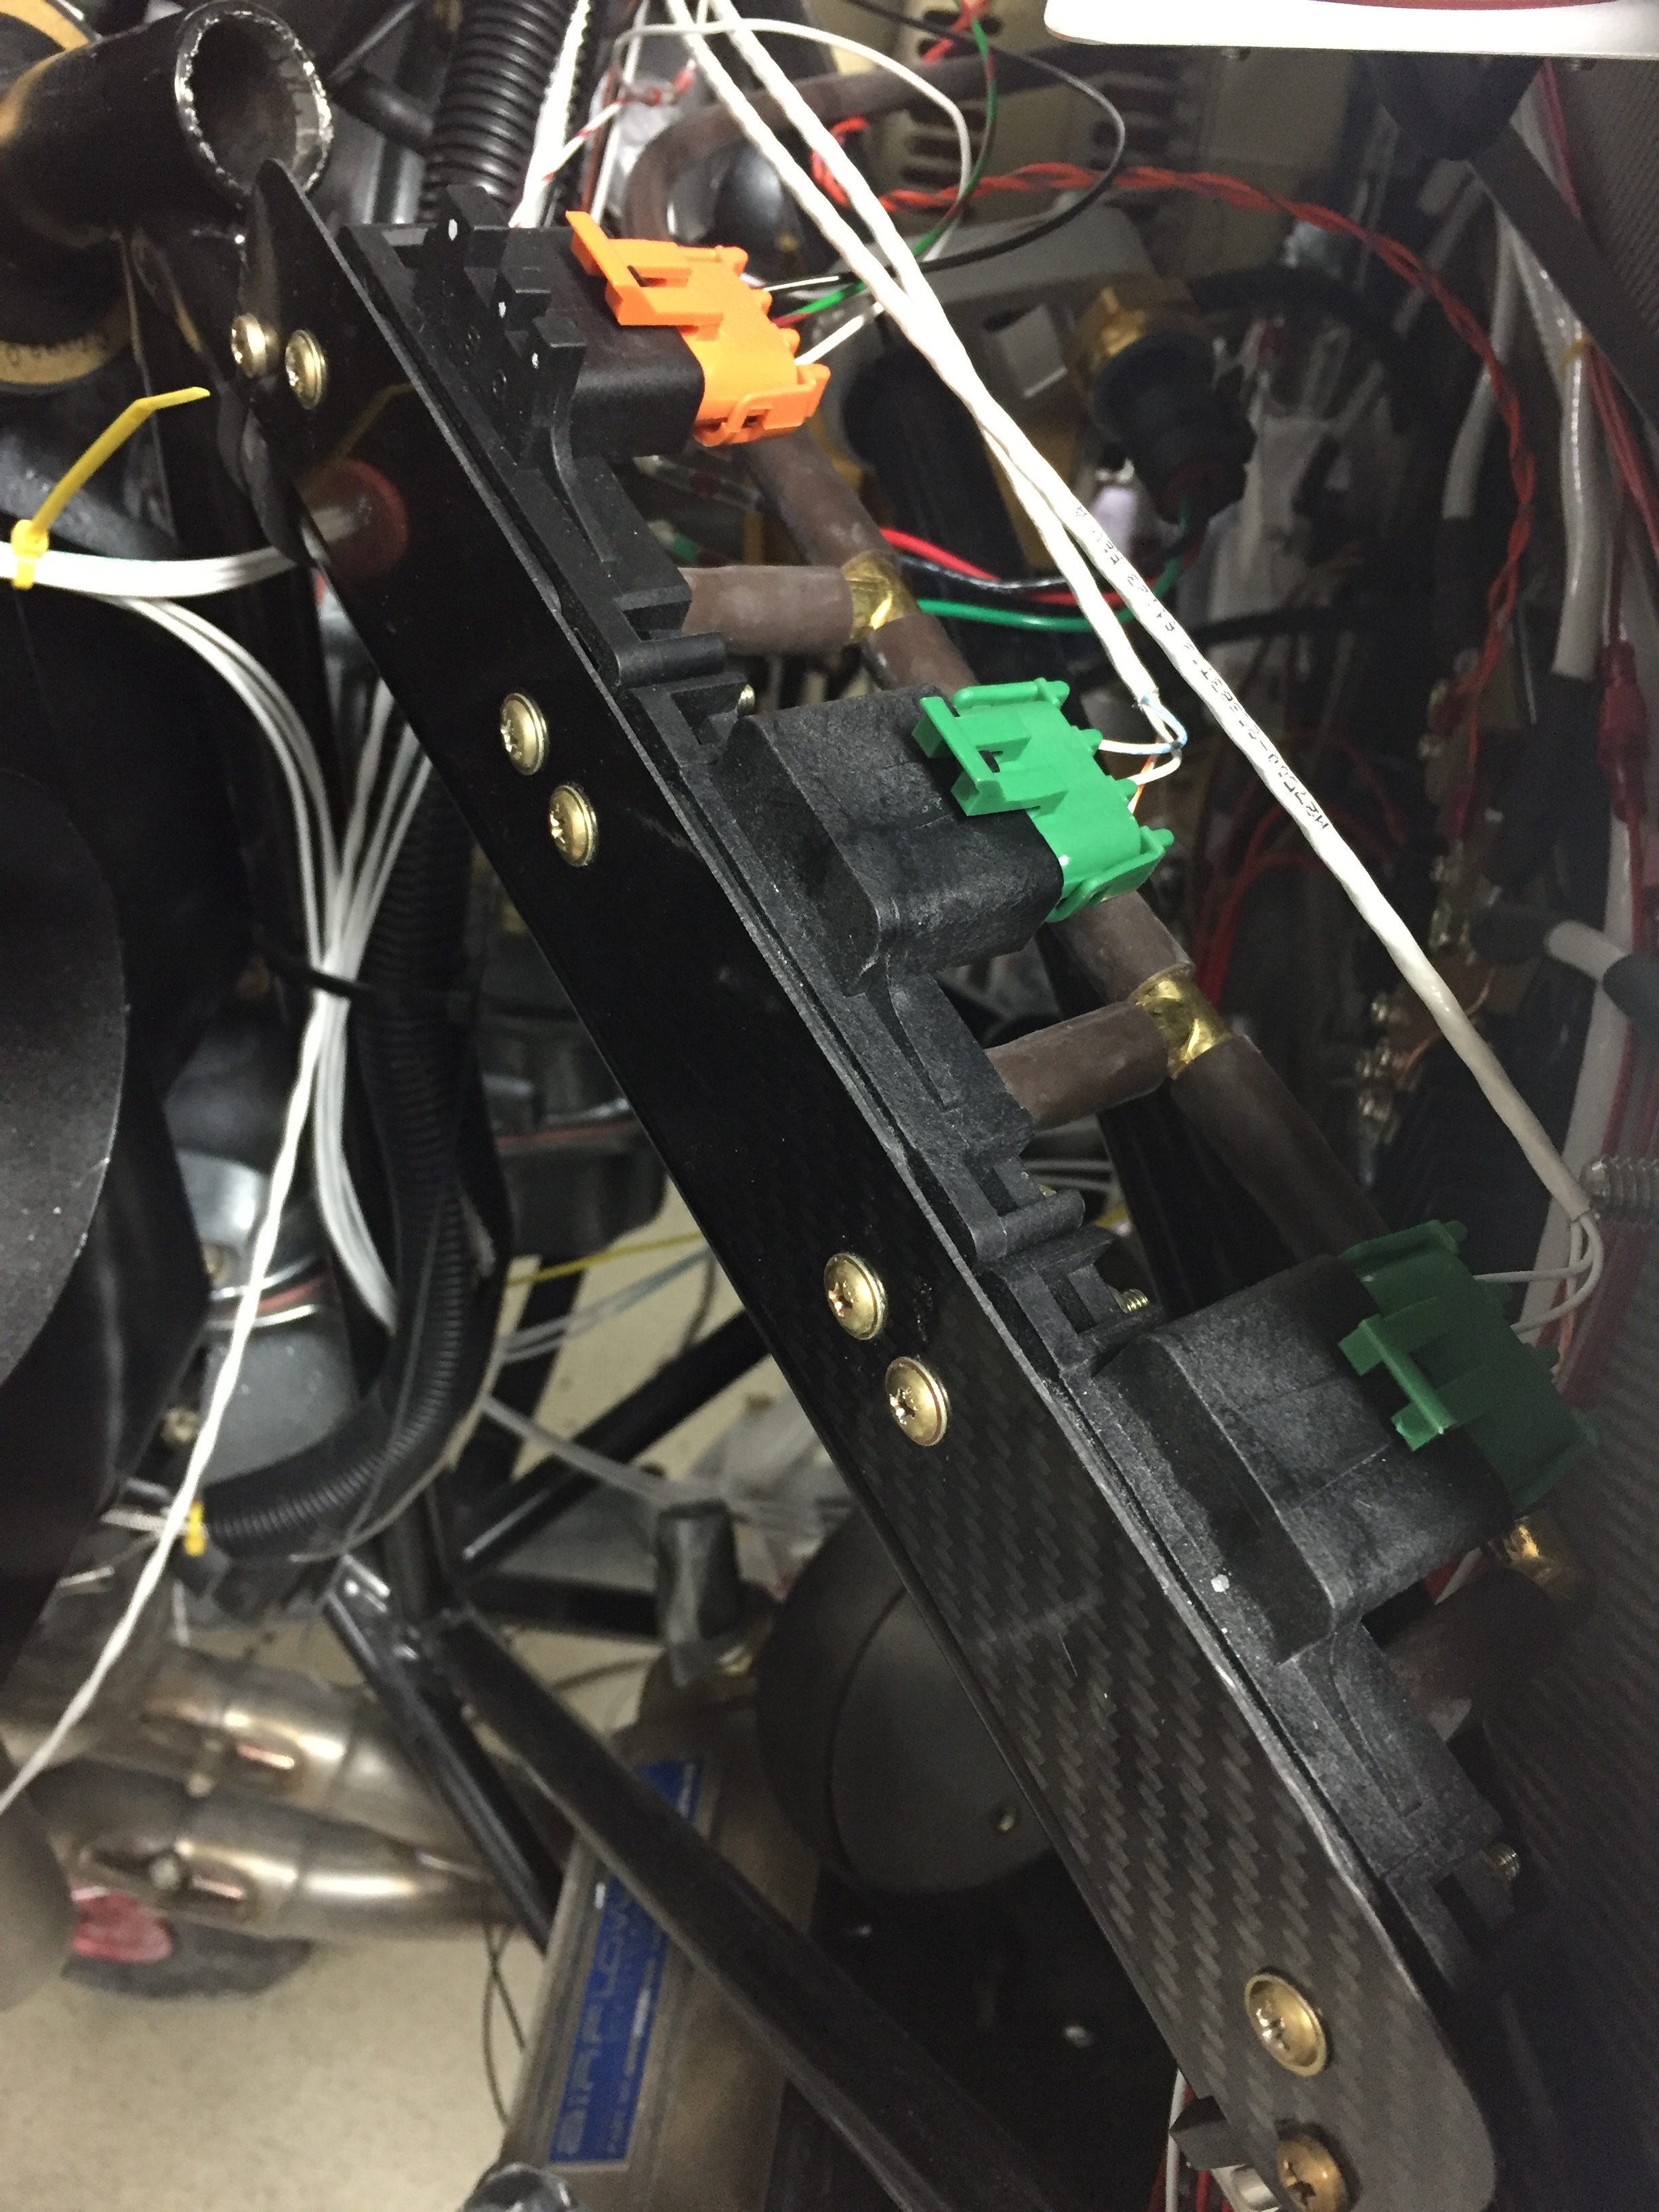
I focused on the firewall forward and finally had everything connected and pinned out. I created a carbon fiber plate for the THREE MAP sensors, yes, three of them. I also used Bryan at Show Planes’ transducer mounts to avoid more stuff on the firewal and create less plumbing lines. I also worked on the spark plug wires which use MSD terminals and wires. They were pretty easy to make up and I went ahead and drained the preservative oil out of the cylinders to install the spark plugs with the adapters and anti-seize.
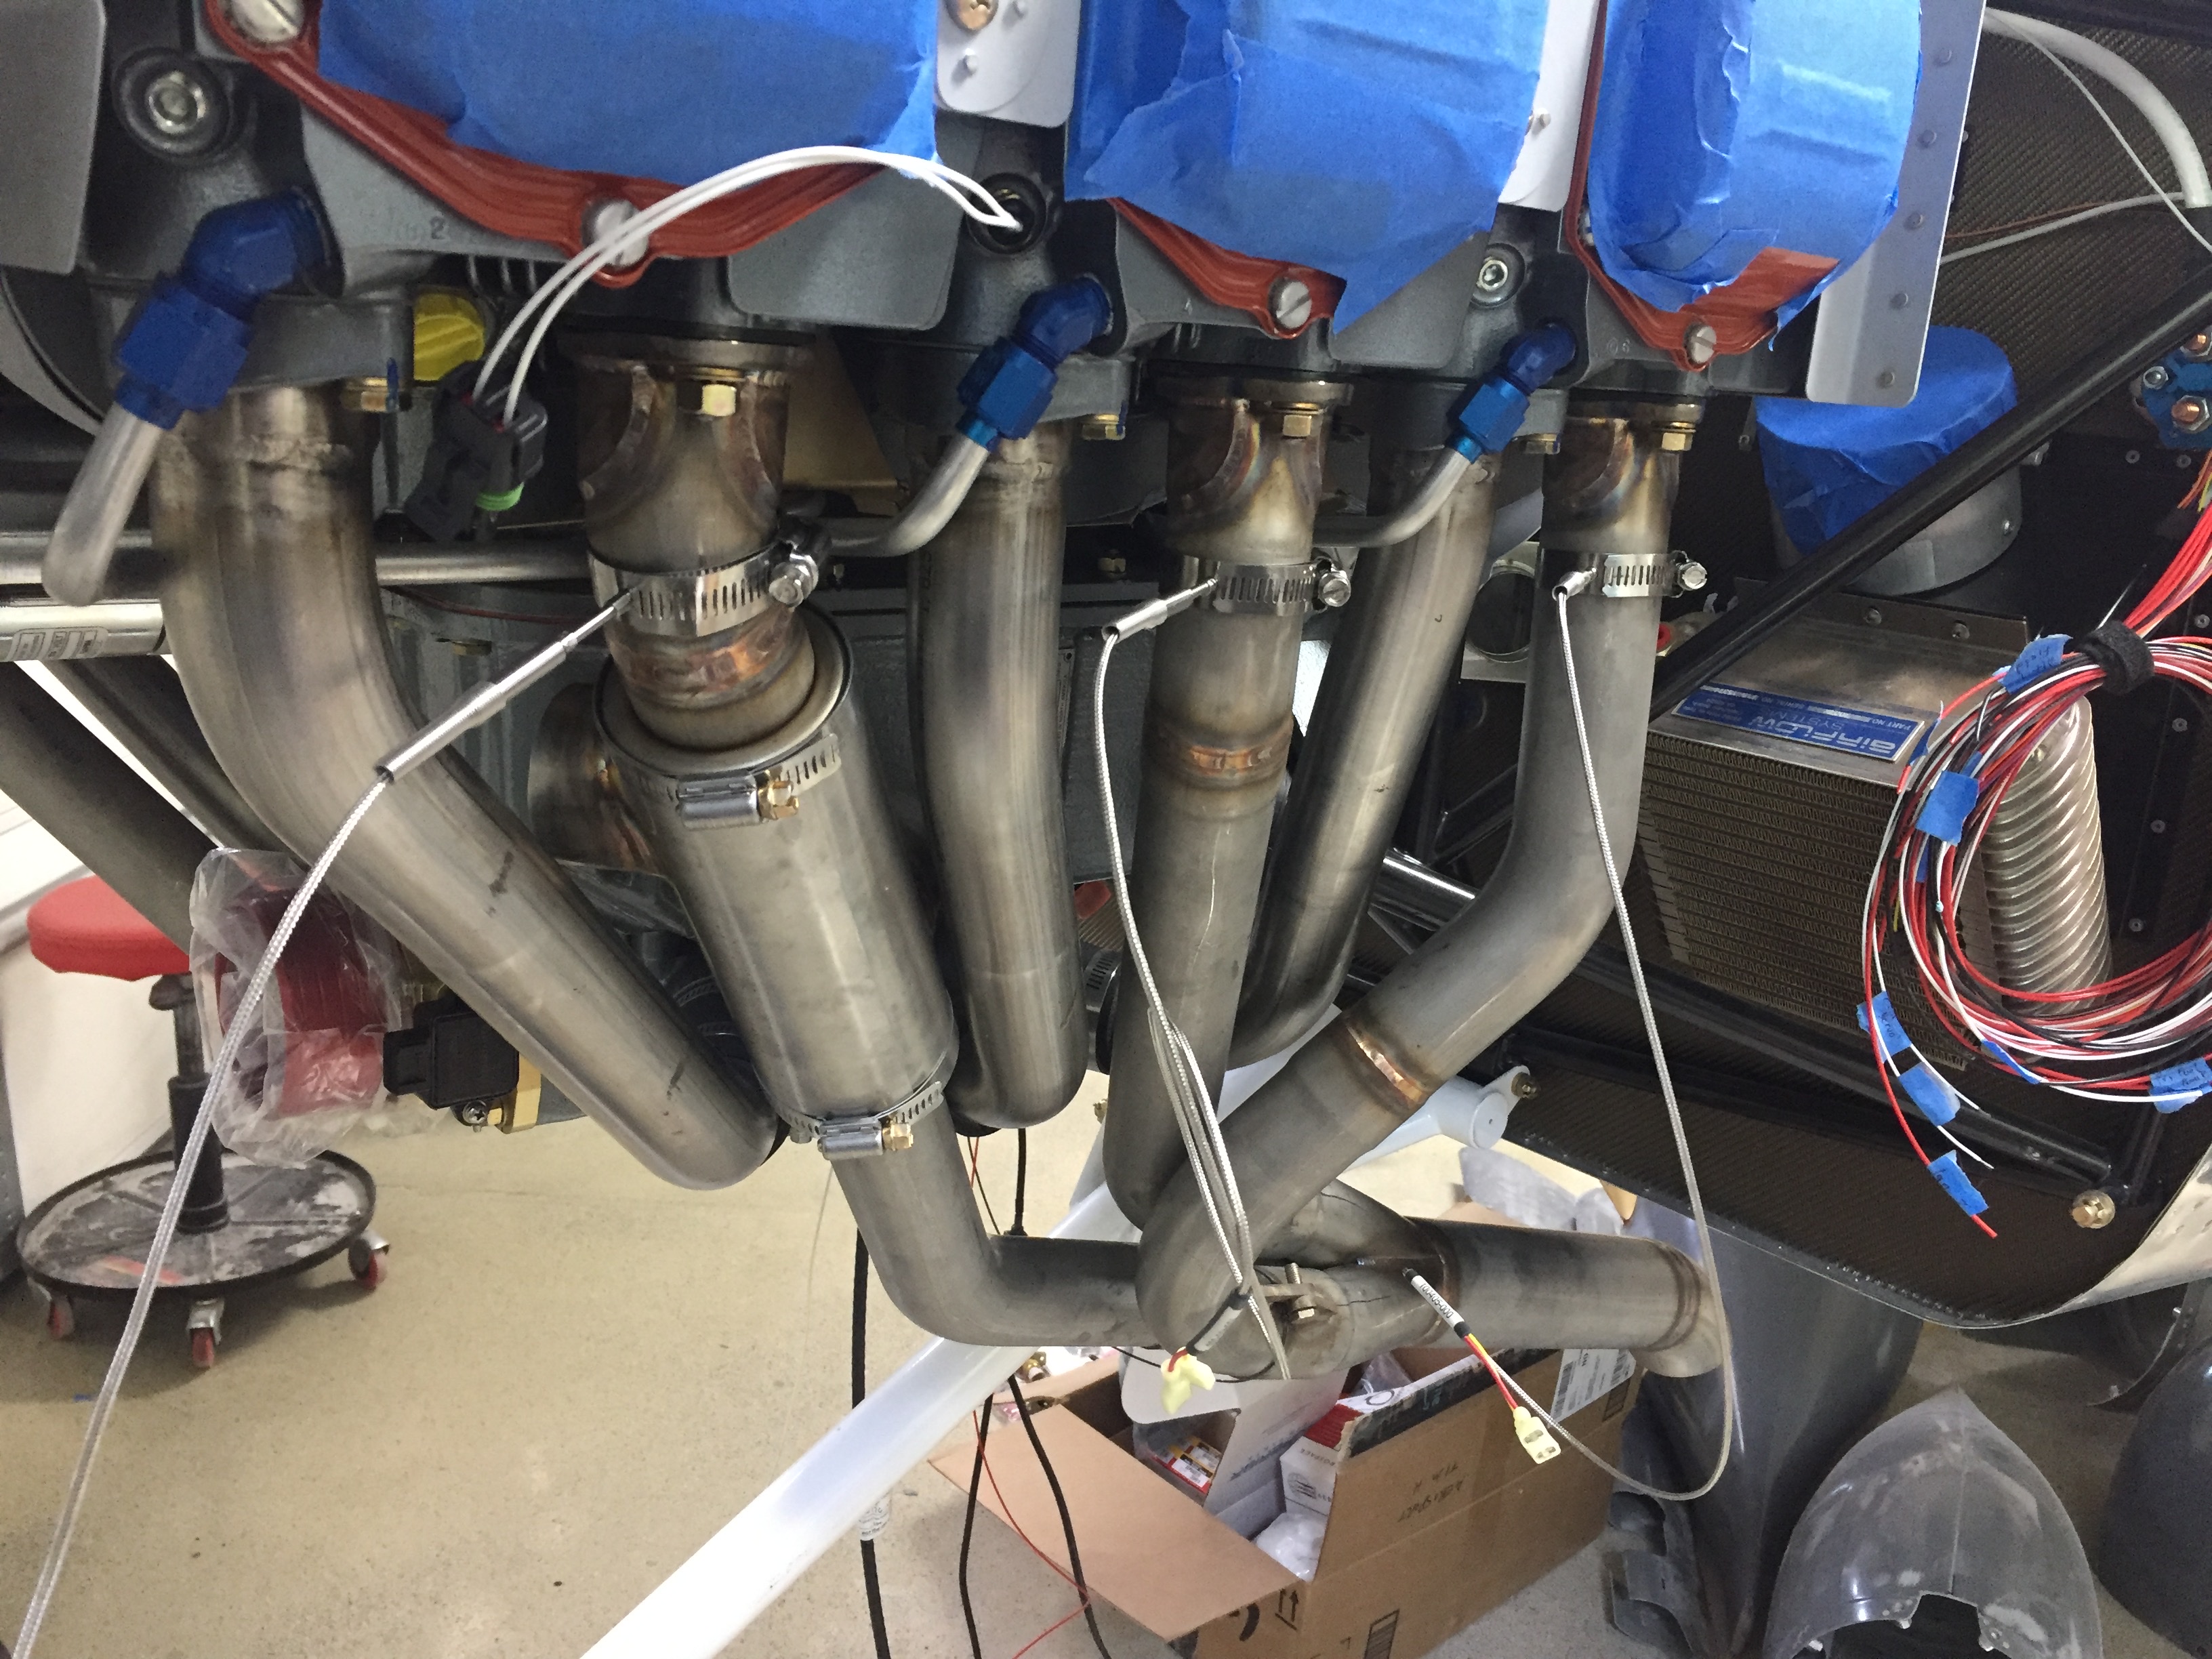
I did run across my first dumb ass moment when I relized my perfectly placed EGT probes are not perfectly placed. They are smack dab in the middle of the spark plugs and thus need to be removed to change the plugs. Not the end of the world, but will add maintenance time down the road. If I get tired enough of them, I’ll remove the exhaust, weld up the holes and reposition them. Speaking of welding, I had Charlie on base weld up a mis-drilled EGT hole (interfered with the induction intake) and the AFR bung. As always, he did an amazing job for the reasonable cost of a few cases of beer for the shop.
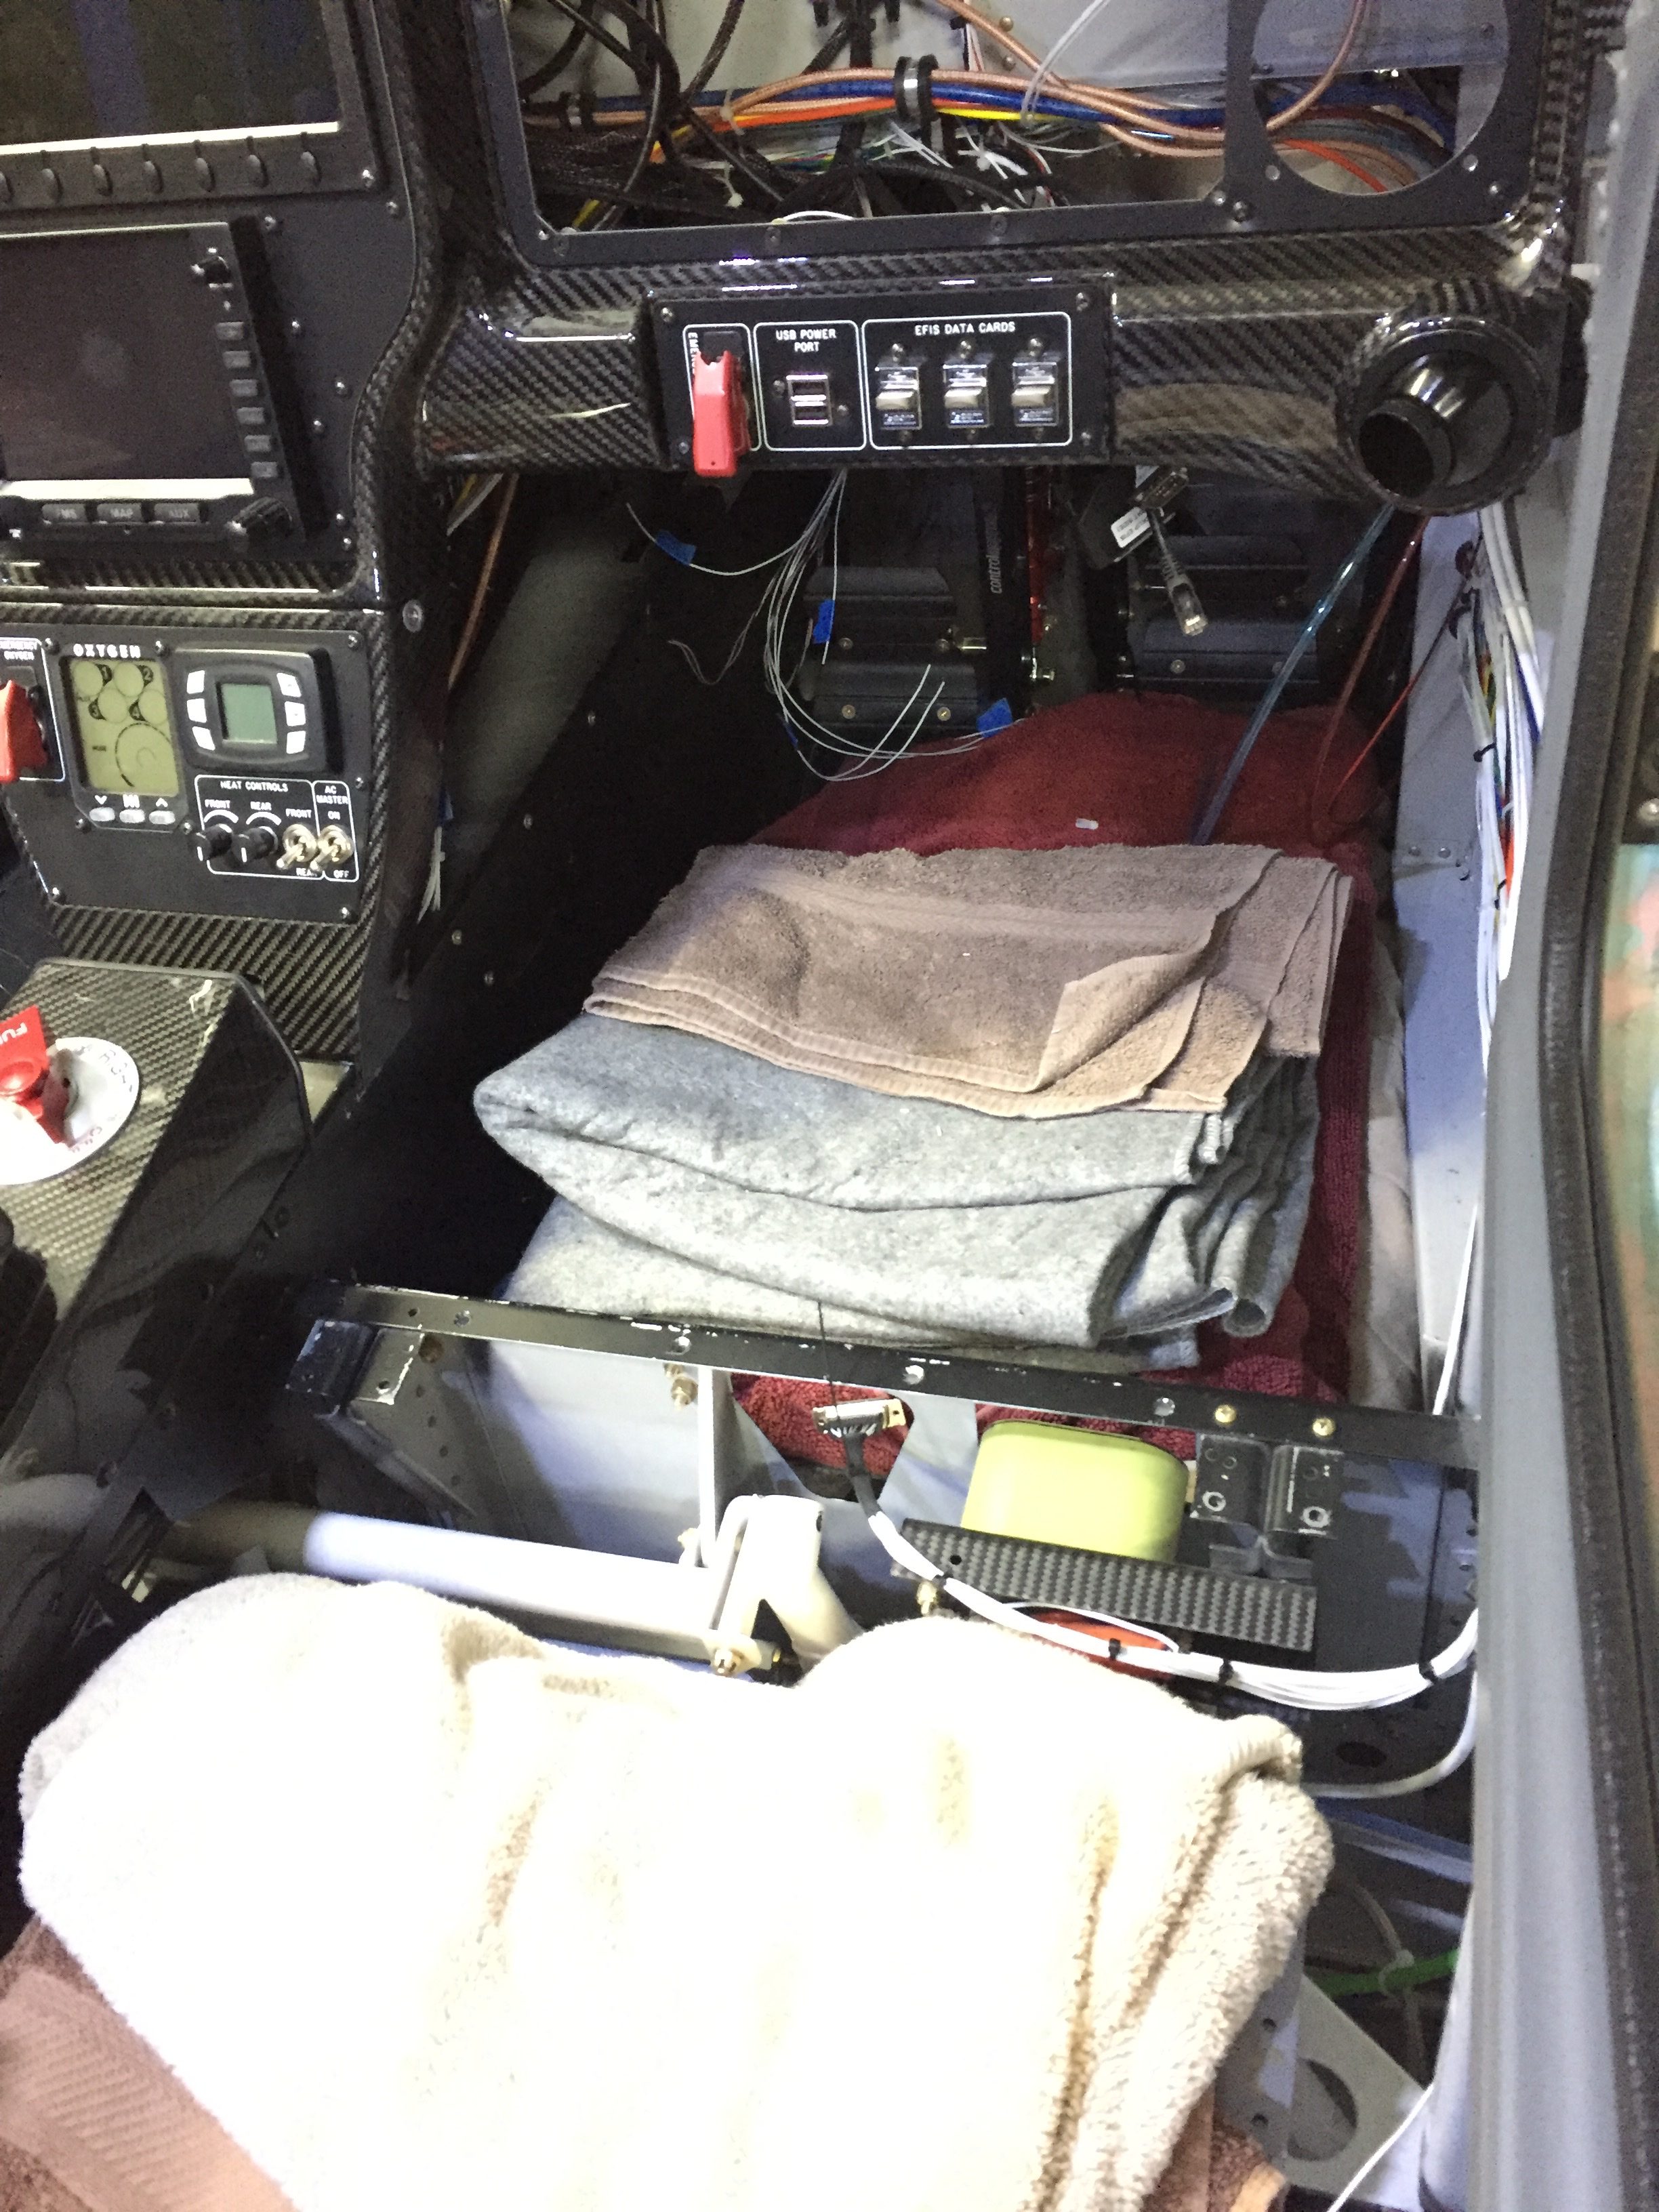
Fast forward a week or two, I finished the brains by working cabin side of the firewall underneath the panel. I just love contorting my body in some ungodly yoga pose upside down while having my face inches away from my work area to work under the panel! Fortunately, the wife came out and stood by my side as an assistant for the three hours it took me to terminate all of the extra wires inside. I had to pin out a few switches, mixture knob, sensors, grounds, power, and signal wires for the ECUs and EMS. It wasn’t fun, but it went well and I got all of the connections made correctly with her help and a lot of triple checking.
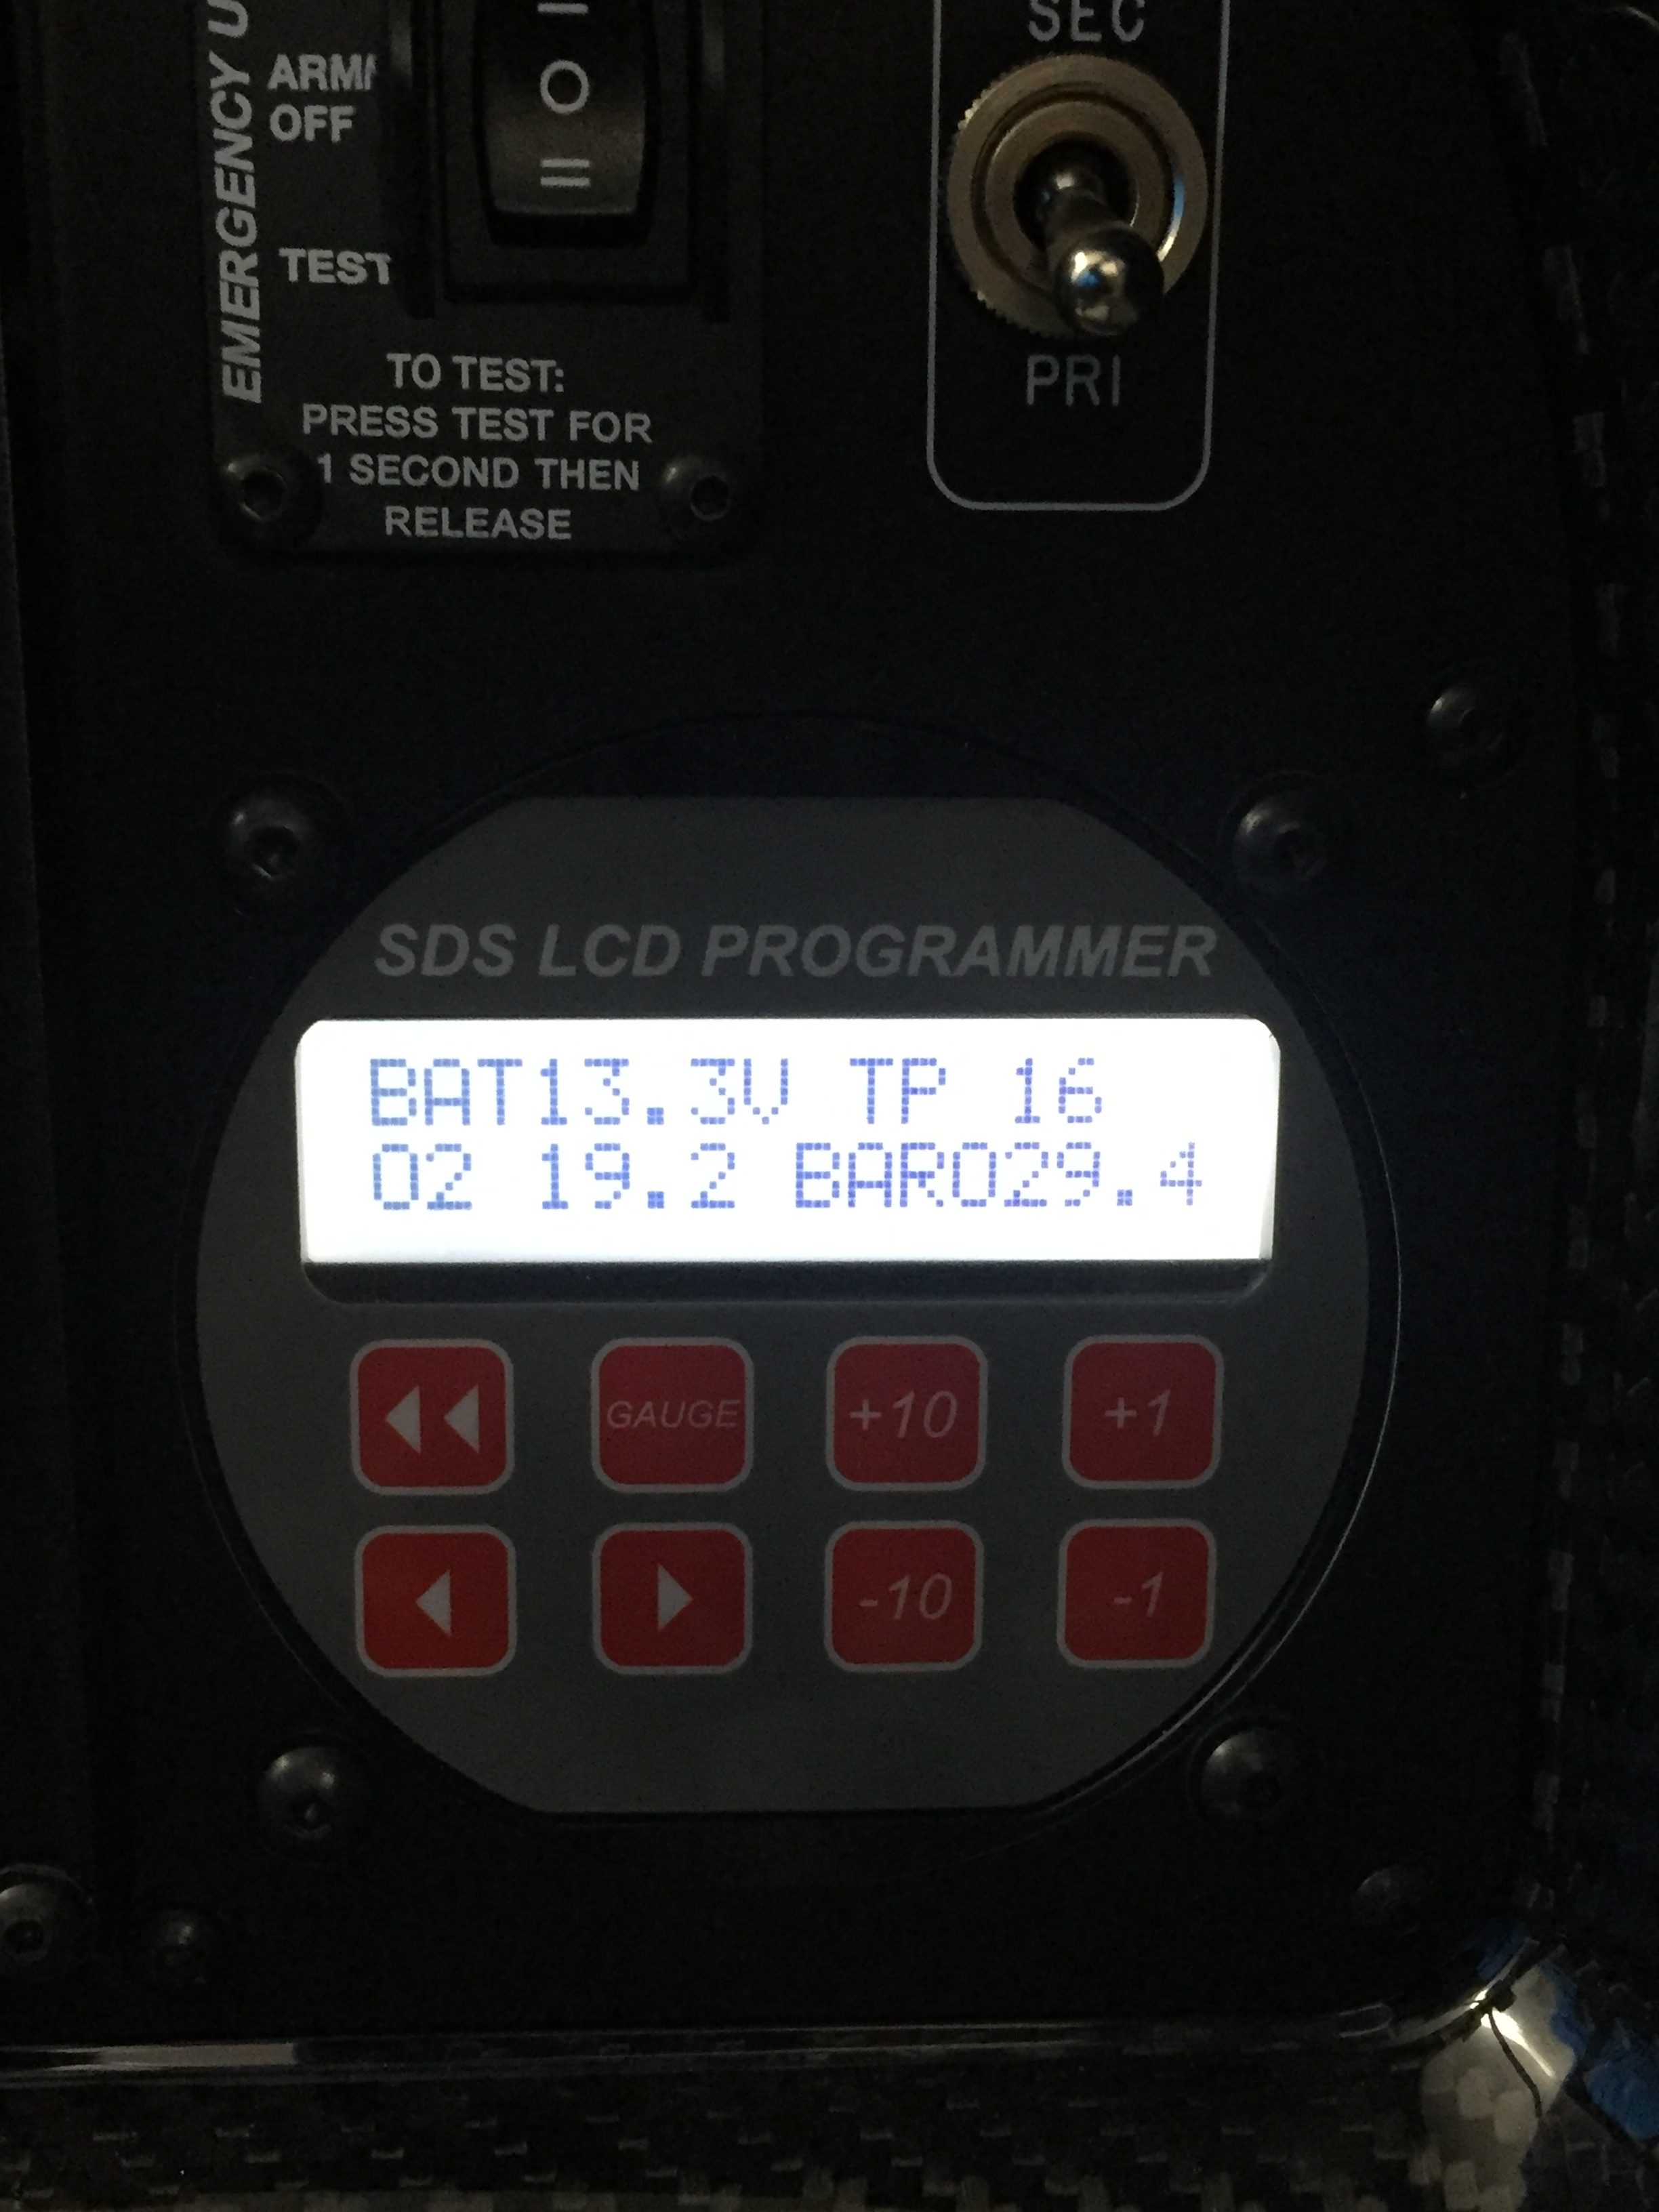
We also remounted the air oil separator on stand offs I created and bolted the improperly drilled holes to seal the firewall. Mounting the ECUs was a rediculously difficult endeavor but thank goodness I had already installed the rails and nutplates. Without those, it would have been impossible, truely. I hope I don’t have to get those boxes out very much if ever at all. The wiring needs some tidying up underneath that I’ll do another day but at long last, it’s all hooked up. The final step was to fire up the master switch and check out the ECU programmer now that it is installed in the panel filling the last hole. It’s at long last a complete instrument panel!
