The seat belts have been a long time coming and now that the parts are anodized, I can install the seat brackets and get the seats off for covering. I also had to have the belts redone, as the side mount was sewn on backwards, not allowing the belt to be mounted to the side wall. The front receptacles also had to be special ordered since the mounting brackets for those were also designed for a seat mount, not tunnel mount. I’ll say that Seatbelt Planet did a fantastic job at creating these for me and their service was excellent. In the end I wound up with exactly what I wanted despite a lot of custom challenges.
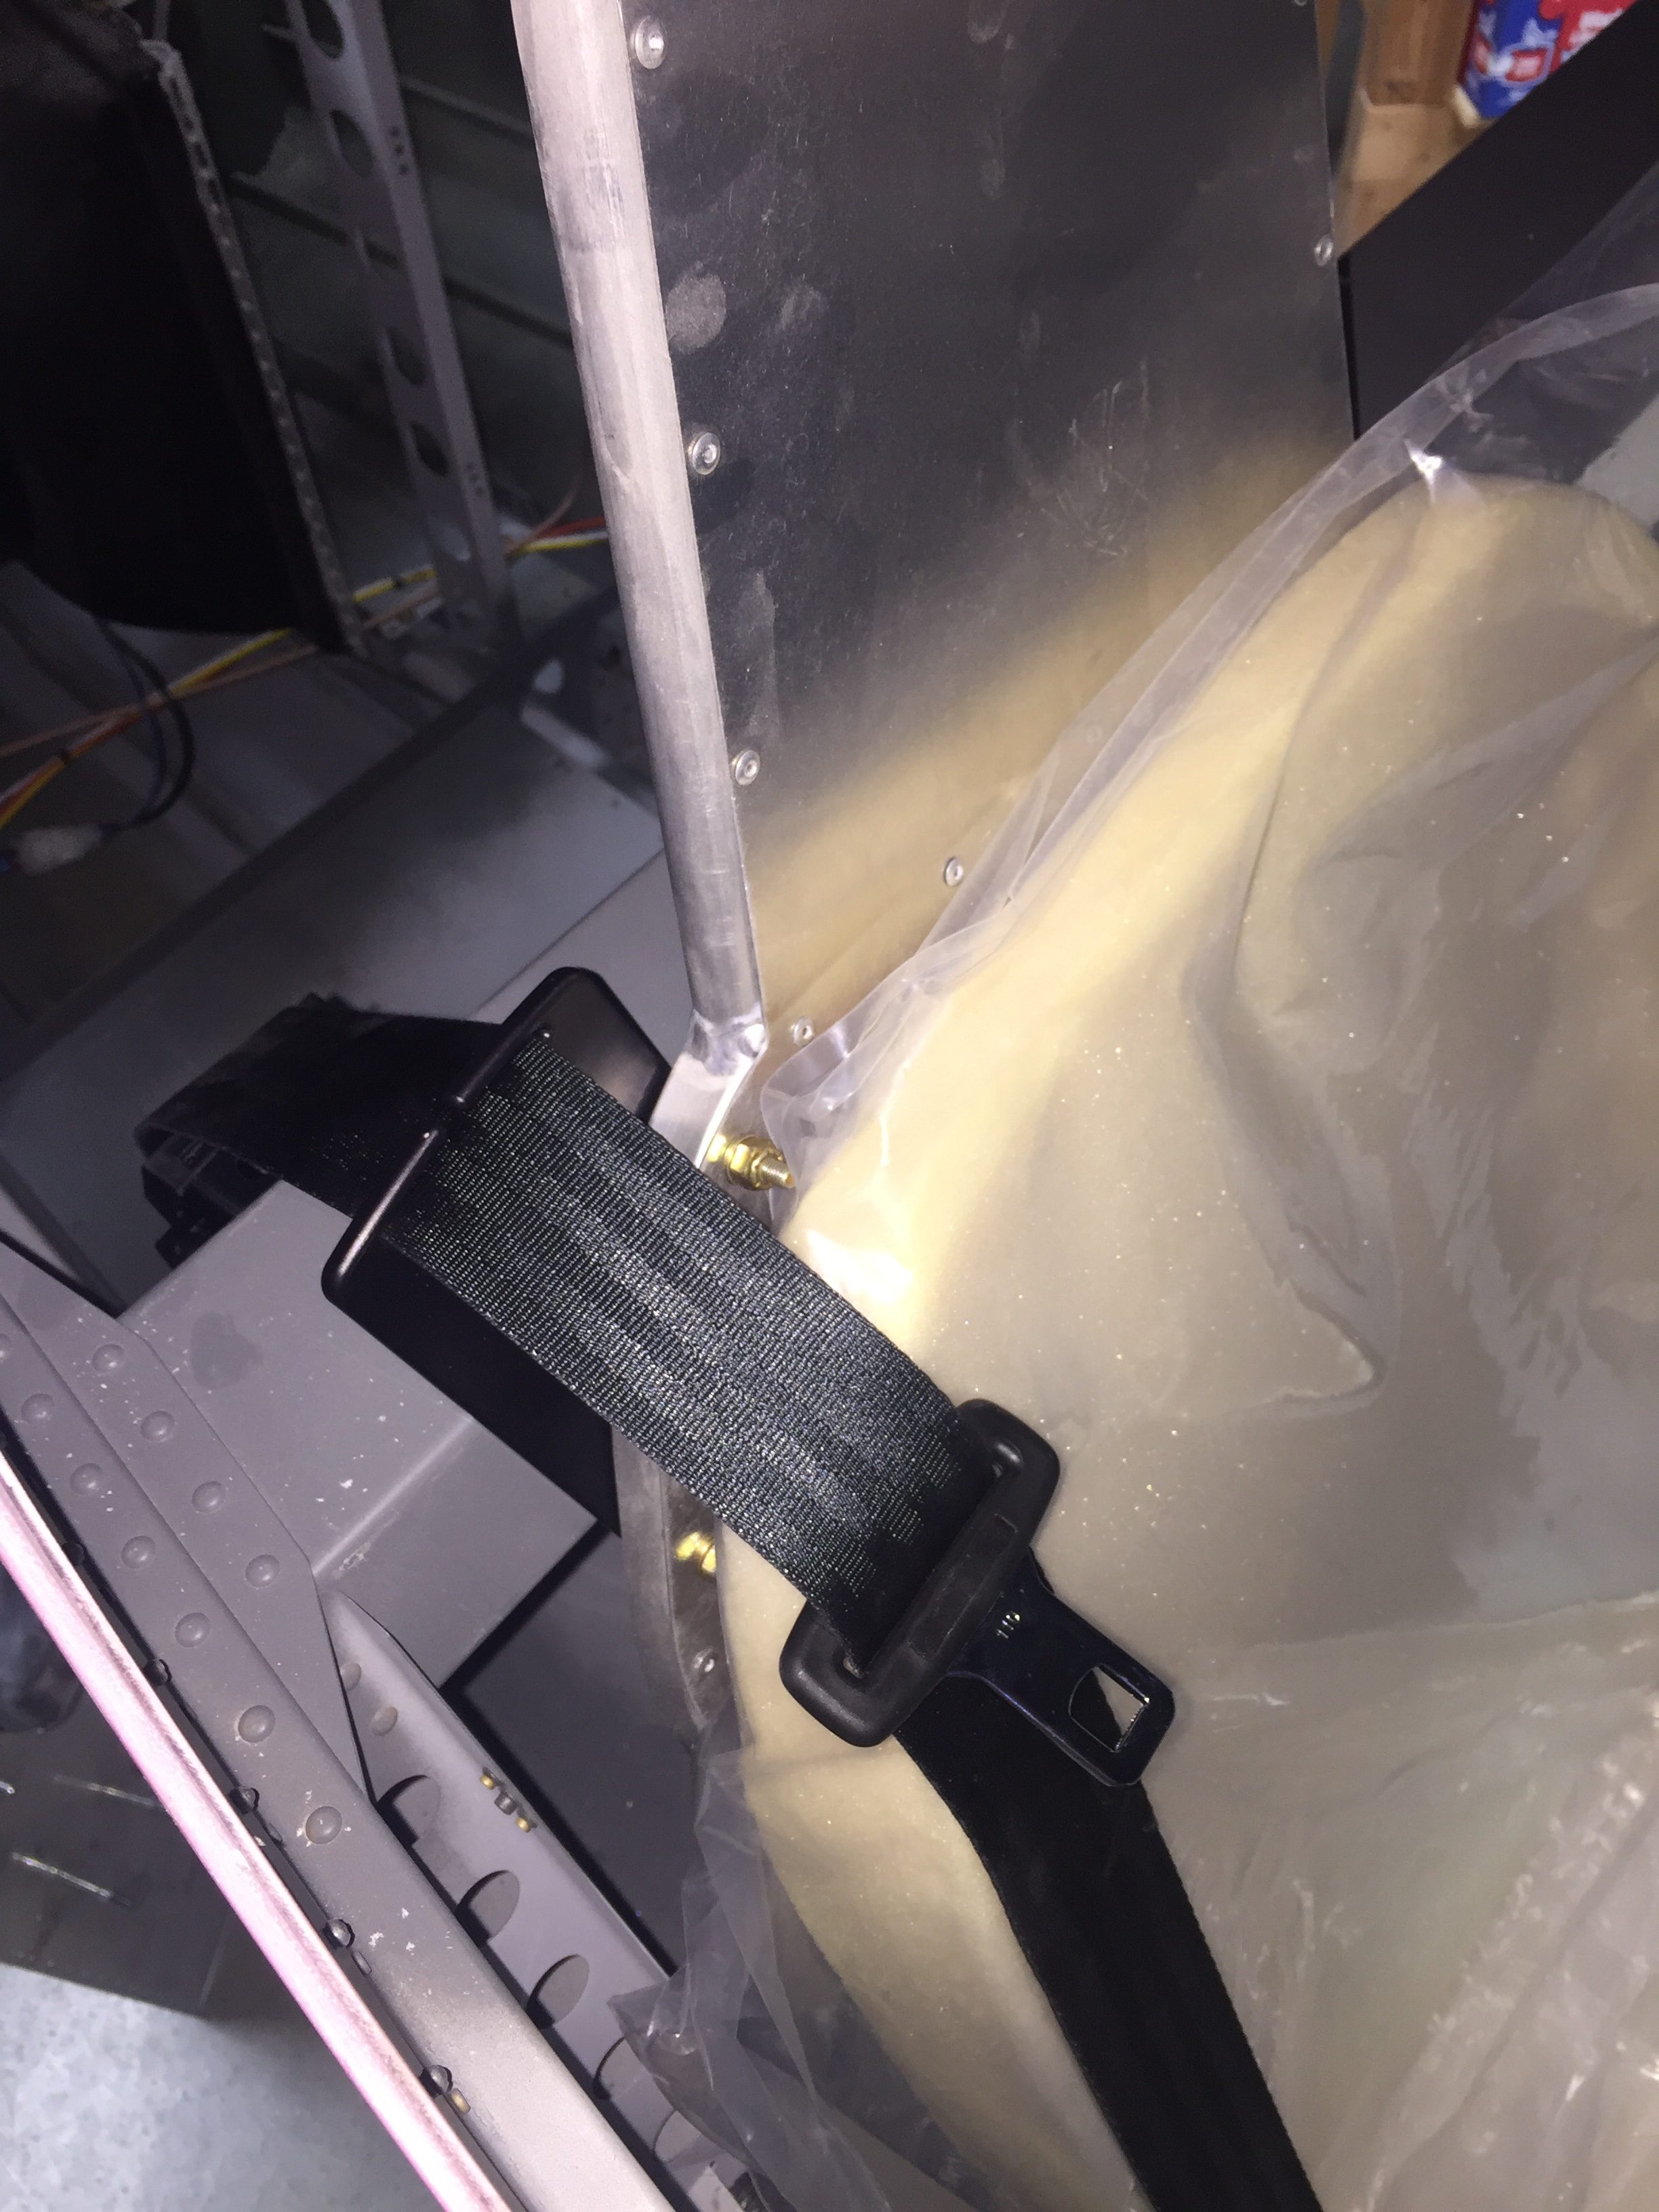
I bolted on the front brackets and then used the guide brackets to locate the holes in the seat back. Once the belt was fed through, it along with the reel will stay attached to the seat for seat removal. The belt end will be unbolted from the sidewall stock mount and the reel will be unbolted from its mount on the firewall. The belt will run underneath the leather of the seat. Thanks Mark Cooper for the design on these!
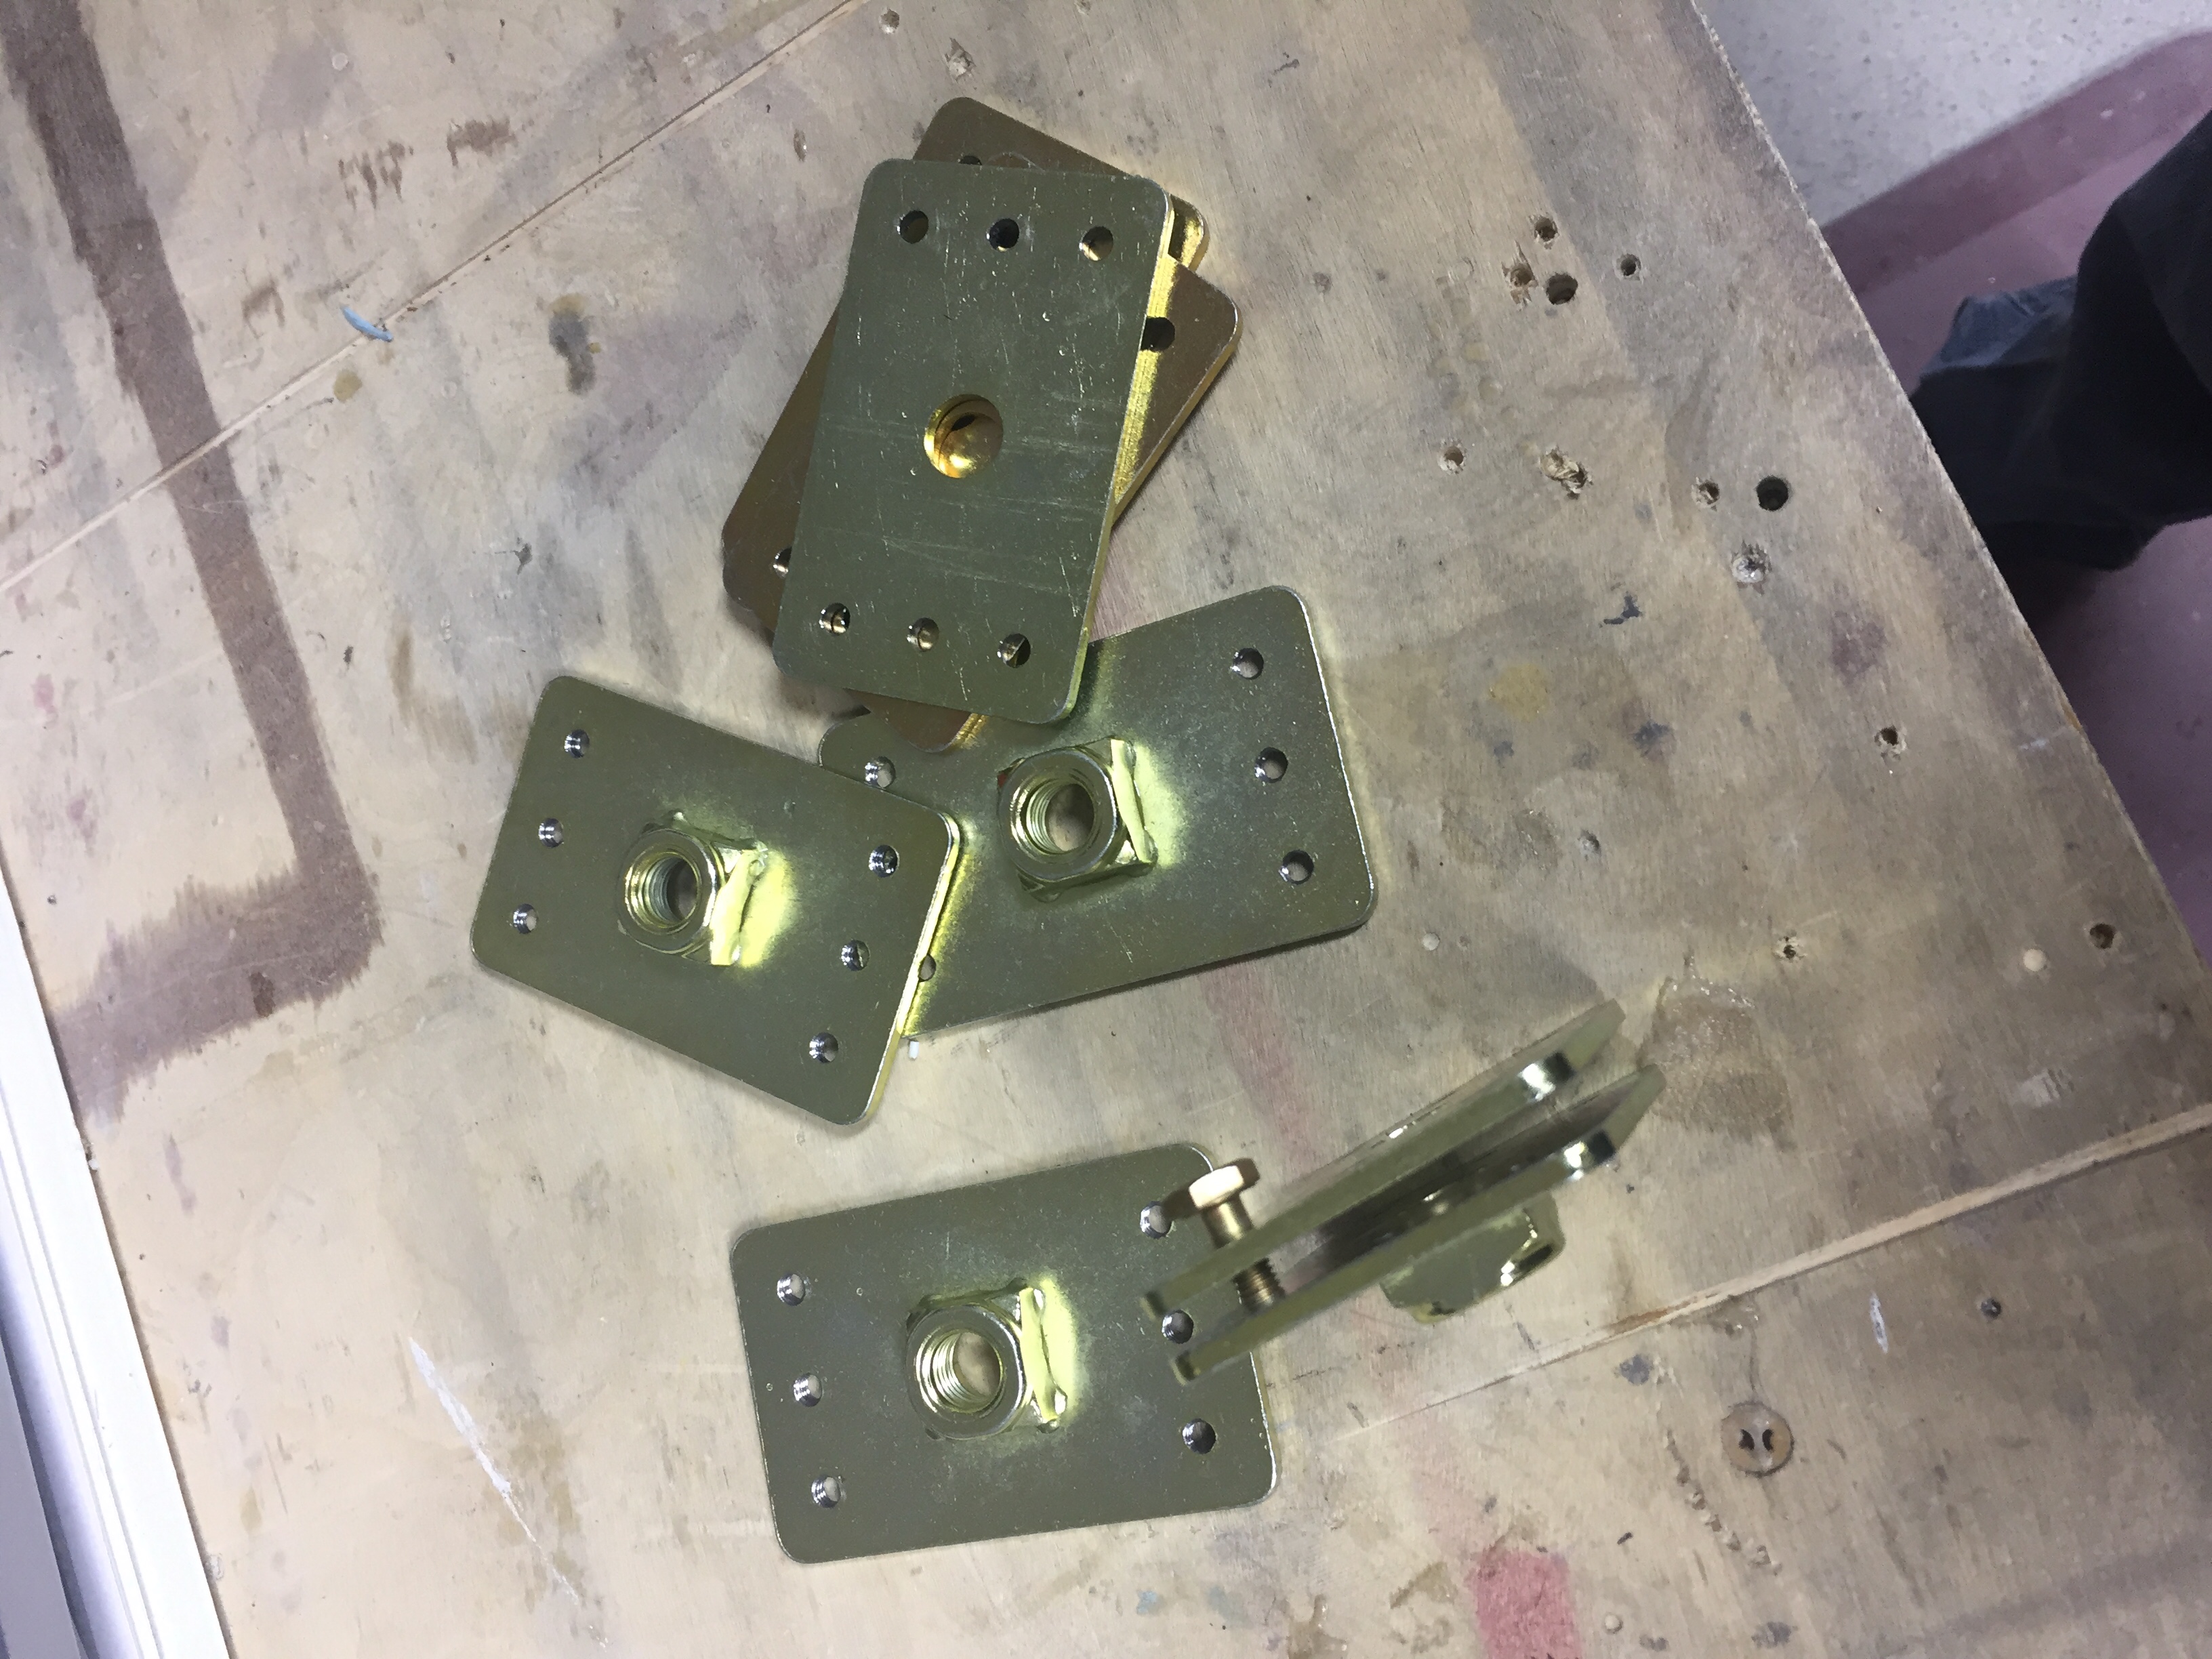
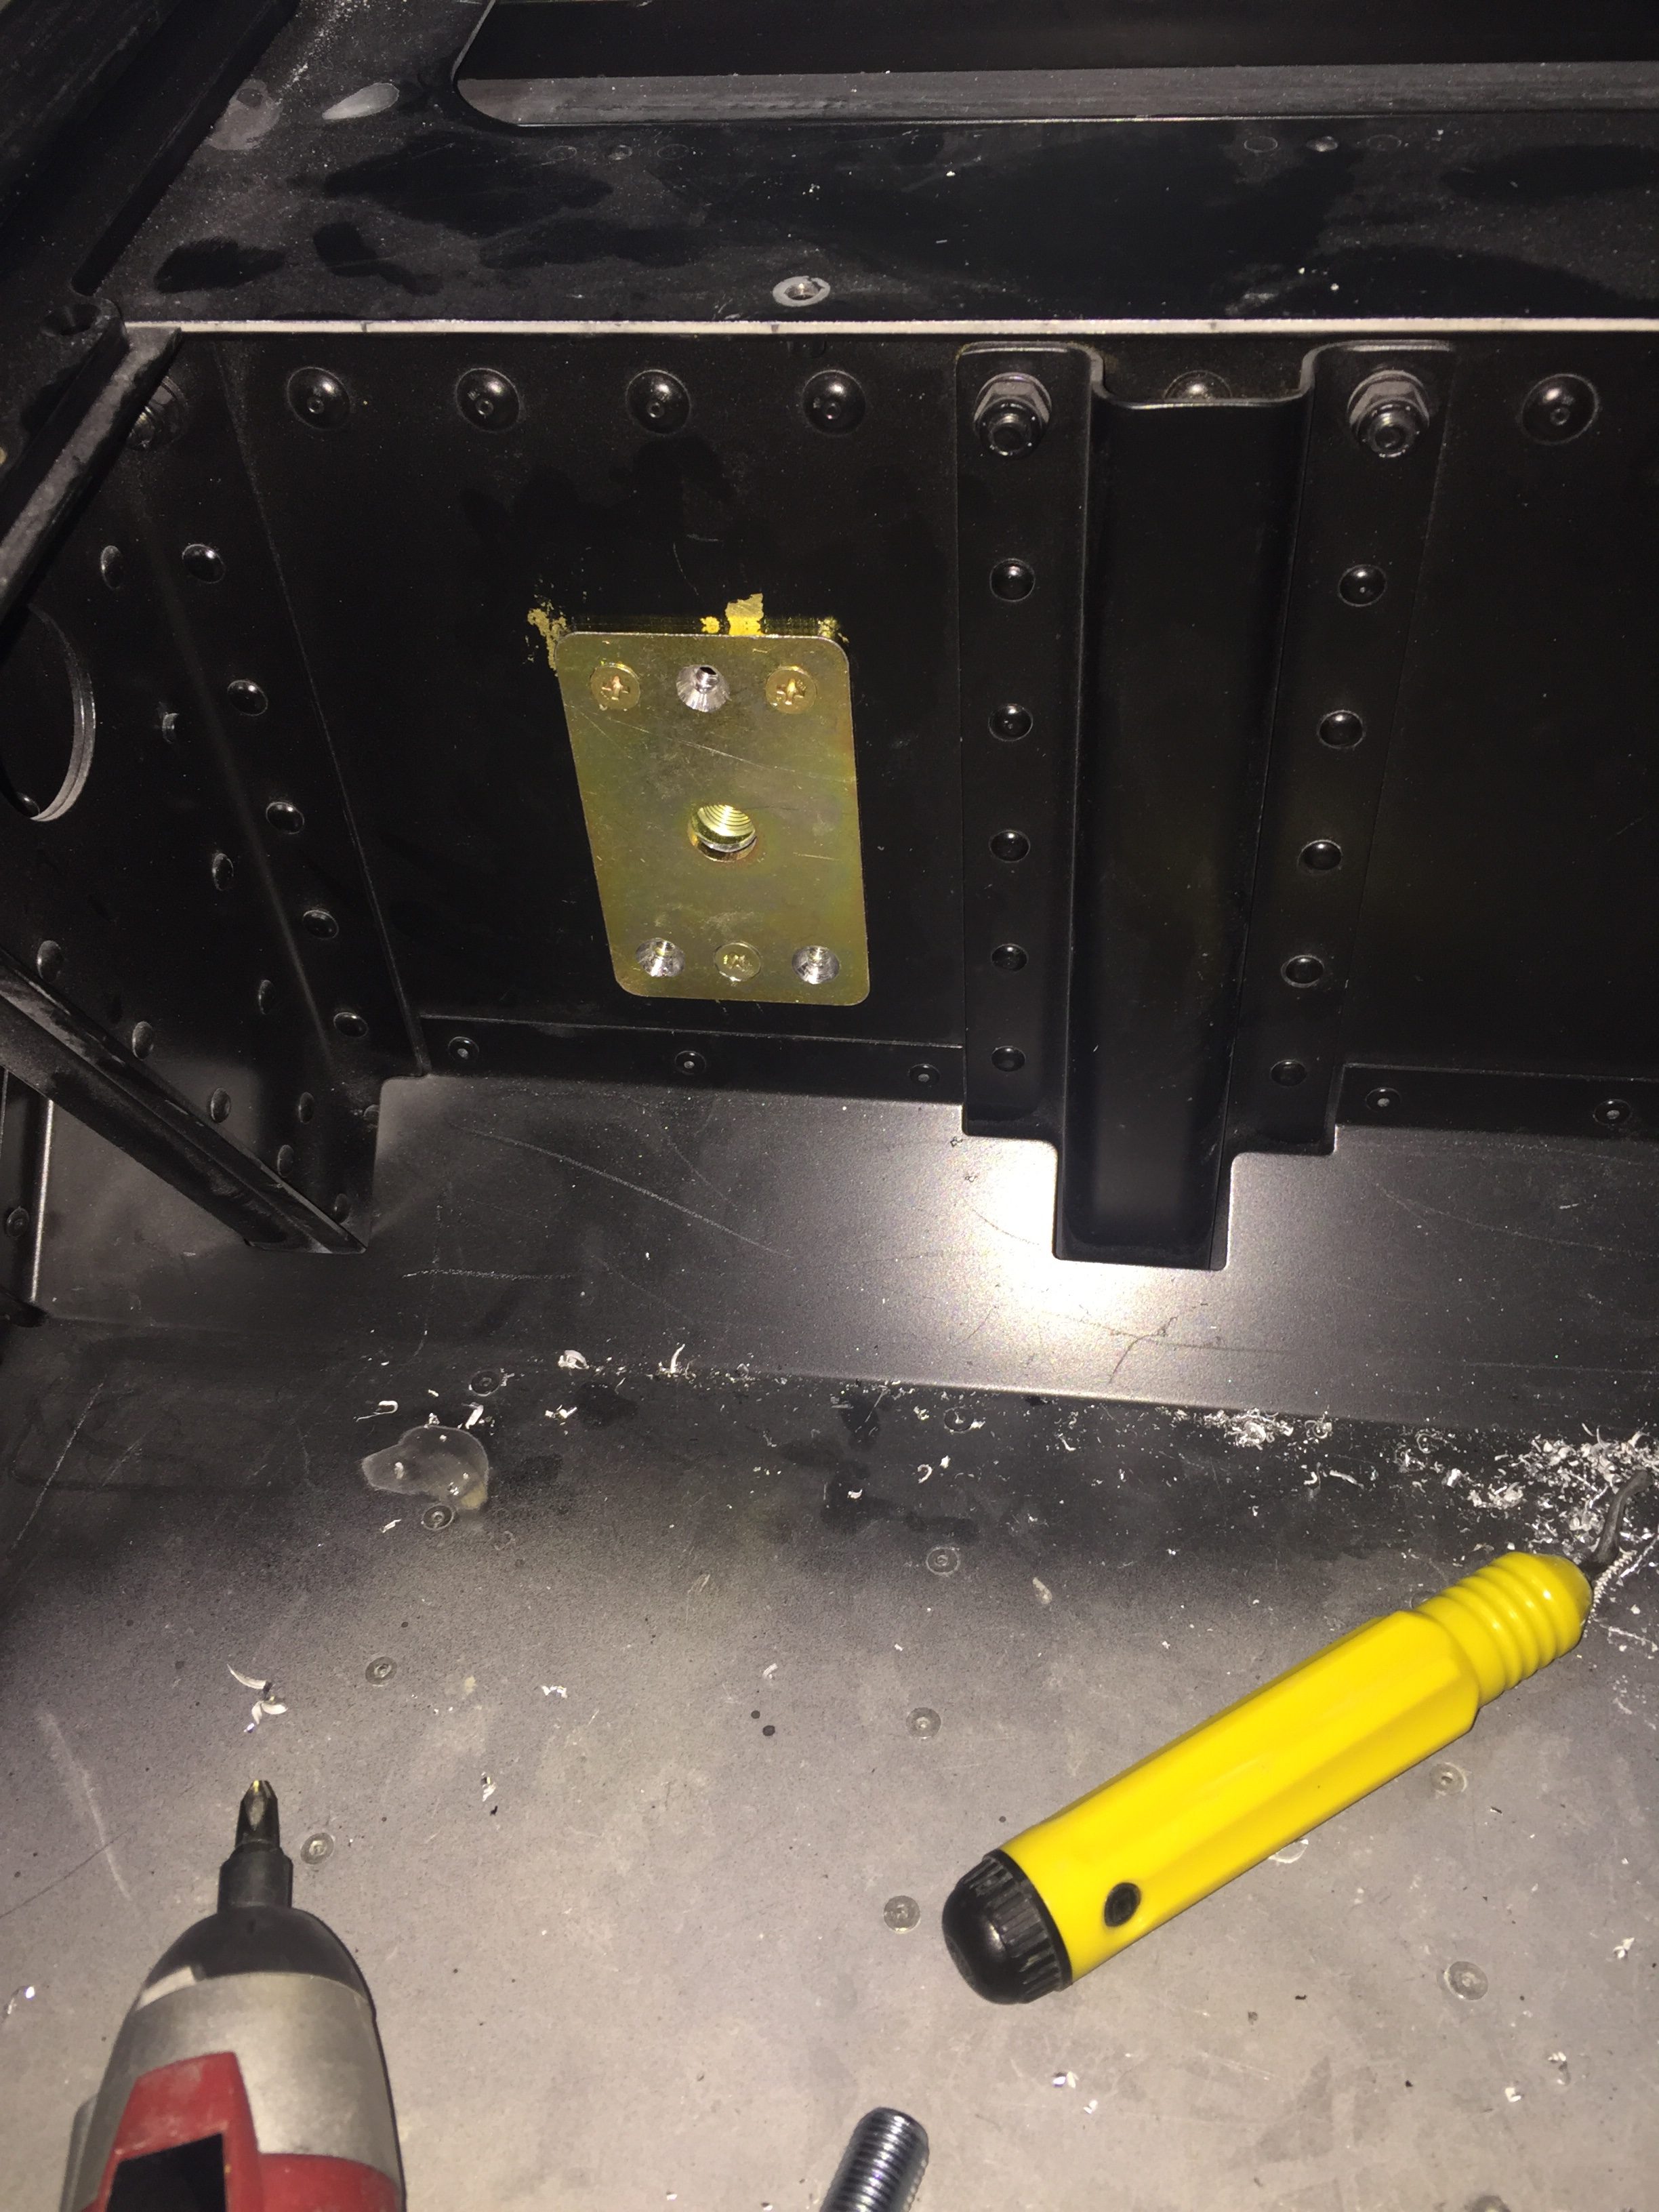
I ordered backing plates to mount the inertial reels to which will help spread the load better in the event of needing to use the belts. It also acts as a nutplate so to speak and will make for quick removal and install for removing seats come maintenance time. I wound up tapping the back plate for six screws so again, it’s easy install and secure mounting. Note the flaking paint from the spar that I didn’t prep or prime. What was I thinking? That will need to be stripped down and repainted properly.
For the rear seats, the reels mount to the underside of the cross bar. I used the same backing plates and located them on the widest part of webbing in the cross bar. The belt then routes around the bar and into the brackets and mounts to the stock locations on the seat pans. Since the rear belt brackets have a slot in them and don’t run through the seat cushion itself, they do not have to be removed to remove the seat backs.
I did have to have the sheet metal guys on base machine a few spacers for me since the receptacle mounts have much larger holes than an AN4 bolt per plans. A six pack of beer was a small price to pay for the use of a lathe and a few scrap pieces of aluminum.
With the final piece of the seats being the seat heaters from Flyboy Accessories, I trimmed the heating pads and labeled them before boxing up all of the seat backs, foam, and pads to be shipped to Aerosport. I also dropped in the armrest and the orange leather hide that I ordered as Aerosport will be supplying the black leather.
I decided to take a break from sanding the door jams and work on trimming the windows. I chose to order the Cee Baileys’ windows and windshield versus the stock offerings. Feedback says they are easier to fit, a bit better quality, and can be ordered with a light grey tint, which I took advantage of. You’d probably have to put a tint and non tint together to see the difference, as the tint looks clear to me. The first order to arrive was somewhat of a shipping nightmare. The box was damaged, so FedEx decided to remove the windows and placed them on the floor of the truck or something. Long story short, I marked it damaged and peeled the plastic off the windshield to reveal light scratches and pitting smack in the middle of the sight range. Baileys was awesome and had a replacement windshield shipped in a few weeks.
After doing a lot of research and assessment of my own capabilities, I decided to use the Sportsman method of installing the windows. This follows the same principle as Van’s except it uses a more flexible material to adhere the plexi to the substrate. Some use SilPruf, but I decided to use Sikaflex. It is very easy to work with, paintable (although not many people paint over it), and available online. I was having a lot of trouble finding Lord, so all the better. More on the Sikaflex later.
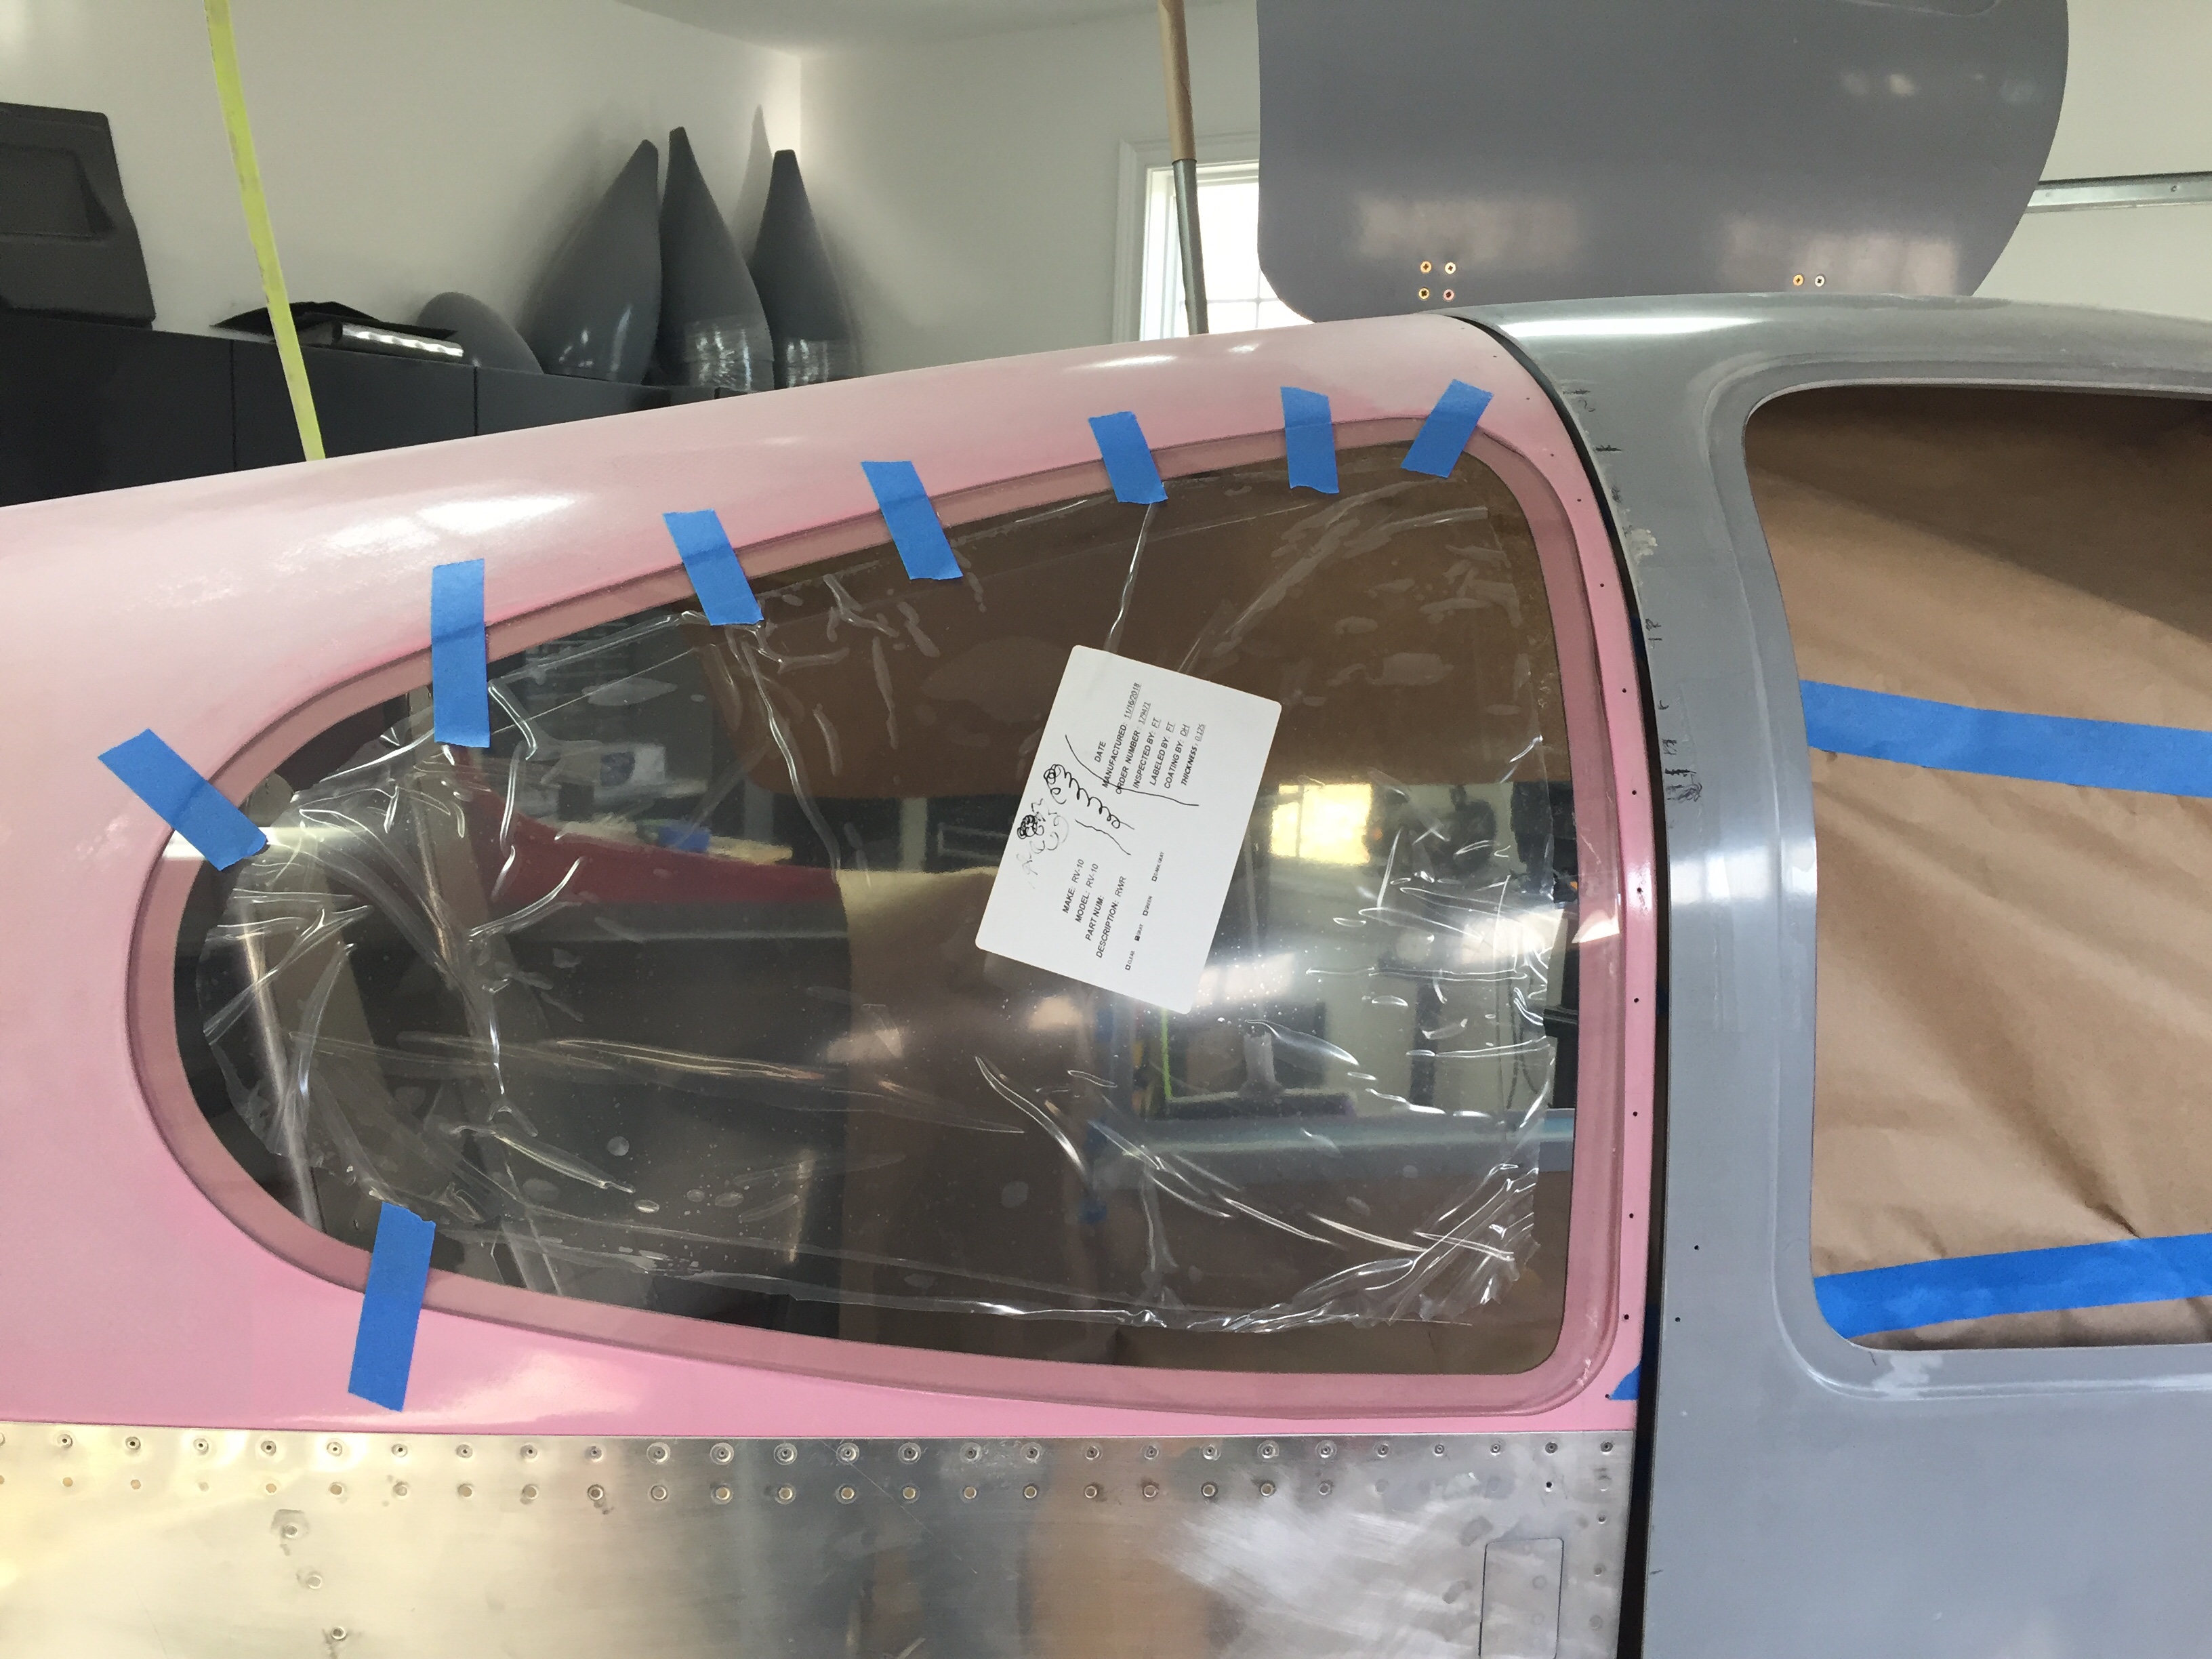
The first step was to trim the windows keeping in mind a 1/4 gap will be needed between the plexi edge and the edge of the joggle on the top and doors. This will allow for a nice even gap to fill with the Sikaflex and create a clean looking final product. Using the well documented YouTube videos, I started with a rough trim and then began marking with the wet erase marker. The new angle grinder I bought was the perfect tool and made quick work of grinding away the excess material.
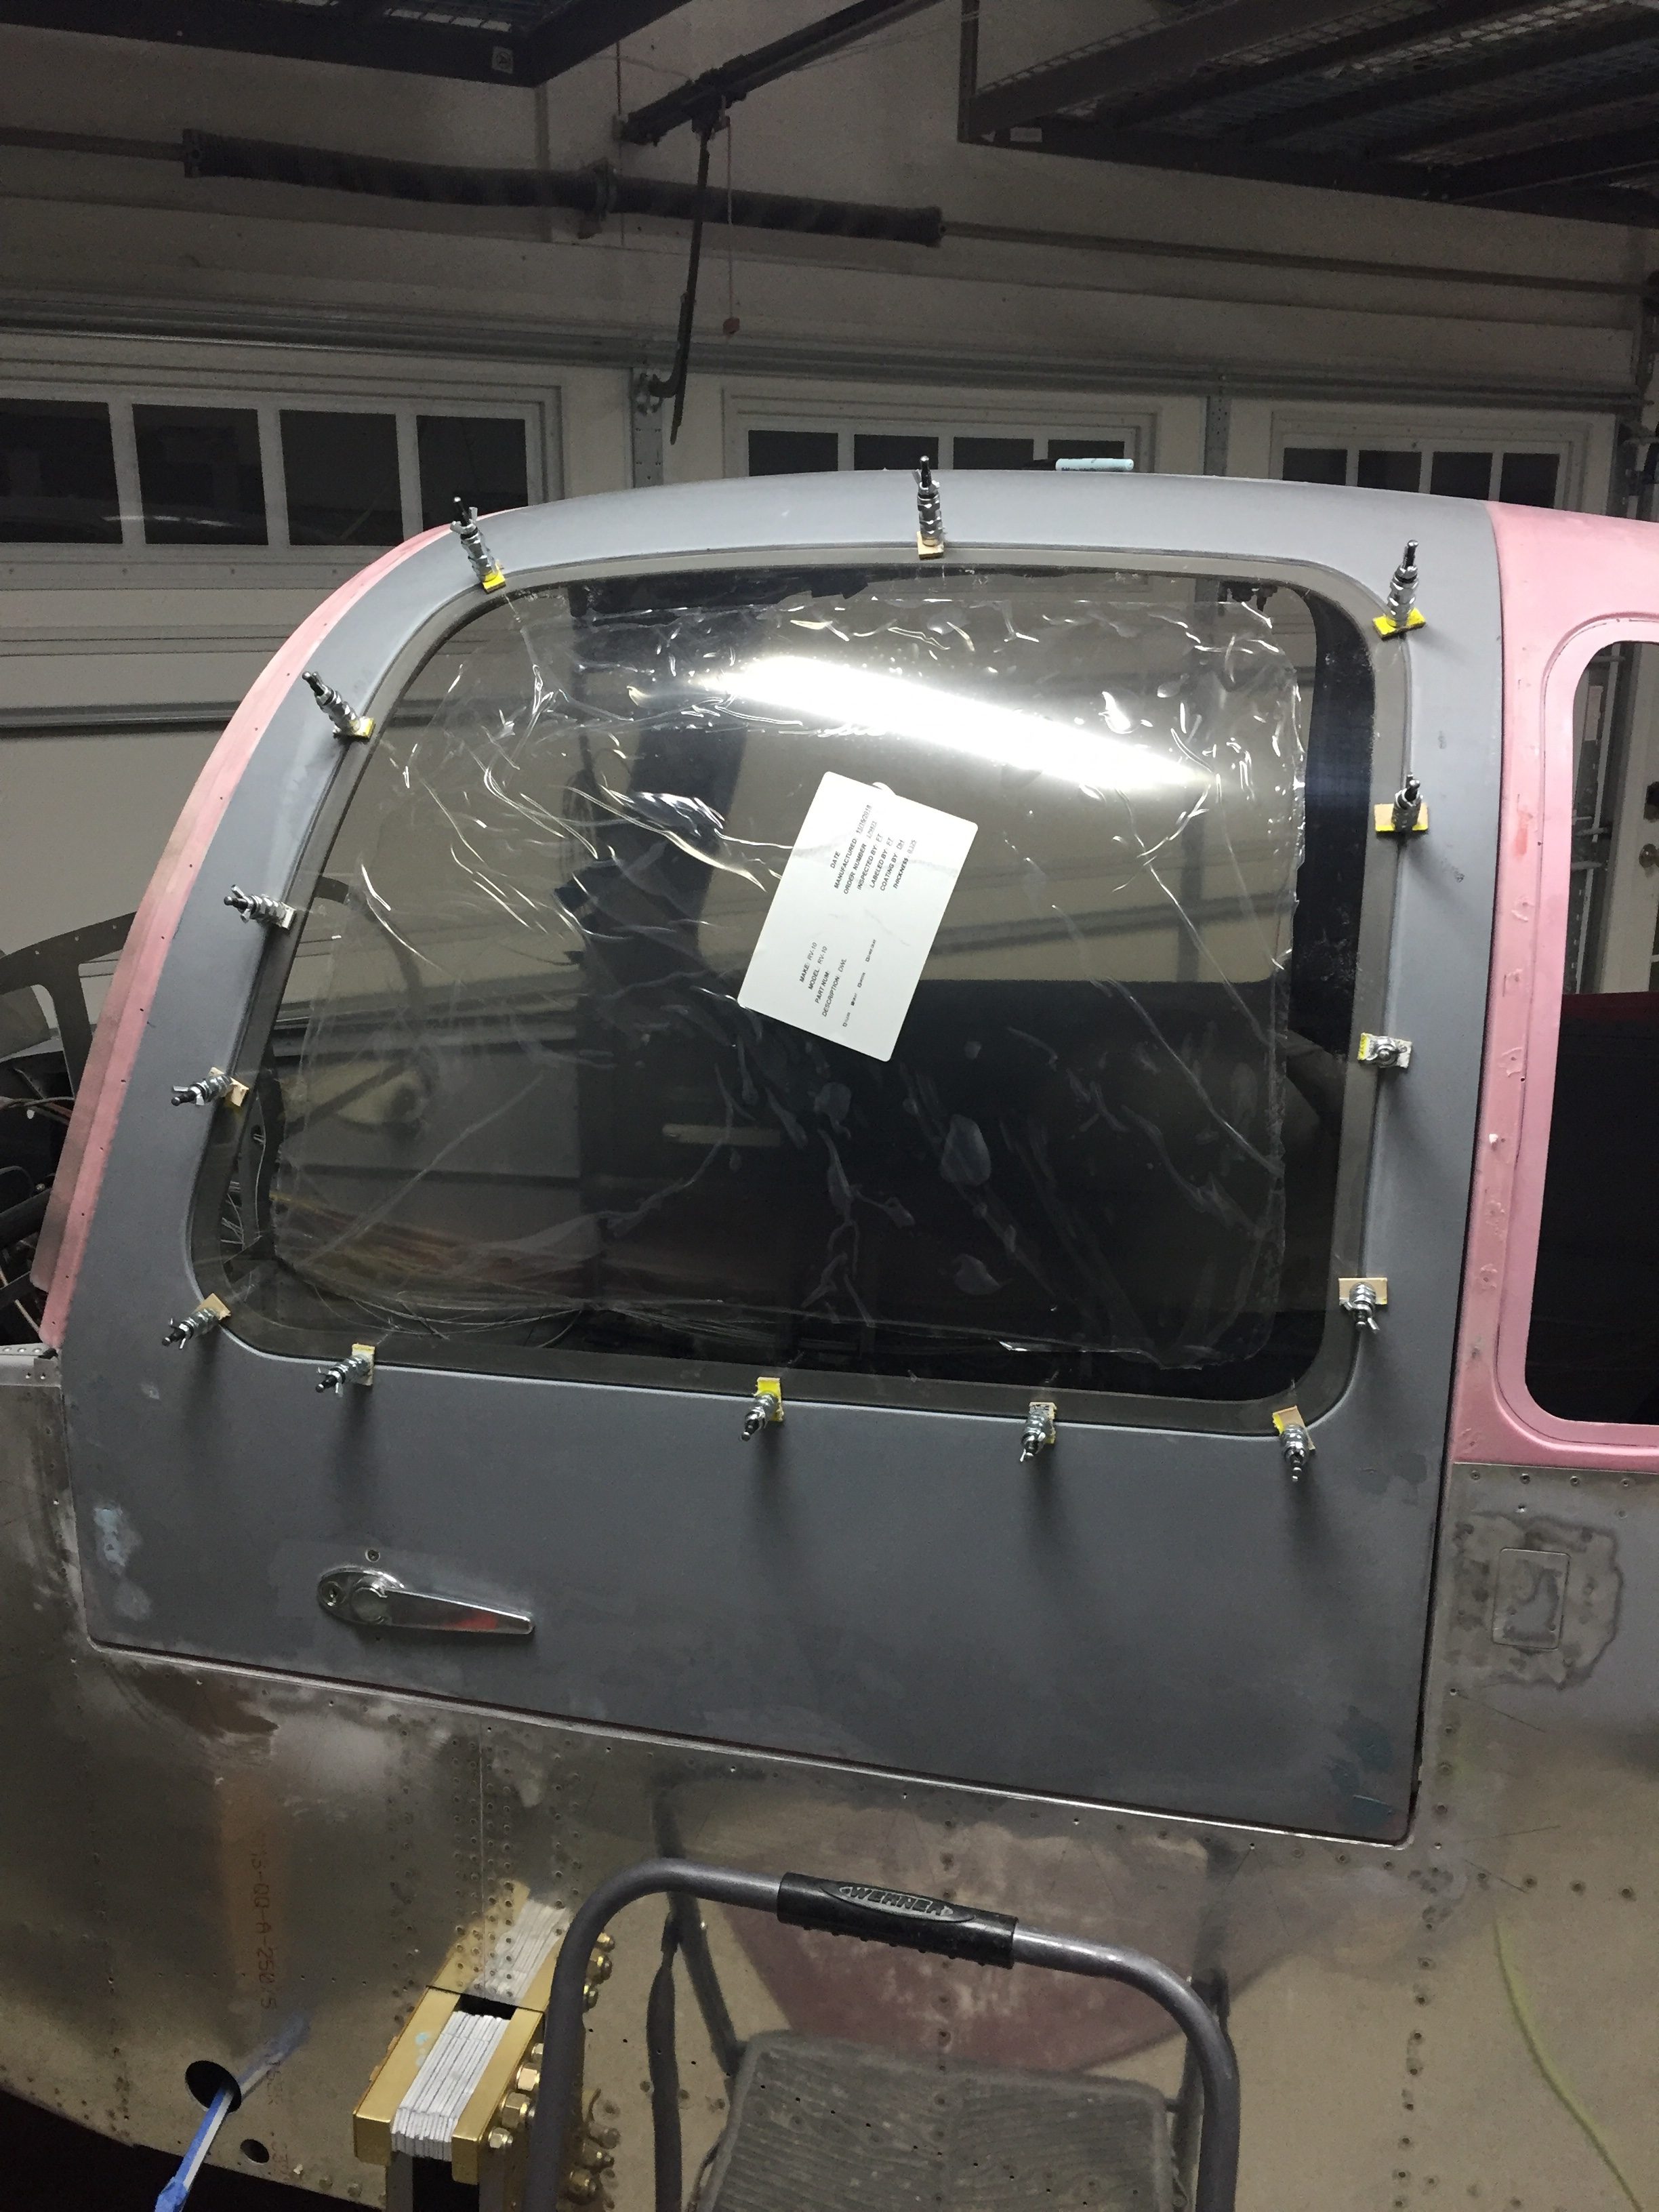
Once the fitting was done, I drilled holes for the wingnut clecos to hold in the plexi. After each window was trimmed and fitted, I traced the perimeter of the fuselage opening onto the plexi to use as a tape line. This is the second most important step in this method so I took my time to ensure it was all correctly completed. The line is used to mask before installing with the Sikaflex and results in a nice clean finished look on the inside and outside of the plexi. An hour of taping later, and the windows were placed on the guest bed, I mean, approved aircraft parts storage location, for a very short period of time.
