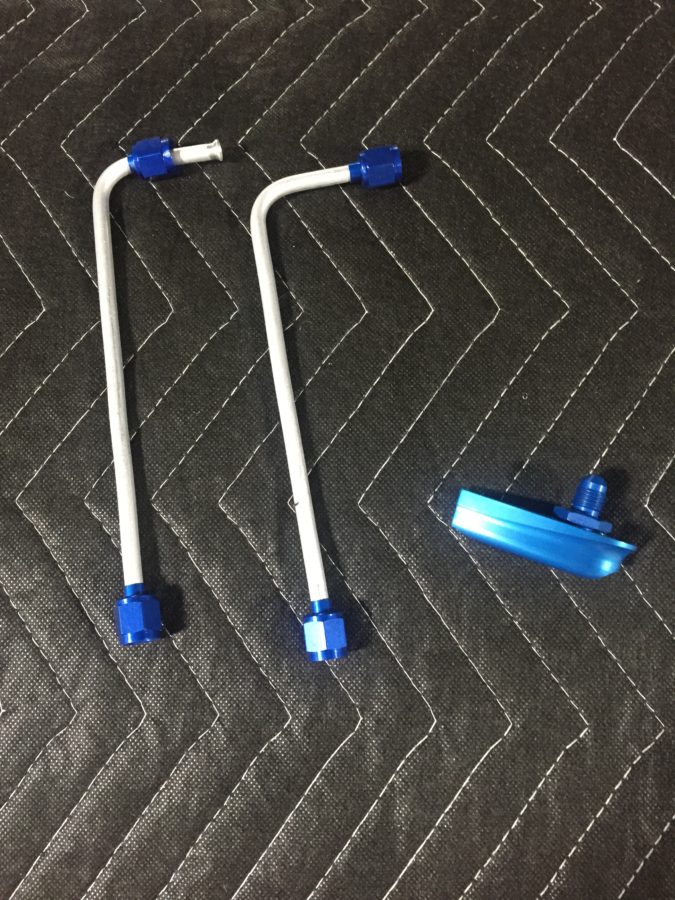
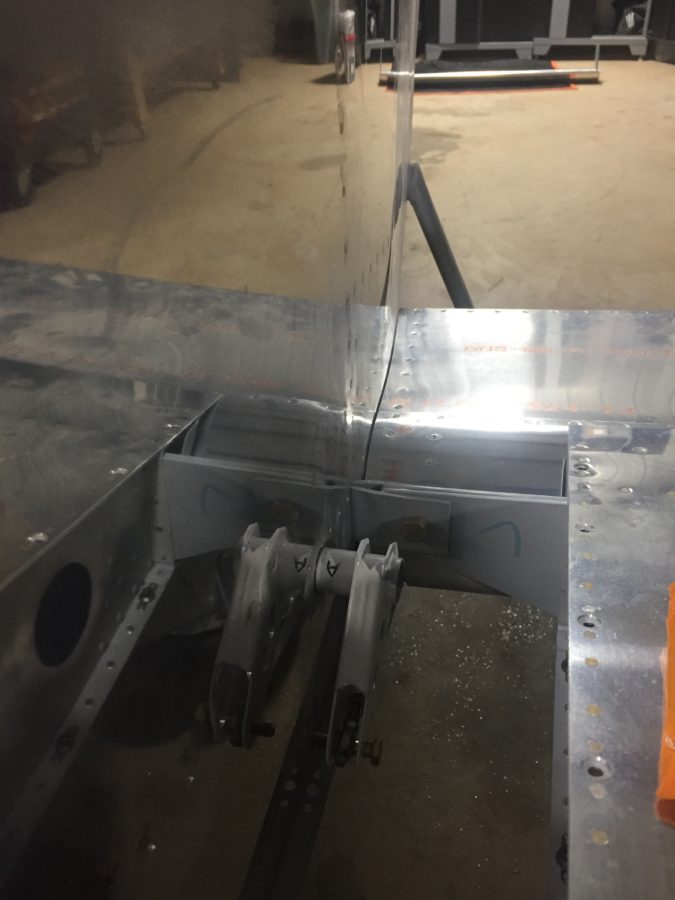
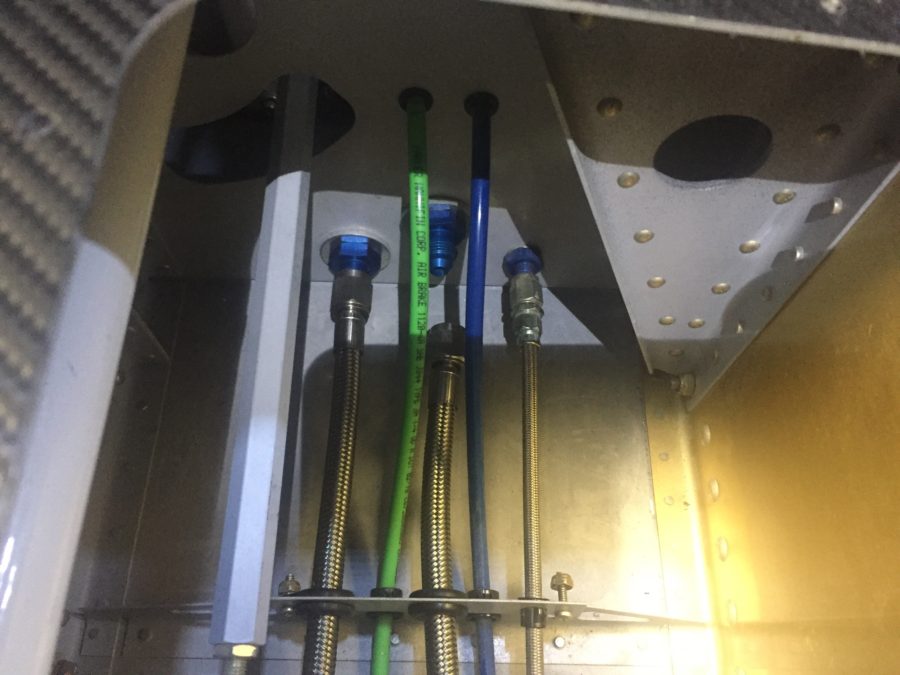
The wings are initially fitted to get the wing root covers installed and hook up fuel lines, vent lines, while getting the flight controls initially rigged. The wing root cover brackets went on quickly and I fabricated the two fuel vent lines that exit the bottom of the wing root cover.
You also drill the bolt hole in the rear spar and work out a few other fasteners. I installed the flight controls and worked out the stick to the plans while adjusting the rigging and pushrods. It wasn’t too bad of a process with a little patience and double thinking before adjusting a rod end the wrong way! In an afternoon, I had all the controls lined up nicely with the wingtips and fuselage just as described in the plans.
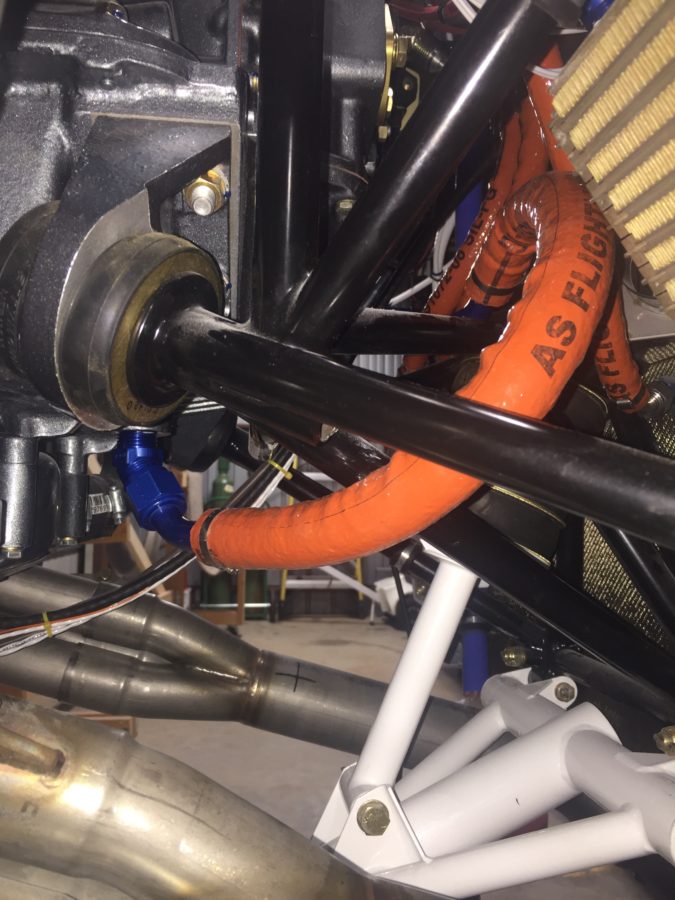
I also finished up the fluid lines up front. TS Flightlines really came through again on an awesome product. I had one line that didn’t quite fit to standards and the return lines for the fuel tanks from the tunnel had the wrong fitting (my fault) on them, so those went back for modification. If you don’t know, TS will rebuild the lines for free until they are correct. You get what you pay for and I’m glad I spent the money knowing I’ll have lifetime quality hoses.
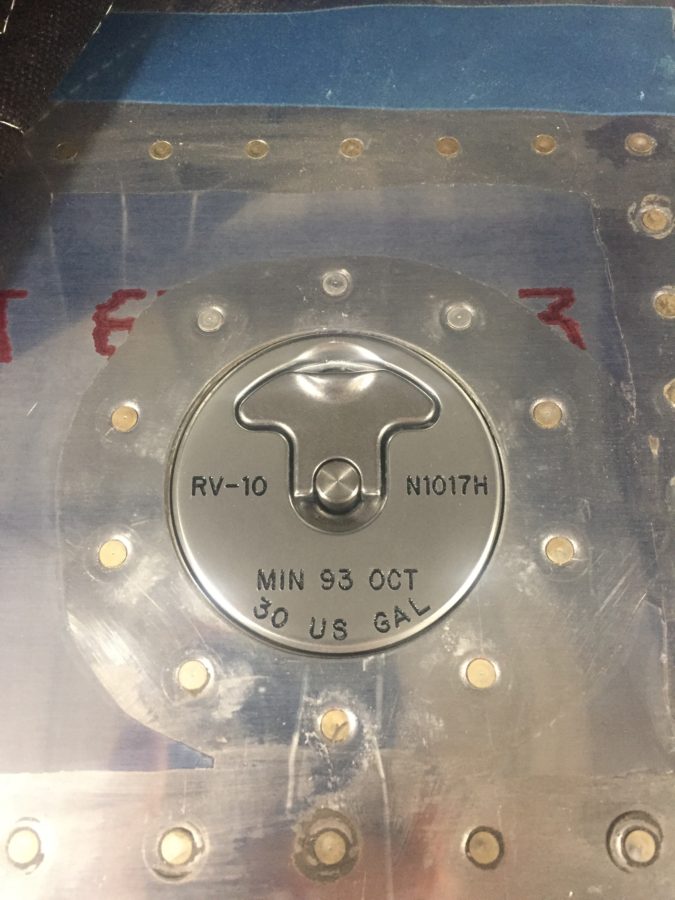
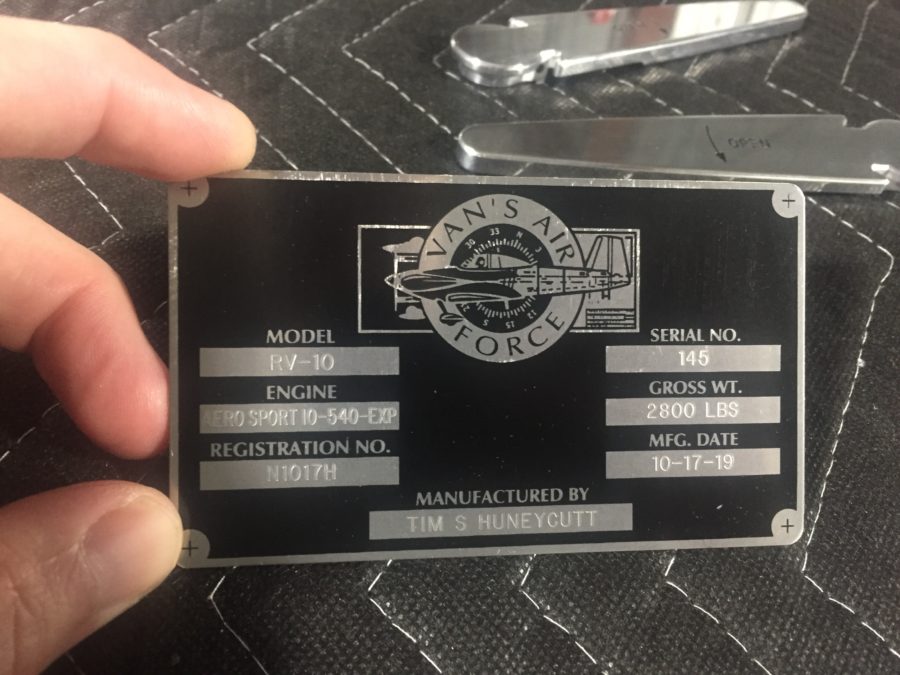
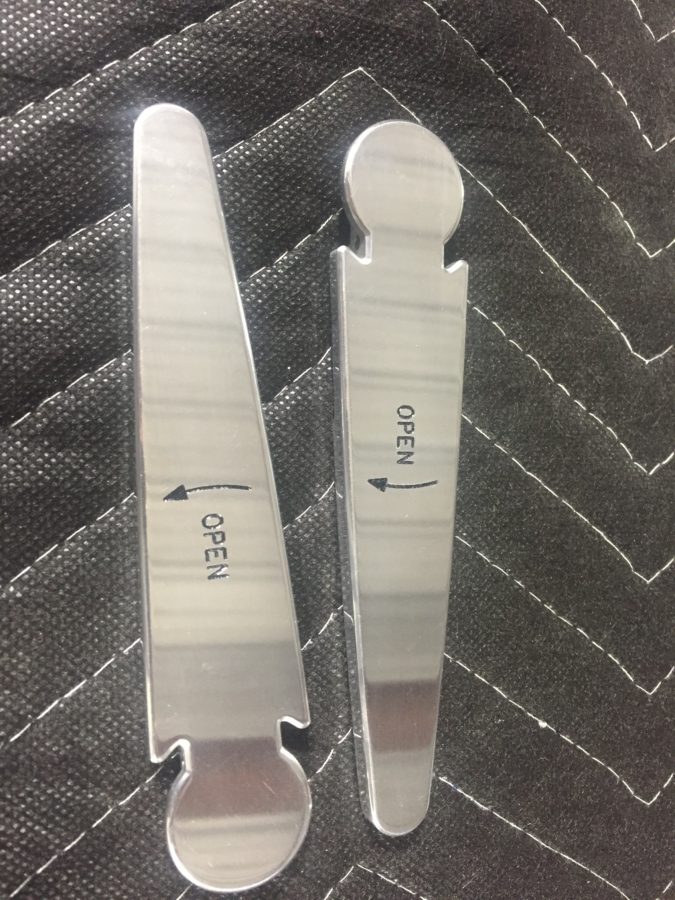
On a side note, my engraved parts came back looking fan freaking tastic. The door handles are an extra set that I had and will go on after paint. The data plate turned out perfect, as did the fuel caps..
Speaking of fuel, a while back I misdrilled the holes in the tunnel on the right side for the fuel line. I decided at that time to just use a 90* elbow but that made torquing and replacing the incorrect fuel line difficult to say the least. So I broke down and ordered 90* bulkhead fittings to do it correctly. I had to dig into the tunnel to put the proper spacers (covering up the now too large hole) and secure the lines from the fitting to the fuel valve. Boy am I glad I did this, because while looking around since I was in there, I discovered a cross threaded line on the fuel valve that would have made a mess come testing time. I was able to clean the threads on the fitting and got it on correctly. I took my time to reinspect all other fittings and lines.
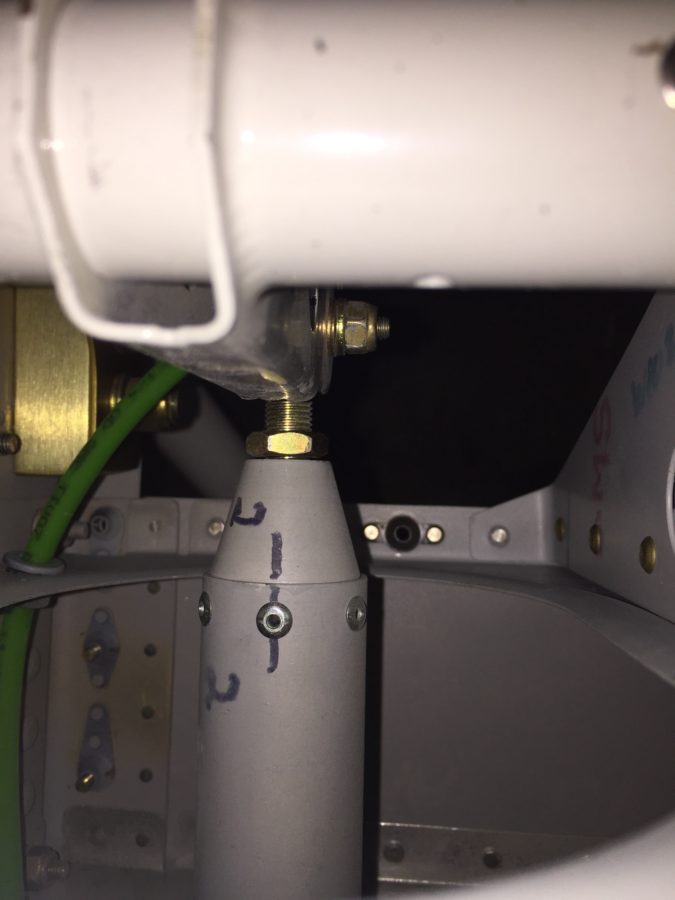
With the airworthiness inspection scheduled for early November, I am shifting into inspection mode so try to check everything I can while working in an area. It just so happens that the 137 articles Vic Syracuse has written for KitPlanes all mention loose jam nuts! I want to break that chain but came close to being a statistic in your next bathroom reading material. The left aileron jam nut had just enough space that it caught my eye while working the fuel lines. Ha! Not today, Vic, not today!
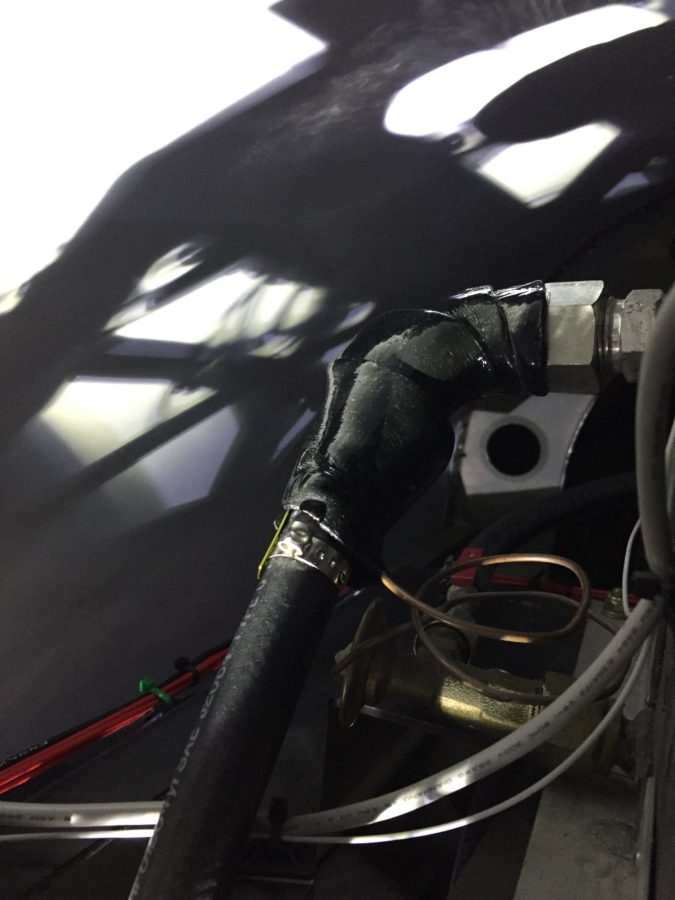
Another little side job that had been lingering was wrapping the aircon line with insulated tape to ensure the thermostat coil was in good contact with the line. I had ordered this sticky tape months ago and finally crawled into the baggage area to finish that up.
Finally, Laura came over to help me pull the wings off so we could prep and install the wing root brackets and finish up the few tasks before permanent install. This coming weekend will be critical for staying on track towards inspection, as I need to get the entire tail surface wrapped up and the fairings done. Fingers crossed!

