One of my most exciting side projects on the plane is to have a truly unique instrument panel. From the start, I have wanted a back light system similar to fancier aircraft out there and to pretty much every car out there. Glareshield lighting, post lights, or dome lights just don’t work or look the same, so I wanted something better. Ed Krantz did a great job using LED strip lighting but had to do a lot of work to get it working.
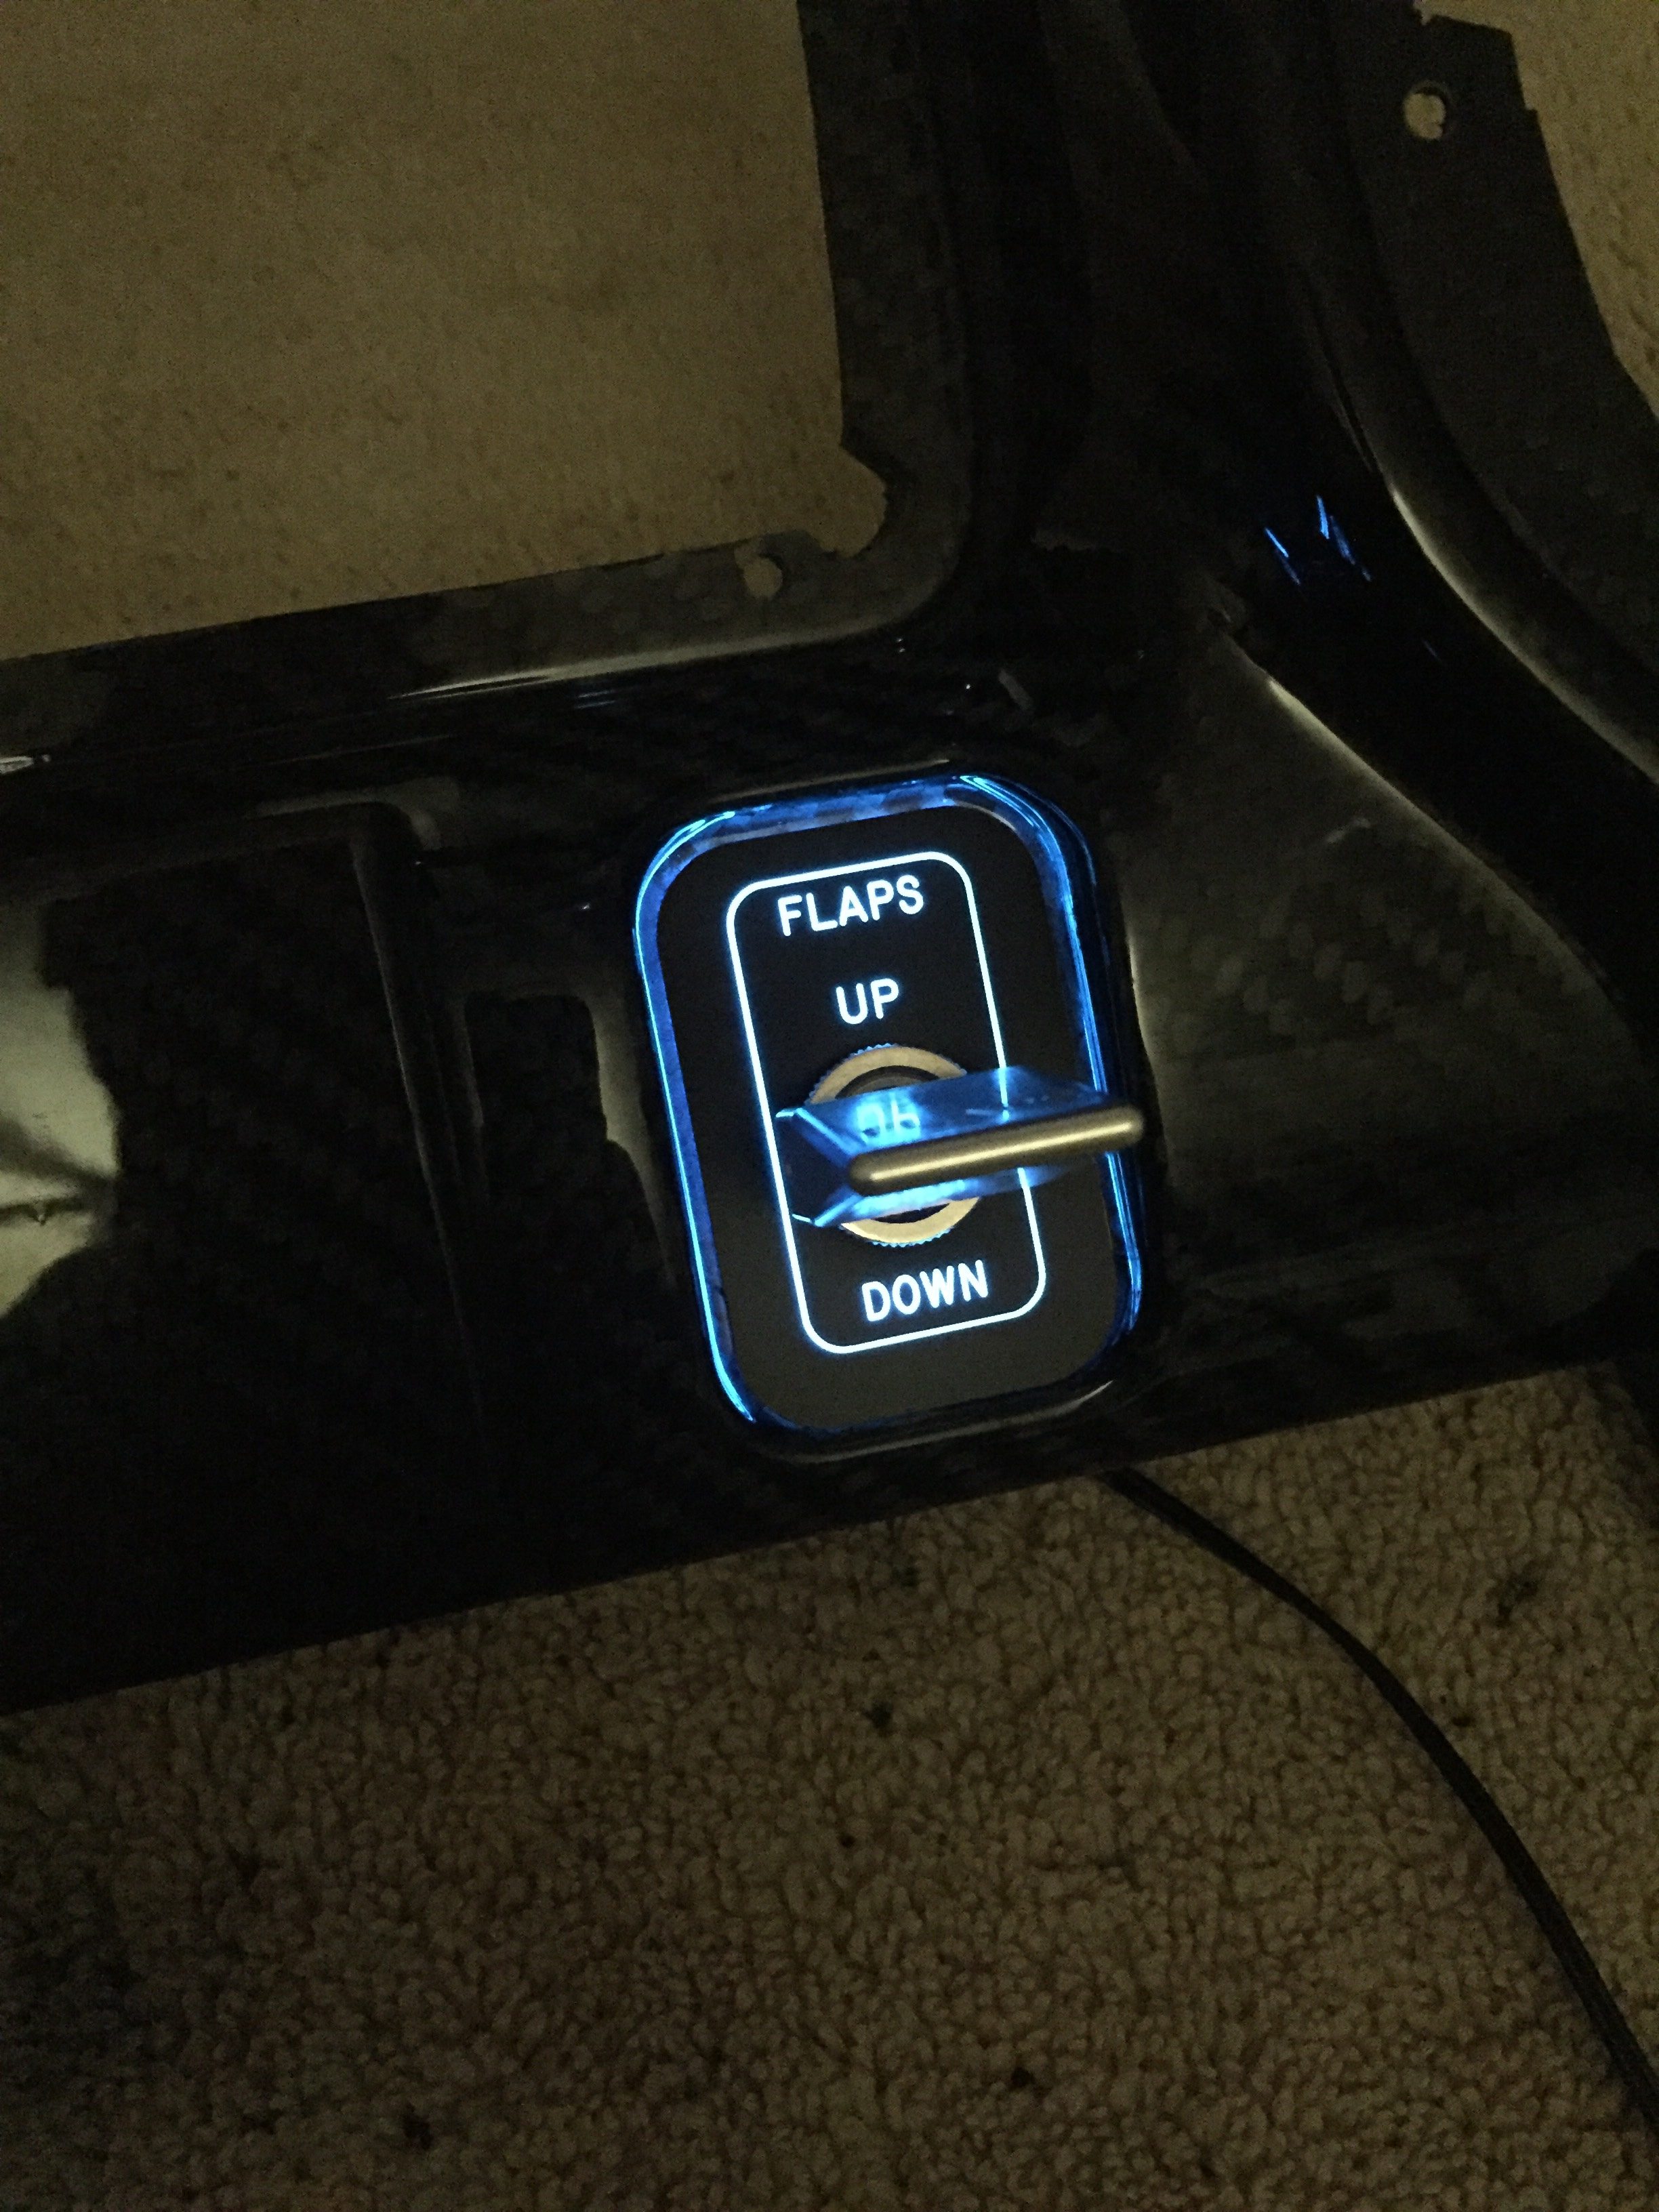
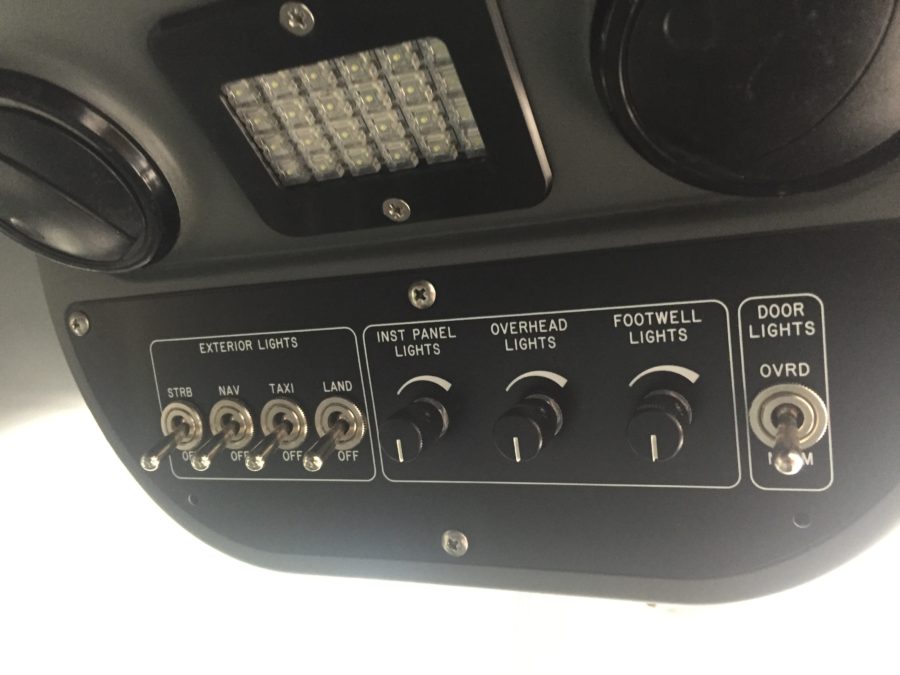
As briefly discussed in THE ART OF DESIGN, I decided to experiment with electroluminecent panels. These EL panels are almost paper thin, flexible, and can be cut in all sorts of shapes. Better yet, they are dimmable and have a uniform light output. After a successful prototype on the overhead console panel, I pulled the trigger and ordered the full layout of the EL panels and the laser engraved acrylic overlays.
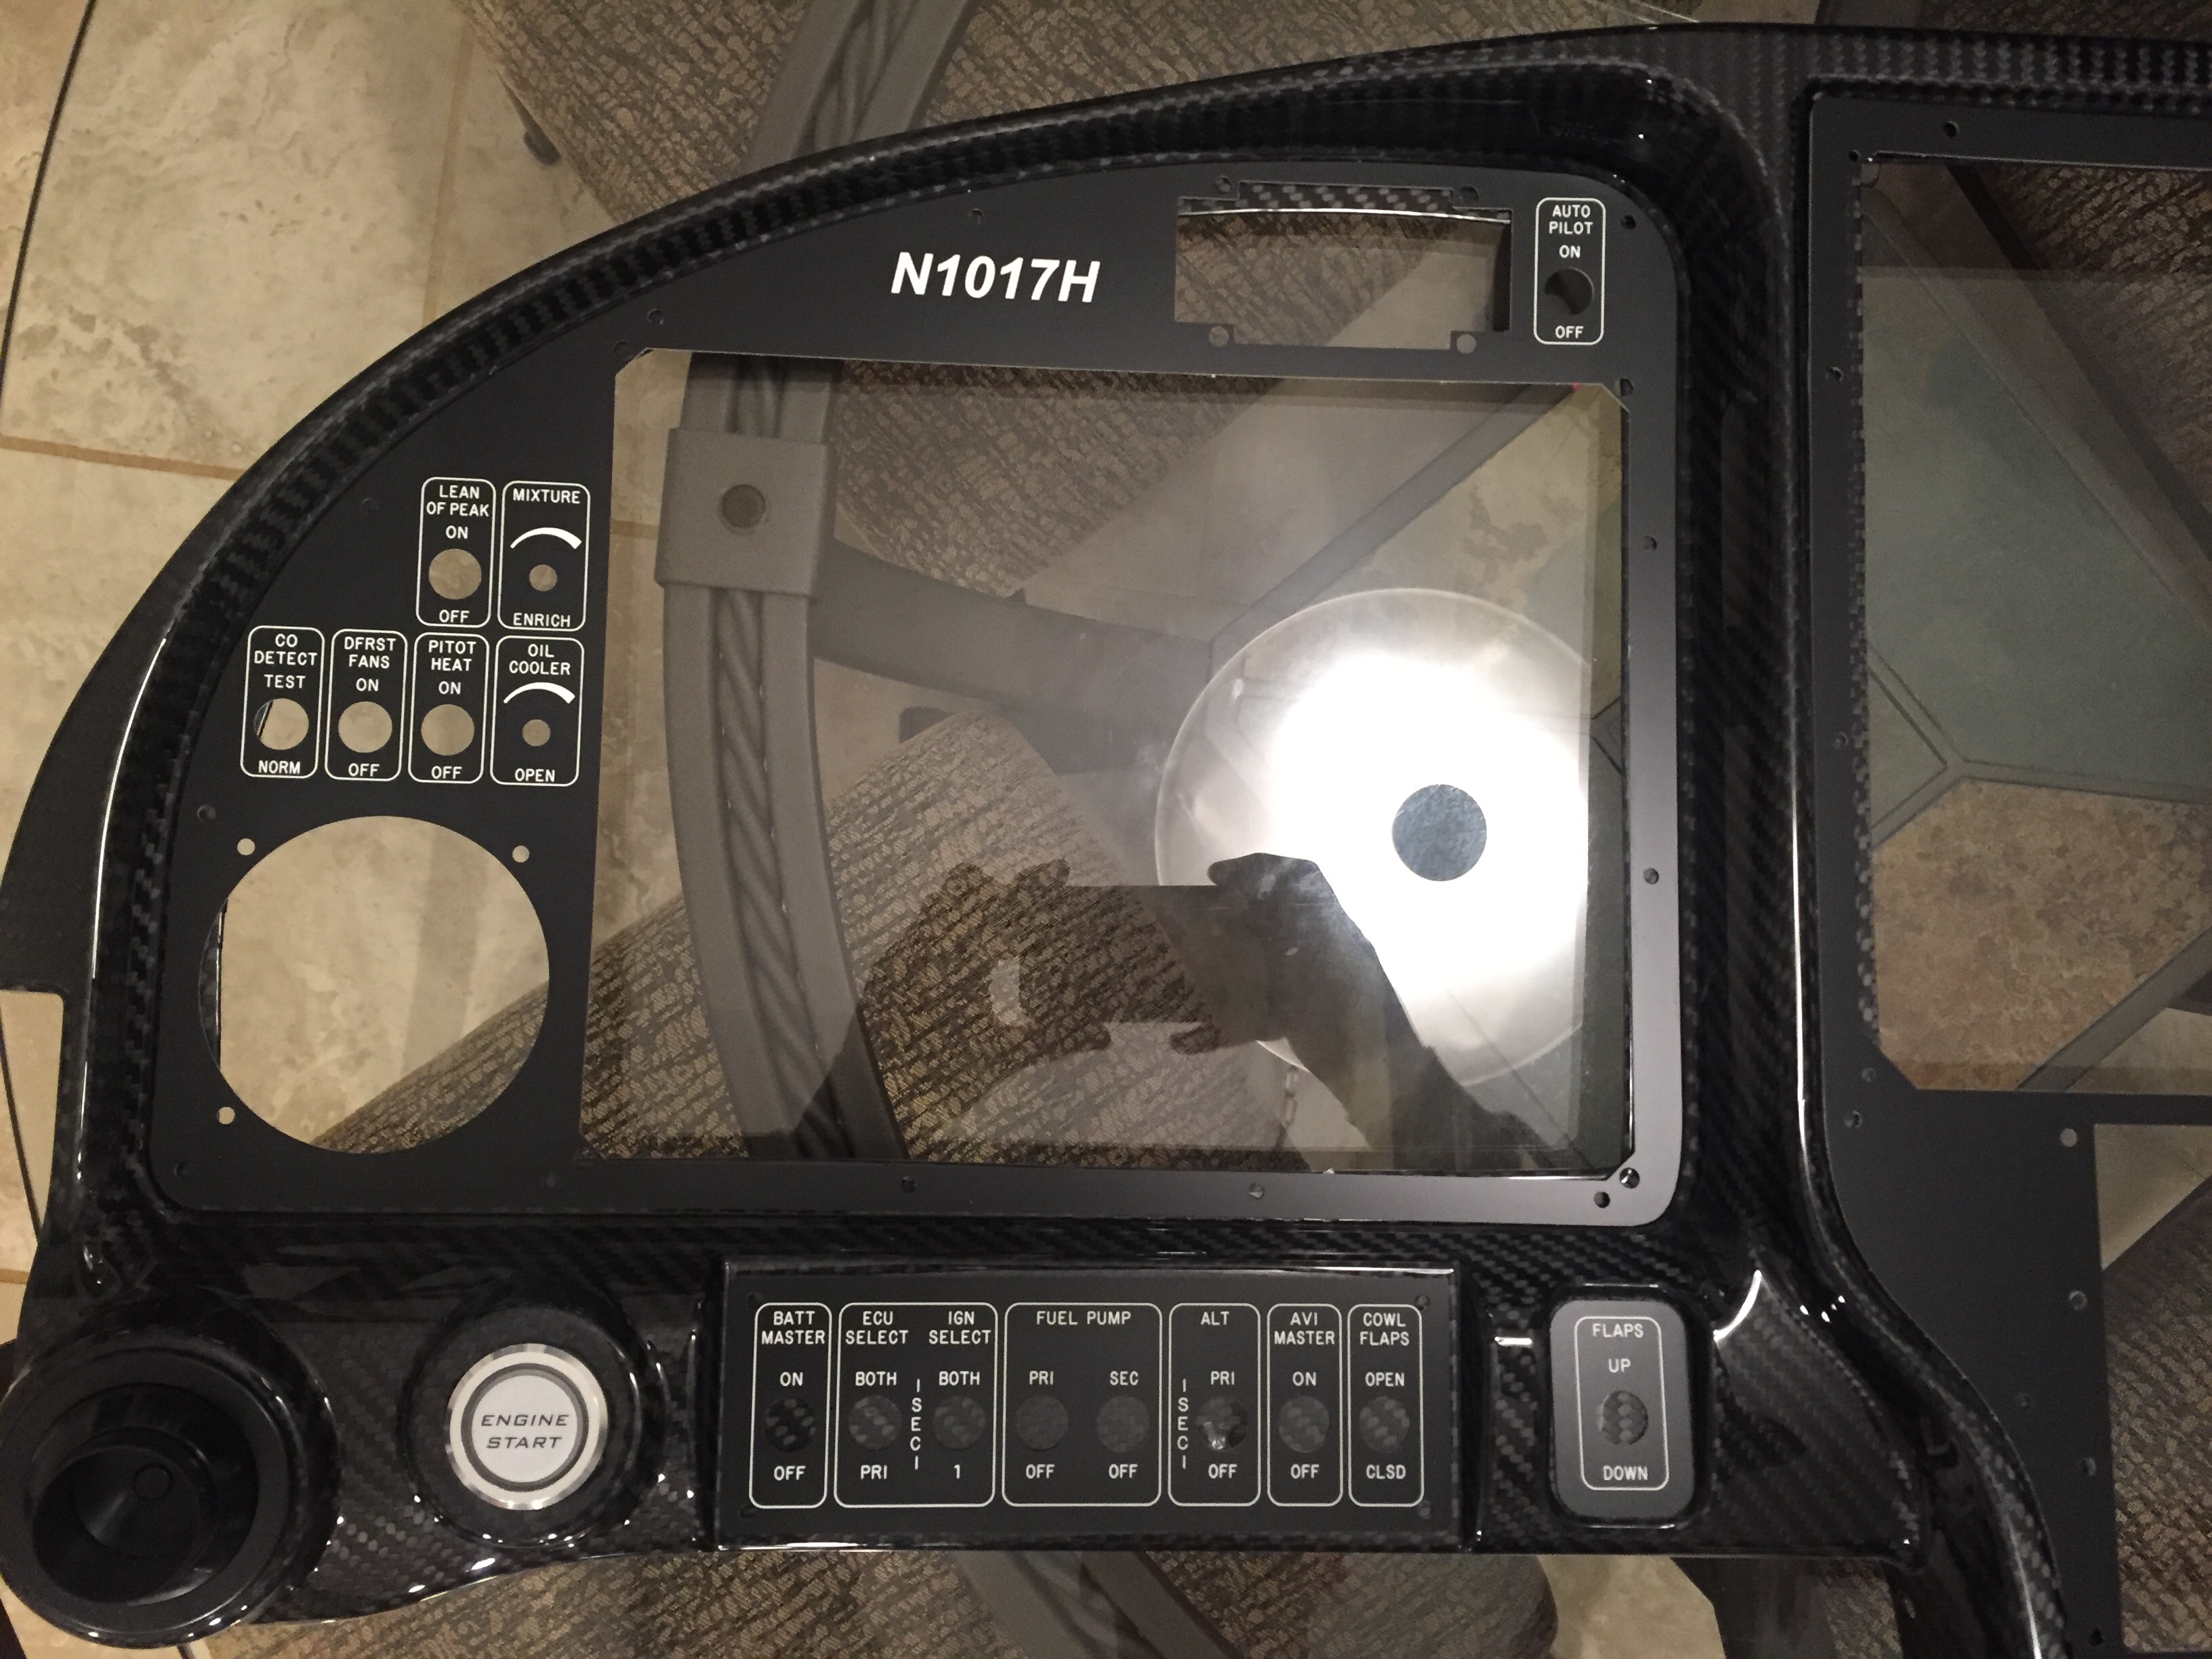
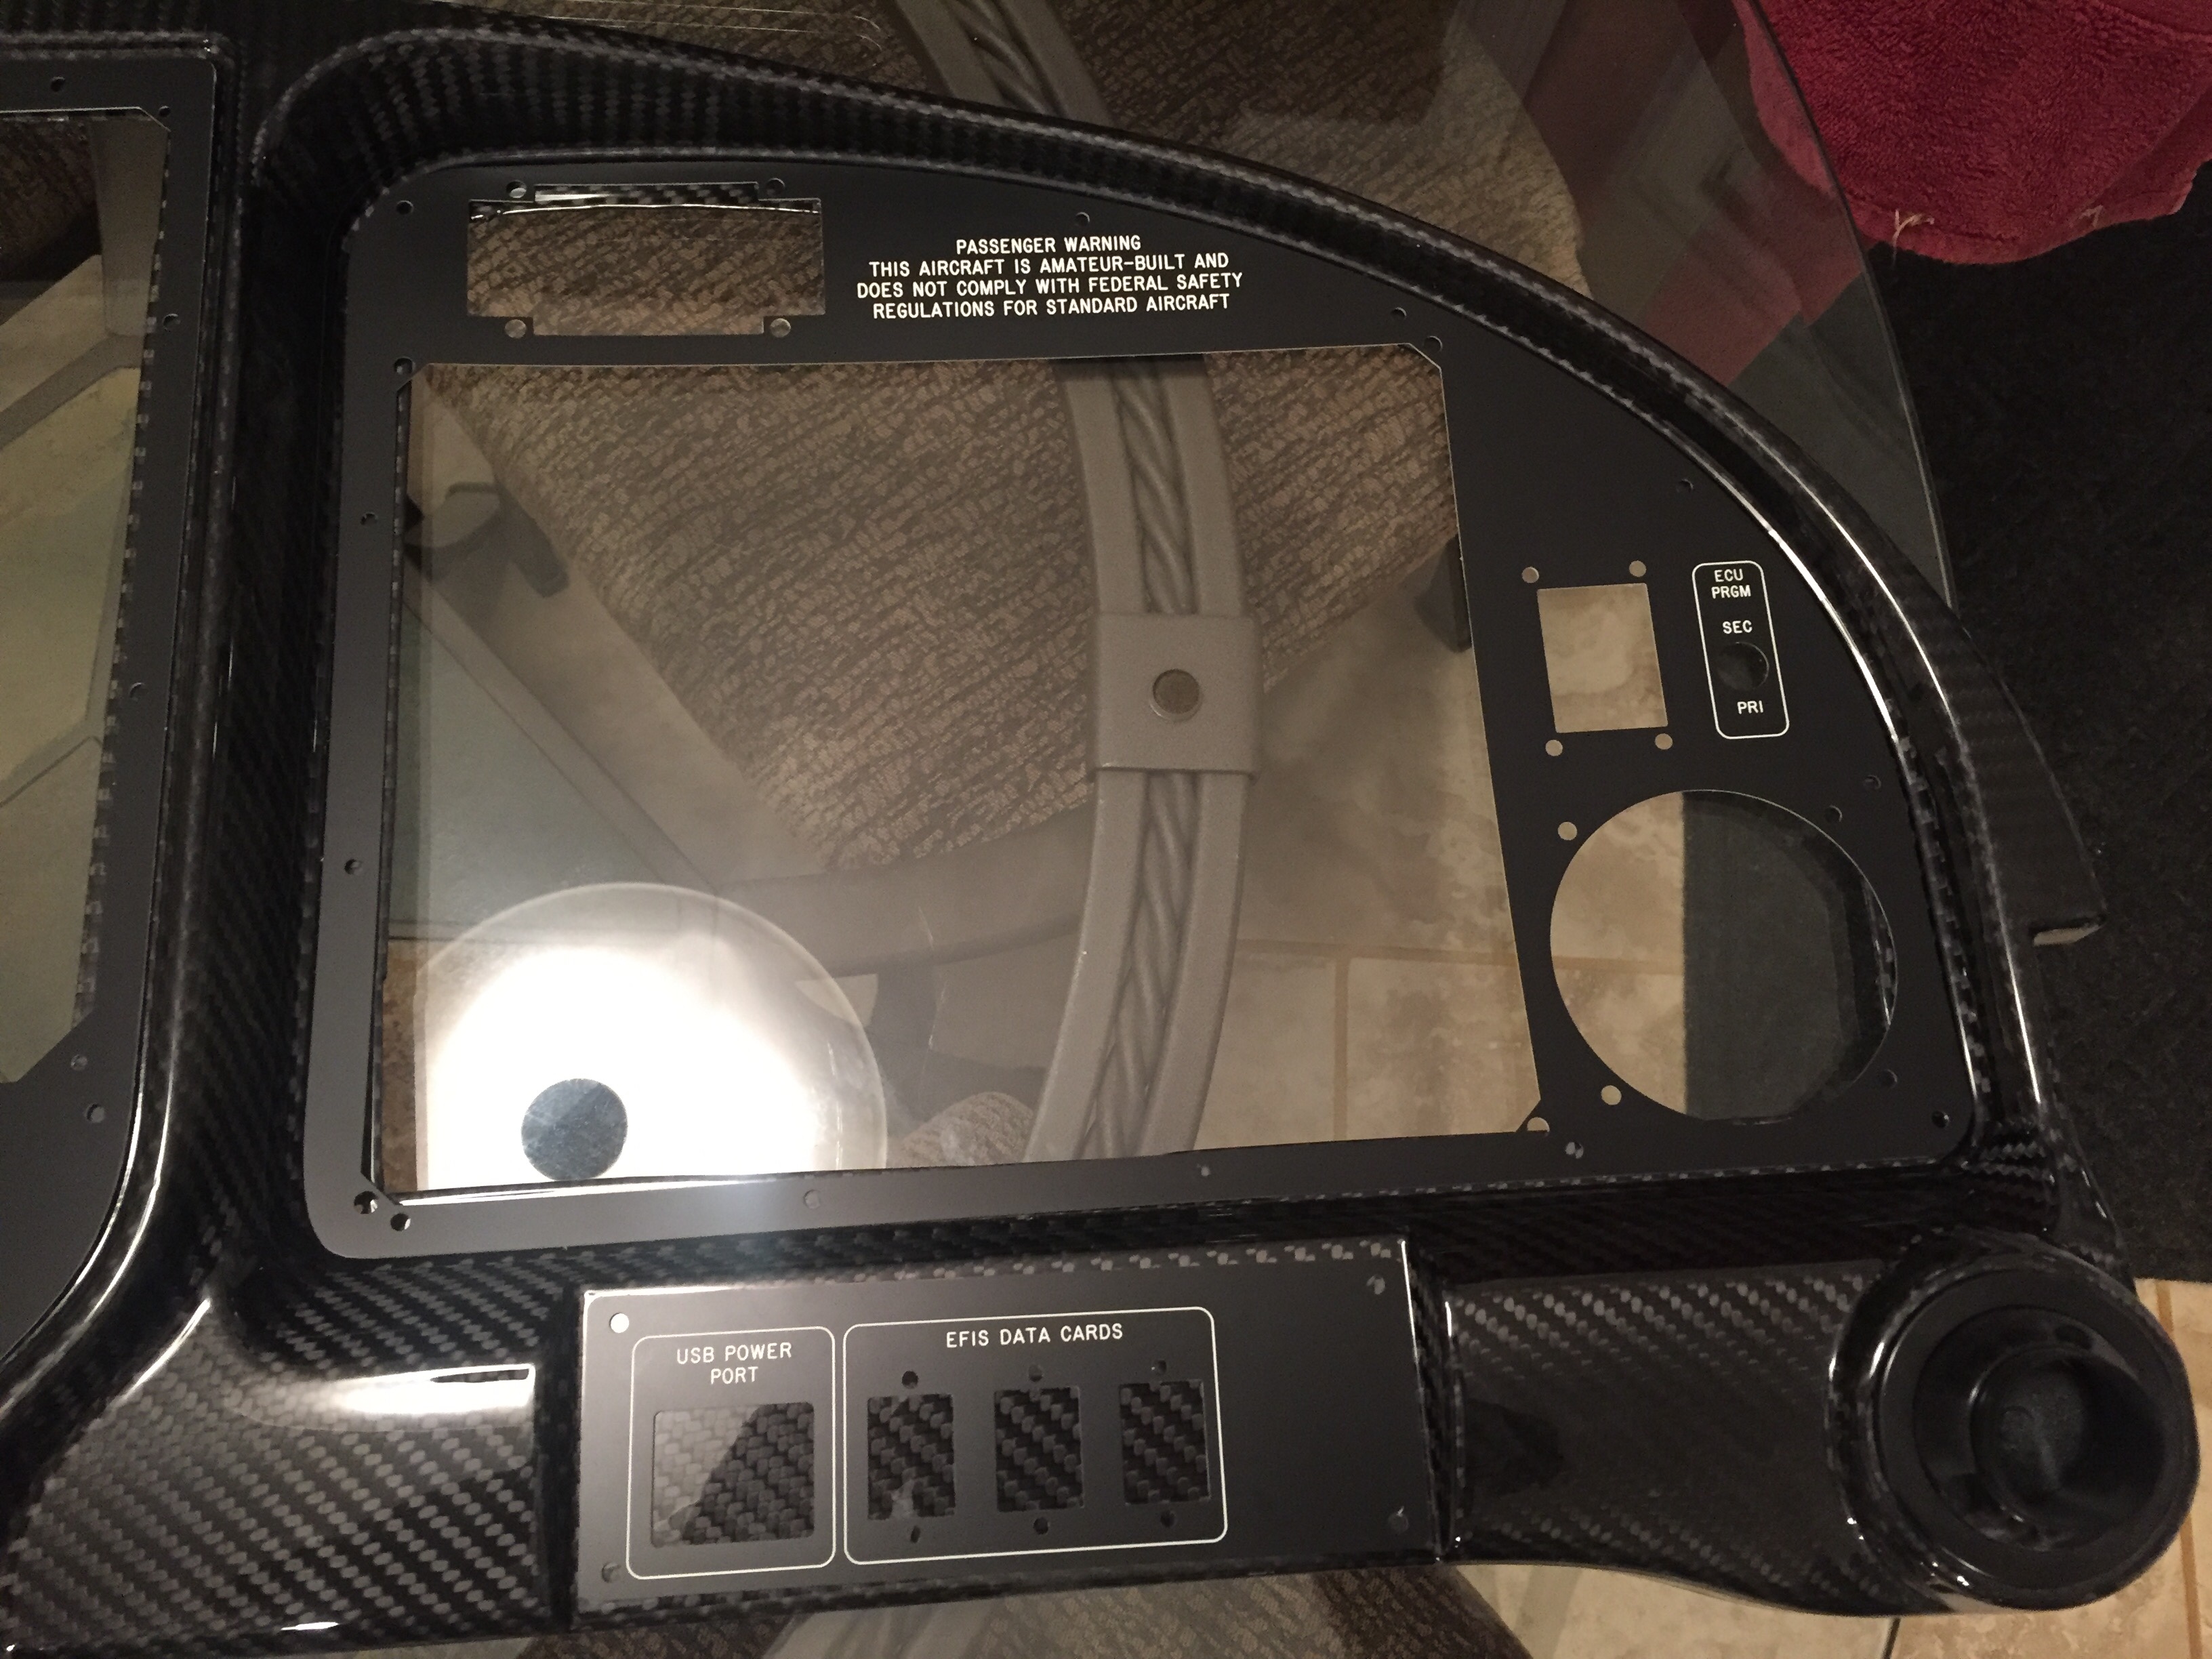
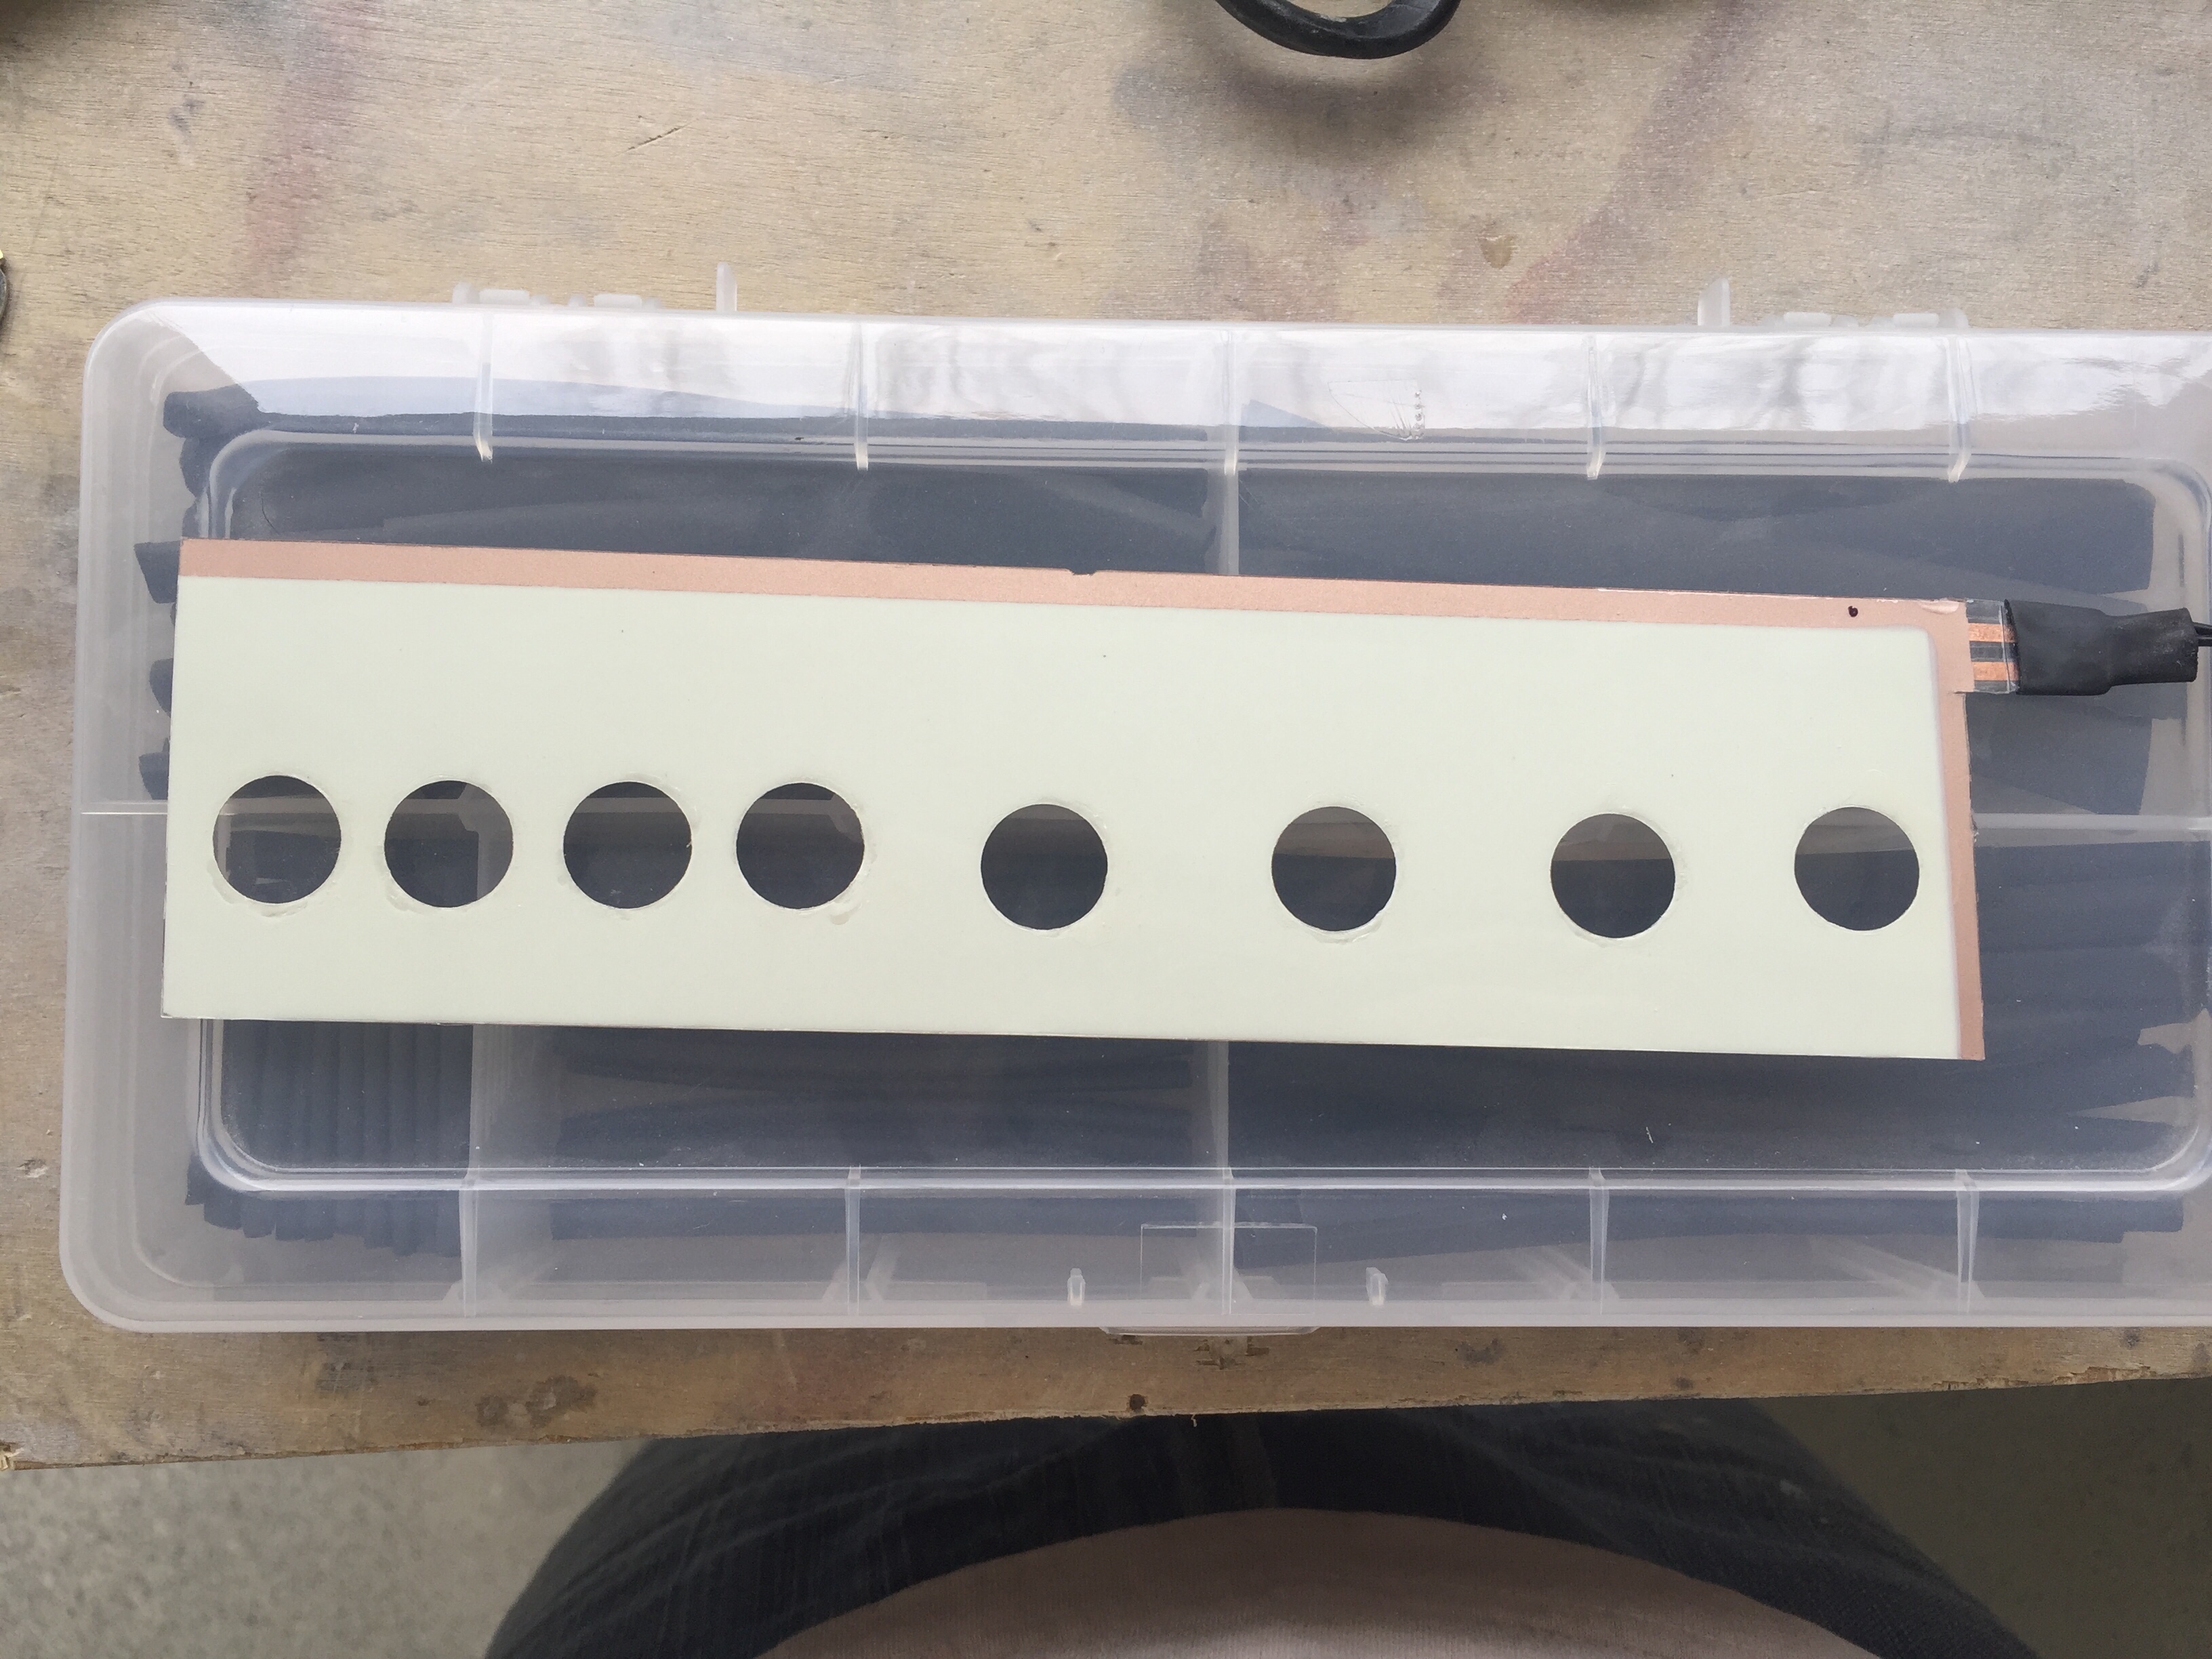
The EL panels came from Marc at Lightkraft via Etsy. Marc was phenomenal to work with and took a personal interest in the project. We had to iron out some dirty details on orientation, power leads, size constraints, etc. I wound up taking his limfacs and finessing the panel layout a bit around the EL panels to make sure everything lit up as desired. I also had to be strategic on where the power leads would be located along with the two edges that are unlit where the leads run. On those two sides, it’s about 3/16″ that is unlit and cannot be cut, so positioning those correctly was key. The other two edges could be cut and shaped in any way needed. Finally, holes in pretty much any shape can be cut out of the middle to allow for switches or components without affecting the rest of the EL panel. On any cut edge, the panel must be sealed to prevent oxygen from ruining the EL material. Marc suggested clear acrylic nail polish which was easy and quick. The prototype was done in white, but I wanted the final product in all blue. Marc did a great job taking the 1:1 sized PDF I produced from my CAD design and producing the panels. He provided a transformer based on the total surface area of the panels so all will be wired together and be on one dimmer.
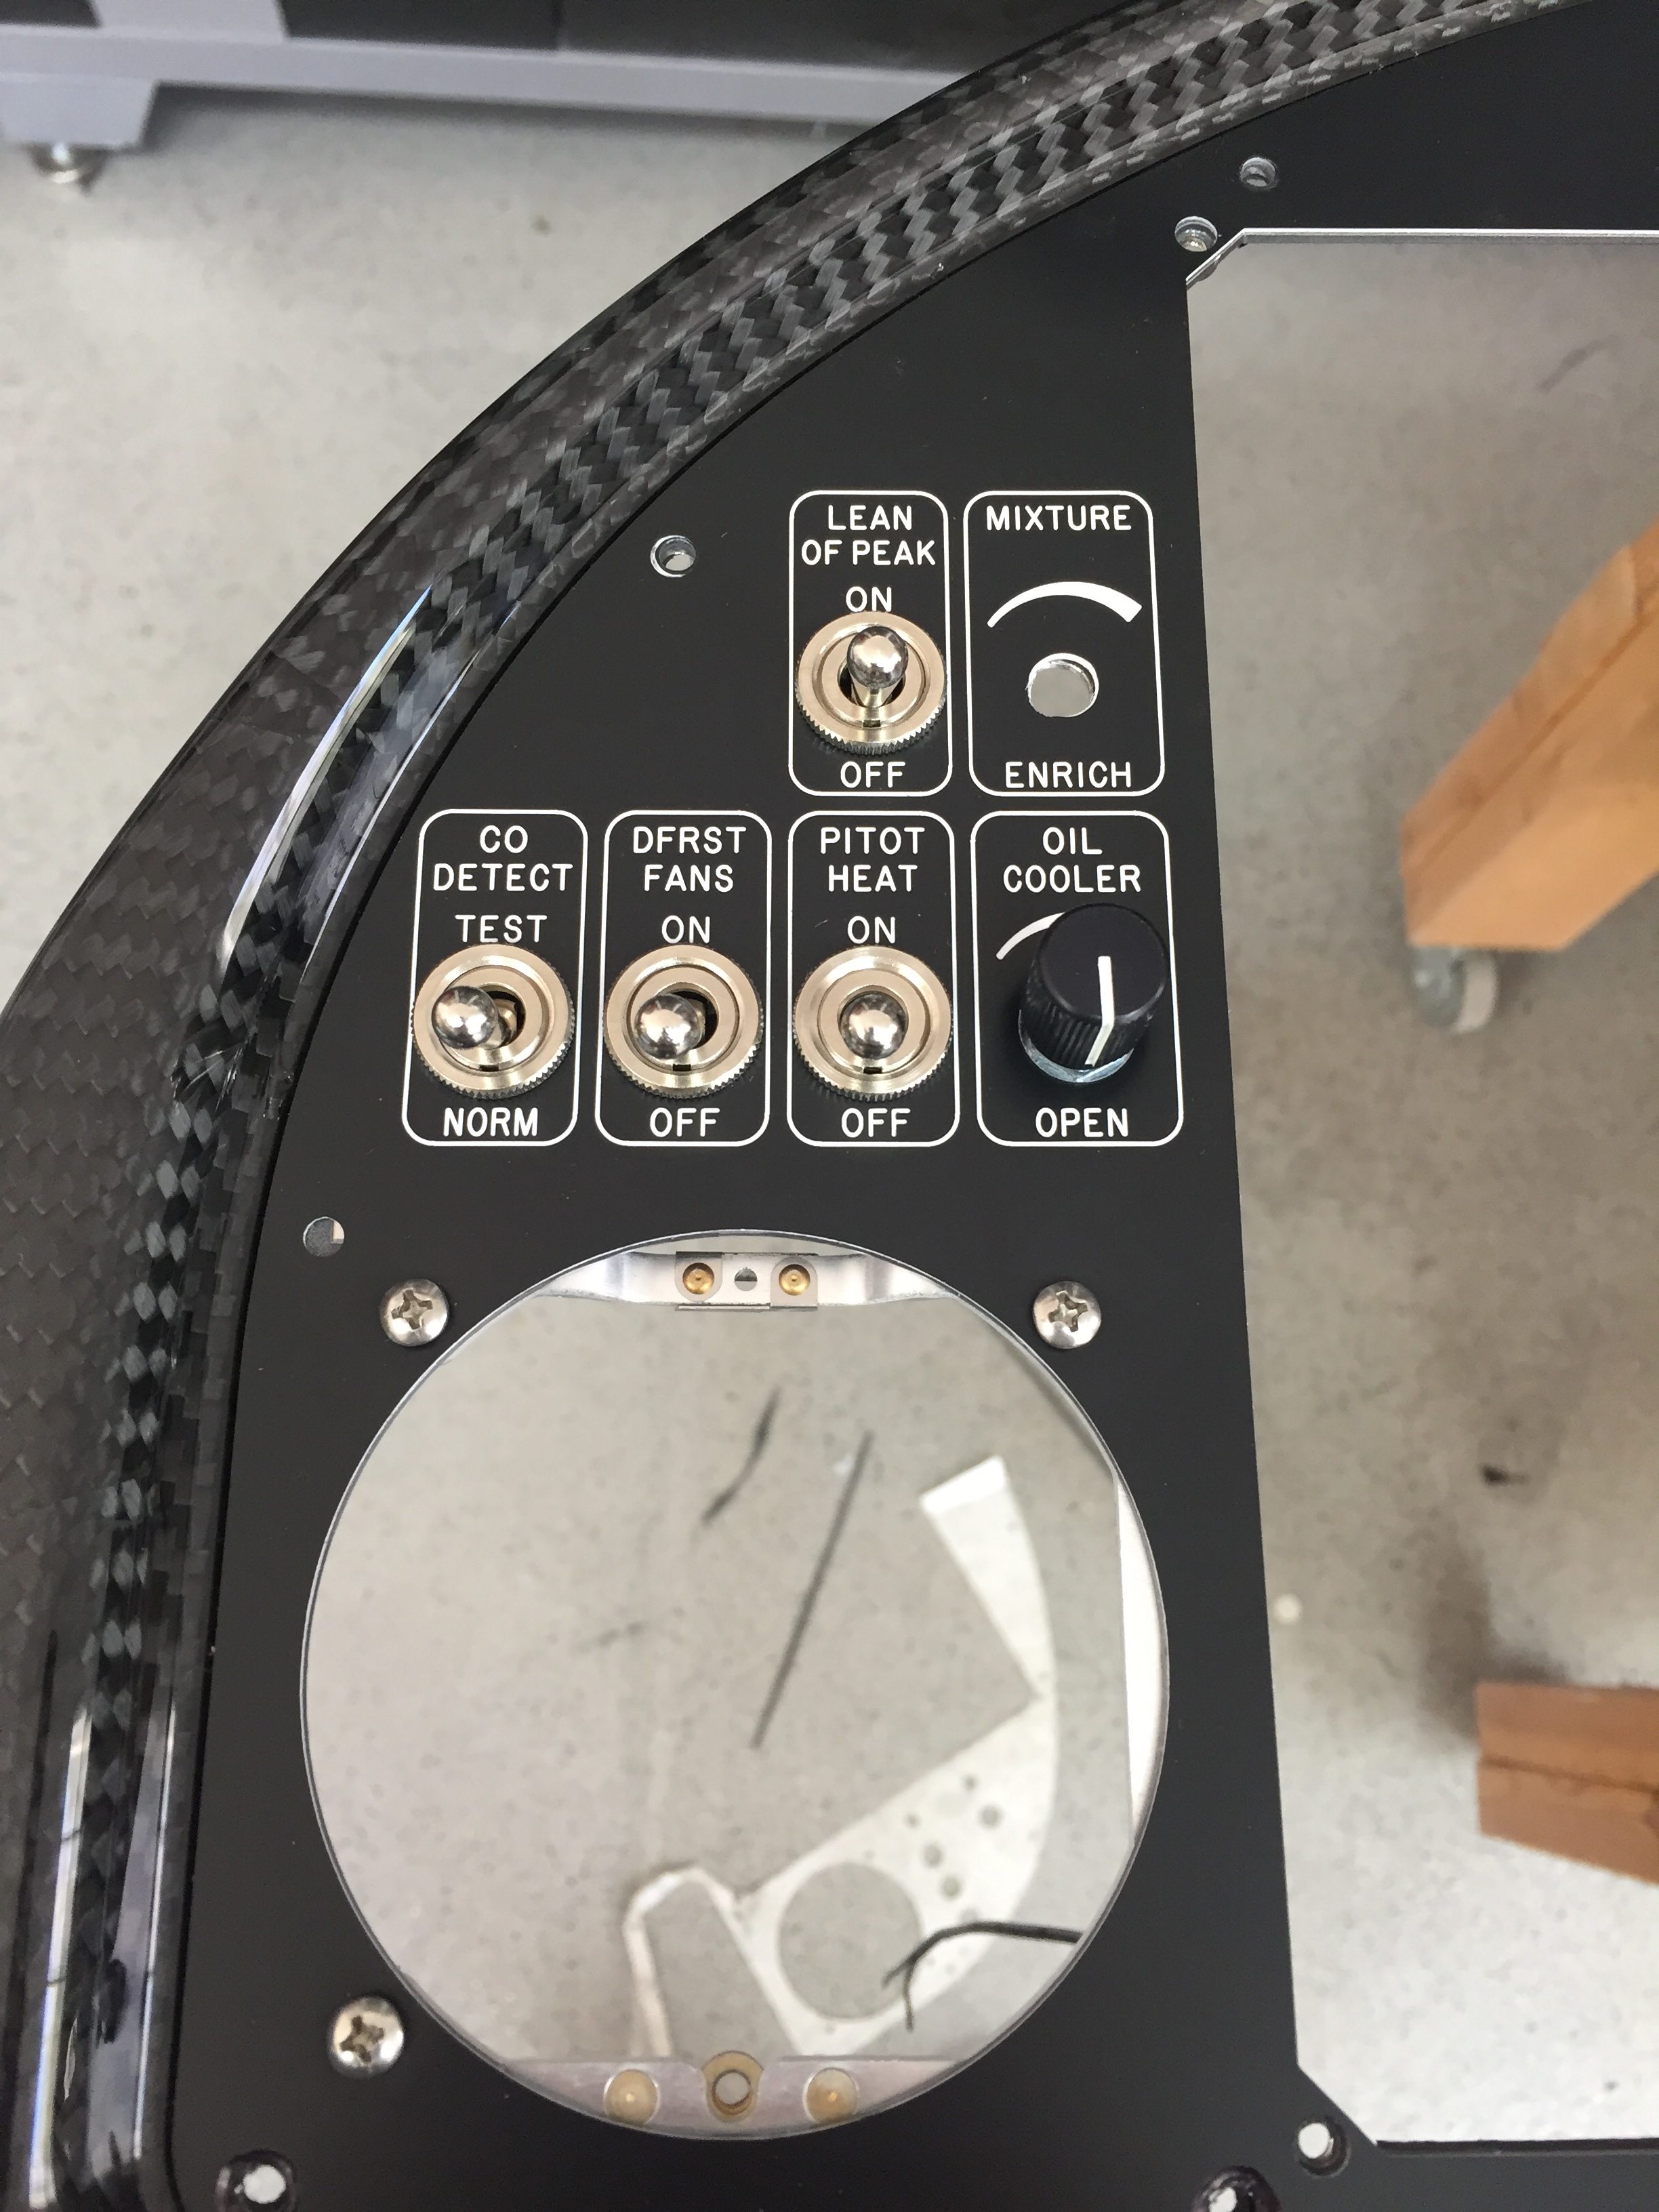
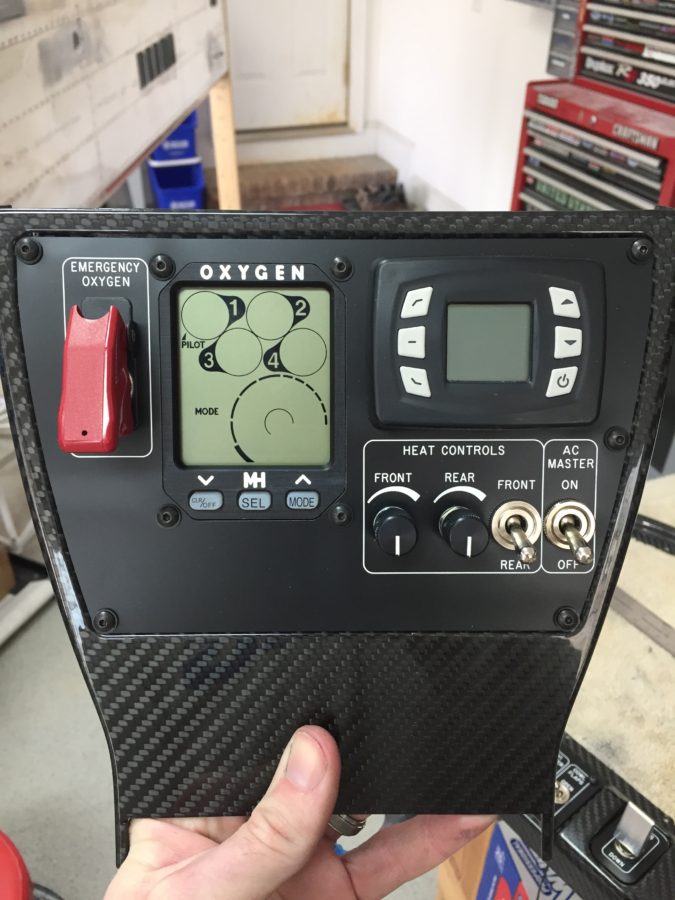
Since AFS helped design and is producing a quick panel for me, the metal inserts for the four major sections of the Aerosport 310 panel are being cut and silk screened by AFS. I wanted that as a back up to the EL panels just in case those didn’t work out or fail and are not replaceable sometime down the road. After finalizing the design with Stephan at AFS, I sent the same CAD design to Matthew at Aircraft Engravers and requested all the panels be cut from black on white acrylic, just the same as the overhead console test panel. Matthew was able to cut all component, switch, and screw holes then laser engrave all of the markings. The acrylic panels have a self sticking backing so applying them for good is as simple as pulling off the backing and sticking them on the metal panel!
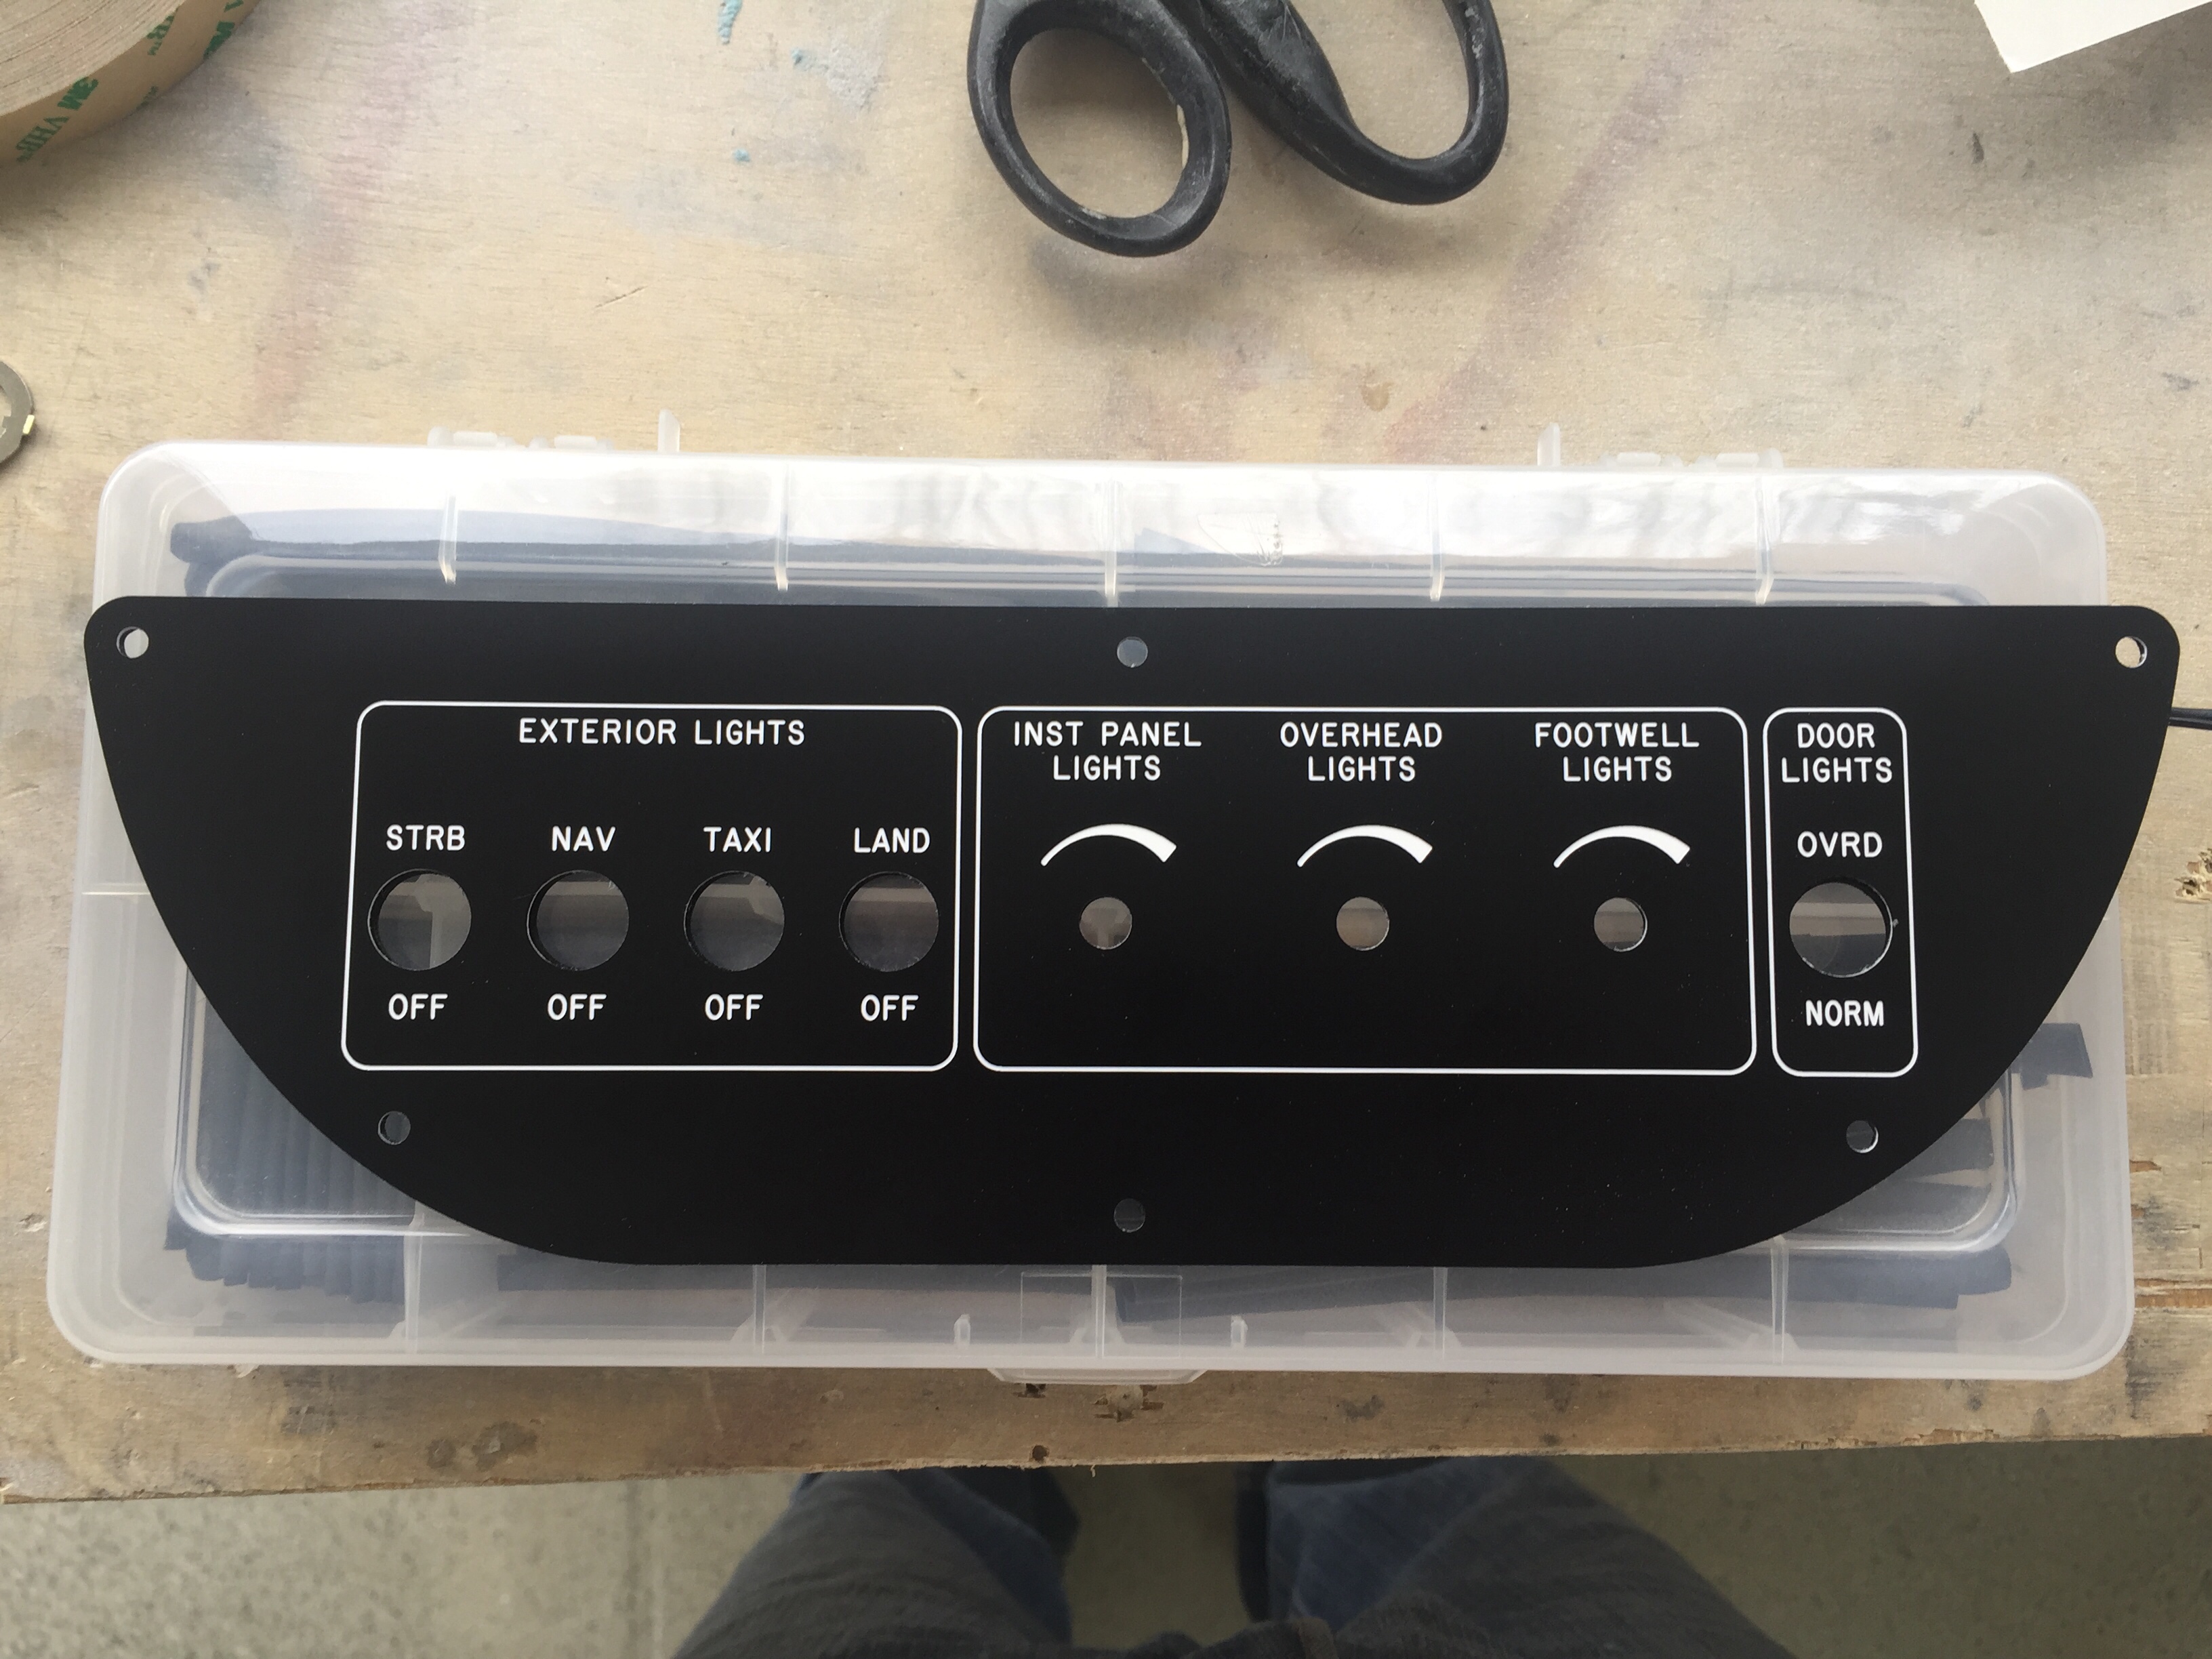
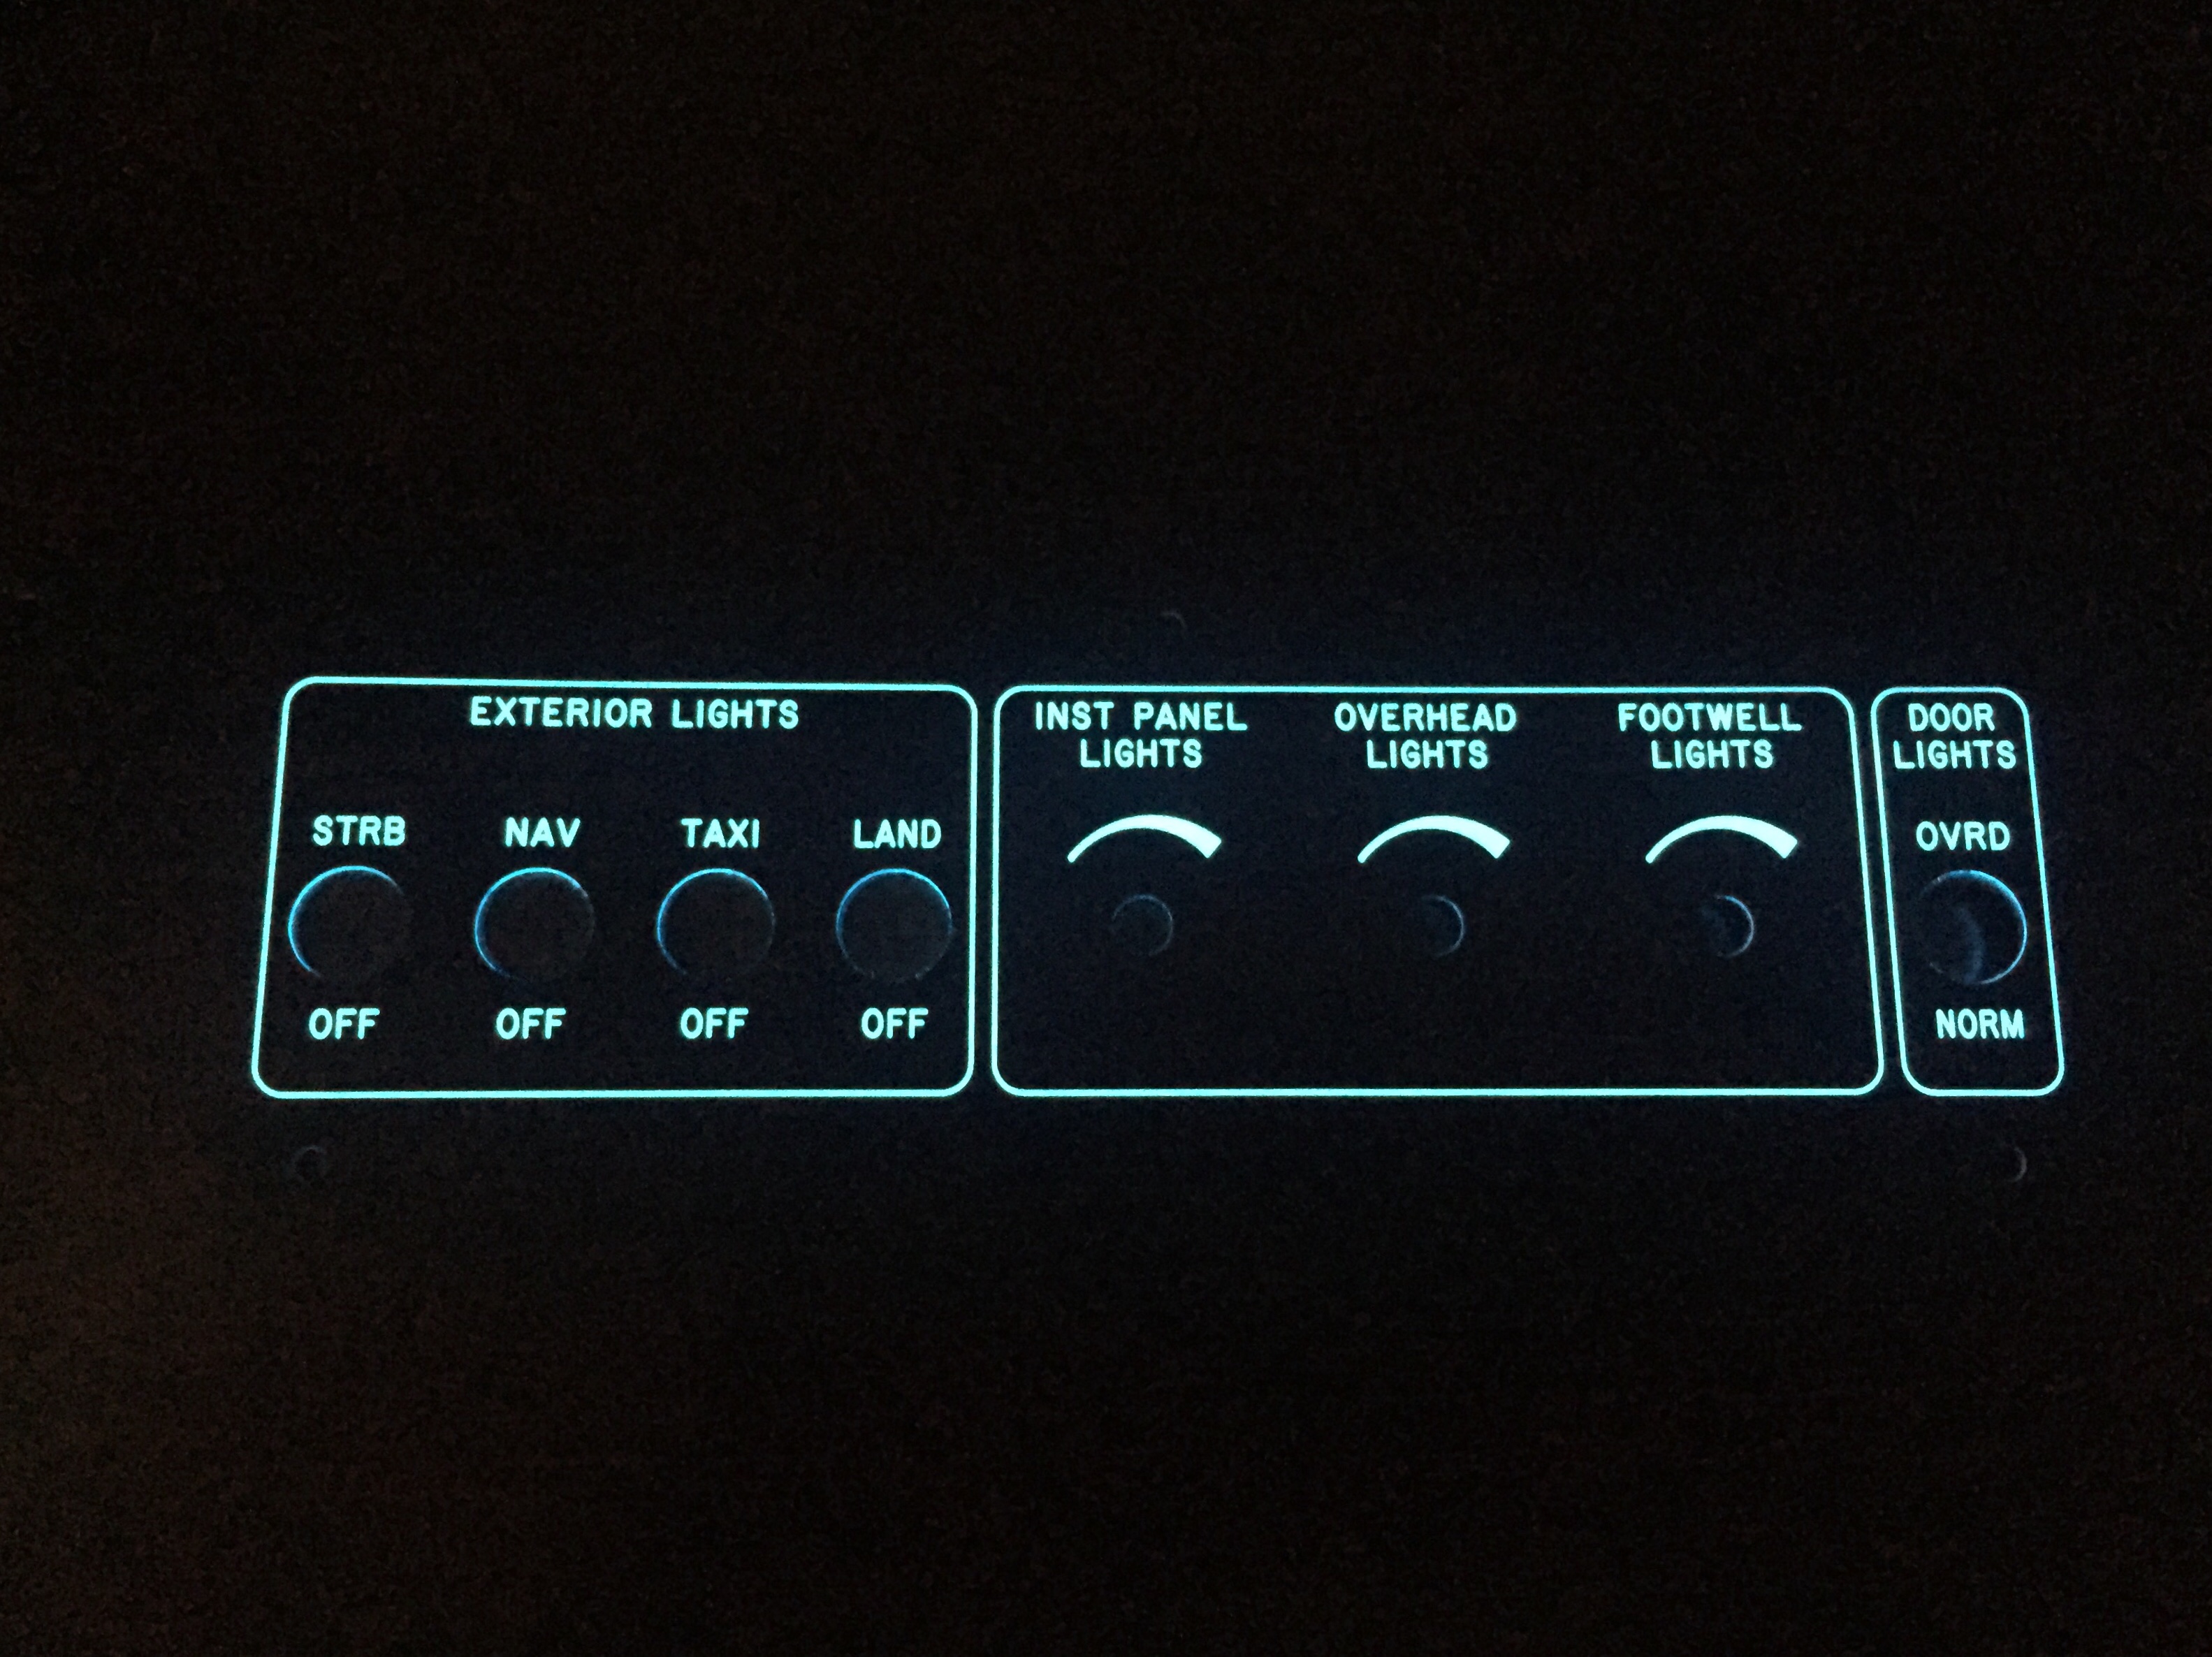
I took some time to ensure each EL panel fit the area needing back light and trimmed a few spots to clean it up. I used a 5/8″ punch to punch holes for switches and dimmers in the EL panels. The idea was to avoid the EL panel contacting any metal avoiding shorting and any interference noise the panels may translate to the air frame. From what I can tell, neither is necessary as metal doesn’t seem to bother the EL panel and test flying the prototype in the Diamond yielded quiet radios and headsets. After all of the holes were cut and trimming was completed, I turned into a little kid and played with everything in the dark to make sure all engraving was properly lit.
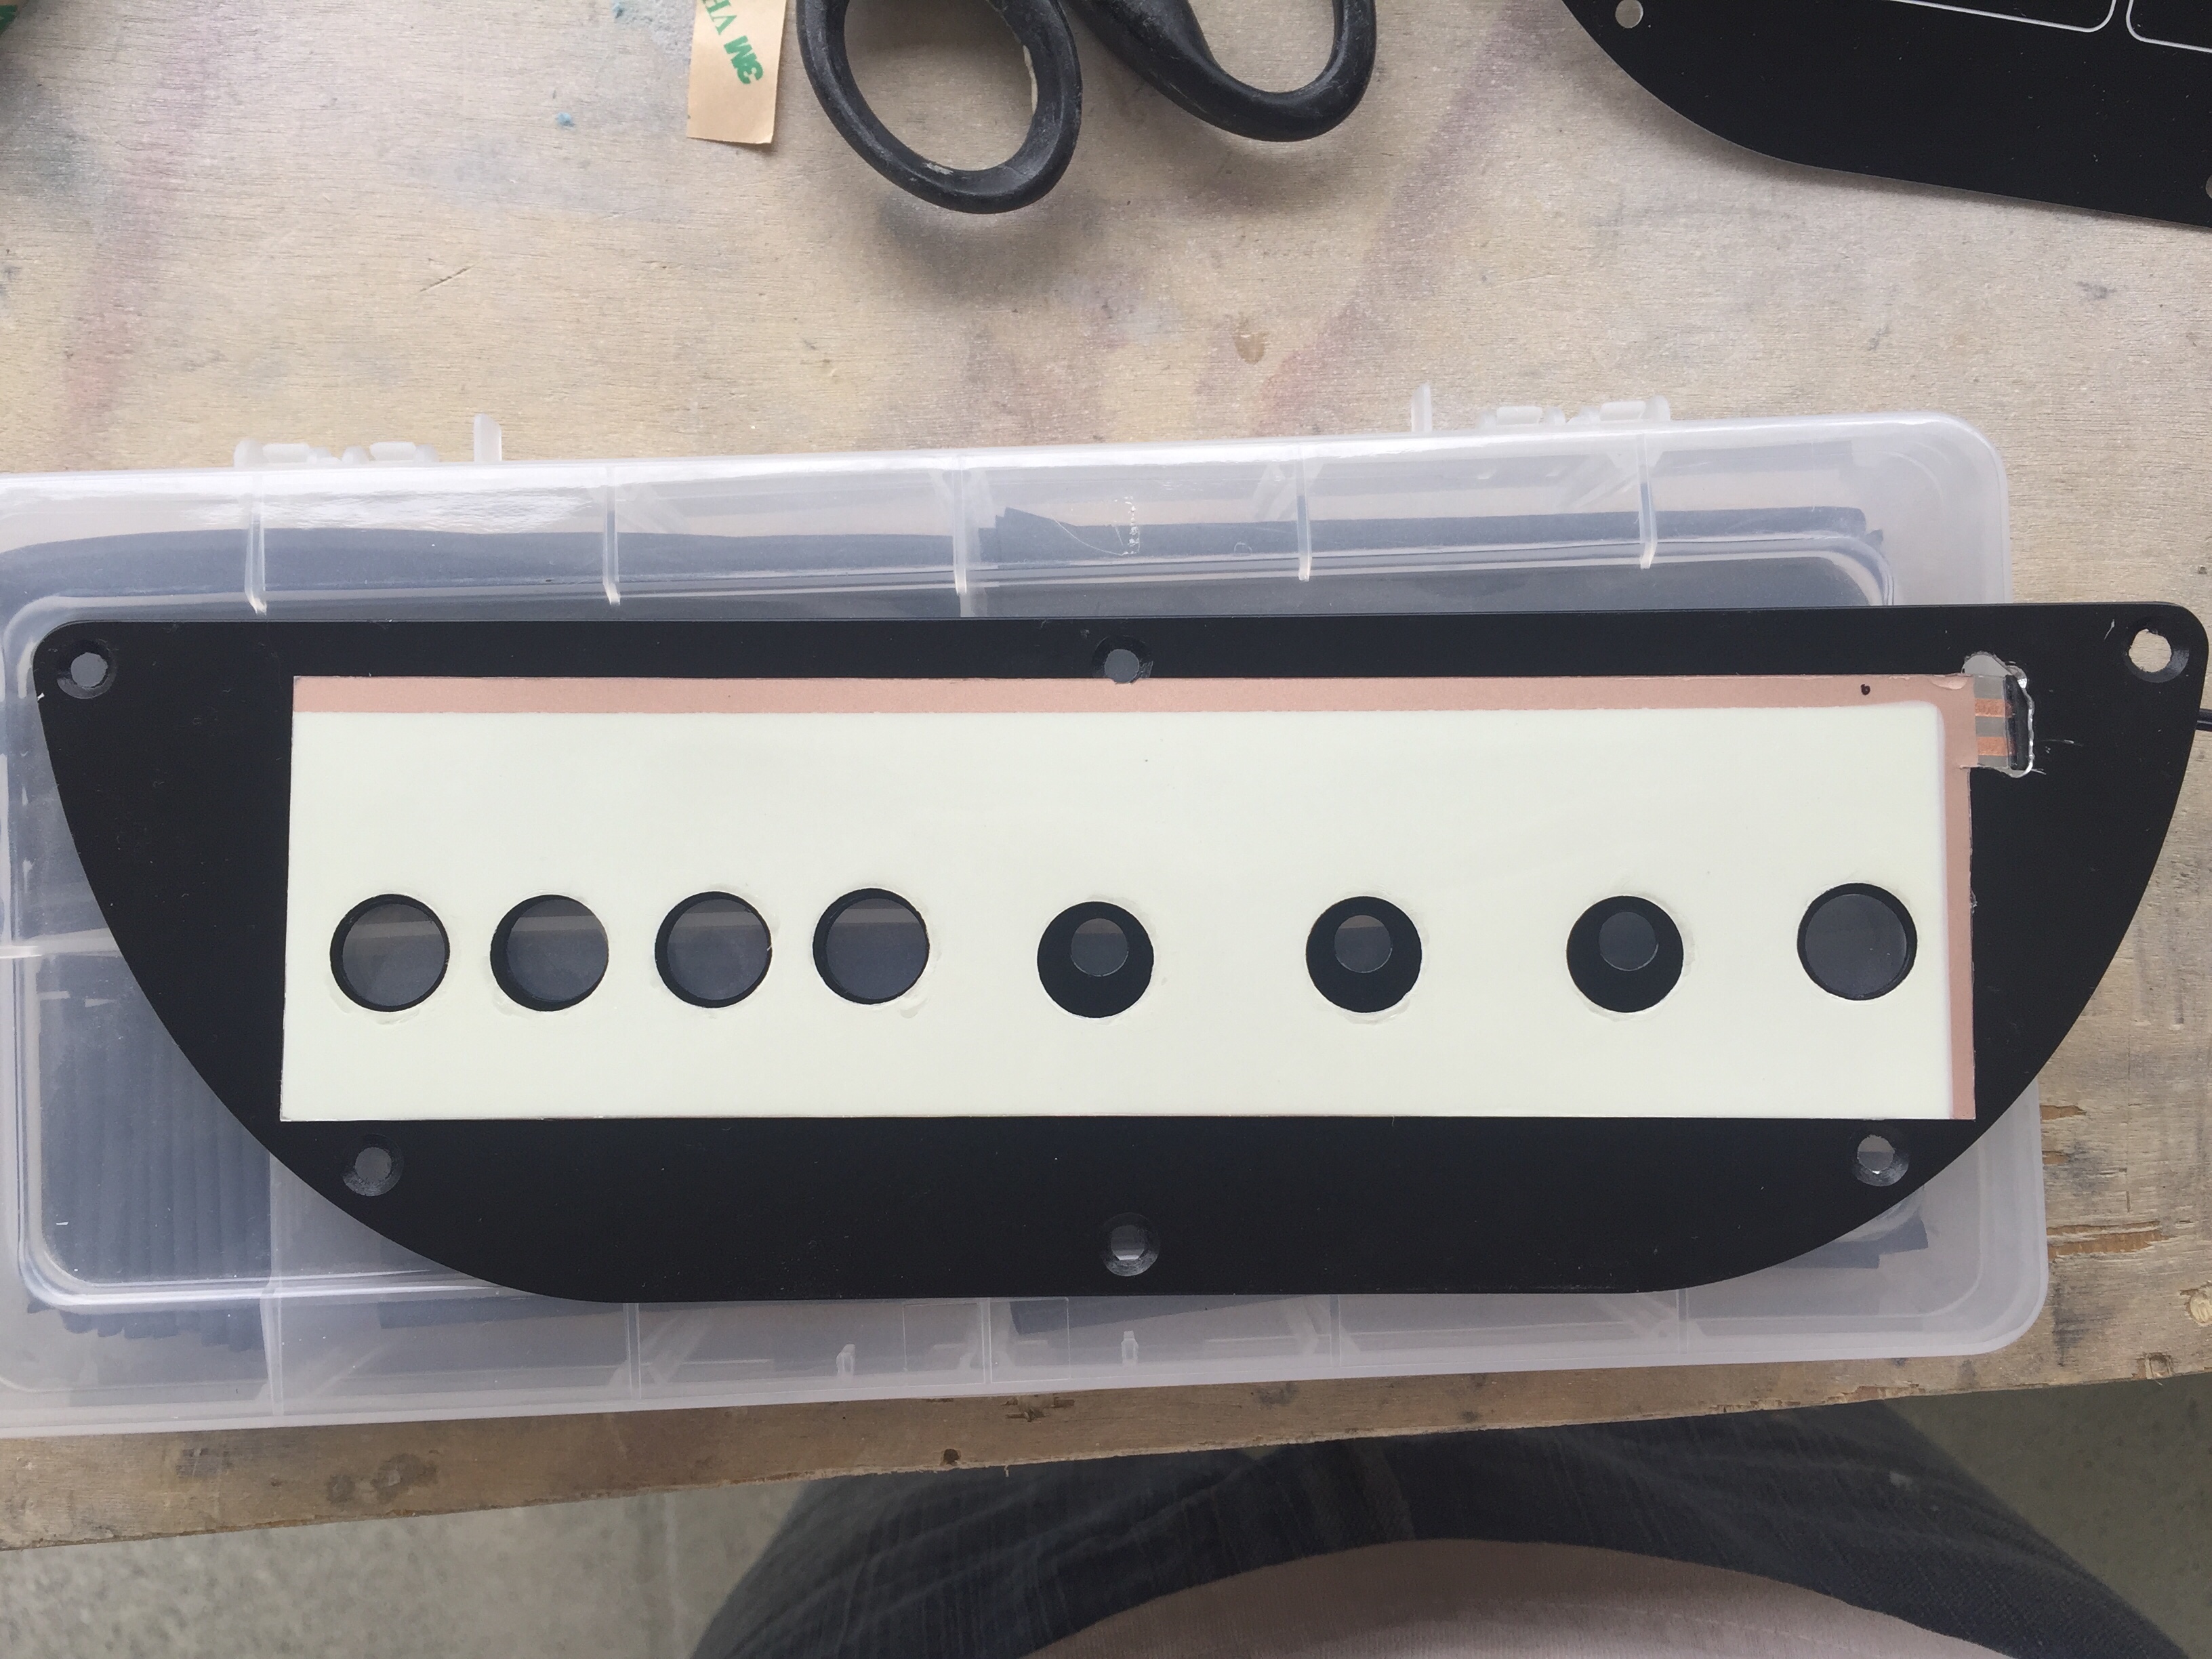
Next task is to cut a relieve for the power leads to rest in. Since the wire is soldered onto the EL panel, it needs to slip either to the edge or behind the metal panel so that it is all flat once completed. The areas where EL panels are not near and edge, I cut a slot for the leads to fit through ensuring no exposed lead touches the aluminum. Several locations will require the leads coming out from the side of the acrylic panel and going into the carbon fiber structure through a slot. Those are a bit tough to cut out but with patience and a lot of though prior to cutting, it works just fine. The main switch panel and flap switch panel were the toughest ones.
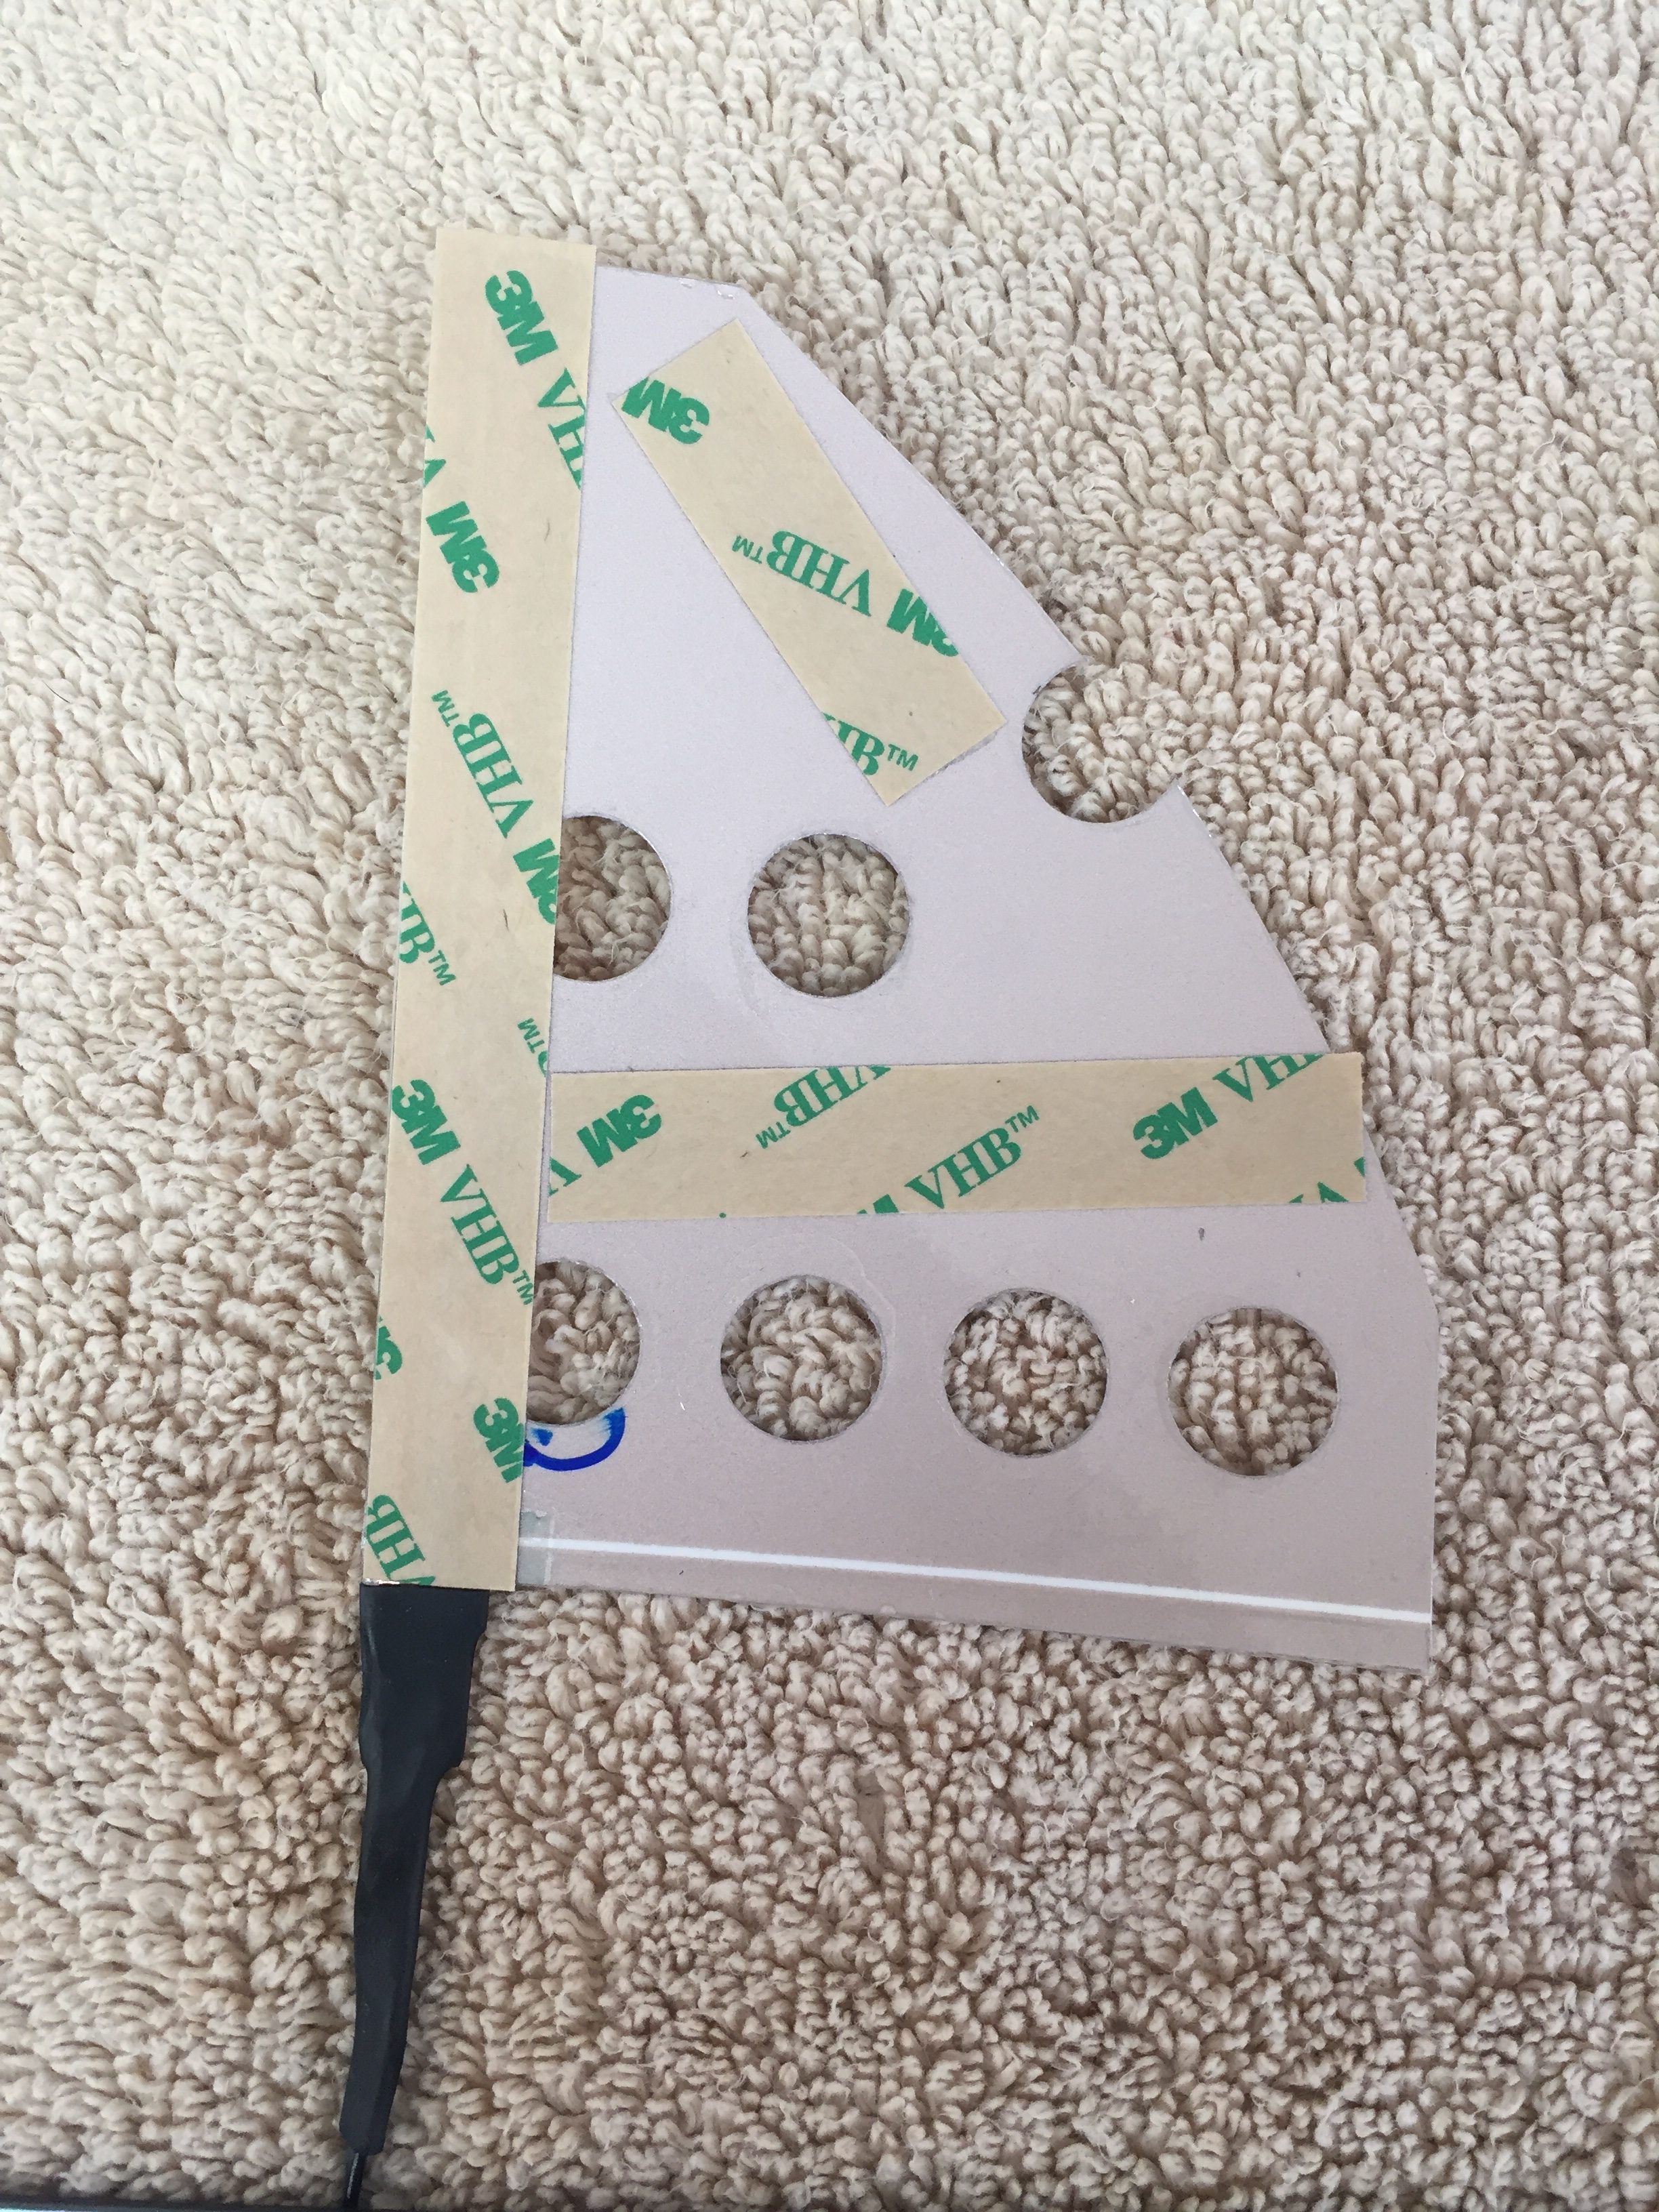
To install it permanently, I cleaned the metal backing panel and positioned the EL panel with 3M clear double sided tape (the same stuff Van’s recommends for trailing edges). This is really just to hold it while placing the acrylic overlay on top. The backing is removed from a small section of the acrylic overlay so that I have some adjustment playing the overlay on the metal panel. Once everything is lined up just right, I removed the rest of the backing and pressed the acrlyic down evenly.
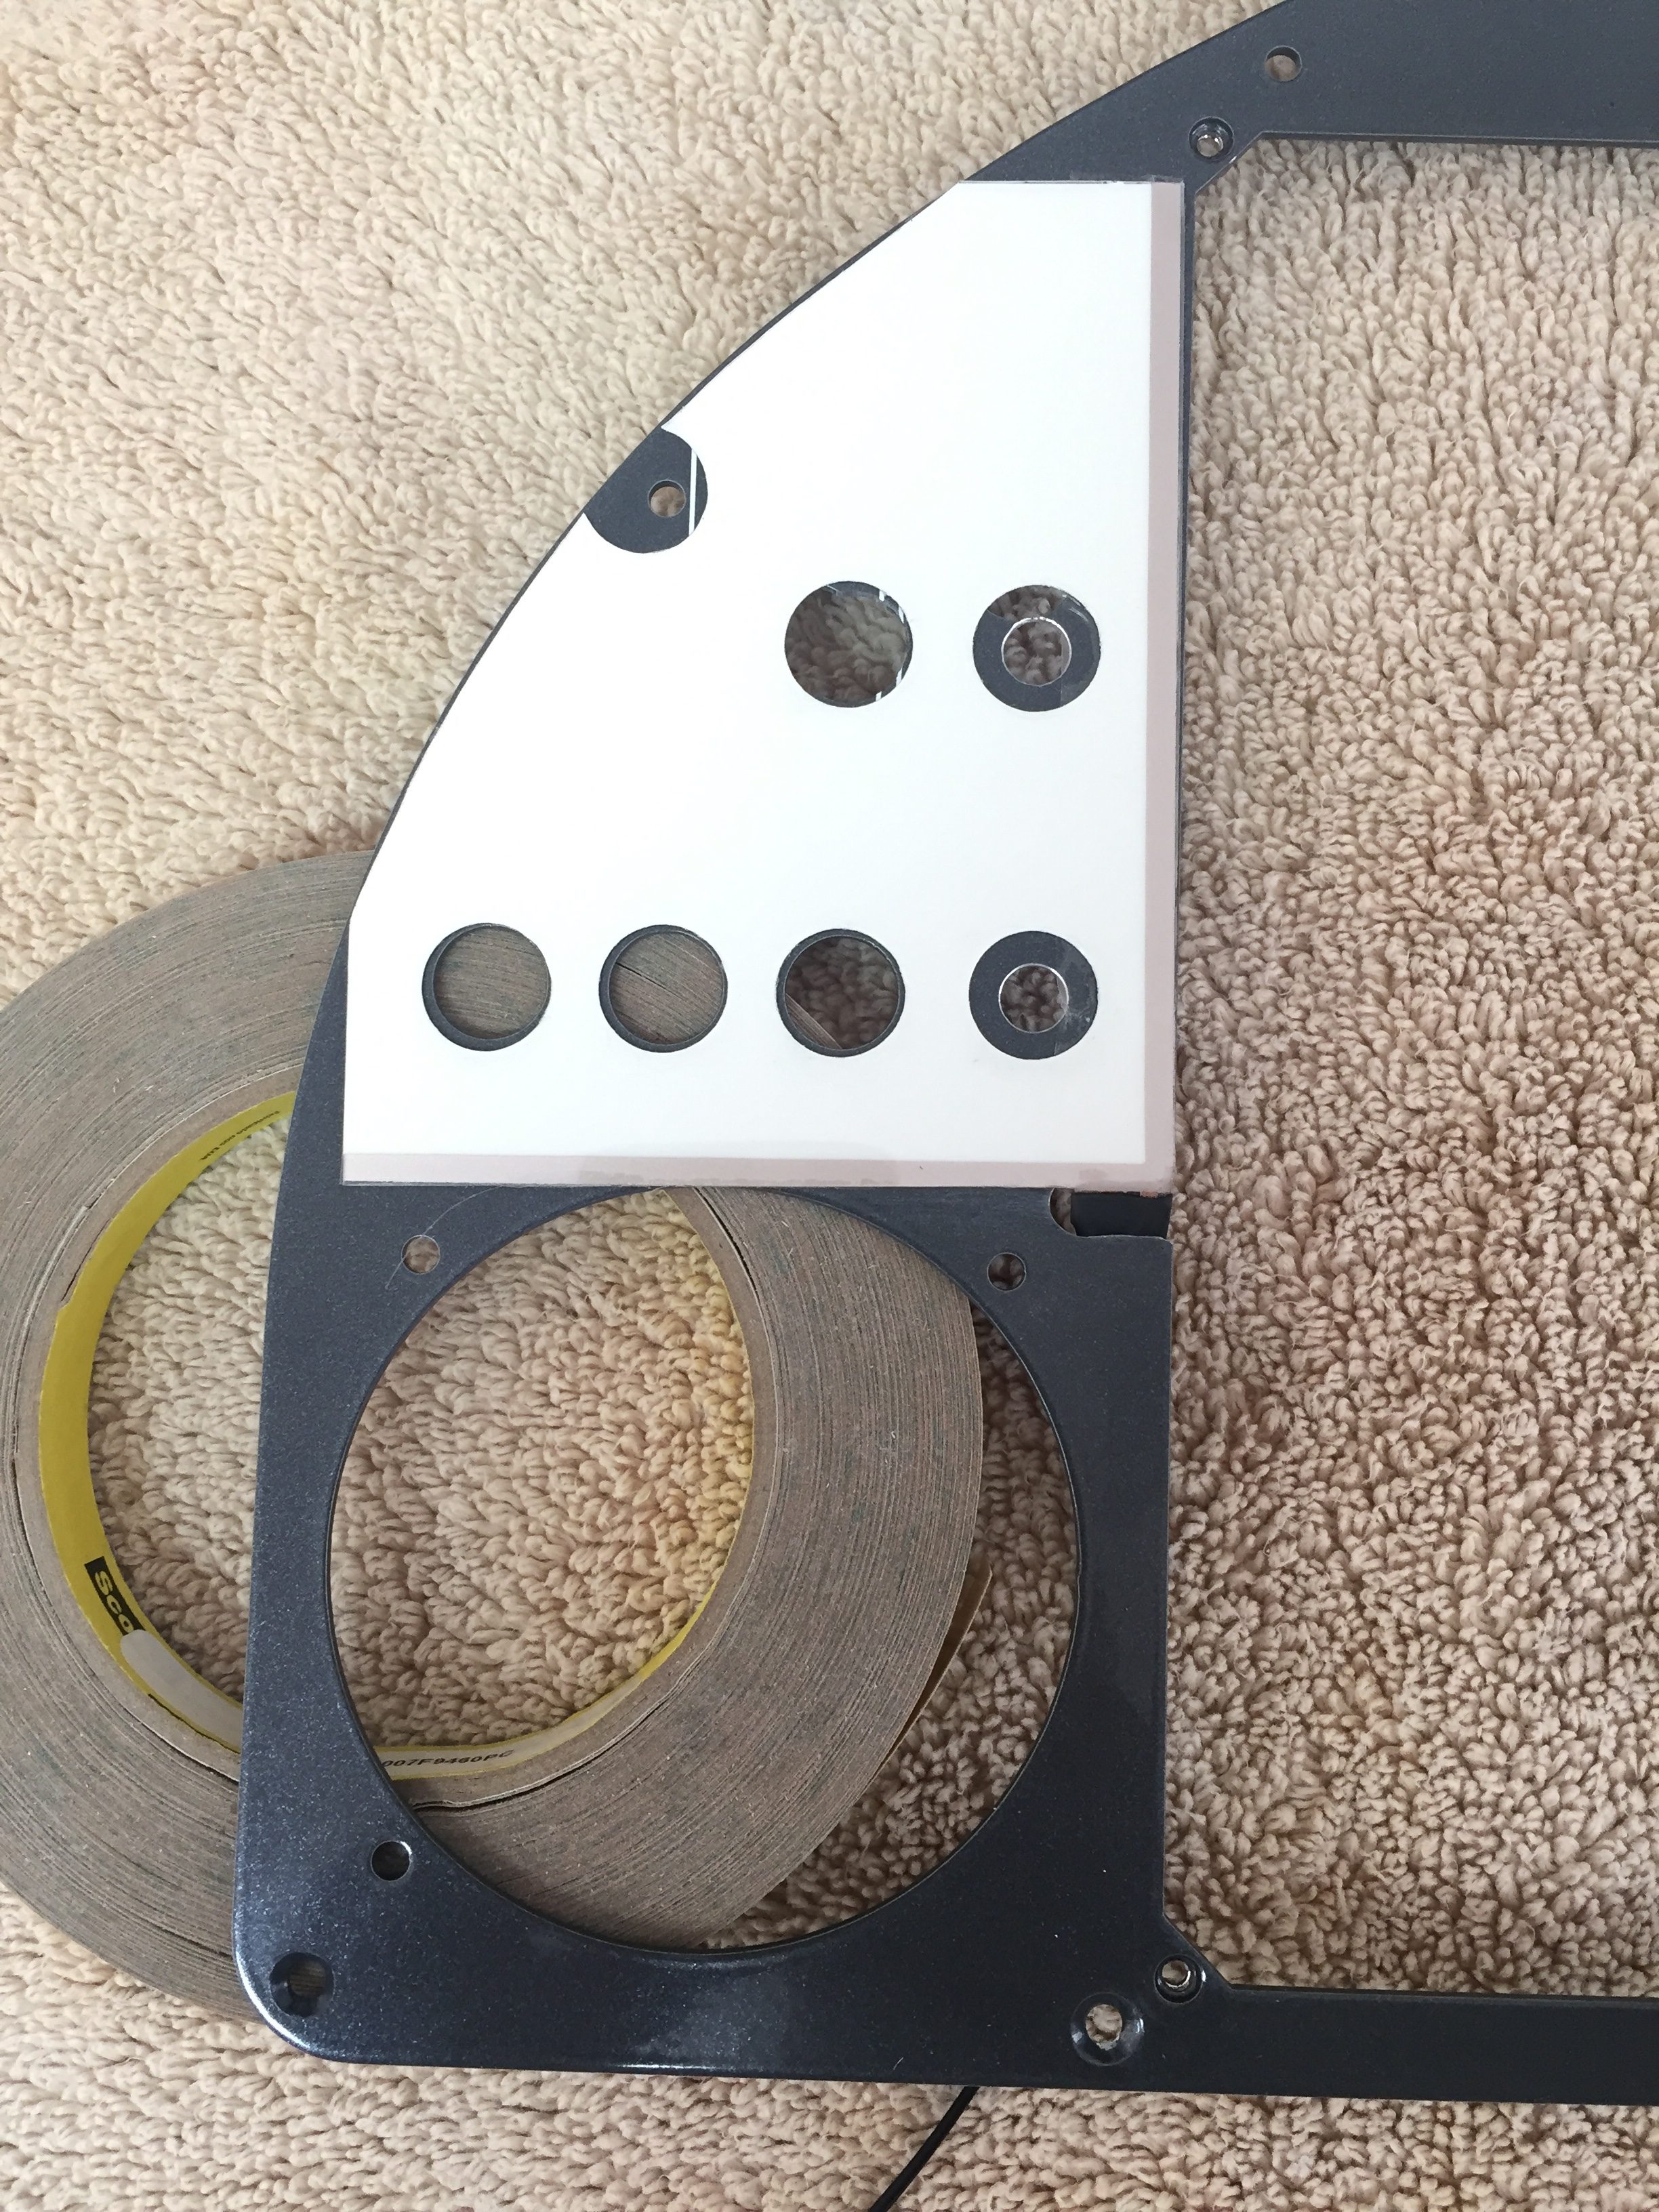
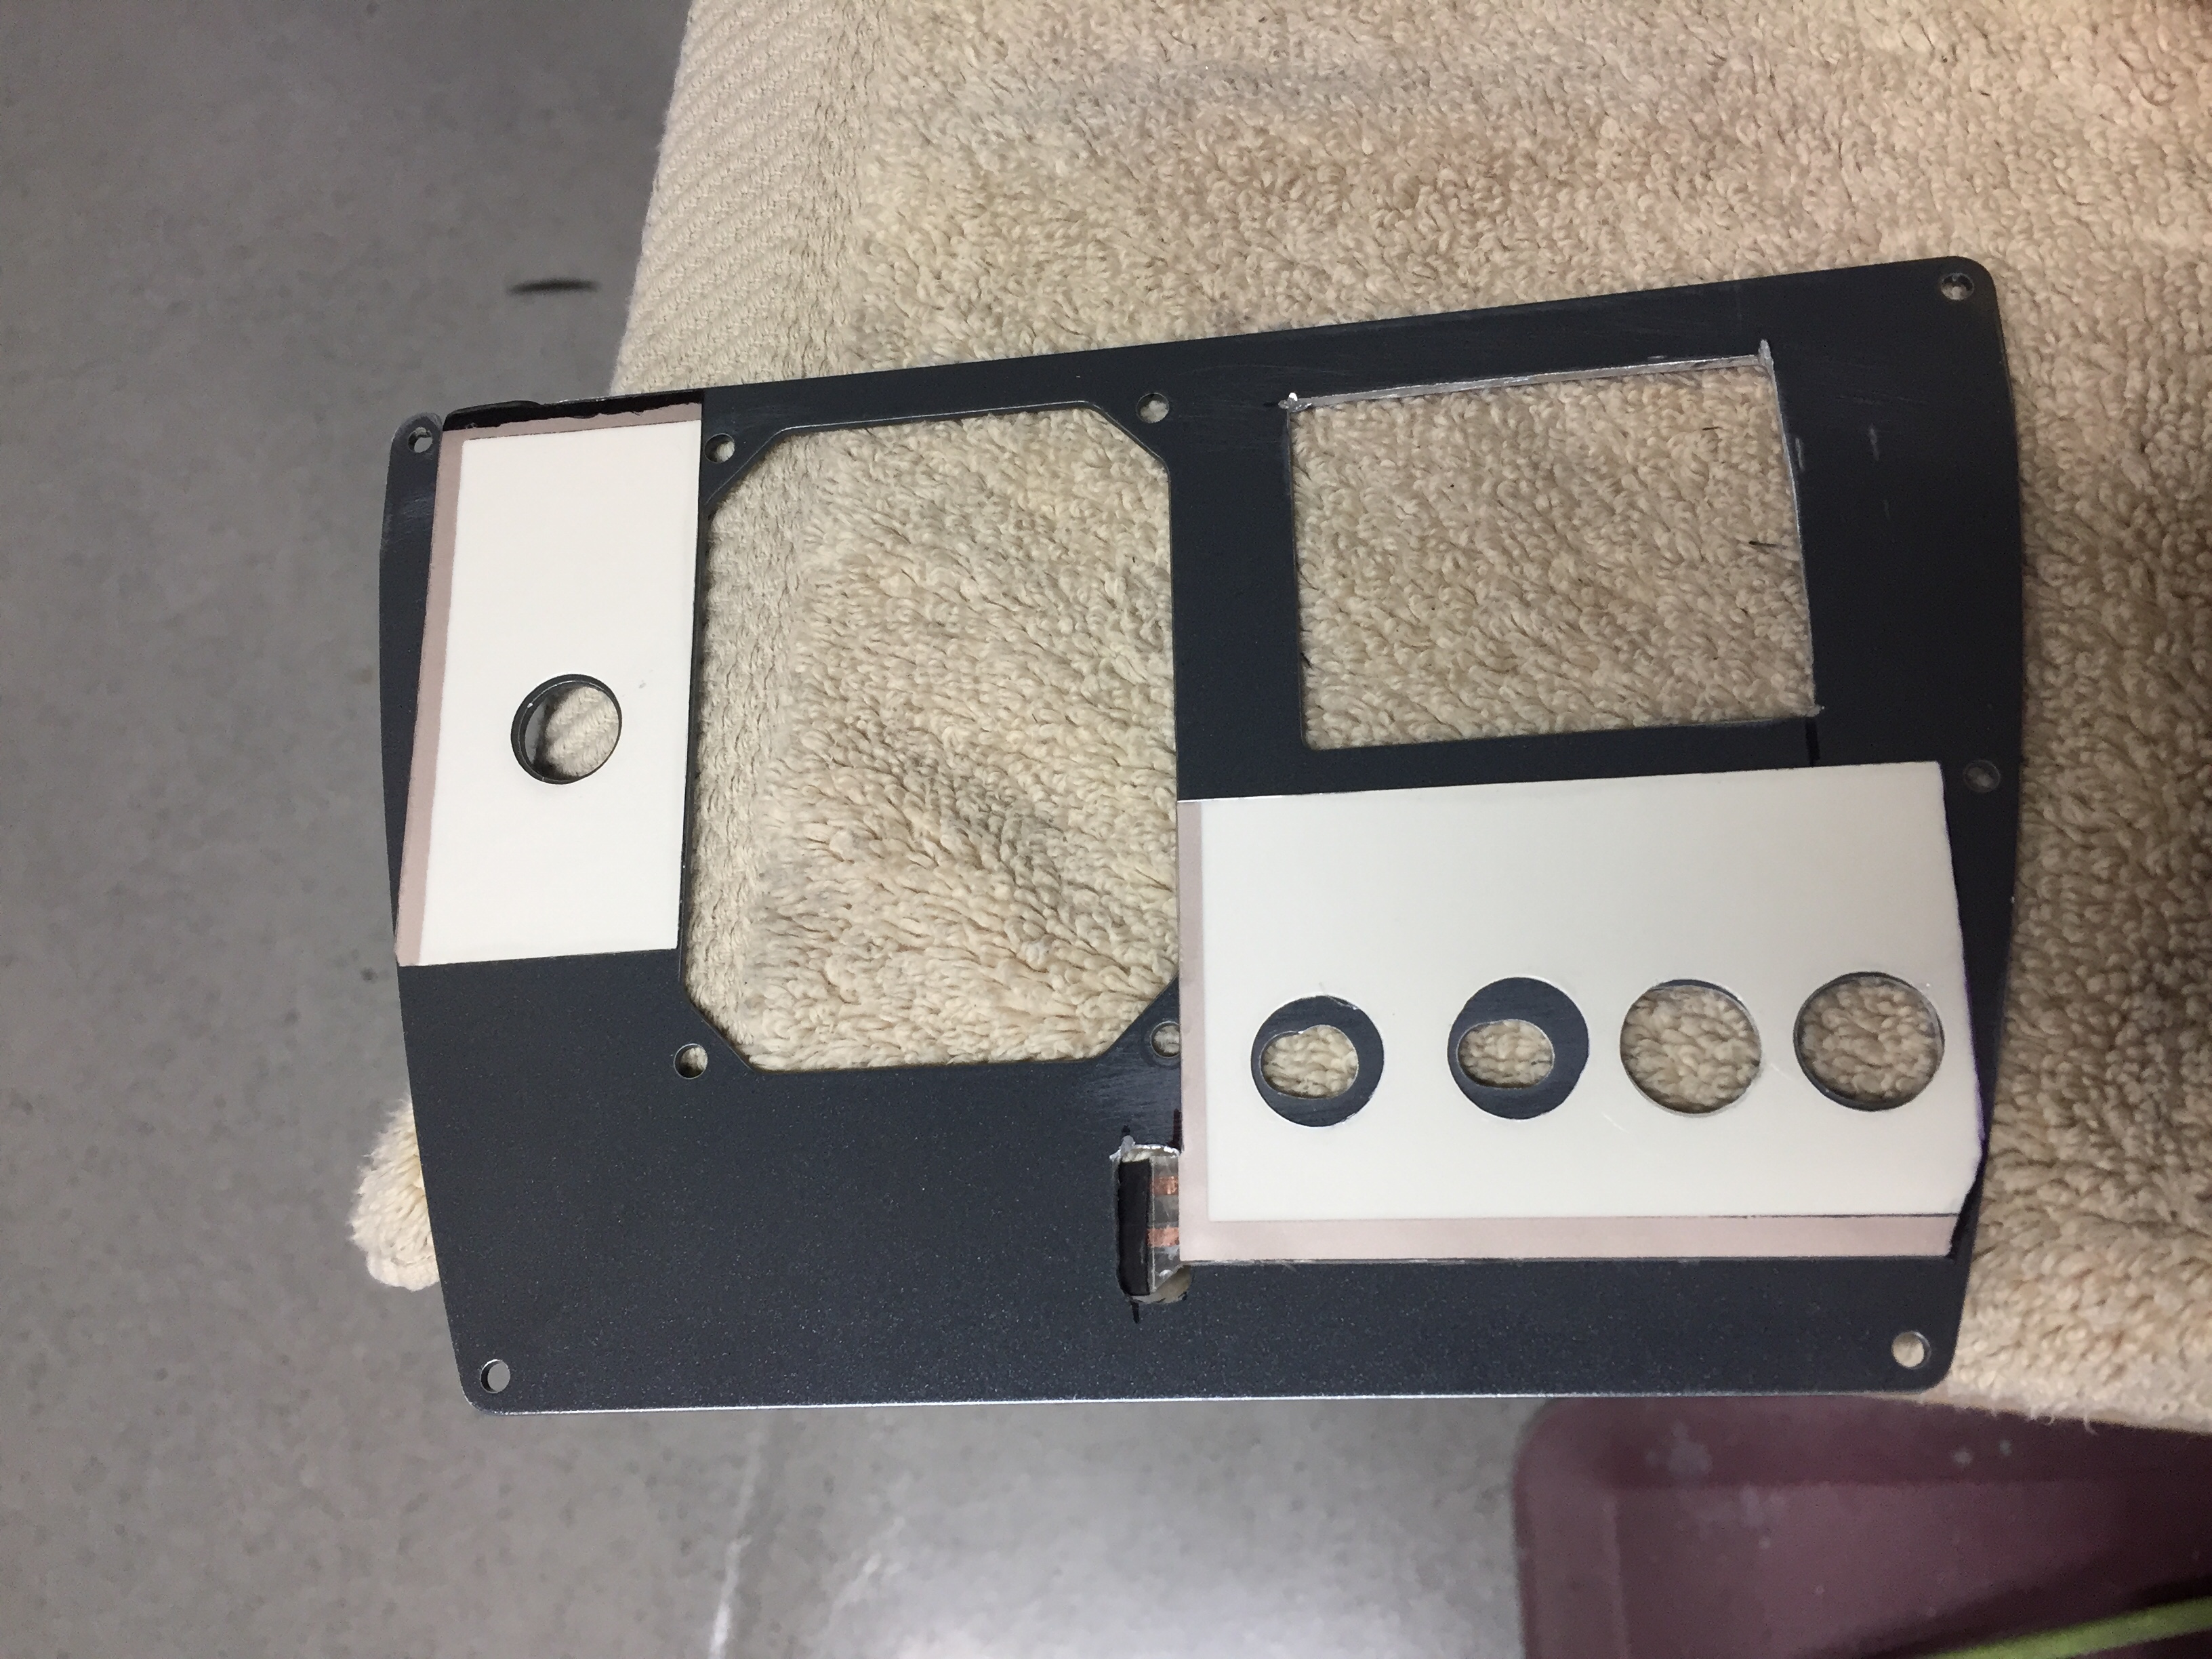
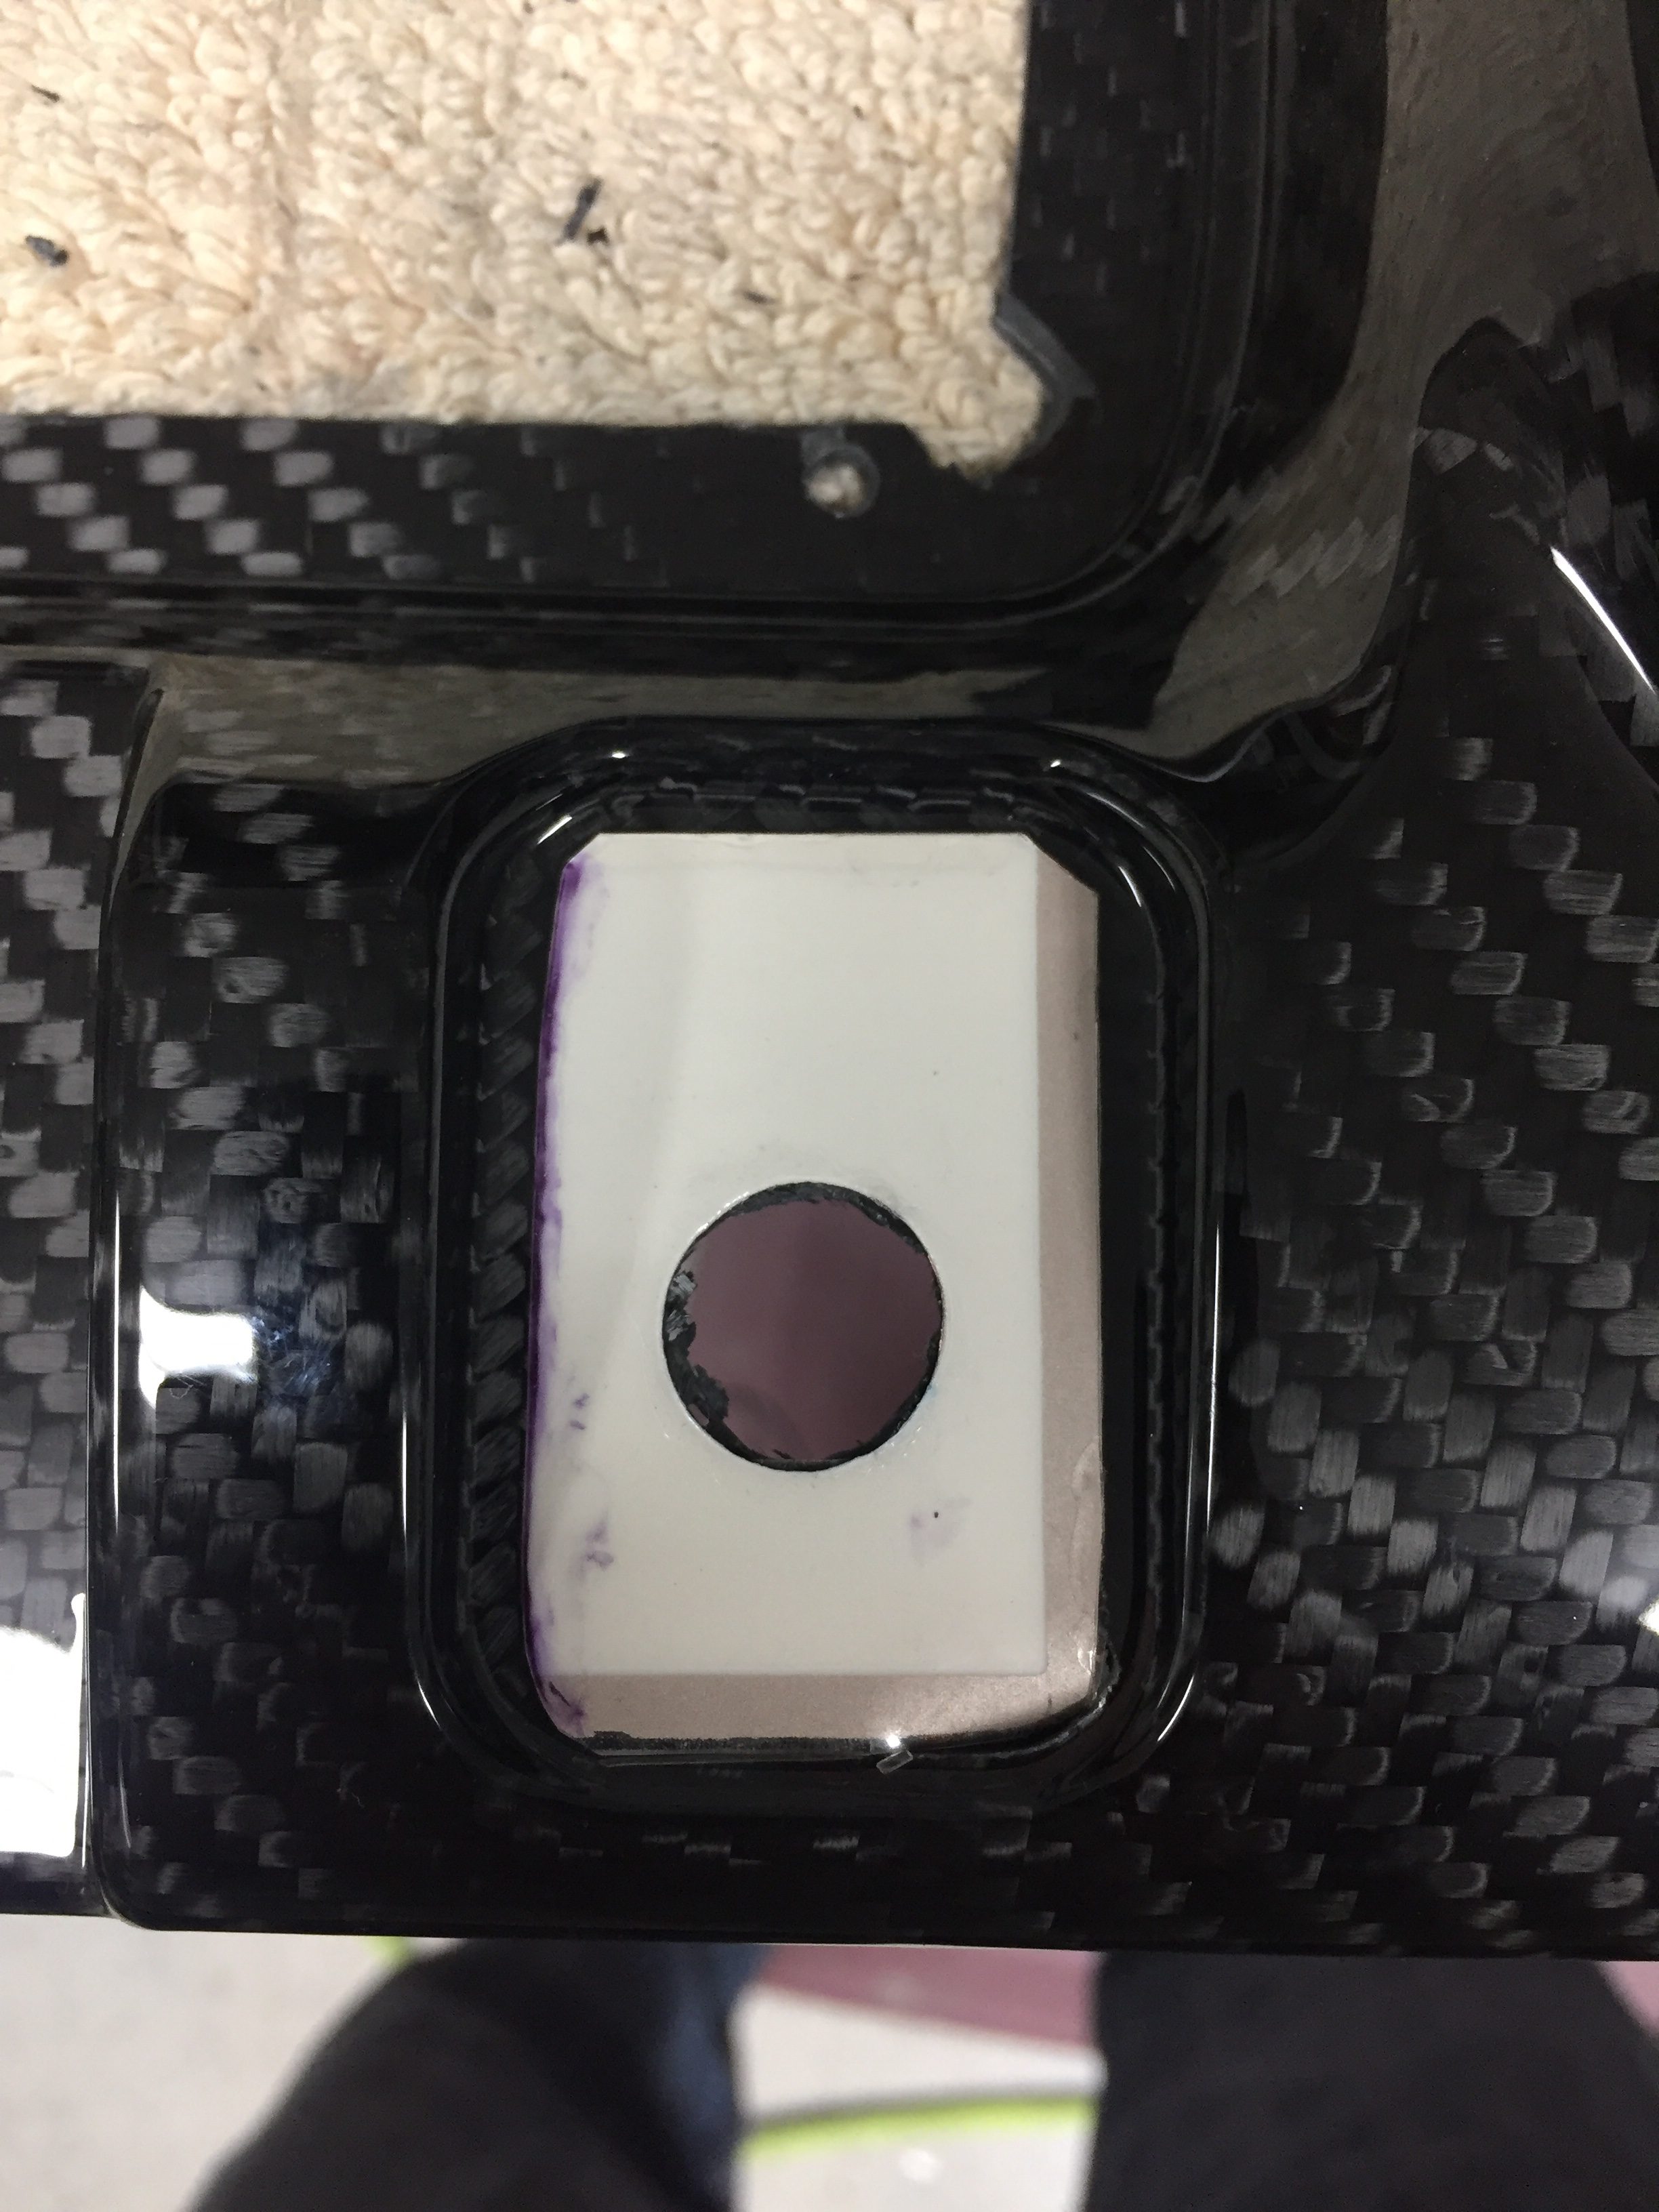
The end result is a sandwich with the acrylic on top, EL panel, then metal panel at the back. There is just a slight thickness difference over the EL panel, but not enough to be noticeable without really inspecting up close. If you’re doing that, keep your judgments to yourself! Switches and dimmers are installed just like you would anything else and before you know it, I was able to screw the panel on the overhead console and fire it up. I went ahead and wired all of the switches and had the dimmer pots ready to go, so the overhead console and panel is now complete pending black screws coming from AFS!
Overall, I am really impressed with the result and happy I did the project. It wasn’t cheap, costing about $1000 with most of that coming from the engraved acrylic overlays. The EL panels were about $200 after all said and done. The acrylic would have been much cheaper if I had only done the areas around each switch or back light panel, but I wanted a uniform look across the cockpit. I would absolutely recommend it to anyone wanting a little extra light and wow factor on their build. The CAD work was fairly simple and fun as was putting it all together. I can’t wait to get the rest of the avionics and get the whole thing fired up. She is going to look stunning in the dark!
