Sit back and relax

After spending three months away from home and the build, I am happy to be back from my TDY and immediately got back to work on the project.  The time wasn’t completely wasted build-wise though, as I spent a lot of time researching, studying, and designing the remaining aspects of the build.  The biggest accomplishment was the finalization of my electrical schematic, specifically the power distribution.  I haven’t quite finished the final touches on the Visio product, however, the design is now on paper (digitally) and vetted through several external sets of eyes.  I’ll detail it more in a later post.

I also spent a lot of time talking with engine shops and builders.  I narrowed down all of my requirements to get quotes and solicited those out to several shops.  After lots of discussion, emails, and phone calls, I am really excited about what Aerosport Engines out of Canada has to offer.  They are one of only a few who can still get a new “kit” engine from Lycoming so all parts are brand new but not assembled.  That’s important to me since we’ll be adding SDS EFI and some other tid bits that would differ from a stock IO-540 without wasting money.  They also offer a build class that allows you to spend a weekend helping assemble your engine and learn a lot through the process.  I plan on turning it into a little vacation with my dad to build up our engine.

That’s plan A for the power plant.  Plan B is much more exciting but I’m keeping that one under wraps for a bit longer.

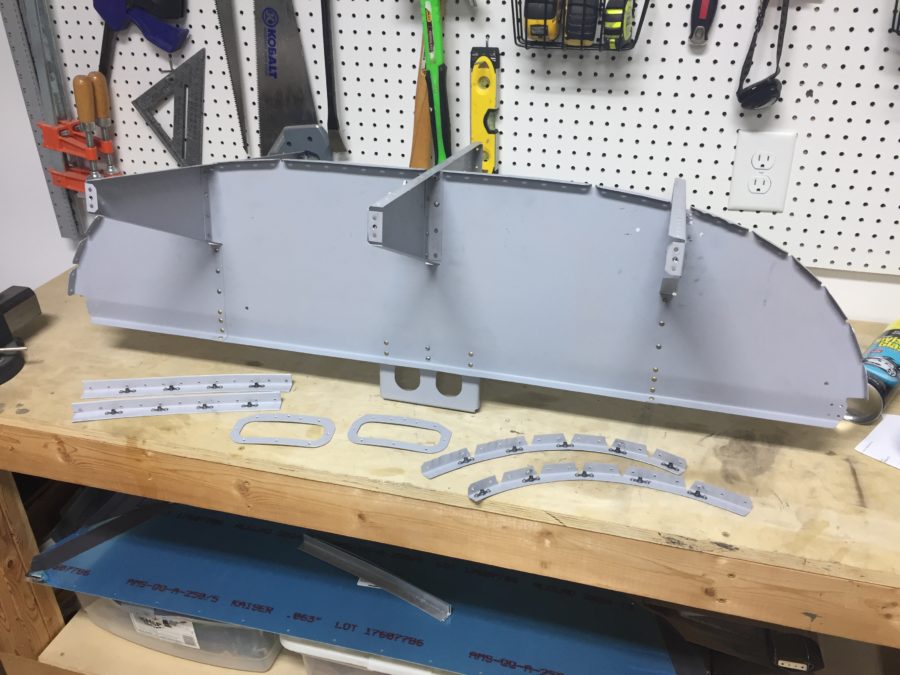
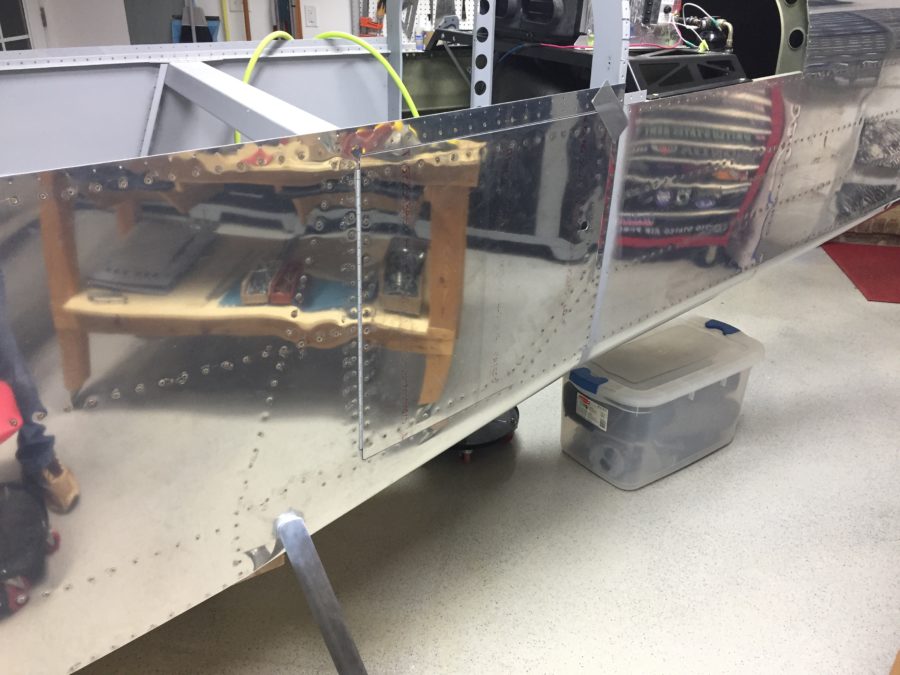
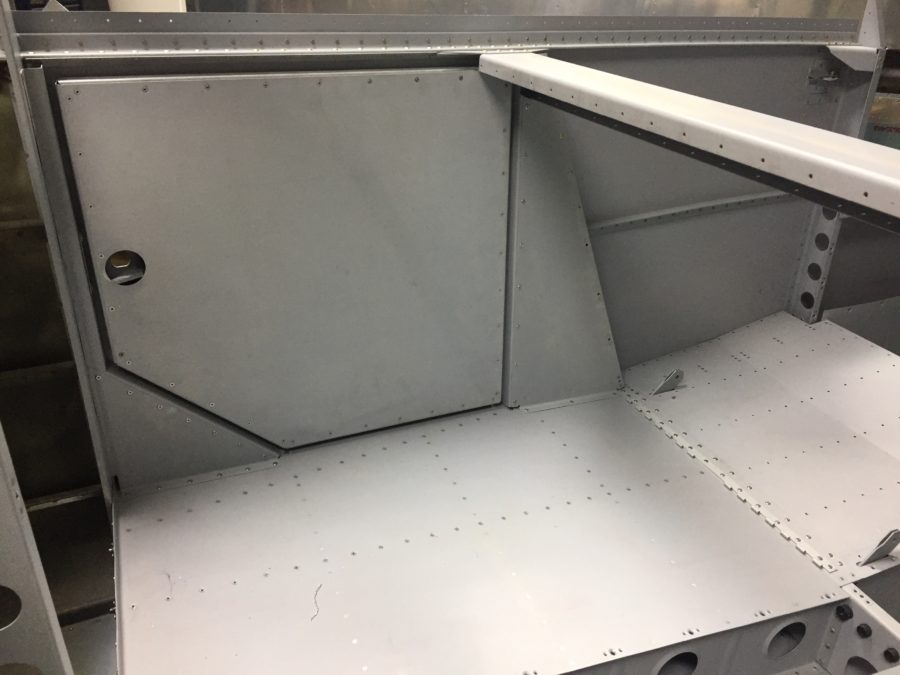
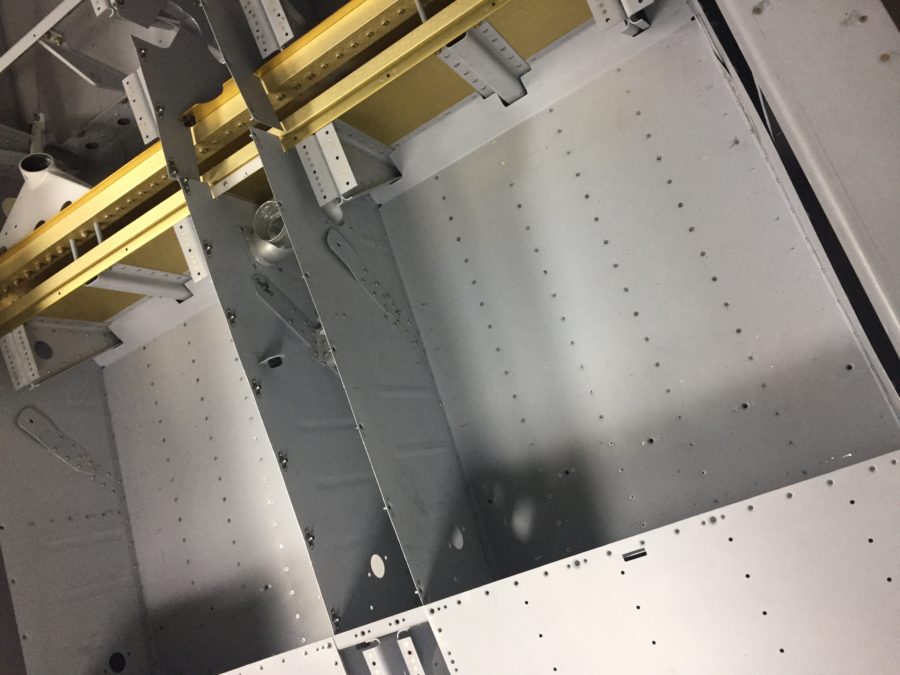
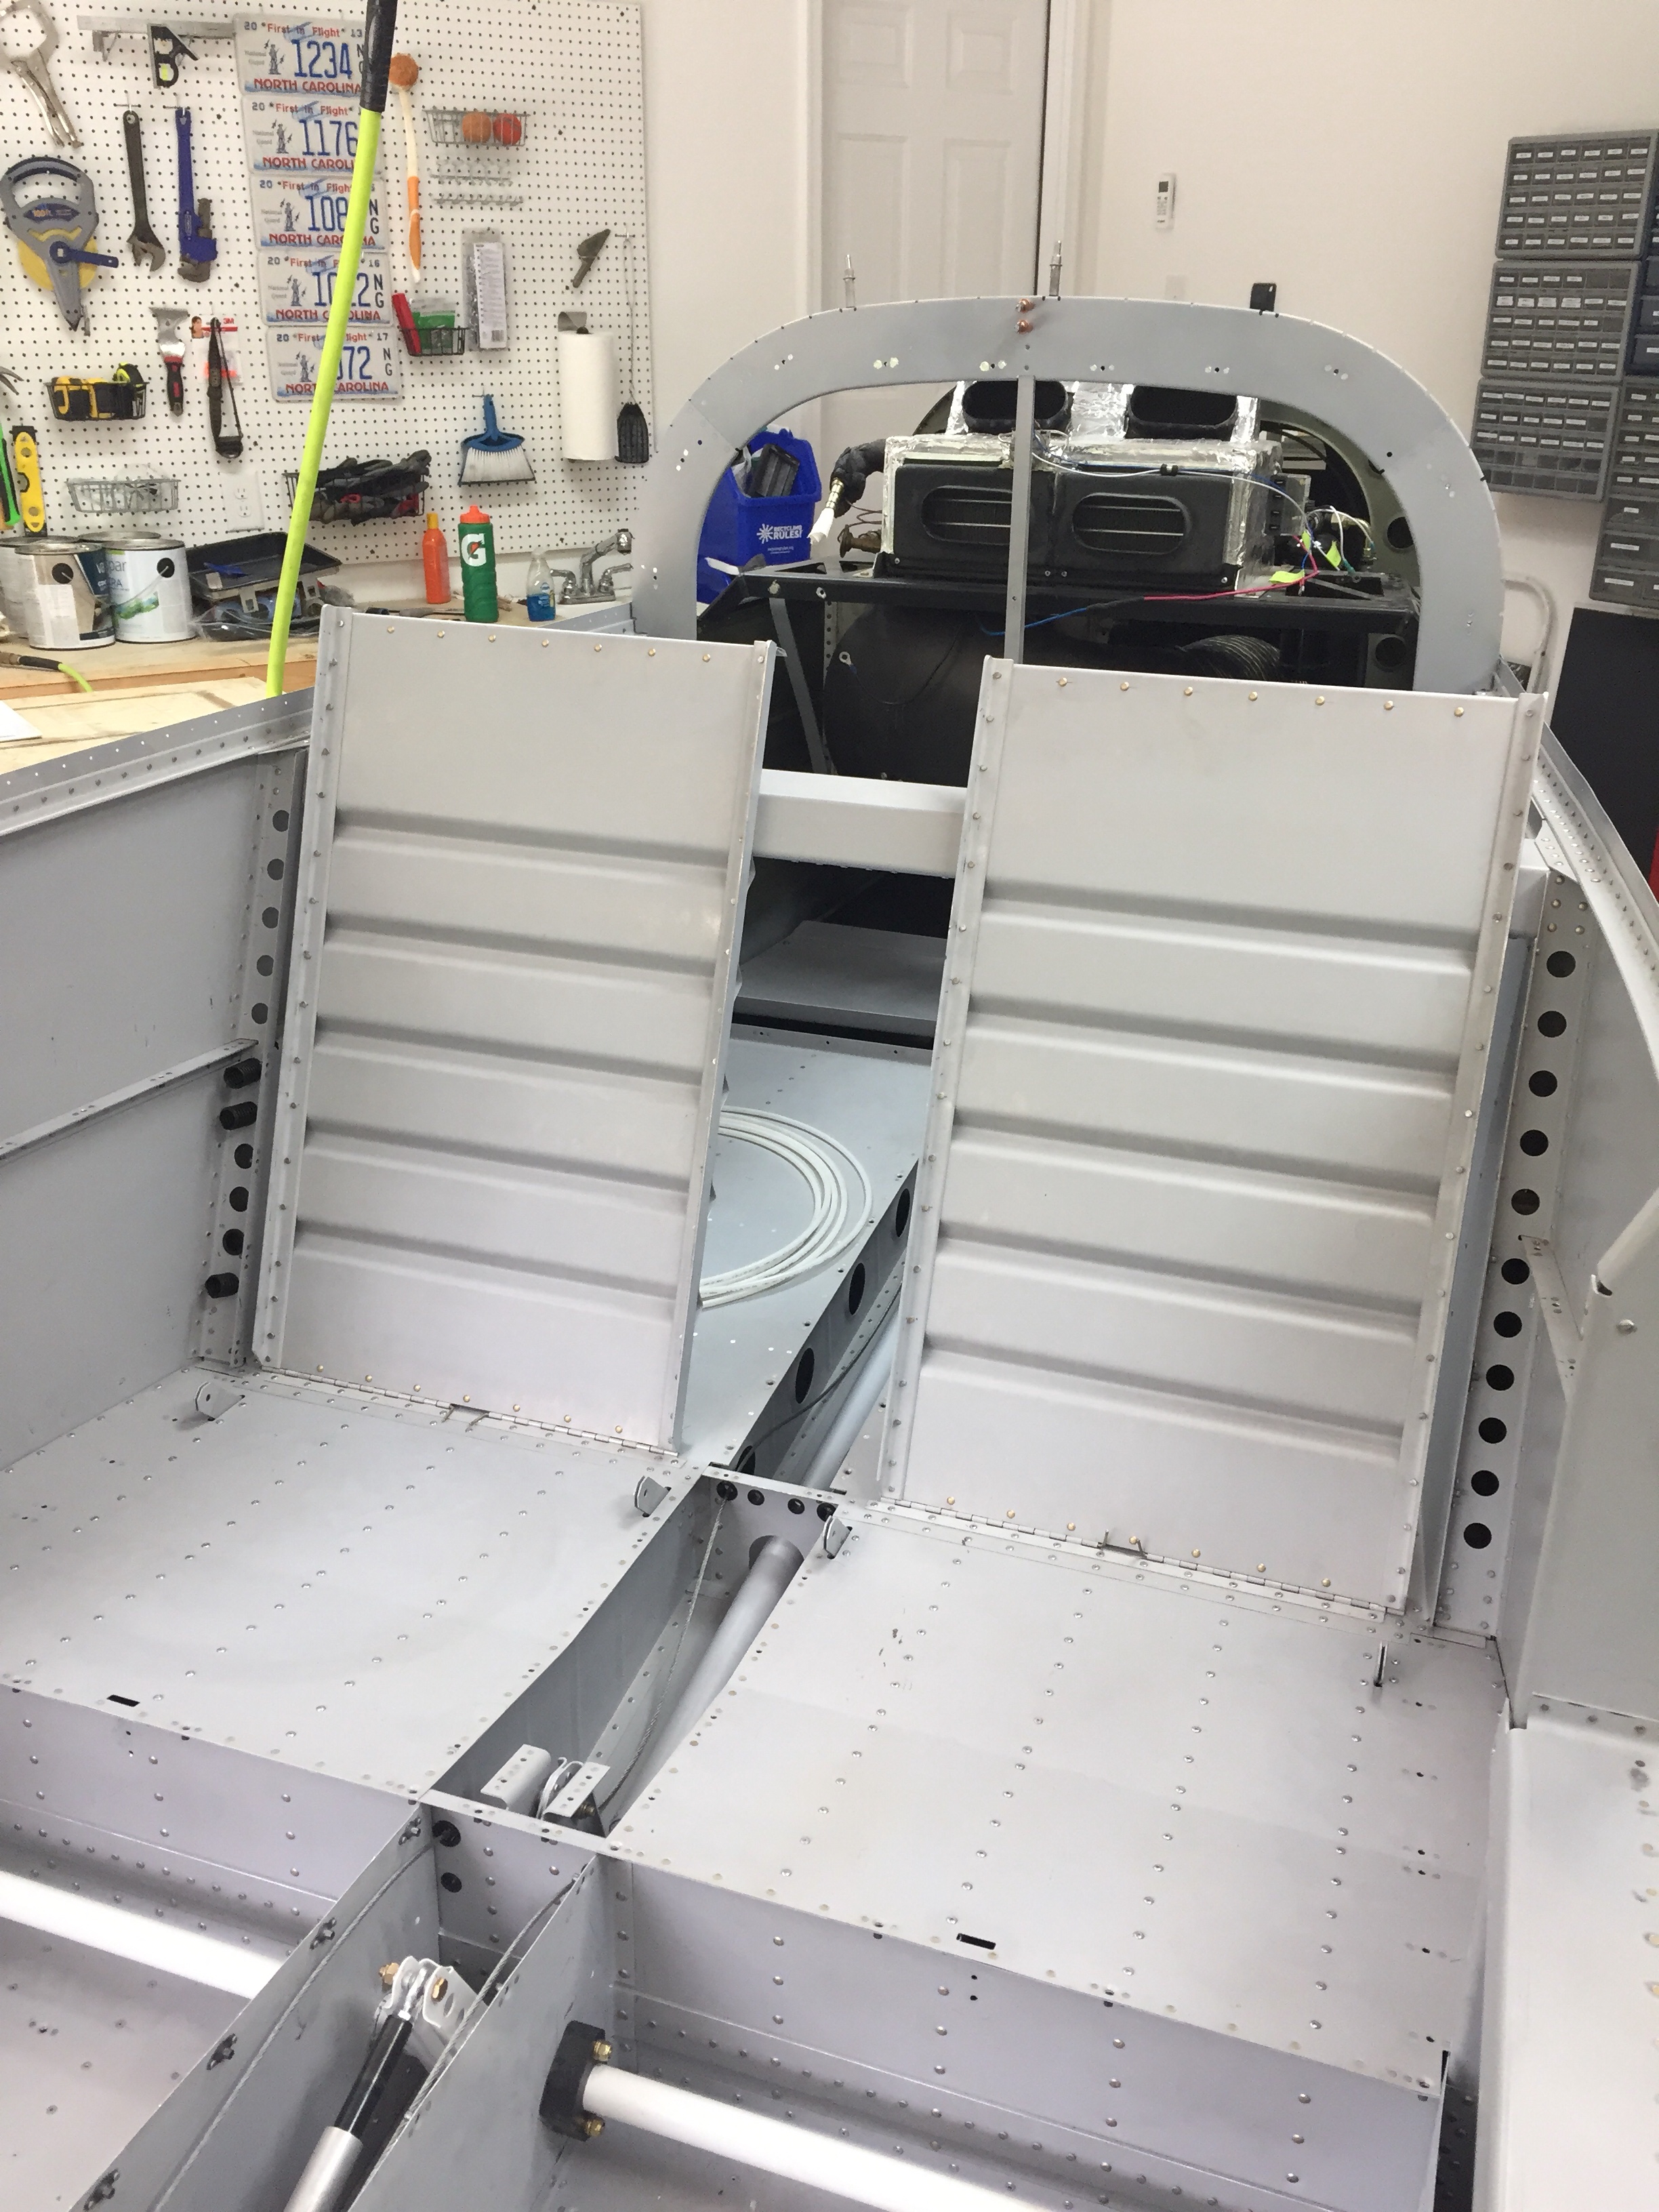
Back in the shop, a big morale booster is getting the rear seat back panels installed.  These were super simple to make with the panel and L angle.  The piano hinges were already cut as part of the floor / bulkhead and the backs fitting were a nice confirmation that I did it correctly way back when.  The seat backs show how roomy the 10 really is, not only in the passenger area but also behind them in the baggage area.  We are very excited about filling it all up with people, puppies, and packs for the adventures that lay ahead.

Staying in the lines

Throughout this progress, I’ve been finishing up the brake lines.  I ordered extra line for the run from the firewall to the gear legs and got them all fabricated.  The lines weren’t hard to make, but it was a bit tedious.  I am happy with the end result, however, and think that it will provide many years of great performance without having to worry about replacing tubes.  I do need to get some spiral line wrap to prevent chafing and that will allow the lines to be a bit better secured.  Mark Ciglia put his parking break valve in place of the firewall connections, which I’m mad I didn’t think about.  It makes it a bit cleaner and eliminates one extra set of lines, but oh well.  It’d cost more now to redo it.  Note to other builders!

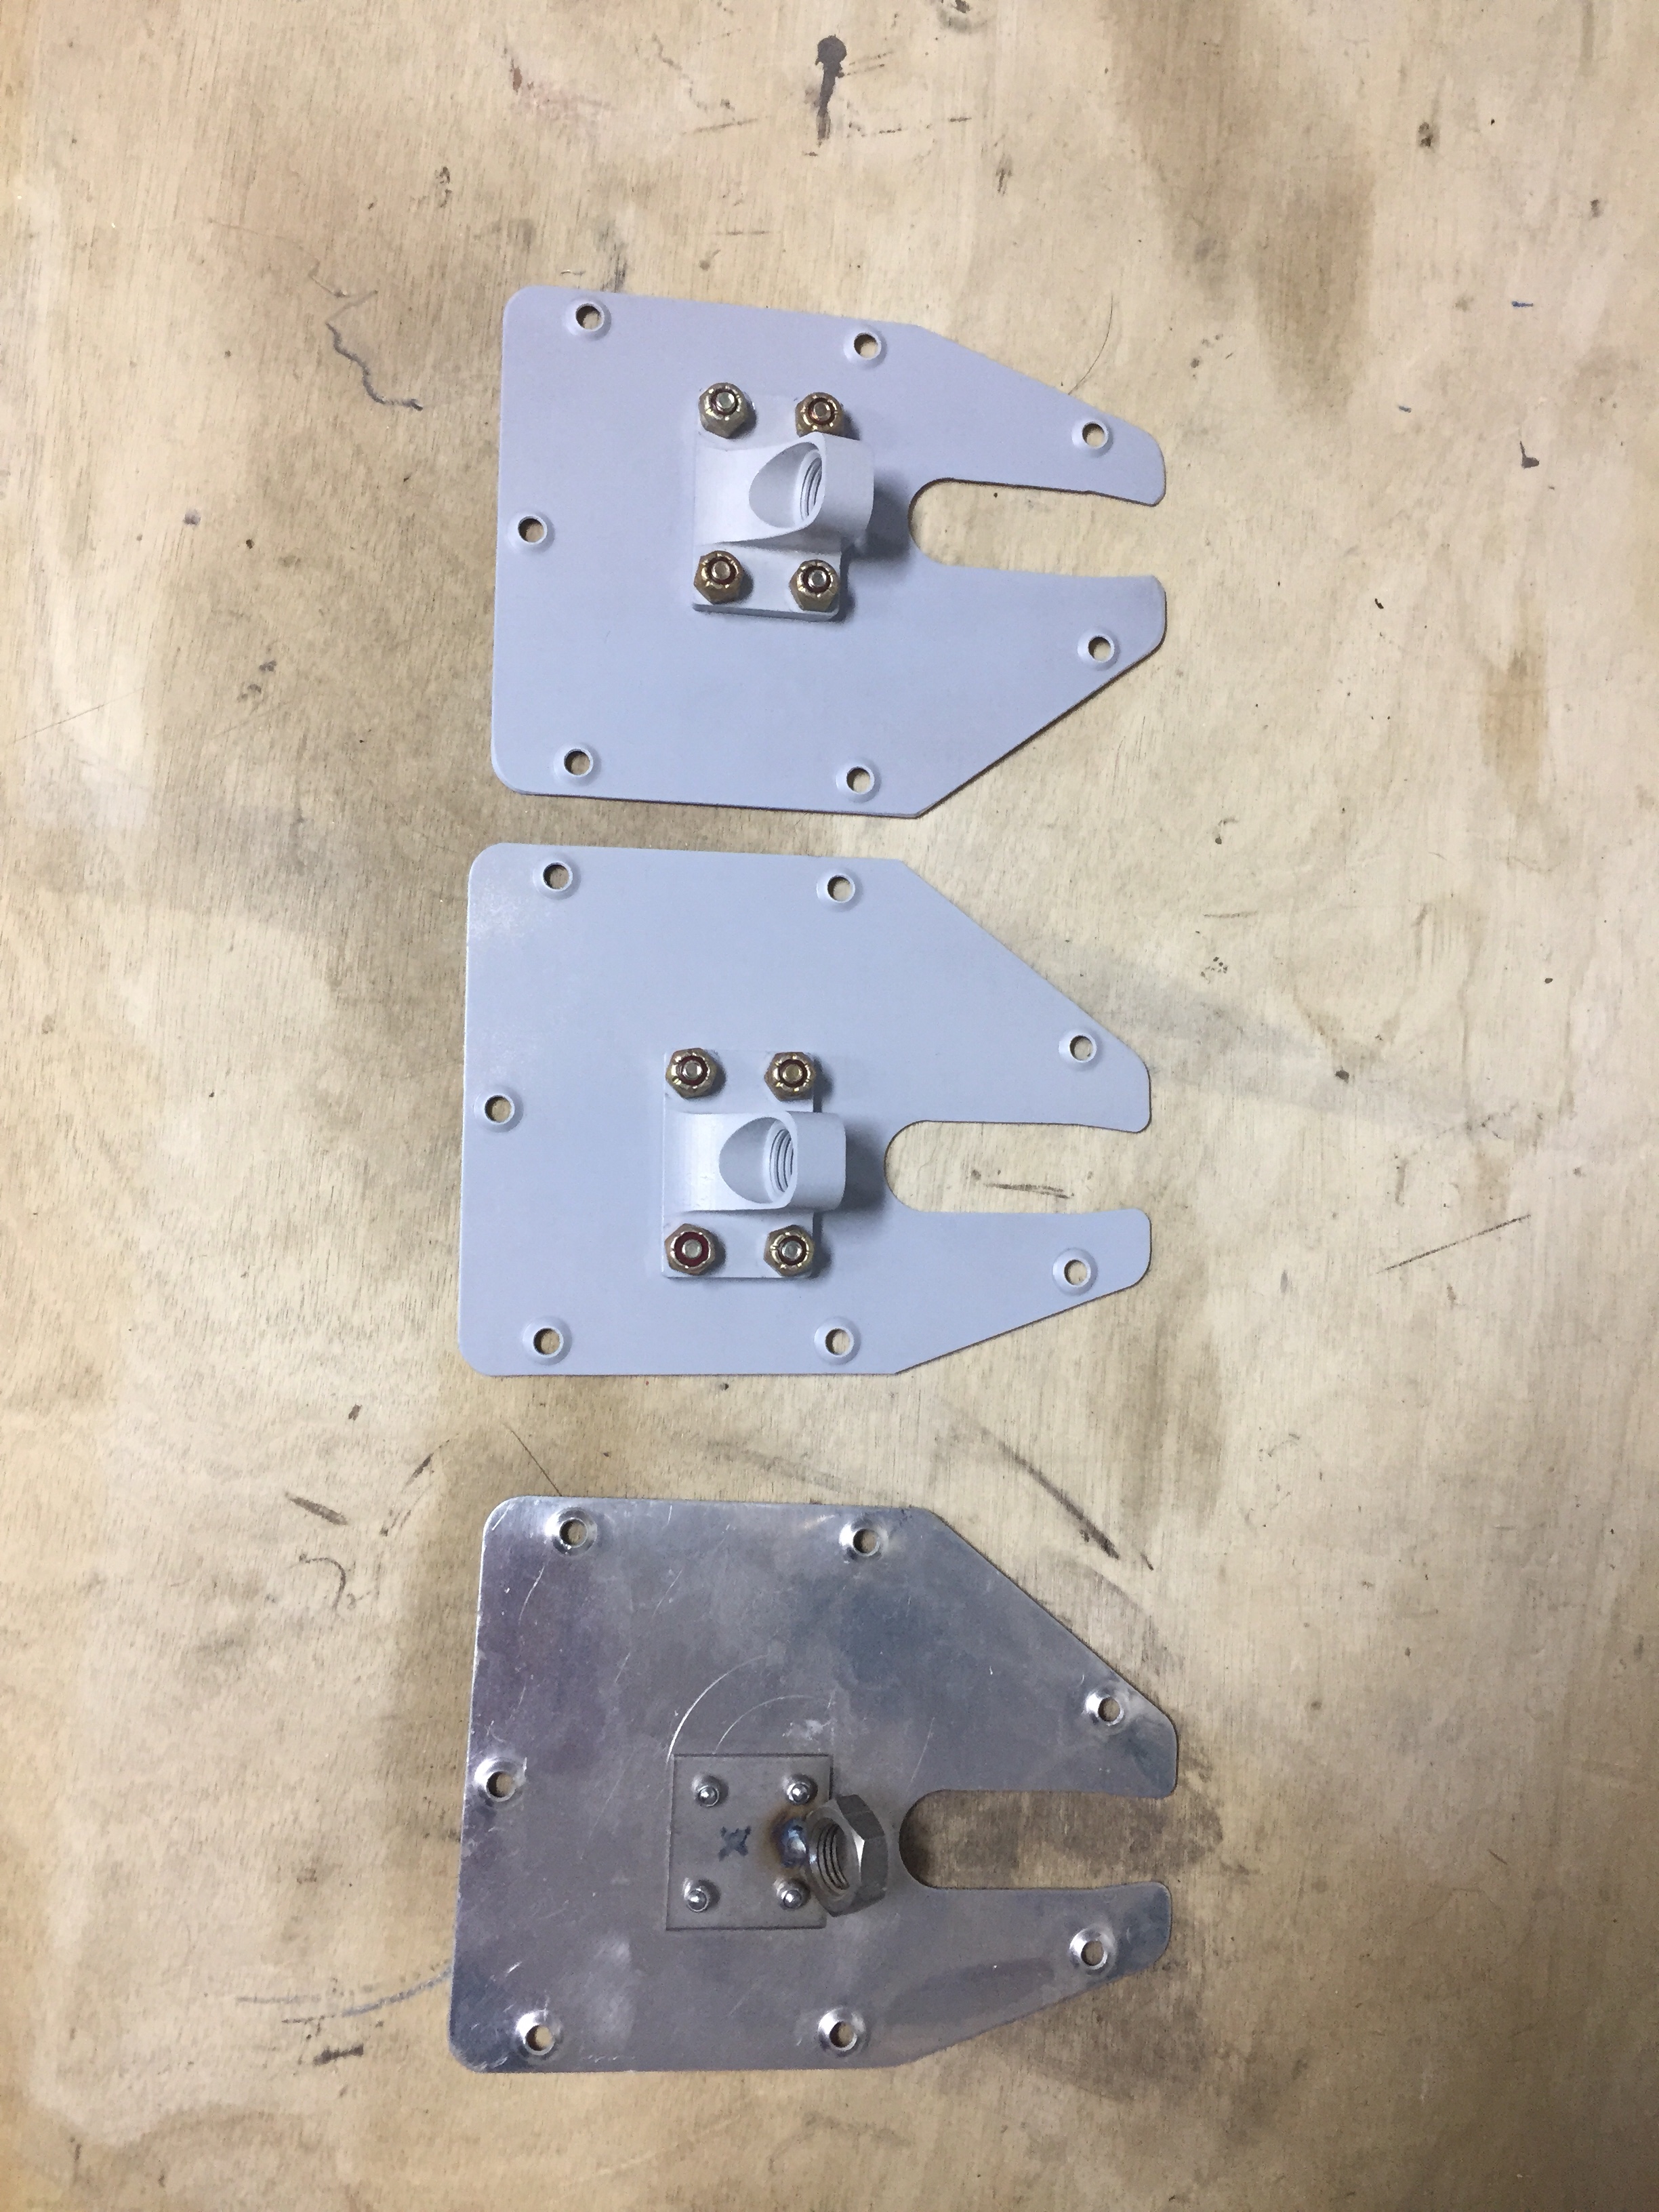
I also knocked out a few little projects, one being making new elevator trim bracket panels.  I had the beefed up fittings sitting in the parts bin and finally ordered the new access panels.  After countersinking and priming, the parts are ready to roll and comply with a SB from Van’s from many years ago.  This is a common upgrade and an easy one at that.

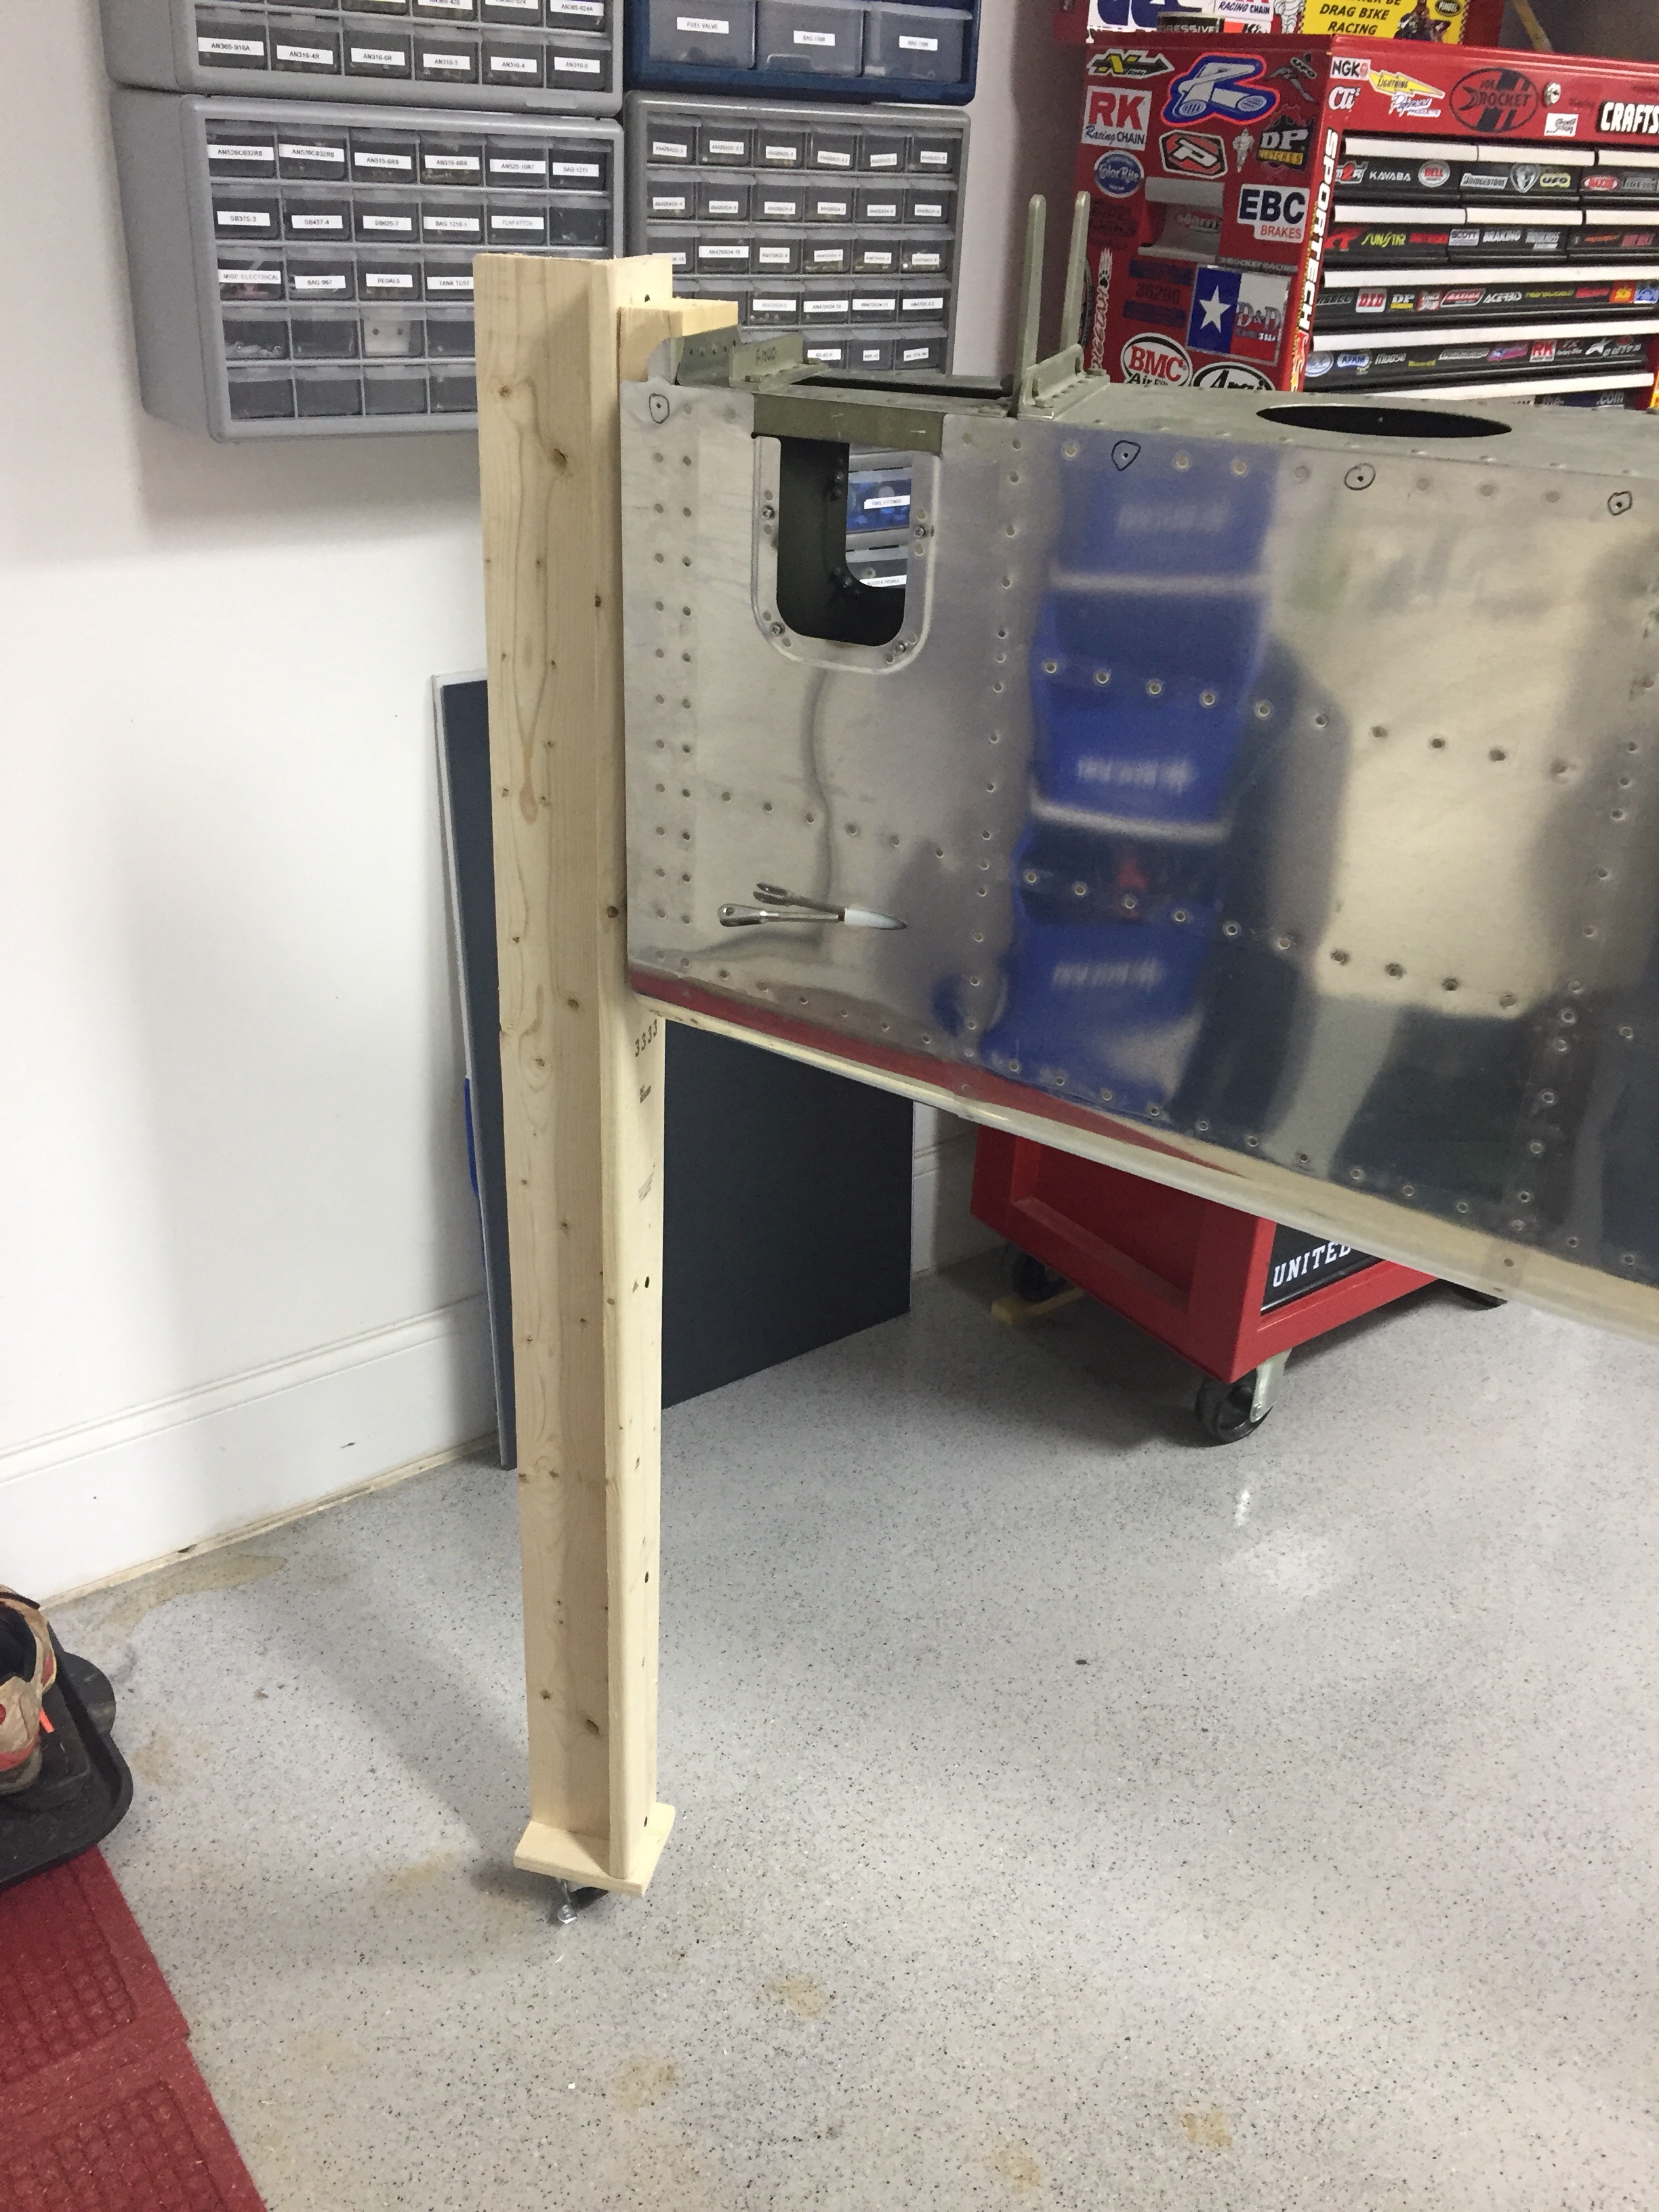
Another little project wasn’t so little.  I saved up a few tasks that needed to be completed inside the tail cone for one evening so I would only be crawling back there once (this time).  The first was to support the tail better.  I used two 1×4’s to bolt to the horizontal stabilizer mounts and put a caster on the bottom.  While the fuselage cradle has been great, the rear support isn’t far enough back to support my weight so far aft without something heavy like an engine hanging off the front.  So this was an easy fix and doesn’t take any room up in the shop.  It’s still very easy to roll around and reposition as needed.

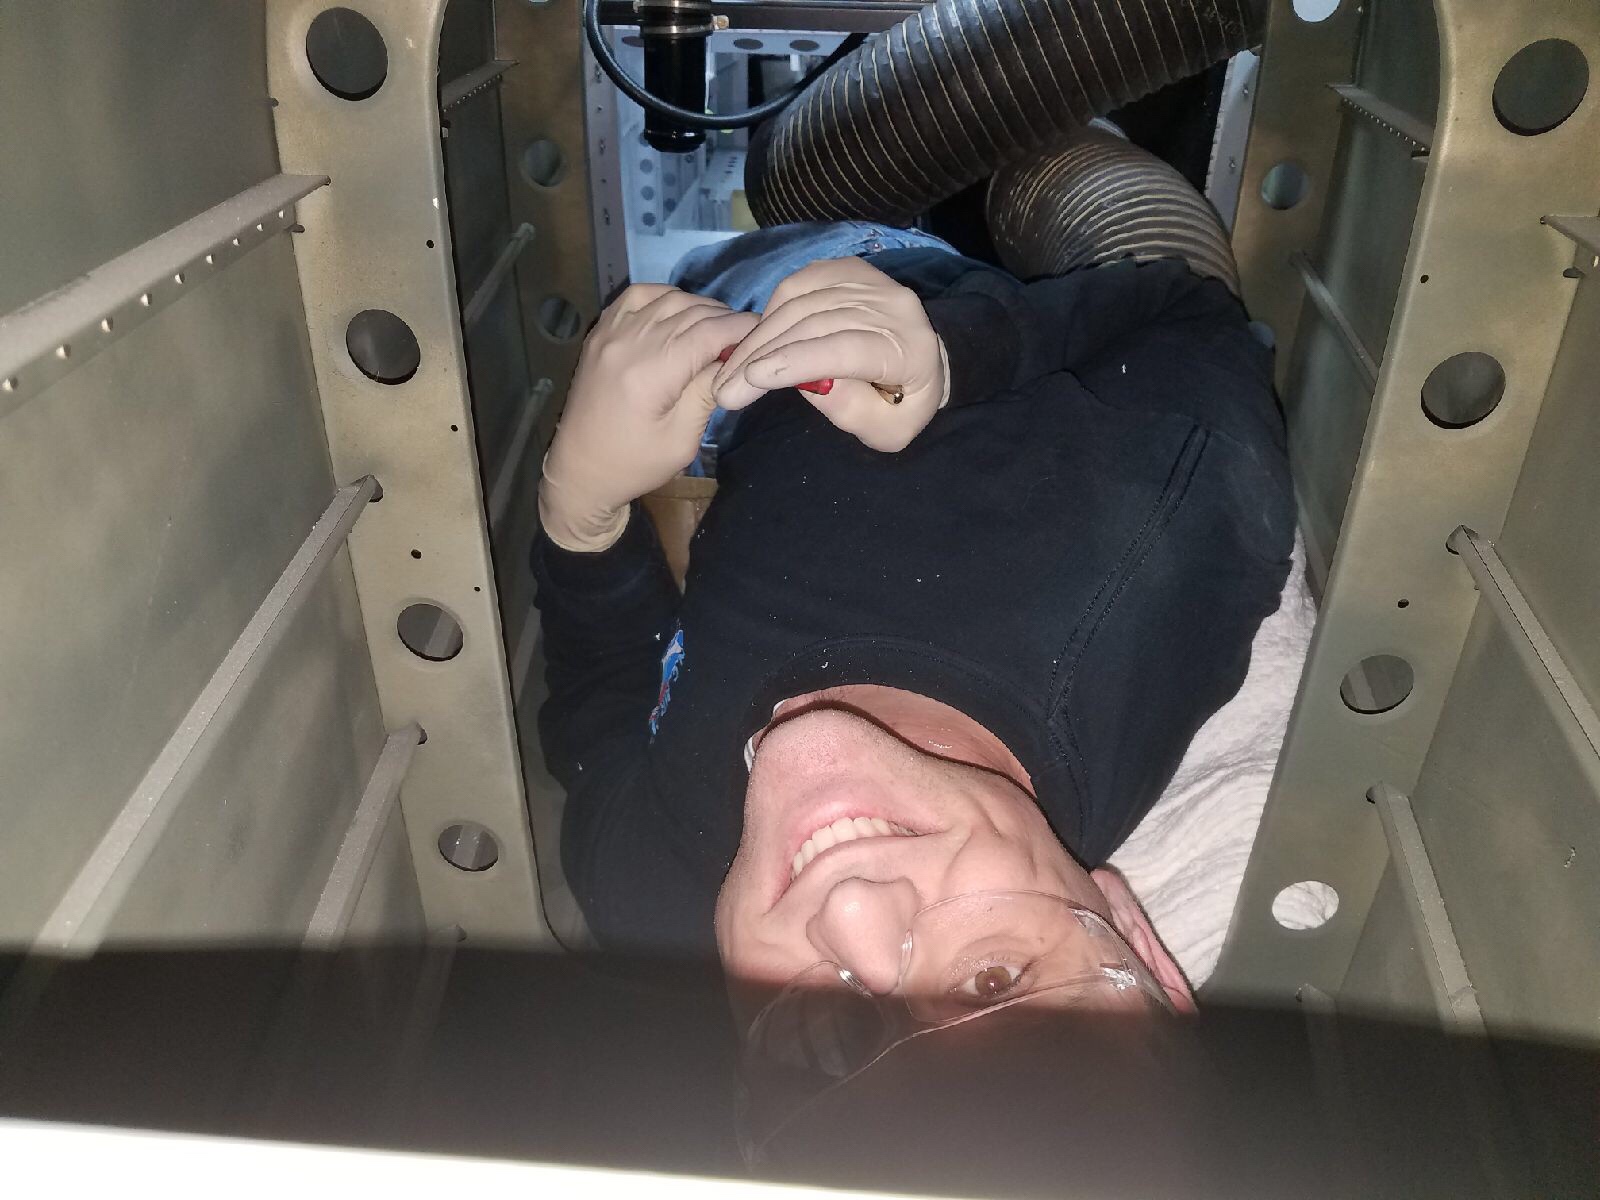
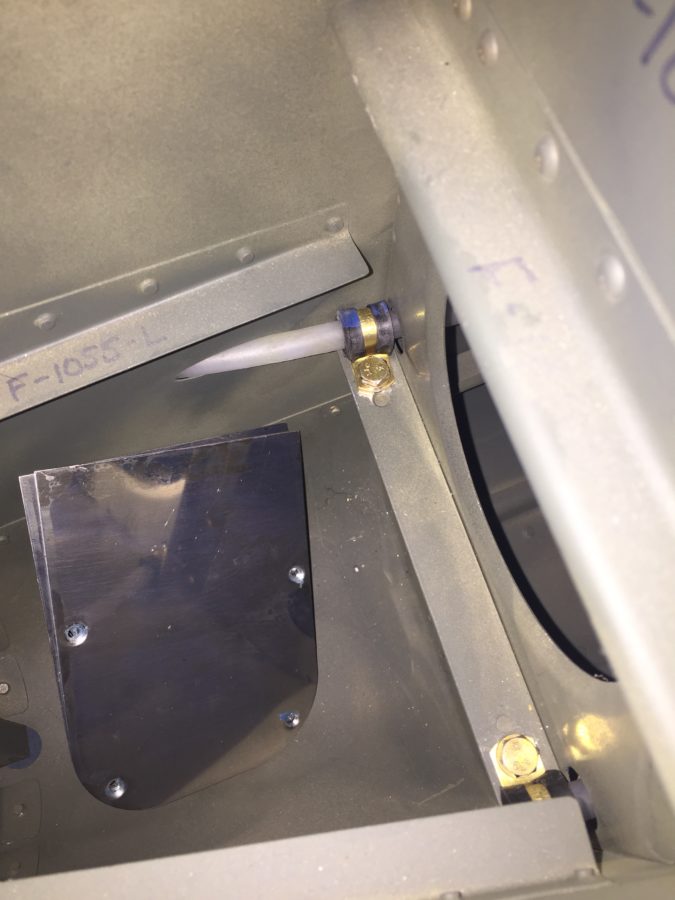
Inside the tail cone, I mounted the new static ports with pro-seal (no rivets this time) and hooked up static line that runs to where the ADAHRS will be mounted just behind the baggage bulkhead.  The new static ports look way better than the original ones and I’m happy I made the change.  The Safe Air 1 line kit makes it easy to run the tubing and create a leak free system.  I also ran the rudder cables through the bulkheads and snap bushings.  Ironically, the heads of the cables wouldn’t fit through the bushings without removing them and squeezing a bit.  So basically, the cables were a pain to run instead of a quick two minute job.  Lots of those in the build, I guess.   I got them hooked to the arms on the rudder pedals which are inside the tunnel with the Control Approach pedals.   With the A/C in there, it’s a tight fit for me!

Lastly, I installed the doublers along the center of the fuselage for the transponder and ADS-B antennas to mount to.  These will be Delta Pop blades and mount with two studs, so I need access from the tunnel / fuselage.  Easy enough with a second set of hands to man the gun and me bucking.

Taking advantage of a TDY

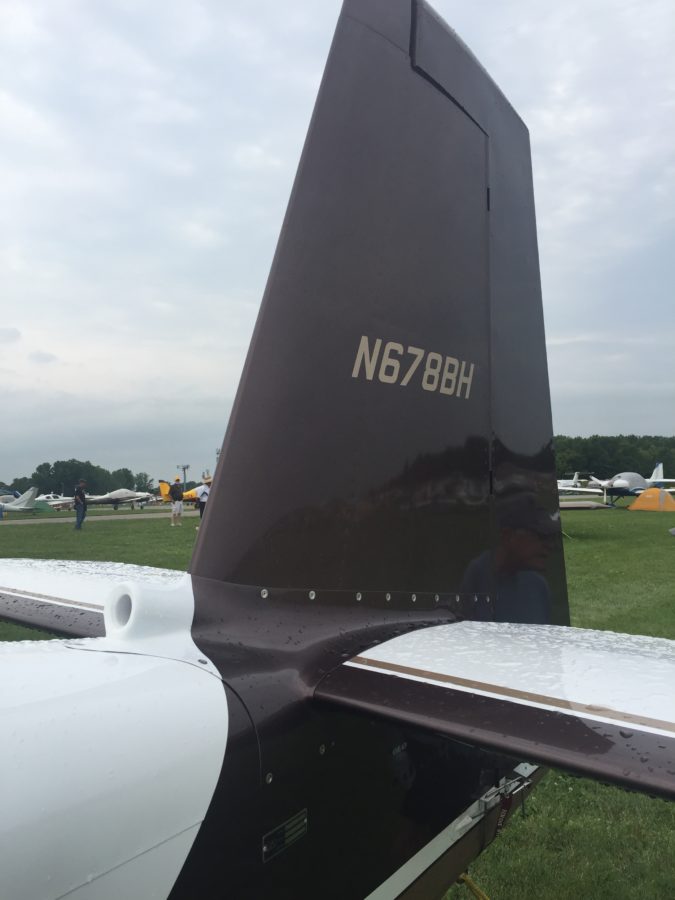
There is an excellent excuse on why no recent posts have appeared.  I’ve been TDY (temporary duty) at Sheppard AFB, located in lovely Wichita Falls, Texas, for about two months.  While this place chalks up to the armpit of the Midwest, I was determined to get out and enjoy myself during the three months that I’m here.  Luckily, another class mate, Justin, in my Aircraft Maintenance Officer training is a private pilot and we quickly found a few great places to airport bum meeting some great folks and getting a few flights under our belts.  John Hooker, located at Wichita Valley Airport (F14), built a very nice RV-10 several years ago and was happy to show me around and give me some tips.  Ironically, a unique feature spurred my memory and after digging through Oshkosh photos from four years ago, I realized I had seen his airplane in person.  When we couldn’t find any good reason not to fly, he offered to take me for a quick hop along the Red River and gave me plenty of stick time.  I’ve been attending the weekly Sunday evening social at F14 whenever my schedule permits.
The most exciting opportunity came with a visit to Houston and an amazing contact from VAF.net.  Gaylon Koeining built, in my opinion, one of the best RV-10s flying.  His choices and methods align very closely to my build and he has had to make a few modifications that I expect to make as well.  After emailing back and forth for a few years, I finally got the chance to visit him in person.  Gaylon was gracious enough to invite me down and show off his beautiful airplane.

My classmate was up for the adventure and we decided to make a weekend out of it by renting a very well running, very poorly equipped, but most importantly very cheap 172 to fly down south.  At just under 100 knots, it was a three hour flight with a fuel stop at College Station.  By the time we landed, we were down to only the nav and position lights working with no taxi, landing, or beacon light operable.  You get what you pay for.
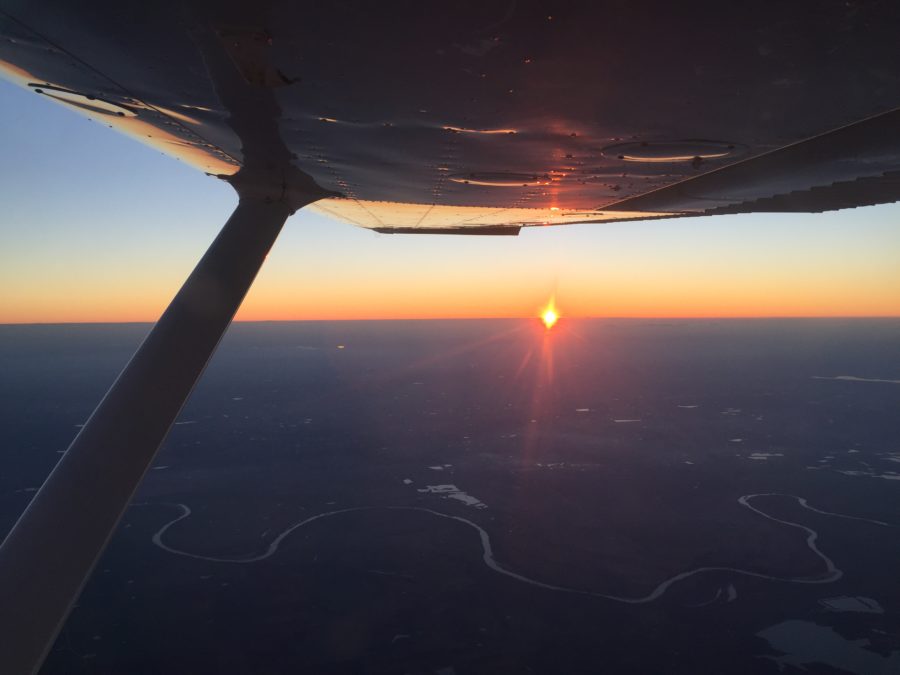
Carl Martin, who owns and flies a RV-6A, was kind enough to host us for the weekend. The community that exists in aviation, especially the RV neighborhood, never ceases to amaze me.  He saw a post of mine about heading south and in two weeks, had a hell of a weekend lined up for us.  He met us at Pearland Rgnl (LVJ) and had a hangar waiting for our crappy 172 that didn’t deserve the shelter.  Dinner was lined up with a coworker from NASA and her husband, a retired USAF Col, who had some great stories.  After a few drinks at their house, we got some rest for a big day on Saturday.

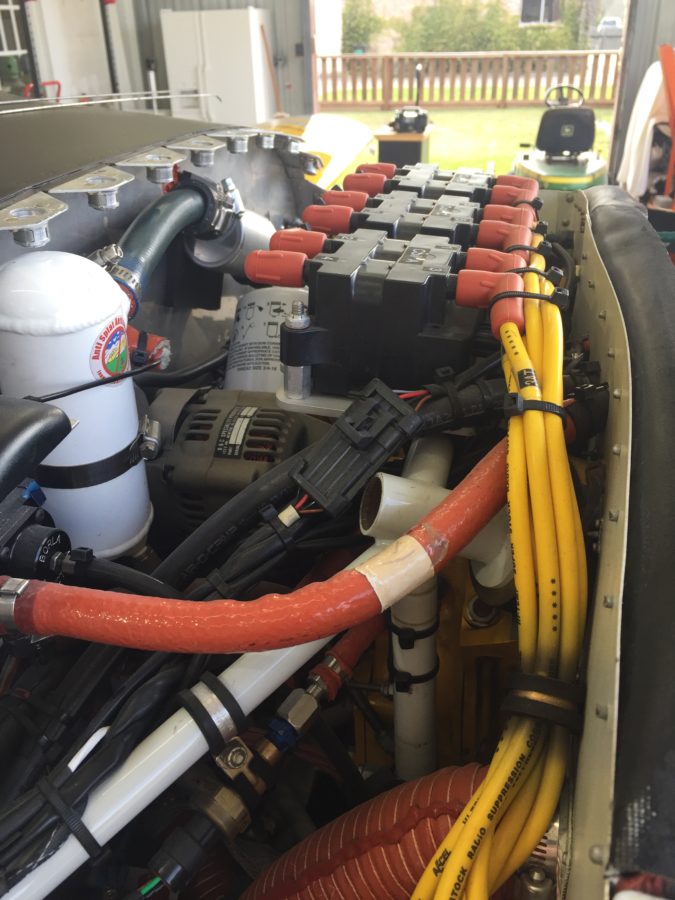
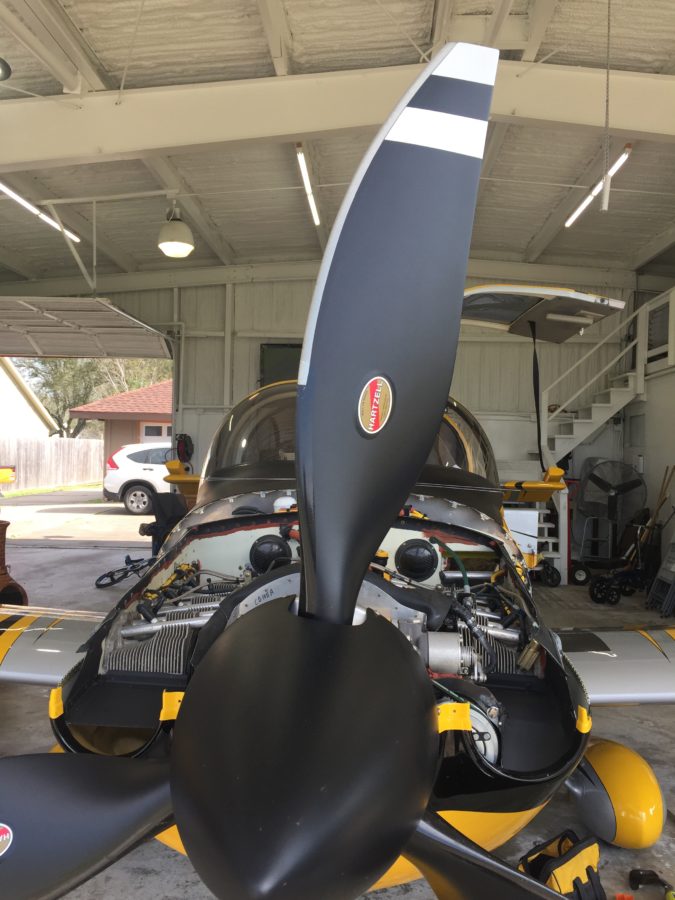
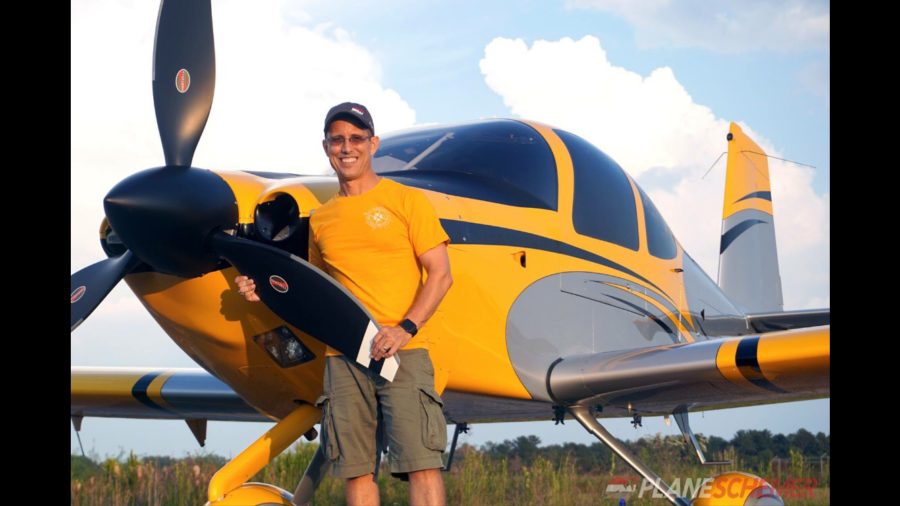
The morning was spent at Gaylon’s hangar home at Polly Ranch (7XS0).  He had the top cowling off and was ready for my endless barrage of questions.  Conversation flowed for several hours with a lot of technical discussion and tips/tricks being shared.  I took a ton of close up pictures to use as reference and really benefited from his experience.  Gaylon is an amazing guy who shared all of his secrets and even gave me ideas on making his ideas better.  I only hope I can pass my experience on one day as he did for me.  My biggest take aways from his build were around the Show Planes cowl, cooling, SDS EFI, and air conditioning setup.  It was also great to see Jonathan’s (Plane Schemer) paint work up close.  Truly show quality that gives me motivation to finish my build.
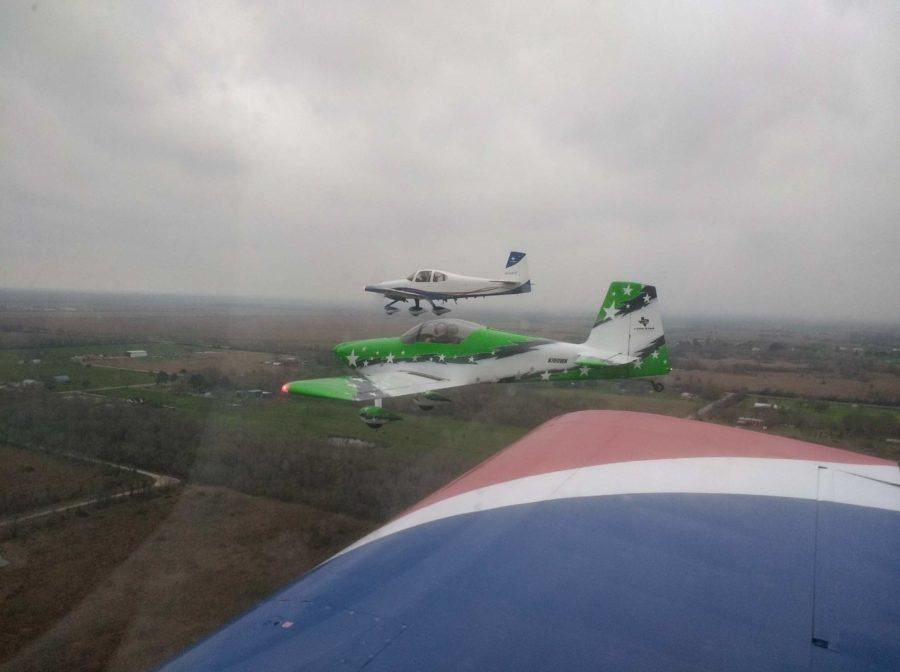
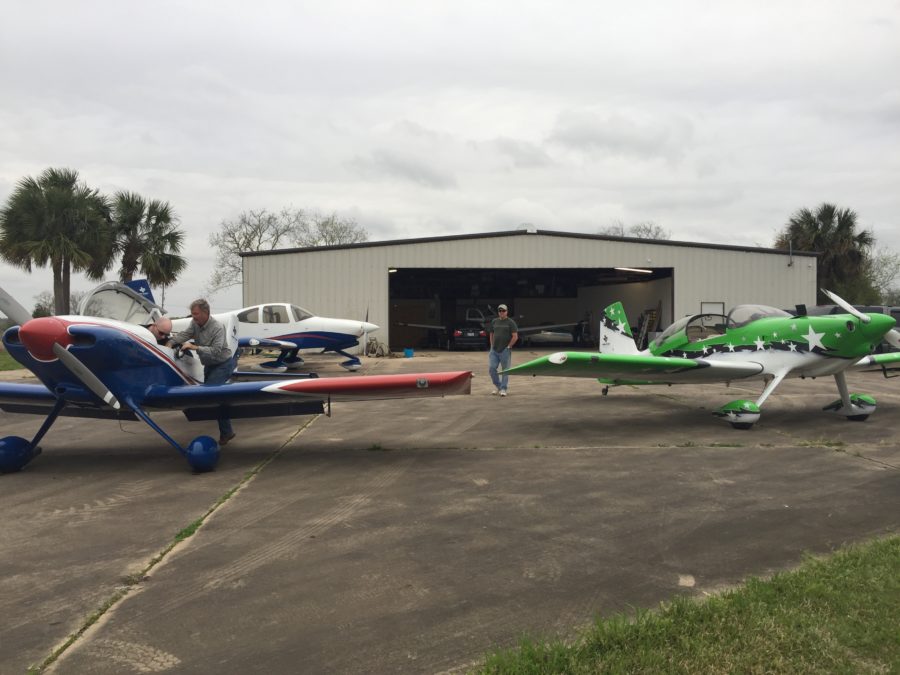
After lunch, Carl whisked us over to Songbird Ranch (91TS) where we met up with his close friends and formation partners.  One of them has built several RV’s including a very nice 10 and really cool 7.  After a little hangar talk the guys organized a three ship and each one of us climbed in a plane to go have some fun underneath the 3000′ ceiling.  I went with Nick in the 10 while my buddy and Carl got seat time in the RV-7 and RV-4, most of that time being spent in close formation with us or upside down!  Nick was awesome and gave me the stick the whole flight, even trusting me with a crosswind landing on his 30′ wide private strip.  It wasn’t pretty, but I got us down and logged another RV-10 landing in the log book.
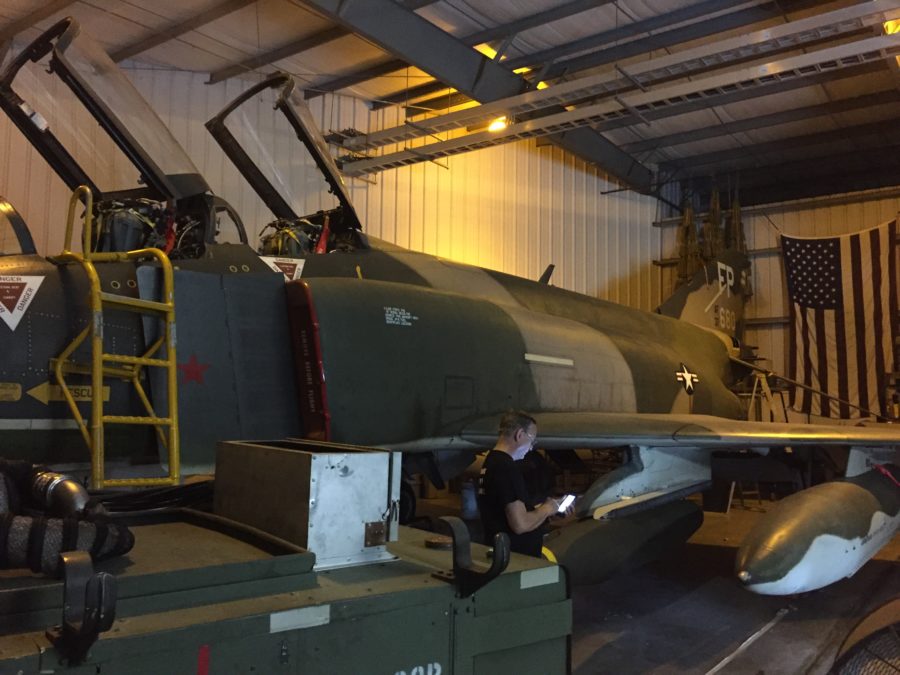
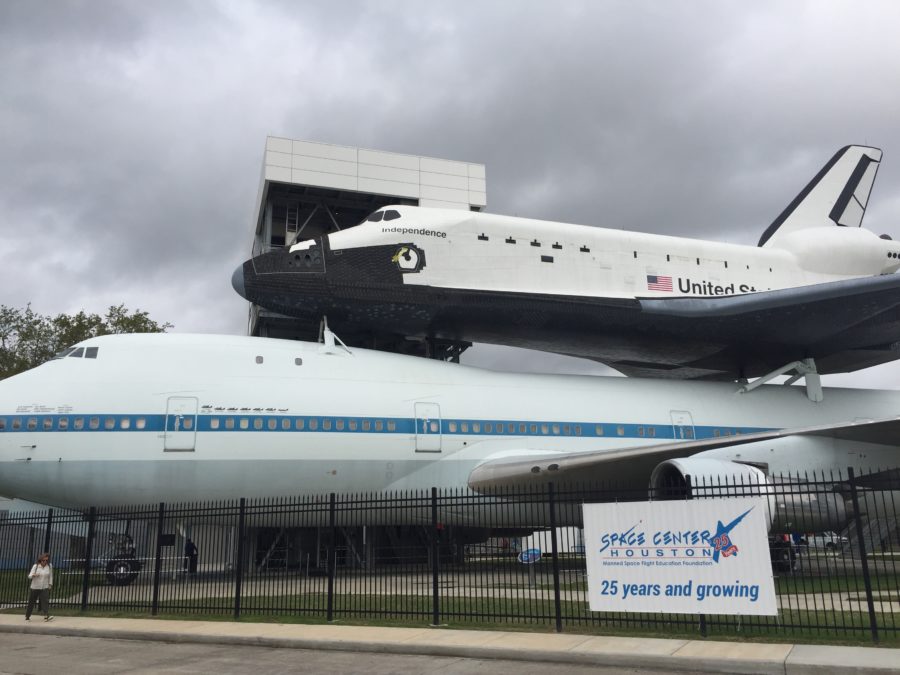
With Saturday almost as good as Oshkosh, Justin and I thought Sunday would be a day of rest while waiting for weather to improve to fly our allegedly IFR certified 172 back VFR to CWC.  Little did we know it would turn into a behind the scenes tour at the Collings Foundation with a quick pit stop at the Houston Space Center.  Carl seems to know everyone who flies in Houston thanks to his time at NASA, so we checked out another guy’s RV-4 and v-tailed Bonanza at Ellington Field.  Sitting on the ramp, we saw a ME-262 and while checking it out, got called into the restoration hangars to climb all over the foundation’s F-100, A-4, and F-4, all of which were in flying condition.
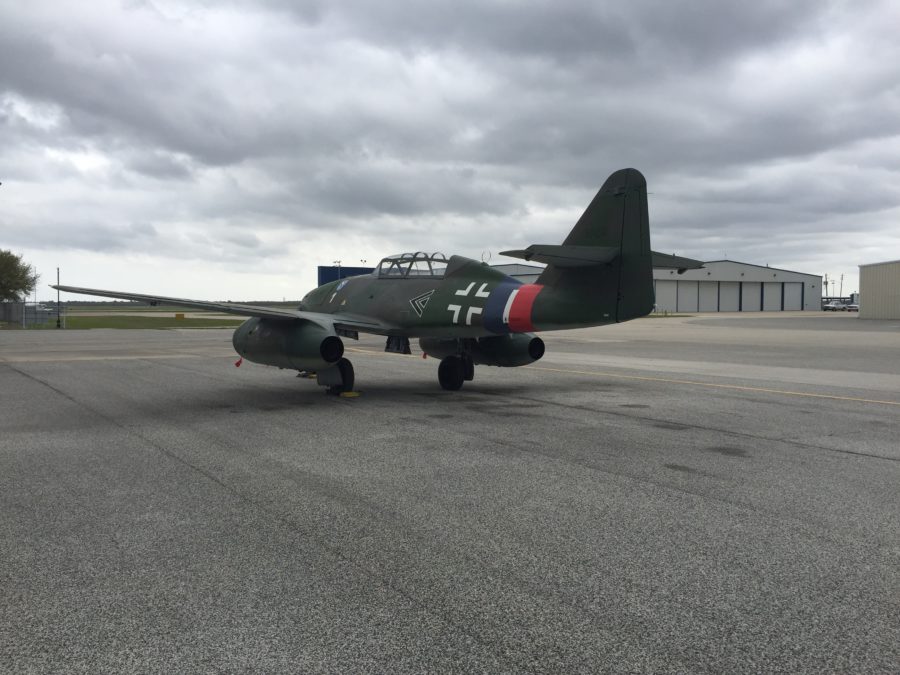
With winds at our backs and enough of a ceiling to skud run north, we climbed in the 172, now with only the position and right nav working (shhh don’t tell the FAA), and launched towards Kickapoo.  The tail wind had us screaming over the ground at 130 knots and got us back on base by 1500.  It was an amazing weekend thanks to so many people, especially Carl Martin who played host, tour coordinator, chauffeur, friend, and co-pilot.  What we thought would be just a nice weekend away from Sheppard turned into a trip to remember.  Now, only another month until I can get back to work on my 10 and start taking advantage of the amazing capabilities of general aviation!
One F*&$#ng Bolt

Even though I don’t have the stabilizers mounted, I need to run the rudder cables so that I can start putting other components in the tunnel and move forward with systems layout.  The rudder cables get threaded through the tail cone skin and forward.  Unfortunately, the ends don’t fit through the snap bushings easily and will require me climbing into the tail cone to thread through the bulkheads.  More on that plan later.  I could, however, go ahead and clamp the plastic tubing to the fuselage using cushioned adel clamps where the cables exit the fuselage.  What should have taken about three minutes to put a clamp on and secure it with an AN3-5A bolt wound up taking over 30 minutes and resulted in a lot of frustration.  The clamp proved to be just springy enough that the threads wouldn’t engage and it’s already a tough spot to reach.  With my patience running out and my fingers sore from messing with the bolt, my gut instinct to scream profanities targeted directly at the airplane proved successful and I was finally able to get the little bastard in.  I will never, ever, ever take that bolt out.

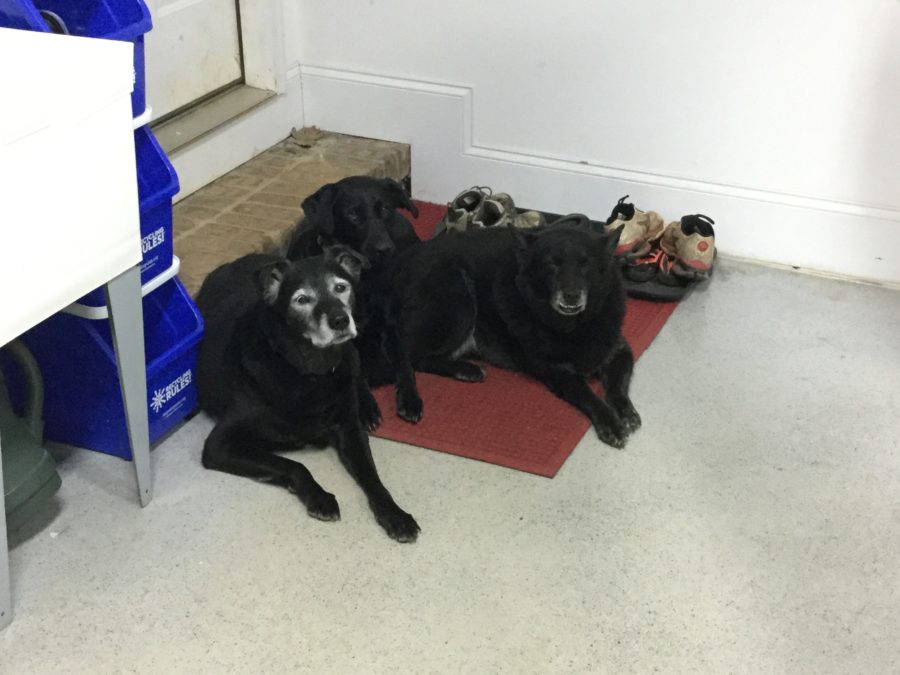
Needing to lower my blood pressure and calm my headache not to mention my now very concerned shop dogs, I decided to move to another aircraft system, the pitot static system.  I ordered a kit from Safe Air 1 quite a while ago and have already installed the pitot tube mount with preliminary tubing in the wing.  When I built the tail cone, I used another brand static ports that after looking at for years had to go.  The Safe Air 1 ports are designed to be mounted from the inside and have a very clean look not to mention good reviews of functionality.  Since I was going to have to crawl in the tail cone anyway, I decided to remove the current ports to prepare for the Safe Air 1 version.  I had to drill out the four rivets, clean up the holes, dimple them, and make a patch.  The patch is required since the original ports had a half inch hole required.  I had to get pretty creative on how I dimpled the holes since I can’t get the pliers or squeezer on it.  I wound up using the blind rivet nail trick with the dies designed for a finish nail with great results.  Once the patches were made, I used blind rivets that sit nicely in the skin for ease of use and negating one more task of bucking rivets while crawling in the cone.  Since I’ll use flox filler to smooth out the hole anyway, the blind rivets will disappear.  I’m really happy with the result and quickly relocated the new port hole just below the original location.  I don’t anticipate any issues with the new location.

I also installed the avionics shelf that I had fabed previously with the proper spacers and screws.  I plan to use nutplates for permanent mounting of components once all of the boxes are laid out.  I’m preparing everything I can think of to do while crawling in the tail cone to include mounting the new static ports, mount the static line and clamps, route the rudder cables, install snap bushings for tail wiring, and run string to pull future wires.

Let’s talk color

With the plans calling for painting the interior at this point, we needed to make some decisions about our color scheme for the cabin.  With the paint scheme already finished (yet to be revealed), we know the exterior will be a mix of black, white, silver, graphite, and an accent deep burnt orange.  We want the interior to resemble a luxury sedan but include a few splashes of accent color to lighten things up.  I already know I’ll be using the SEM rattle can Color Coat paint for the interior covered by the Top Coat low luster clear.  I sprayed a few test pieces and am really happy with the appearance and durability of the SEM.  Plus, it’s super easy to apply and doesn’t require special skills and or equipment.  It will be a tad more costly in the end, but on the big scale, it’s immeasurable.

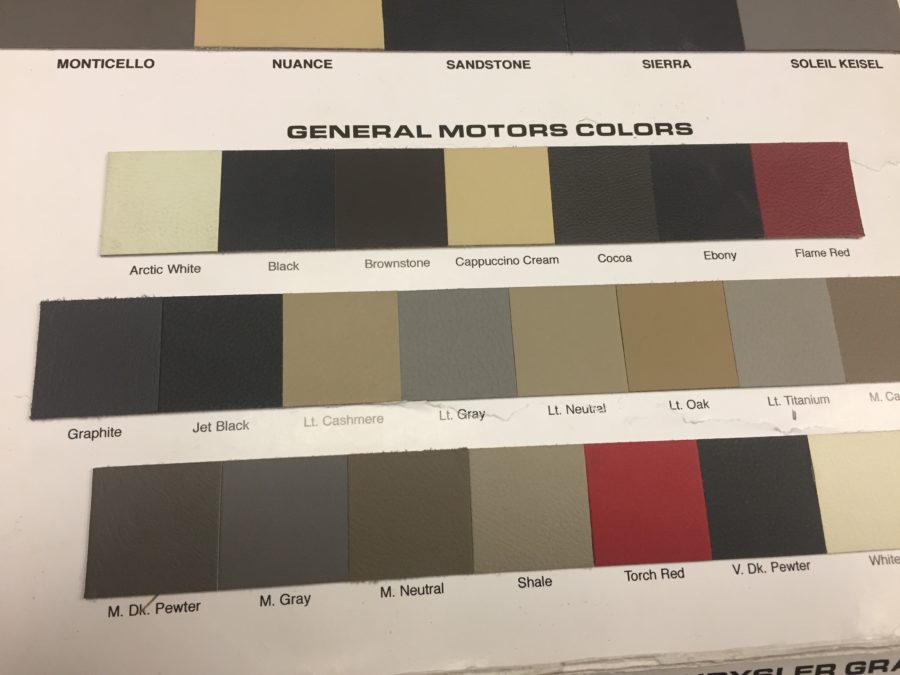
I called Zac at Aerosport who sent the leather color sample board out.  I ordered the SEM color chart and used both to play around with combinations and choices that we liked.  A few back and forths, hos and hums, and a few nights to sleep on it later, we had our choice made.

The carpet will be all black with the panels and structure below the door sill painted Landau Black.  Above the door sill, we will use the Presidio on the remaining exposed surfaces.  All of the carbon fiber components will be simply cleared over with the same low luster clear coat.  The panel inserts will be the Landau Black. The headliner will be a medium gray.  The seats will be black leather with burnt orange accents.  We’ll be wrapping a few side panel inserts with the accent and black leather as other builders have done.  I’m hoping to integrate the orange in other small spots as well.

Color is a very unique decision based on each builder and it’s somewhat overwhelming at the possibilities.  Combined with not being able to see all materials in hand makes it a bit of a leap of faith.  Zac will be sending out actual samples of the colors and carbon fiber now that we have the colors narrowed down.  But I’m confident that the look will be what we are imagining and should make for a very luxurious and modern appearance inside the aircraft.

Whoa, put the brakes on

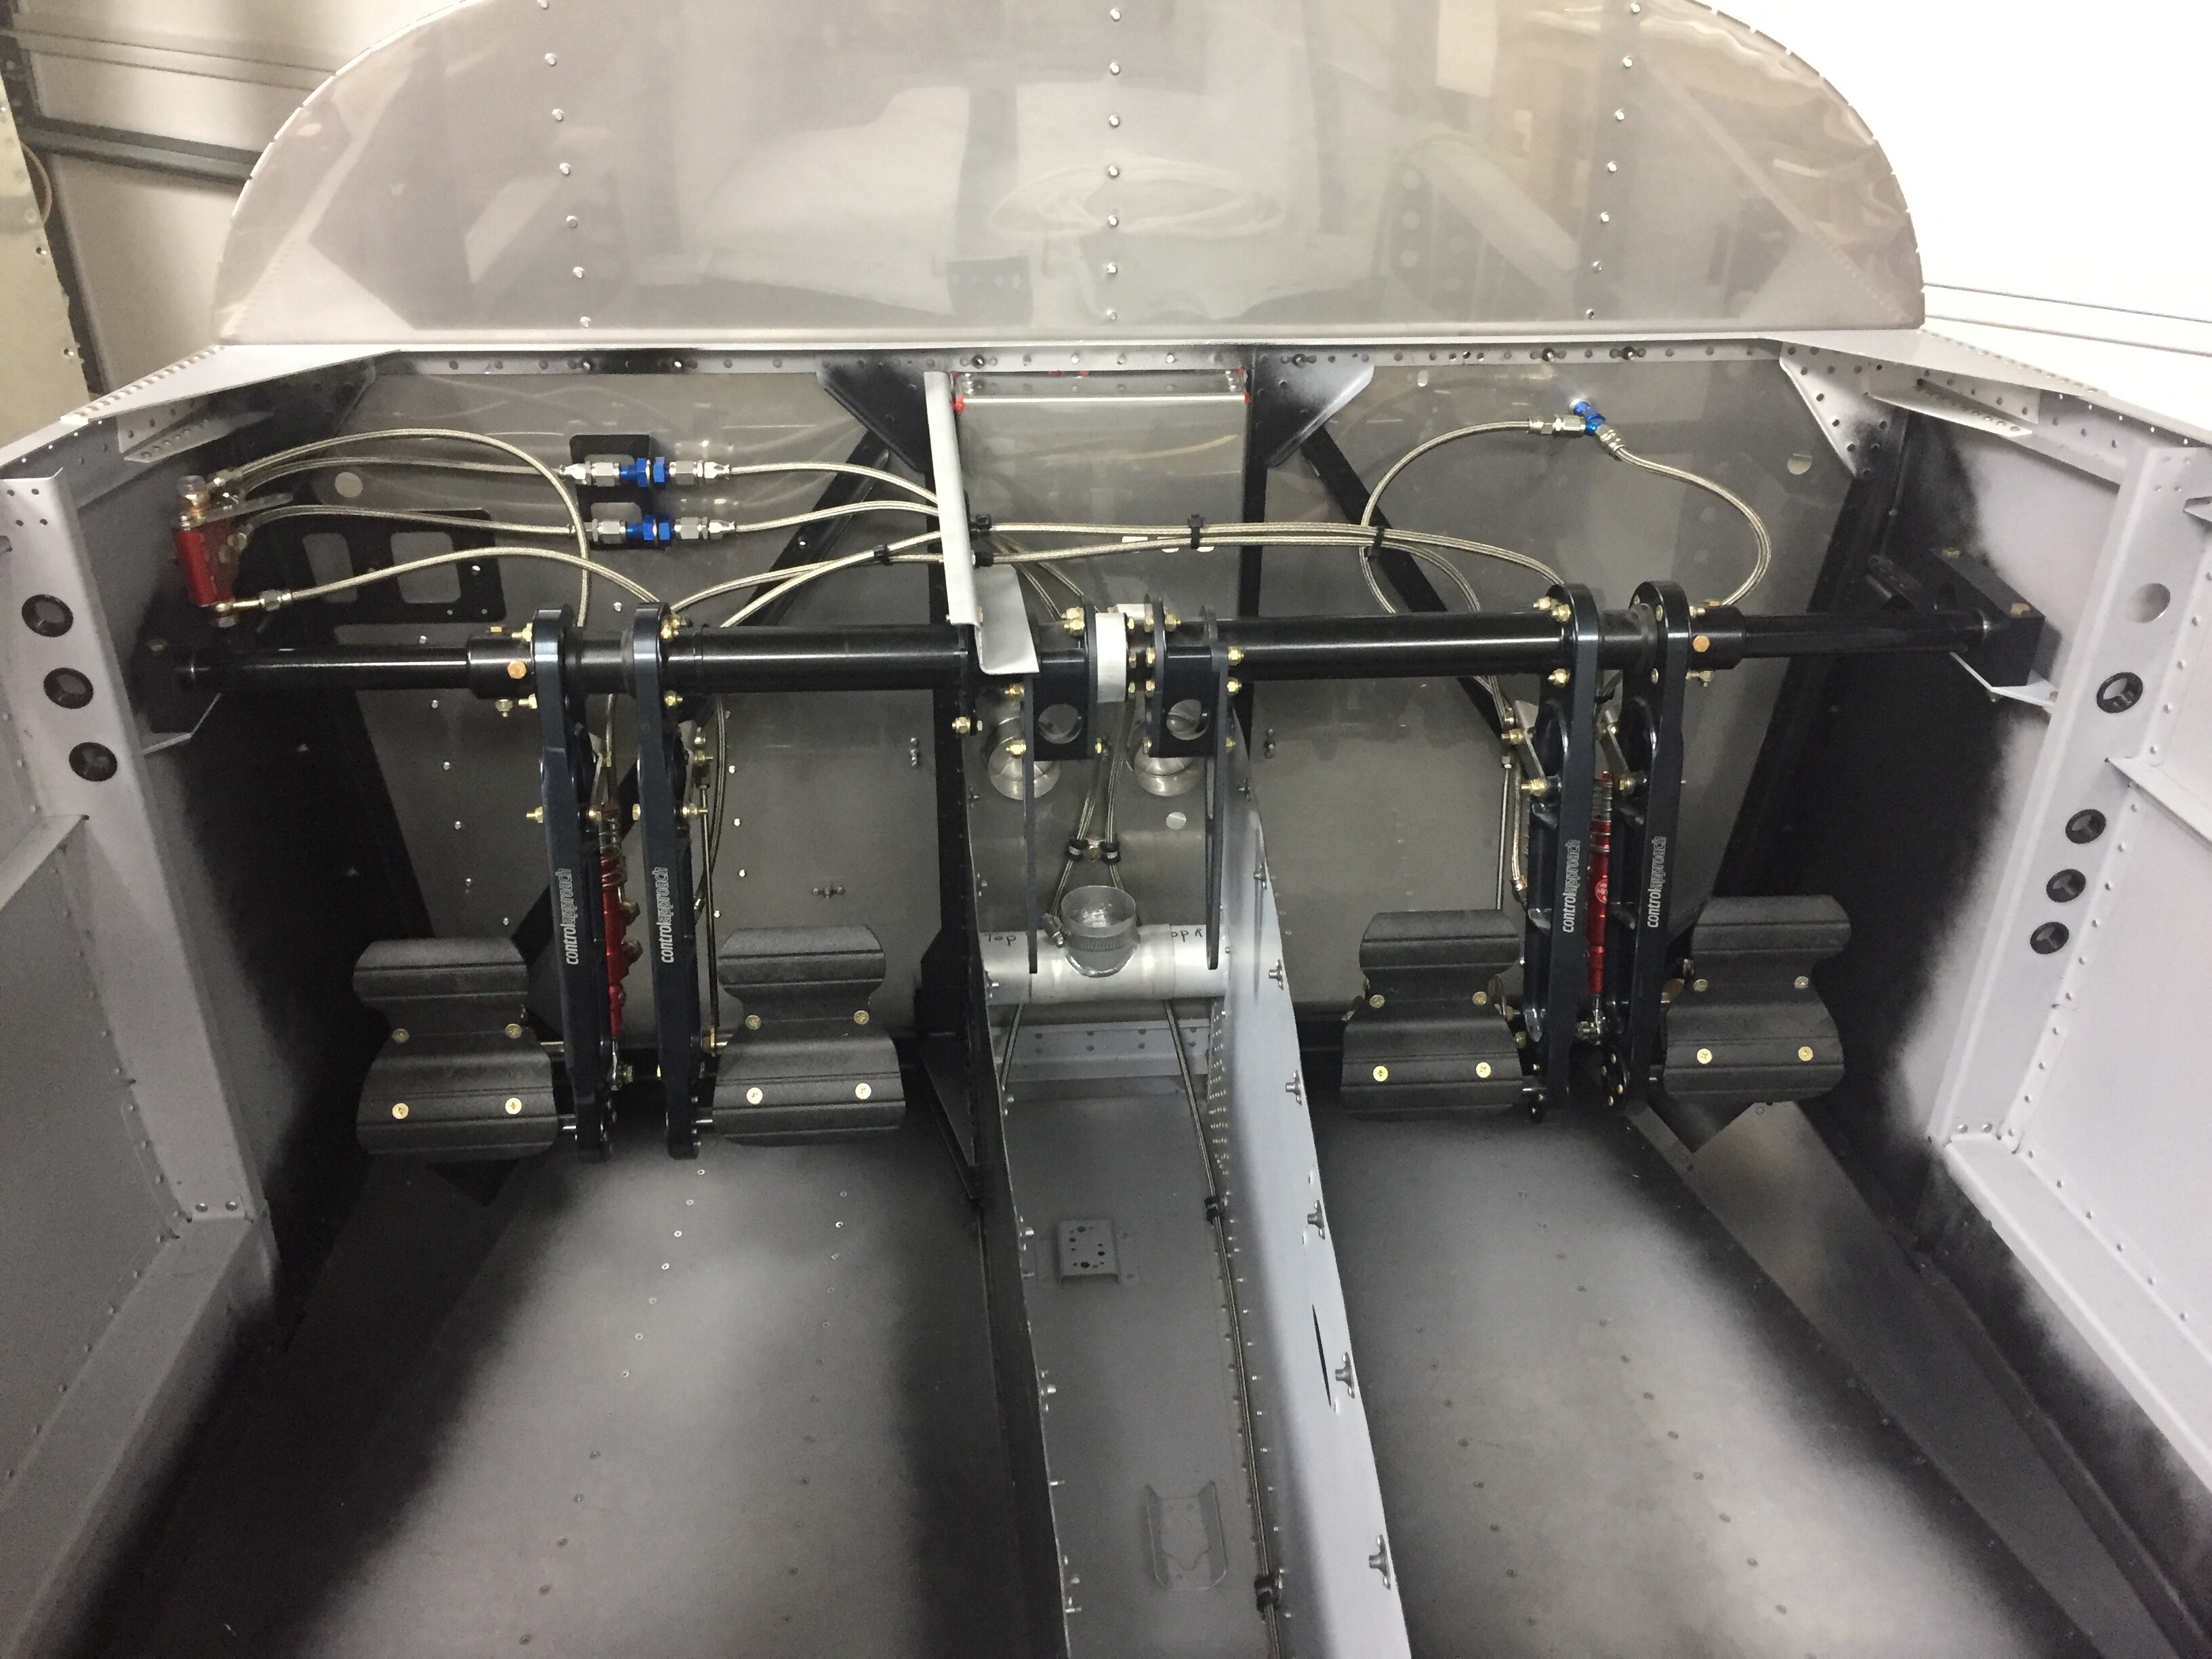
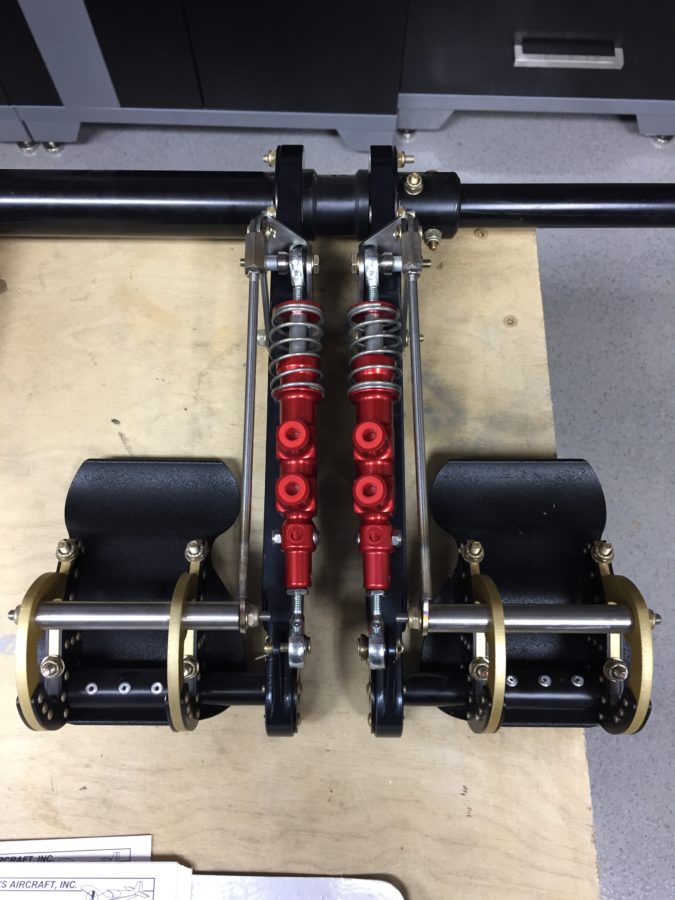
It’s finally time to pull another beautiful piece of art work off the wall and turn it into an airplane.  The rudder pedals were next up in the plans and since I have the Control Approach set, it was a pretty quick fit in the fuselage.  I had to spend some time sanding down the tubes to fit into the mounting blocks to allow free but slop-free movement.  I also cleaned up the installation of the Beringer master cylinders on the pedals using some AN bolts and nuts instead of cotter pins.  This took some play out of the pedals while still allowing for free movement of all the components.

Before I put the pedal assembly in place for good, I wanted to paint the interior where the Aerosport panels may not cover the structure.  Per the plans, now is the time to paint the interior of the cabin.  With the Aerosport kit covering most areas, I won’t be painting all of the aluminum.  I also chose not to paint the stainless steel or put any insulation on the cabin side of the firewall but did mask off and paint the aluminum components on the firewall and the very forward area of the side panels.  90% of the work for painting is prep and it took a solid hour to mask off all of the firewall just for a few spots of color.  I’ll have a separate post about color and paint coming up.

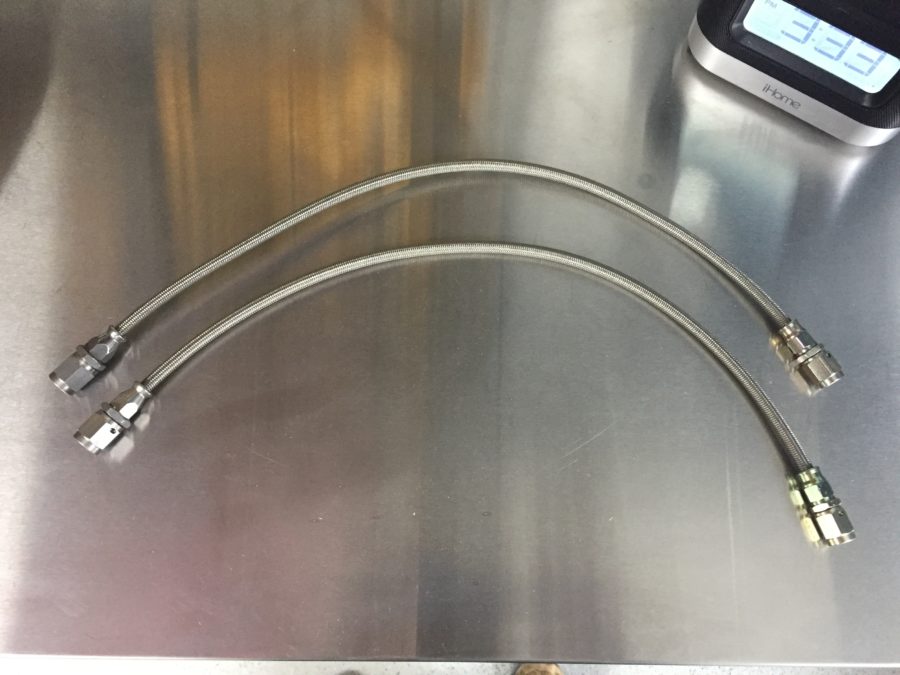
It’s also time to start running brake and fuel lines.  Since I have the complete Beringer kit, I started fabricating the stainless braided lines.  The Beringer kit includes some really nice components and saves a lot of weight while providing a more effective braking action.  Sadly, it lacks a lot of detail in the instructions and was missing quite a few pieces.   The kit doesn’t include an inventory, so I wasn’t really sure what I had or didn’t have until I started putting it all together.  Another 10 builder reported the same issue and I believe they are working to improve the kit contents.  I will say that the customer service has been extremely swift and really pleasant.  All the missing items were shipped the same day I called along with a few extras that I ordered.  One disappointment is the use of the rigid tubing retained per plans between the firewall bracket and gear legs (the tube runs through the tunnel and under the seats).  I wanted all SS braided line so ordered extra hose and a few fittings that I needed.

The process is pretty simple to assemble the lines and the quality of the fittings instills confidence of a leak free system if I’m doing it correctly!  Time and tests will tell later in the build.  I am shortening most of the lines, as the Beringer plans have them conservatively long which actually create some routing / securing issues.  For now, I am holding off mounting the reservoir since I’ll be putting insulation on the forward side of the firewall.

This could be instrumental

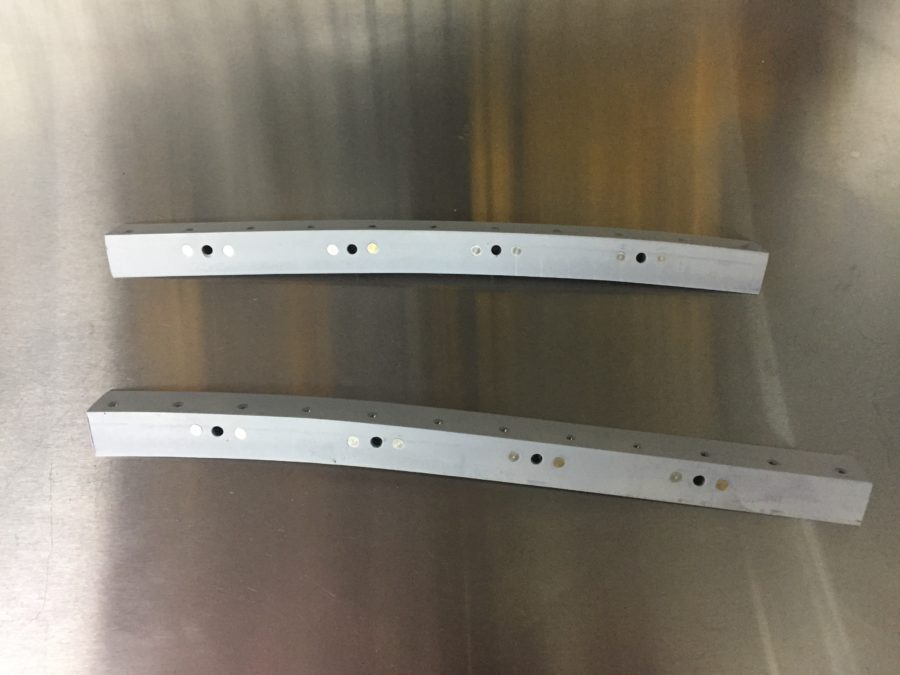
One section that I skipped over is the forward fuselage / instrument panel section.  This needs to be done before the cabin top goes on, but is left off while working on the firewall area and rudder pedals.  I had all the parts down so wanted to get the assembly together and out of the way.  Part of the fabrication steps require the use of the stock panel blank, which I don’t have since I’m using the Aerosport panel down the road.  Fortunately, Parish had the blank and I was able to borrow it to complete the related steps.  I paid him back by fabricating the two curved supports.  The plans call for using fluting pliers, but there is no way that was going to happen.  Fortunately the sheet metal shop on base has some great tools and even better craftsmen that were willing to help out in exchange for a few adult beverages.  All four pieces turned out beautiful and matched up perfectly.  It really is all about having (access to) the right tools!

Once all the parts were prepped and primed, assembly was frustrating as the AN470 rivets are difficult to buck in thin metal.  I just have bad luck / technique when trying to hit these on thin structures.  One or two drilled out and replaced after a few deep breaths and it was ready to go back into storage.  This will most likely be modified once I have the panel and some avionics depending on location and dimensions of the components.

Hey, put your panels back on

Quite a few evenings were spent on fitting, prepping, and finishing interior panels.  The rear seat bottoms were riveted on after mulling over anything that might need to be accessed under them.  Since I don’t have conduit running along the floor and already have the antenna doublers installed, I went ahead and secured the panels for good.  I’m starting to wish I had splurged or asked a friend for a pneumatic pop rivet gun.

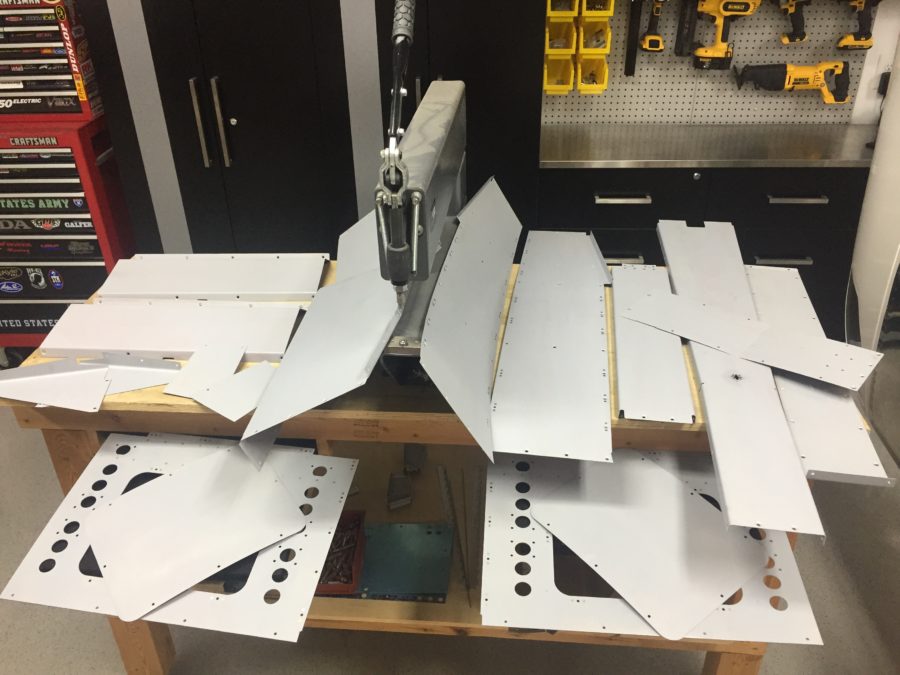
There are quite a few panels on the interior to work through.  The tunnel covers, front seat pans, side panels, and cross bar panel were all fairly simple to prep and prime after drilling.  They required a lot of nutplates to be installed on the fuselage, a few of which are in really tight spots.  I ended up using a few blind rivets on the nutplates just because I couldn’t get a rivet gun / bucking bar or squeezer in the space.  I was fortunate enough to have a few guys at work make a custom bucking bar for one rivet near the baggage door frame which worked like a champ.  This whole section is somewhat of a tease, as you get all these panels finished and the cabin looks really nice until you read the plans and it tells you to set them all aside until the project is finished.

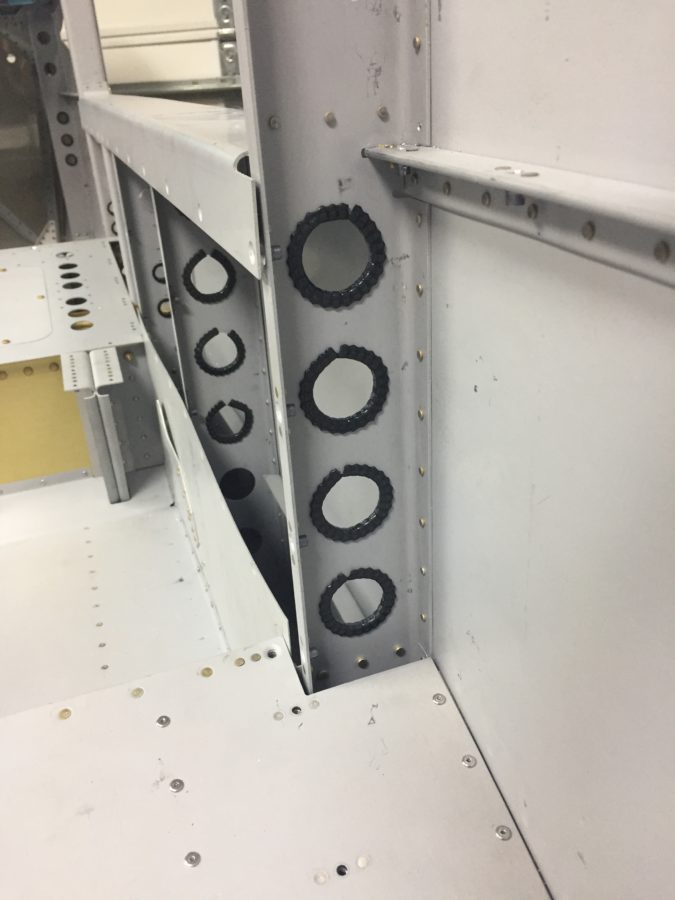
I’m also planning more detailed runs for wires and hoses since the time is right working with the panels.  I used a flexible edge grommet material to prepare for wires passing through lightening holes that are too large for snap bushings.  These will be for wires, pitot tubing, coax, and anything else that needs to run fore/aft.

In other news…

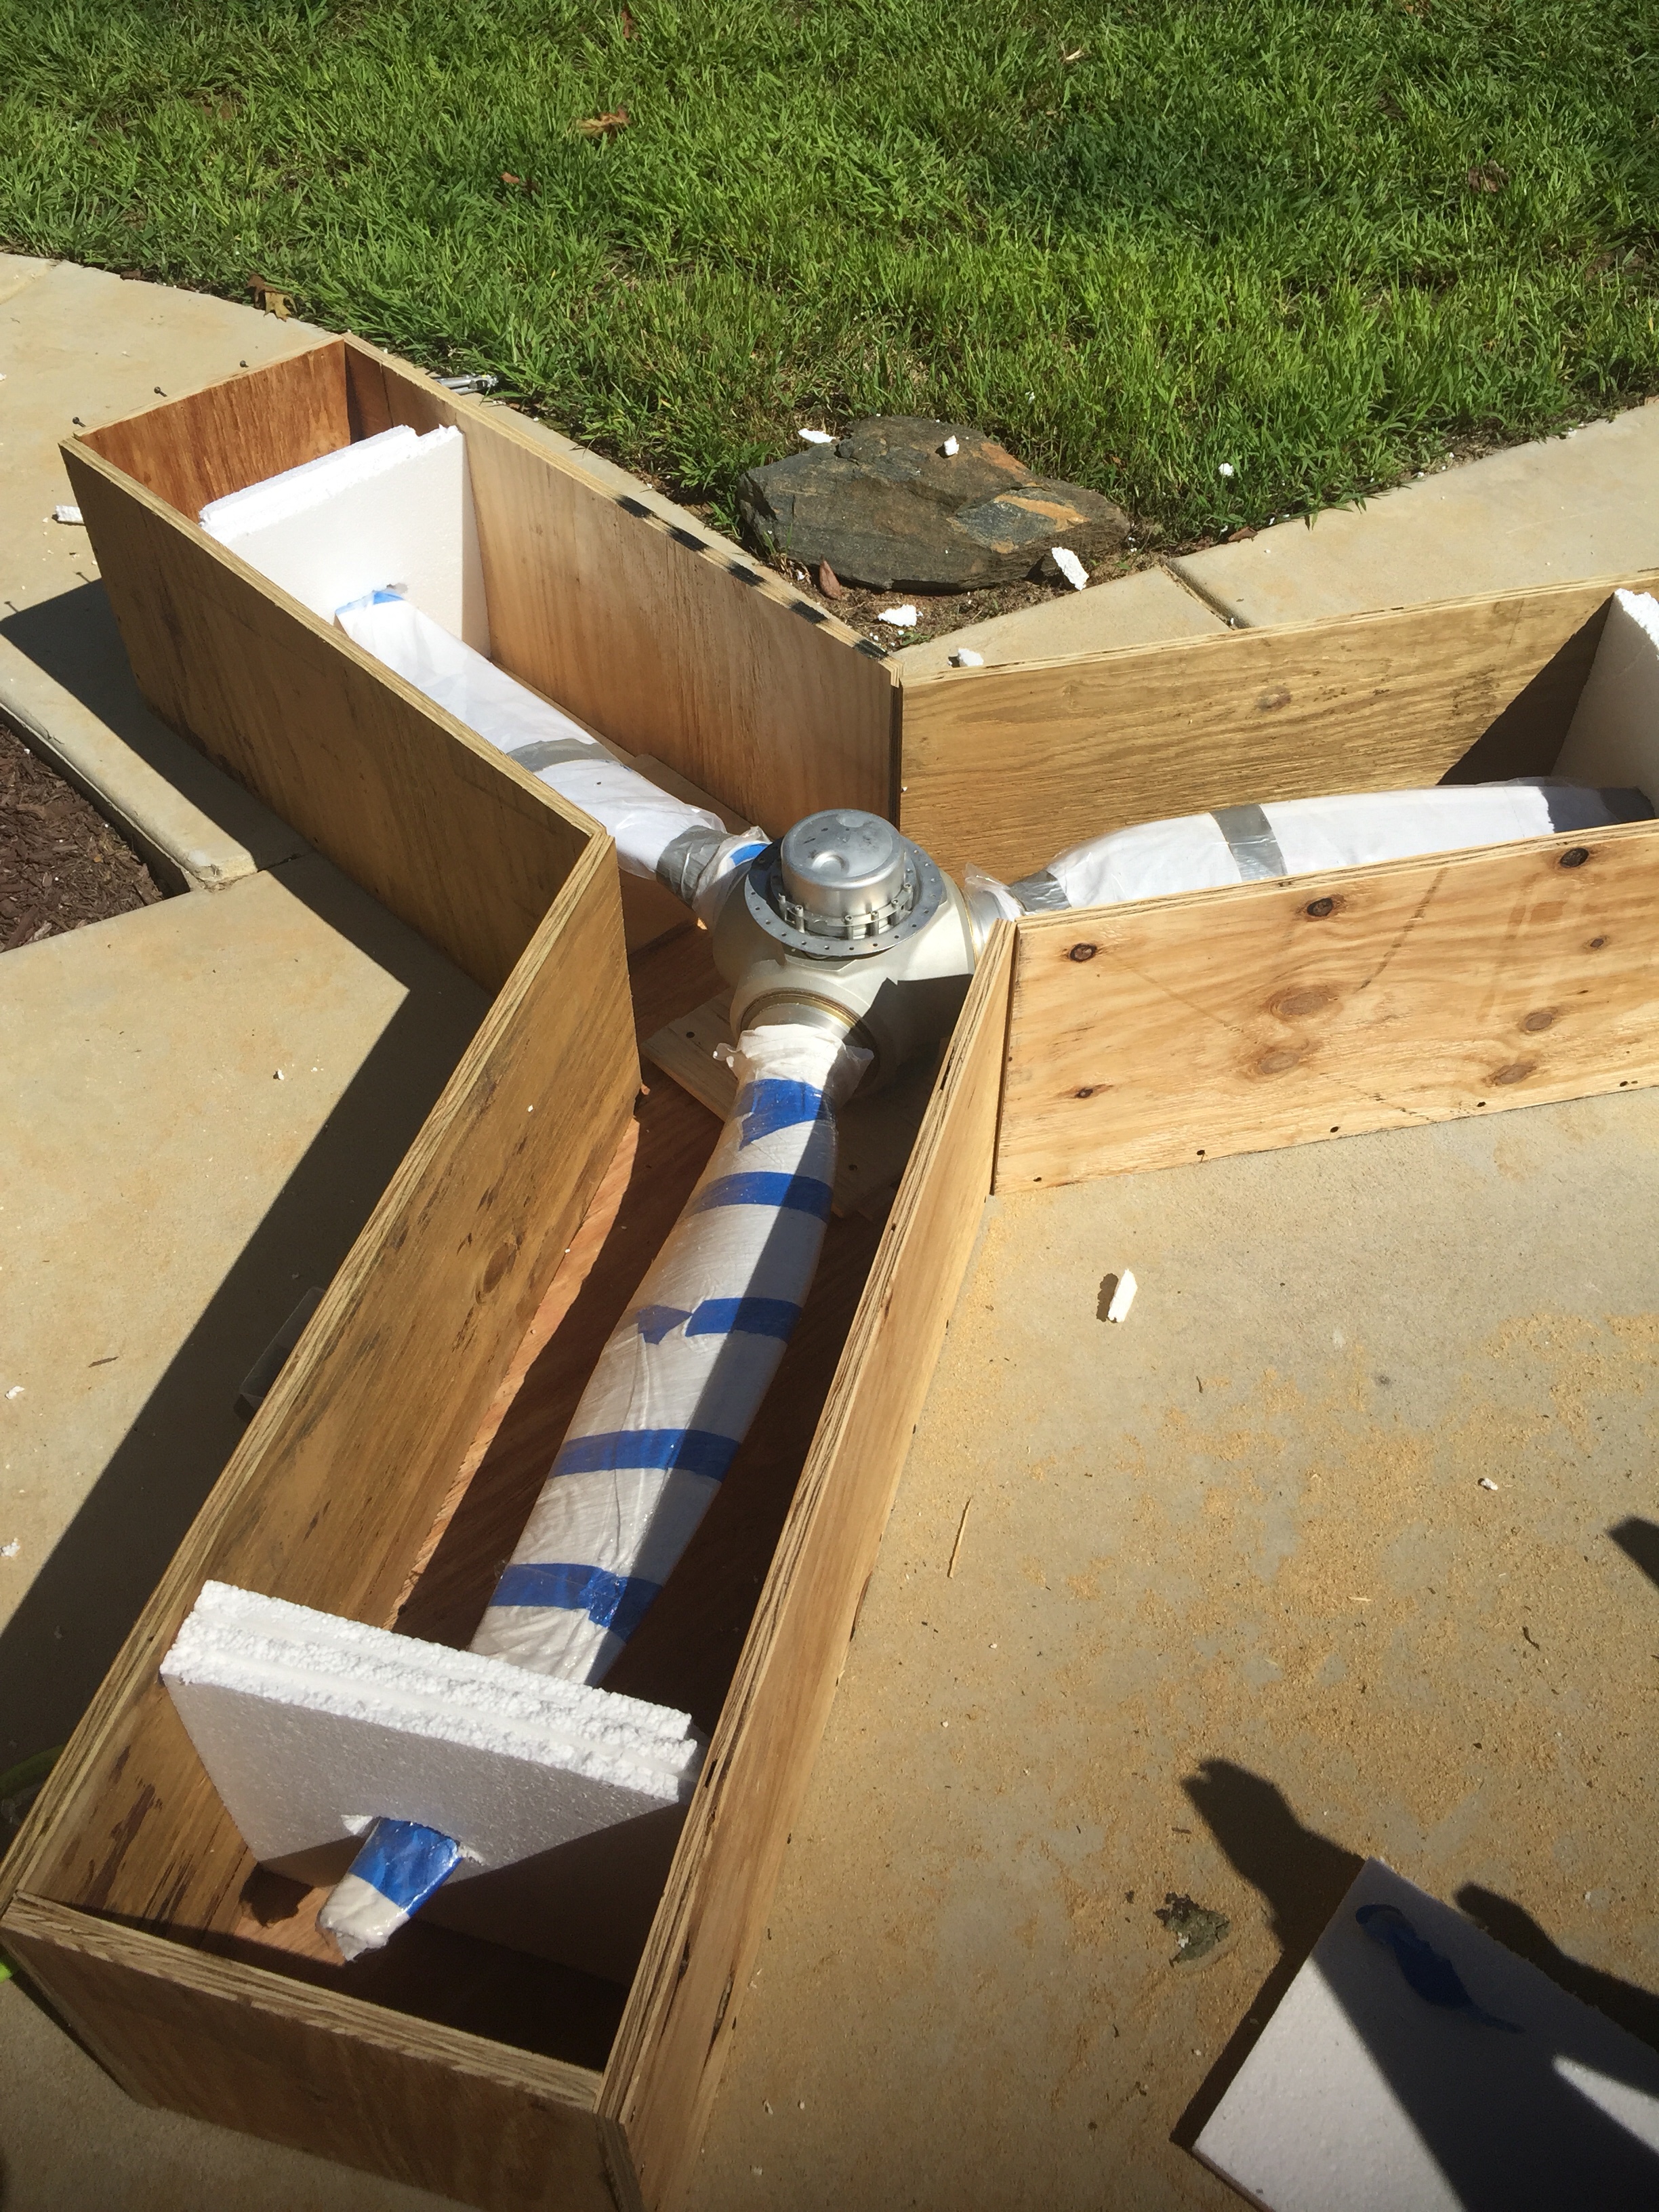
Several months ago I made the difficult, but wise, decision to sell my propeller.  As beautiful as it looks hanging on the shop wall, I only purchased it because it was the exact prop I wanted and I got it at a good price.  The reality was it is due for an overhaul years before it ever turns on an engine and I could reallocate the funds better right now.  Comforting my decision was the fact I can purchase another prop, same design down to the paint, at any time.  It wasn’t something I had invested time or personalization in.  I’m happy that it will be on a finished project much sooner than I could have achieved and I didn’t lose any money on the whole thing.

On the project, I tackled the baggage door with relative ease, finishing it up in just a few evenings’ work.  It was an easy project and one that really gives a sense of accomplishment.  Several things to note, however, are to pay close attention to the hinge pin position and deciding if you want the door removable.  I purposefully positioned the hinge inboard to keep the protrusion subtle but in doing so, made it where the pin is not removable (or easily installed).  I realized this too late and had already drilled the holes.  Ed Krantz made his pins removable like the rear seat backs, but I decided that I just don’t have the need to remove the door and can live with the results.  I was luckily able to keep the hinge halves together and riveted to the door while slipping the whole assembly into the fuselage.  It turned out well and the door skin only needed a minor amount of finessing to lie flush with the fuse surround and produces a nice even gap all around.

Next up are the rear floor panels that fit very tightly.  When the plans say to put the manufactured head of the rivet on a certain side, they say it for a reason.  I had to wrestle the panels over two shop heads that would have been easier had I paid attention.  Van’s pays the builder to always think a few steps ahead and friendly reminds you if you don’t!  One change on the rear floor panels I made was to replace the AN470 rivets around the perimeter with LP4-3 rivets.  Bucking the AN470s was going to be a real pain and no doubt lead to issues with drilling a few out.  The front panels are all blind rivets, so I don’t think I’m breaking too many rules with this substitution.

Are you a bit warm? Turn on the A/C

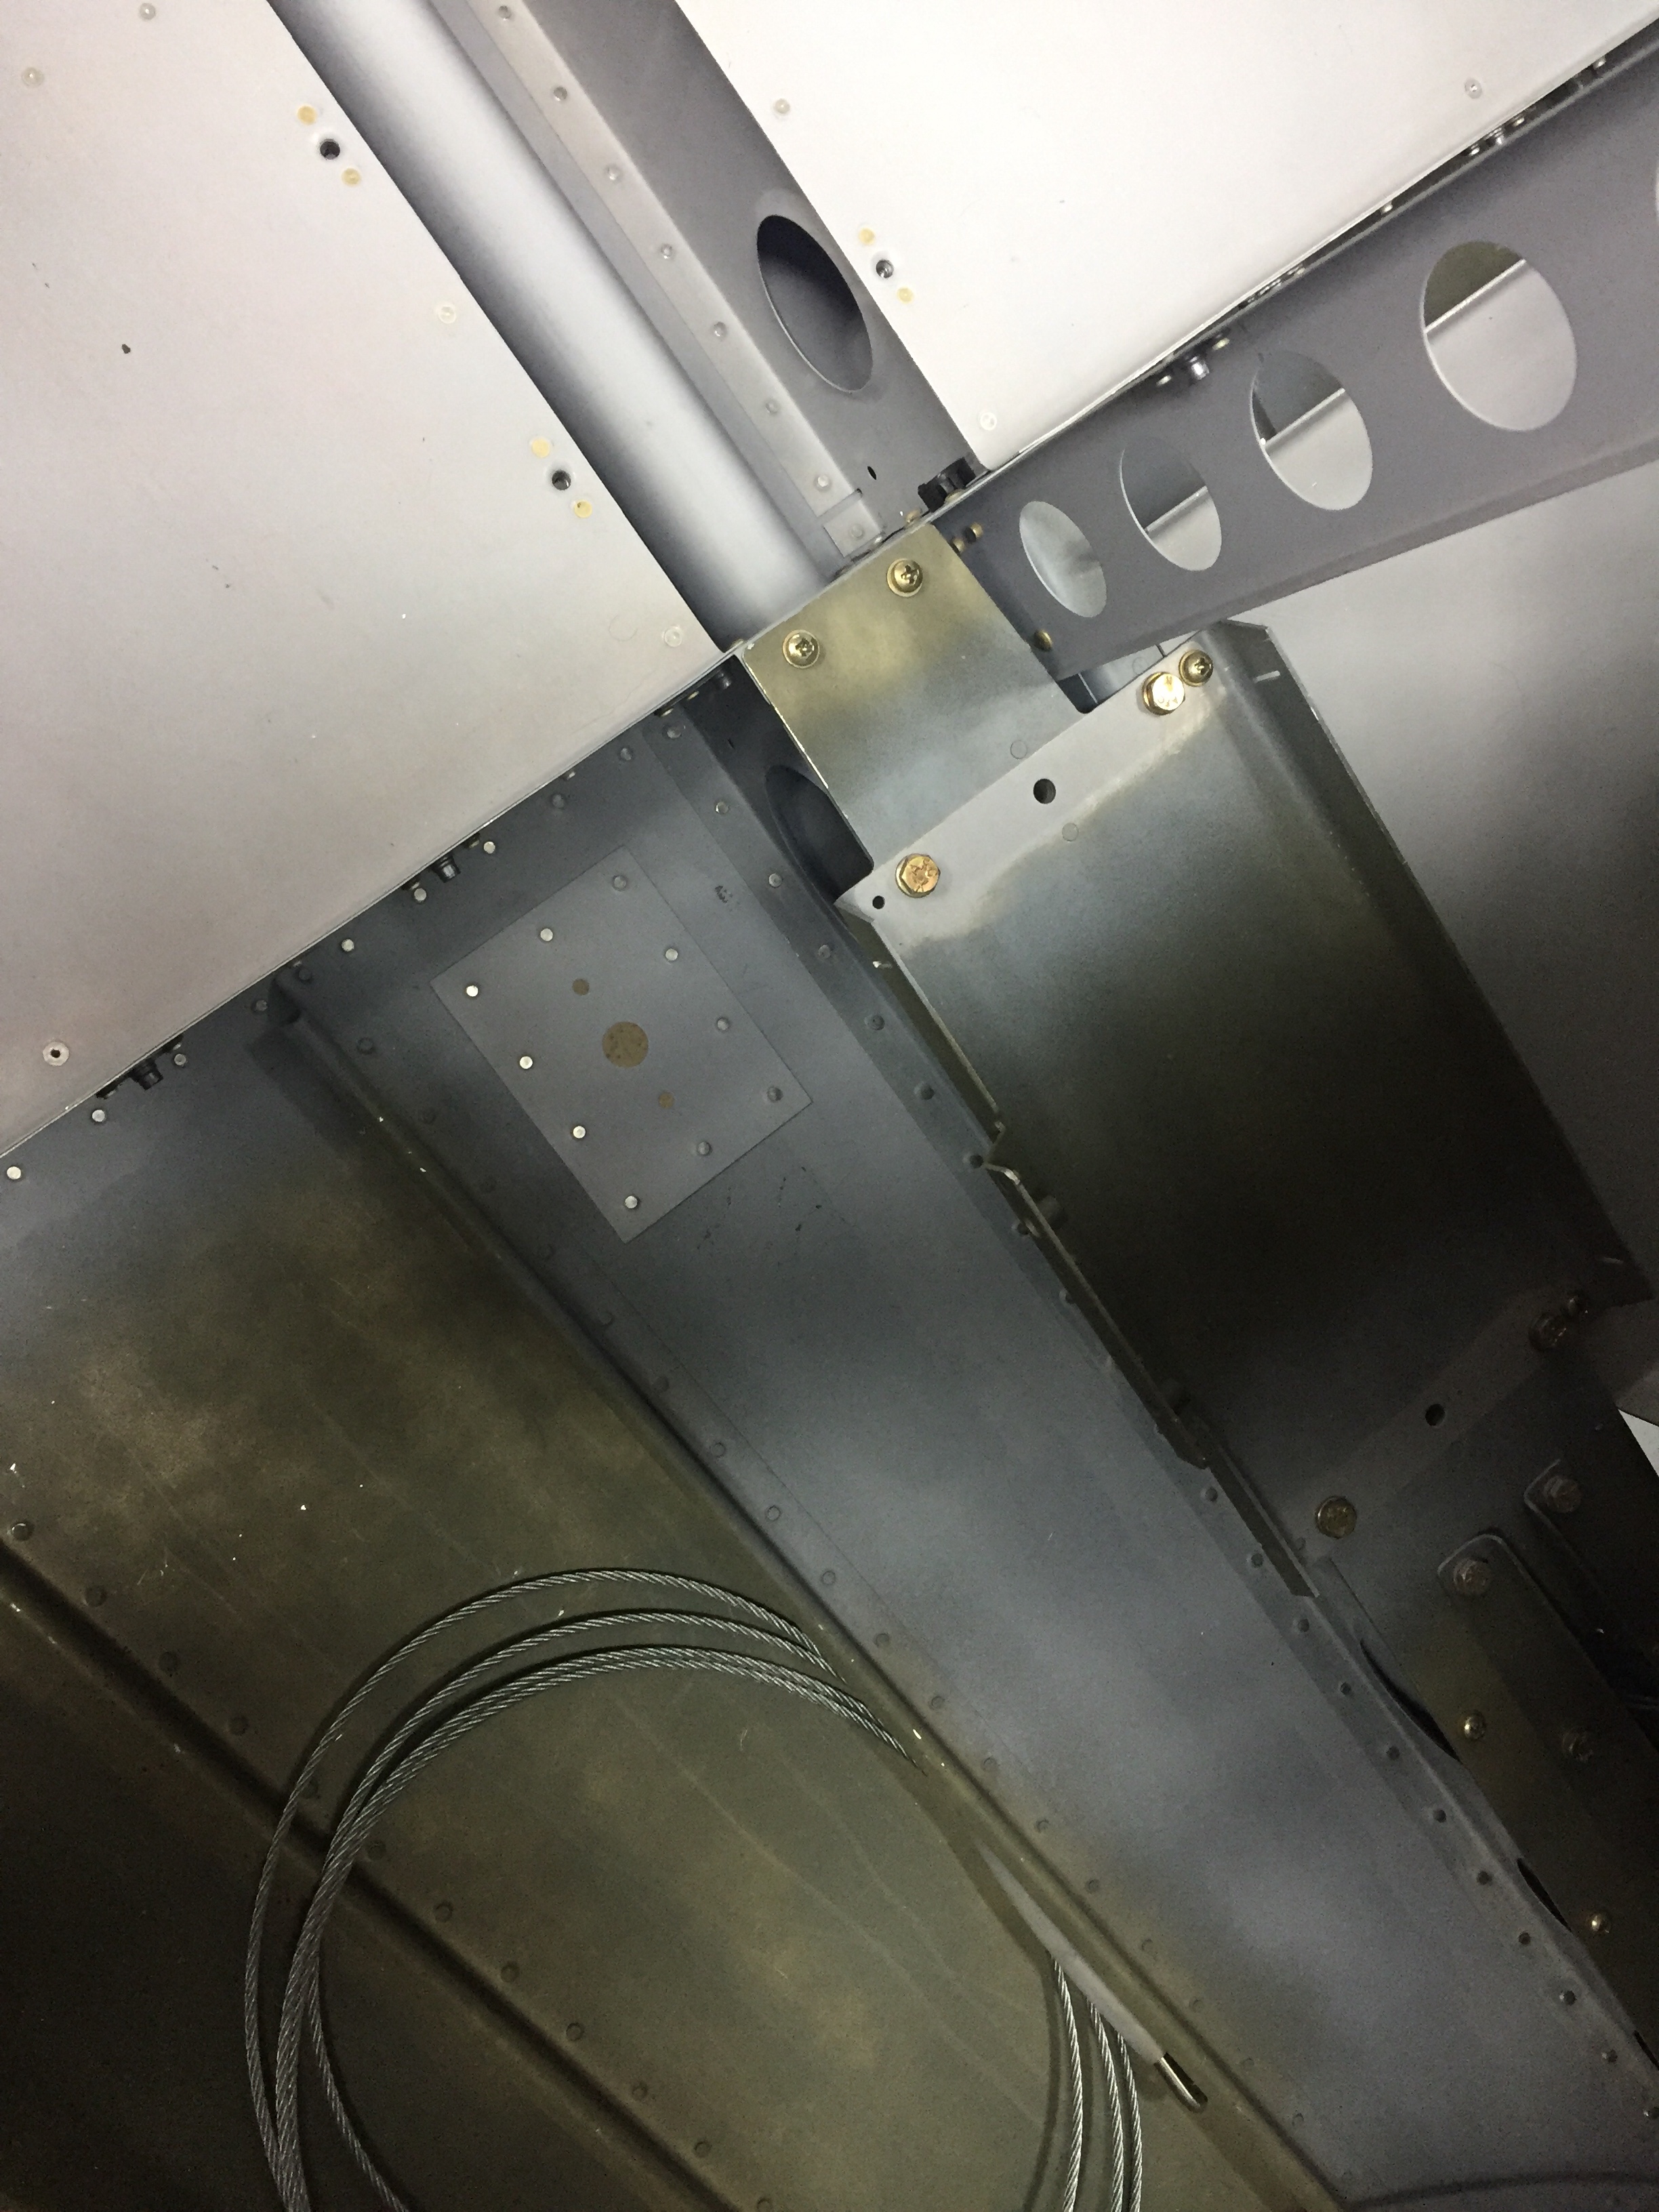
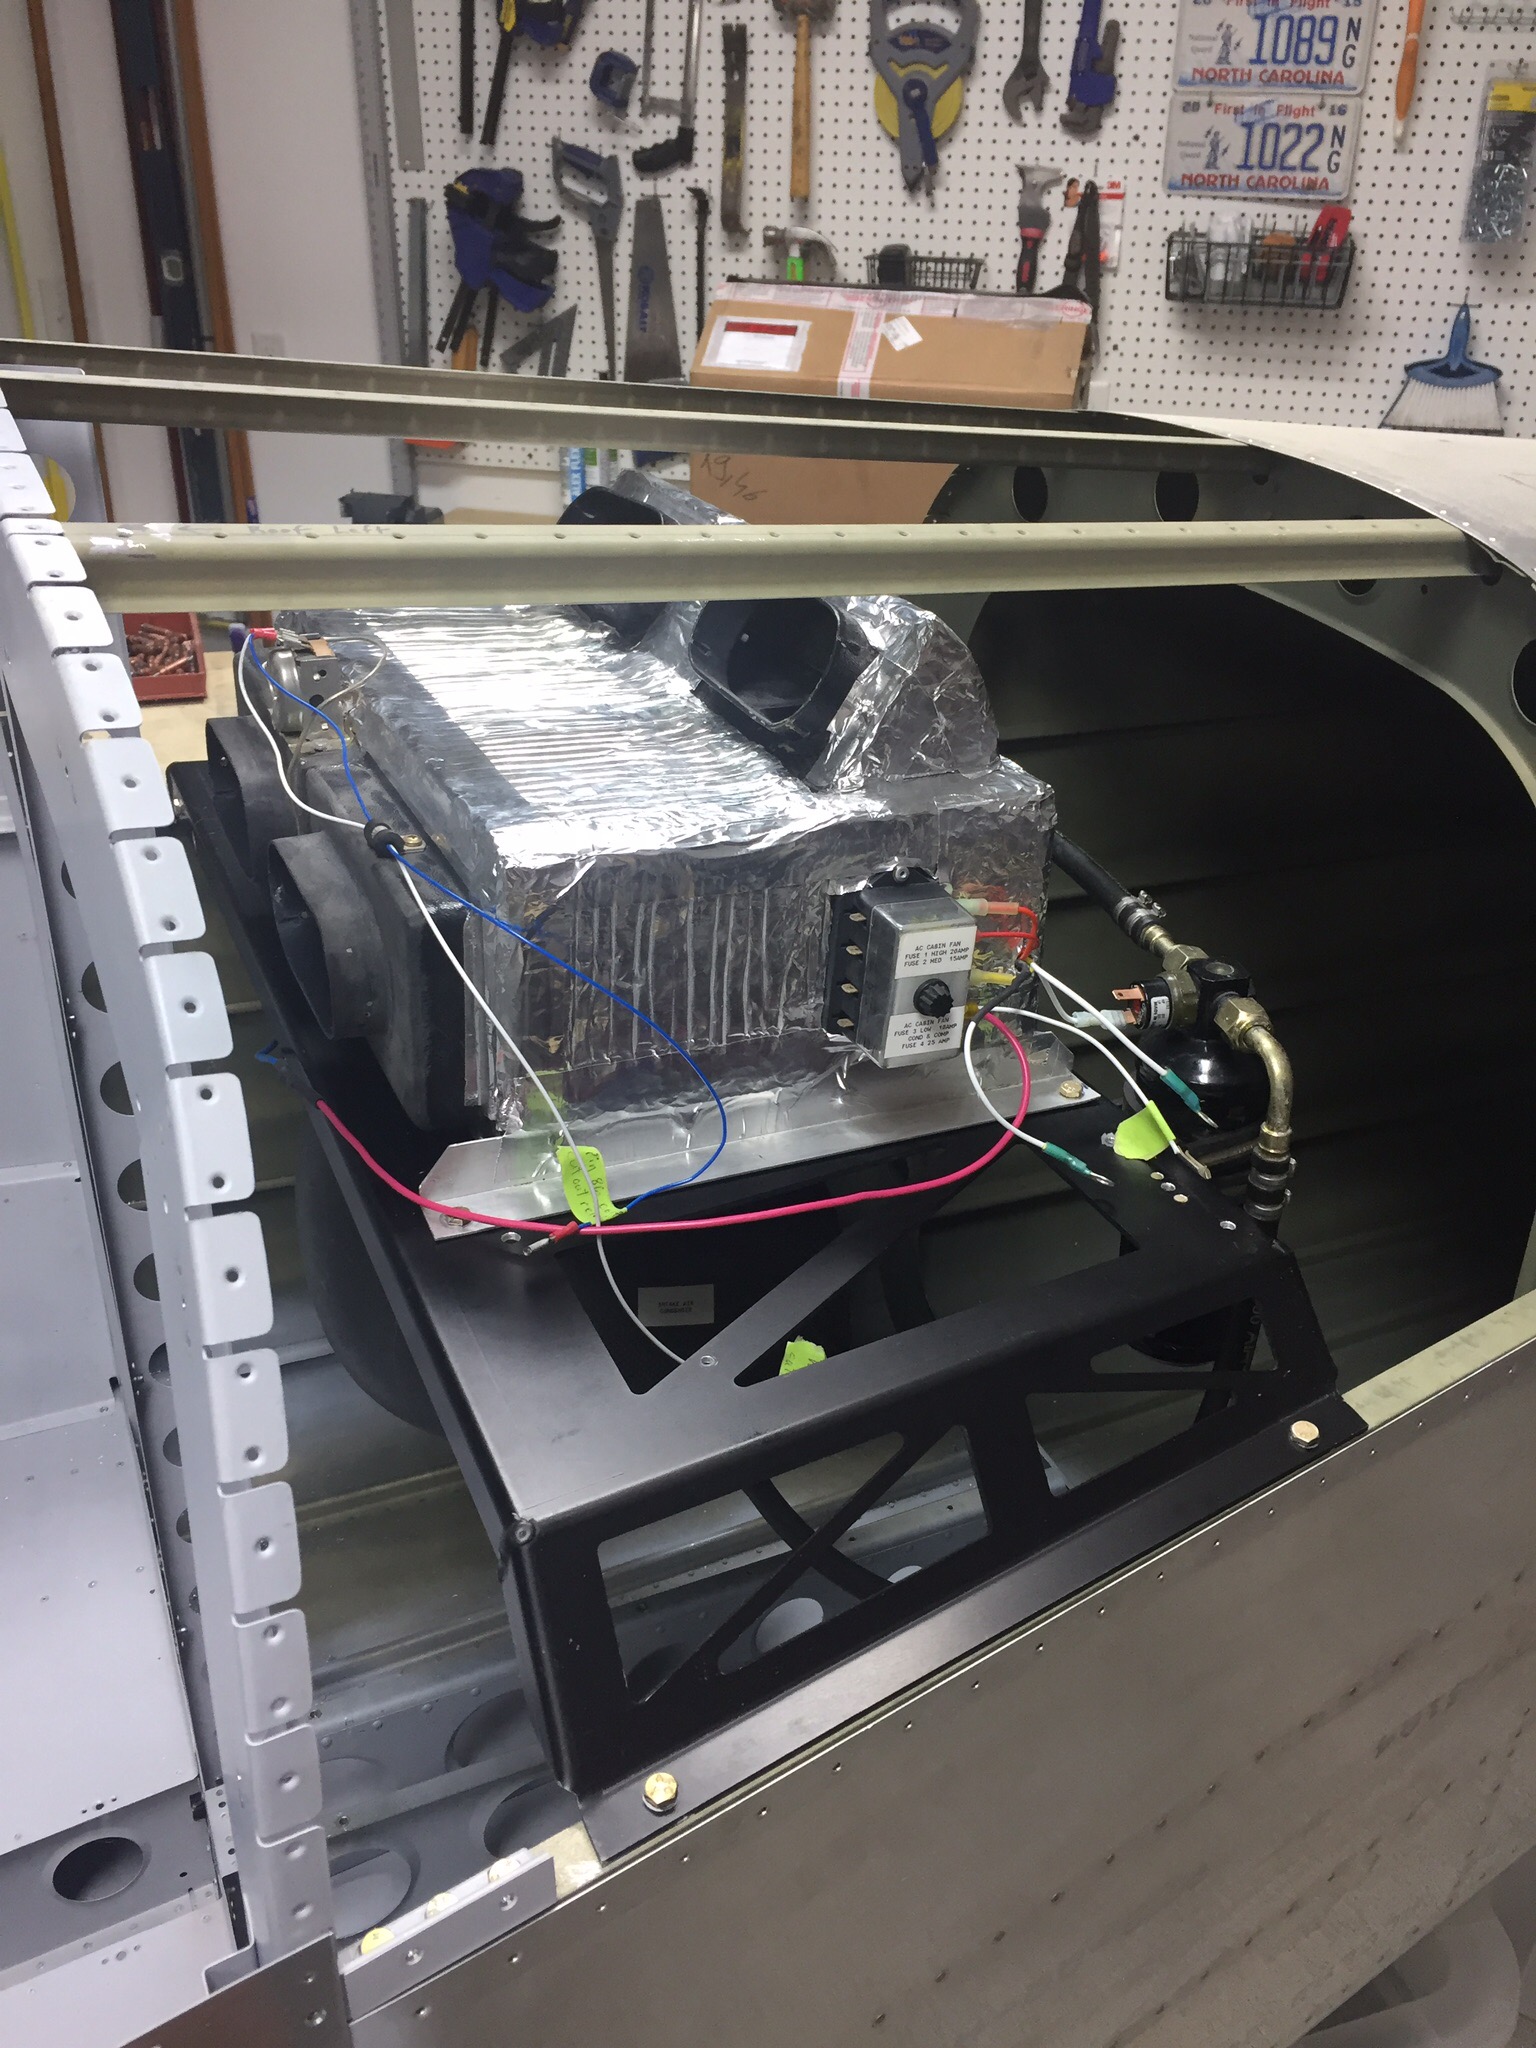
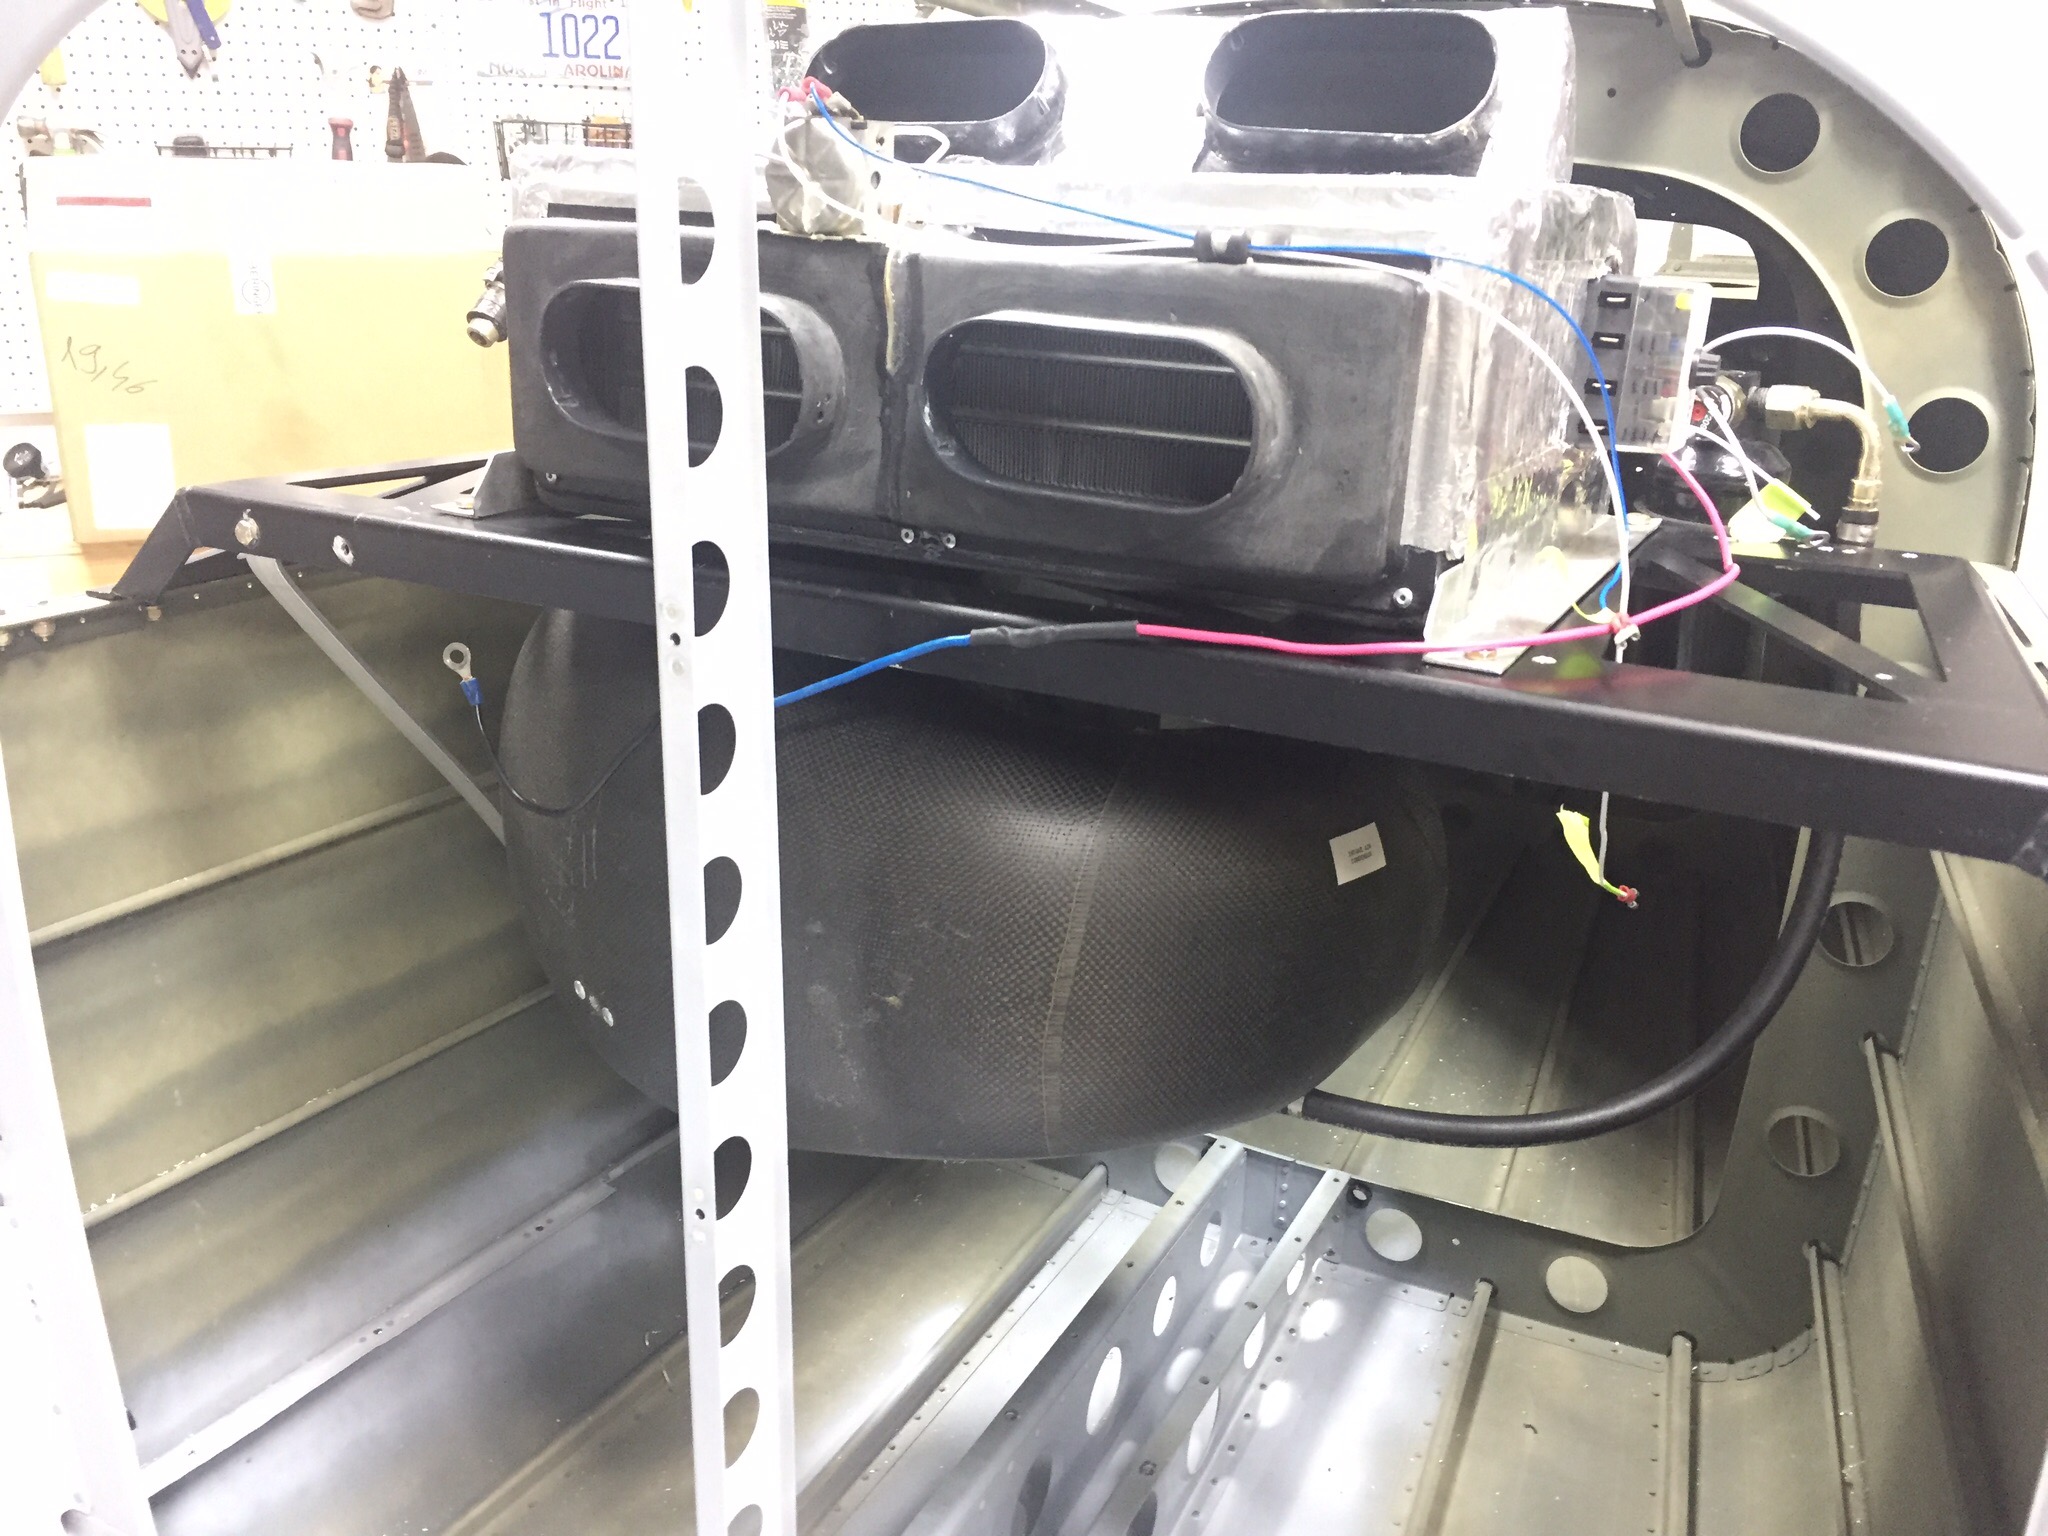
With the tail cone attached, I wanted to get the Flightline A/C system installed before too much else gets put in which would make access difficult. The majority of the system is located behind the baggage bulkhead, so it’s easy to get to right now. The first step is to mount the condenser tray onto the longerons which is simple enough. I spent some time cleaning the air handler up and getting all the old dust off of it. I also cleaned up the insulation a bit and used foil HVAC tape to seal the remaining uninsulated areas. I fixed a couple of nasty looking nutplate rivets on the tray as well before putting it in the airframe.

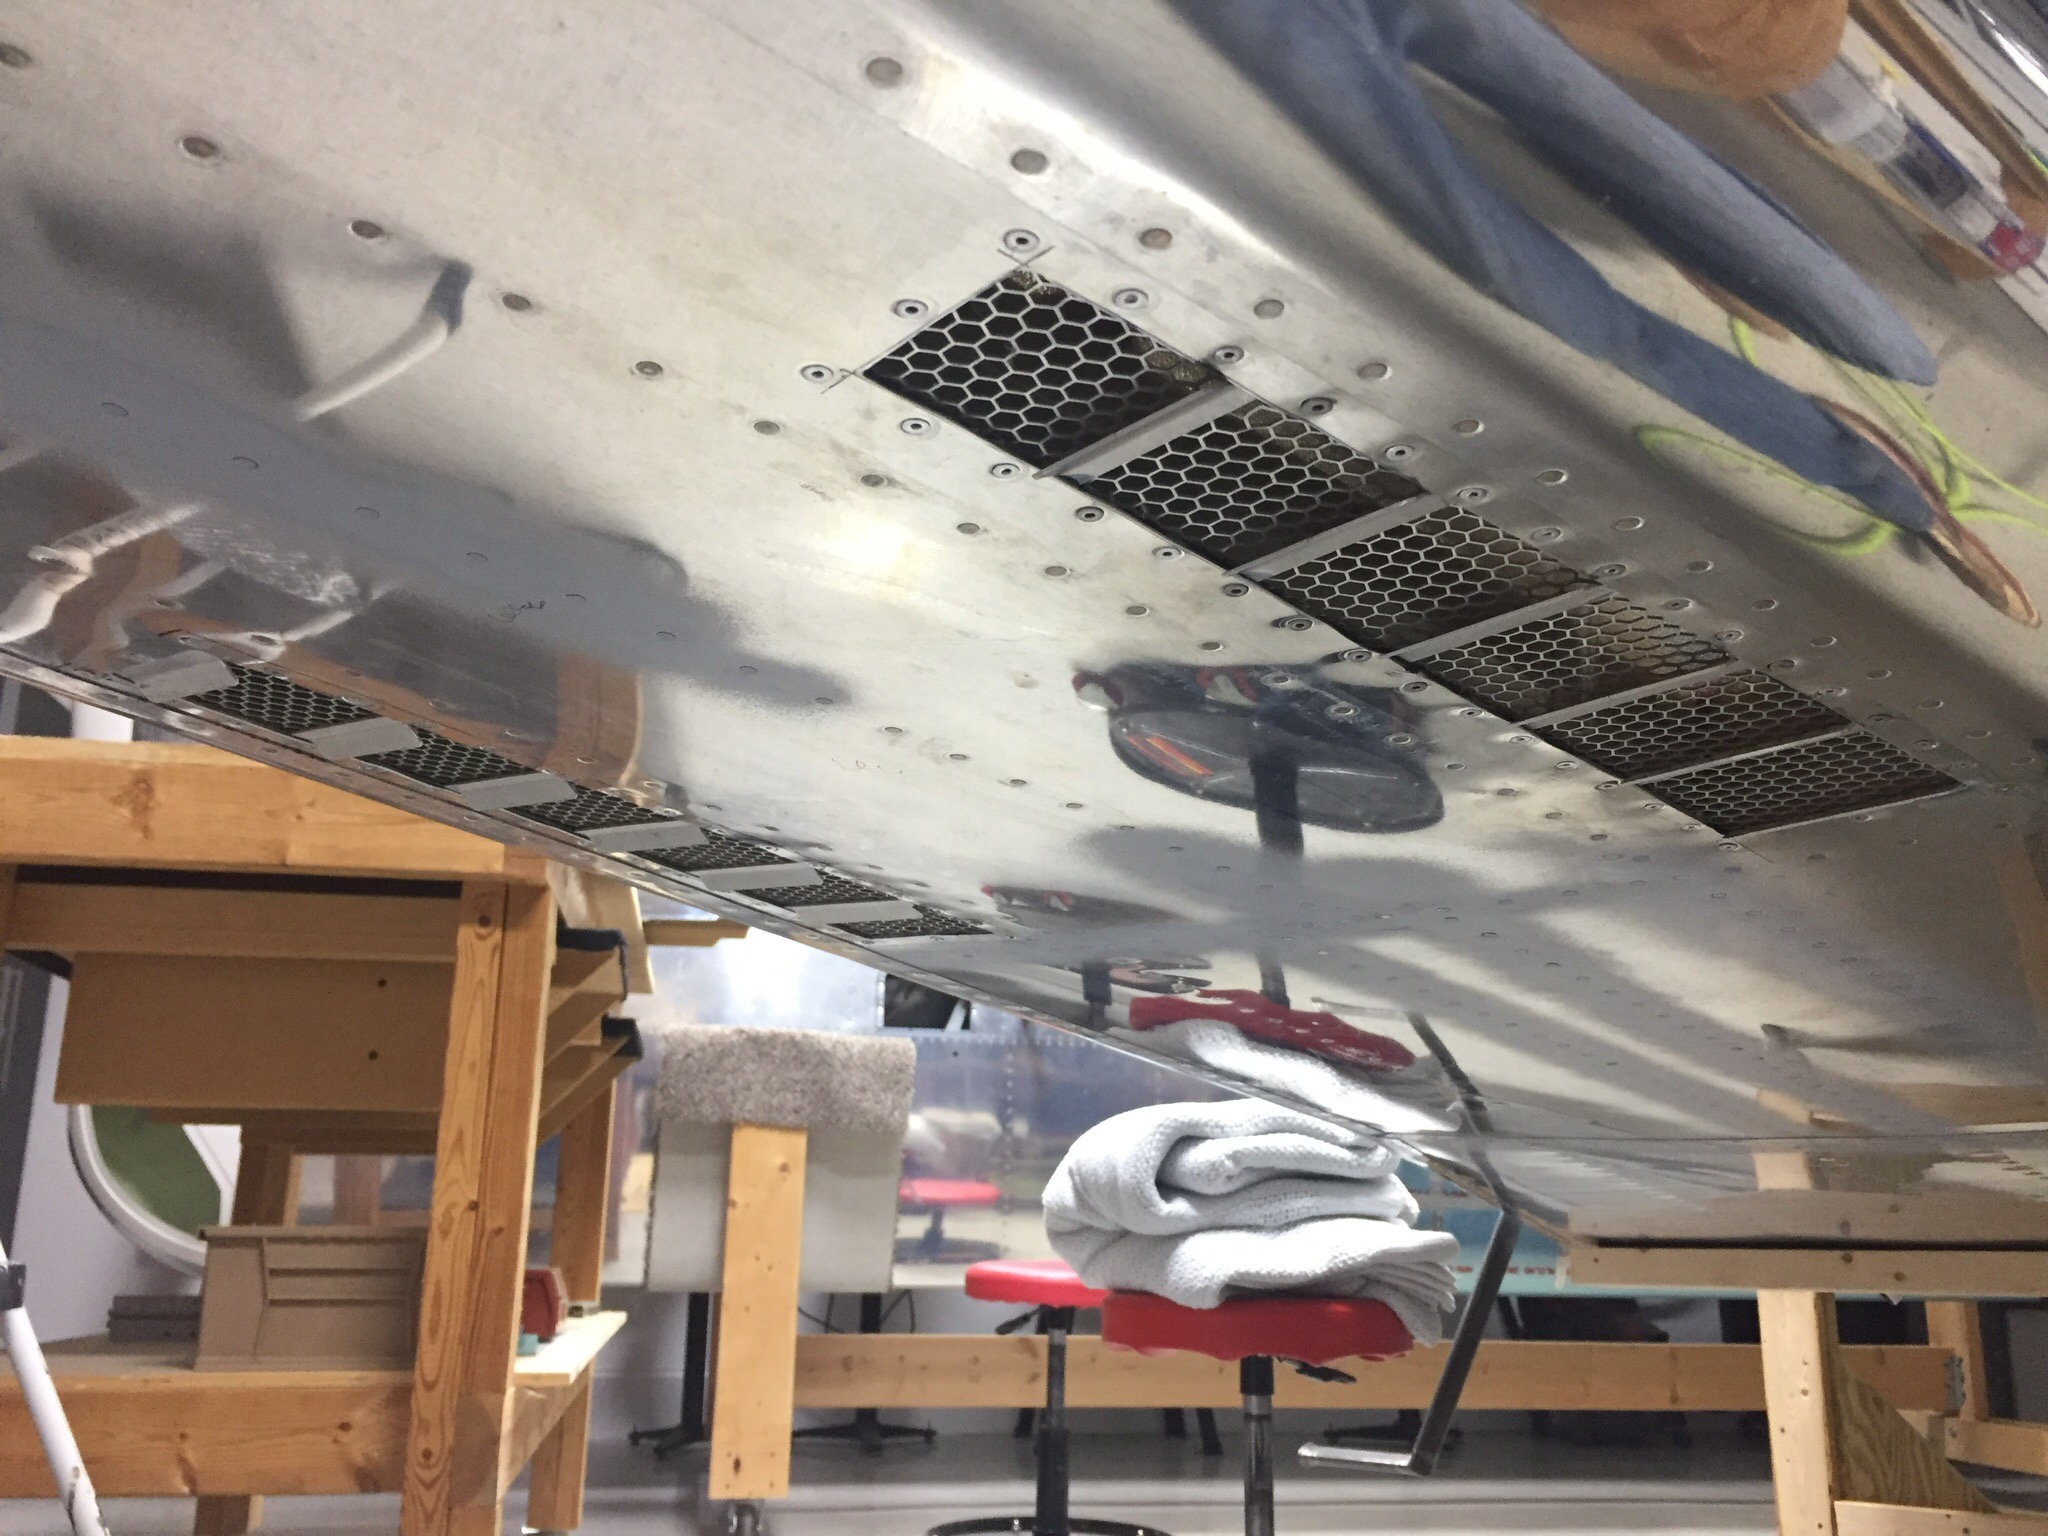
The next task was to mount the intake and exhaust vents for the condenser. While at Oshkosh, I spoke with John at Flightline (owned by Kelly Aerospace now) about an alternate side mounted intake. There have been some builders concerned about CO infiltrating the cabin with the original belly mounted vents which are in the exhaust stream. I agreed to design a new side mount intake similar to Cirrus retrofit kits. While I am in the process of laying up said vent, I ultimately decided that I was comfortable with the stock setup and ended up going that route.

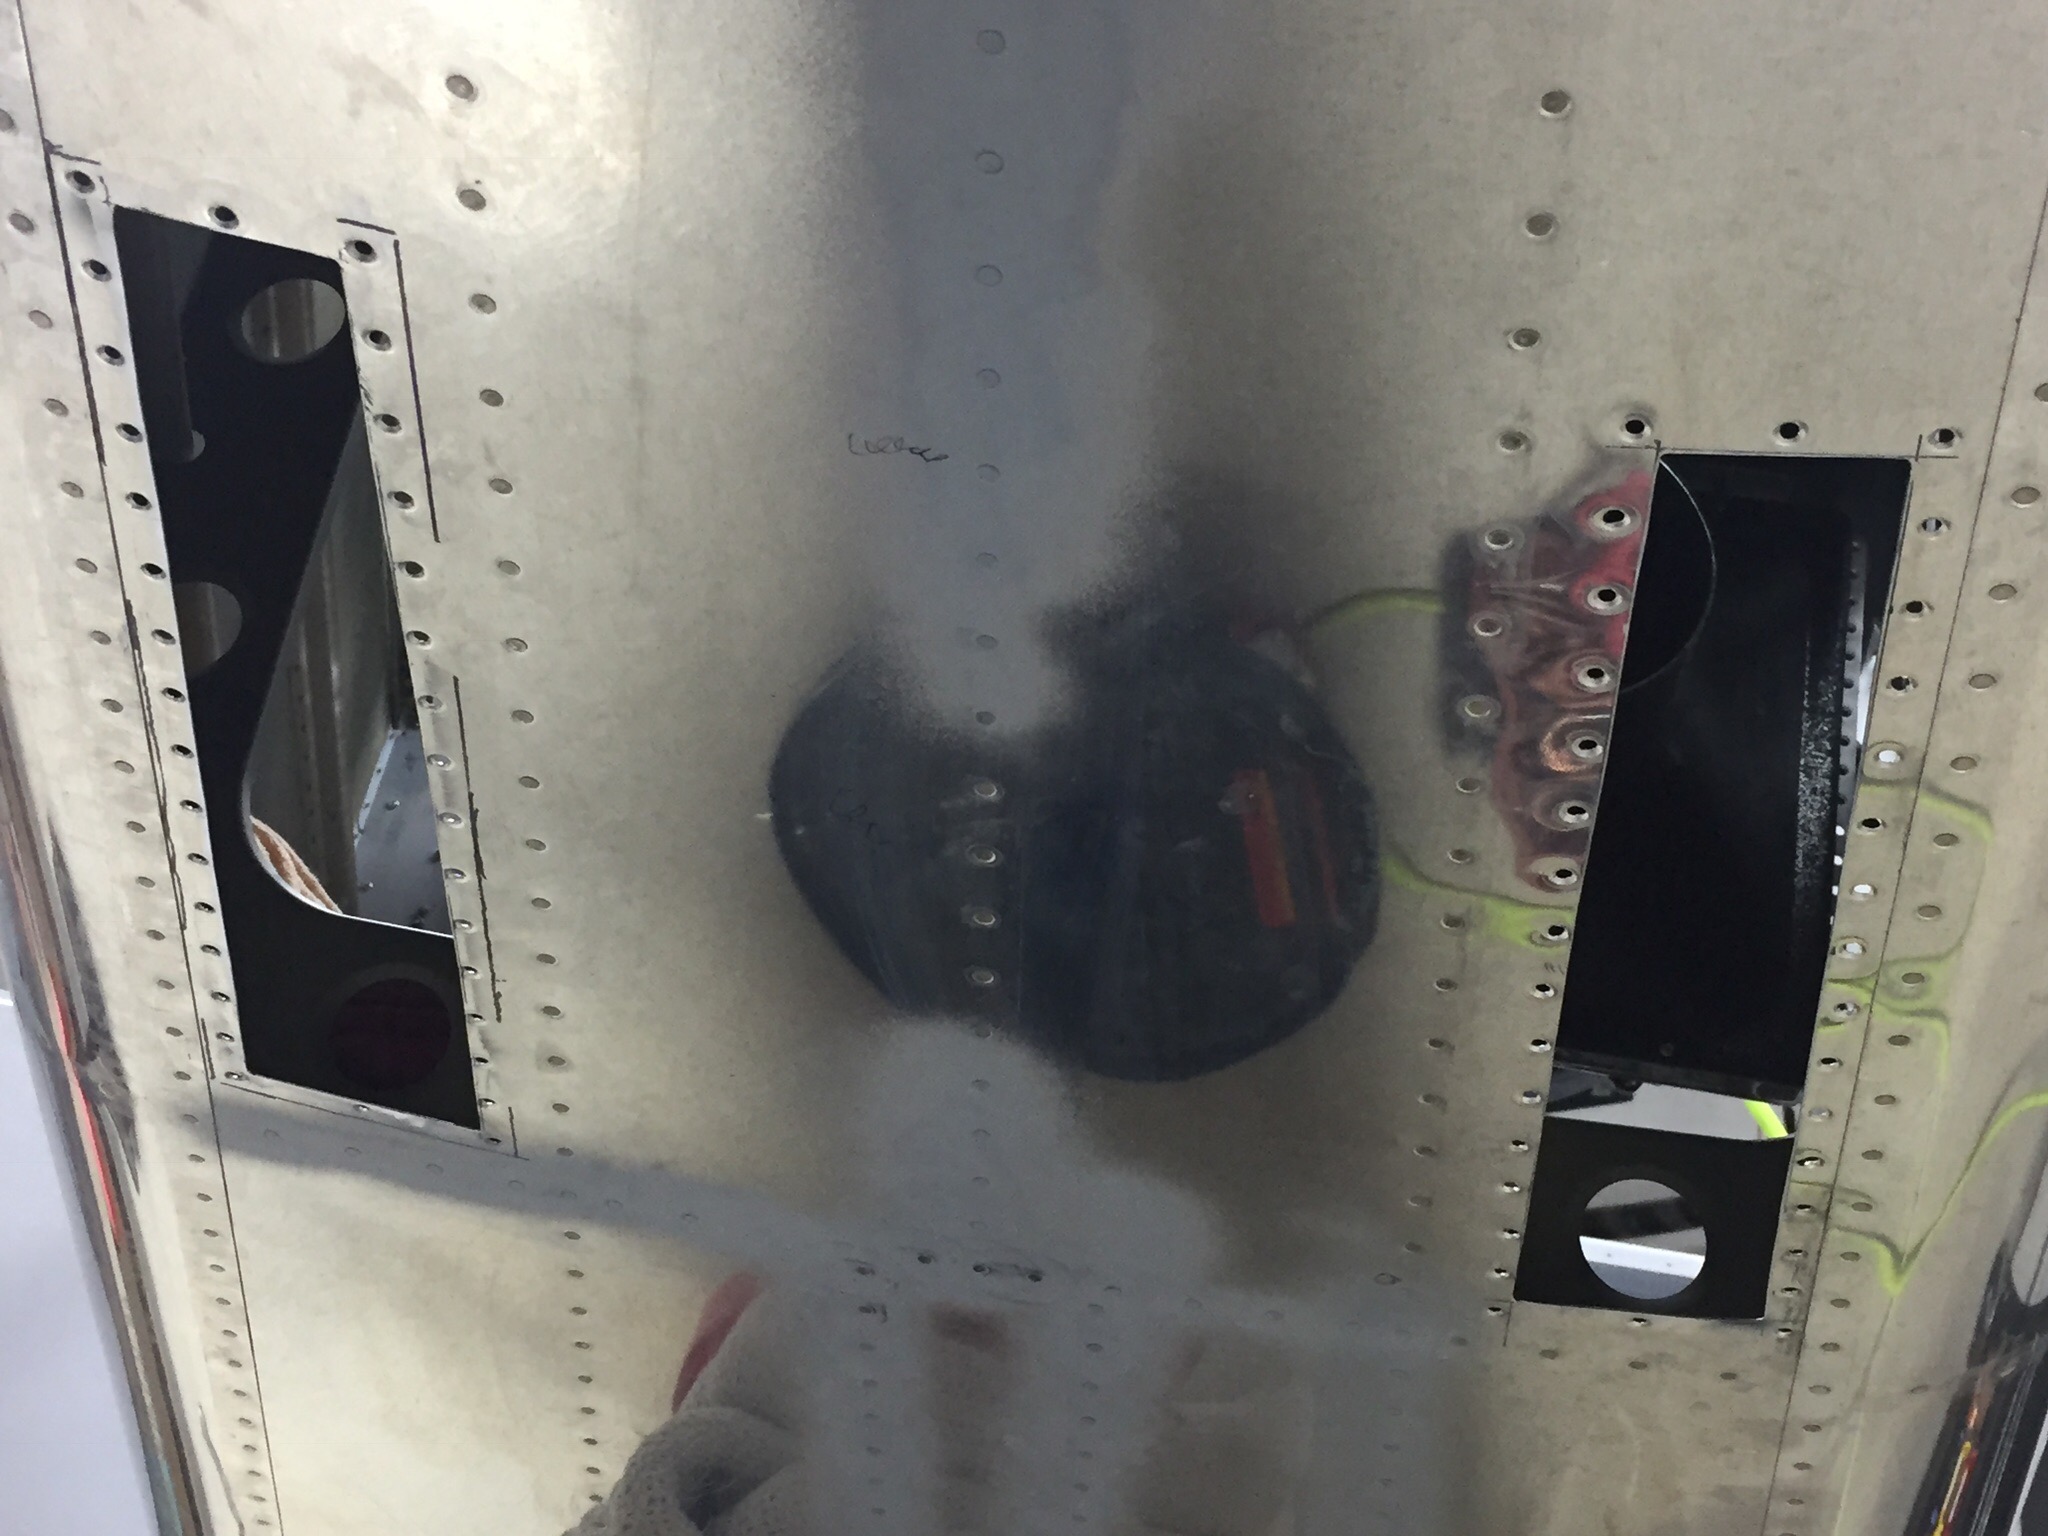
I created a paper template of the vents after cleaning the old silicone caulking from them and cleaning up the rivet holes (this was a used kit pulled from a flying RV-10). I used the template to mark the holes and cut lines on the bottom of the tail cone. I measured fifteen times and cut once with success!

I used black RTV to create a good seal around the vents which will prevent air from leaking into the cabin area. Once riveted in, I was really happy with the results and finished up by connecting the 6″ duct work to the plenum and securing the clamps. I also added a new drain line from the evaporator which runs down into the exhaust vent and secured it using more RTV.

I’m really excited to have this done and happy with how it turned out. I chose this kit vs the Airflow system because of it’s low profile install and electronic controller which is really slick. Users have reported good performance and this will make our adventures even more pleasant by keeping the cabin comfortable in the southern summers.