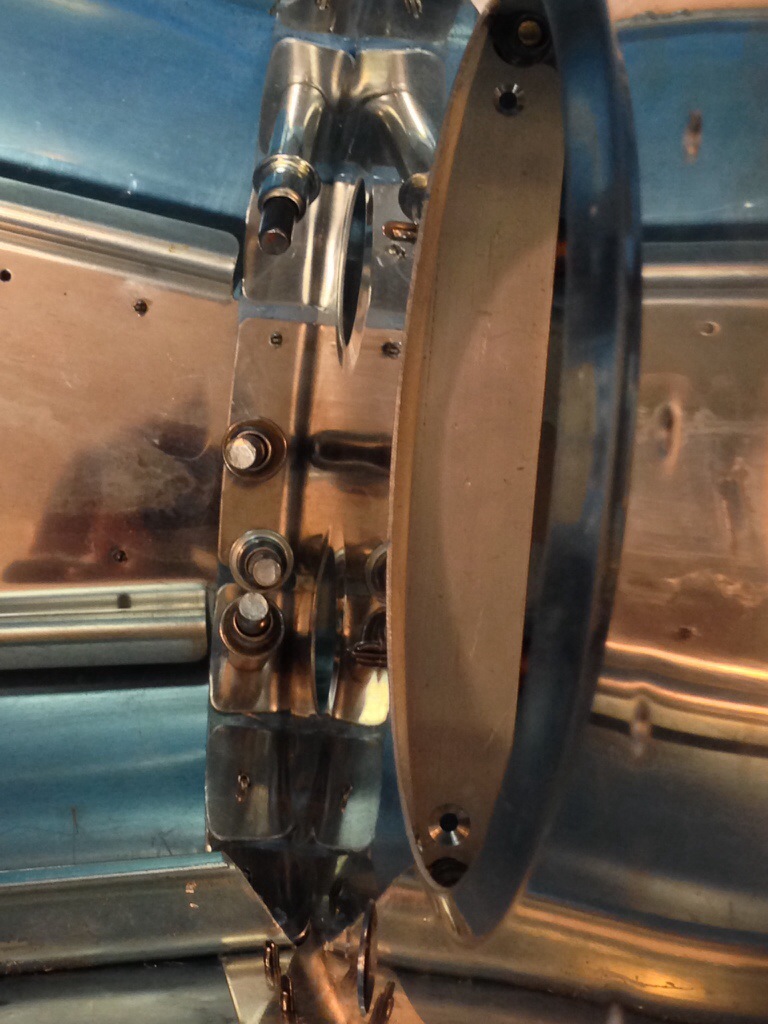
Clearing out the clecos

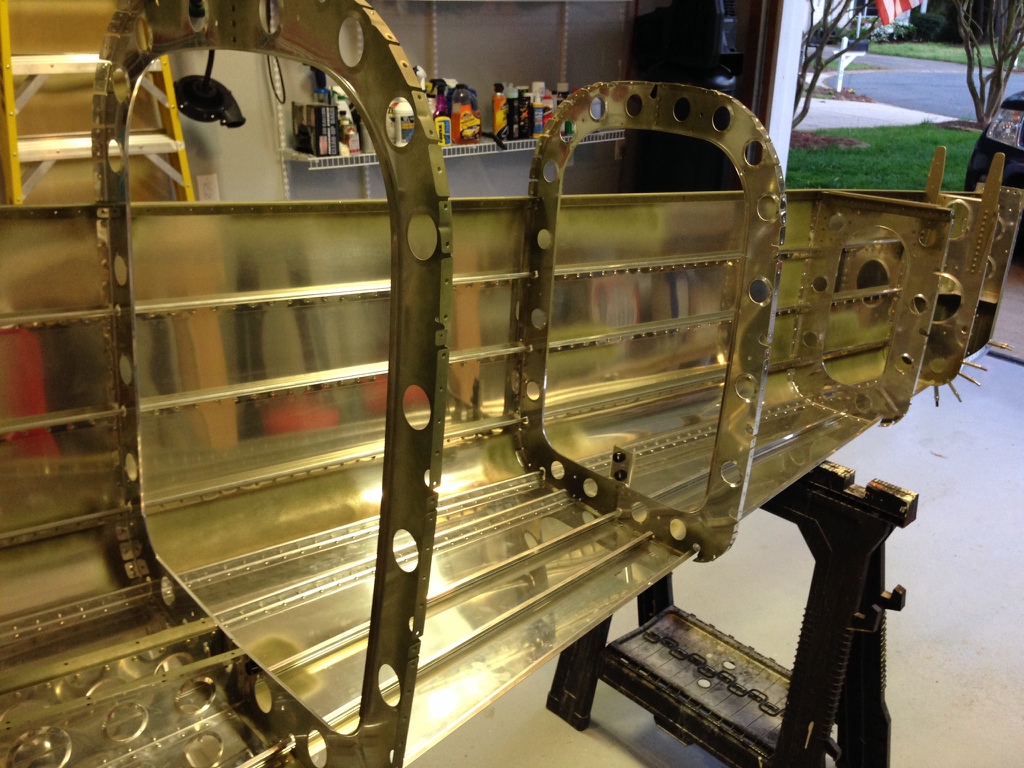
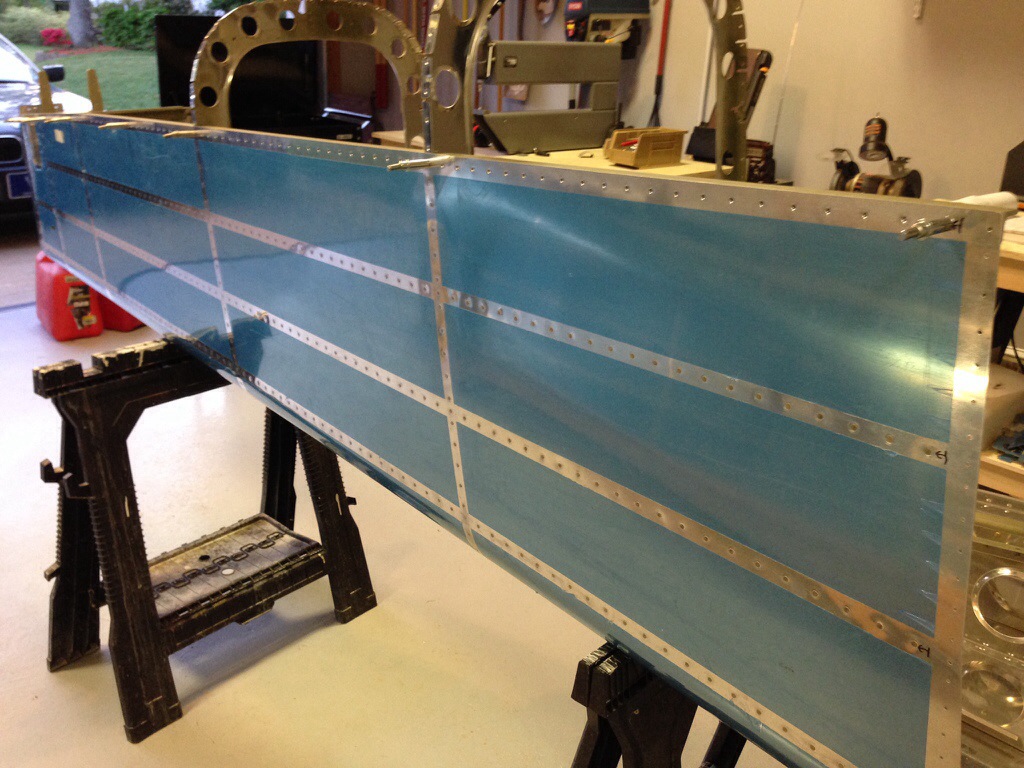
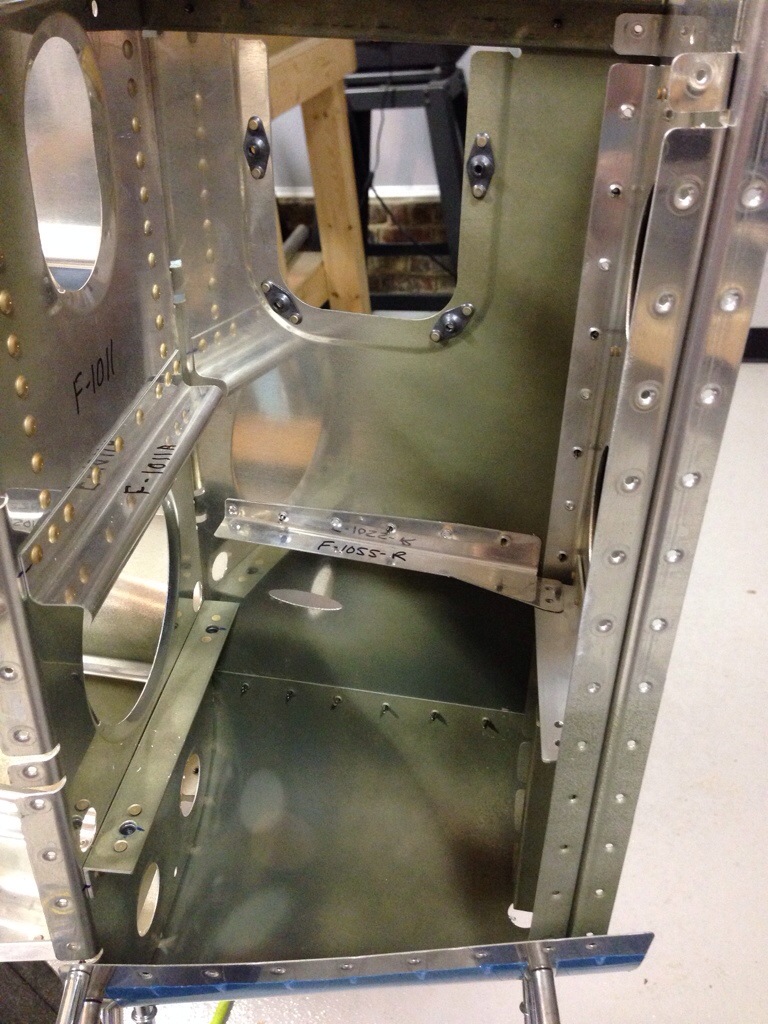
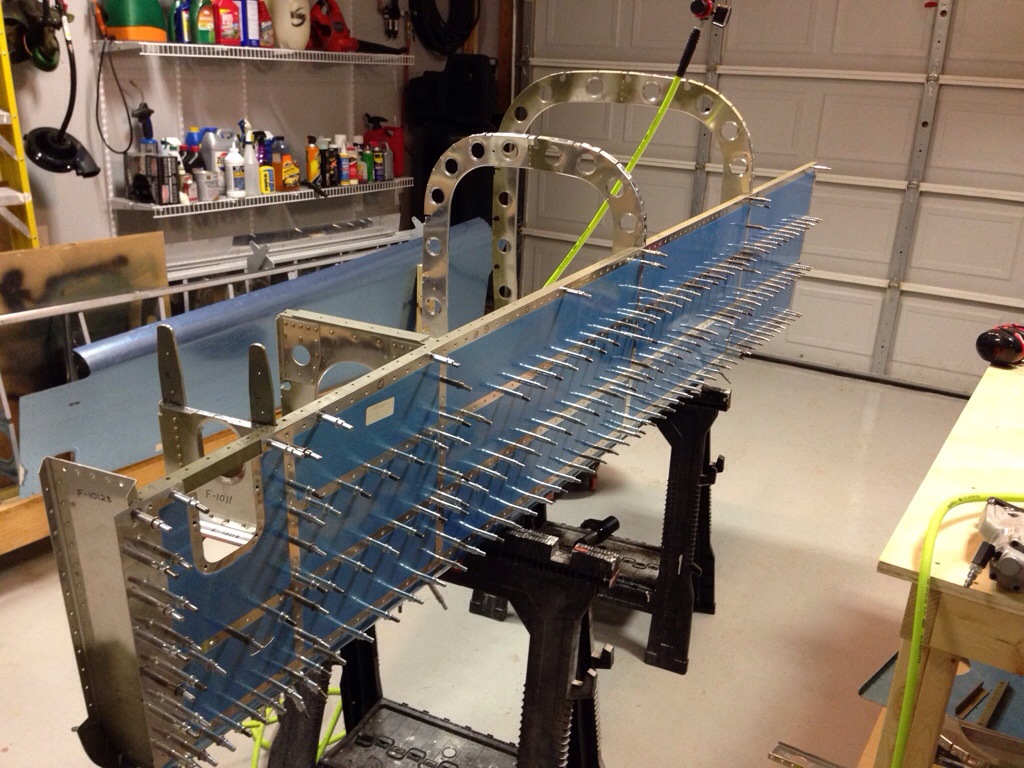
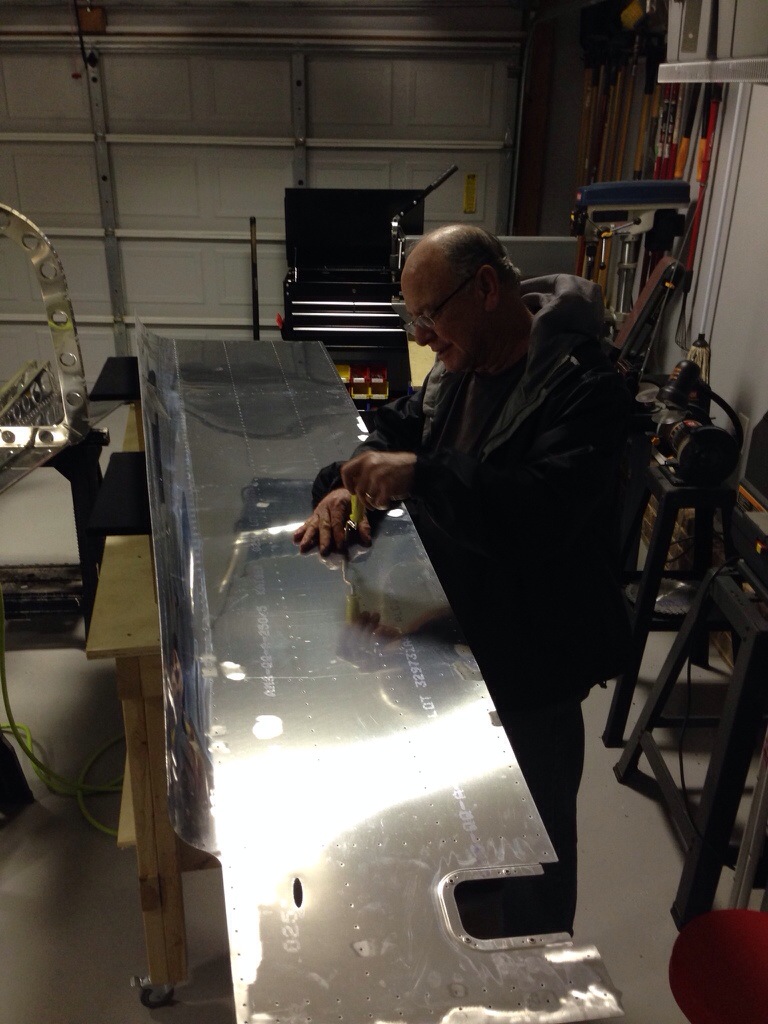
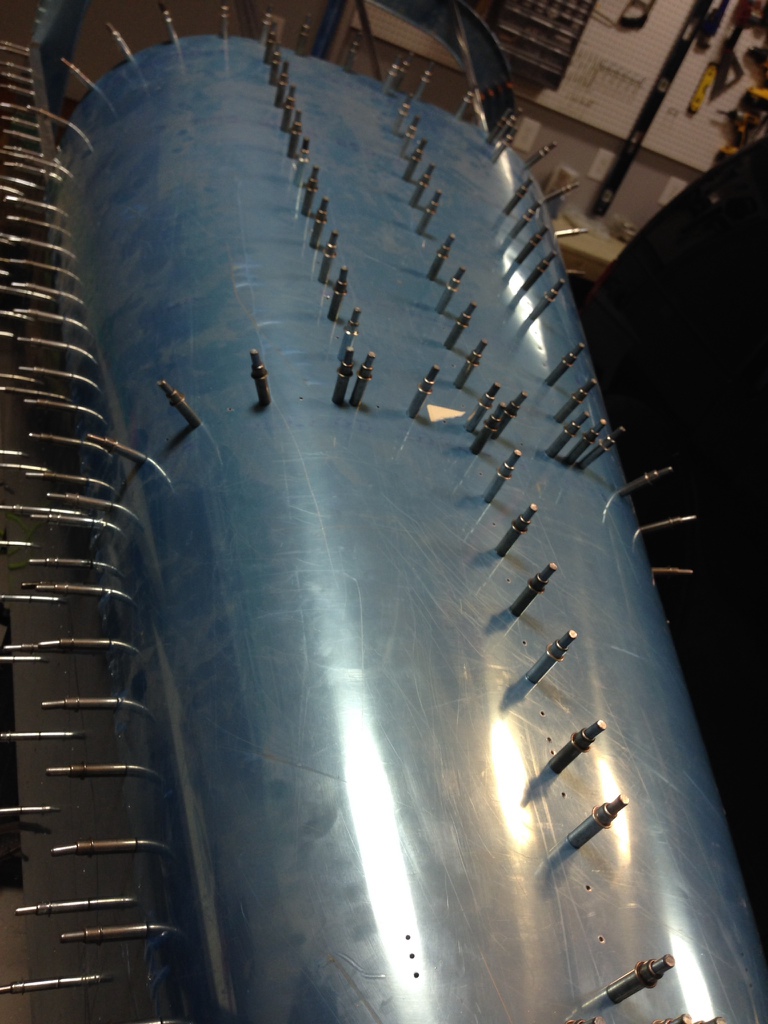
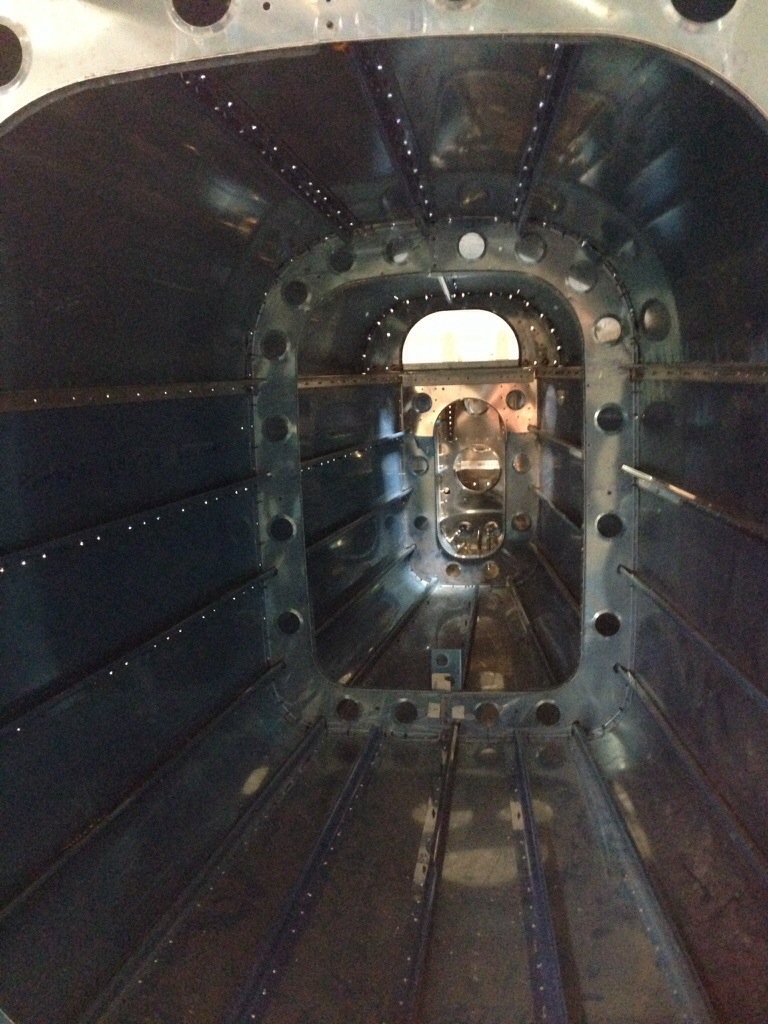
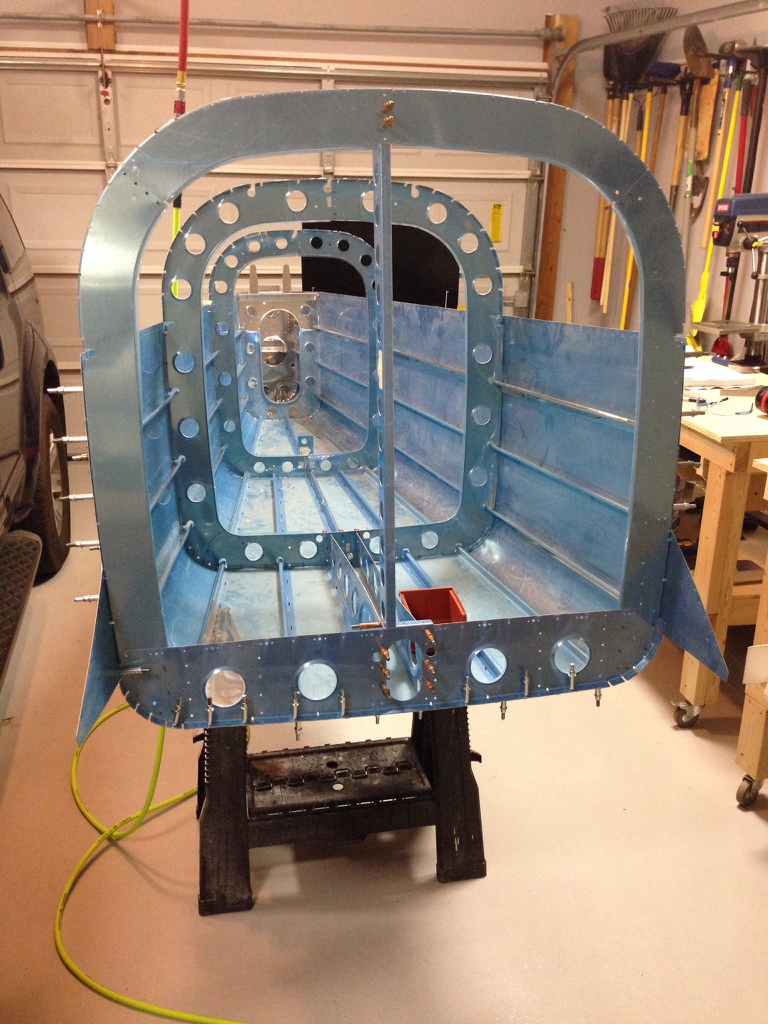
With all of my assistants busy this evening, I tackled the last two lines of rivets on the right skin solo. It went smoothly albeit a bit longer. I took my time with some of the curved spots since it’s a stretch to reach everything. I’m amazed at just how light the structure is once the clecos are removed. It’s also getting stronger and stiffer by the rivet. I also love to watch the skins close up nicely when riveting vs the temp fasteners. It’s old technology but still extremely efficient and effective.

Next up will be prepping the left skin.

20140425-205226.jpg

20140425-205232.jpg

Emergency, call the Guard!

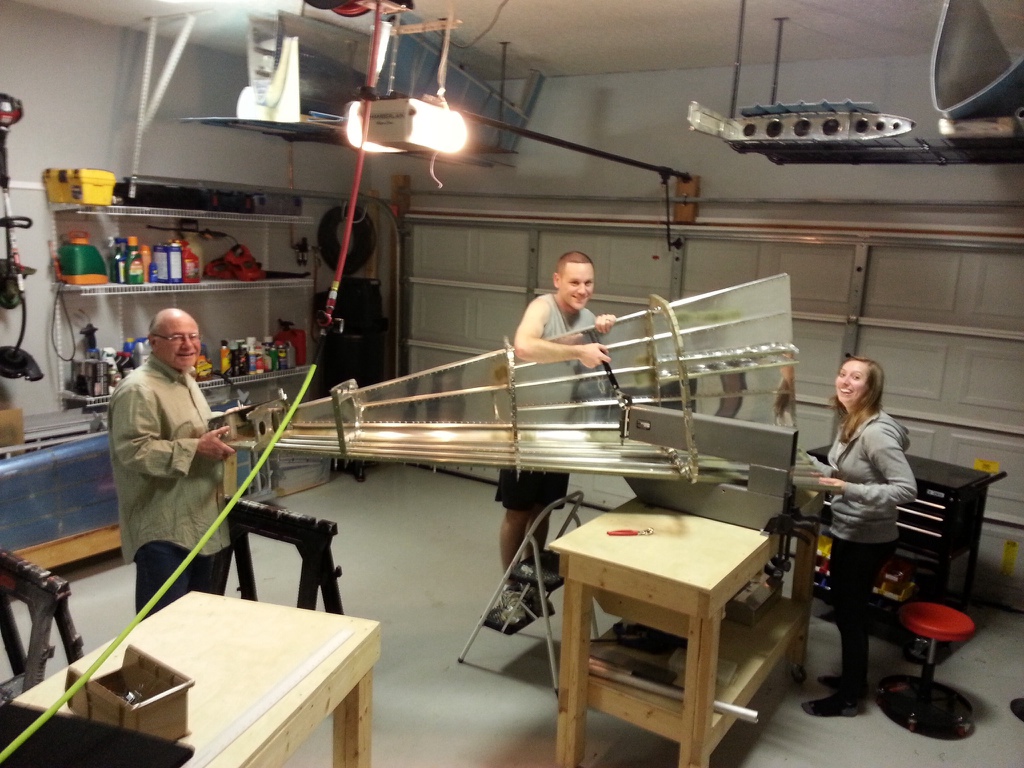
I called in the National Guard (I am the National Guard) on this mistake. I somehow missed drilling four holes in the stiffeners and didn’t realize it until getting everything put together. So my wife, dad, and I got creative on getting the whole structured positioned in the dimpler so that I could hit those four holes. I tried my pop-rivet dimpler but the double layer of aluminum proved too much and the finish nails just pulled through without getting a good dimple. With the right planning, twisting, and enough hands, this was a pretty quick fix.

20140425-204502.jpg

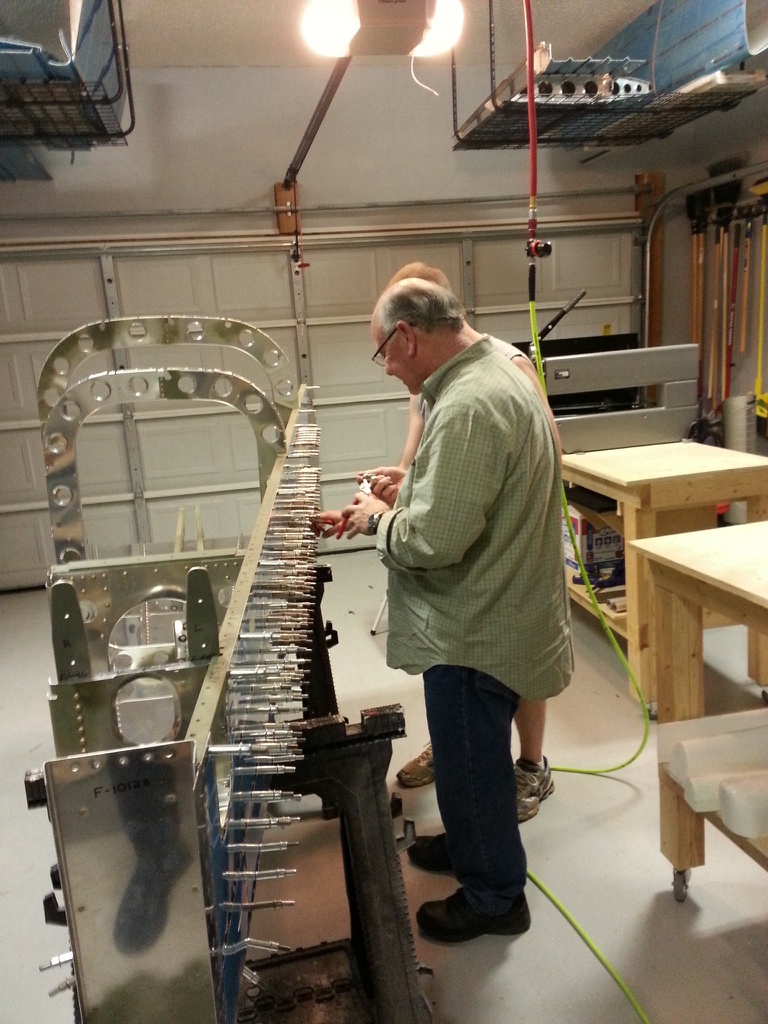
Dad and I started working on the rivets and proved again how efficient it is to have help. My wife didn’t like to hear that news, but she may be helping more now that I know what can be done! I manned the gun and bucking bar while dad popped in the rivets and helped remove clecos. We were able to get the top two stiffeners completely riveted in no time.

20140425-204611.jpg

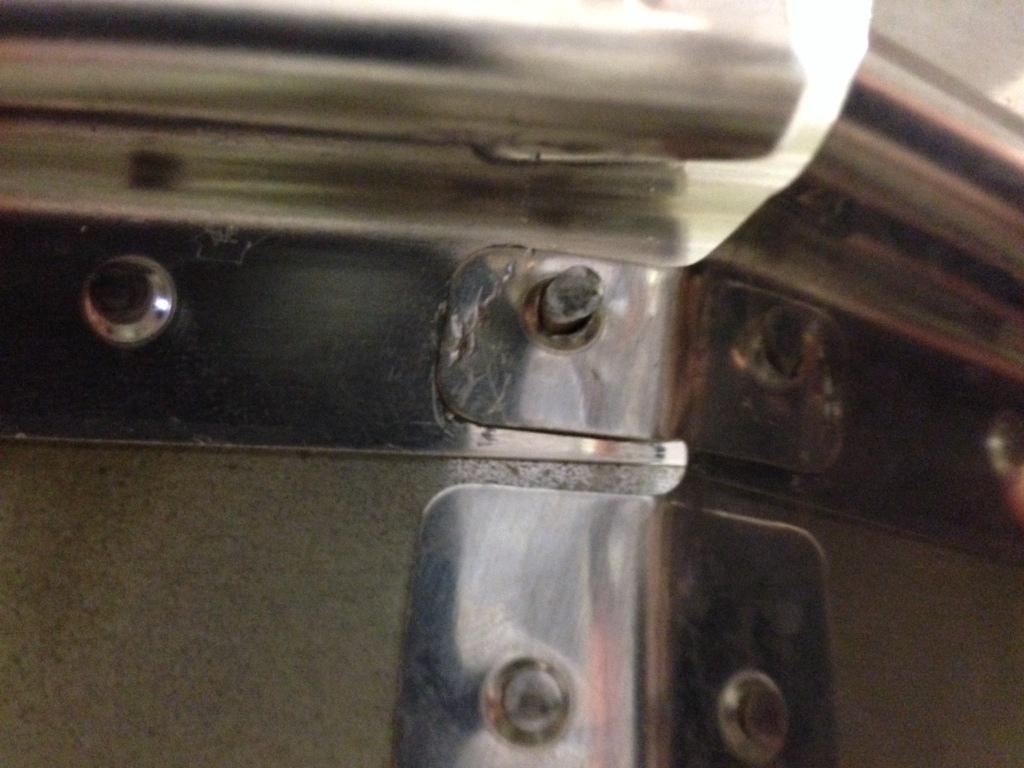
We ran into one issue with a frame which has three layers of aluminum to rivet. The last hole was drilled out too big which I think resulted from the metal bouncing on the drill bit during initial assembly. We tried a few different ways with no success, so I’ll be drilling it out and using a larger rivet. I had to order a 1/8″ dimple die for the pop rivet gun and also got bucking blocks that will accept dimple dies. They won’t be used often, but will work perfect when I do need them.

20140425-204228.jpg

Put your skin on

The right side skin was all prepped minus dimpling, so I put the mobile work
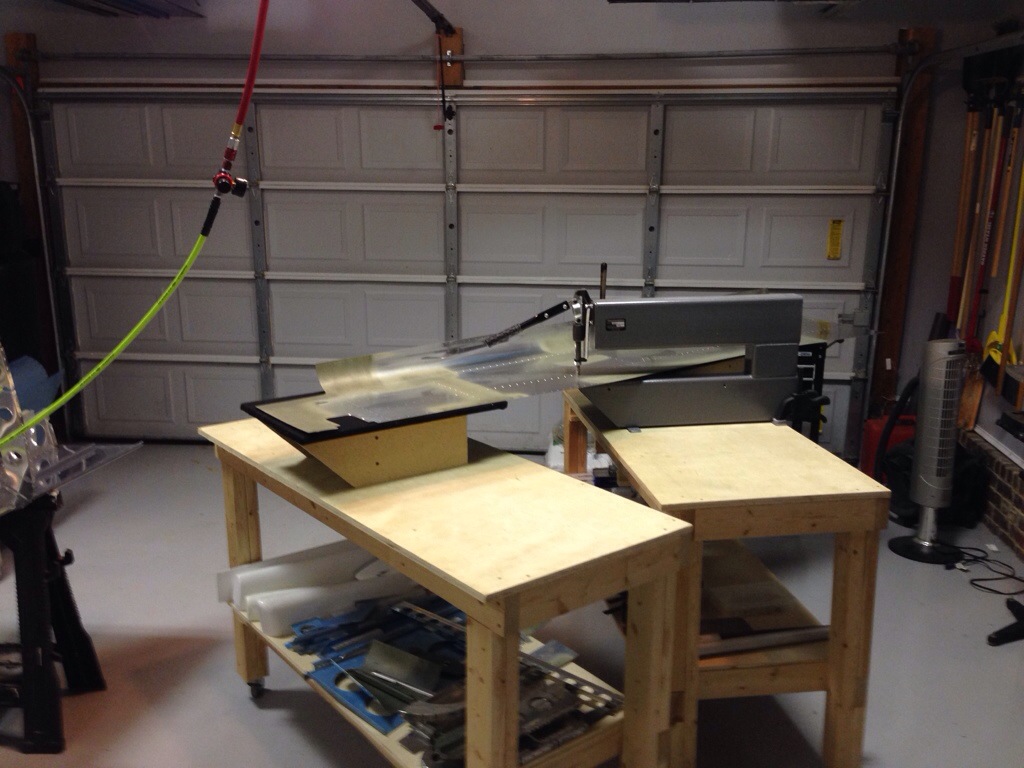
benches to good use. I really can’t stress how amazing these things are being able to roll them around and configure them however I need to get the piece in the dimpler. The challenge with the side skins are the rolls at the bottom which necessitated putting them at an odd angle to clear the handle on the dimpler. Other than having to move tables around a couple of times, the job was easy and quick.

Next was putting it on the frame for the last time. Except it wasn’t the last
time. It was the next to last time. Because I somehow got the stiffeners in
the wrong order and the holes weren’t lining up. Fortunately only a handful
of clecos were in, so it was a quick fix. Good thing the kits are designed to
be fool proof, right?

I decided to start with the rear VS structure frame since there were a lot of
pieces sitting around. That was a three attempt assembly as well. The rear
bottom skin needs to go on first, which I knew, but tried to slip it in
between the side skin and frames. That didn’t work. So I took the frames all
back off and put that “sub-assembly” together then put it back on the main
structure.

I also fixed an earlier error on the rudder stops, drilling them out with a
#40 drill to accept the rivet instead of the #30 that I originally did. I had
enough energy to squeeze the easily accessible rivets at the rear end before calling it a night.

20140425-154924.jpg

20140425-154940.jpg

20140425-154934.jpg

Hired some decent help

Well, I enlisted some help. My dad came in for a couple weeks to visit and I
was quick to put him to work. I managed to get all the rivets in on the
bottom skin without having to drill out more than a handful. It’s a lot
different riveting now that you can’t easily check the shop head of the rivets
easily. I have gotten much better at “feeling” them go in and knowing when
enough is enough.

Dad helped me deburr the right side skin after I trimmed off the triangle
according to plans. While he was finishing up, I hit a few more surface
corrosion spots (typical of this kit as old as it is I guess) and spot primed
them. I then got ambitious and put an extra bur cutter into my power drill
and started experimenting. Long story short, I went to Lowes the next day and bought a small, handheld cordless screwdriver and ordered a hex adapter from Avery Tools. It’s so much faster and easier than having to spin the manual driver and with the lighter tool, I’m expecting less fatigue and sore wrists the next day.

20140425-152412.jpg

Red Bull and Louisiana gives you wings…

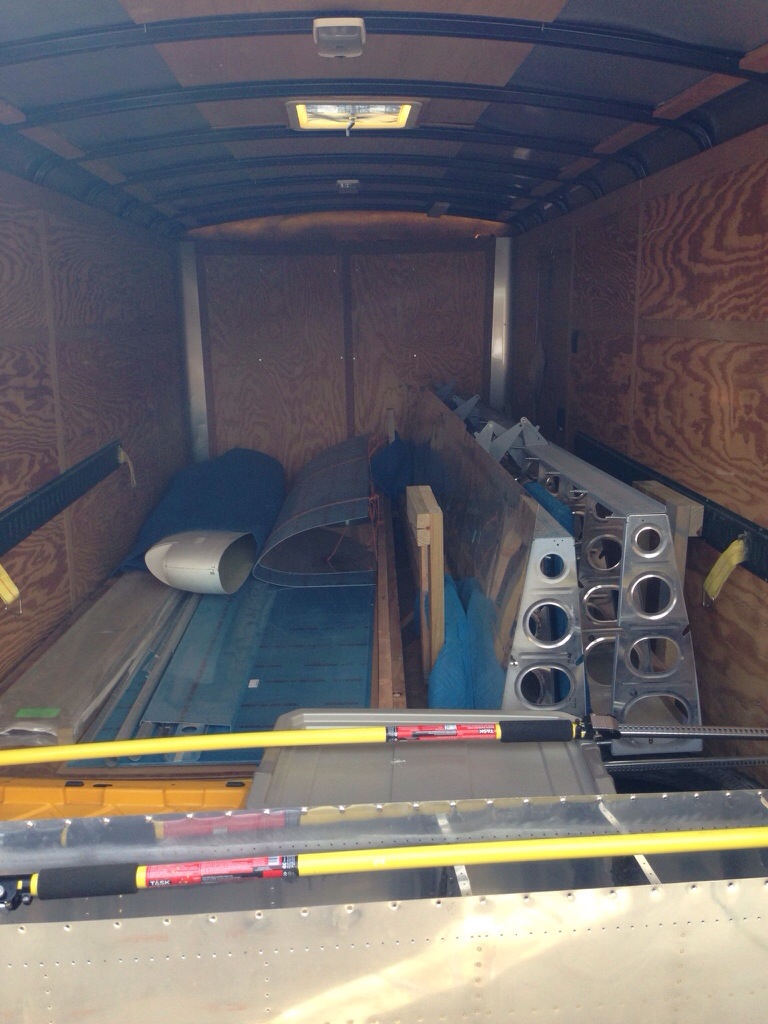
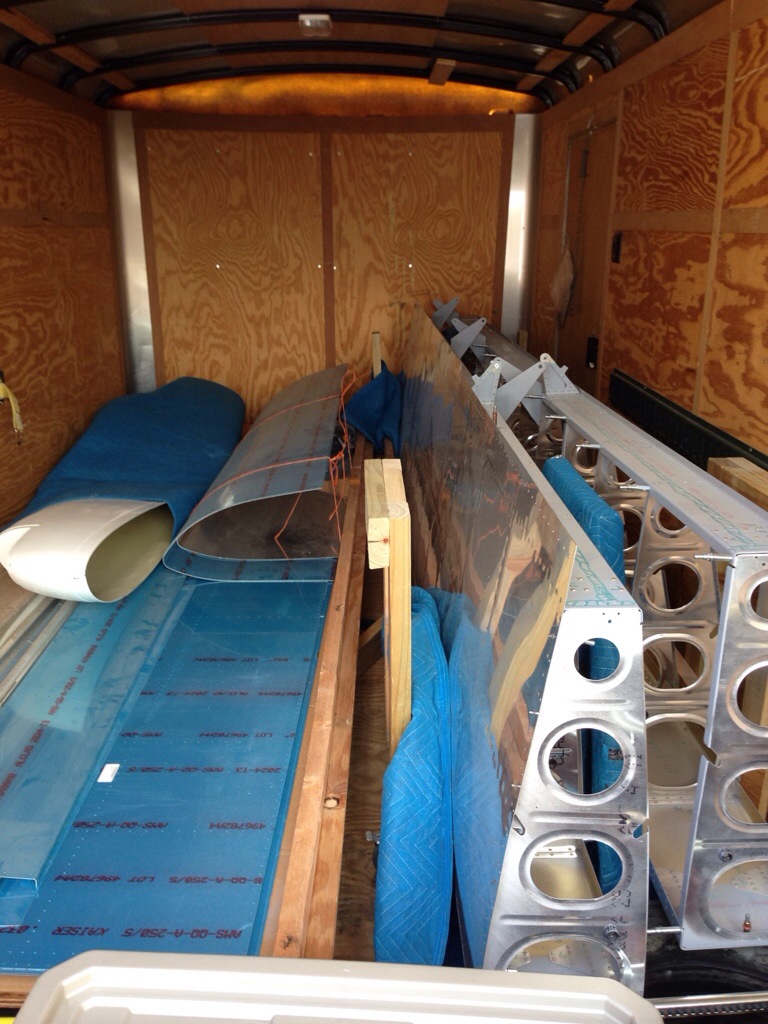
It was a very, very, very, long trip from Charlotte to the west side of Louisiana, however, there was a pot of aluminum at the end of the rainbow! The seller was very gracious in meeting me around 9:30 PM when I finally arrived at his hanger and we got to work loading up the wing kit into the trailer. He had an amazing set up with a brand new hanger built, solar panels, rain water basin system, and battery powered CFL’s providing plenty of light. It was a great example of working “off the grid!” He also was very organized and had the kit ready to go. We were able to simply roll both racks into the trailer and strategically place the spare parts where they fit the best. I had plenty of blankets and hold down bars to secure everything.

After loading up and parting ways, I hit the road back towards home and found a rest stop to sleep in for a couple of hours. The funny part of the story is I set my alarm for 7 AM which would give me about 3 hours of sleep in the back of the wife’s pathfinder comfy in my sleeping bag. I actually woke up around 11:30 to an empty parking lot! Fully rested, I hit the road again and booked it home. The whole trip took about 26 hours driving. It was certainly worth the great deal I got on the kit, but not something I’ll do again.

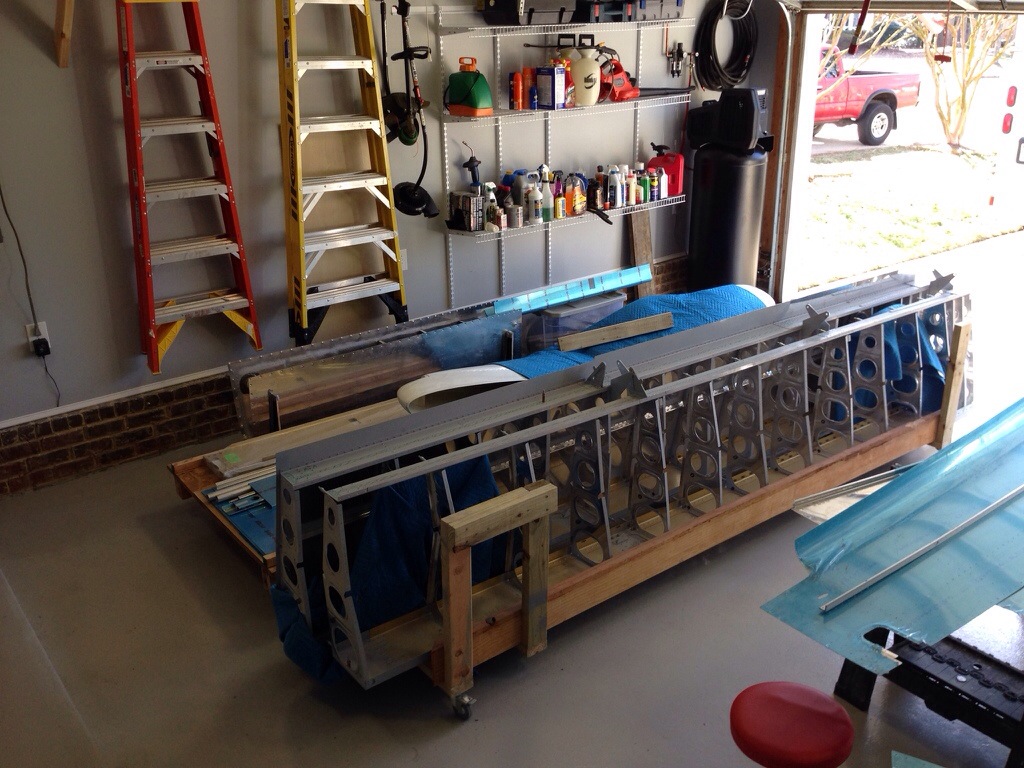
I made it home and unloaded everything into the garage. I’ll be putting up some more ceiling storage racks for the small pieces and have the wing rack mobile on the floor.

20140425-140041.jpg

20140425-140058.jpg

20140425-140109.jpg

Commercial Pilot Rating

Building was put on hold for a couple of months to finish up my commercial rating. I’m happy to say I added another endorsement to my license over the break! It went down to the wire with weather, schedules, and rental plane maintenance squawks, but it did happen. Now that it is off my plate, I’m refocusing on the build with my free time.

The mindless task of deburring and dimpling goes pretty quickly, but it isn’t the most exciting task. Someone told me starting out that 90% of the time is spent prepping for riveting while the last 10% is actually riveting. It’s true. Here I’ve gotten the bottom skin ready and clecoed to the frames. I’ve also decided to stick with keeping the blue film on for protection of the skins. It adds a bit of time to prep, but it’s worth it and doesn’t really take too much extra effort.

20140425-150836.jpg

First Inspection

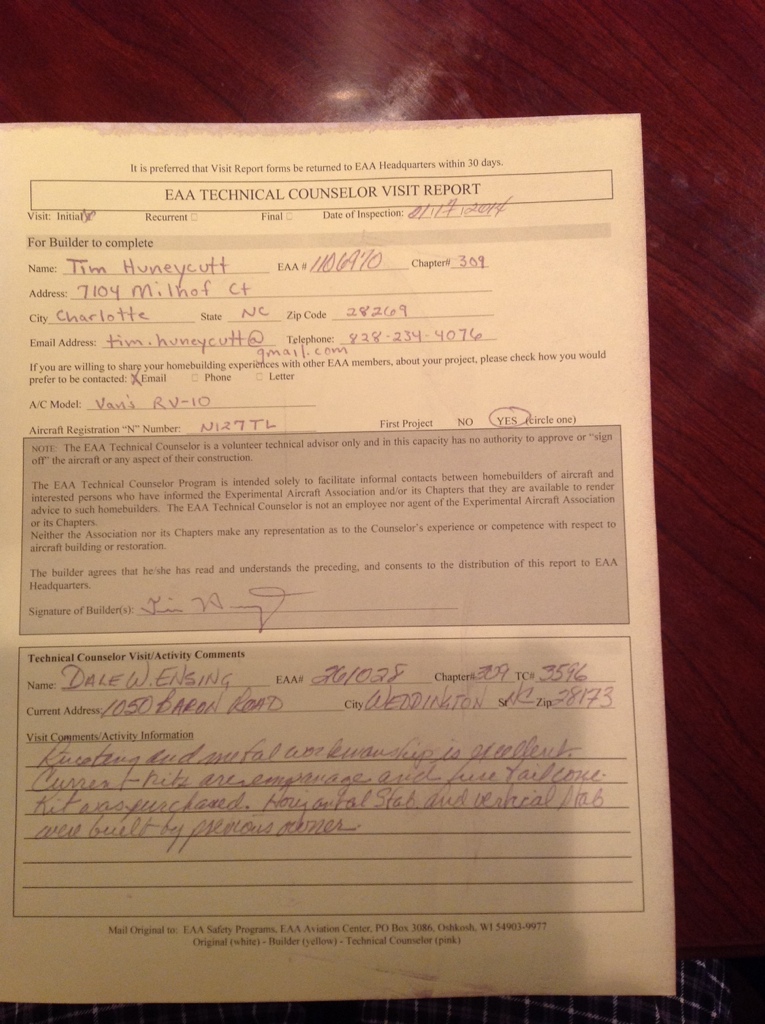
The project got it’s first inspection today when the local EAA Tech Counselor, Dale Ensing, dropped by to take a look at my work. I wanted him to critique my build early on to ensure that I was on the right path and correct any bad habits before getting too far into the project.

As typical, the visit turned into swapping stories and sharing experiences, all of which something can be learned from. People like him make this rewarding project even more fun. He took a good look at the work done thus far by the previous builder and by myself with favorable comments. The main recommendation he had for me was to go ahead and spot prime the outer skins on areas where I had taken of the surface corrosion. I asked him several questions about priming, rivets, other random build techniques and got some great info and tips from him. Best of all, it was an evening spent talking about our passions for aviation!

With a boost of confidence and a confirmation of satisfactory work, I’m left with a pile of parts once again after disassembling the tail cone. I began stripping the blue film off pieces and will work now on deburring and dimpling. That will all have to wait at least a week, however, as I’m headed up to Greensboro for a week of flying and hopefully my commercial rating!

20140117-215050.jpg

Covering the Canoe

Over the past several days, I’ve continued work on the tail section.  I completed drilling the longerons on each side and am now working on the top skins.  The aft skin is completely drilled and ready for the forward skin next.  It was more of the same with using a lot of clecos to align everything well and positioning the stiffeners correctly to drill new holes.  The structure is much more rigid with the addition of the L-shaped longerons and top skin.  This whole process just includes a lot of match drilling and final drilling.  I’m already thinking about all of the deburring that needs to be done!

I again got to break out a tool that has never been used, the fluting pliers.  Several of the flanges on the ribs need to be “heavily fluted,” whatever heavily means.  I started by putting a good squeeze and it turned out to be right on.  Beginner’s luck.  Fluting the metal puts a kink in a flat piece so that the metal can bend around a curve and still have a 90 degree flap on it.

I also had a first (but probably not last) injury related to the project.  While drilling a longeron, I had my index finger on the back side a little too close and managed to put a #40 drill into the finger tip.  Fortunately my lightning fast reflexes (and the drill stop) prevented it from sinking in any further and I got away with just a band aid and sore finger.

Finally, I’ve been working on the preliminary electrical system design.  It’s very early but I am a systems guy and also want to plan ahead.  So I started with the switches that I wanted in the panel to ensure I have enough of the Aveo RockRack switches I want to use.  Of course, I missed one cover kit with all the lights and now can’t find them anywhere.  Very frustrating, as they are being discontinued and Aircraft Spruce no longer has the covers I need in stock.  I’m following a couple of leads now to see if I can get my hands on them and will grab a couple extra switches if I can put the whole plan together.  If not, it will be back to the drawing board.

20140102-224211.jpg

20140102-224215.jpg

Working with the Tail

The tail cone continues to take shape as I added the bulkheads to the rear along with the bottom skin panel and aft top deck.  The bottom skin panel was very difficult to put in place.  I also had questions on if it went underneath the side skins or on top.  I’ve seen both on other builds.  I was able to put mine underneath and think it’s the best move as the somewhat unclear plans show it that way and common sense says skins should over lap with the top being the outside of the two.

I did mess up a fabricated piece and had to remake one.  Chalk another piece up to the scrap pile.  For some reason, the plans always get me with length dimensions.  It will say to cut a piece 8″ long with 1/8″ angled edge on either side.  That equals 8 1/4″ but I always read it as overall length and wind up with apiece just a hair too short.  Better to learn now on cheap pieces, I suppose.

One exciting aspect is getting to use a new tool.  You get to break out the 12″ #40 drill bit to drill four holes in the rudder stop stiffeners.  It goes to show you must have the right tool for the job!

20140102-223952.jpg

20140102-224005.jpg

20140102-224015.jpg

Research, Research, Research

While physical progress has been somewhat slow, I’ve been doing a ton of research every day for well over a year and the past couple of weeks are no exception.  It is the biggest piece of advice I can give anyone wanting to build a plane; Research.  Everything.  Even stuff you think you know.

Lately, I’ve been looking into electrical system components to prepare for the wing kit coming next month.  Everything from lights, pitot system, trim, auto pilot, fuel, and even avionics goes into these early stages of the build.  I also have learned a lot from reading VAF and other build logs so will be capitalizing on their lessons learned.

I’m updating a lot of the other pages of this website with links and info on my preliminary plans.  Things are changing quickly so this is a plan on paper that can change, but will give me a good target to fly towards.  It also helps you think about total system architecture instead of just the aluminum pieces in front of you.  For example, the tail cone will hold the battery, starter relay, antenna, wires, and lights.  Planning ahead with conduit or wire runs will help avoid a tight fit crawling in the fuse a ways down the road.

Everyone says to do something each day on the plane to keep it progressing.  I haven’t been good on putting my hands on aluminum every day, but I am learning something every day.