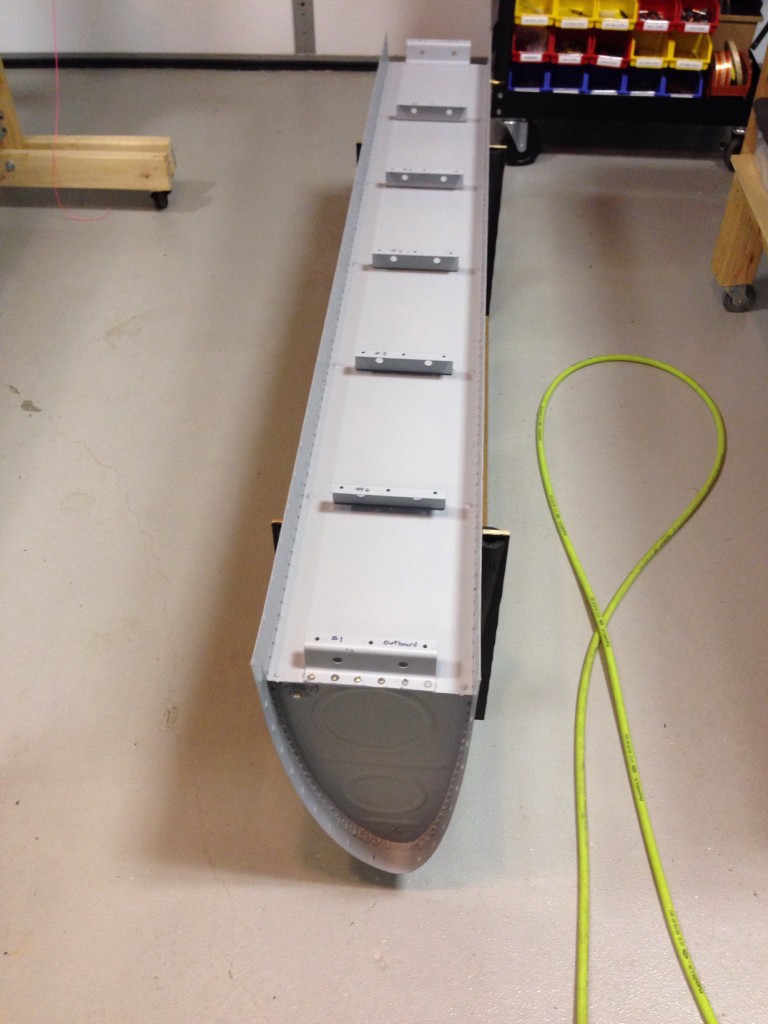
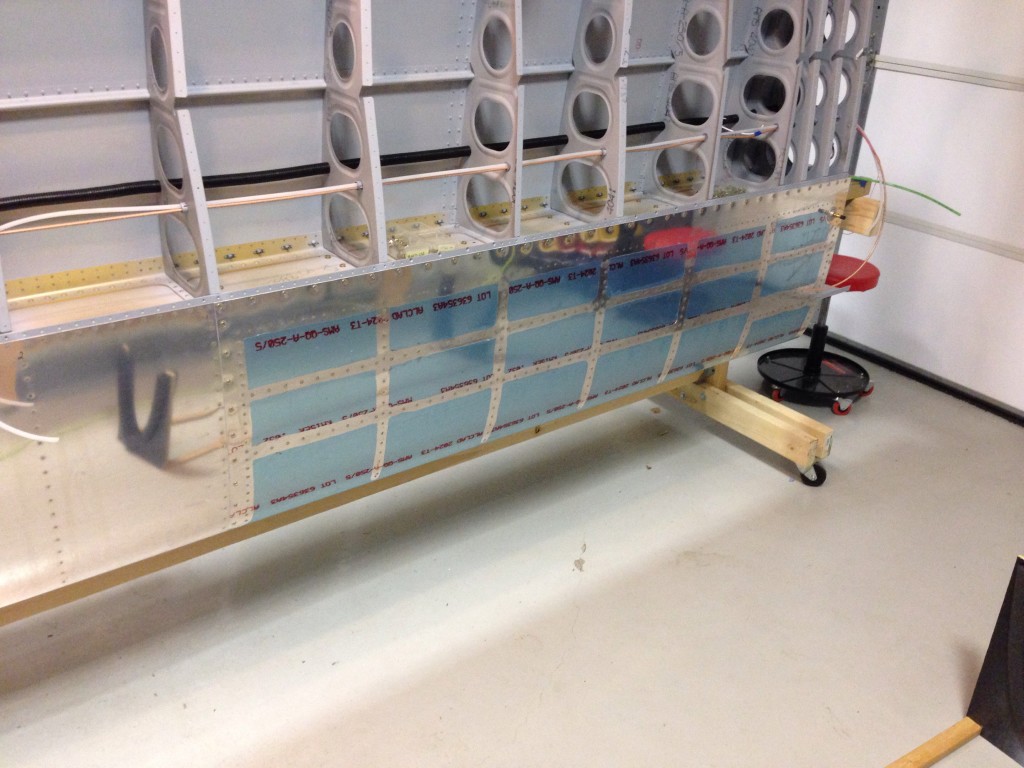
Many folks have shared great stories about their troubles sealing tanks using pro seal. There are tips and tricks and dos and don’ts. Finally, there are balloons. Yes, balloons. The test kit Van’s sells to test the tanks have balloons. Lightly pressurize the tank with all openings sealed, and hope the balloon is the same size tomorrow morning as it was the night before. After my water test of the tanks sans the spar plate, I was pretty confident that I’d only have one or two little issues.
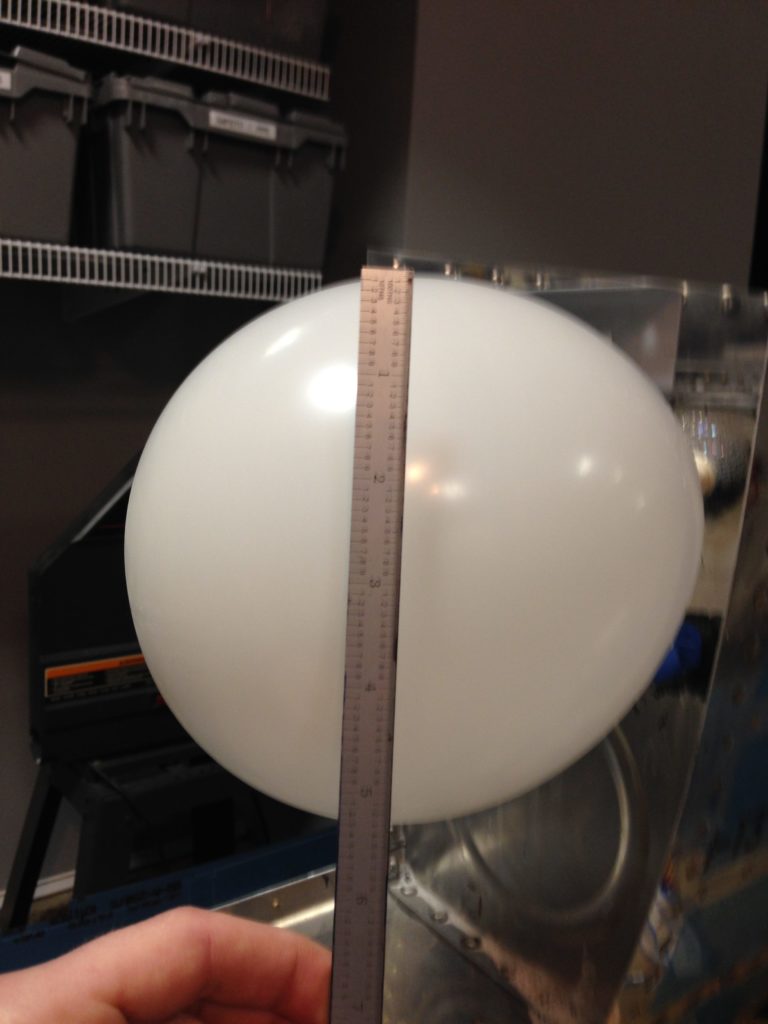 Well, this is off to a great start.
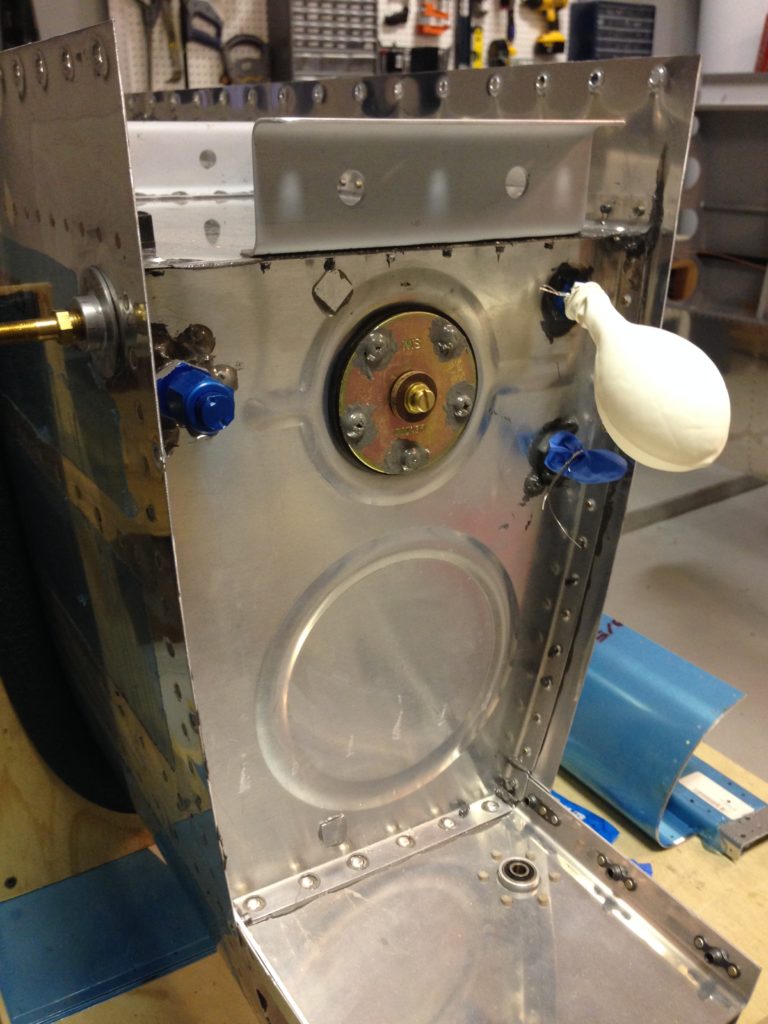
We obviously have some leakage. I pressurized the tank slightly again and used a water and dish soap solution to see if I could find bubbles. Turns out this is the best way to find leaks immediately and long term. I discovered it only takes a very tiny hole for air to get through the pro seal. And if air can make it through, then fuel definitely can. Now, one thing to keep in mind is that the leak could also be around the temporary fittings to close the tank up tight. Thus was the case for my first tank, as it wound up to be the balloon leaking not the actual tank.
So one tank was perfect on the first attempt. The second was not.
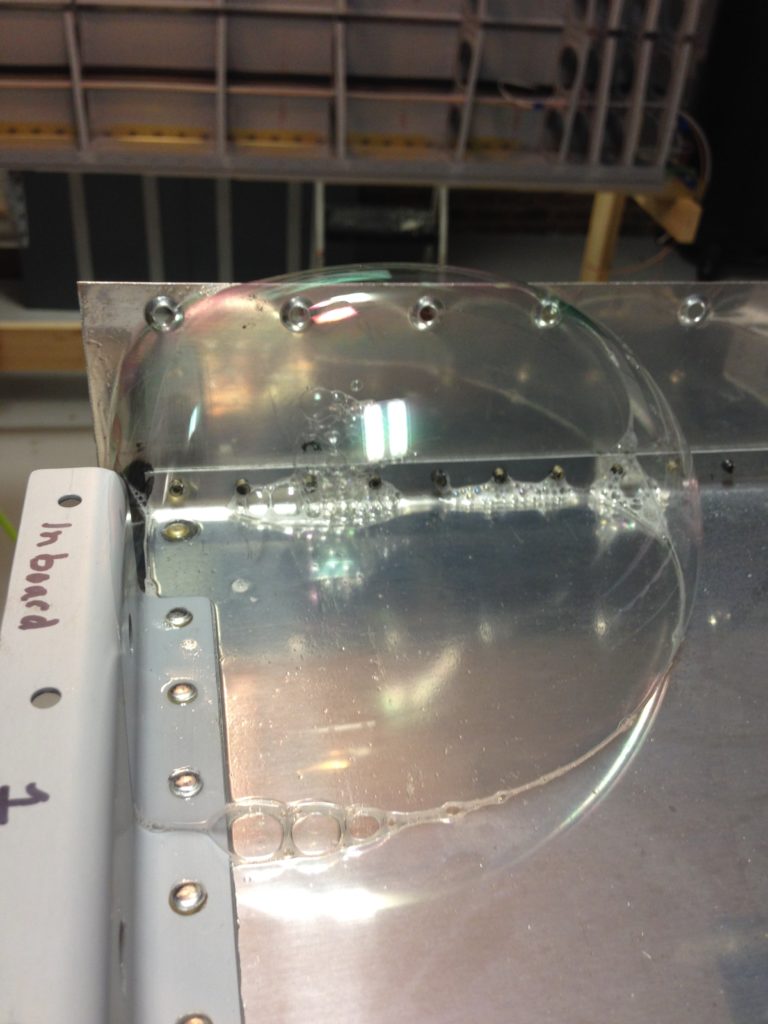
Okay, no worries, just apply more pro seal on the outside and it will seal it up. In my minimalist mentality, I decided to only apply pro seal where the immediate area showed a leak. Wrong idea. I went through three apply and cure sessions (three days) before I finally smeared the whole seam with a nice layer of pro seal and got rid of the bubbles.
After another two day balloon test with no issues, I primed the last bit and happily bolted the tanks onto the wings. I guess it could have been worse, but I’m very happy this is behind me in the project now.

