RV-10 builders have drooled for years over ControlApproach rudder pedal set up and I am no exception. A few lucky guys picked up the available sets and Paul hasn’t produced them for a couple of years. I always kept an eye out for the classifieds for a set but had no luck. I decided to take matters into my own hands and reach out to Paul directly.
As luck would have it, Paul was filling promises and had a small production run with one set left. I weaseled my way onto the list and within a few days, had a set on its way to my house.
These pedals first of all look amazing. The design is much better aesthetically then the Van’s setup and goes along way to making the aircraft interior look professionally done. They are also awesome functionally, feeling much better (in my limited experience, one flight with and one flight without them) especially with the free-castering nose wheel on the 10. They relocate the master cylinders to the back of the pedal arms to clear up some foot space and eliminate hitting them with your shoes. They also move the rudder cables to the tunnel for their entire run.
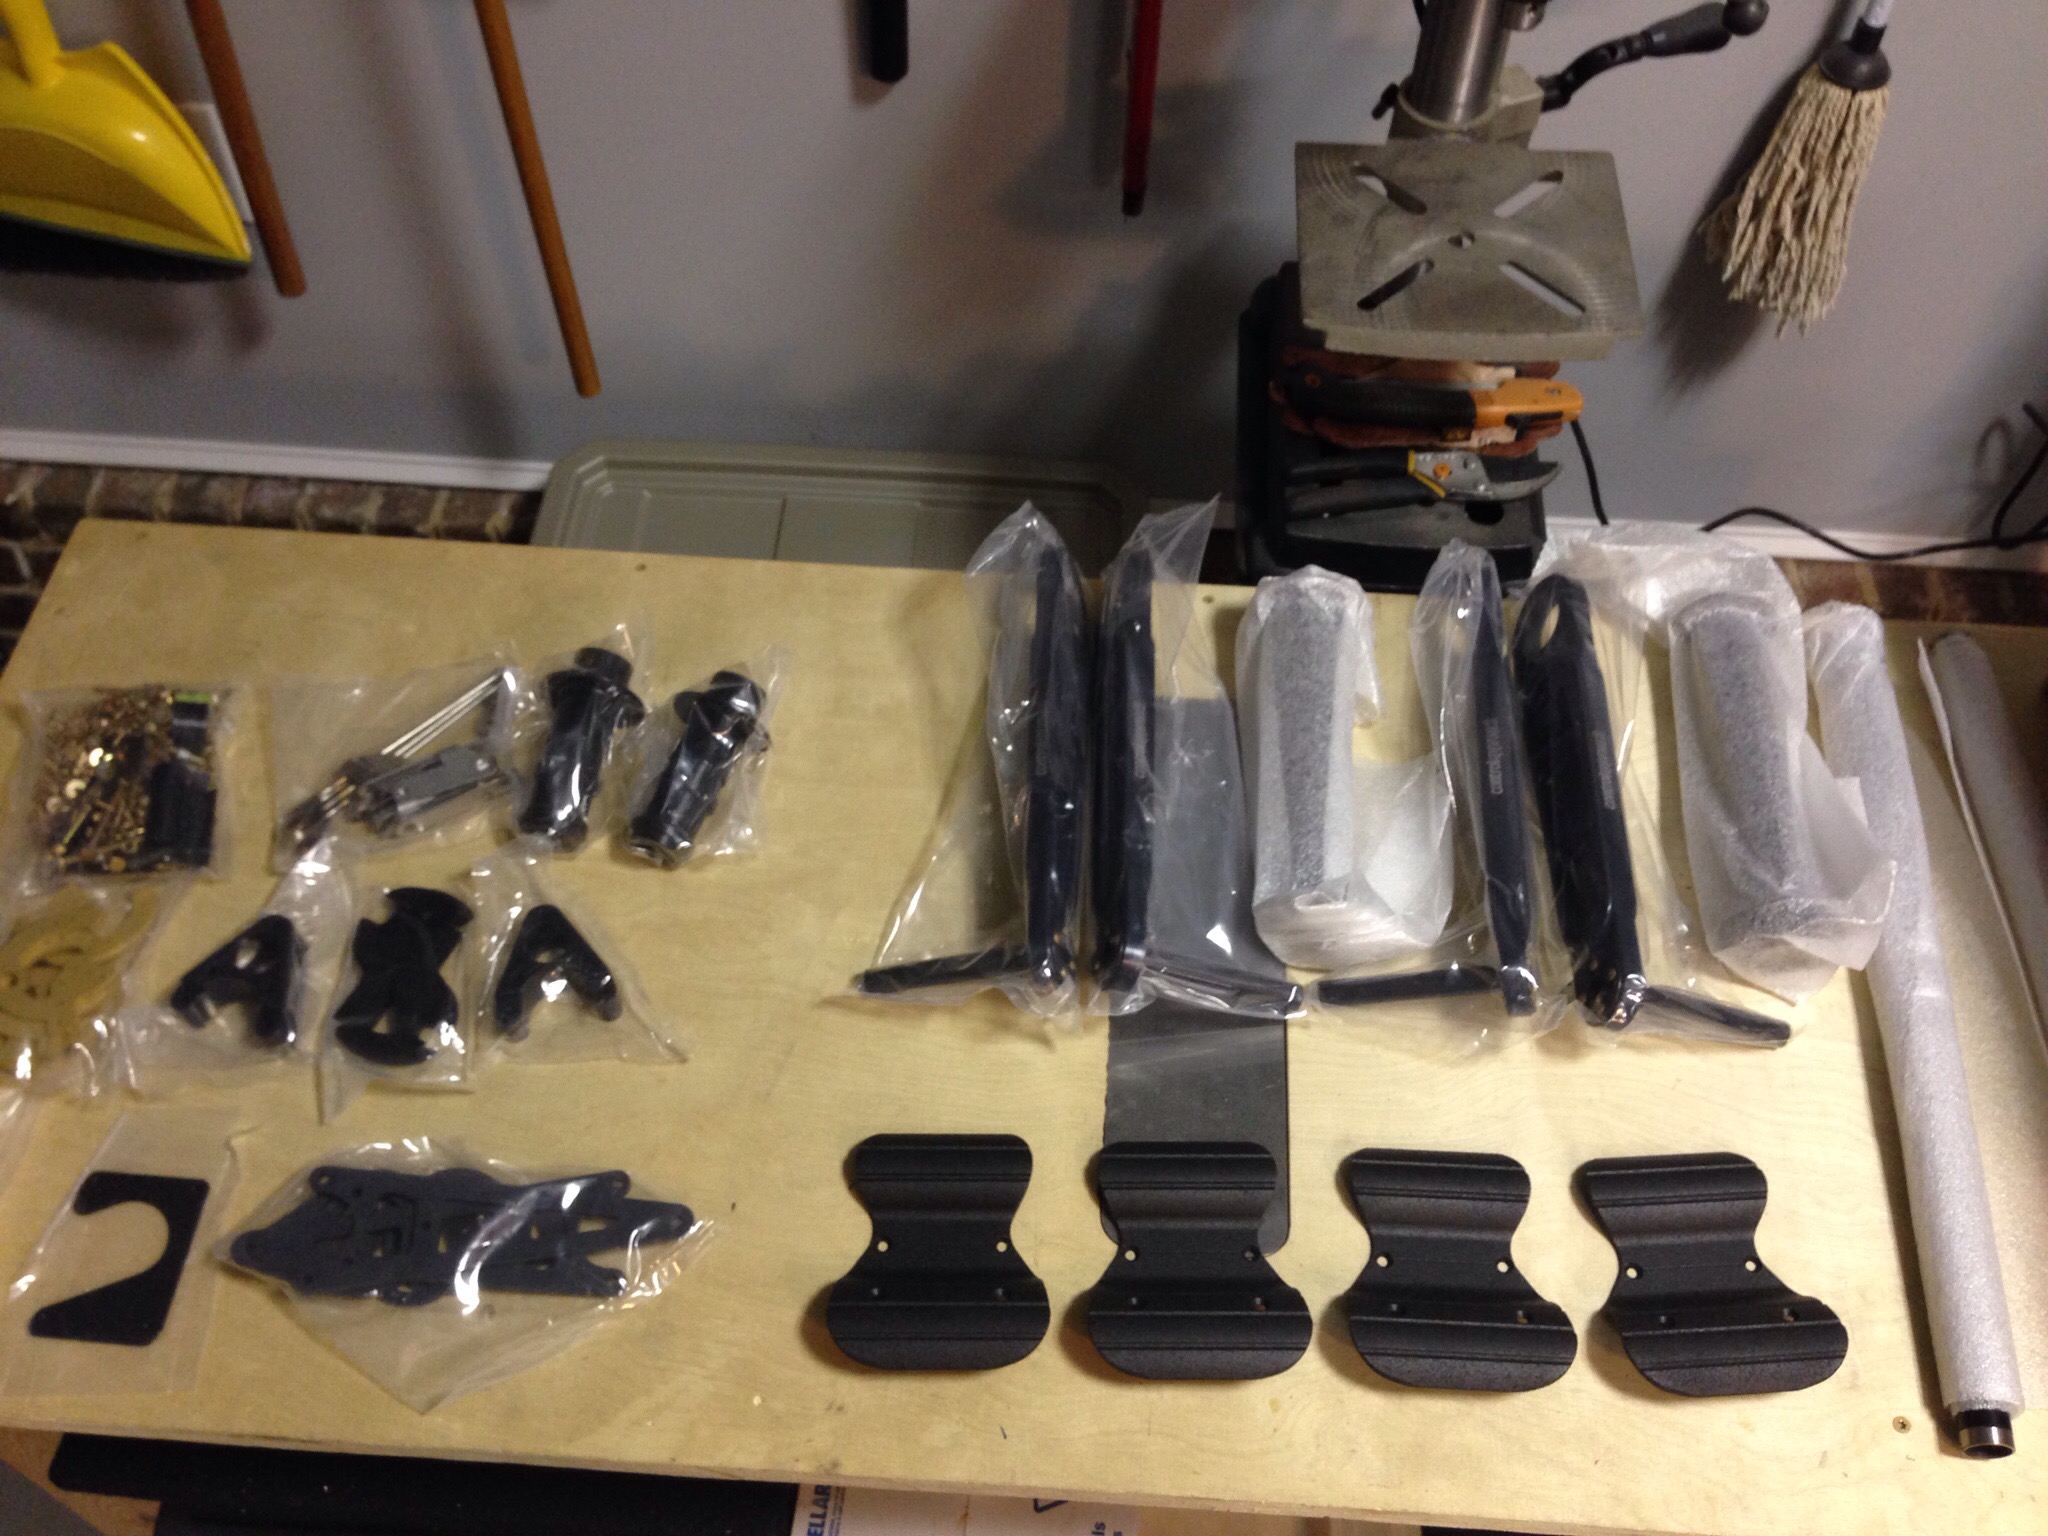
While the machining and quality of the pieces is amazing, the directions leave a lot to the imagine. The box was well packed but the hardware bag was a bit intimidating!

After a bit of organizing, it was much less messy and I was ready to get to work.

I had to re-read the directions a lot, but once I got a start and all the pieces laid out, it makes sense. A bit of jigging was required to get the four holes drilled for the inner and outer tubes that linked the pilot and copilot pedals.

There is also a shortage of thin washers with the hardware kit, but I fortunately have plenty in reserve and most that I need are needed when installing the master cyclinders. I put everything together and securely stashed them away in the storage racks until ready for the fuse.


